
Walnut counter – day 1
When we installed the fireplace bar at Erin’s house, we determined that the dining room table just completely disrupted the flow of the room, as well as blocked the view of the bar… After discussing a few ideas, she decided on putting a counter top, down one side of the room. This opens up the middle of the room, leaving the option for a couch or some chairs down the opposite side. Obviously we need to match the bar to some extent so I procured some nice 14″ wide 5/4 walnut boards.

These boards are rough-sawn down both sides. We need to have at least one straight edge to run down the fence of the table saw, so I had Erin screw a straight 2″x6″ to one side.
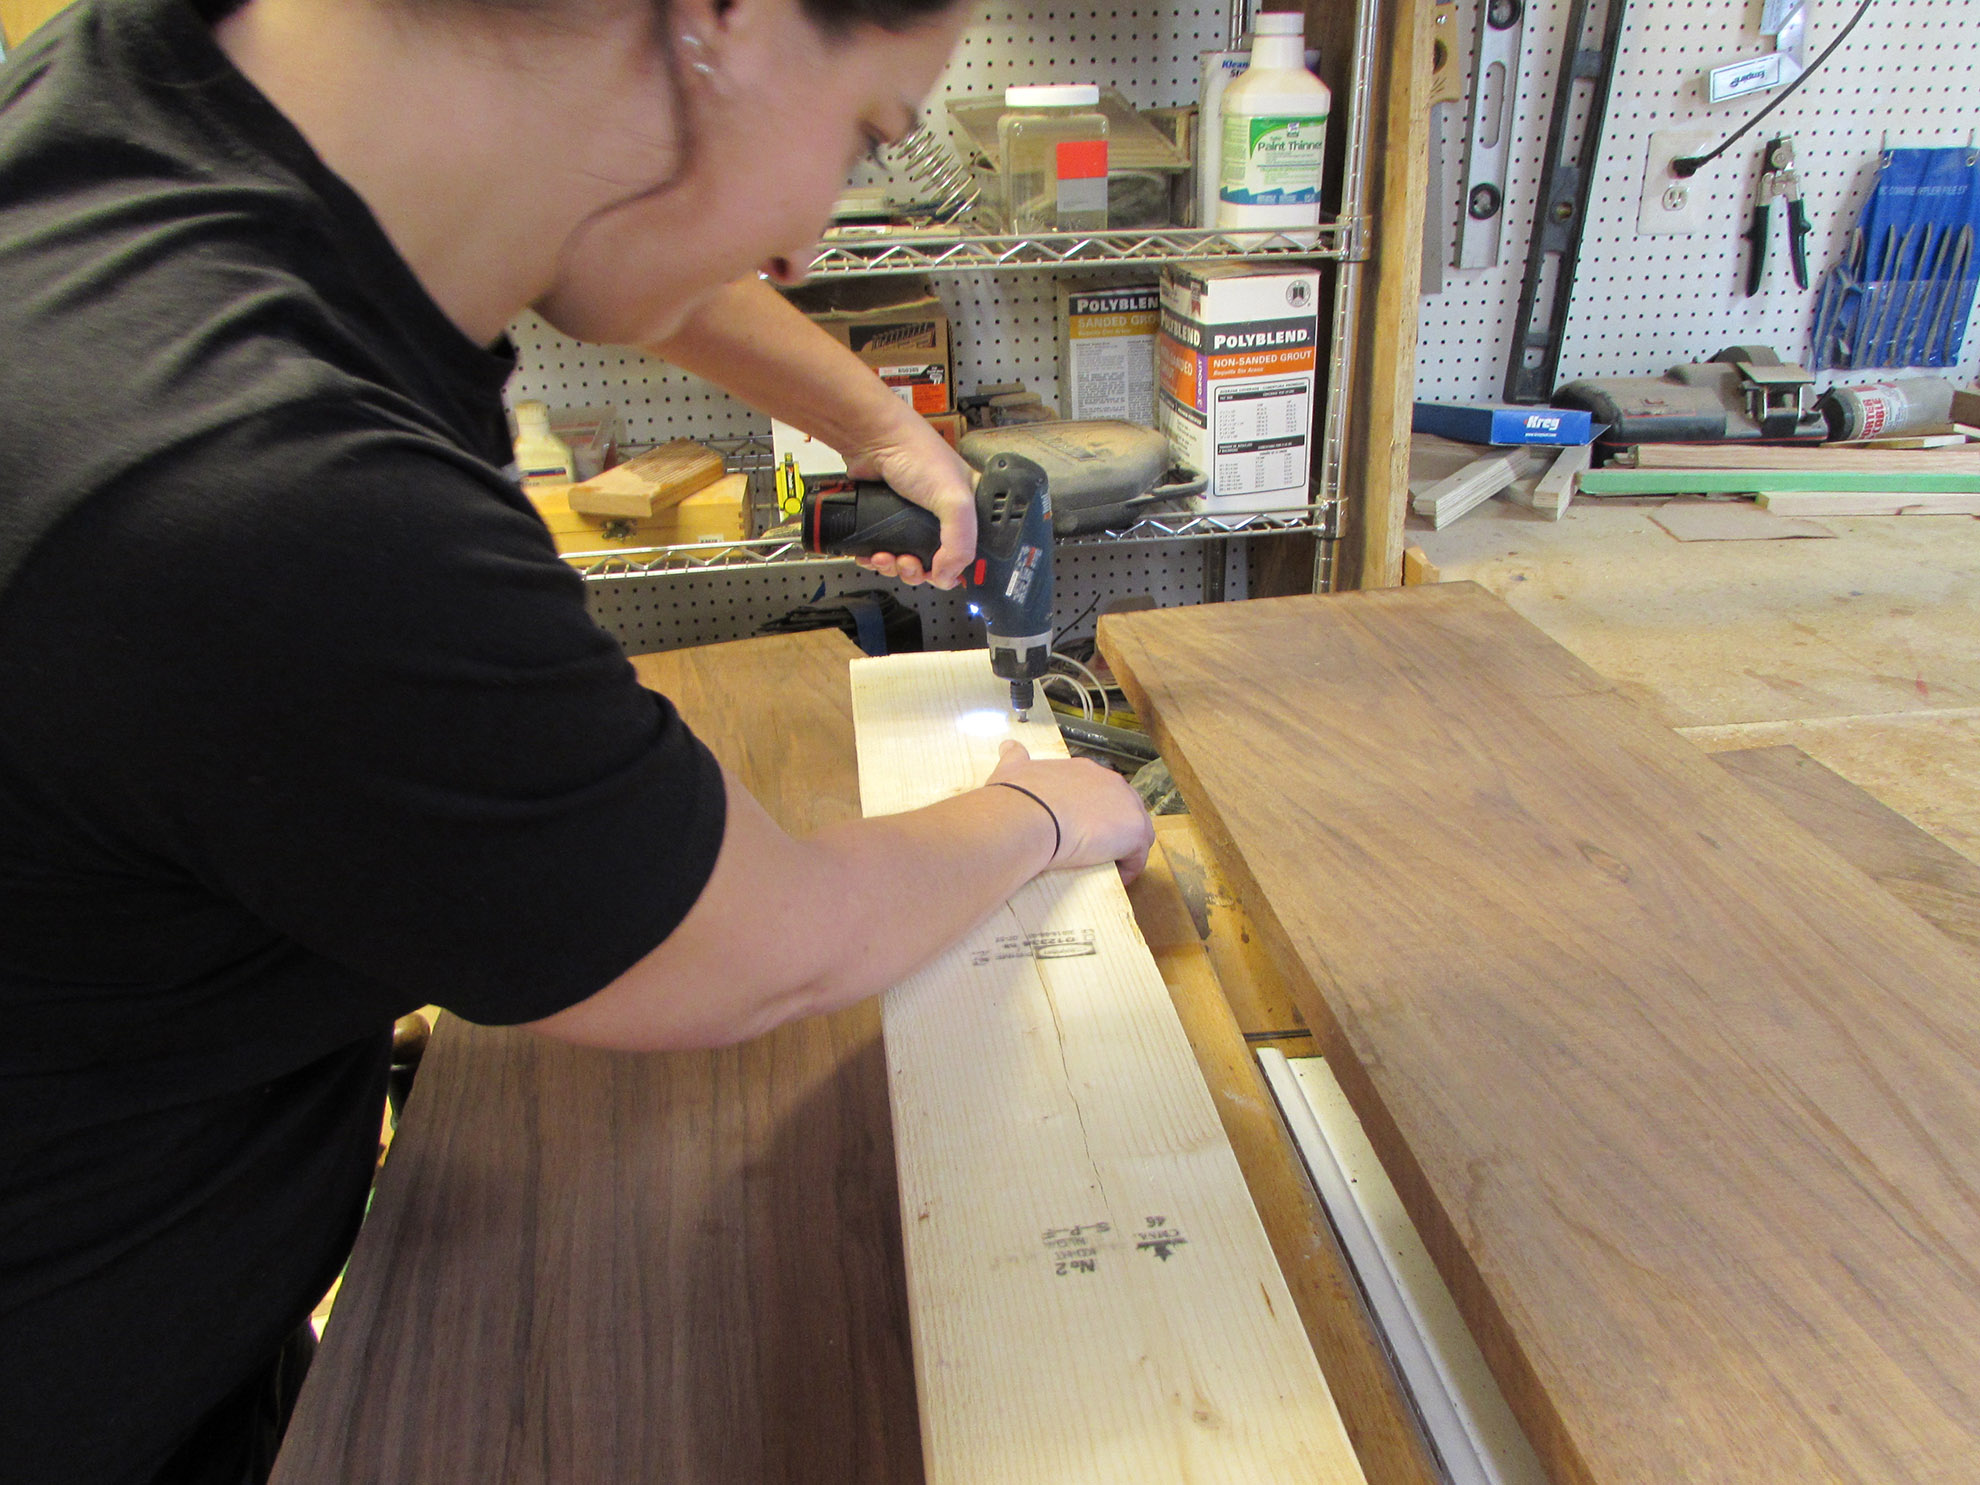

Just two screws, close to the edge, and we had our straight edge.

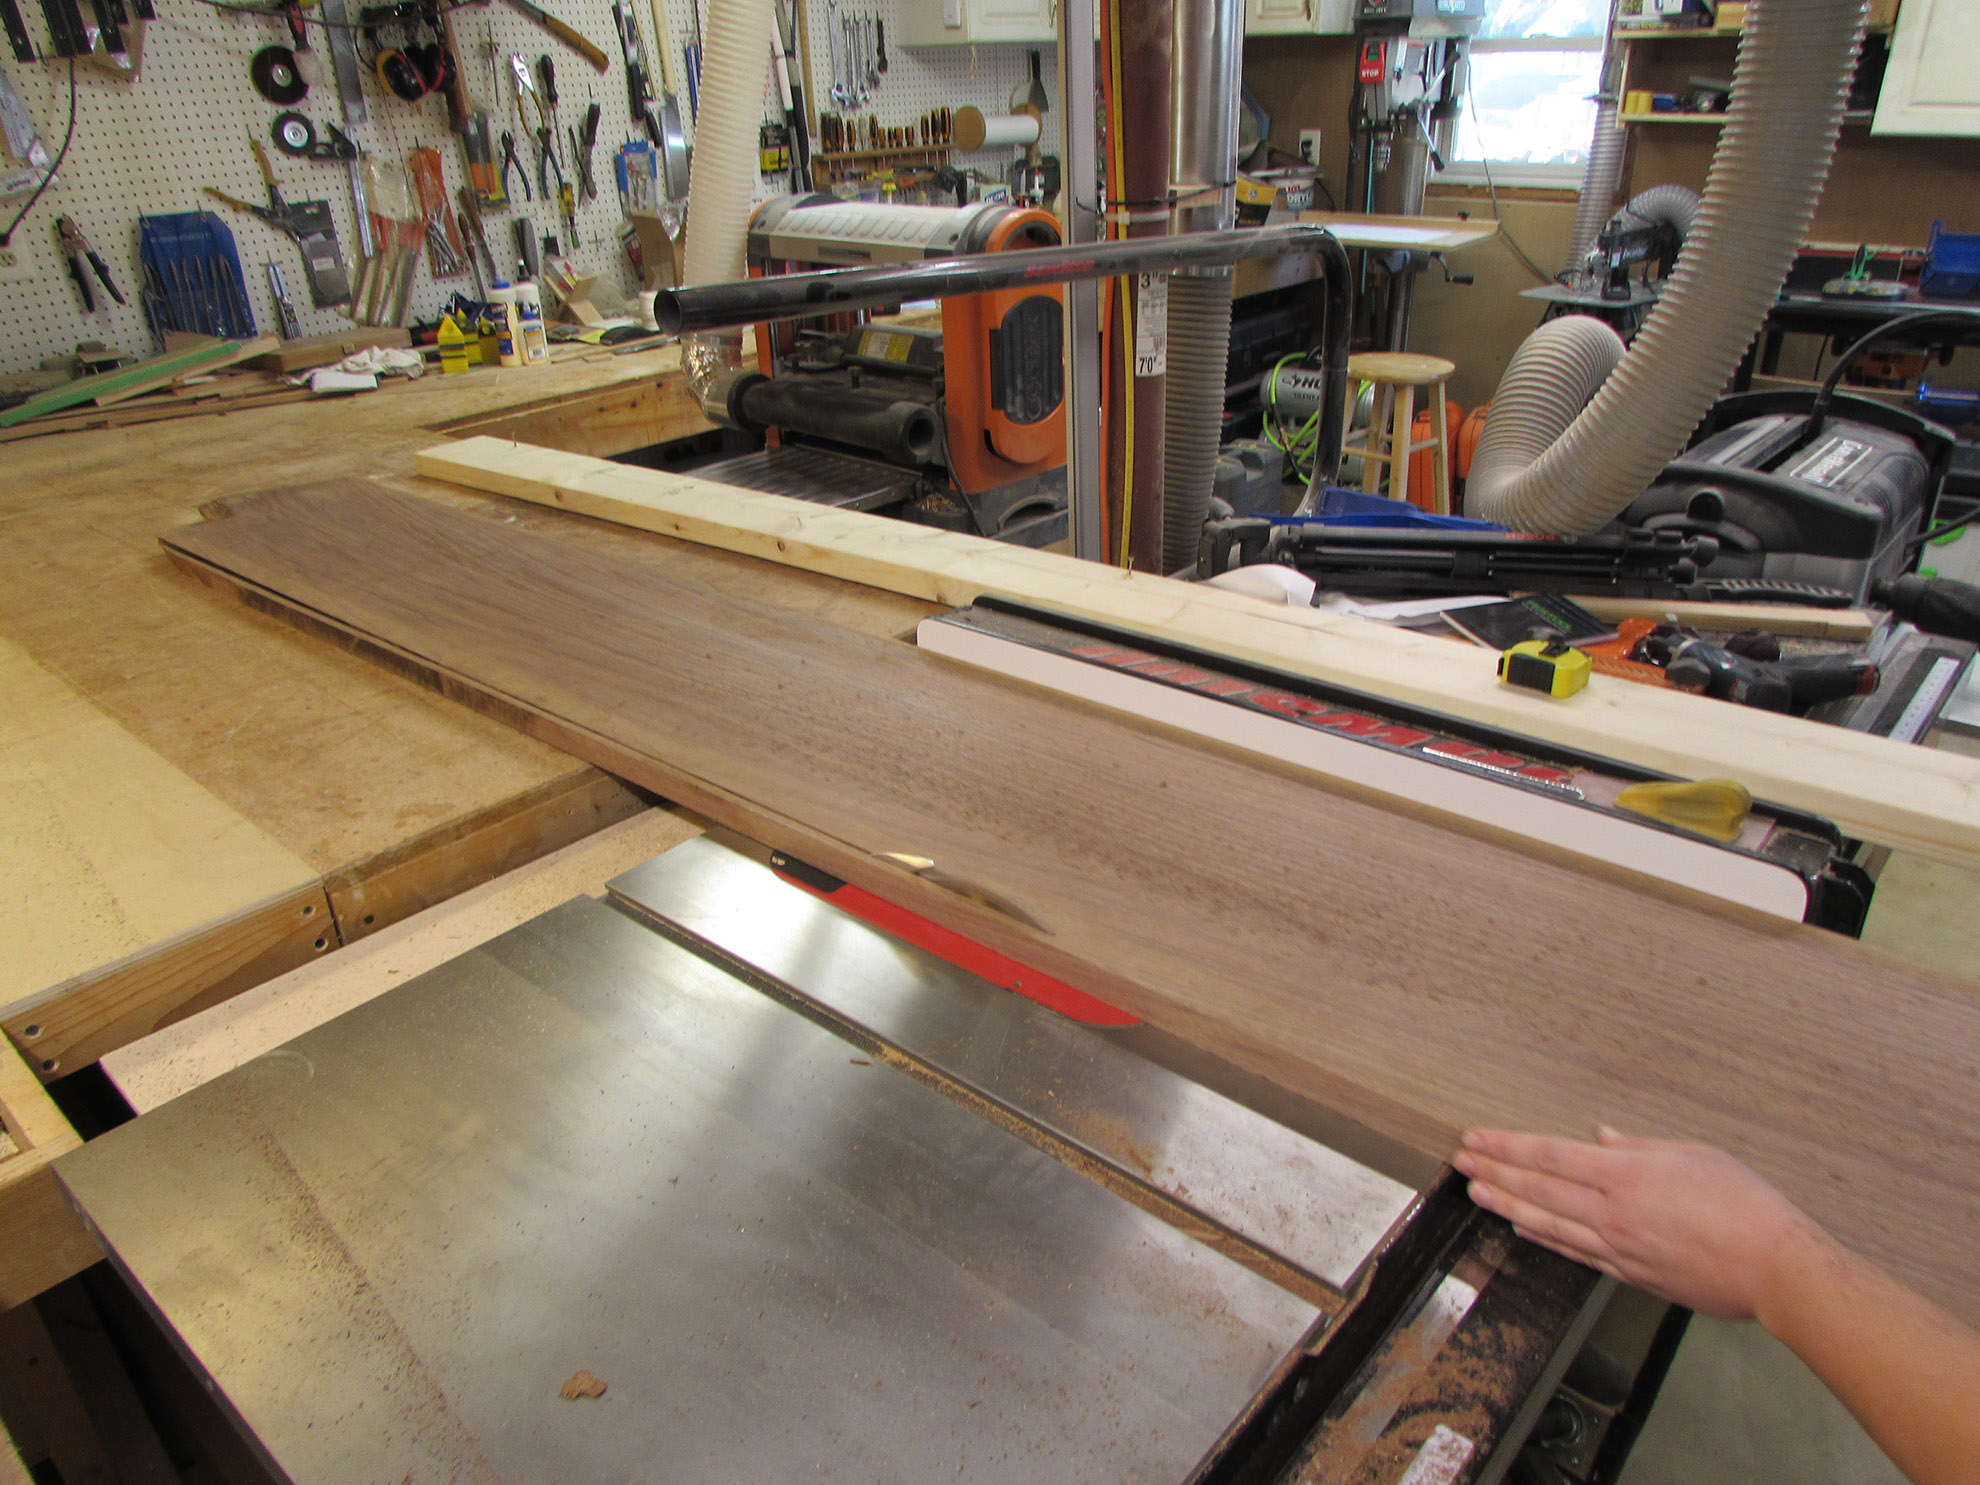
After we cut the one side straight, we removed the 2″x6″ and flipped the walnut board over, and cut a straight edge down the opposite side. Since I can only fit a 13″ wide board through my planer, we had to cut away at least 1″. I made sure that our screws had gone into the walnut in that sacrificial 1″ section.
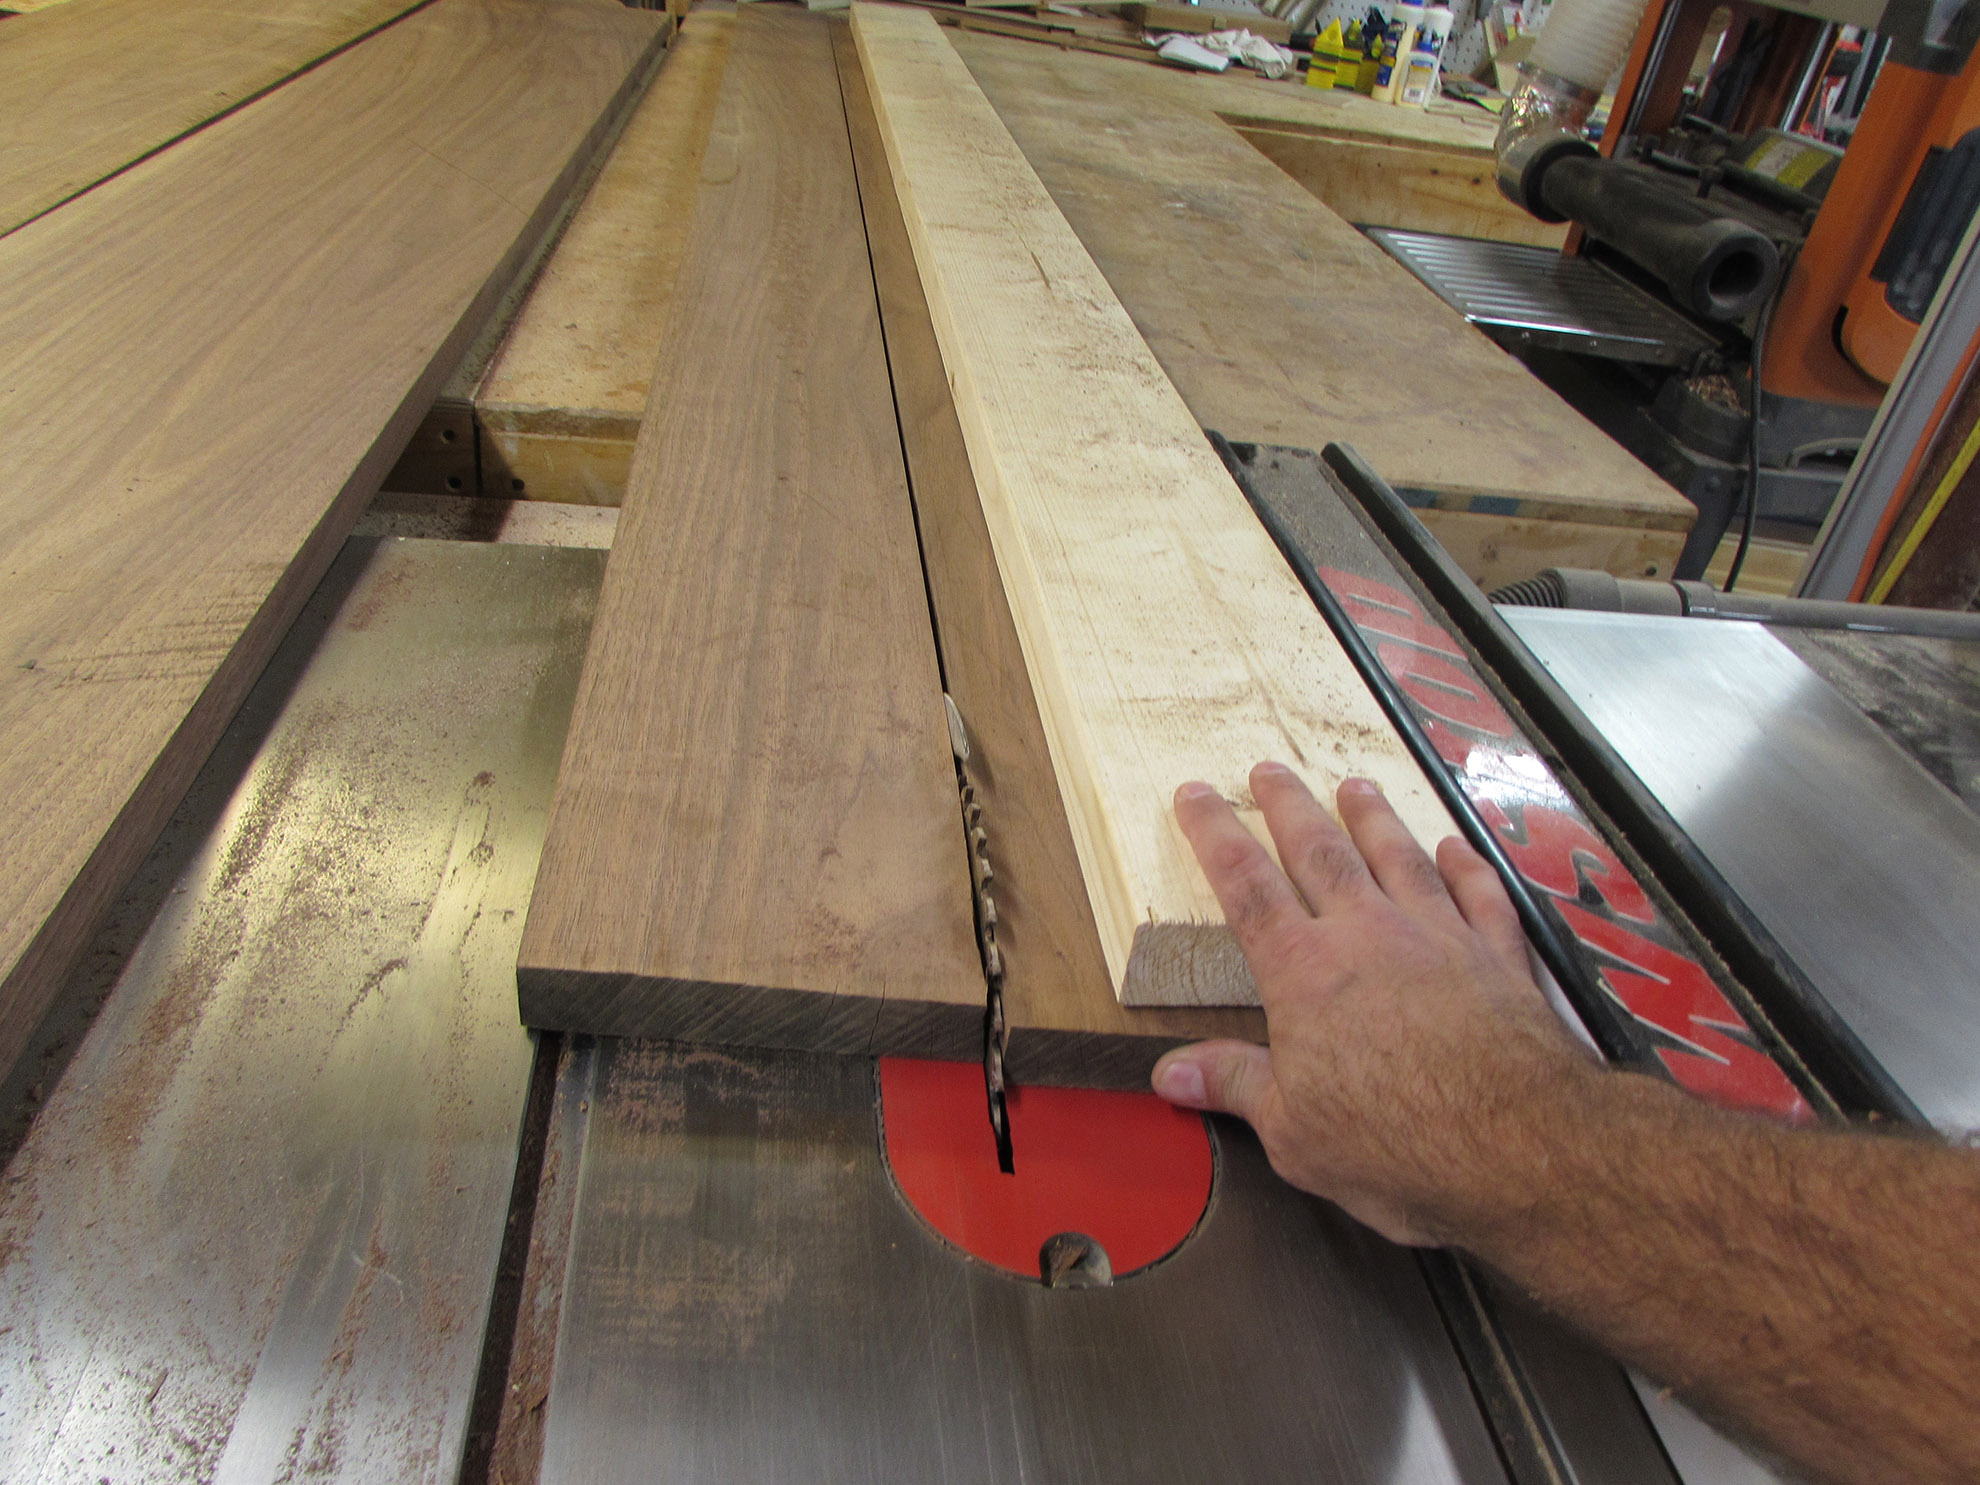
We repeated the process on the second board, cutting a piece about 5″ wide, and another one 2″ wide.
Erin planed then all down to 1″ thick.

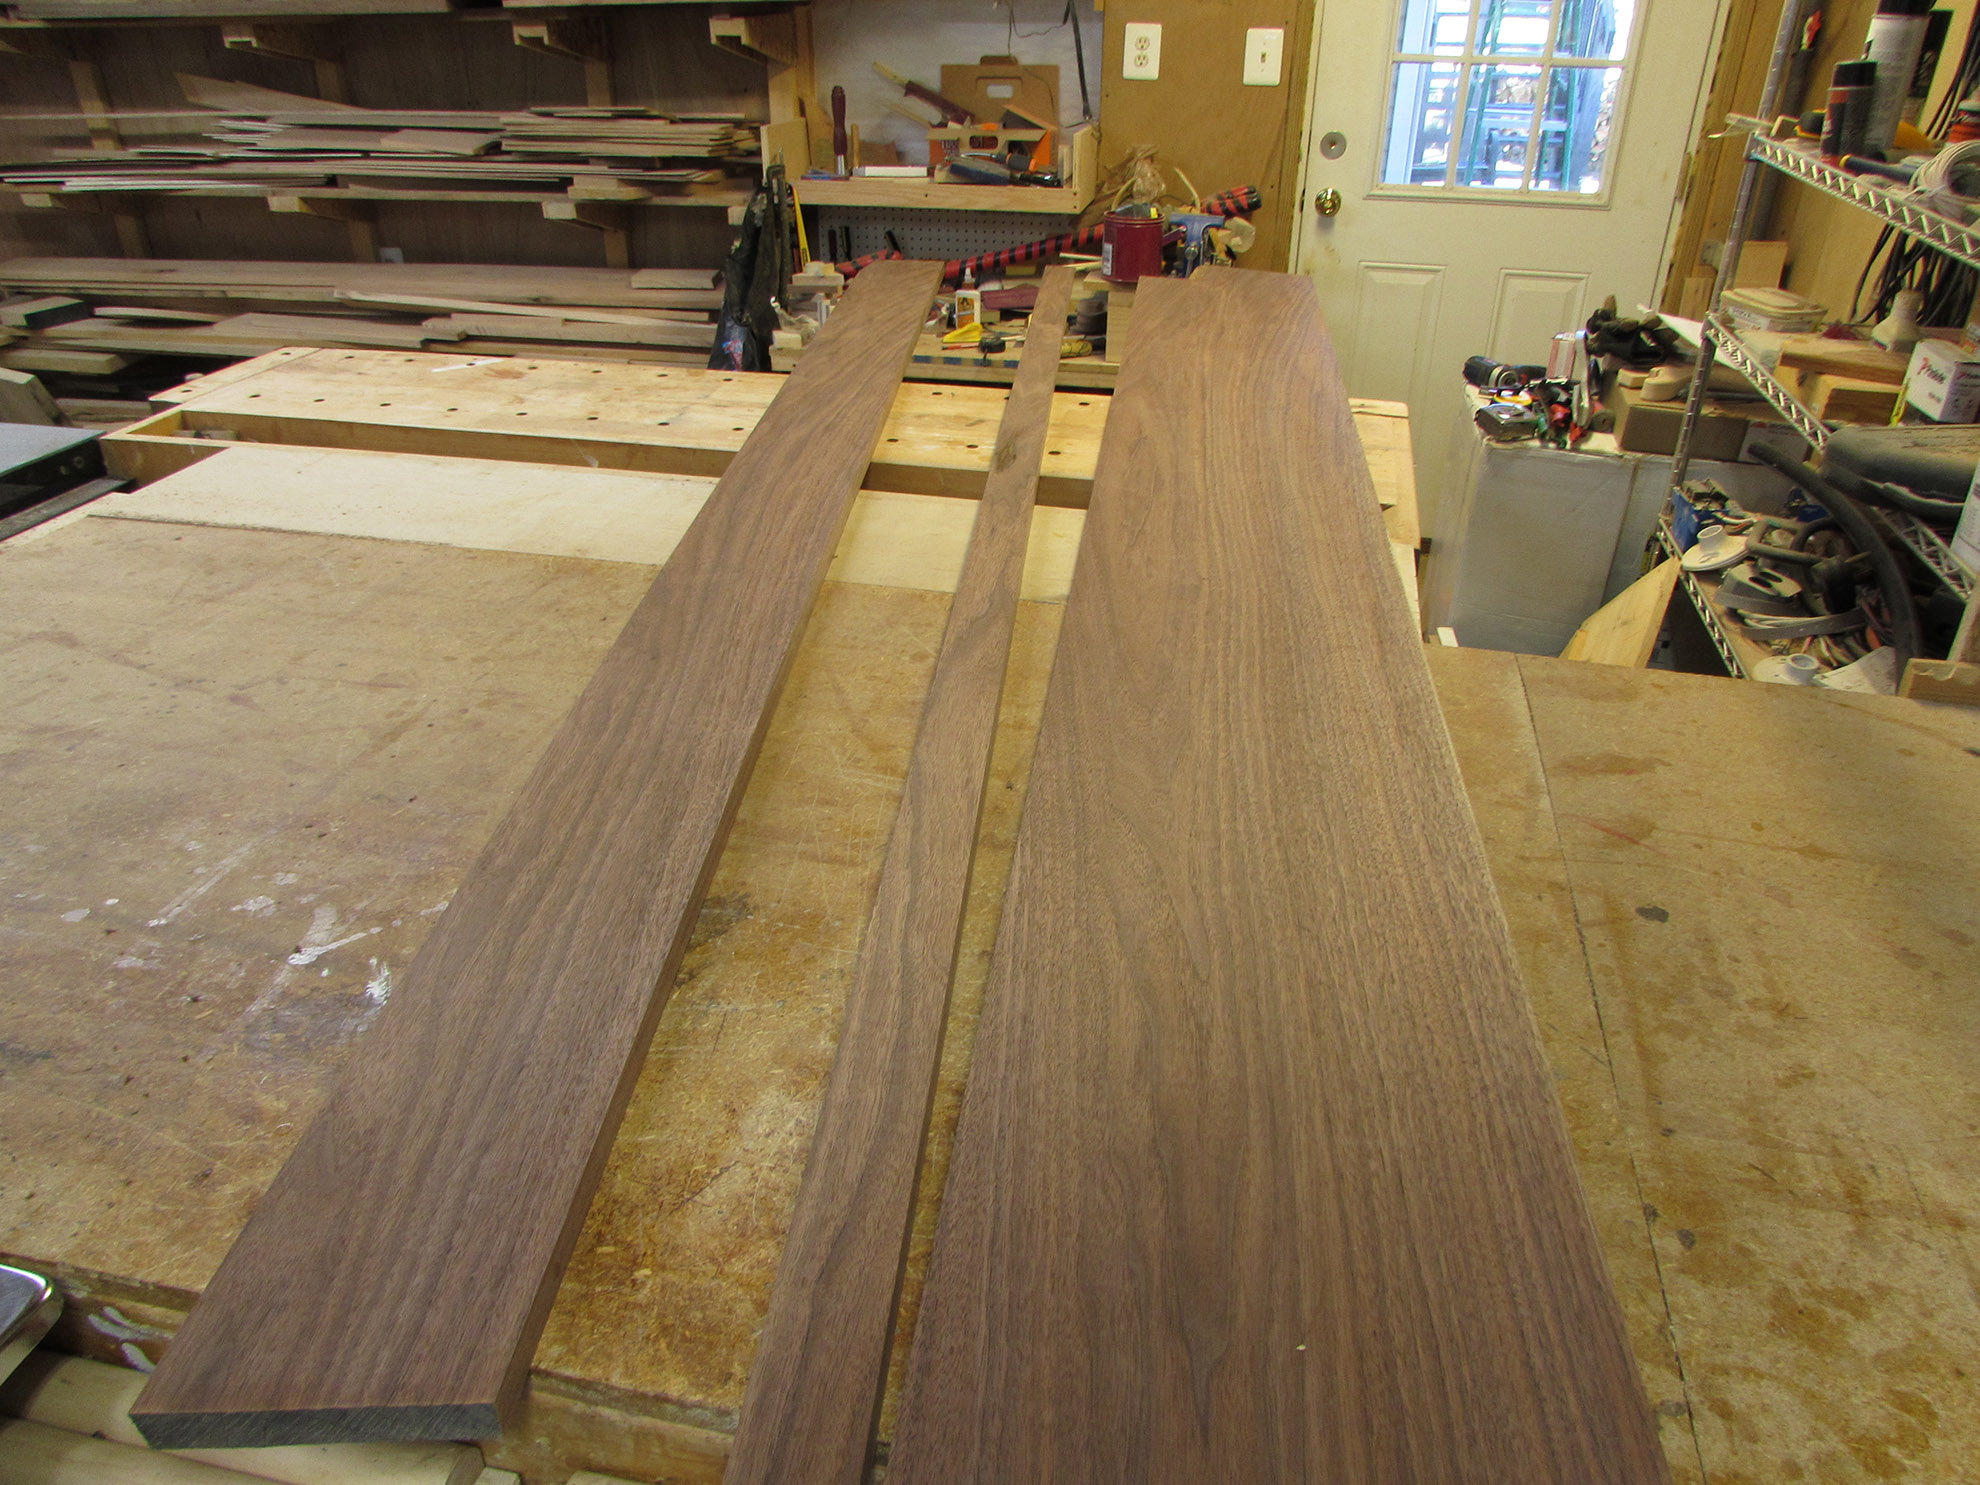
Setting the 2″ strip aside for later use, Erin applied glue down the edge of one of the boards, then butted the two boards together.


We took our time, clamping from one side to the other, making sure the boards were as flush as possible. This is not always easy to do on a panel glue-up, this long. Since I can’t fit an 18″ wide board through my planer, we had to get it as close as possible to reduce the amount of effort it would take to smooth out the seam by hand.
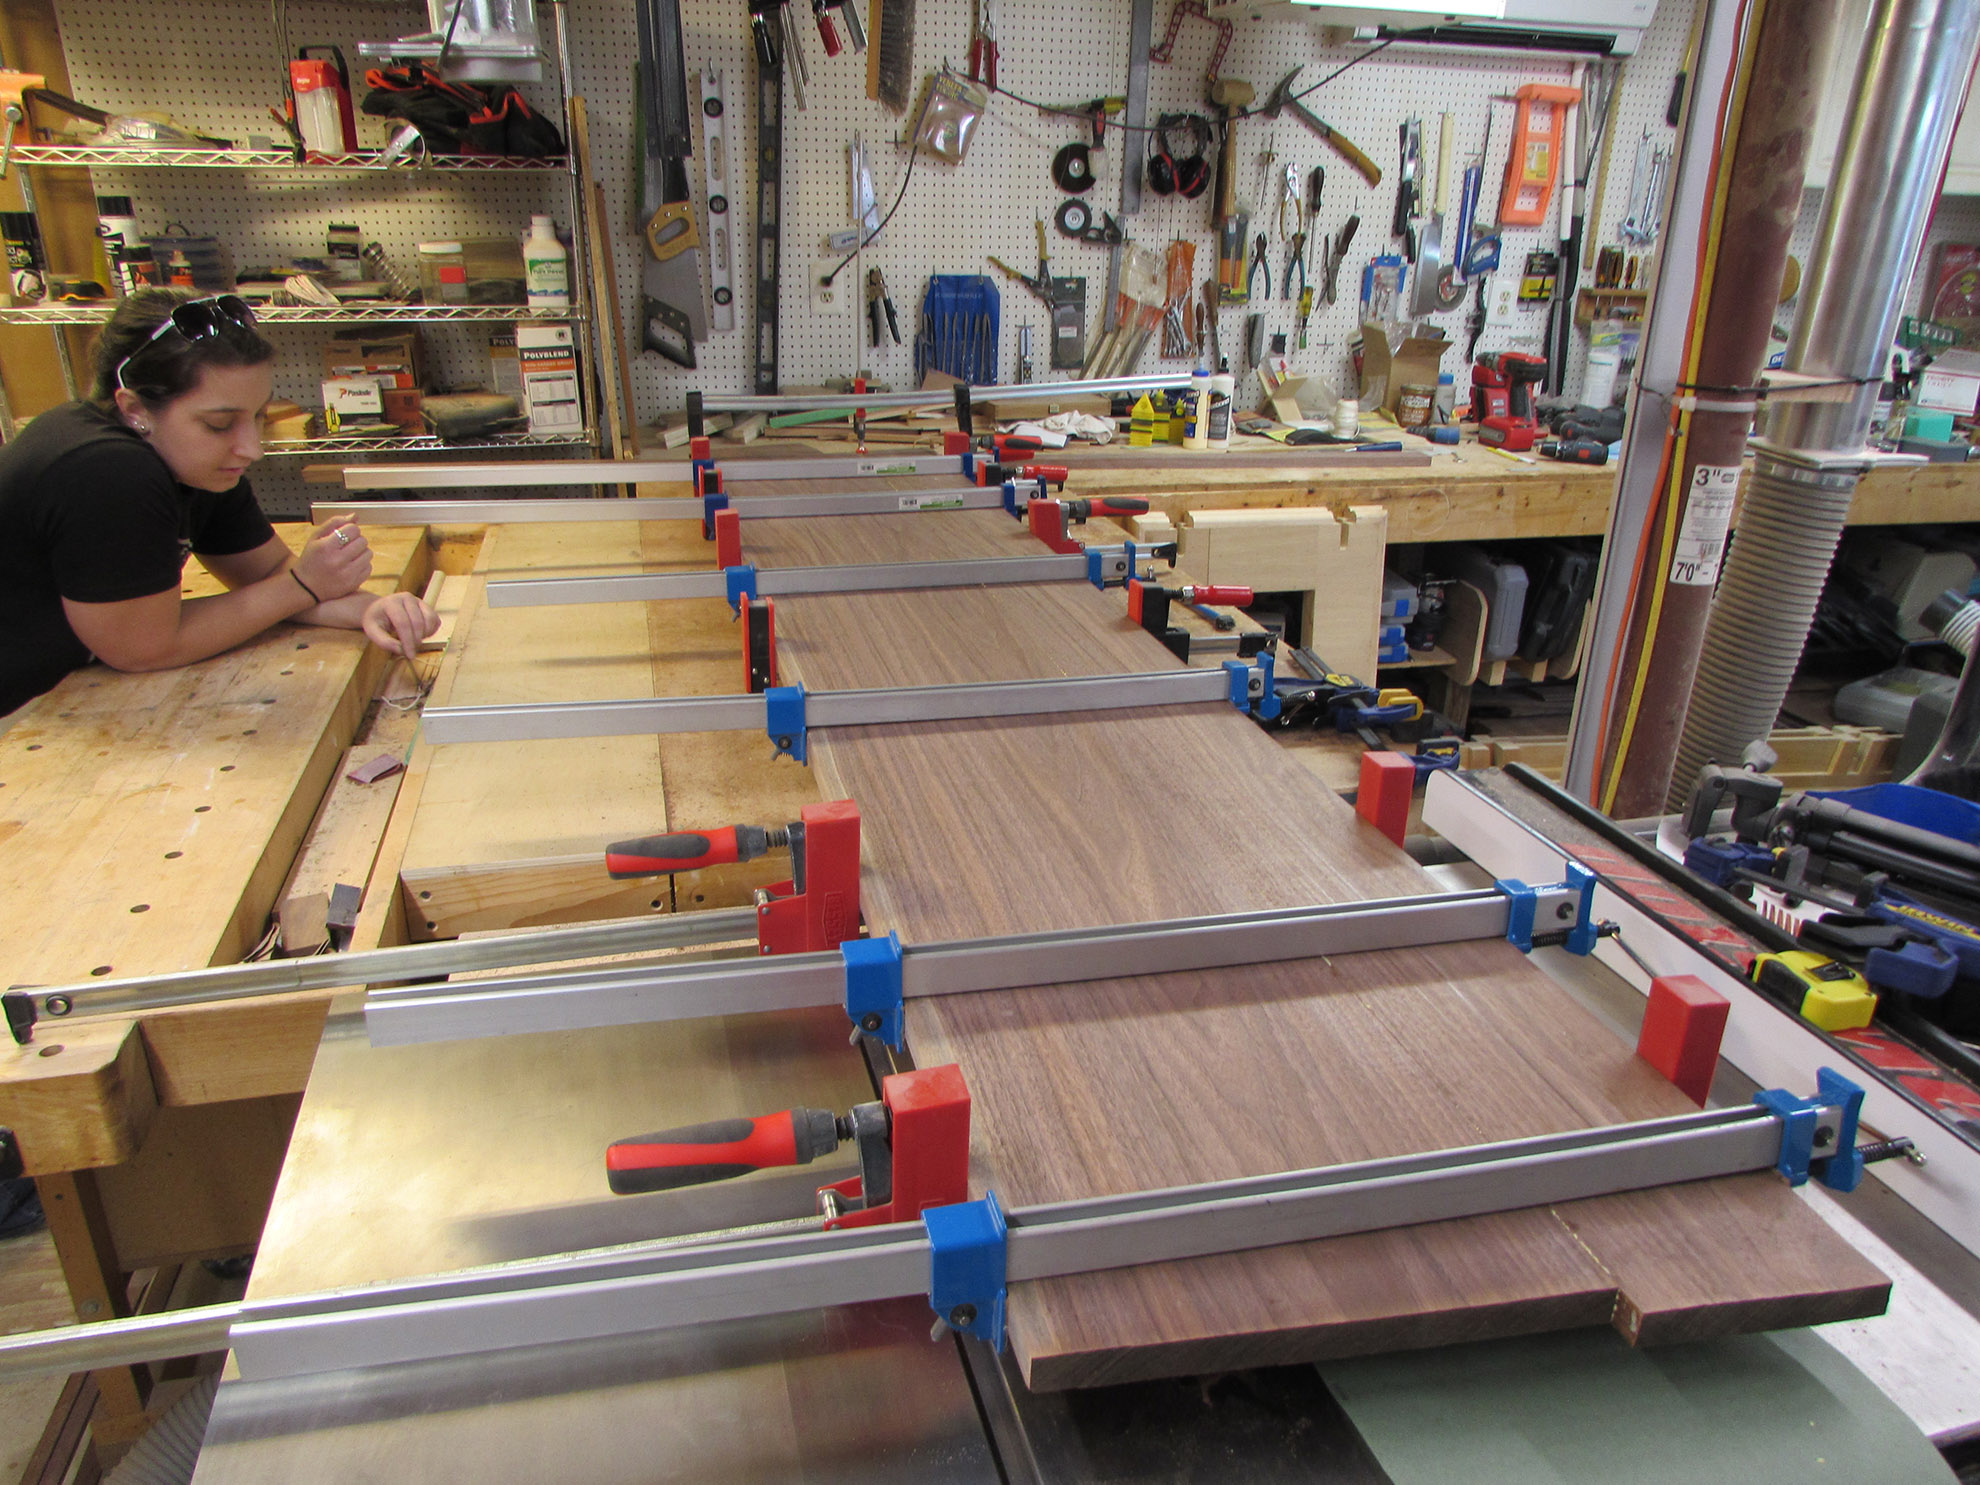

When the clamps were pulled, we were pretty close, not more than 1/32″ off, down the length of the board. Erin scraped the excess glue away with a wide chisel, then I put her to work with a card scraper to feather out the joint. In no time at all, we had a smooth flat board.


I set up my track saw for Erin to cut off the uneven edges, leaving us with an 8′ long counter top.

We decided to double up the edges to add a bit more rigidity and more closely match the thickness of the walnut mantle on the fireplace. For the end, we used one of the off-cut ends, to create a book-match of the grain, along the front edge, we will be using the 2″ wide piece that we cut earlier.

We set these pieces aside for later because we first needed to put a curve on one corner. This corner will be near the kitchen doorway, and we don’t want anybody running into a sharp edge.

For a circle template, we tried a few different items including a 5-gallon bucket and a paint can. The bucket won…
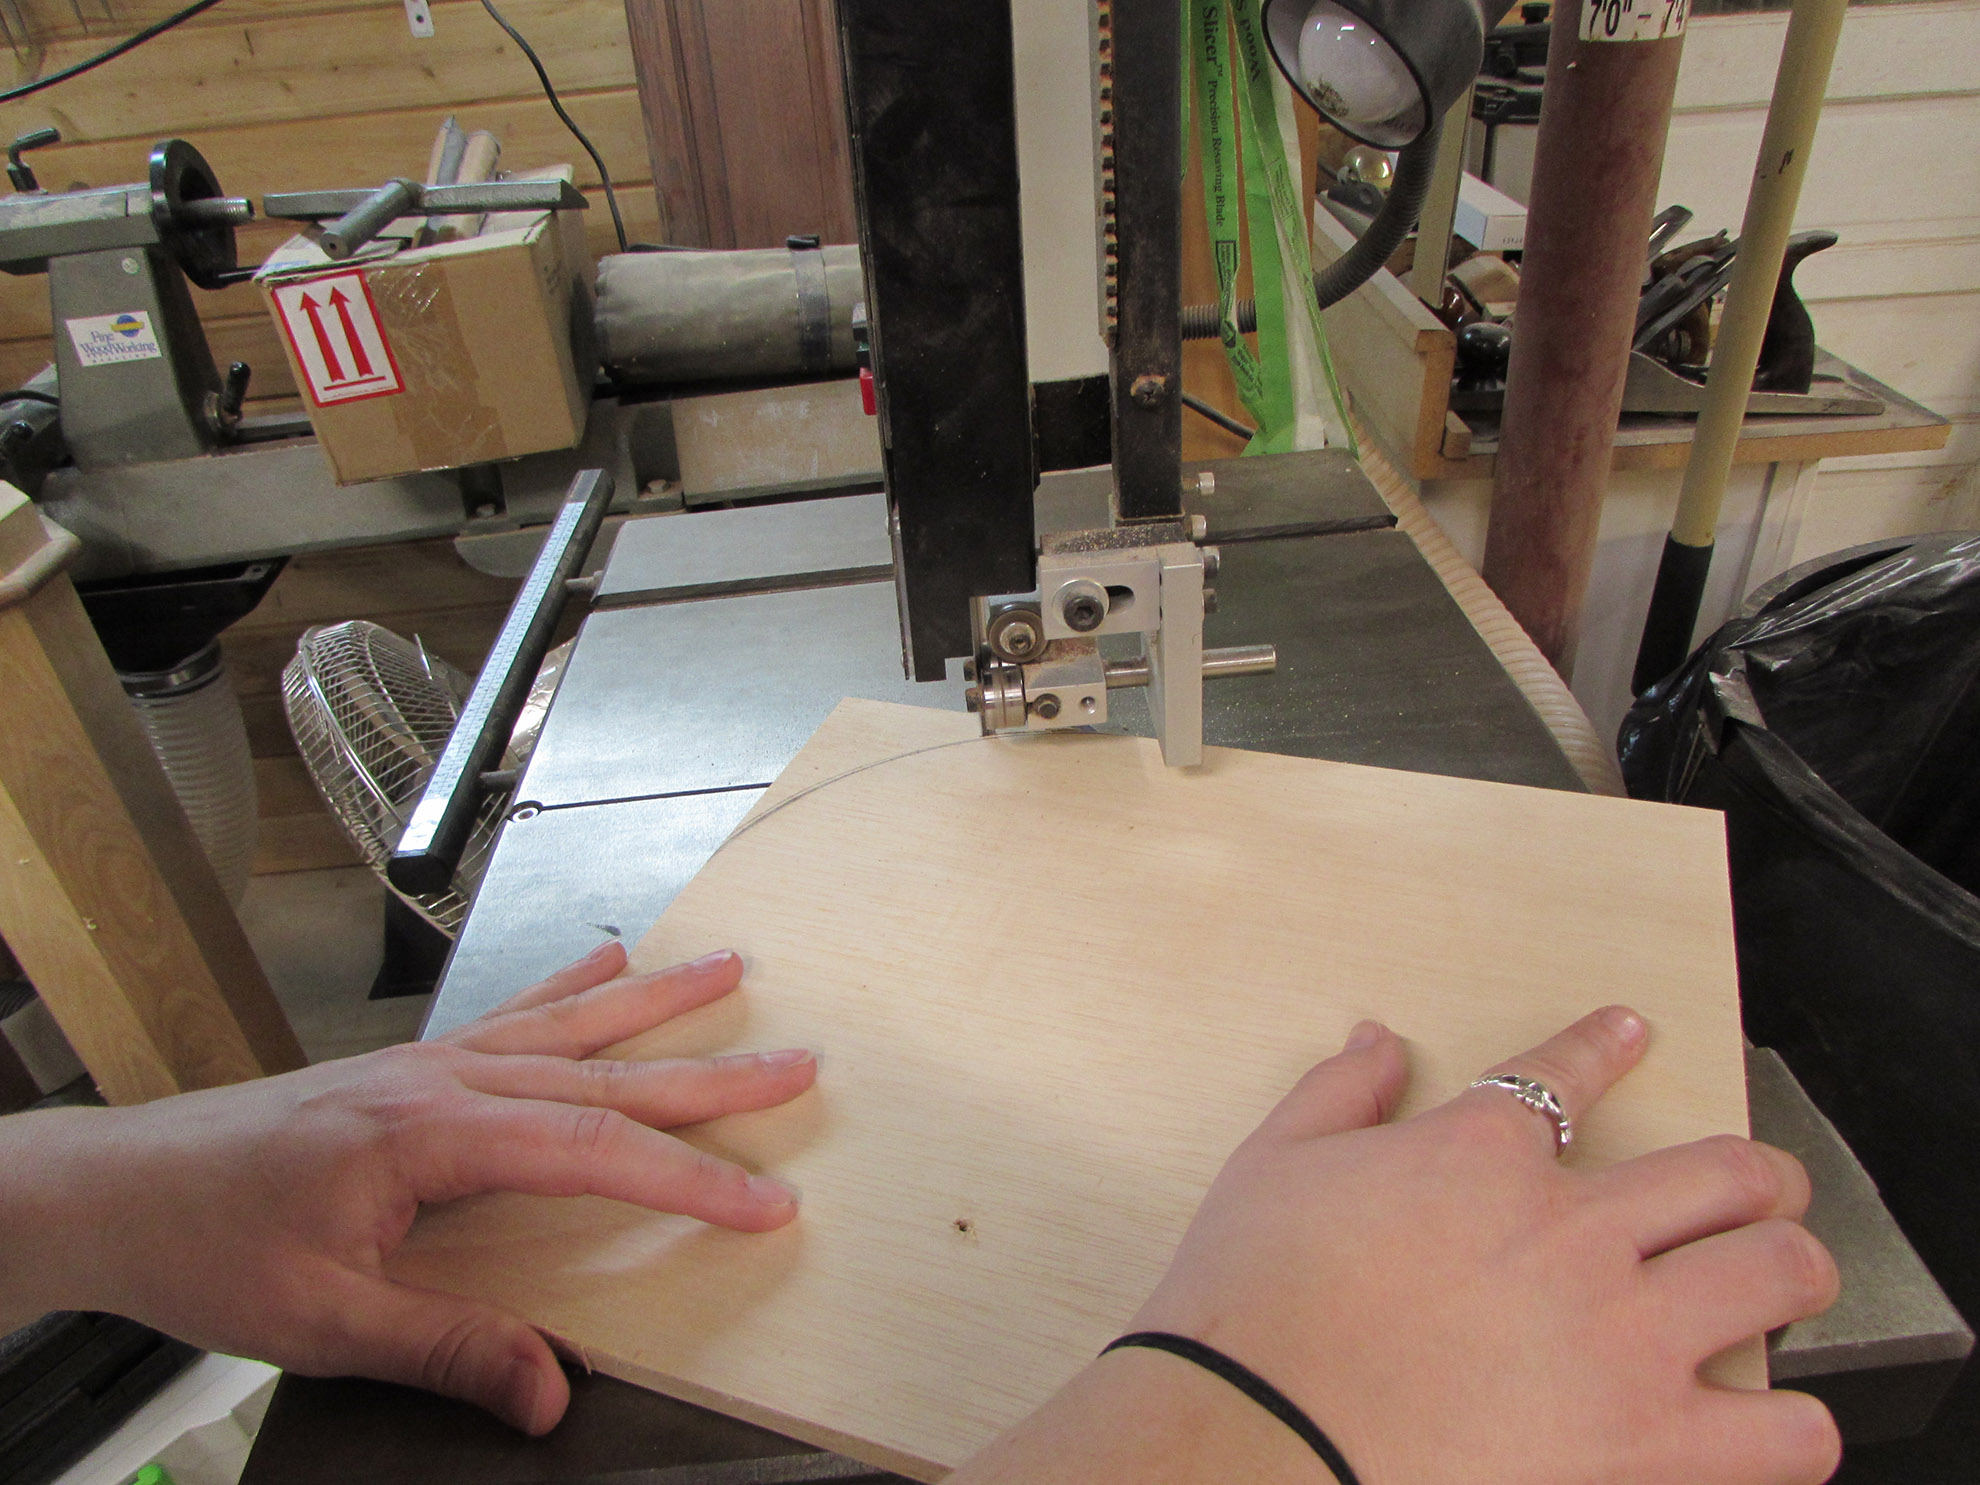
Since the counter top is long and heavy, we won’t be able to cut the curve easily on the band saw. Instead we made a template out of a 1/2″ thick piece of plywood. Erin cut and smoothed out the curve on the band saw and the spindle sander.

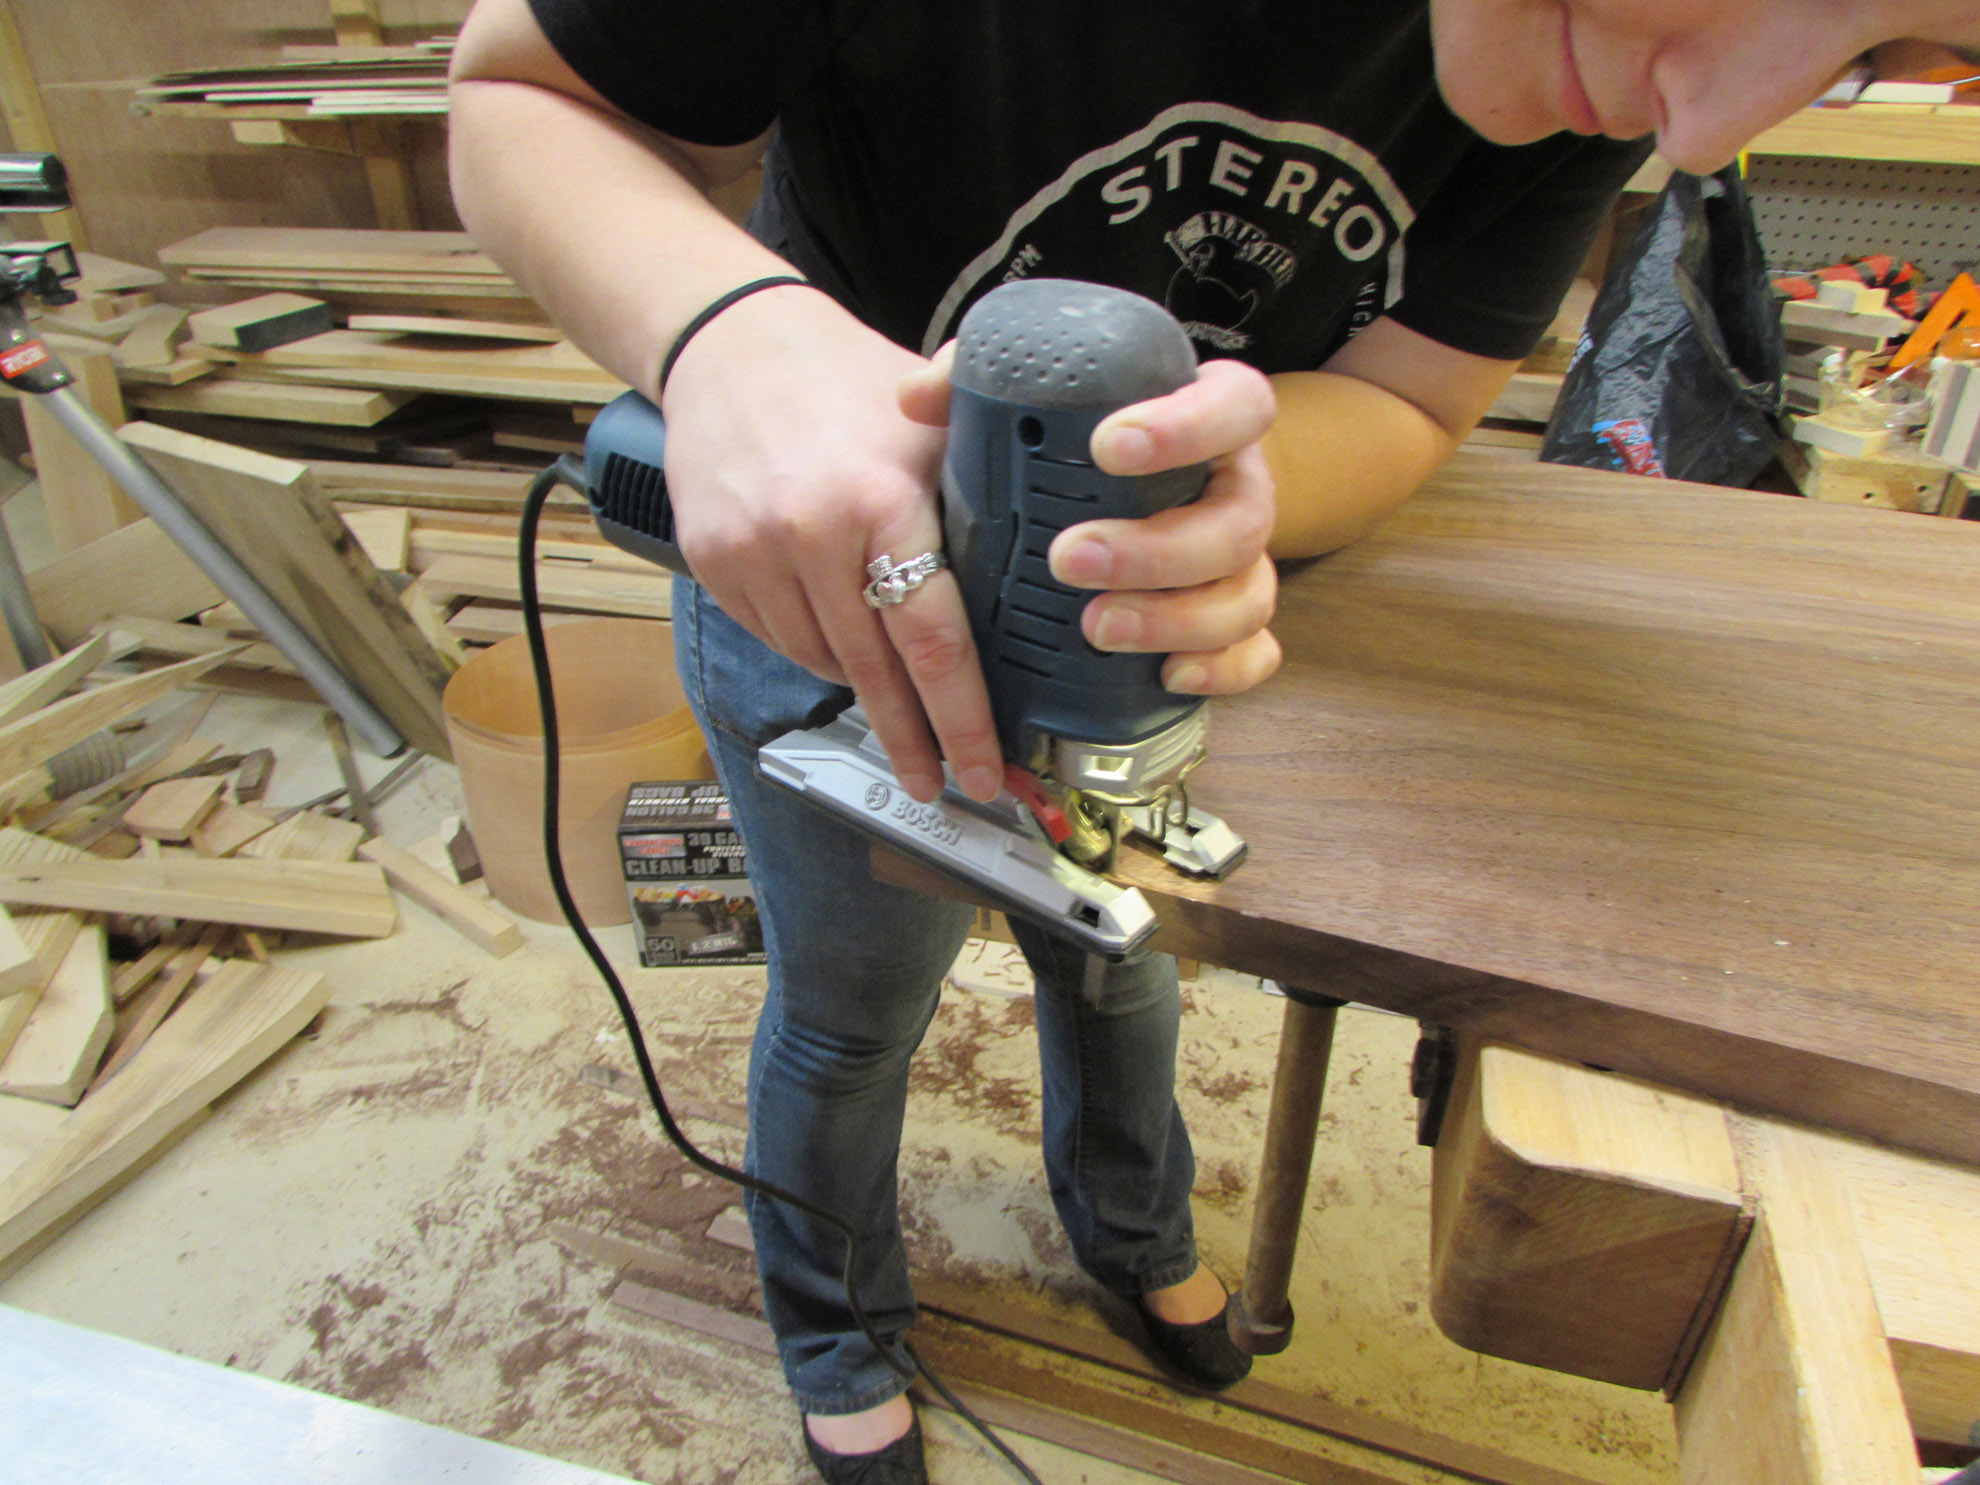
She then used my jigsaw to cut just outside of the marked curve on the counter top.
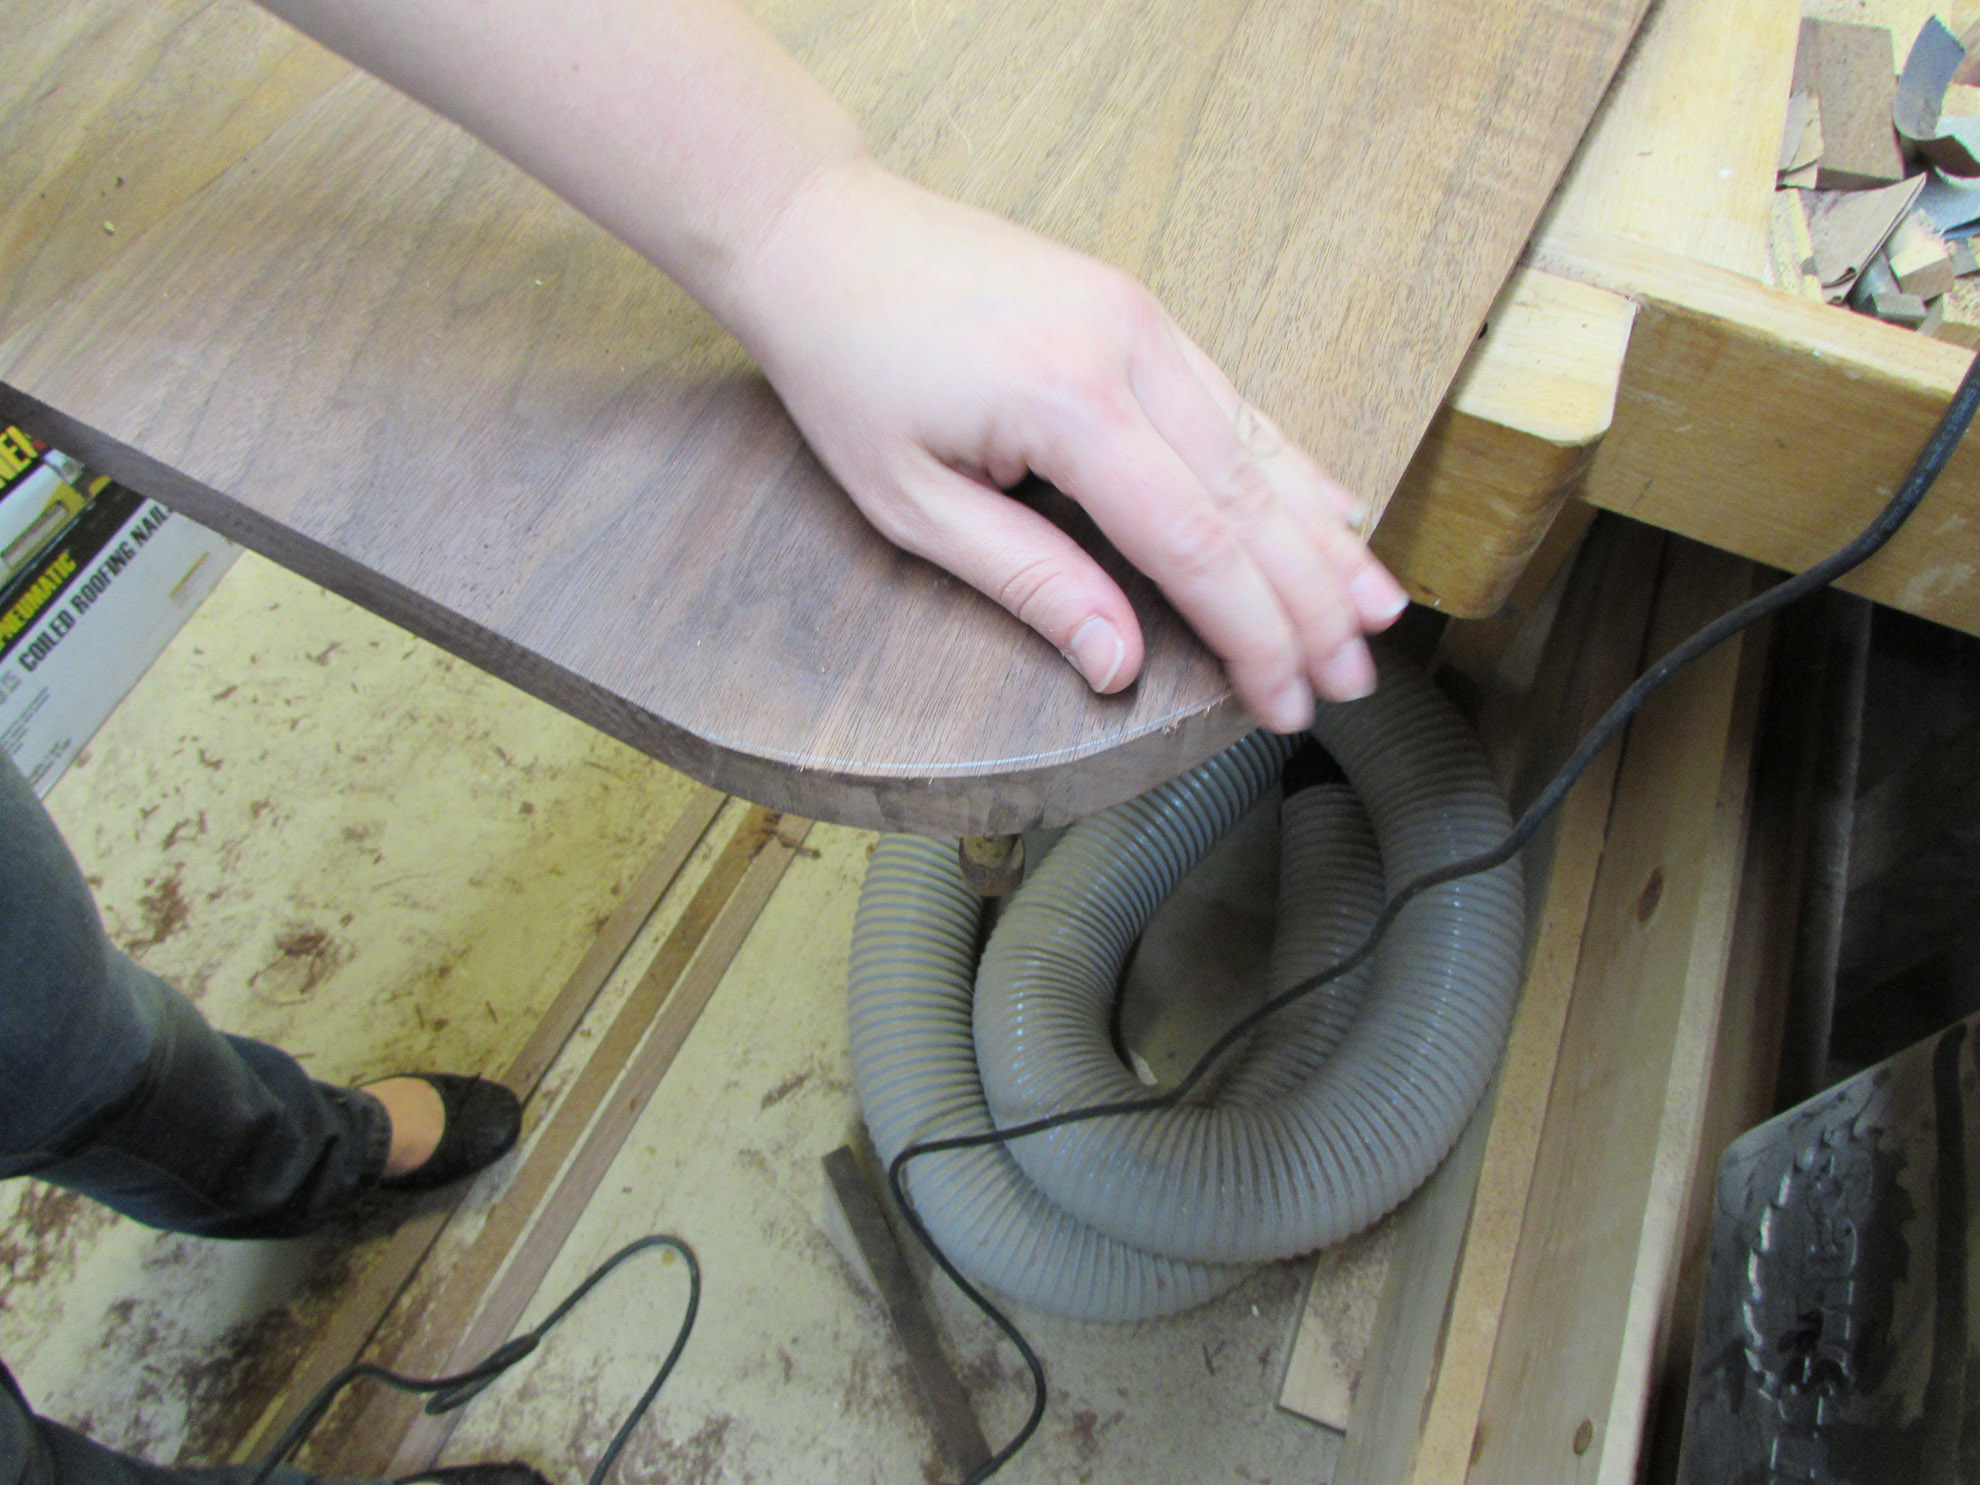
We clamped the template into place, and Erin used a large flush-trim bit, in my router, to match the curve of the template perfectly.
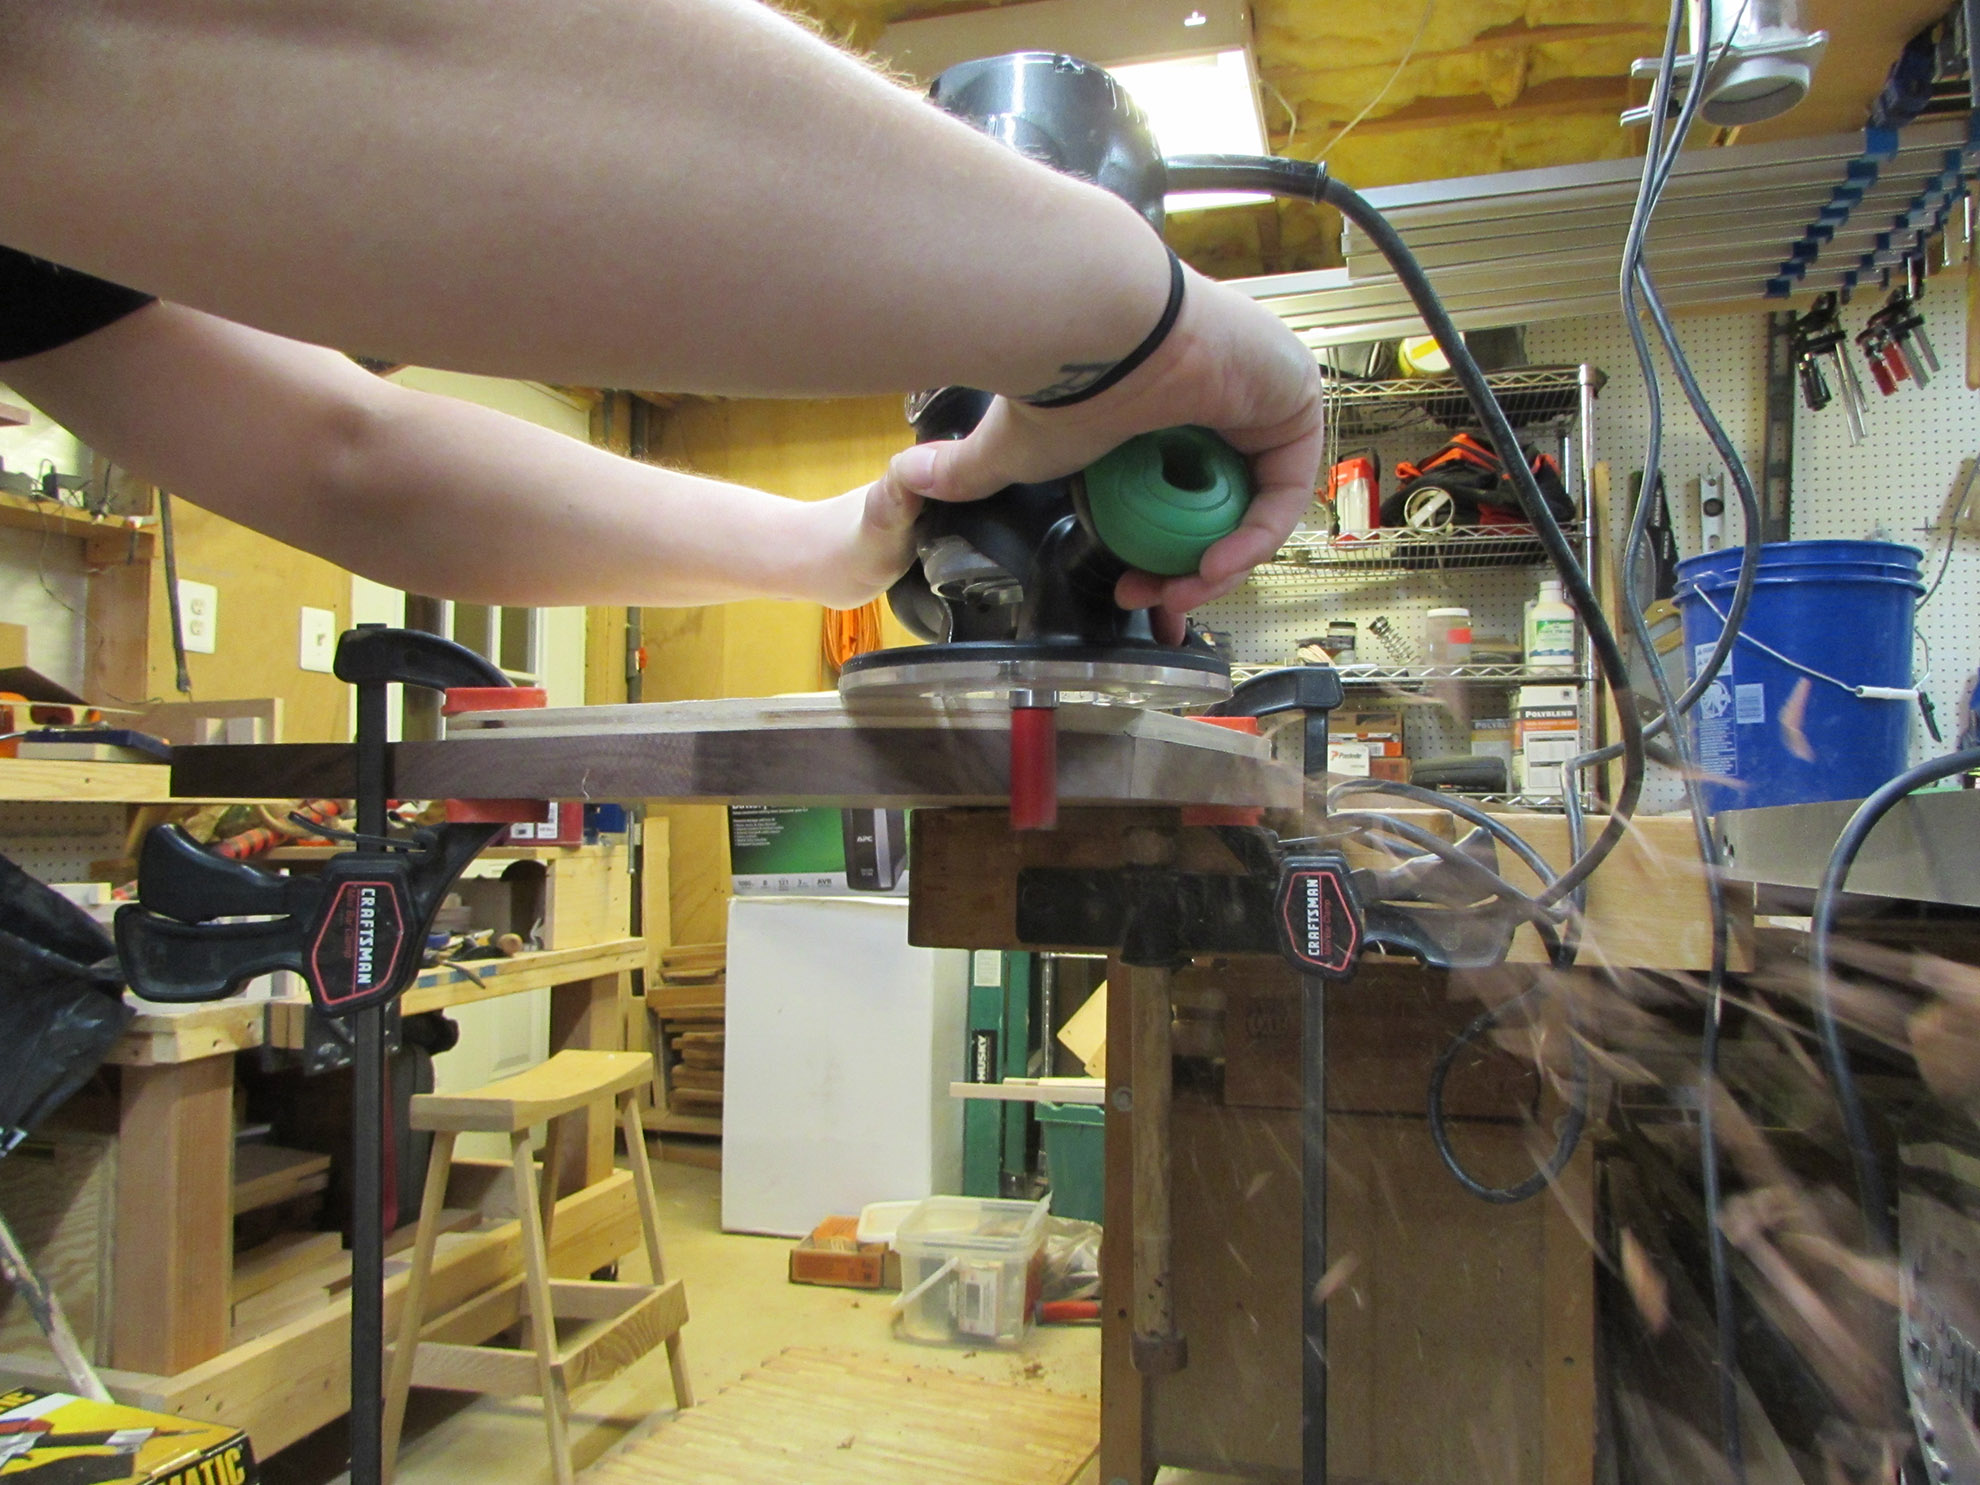
The bearing, at the top of the bit, followed the template cutting a perfect match from the walnut below.


Next Erin cut the same curve into the end strip, that we set aside earlier.

Then she applied glue to that piece as well as the longer strip from the front edge.
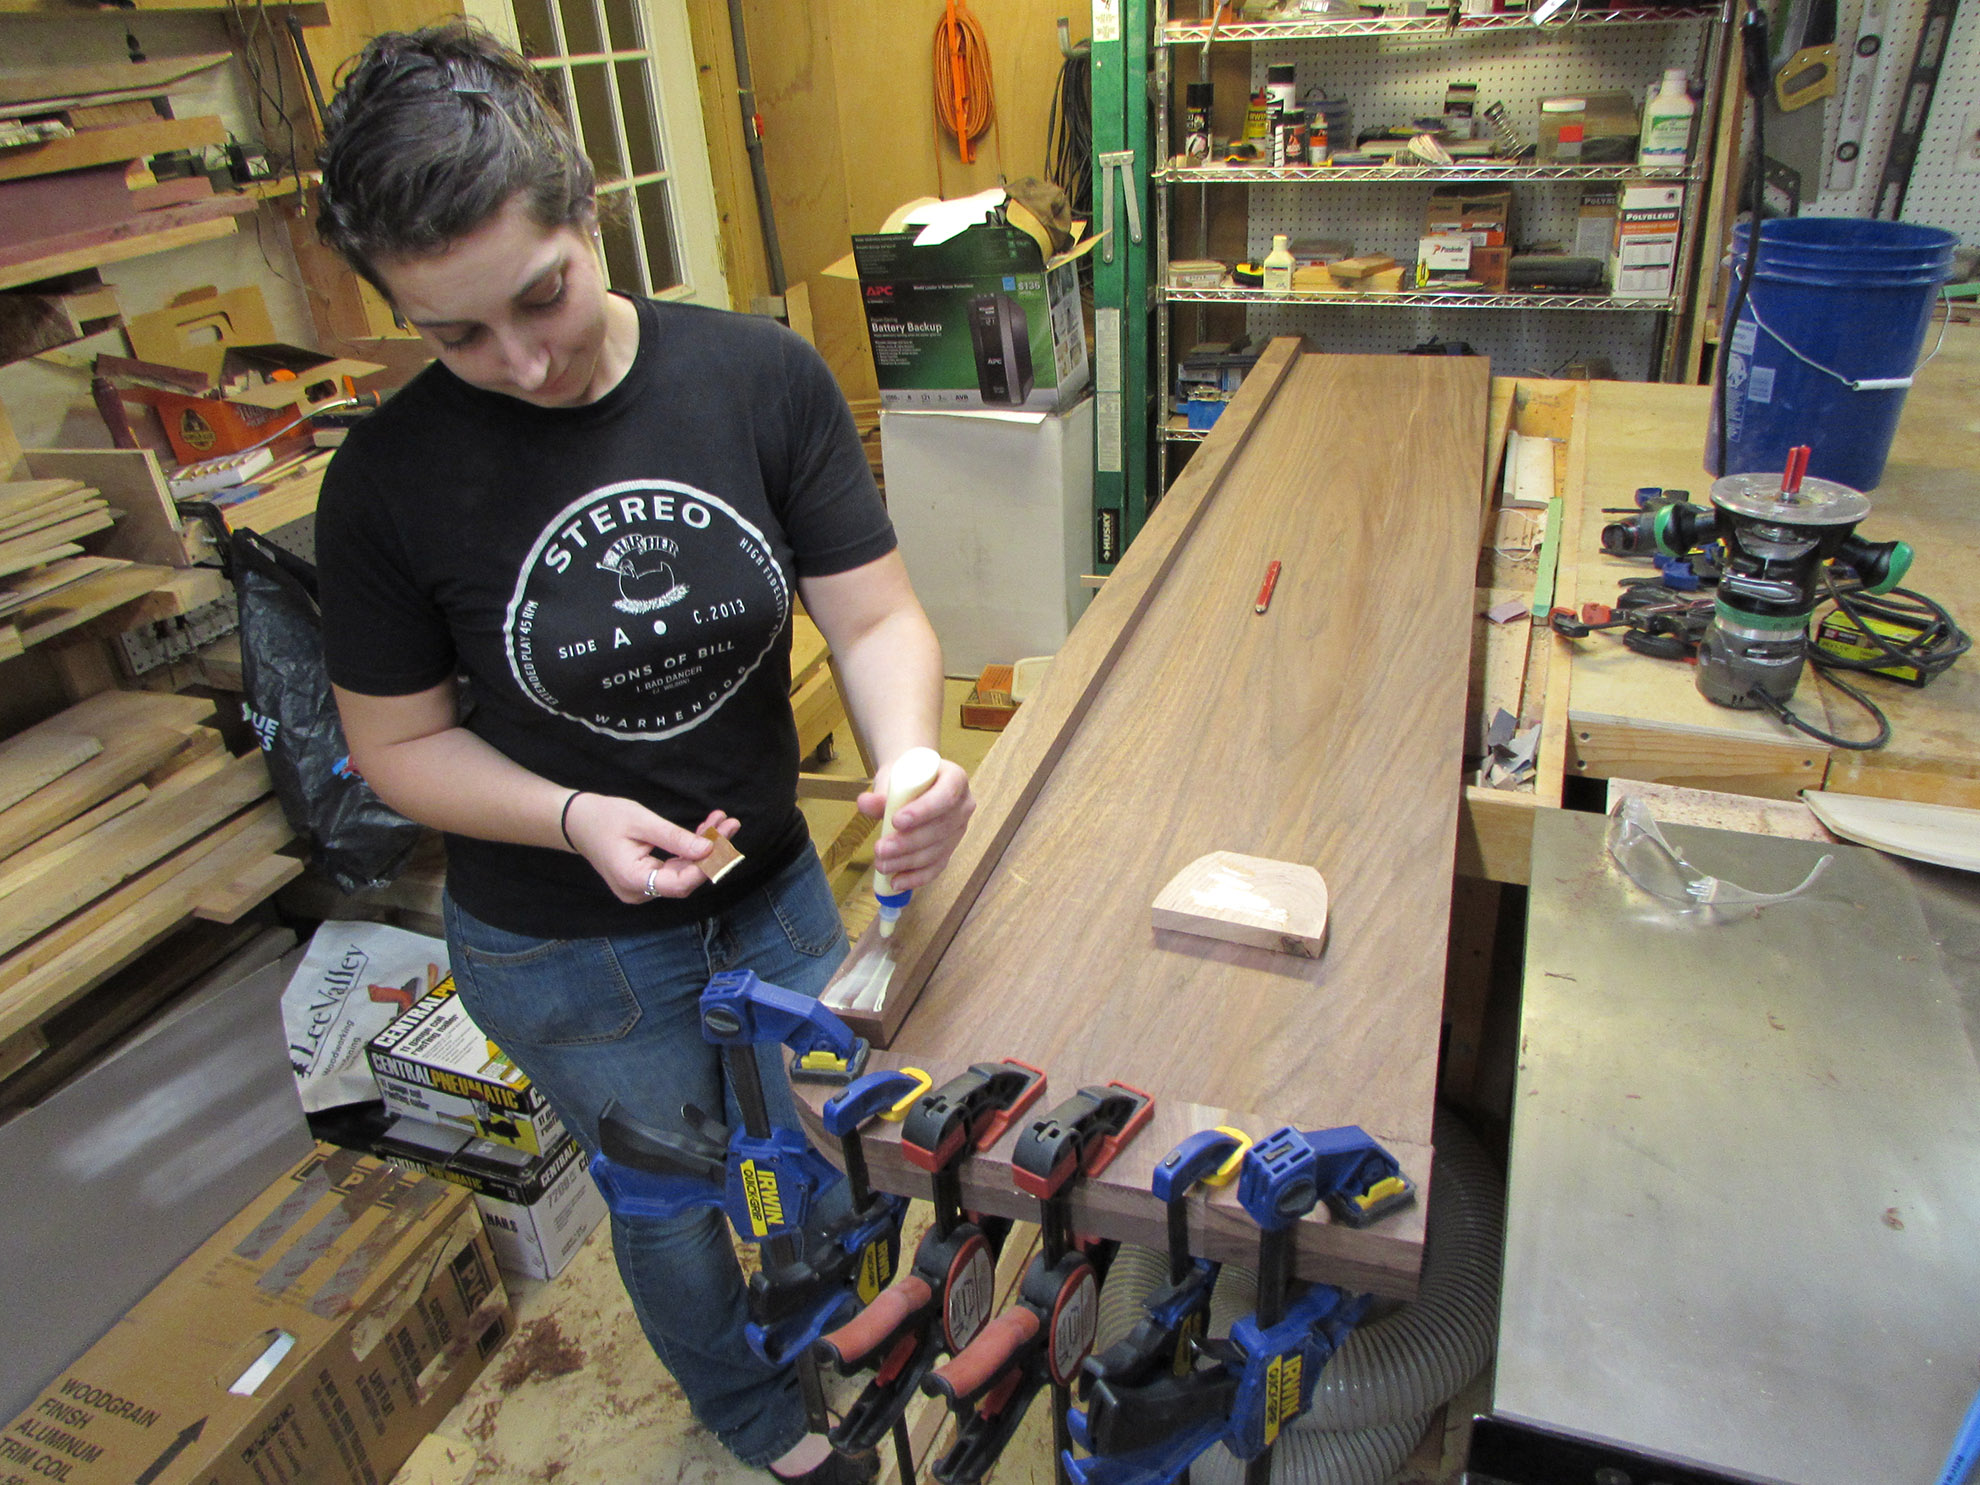
All of these pieces were clamped into place to dry. We made sure that all of the new pieces were hanging at least 1/16″ past the finished edge of the counter top. When Erin comes back we can use the counter top as the template and flush-trim the lower strips to match the top. We do intend to add a return strip on the far end as well, but I ran out of clamps… Once this dries, I will probably add the third strip so it will be ready when Erin comes back, later this week.

