
Kid-Sized Guitar
I have been helping my friend, Hans, to build a guitar for his daughter. He wanted to be very involved with the work, so it took a few months, between both of our schedules. I decided to wait until the guitar was complete to put up the post, so here it is:
Hans is a guitar player, as well as an engineer. He was very hands-on with the design. After several design changes, Hans came up with a design, that he felt, would fit his daughter perfectly. I translated his design into something that I could cut with my CNC. Here is a PDF of the vector information that I imported into my Carvewright software: 85-strat-cnc.PDF
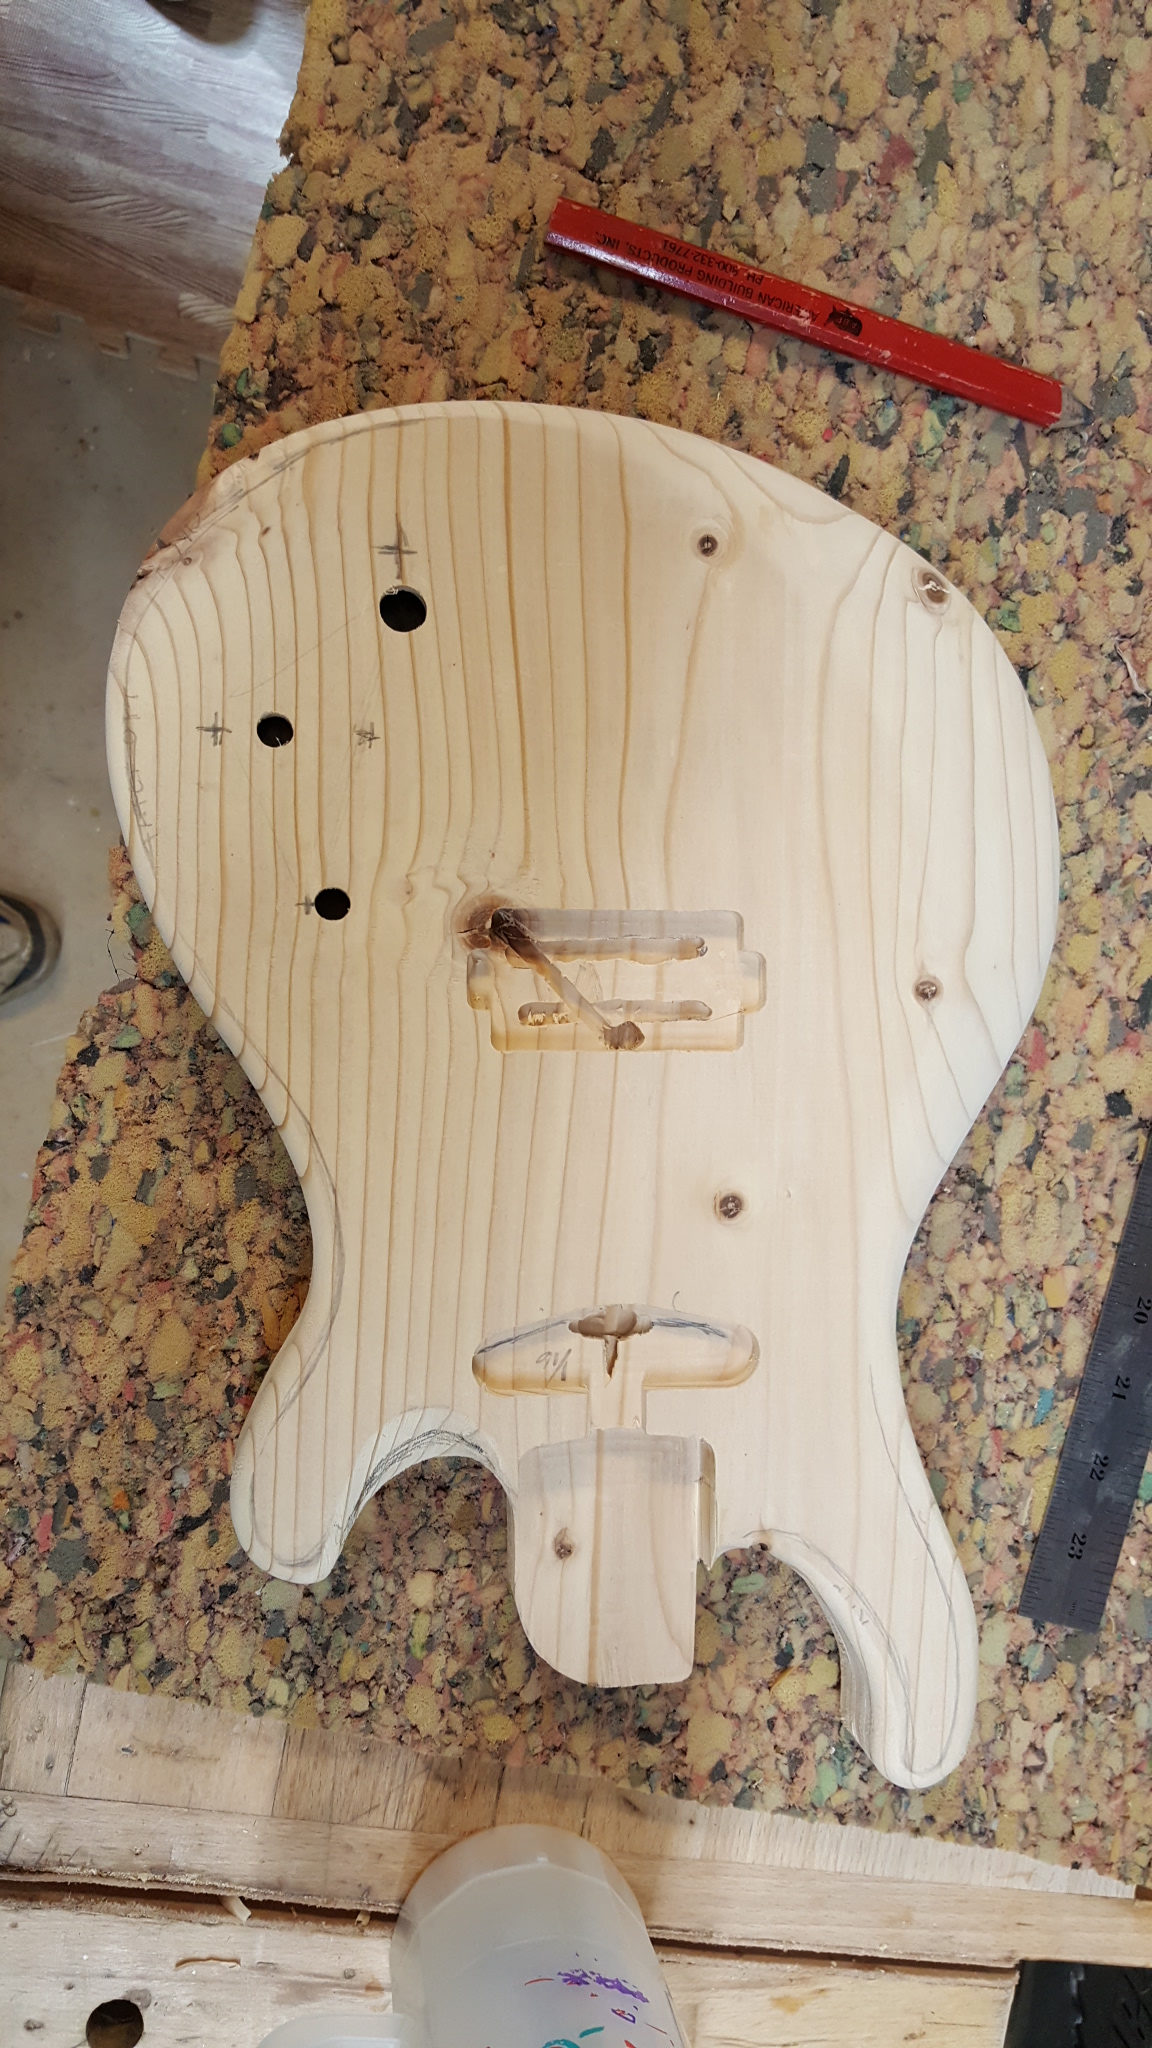
Hans wanted a prototype so that we could sculpt the body for comfort and make any physical changes required. I started with a piece of an old pine 2″x12″, that I had lying around. After a few hours in the CNC, here is what we wound up with.


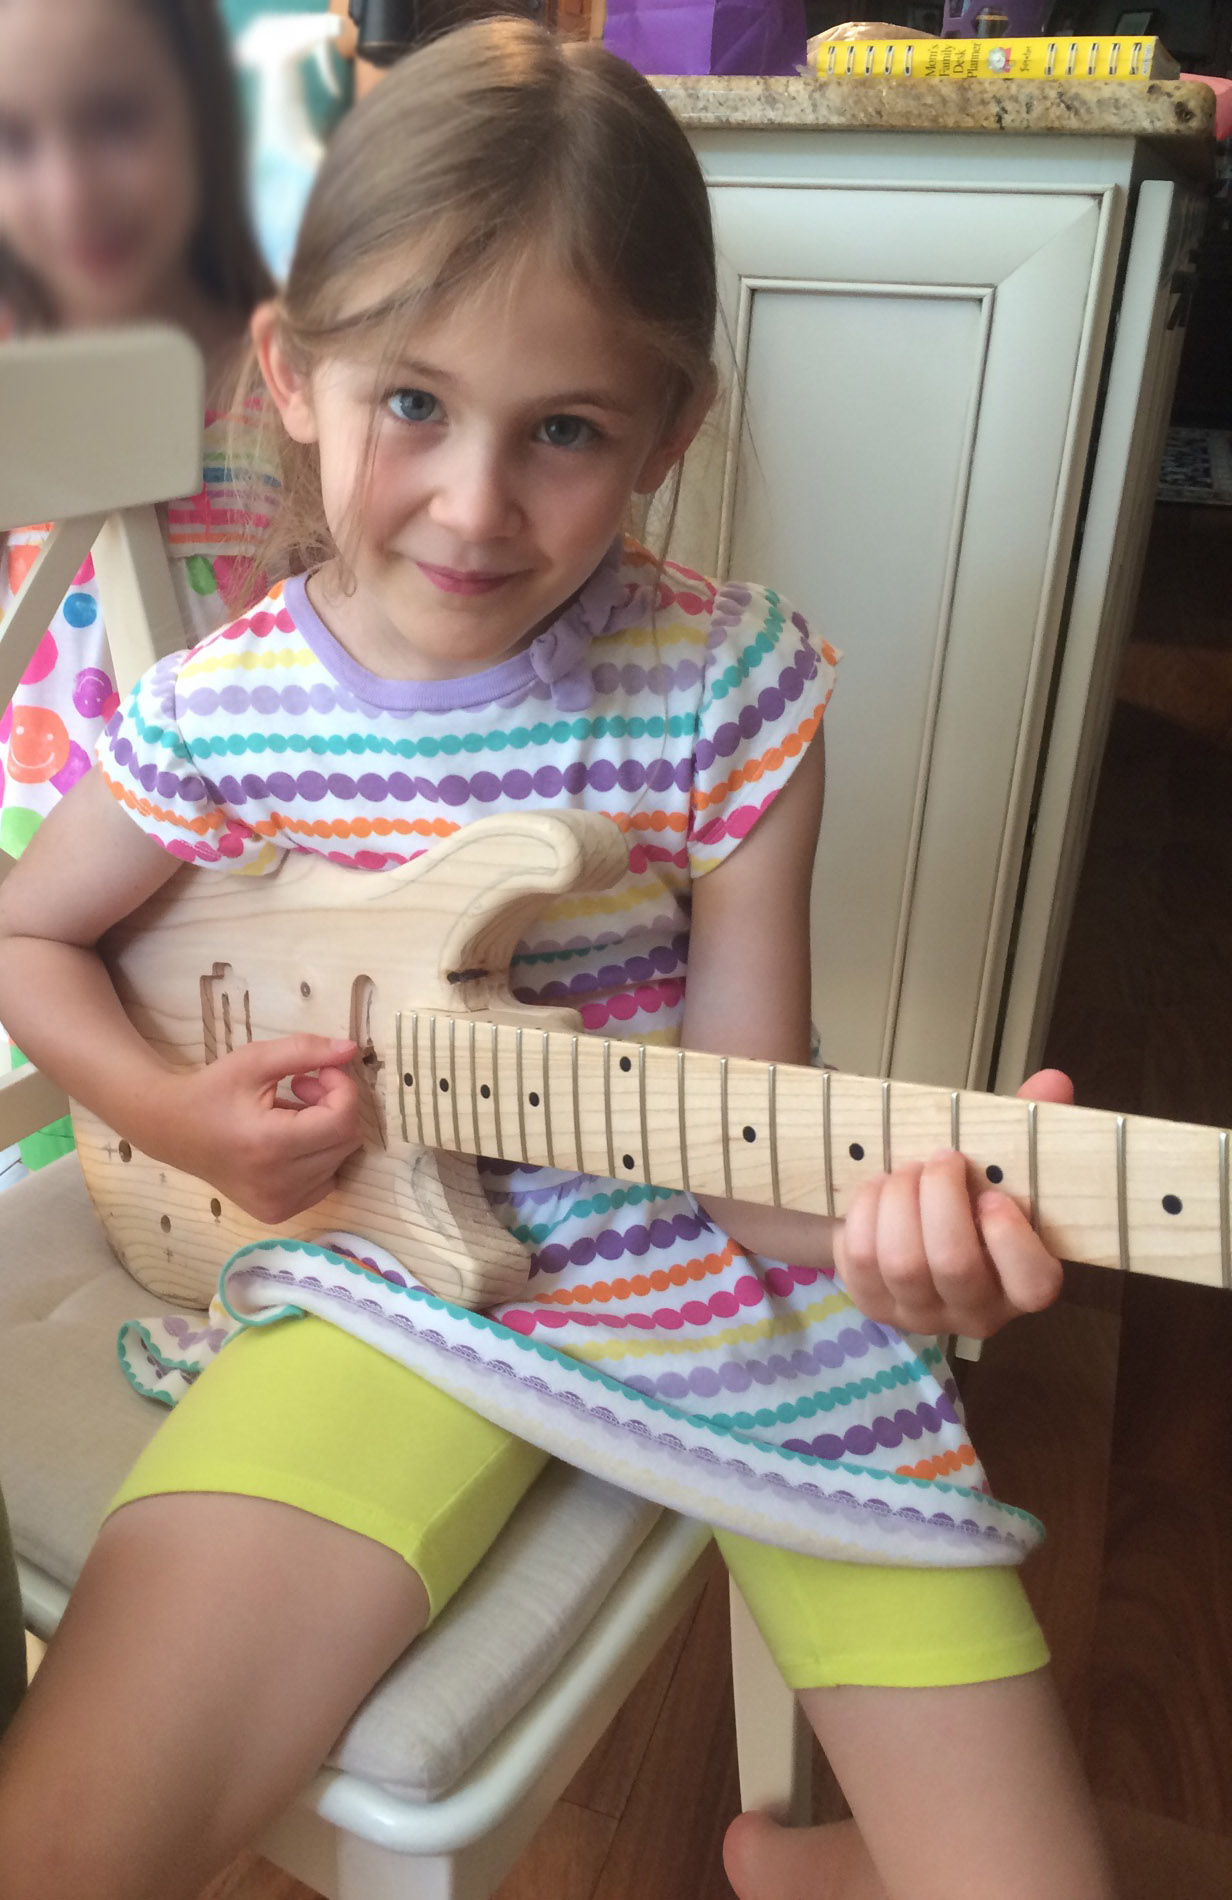
We did a little body sculpting, then fit on the neck.
A few tweaks needed to be made, but after that, it was a really good fit.
The original plan was to make the guitar out of a nice piece of mahogany, that Hans picked up, but his daughter decided that she wanted it to be painted green. After that was known, we opted to go with a less expensive option…

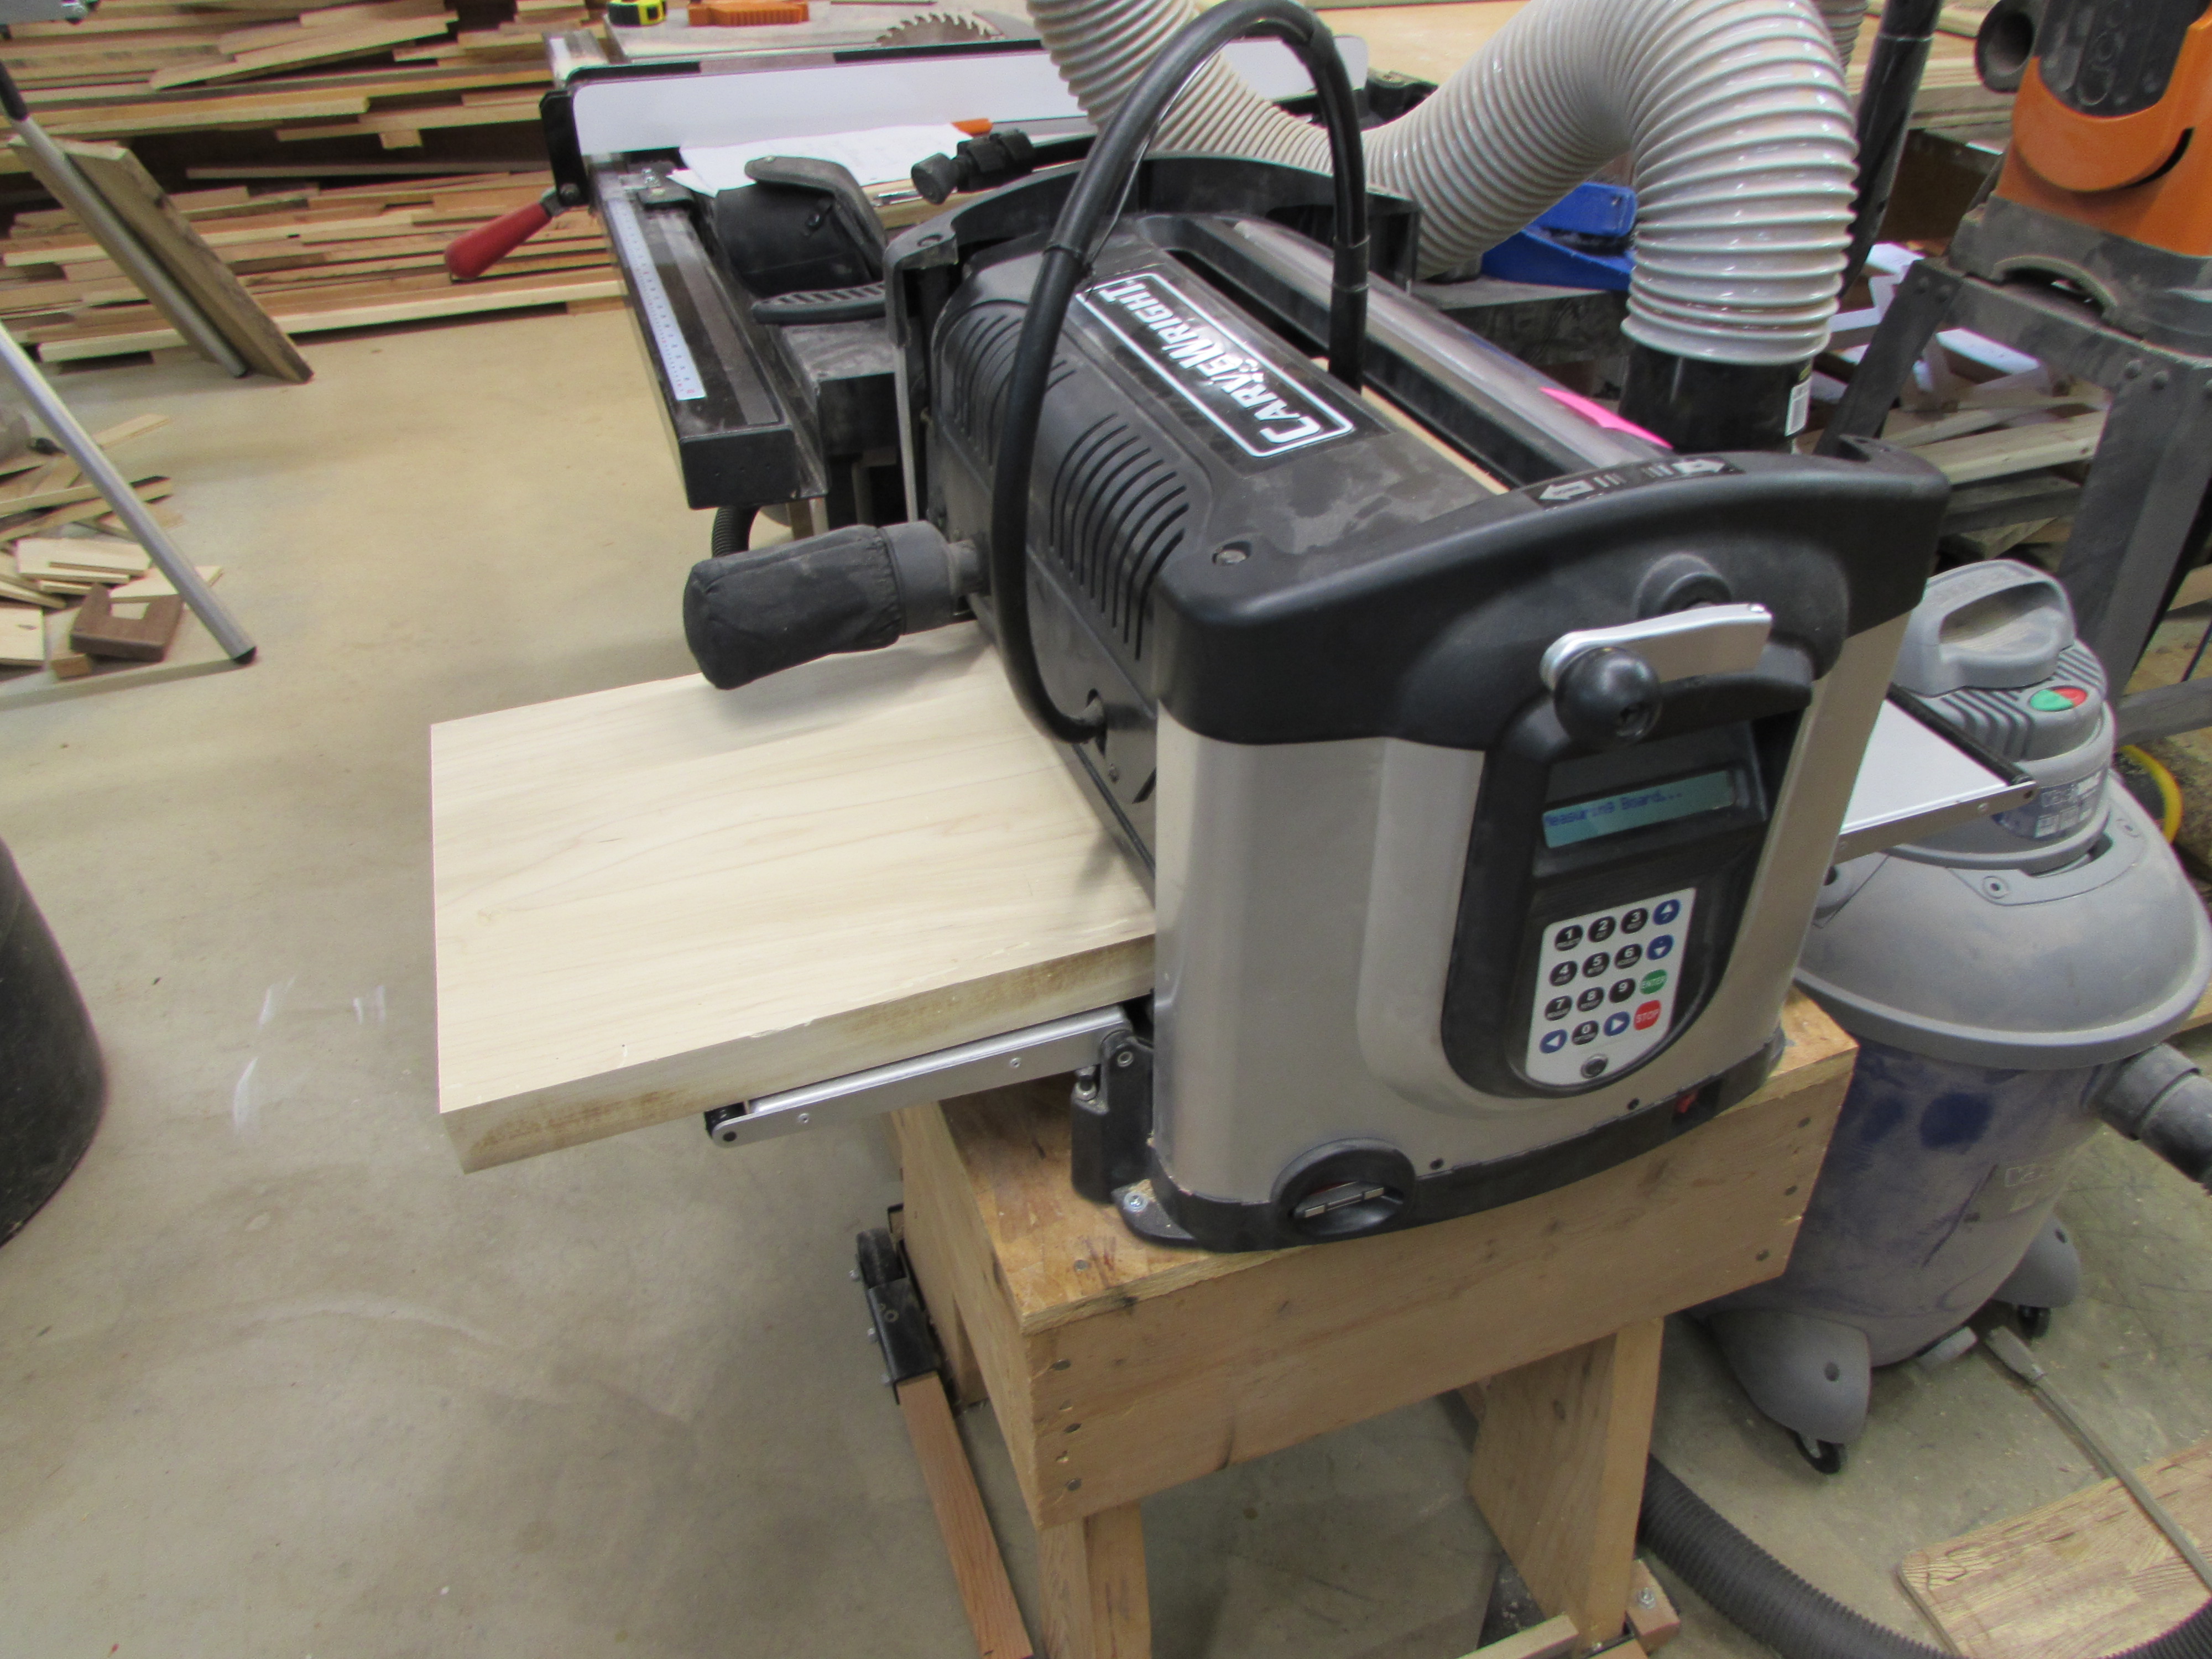
I picked up a piece of 1-1/2″ thick poplar, cut it down to size, and loaded it into the CNC.
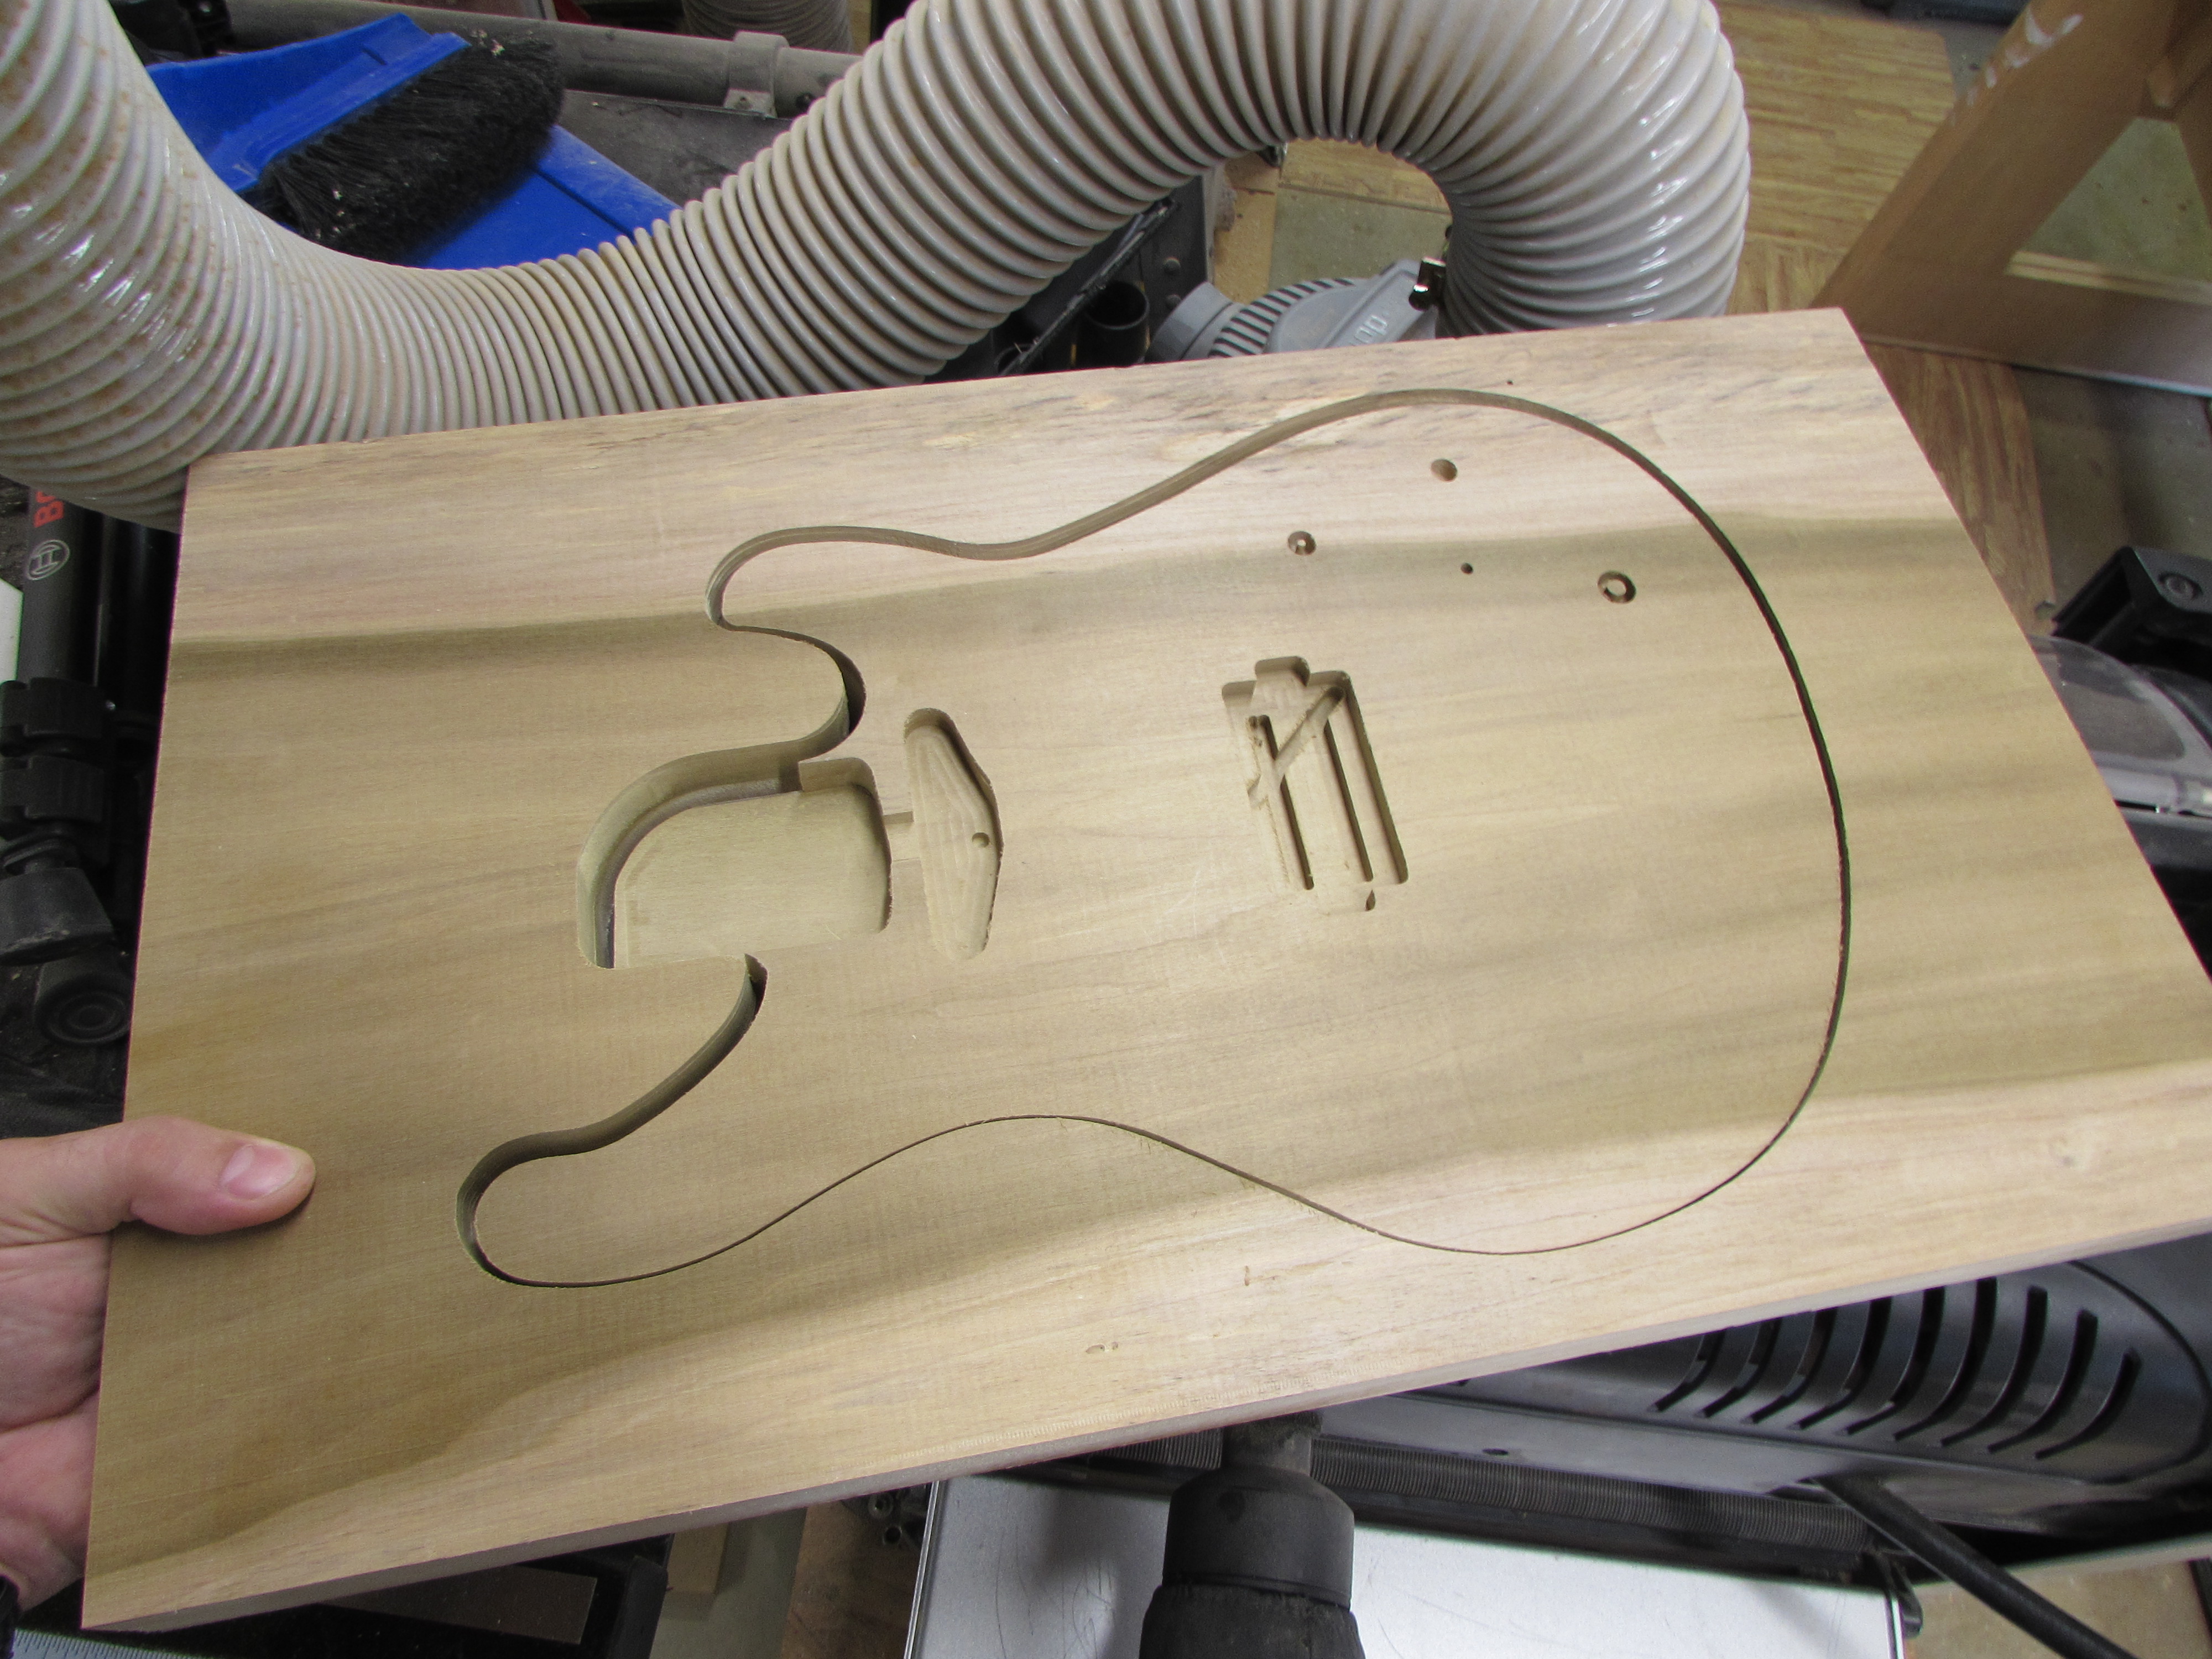
When the carve was complete, I cleaned up the edges on the spindle sander.

Setting the body aside, I re-sawed a smaller piece of poplar down for the control plate.
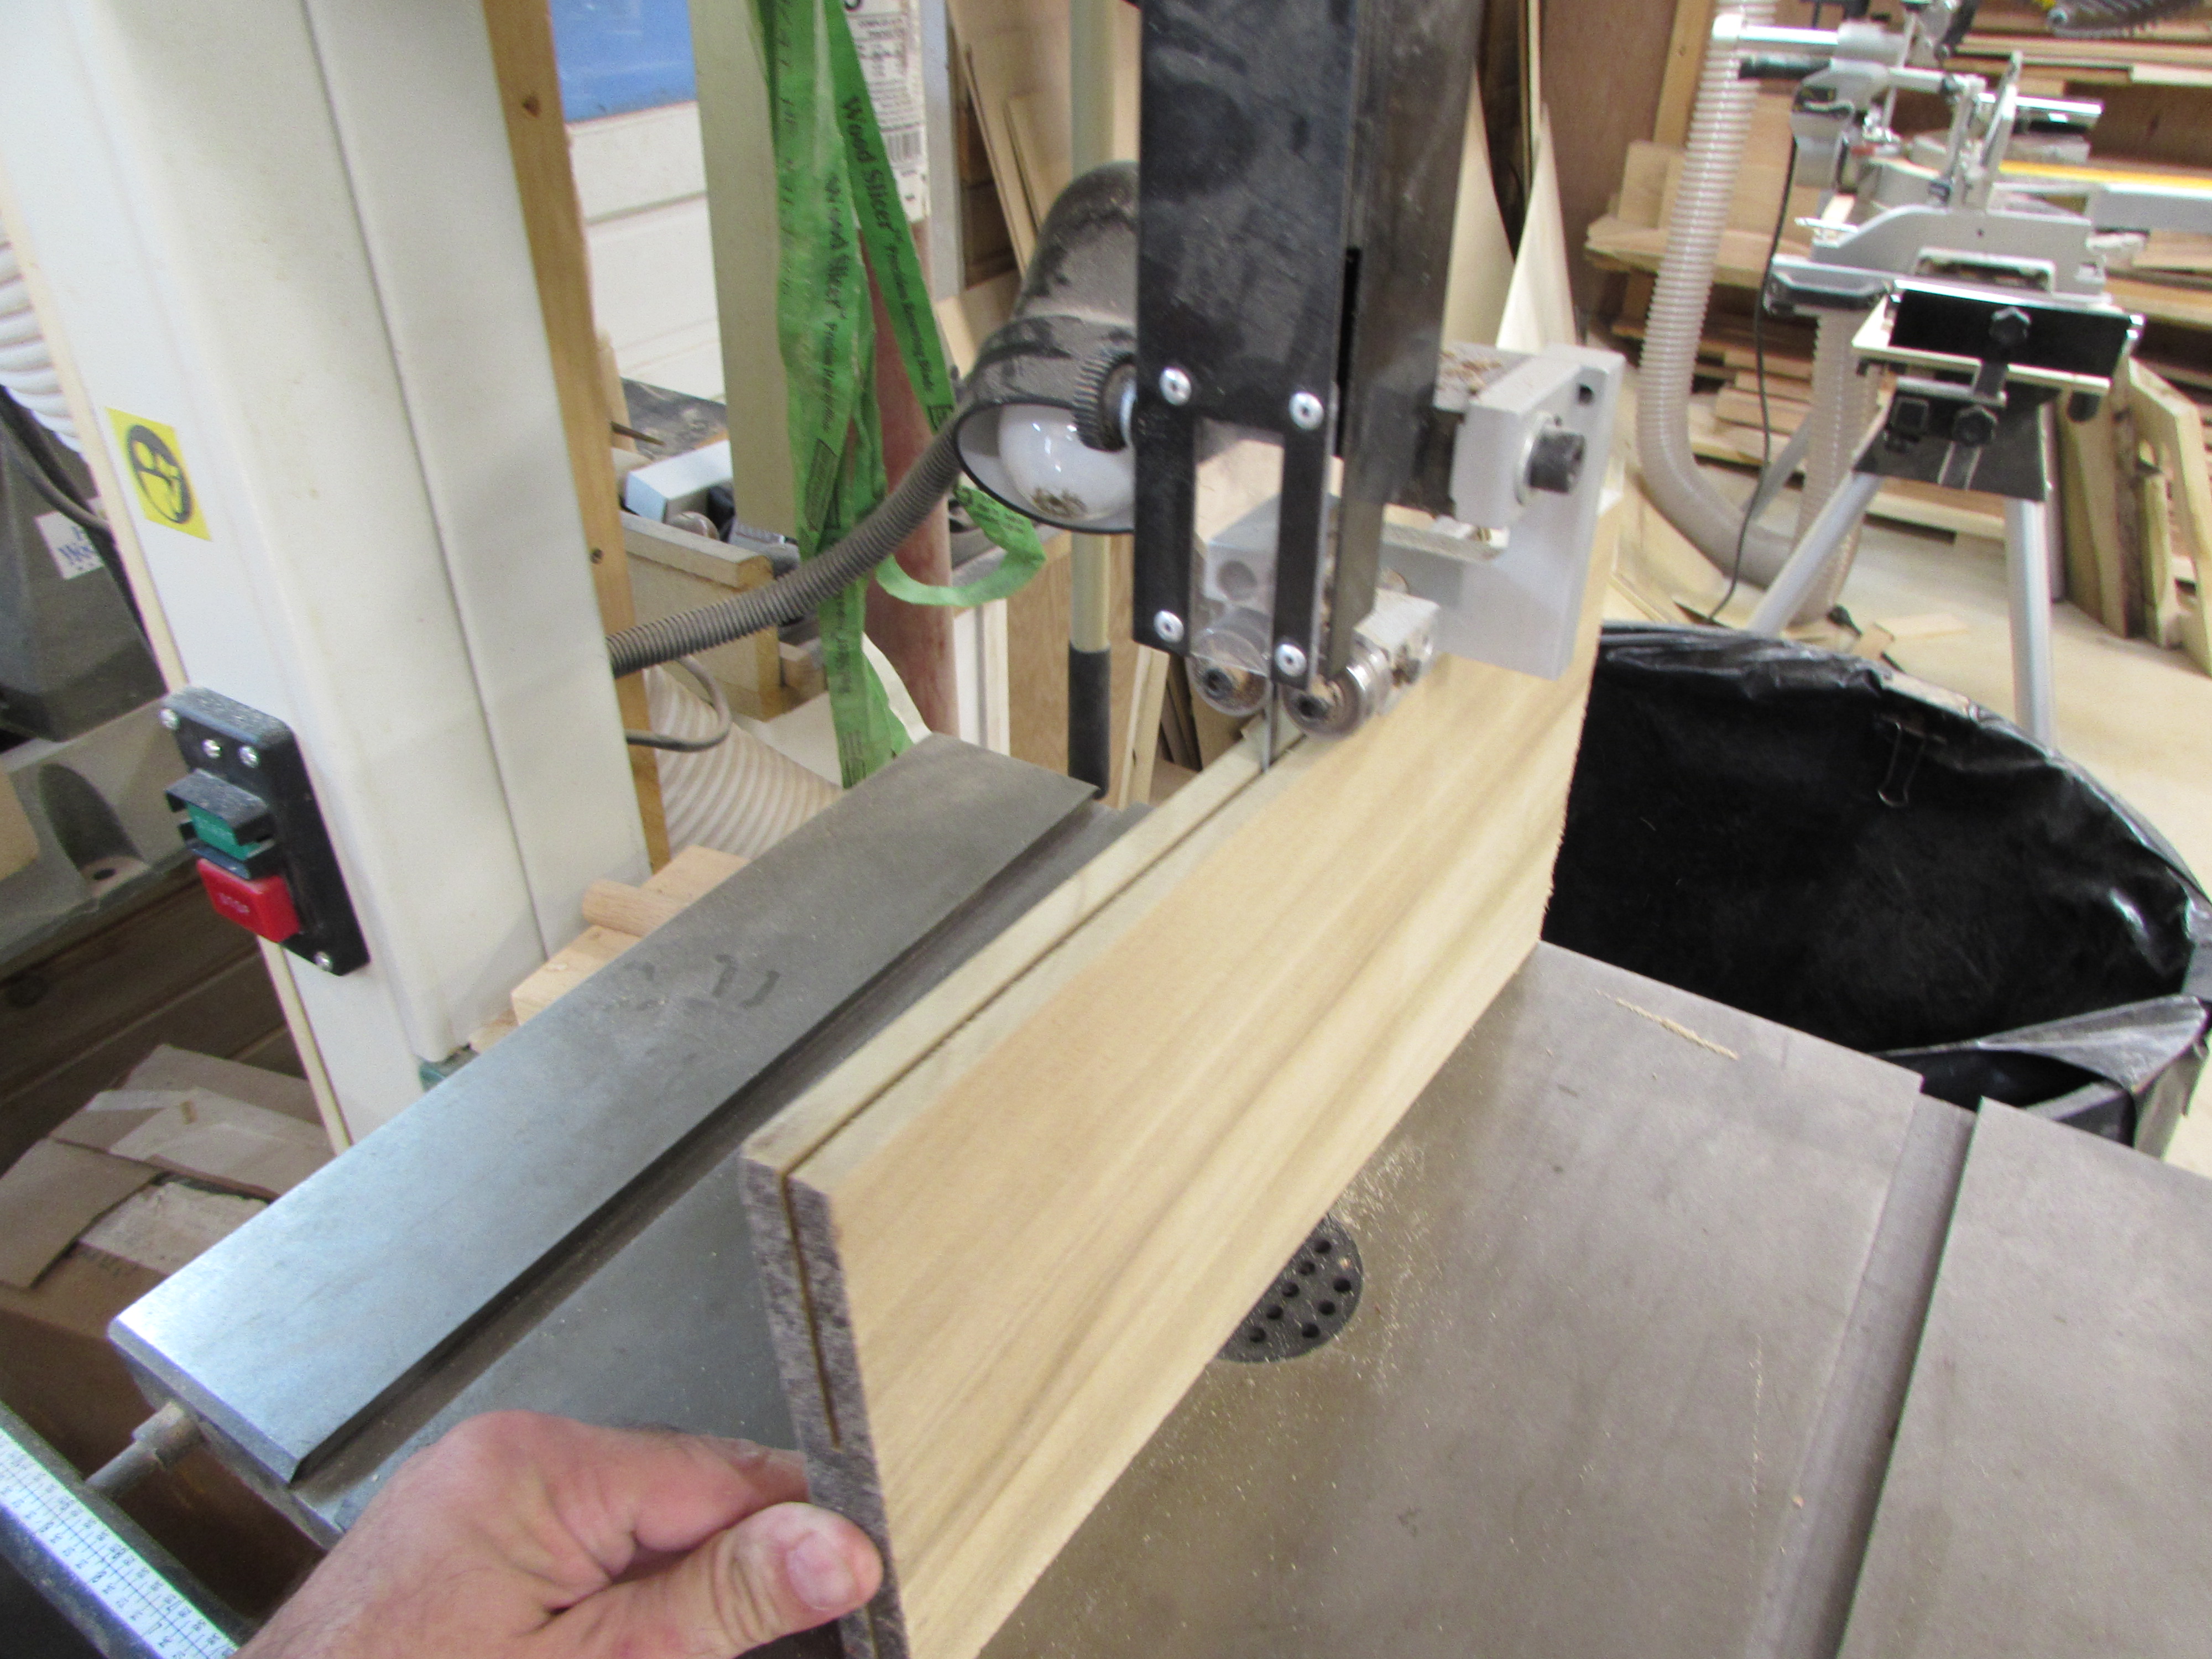
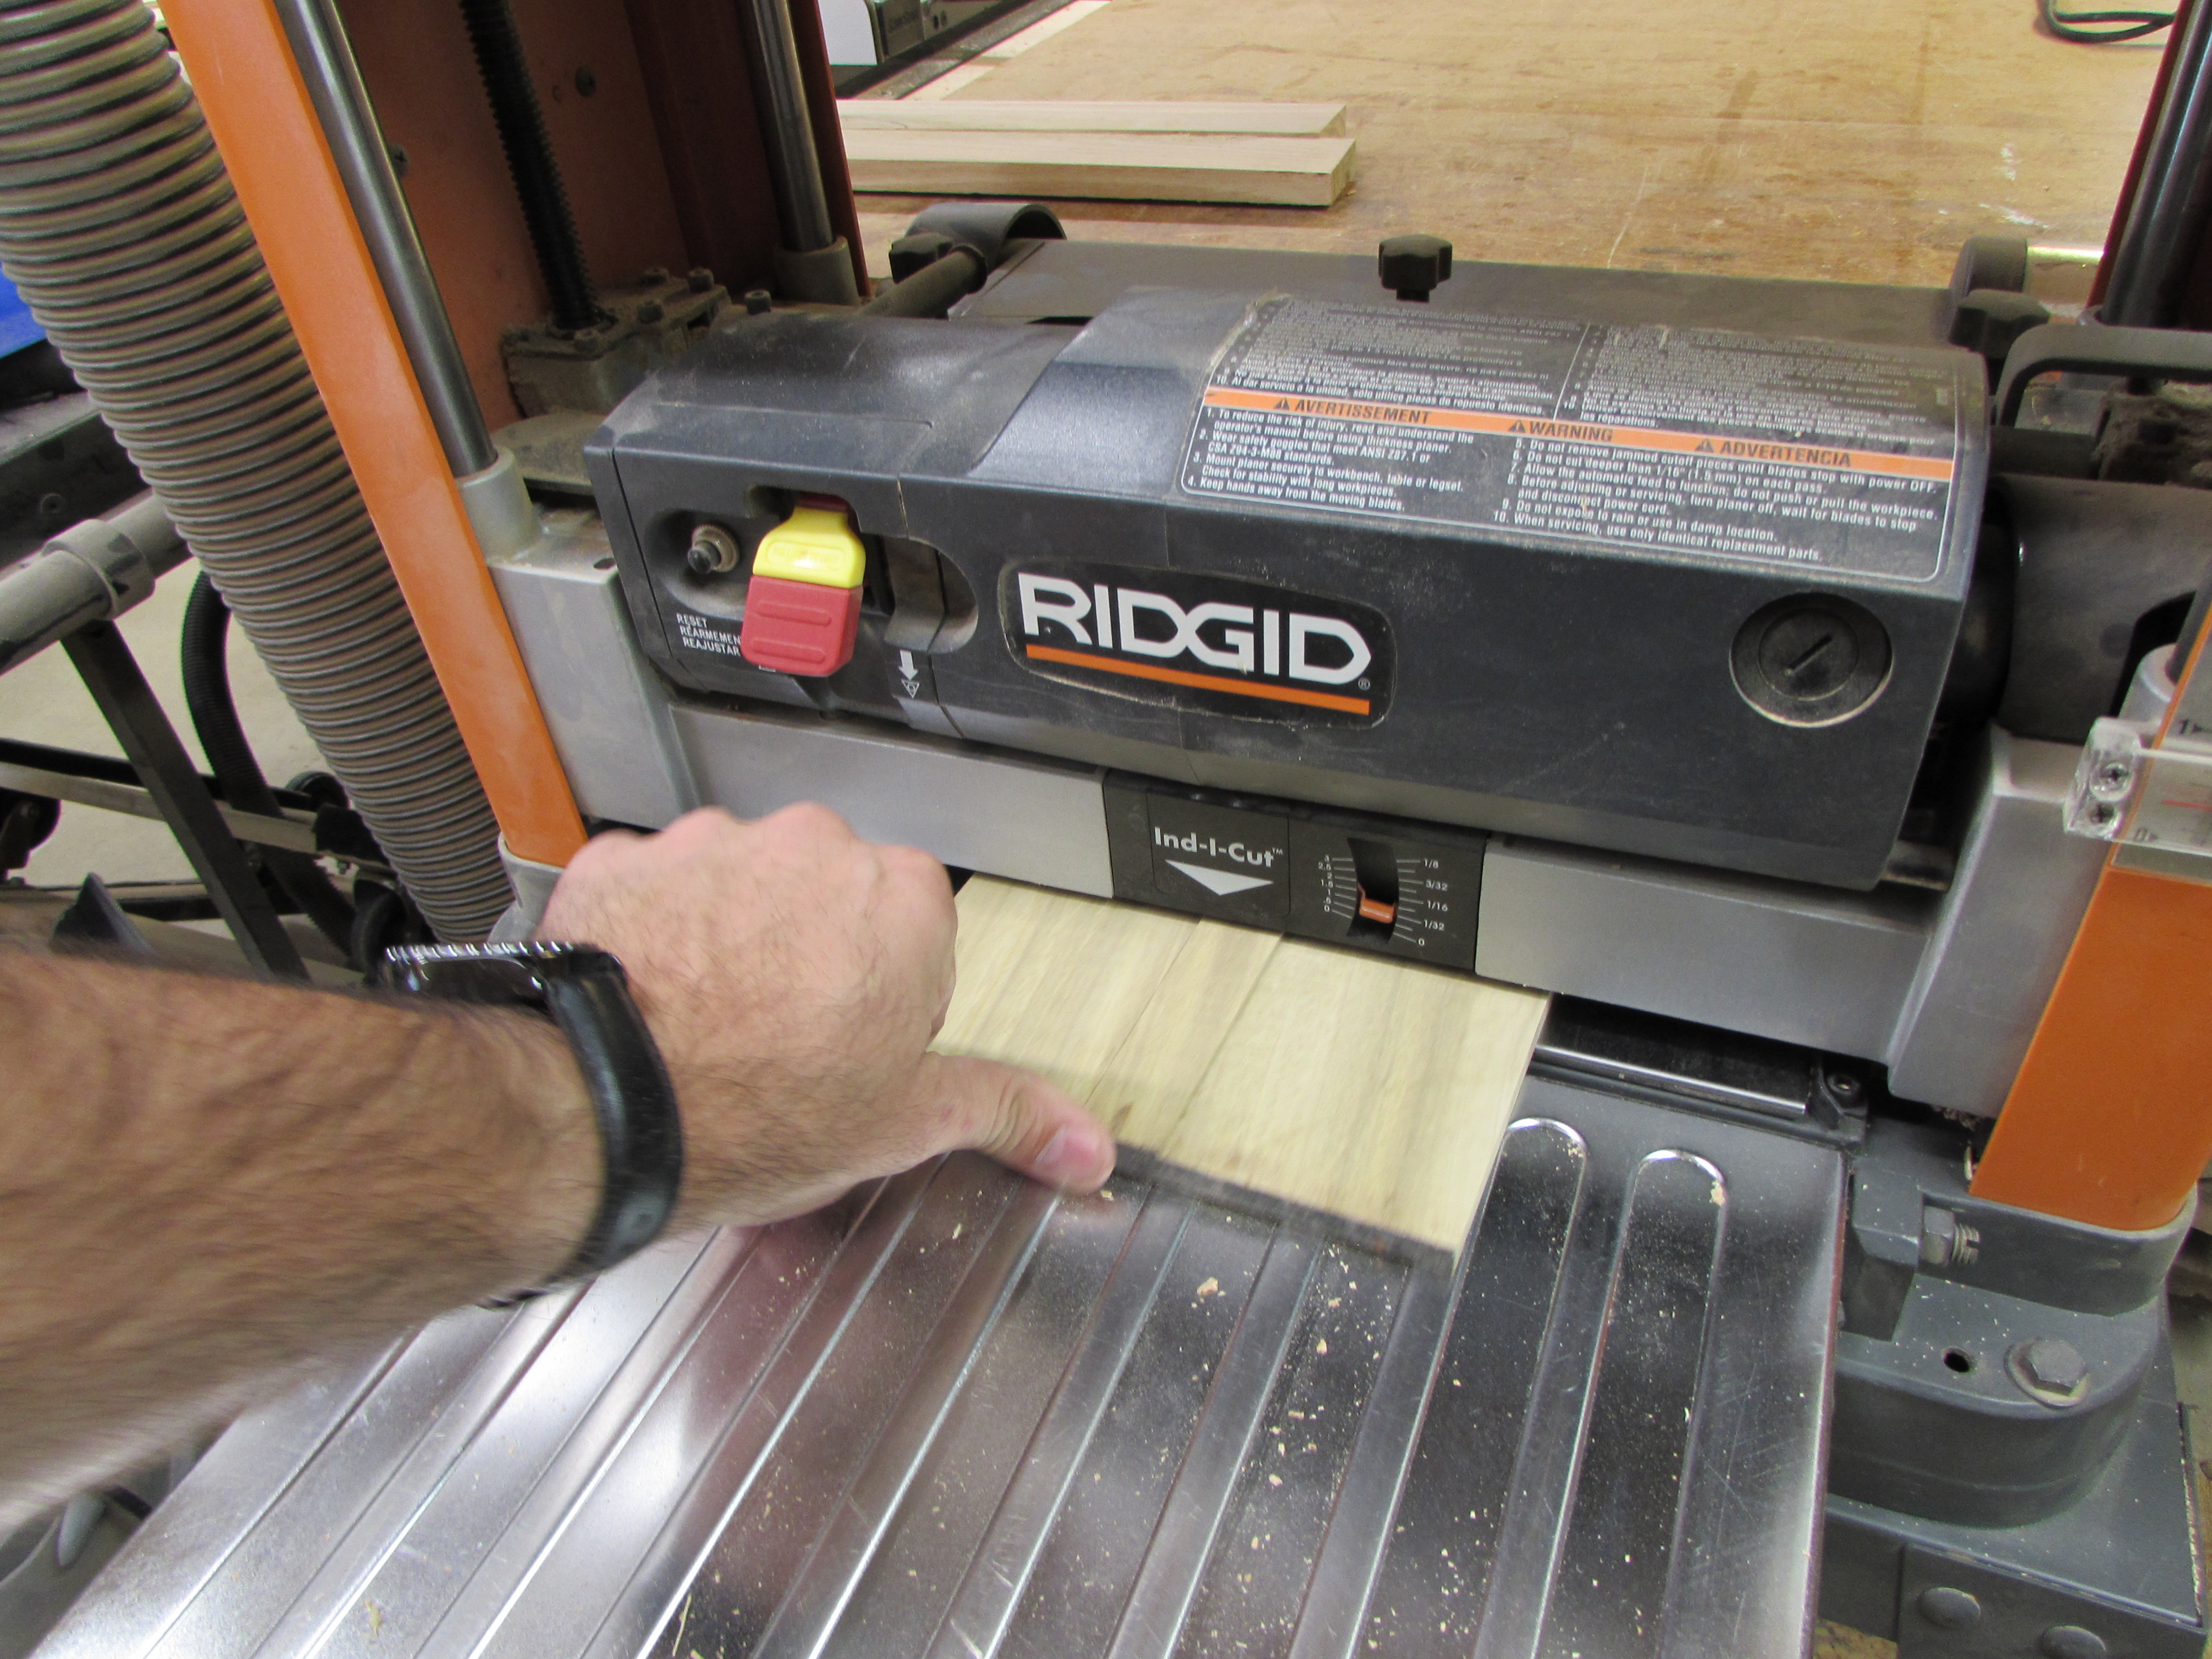
After re-sawing, I planed it down to 1/4″ thick.


I need it to be at least 3/4″ thick to run through the CNC, so I used a little double-sided tape to attach it to a plywood backer.
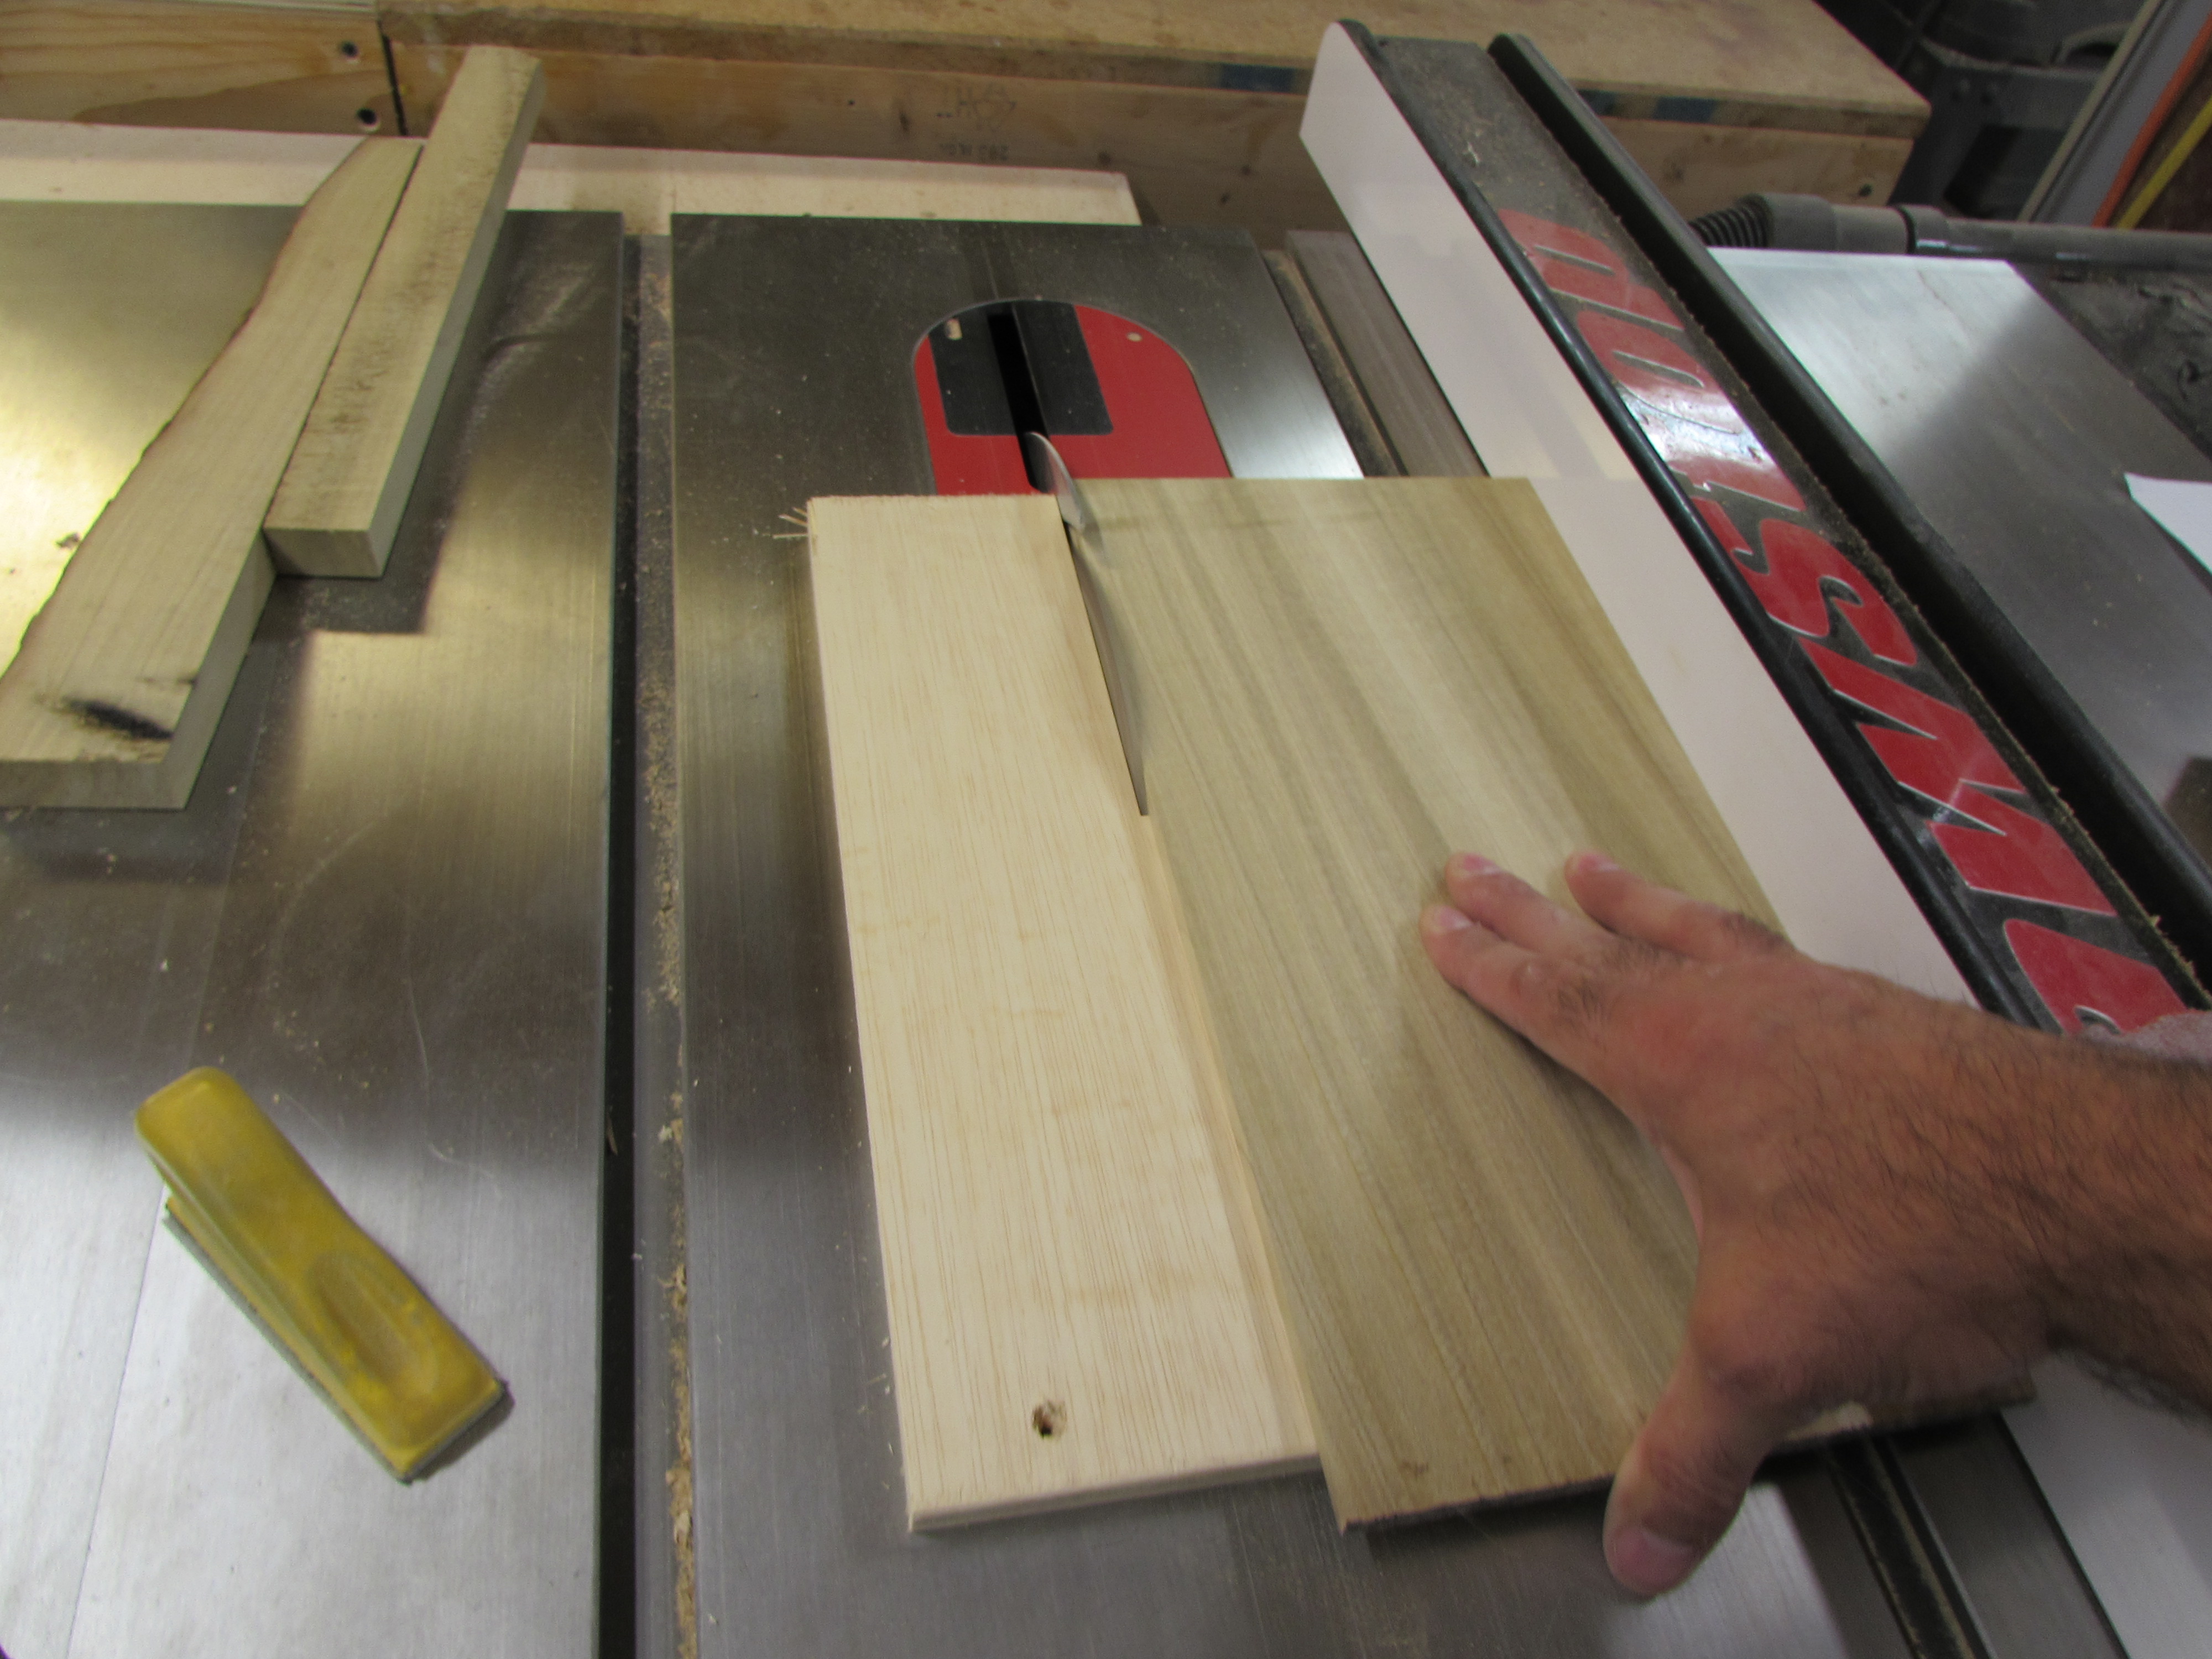
Once attached, I cut it down to size and fed it into the CNC. I chose to repeat the fastening method I used on my older son’s Reverse Firebird guitar. I tapered one end, then drilled holes to mount small magnets. Simply pressing down on the tapered end will lever the plate away from the body, breaking the pull of the magnets. It is a simple design, but it works very well.
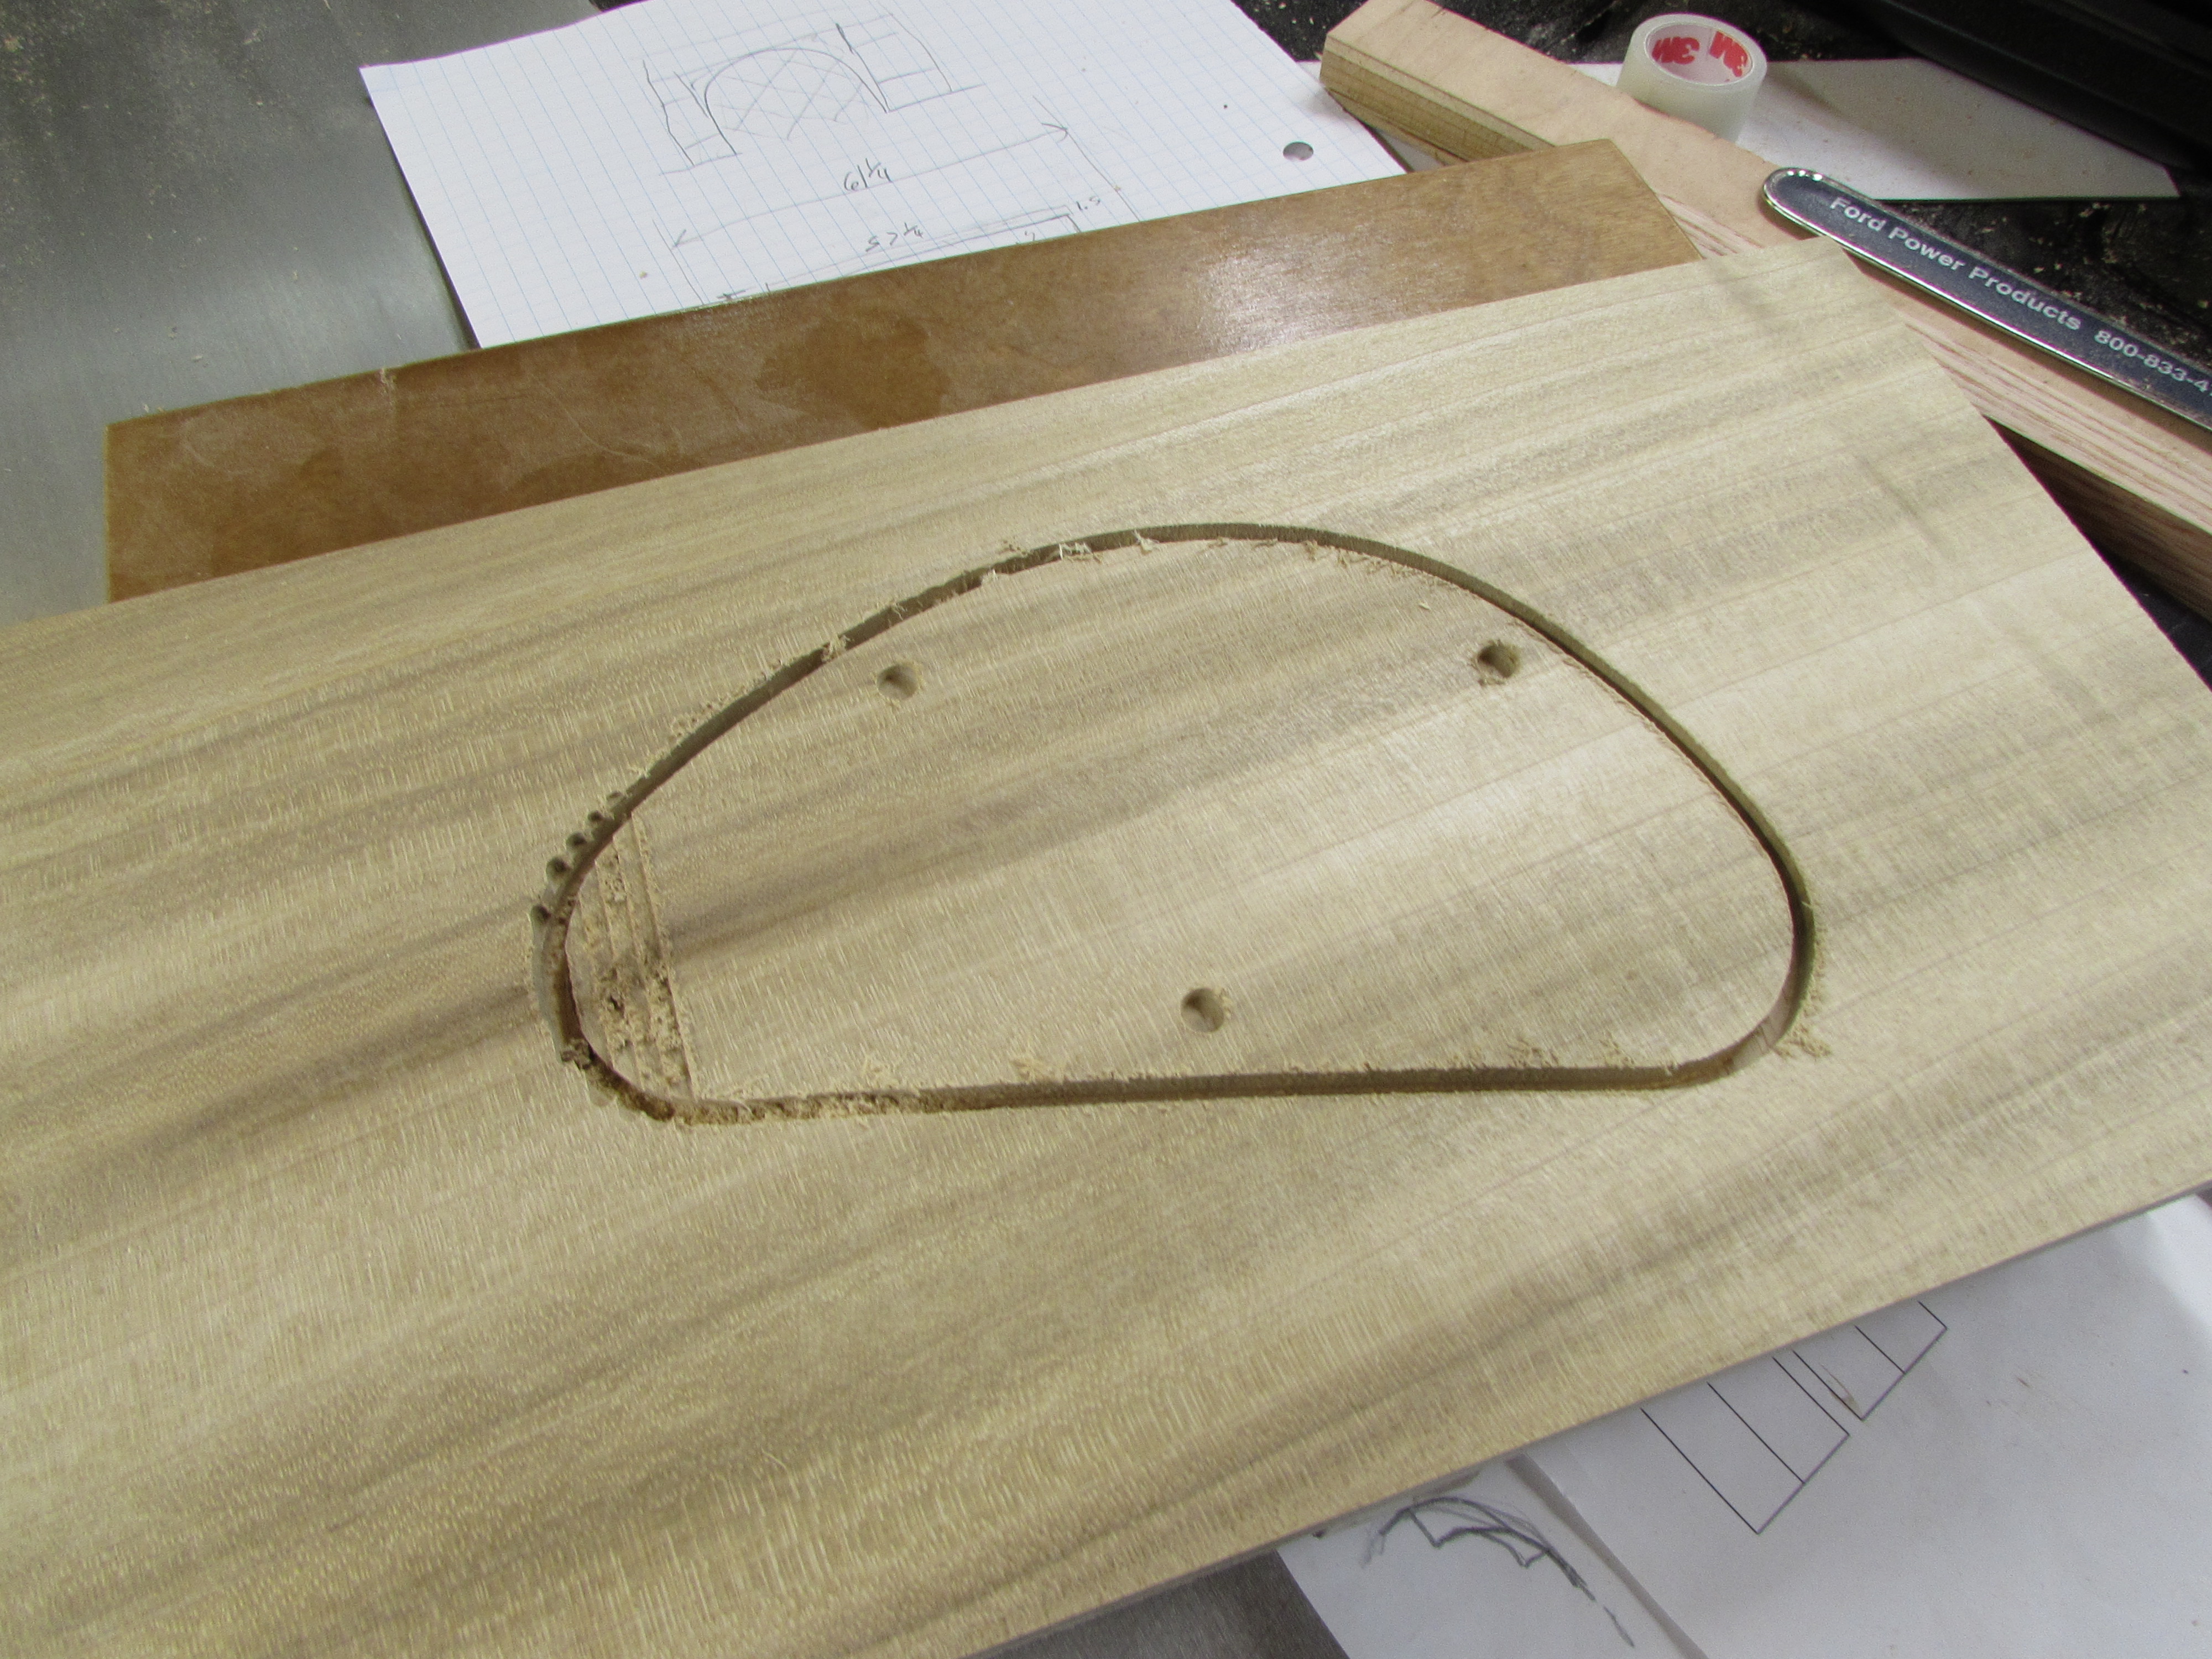

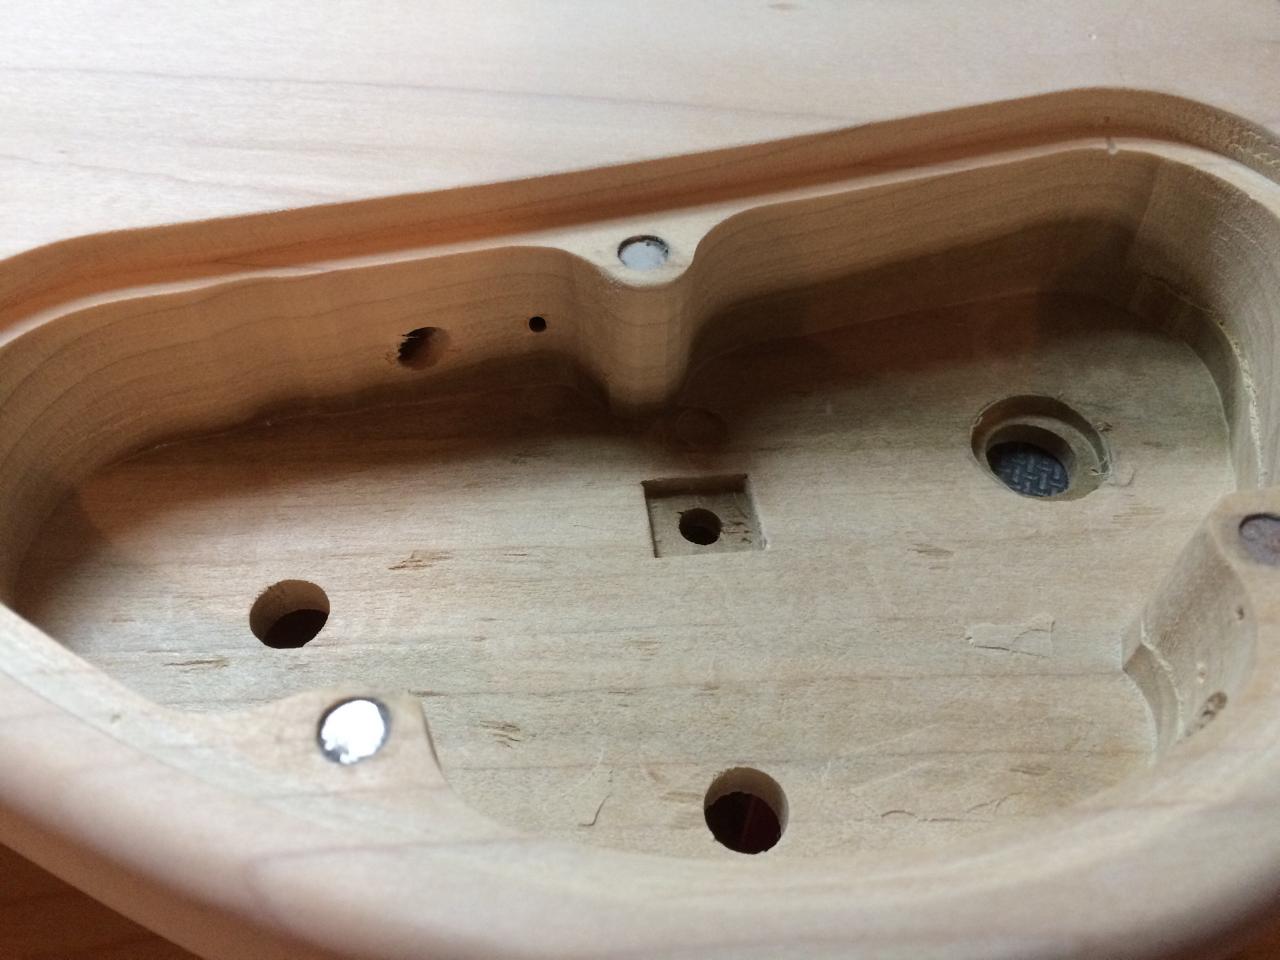
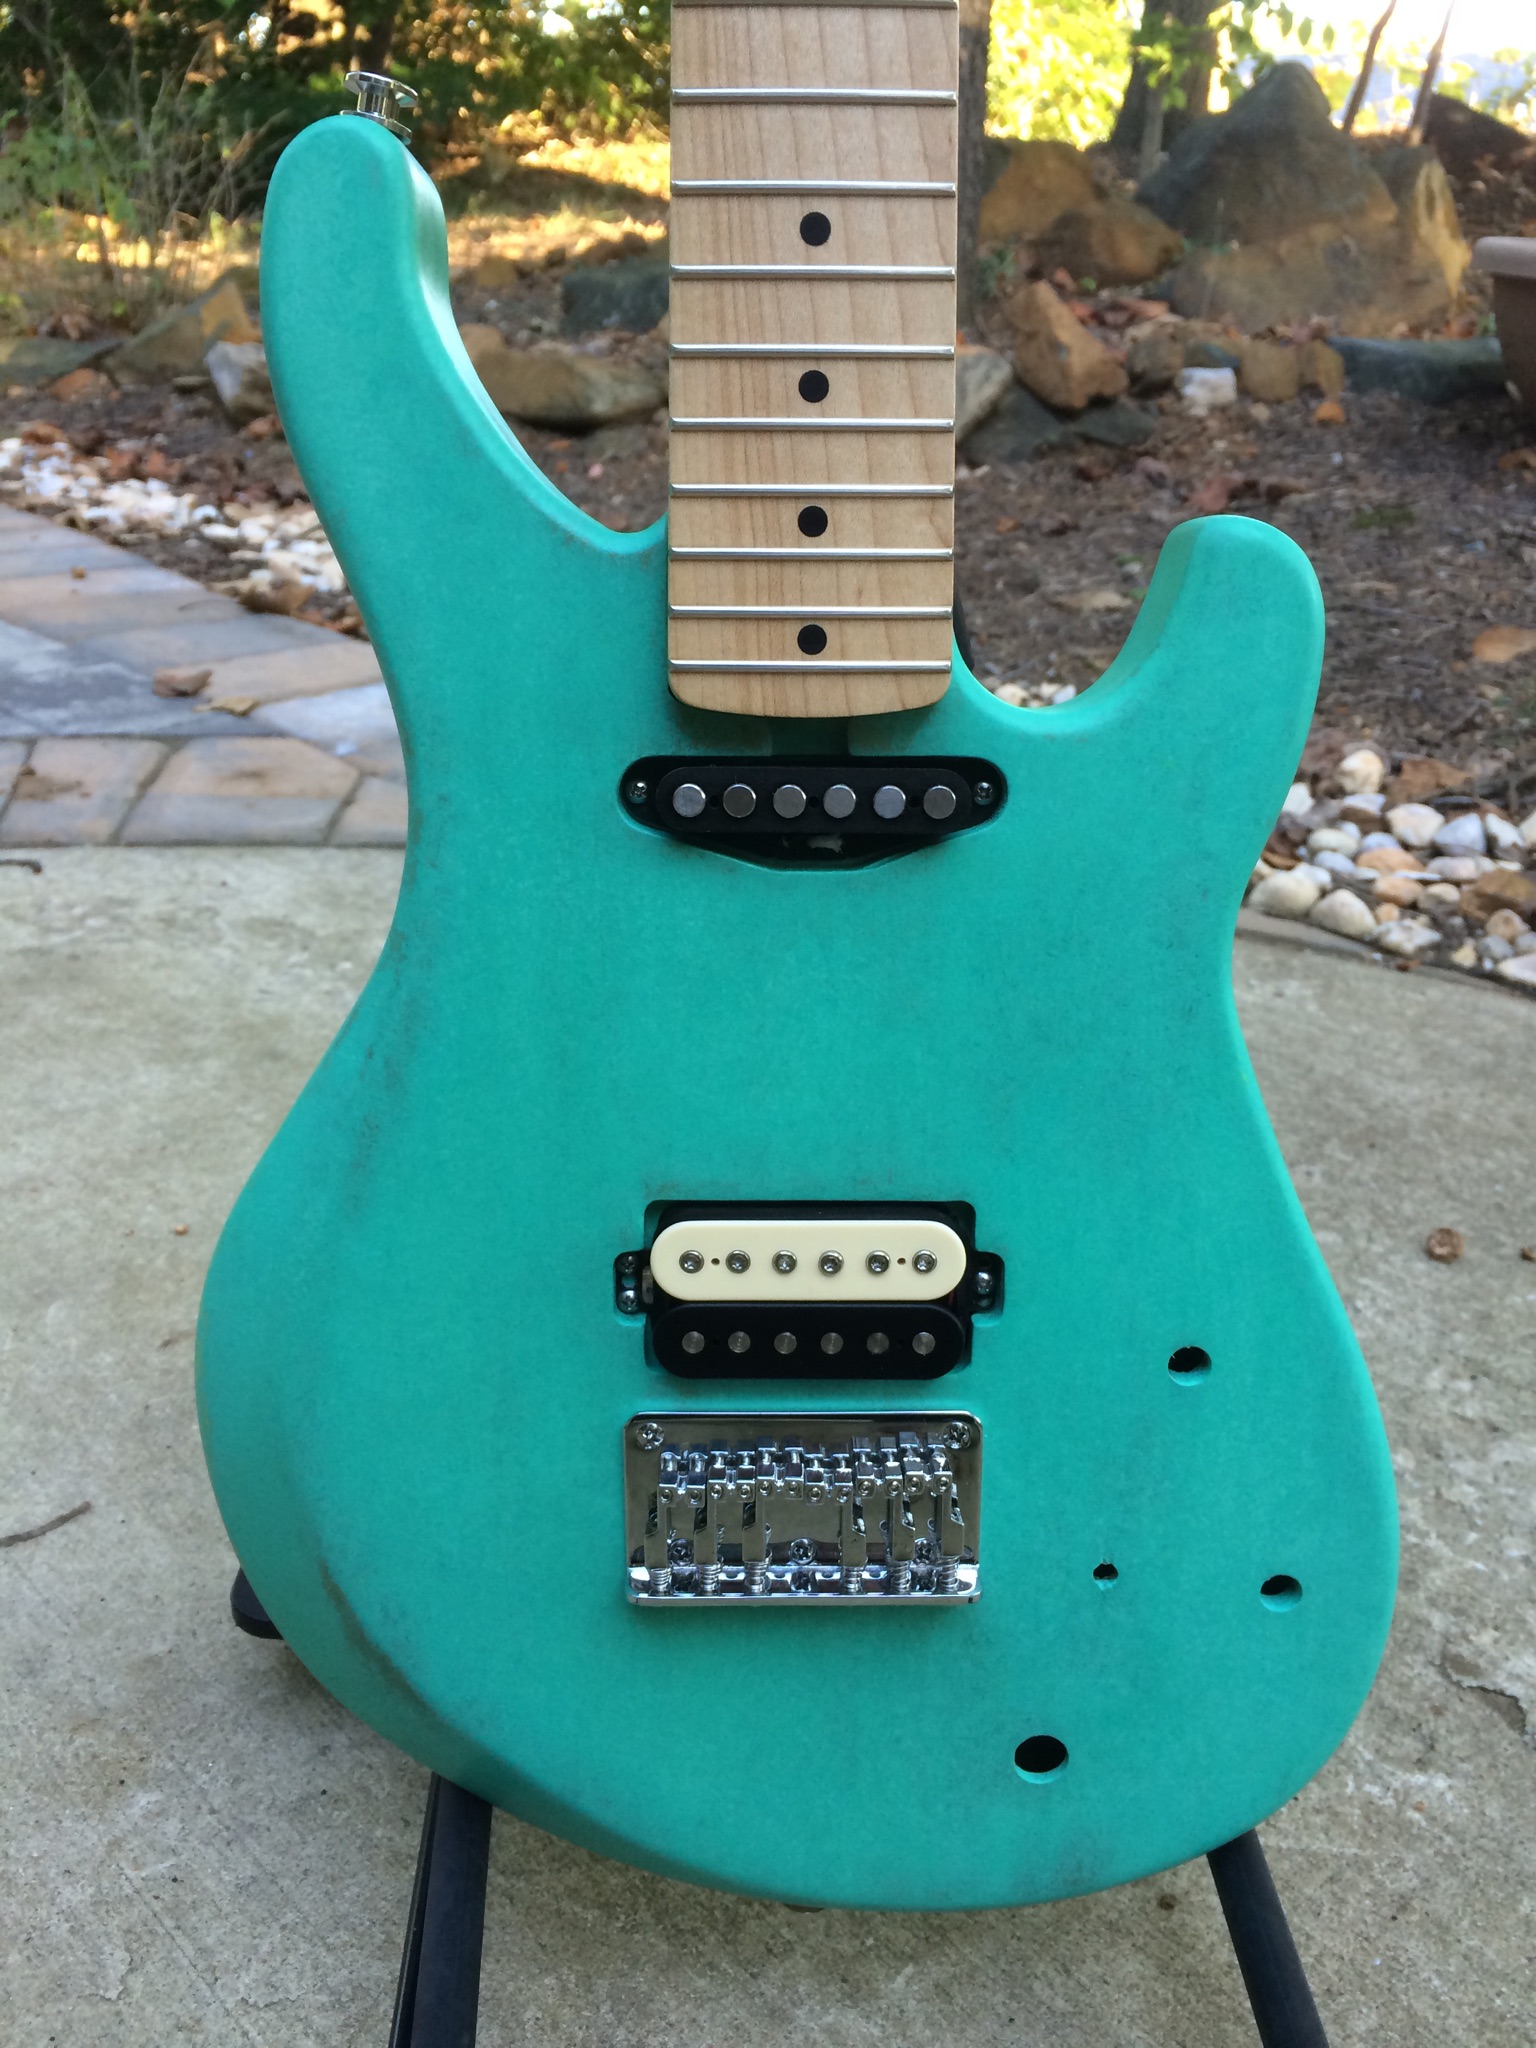
Since we started with a prototype, I was able to program accurate routing channels for our pickups, leaving only a couple of holes left to be drilled.

A test fit of the pickups showed that all of the routing was good.


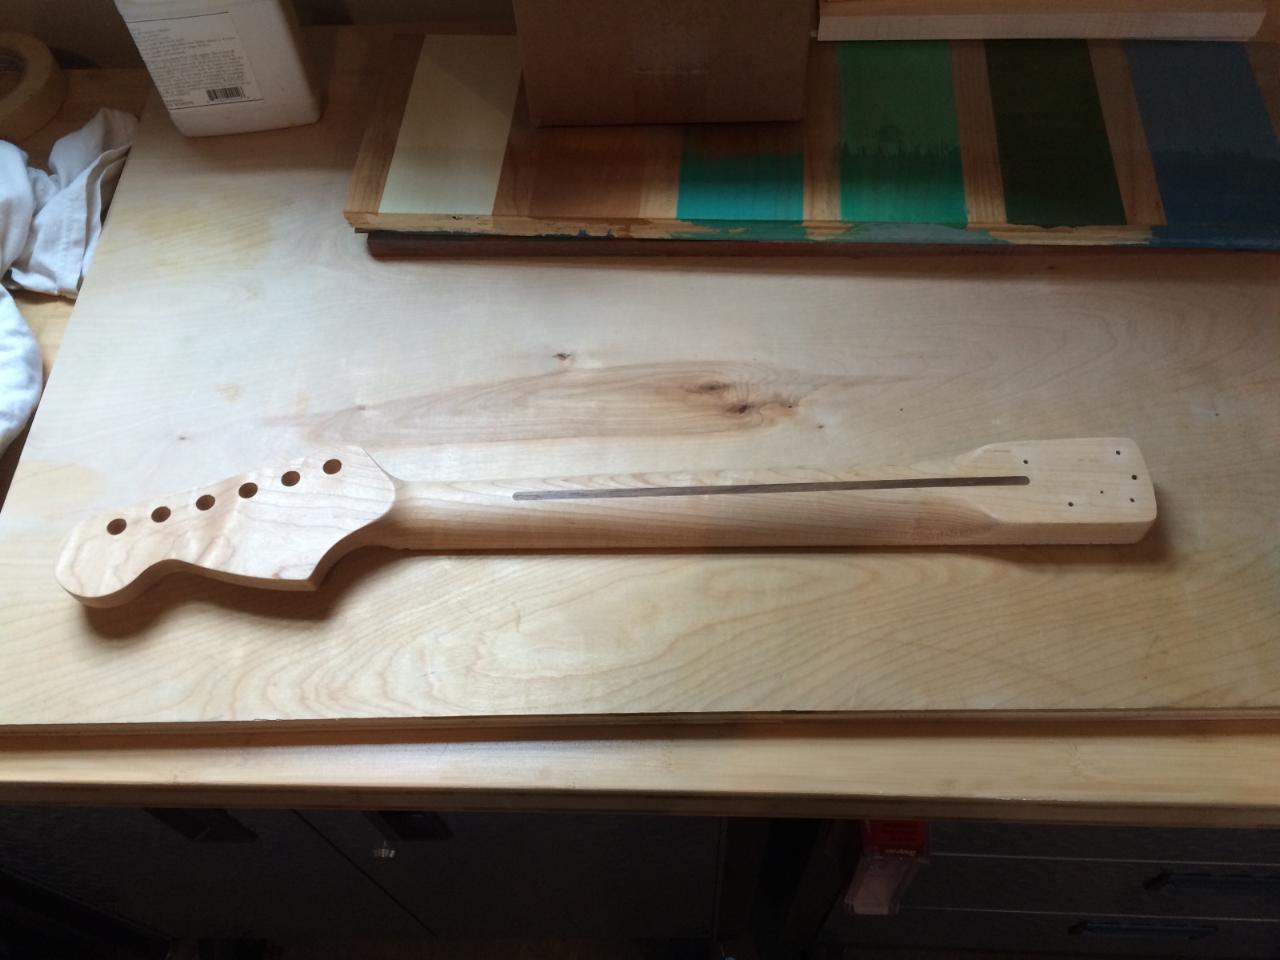
The test fit of the short-scaled neck, that Hans bought, was good and tight.

The control cover finished in the CNC and was sanded down and installed. That fit perfectly as well.


Hans pretty much took over at this point. He used the prototype to lay out the lines for the body sculpting.
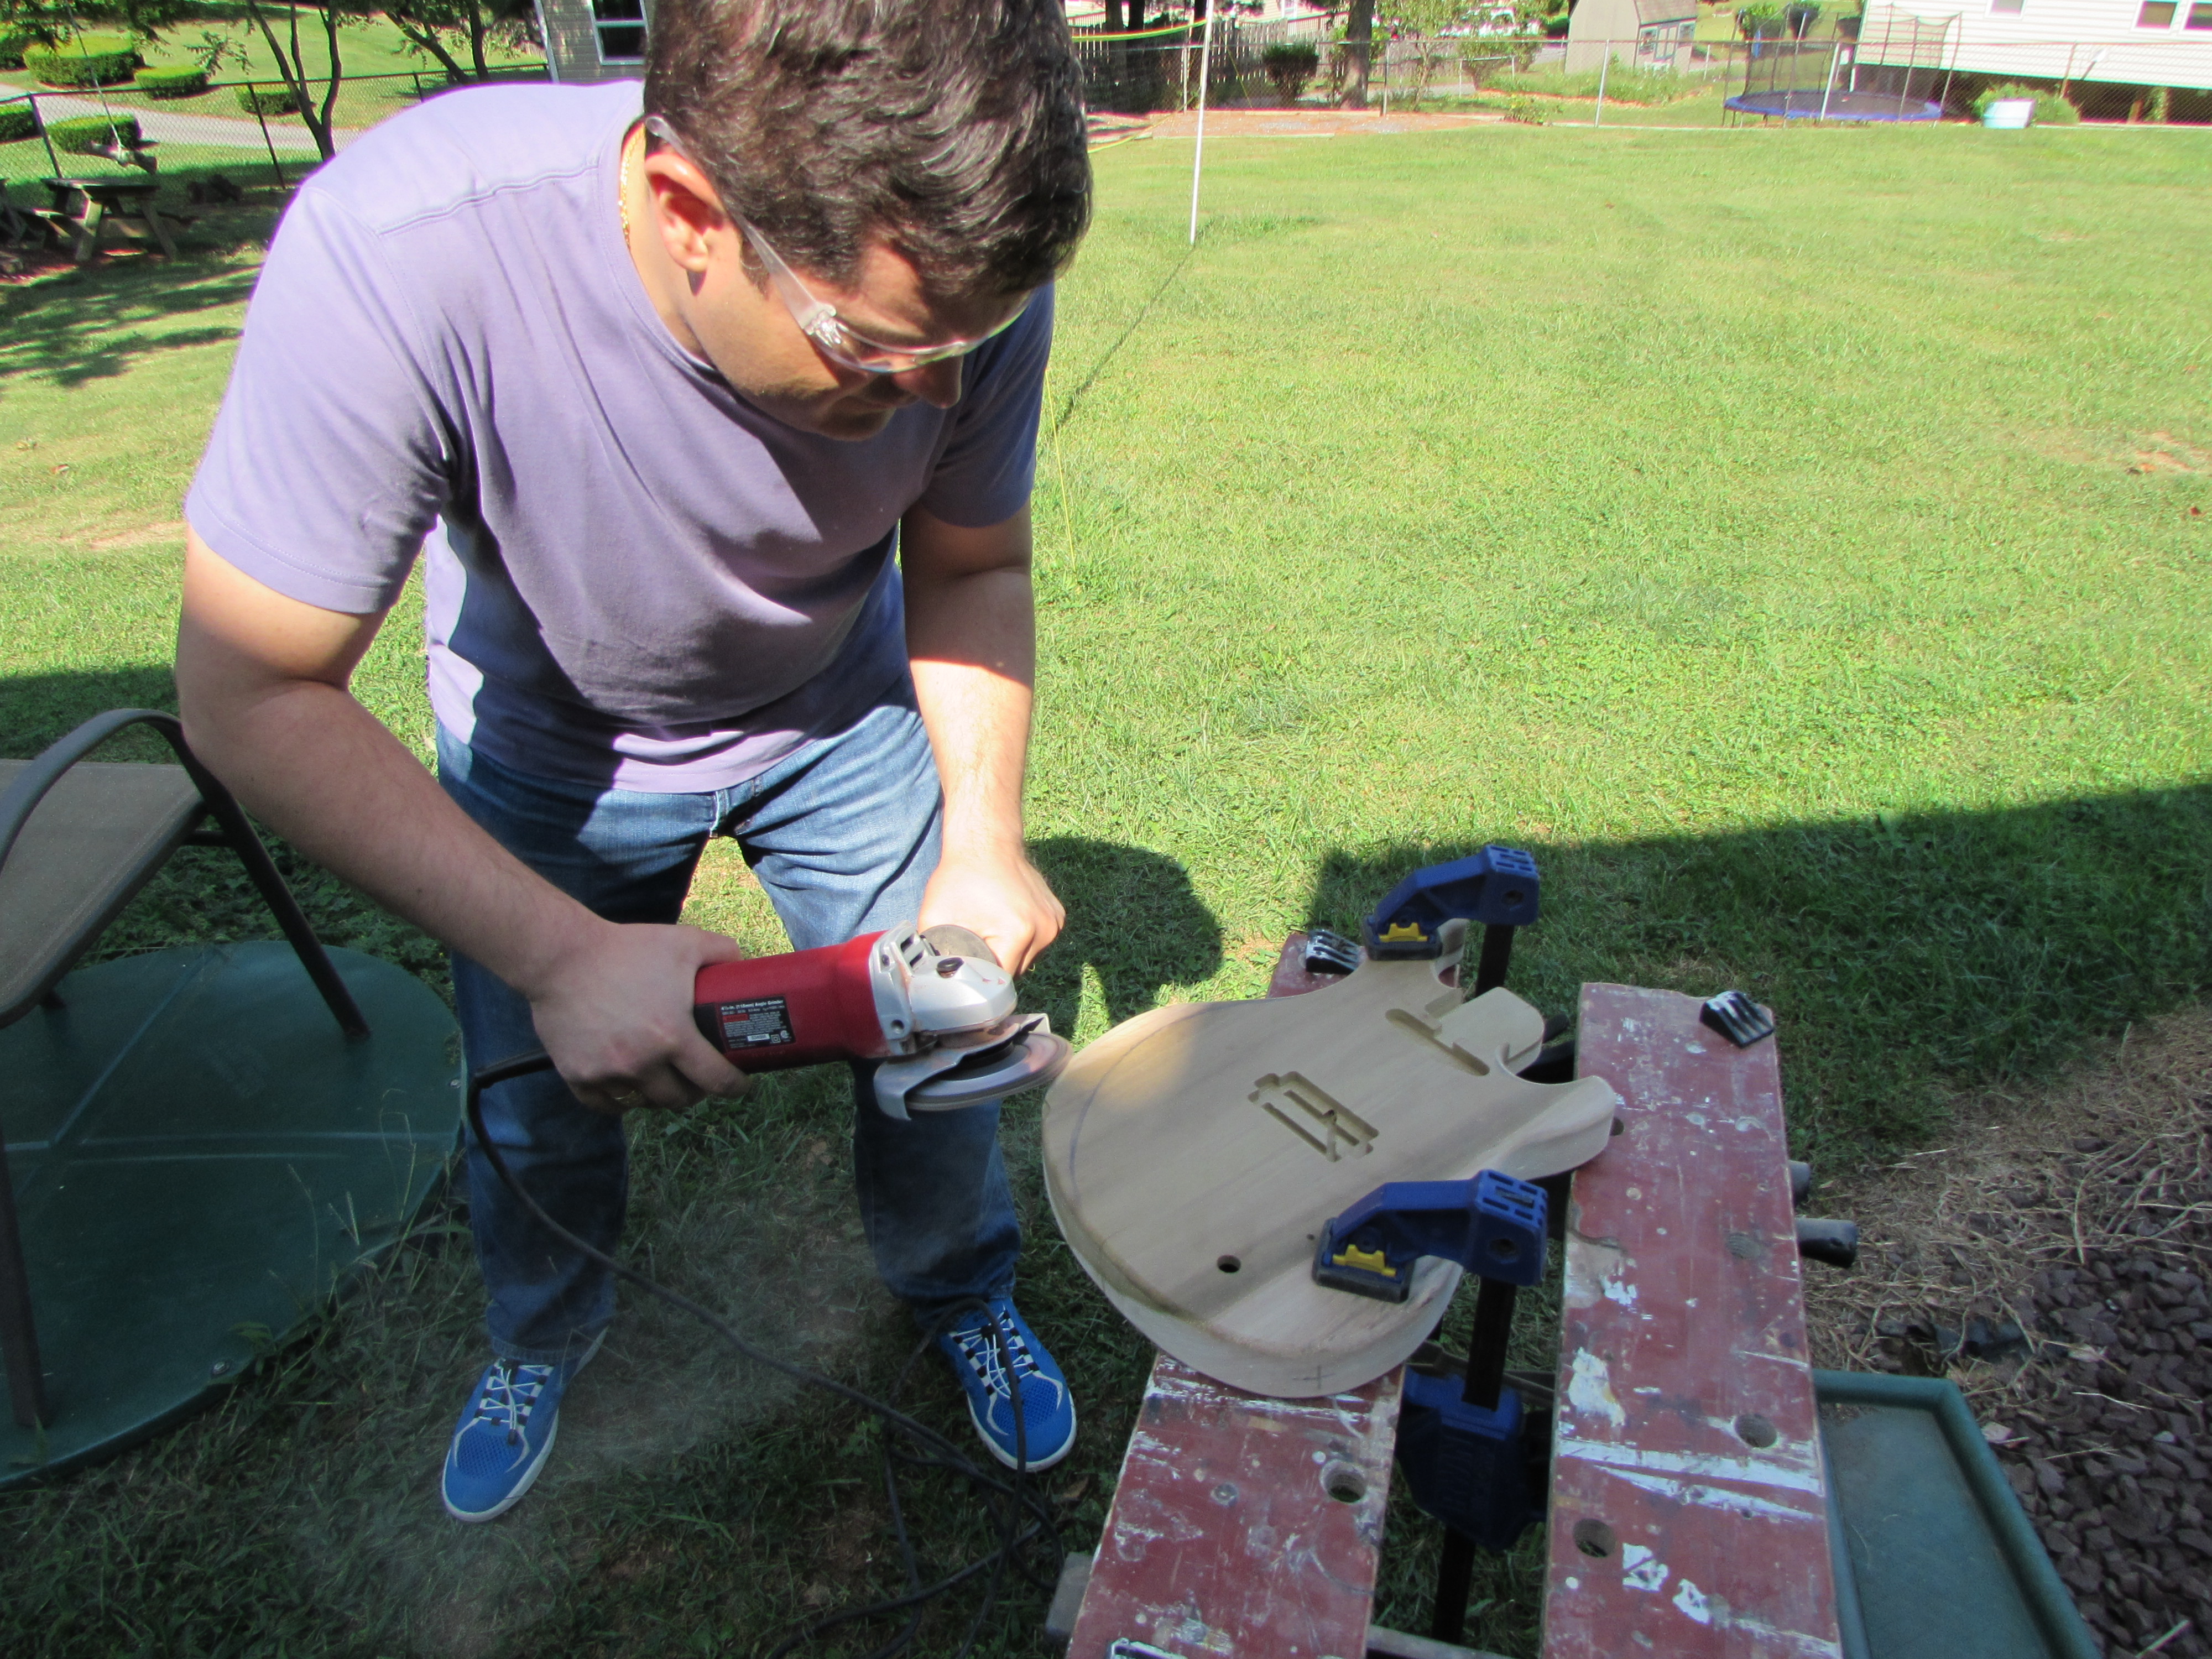
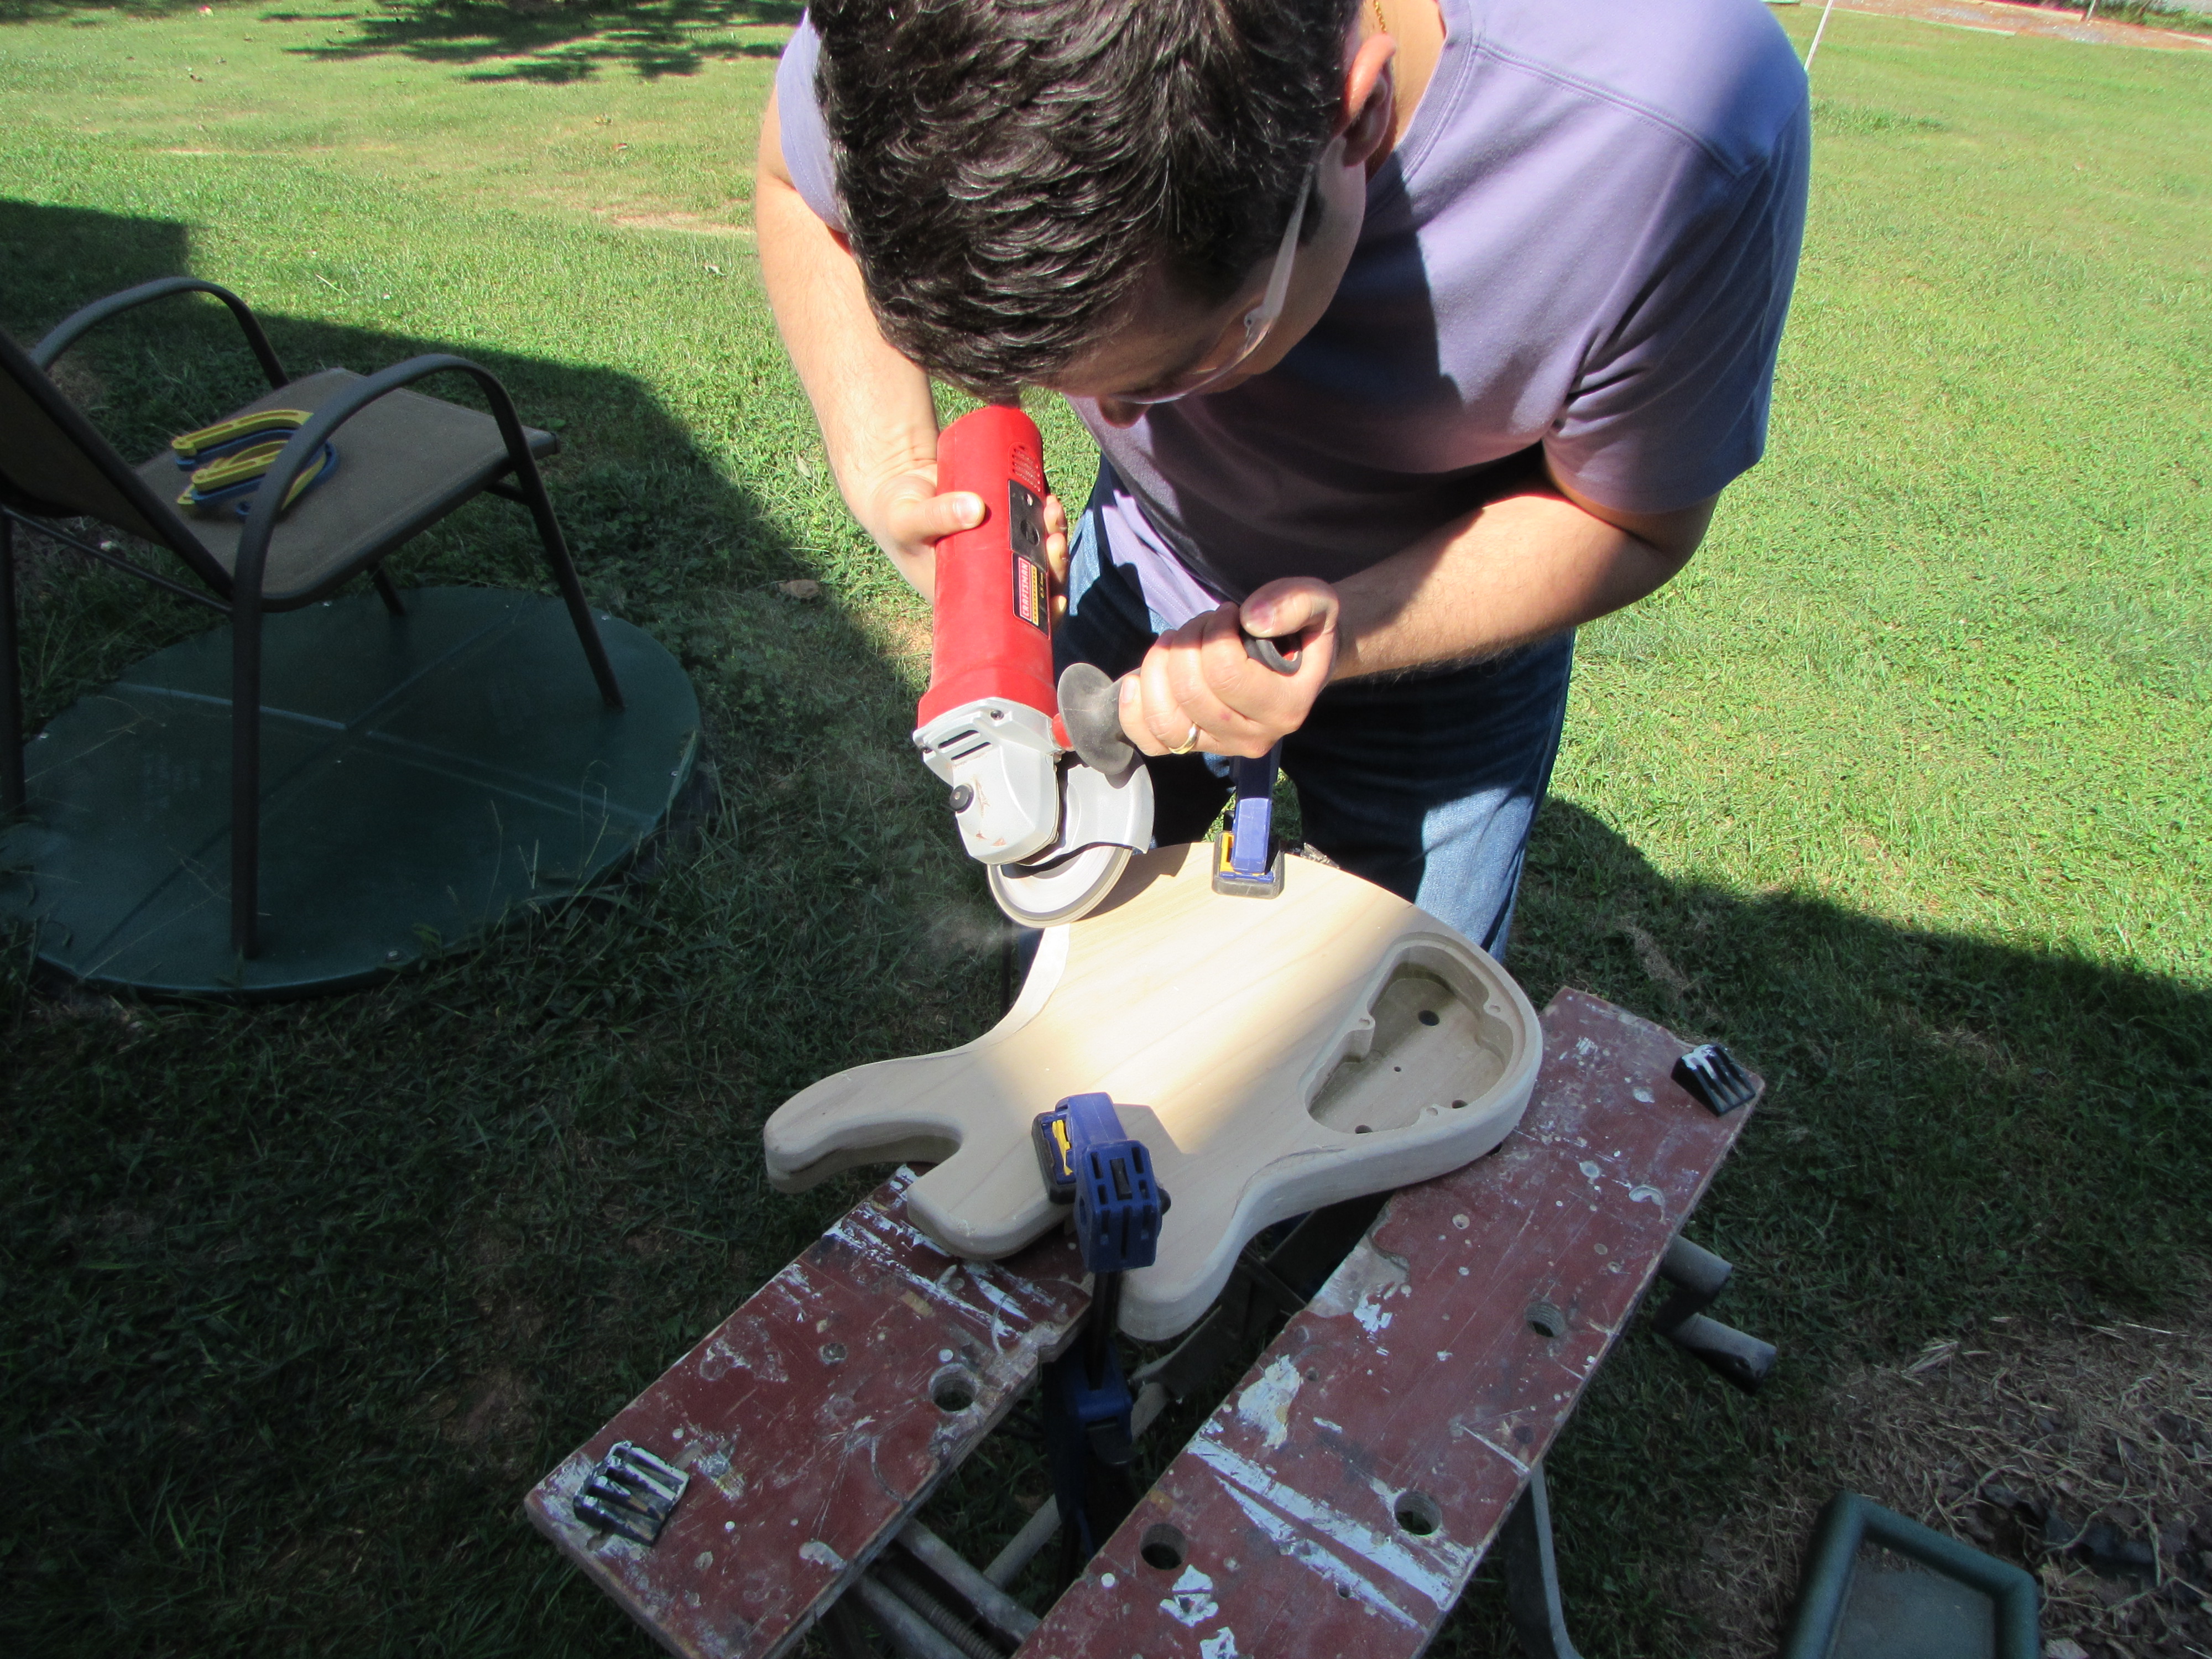
Next we took the body outside, and fired up the angle grinder with a flap sanding disc installed on it.

Hans did the bulk of the carving with the grinder.

He did a little more finessing with a rasp and a spokeshave.


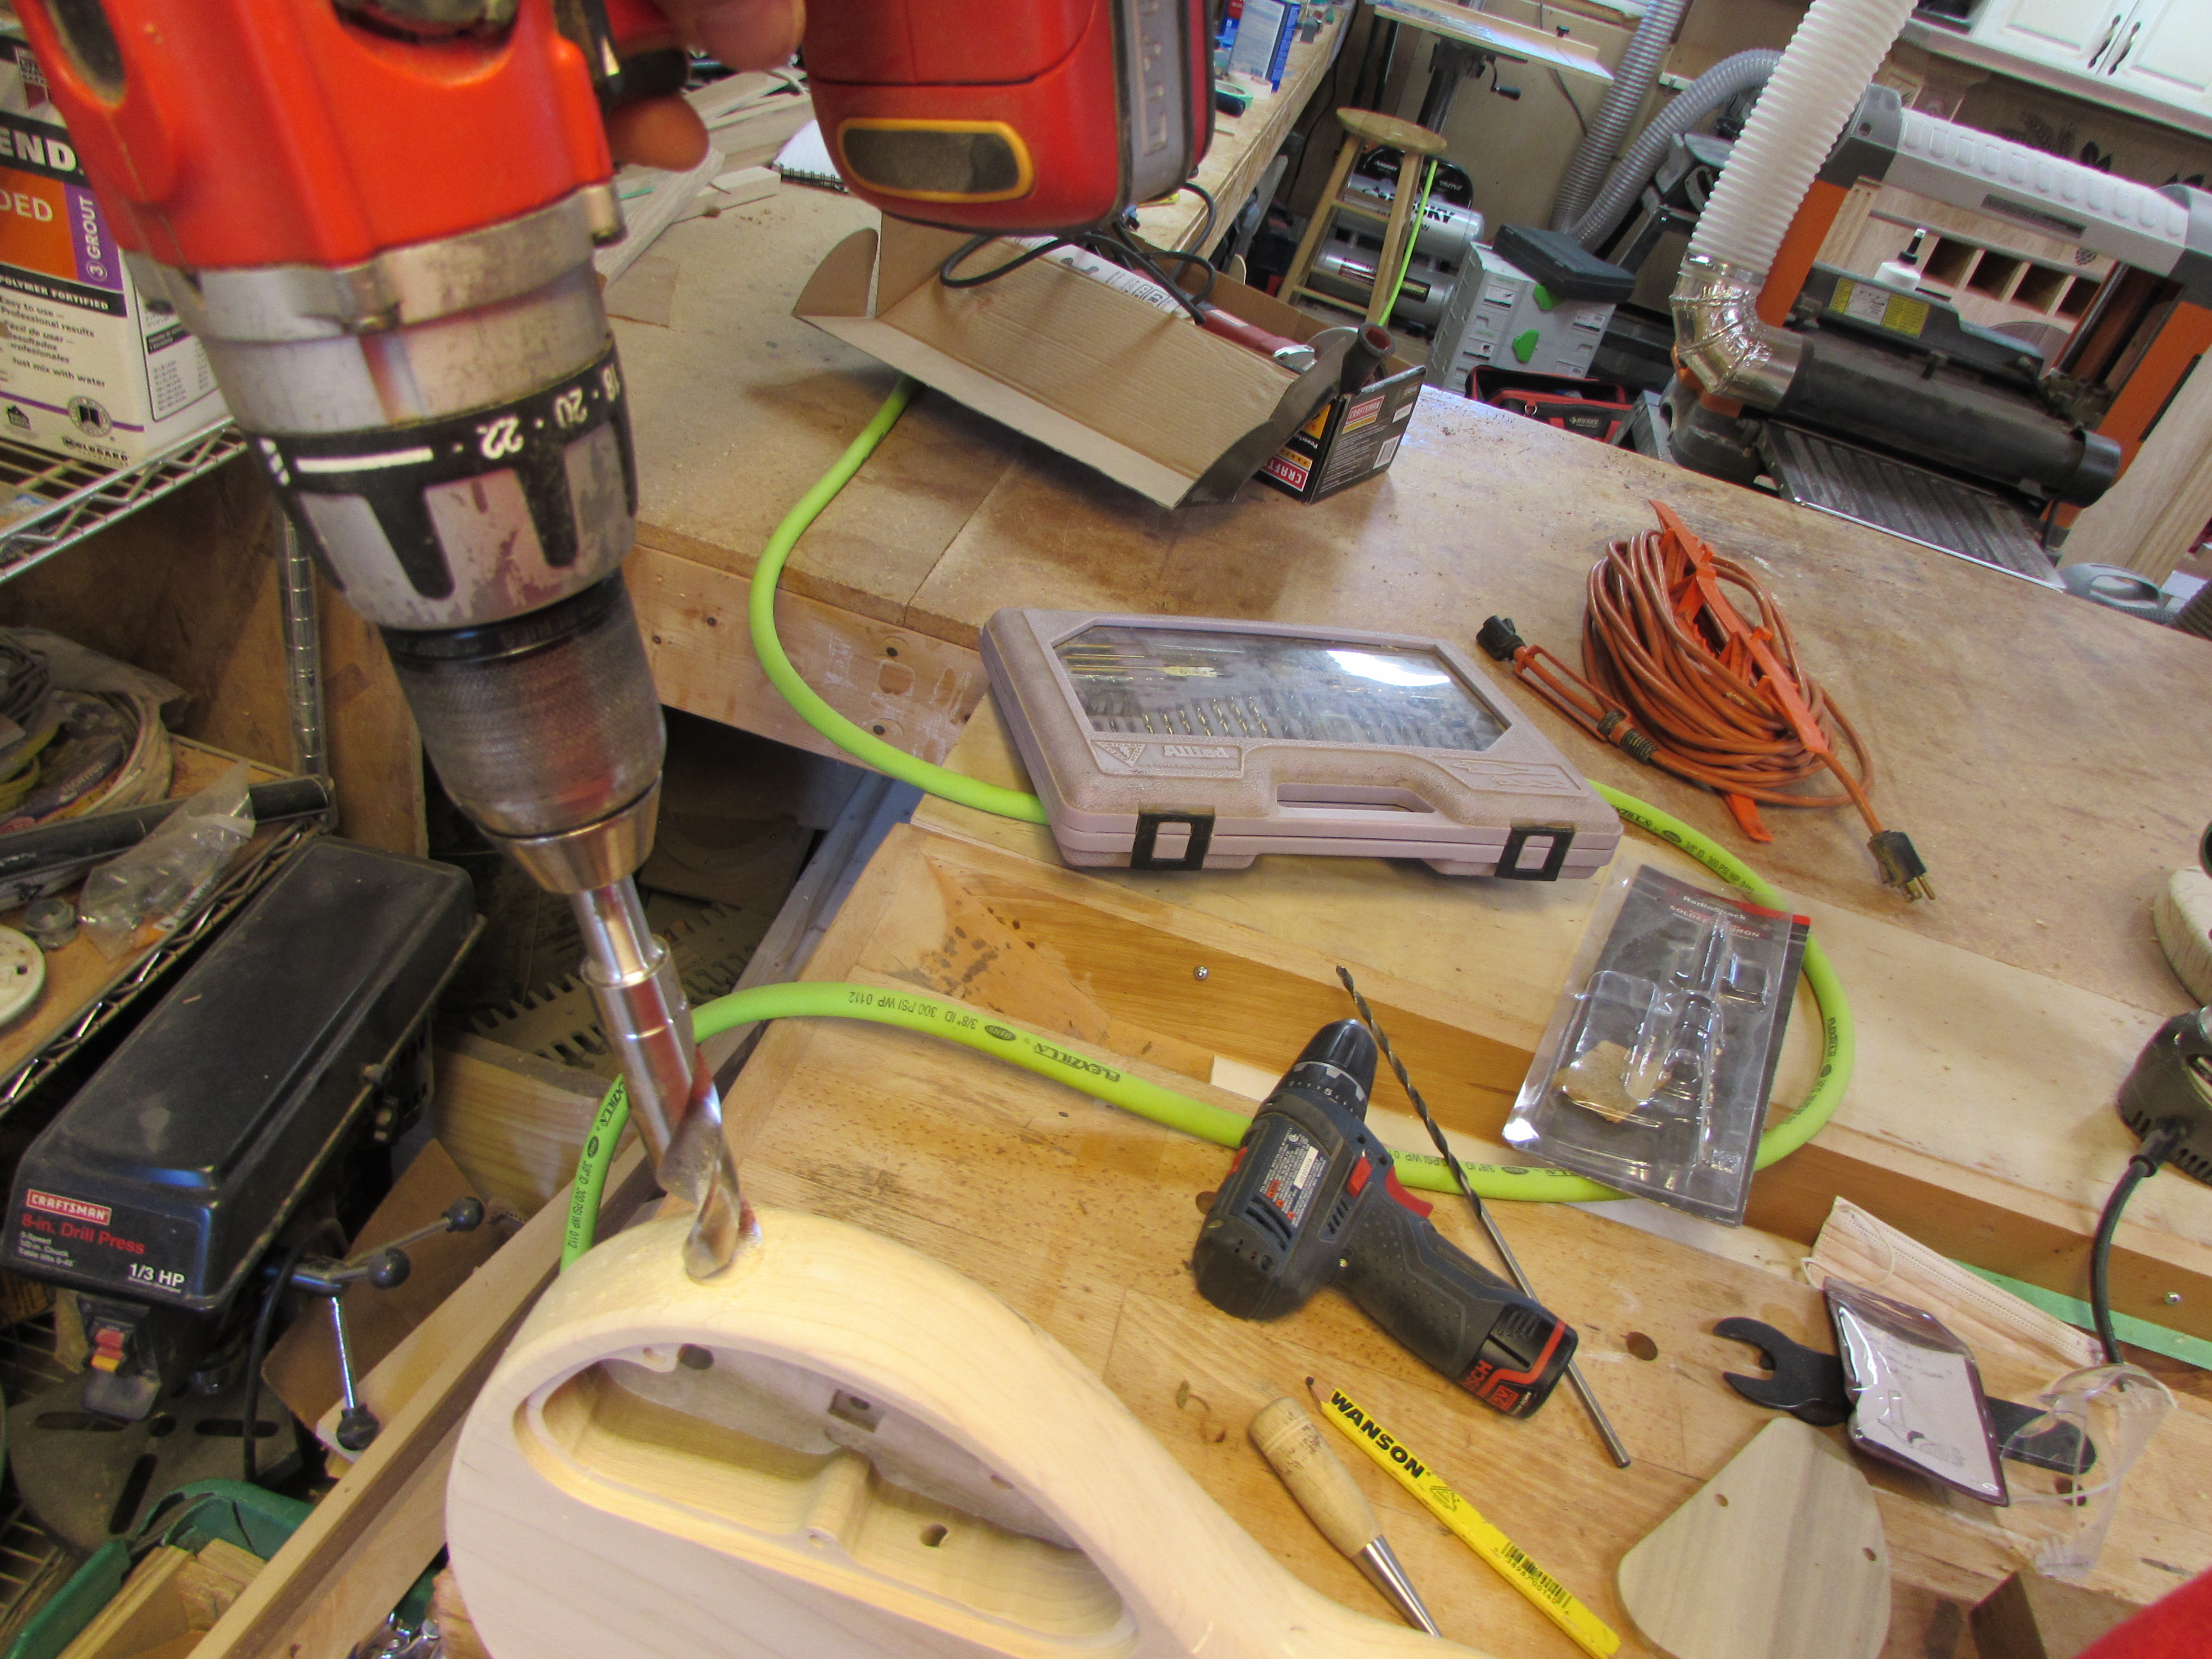
Then finished up with the orbital sander, and drilling the hole for the power jack.
At this point, Hans took the guitar home to finish up.
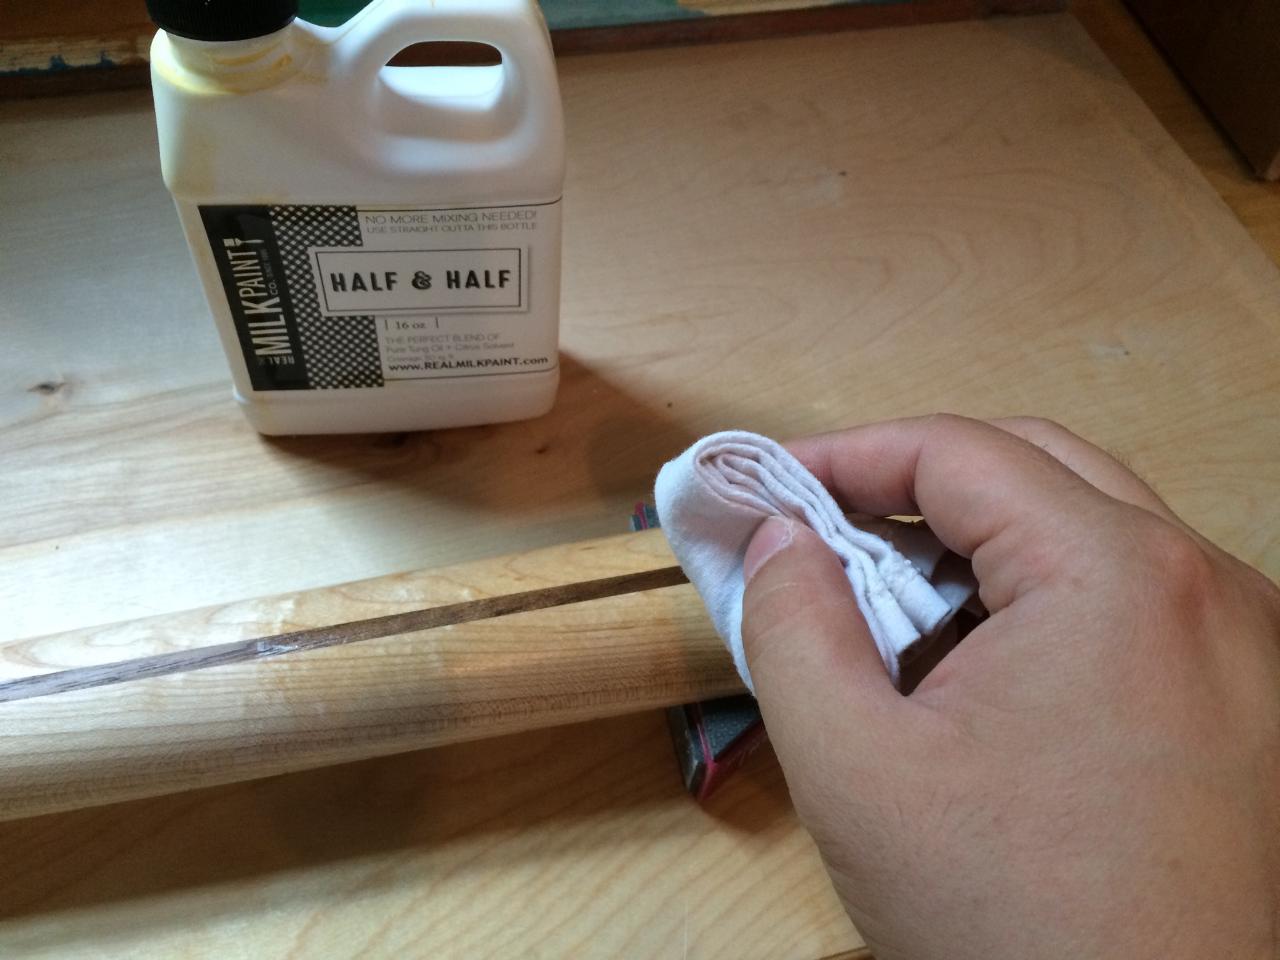
The neck was finished with several coats of Tung oil.

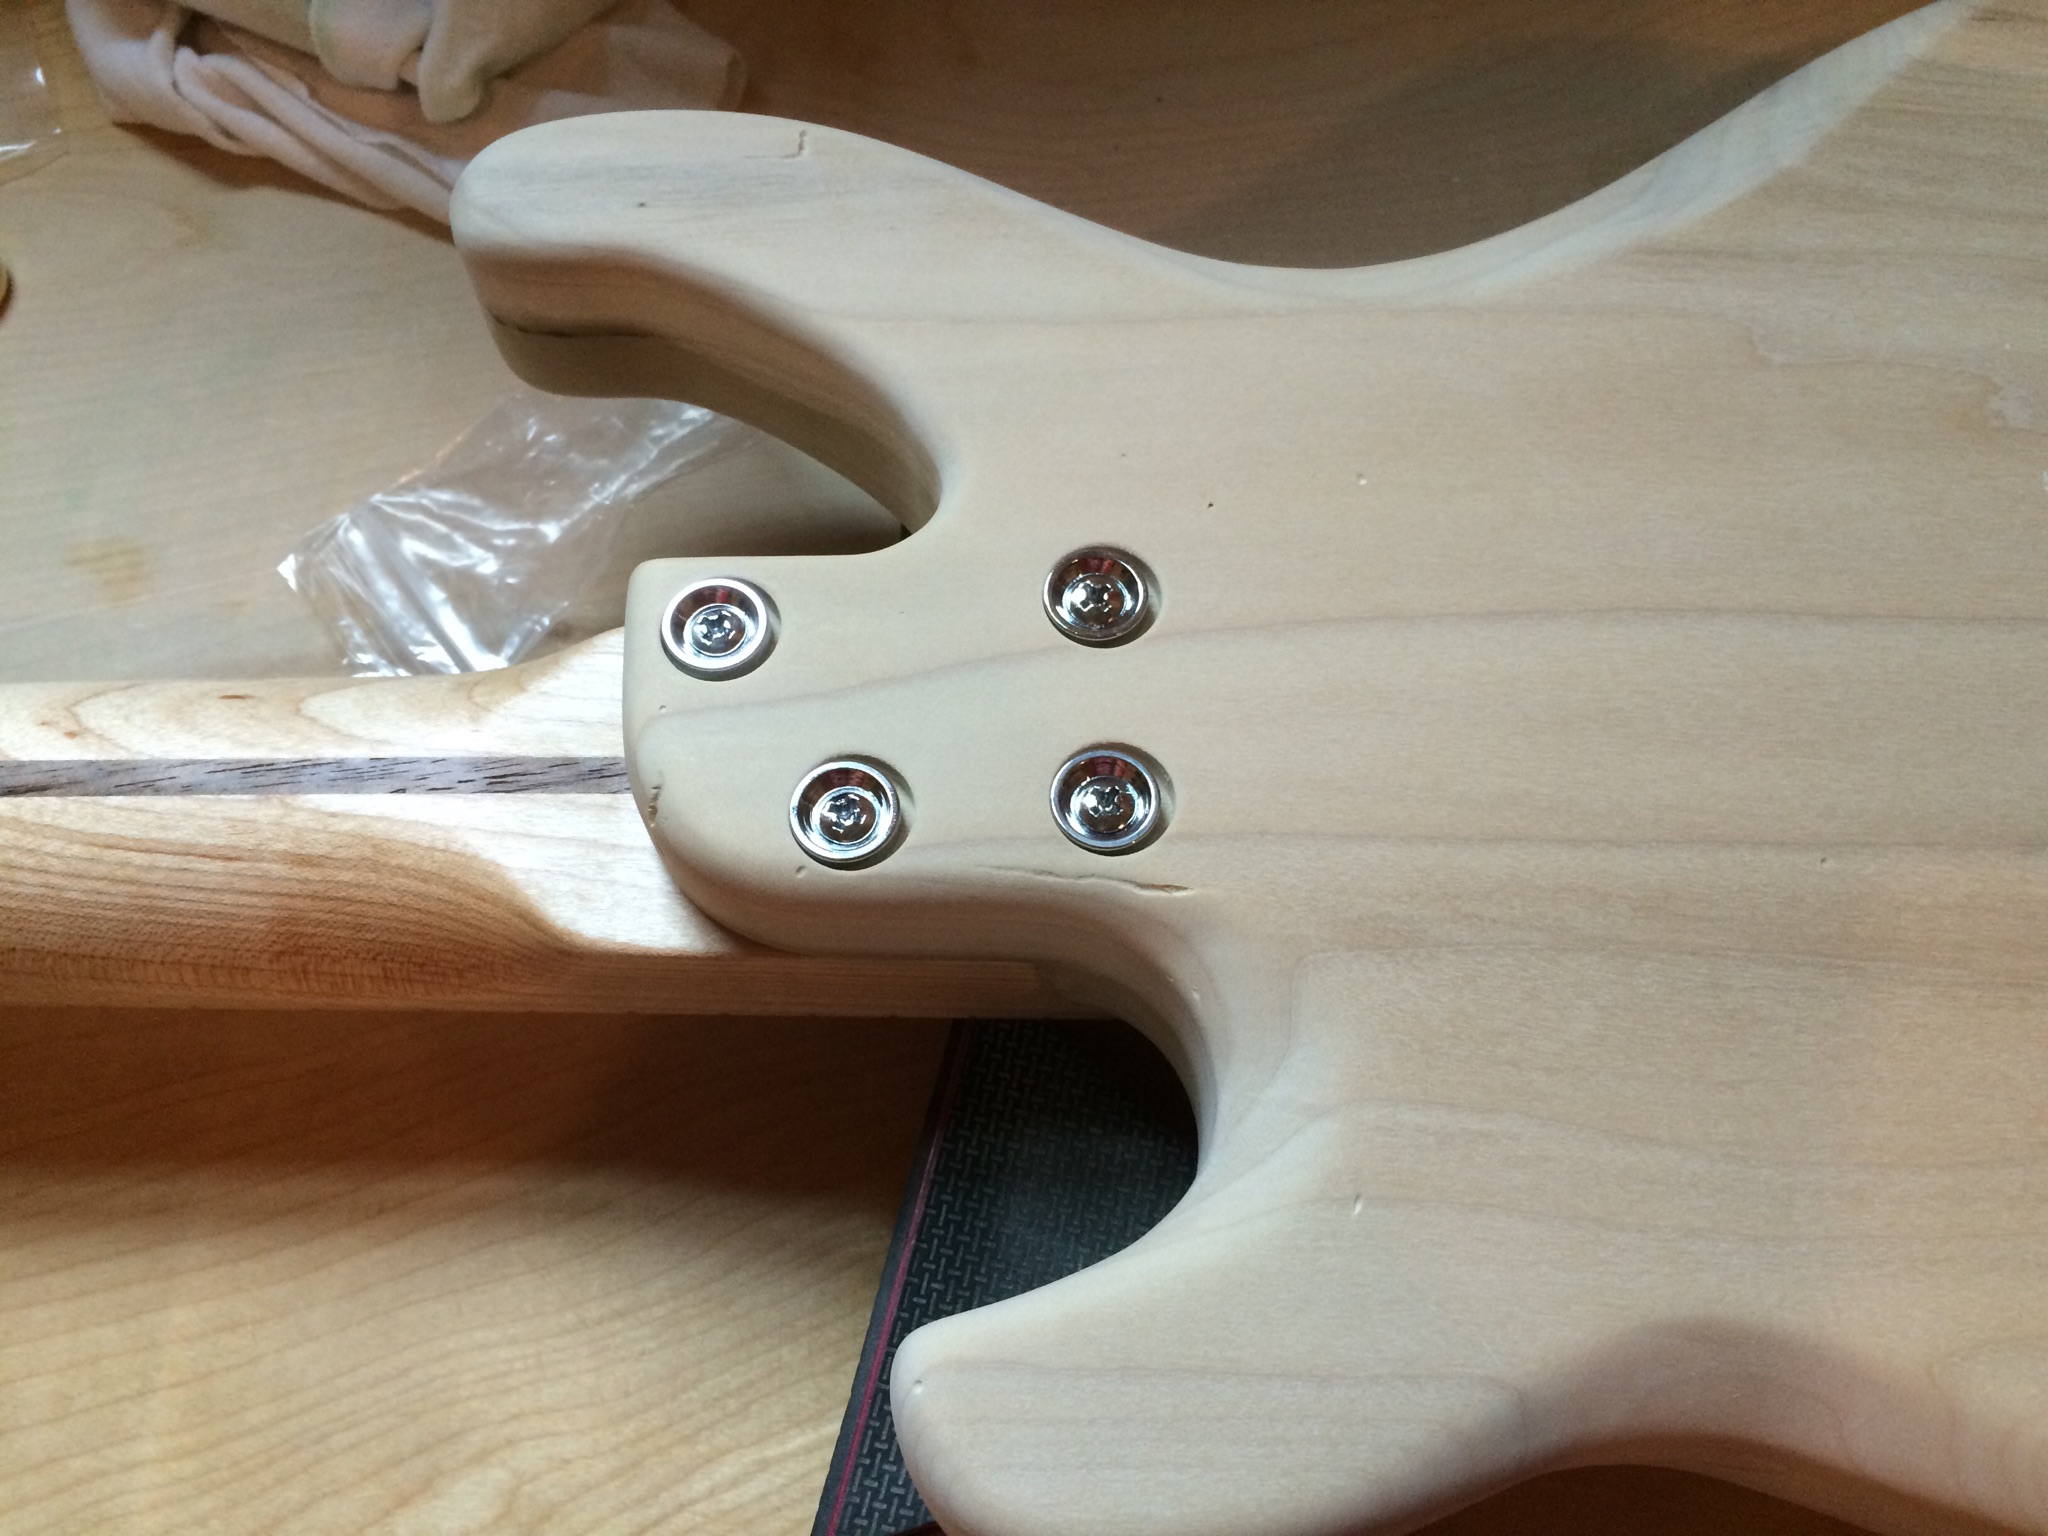
Hans drilled out and bolted on the neck.

He glued in the magnets for the control cavity and cover, then applied Tung oil to the cover, and set it aside.
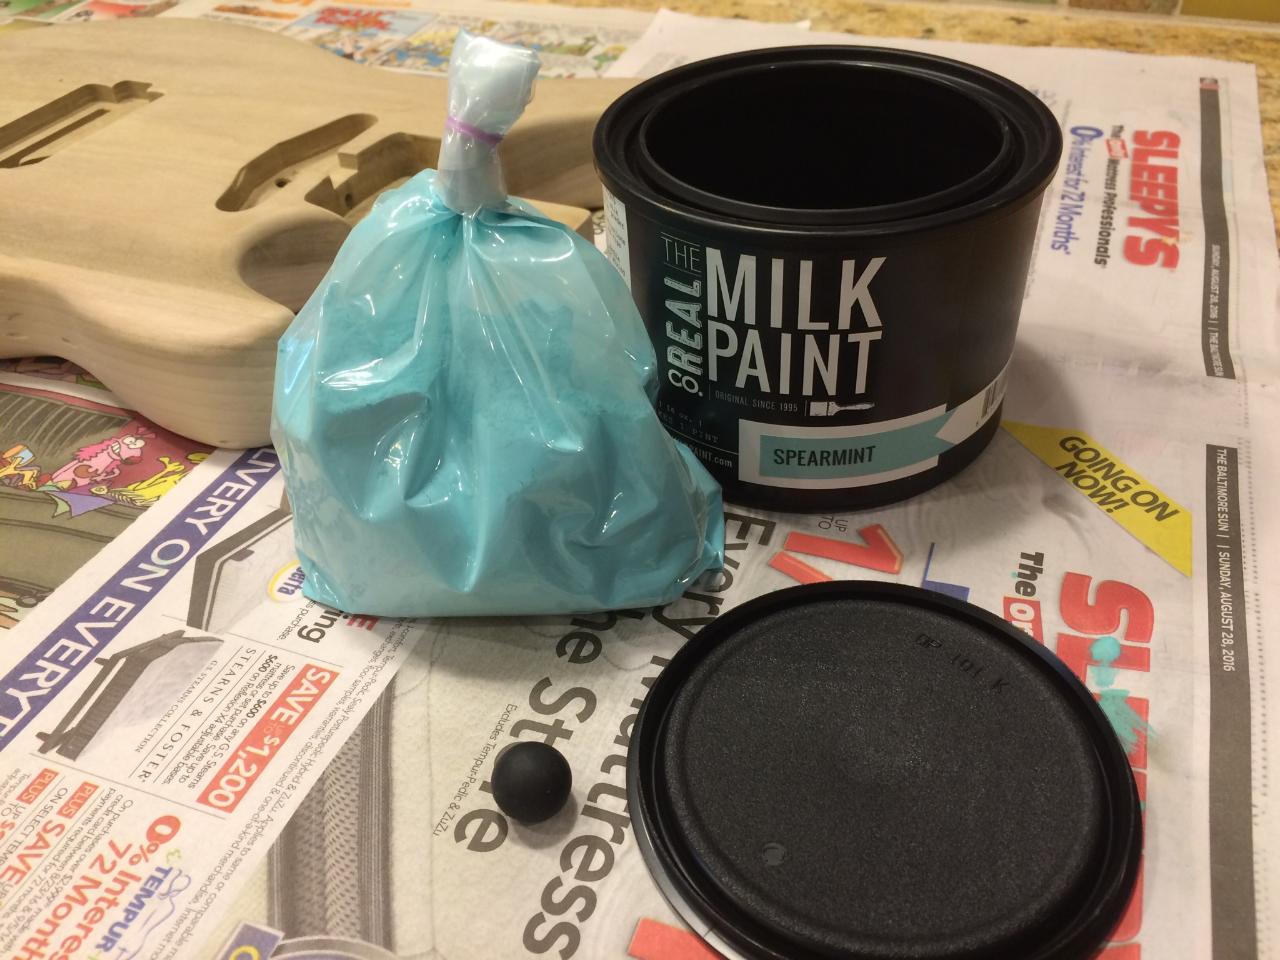
The rest of the body was going to be painted with milk paint. Hans spent a lot of time experimenting, trying to get a balance between a good smooth coating of paint , and leaving it transparent enough to just make out the grain.

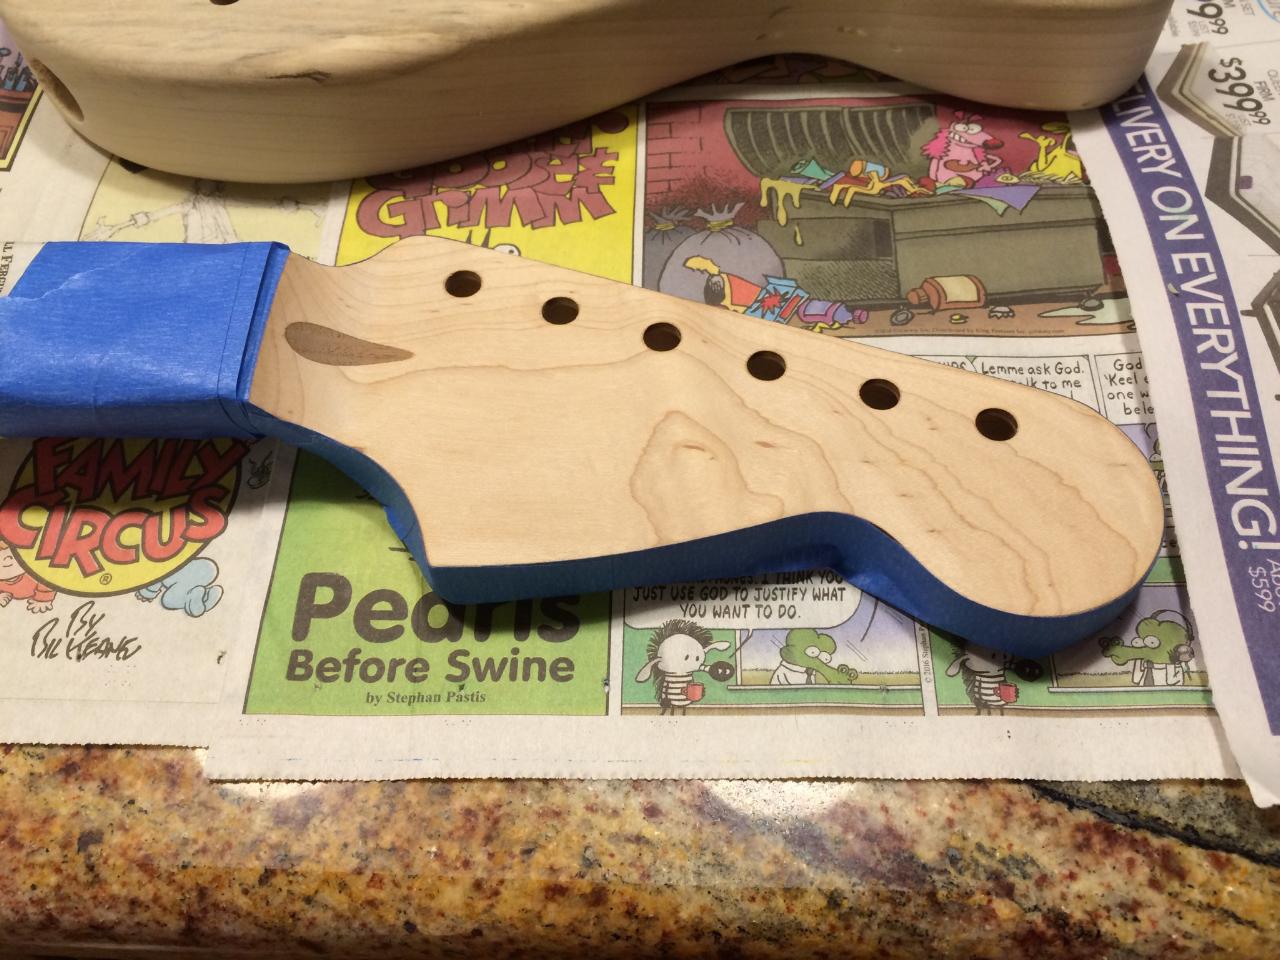
The first coat or two of milk paint is always a little rough looking, but he kept playing with it.
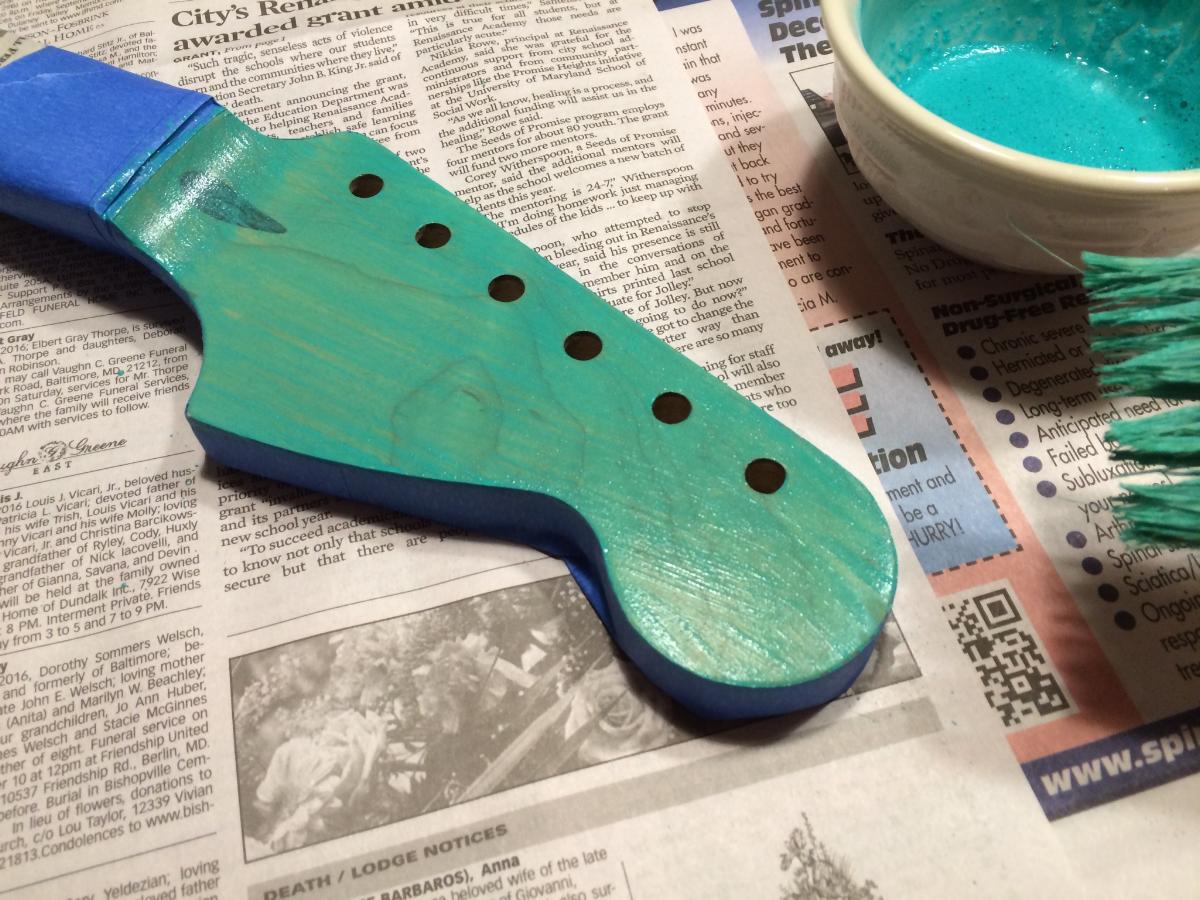
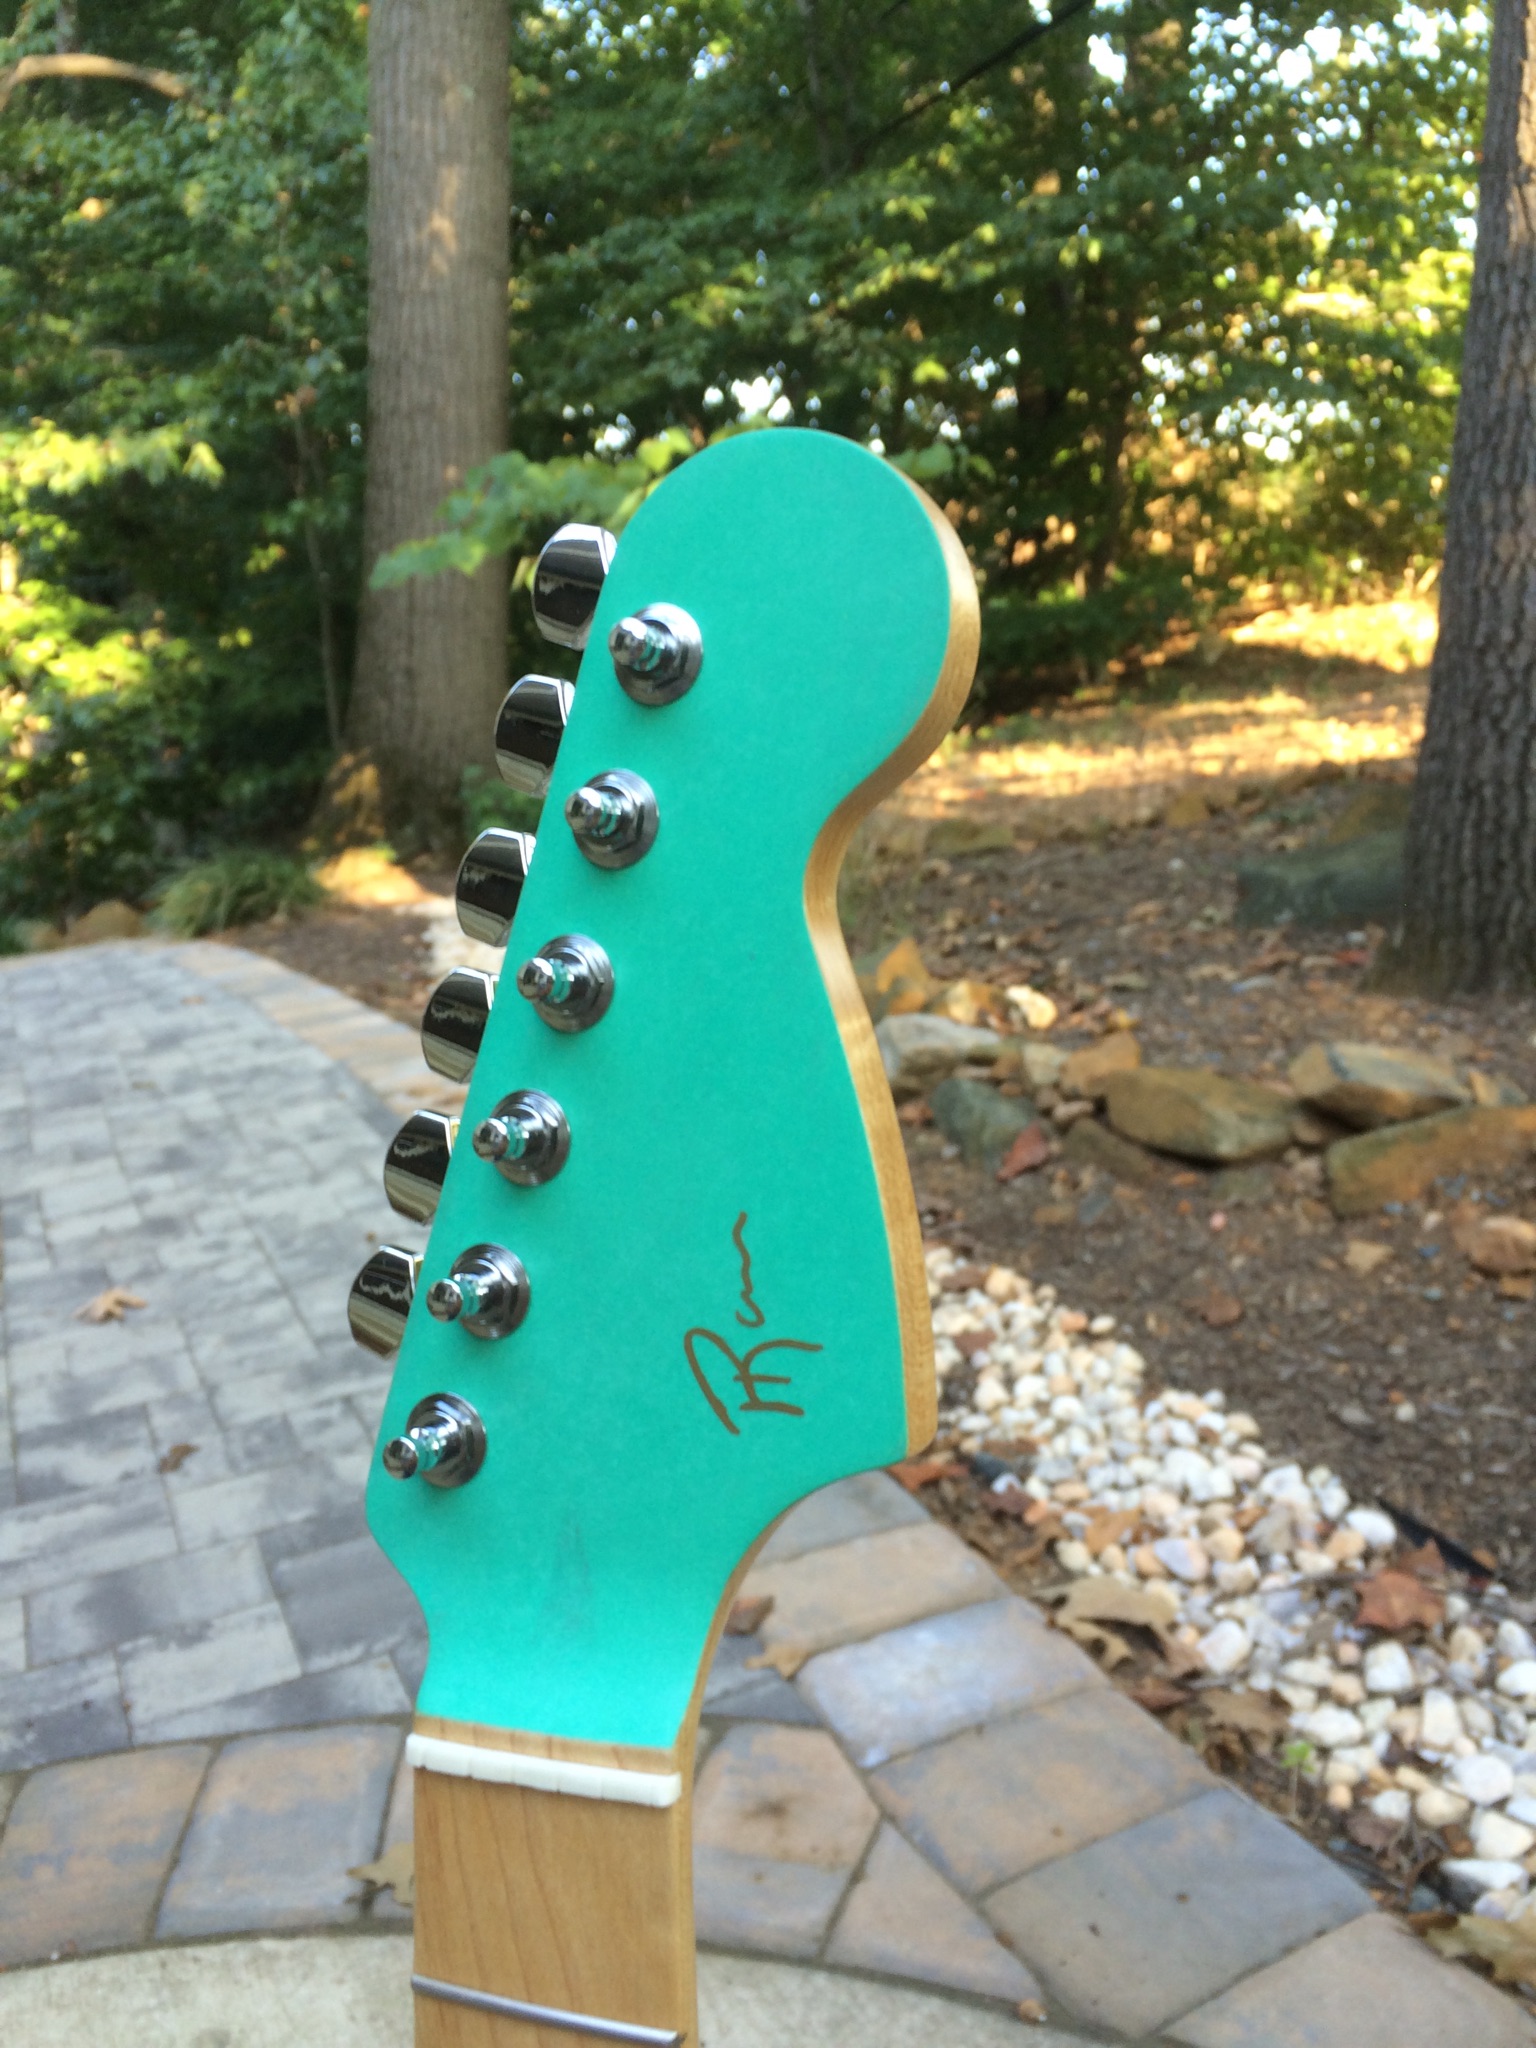
One thing that tripped him up a bit was the different absorption rate between the hard maple head-stock, and the softer, more porous poplar body.
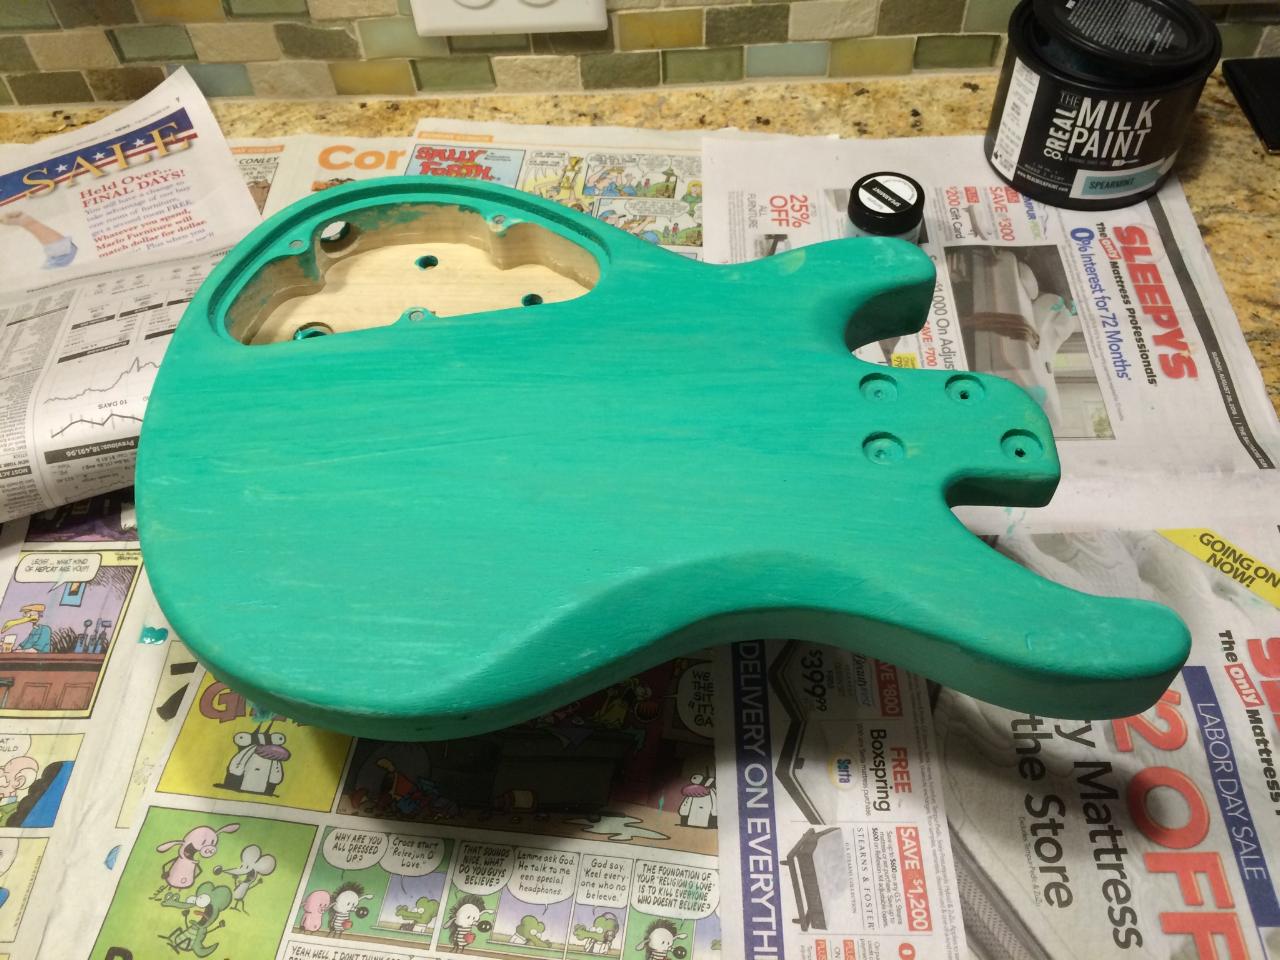

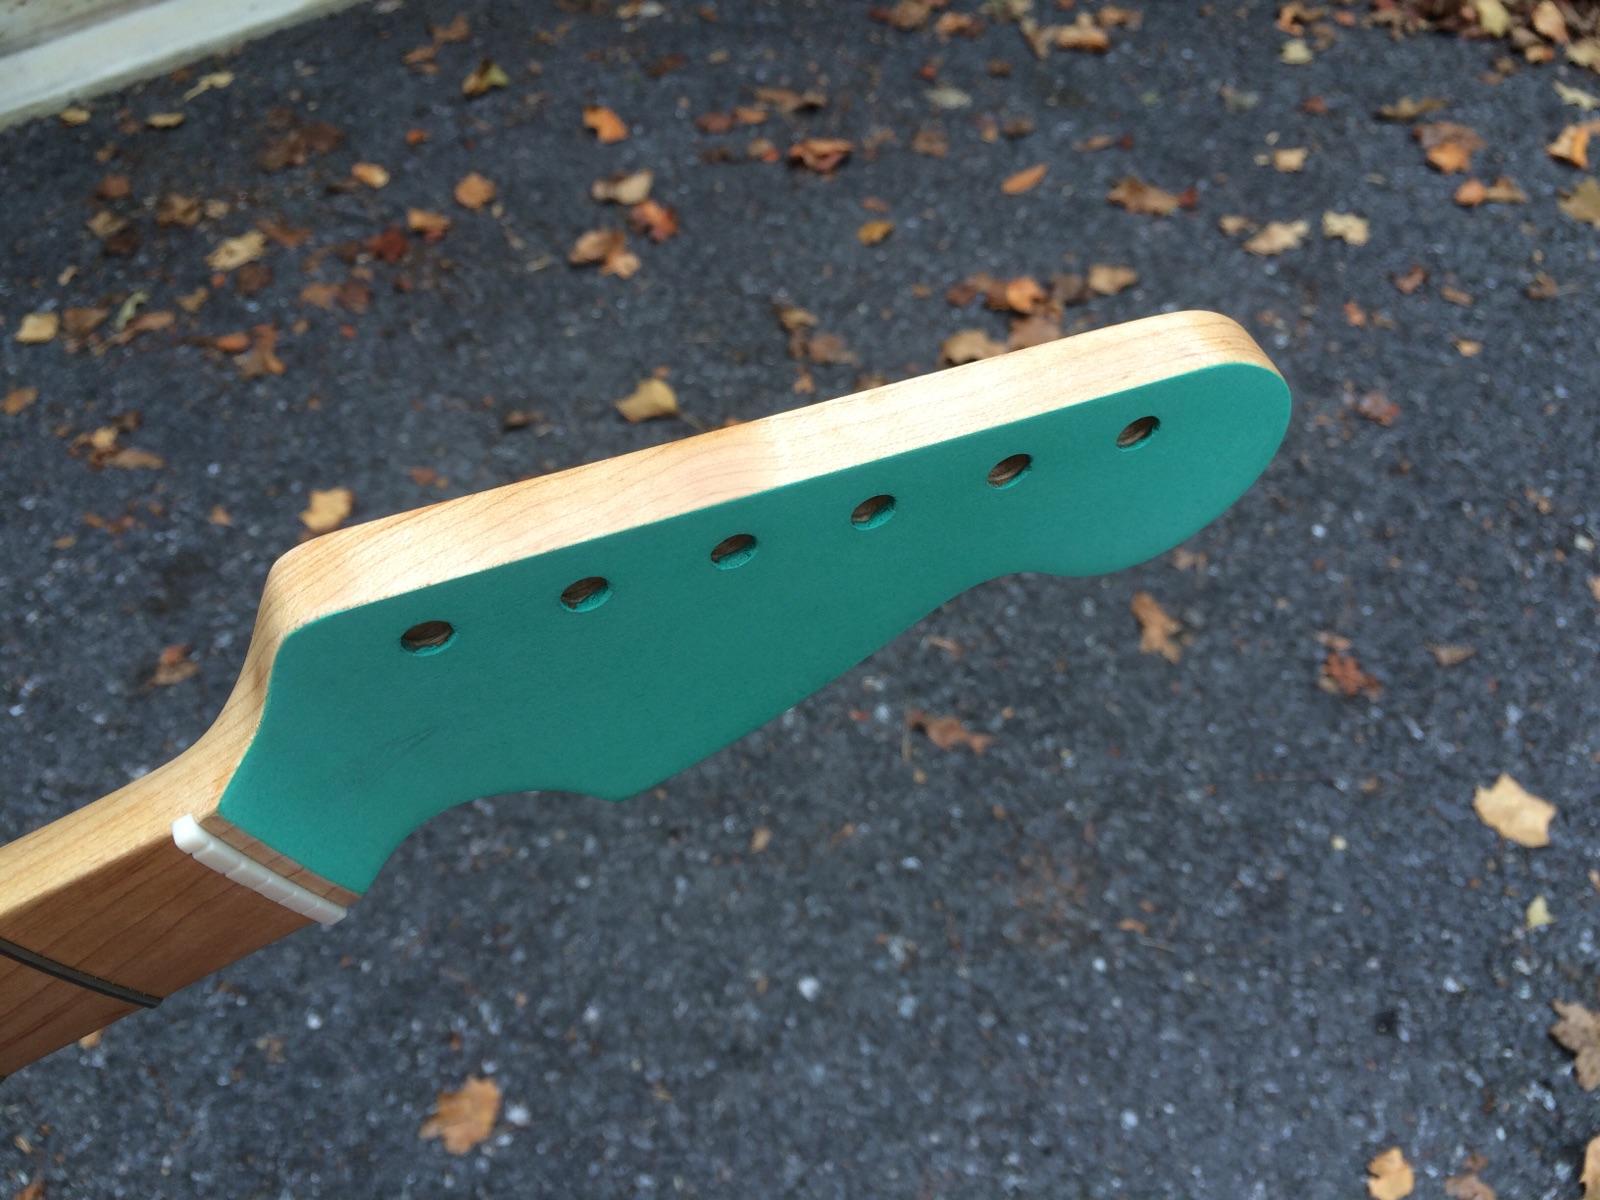


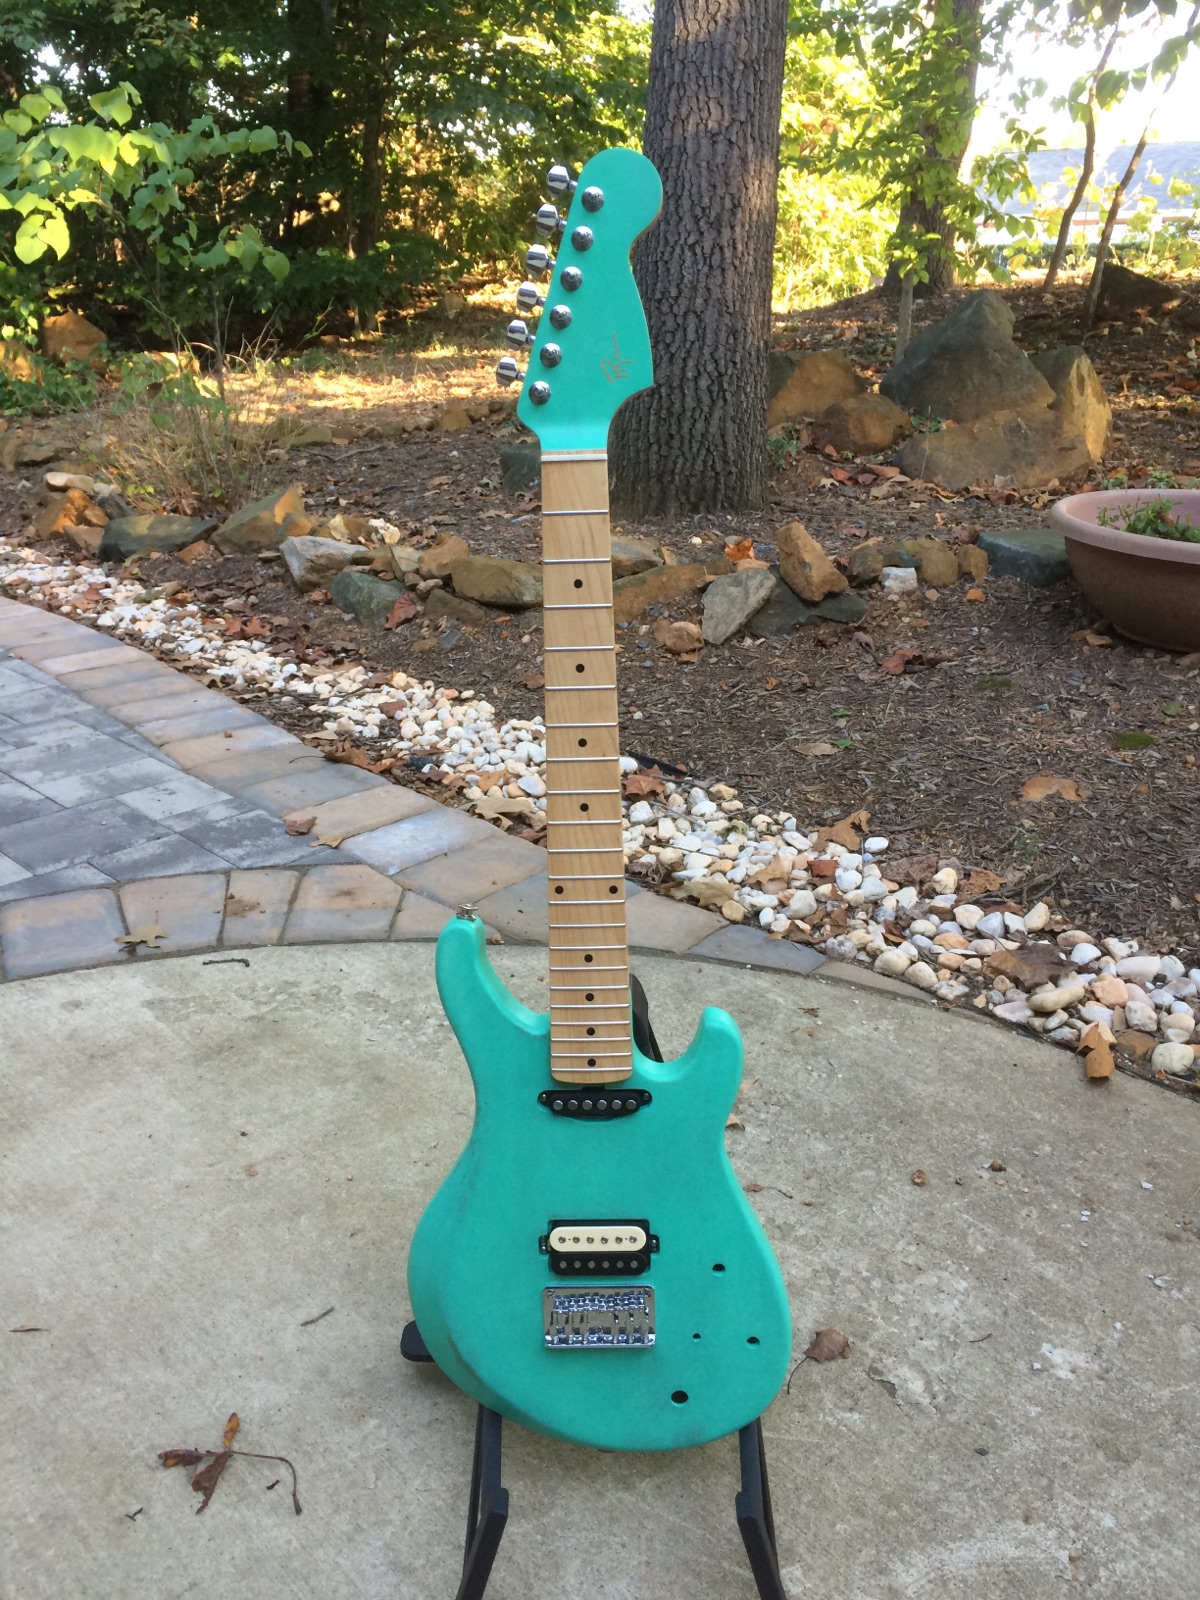
After a lot of sanding and re-coating, he found a finish he was happy with.
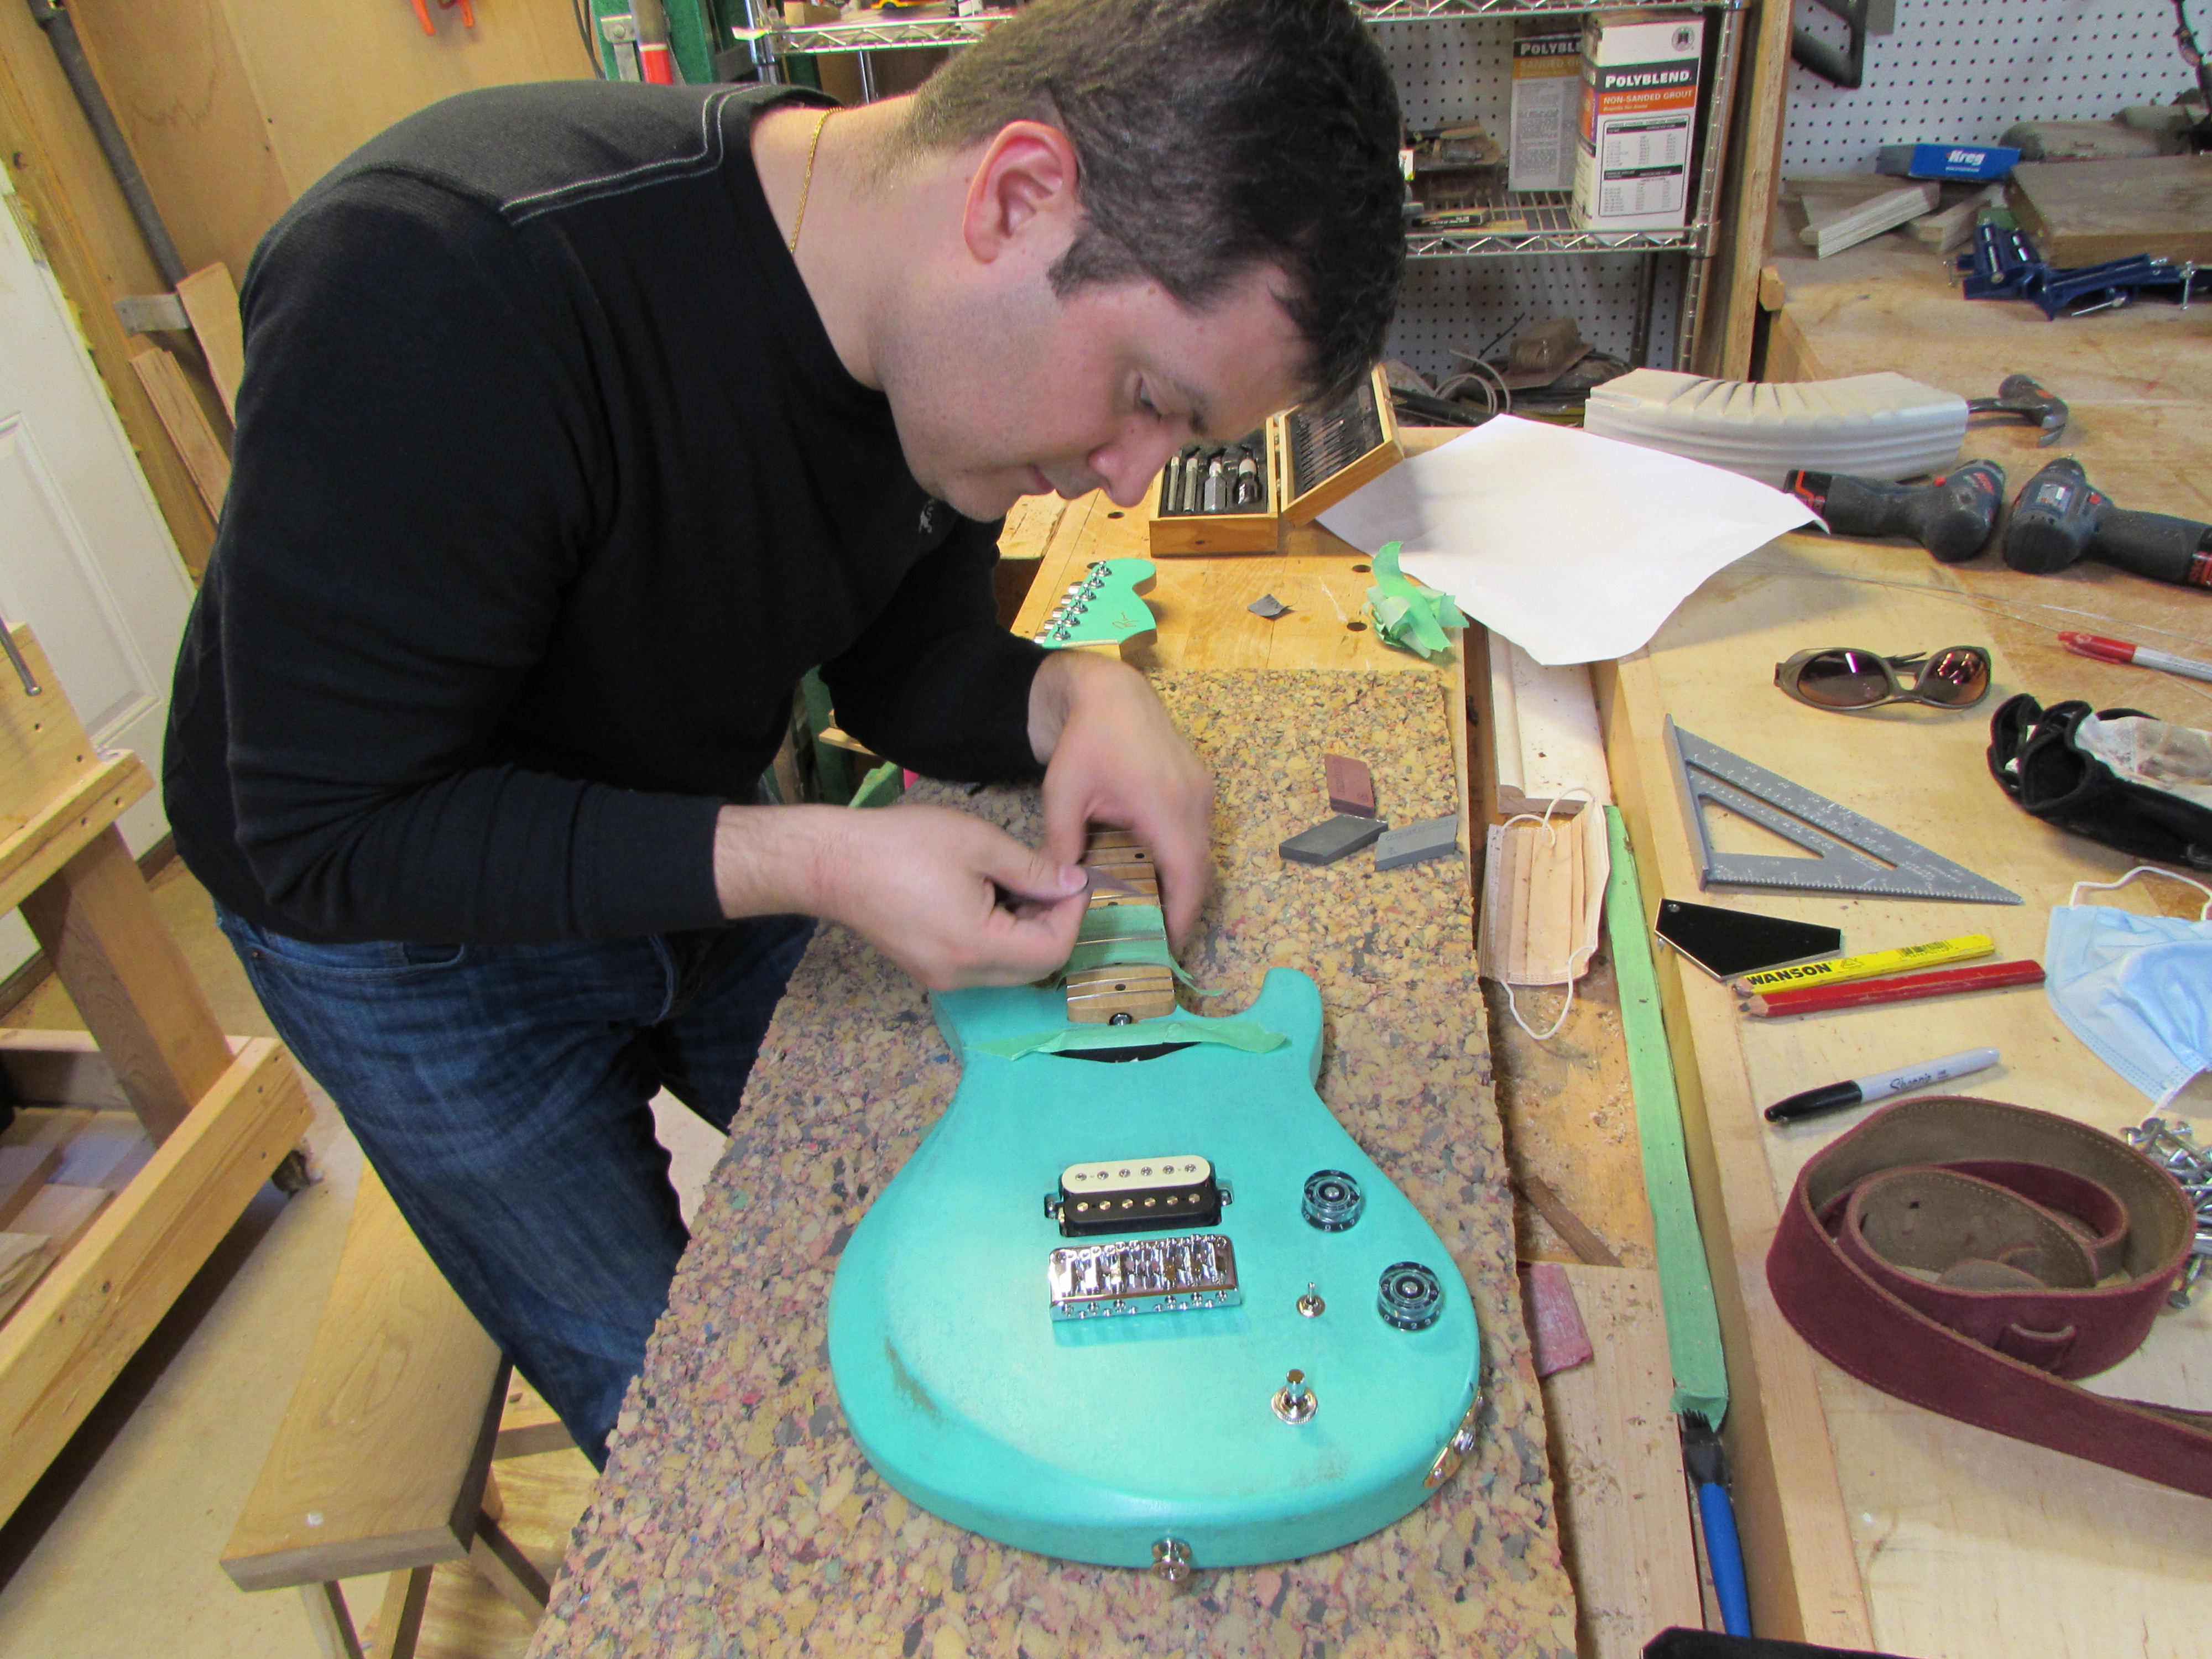
Hans was back in my shop yesterday to do a few finishing touches. I have some fretting tools, which he used to level the frets.
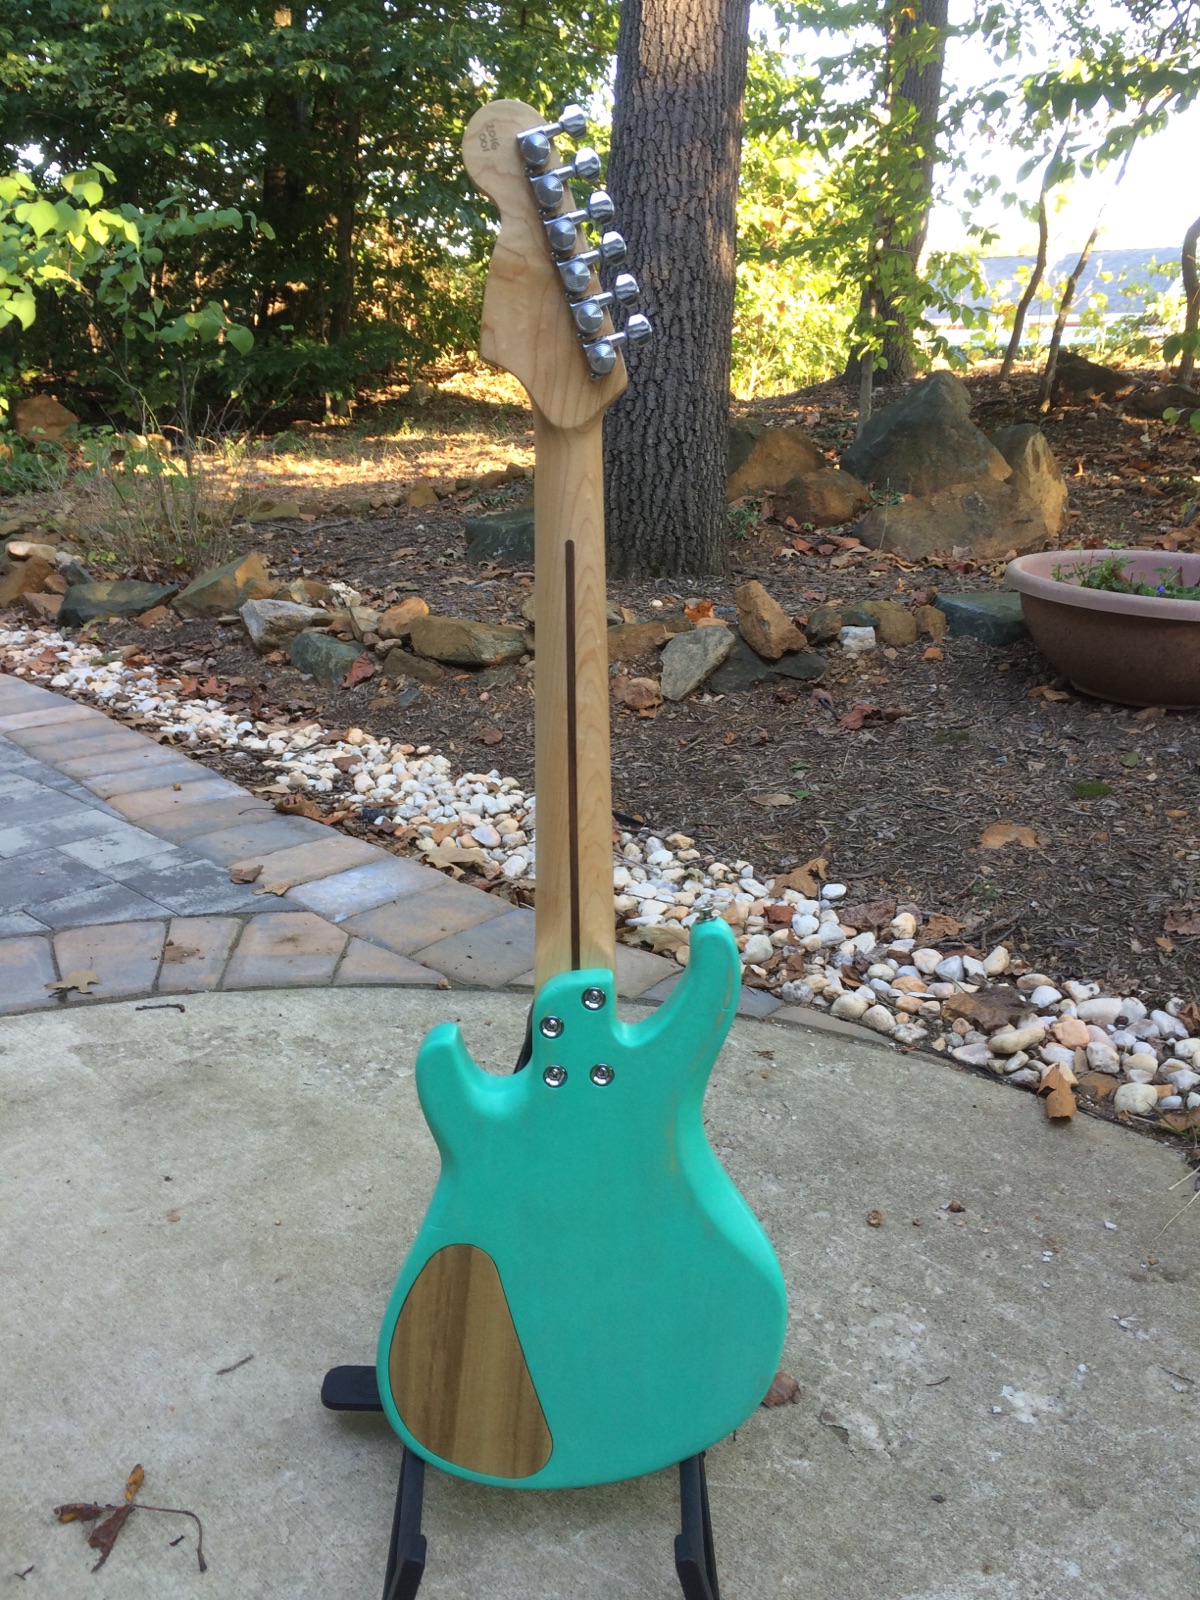
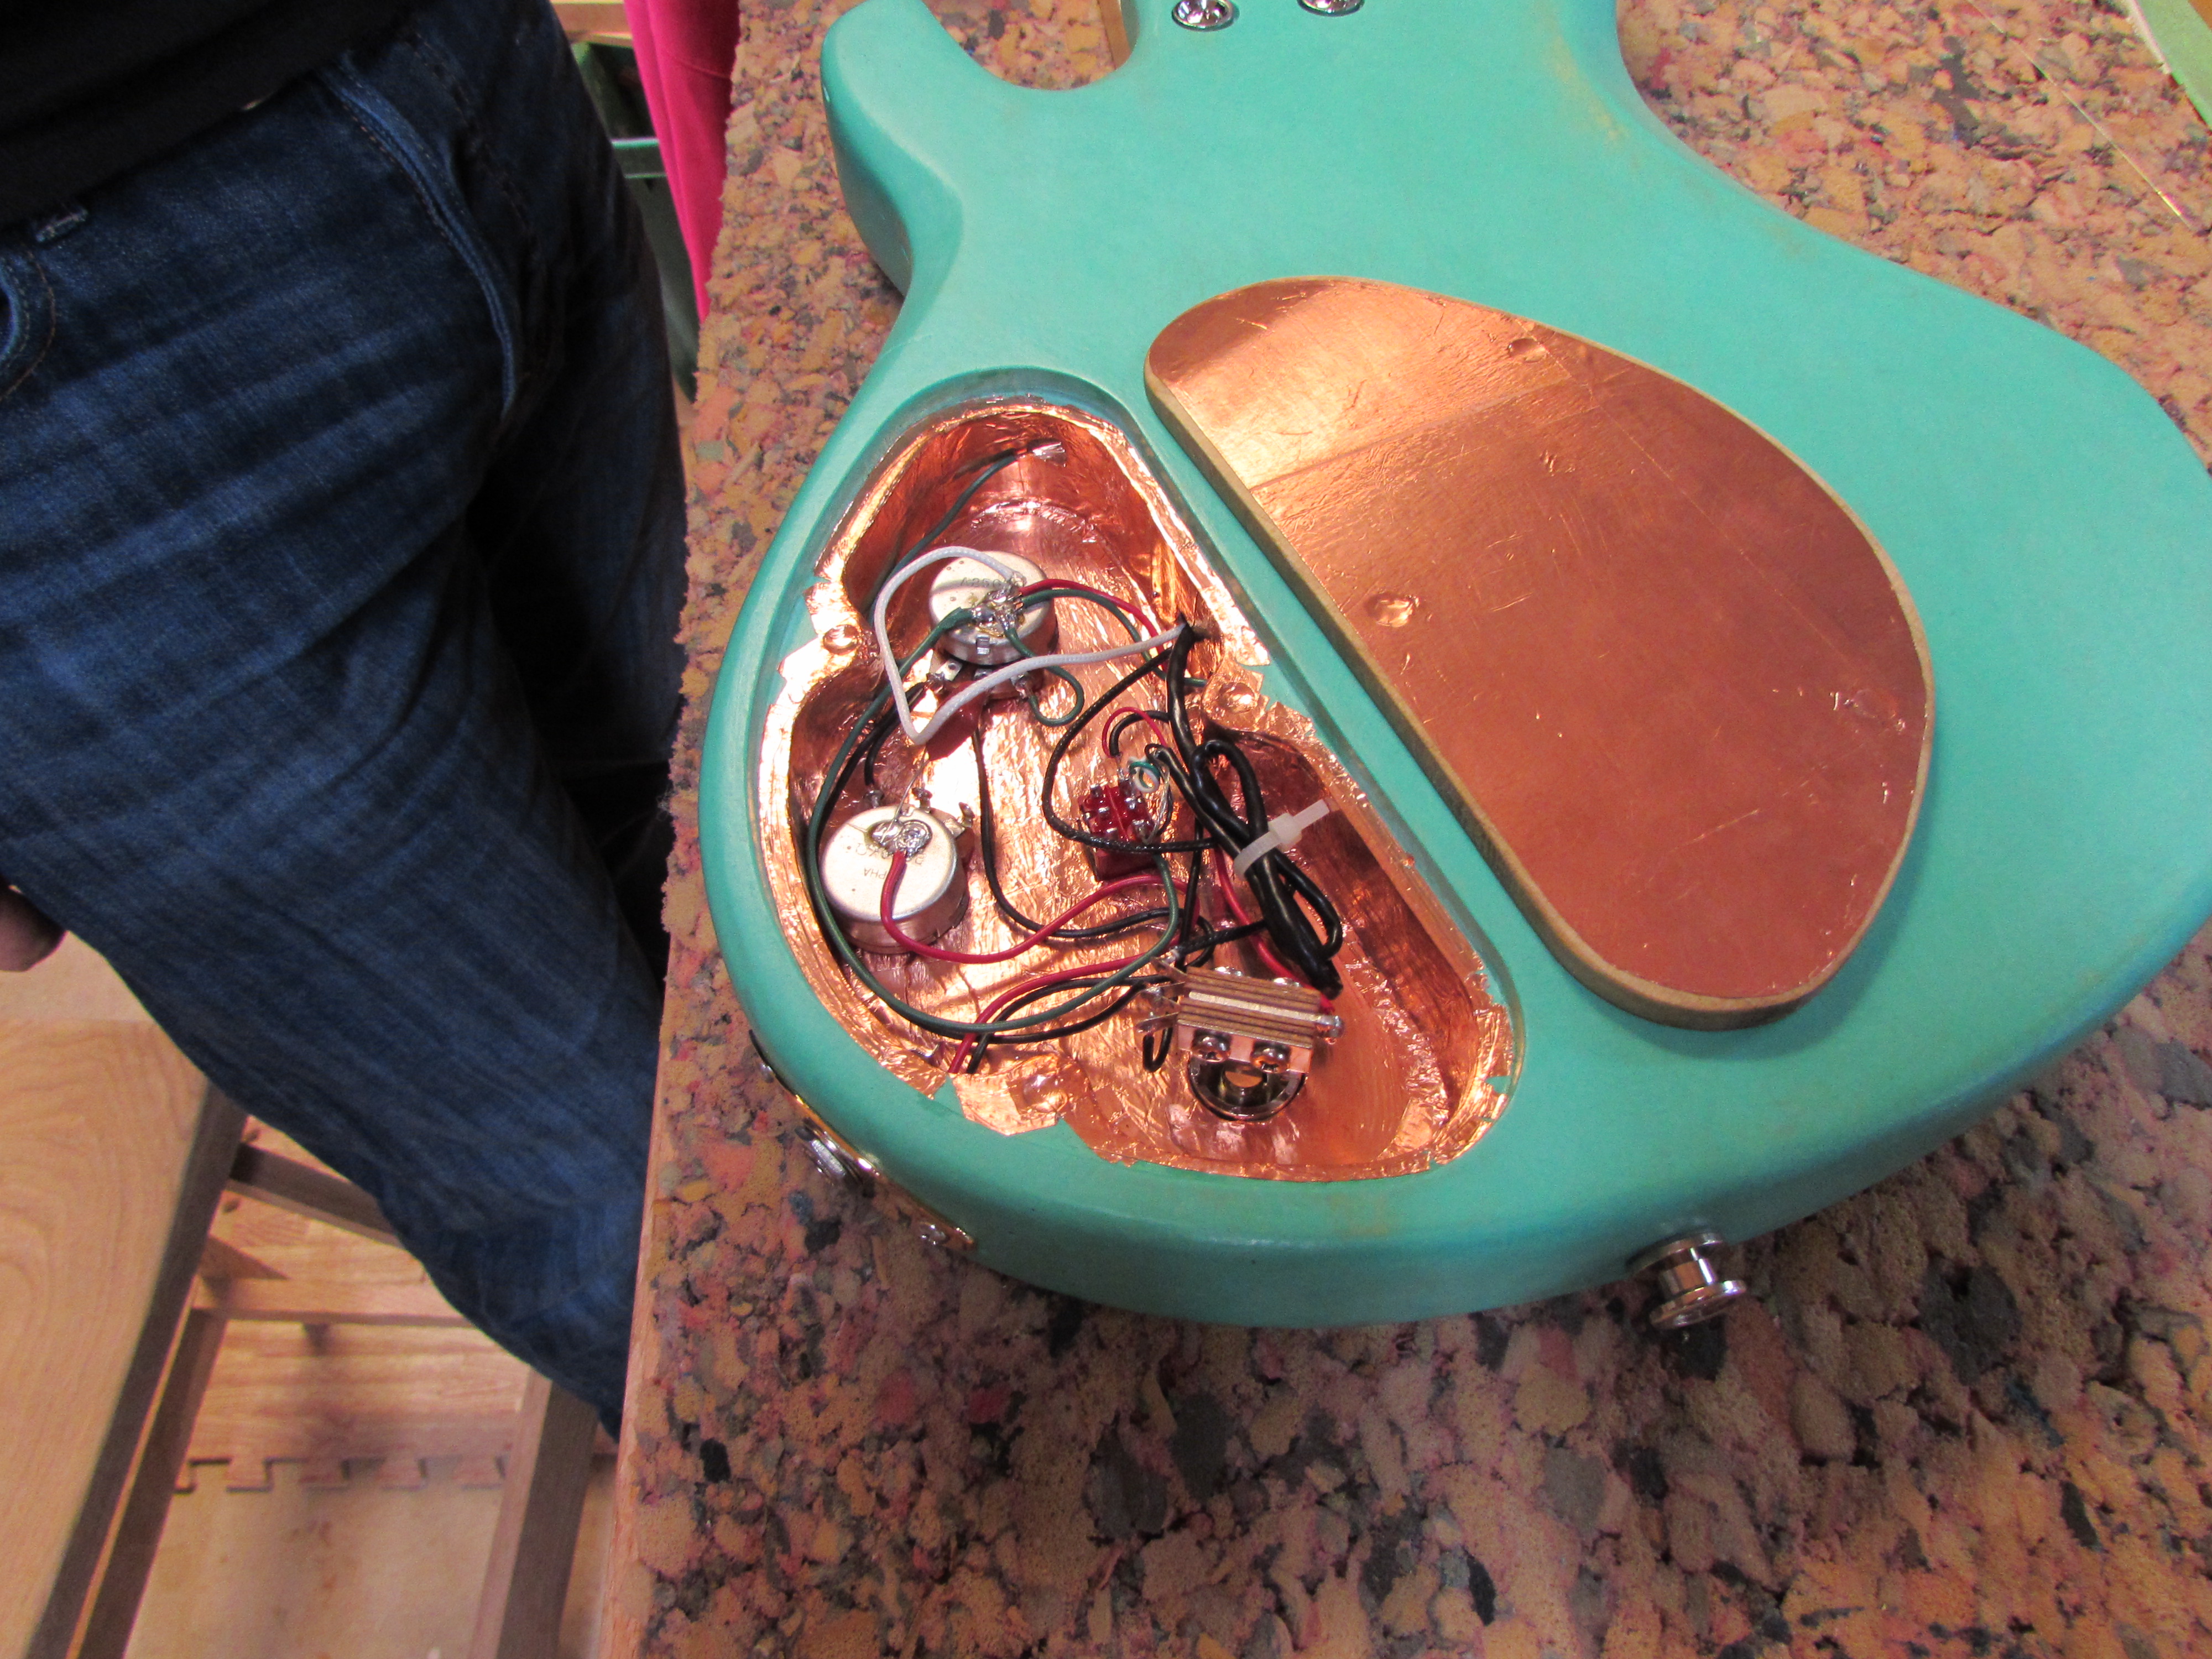
Here is a shot of the copper-lined control cavity.

The guitar looks tiny in Hans’ hands, but it sounds great. I asked him to play a little so I could post a clip for you.
This was a fun little project, and I think Hans learned a lot. We still have that piece of mahogany, so I think another guitar will be in the near future, for Hans.
