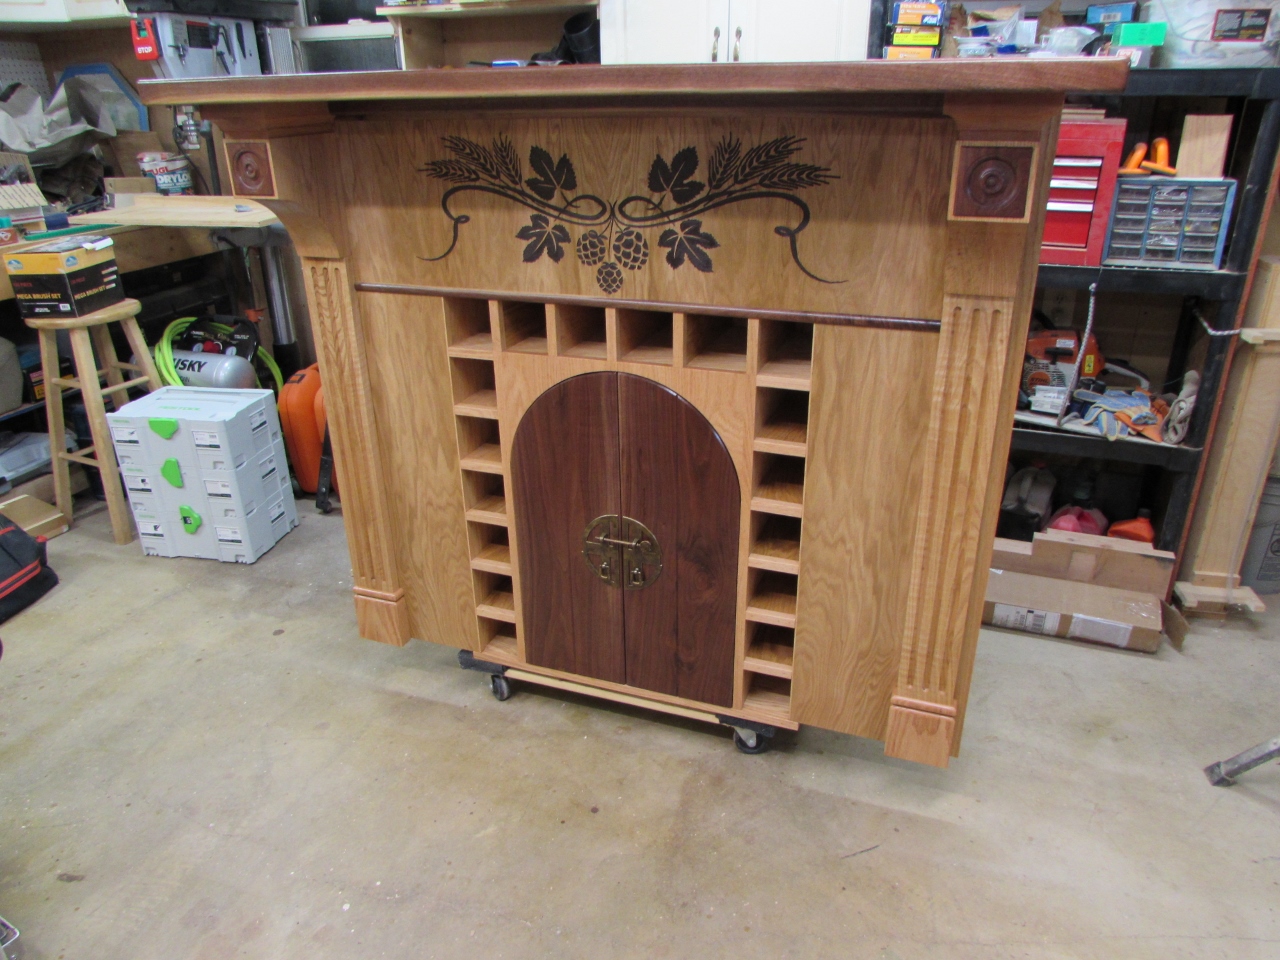
Erin’s Fireplace bar – day 11 Delivered
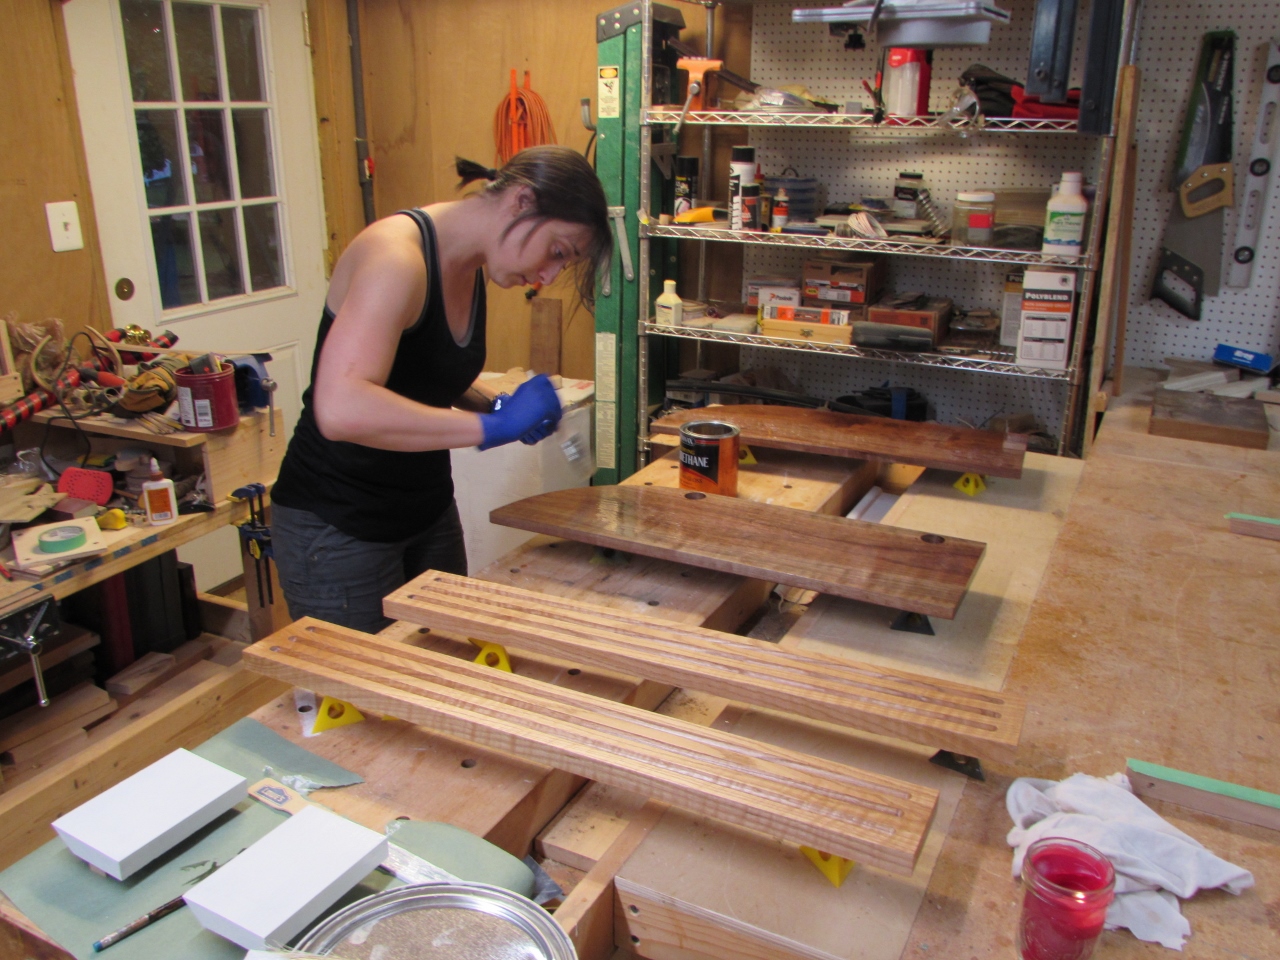
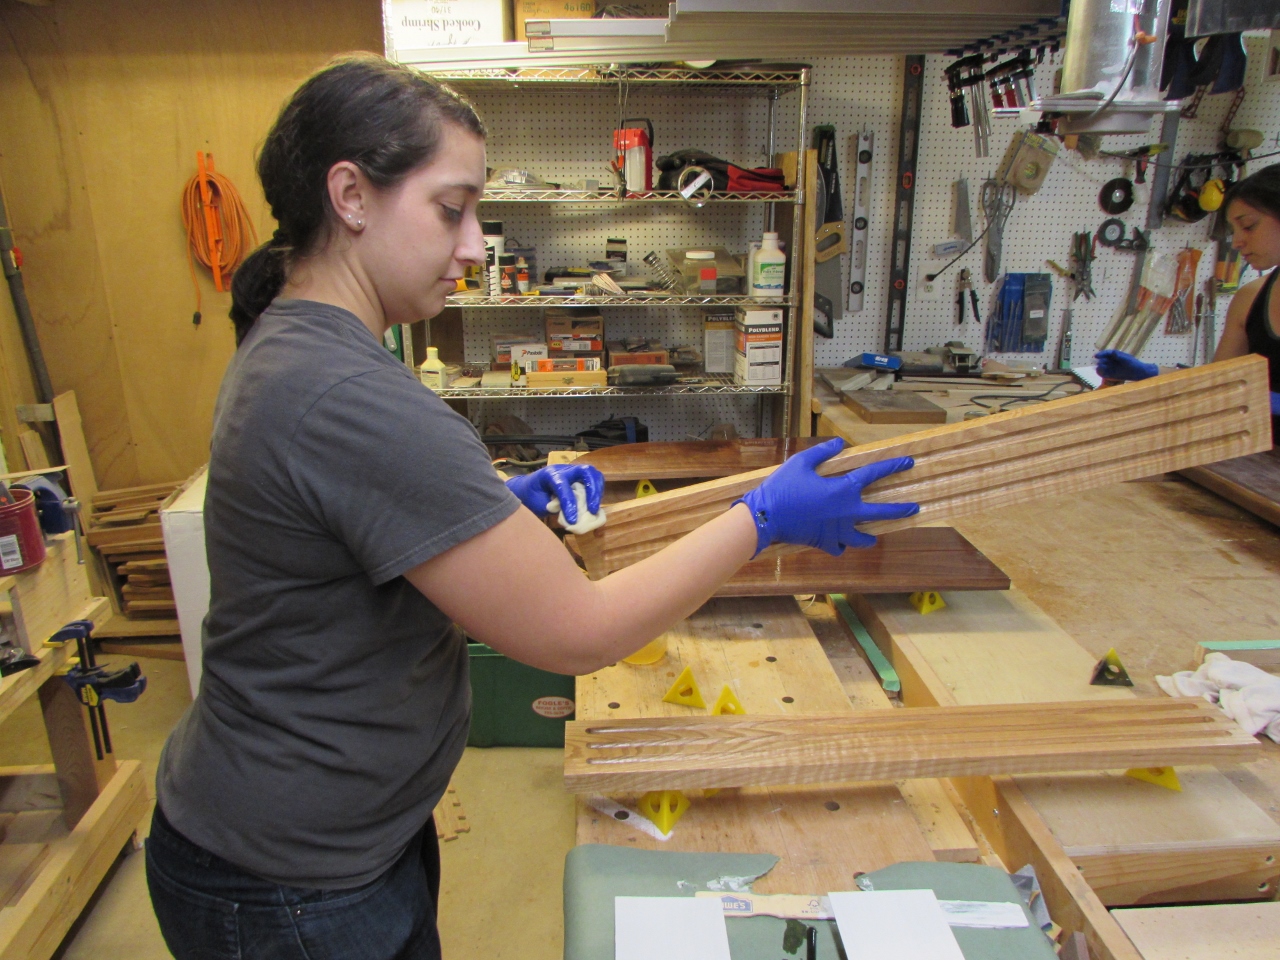
Over the last couple of days we applied three coats of polyurethane to the bar. Between each coat, we sanded the entire thing down with 400 grit sandpaper.
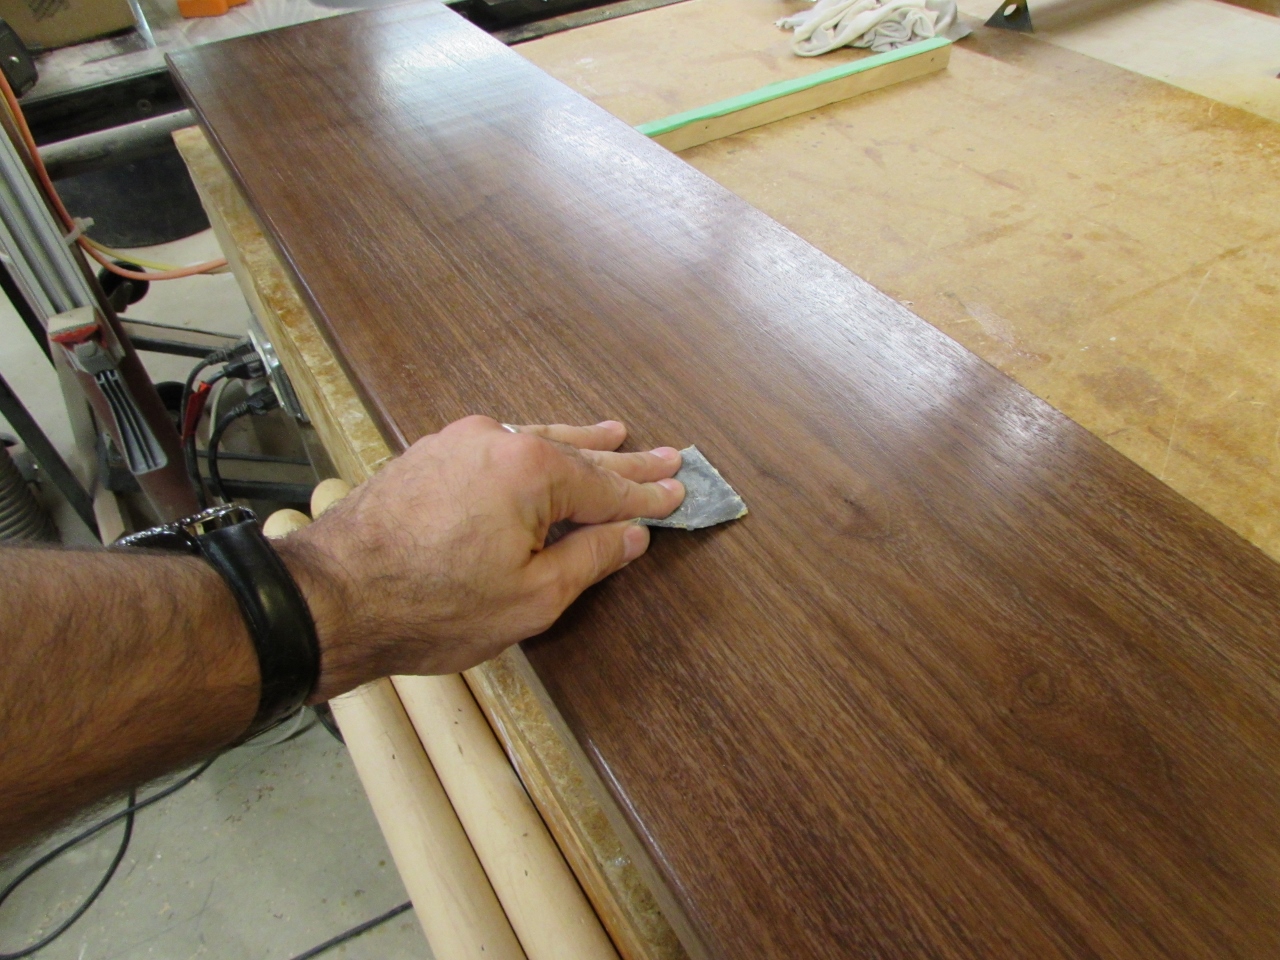
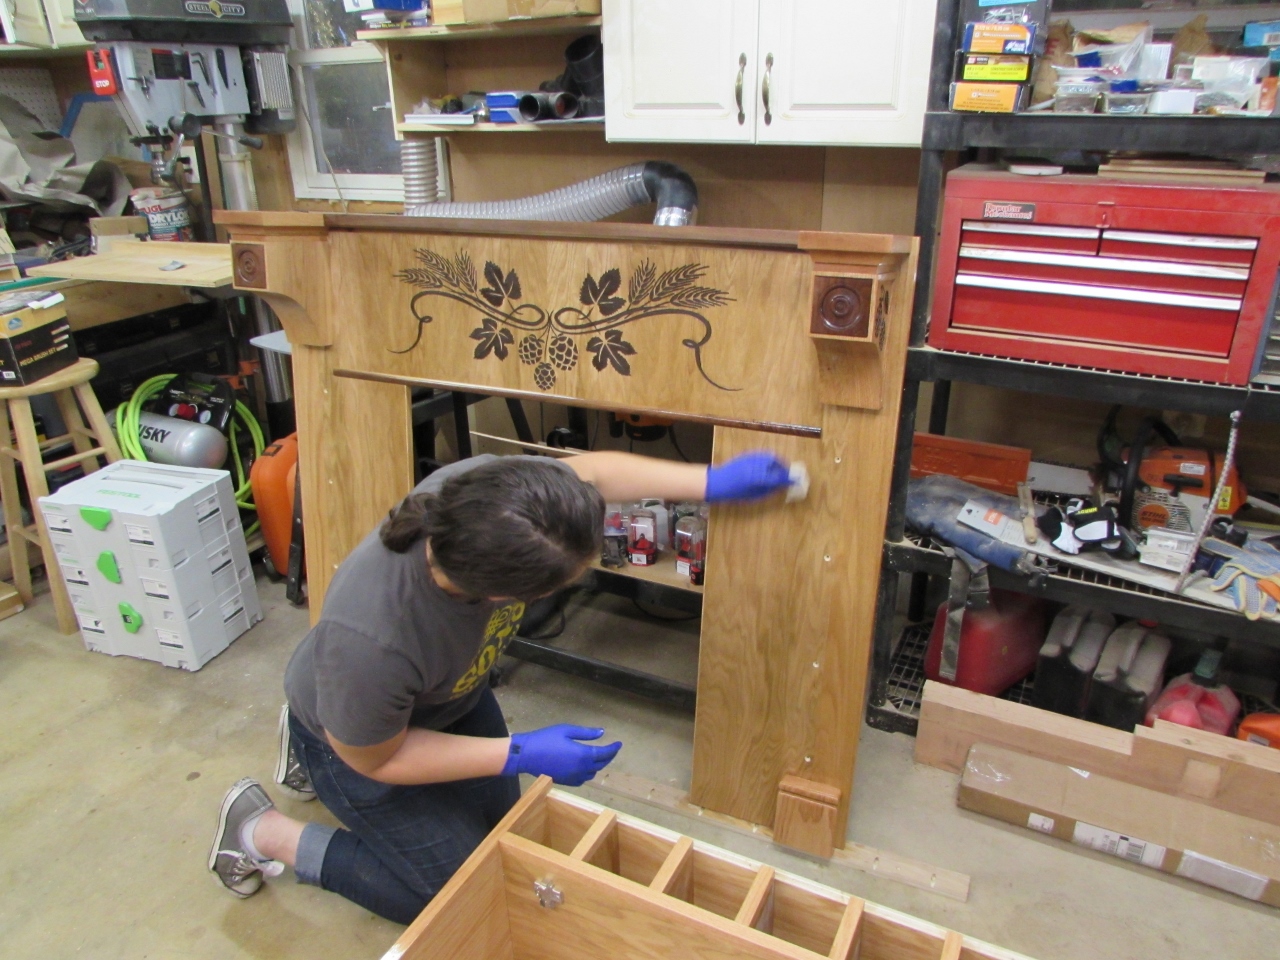
When the girls came over to apply the third coat, I had Erin using the wiping poly anywhere detailed, to avoid having any drips or runs. Diana was in charge of the brush.
I expect the mantle and the doors to possibly see a bit more wear, so they got the heavier brush coats to get a bit more protection.
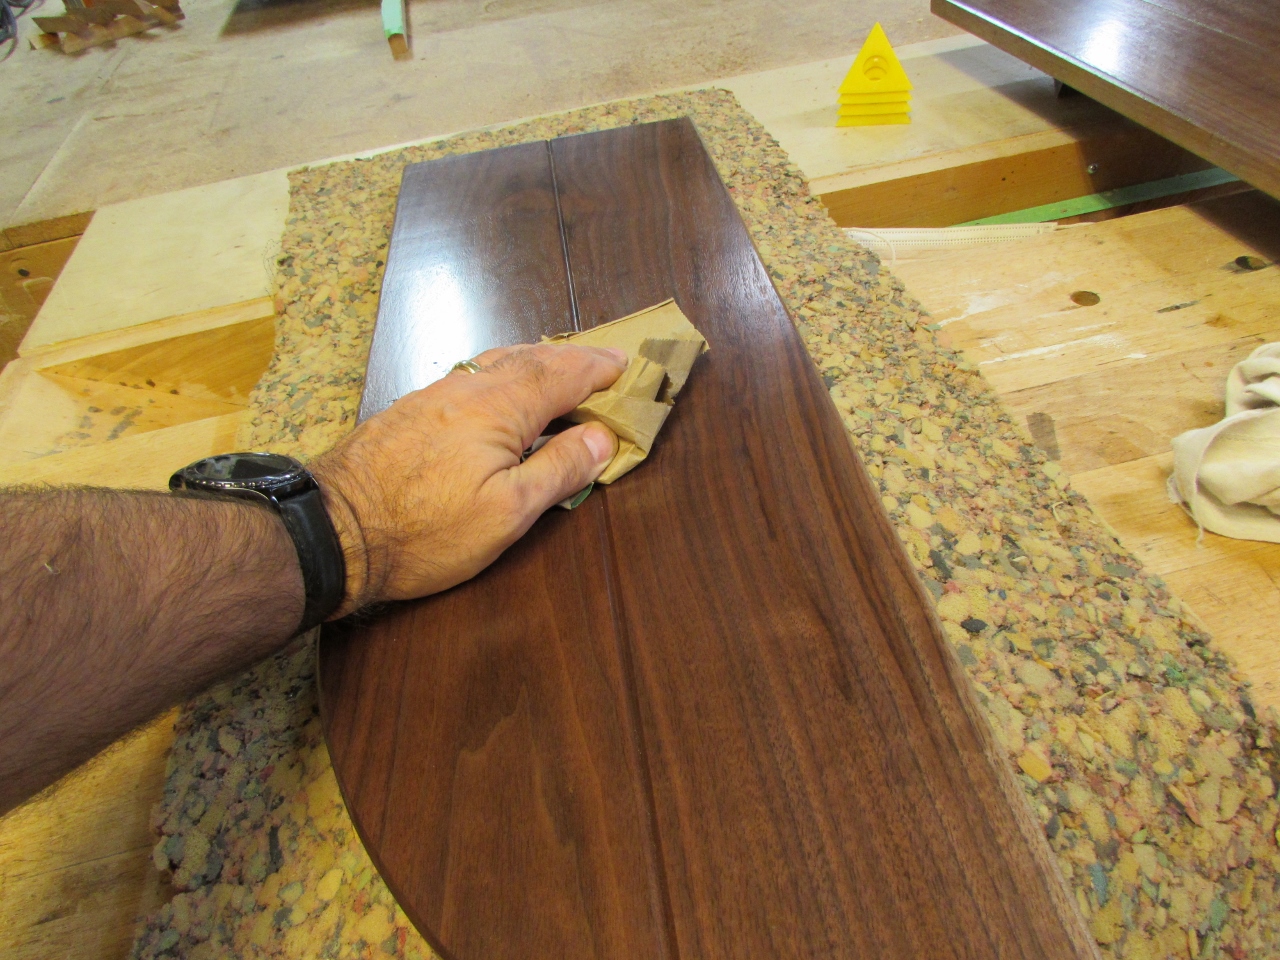
After everything had sat drying for about 24 hours, I gave it all a rub-down with some wadded up brown paper. It does a surprisingly good job of buffing out the final coat.
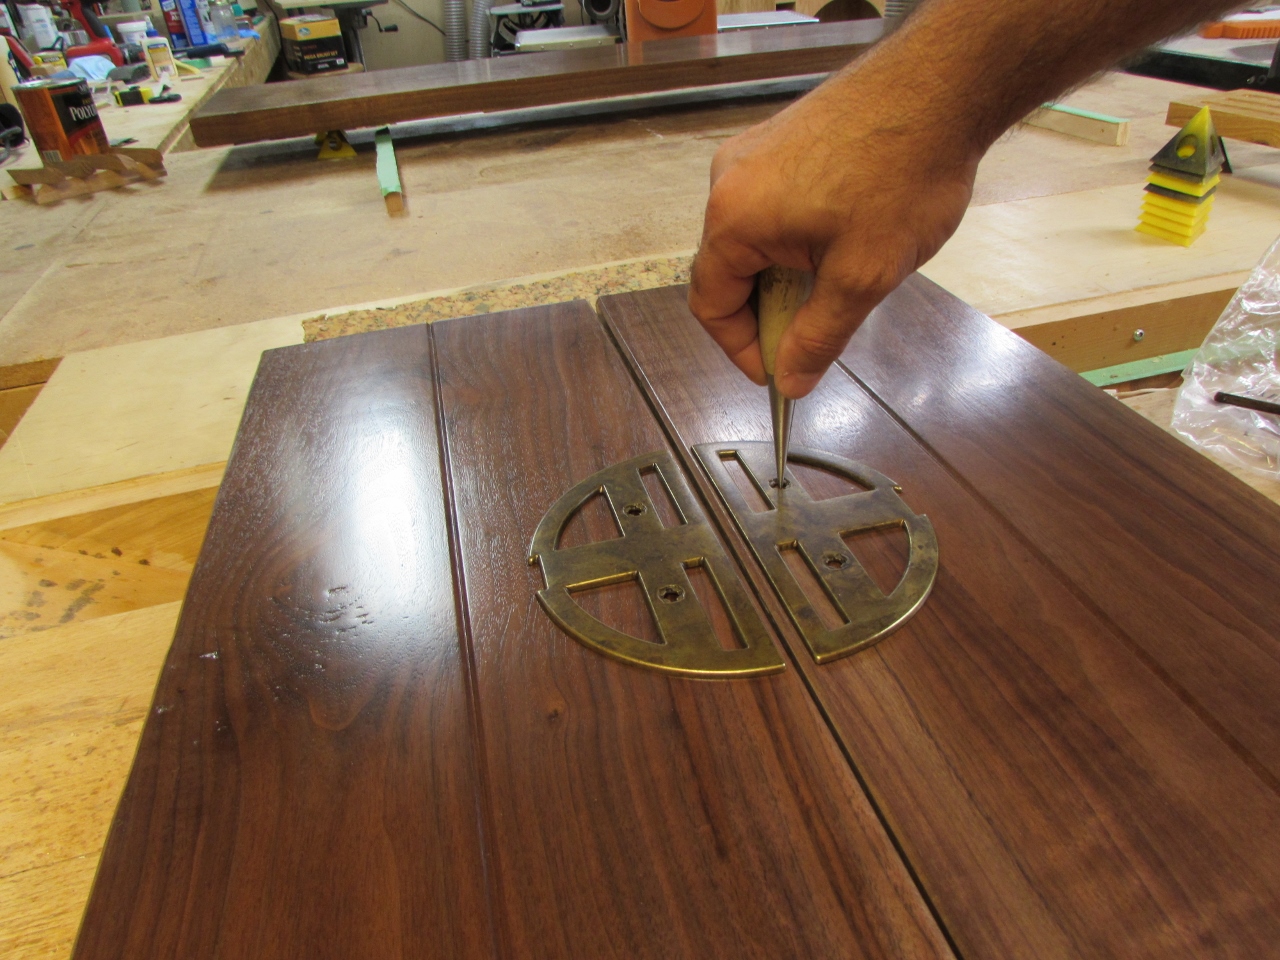
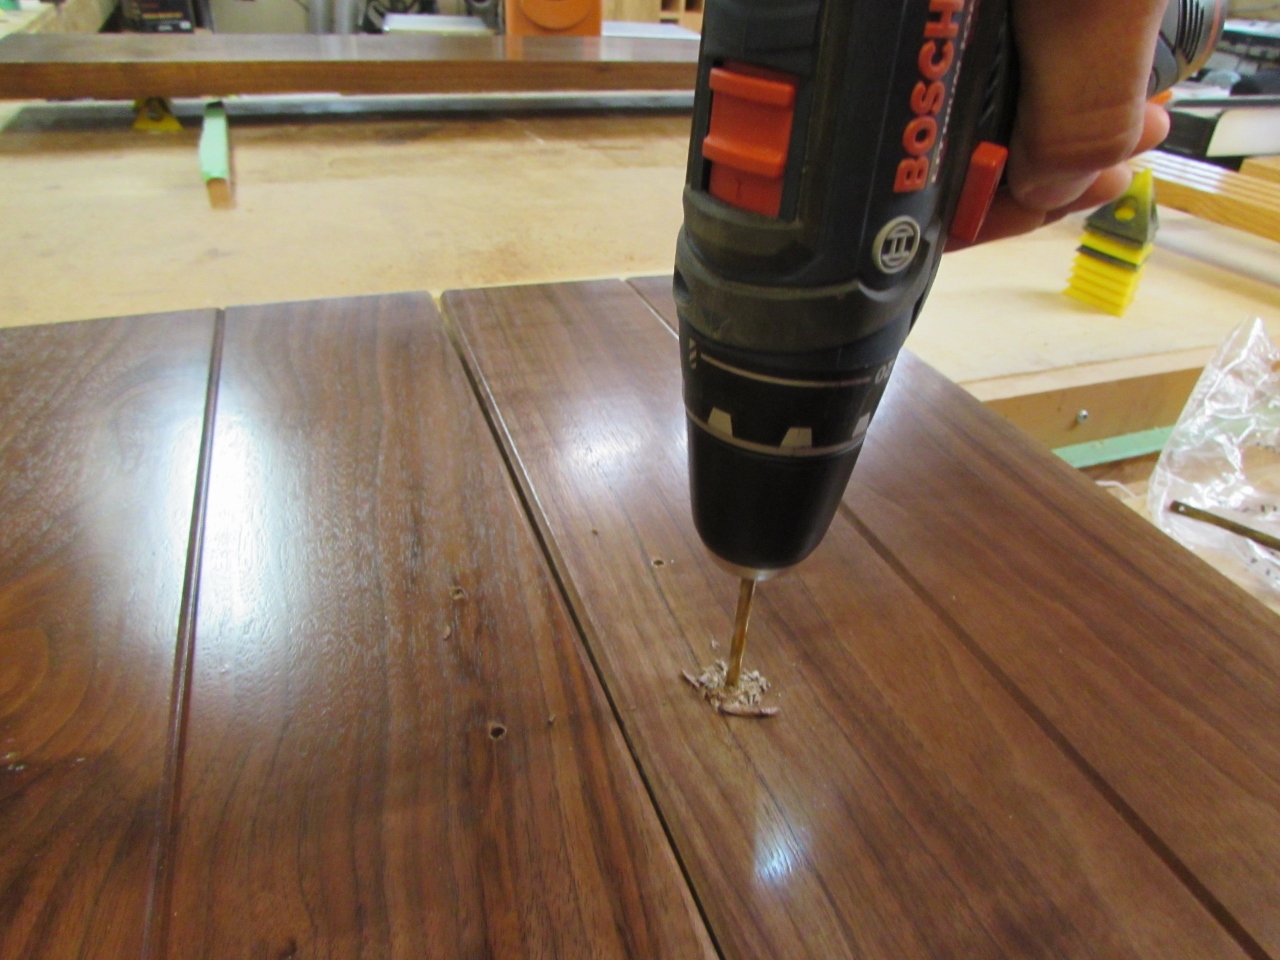
Next, I started installing the hardware.
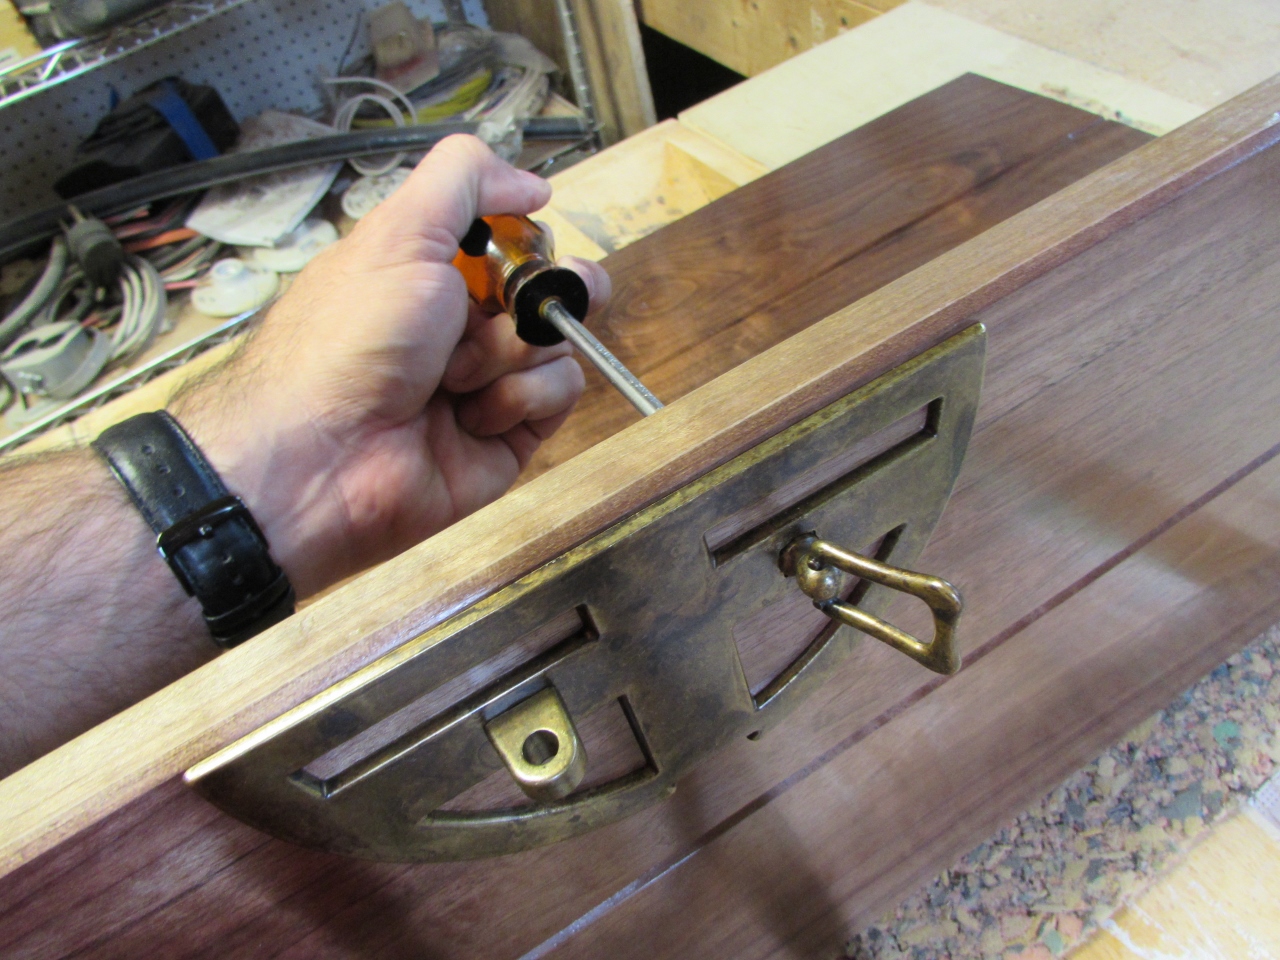
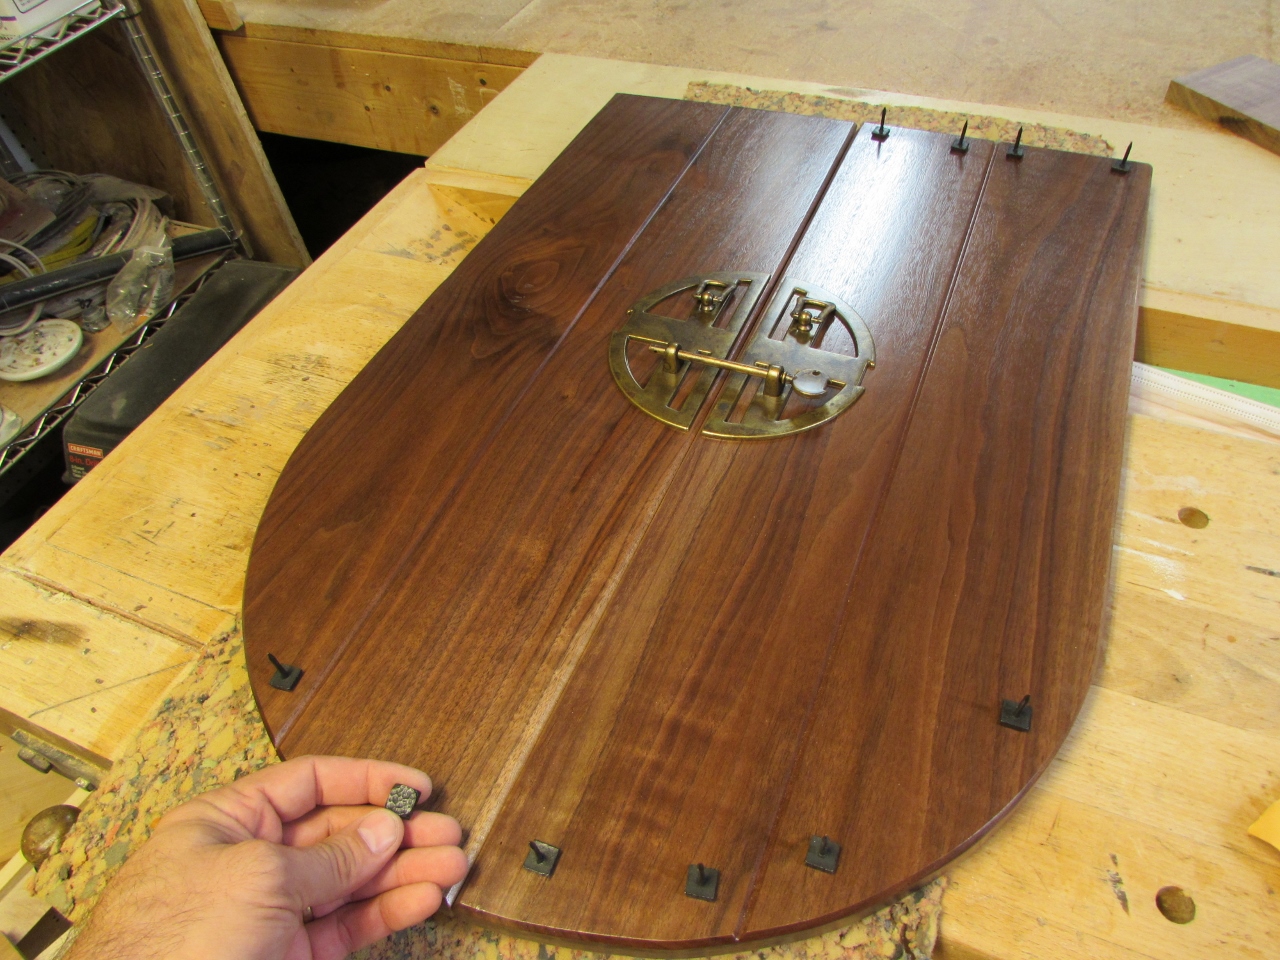
The door latch, that Erin picked out, is unique and it looked really nice, when installed.
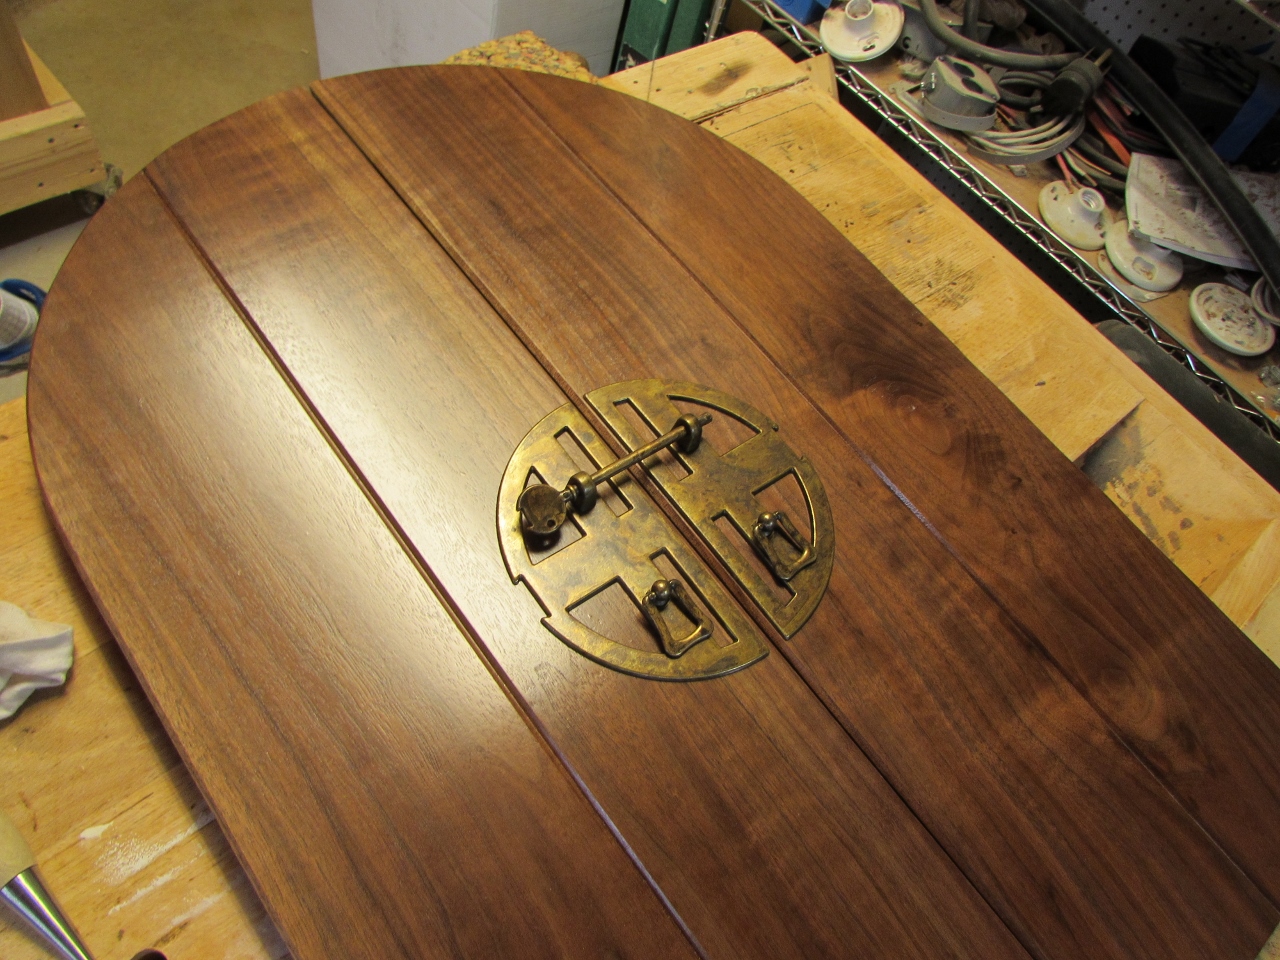
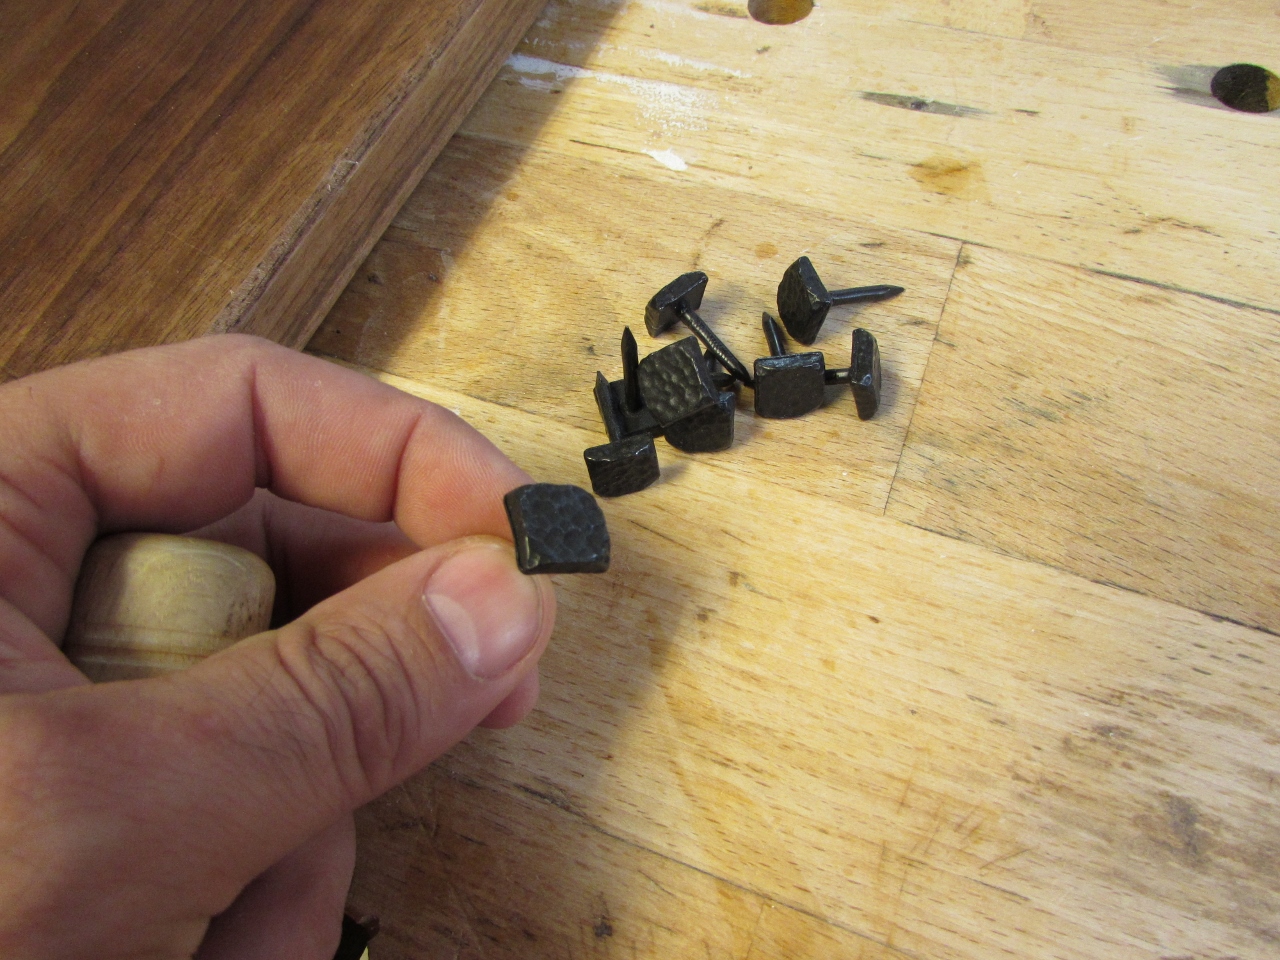
Our plan was to install these metal studs along the edges, but we inadvertently ordered too few. Erin decided to hold off installing any of them, until we had them all. Still looks good without them though, and we can easily pull the doors off and install the studs when we have more.
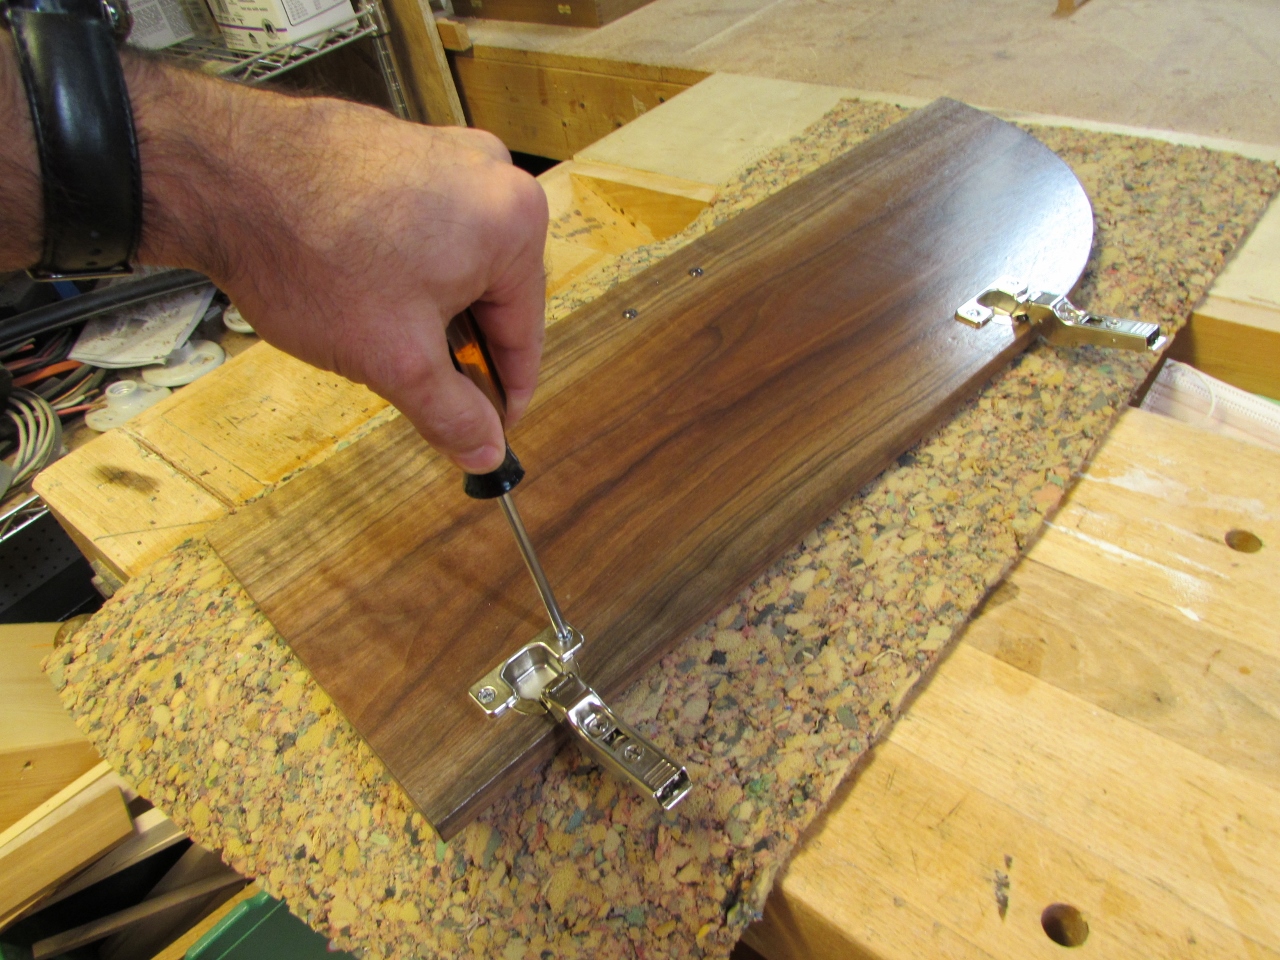
After I reinstalled the hinges, I put it all together, just to see how it all looked. Then I took it all apart and loaded it up to deliver.
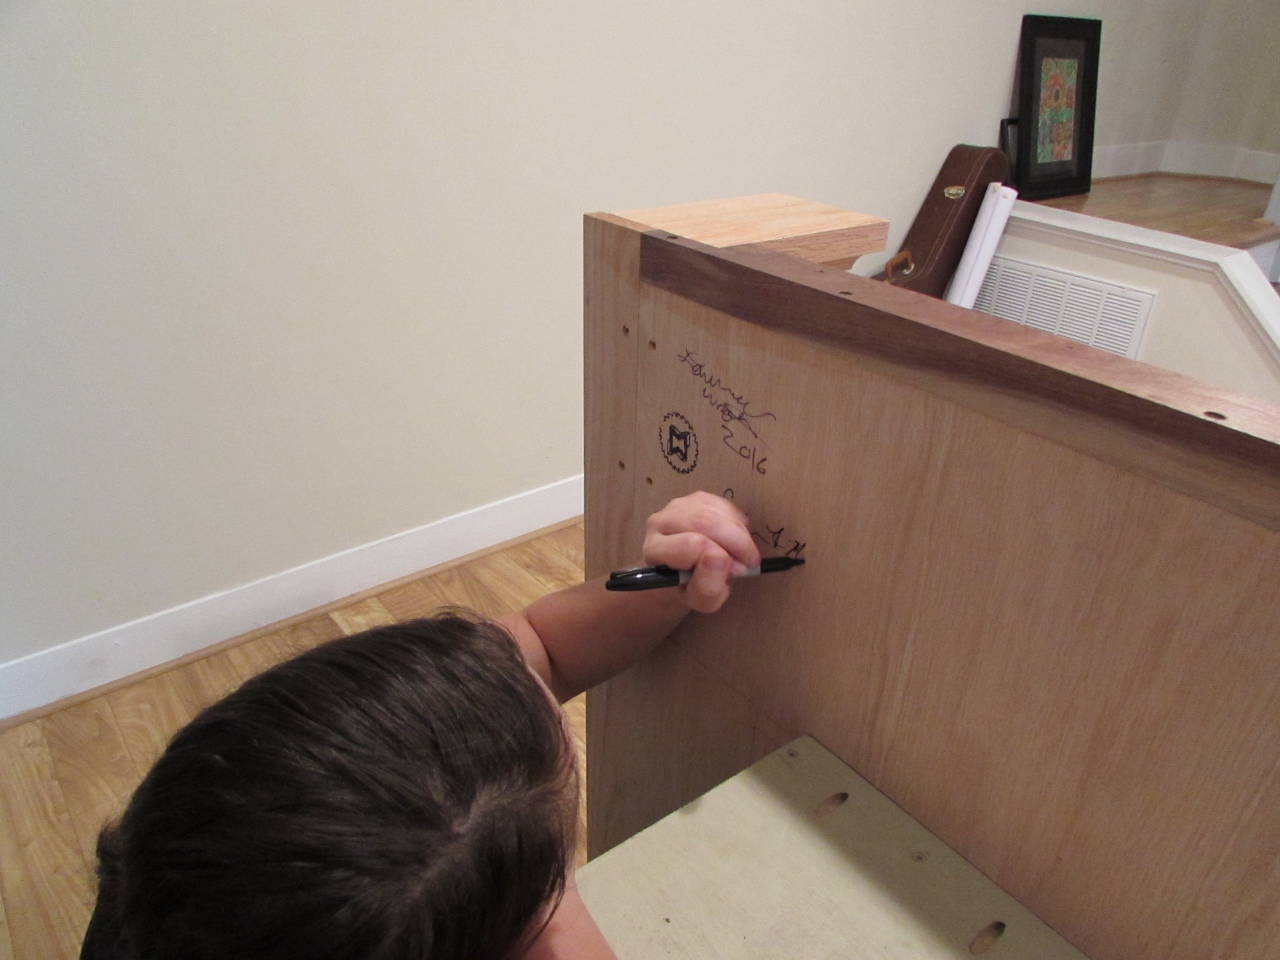
When I got to Erin’s house, she wanted me to sign it, so I made her sign it as well. After all, short of the pieces that were carved on my CNC, she did a majority of the work.

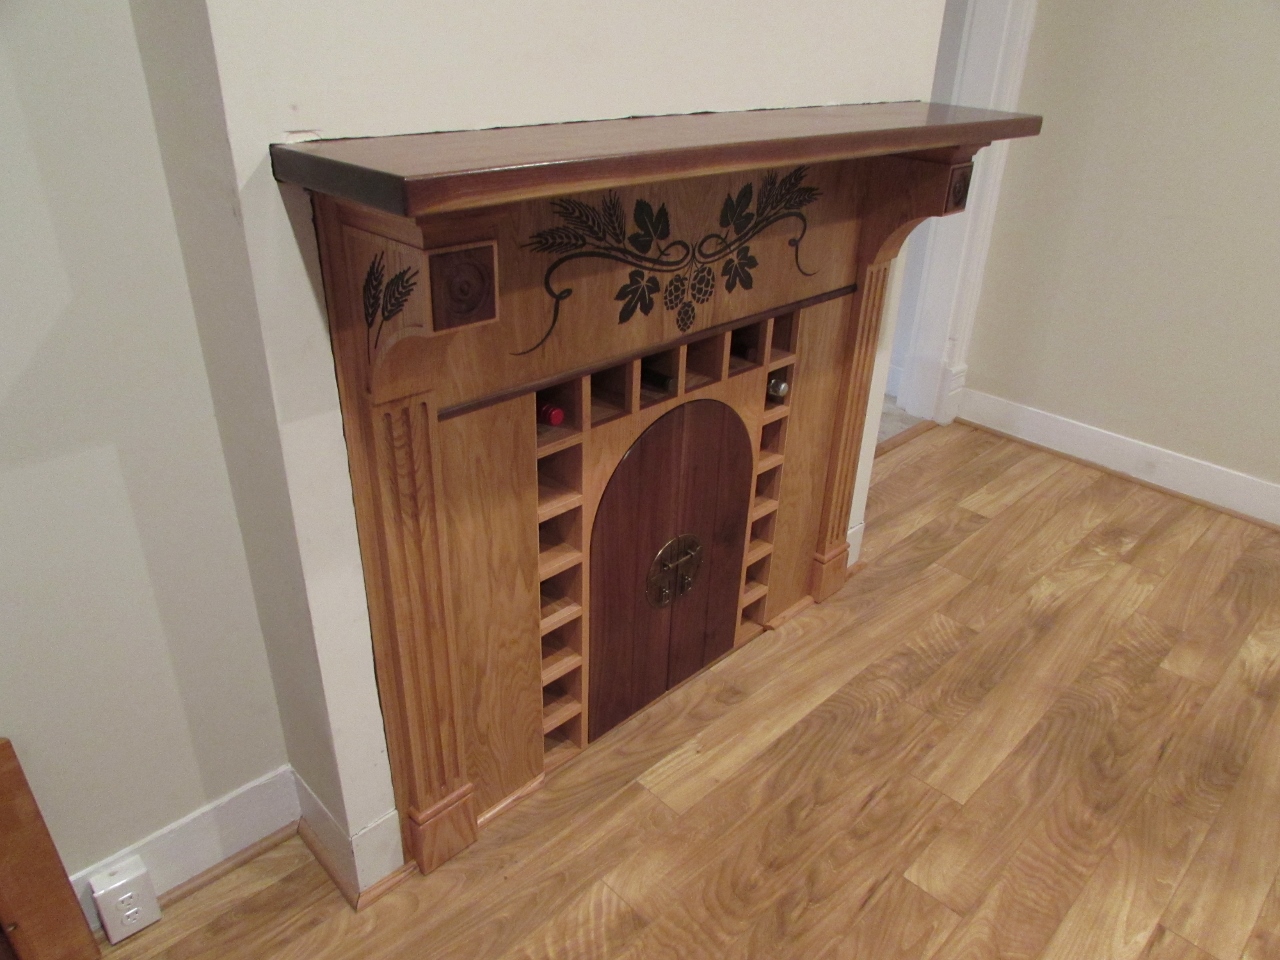
I was a little concerned the bar might be harder to fit in place with the added piece of trim at the bottom, but everything went in smoothly.
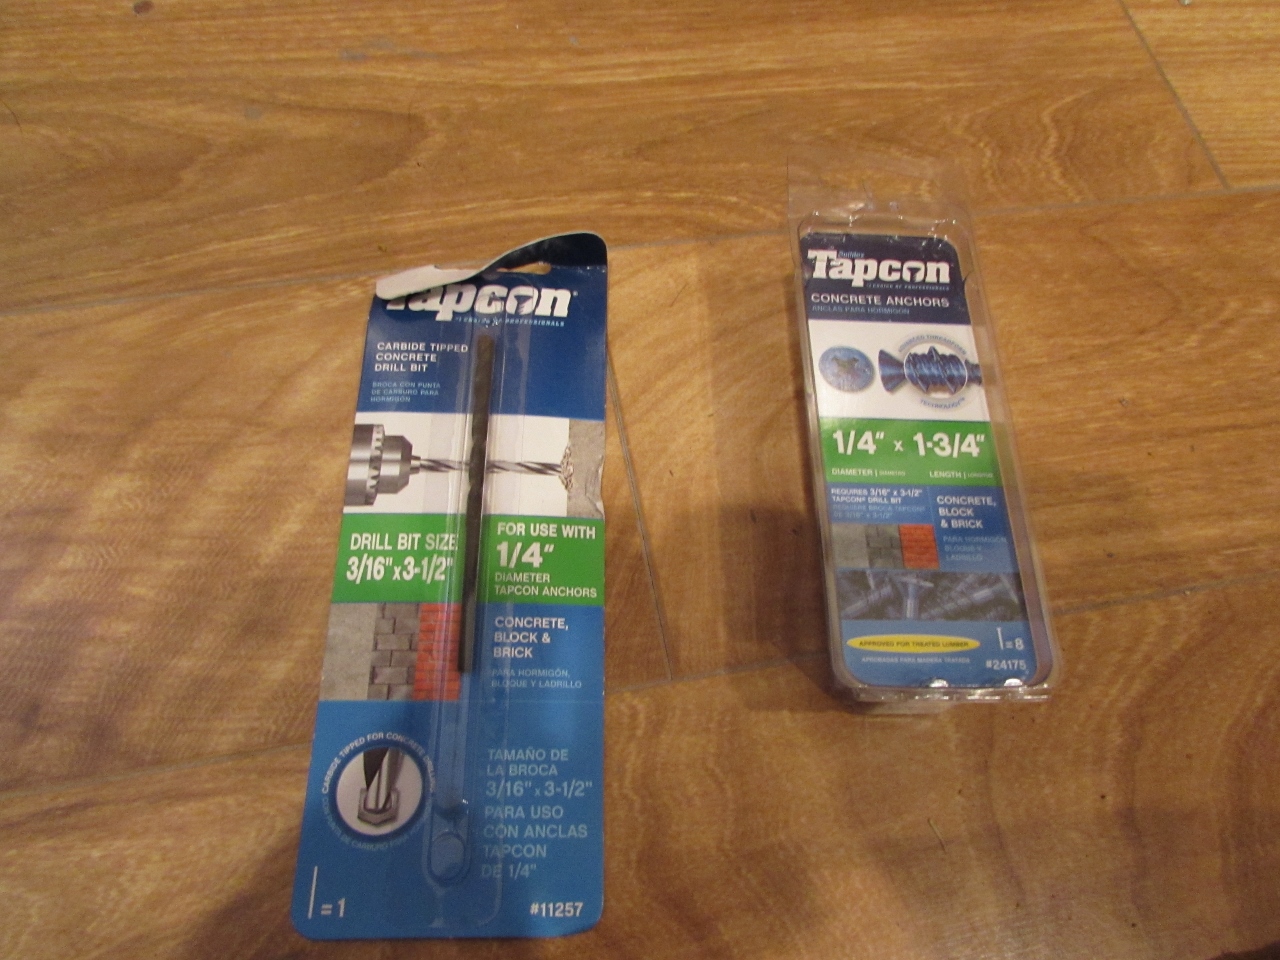
To hold the mantle in place, I picked up some Tapcon masonry screws and a masonry bit to pre-drill the brick wall.
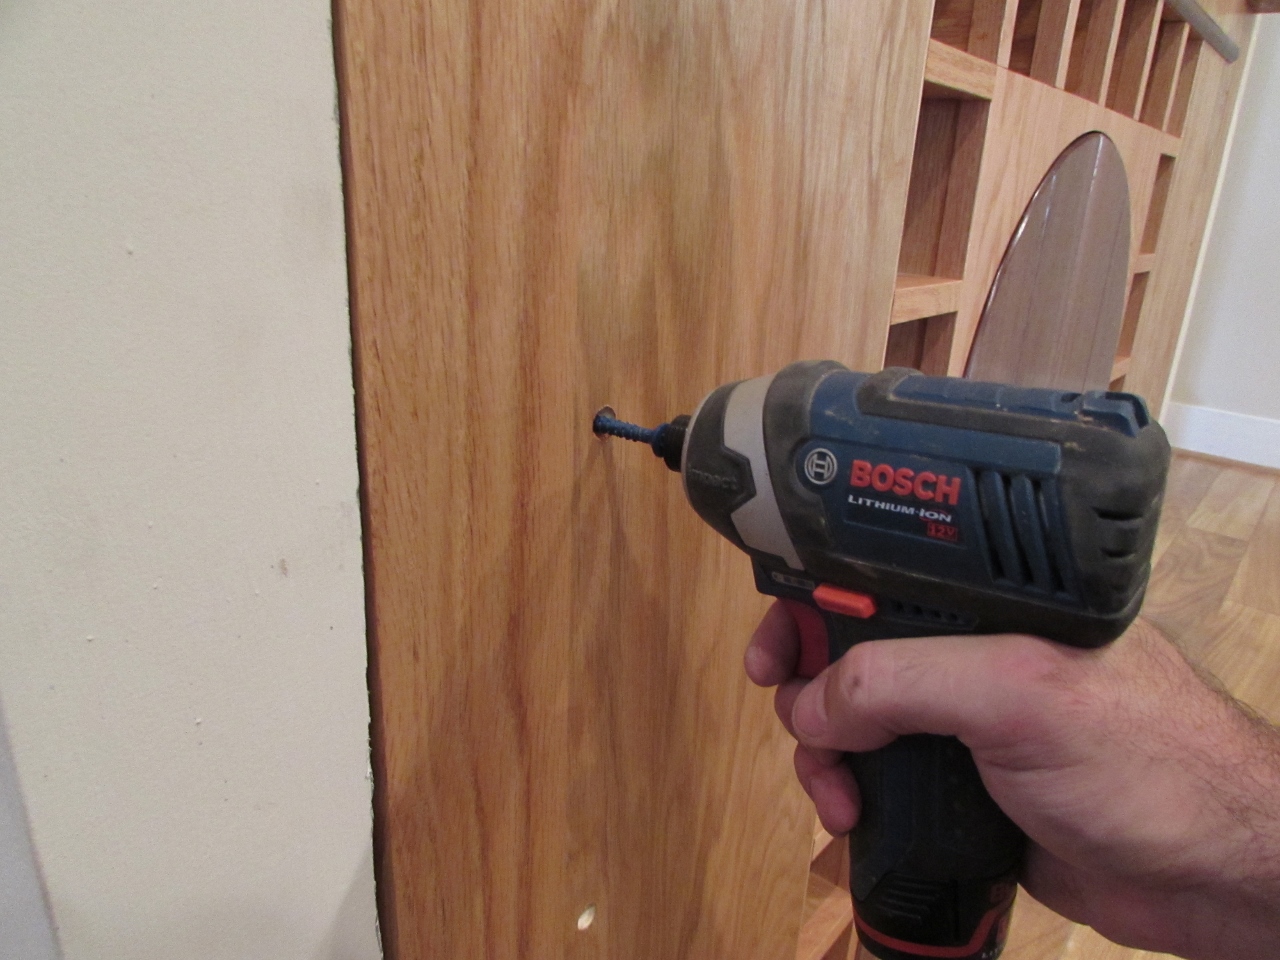
Four screws into each side and the bar was firmly in place.
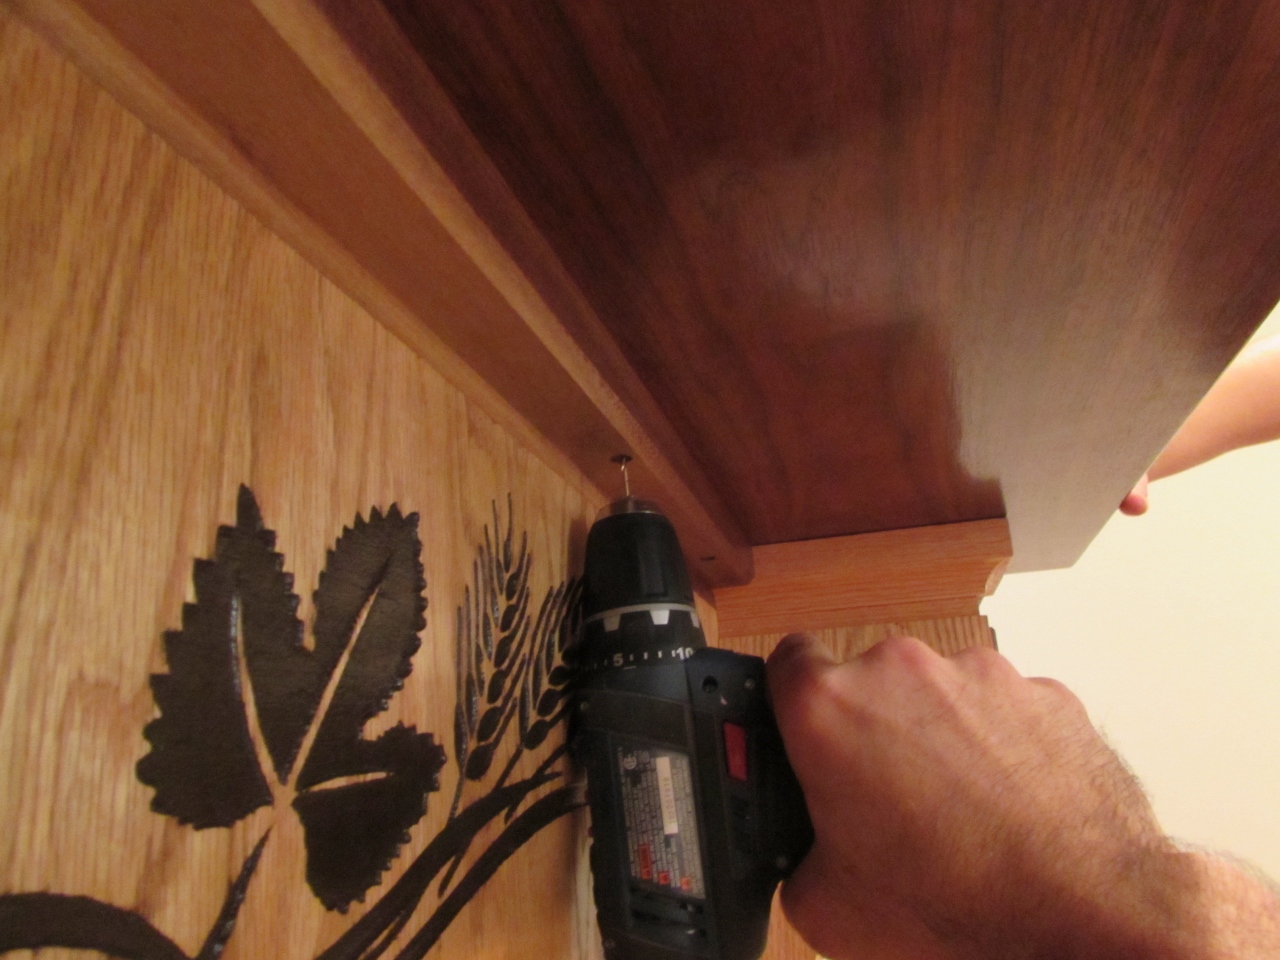
With the mantle in place, I pre-drilled through the mounting flange and screwed it on with some bronze colored screws. You can’t see the screws unless you are laying on the floor, so they worked out well.

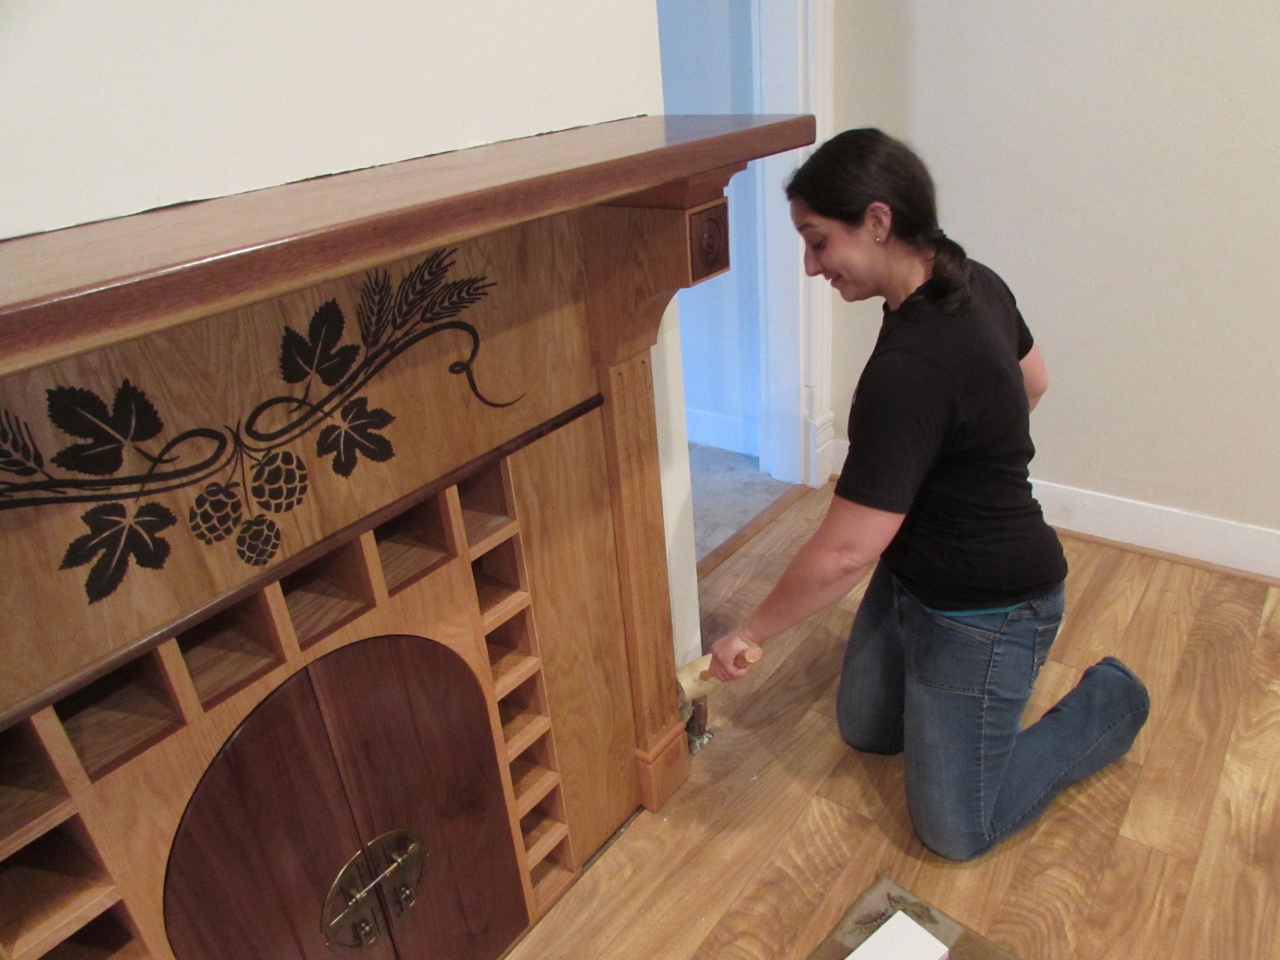
Last step was to install the fluted columns. I had Erin help finesse them into place, then used my brad nailer to attach them, over the Tapcon screws. If they ever want to remove the bar, we can simply pry the columns off and pull the screws.
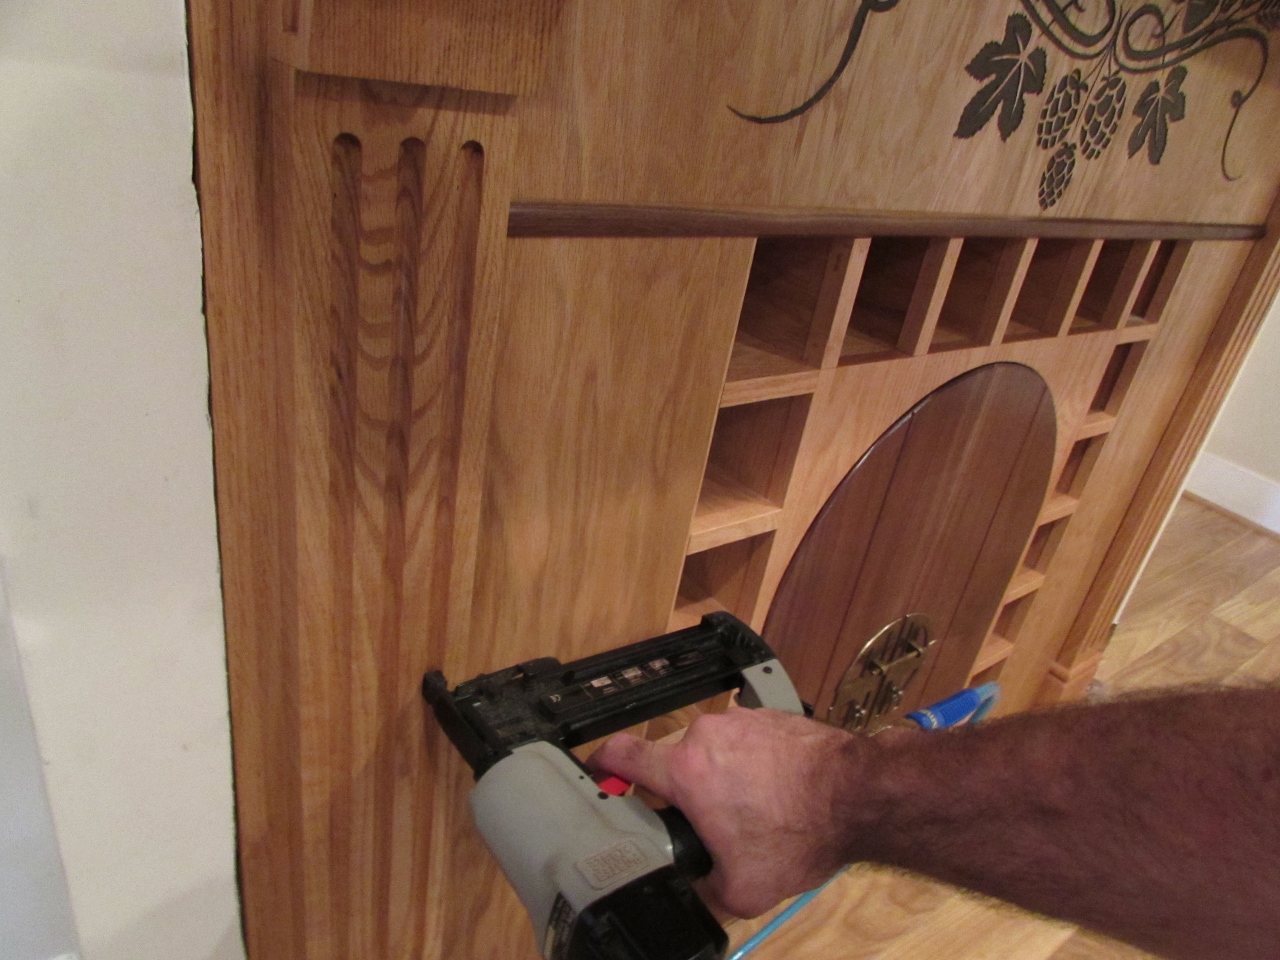
I brought along a few pieces of quarter-round molding to trim the front, at the floor, so I attached those while I had the nailer out. The nail holes were barely visible, but Erin had some rub-in filler that matched really well, so she filled the holes. The girls are going to pick up some white caulk and carefully fill the small gap, in the drywall, that surrounds the façade, but other than that, we are done.

The girls are happy and already planning the next couple of projects… Oh, and by the way, I believe they are accepting donations to help fill the whiskey cabinet and the wine rack.