
Erin’s Fireplace bar – day 10
Almost ready to wrap this project up. Just a few more details and we should be able to install this weekend.
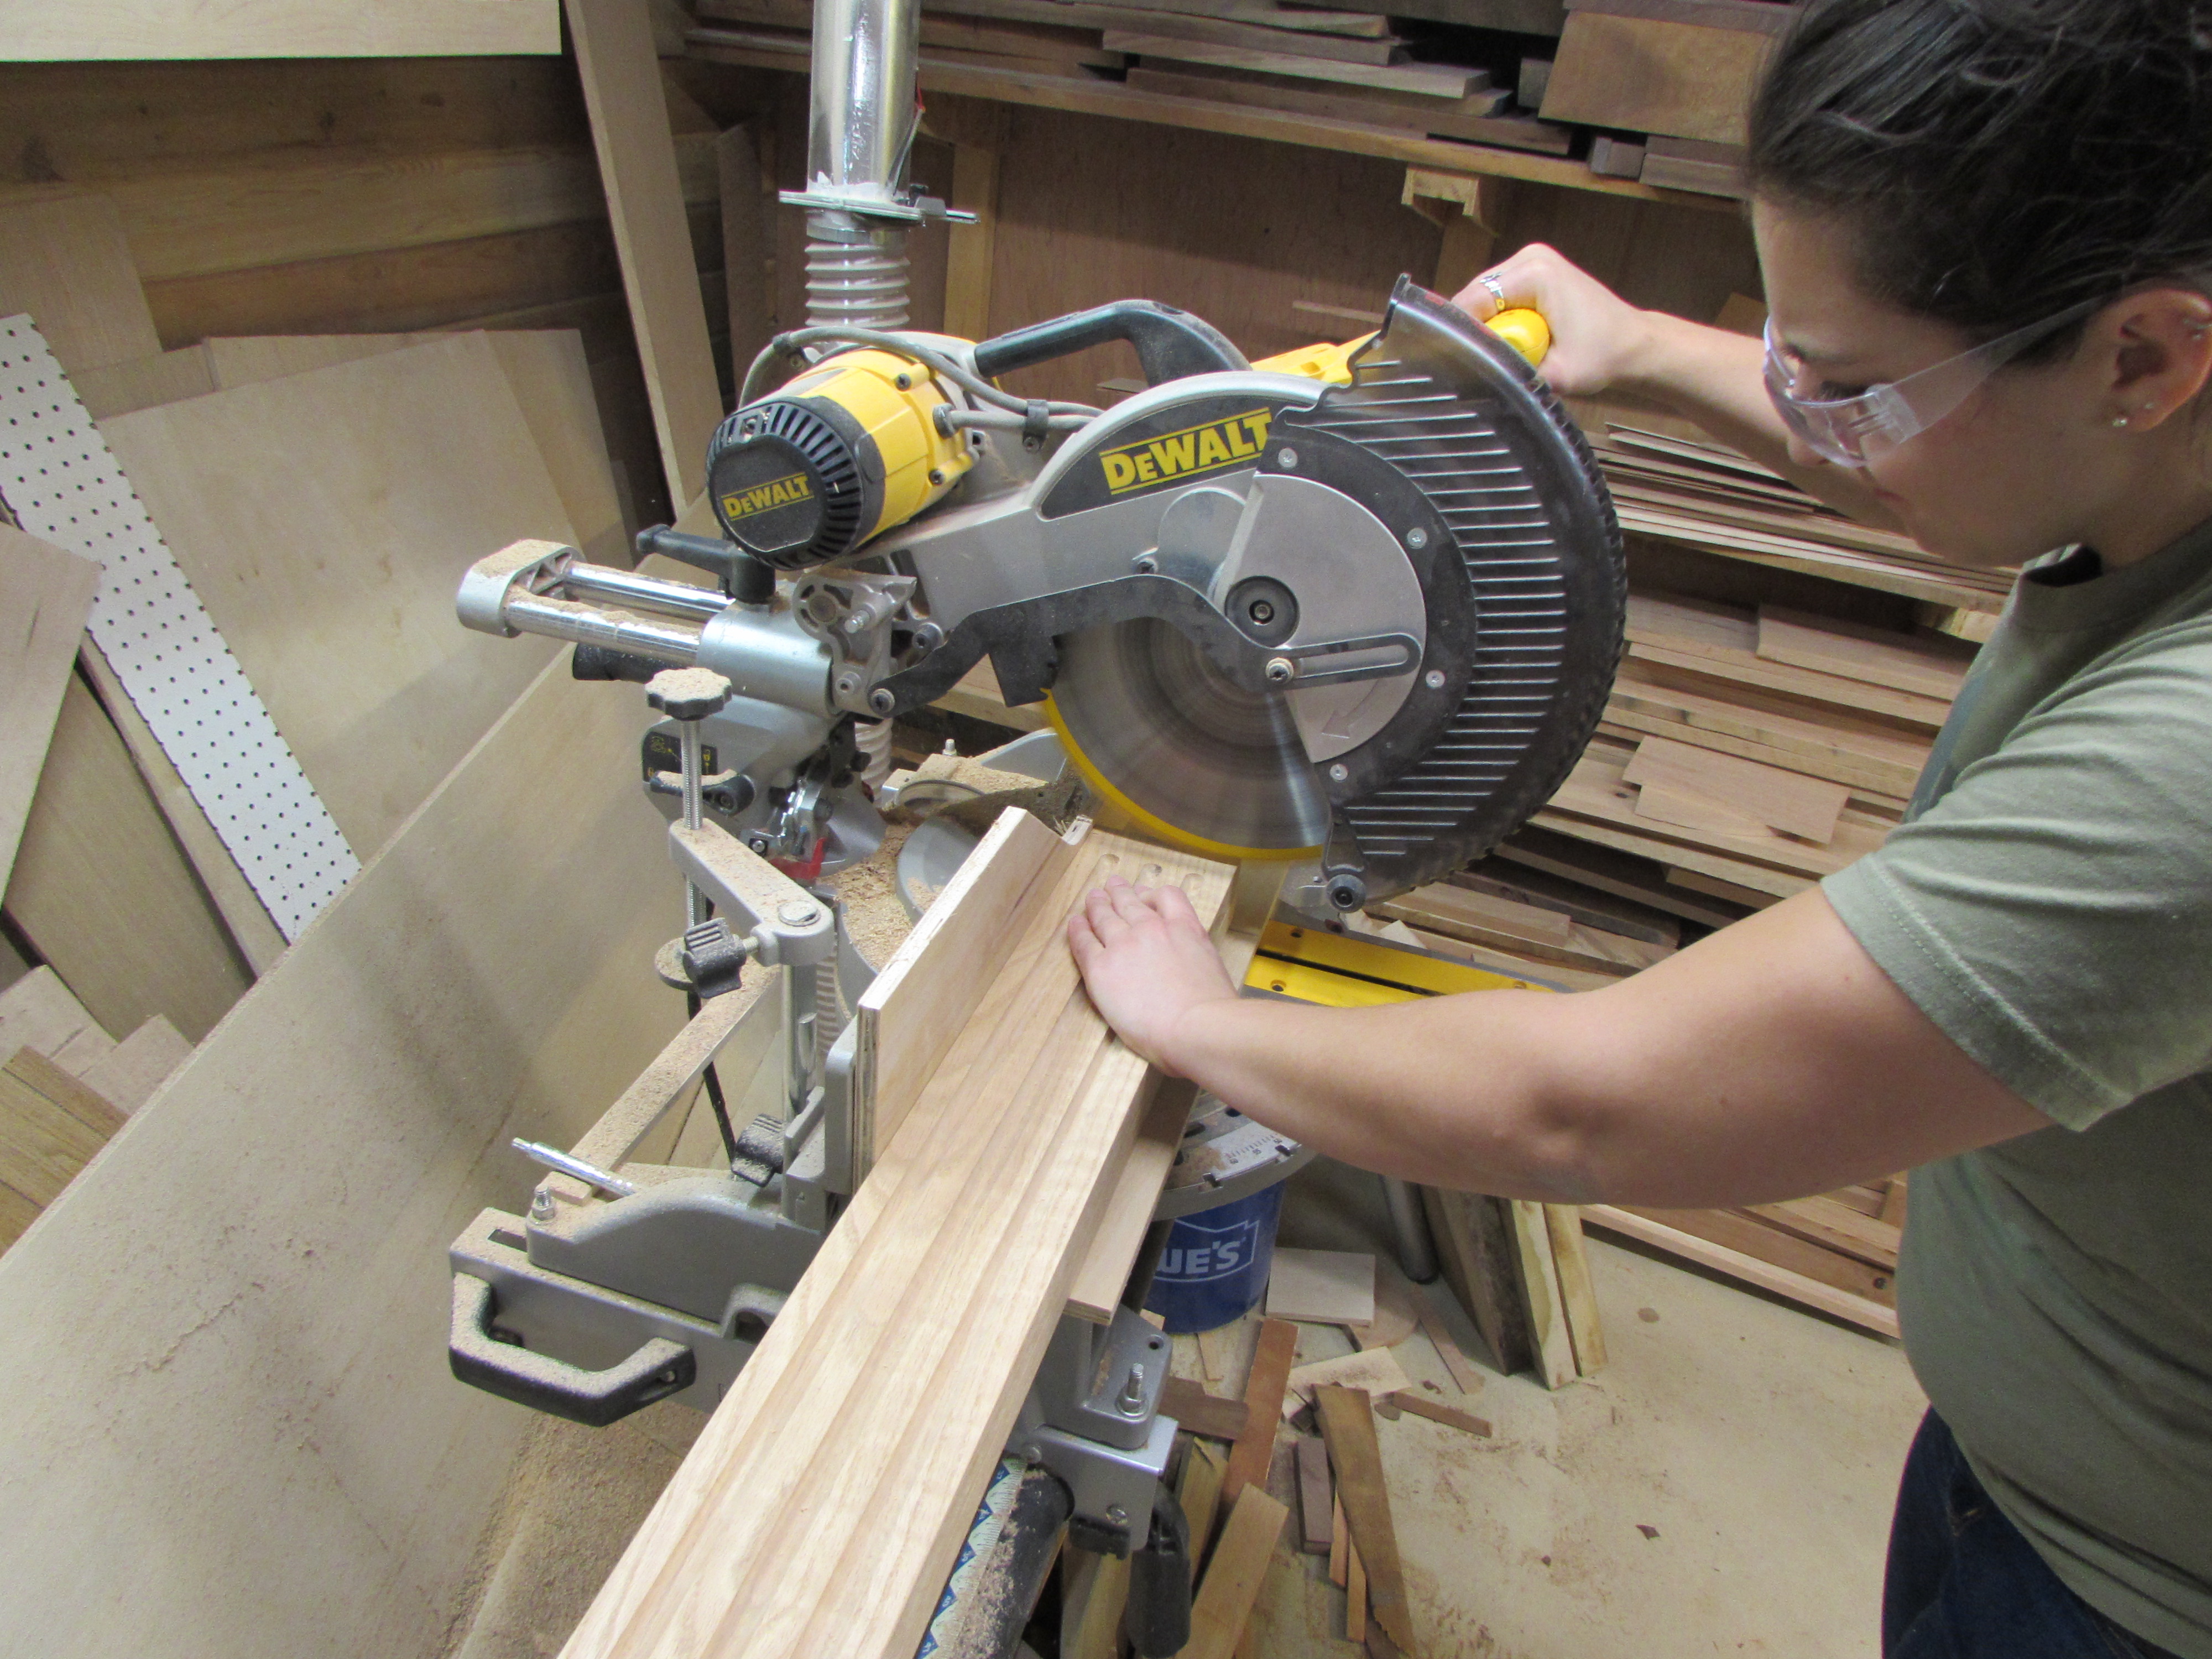
When I did the dry-fit on Saturday, I took a measurement for the columns. They were cut oversize to allow for fine tuning. We needed to lose about 1-1/2″, so we took about 1/2″ from each end of the columns, as well as the bottom of the plinth.
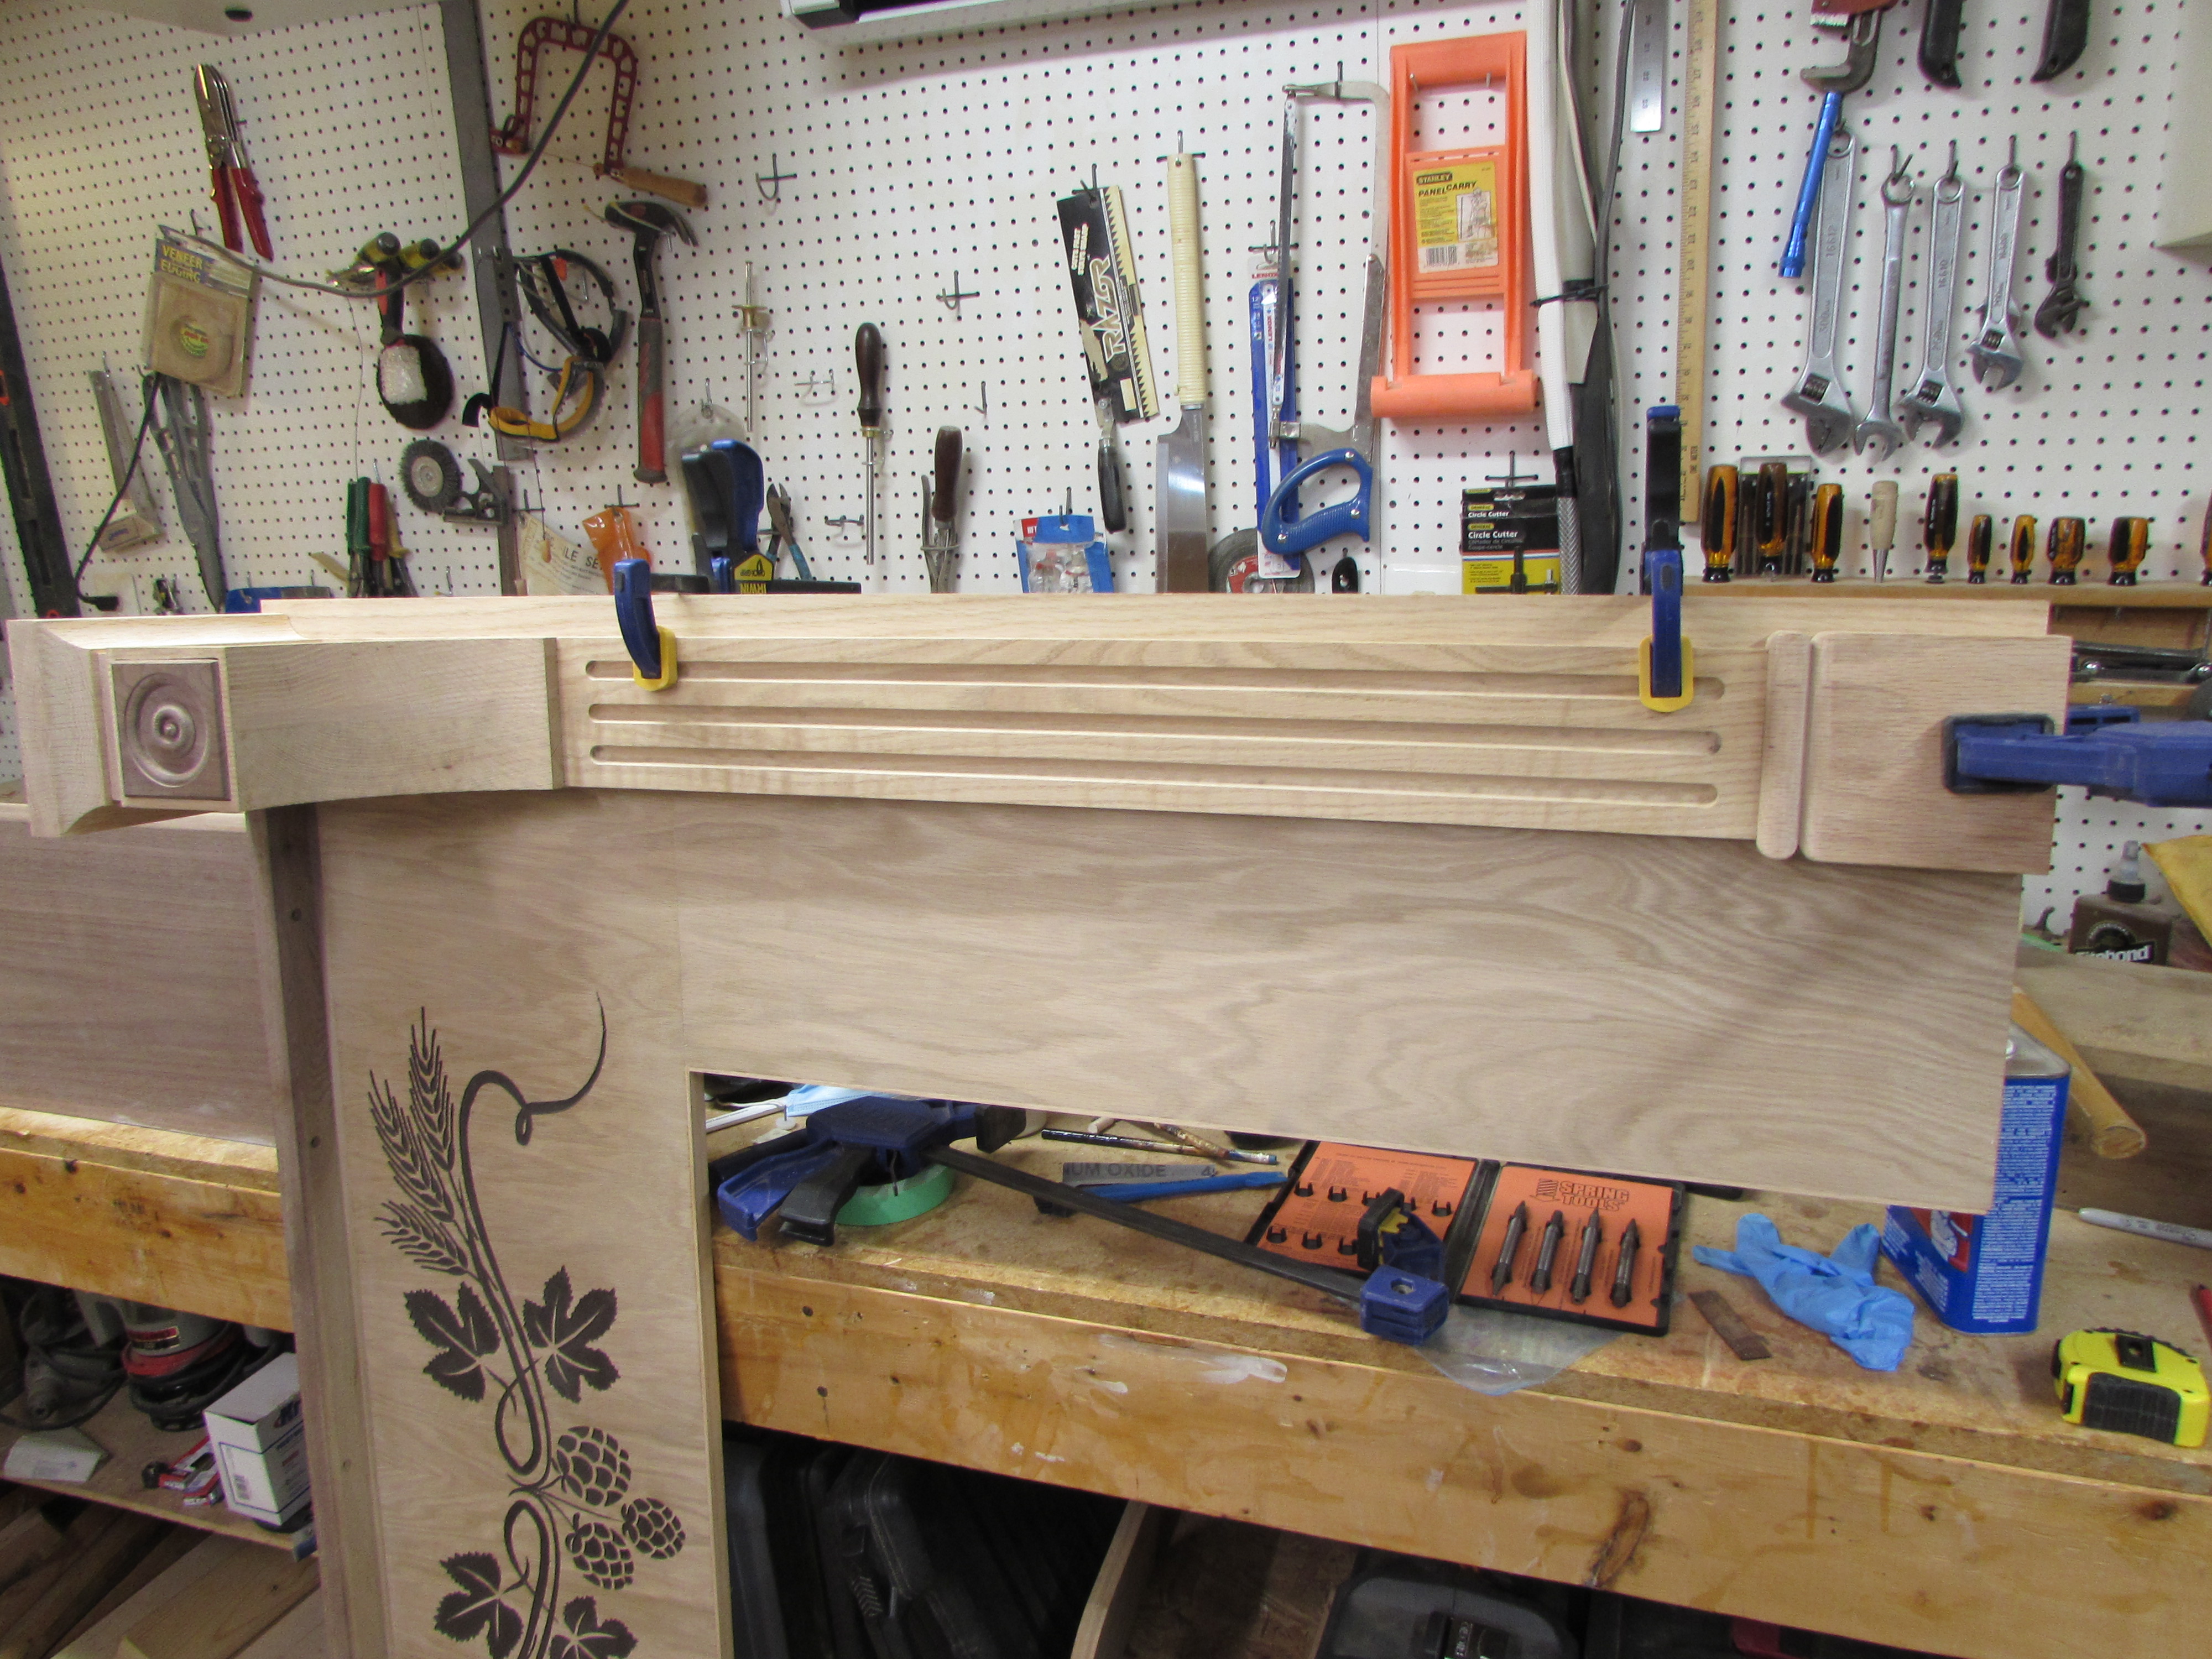
After a few tweaks, it was all clamped into place.

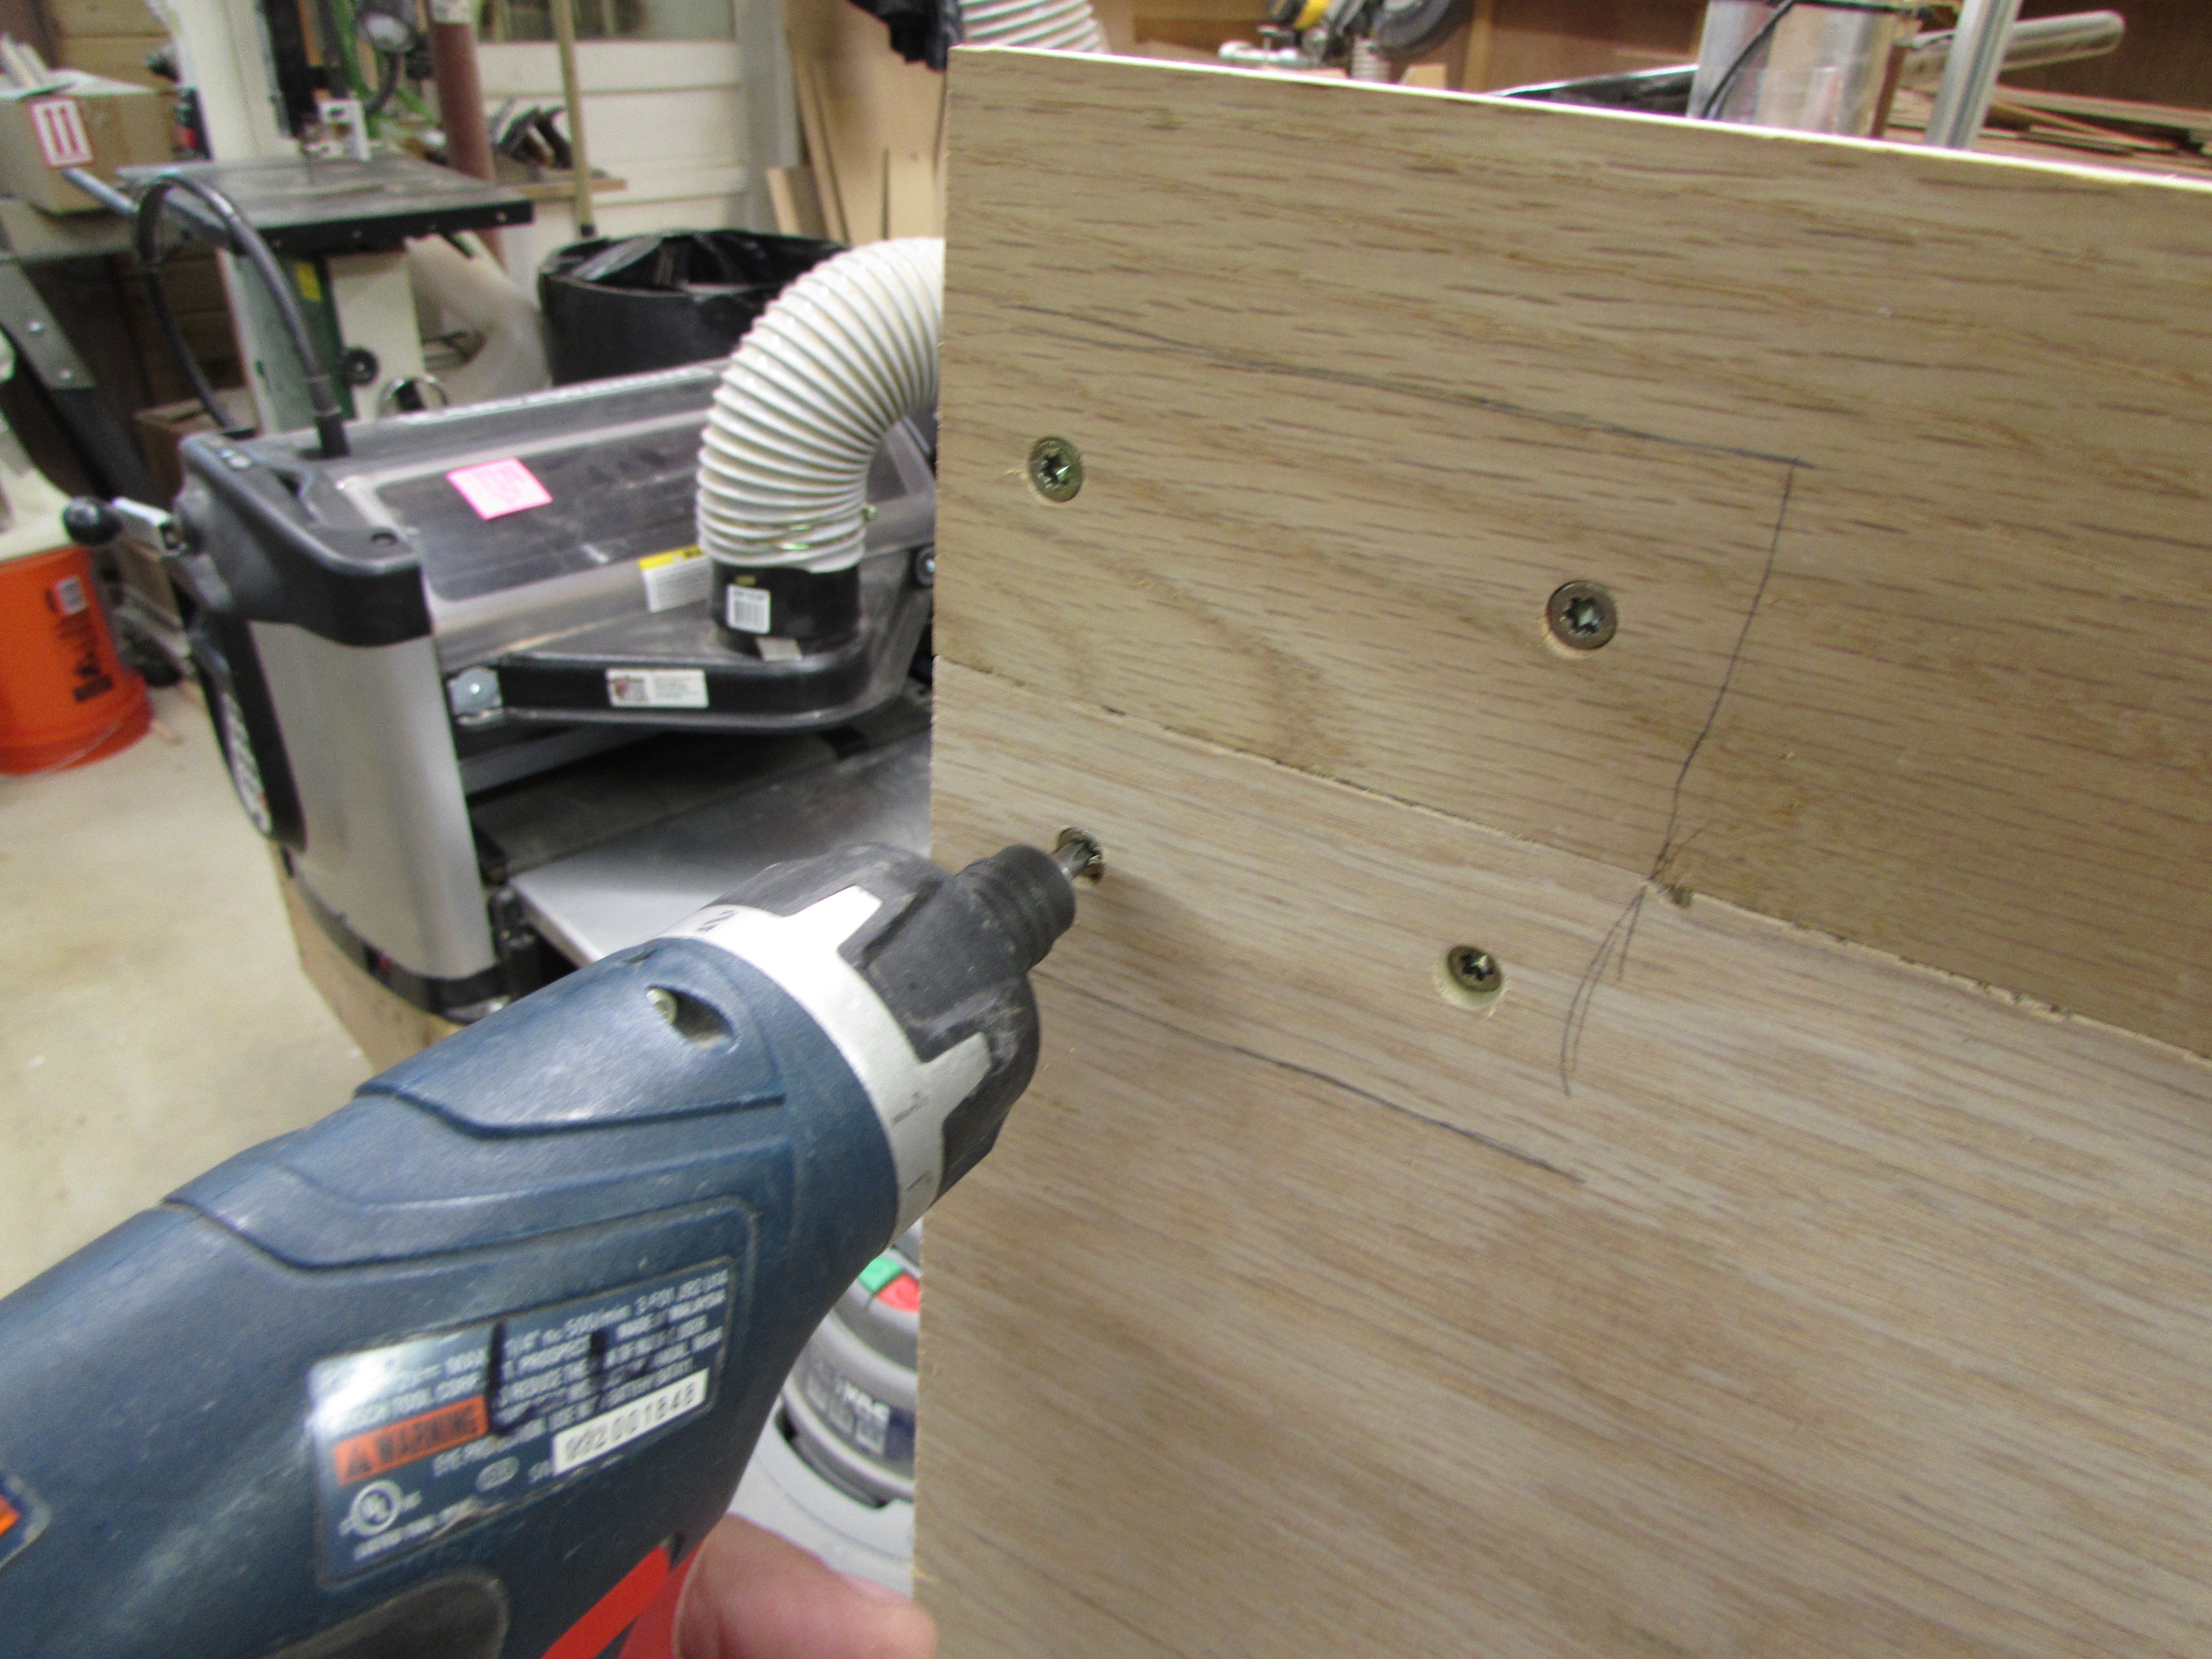
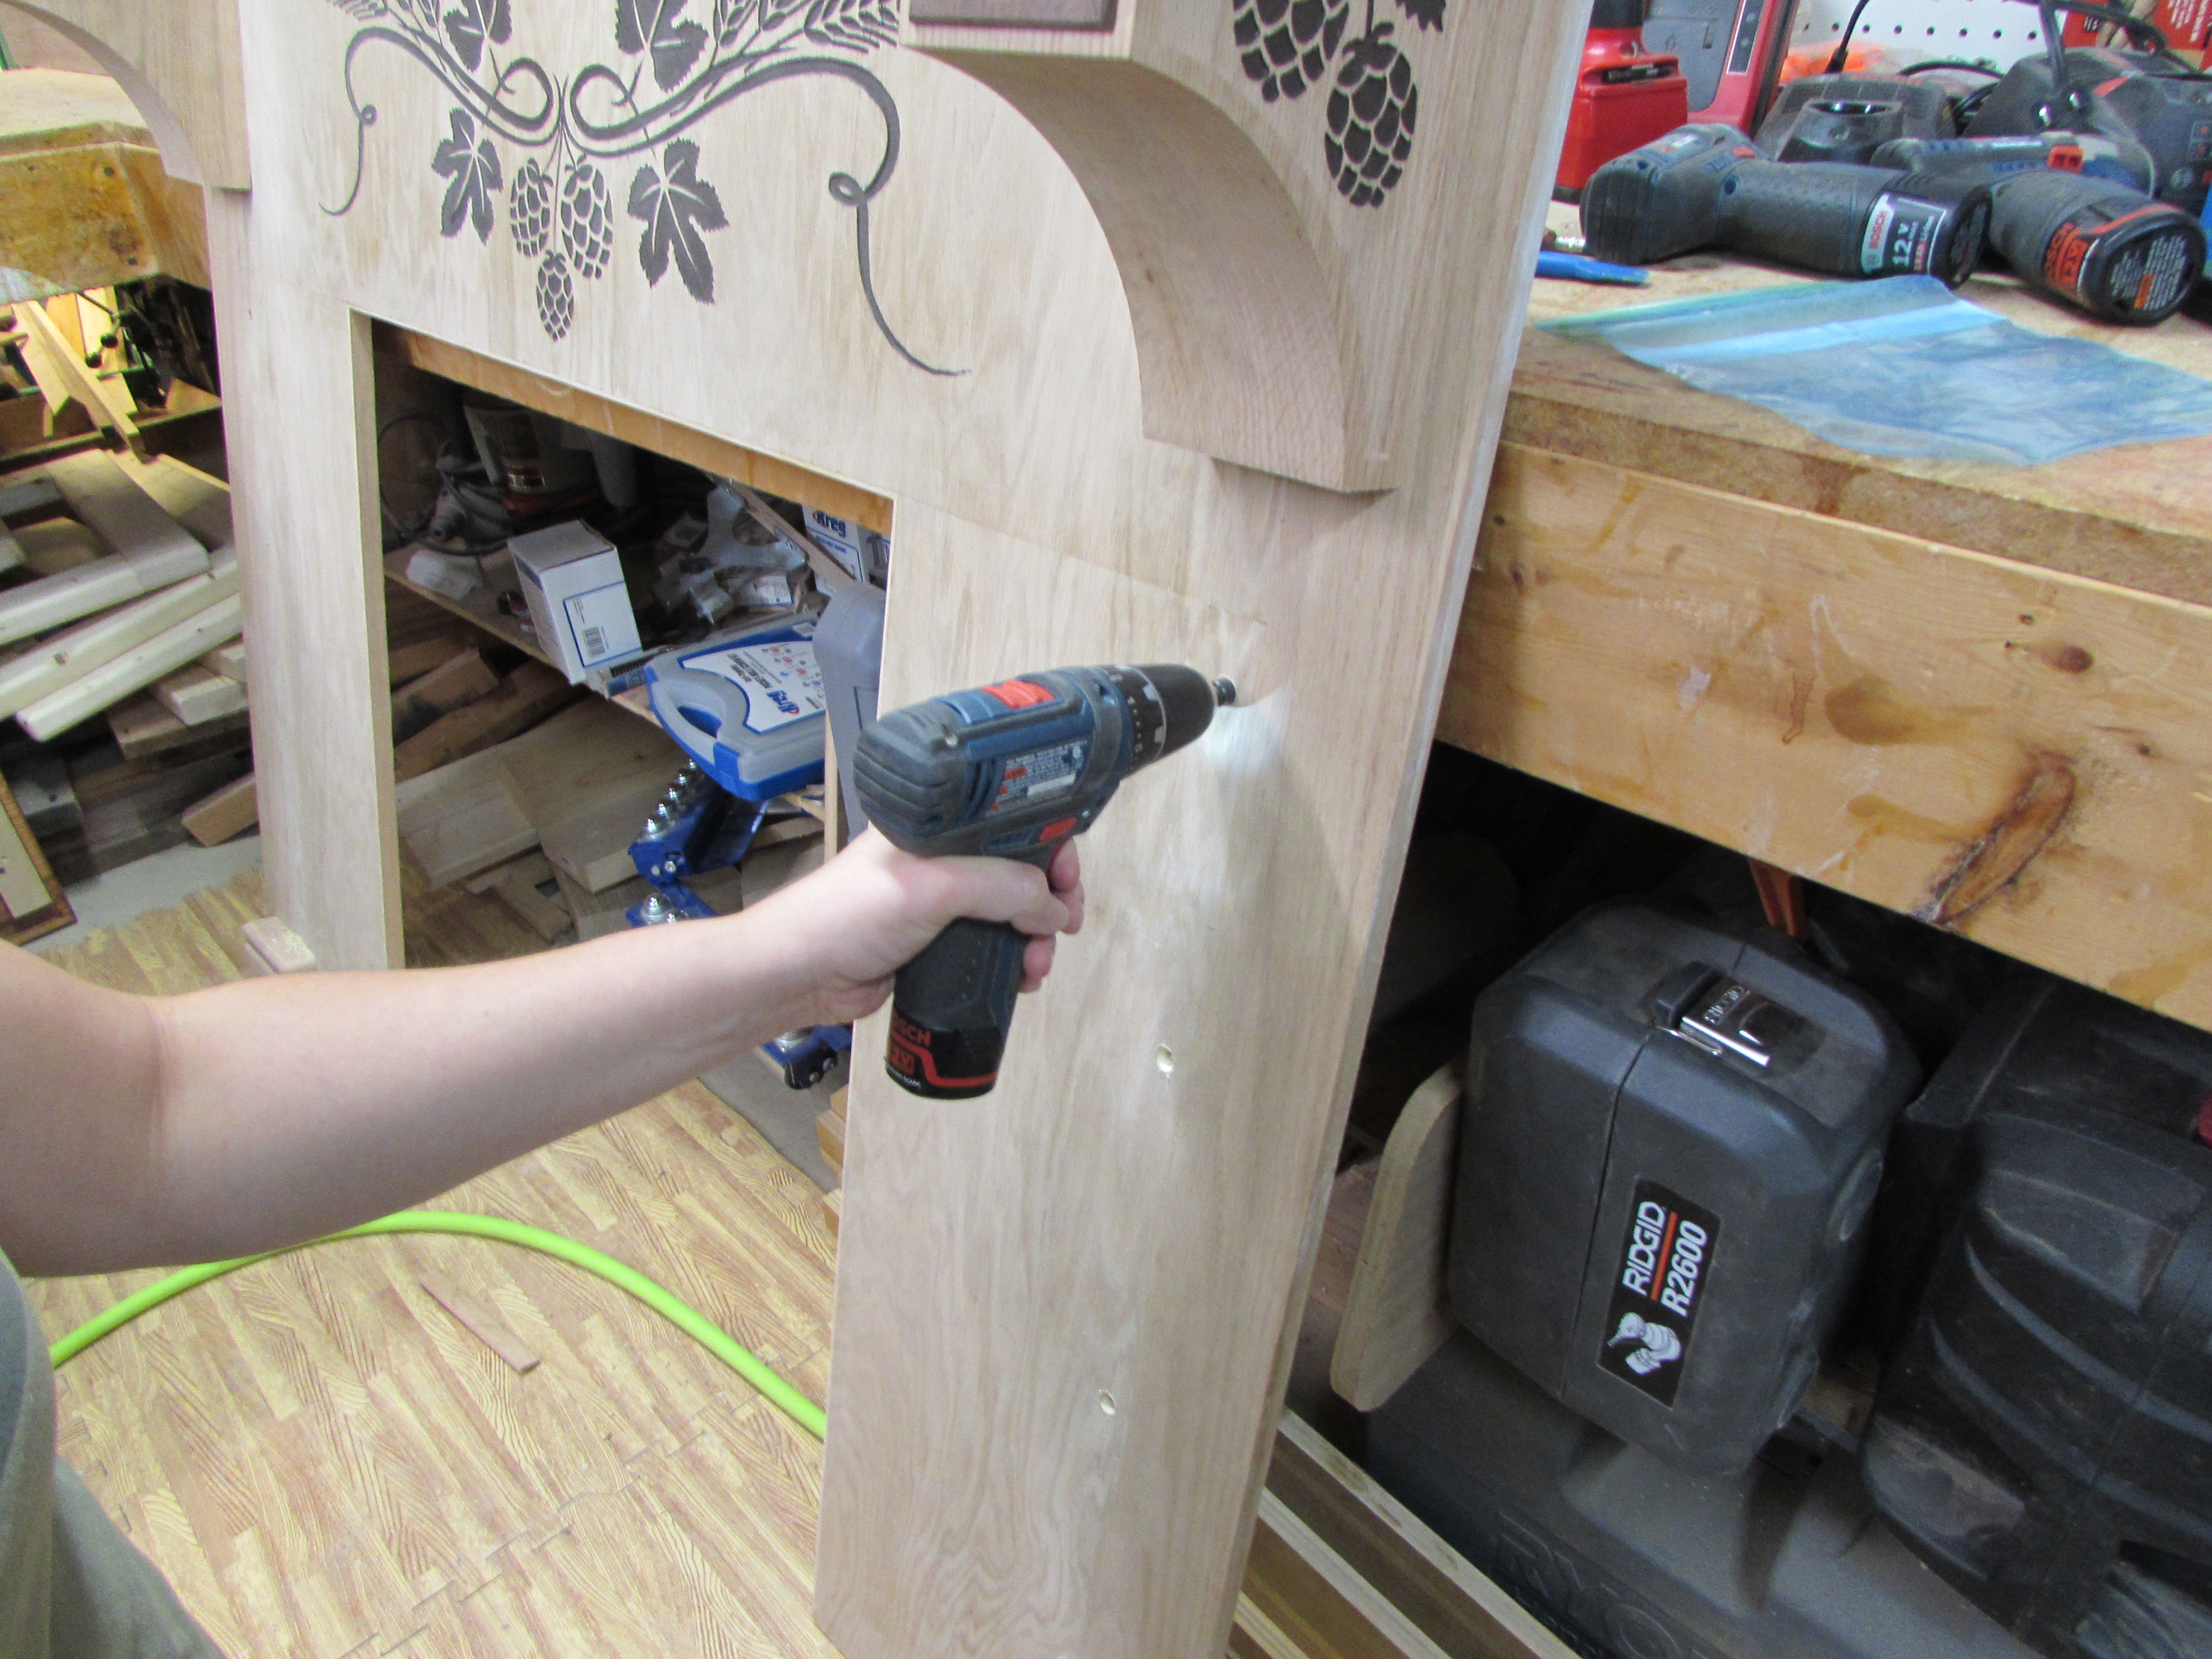
We pre-drilled and counter-sunk the plywood and the plinths. I attached the plinths with construction screws, just in case they needed to be adjusted later.
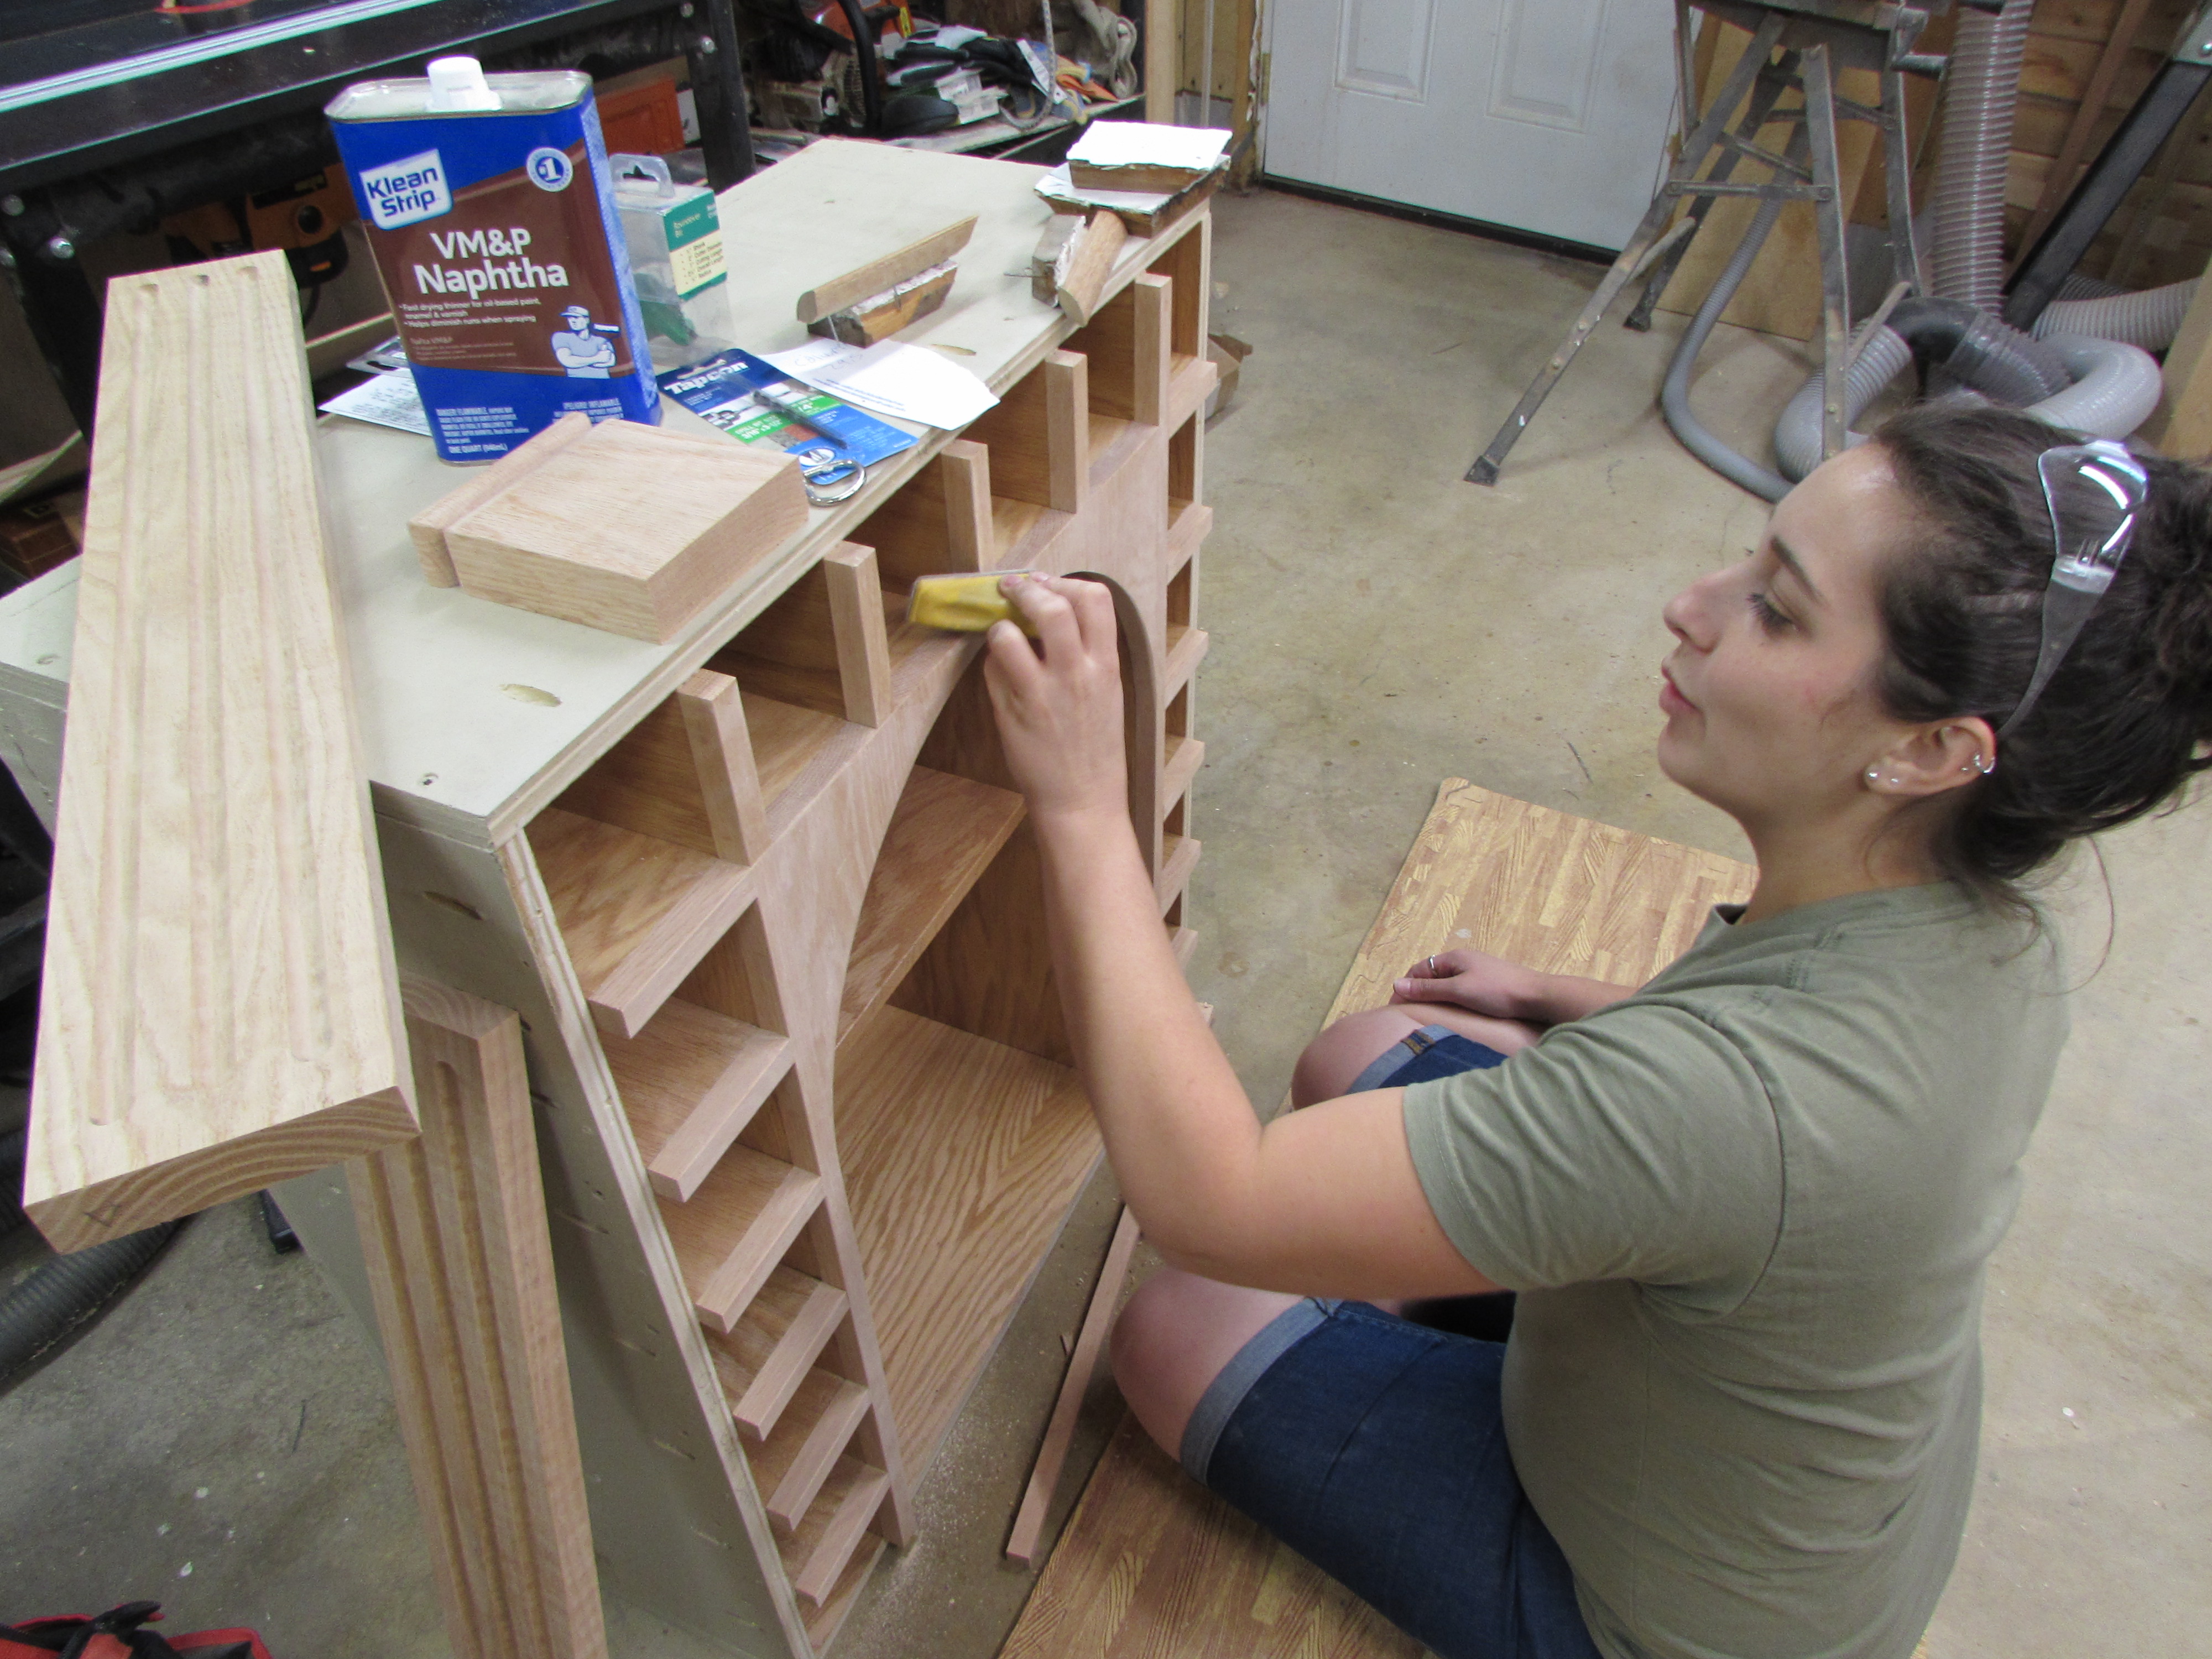
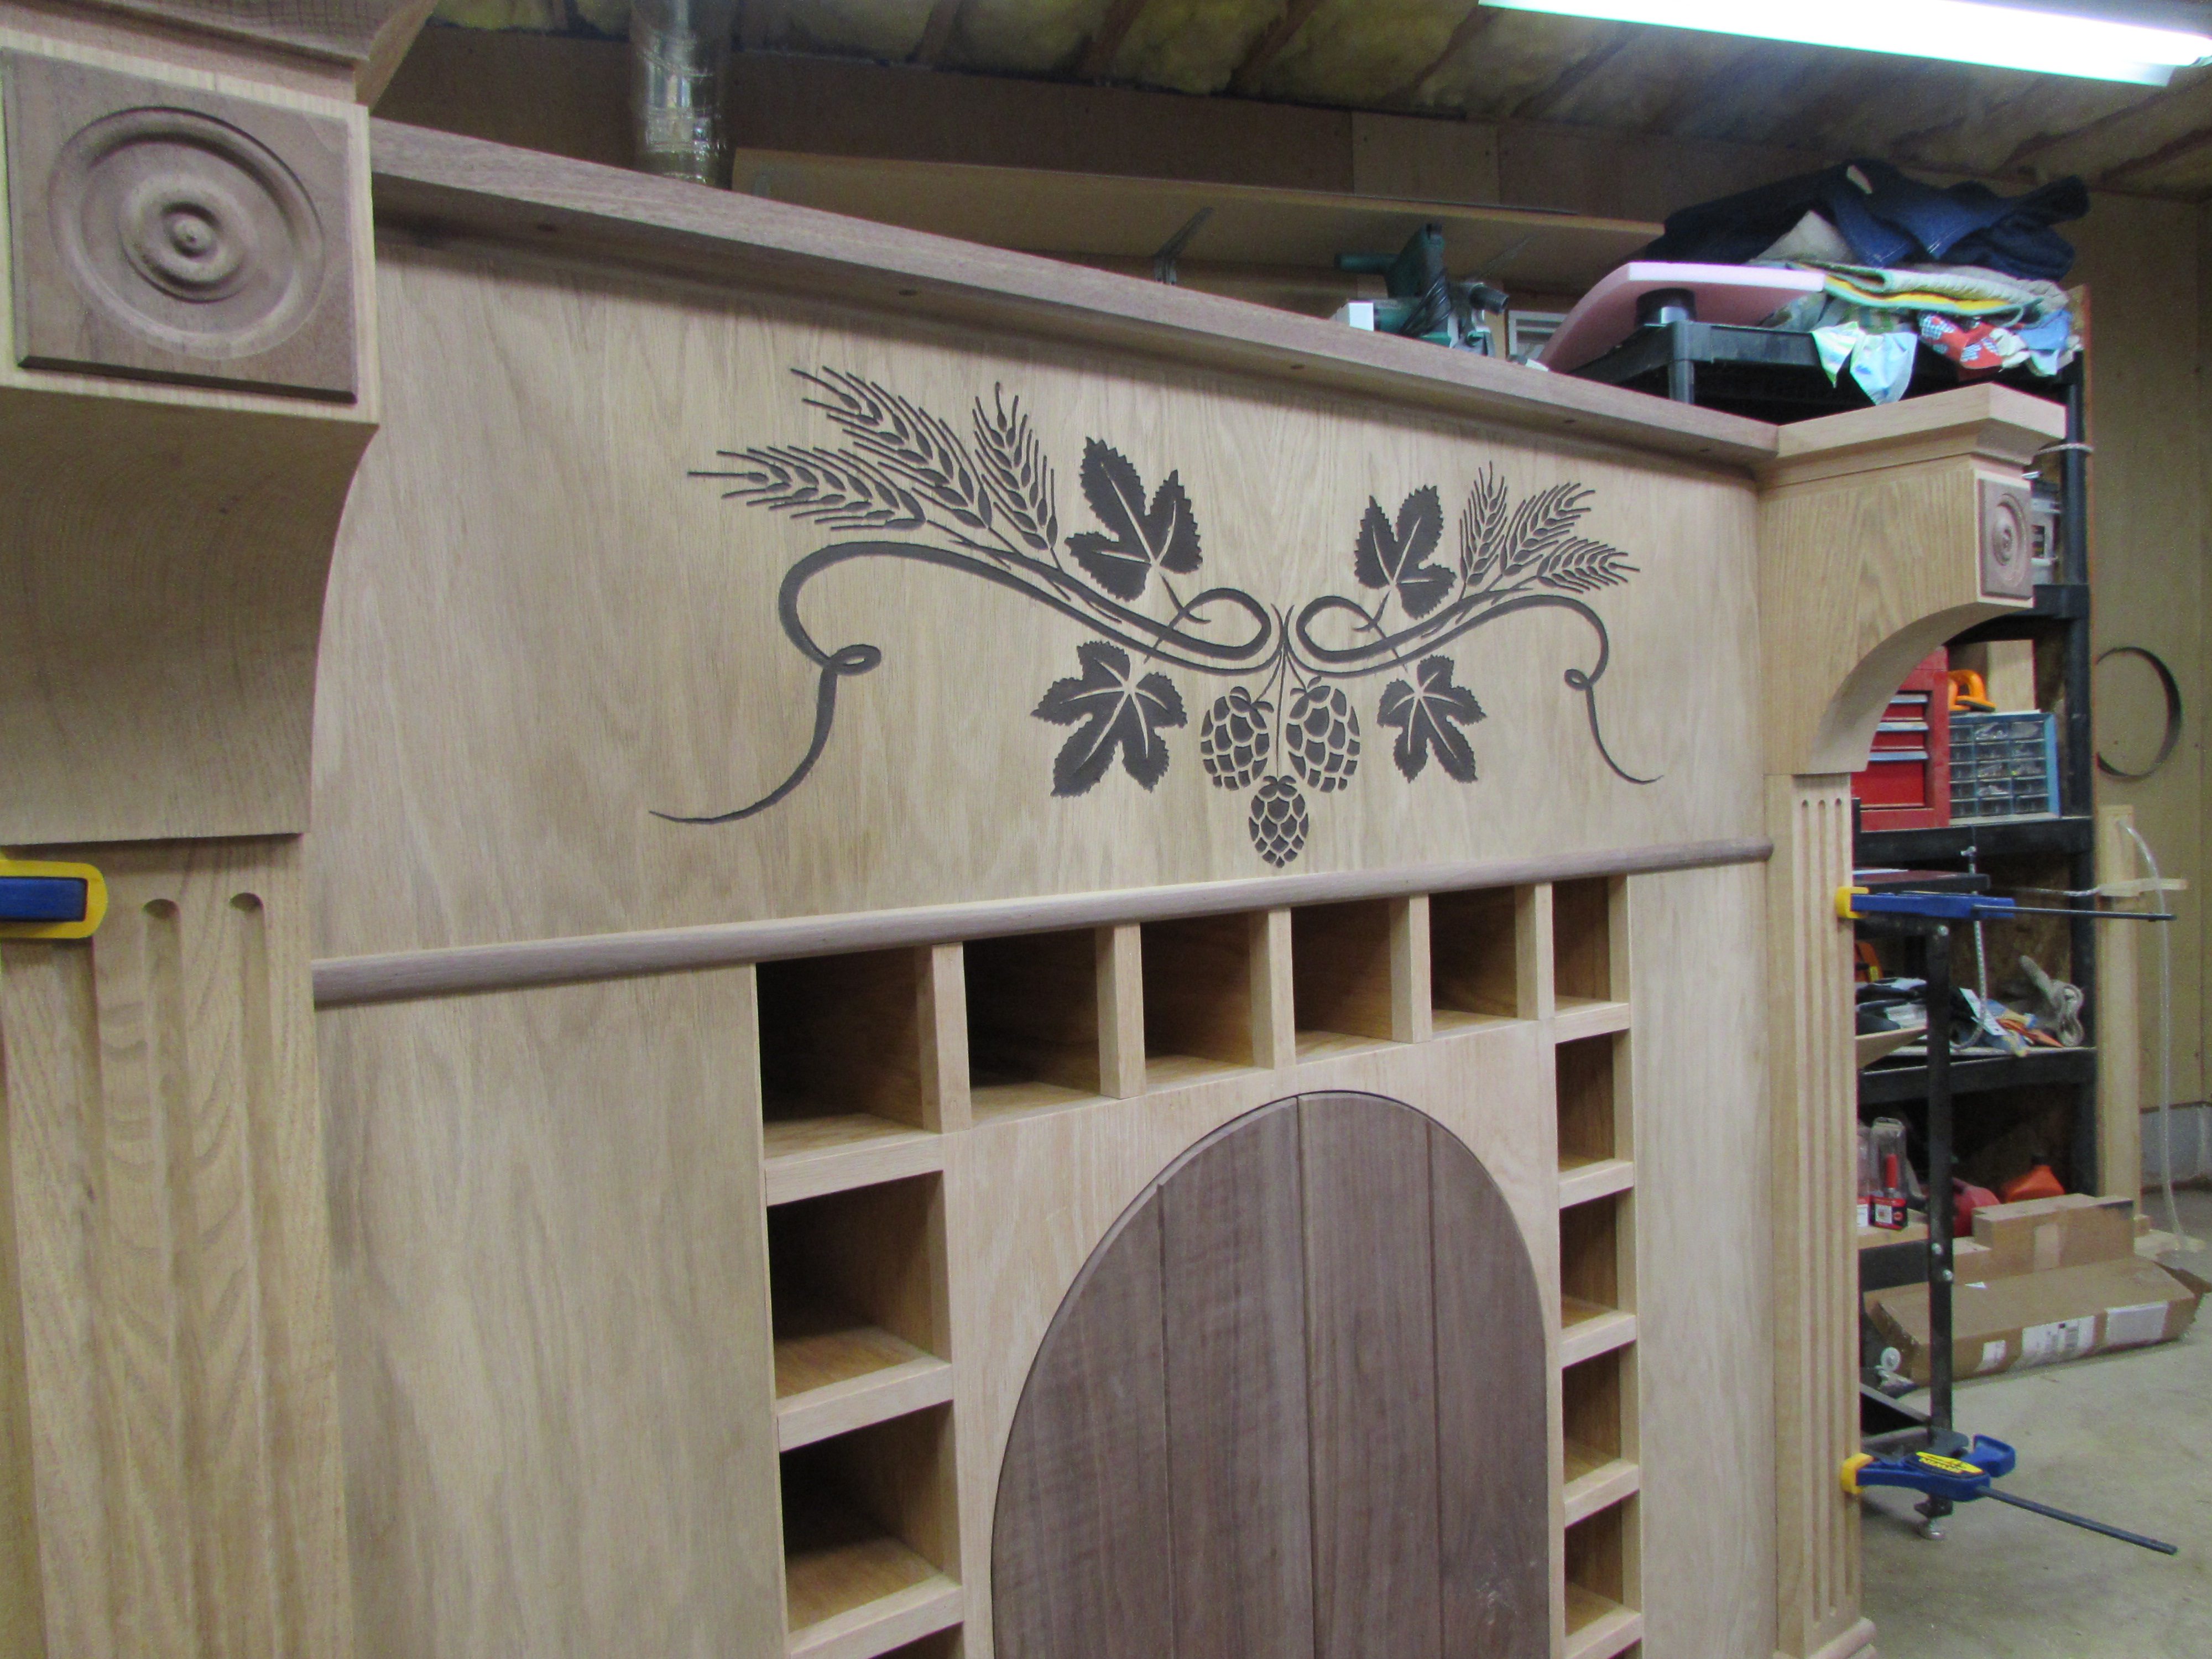
Erin did the finish sanding, breaking all of the sharp edges on the wine rack, and checking the rest of the components for any needed sanding.


We added one final piece of trim to the bottom of the cabinet. This piece had to wait until the fit check on Saturday. I wasn’t sure if it would fit into the fireplace with the trim on, but I think it will. Holes were drilled and counter-sunk, behind the columns. This is how the mantle will be attached to the existing brickwork. The columns will be nailed over the screws, once installed.
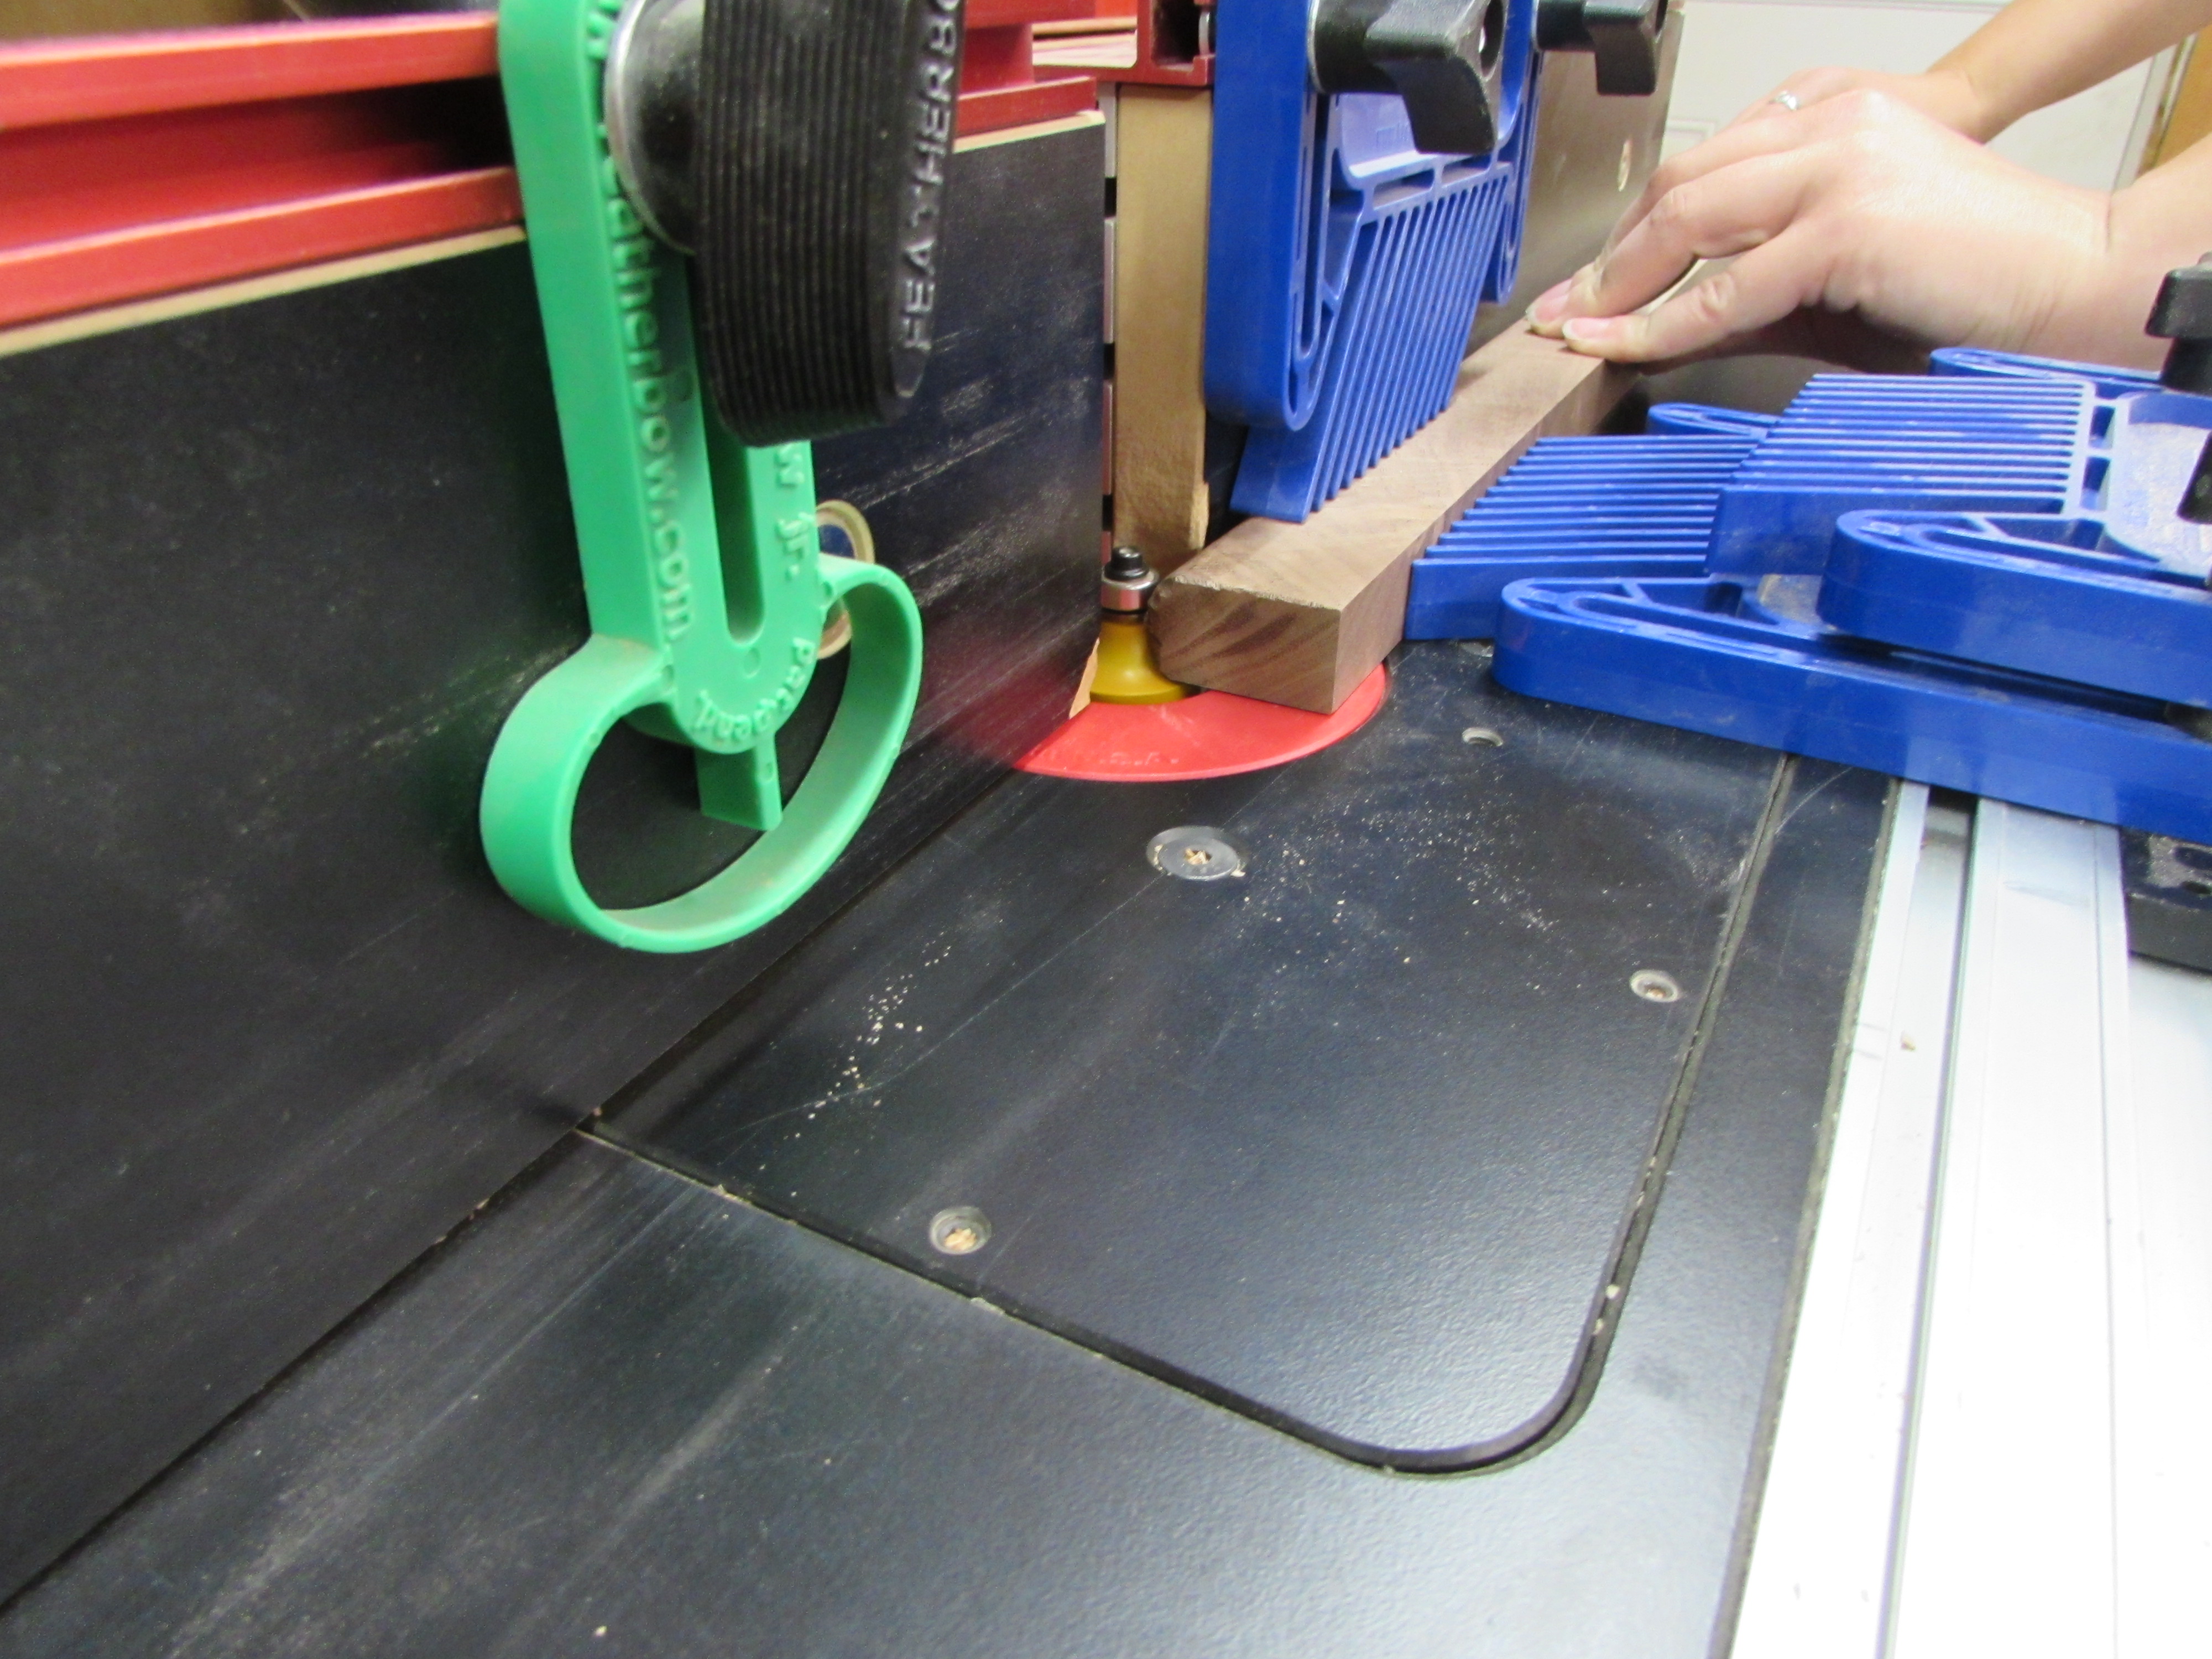
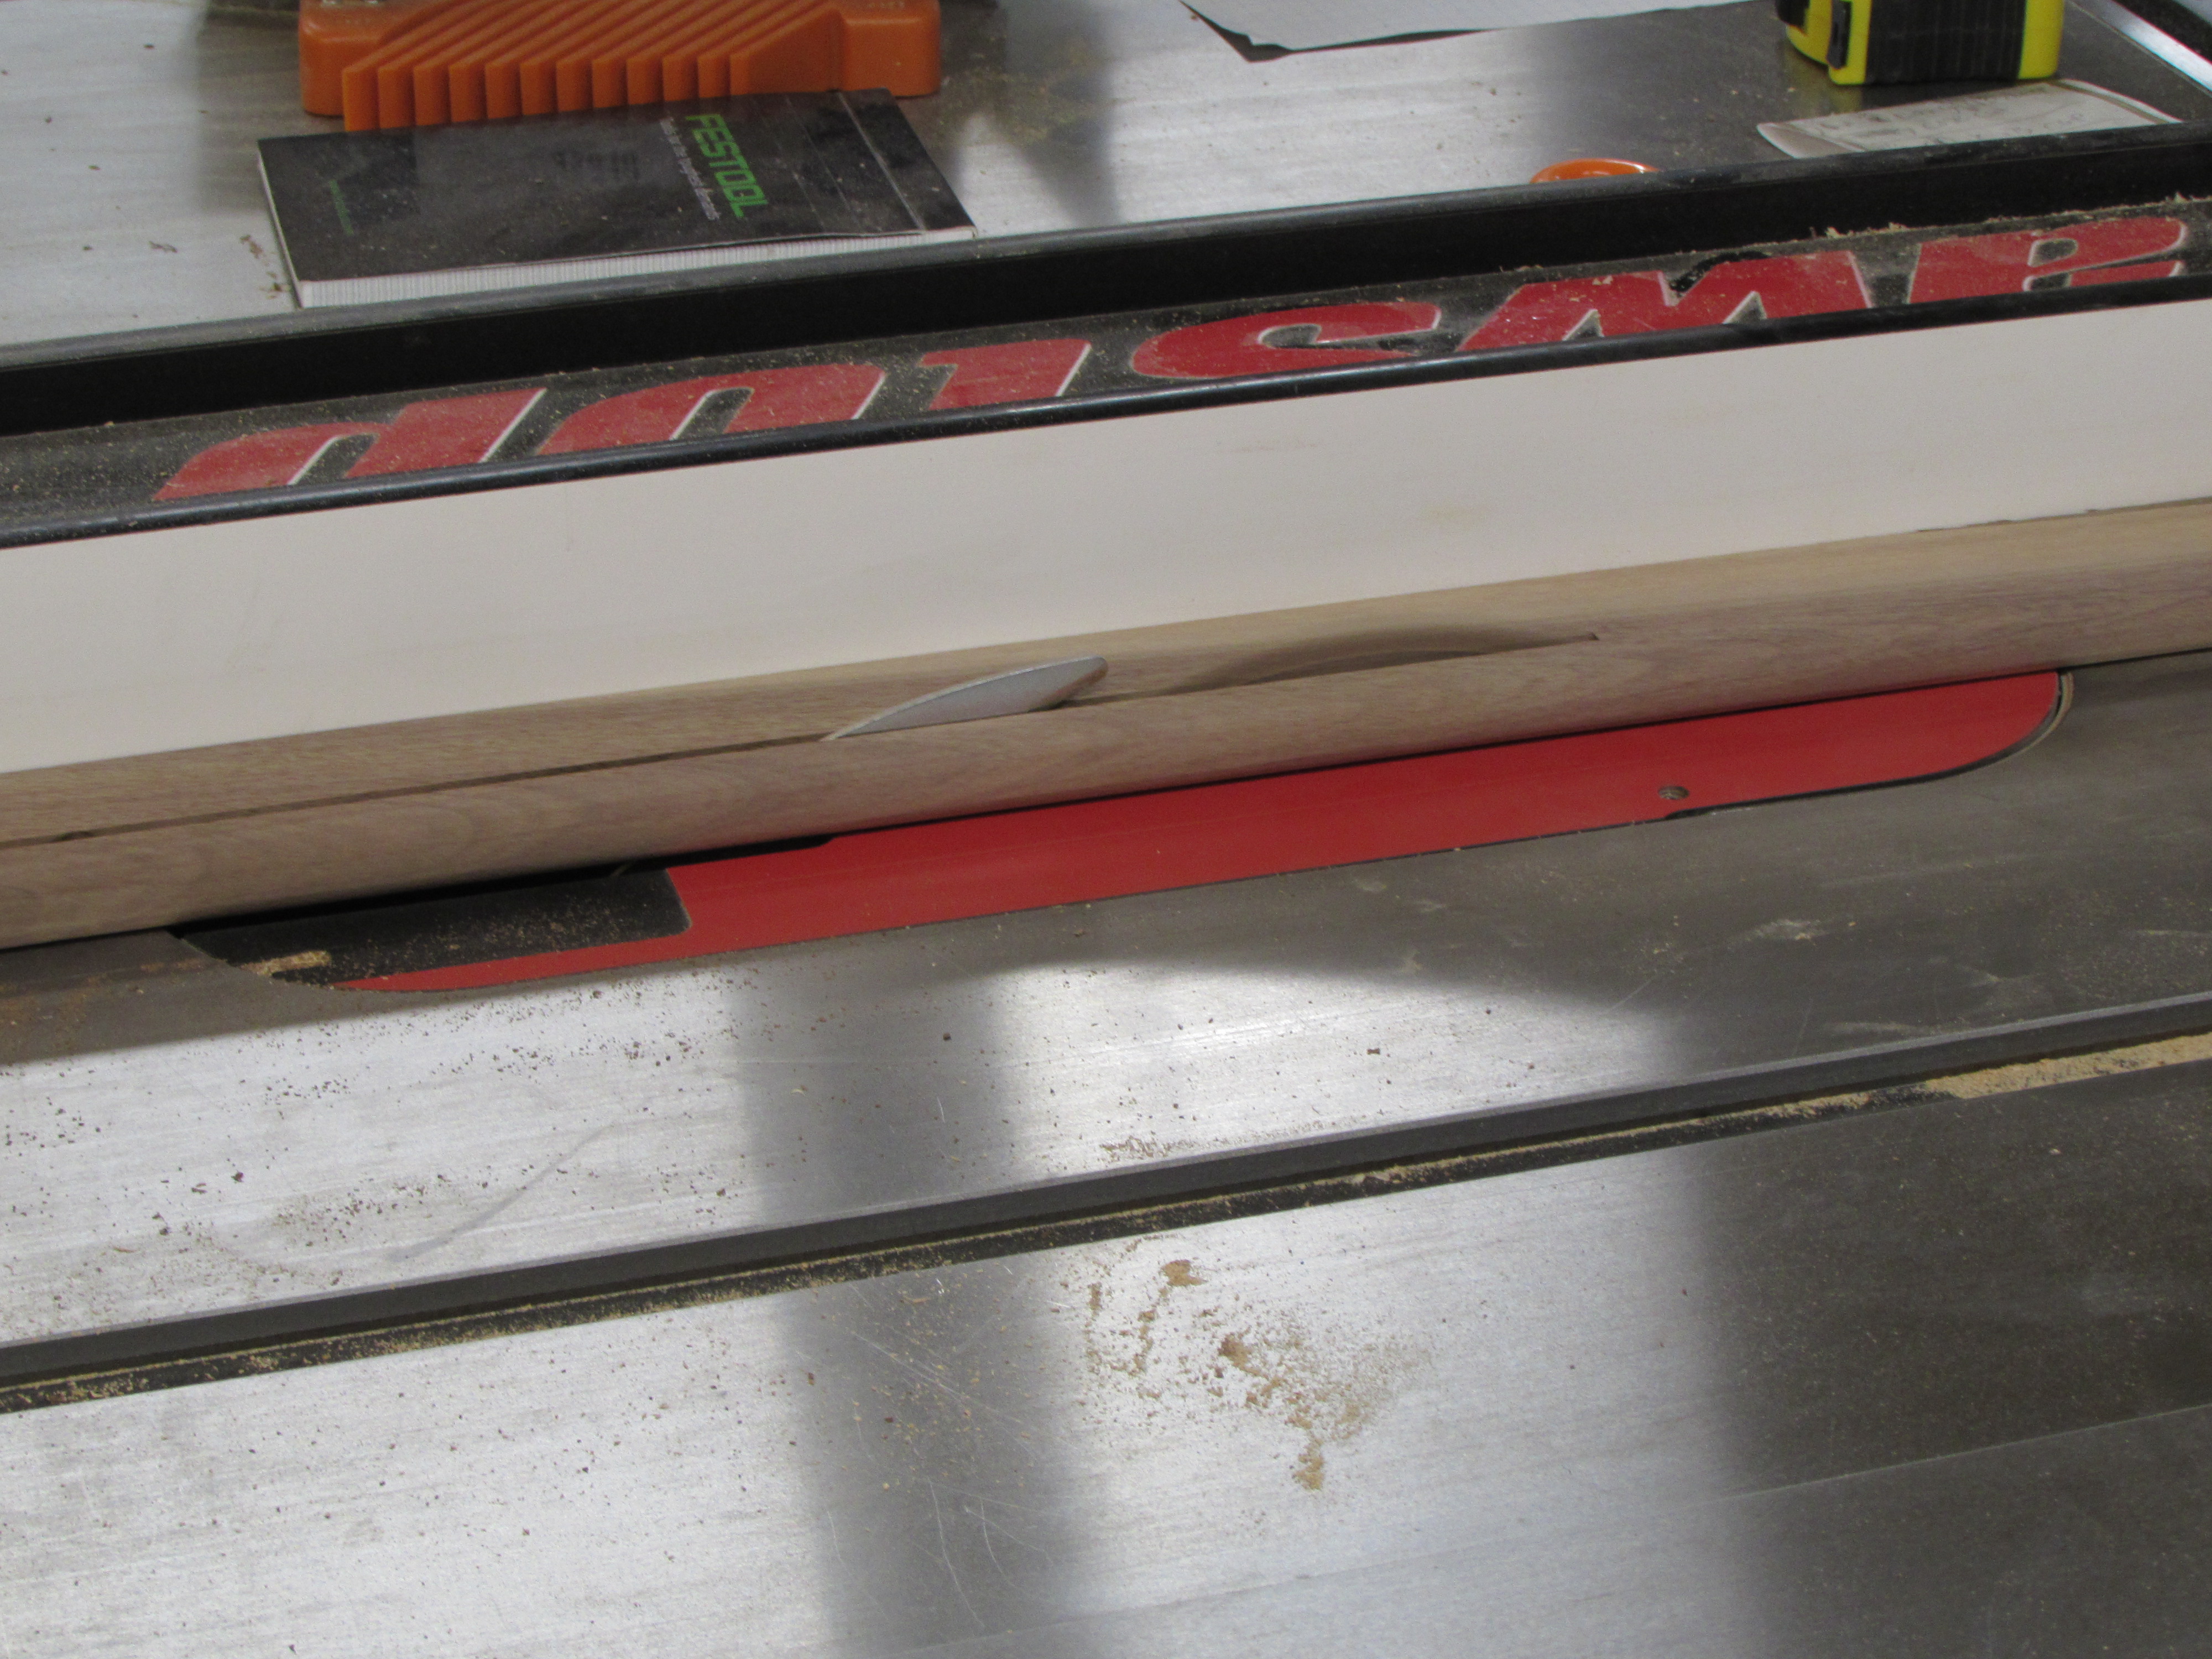
One final piece of trim was left to be made. We felt the seam, between the carved plywood top and side legs, was too visible, so we decided to cover it with a bead of walnut. To create this, we created a bull-nose on a piece of 3/4″ thick walnut, then cut the rounded part away.

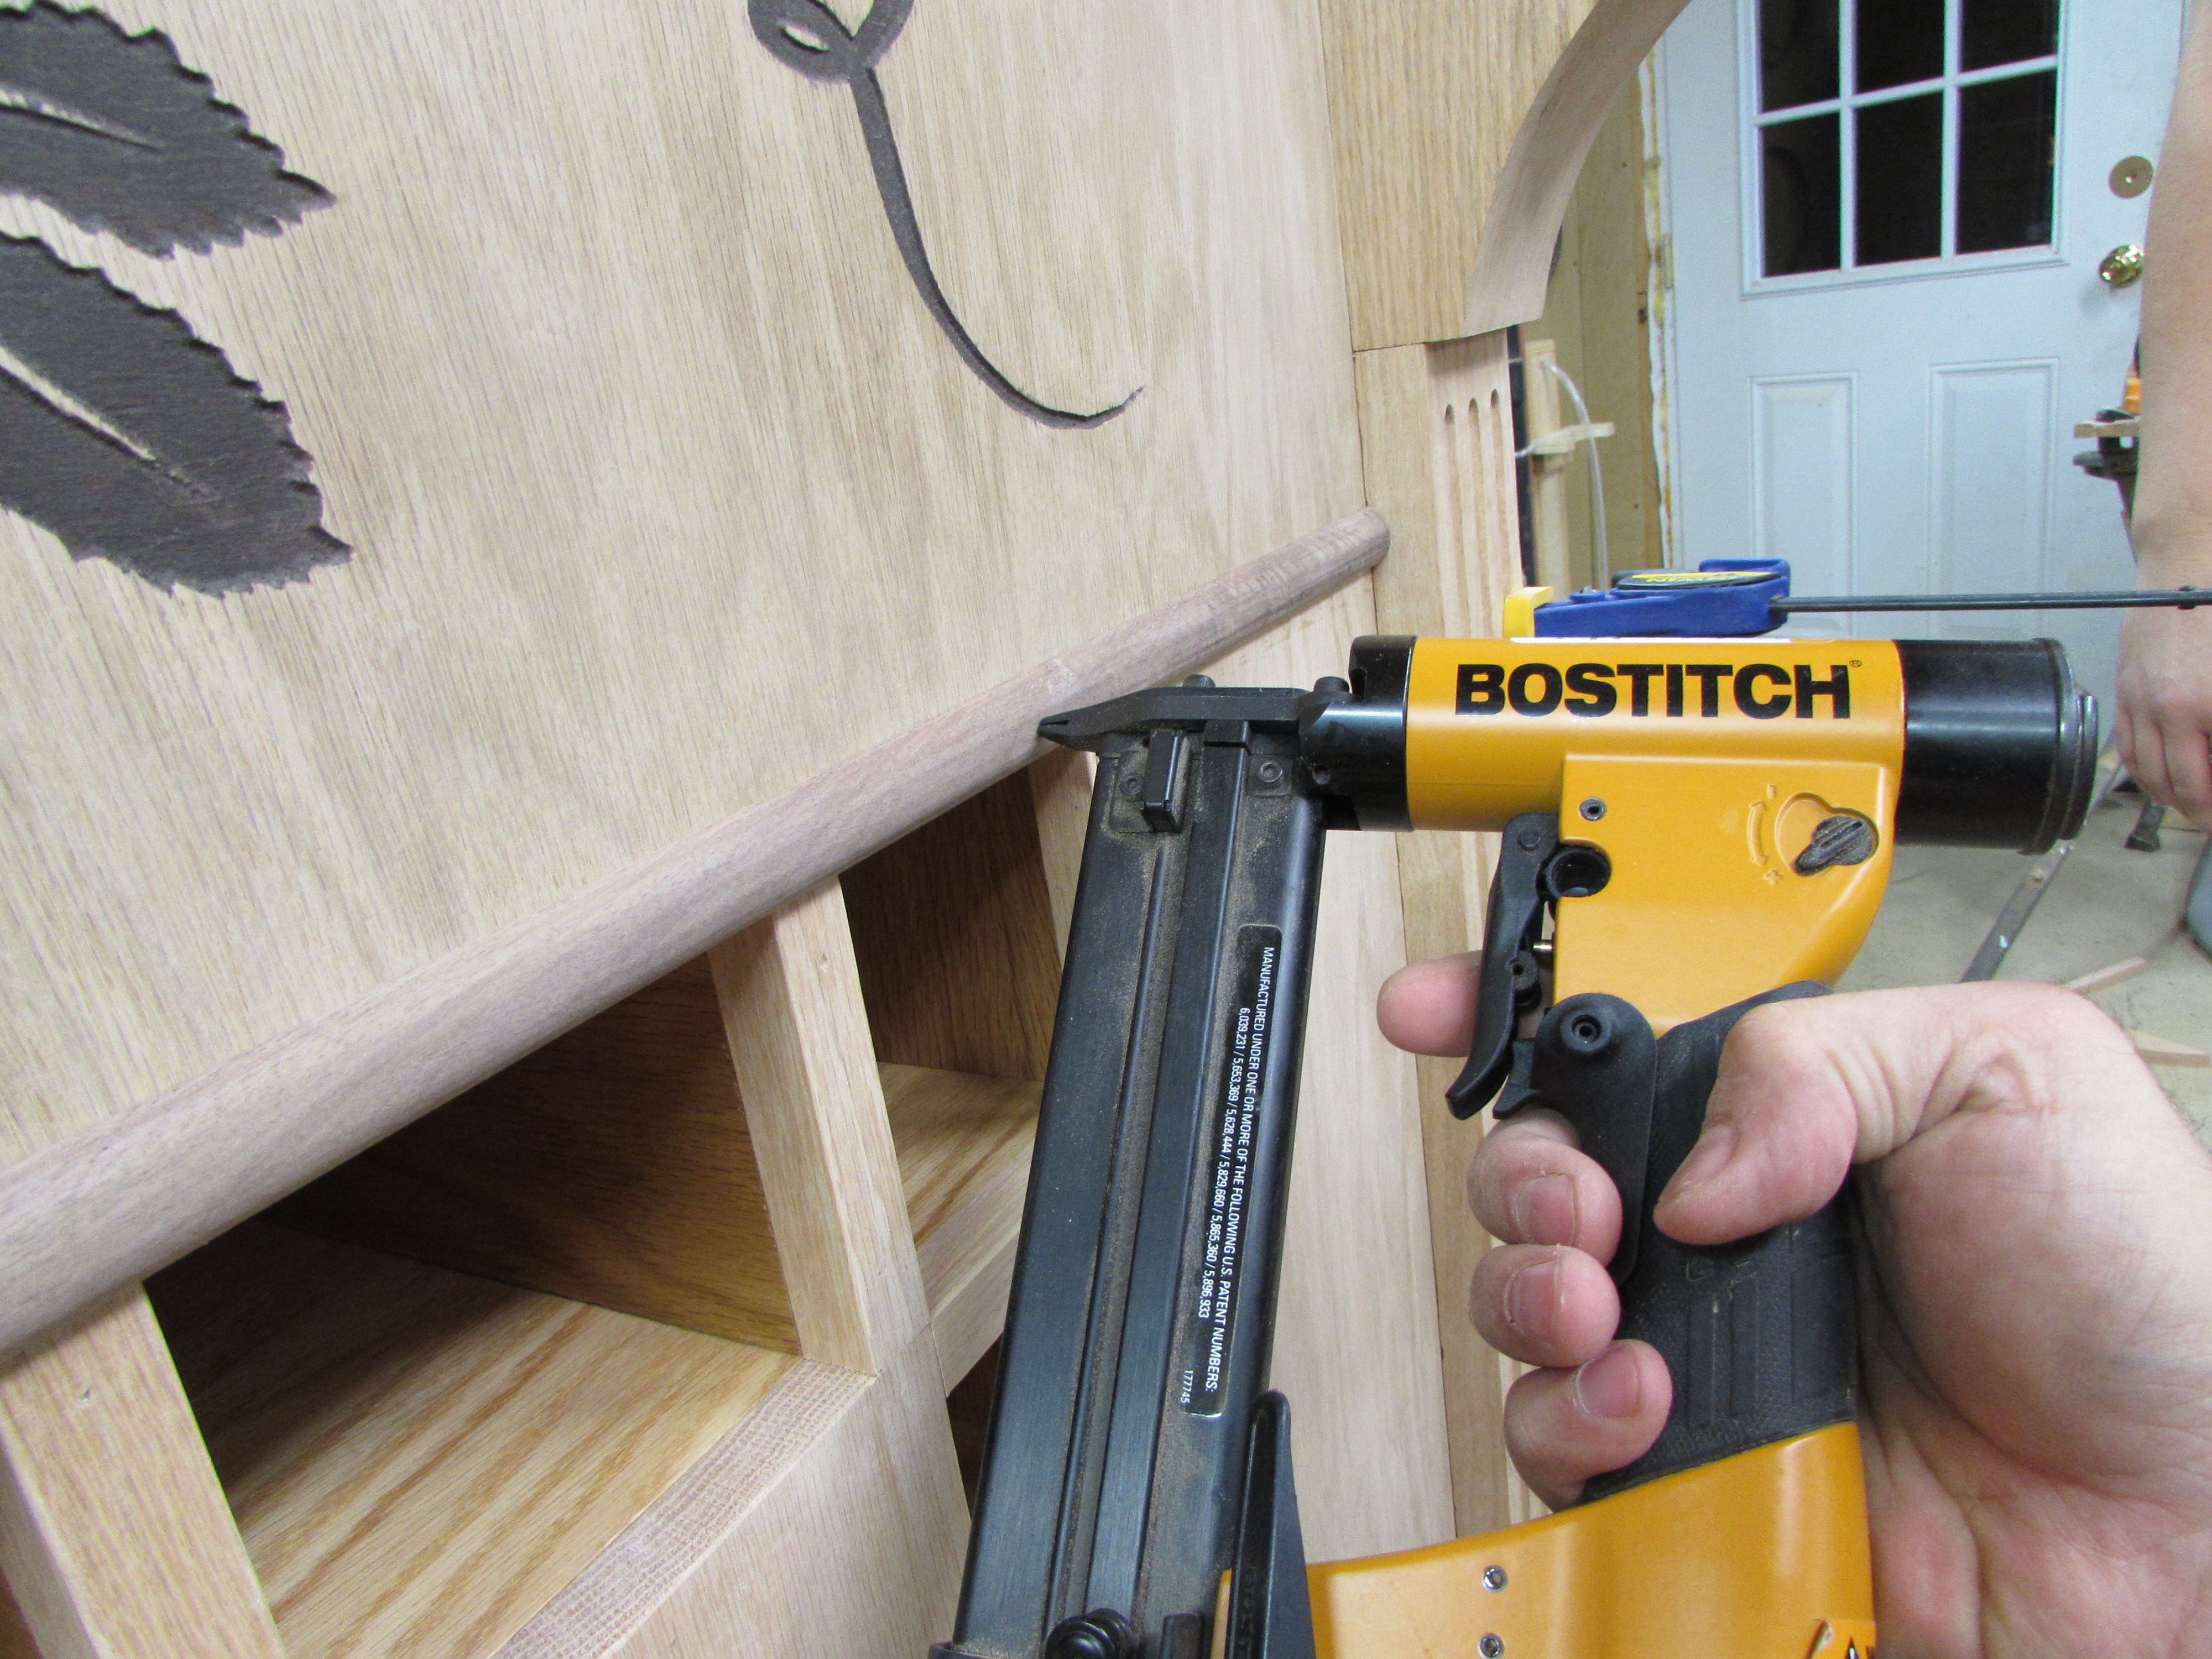
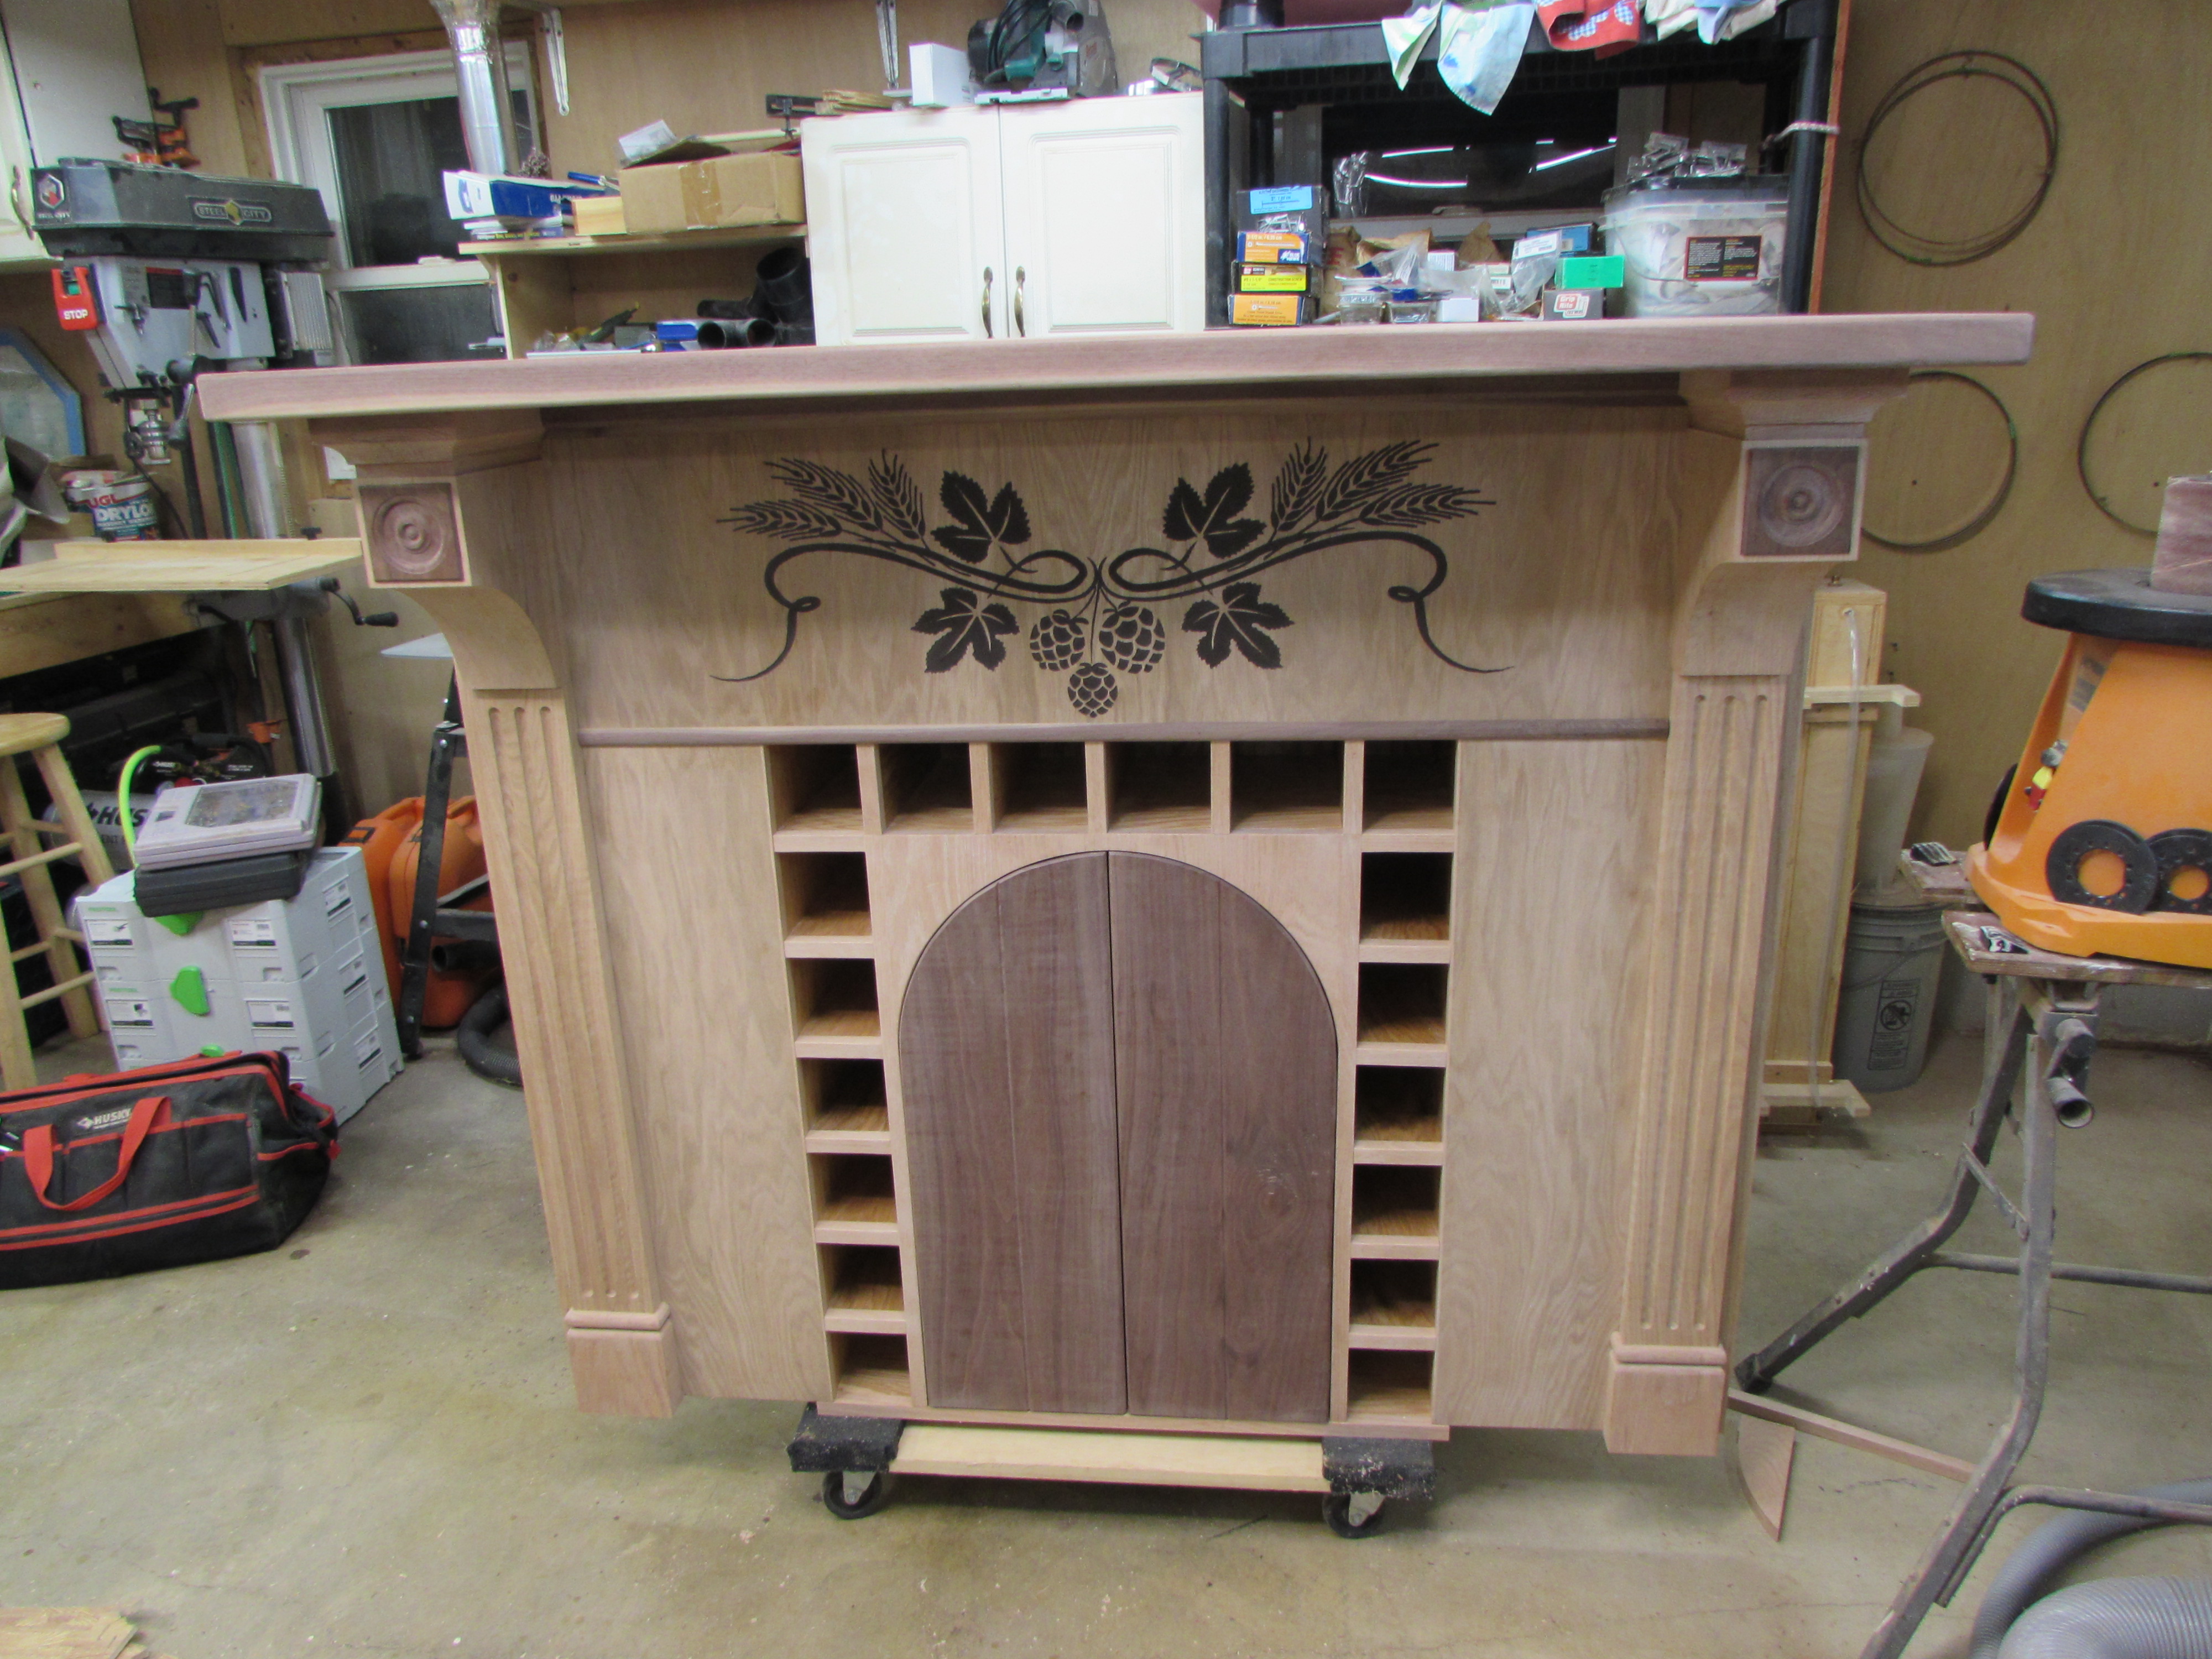
We sanded and installed the half-round piece with glue and pin nails.
Yeah, construction is complete!

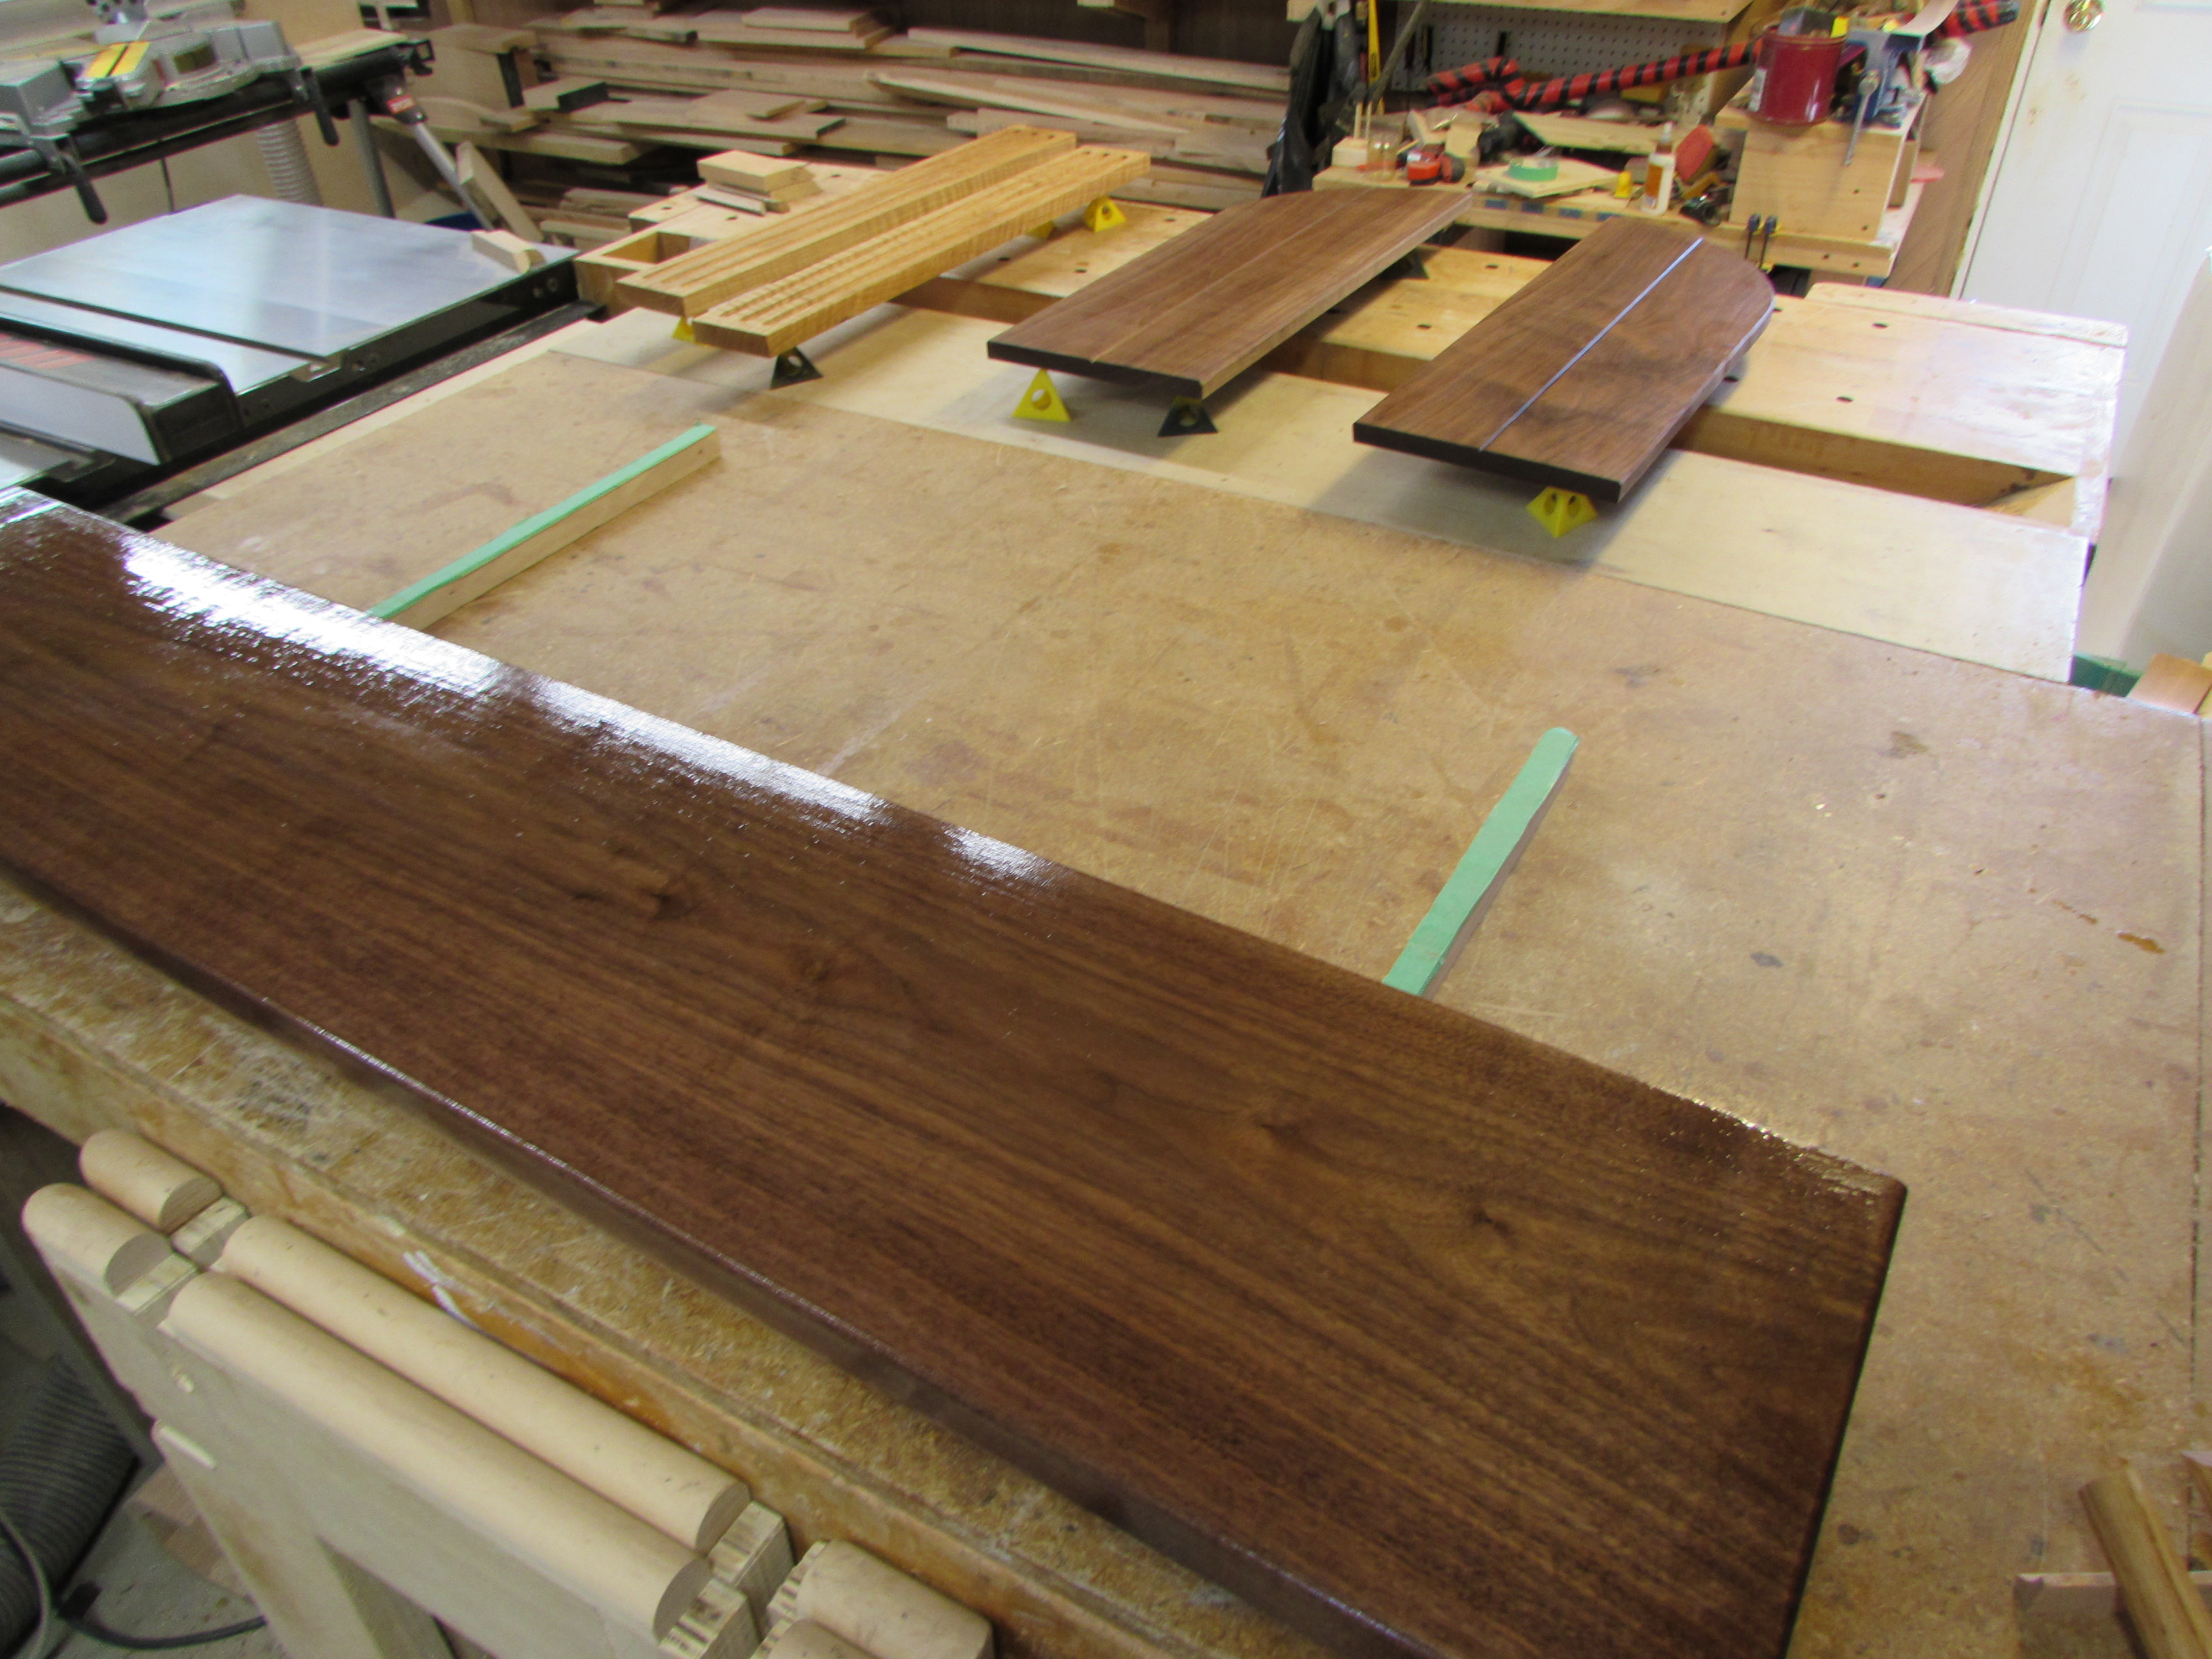
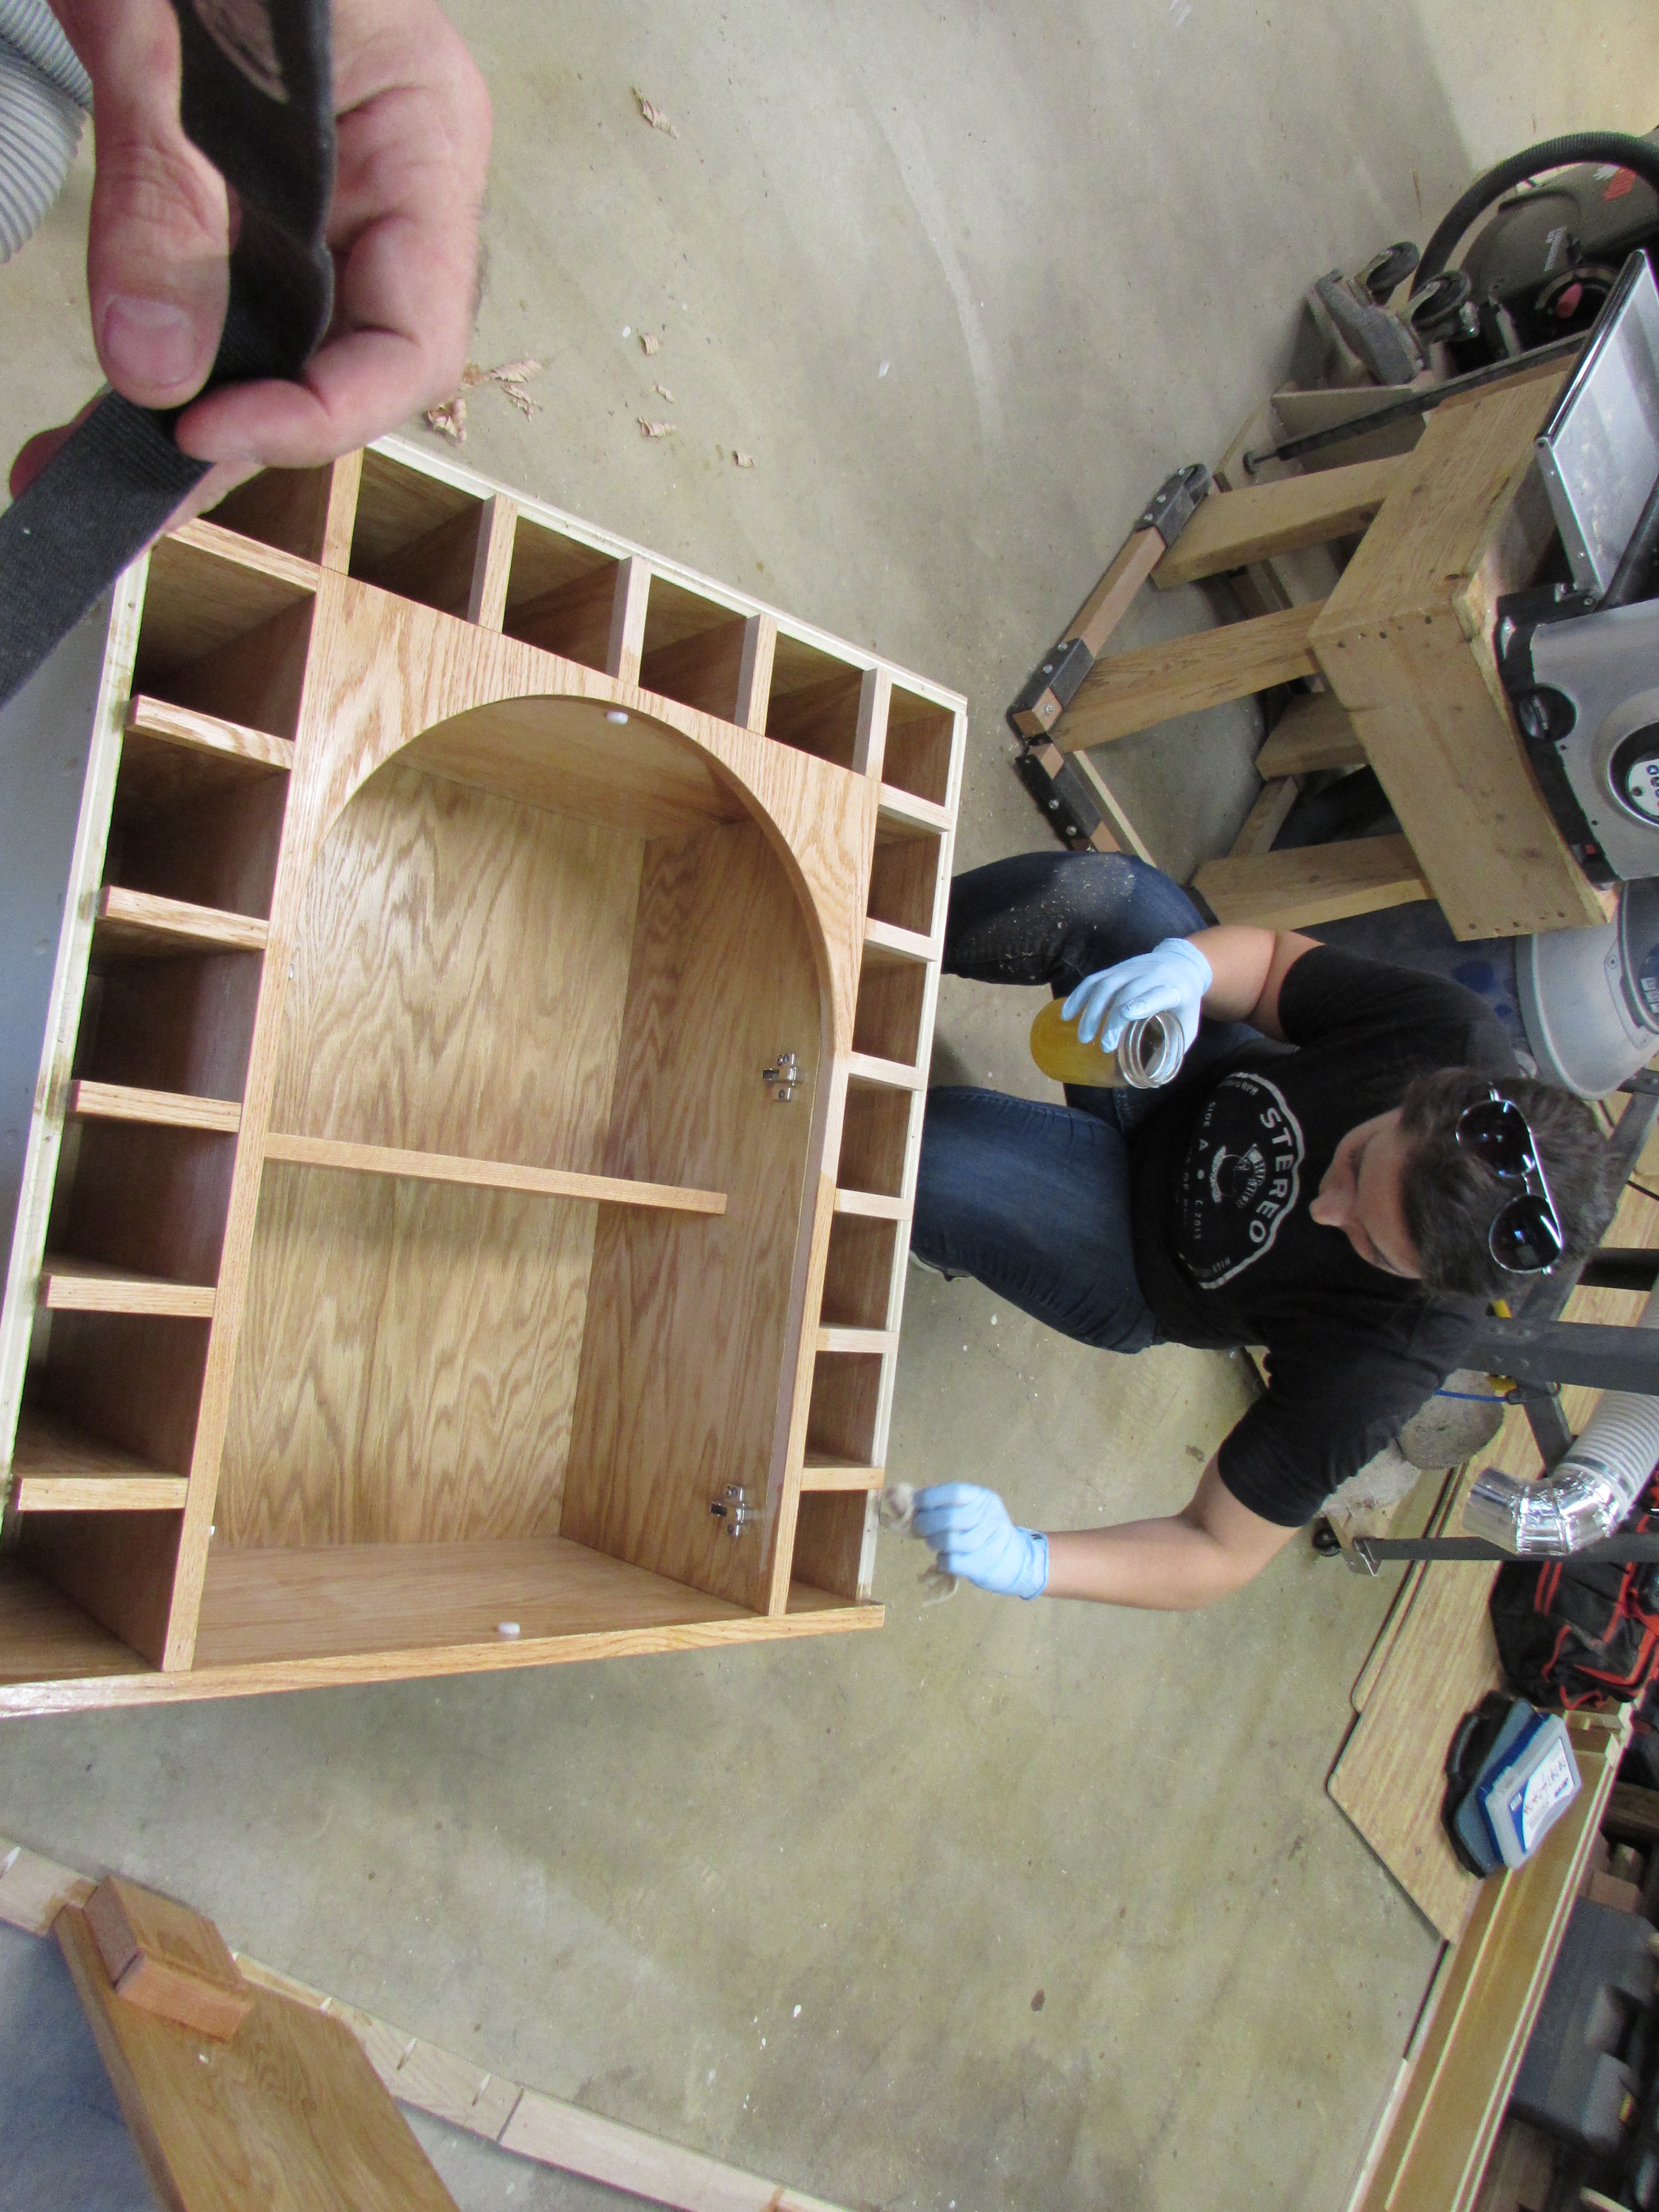
The biggest worry I have about finishing this piece is all the nooks and crannies. If we finish it with a brush, there are going to be runs and drips everywhere. I really don’t have the room to set up my spray booth, so I decided on a wiping poly for the majority of the pieces. To make a wiping poly, you simply mix the poly with a thinner. I am using Naphtha because the fumes are minimal, and they evaporate quickly. The thinned poly wipes on with a scrap of rag, it this case, an old tee shirt scrap. All drips, runs, and any excess will just get wiped away, before it starts to dry.


Erin worked on the doors, columns, and facade, while I worked on the mantle.
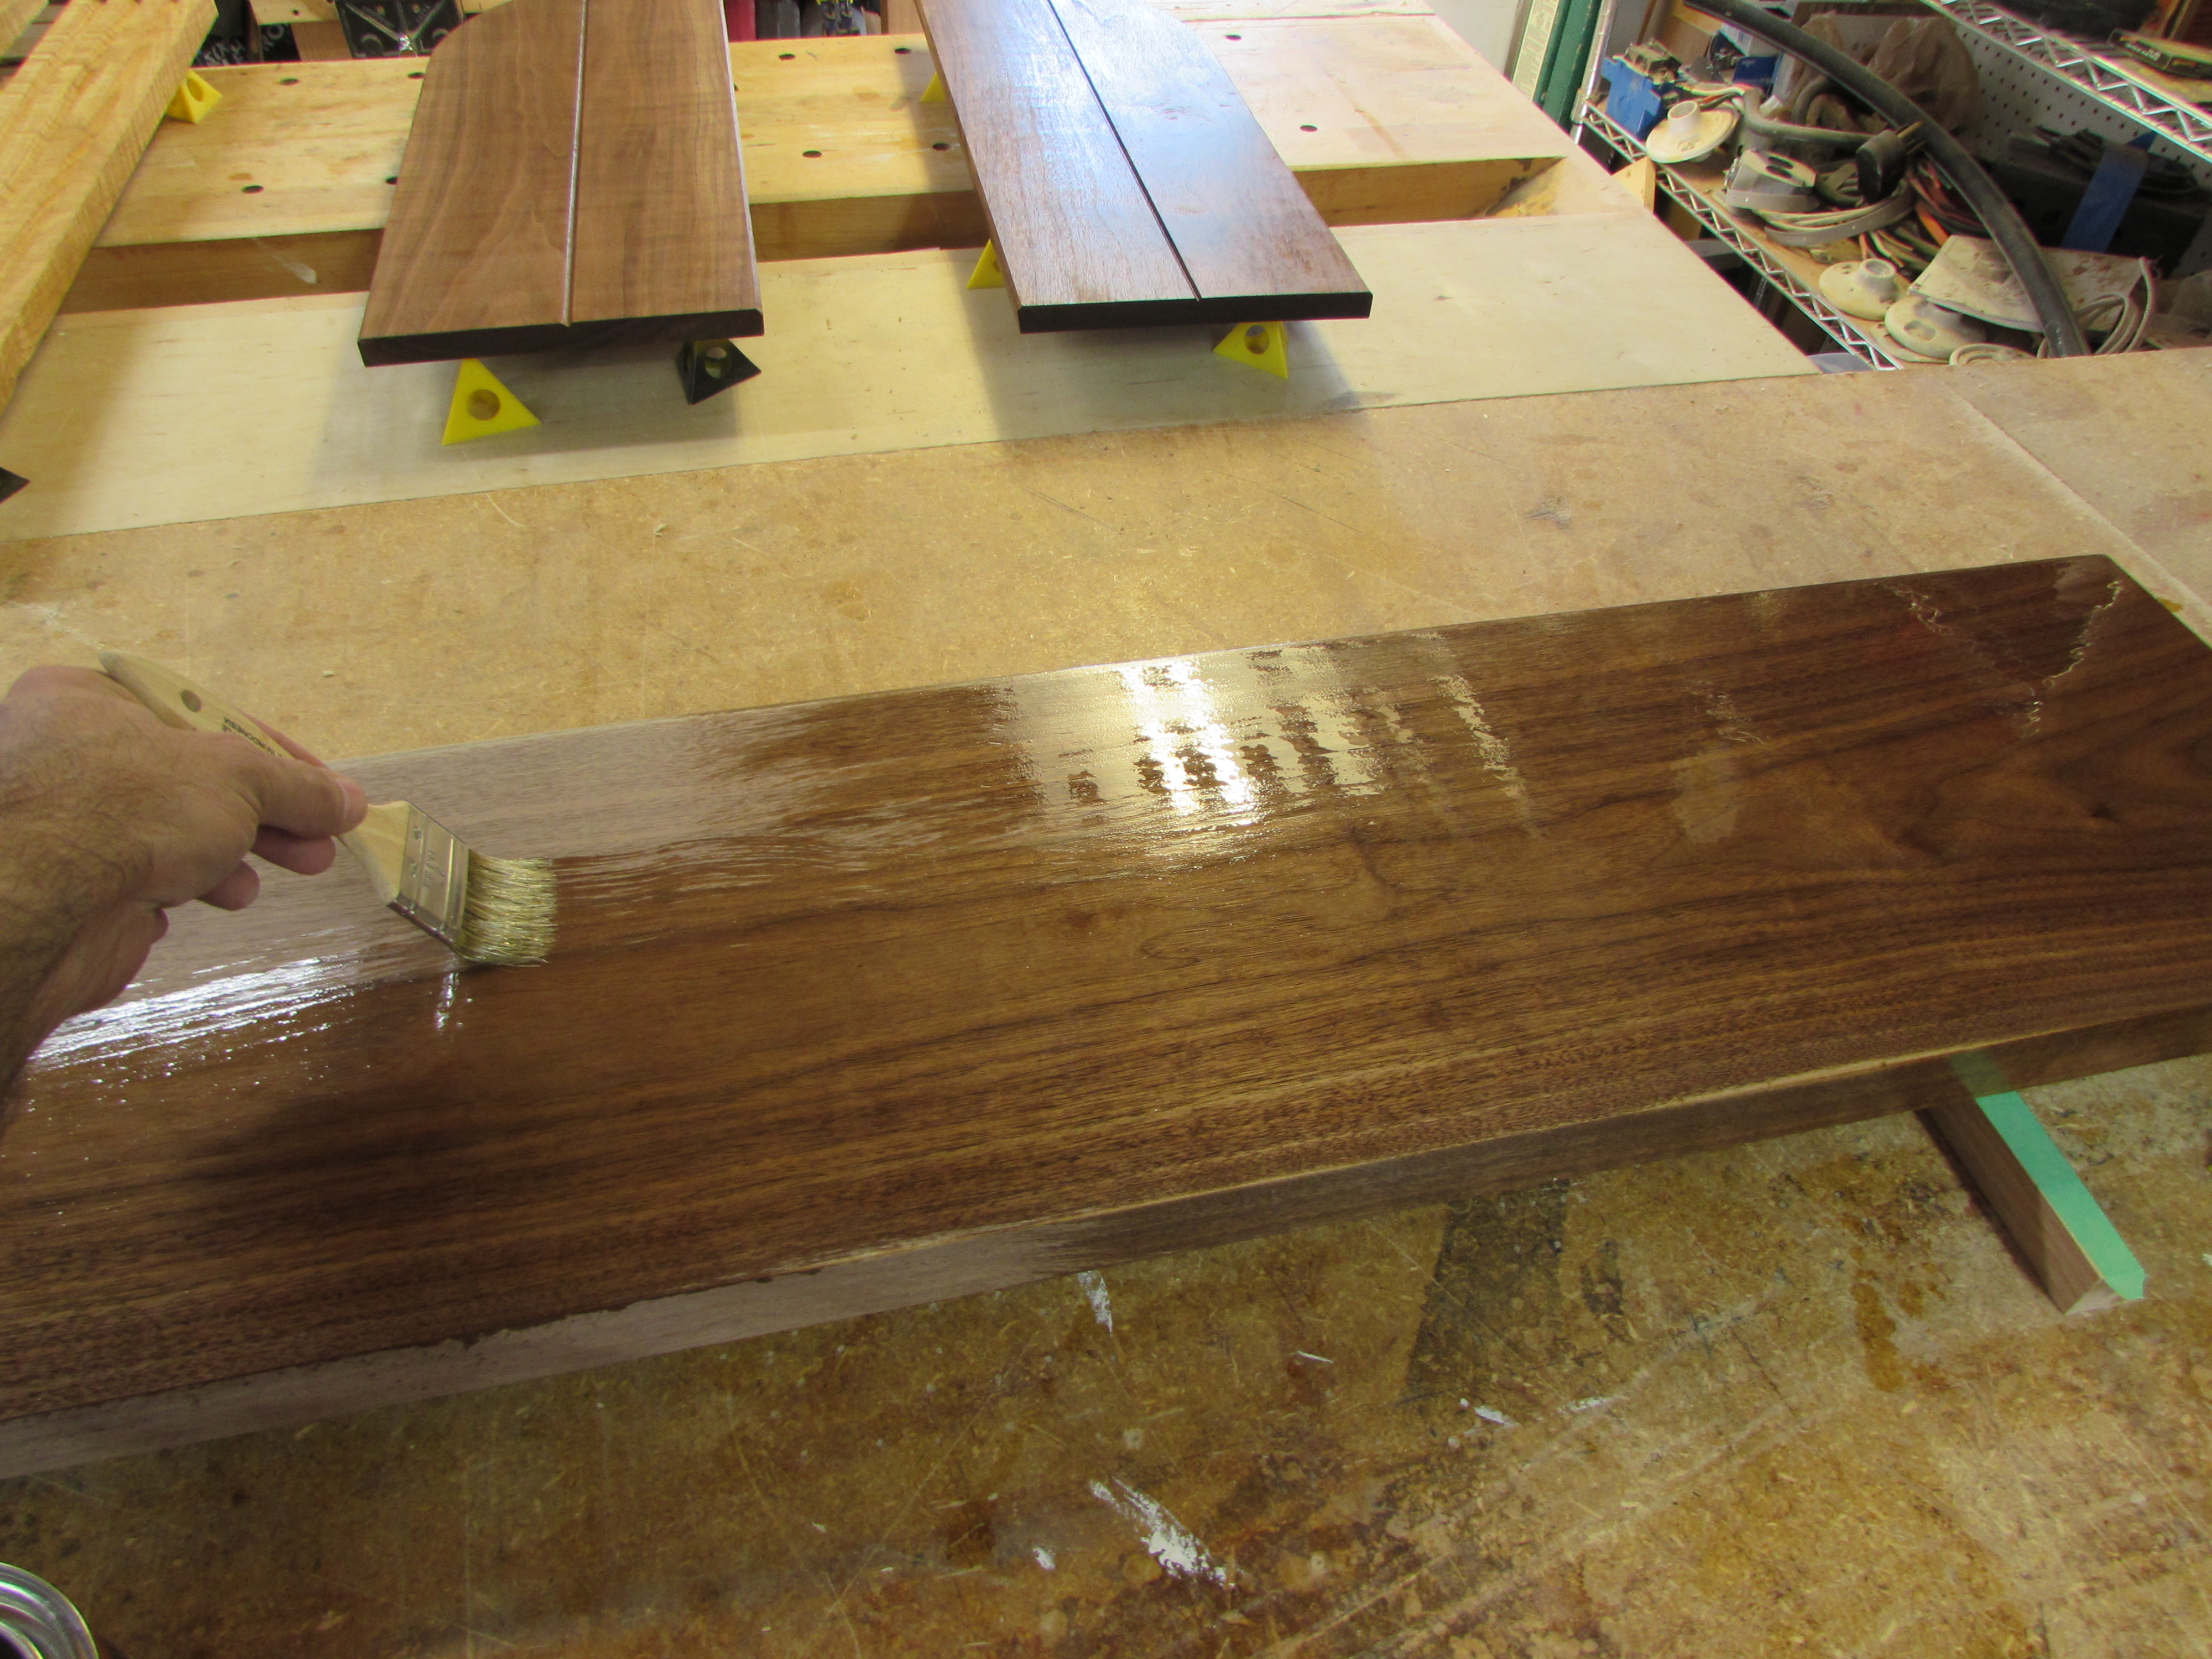
We wanted the mantle to have a more protective coating since it will see more traffic then the facade, so I decided to brush on three full coats of poly.


It took about an hour to get the first coat applied, but it all looks fantastic. After about three coats, we will be ready for install.
I have found that the polyurethane will dry in the threads of the mason jar, when storing finish in it. This makes it nearly impossible to open without breaking the glass. I saw a tip to use teflon tape to protect the threads, and it works well, so before putting everything away till the second coat, I wrapped a bit around the top of the jar.

Erin and Diana are really starting to get excited. The bar is nearly done. Two more days of finishing, and a day or two to let the fumes dissipate, then install this weekend. I hope they have started stocking up on bottles to fill it with…
