
Erin’s Fireplace bar – day 9
Erin came over last night, so we started working on the caps for the corbels.

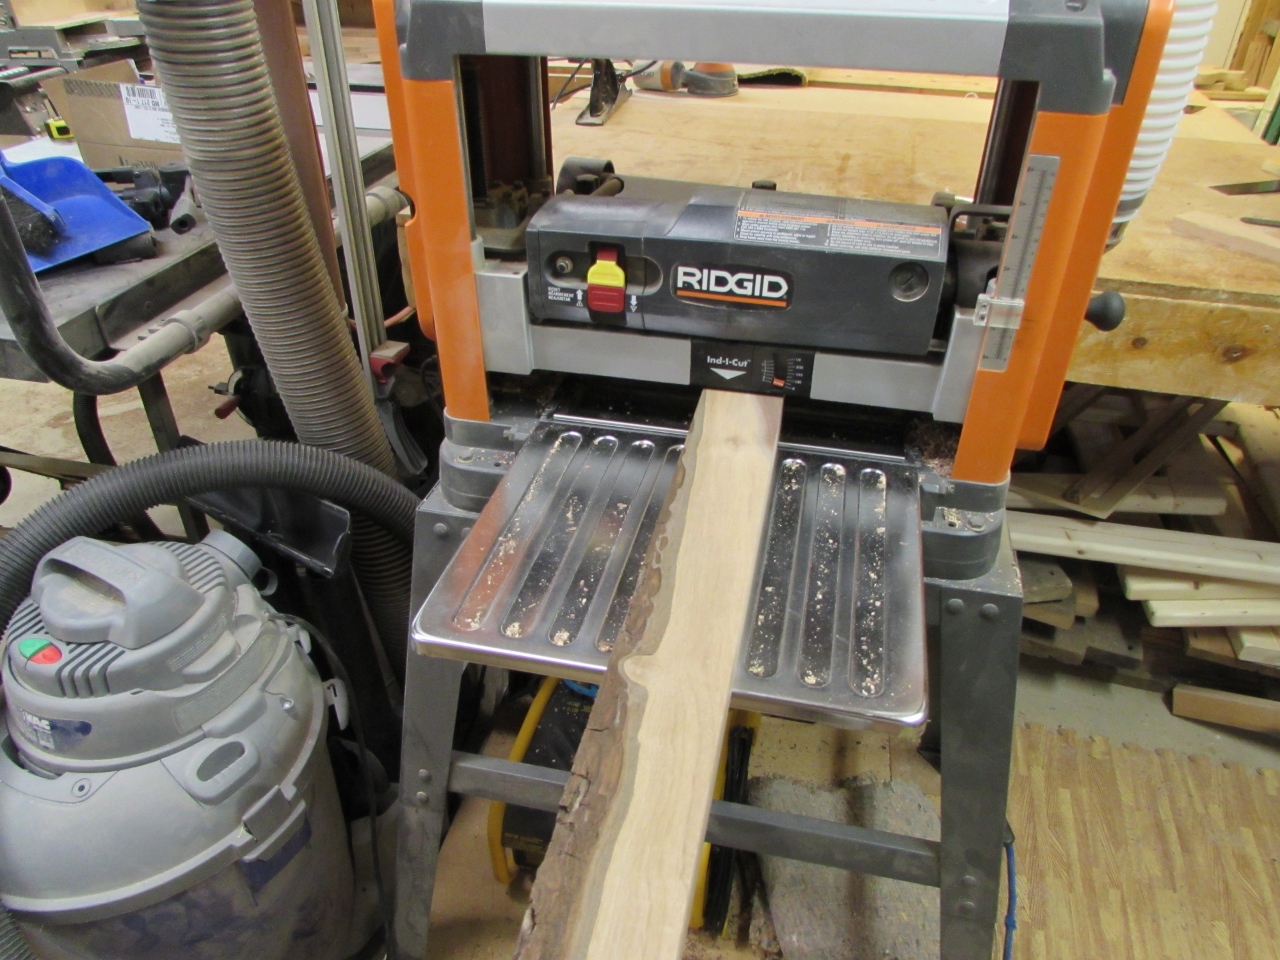
She cut and planed a piece down to 1/2″ thick for the first of the three cap pieces.

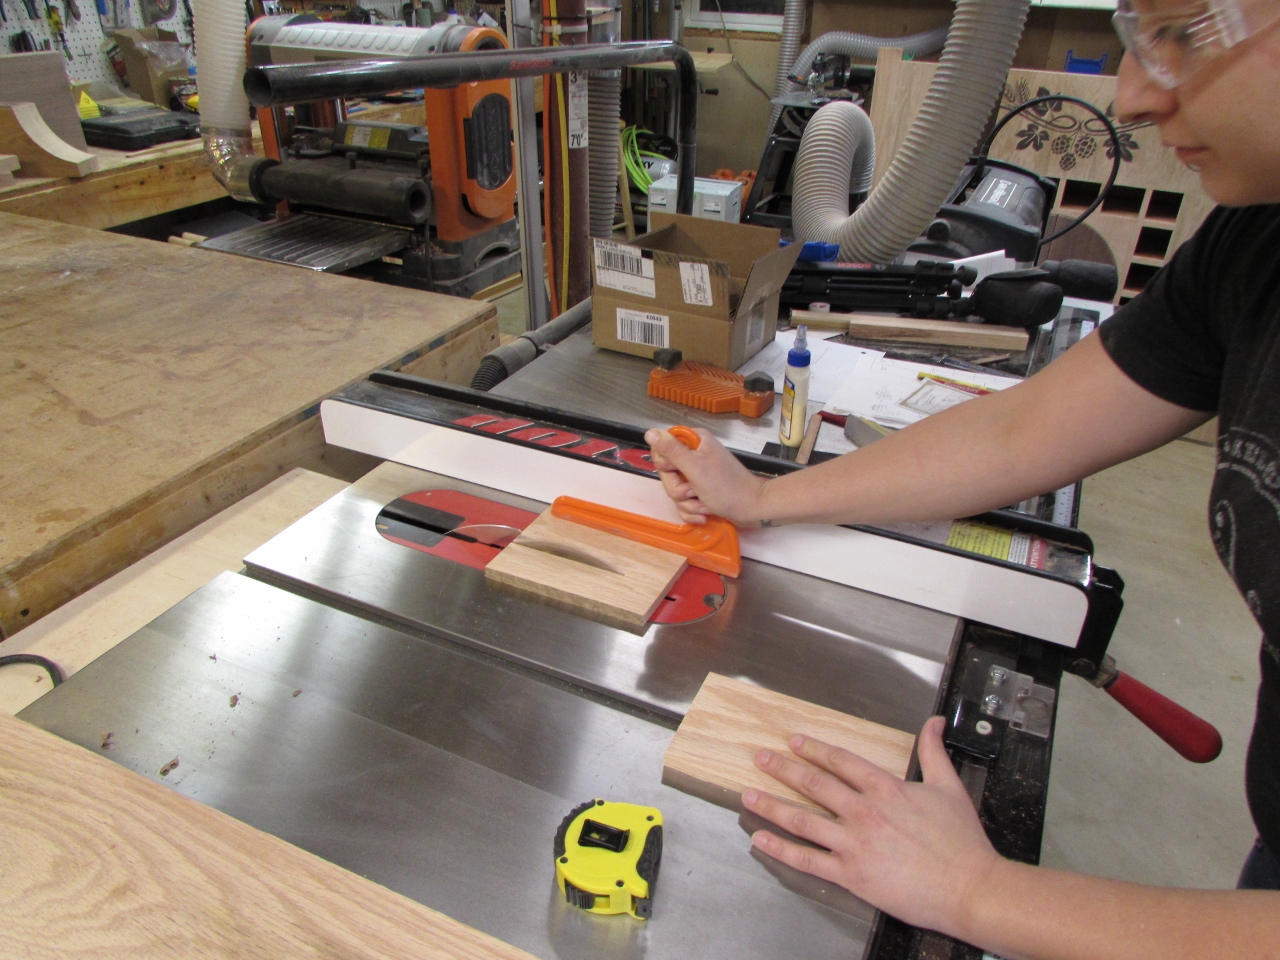
After cutting the 1/2″ pieces to size, she cut down 7/8″ thick blanks for the top two pieces.

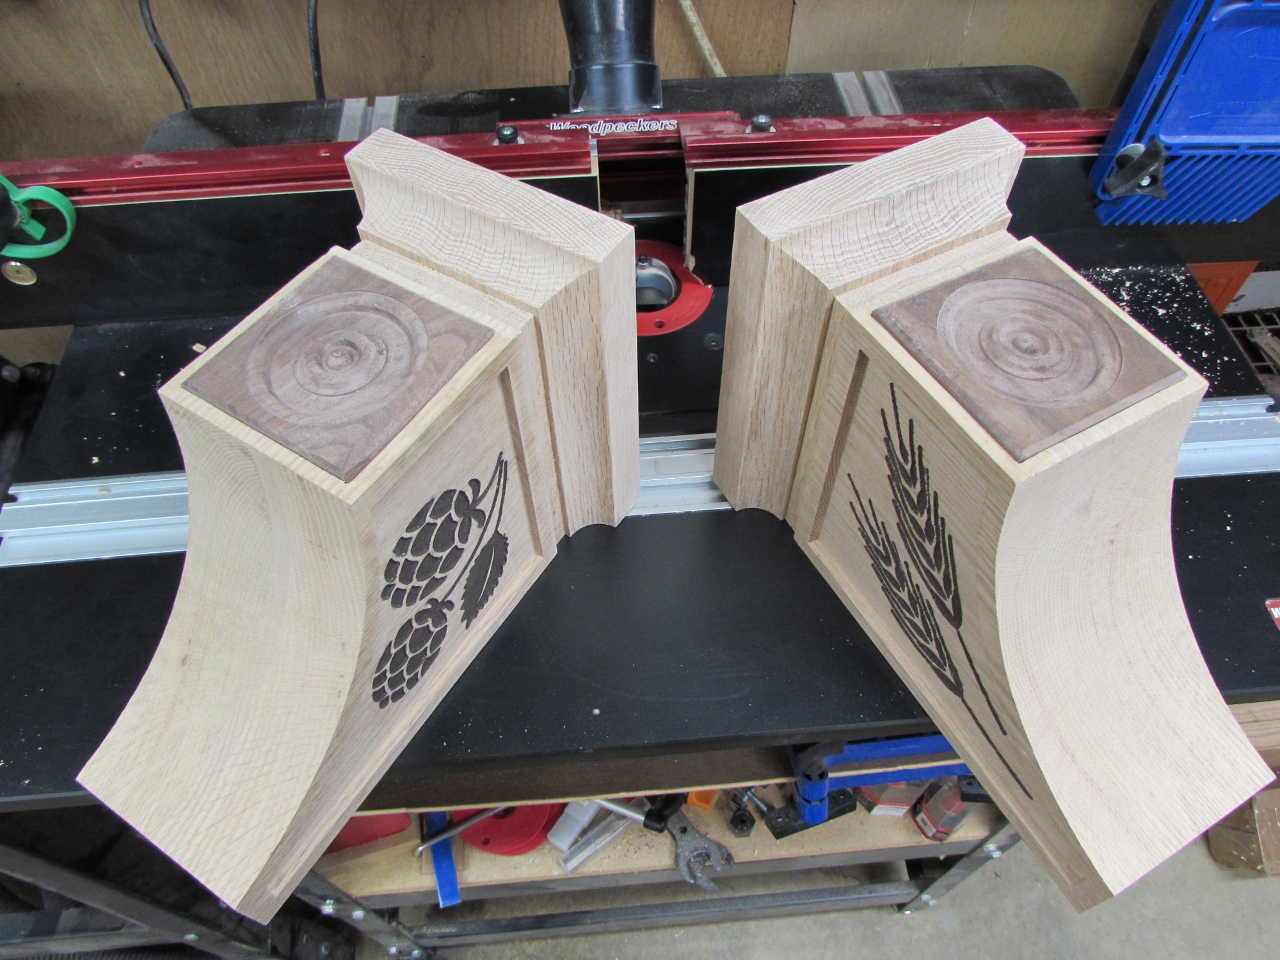
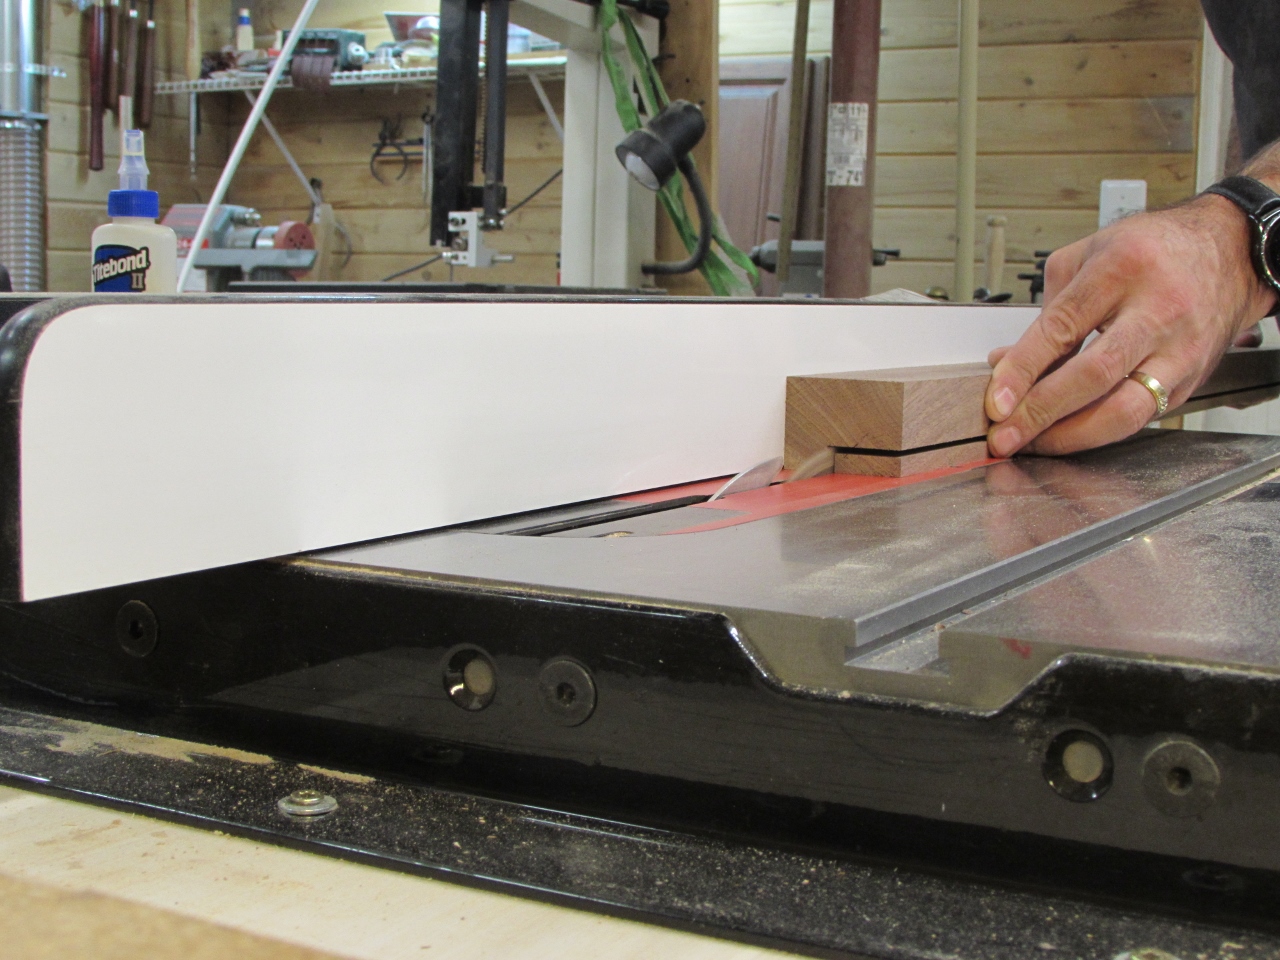
These will be stacked, so we made an effort to book match the end grains.


The middle piece has a 3/4″ cove cut into it. I had originally intended to make it 1″ tall, but past 3/4″ the cove bits get a bit more expensive. Erin cut the cove on my router table, starting with a 1/4″ deep pass, then we incrementally moved the fence back 1/8″ at a time until we reached full depth. It is a big bit and a little scary when it takes too deep a bite. We learned this on a test piece that the router tried to remove from my hands…

After each piece was cut and sanded, Erin applied glue, and I pin nailed the first piece in place.
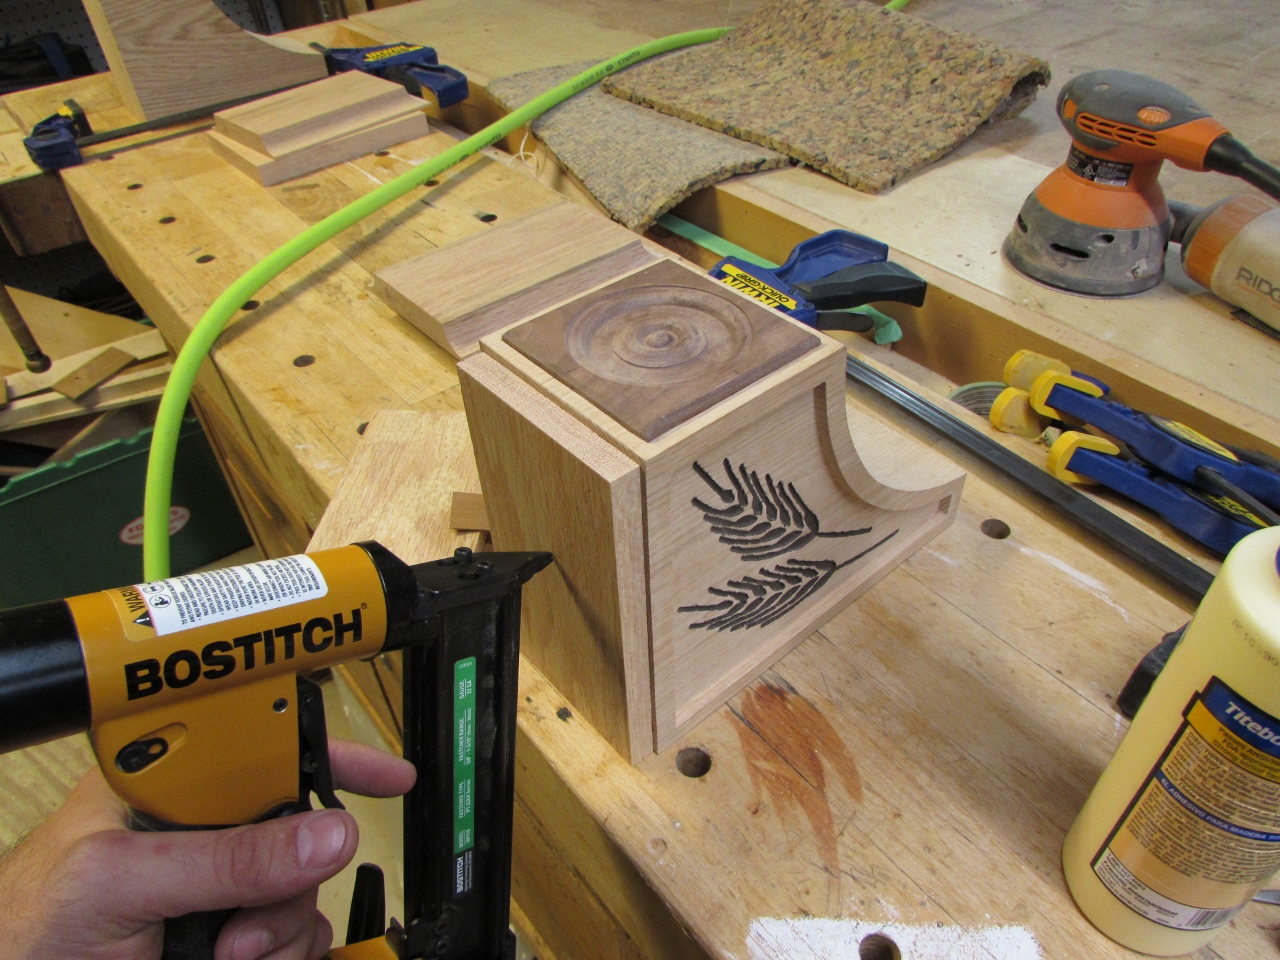

Next we applied glue to the second and third layers and used my 18 gauge nailer to hold them on.

Once it was all assembled, we clamped every available surface to get a good, tight fit. The nails were mainly to prevent anything from slipping when it was all clamped up.

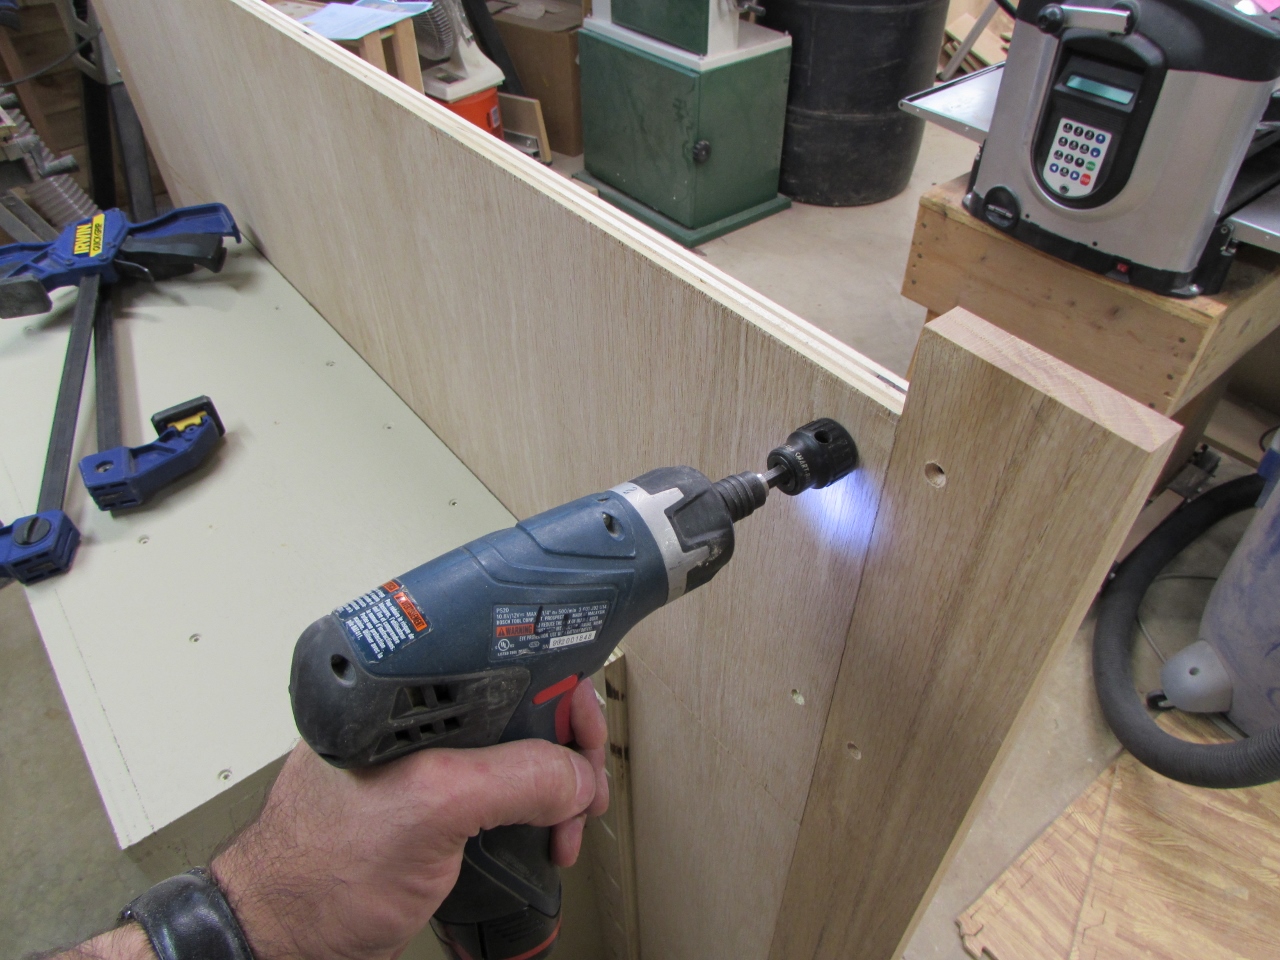
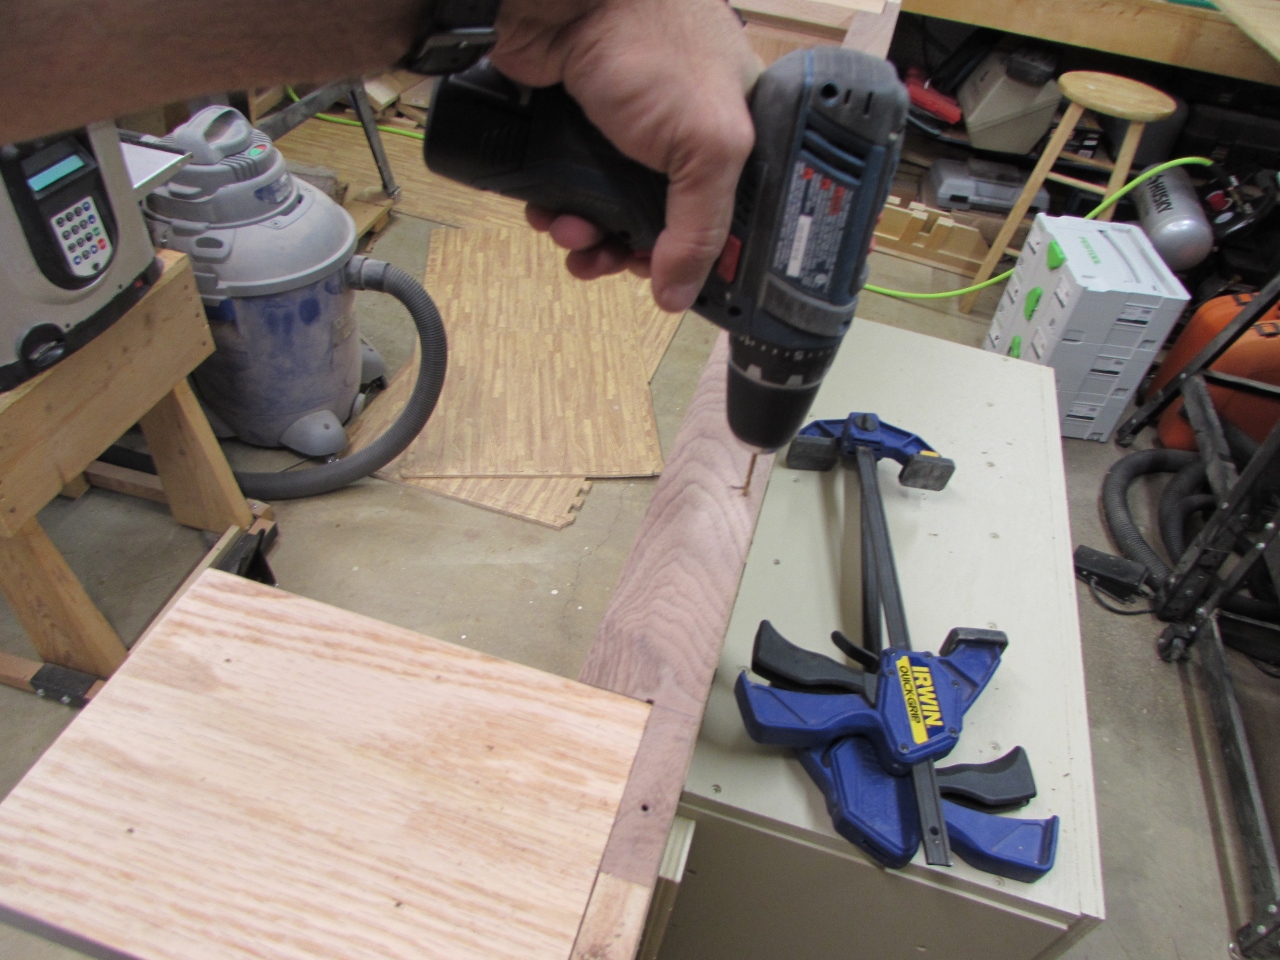
Since I am not exactly sure how everything will fit in the final assembly. I am attaching the corbels with screws. If they eventually have to move, they can be unscrewed and relocated.

After screwing the corbels into place, I fooled around with a test block, trying to come up with a shape for a piece of walnut, on the top of the plywood. This piece needs to have a mounting flange for screws to be driven, up from the bottom, into the mantle.
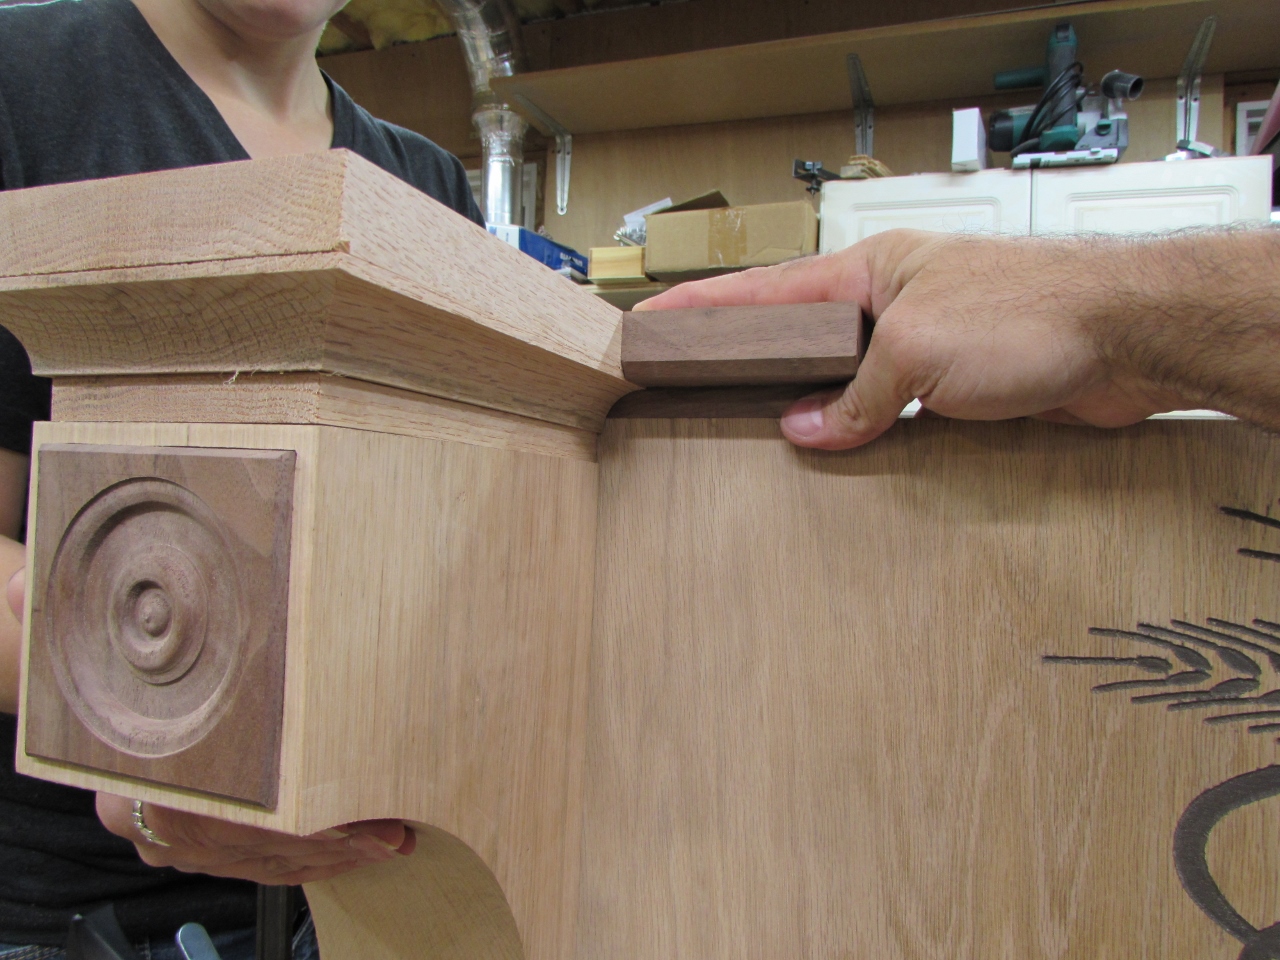
We agreed on a shape, so I cut down a piece of walnut to 1-1/2″x2″x4′ long.

It was a pretty piece with a lot of sap wood, that will allow a transition from the oak to the walnut to not be so drastic.
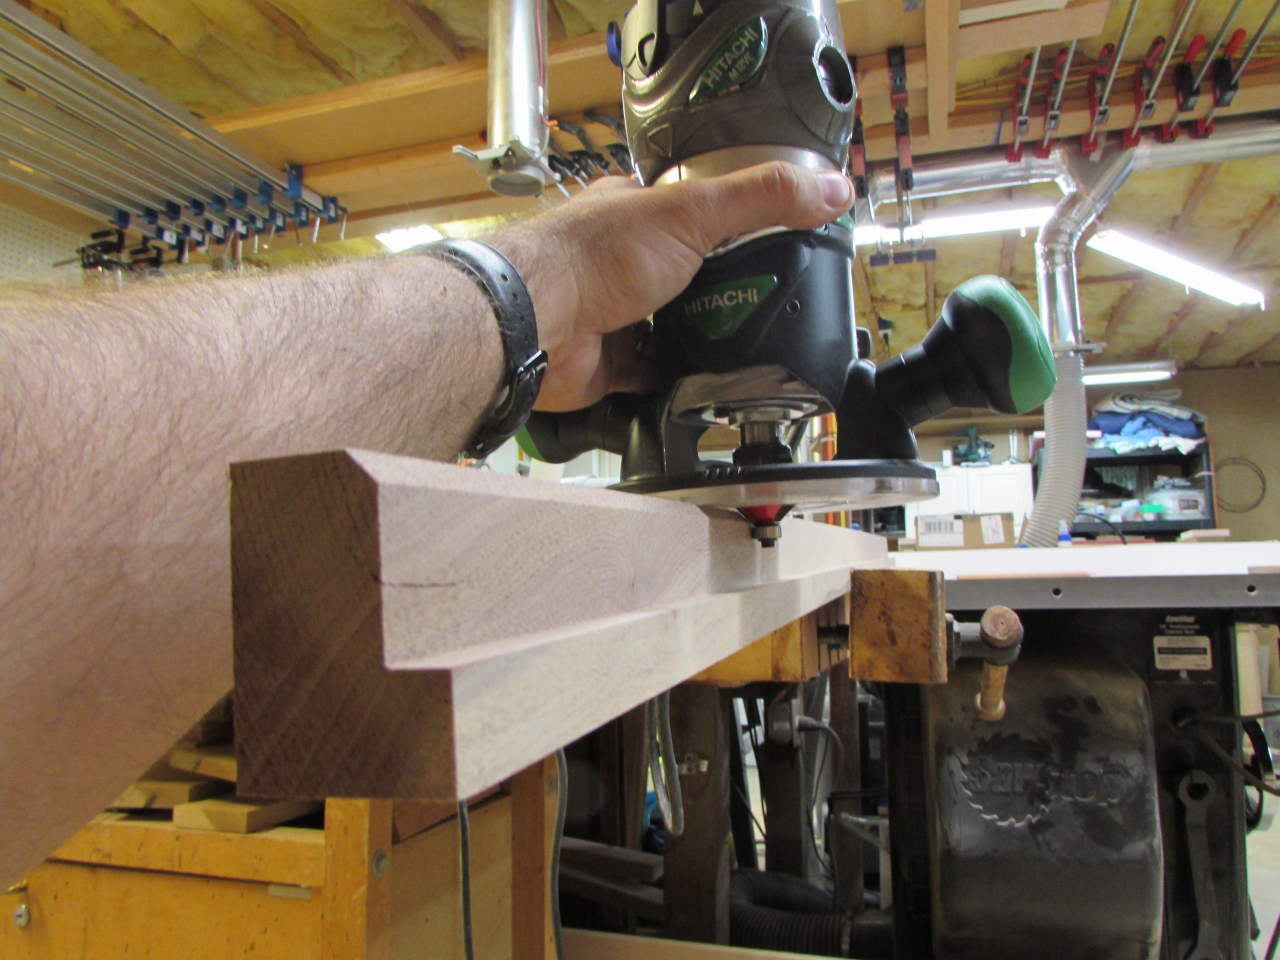
I added a simple chamfer to the lower, front edge, to dress it up a bit.

Next, I cut a notch, at each end, to go around the corbels.
We pre-drilled and counter-sunk where the flange will be screwed into the plywood, as well as through the flange, where the mounting screws will attach to the mantle.

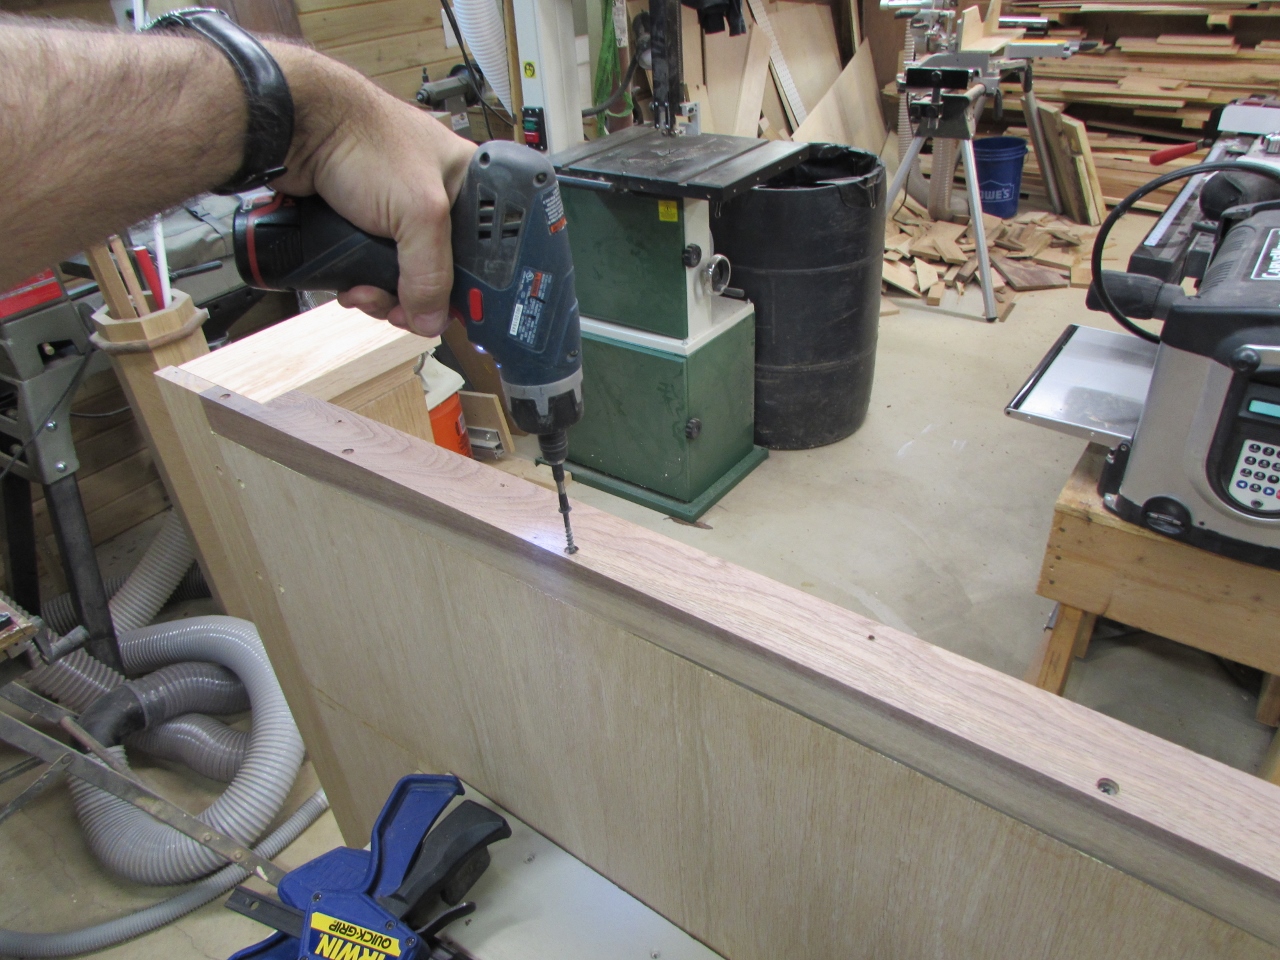
A little glue and a few 2-1/2″ wood screws later, and we had a top mounting flange.

Looks pretty good, but it was 1:00am when I finished up with it, so I knocked off and went to bed.

In the morning, I packed everything up and headed to Erin’s house for the final fit check.

My foam plug nearly did what I wanted. It definitely expanded to fill most of the chimney, but the bag shape didn’t allow the spread to travel completely into all corners. We will add a bit more later if we think it is needed.
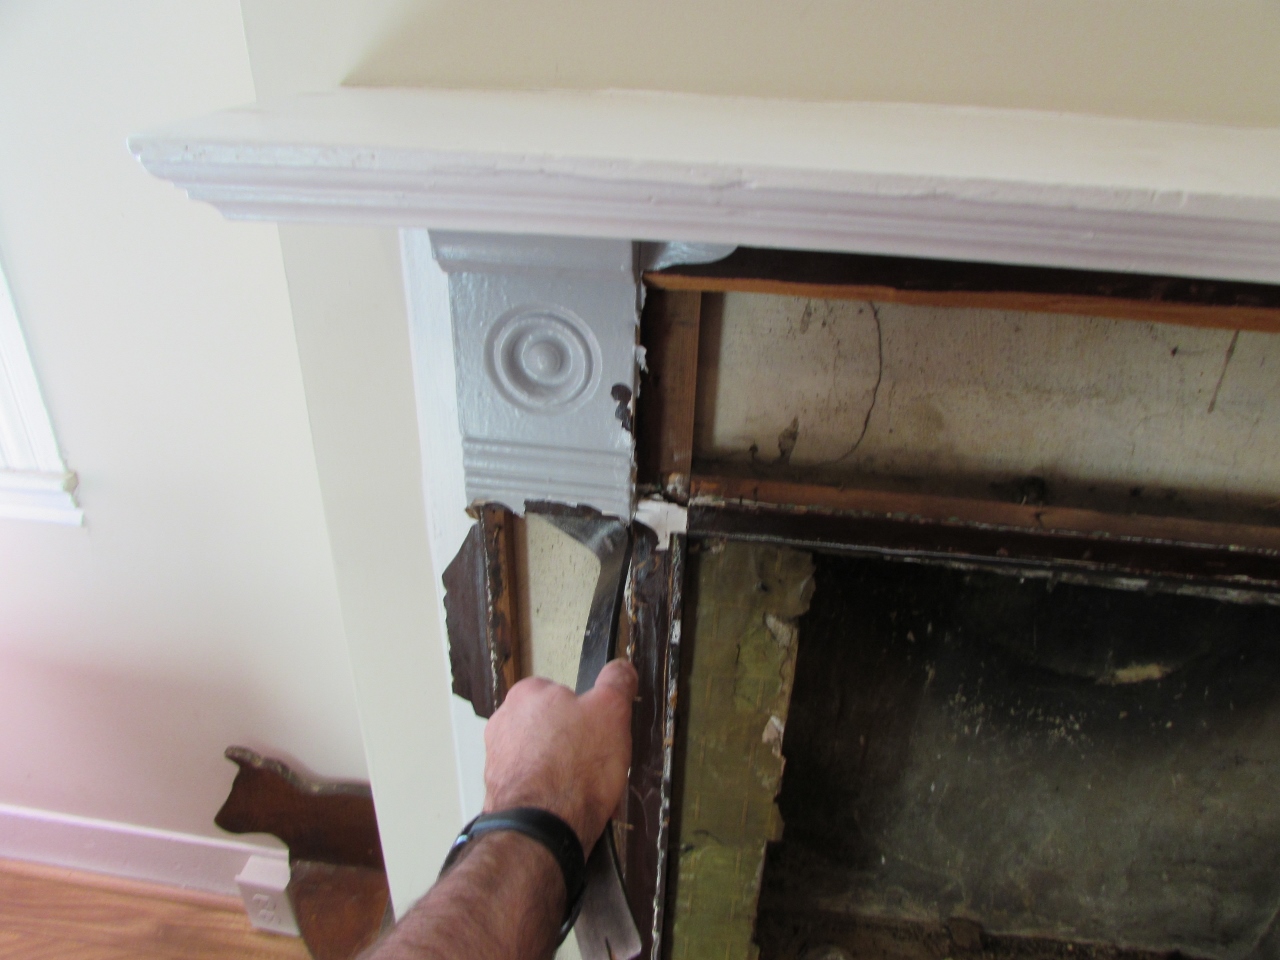
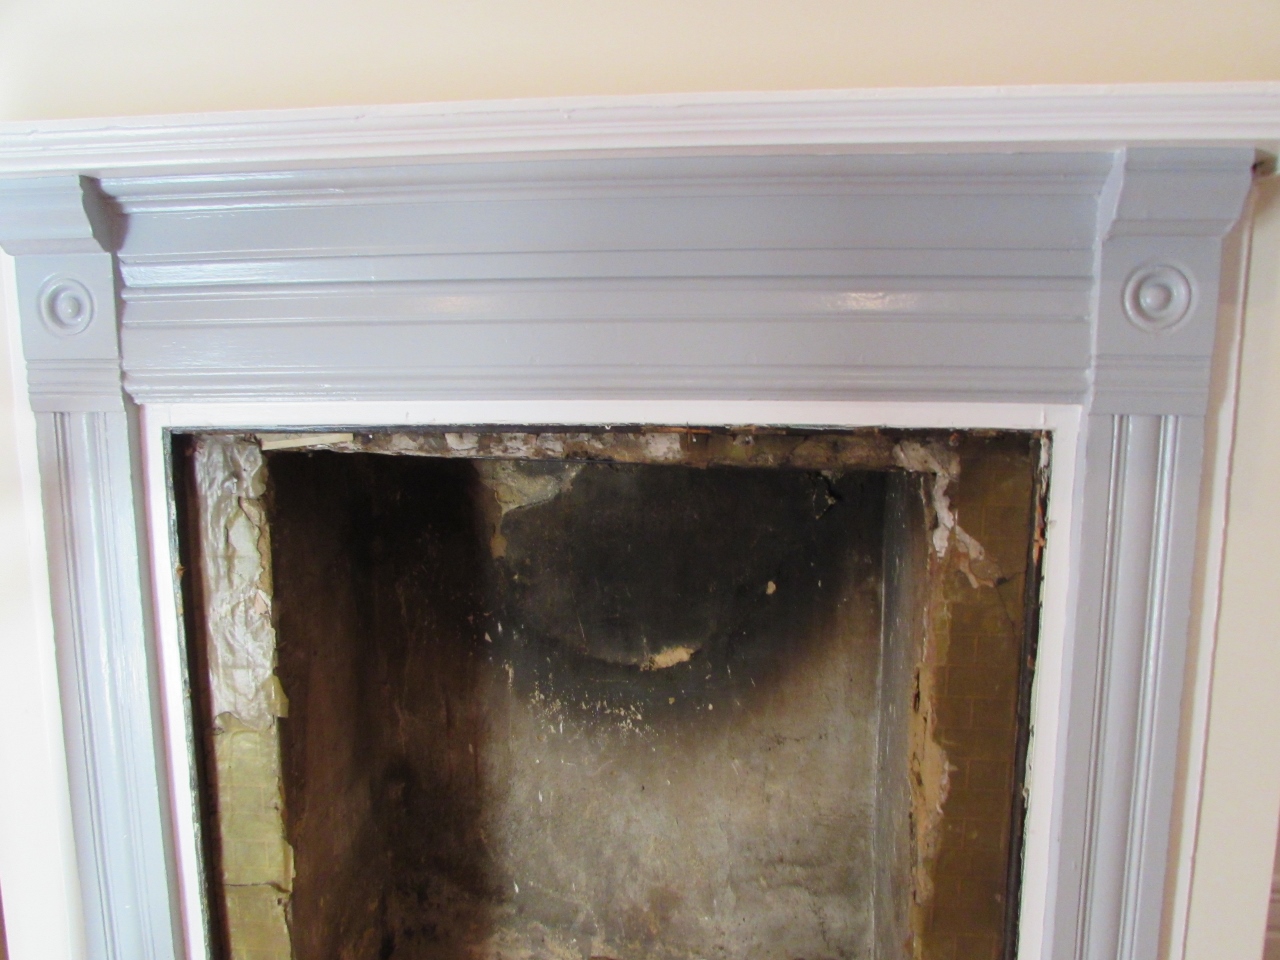
I proceeded to gently remove the existing 100-year old façade, hoping to not disturb any of the drywall that was surrounding it.
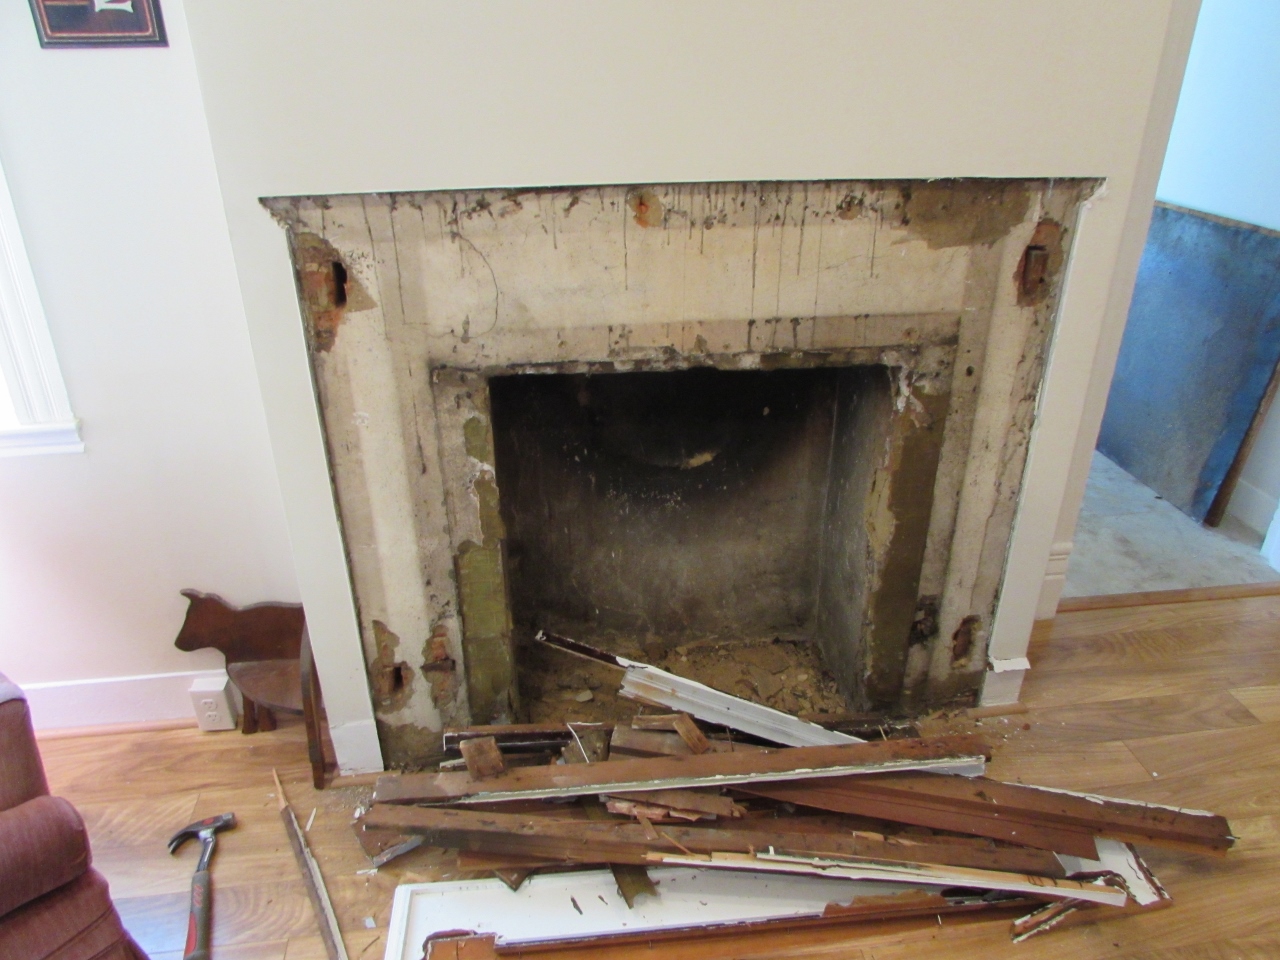
When we pulled off the mantle, a things fell out, that had slid behind the mantle a long time ago. One was part of a pack of needles, for an old singer sewing machine, and the other two items were post cards affixed with 1 cent stamps from around 1912. Kind of cool to find a little time capsule accidentally tucked away like that. The post cards were over 100 years old.

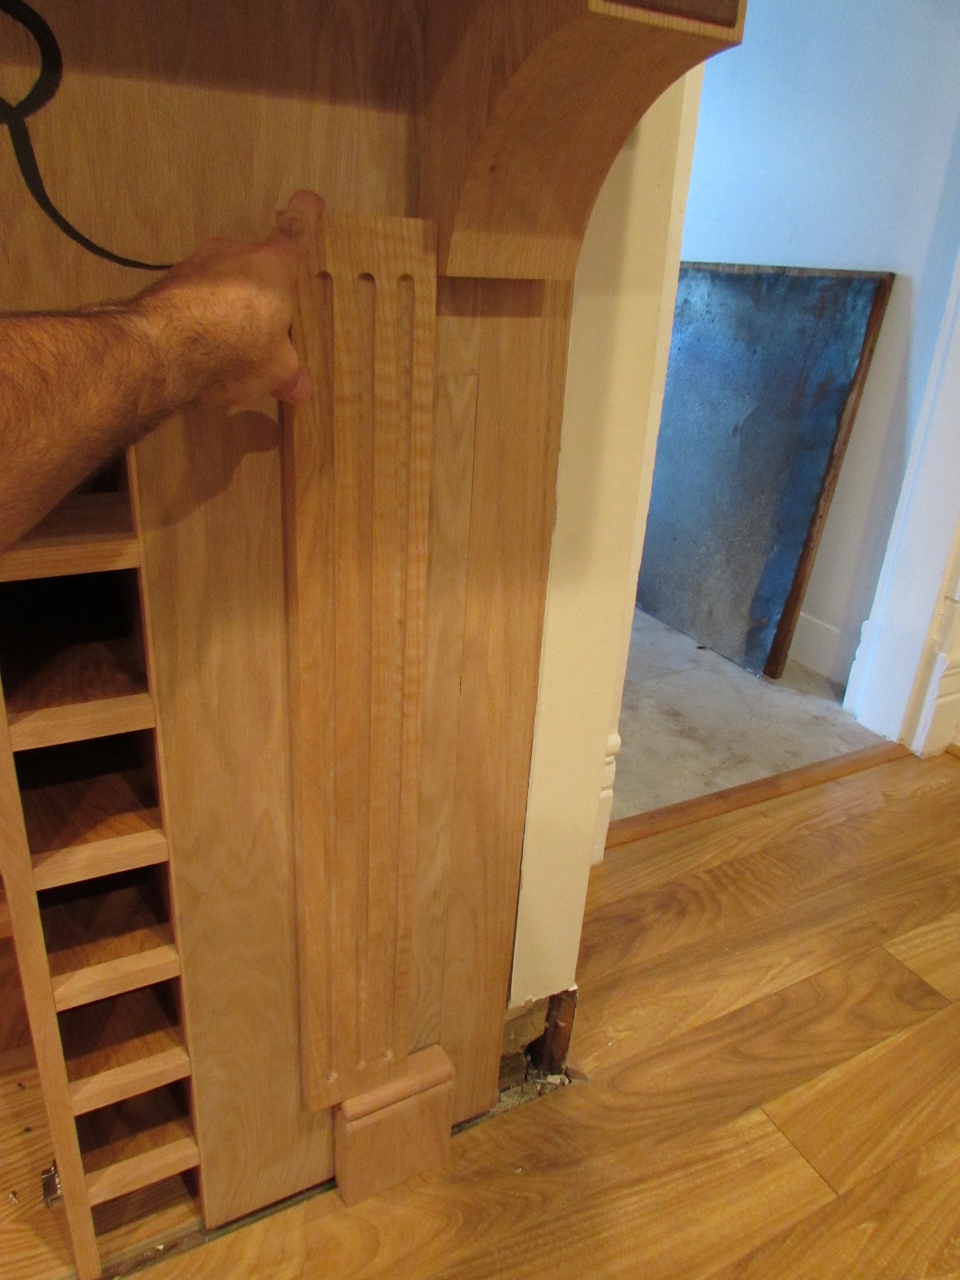
After that bit of excitement and a lot of cleanup I tried installing the bar.

As I suspected, my flanges were preventing the bar from being fully inserted into the fireplace.
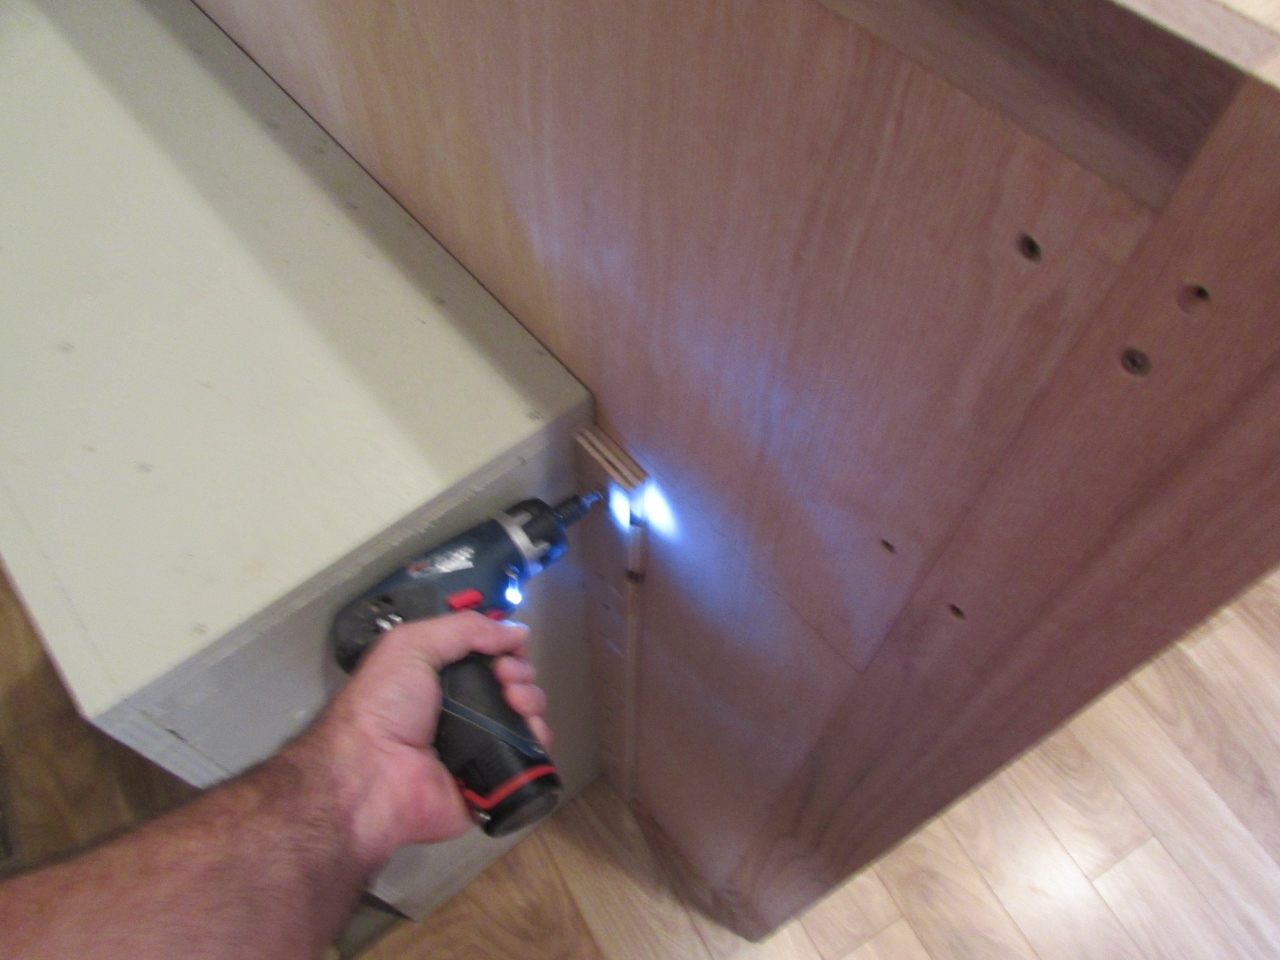
I pulled them off and used a clamp and my pocket hole jig to add pocket holes directly to the cabinet itself.


After attaching a few screws, the whole thing slid right into place.


The new mantle is a bit thicker than the previous one, so I slid the mantle into place and marked its location onto the wall.

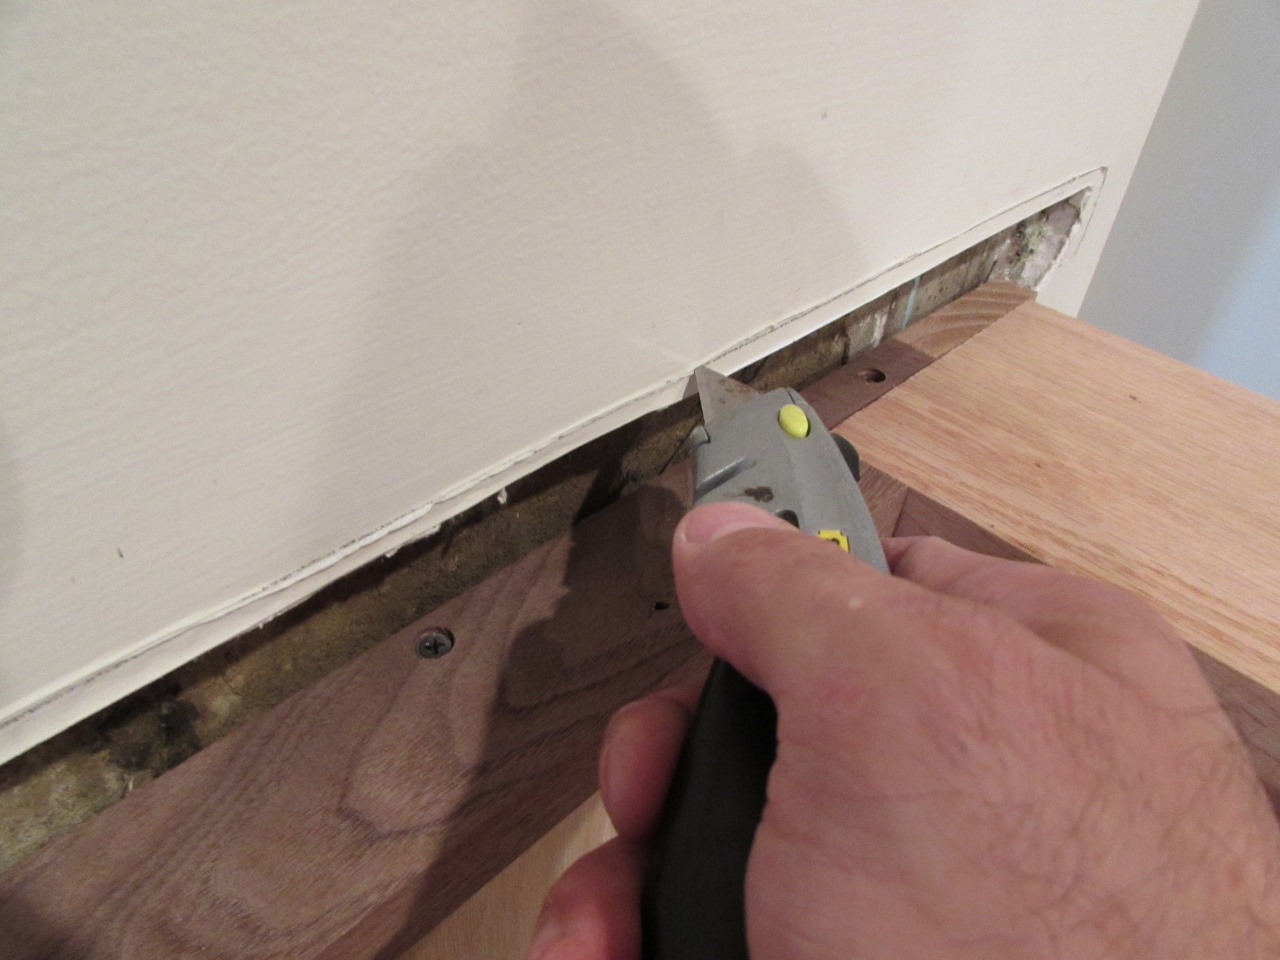
After removing the mantle, I used a utility knife to remove about 1/4″ of the drywall, and I squared off the ends as well.
The mantle slid tightly into place. You may wonder why I bothered, as opposed to butting it up against the wall. Mainly because of the post cards. The fireplace wall is not perfectly flat, so there was a gap at the center about 1/8″ deep. I didn’t want anything sliding back there, so simply removing a bit of drywall will allow me to press the mantle back a bit further. After the finish has been applied, it will be easy to apply a small amount of caulk, all the way around, filling the gaps.

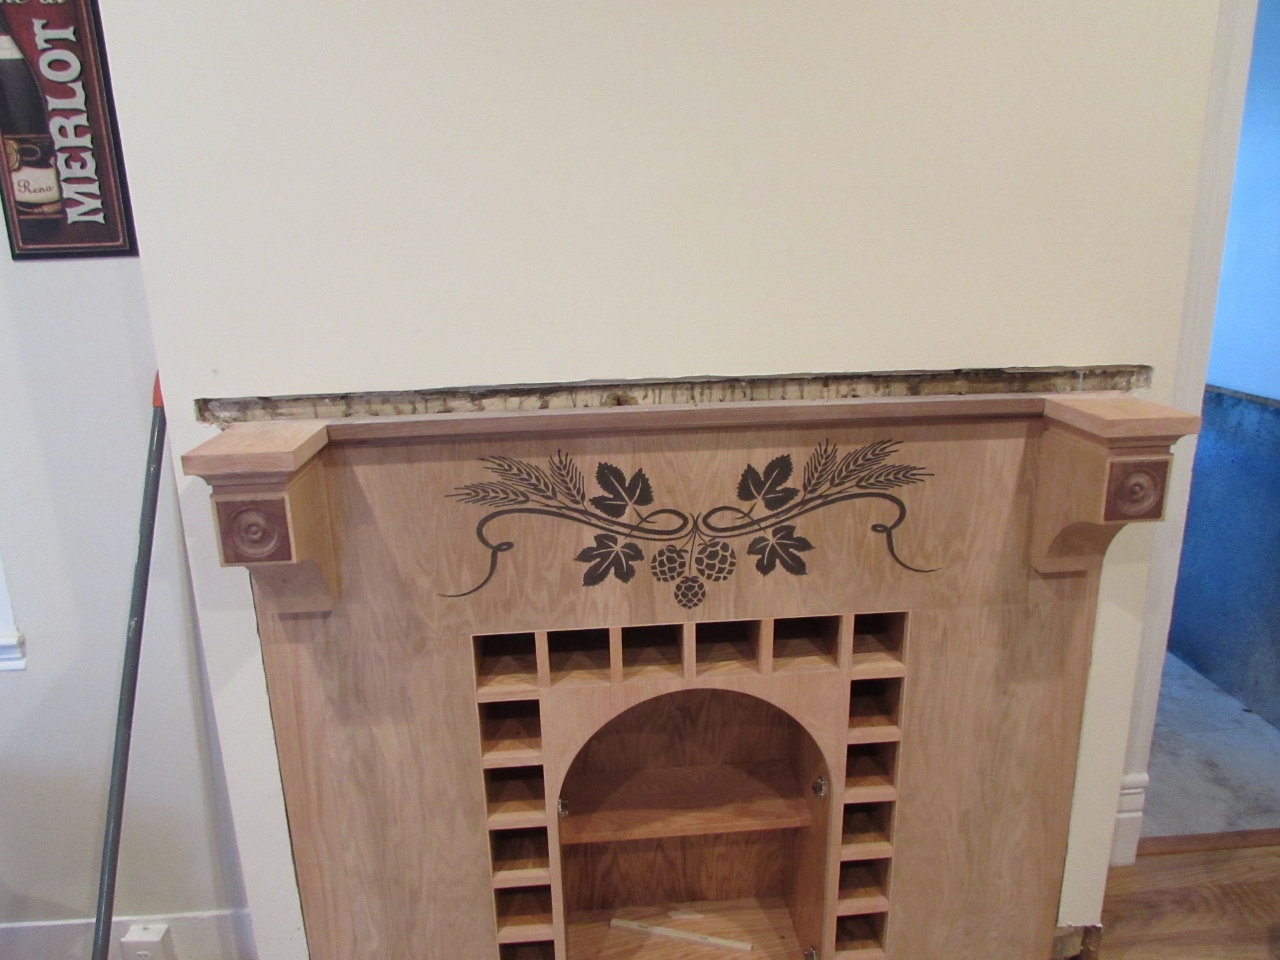
I knew the new bar would fit, but I mainly needed to install it now, to determine the final dimensions for the columns and the plinth blocks. It looks like I need to lose about 1-1/2″ from one or both of them to get the columns to fit.

I pulled everything out and disassembled it to take back to my shop. We only need a few more details to finish up. I left Erin and Diana the fun job of cleaning up the large mess that I made…
