
Erin’s Fireplace bar – day 8
We had a chance to do a bit more work, on the bar, last night. We started by attaching the face by running wood screws through the flange on the cabinet.


The next step was to trim the edge of the plywood with 1/8″ thick strips of oak. This will conceal the plywood edges.
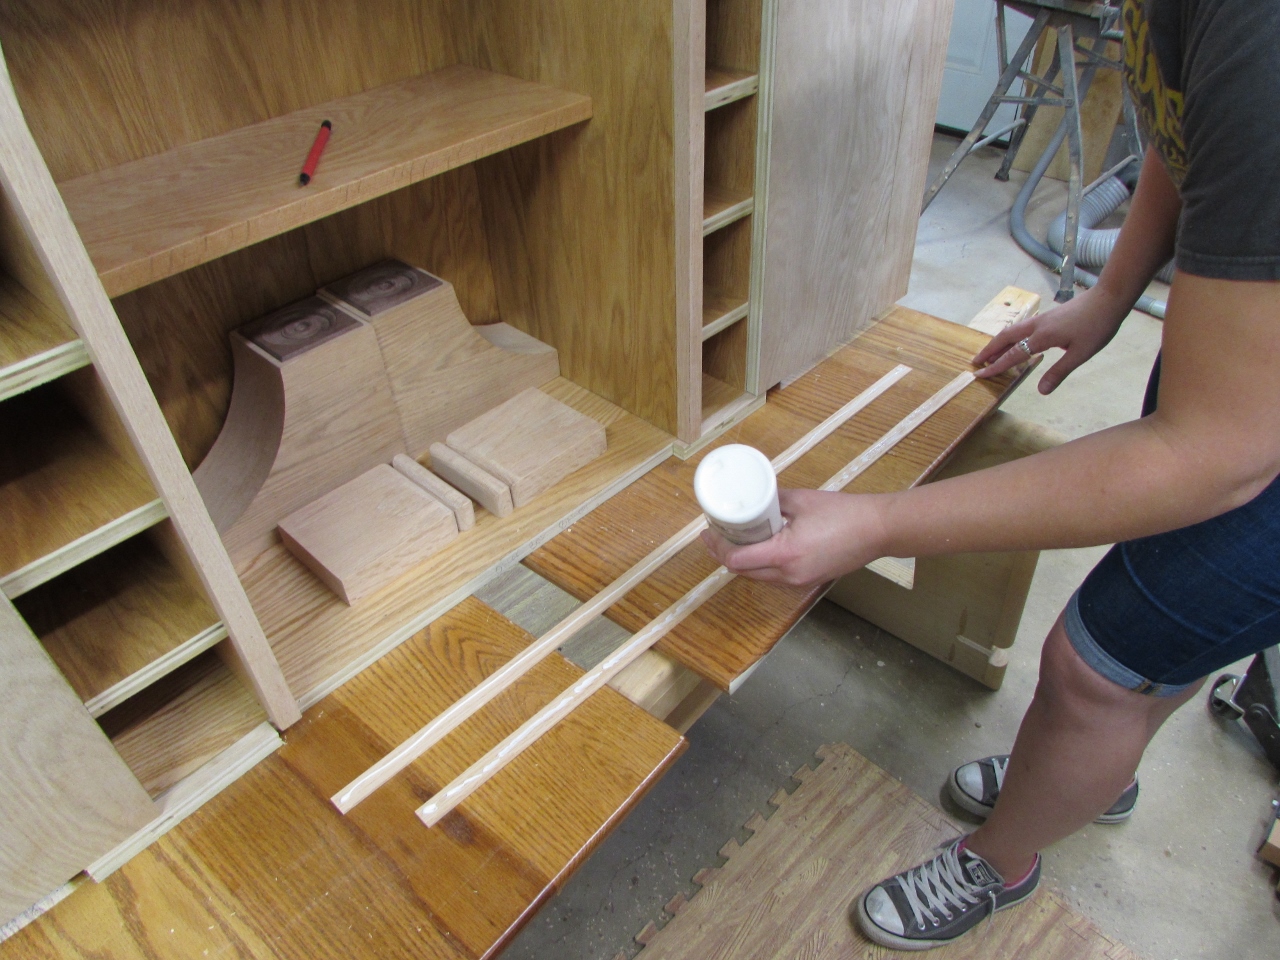
We used molding glue instead of the regular wood glue because it is thicker and did not want to run and squeeze out, all over the place. Erin held it flush to the front of the cabinet, then pinned each strip in place.

With the strip in place, we could now get an exact dimension for the cap pieces for the ends of each shelf.
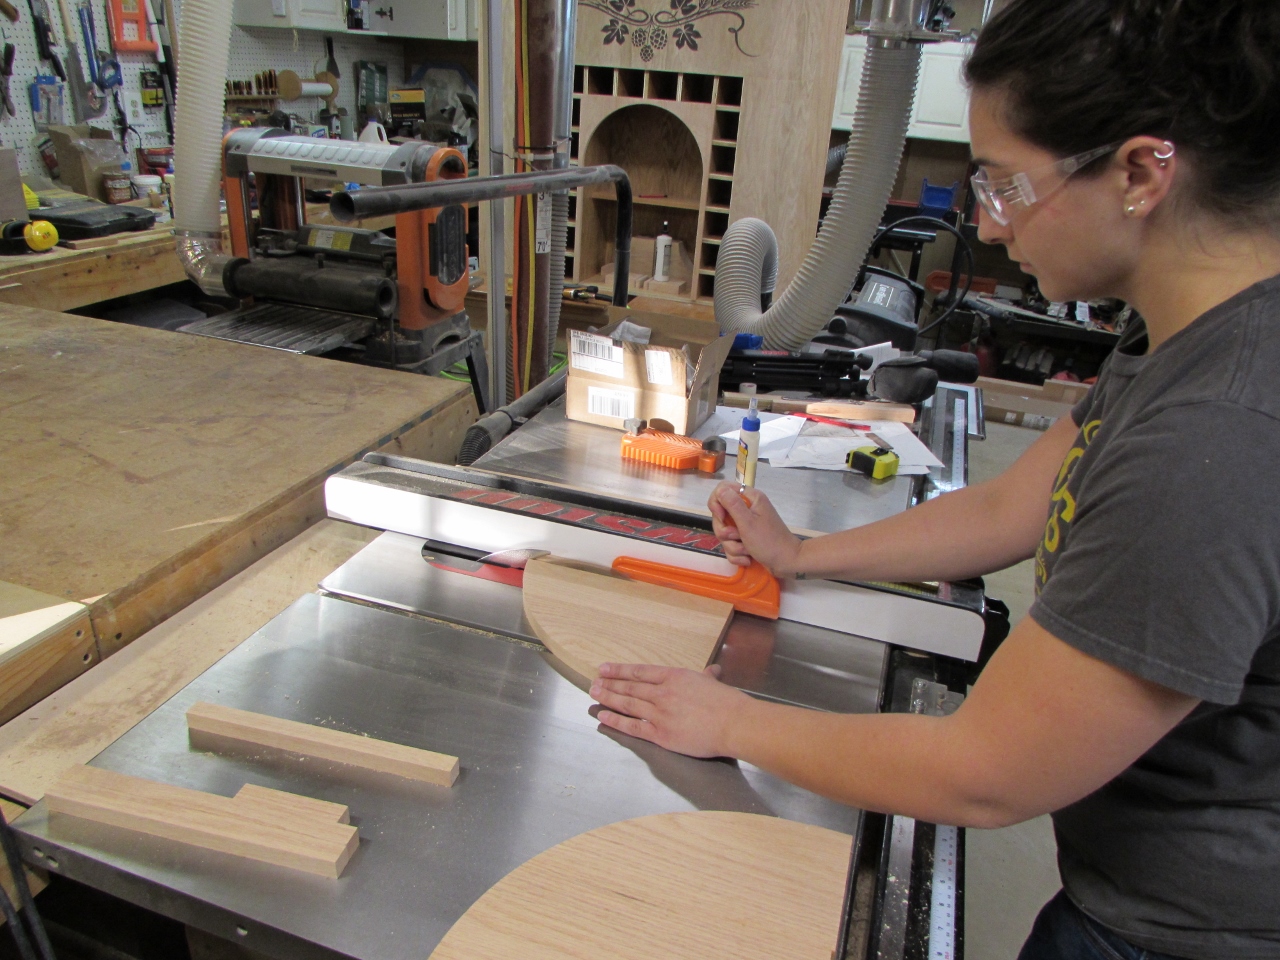
Erin cut some scrap oak down to 3/4″ strips while I set up a temporary fence on the miter saw. This fence will make it easier to line up the cut, as well as making it safer to hold the small piece. Using double-sided tape, I also added a stop block. the stop block will enable us to cut several caps at the exact same length.

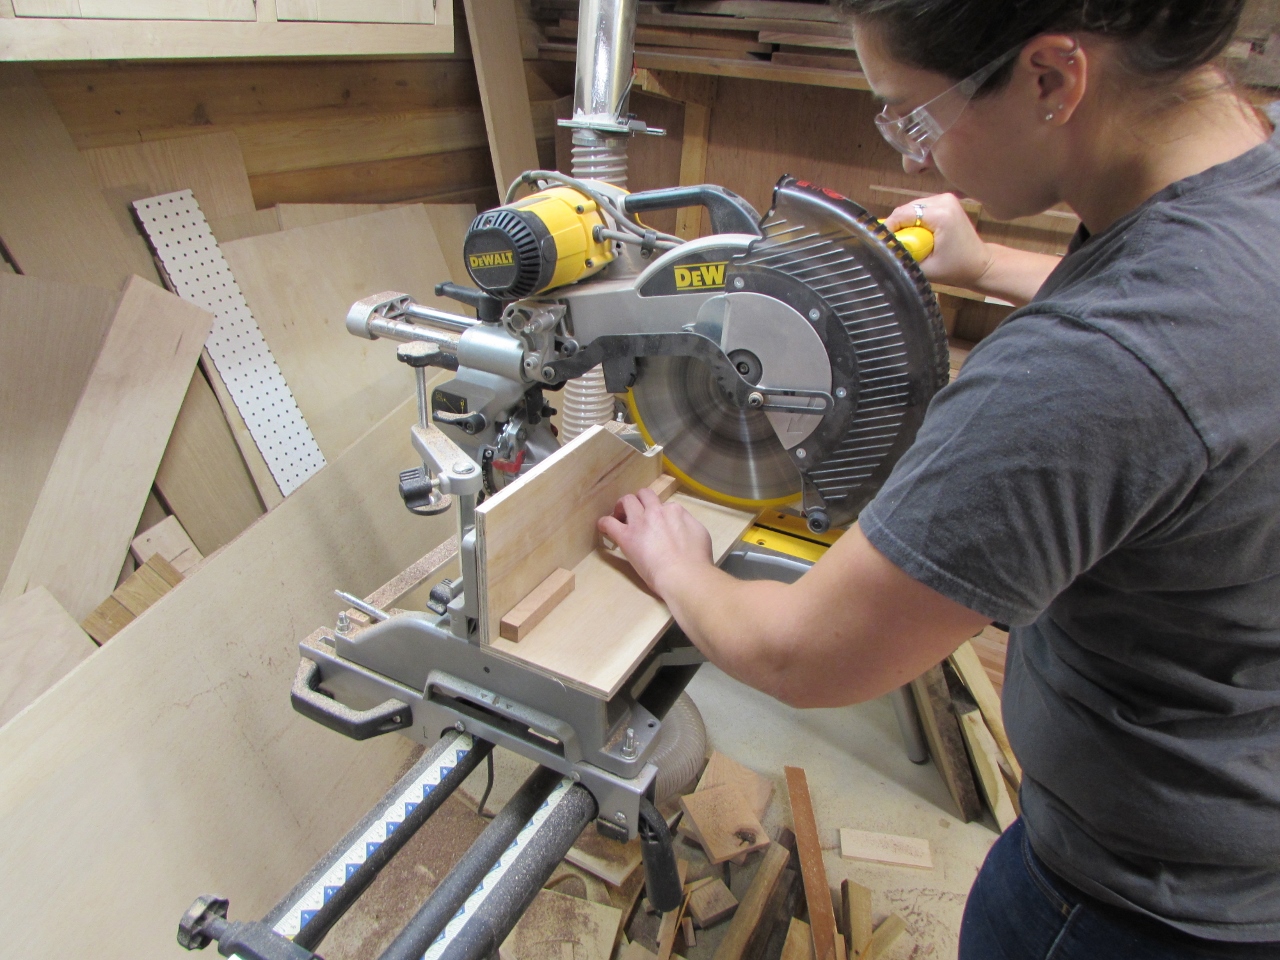
Erin cut about 18 caps to the longest length required, then we tested each one and trimmed them up further if required.

Each cap was glued, then pinned in place to dry.


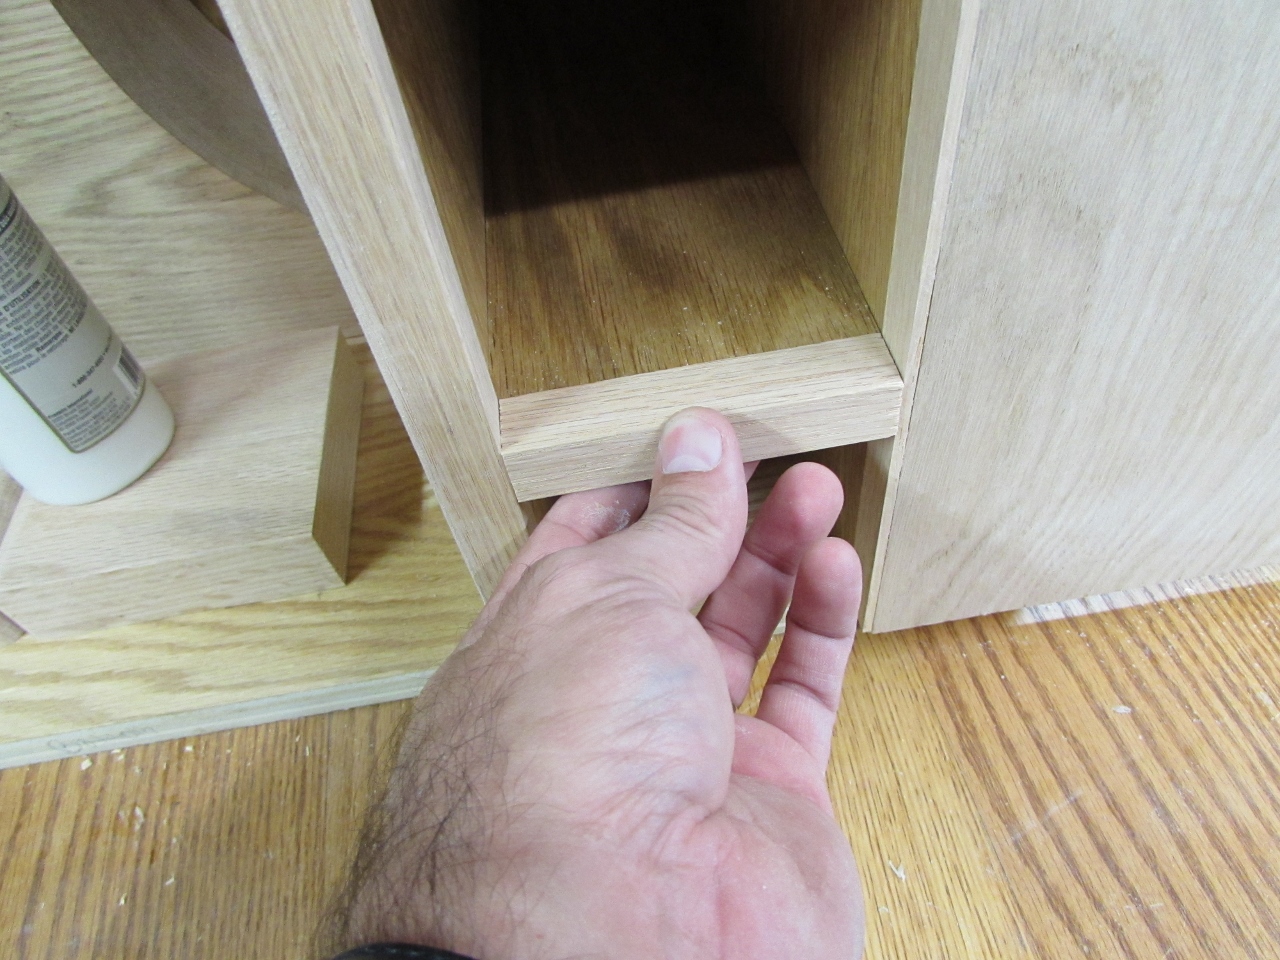
Plywood tends to vary slightly in thickness. In this case, it was slightly thinner than the 3/4″ solid oak we were using, leaving a slight step in some of our caps.

I carefully set the pin nails just below the surface of the wood, and used my block plane to plane one side of the cap down to meet the plywood.

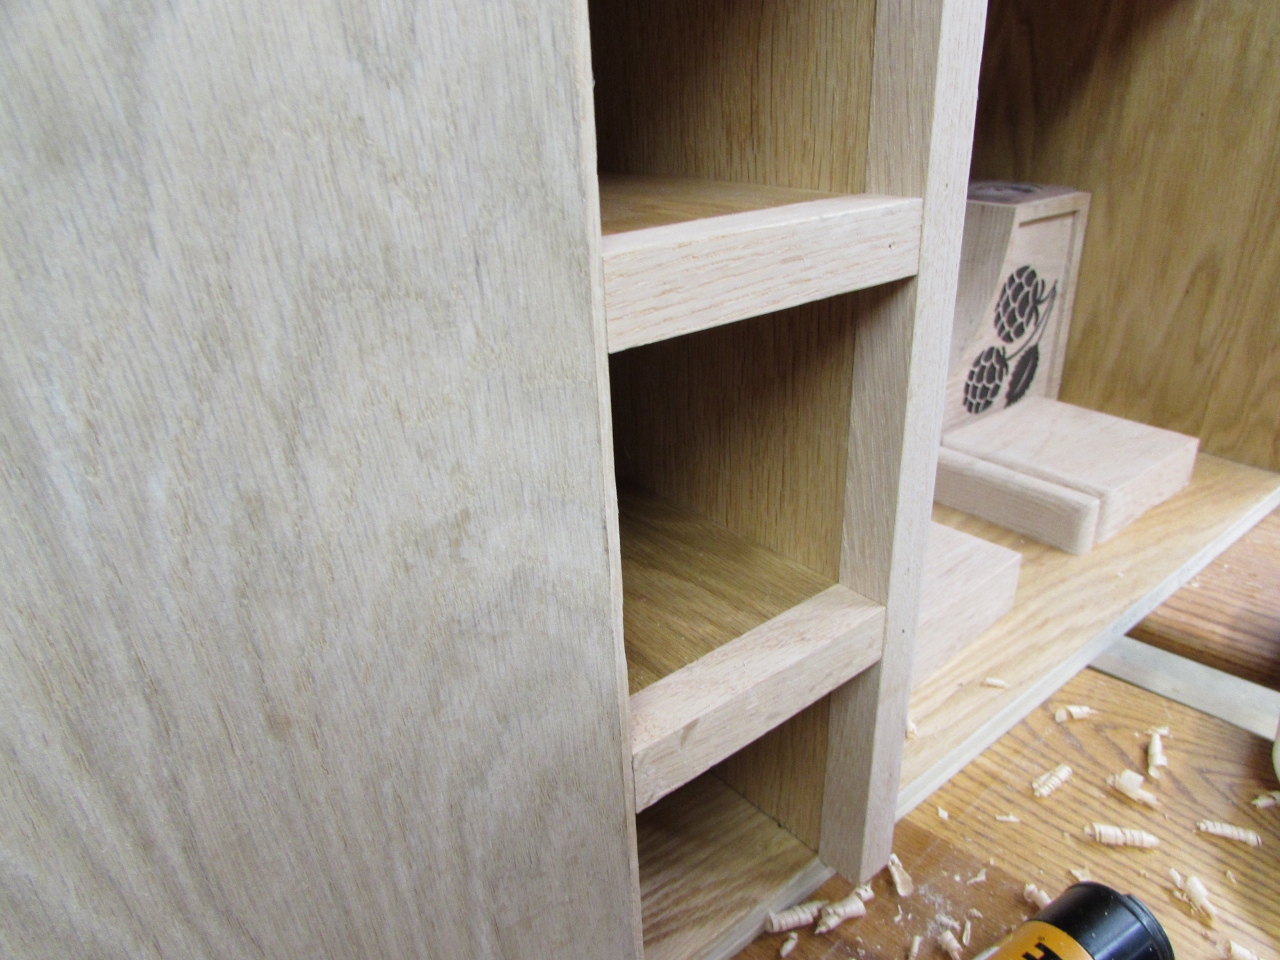
Then, with just a little sanding, everything was made flush.

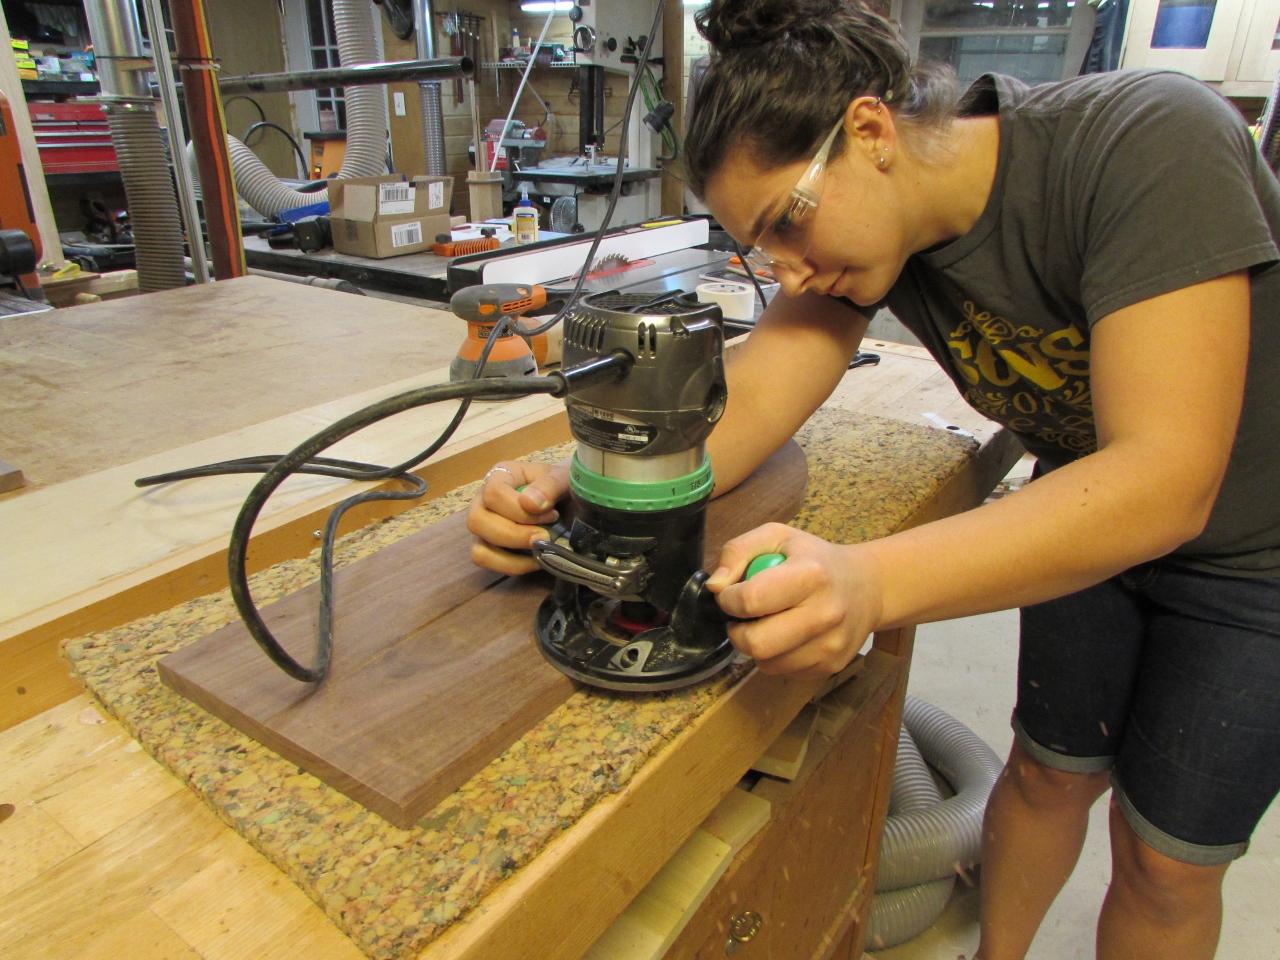
Erin wanted to get the doors set next, so I set up the 45 degree chamfer bit in the router and had her finish adding the chamfer to the outside edges of the door, to match the Vee grooves that we placed in the center of the doors.

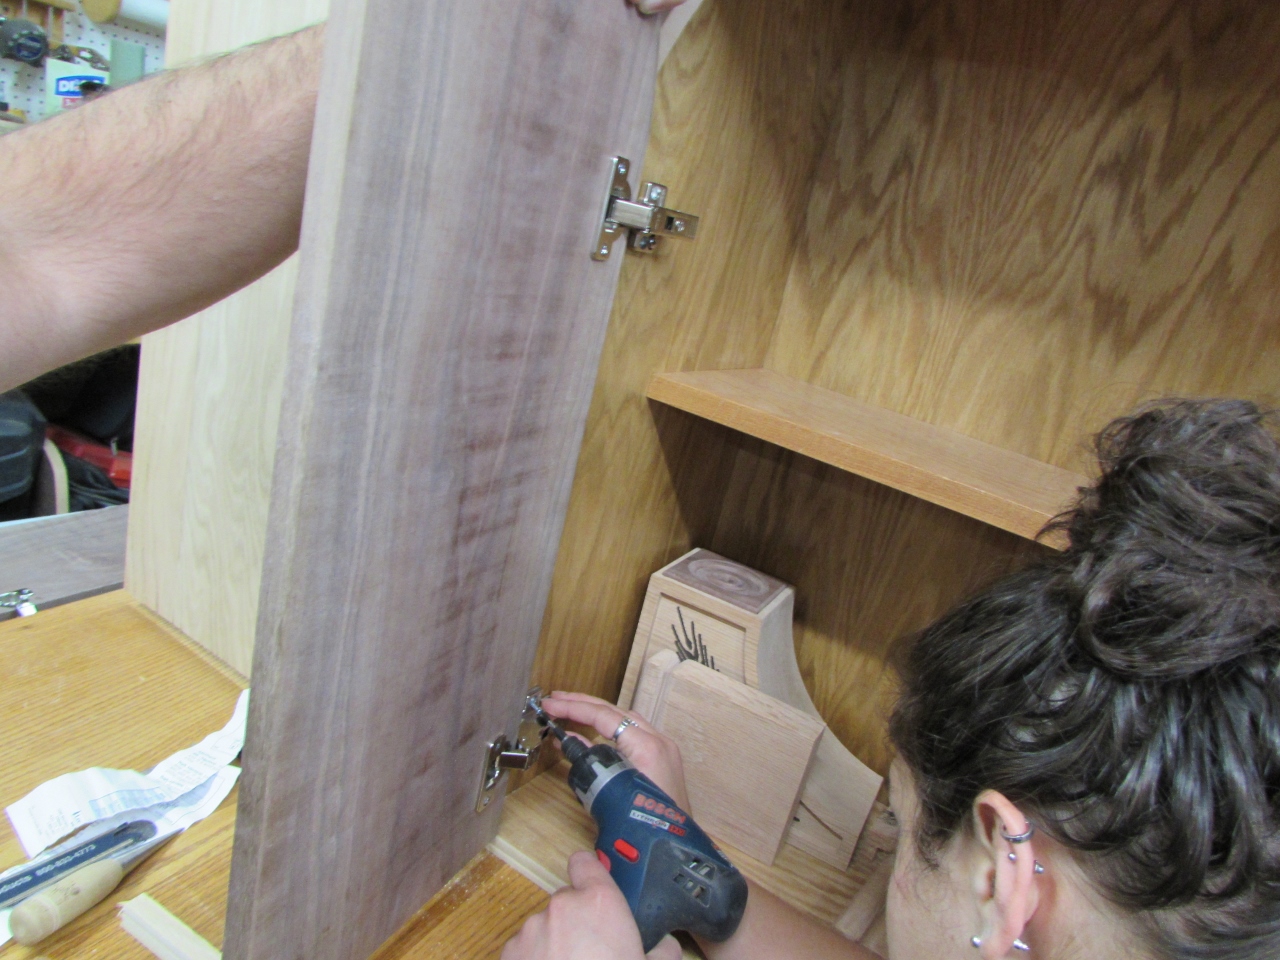
After carefully measuring and marking the location of the Blum hinges, Erin drilled the required 35mm pockets as well as pre-drilling for the screw holes.


After she attached the screws, we held the door in place and marked the location for the screw holes inside the cabinet.
With a little adjustment to the hinges, the doors lined up perfectly. They touched in the center, preventing them from closing, but that was expected.
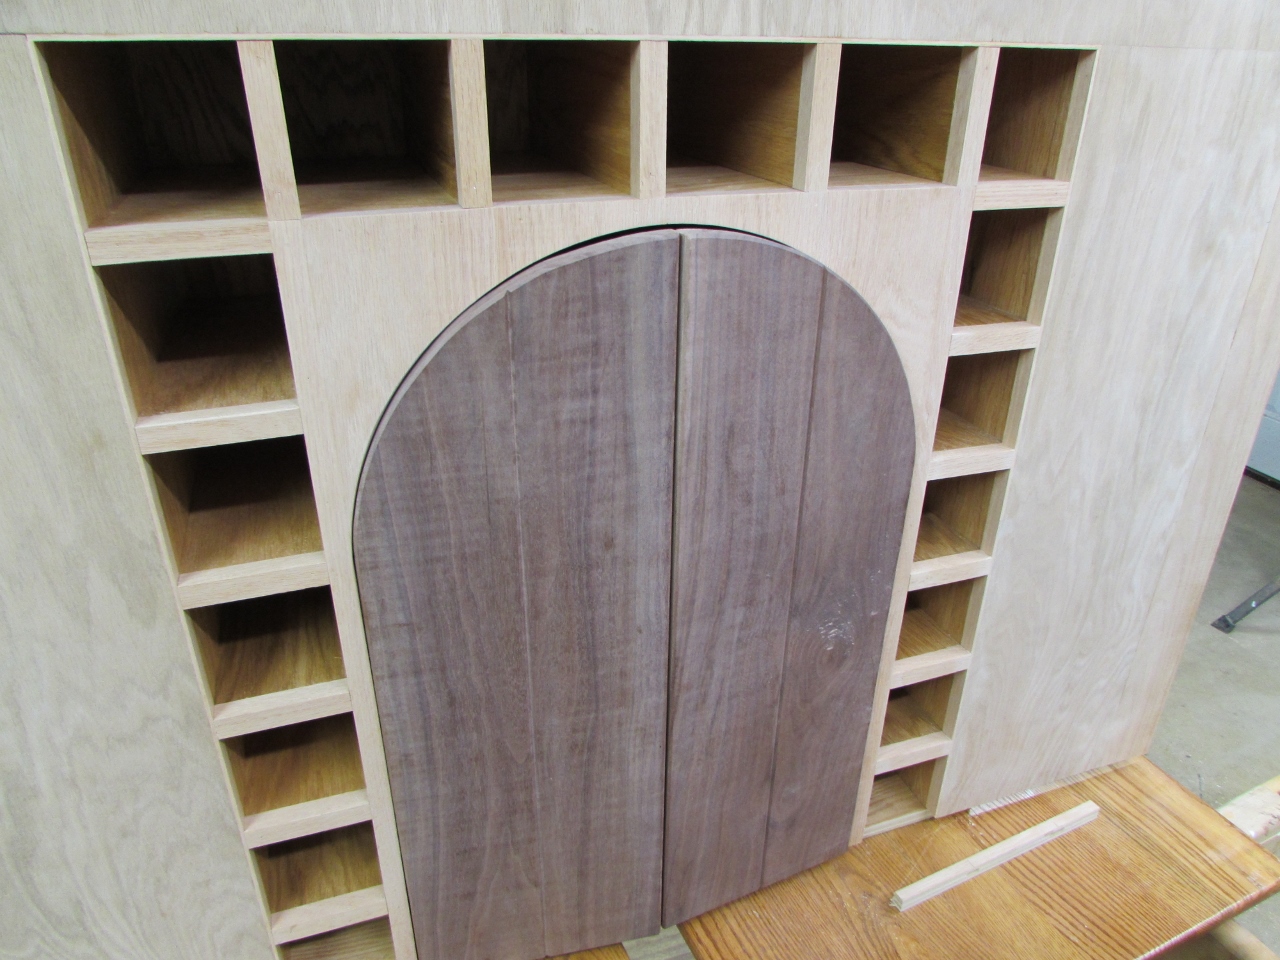
To refine the width of the doors, I clamped them up in a vise and planed away about 1/16″ from each door panel. I also angled the plane slightly to create a small back-angle on the edge, allowing the front of the doors to almost touch while leaving nearly a 1/8″ gap on the back side. This gives the doors a little wiggle room in case there is more humidity in her house, causing the doors to swell a bit.


After a little bit of tweaking and adjusting, the doors fit perfectly.

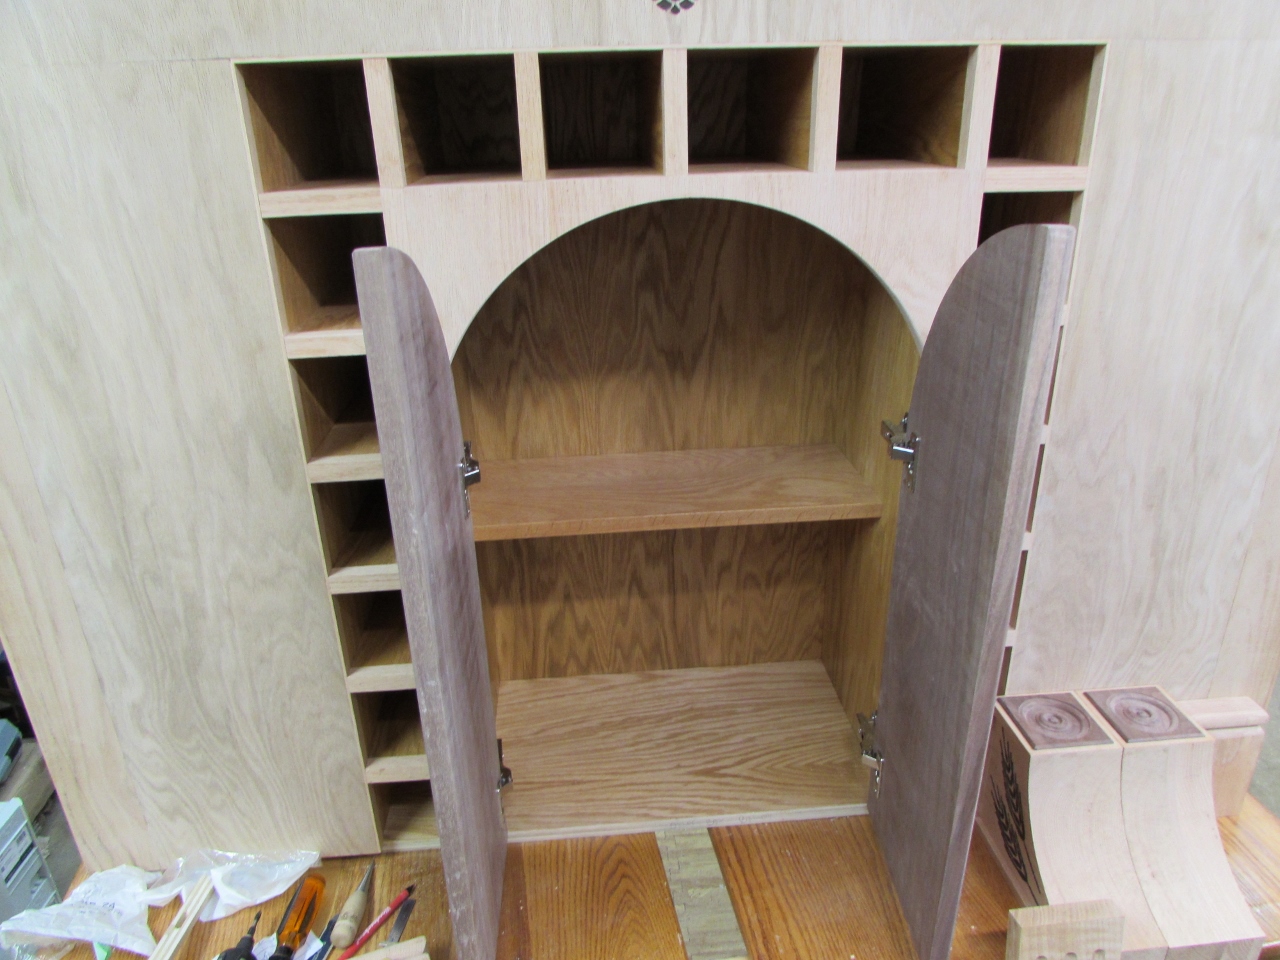
The only problem was that they do not open fully. For some reason, the doors touch at one point on the arch. This doesn’t prevent access to the cabinet, but it could allow the door to be more easily damaged if someone forced it past this point. When I have a chance, I will try to make some slight adjustments to the arch of the door. It actually fits tighter at this spot than anywhere else along the door, so maybe a bit of judicious sanding will cure the problem.

All in all, we made good progress, we have only to finish a few pieces for the corbels, and add a trim piece, at the top, and we can install the columns and the mantle. Then it will only require finishing and installation.
