
Reclaimed reverse Firebird – day 4
I want to attach the control cavity cover with magnets. I made sure to place matching pilot holes in the cavity and on the cover. Since I drilled 1/8″ holes as locator holes for my magnets, I tested some 1/8″ magnets first.
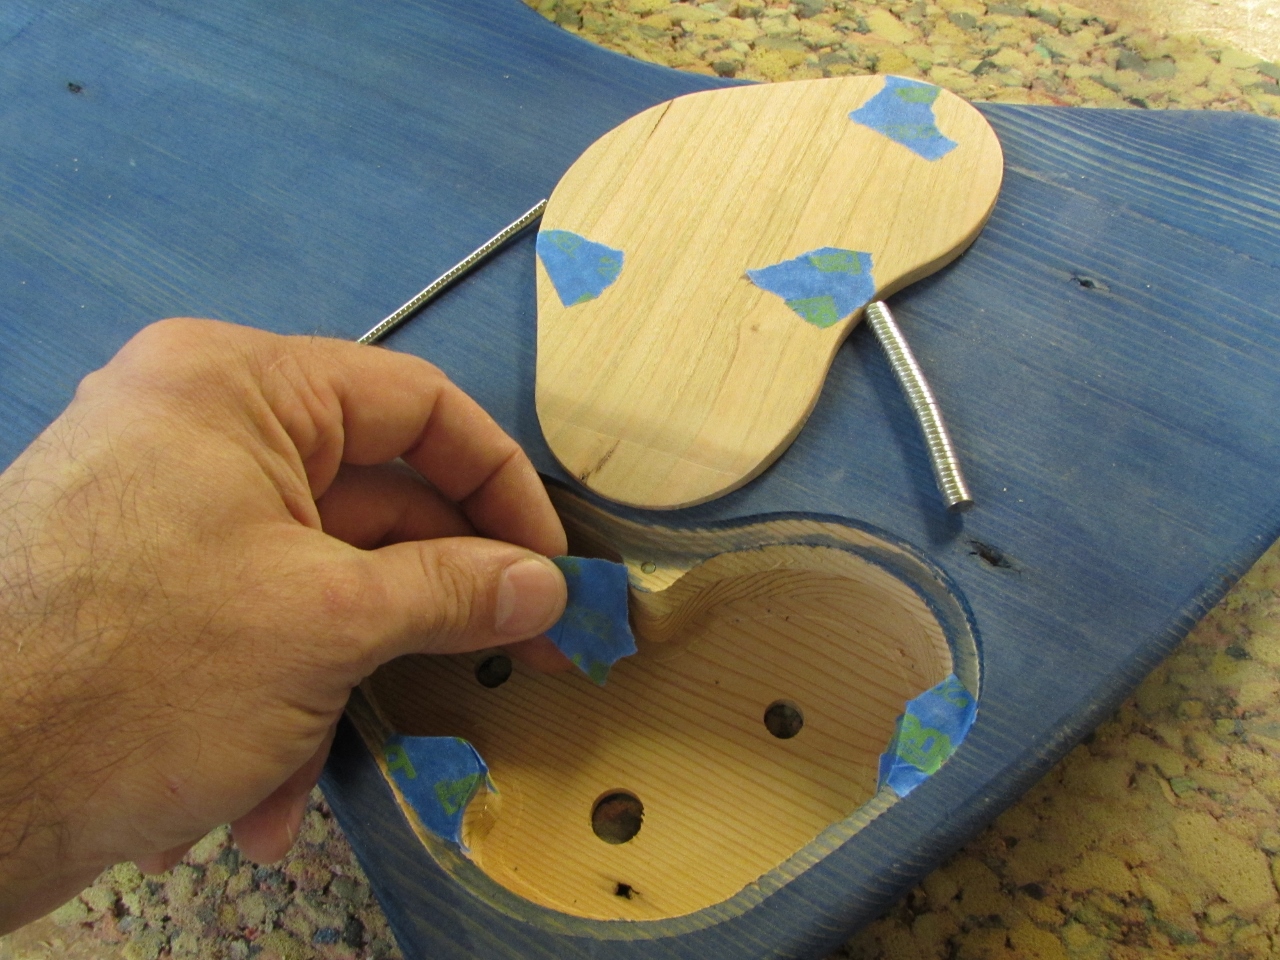
Starting with 1/8″ magnets
I taped in the magnets to hold them in and tested the cover. It held in place pretty well, but when I smacked the body, the cover rattled and popped off.

Not bad, but will shake off

Drilling 1/4″ holes
I also have a small pile of 1/4″ diameter magnets as well and they are at least twice as strong as the smaller ones, so I used a forstner bit to drill out all my pilot holes, large enough to accept the larger magnets.

Mixing up some epoxy
Next, I mixed up some five-minute epoxy and filled the pockets about half way.

Filling the pockets
I pressed the magnets in place and after about 15 minutes, I was able to test the magnetic hold and it as much stronger.

Magnets epoxied in place
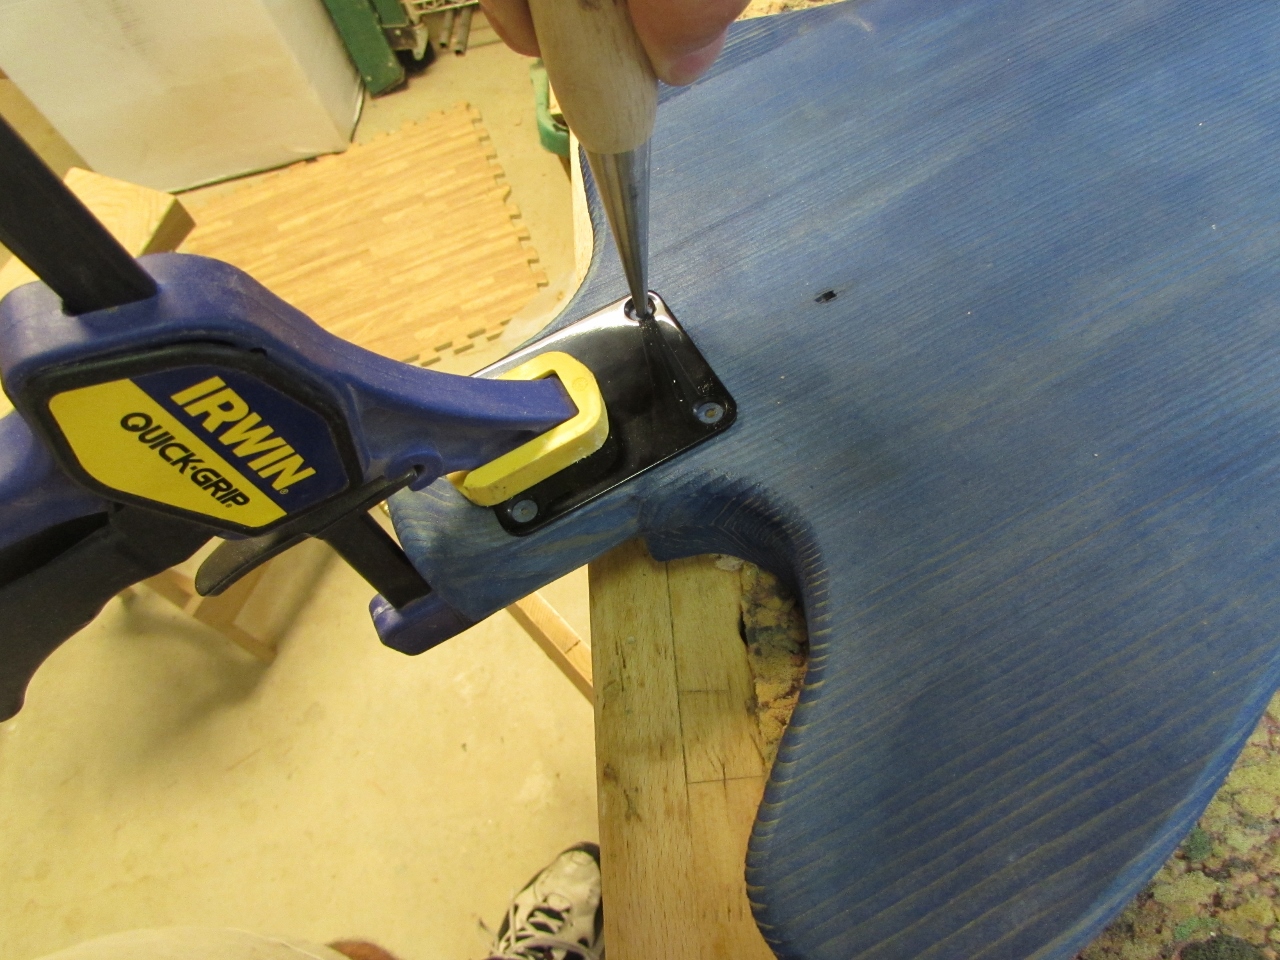
Locating the neck plate holes
I placed the neck plate on the back of the neck pocket and clamped it in my desired location. I marked the centers with an awl, then drilled some pilot holes on the drill press.
Drilling the pilot holes

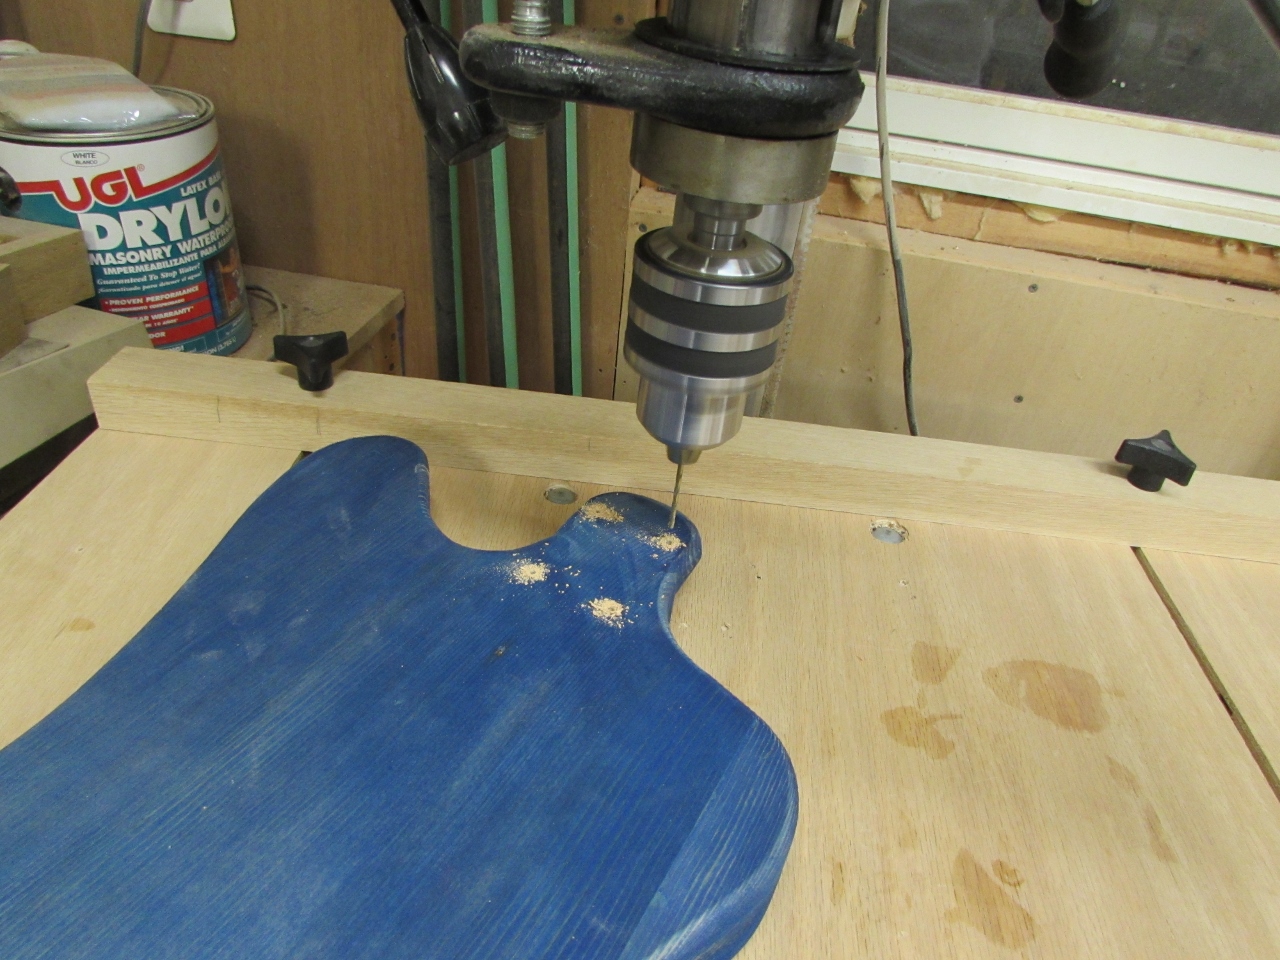
Match drilling the neck
I clamped the neck in place, then match-drilled the holes into the neck. Then I opened up the holes in the body so the screws could barely pass through.

Opening up the through holes
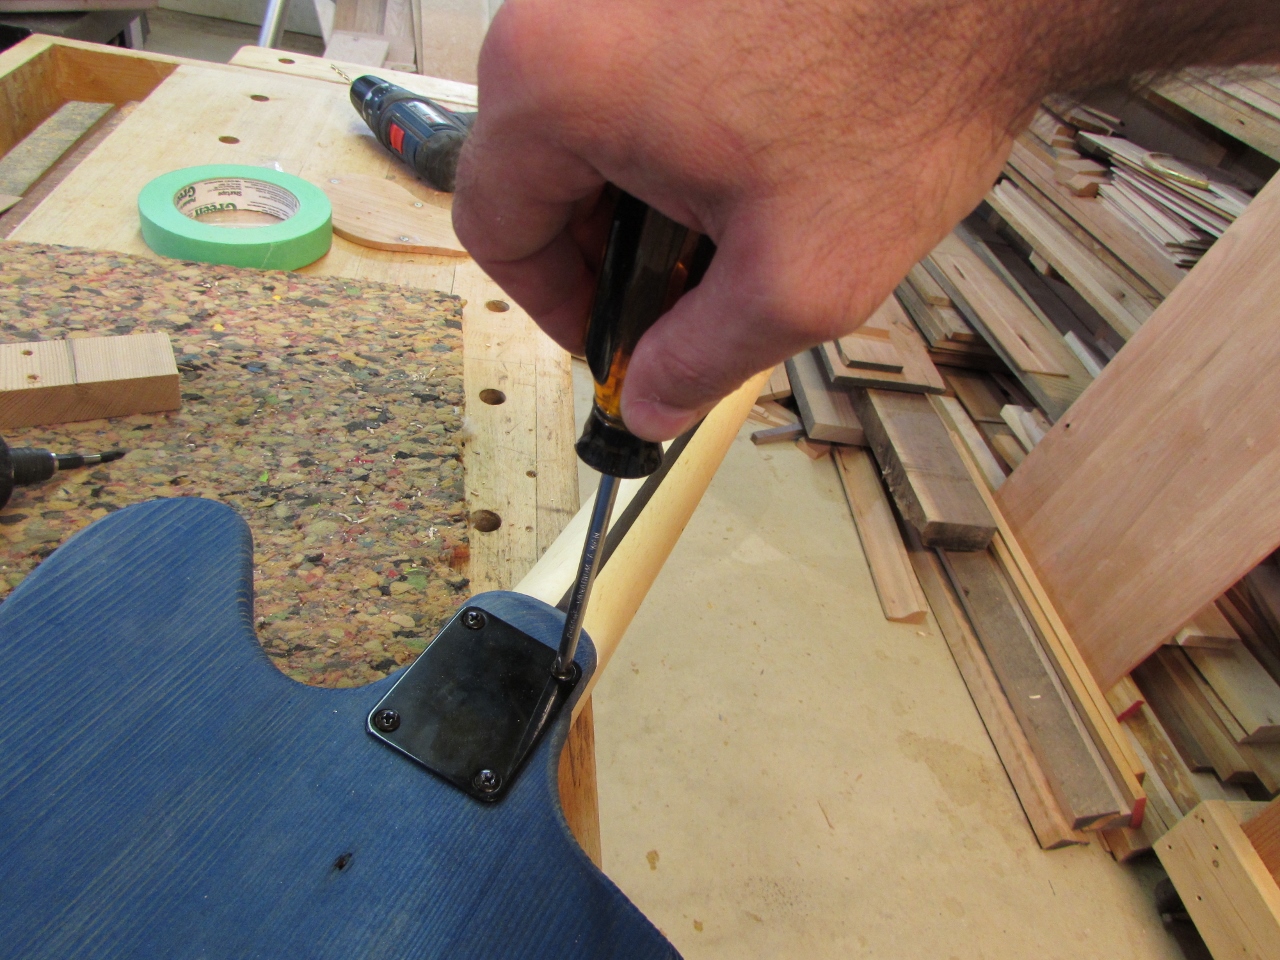
Attaching the neck
I attached the neck with some screws and checked to see that everything lined up straight and true.

Neck test

Drilling out the input jack hole
After removing the neck, I drilled the 7/8″ diameter hole for the input jack, then also drilled out the holes for mounting the pressed-in posts for the tuneomatic as well as the tail piece.
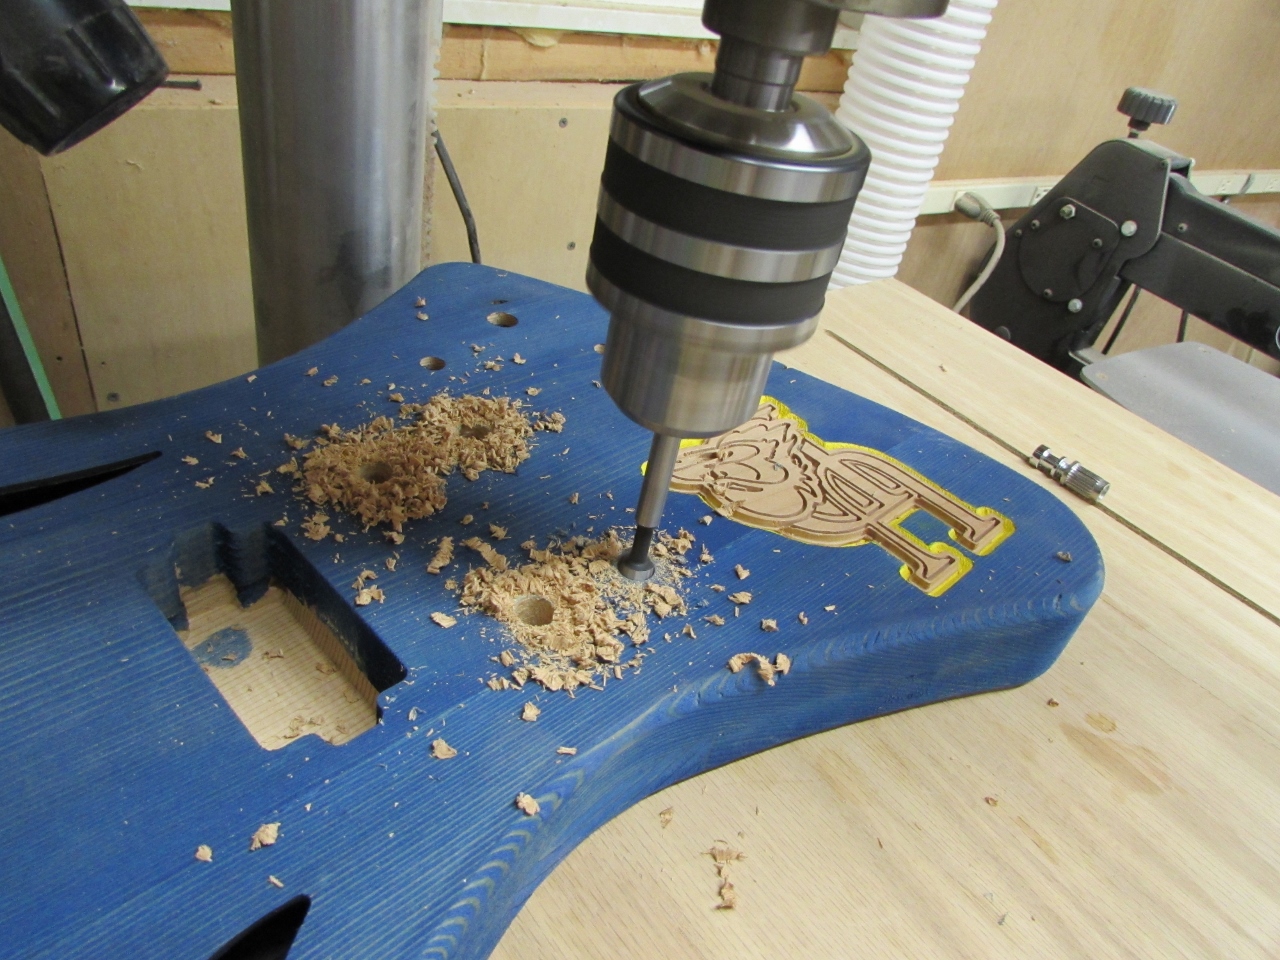
Drilling post holes for tuneomatic and tail piece
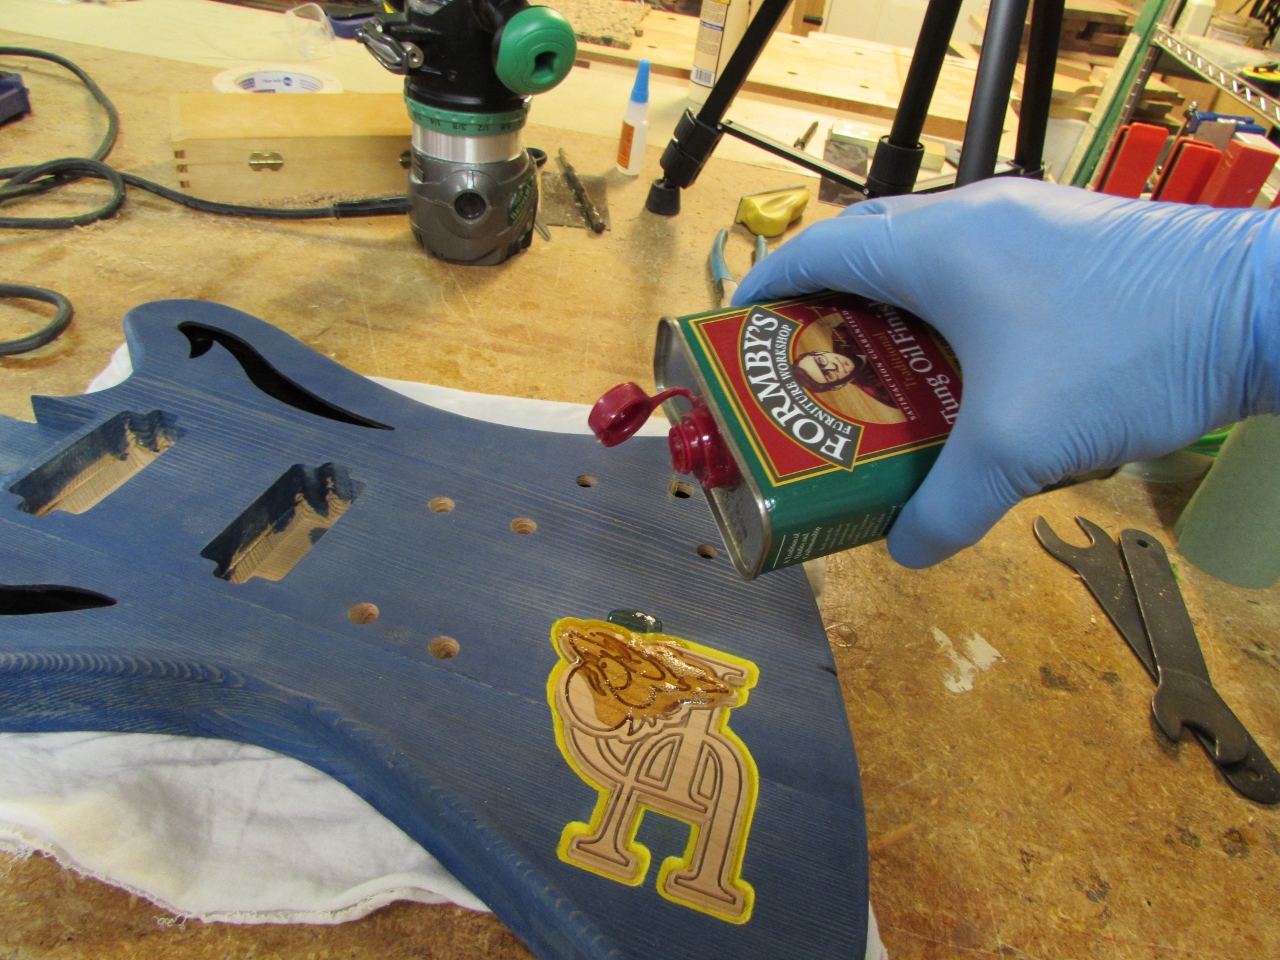
Pouring on the Tung oil
With all the holes drilled, it was time to start finishing.

Rubbing the oil into the front
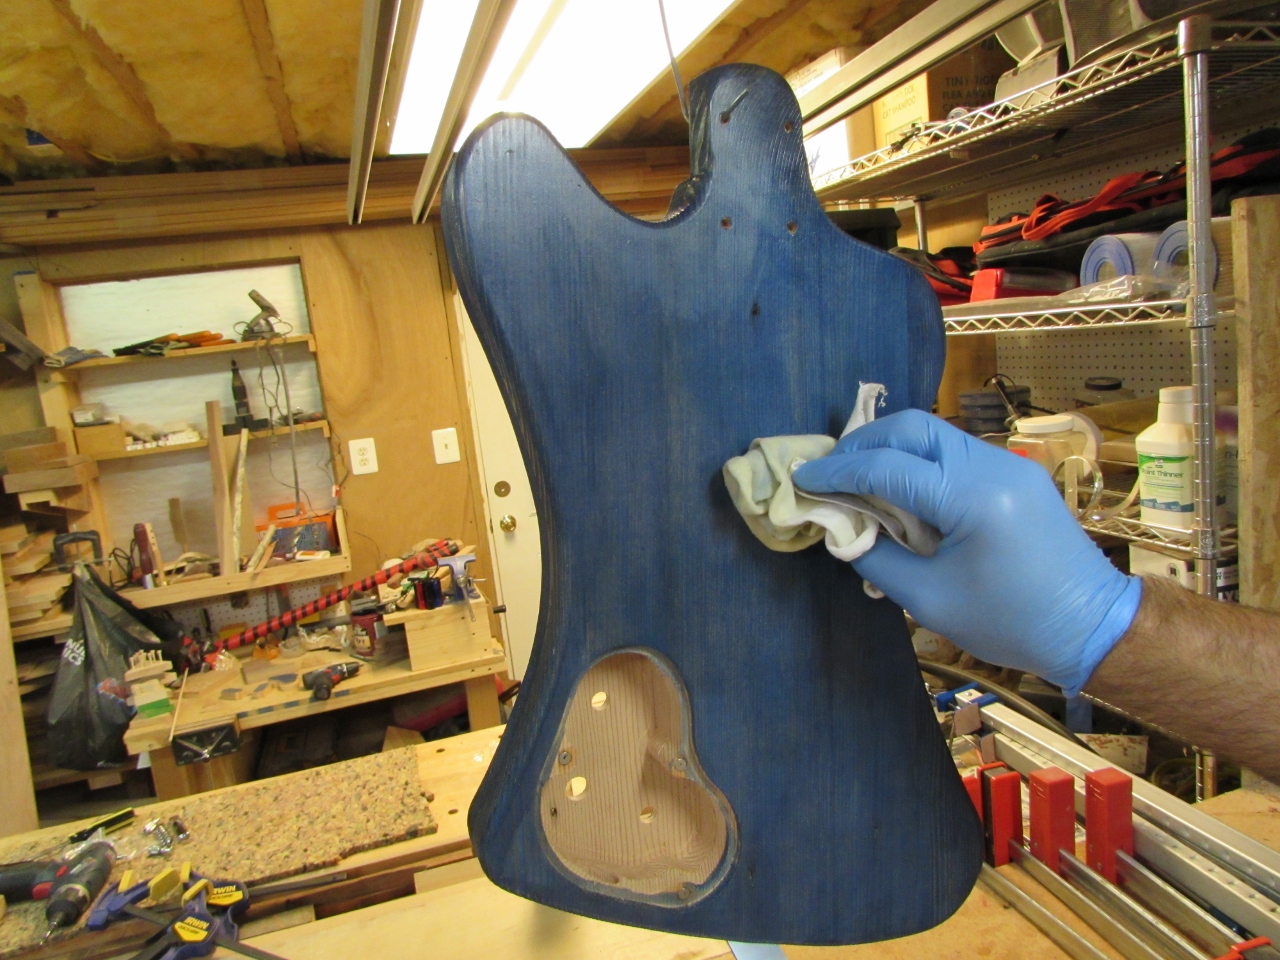
Oiling the back
I am using Tung oil finish on this guitar, same as the last couple, mainly because it won’t mess with the water-based dye too much. Hopefully it will also sink into the surface, through the dye, to cure, hardening the outer skin of the guitar.
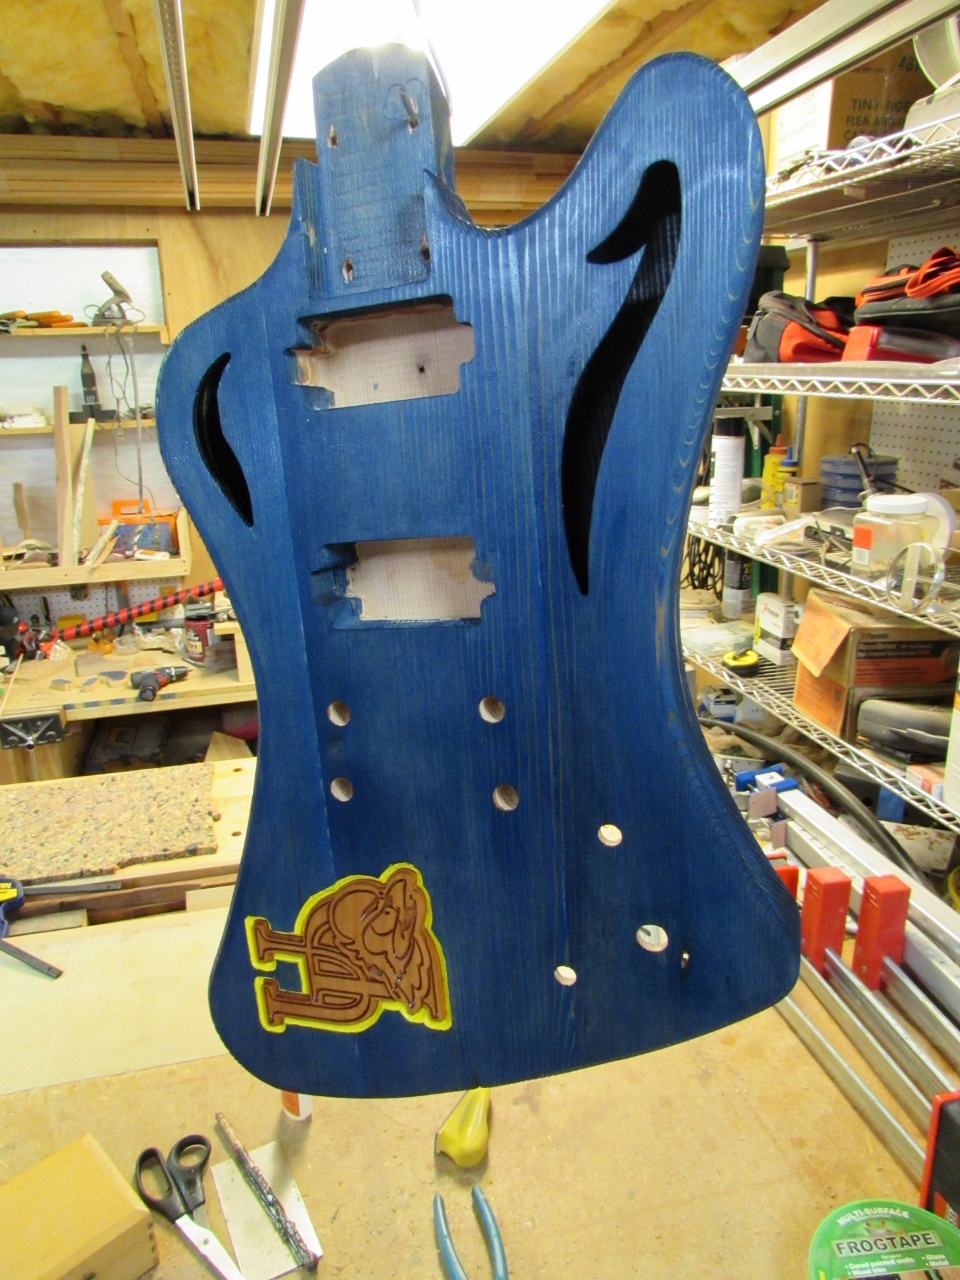
Looks pretty good
Oops, I almost forgot to do the control cover as well…

Almost forgot the cover plate

Pingback: Kid-Sized Guitar | Midnight Woodworking