
Baritone rebuild – day 5
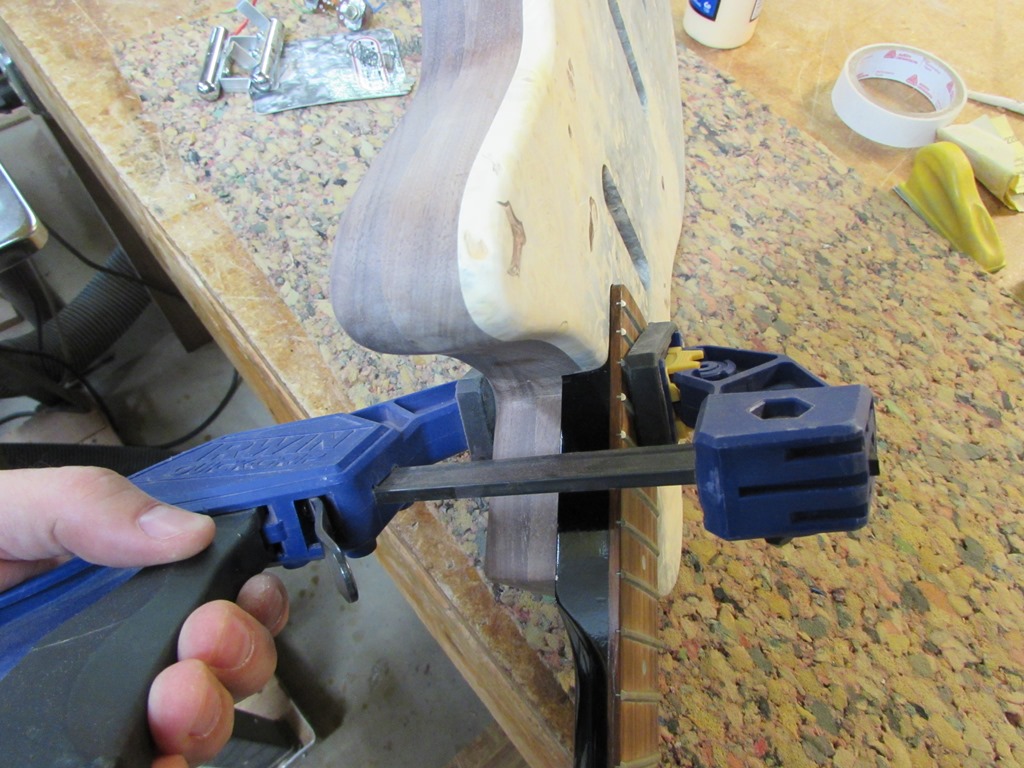
I had a lot of details to tidy up before starting to apply the finish today. I started by pulling the clamps off the headstock veneer, then taping off the rest of the head.

The Buckeye is a very soft wood, so it is very easy to sand away. If it were a harder wood, I would probably be trying to flush up the edges with my router.

I applied the tape to protect the existing paint job. The tape also gives you a good indicator that you are sanding flush to the side, because you can clearly see the scuff marks when you are as low as you want to get.

I spent a little time rounding the edges over with the sander, then I sanded it down with 220 then 400 grit paper.


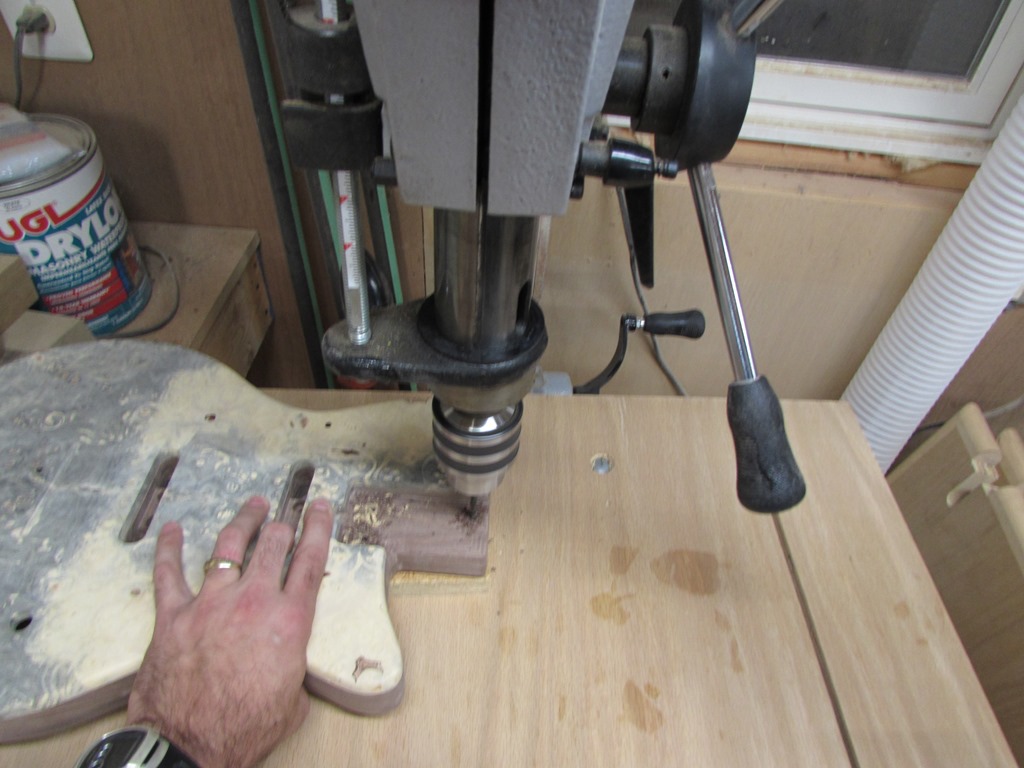
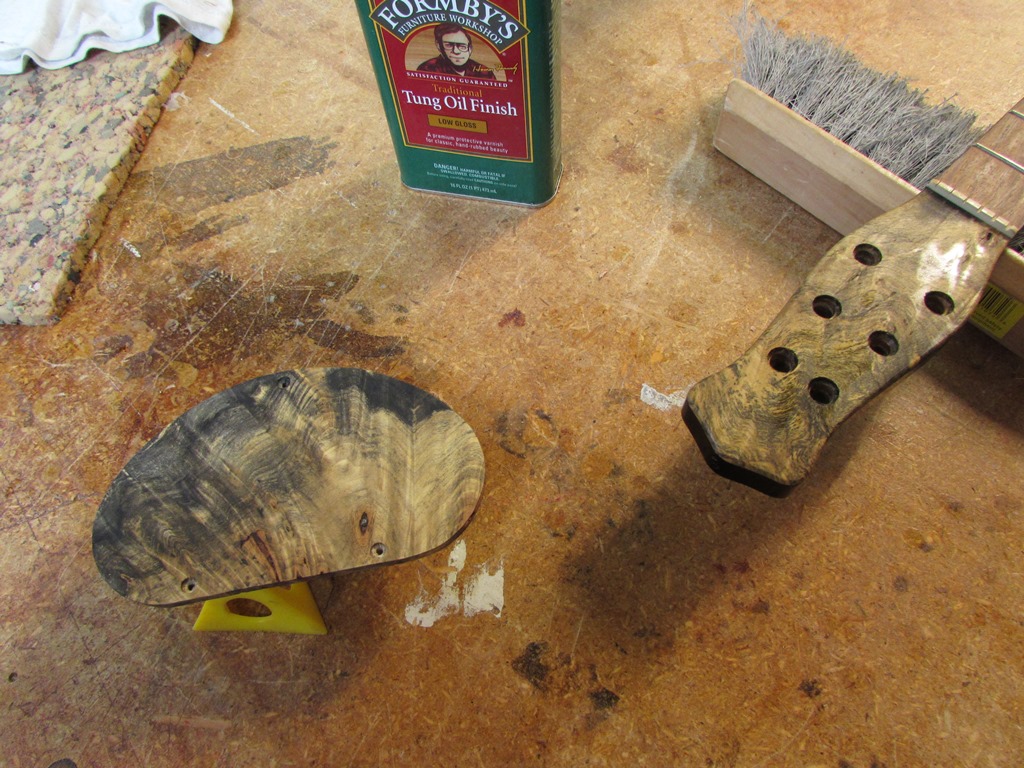
When it was smooth, I flipped the neck over and drilled out the existing holes, through the veneer. I applied painter’s tape to the veneer and used a backer board to help avoid any tear-out on the face.


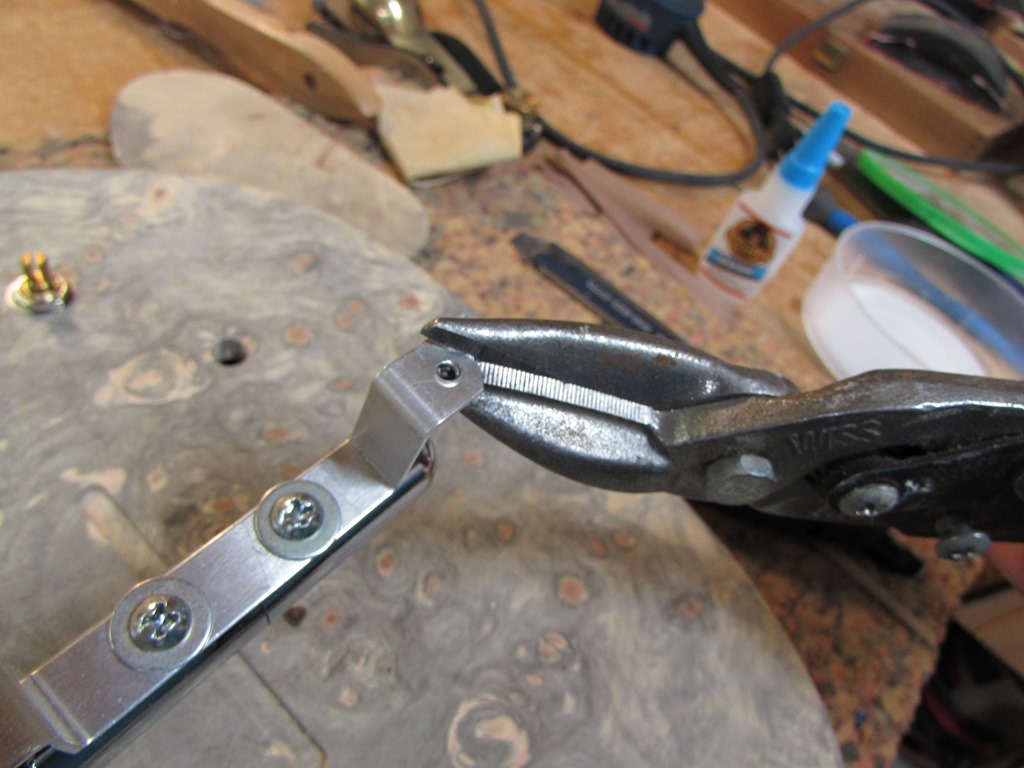
After testing the tuning heads, I could tell that my bushings would have to be set much lower to compensate for the increased head stock thickness.
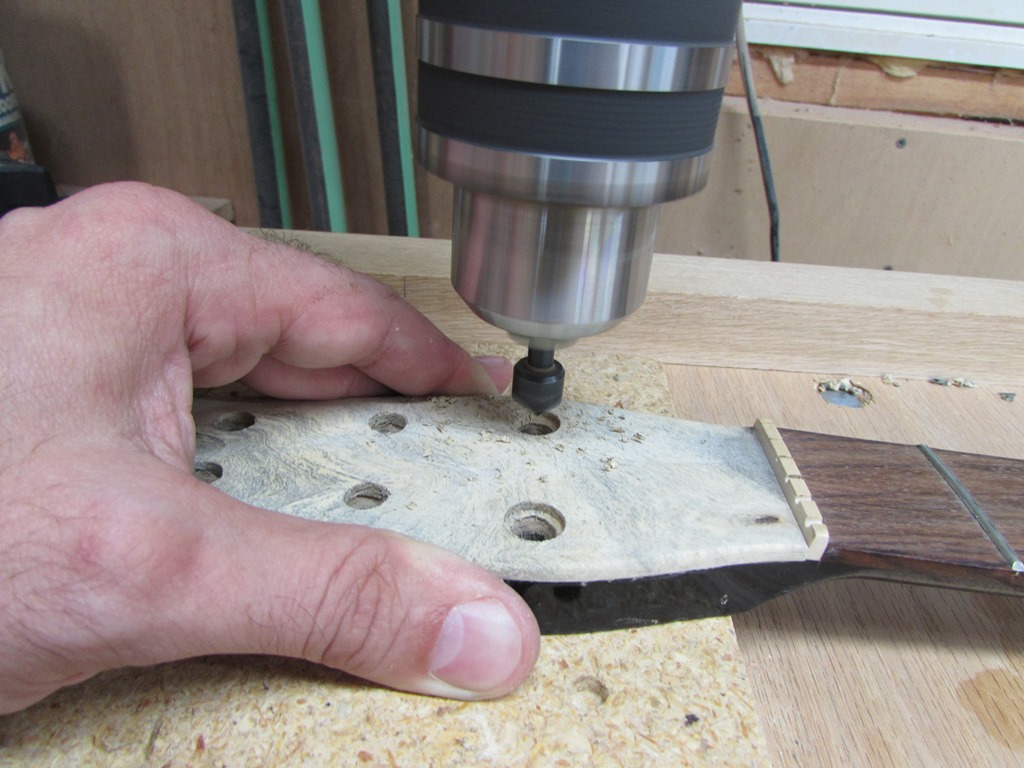
To accommodate this, I created a counter-bore with a counter-sink bit that was just over the diameter of my bushing. When I re-installed them on the Baby Sitar I just pressed them down through the soft veneer, ever so gently, with a hammer… It worked pretty well, but it also caused some cracking. I figured I would try the counter-bore this time.
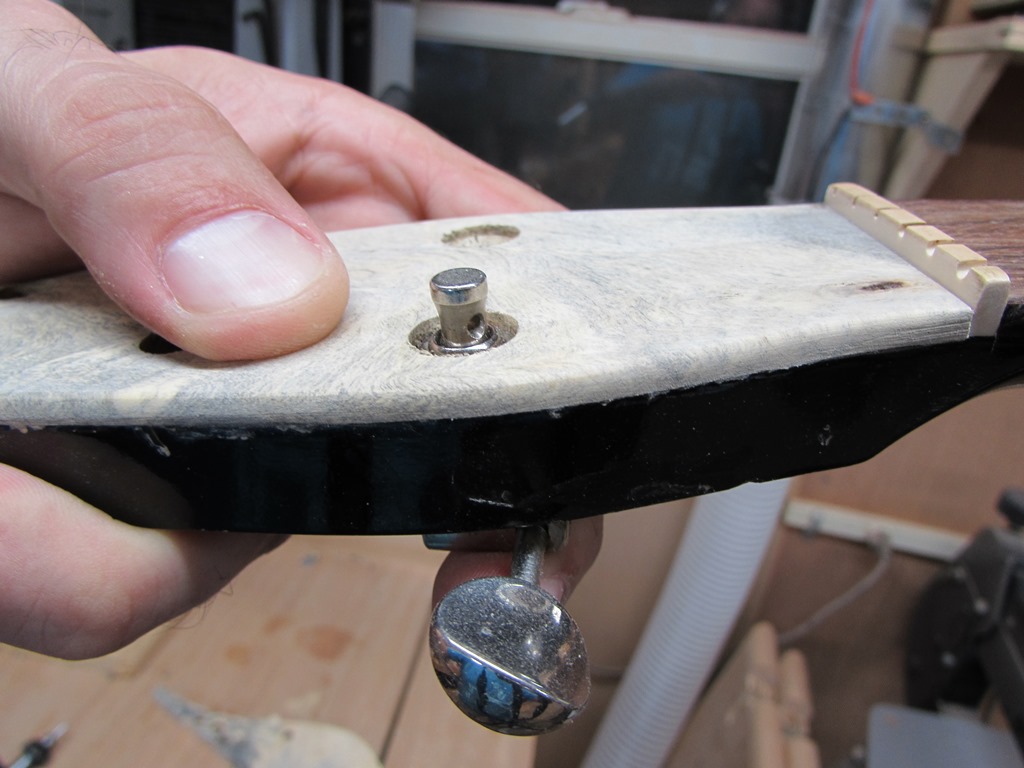
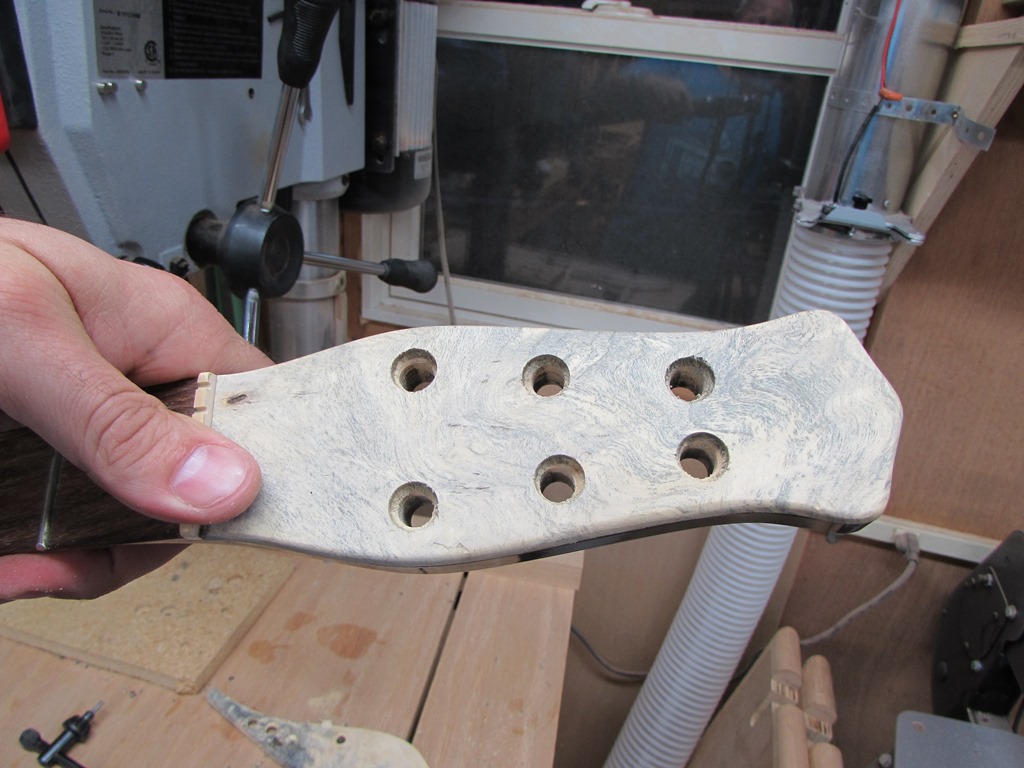
After a little sanding it looked pretty good.
Moving on to the next detail, the pickups no longer fit. The old body was a hollow body and there was plenty of room for the big mounting feet. This body is solid with chambers, so I didn’t account for the sloppy manufacturing of the pickup mounts. I used my metal snips to trim away the excess, then tested the fit.

I also tested the fit of my switches and pots. I got some longer neck pots since this top is 1/4″ thicker. Bill still has to get me a longer switch and a new input jack, but that won’t hold me up for now.

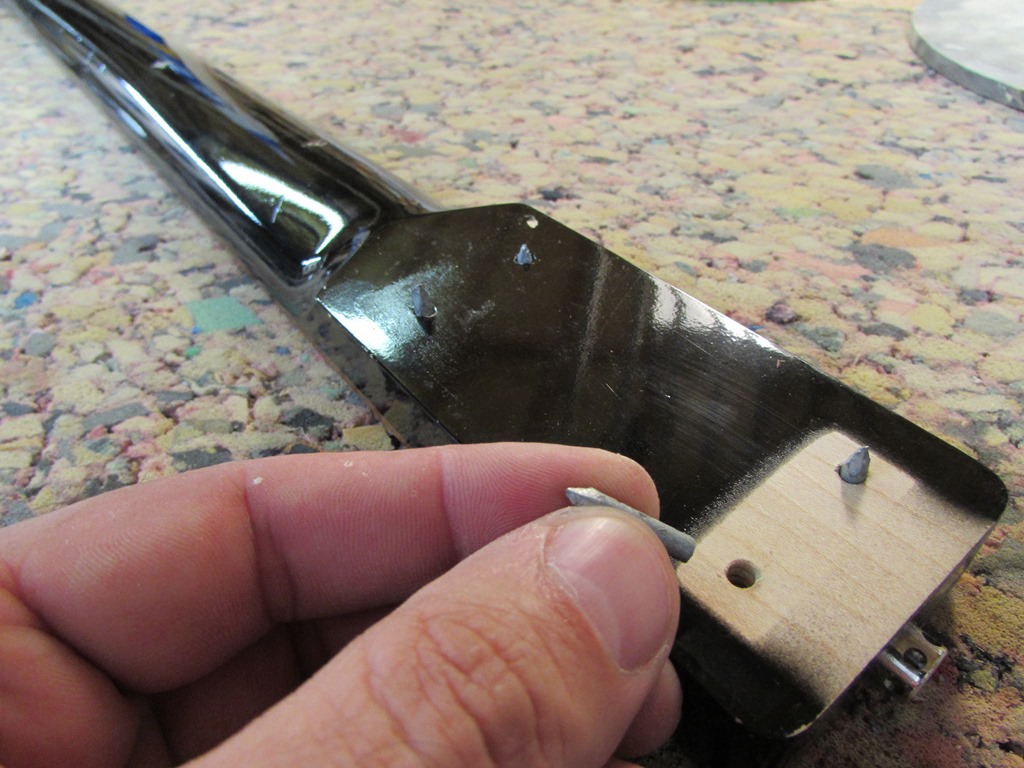
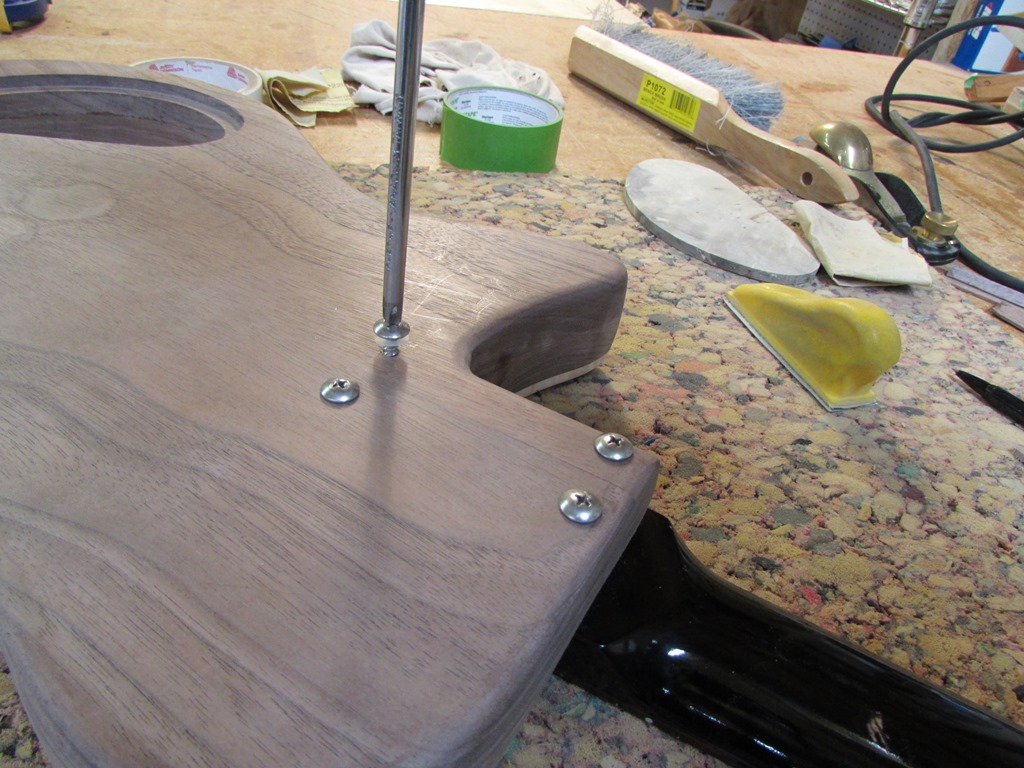
I came up with a cool method to locate the screw holes on the neck of my bass guitar. I cut off some nails that are the same diameter as the existing screw holes. I left the tip protruding just enough to poke a center point in the neck pocket.
I clamped the neck firmly into the pocket creating four dimples to center my drill on, then drilled all my through-holes
I ran the screws through and they lined up perfectly.

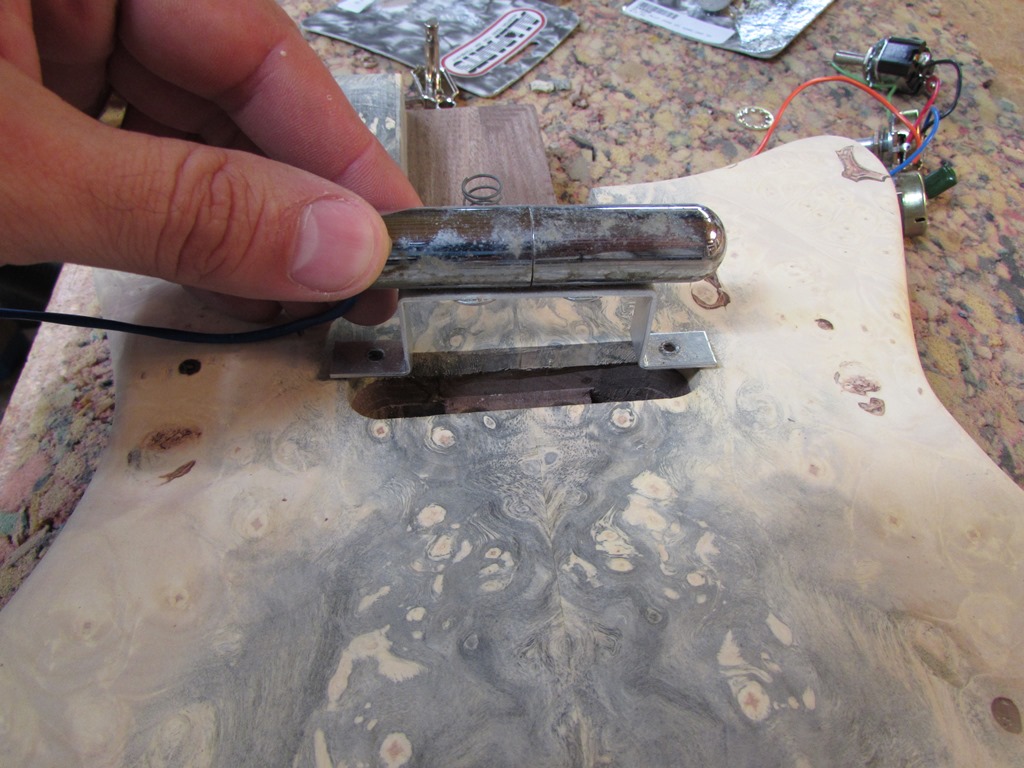
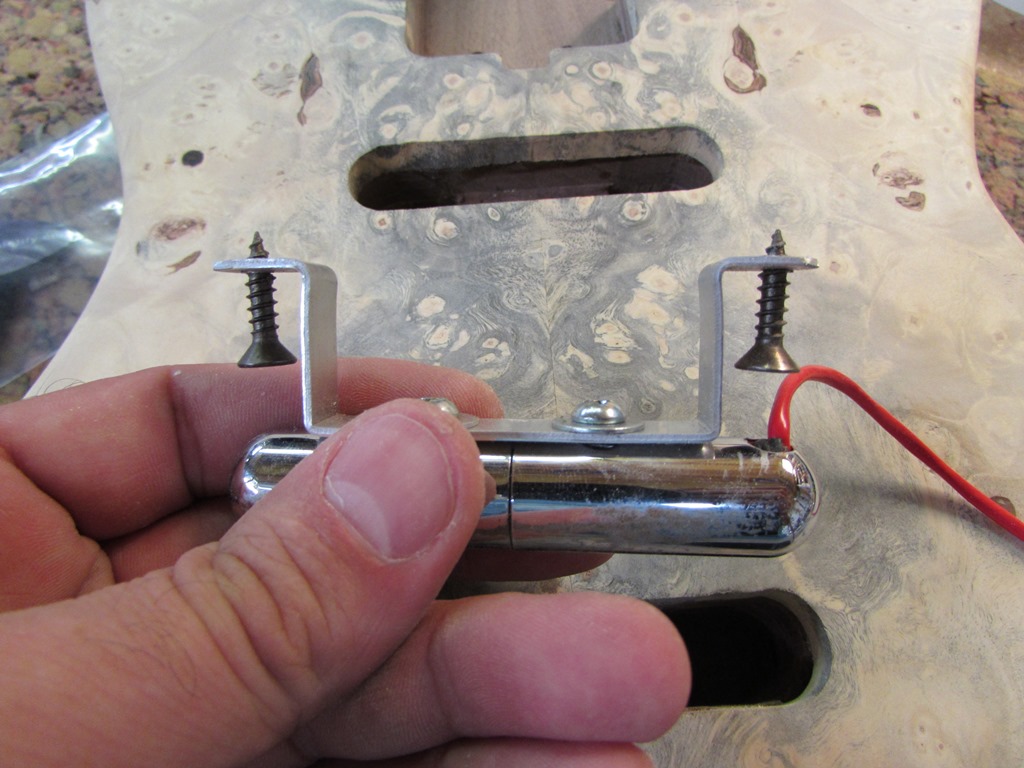
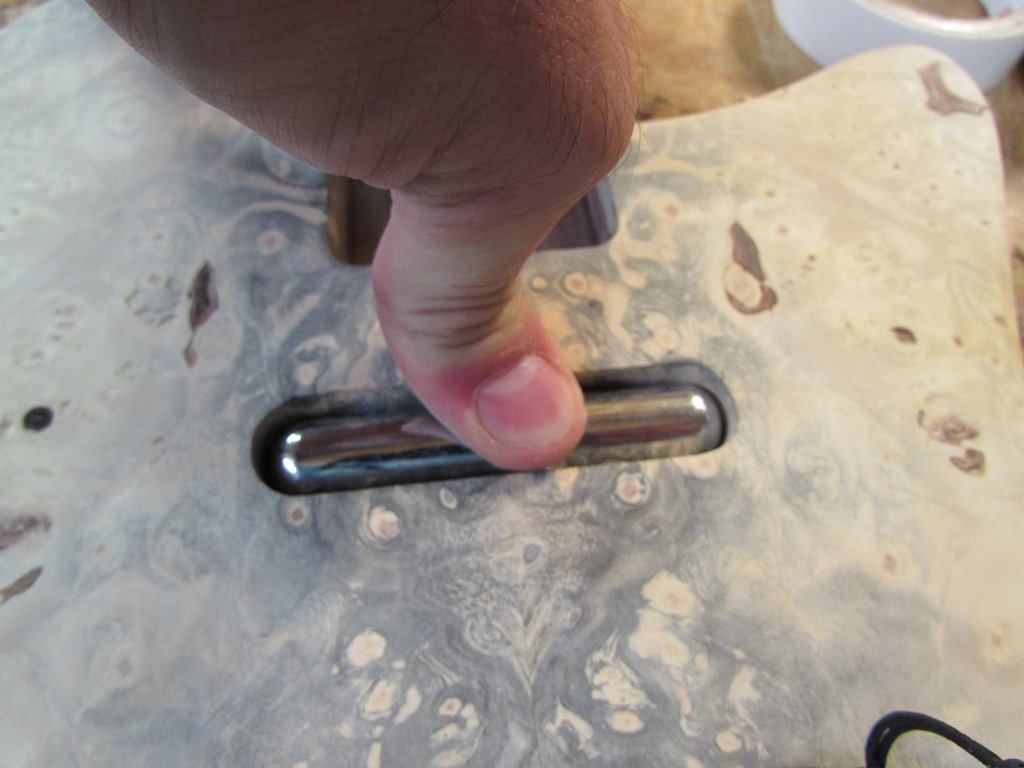
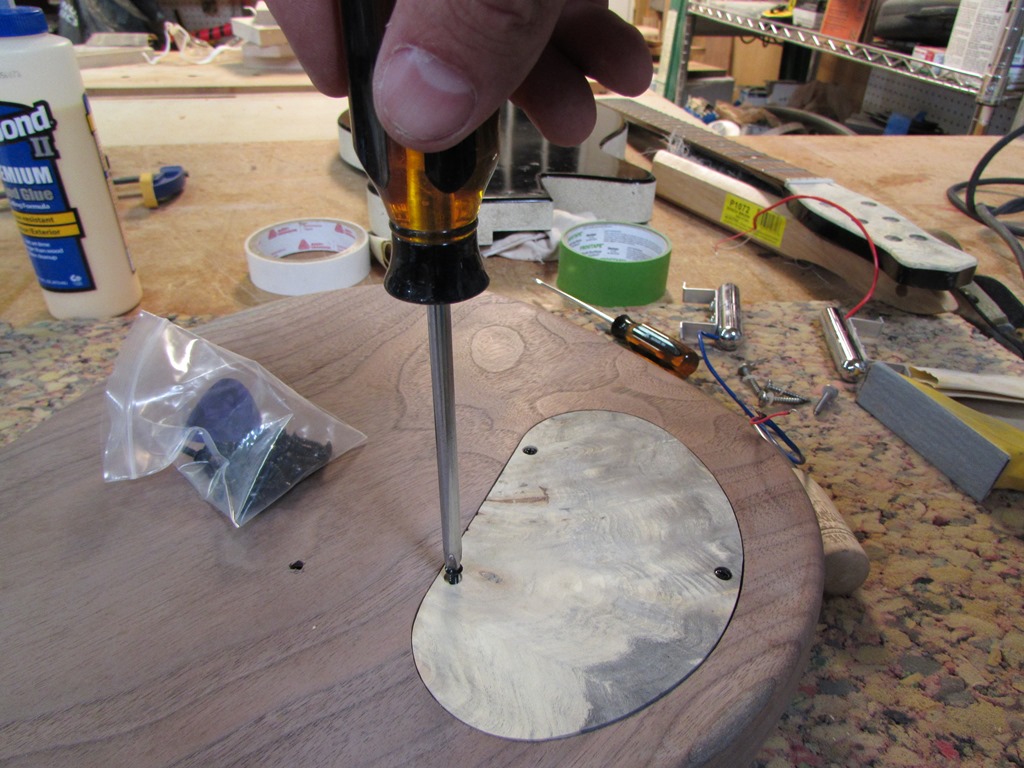
I drilled out the mounting holes for the tail piece and tested the fit of that as well.
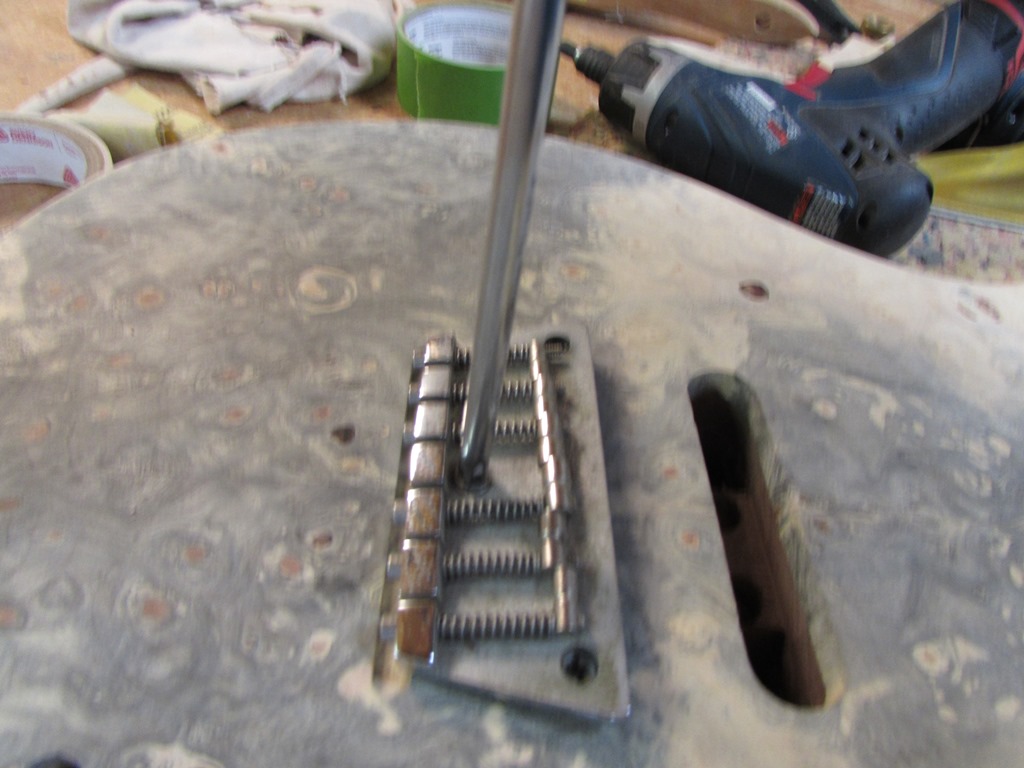
Since the pickups completely cover the opening, I threaded some wood screws into the mounting feet and pressed the pickup back into the holes.

That also left behind a couple of marks to show me where to drill my mounting holes.


Using a drill bit, larger than my screw head, I counter-sunk halfway through my control plate.

After pre-drilling the mounting holes, I set the mounting screws.

I rubbed the body down with Naphtha to clean all the fine dust off, then let it dry.
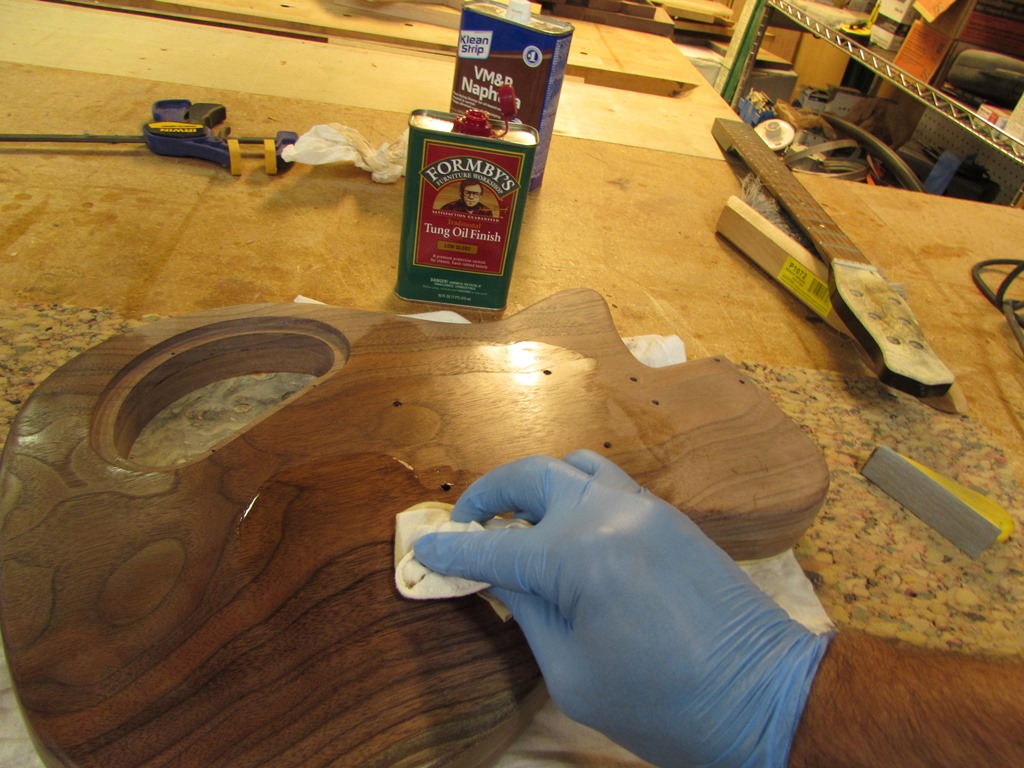
I gave everything a coat of low-gloss Tung oil. I am not a pro at finishing. I usually turn to poly or Tung oil for most of my projects. I particularly prefer the Tung oil because the oil soaks in deep, carrying the blended varnish with it. The finish hardens below the surface of the wood, hardening and strengthening it. After three or four coats, the finish finally starts to build on the surface. I also like the fact that there are almost no fumes when using the Tung oil.
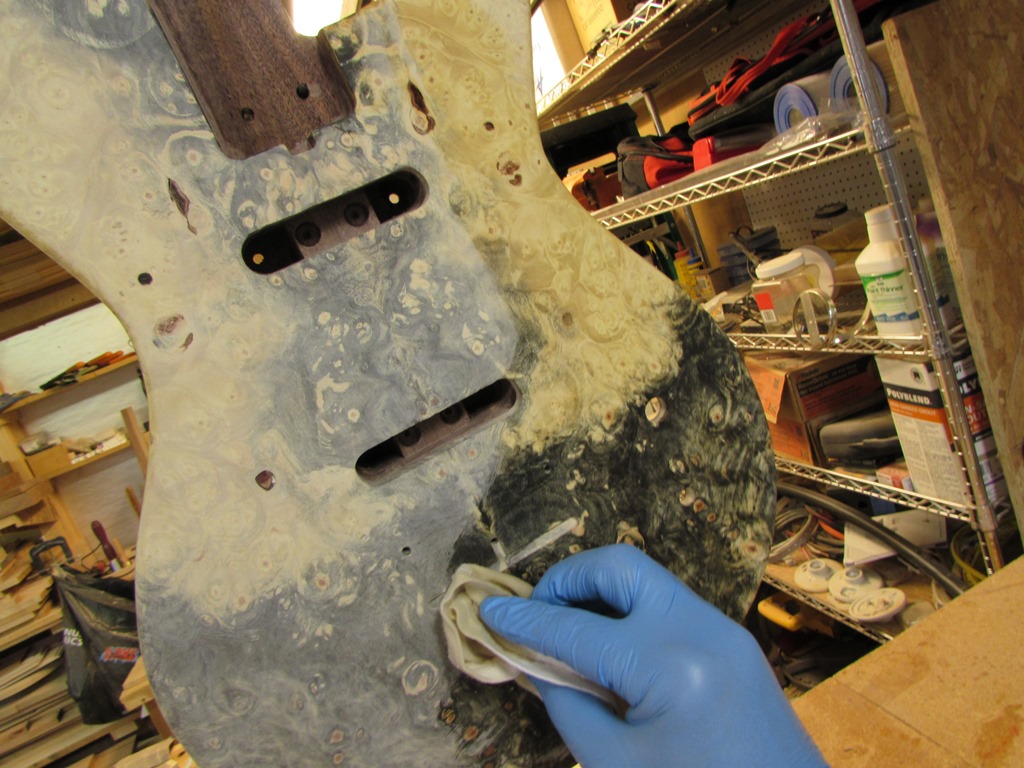
The grain of the burl just jumps out at you once the first coat is applied.
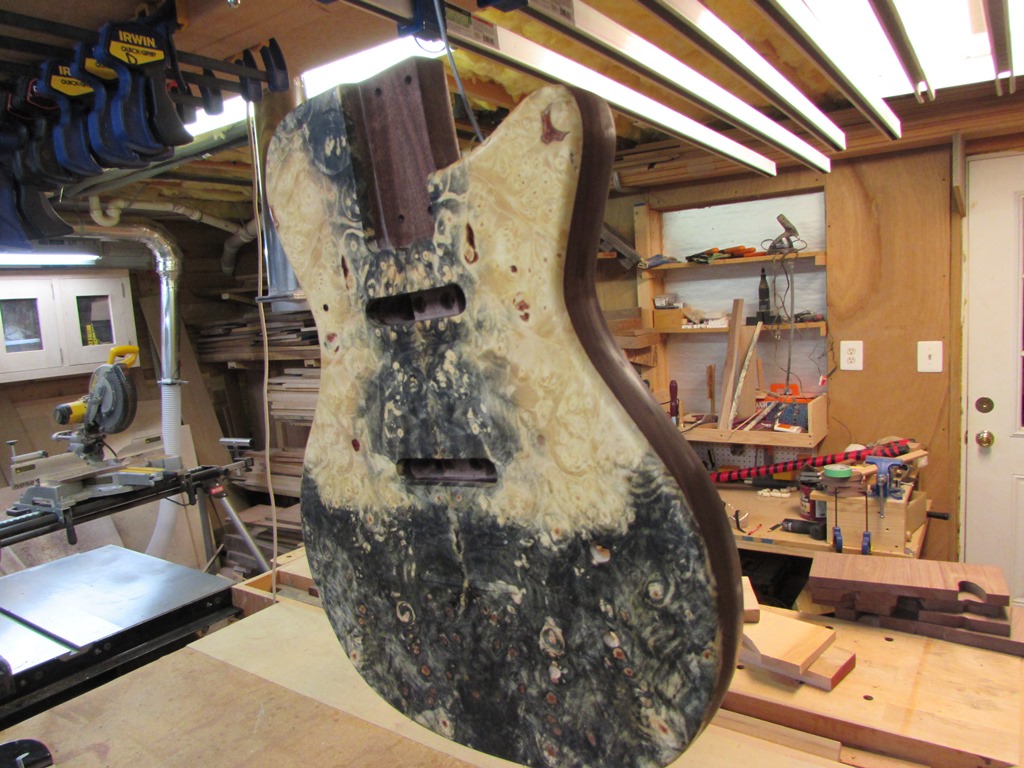
I waited several hours and applied a second coat. I will apply at least six coats, then a coat of paste wax, total to get my desired finish.
