
Baritone rebuild – day 4
With the body roughly sanded, it is time to round over the top and bottom edges. I used a 1/4″ round-over bit in my little Bosch Colt. Just a quick swipe all the way around and the edges were done.
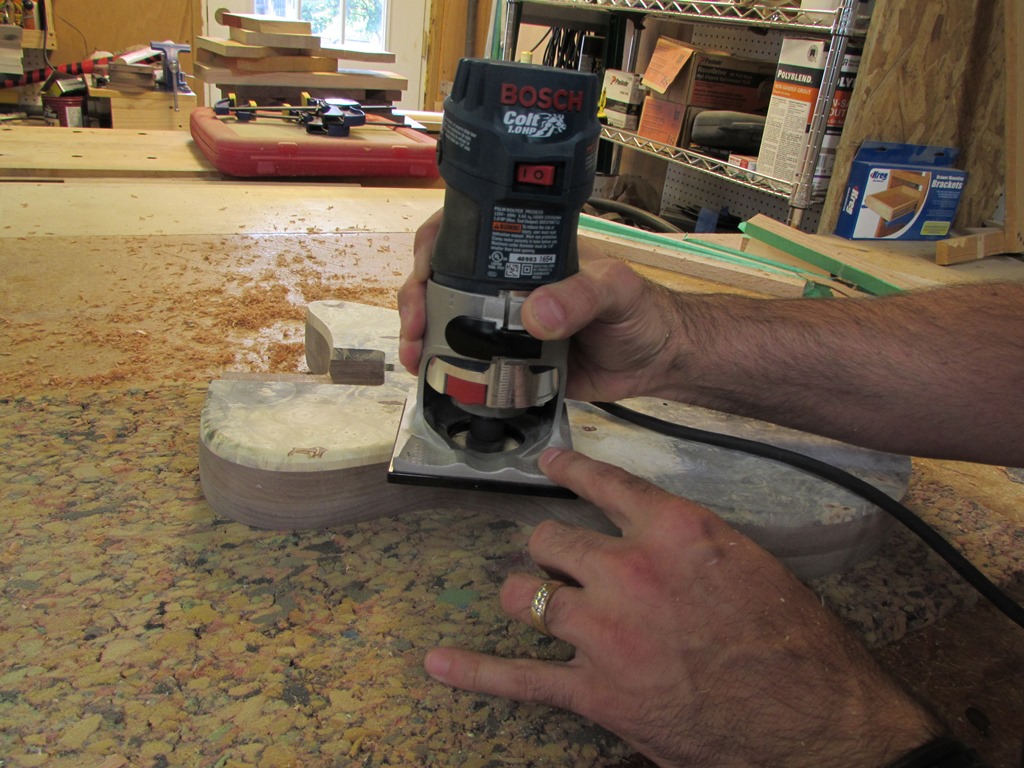
Adding a 1/4″ round-over
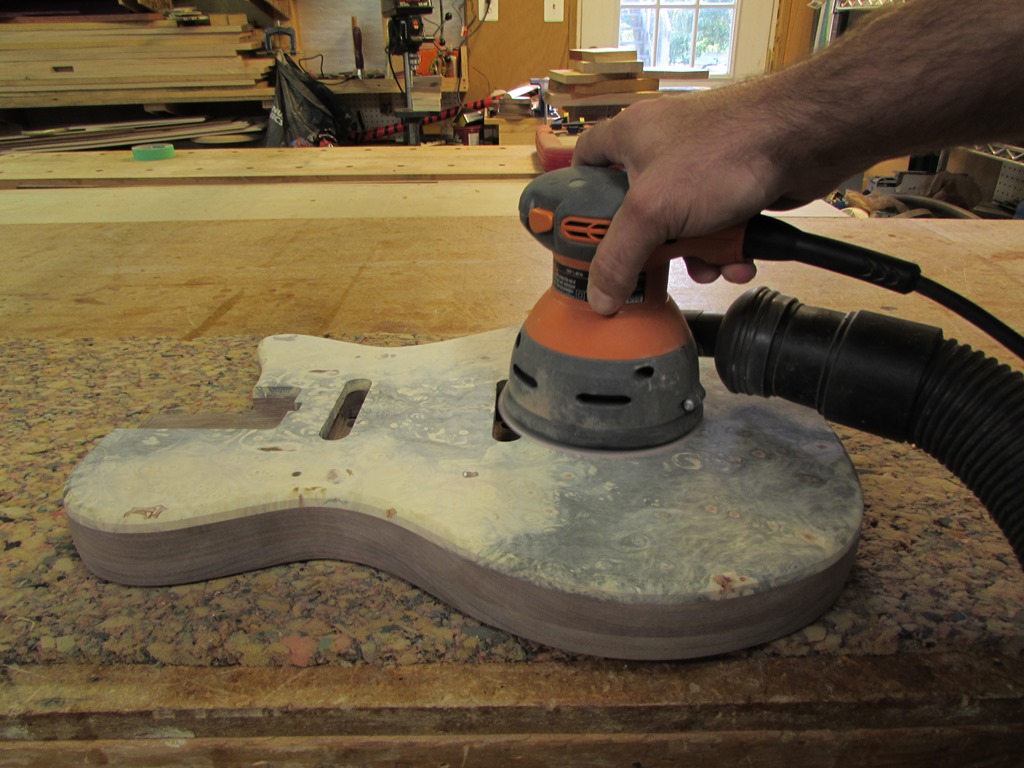
Sanding
Next I broke out the finish sander again and sanded the entire body down to 220 grit.

Sanding…
I finished up the sanding, by hand, working my way down to 400 grit.
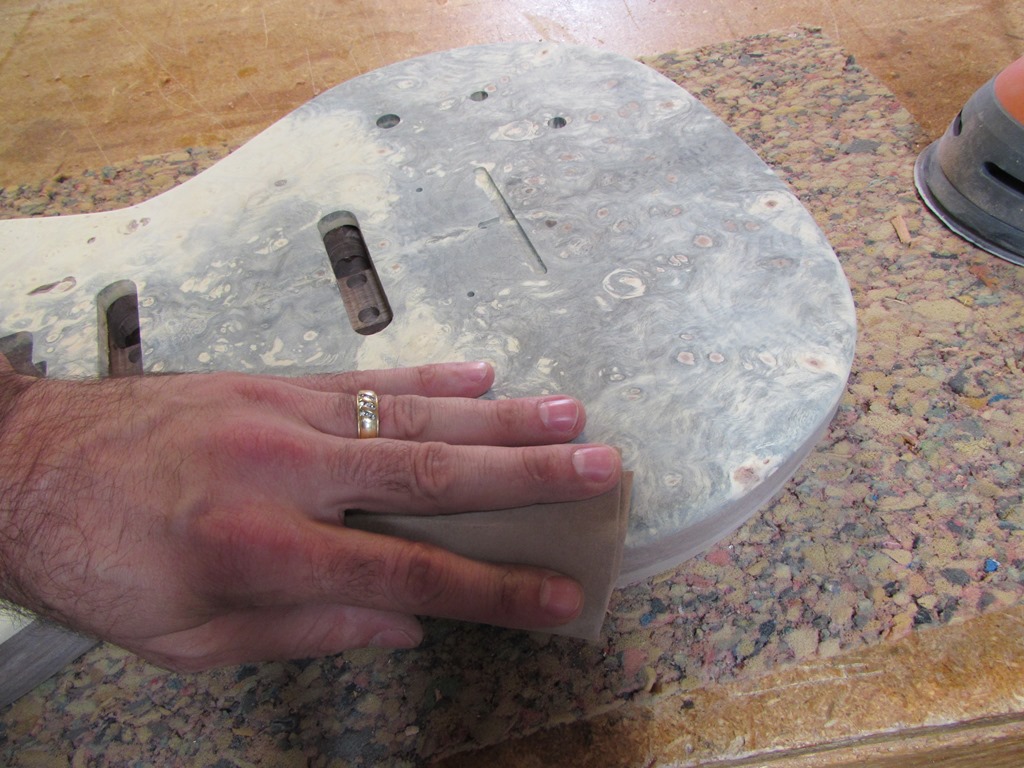
And more sanding…
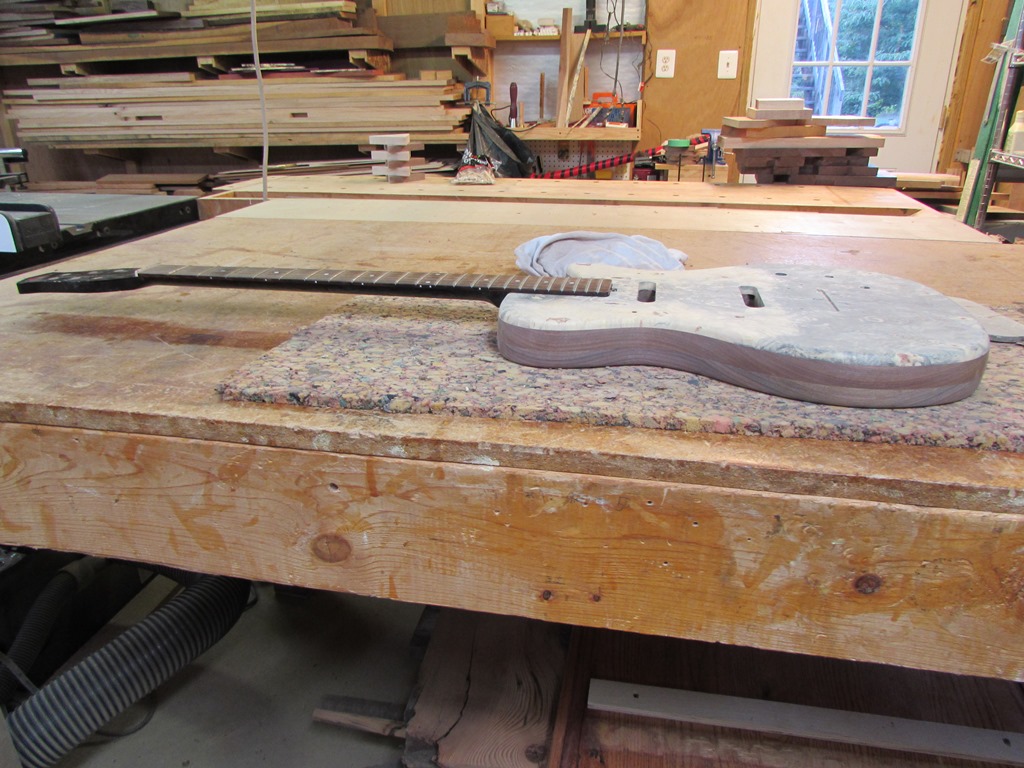
Tight neck pocket
With the body sanded, I tested the fit of the neck. The pocket is just tight enough to hold the entire neck in place, dead-center on the pickup pockets.
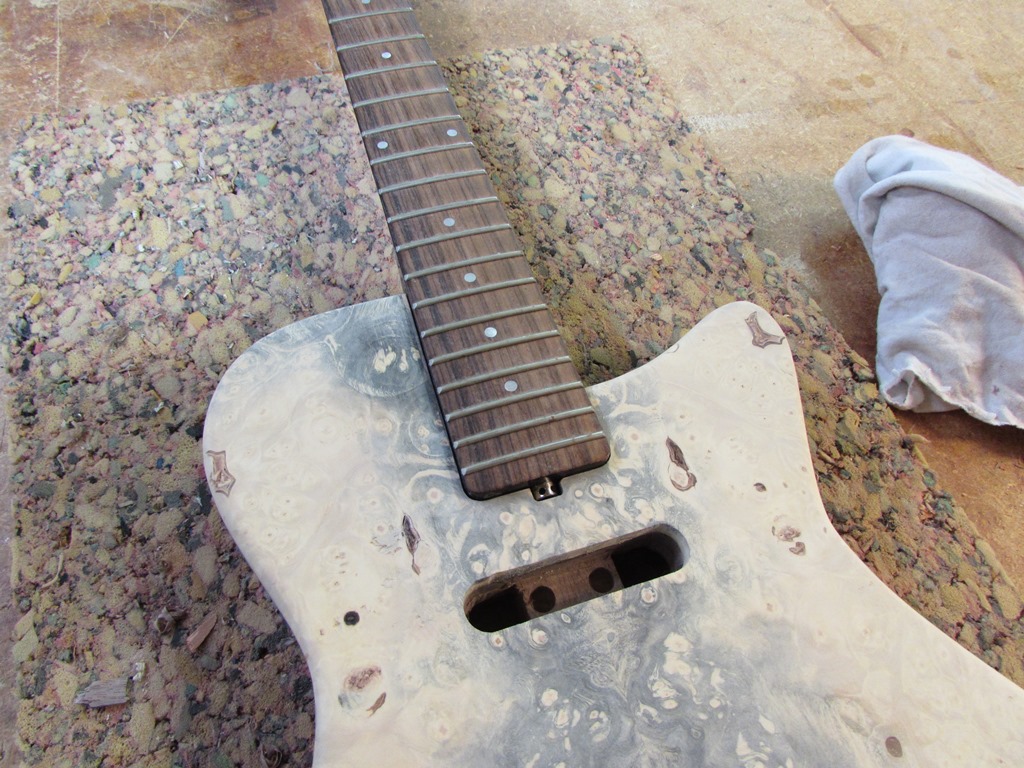
Seated nicely
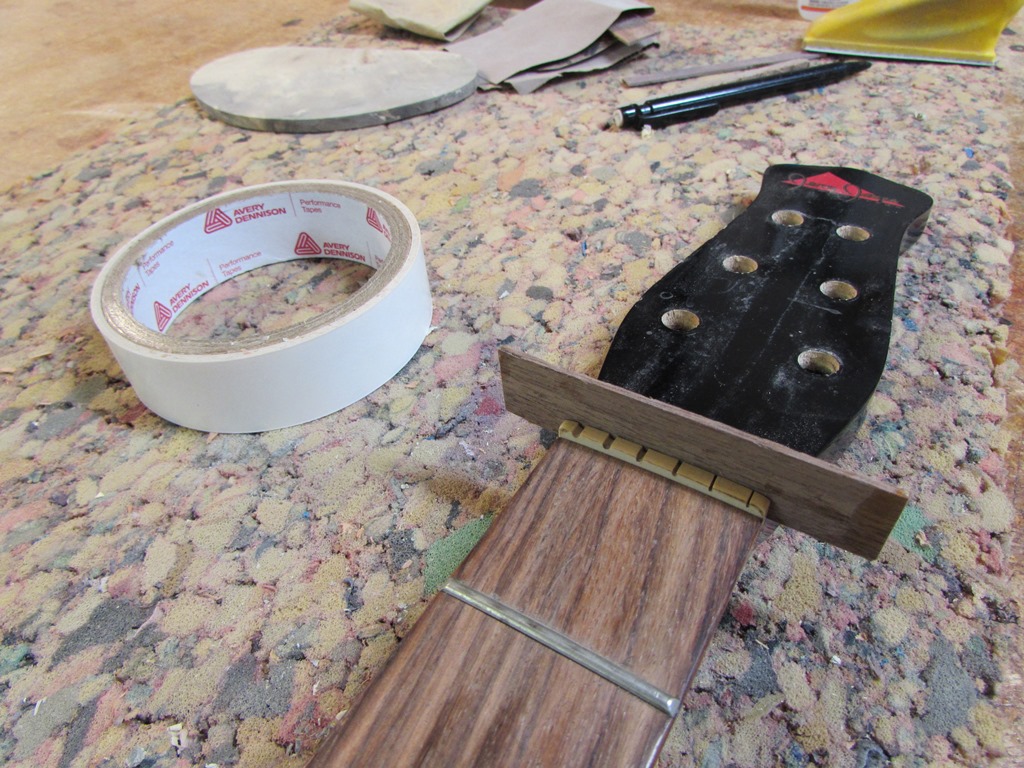
Stick-on shield for the nut
To make the headstock match the guitar, I will be attaching a veneer. To insure that it glues on well, I need to sand away all the paint on the top. I attached a small piece of double-sided tape to the nut and then a scrap strip of walnut. The walnut will protect the nut from the sander. I quickly sanded away all the paint leaving a smooth, flat surface that is perfect for glueing.
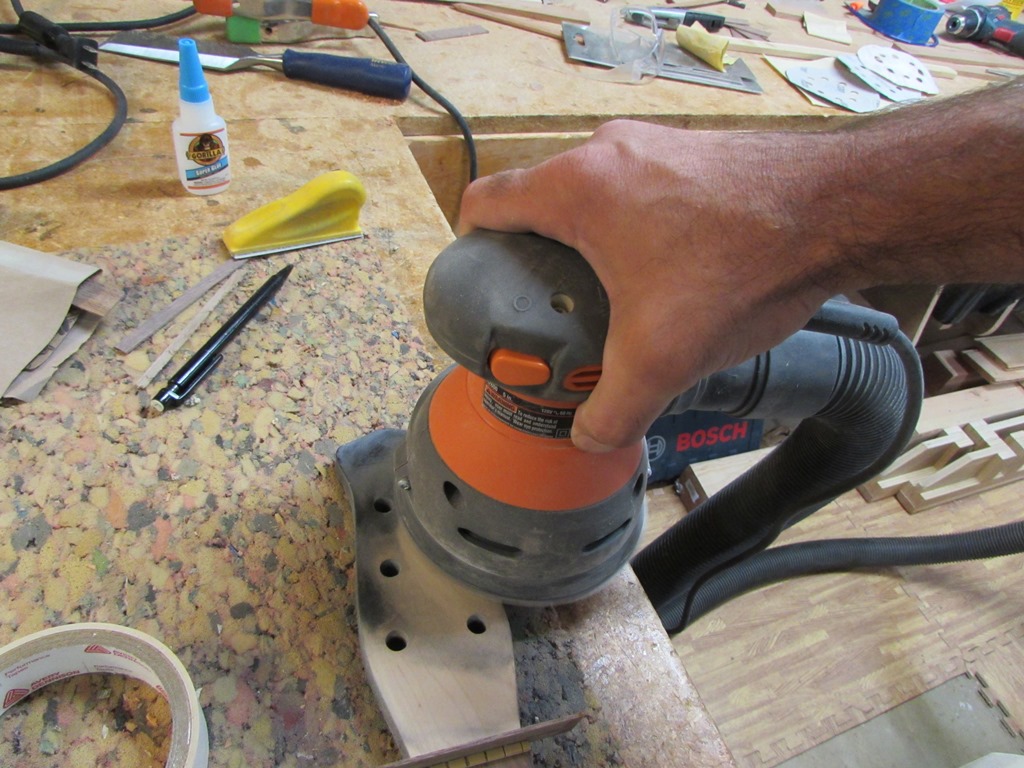
Sanding the head
I used a scrap piece of the burl to re-saw off a veneer for the headstock.

Re-sawing the veneer

Tracing the head onto the veneer
I traced the shape of the head onto the veneer and roughly cut out the shape, on the band saw.

Roughly cutting out the veneer
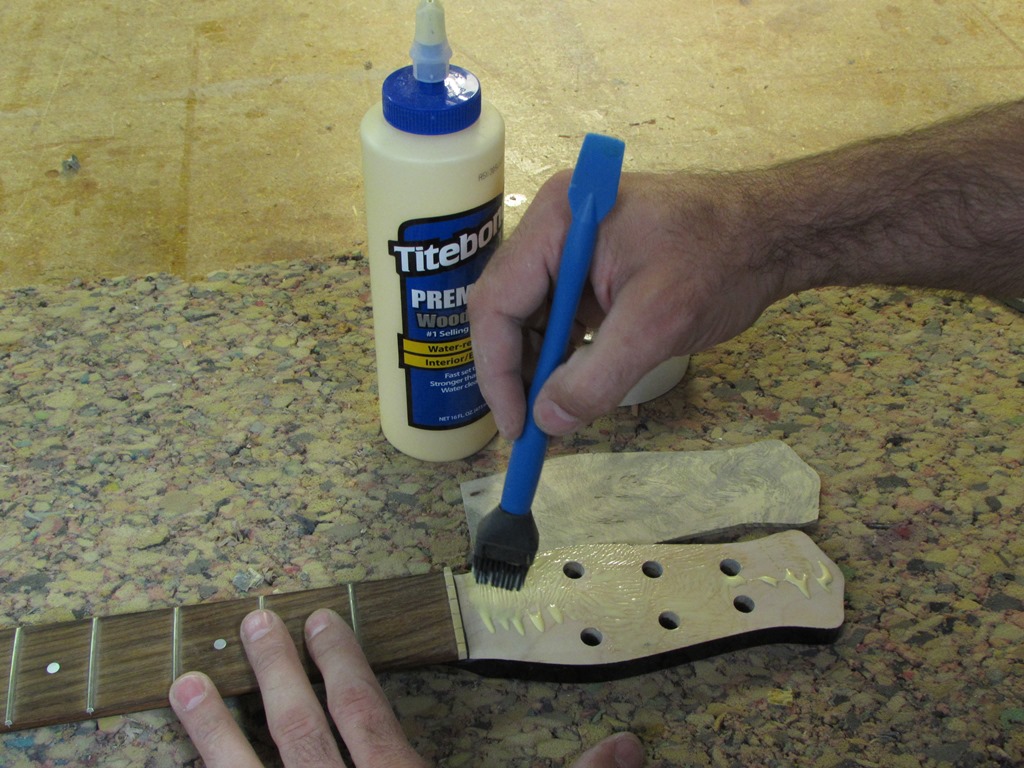
Add a little glue
I applied a little glue and spread it out thin to avoid having much squeeze-out. Then I located the veneer and clamped every surface I could reach.
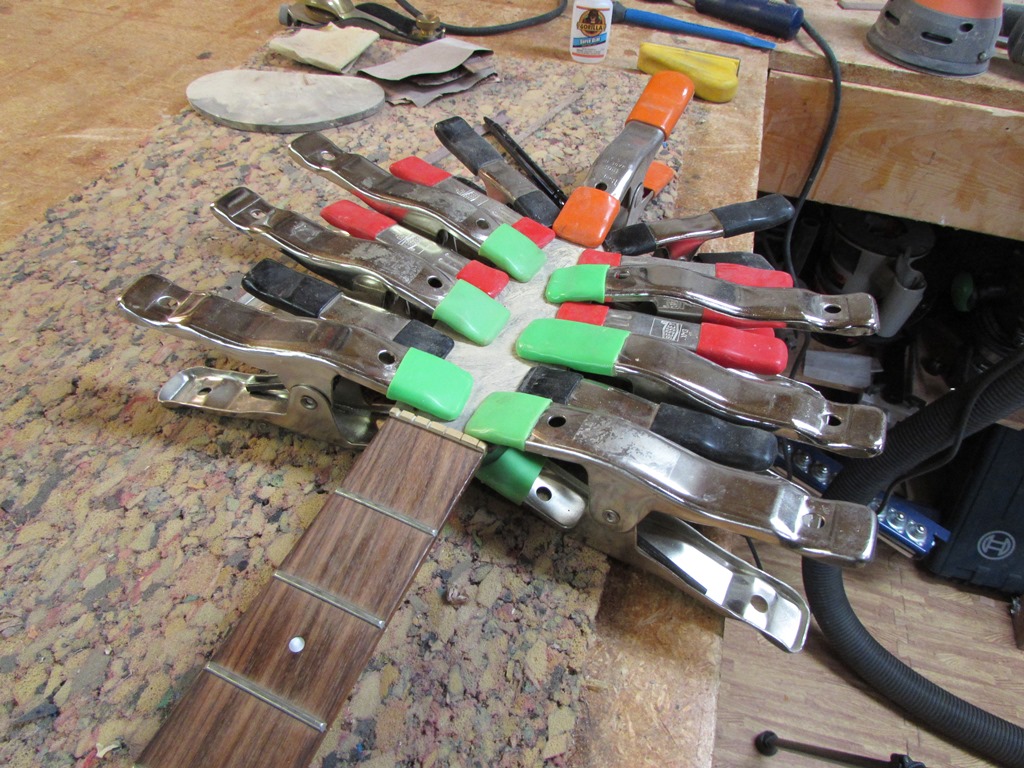
Add a lot of clamps…
Well, that wraps up the days work, I need to finish up the head when it is dry, then drill out holes on the body for hardware. After that, I should be able to start finishing.

Body comparison
Here is a comparison shot of the old and new body. You may notice that the new body is 1/2″ shorter. This was because of the holes that were in the burled top piece. I had to reduce it slightly to fit between the holes and the edge of the board. Still looks good though, and it will look a lot better when it gets some oil on it.
