
Baritone rebuild – day 3
Ok, so I had every intention of finishing the body last weekend, but I ran into a lot of operator error, mixed with a little bit of trouble from my temperamental carver…

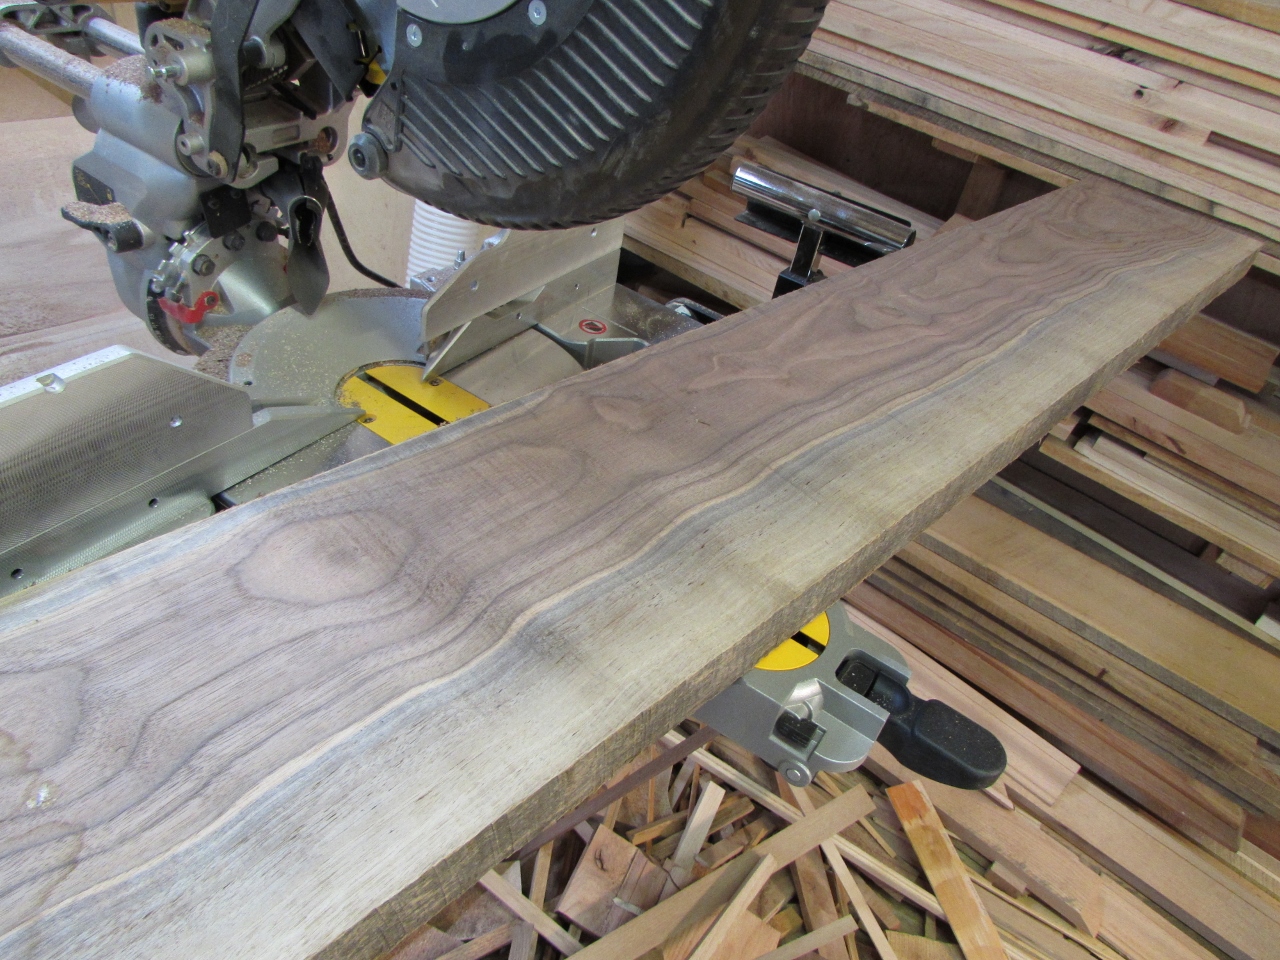
Cutting off rear panel #2…
After carving a perfect rear panel, but carved in reverse, I chopped off the next two feet of the piece of 8/4 walnut. I ran through the entire process of milling and re-sawing to create this beautiful panel below.
Glue up of panel #2
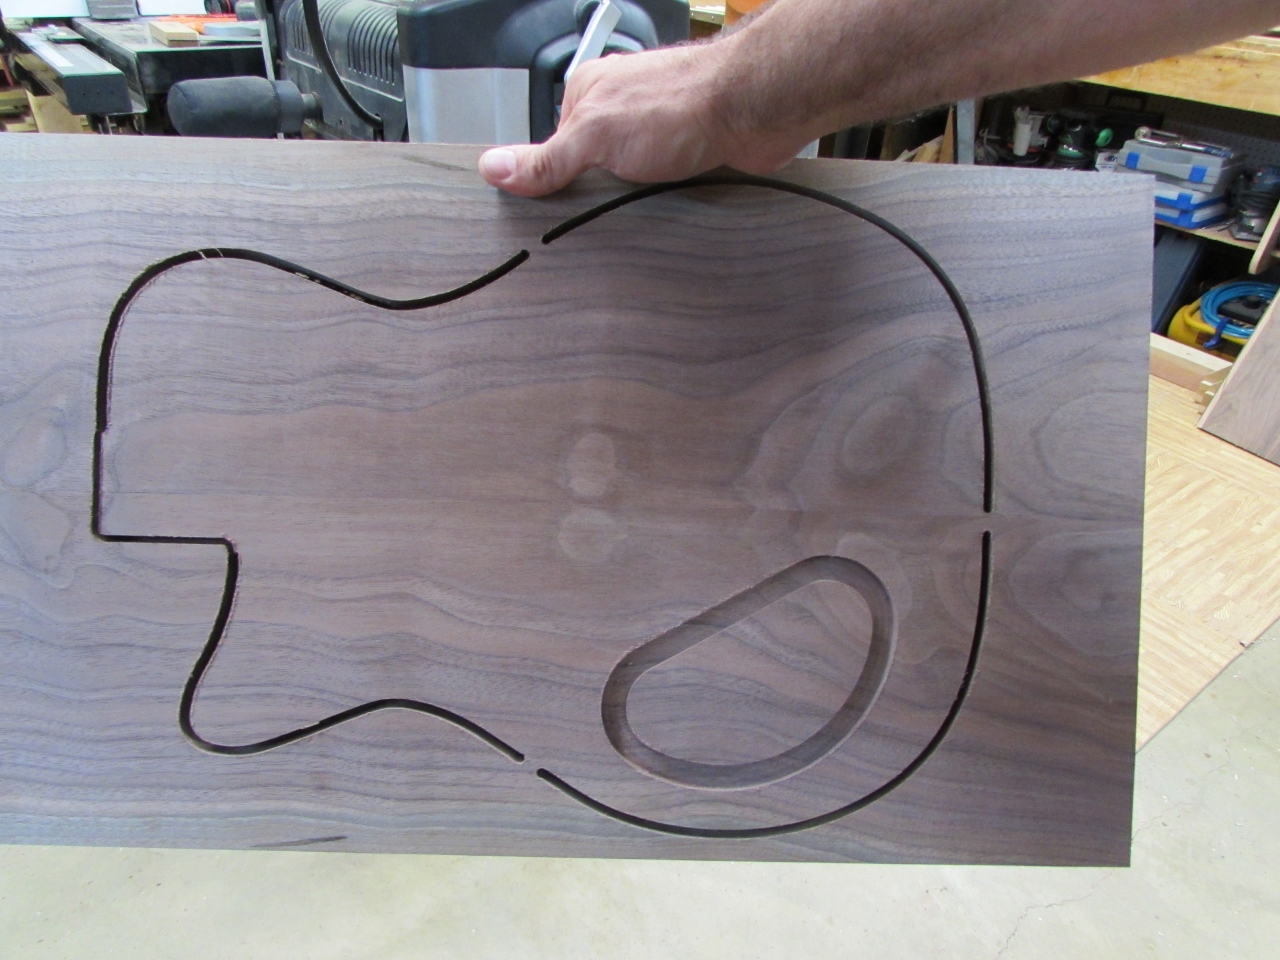
Then my carver decided that it would be funny to inch forward a tiny bit with each consecutive pass, and wound up shifting a good 3/8″ forward. It really didn’t cause a problem until I flipped the board to carve the back. Then it shifted the control pocket back to where it should have been, basically scrapping the entire panel.
Screw-up of panel #2
There was just enough left in the piece of 8/4 walnut for one more try. Unfortunately I did not flatten it properly, and I didn’t notice until I had glued up the panel. I didn’t bother to carve it, but I had to wait a couple of days till I could acquire another walnut board.
The board, that I chose for attempt number four, has some very pretty coloring. I made sure I got a piece that was long enough to accommodate a few more screw-ups…
Needed a new board for the fourth try…

Adjusting my planer sled
Of course I had to go through the whole ritual of milling the board down again.

Flattening side one

Flattening side two

Starting the resaw on the table saw
I flattened everything first, then did my re-sawing.

Finishing on the band saw

Planing down to 3/4″
A few quick passes under the planer and I was ready for the glue-up.

Add a little glue…

Drying
Just a little scraping when it was dry, and I was ready to try again.

Scraping
This board has some interesting figure. I hope it looks nice on the back of the guitar.

Not a bad looking panel

Off to the carver
I fired up the CNC and started things moving. After the first hour, the rear was done.
Side one looks good
After the fourth hour the rest of the carve was complete.

Side two looks even better
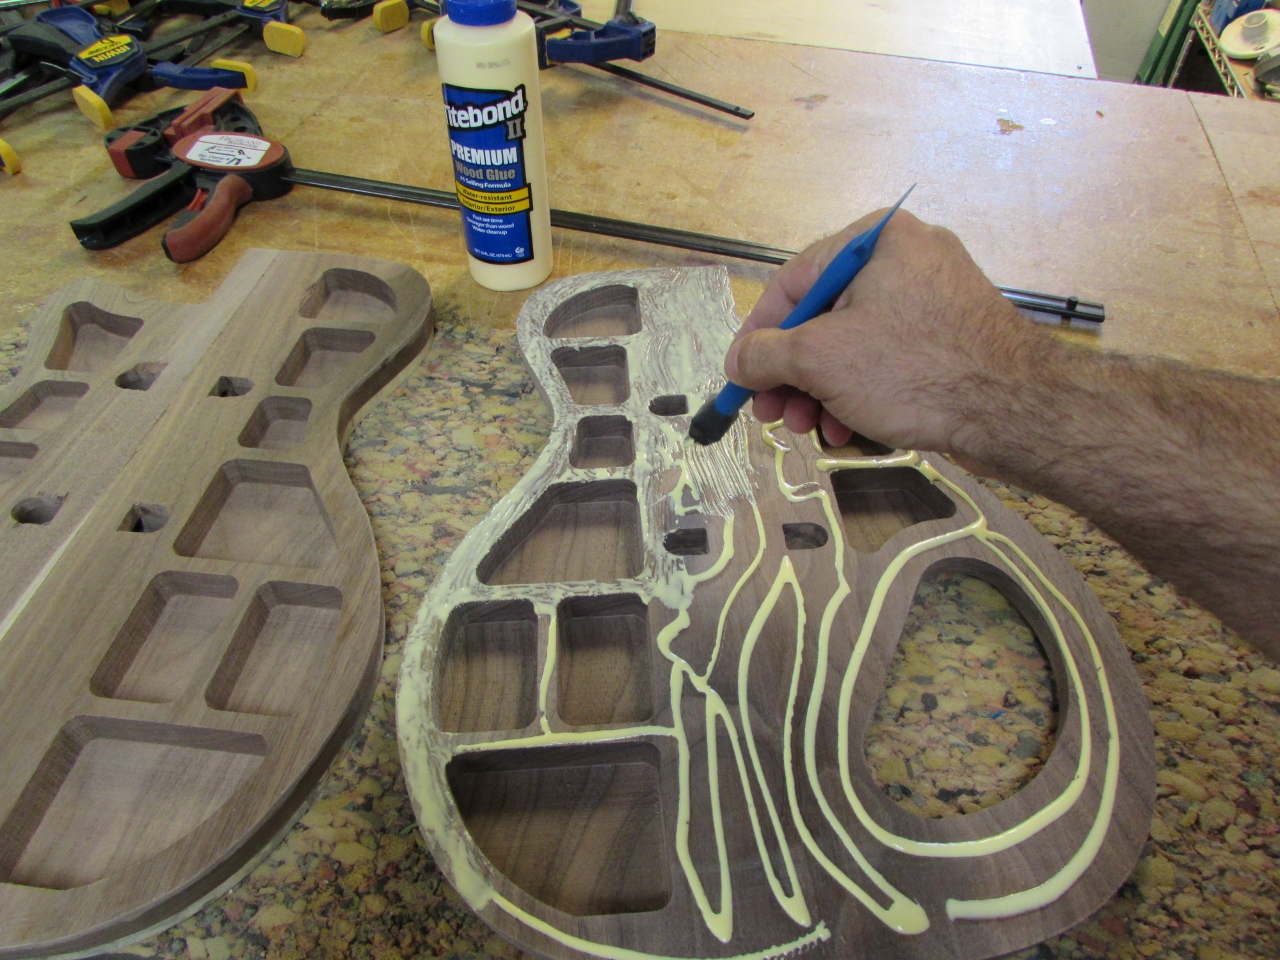
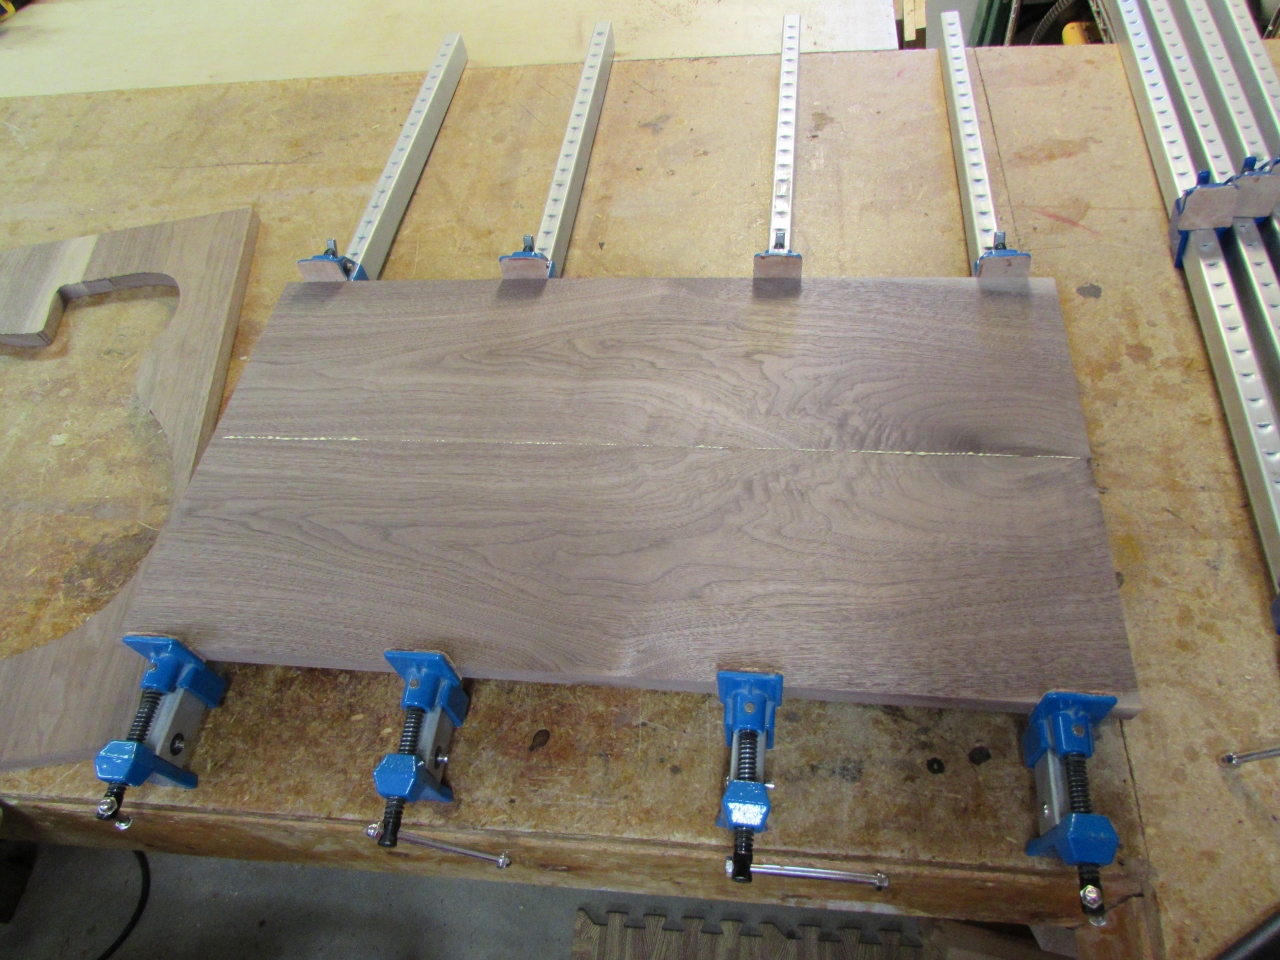
Time for some glue
Time to spread the glue and clamp the snot out of it!

Add every clamp you can

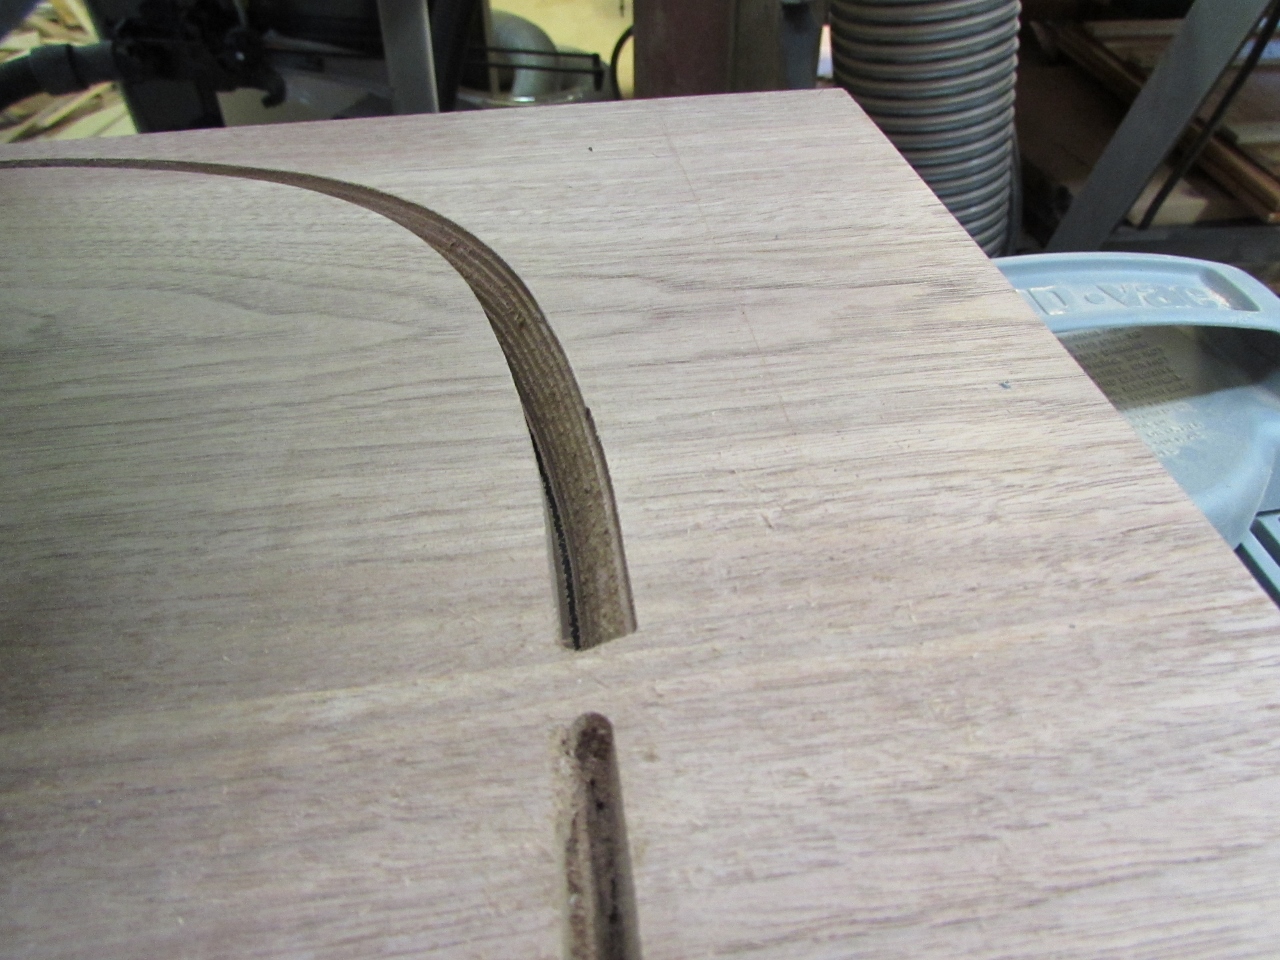
Rough-sanding away the rougher bits
I pulled the clamps after an hour or two and sanded the joint along the sides, with the spindle sander. Next I moved to the finish orbital sander to finesse the sides into a gentle curve.

Orbital sander to smooth our the gentle radius on the sides

Rear looking god

Front looks good
It is finally starting to come together. Hopefully tomorrow I can get the radius all around the edges and do a final sanding.
