
Baritone rebuild – day 2
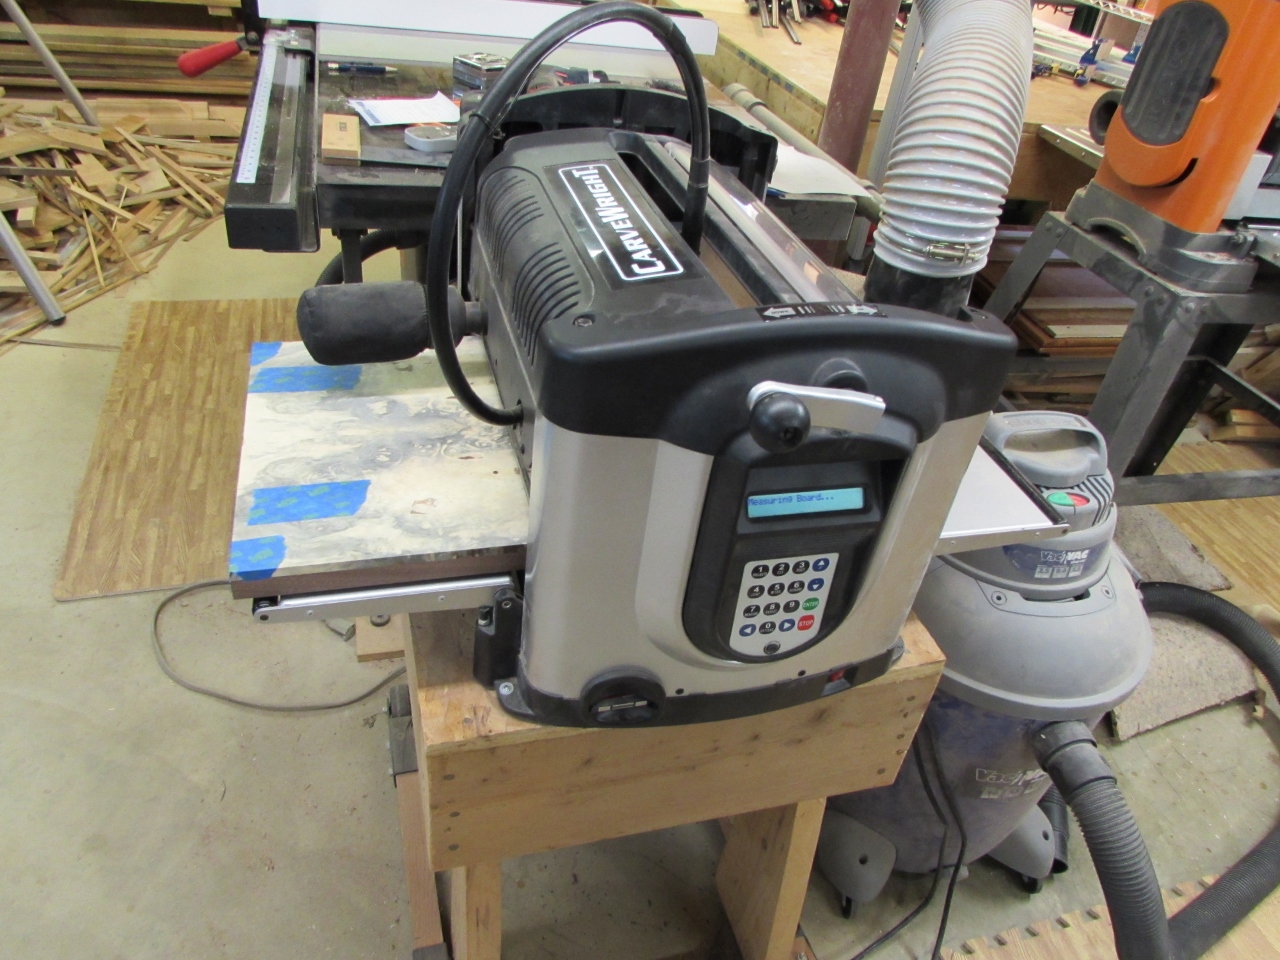
Interesting day today. I started early by loading the second walnut panel into the CNC and started the top half of the guitar carving. Then I unwrapped the book-matched set of buckeye burl boards that Bill bought for the top.
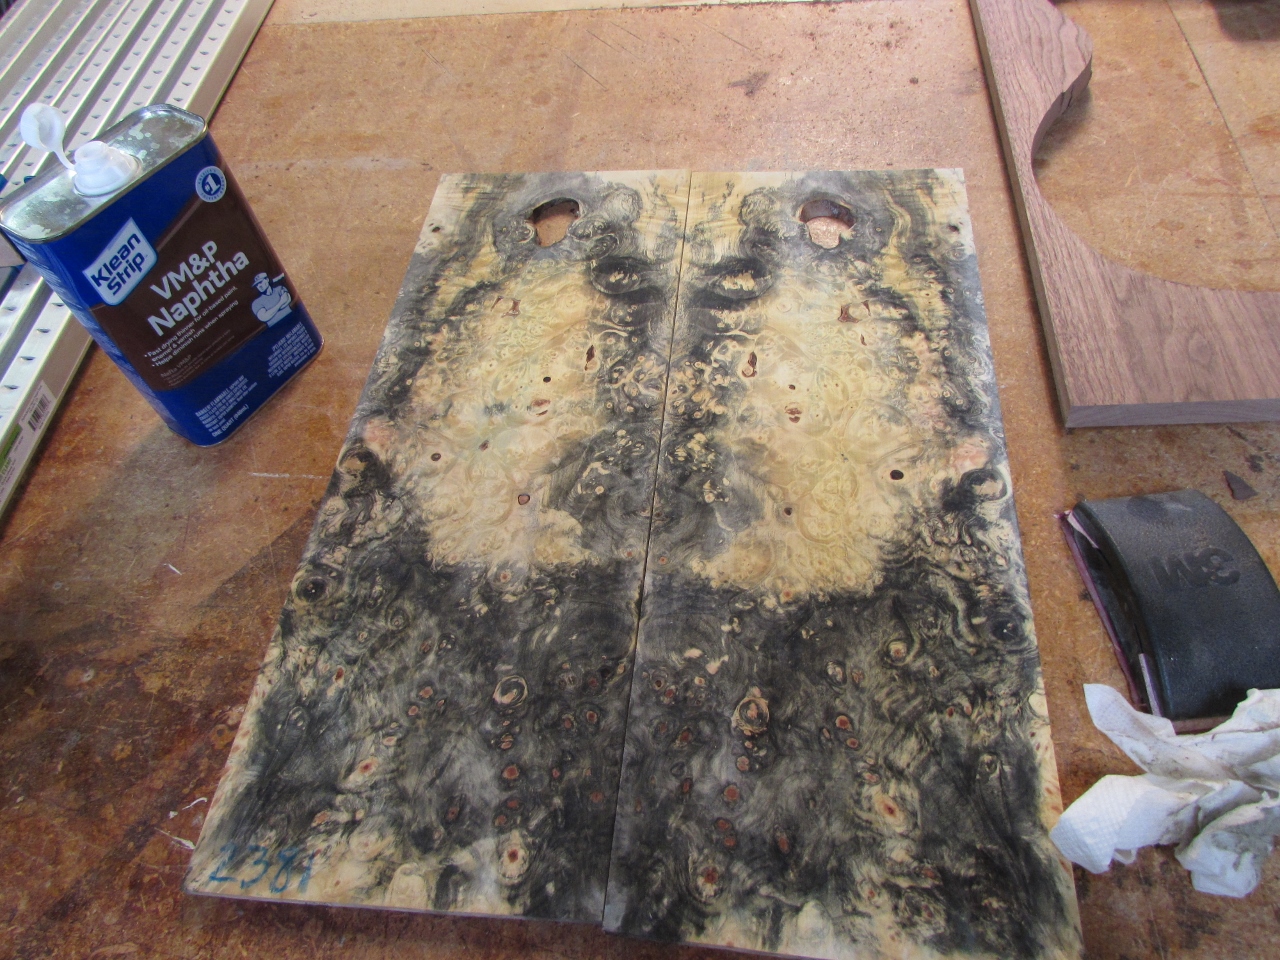
Book-matched buckeye
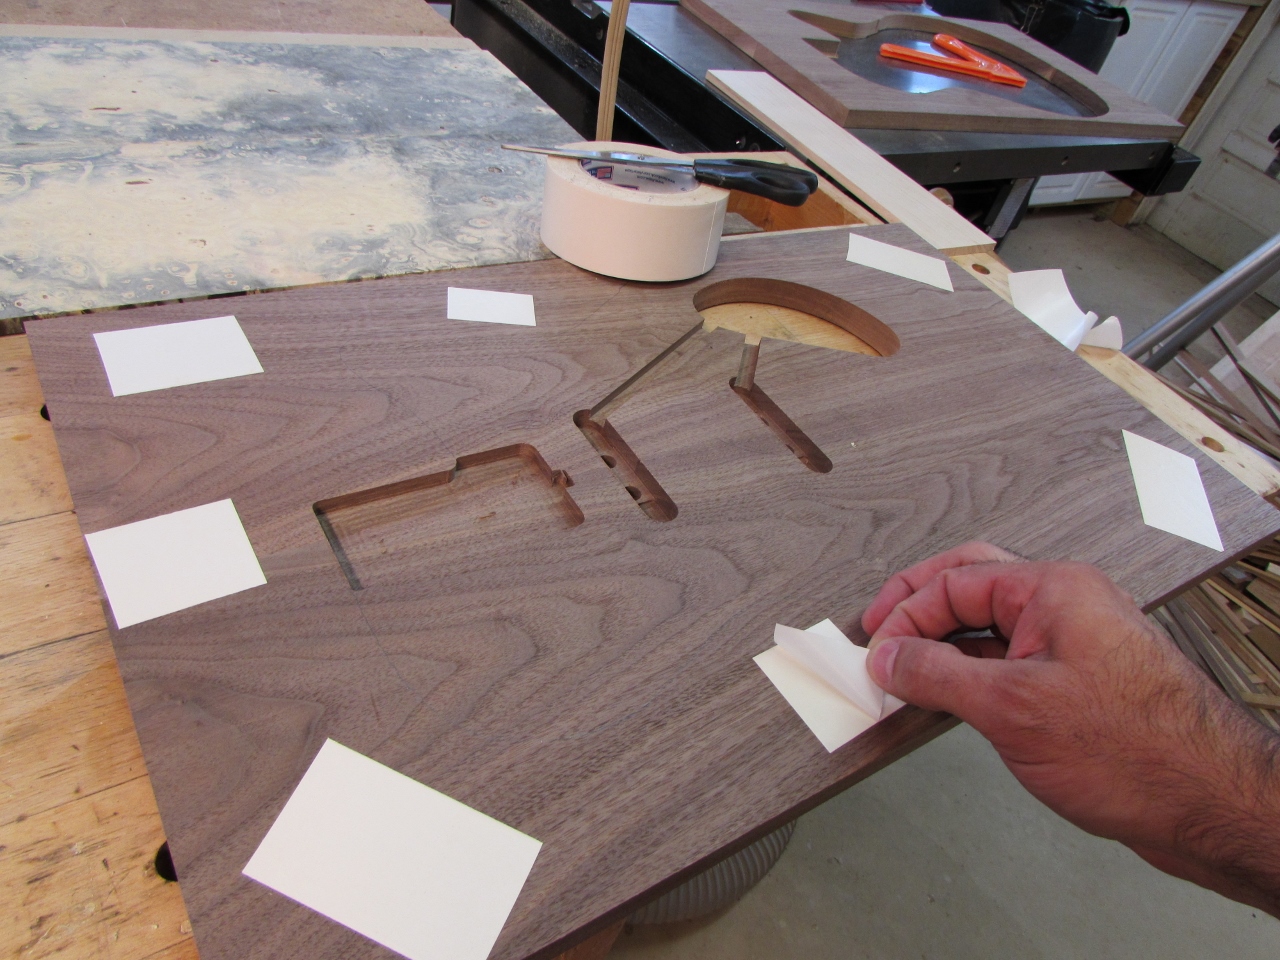
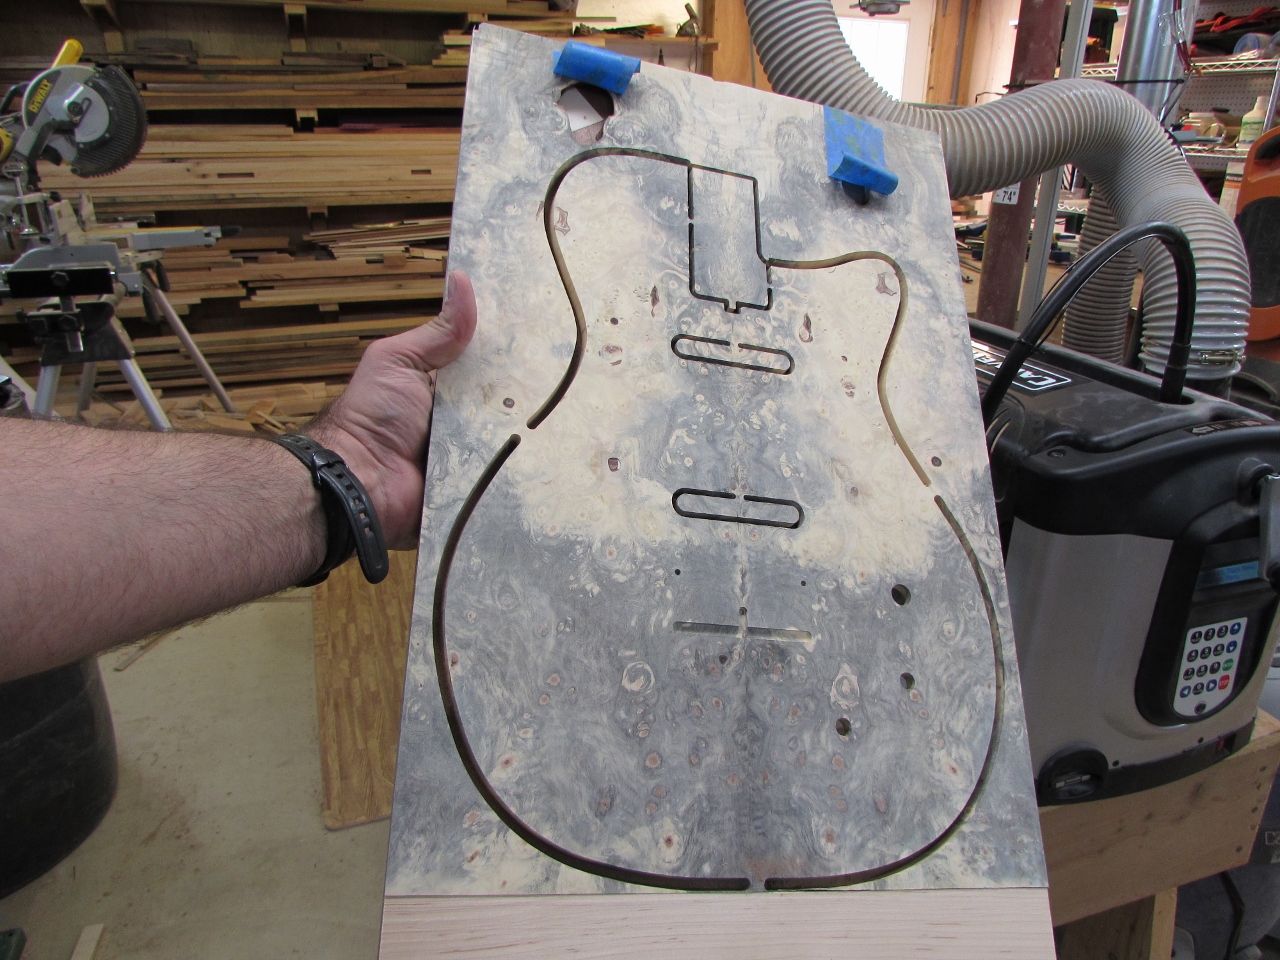
There are a couple of nasty large holes at the top, that I need to avoid, so I over-laid the outer ring from the bottom carve that I did yesterday. It looked like I would just miss if I set it up just right.

Locating the perfect spot
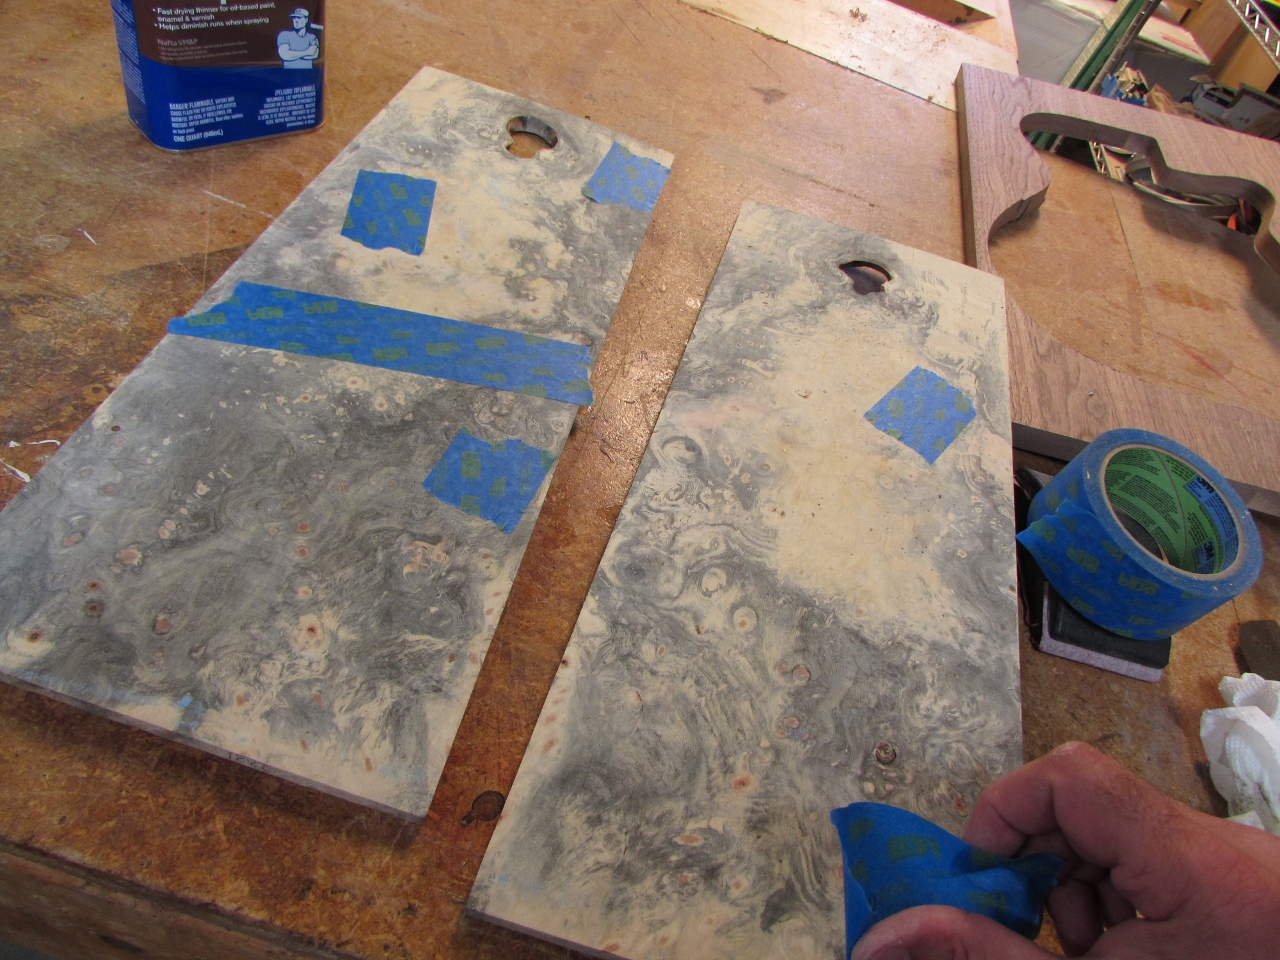
Taping up the back of the knots
I had a few more smaller holes and loose knots so I taped the back, at their locations, before glueing up the panels.

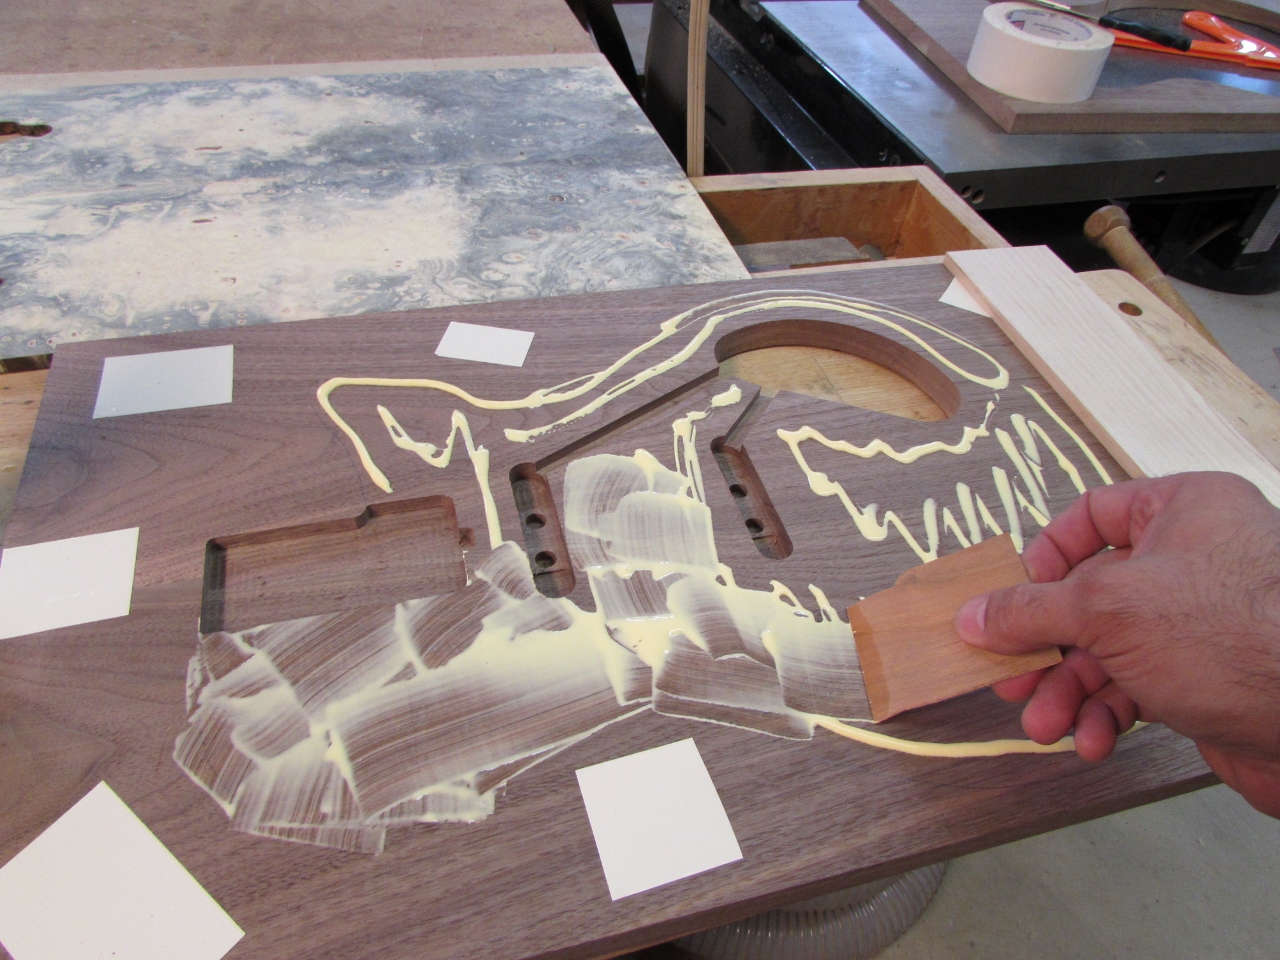
Glueing up the burl
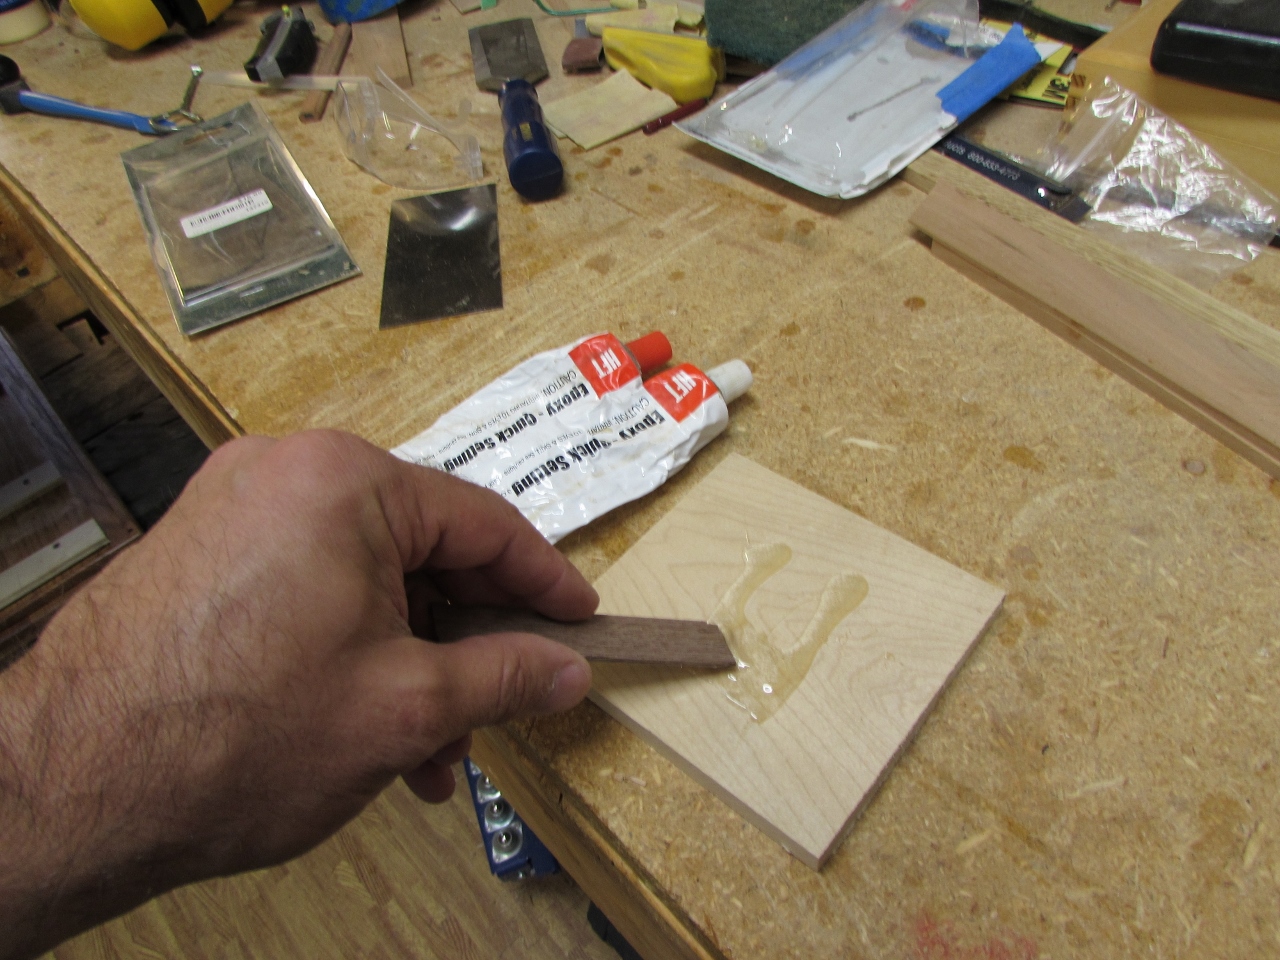
Mixing epoxy
The tape will prevent the epoxy from leaking through the board. I mixed up some 2-part, 5 minute epoxy to fill the loose knots and a couple of smaller voids.
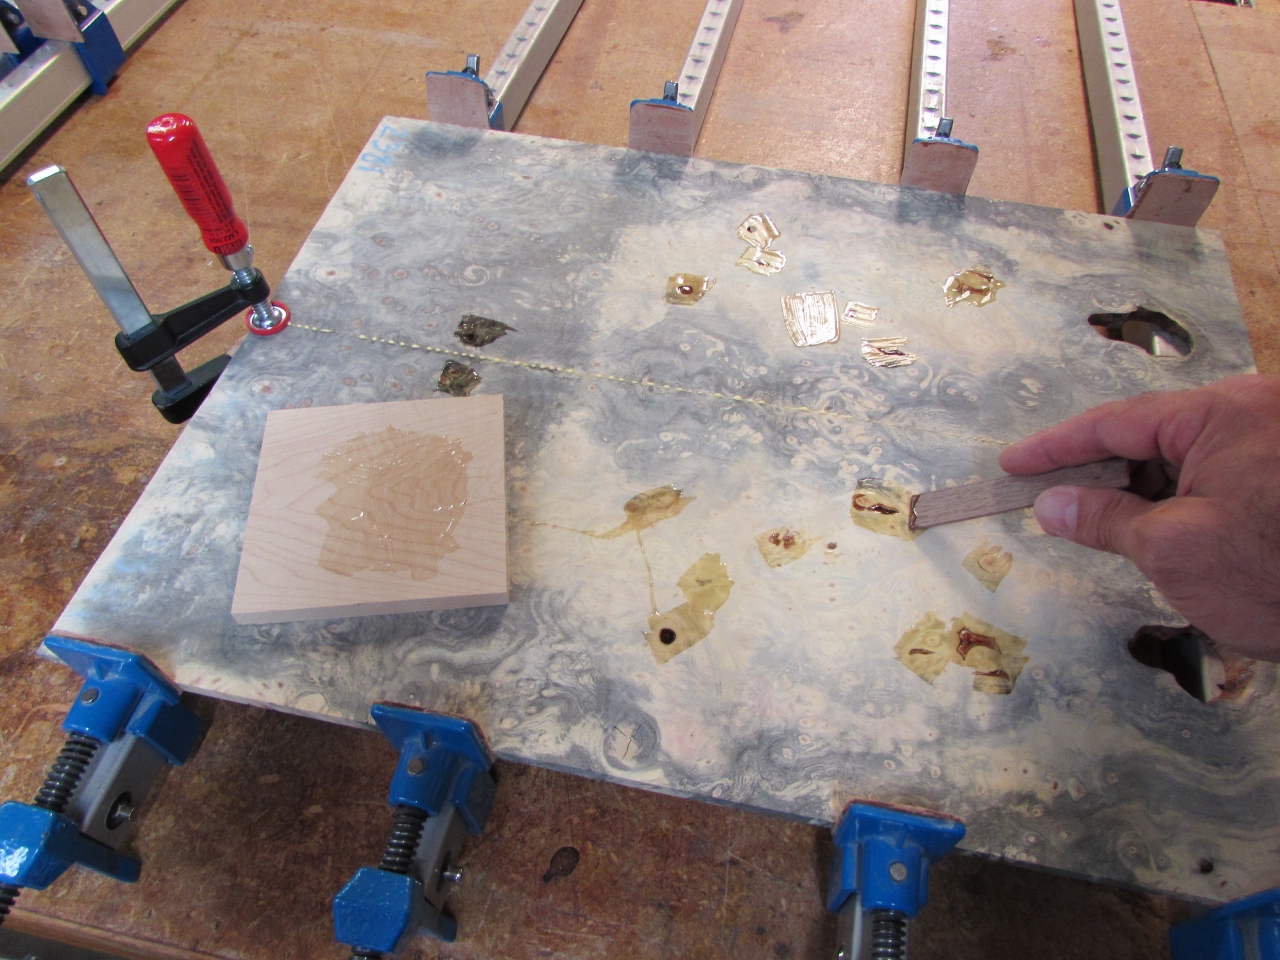
Stabilizing the loose knots
While that was drying, side 1 finished on the carver so I flipped the board and proceeded to carve side 2.
Top, side 1 carved

Planing off the excess epoxy
When the epoxy dried, I scraped, planed, and sanded the buckeye smooth.
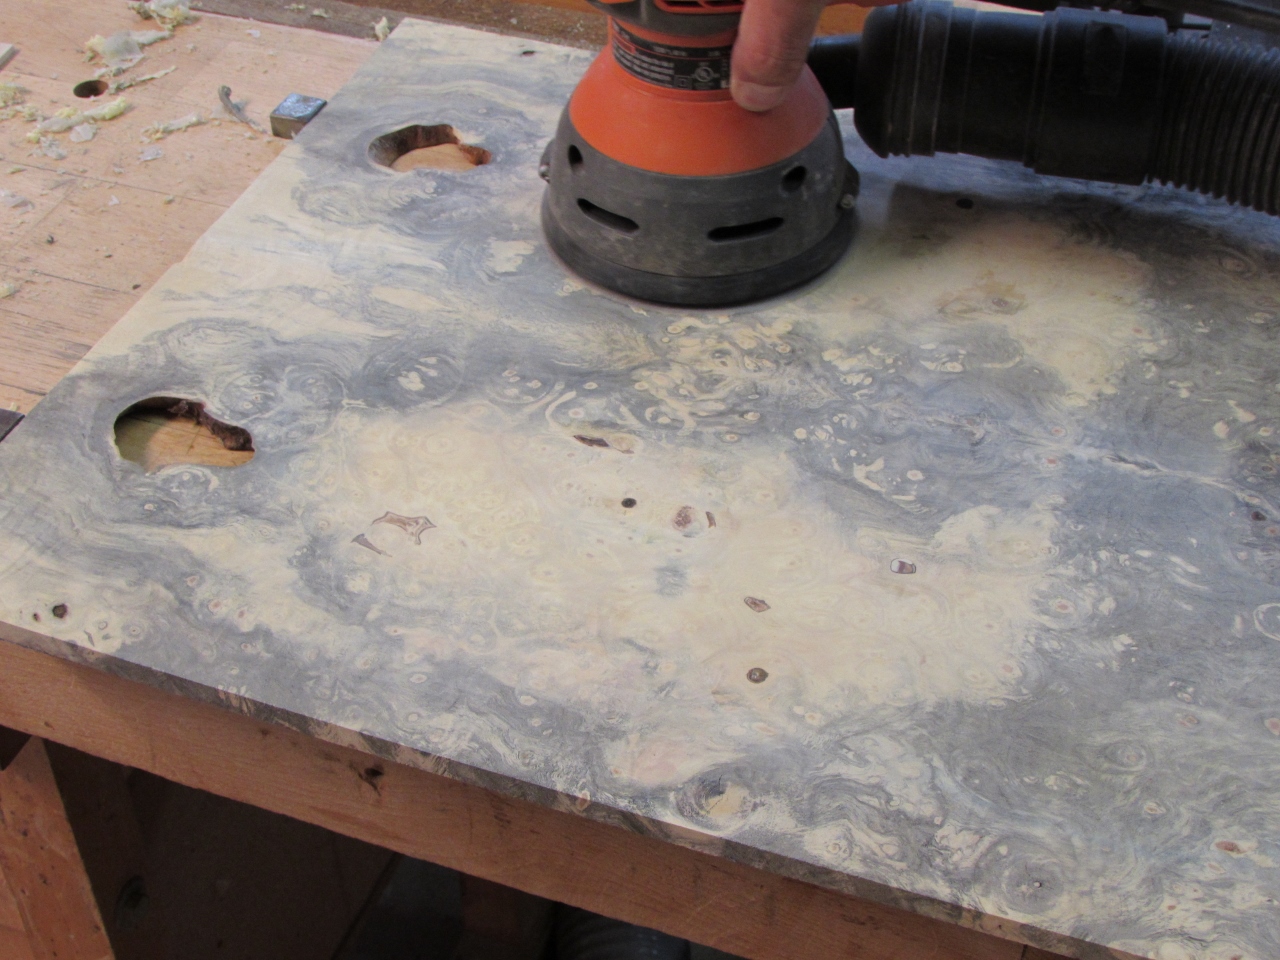
Sanding the buckeye top smooth
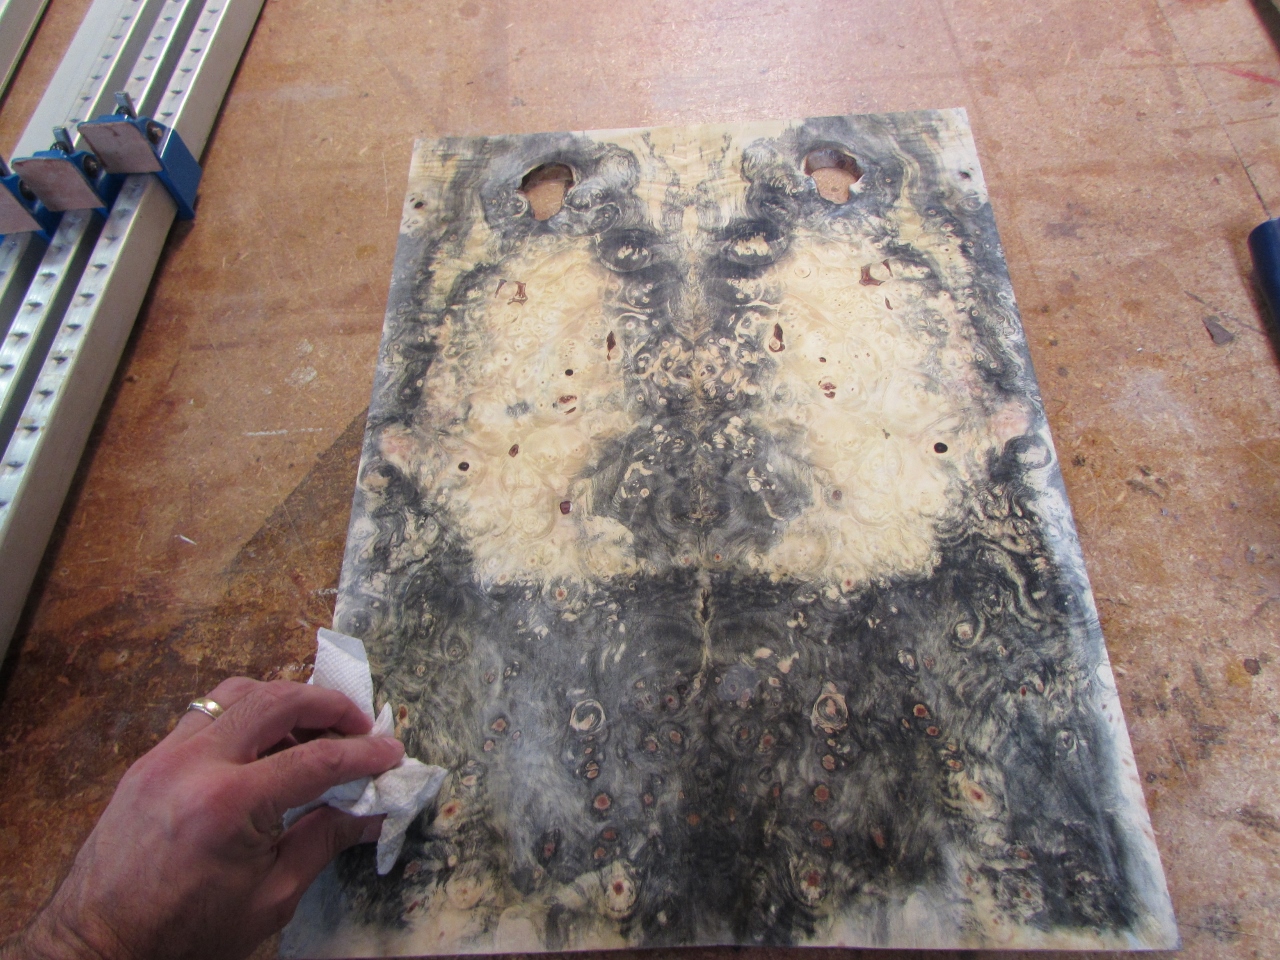
Cleaned up and ready to carve
I wiped all of the dust off with Naphtha so I could glue the panel to the walnut that just came out of the carver.
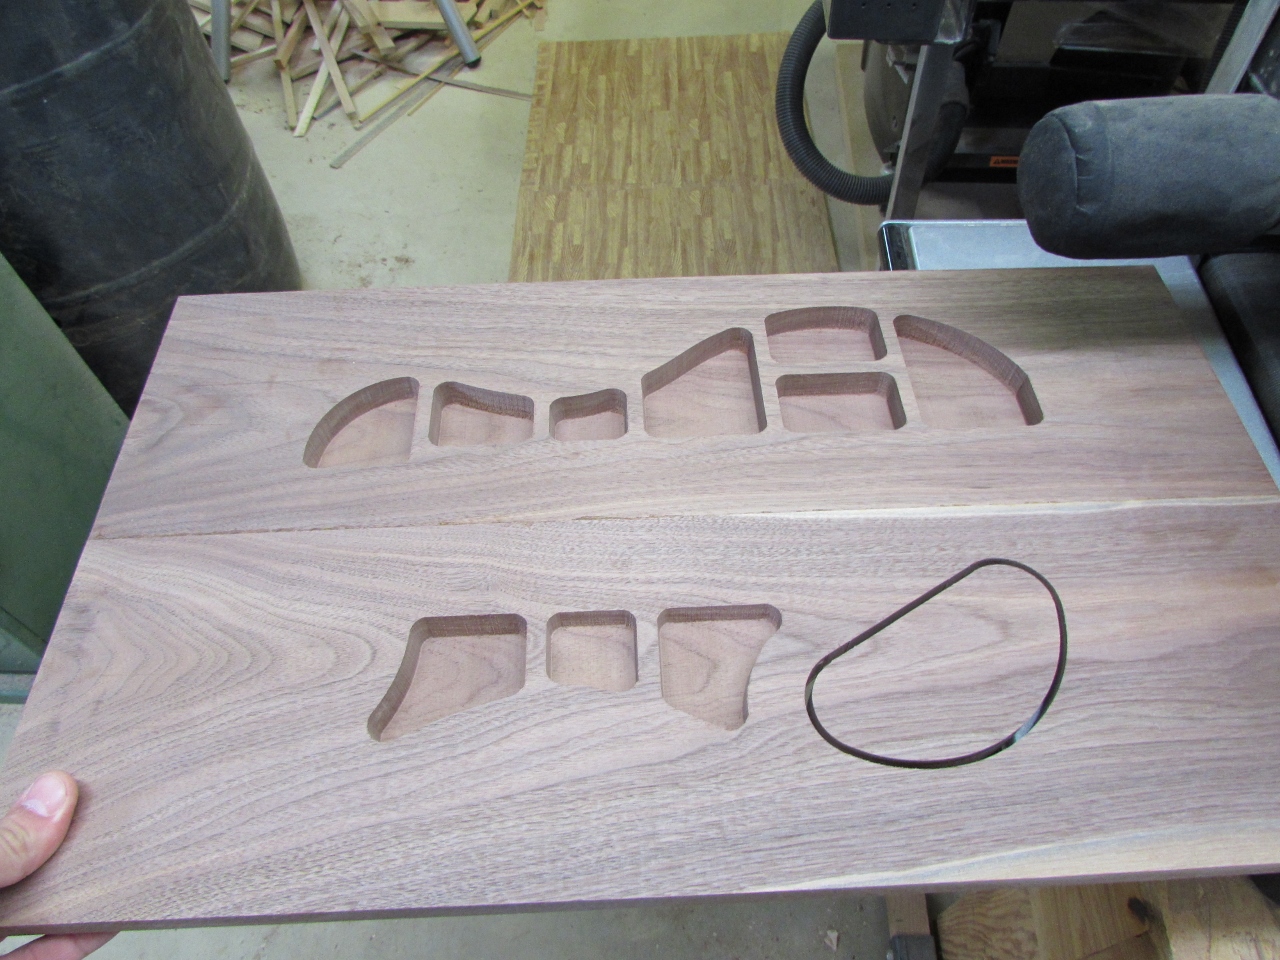
Top, side 2 carved

Tracing the approximate edges
I want to save any of the burl that I can so I traced the outline of the guitar then applied double-sided tape outside those lines.
Adding double-sided tape outside the lines
Applying glue within the lines
I spread glue within the outline, then attached the burl, along with a 3″ piece of maple of equal height to the bottom edge. This was required to center the good part of the burl so I could avoid the holes. I used every clamp I could find and a couple of clamping cauls in an attempt to press all of the glued surfaces together.

Clamping on the top
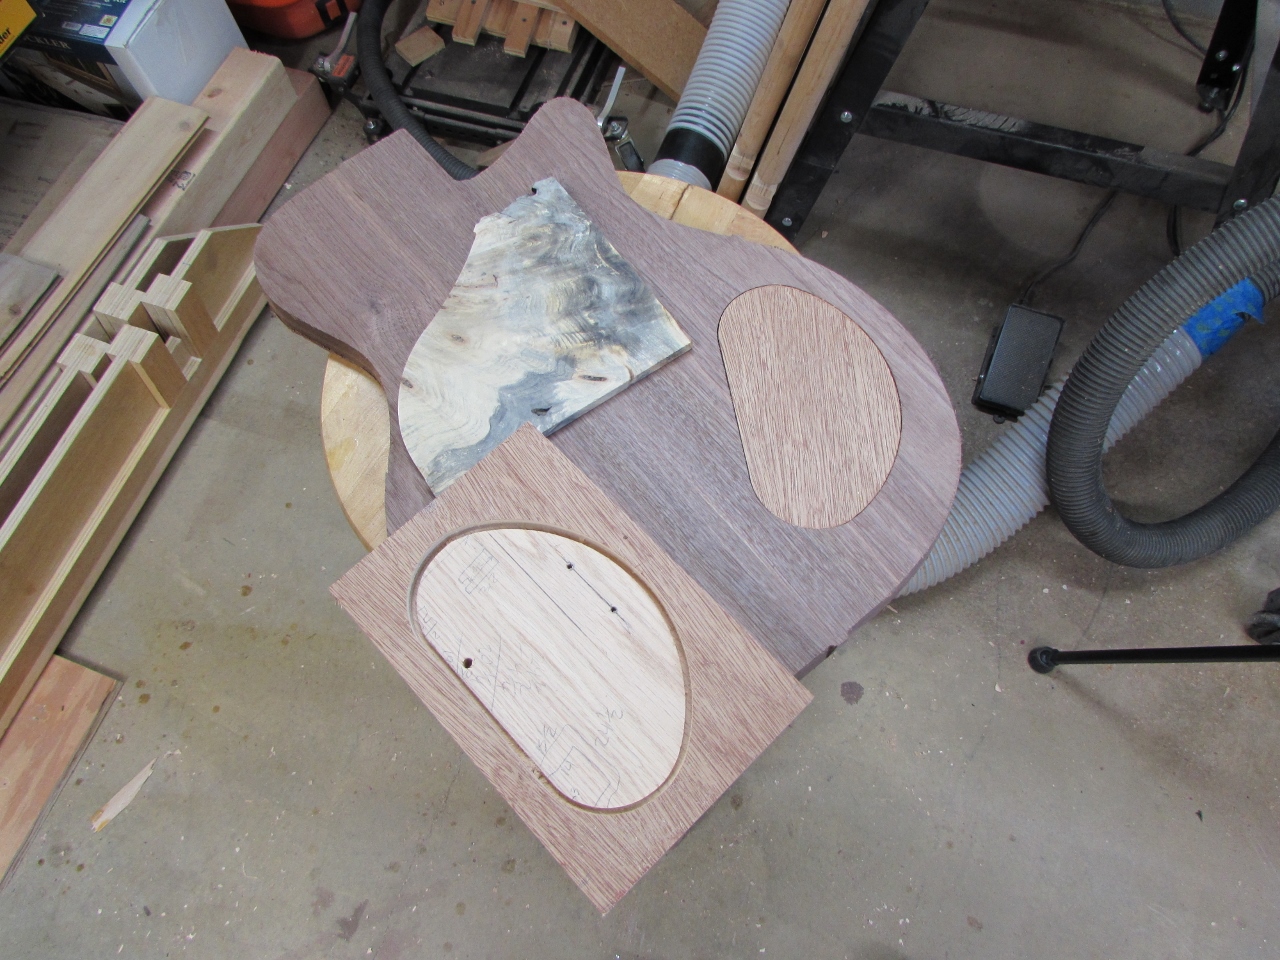
Creating a control cover pattern
While that was drying, I decided to make the control cover from a piece of scrap that I salvaged from the Baby Sitar build. Since it was a funky shape, I decided to CNC a template of the cover from 1/4″ plywood instead.
My only scrap piece big enough
Pattern complete
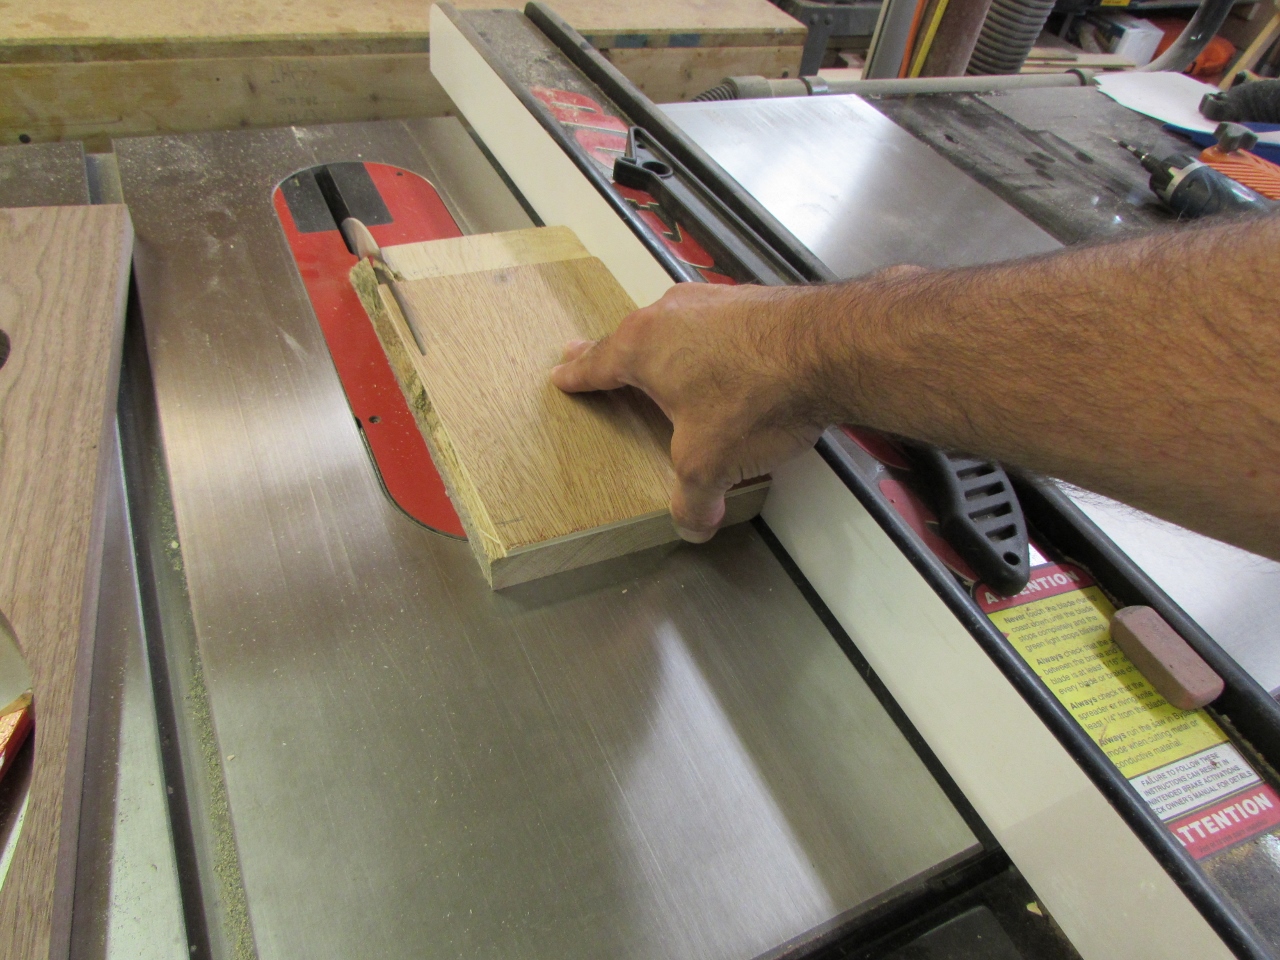
With the pattern cut, I taped it to the scrap of burl and rough cut the shape on the band saw.
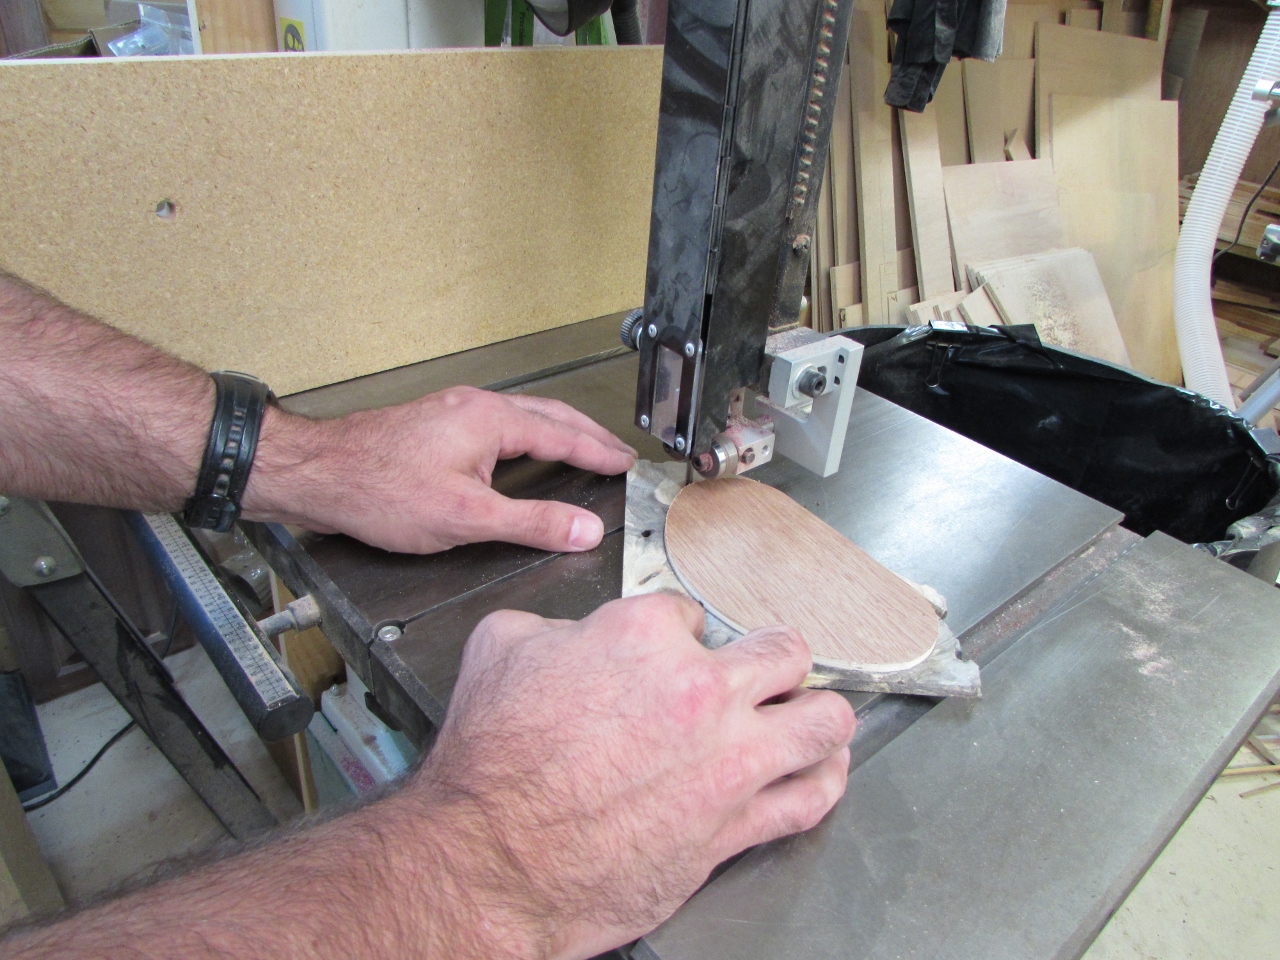
Cutting out the cover
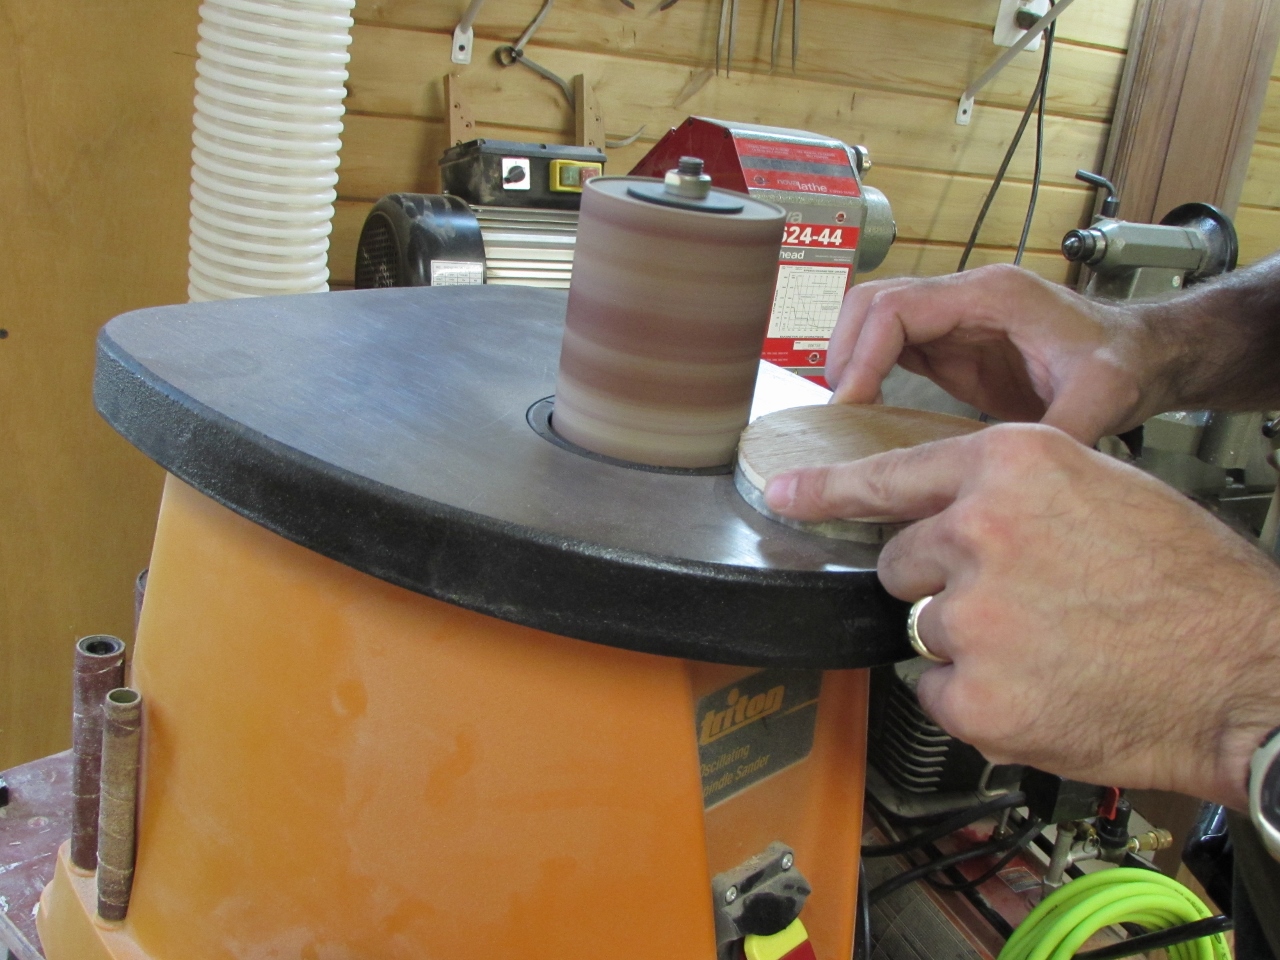
Sanding the burl down to the pattern
I sanded the burl flush to the template with the spindle sander.
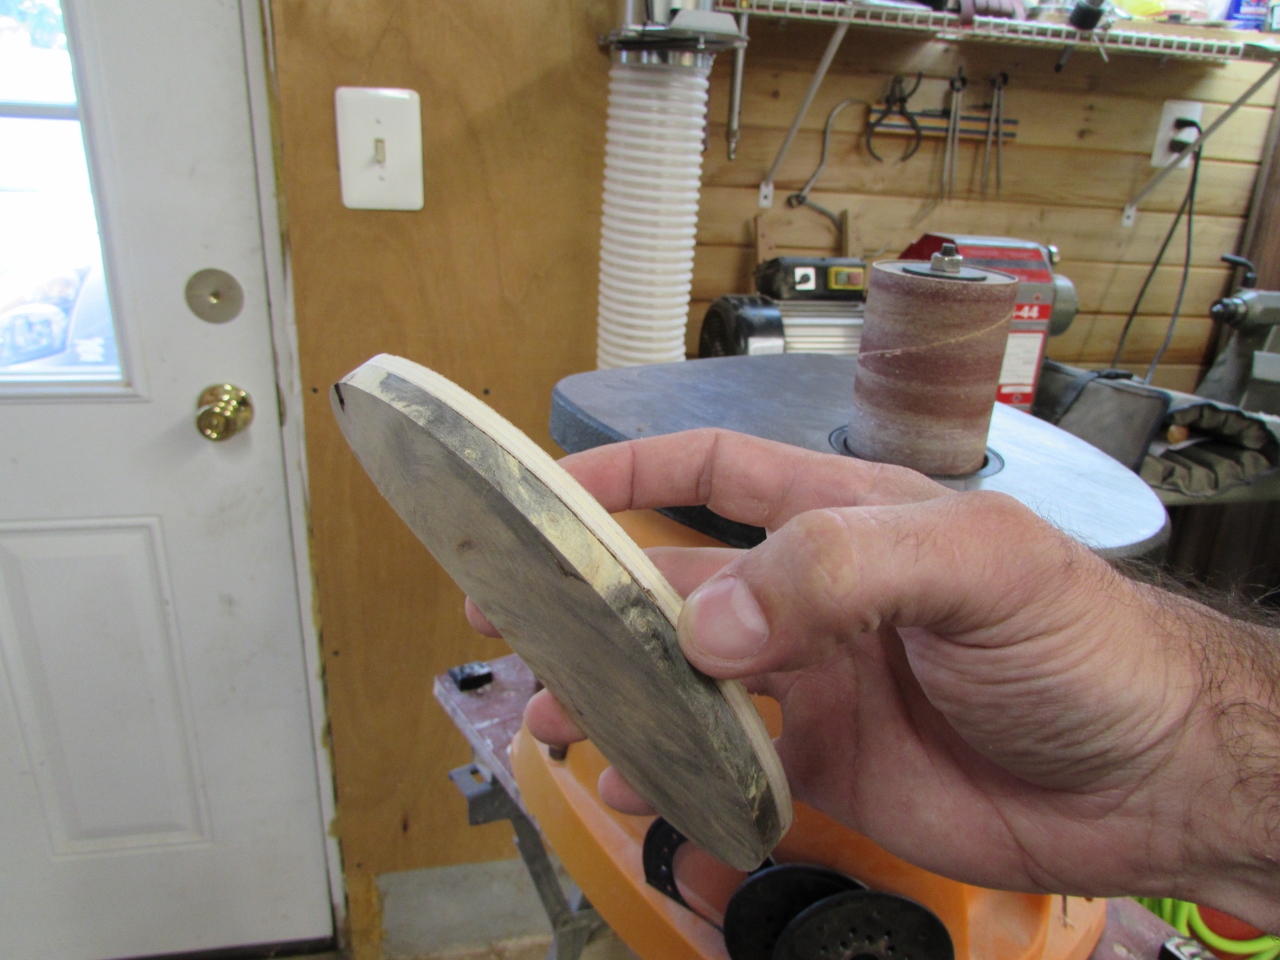
Good to go
In a matter of minutes I had a perfectly fit control cover.
Perfect fit
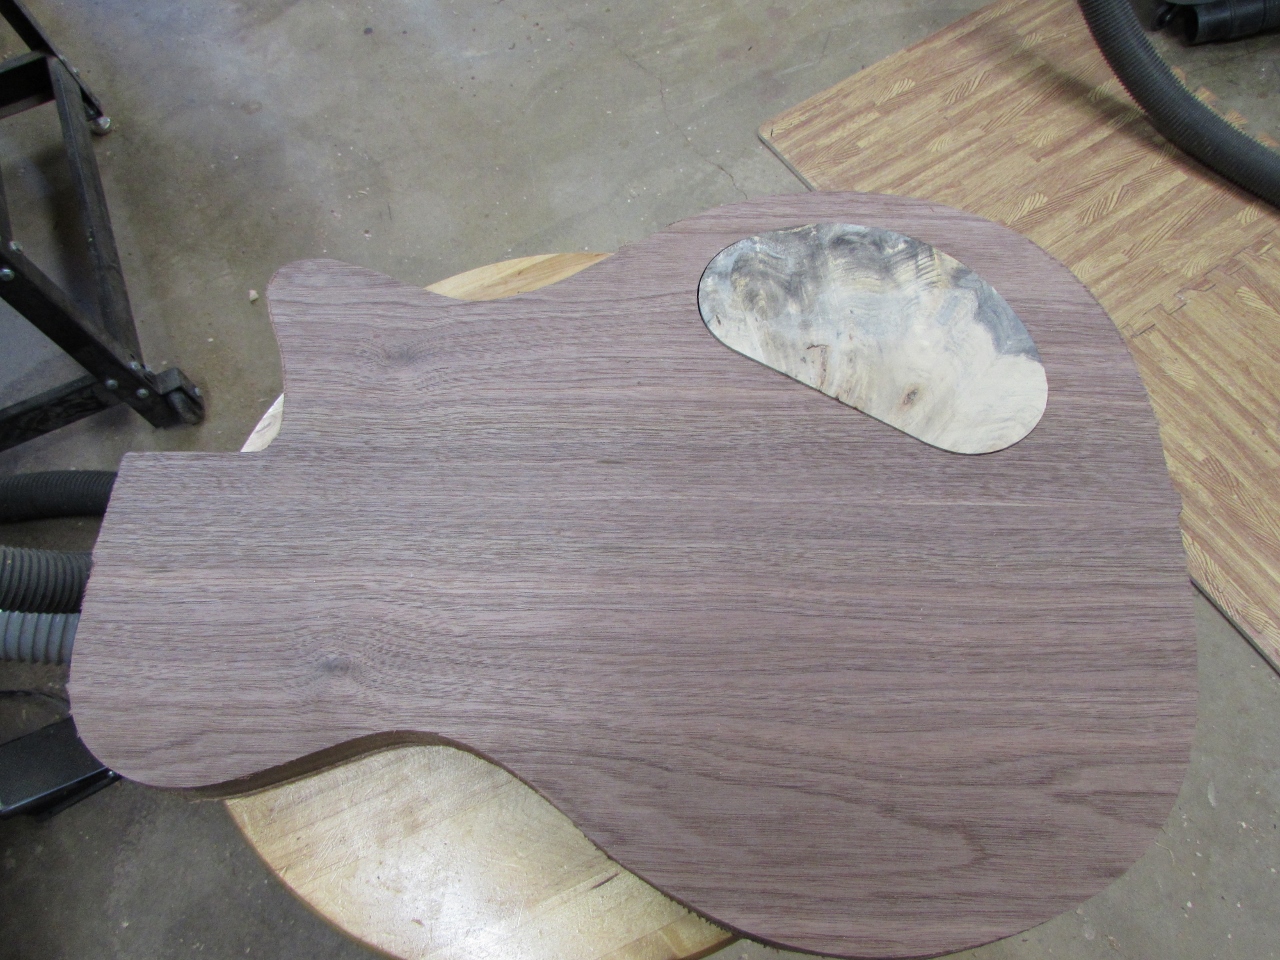
Tape over the holes
After the glue-up had cured enough to carve, I loaded it into the CNC and taped over the holes, so the sensors wouldn’t get confused. After an hour or so, the top carve was complete, so I cut away the tabs and went to line it up with the bottom piece…
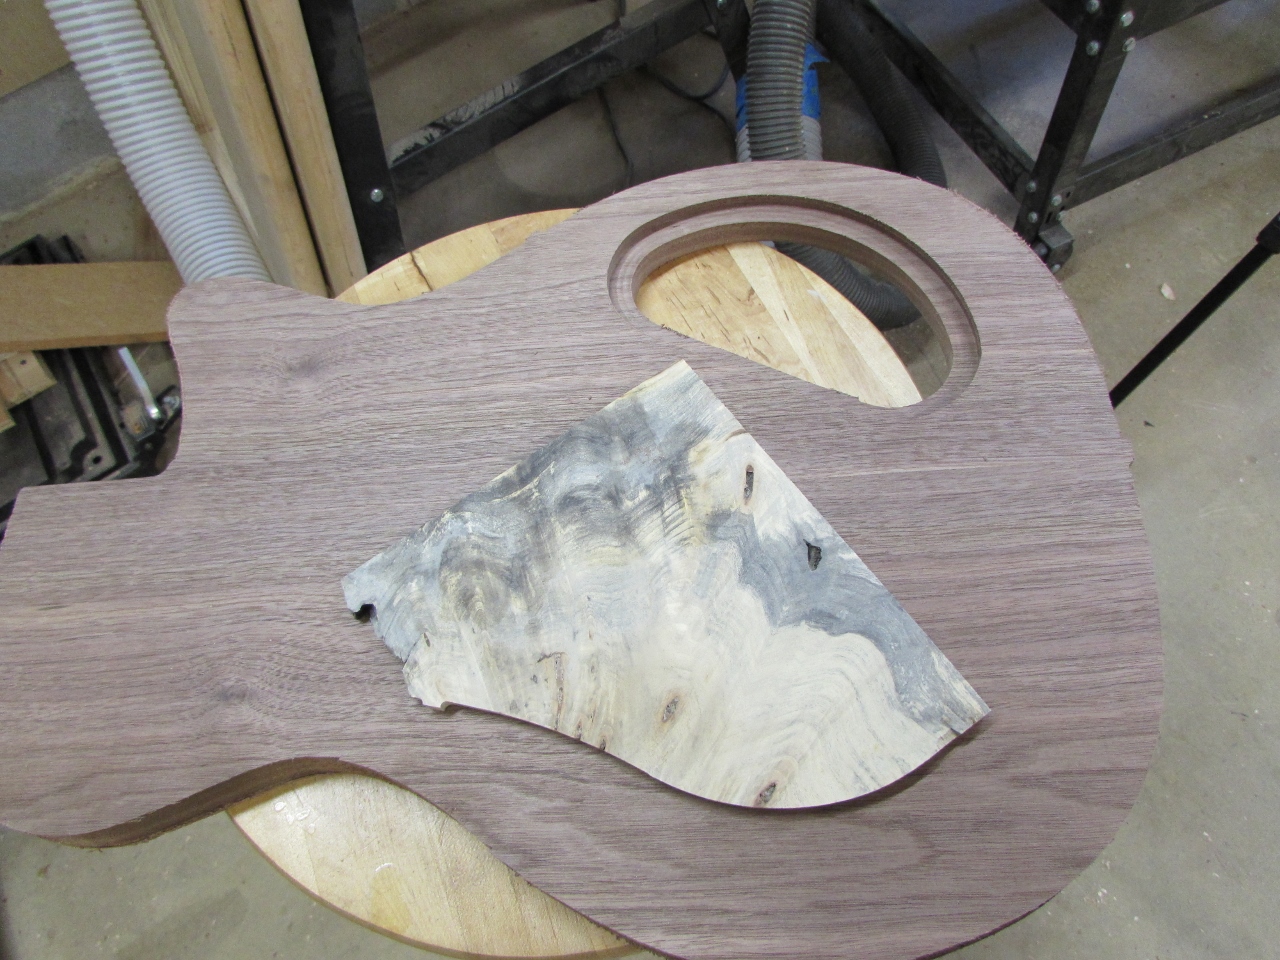
Centered perfectly between the holes and the bottom of the burl
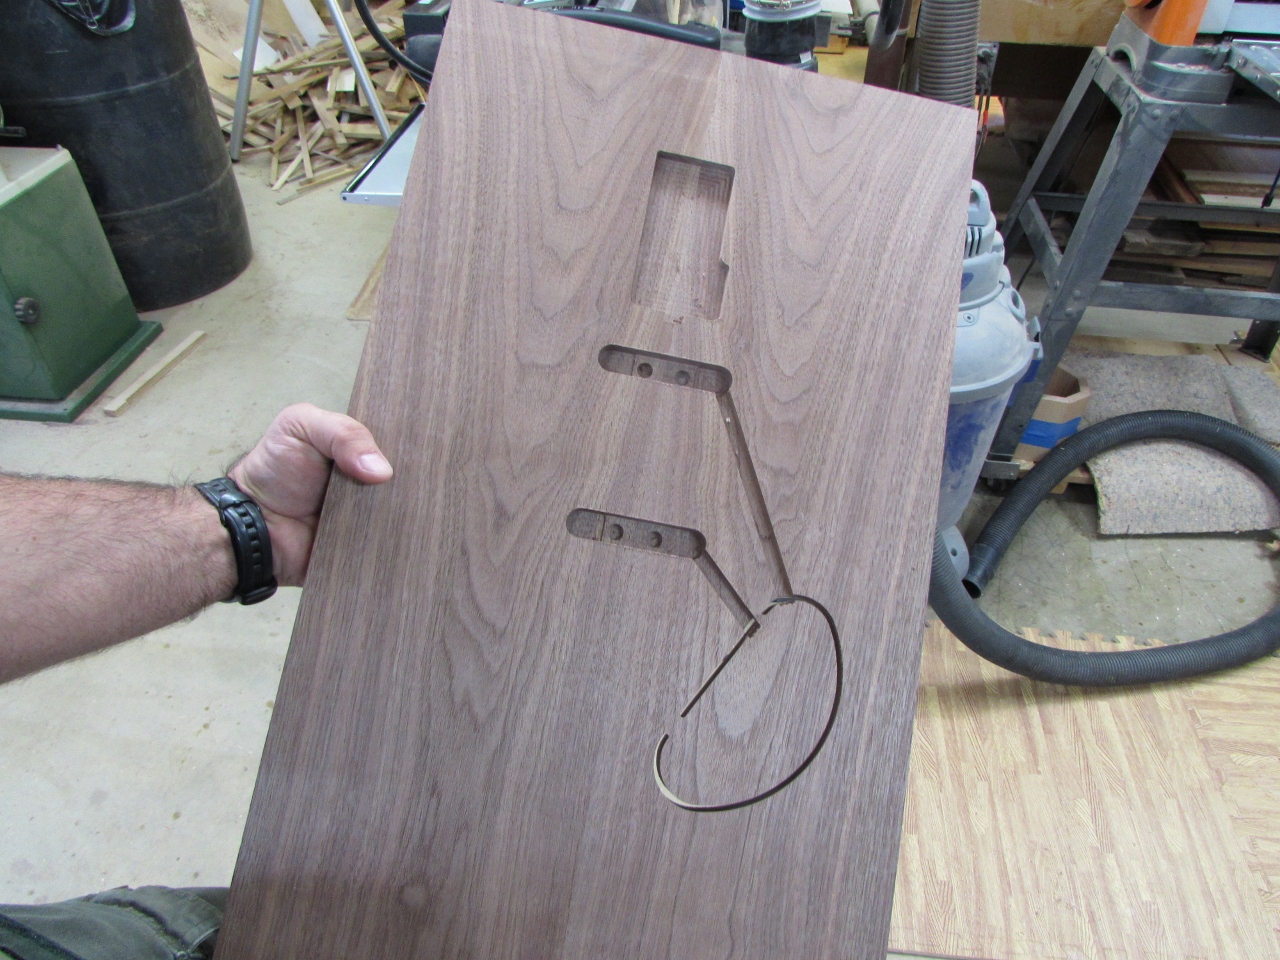
Things were going so well too… I realized that I had accidentally created the back piece in reverse. Could be worse though. I didn’t mess up the top. The burl is really expensive. If I had screwed that piece up, I would have been out $160. Luckily it was the back piece. I am only out four hours of labor.
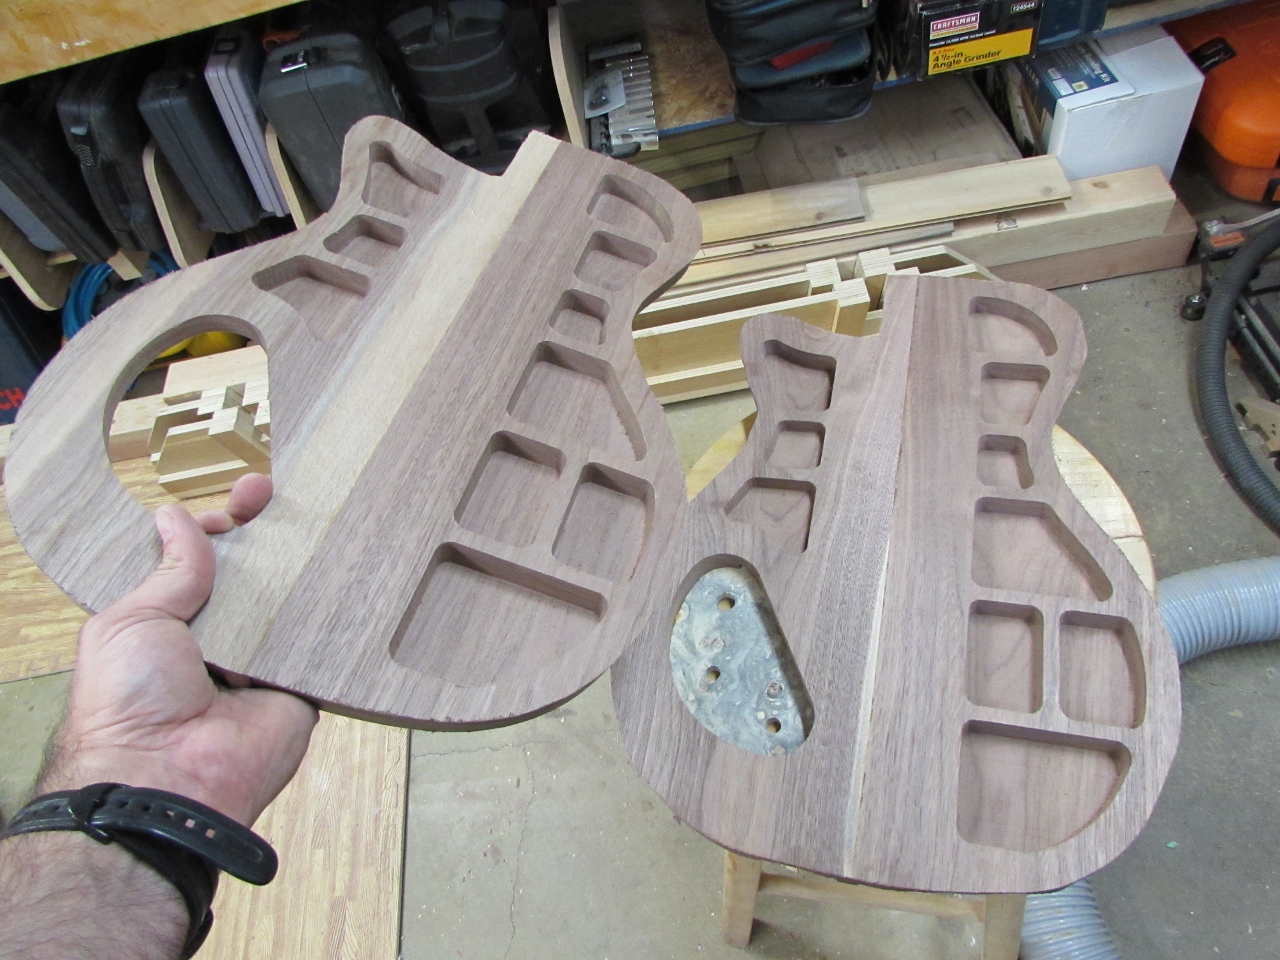
Crap! I made the back backwards
Well, I am a little frustrated now and that is when mistakes happen, so I am going to knock off for the day. Hopefully I will have time tomorrow to rebuild the back piece…
