
Purpleheart & maple bass guitar – day 4
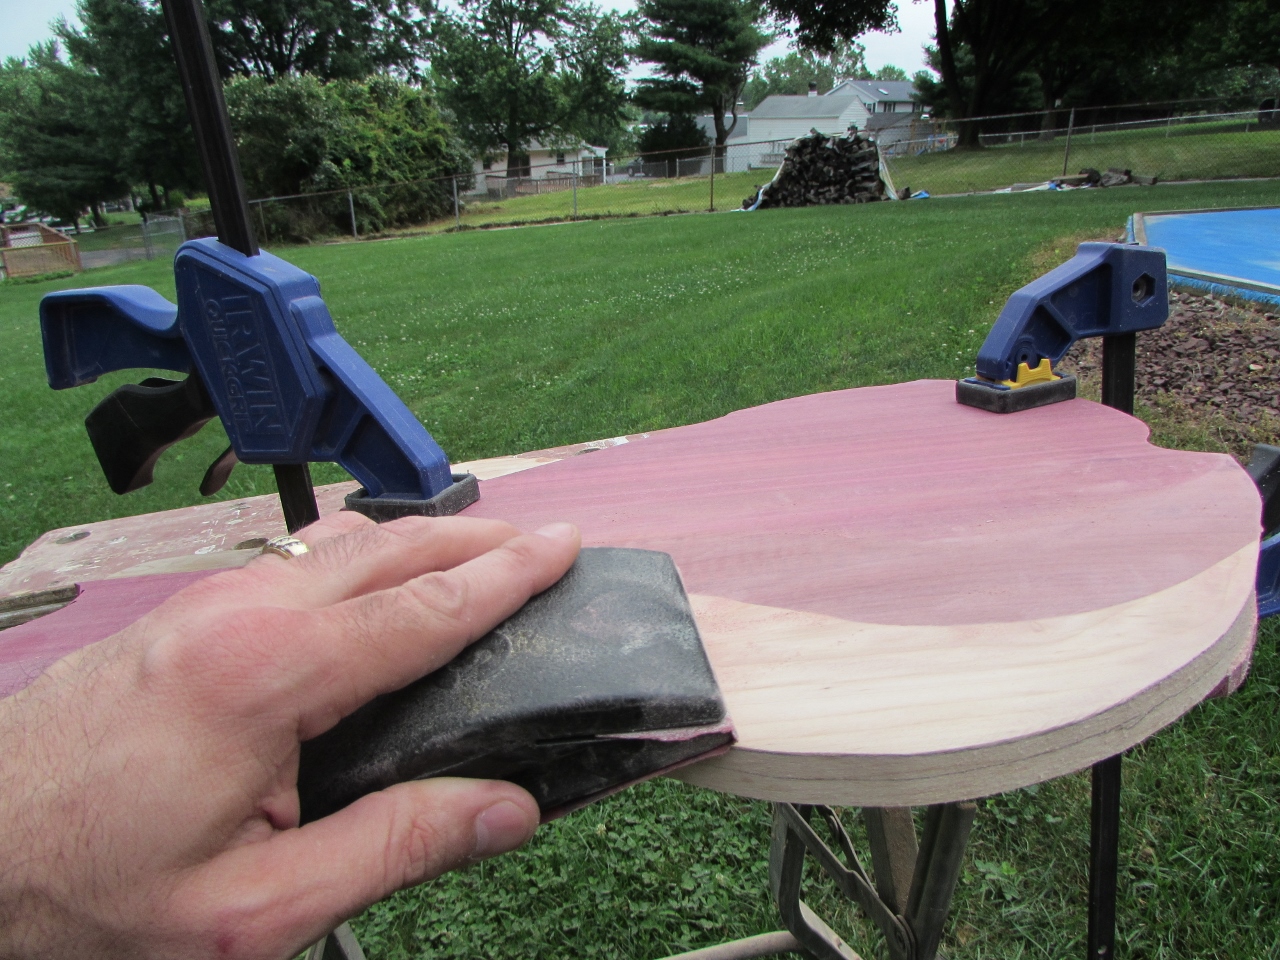
I intend to make a lot of saw dust today, so I moved my small work bench outside and clamped my guitar body to it.

Setting up outside
I put a 40 grit flap sanding wheel on my angle grinder, and went to town, carving out the new shape to the guitar.

Flap sander in the angle grinder
After roughing out the front, I hand sanded a bit and flipped the body over.
Front side, rough sanded
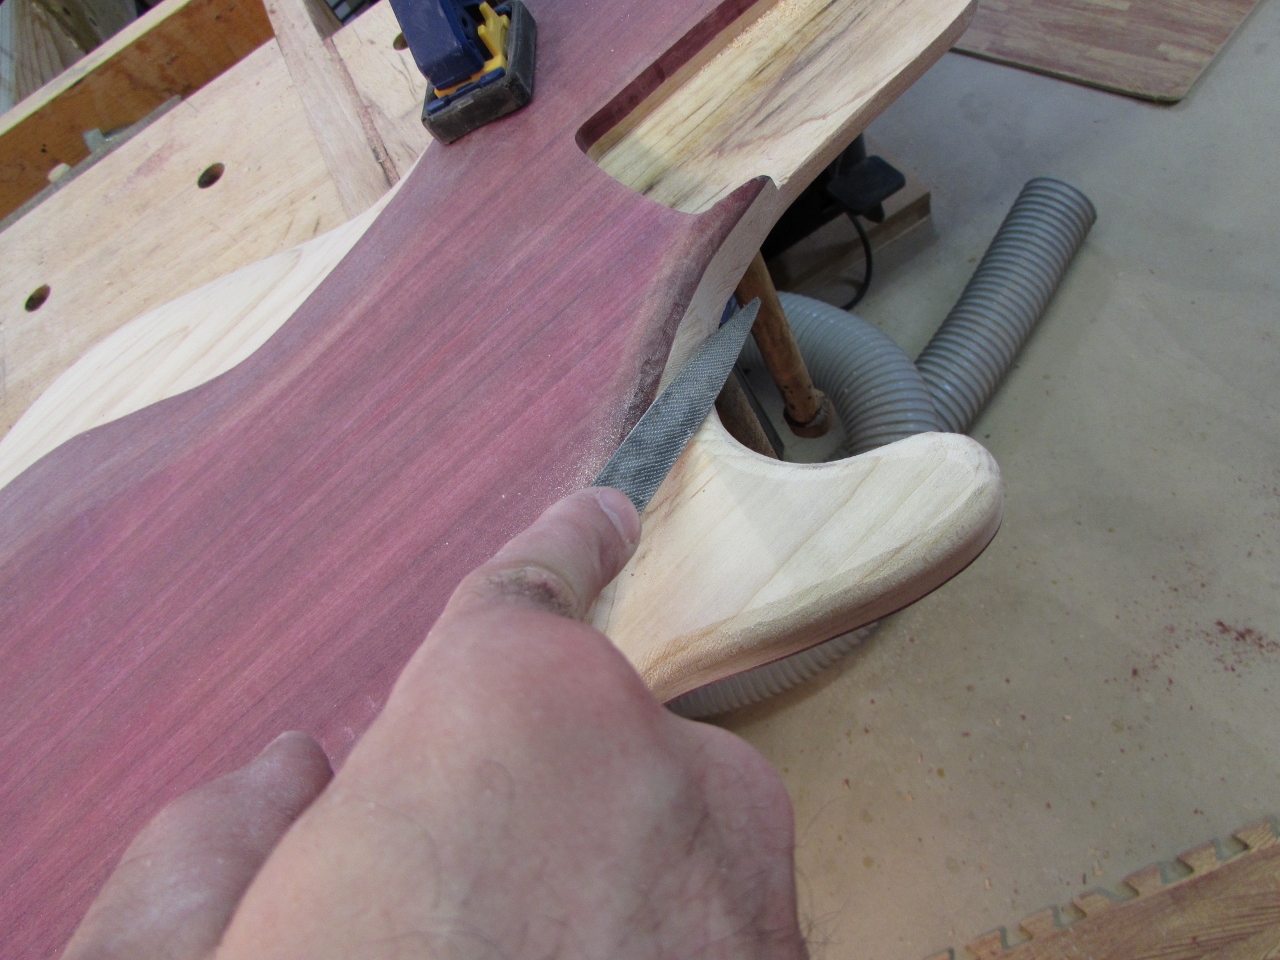
I repeated the process on the back, creating a thin, blade across the back edge.
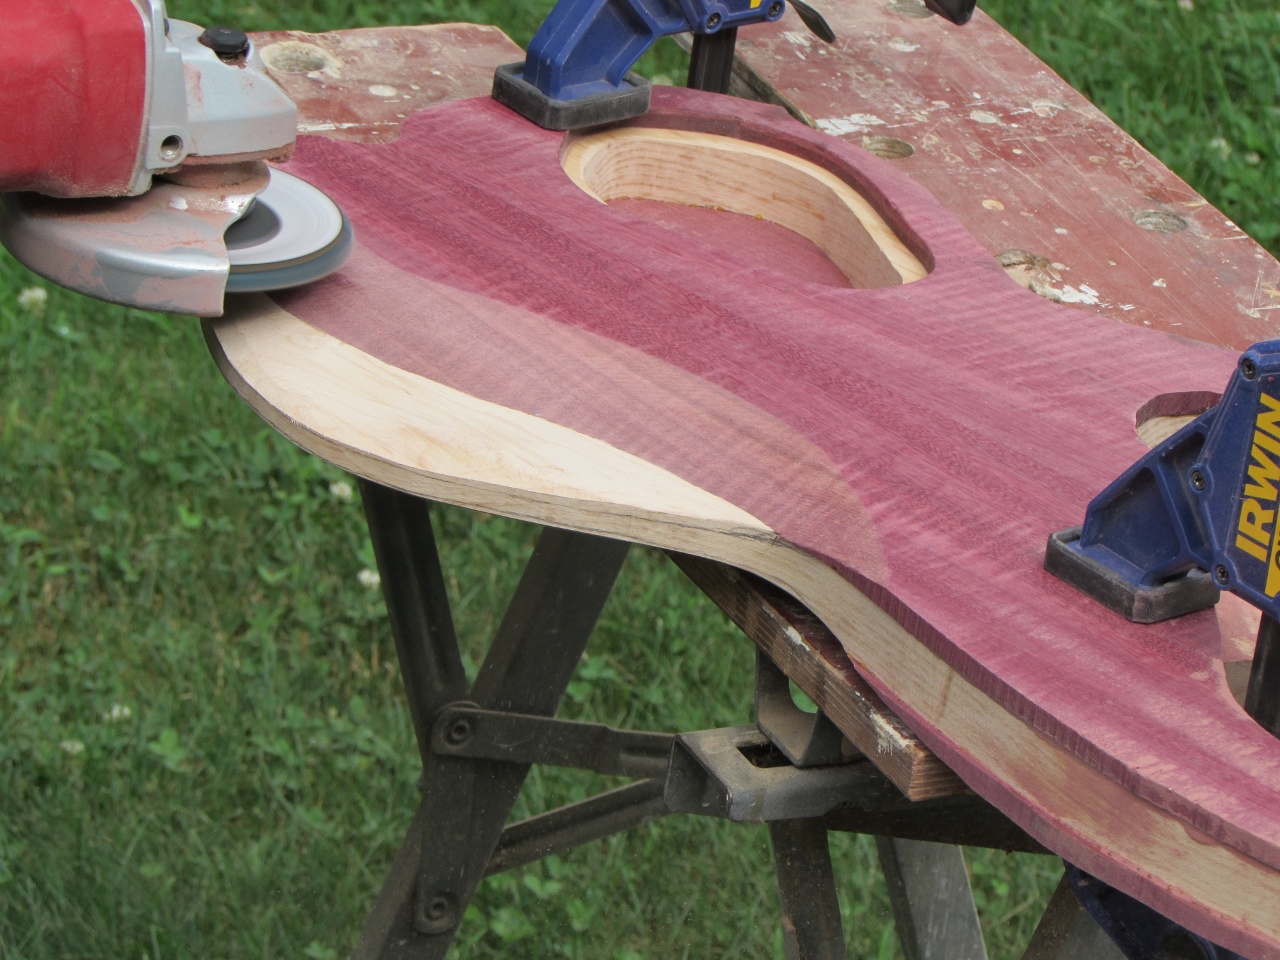
Sculpting the back
I also sculpted a taper along the back of the neck pocket.

Tapering the top as well

Rounding over the remaining edges
With the heavy sculpting out of the way, I packed everything up and brought it back inside. I put the 3/8″ round-over bit back into the router and rounded over the remaining edges.

Mostly shaped
I used my modelers’ rasp to do a bit more blending, in those hard to reach areas.
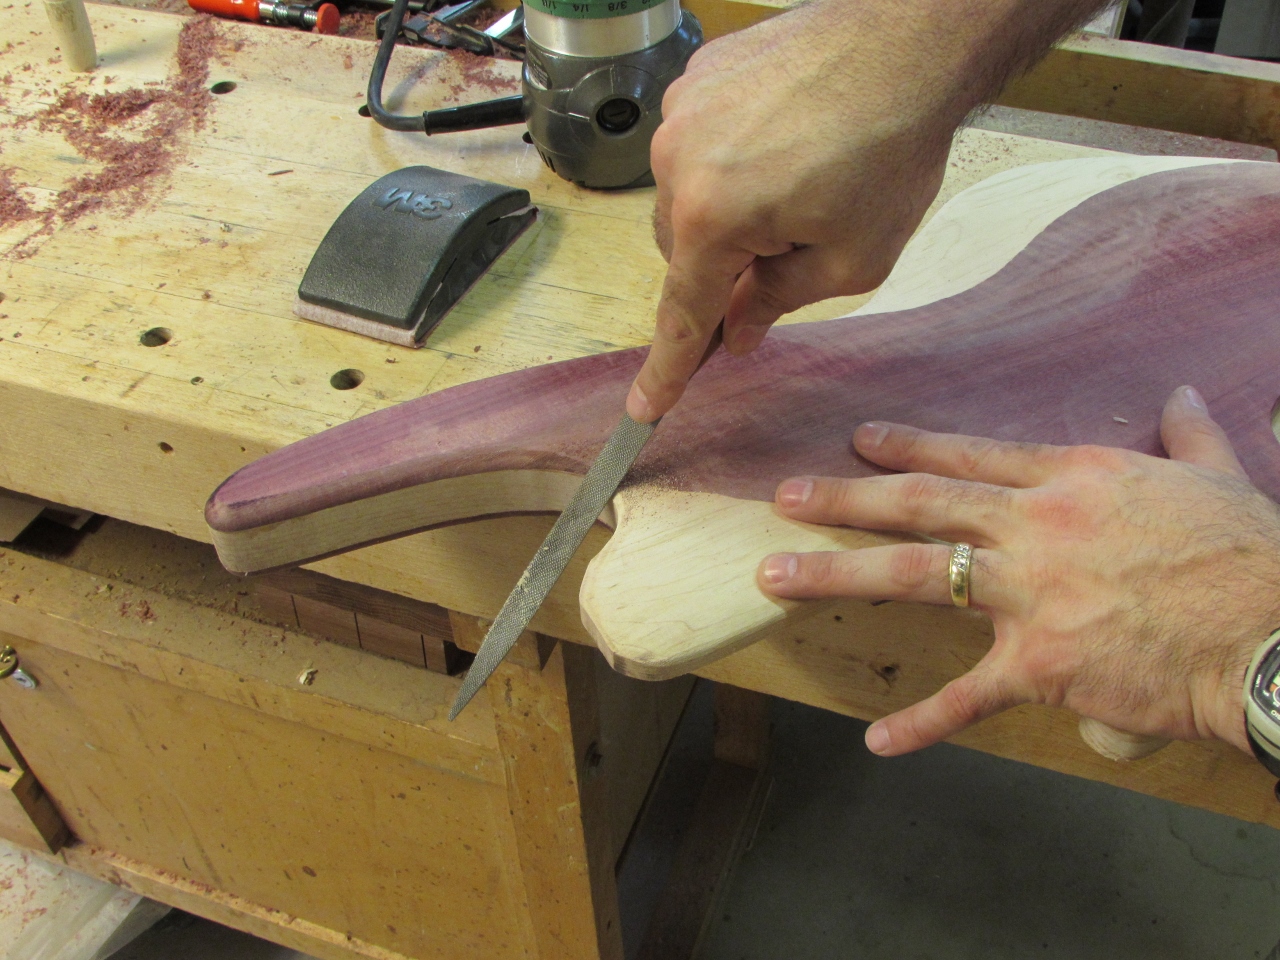
Cleaning up with a modeler’s rasp
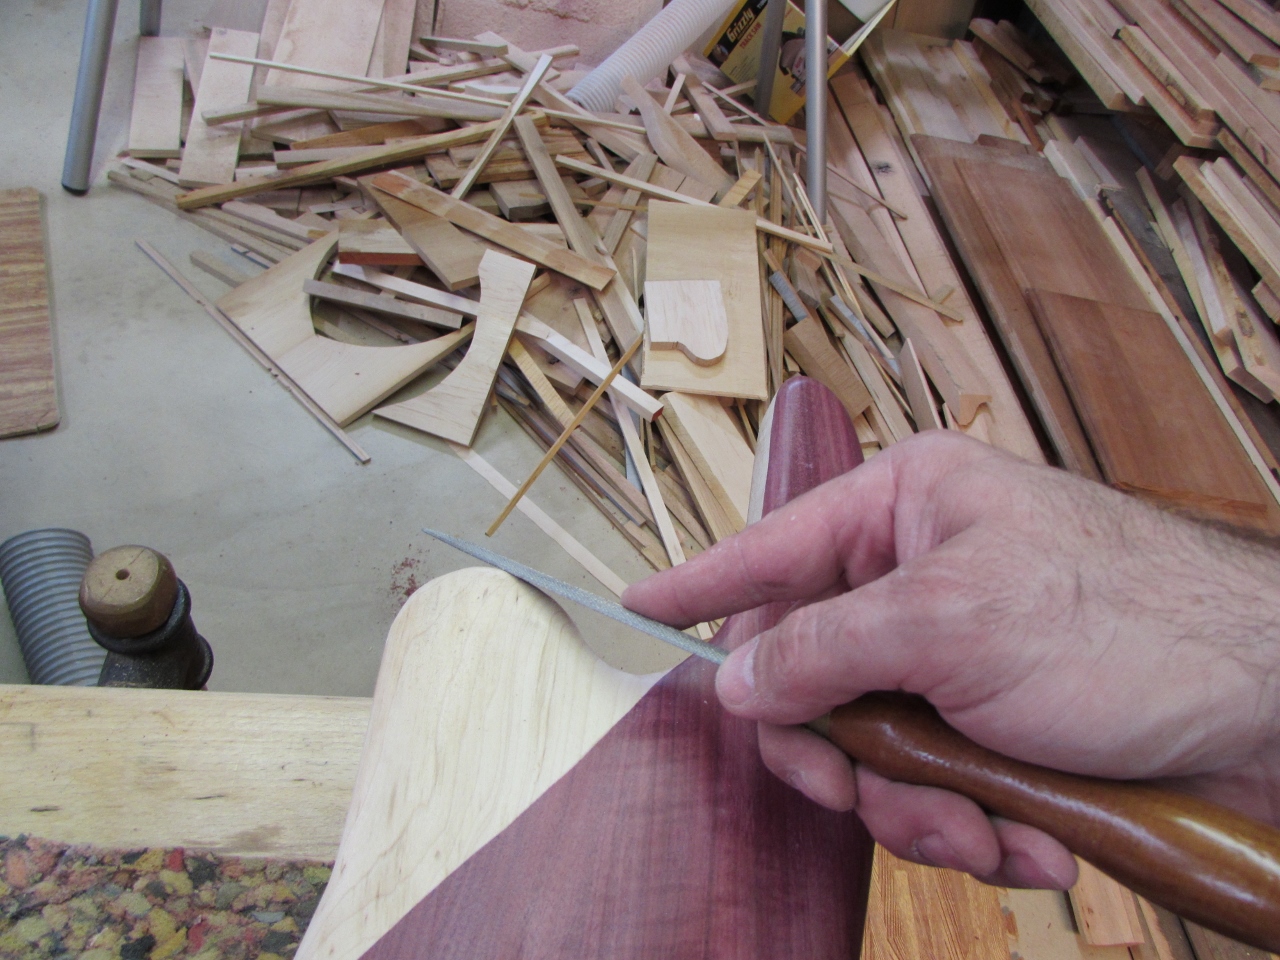
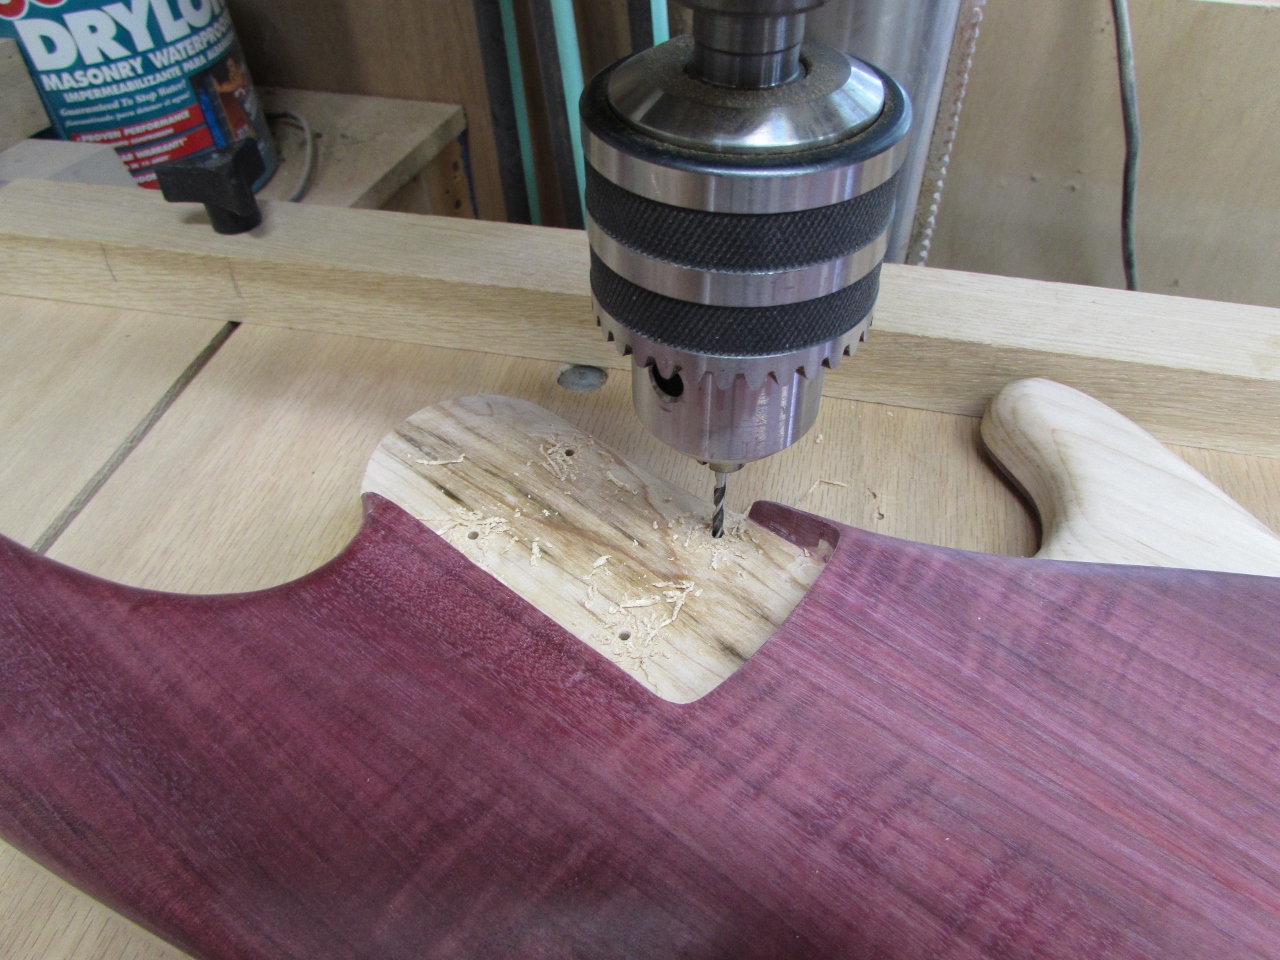
I used a card scraper for a straight edge and marked the center of the nub where the input jack will go.

Finding the center

Drilling a 3/4″ hole for the jack
I used a 3/4″ pilot point bit to drill out the hole.

Nice and centered with no tear-out

Cleaning up the edges
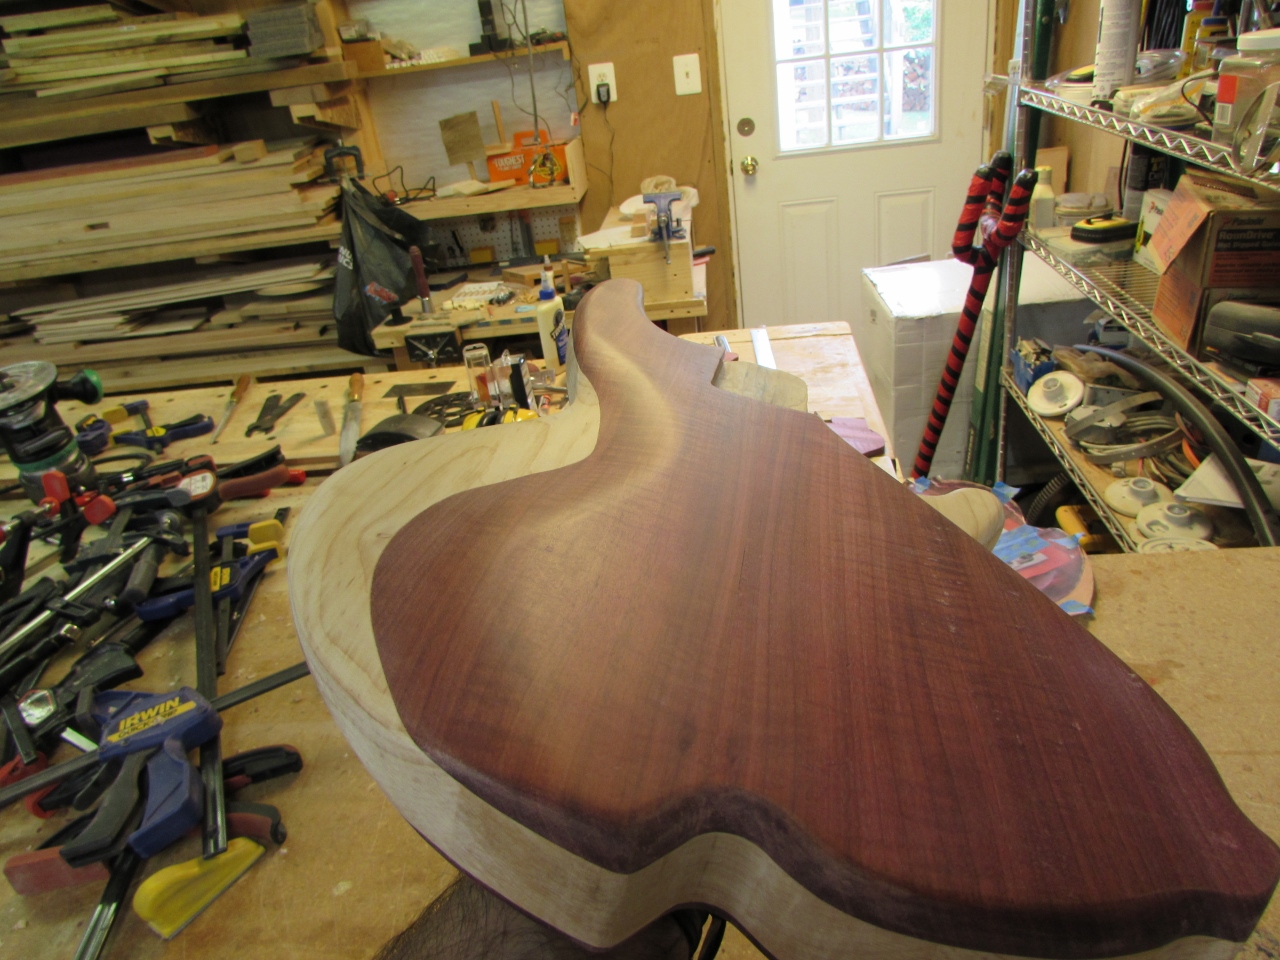
I cleaned up any residual epoxy squeeze-out on the spindle sander, then sanded everything thoroughly with my orbital sander, from 80 grit down to 220 grit.
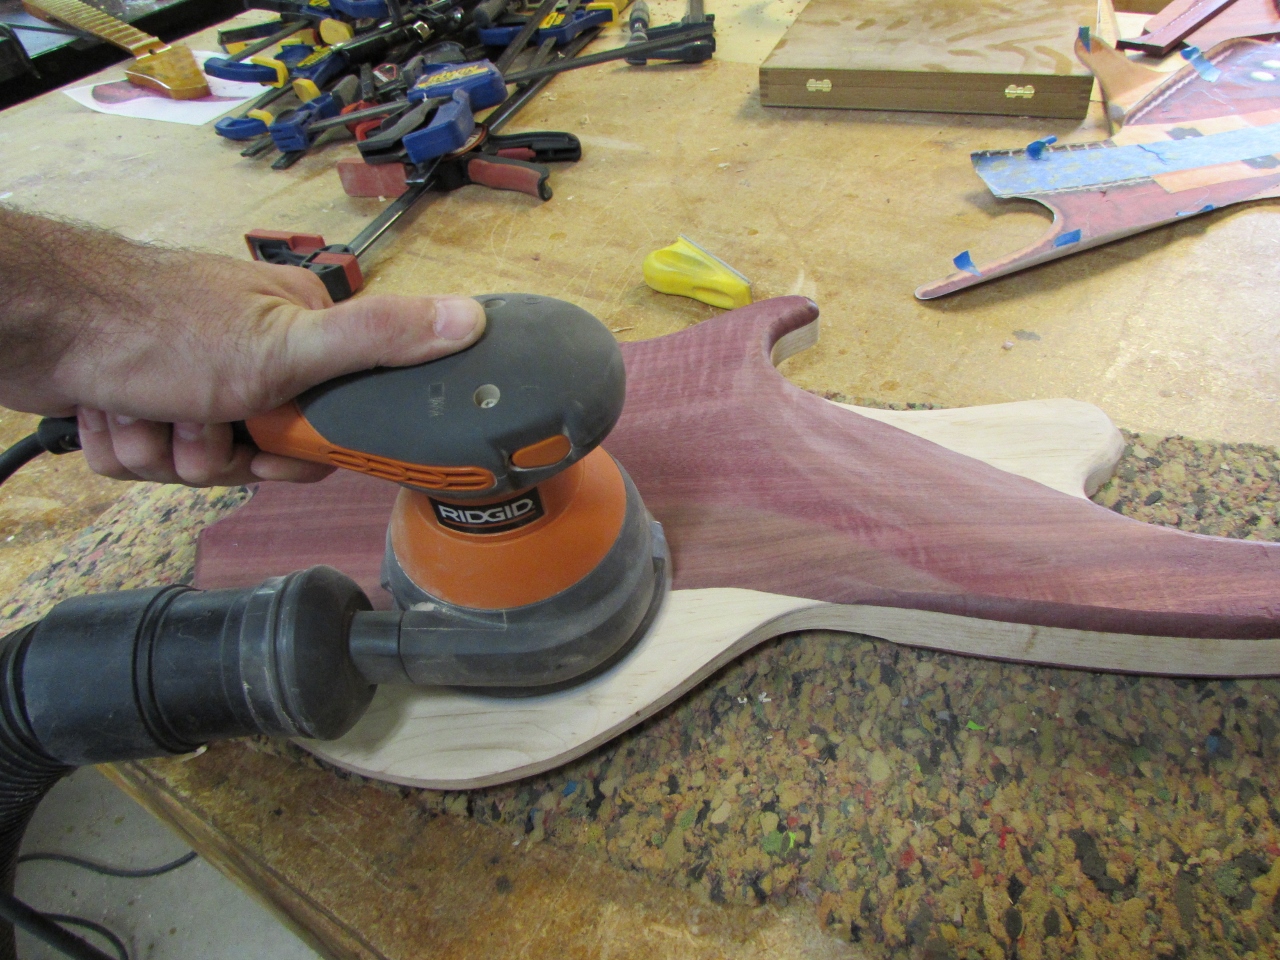
Orbital sander for the final smoothing

Back side sanded smooth
It is really looking good now. I had to add the round-over to the small horn, by hand, because I couldn’t safely use the router with the 1/2″ step down to the horn.
Blending in and rounding over the small horn
It turned out pretty good, so I will do a bit of hand sanding to finish shaping it.

Not too bad

Final sanding on the front
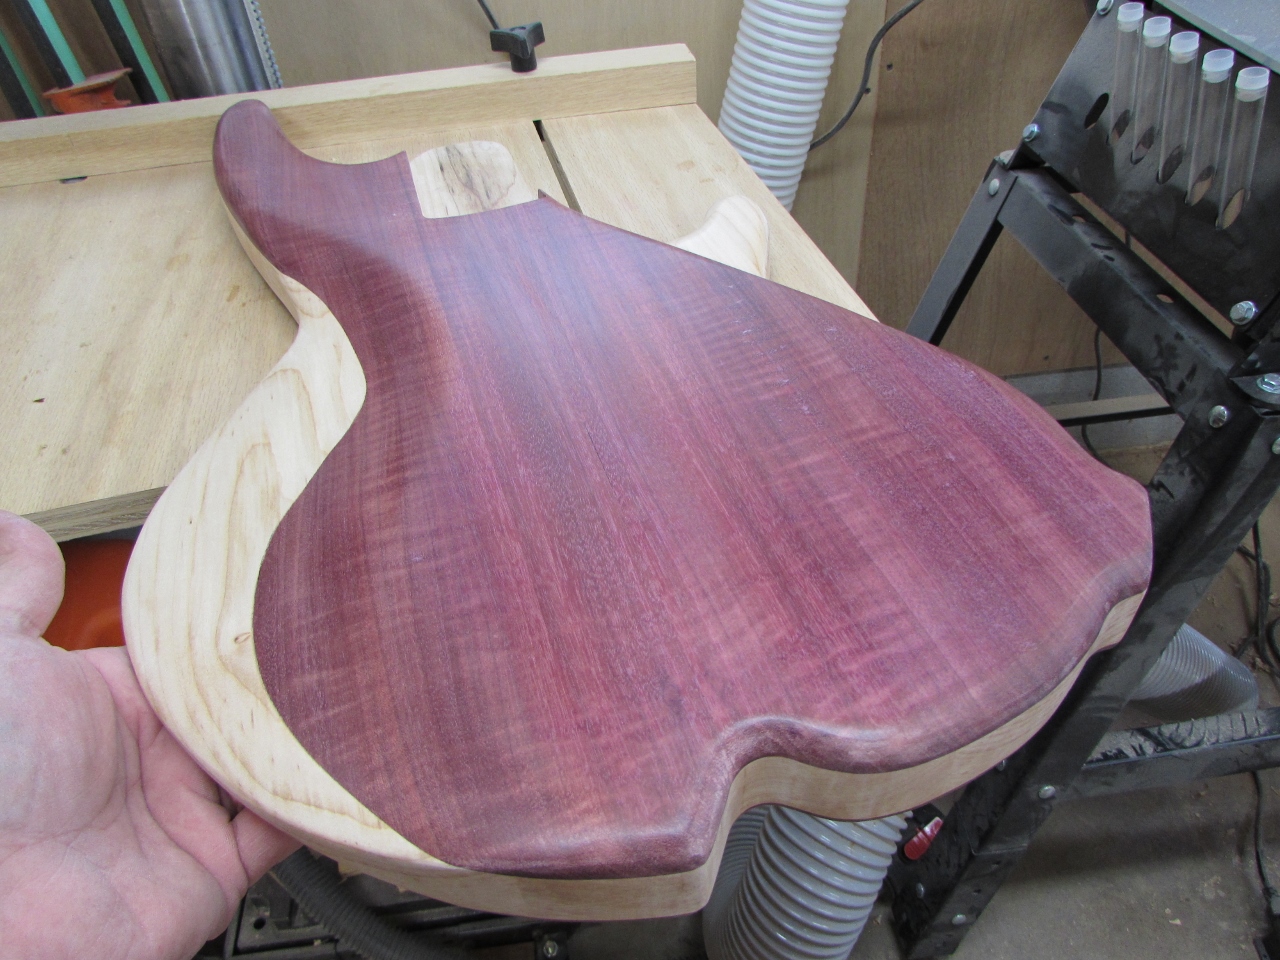
After a lot more sanding, it was starting to shine.
Looking good

Using the mop sander to buff it up a bit
I used the mop sander to polish it up a bit.
Sweet!
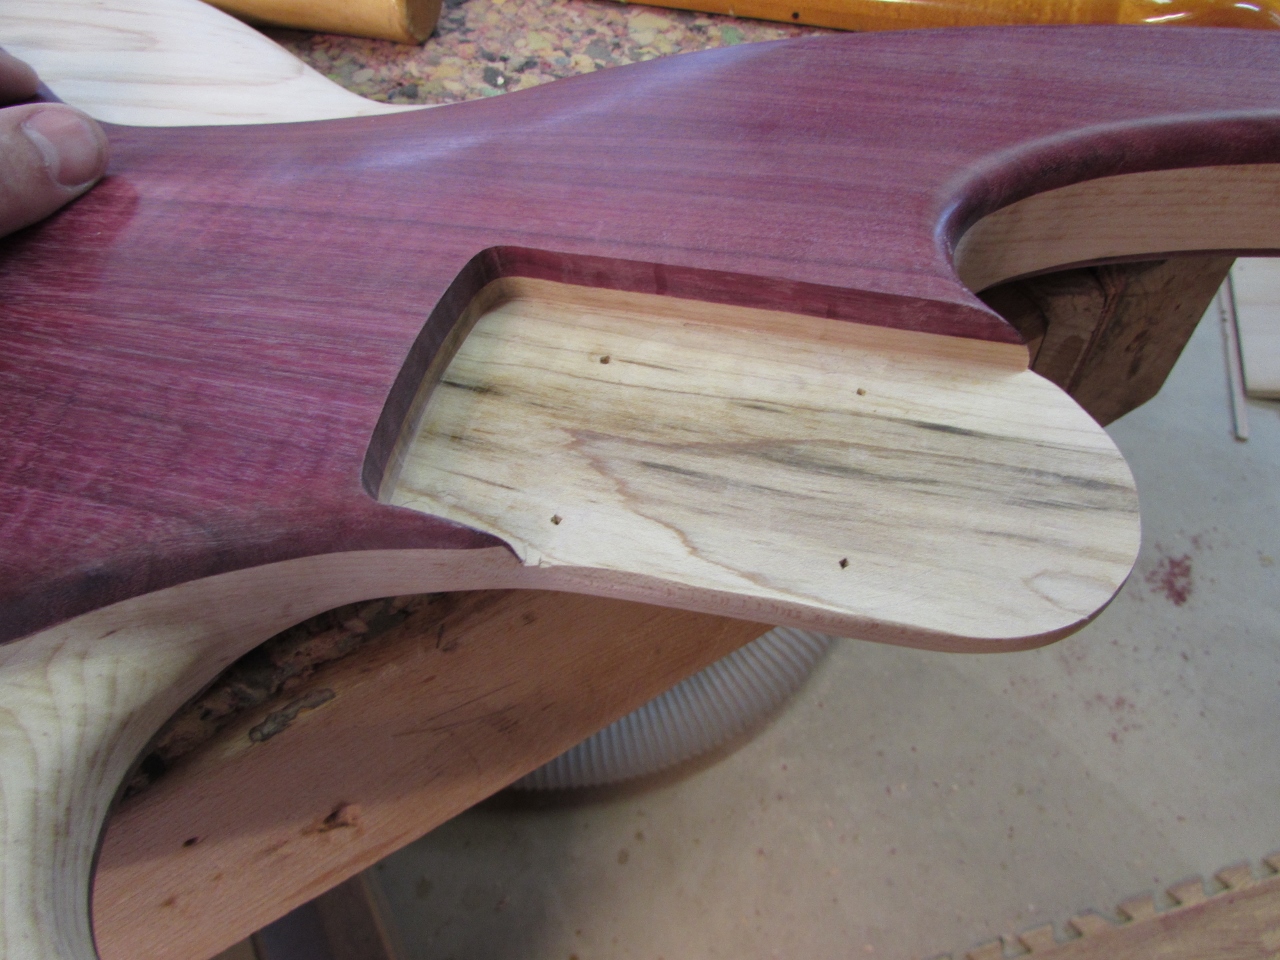
Marking what still needs trimming
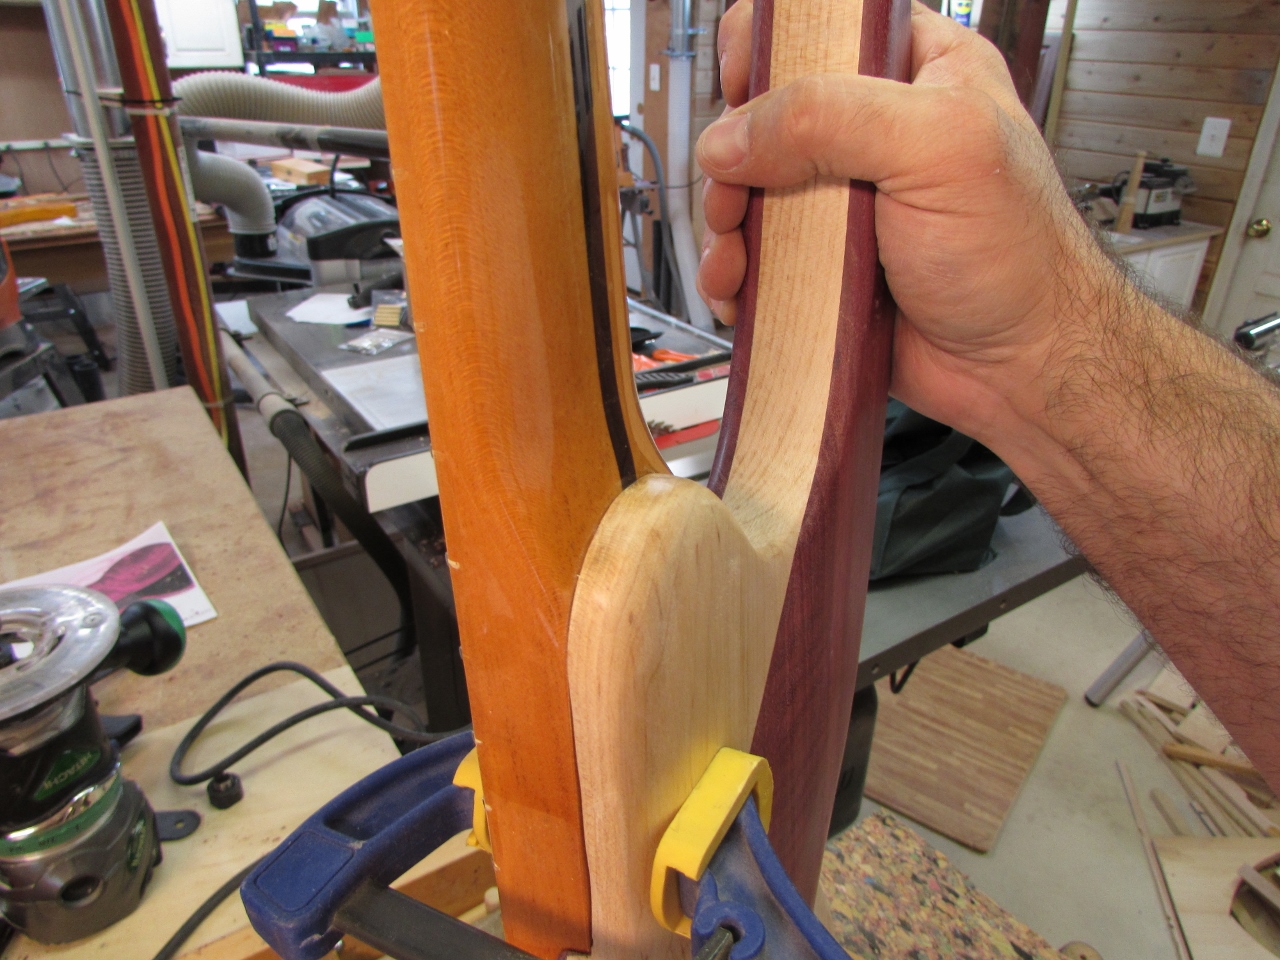
The neck support was just roughed in, so I marked exactly where it met the neck and trimmed it up a bit.
Fine tuning the neck pocket
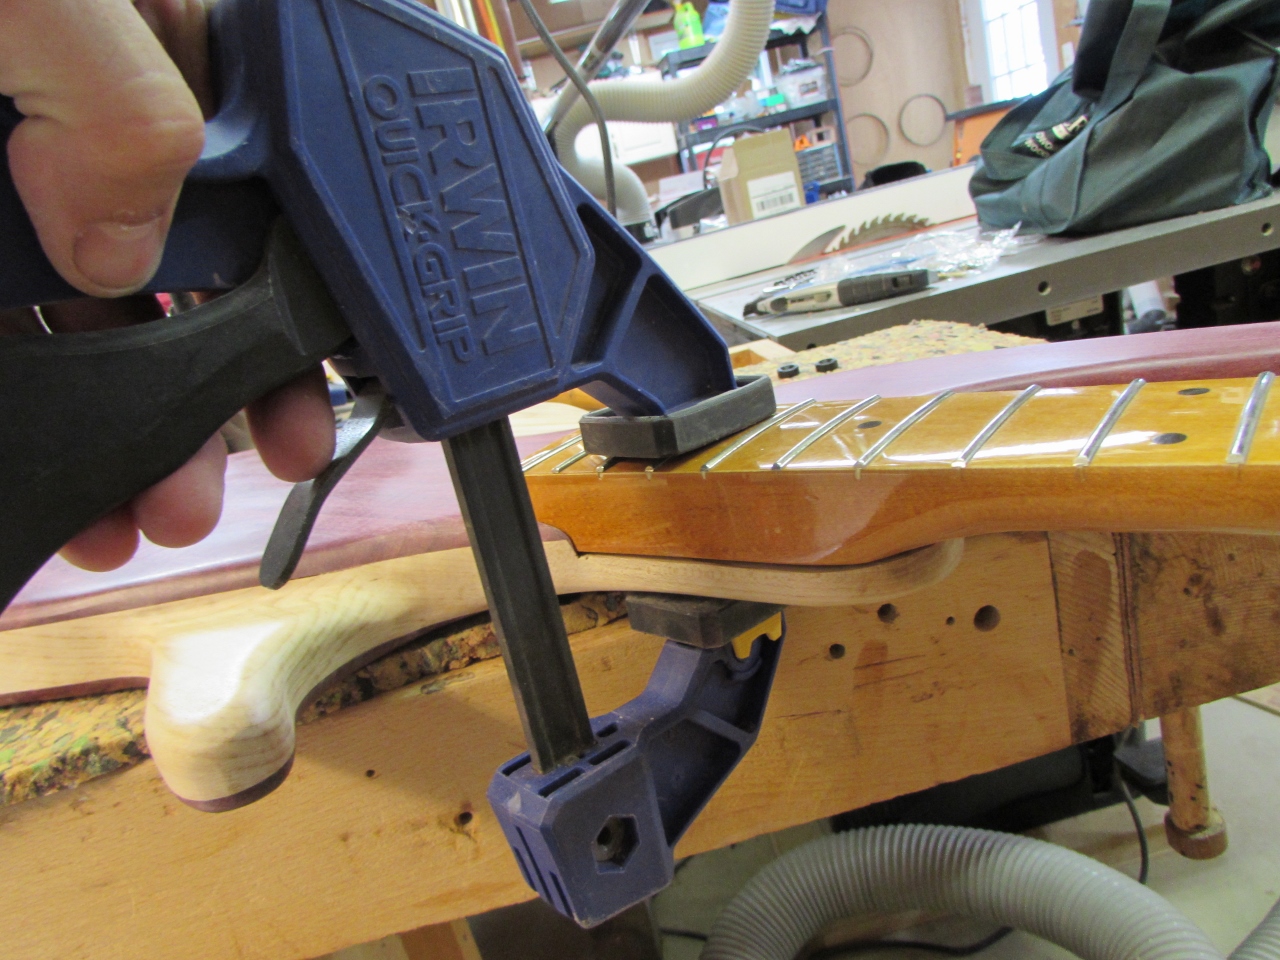
After a lot more sanding, it fit well.
Fits pretty good
The neck was given to me, so it was used. that means that it already had screw holes. I needed to transfer their location to the neck pocket, so I found some nails that fit the holes snugly and marked them about 1/16″ above the surface.

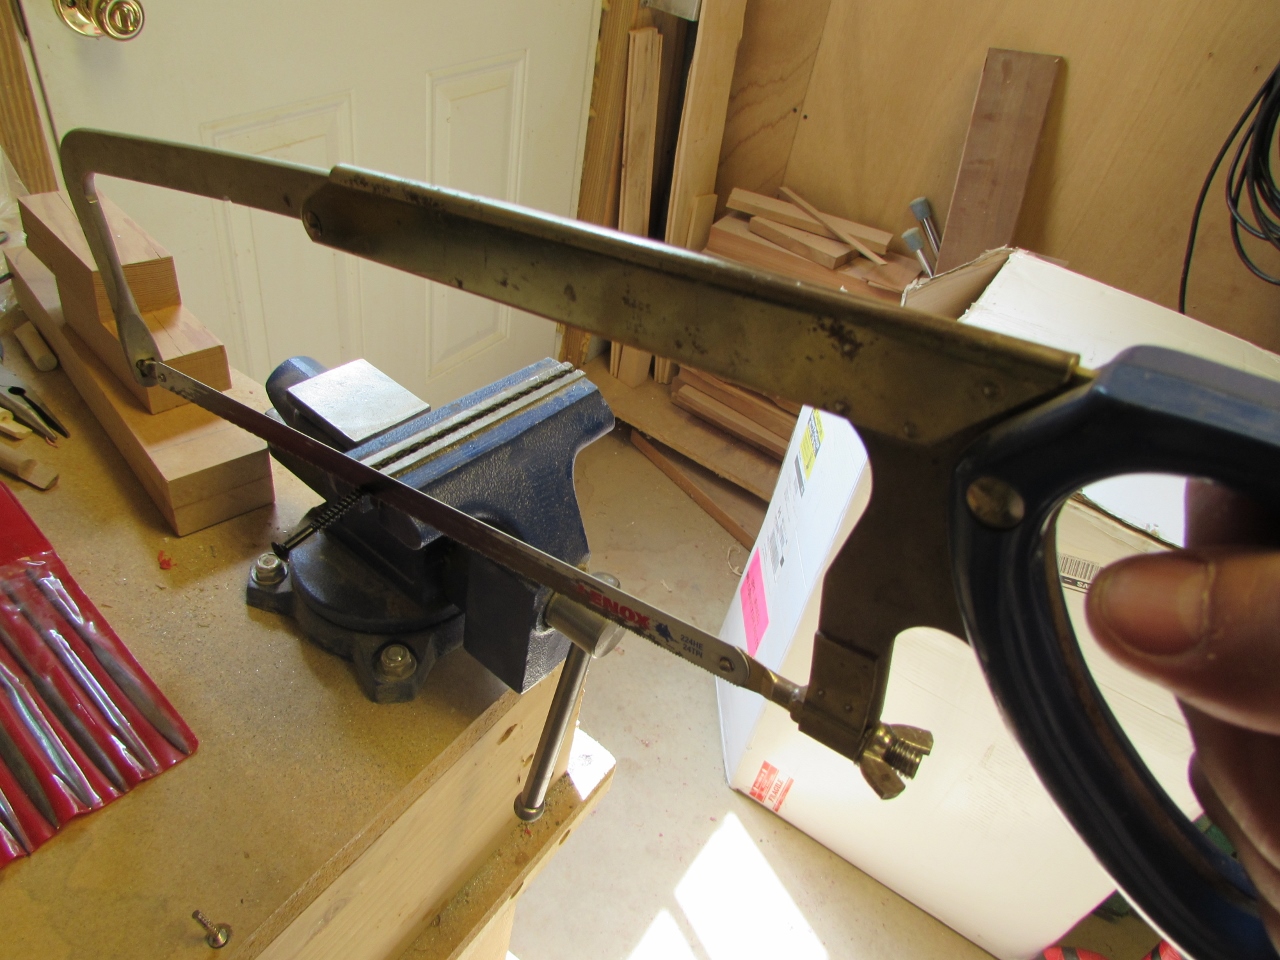
Marking a cut line on the nails

Cutting the nails down
I cut the nails down, then flipped them, and seated them in the holes with a couple of gentle taps with a hammer.

Nails seated in holes
Apply a little pressure
A little clamping pressure was all that it took to transfer the locations to the pocket.
Hole positions marked
I drilled some small pilot holes through, then flipped the body over.
Drilling pilot holes
I can’t use a neck plate, since I sculpted the neck area. I decided to use screw cups instead. Unfortunately they are 9/16″ in diameter. I only have 1/2″ and 5/8″ bits, I needed the size right between them.

Screw cups don’t match any of my drill bits
I found an old speed bore bit and modified it with a file. I made the pilot point narrower, as well as the width of the blade.

Customizing an old speed bit
My test drills were perfect the first try. I was amazed.

Perfect fit
I drilled out some pockets on the back of the neck and seated the cups.

Drilled pockets for screw cups
before I attach the neck, I always check the screw length. I have been burned, by assuming they would fit, before. Of course the screws are too long. It didn’t help that I made the back so thin.
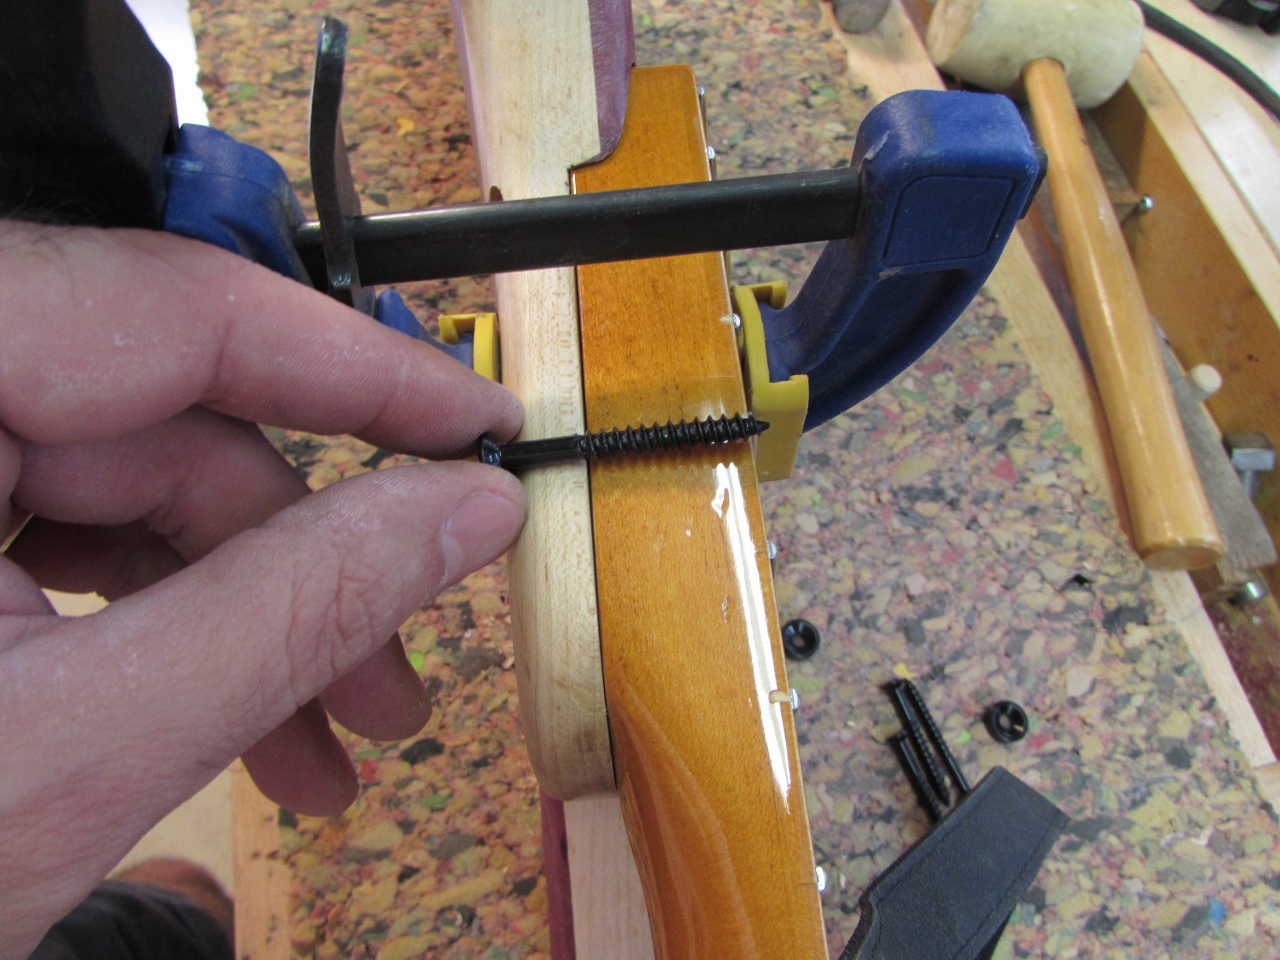
Screws are too long
I cut at least 1/8″ off of all four screws. Some may have fit, but I didn’t want to have different size screws. Put the wrong one in the shallow side, and you would have a screw poking through the fret board.
Cutting off the pointy bit
After cleaning up the threads with a needle file, I hand tightened the screws. Since the neck was used, the holes had been threaded before. This made it easy to install the blunted screws.

Seating the screws by hand
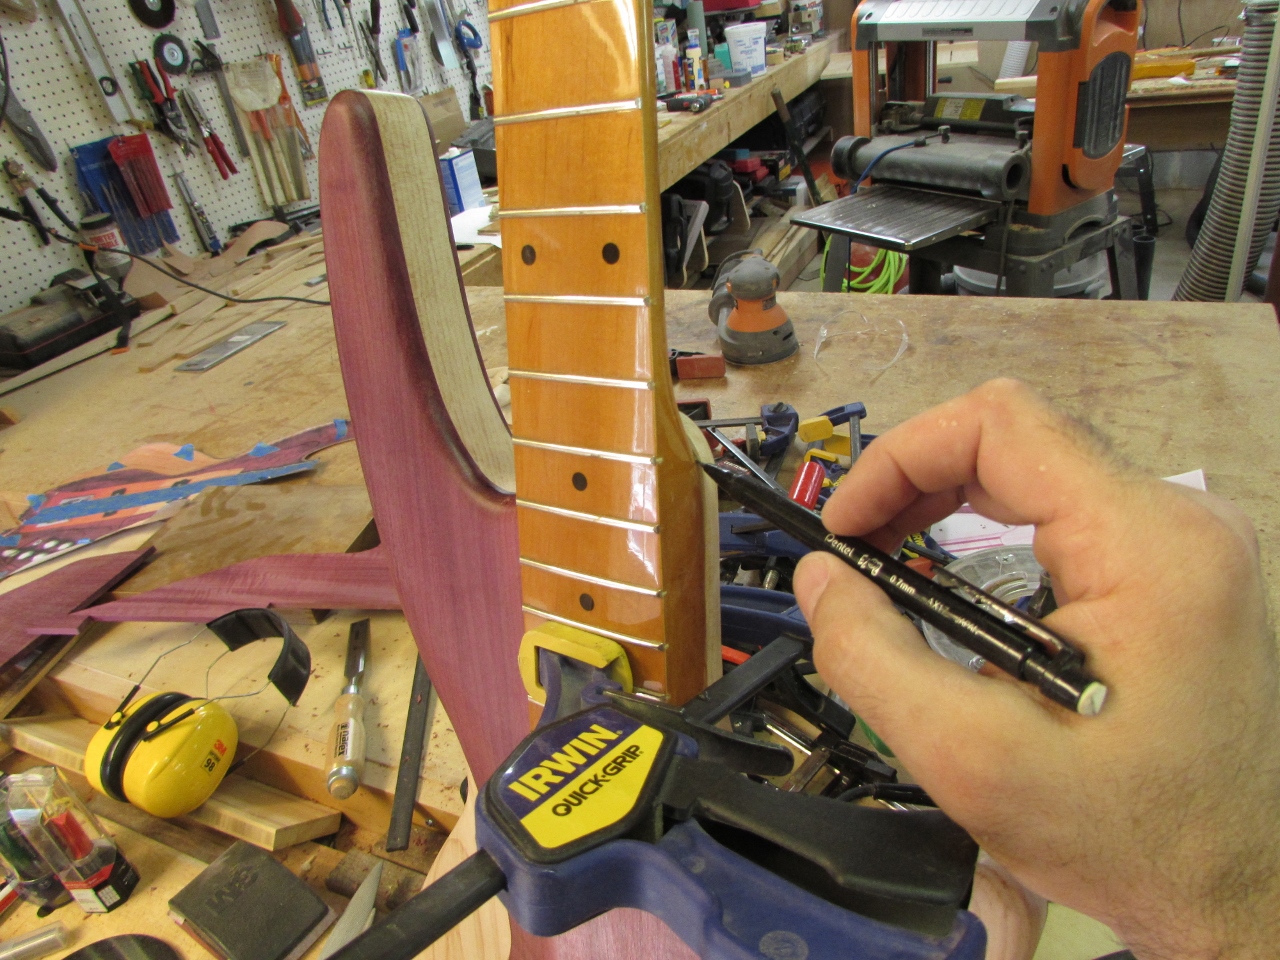
With the neck installed, I laid a straight edge along each side and marked a line along those edges. I put a piece of tape on the lines to make them stand out. I located the tail piece and used the straight edge to find the string locations by connecting the grove in the nut with the groove in the tail piece. this, in turn, showed me where to locate the pick-ups.

Laying out the pickups
After tracing out the covers, I routed the pockets out by eye.
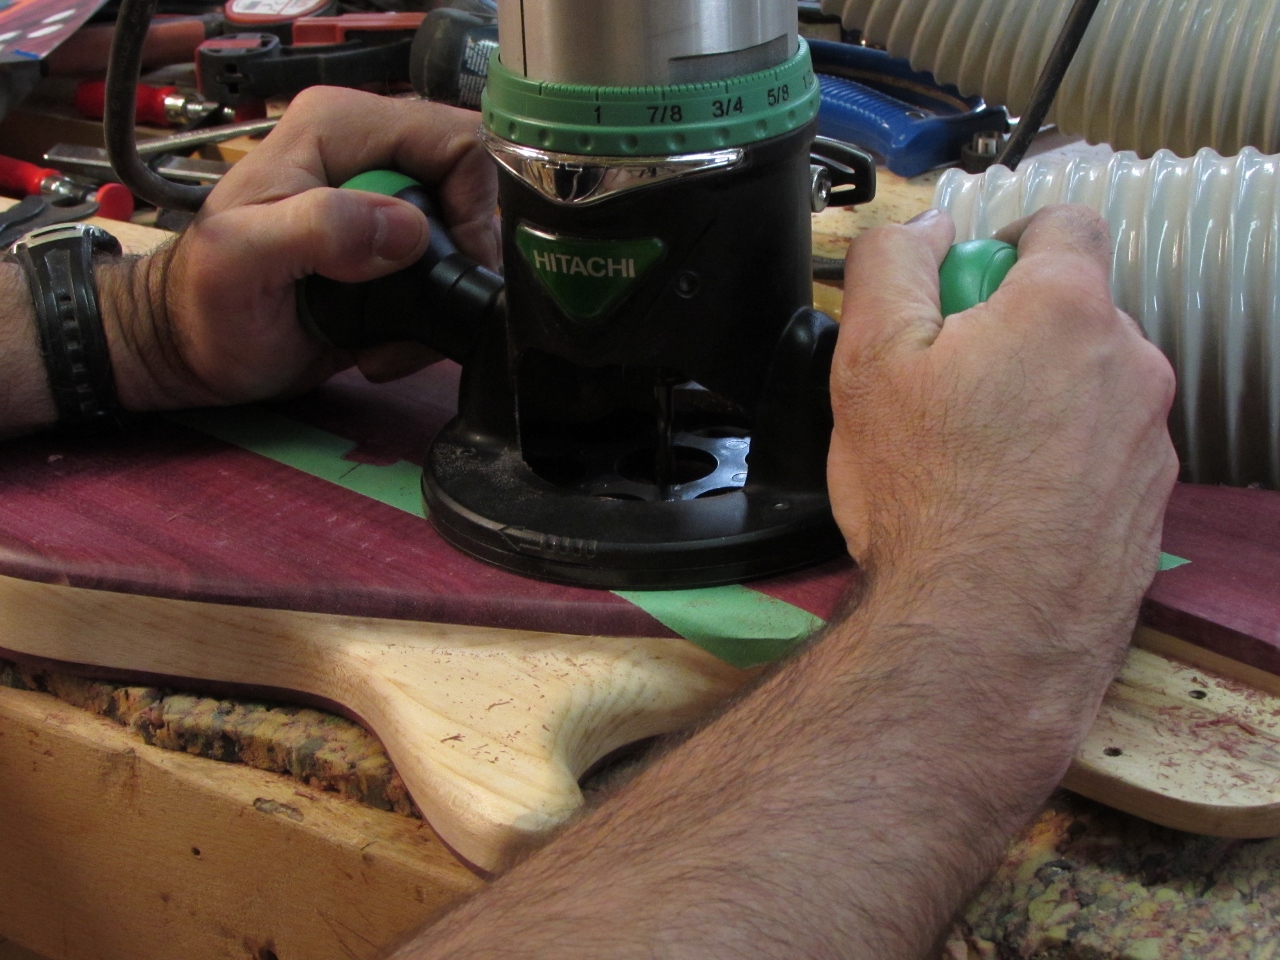
Routing the pickup pockets

Cleaning up the corners with a chisel
This was not the best plan. Purpleheart is hard and that makes the router unpredictable. I accidentally slipped and cut too far on the upper pick-up. I square off the area and inserted a plug. It matches pretty good, but I am still unhappy about the mistake. Once the pockets were routed, I squared up the corners with a chisel.

Pockets cut
Basically the body is done, at this point. Time to start thinking about the finish.

Testing the dye mix
I mixed up some more vintage amber dye and wiped it on some test pieces. I went ahead and dyed the purpleheart as well because it would have been impossible to avoid.
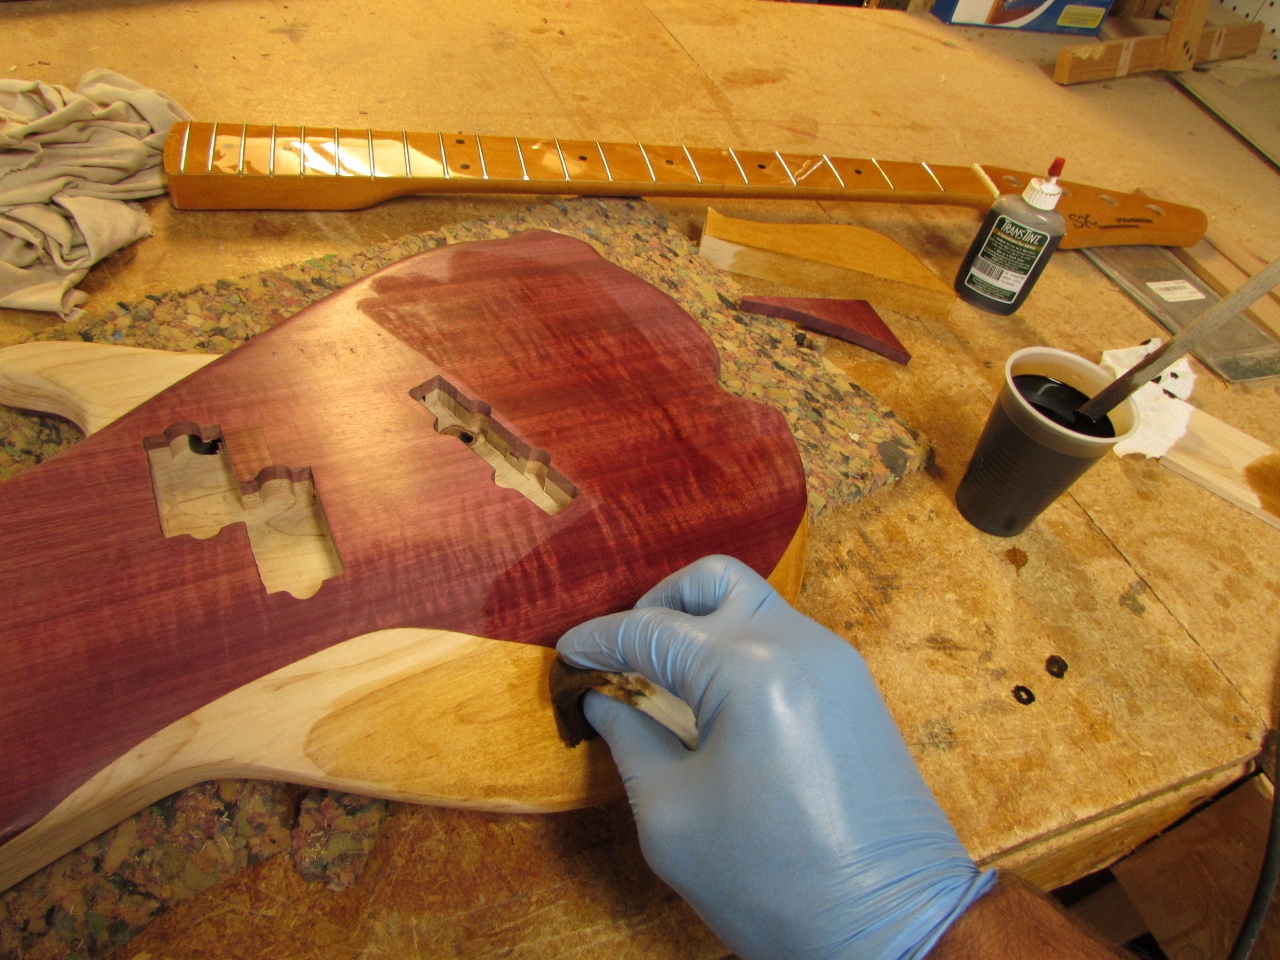
Dying the body to match the neck

Finishing up the back
I like the un-dyed, natural maple color better, but I wanted to match the neck.

Hanging out to dry
I will let this dry tonight and see if I can get a coat or two of the Tung oil applied tomorrow.

Lawrence, that’s looking great! Did you make your flap/mop sander? what grit do you use.
Thanks, Michael
Thanks Mike,
I bought the flap disc at harbor freight. I started with 40 grit, then dropped down to the 120 grit disc. http://www.harborfreight.com/4-12-in-80-grit-flap-zirc-disc-60749.html I have also seen them at Lowes.
The sanding mop I got from Carvewright.
http://store.carvewright.com/home.php?cat=299
I have only found the mops online and at the woodworking shows.
I’m going to try making a sanding mop…
http://us.yhs4.search.yahoo.com/yhs/search?type=avastbcl&hspart=avast&hsimp=yhs-001&p=how+to+make+a+mop+sander
That one video is pretty clever. Make sure you use a good quality paper. Also, I have learned the sander lasts longer if you run it at higher rpm’s. I crank my drill press up to full speed.
I’ve got some bulk cloth backed paper that I plan to use. Thanks for the tip on the higher speed!
Well, I spent several hours working on my mop sander. Cutting the “fingers” sure burns up the scroll saw blades! It’s not ready yet as I still need to cut more sheets and assemble. At this point, the $40 sure is looking like a good deal for the next time! LOL
I wonder if a hack saw would work better. Clamp the assembly in a vise and try cutting the slots by hand?
I have a porta-band with a metal cutting blade. I thought about trying to use that since the blade doesn’t recip. Just make sure the grit side is facing down. I made a fixed mount for my porta-band, so holding the piece is easier some times.
I was feeling “under the gun” to get the mop sander working so I loaded the mandrel with the sheets I had cut. Turns out that I was just barely able to load up what I had cut! Mandrel was a bit shorter than I thought. I was able to sand some carved spoons and I’m very pleased with the results! I made mine with 240 grit cloth from Klingspor. I’ll definitely use this often!
Let me know how it works.
Looks great, Lawrence. That’ll be one hell of a guitar when you’re done.
Thanks Dyami. Maybe one day I will get around to learning how to play…
Pingback: Baritone rebuild – day 5 | Midnight Woodworking