
Another 72 thinline telecaster – day 3
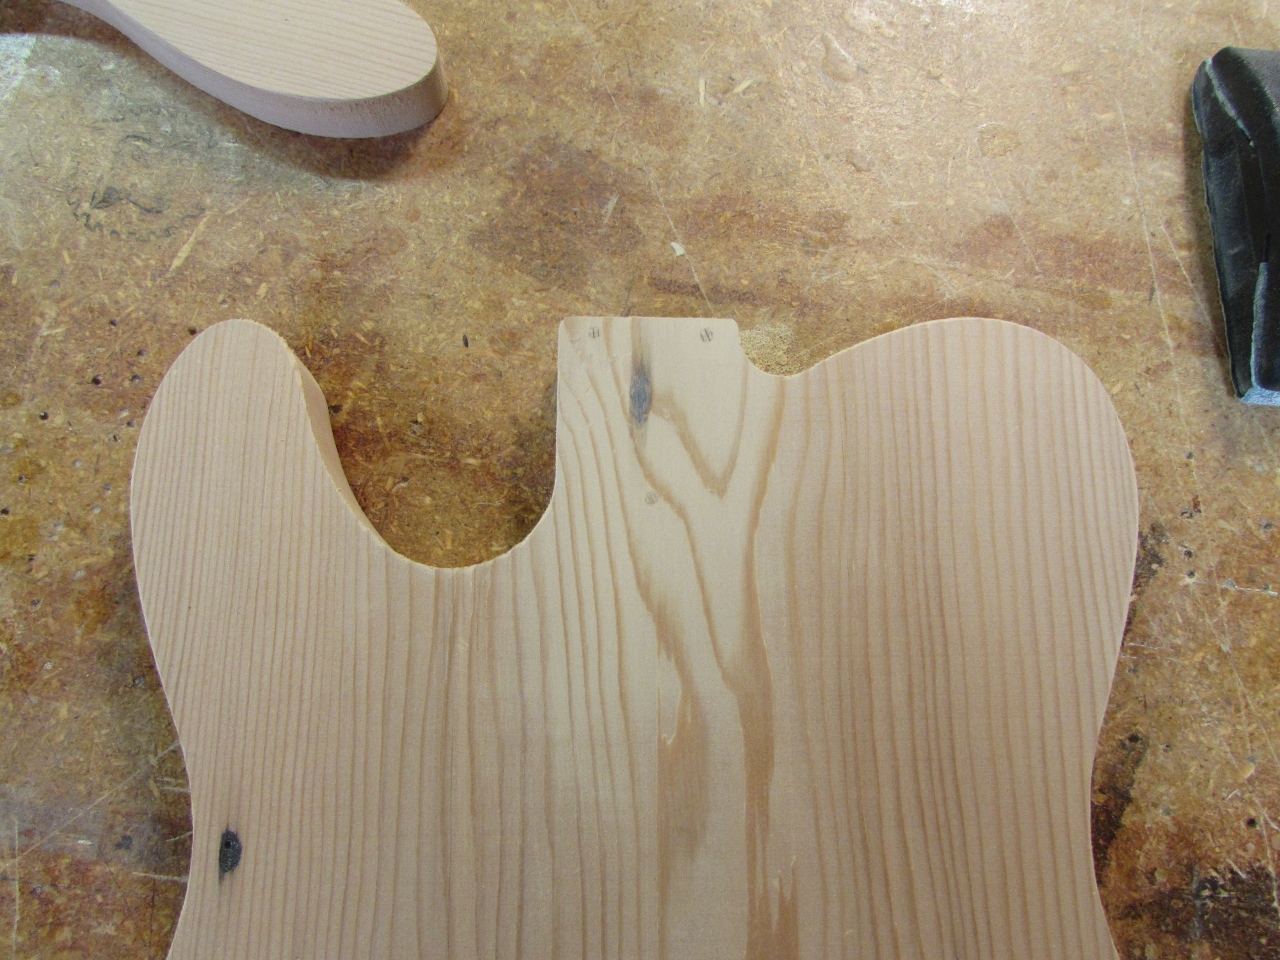
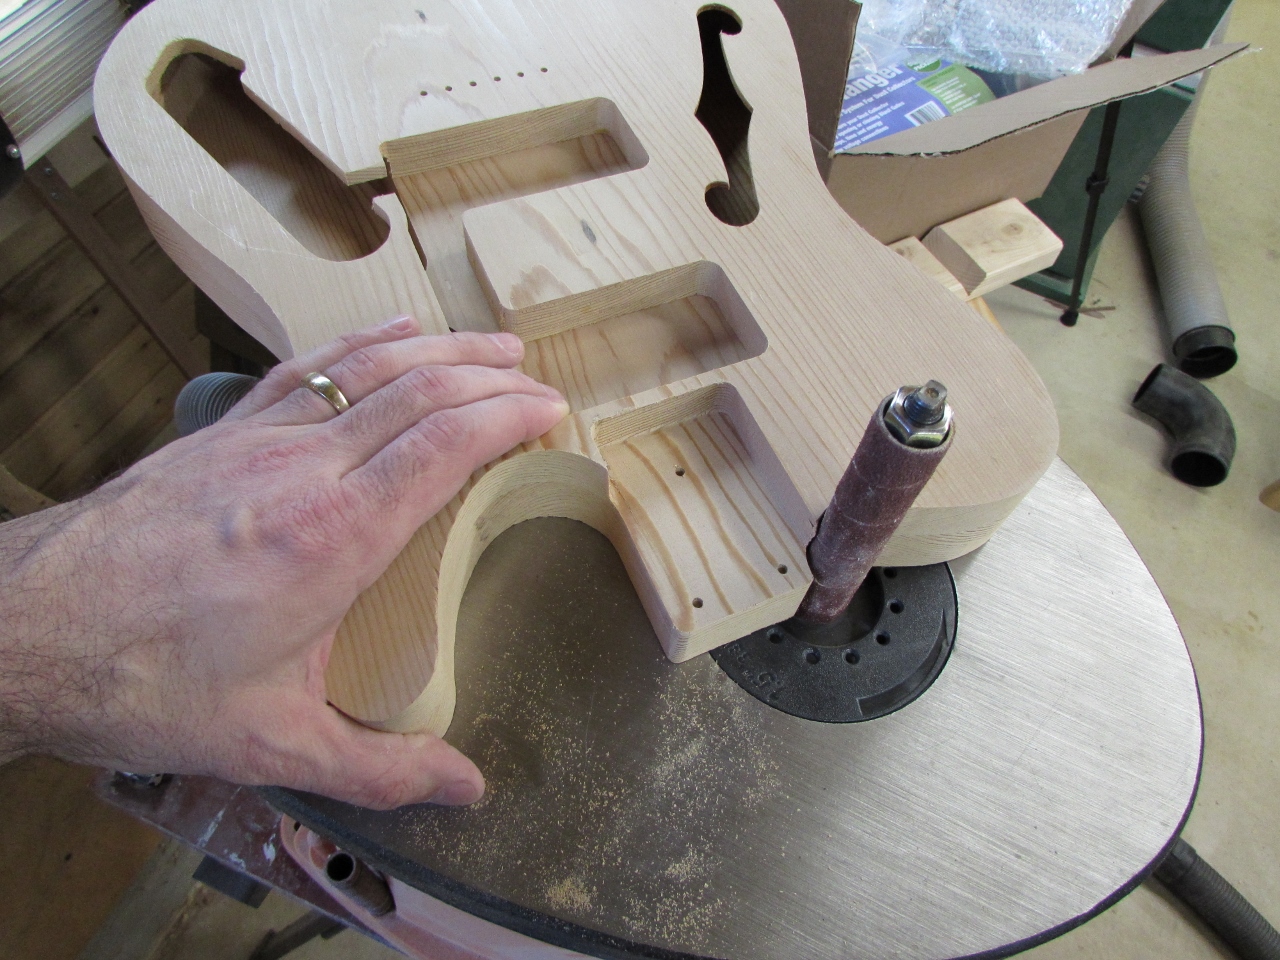
I was getting ready to glue up the two halves of the guitar when I noticed a small problem. The pilot holes for the neck screws were off on the bottom carve. I believe the body shifted under the rollers, in the carver, between the time that it carved out the body and drilled the pilot holes. The bottom holes were off by nearly 1/8″. It was at this time that I also realized that I had not consulted with my client about what style neck he would be using. There is a standard three-hole pattern, as well as a four-hole pattern that could be used. I decided to leave the three holes in the upper half, because it is only about 1/16″ thick, but I am going to fill the ones in the back half. Holes can be drilled at a later date to match whatever neck is used.

Pattern shift
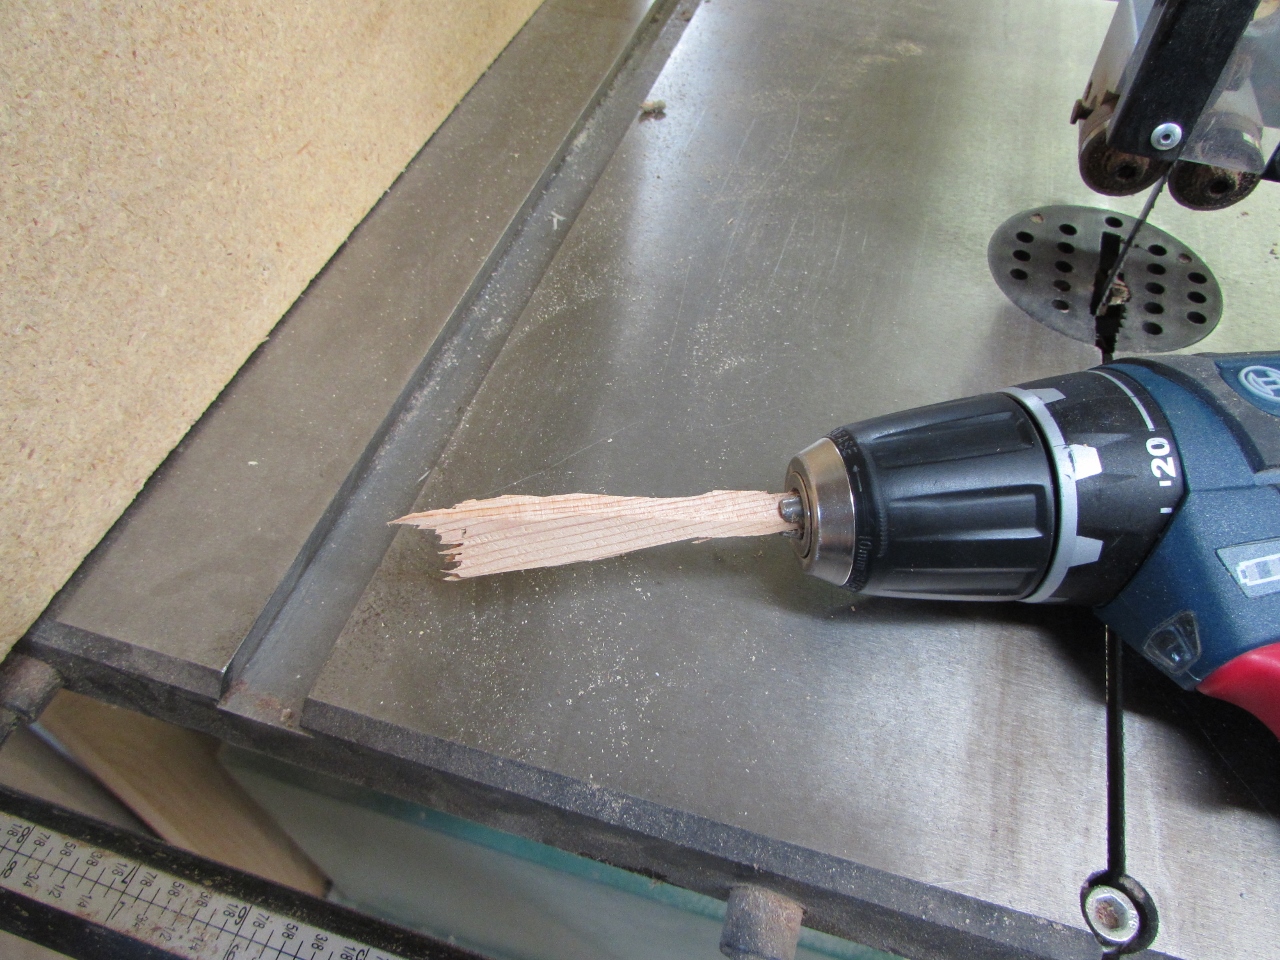
Chucking up a chunk…
Since I don’t have any hundred year old hemlock dowel plugs lying around, I had to make some. I tried a few unsuccessful methods before hitting on a crazy idea. I hacked off a chunk and stuffed it into my drill chuck, then held the trigger down while pressing the wood against my spindle sander. It worked amazingly well. With a little trial and error, I sanded the dowels to the correct size.
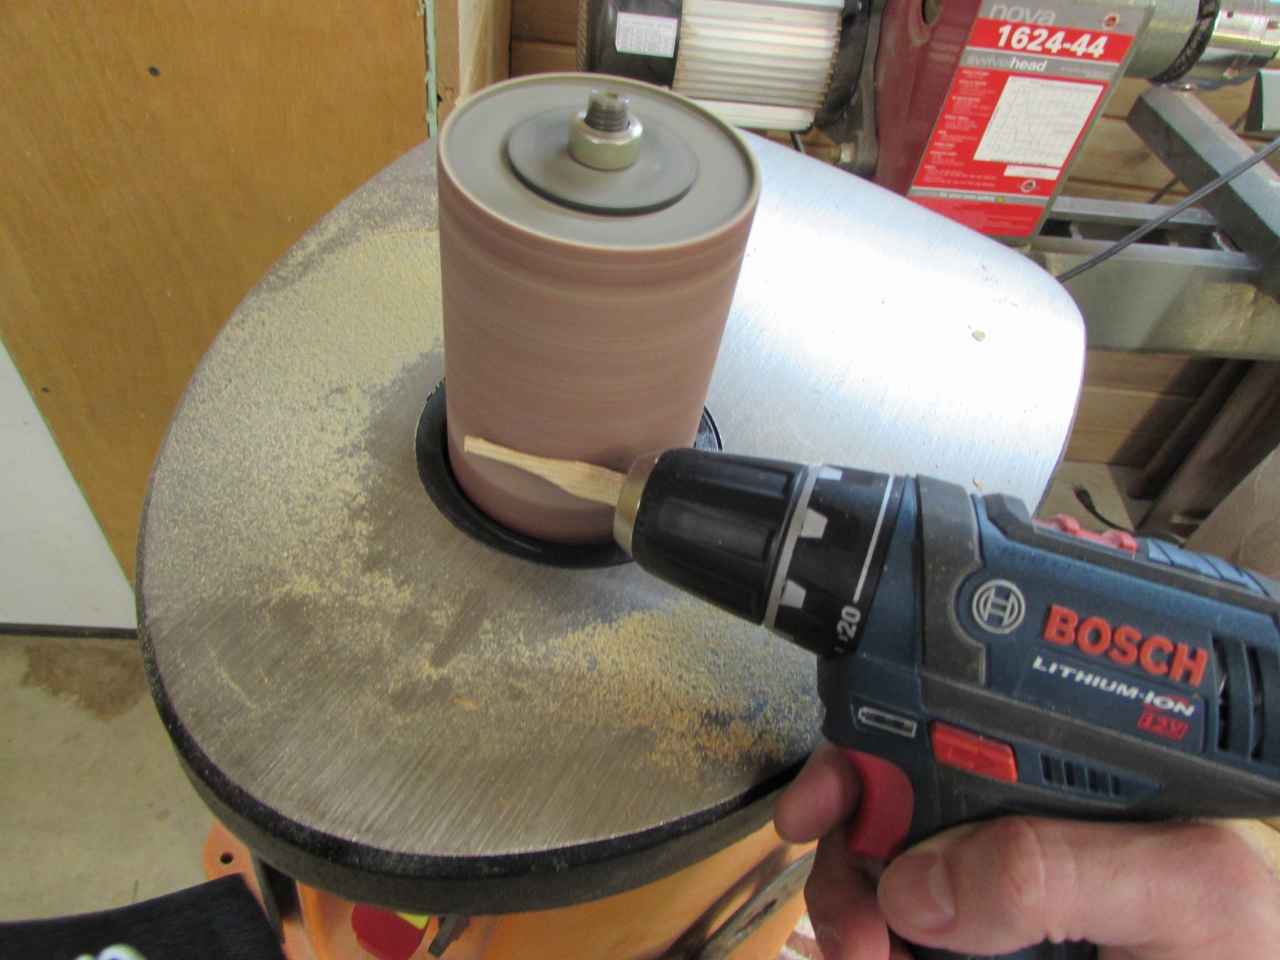
Custom turned dowel pins
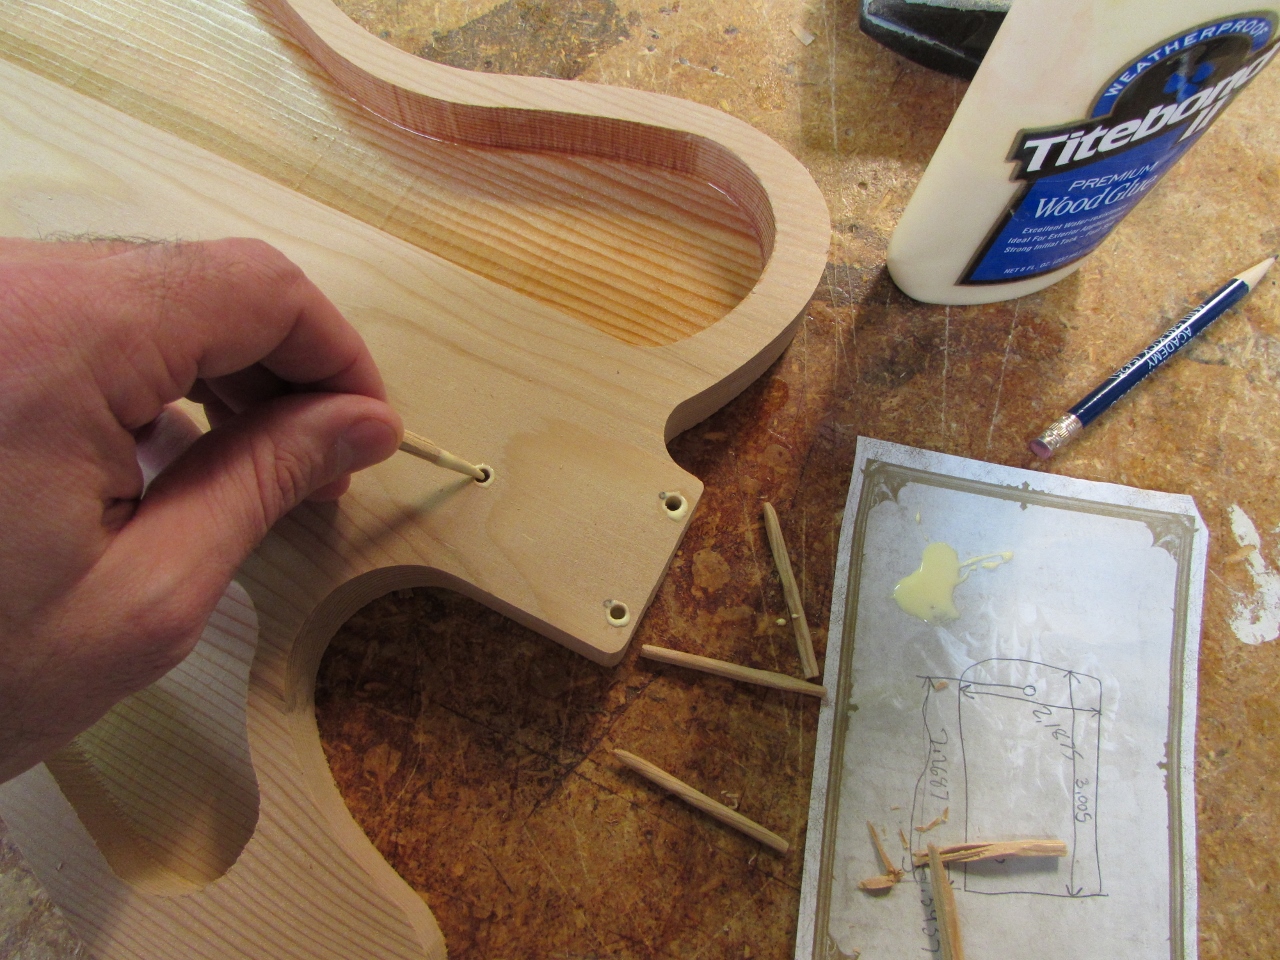
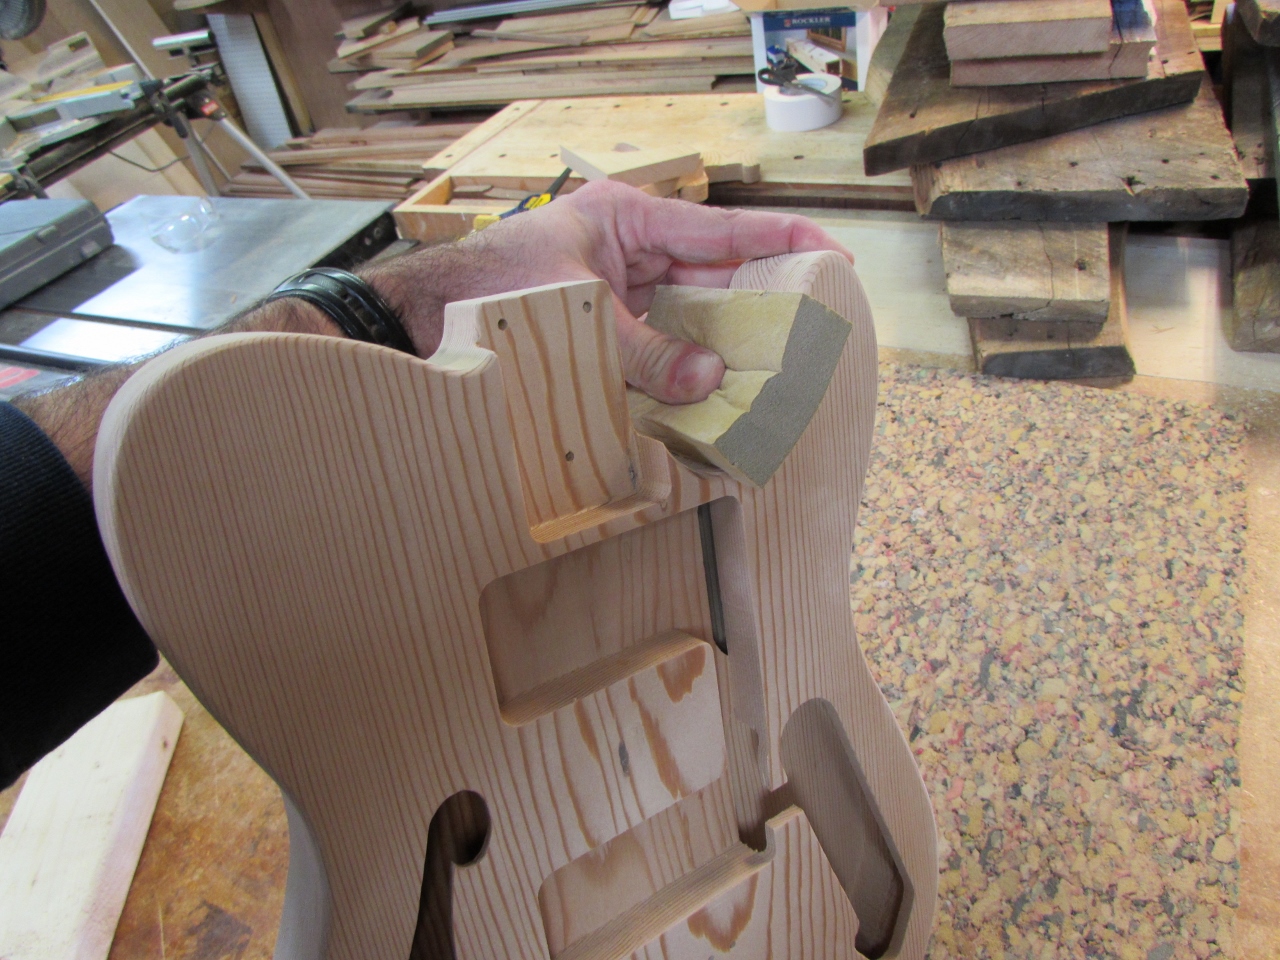
Plugging the offending holes
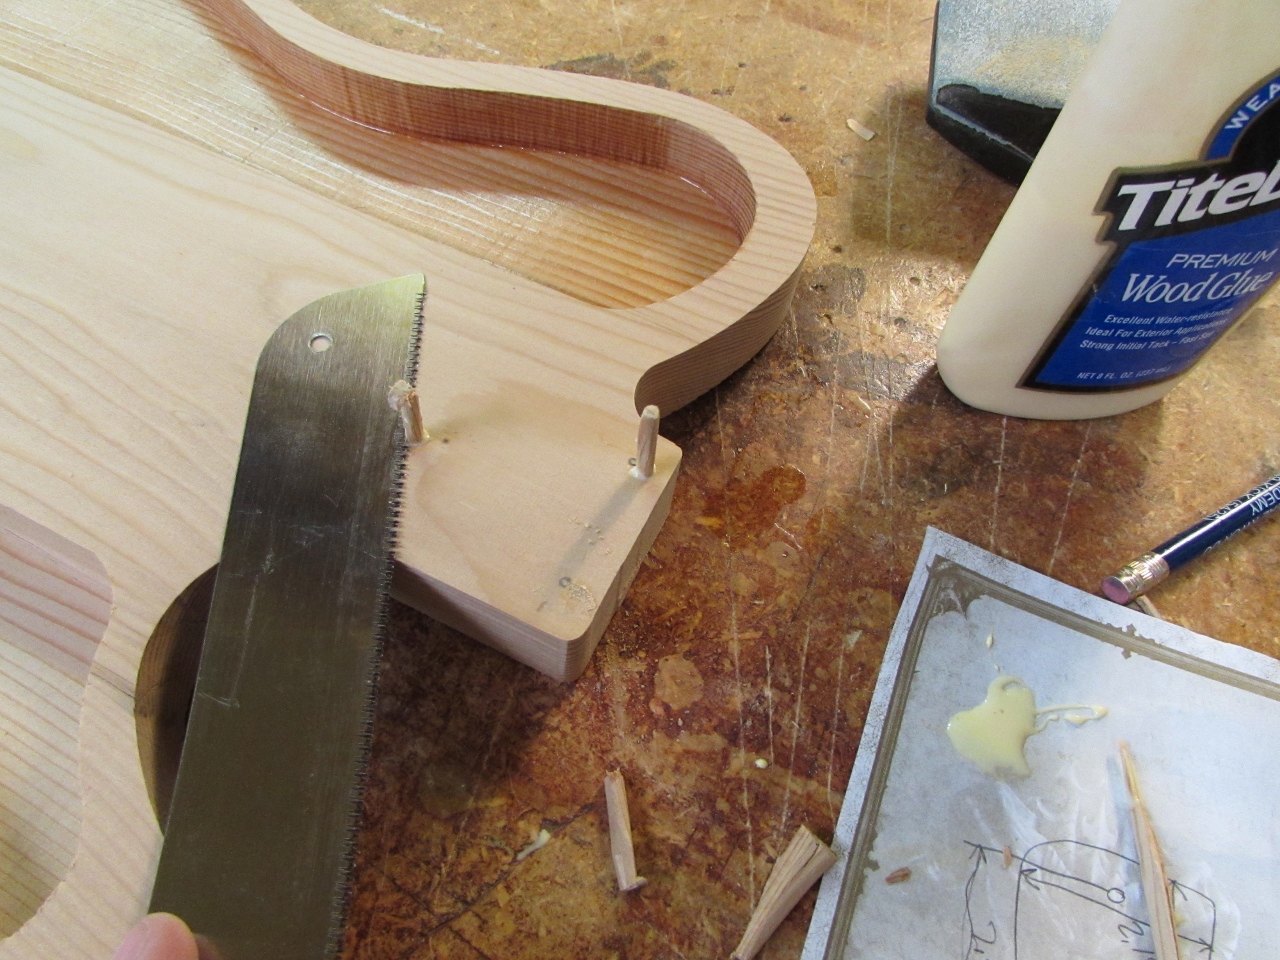
Using a thin splinter, I lined the holes with wood glue, then pressed the pins gently into place. When they dried enough, I sawed away the excess and sanded down both sides.
Trimming away the excess
Even they don’t blend in perfectly, they should expand and contract at the same rate as the rest of the wood, preventing splitting. New holes can be drilled anywhere and the plugs should be covered by a metal neck plate, so they won’t be visible.
Holes filled
With that rectified, I moved on to applying glue to the back side of the top half.
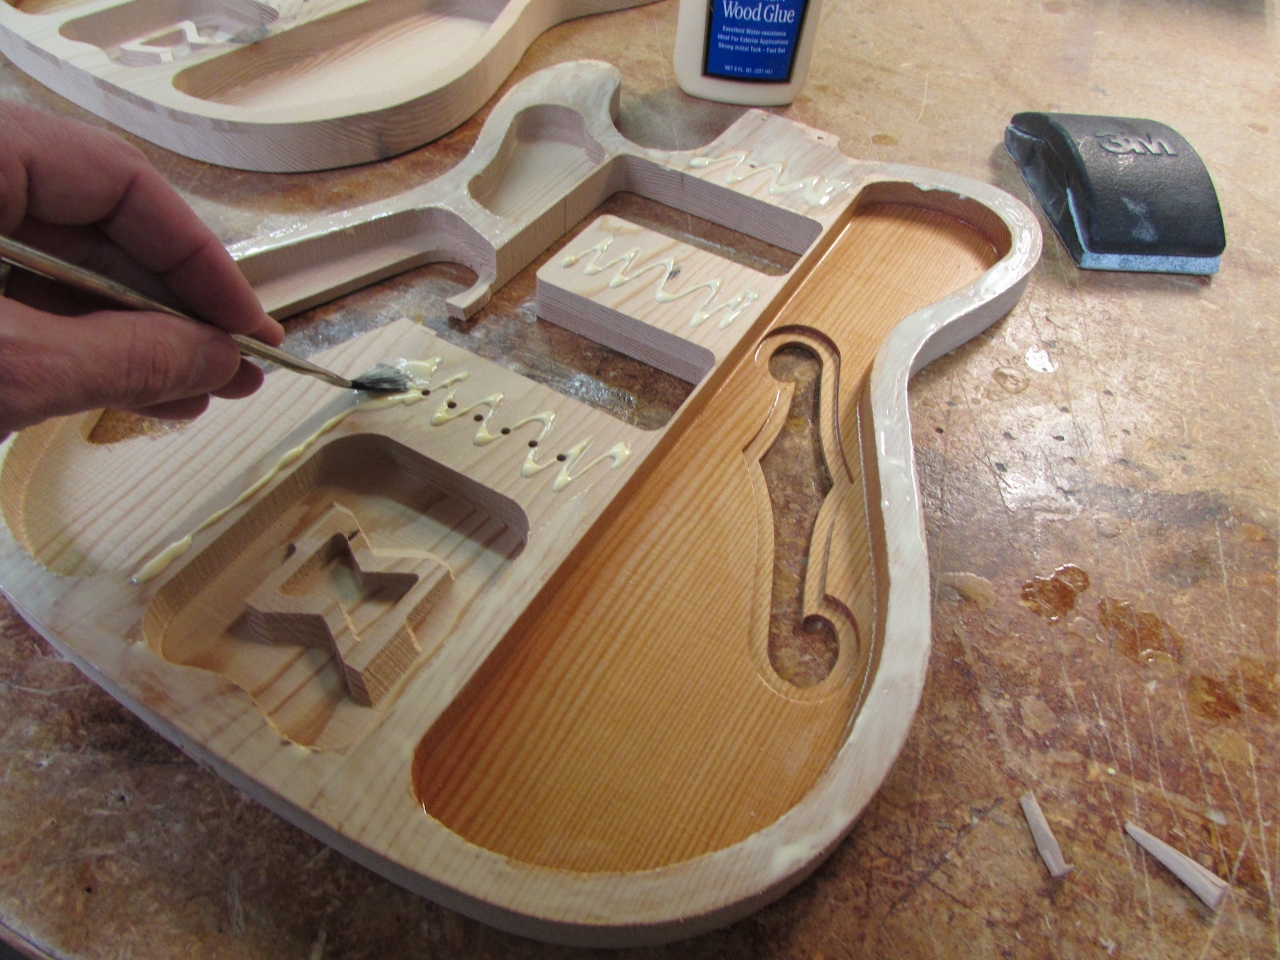
Applying glue to the front half
I clamped it up and let it dry overnight.
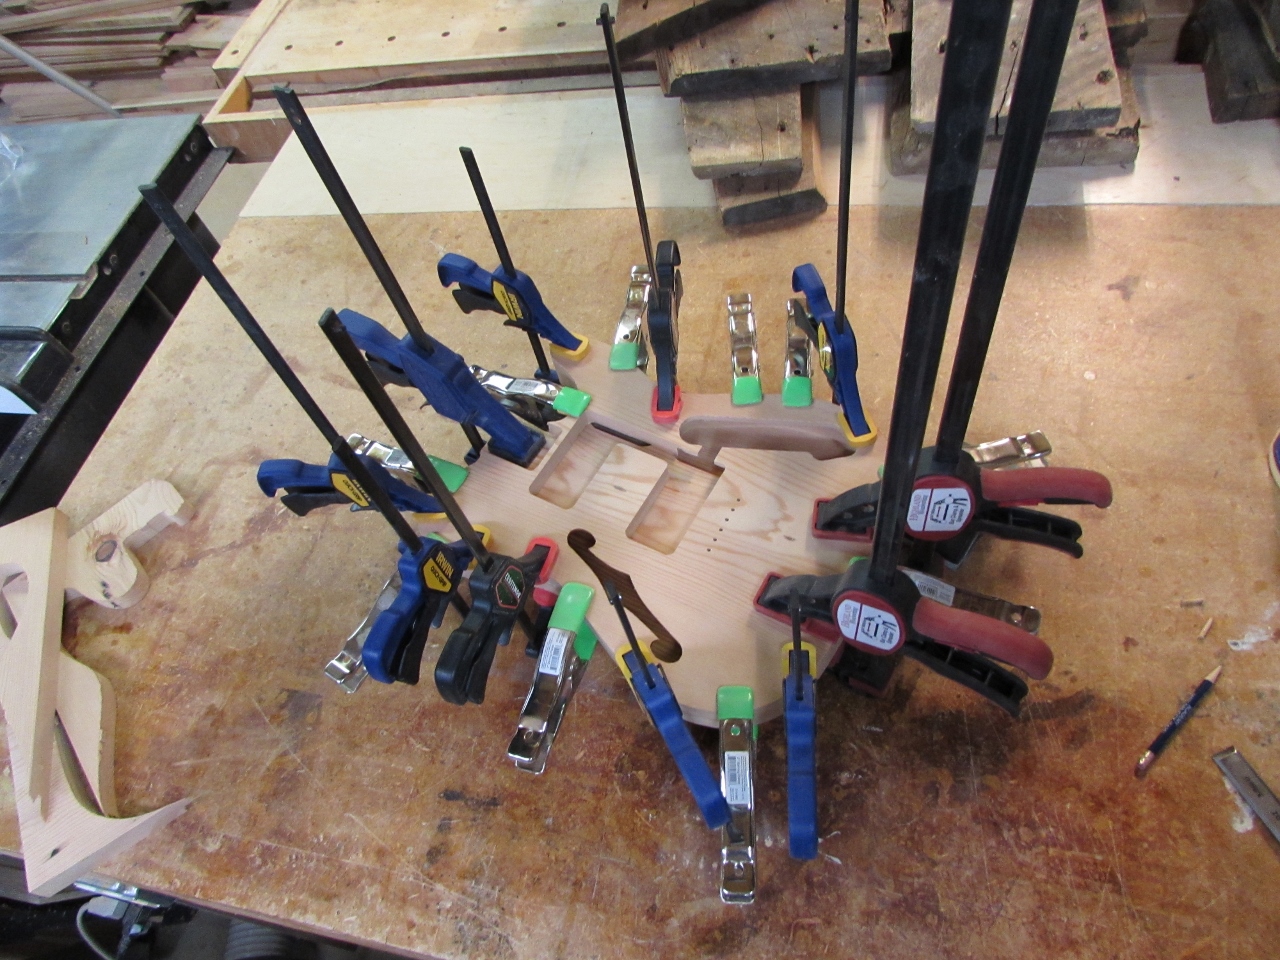
Clamping everywhere I can reach
Sanding the outer edges smooth
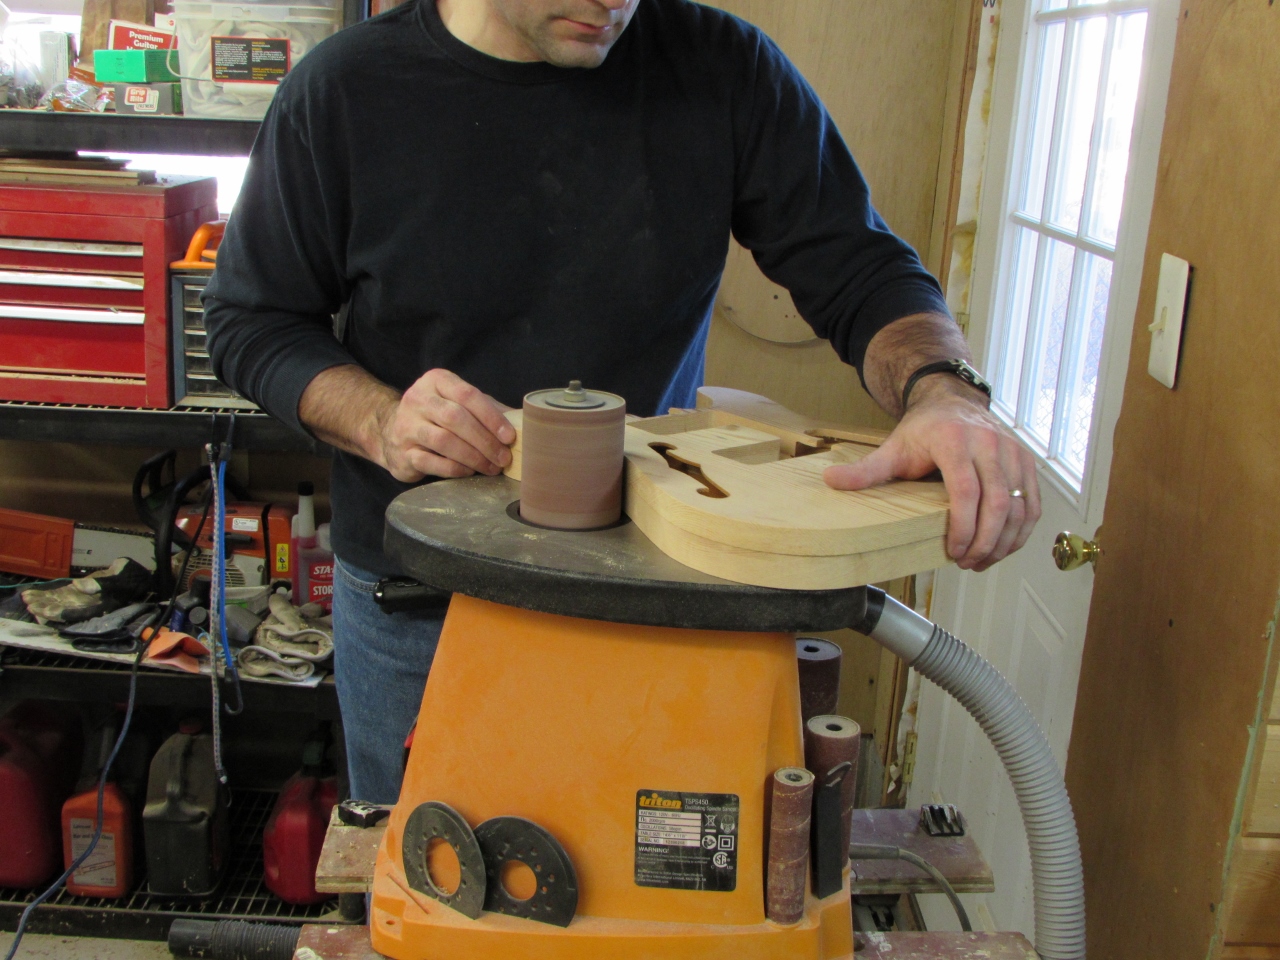
When I pulled the clamps, I took the body over to the spindle sanded and smoothed out the seem, all the way around. I switched to a smaller diameter spindle to get into the curves, next to the neck pocket.
Smaller spindle for smaller curves
With the edges cleaned up, I installed a 1/8″ round-over into my trim router and put a radius on the top and bottom.
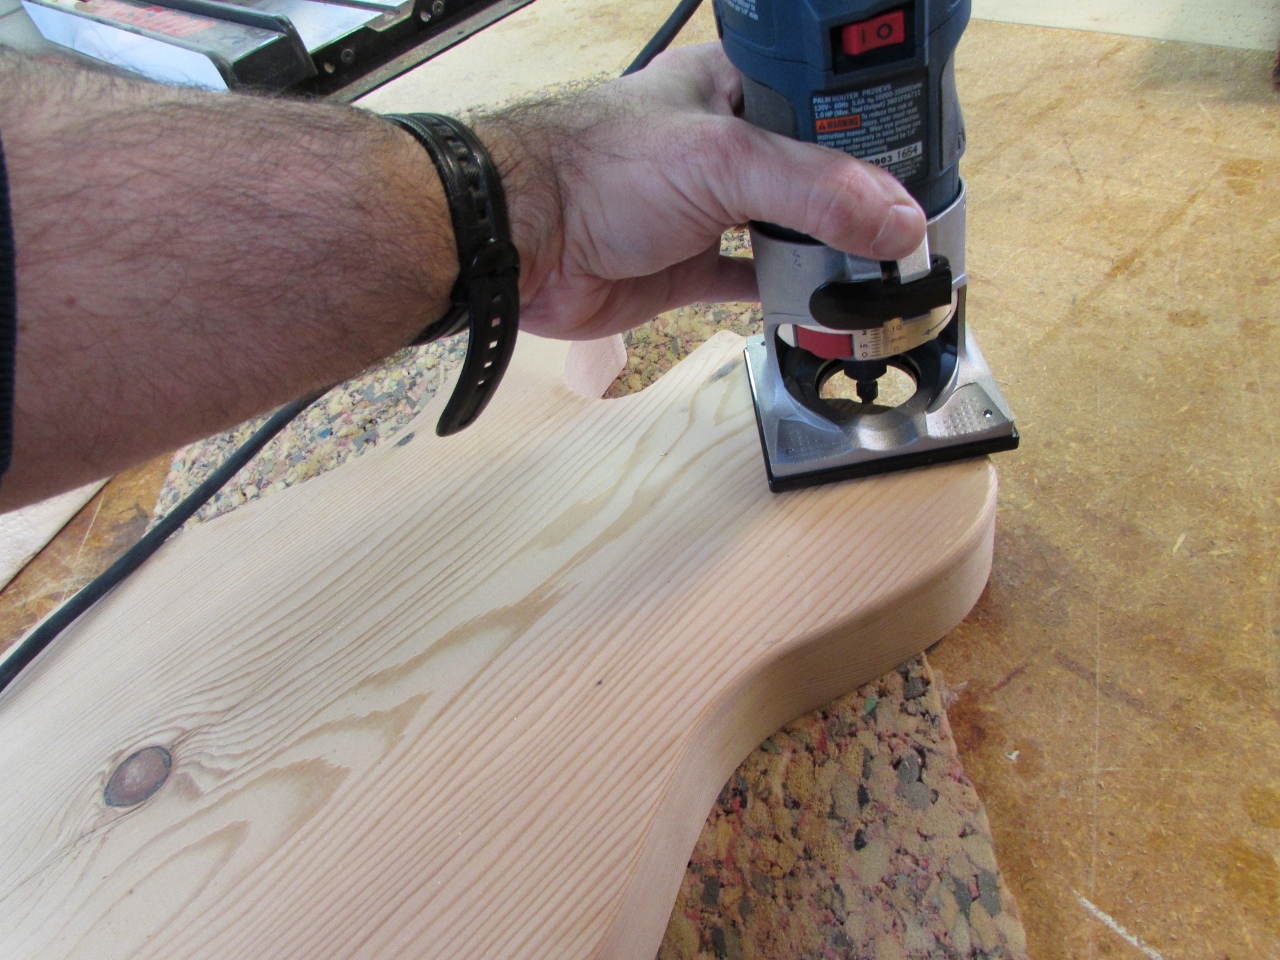
Rounding the edges
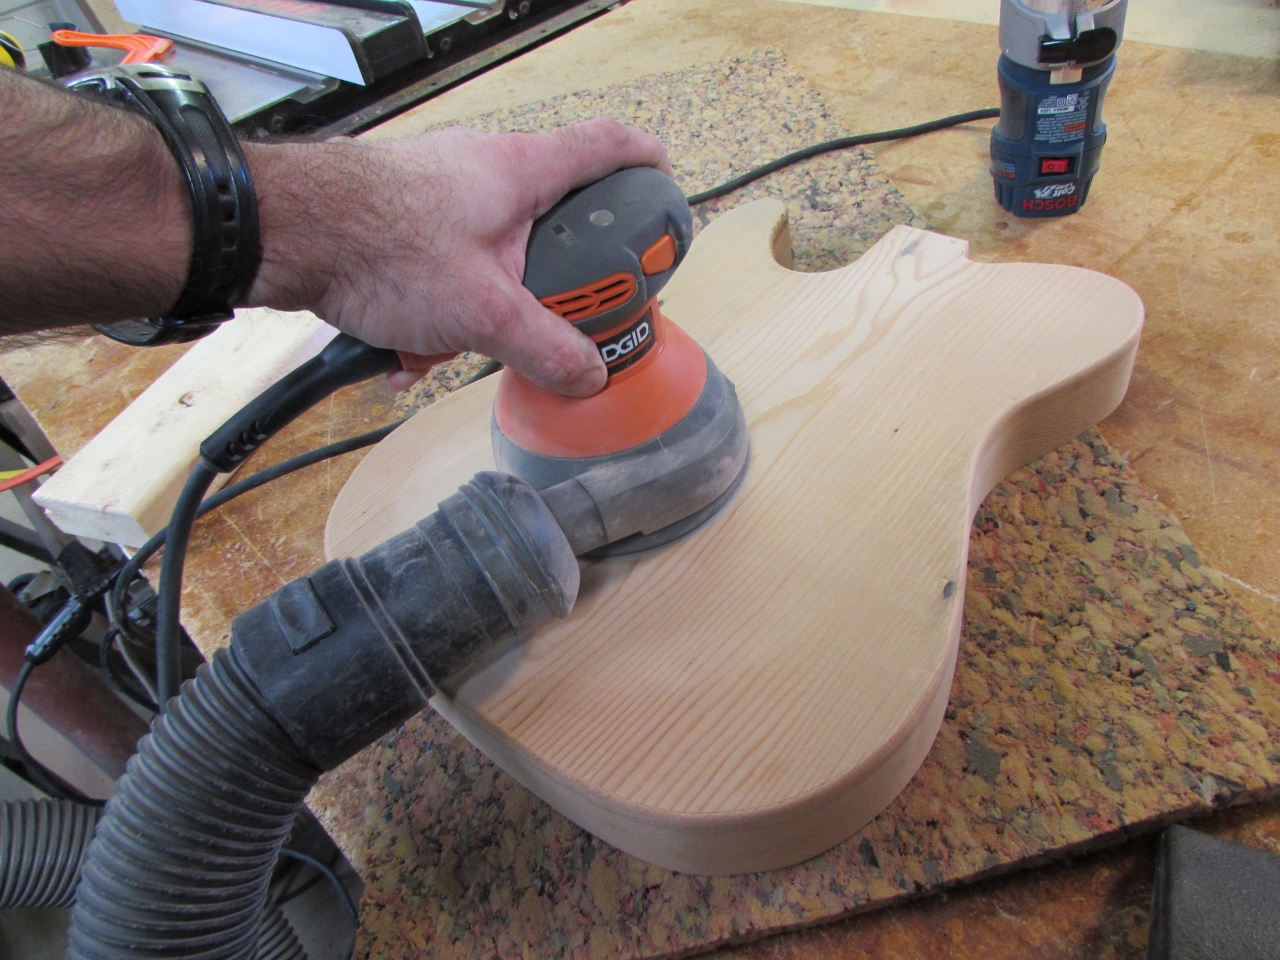
Sanding down to 220 grit
I sanded all the outside surfaces down to 220 grit with my sander, as well as a flexible sanding block, in those hard to reach areas.
Final hand sanding

Cleaned up and ready to go
My final step was to wipe the entire thing down with naphtha to clean it all up and to see what it might look like with a clear coat applied to it.

Back side cleaned up
This hemlock makes an extremely light guitar. When I was all done with it, I weighed it. It was just a hair over two pounds. I hope my client gives me some pictures of it assembled and finished. I will see if he can send me a video as well. It should sound really good with all the resins dried out after a hundred years of seasoning.
