
Another 72 thinline telecaster – day 1
I built a 72 thinline telecaster a few months back, and I have had a request for another one. The first one was made for a friend of mine and he has not yet had a chance to put the rest of the guitar together. I am rather interested in hearing how it sounds because that one, as well as this one is made out of reclaimed wood. My friend Alex, over at Vintage Lumber has a load of hemlock removed from an old plank house built in Kingwood West Virginia, somewhere around 1910. That means this wood has been drying out for about 100 years.
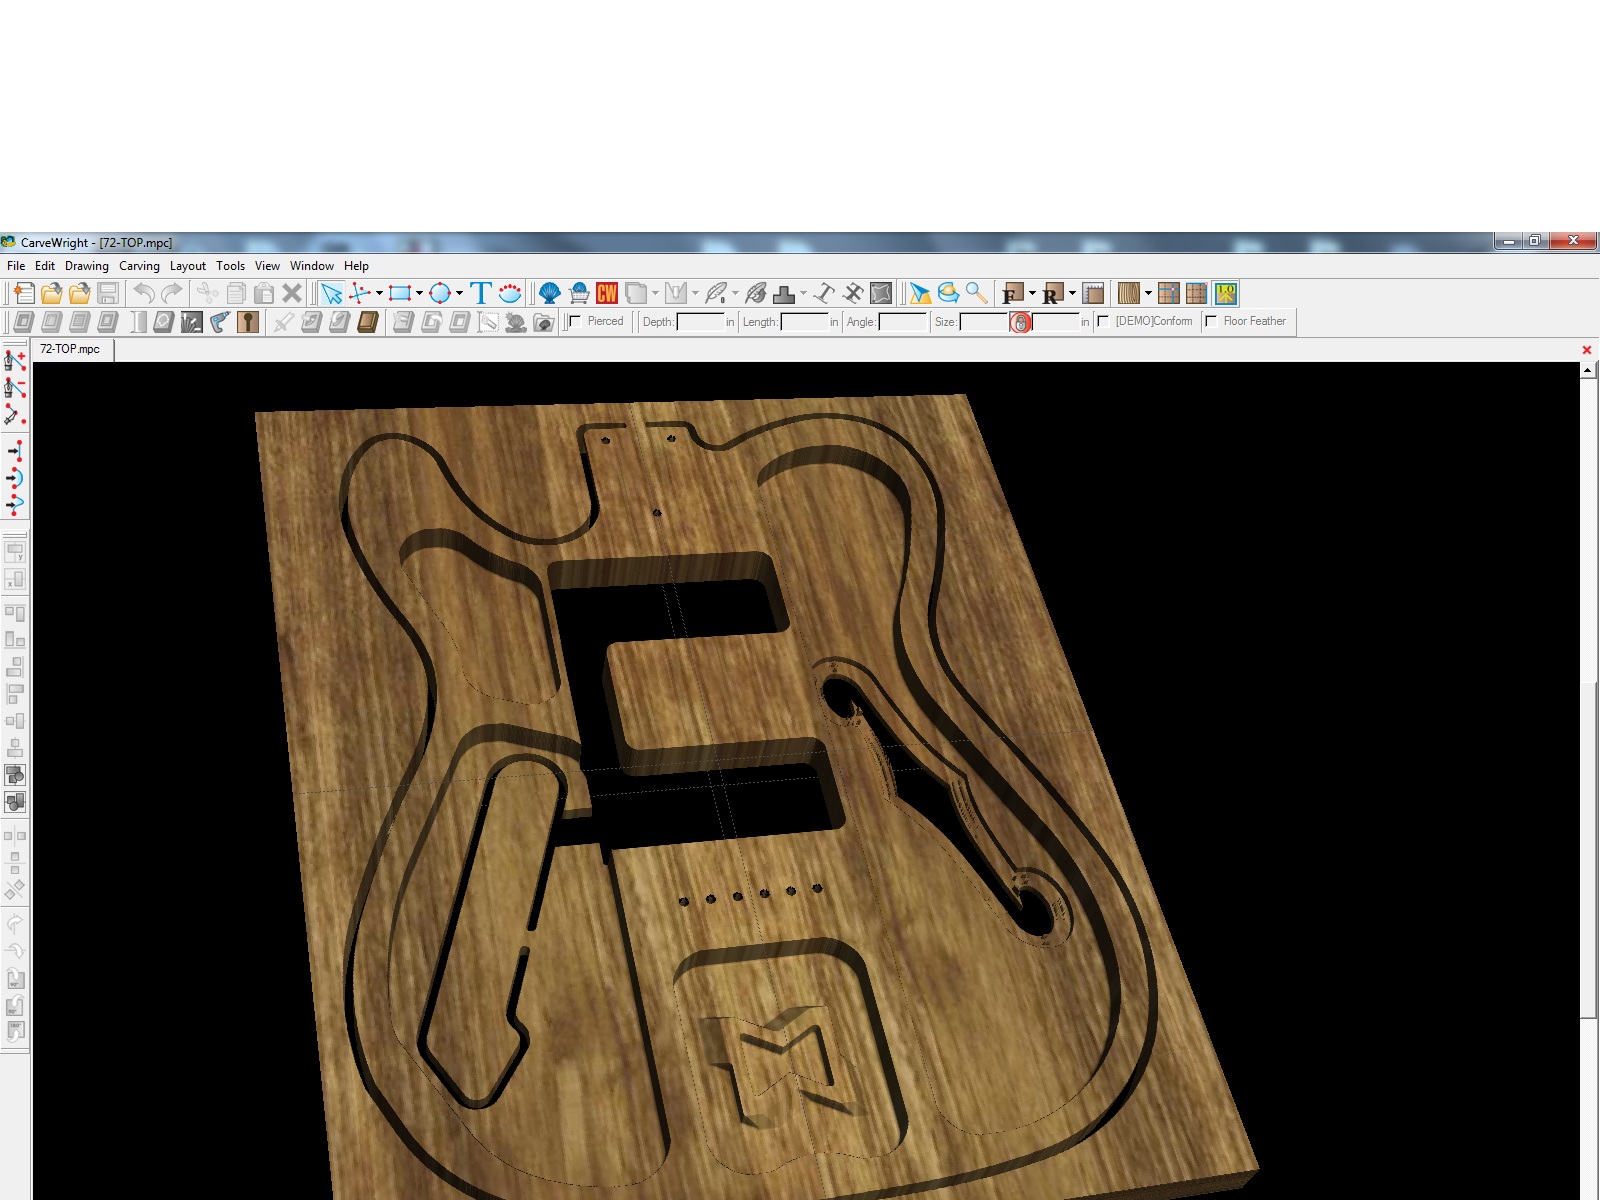
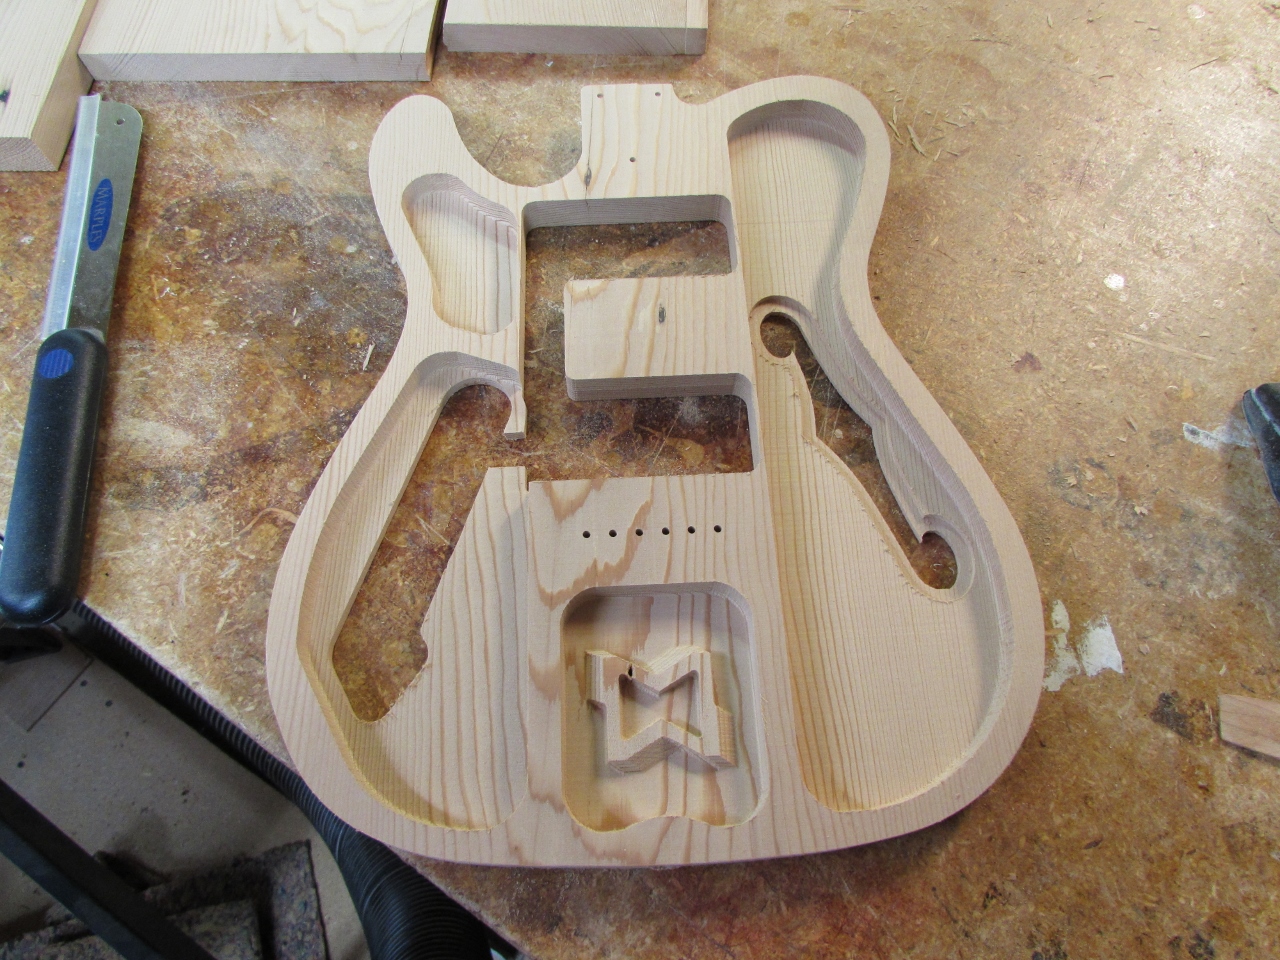
Program for the front
I had one or two tweaks to the CNC program from the last one that I made. One of which was to add my logo to one of the carved-out chambers on the front as well as in one on the back. No one will see them once it gets glued together, I just thought it would be kind of cool. I also added a thin stiffener to the upper left chamber on the front piece, in the picture above. It was fine on the last one, I just didn’t like having the chamber open to the pickup pocket.
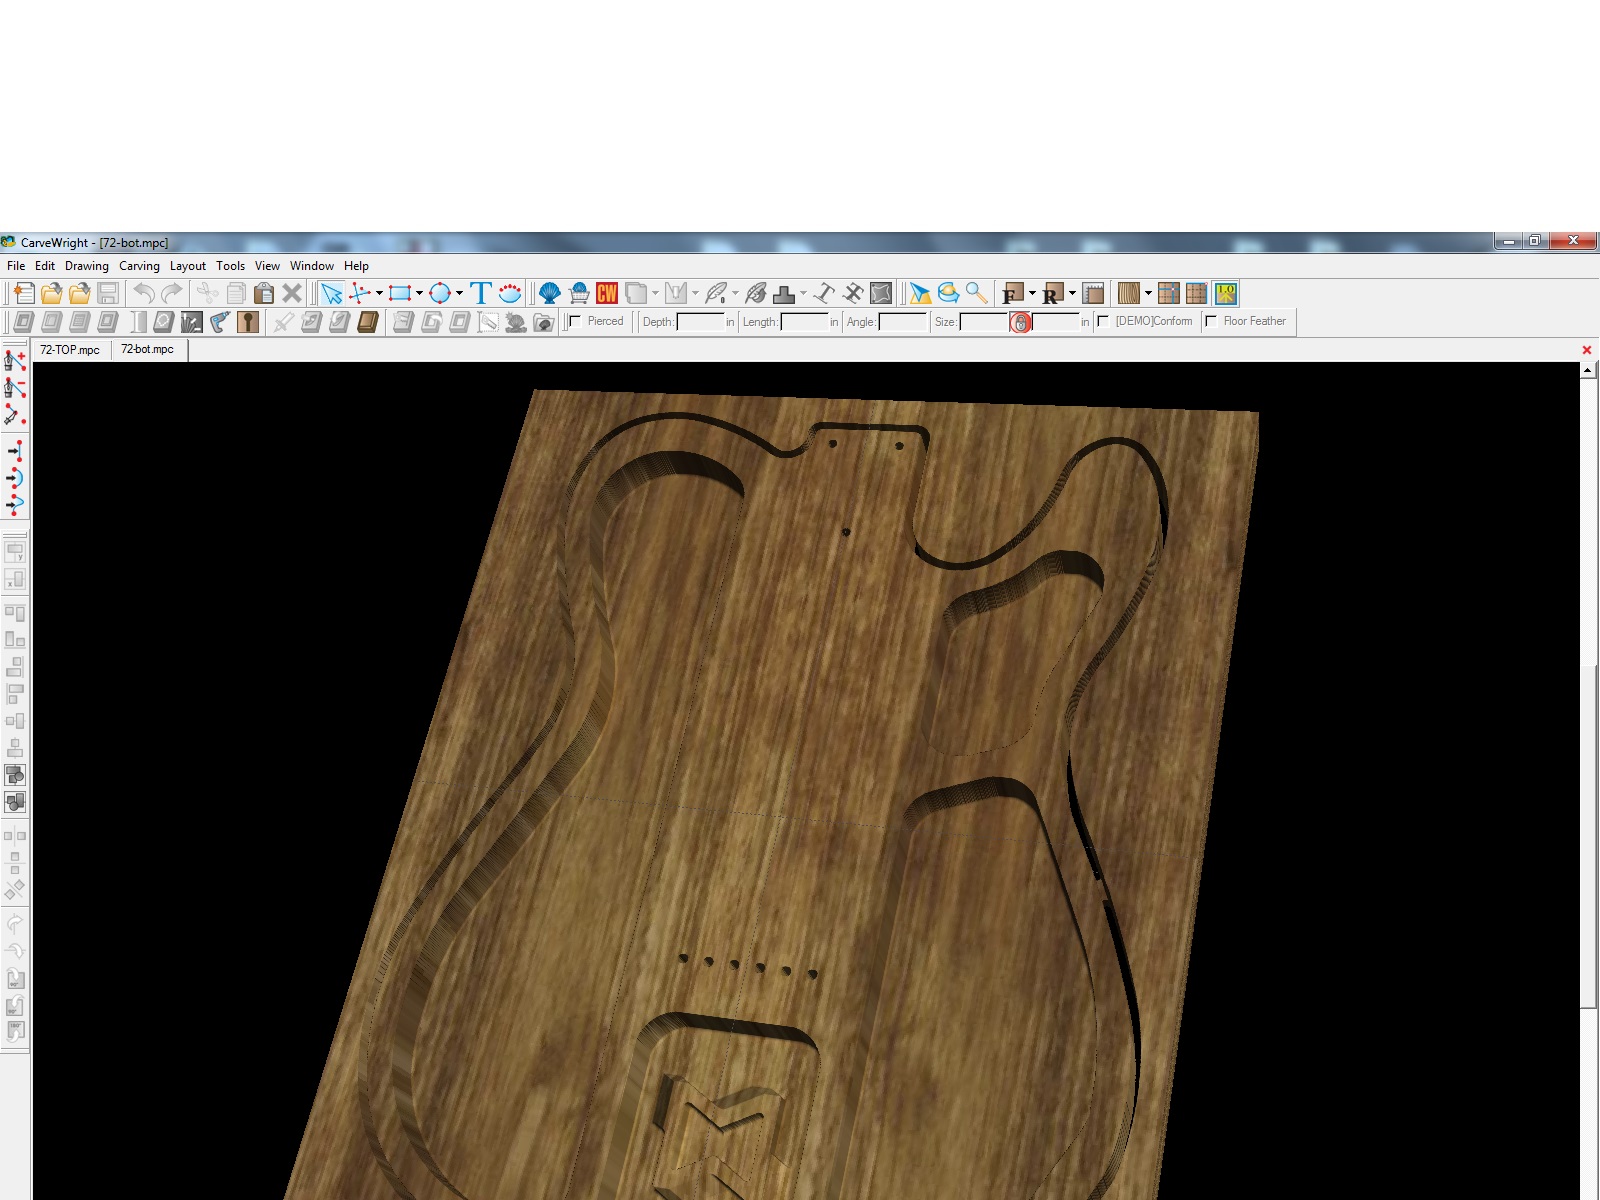
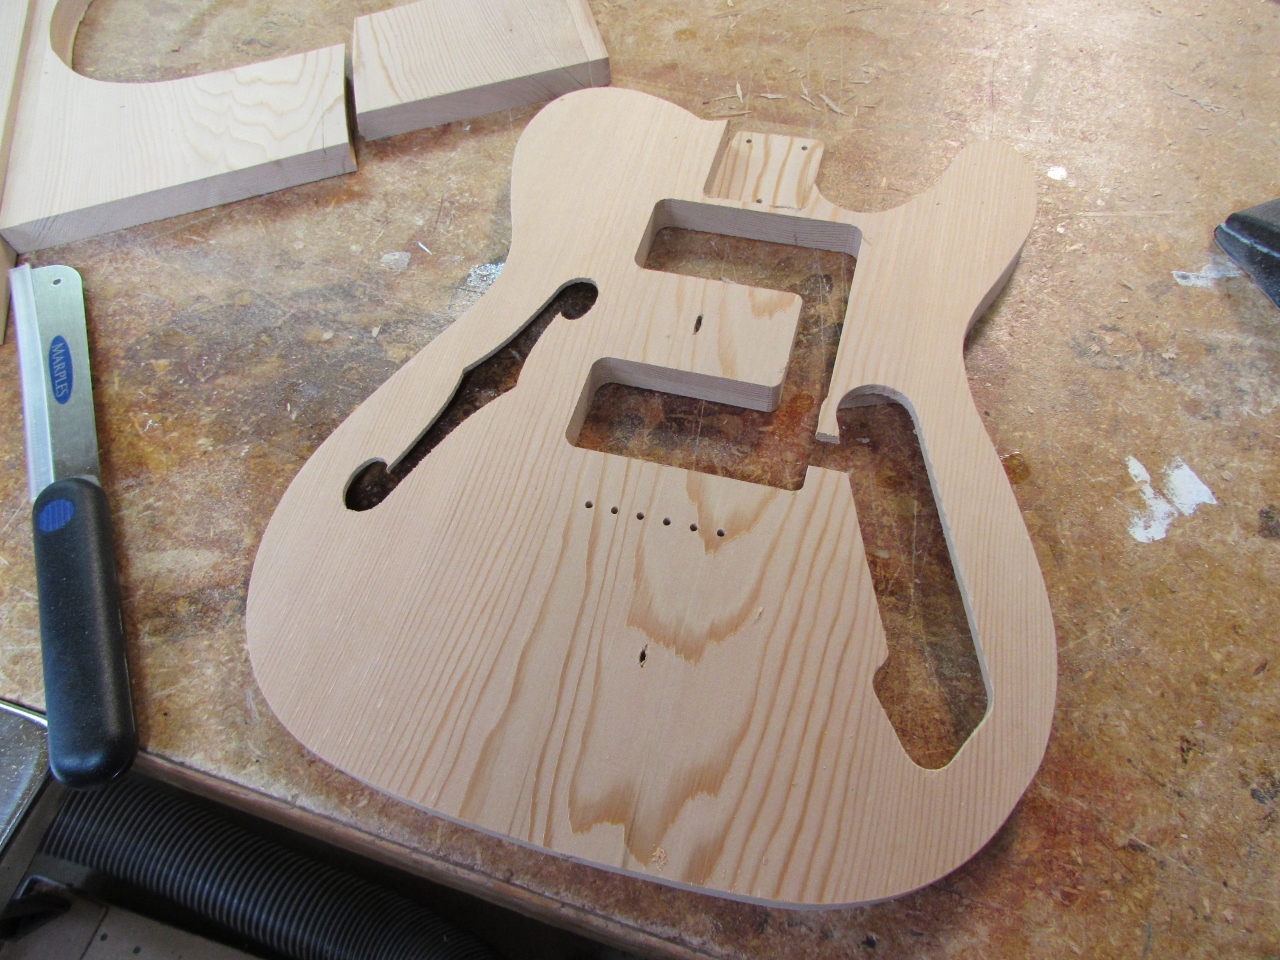
Program for the rear
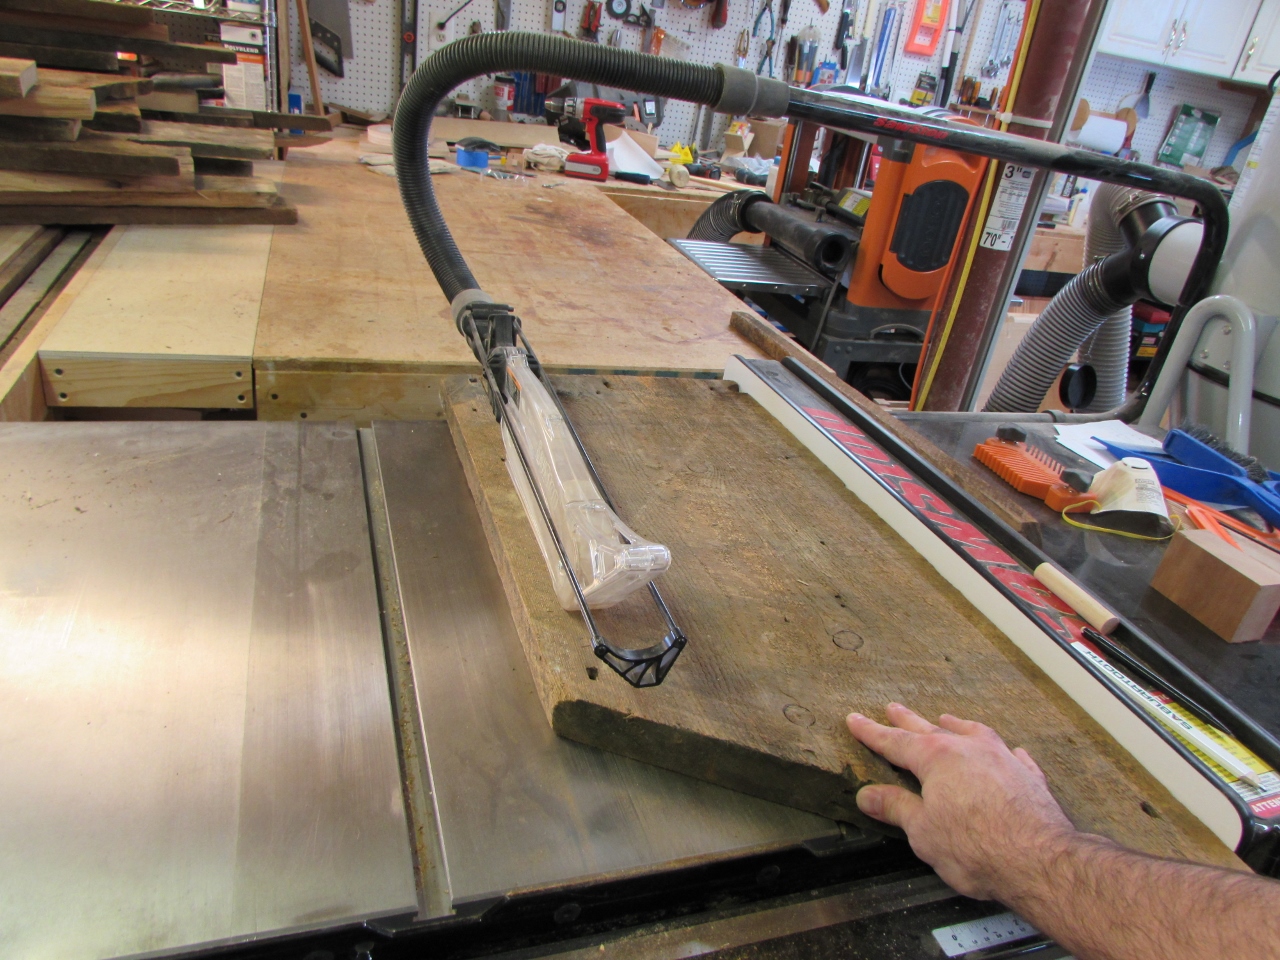
Ripping 100 year-old hemlock
With the program updated, I started cutting down some of the hemlock to 13″ wide and about 24″ long.
Cutting the blank to length
13″ is the max width of my planer, so the boards were a tight fit, planing them down to size.

Planing down both pieces
They sure clean up nicely once you plane away 100 years of crud…
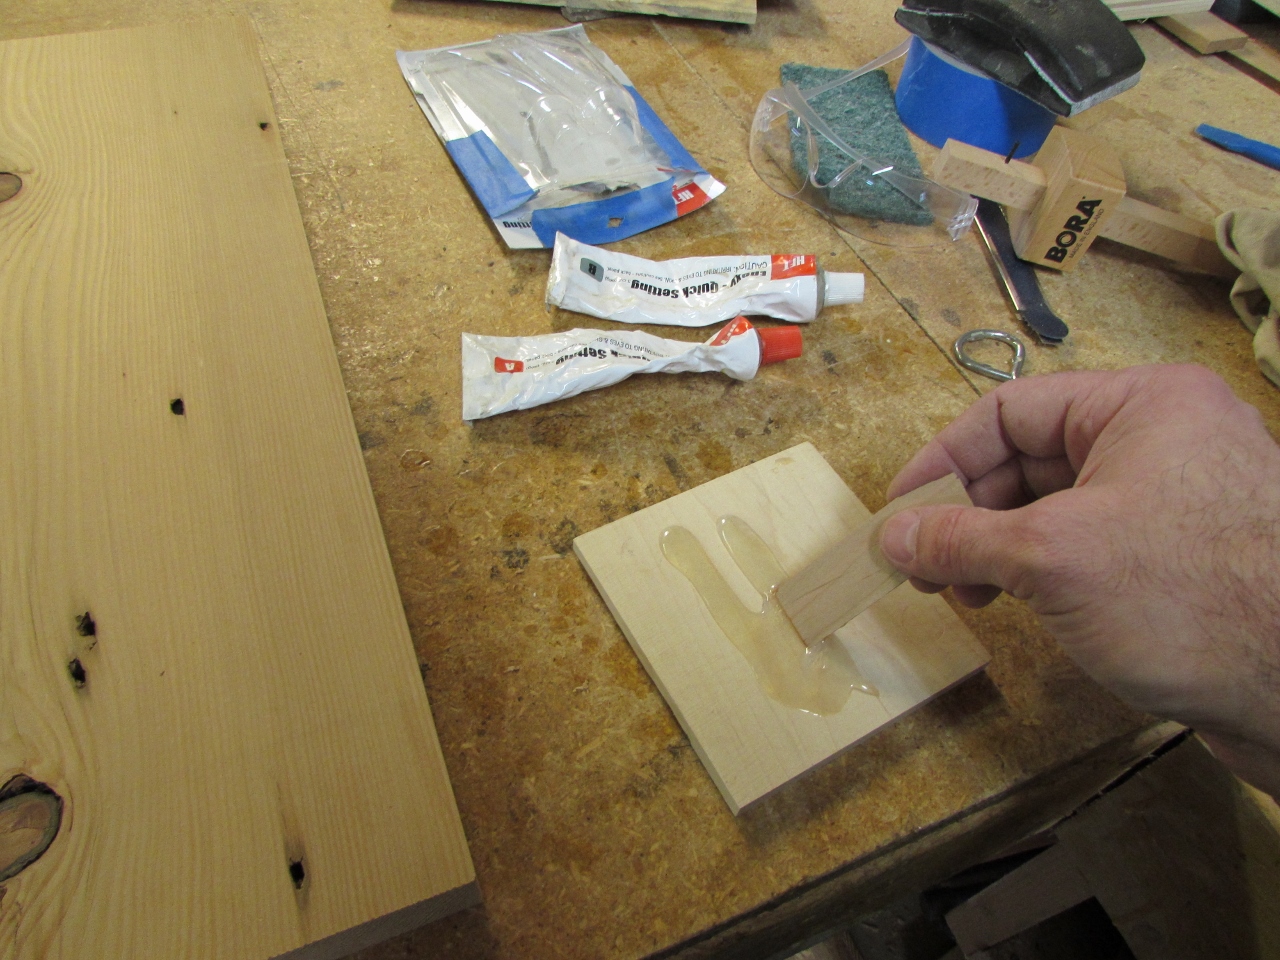
Mixing up epoxy
Since these are reclaimed, there are some nail holes in the wood. I prefer to fill these with epoxy. Before I start filling, I tape off the back side of the holes so the epoxy doesn’t leak through and fuse the board to my bench.

Preventing leaks
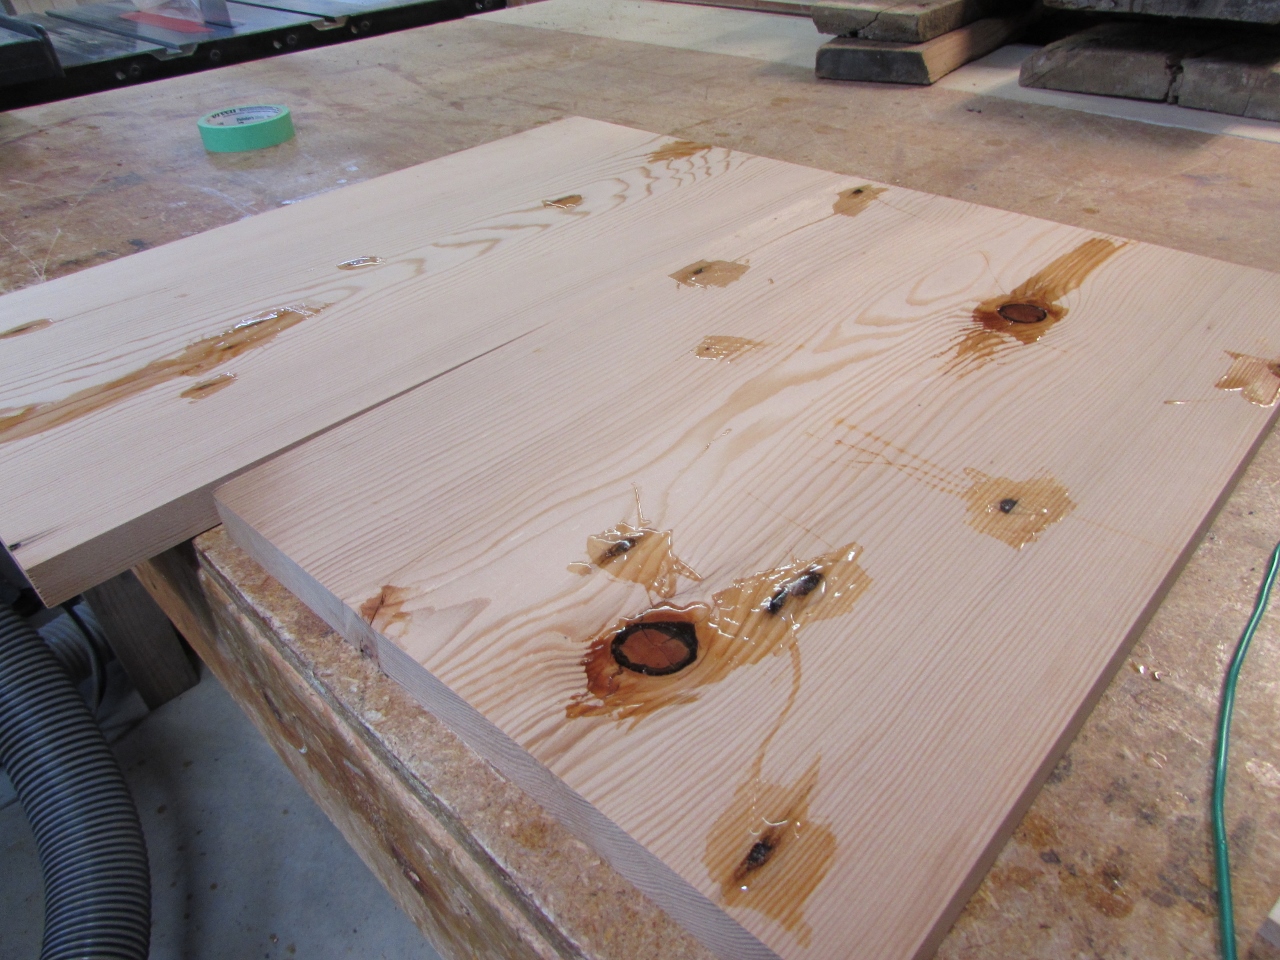
Filling the nail and knot holes
I let the epoxy cure for about half a day, then planed that side down smooth.

Side one cured and planed down
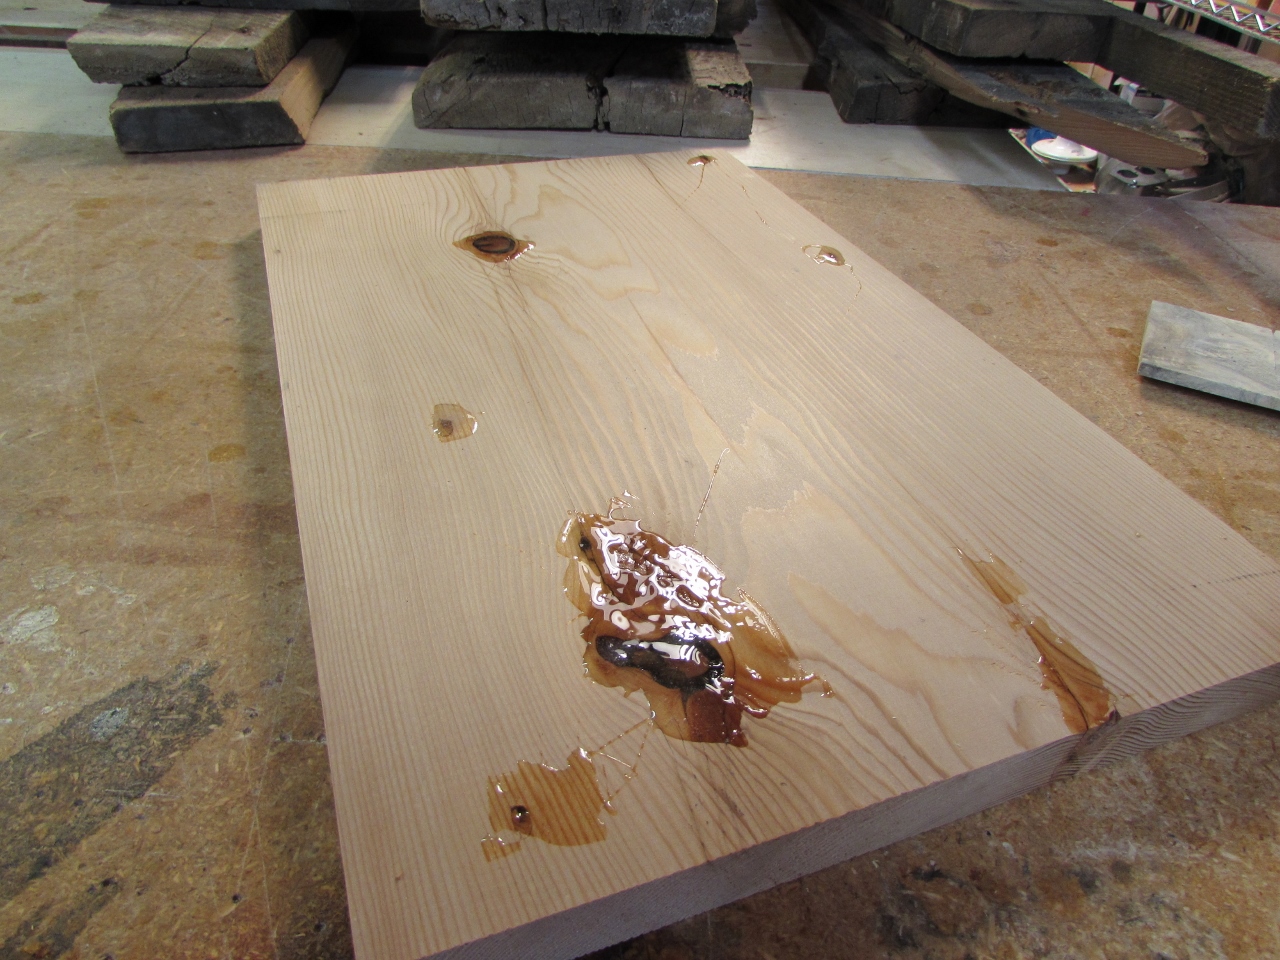
Filing the back side
One of the boards was pretty clear on the other side, so I only had to fill the back side of the other one.
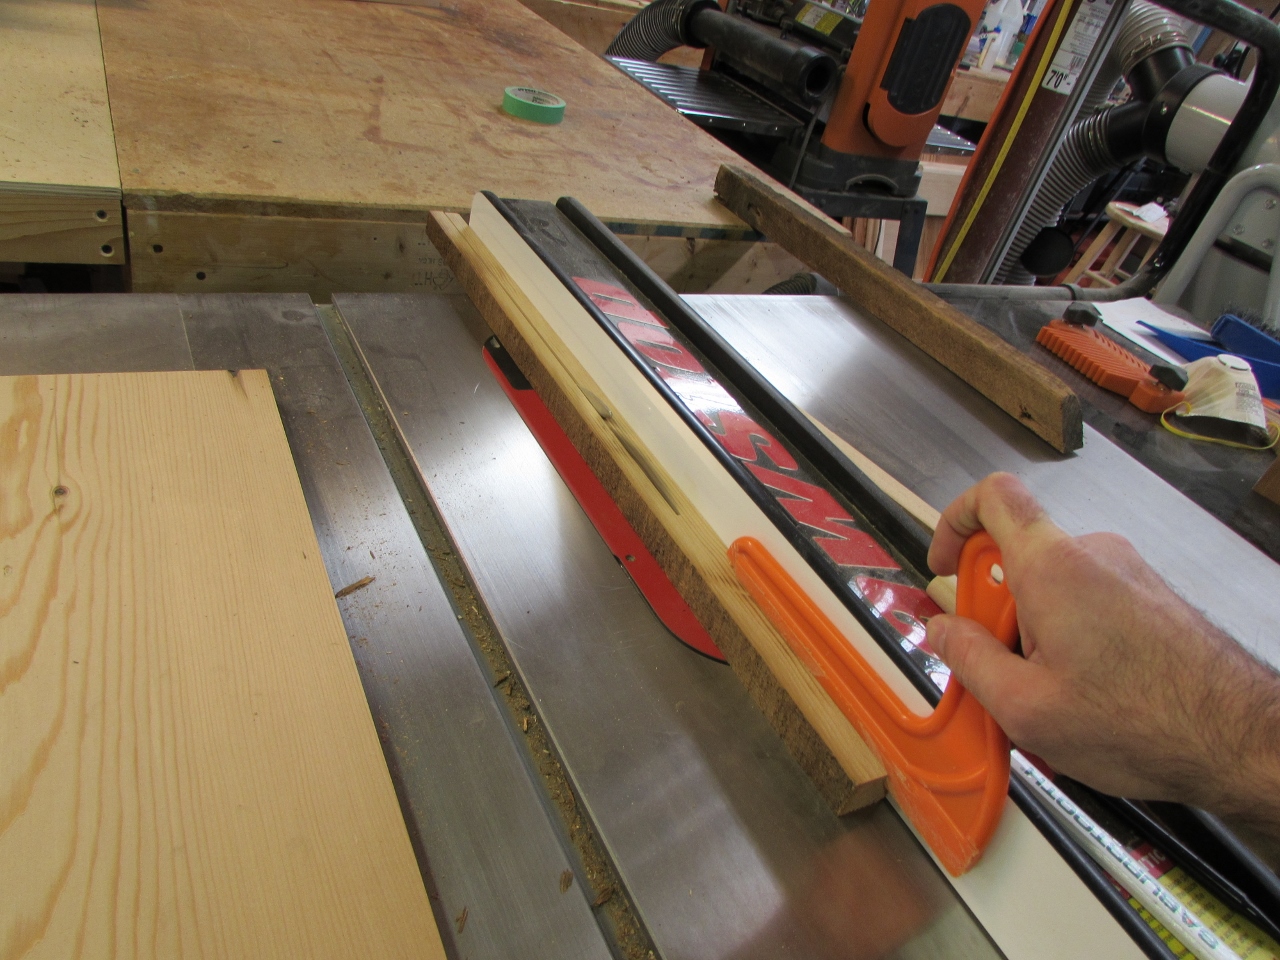
Ripping 1/2″ wide strips
The guitar body is nearly the full 13″ of the board (the max width of my planer), so I have to add a 1/2″ wide strip to either side. I do this with double-sided tape. There is no need to glue it and maybe I will be able to reuse the strips if I ever make another one.
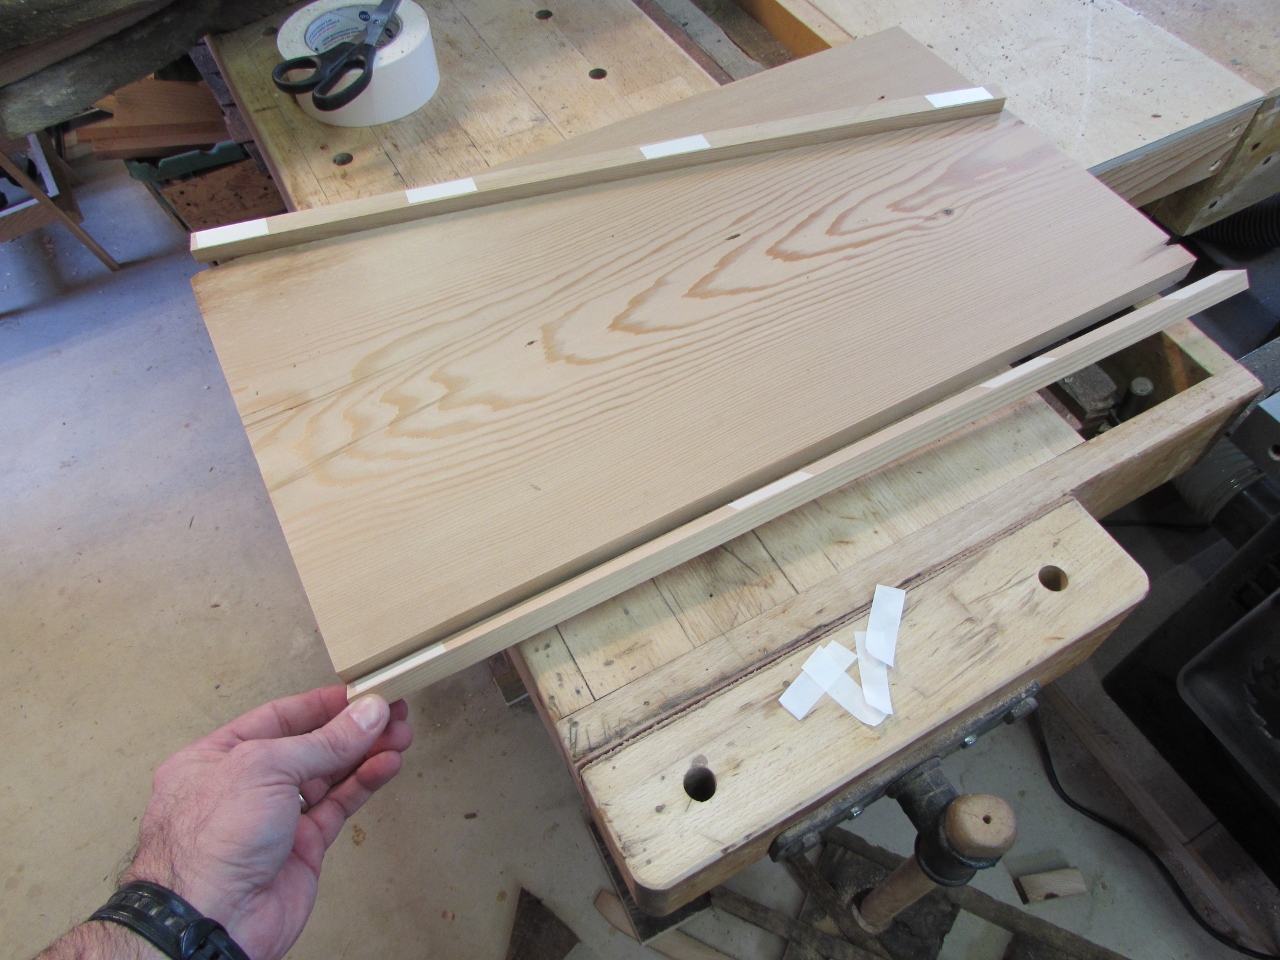
Attaching strips to the side with 2-sided tape
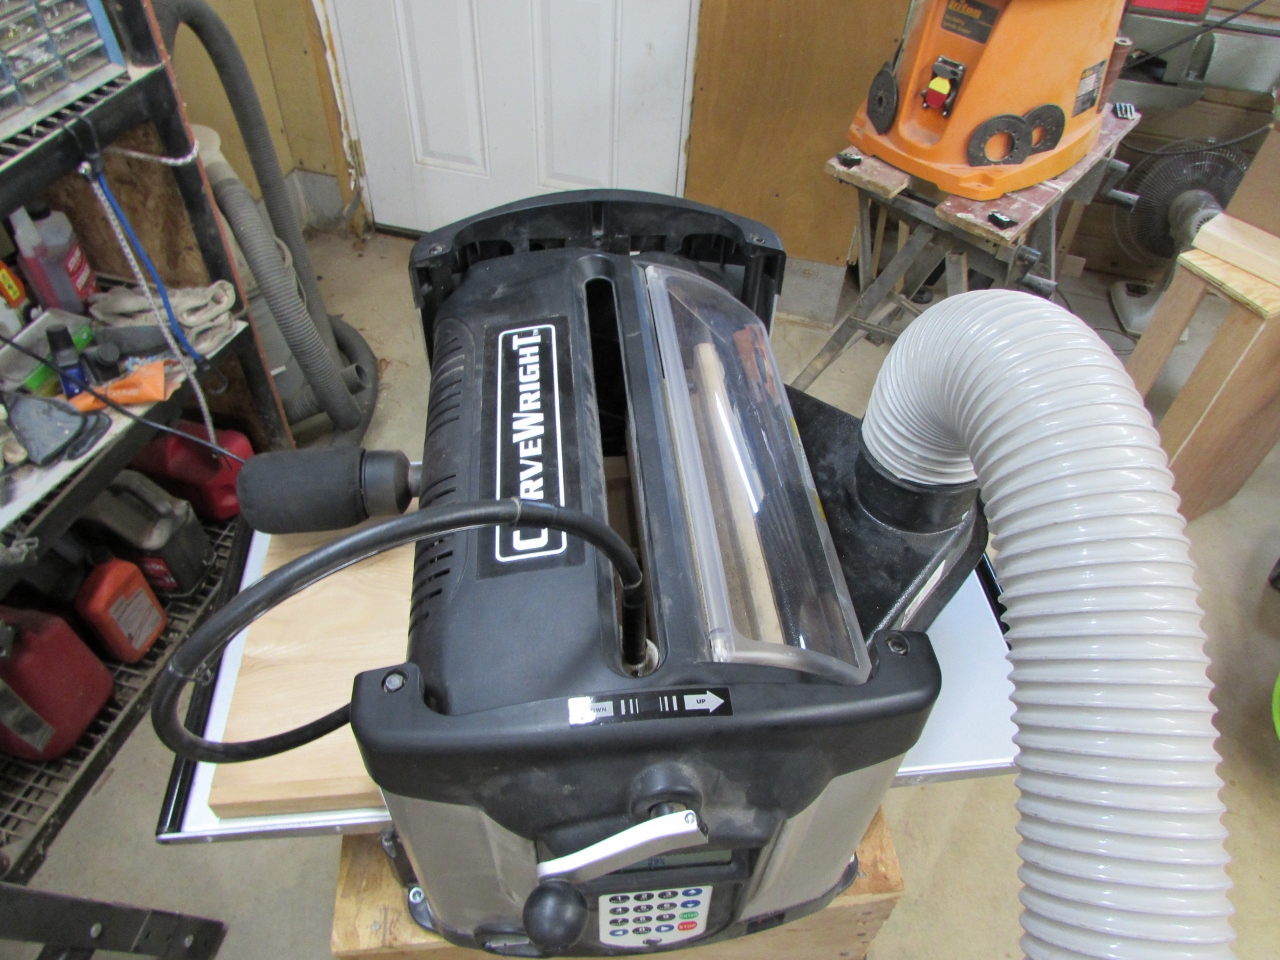
With the blank now 14″ wide, I loaded the board into the Carvewright carver and ran side one of the top.
Side one of the top carved
When that was complete, I flipped it over and ran side two.
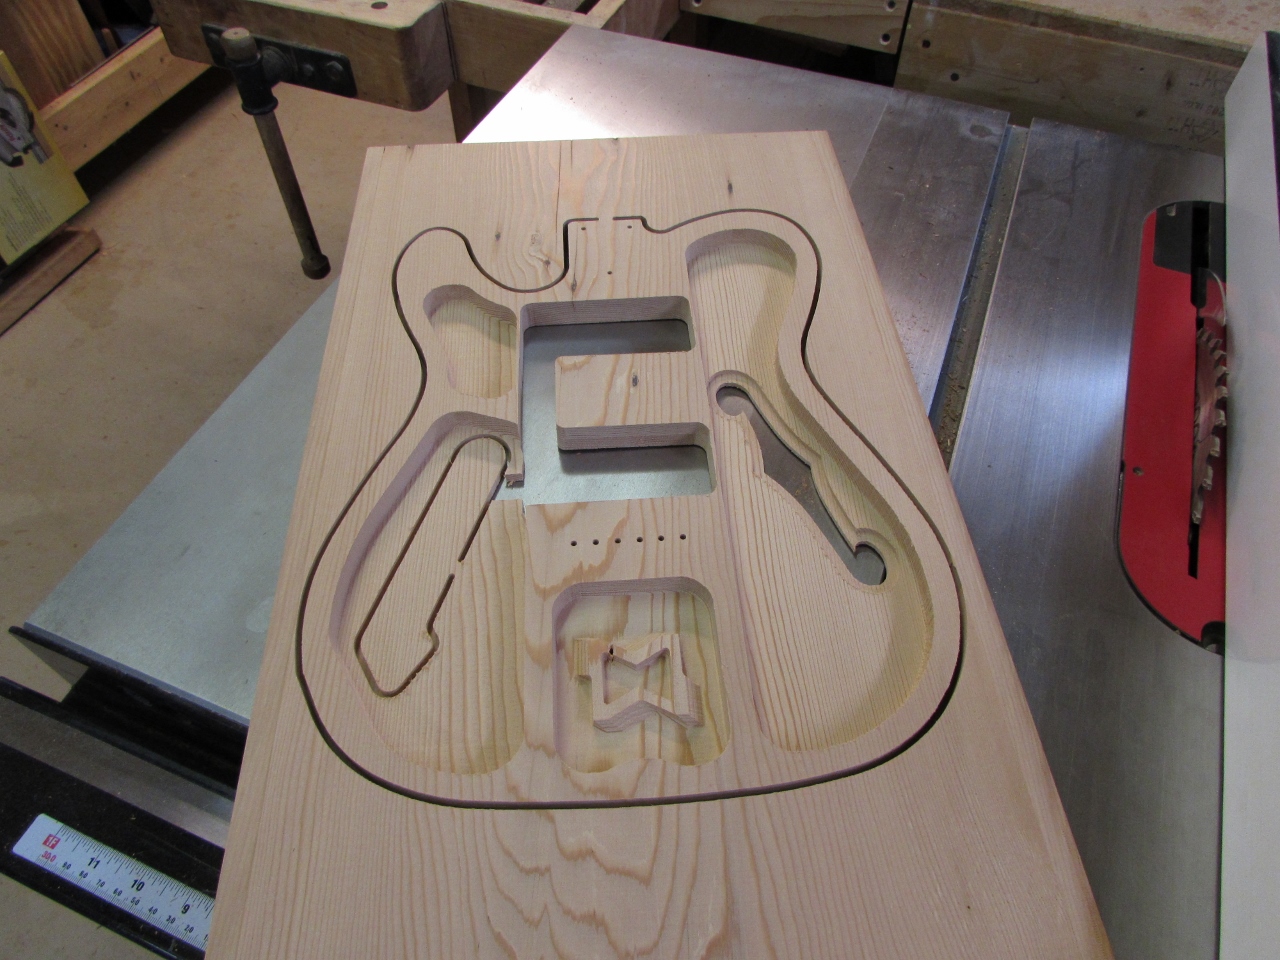
Side two of the top carved
Apparently I left the board about 1/32″ thicker than the 3/4″ the program required because it left just a fuzz of thickness uncut. Once I cut away the retaining tabs though, everything came away without any problems.
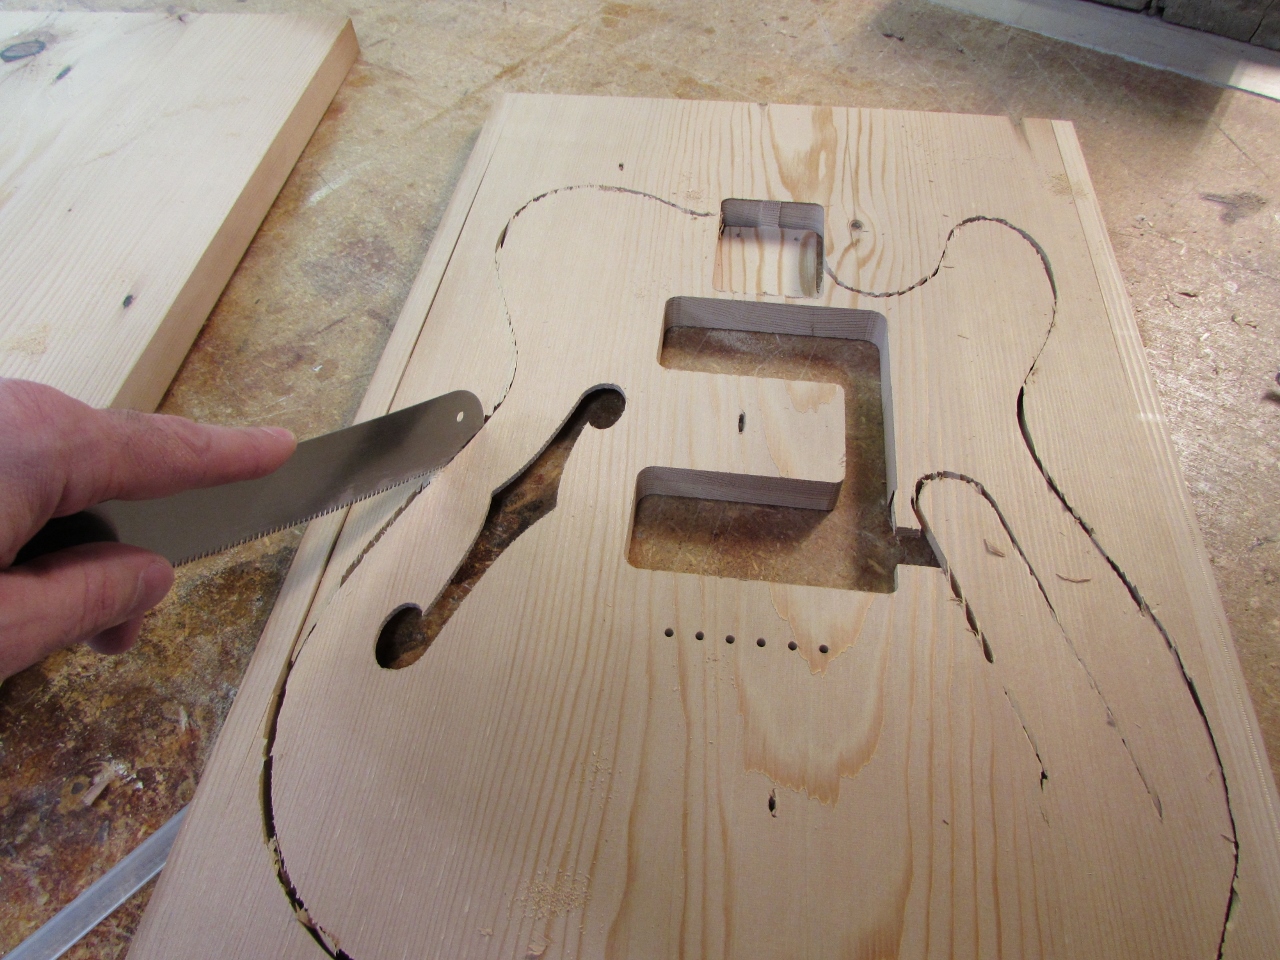
Cutting the tabs
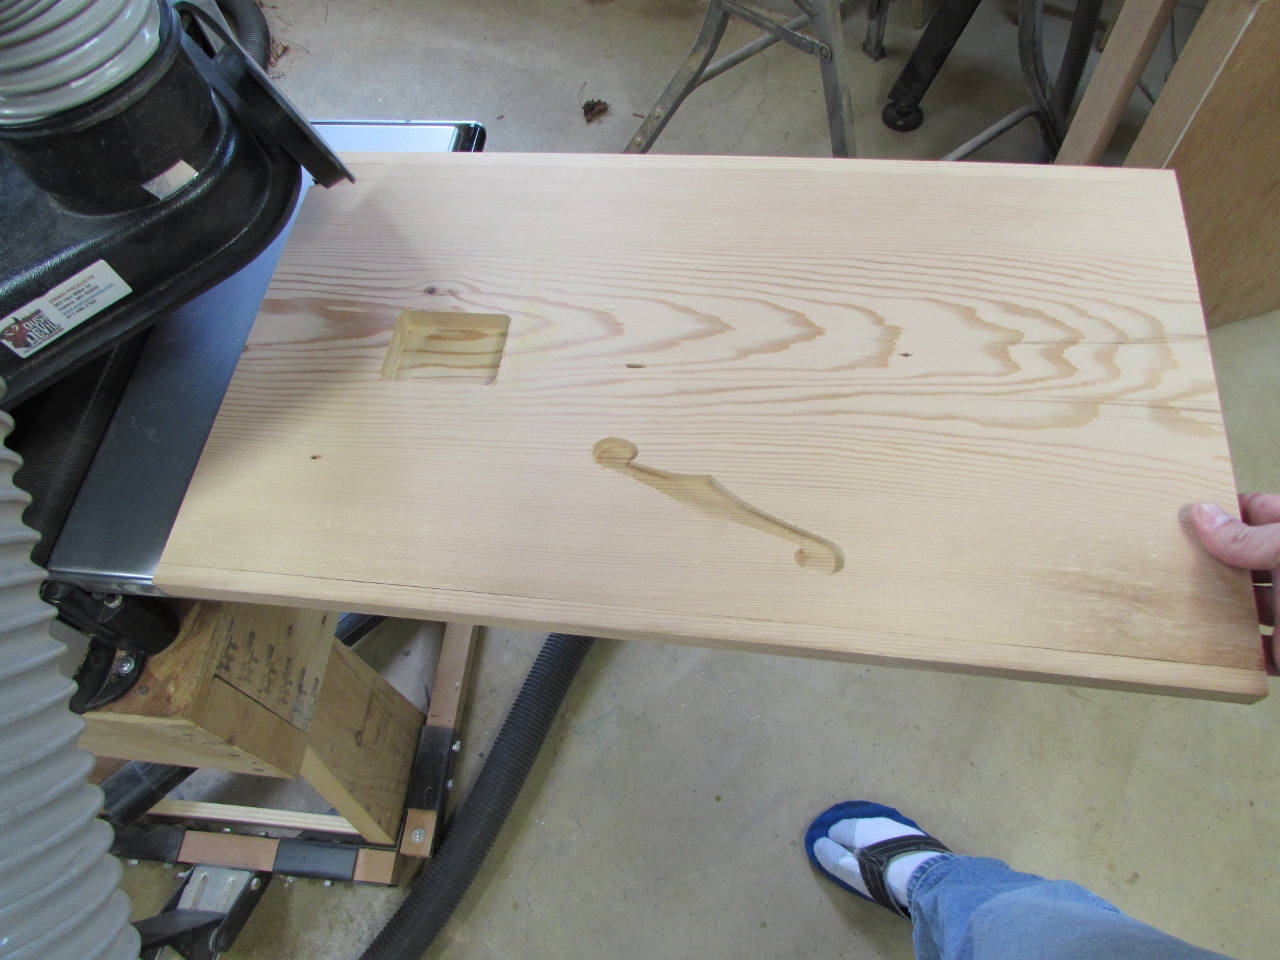
Just a touch with the sand paper and the top is finished.
Inside of the top
Here is a shot of the front and the back. I Think the logo turned out kind of cool.
Outside of the top
While the first half was carving I finished planing down and attaching the sides to the second panel. I loaded the second board and fired up the program to run for a few hours.
The bottom, loaded and carving
The first half took about 5-1/2 hours to run, and the second one will be about the same, so I am going to wrap it up here for the day. The carver will be running till about midnight, so I will post more tomorrow.

Dude, can’t wait to play this thing! The hemlock is beautiful…love the look of the nail holes. Cool to hear some of the history of the lumber.