
Baby sitar build – day 6 – complete
The last coat of tung oil has dried, so I applied a coat of paste wax.

Applying a coat of paste wax
After 15 minutes or so, I rubbed it off and buffed it out. It leaves a nice luster to the finish.
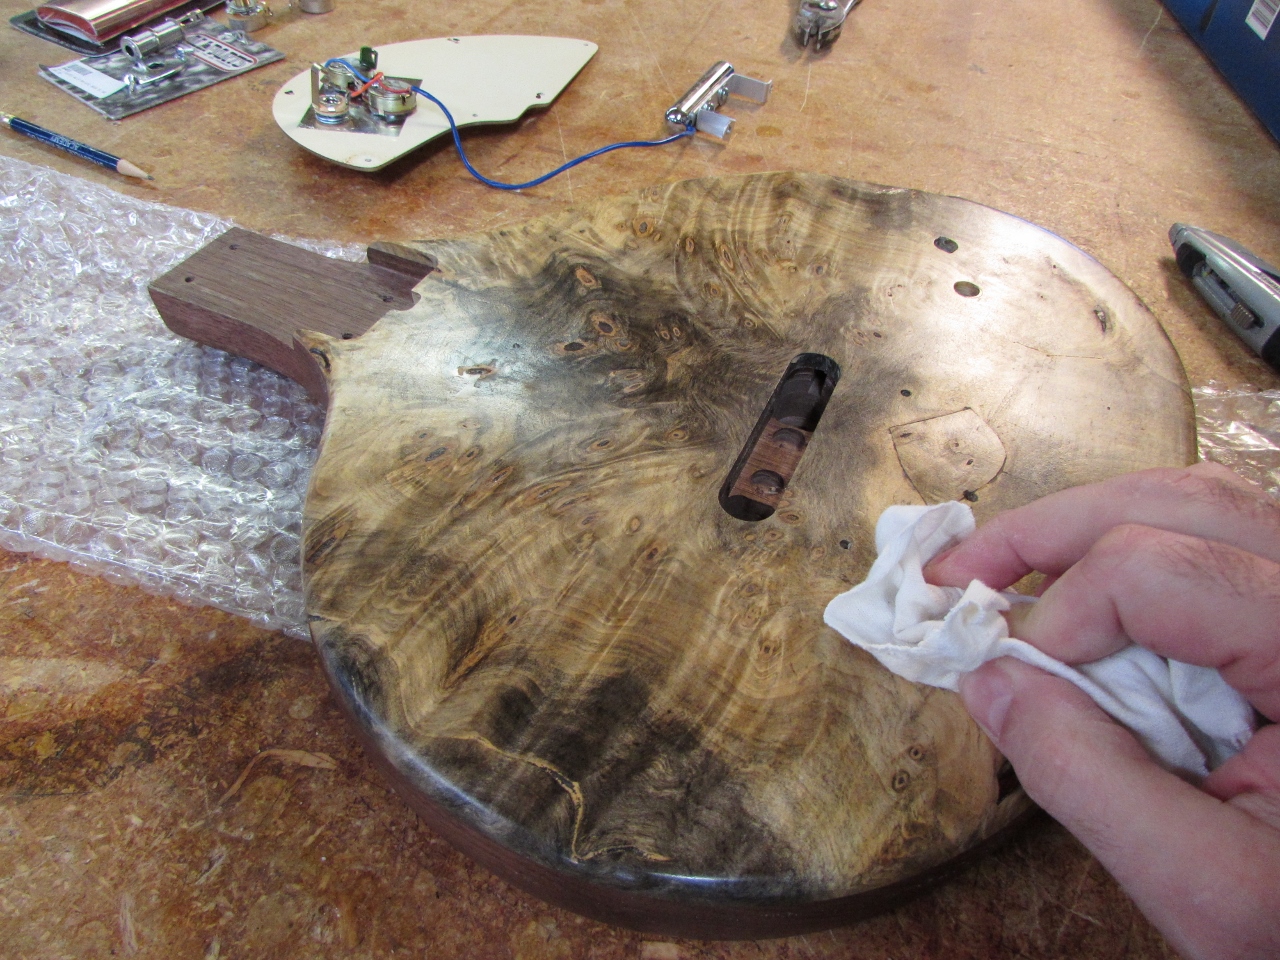
Polishing
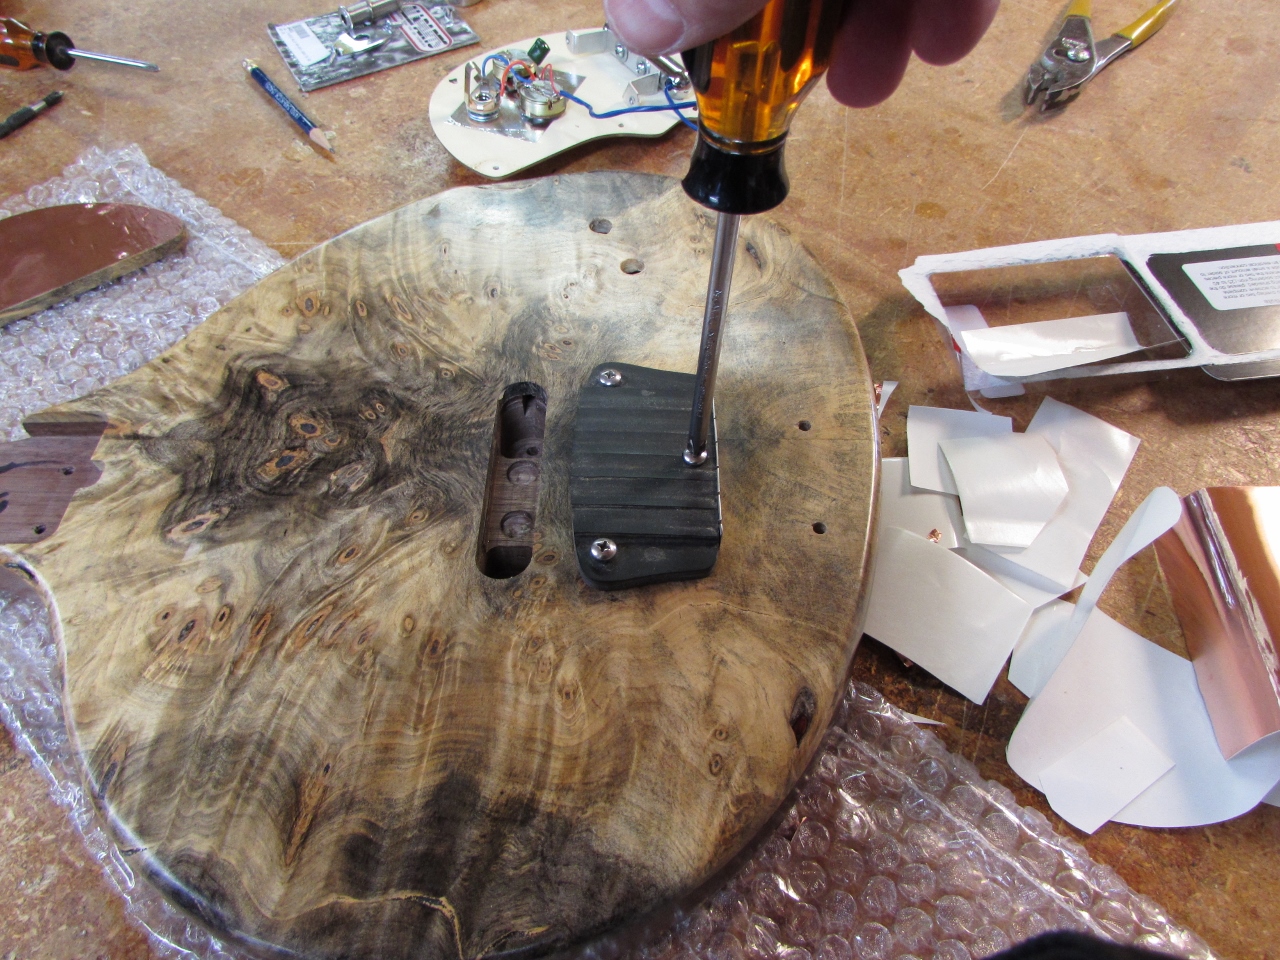
Next step was to line the control cavity with adhesive-backed copper, for shielding.

Lining the control cavity with copper
I was asked to sign the guitar, so I tucked my name away in the neck pocket.

Signing the neck pocket
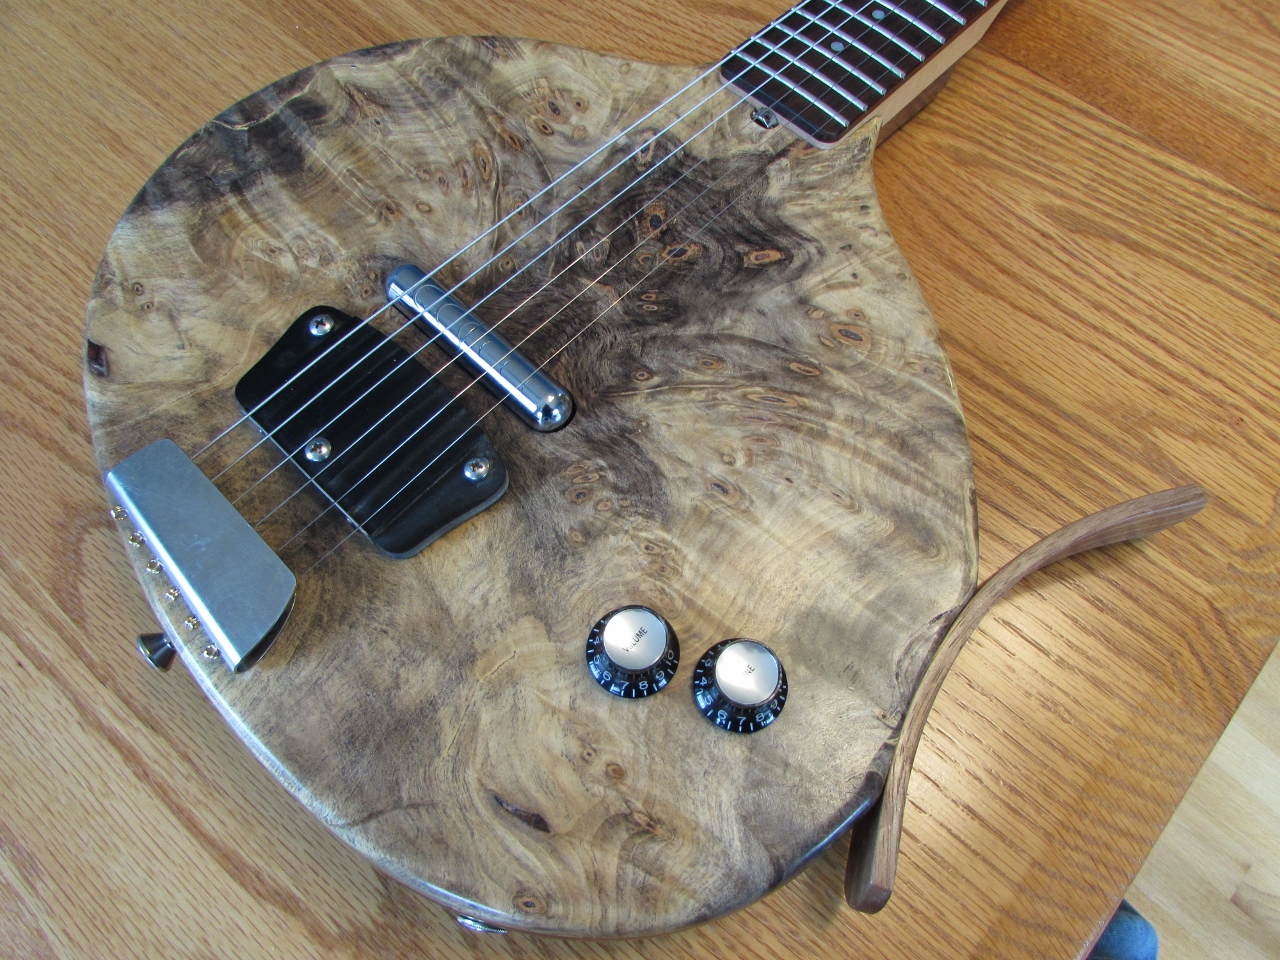
Attaching the buzz bridge
After that, I added the buzz bridge and the tail piece.
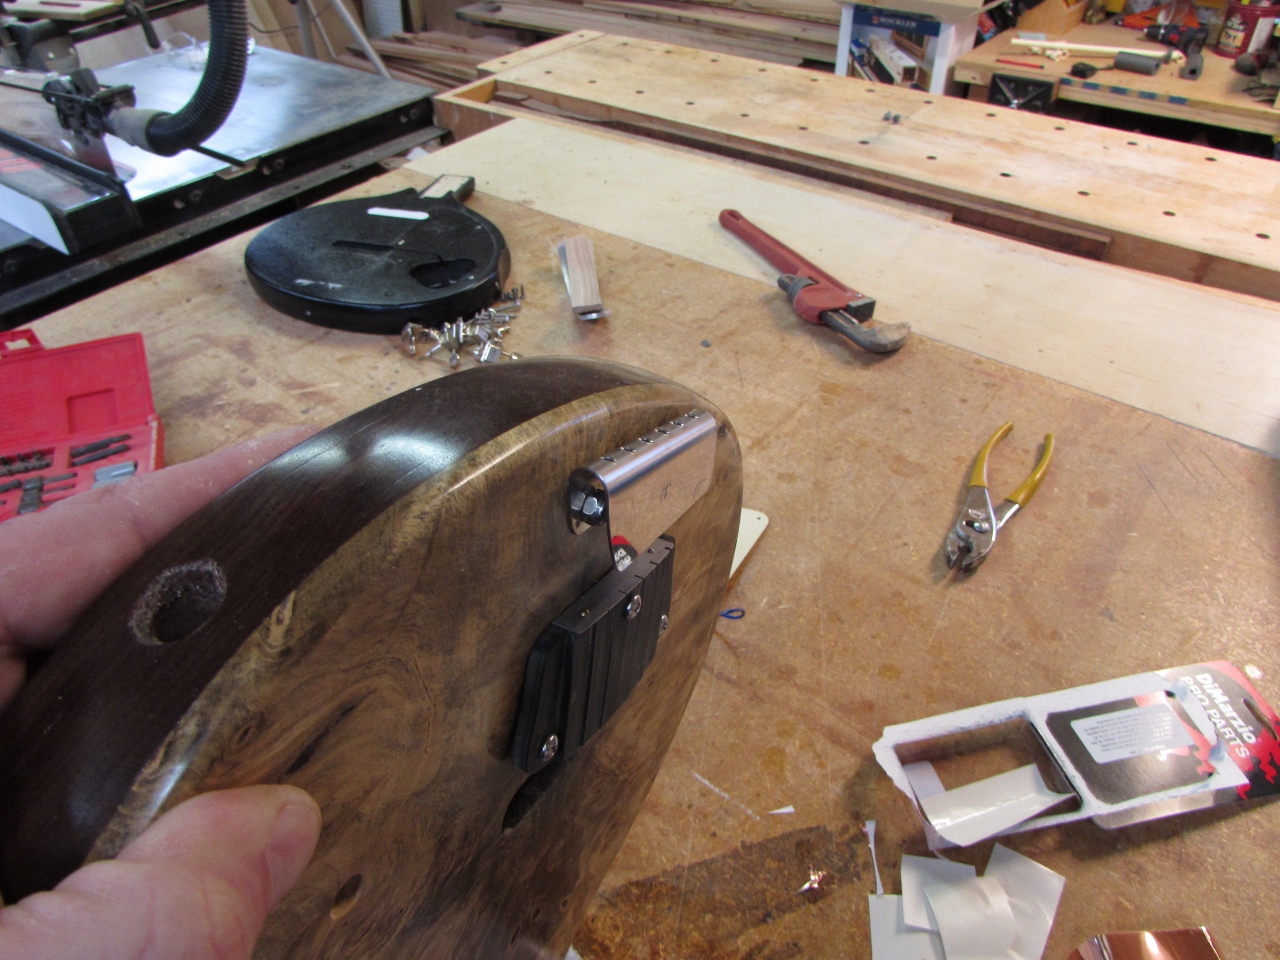
Tail piece attached
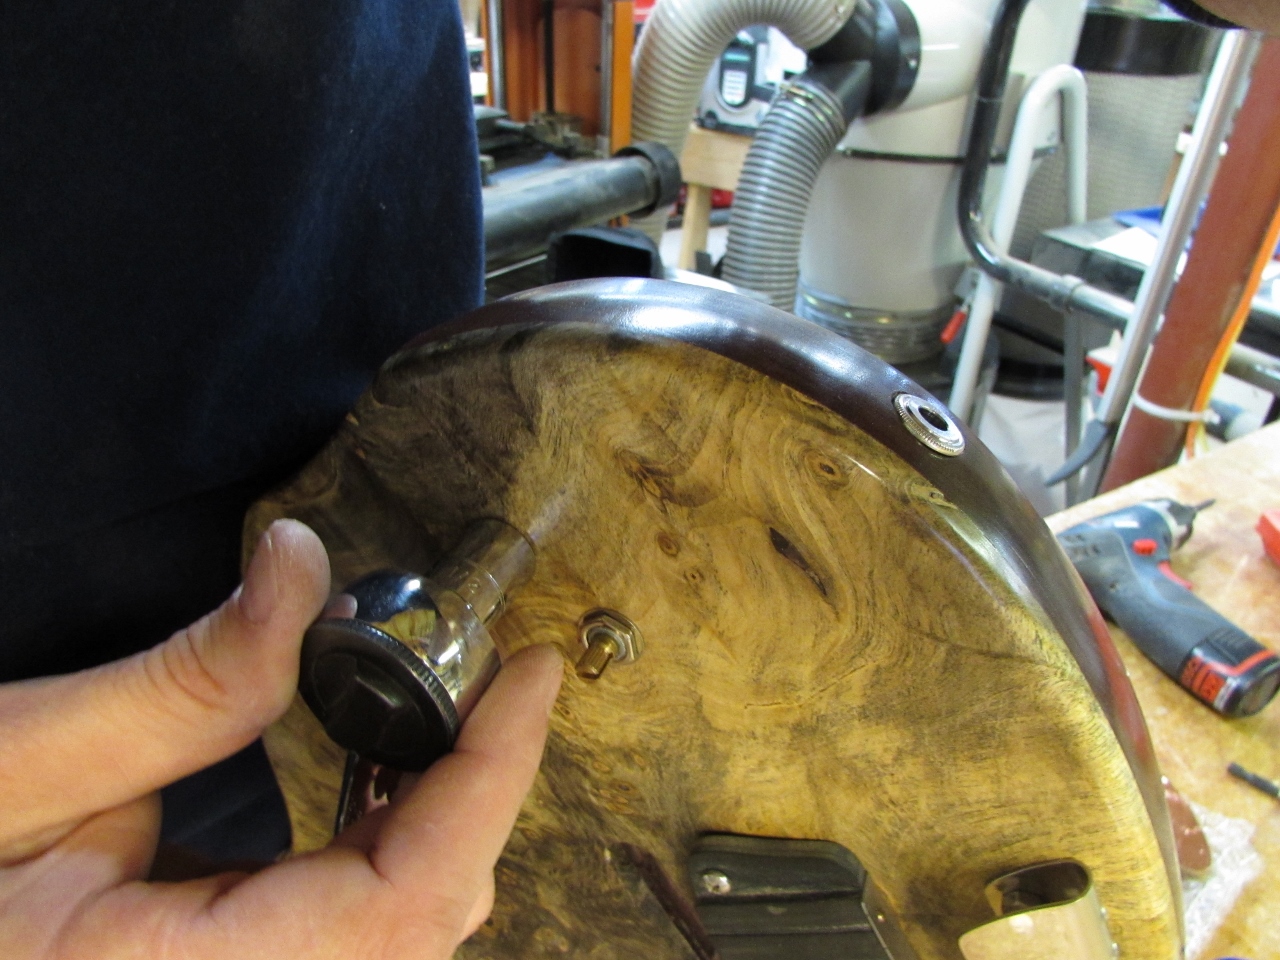
Adding volume and tone pots
I added the jack, then the tone and volume potentiometers.
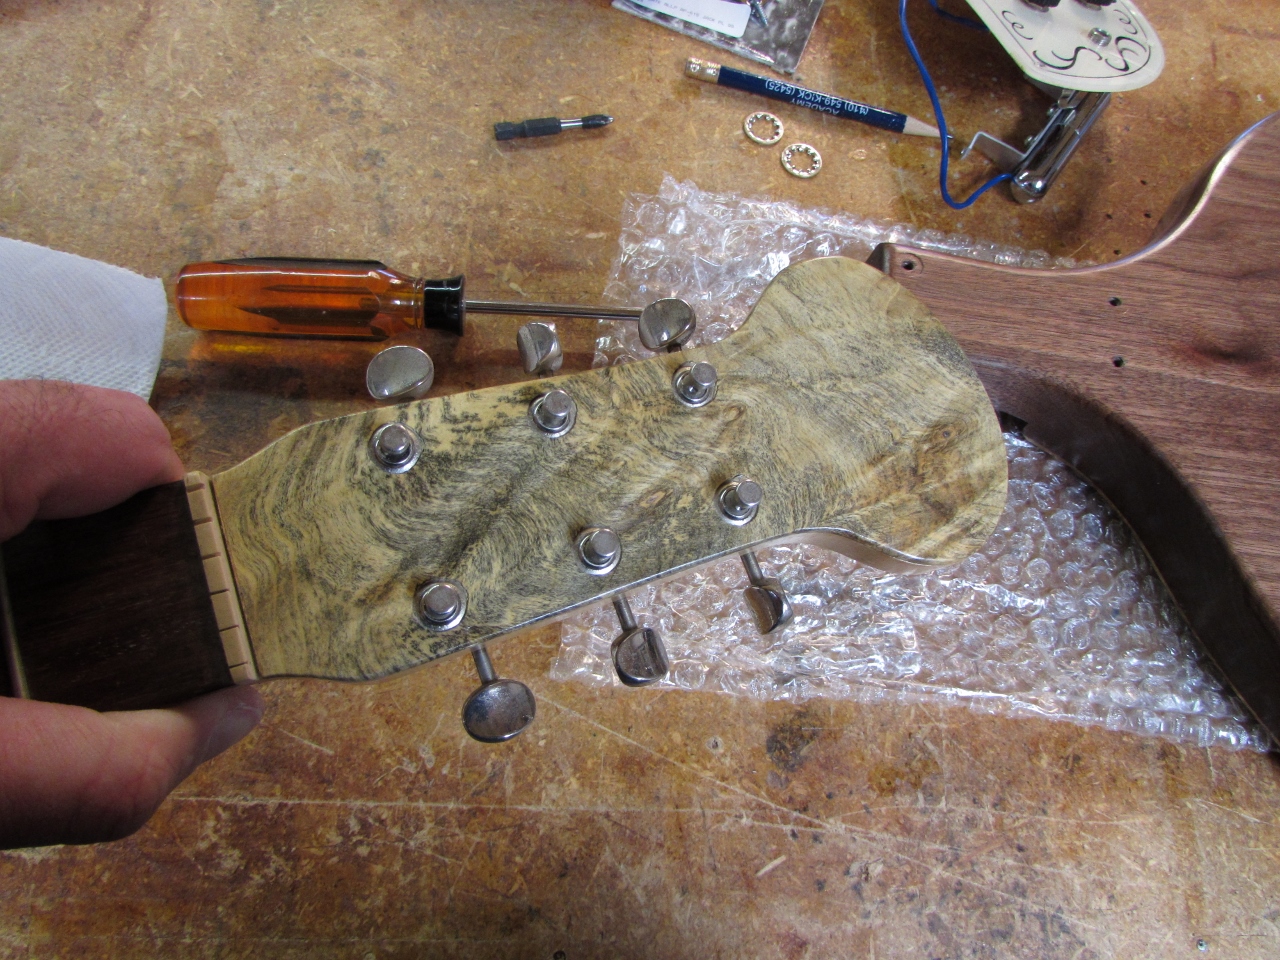
Tuners installed
then I installed the tuners in the head and attached the neck.
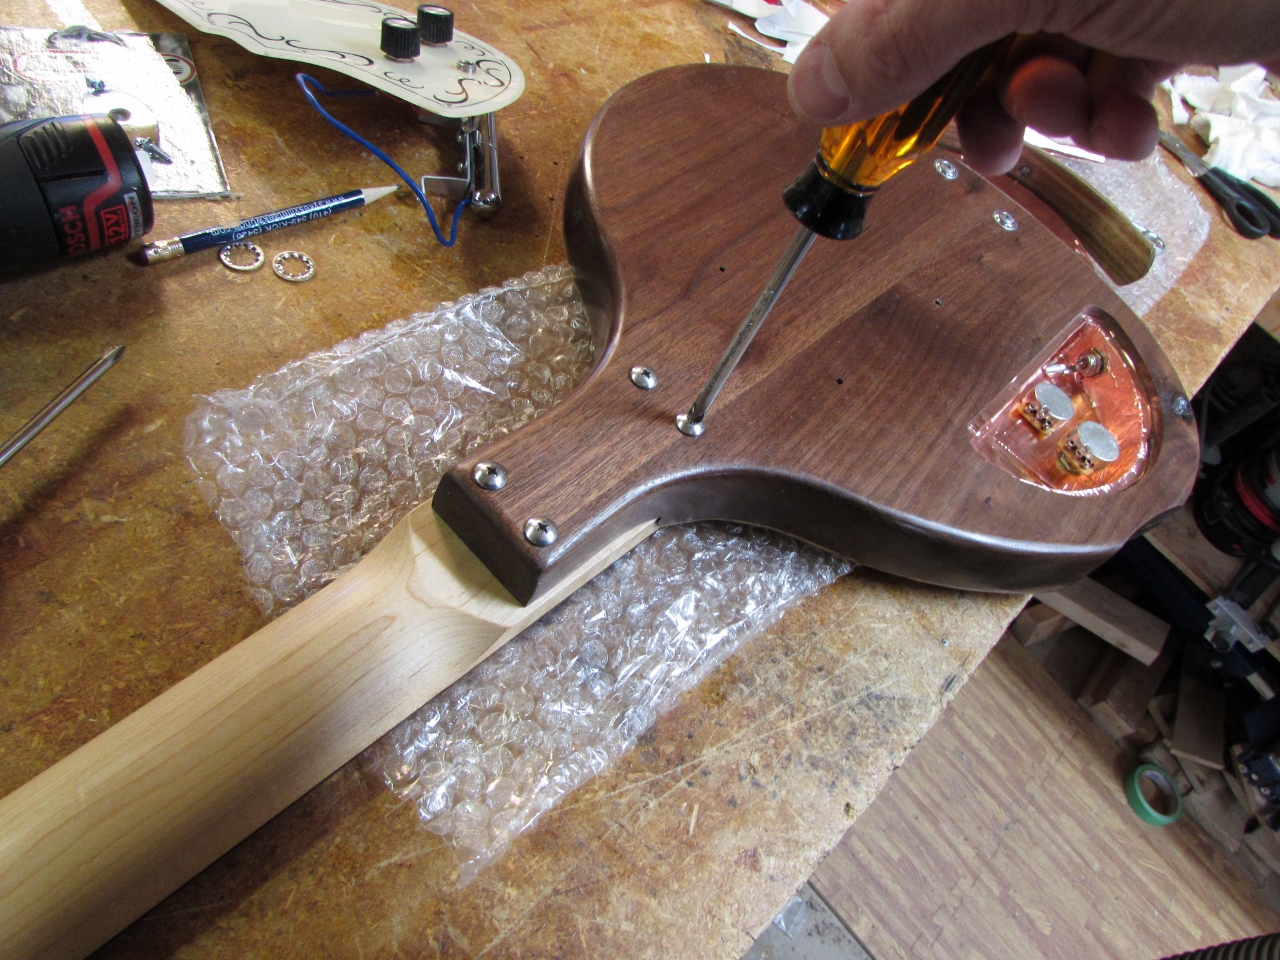
Neck installed
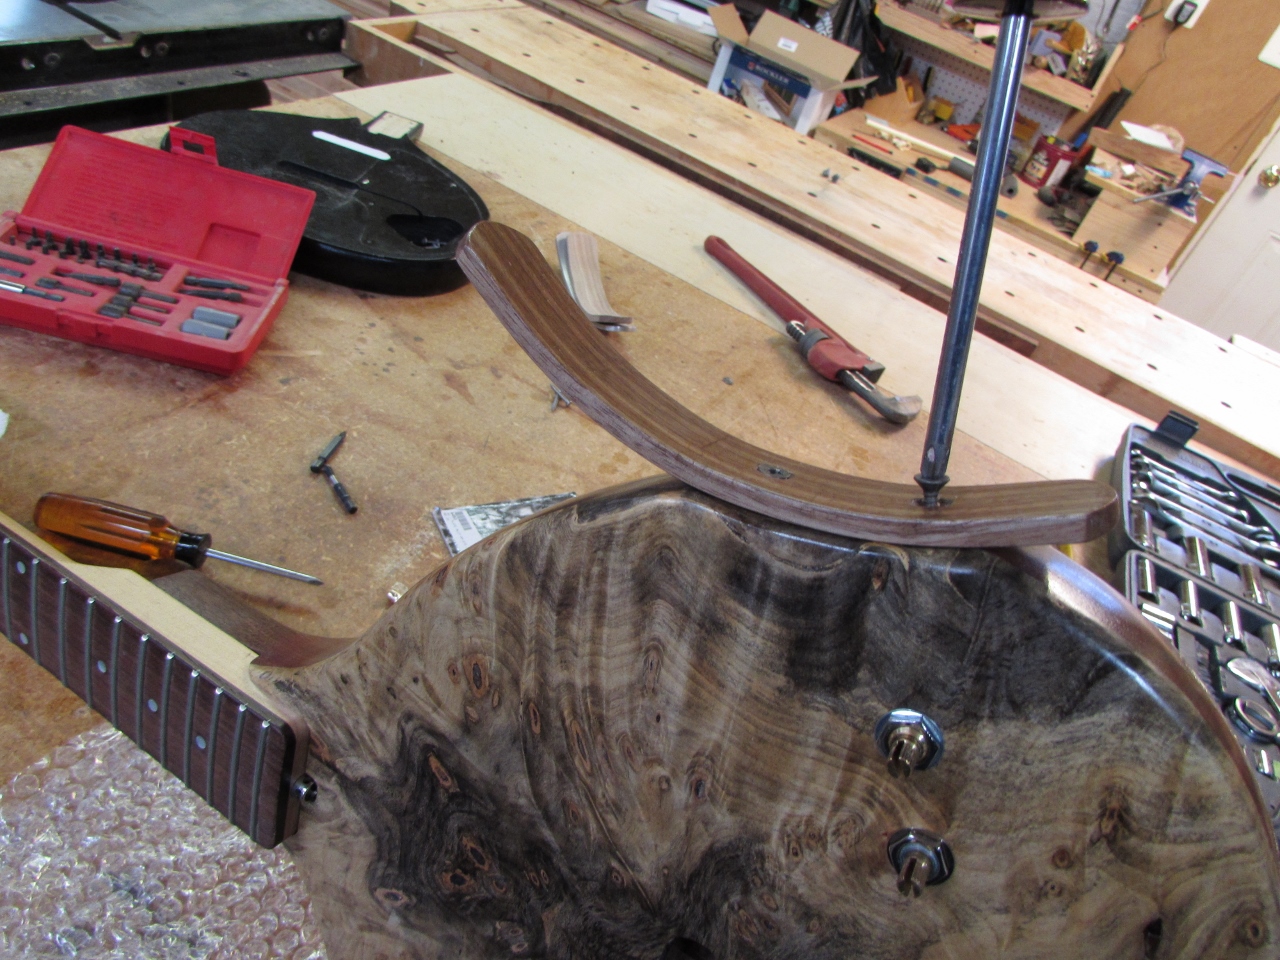
Leg rest installed
After adding the leg rest, I sat down to figure out the wiring. I am no expert at electronics, so it takes me a while. I had a little trouble and actually wound up re-wiring it three times till I got it right.

Wiring up the controls

Closing it up
Finally I got it right and attached the panel cover to close it all up.

Oiling the neck
The last thing I did before wiring it up was to put a rejuvenating coat of oil on the fret board. May as well make it all look new.
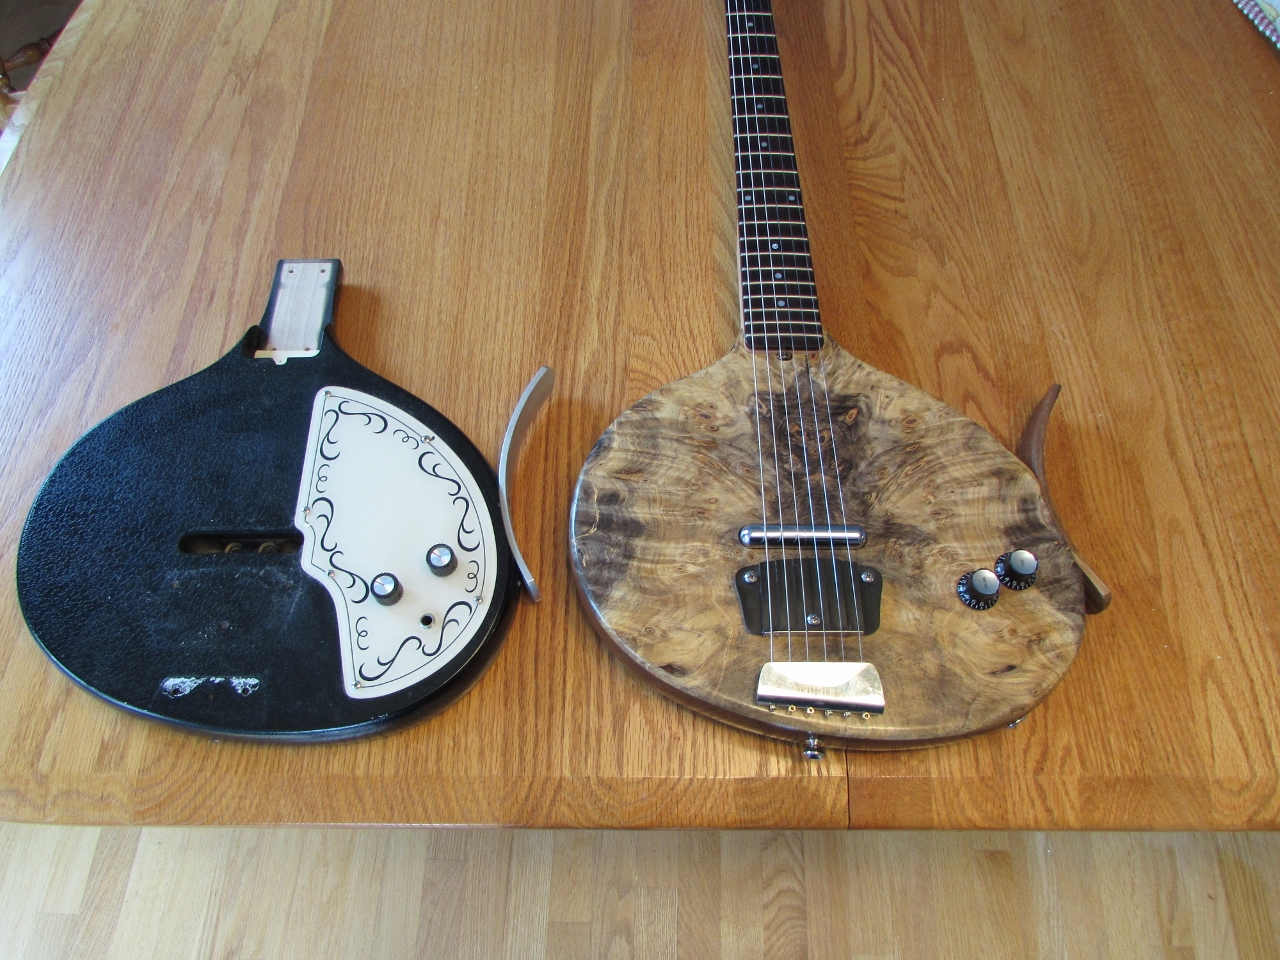
Before and after
Here is a before and after shot. I think it is a bit of an improvement.
Since I don’t play, I am going to hand it over to my friend Bill, the proud new owner, and he can set it all up properly. There may be a couple tweaks required to get the buzz bridge set up, but for the most part, I think I am done. I took a few different photos trying to find just the right light.


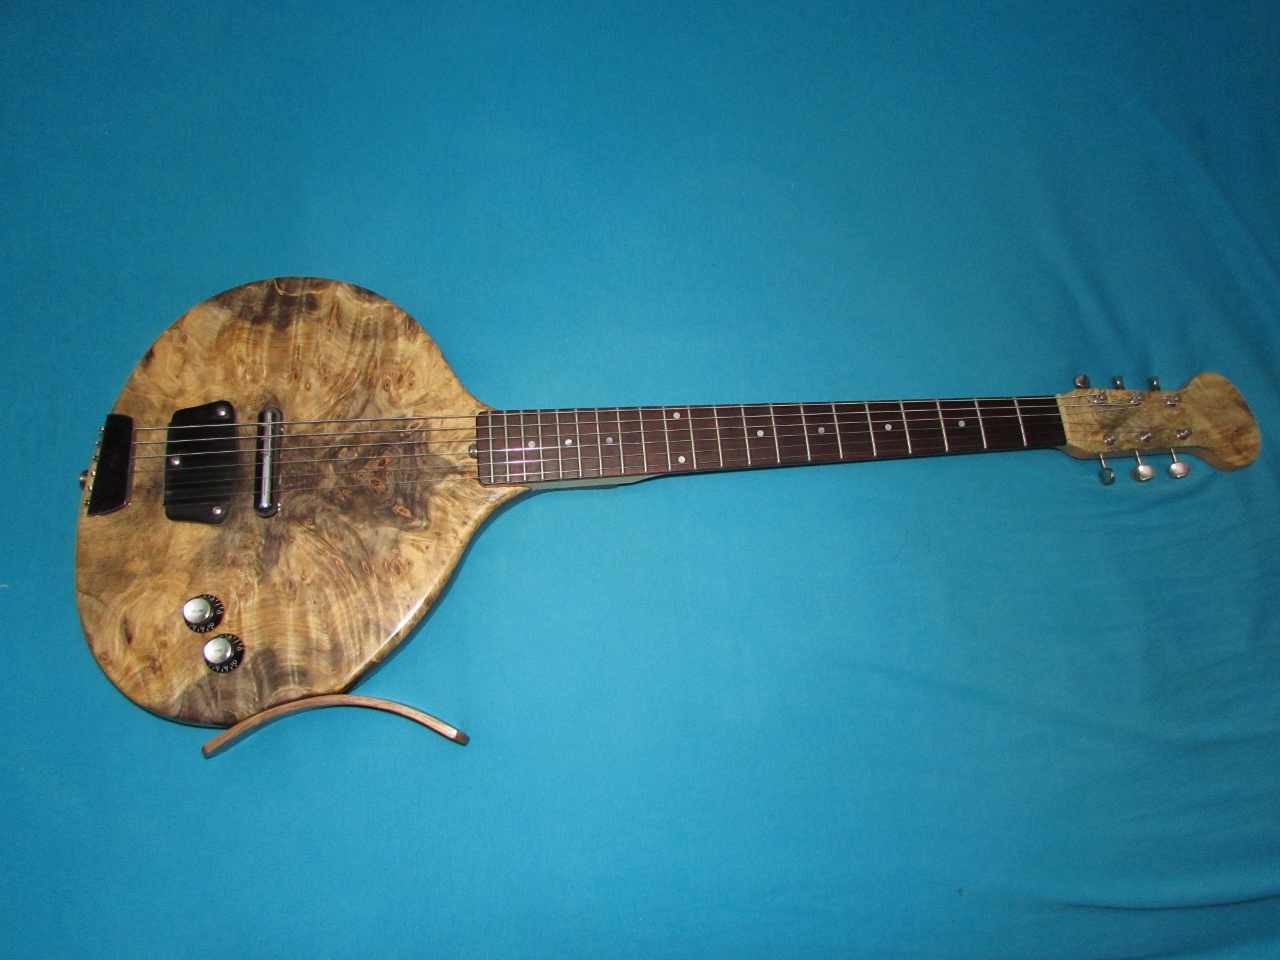

This build was fun. I hope you enjoyed following along.

Lawrence, Very nice build and documentation! The Baby Sitar looks great and I’m sure your friend Bill will make it sing nicely.
Thanks Mike
Why do you call this a sitar?
Because it has a buzz bridge below the pickup which makes it sound similar an actual sitar when you play it.