
Church Altar and tabernacle stand – day 11
I pulled the clamps off of the tabernacle stand top today. Learning from the altar top, I only use the router to flush trim the end grain. for some reason it likes to tear-out chunks when cutting with the grain.
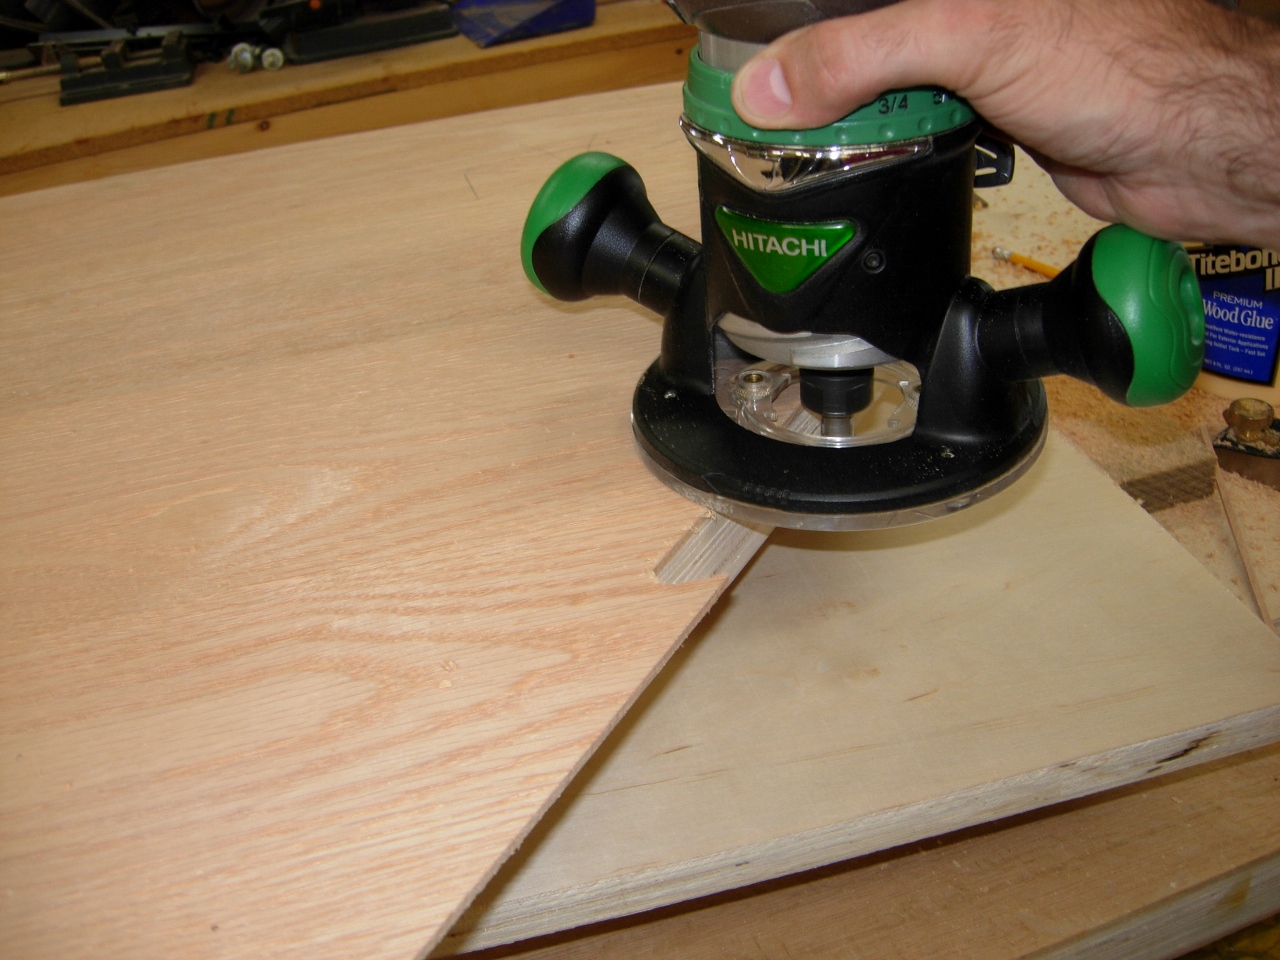
Flush trimming the end grain
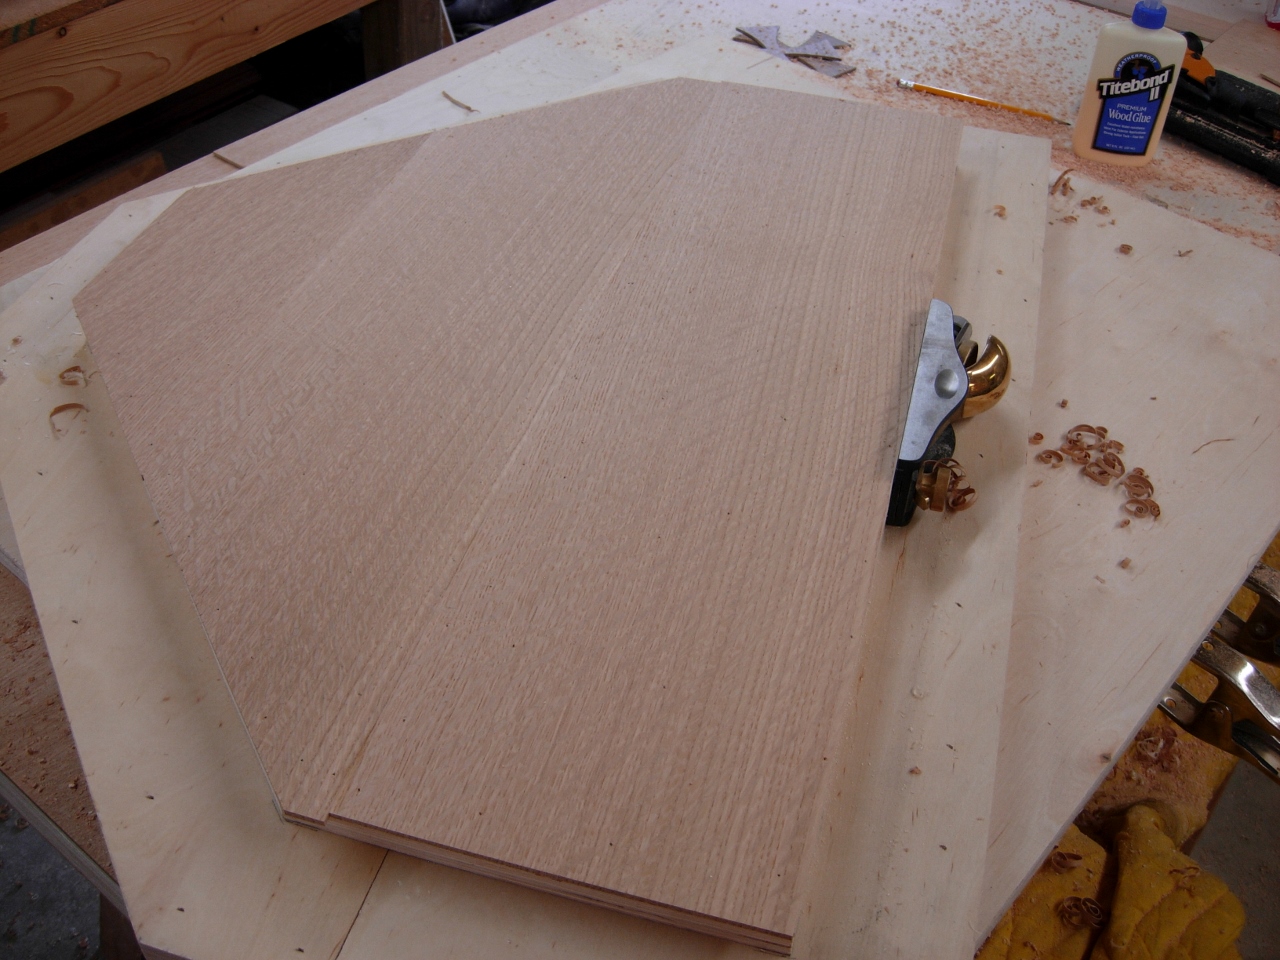
Planing the bottom with the grain
To trim with the grain, I used the block plane. With that out of the way, I started laying out the veneer for the bottom lip.

Laying out the veneer for the bottom lip

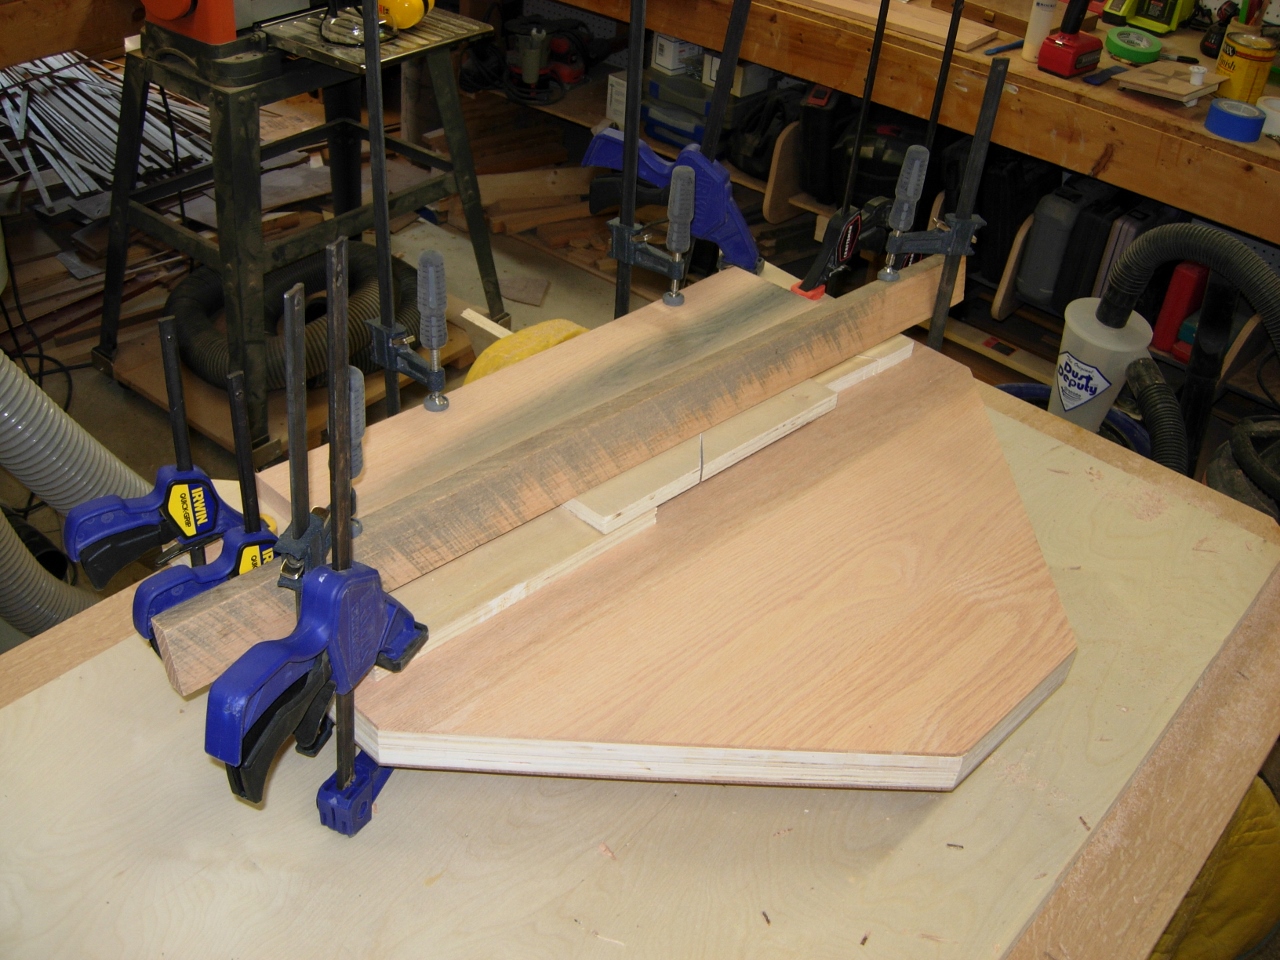
cutting out the lip veneer
I took my time to lay out the angles so that the grain all went in the same direction. I cut the 45 degree angle on the band saw. The veneer doesn’t have to butt perfectly up against the plywood, that area will be covered with trim eventually. Once all the veneer was laid out, I glued and pin nailed it like all of the rest of the bottom veneer.

Installing the lip veneer

Trimming the bottom veneer edges
I trimmed all of the lip veneer with the block plane. Next, I flipped the board over and routed out the crosses on the front, then chiseled out the excess to make room to receive the crosses.

Cross pockets cut out

Glueing down the crosses
I spread the glue and rigged up yet another odd clamping arrangement.
Clamping down the crosses
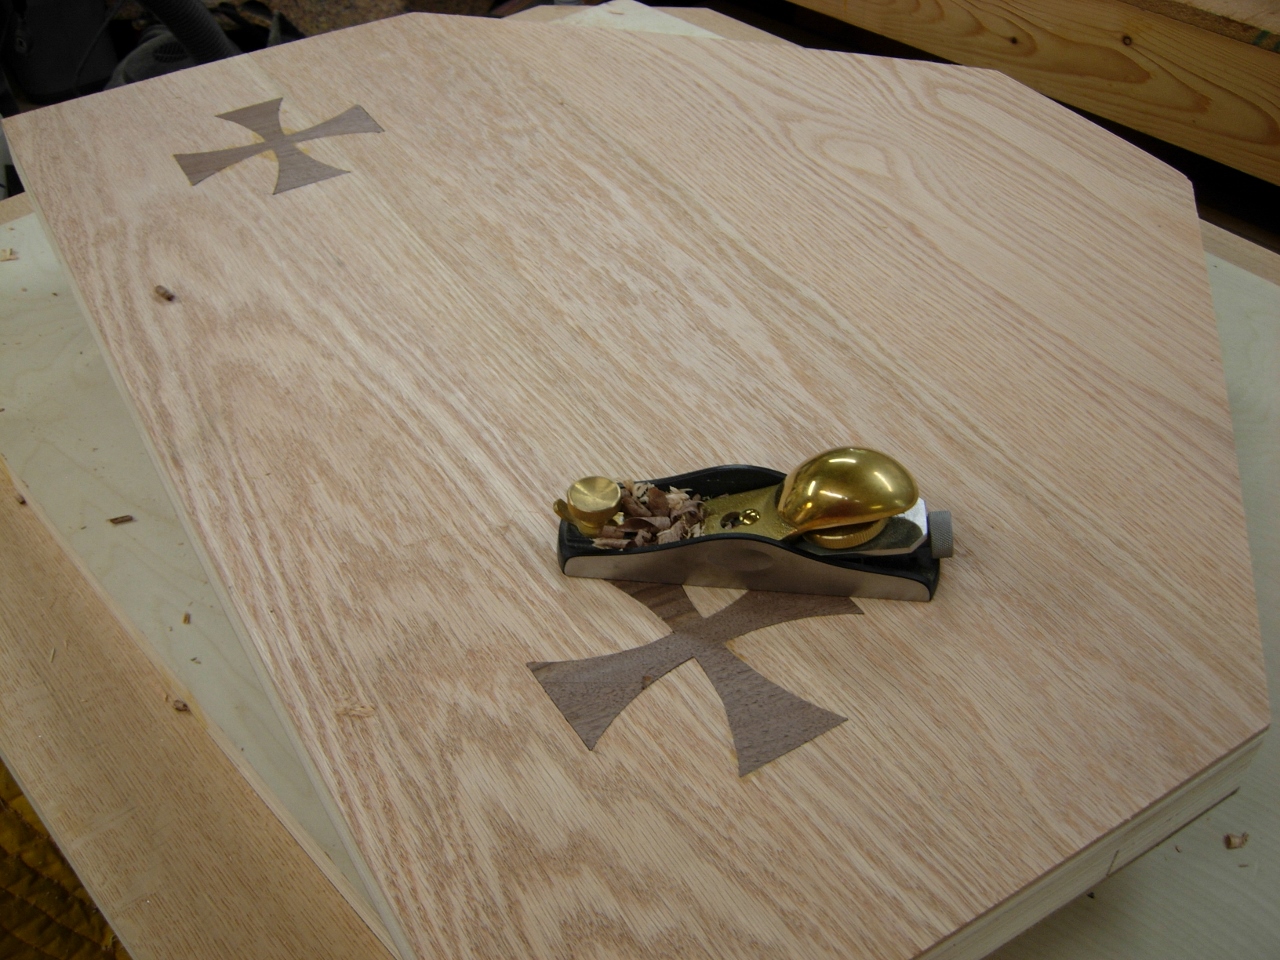
Planing down the crosses
Apparently I am getting the hang of this, I haven’t needed to repair or re-glue any of the veneer on this top yet. I planed the crosses down flush then sanded them down smooth.

Sanding the crosses
While I am getting better at inlaying the crosses, they still have a couple small gaps that need filling. So I took a pinch of the stained wood flour that I saved and added some more hide glue and spread it over the crosses and a few areas with a funky grain that the planer couldn’t quite get perfect.

Filling around the crosses

6/4 boards for the base
While that is drying I decided to cut down the 6/4 boards that have been in my way for a week or two now. They will be a lot easier to trim and plane when they are 3′ and 6′ long, not their current 13′ long. Currently they each weigh about 100 pounds. Way too heavy to be running through my small planer.

Cutting down the 6/4 for the base
