
Church Altar and tabernacle stand – day 12
Today, I want to work on the base for the altar, so to make some room, I finished scraping and sanding the tabernacle top. It turned out nice, but that veneering stuff is old news now. On to another new tool…
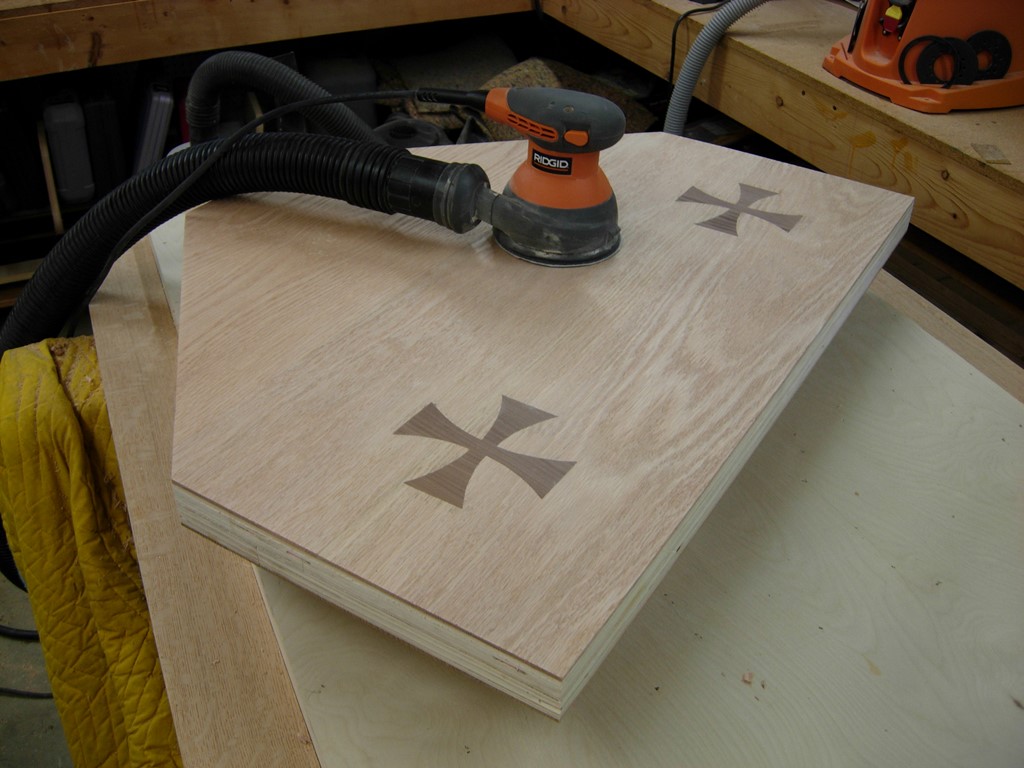
Sanding & scraping the tabernacle top
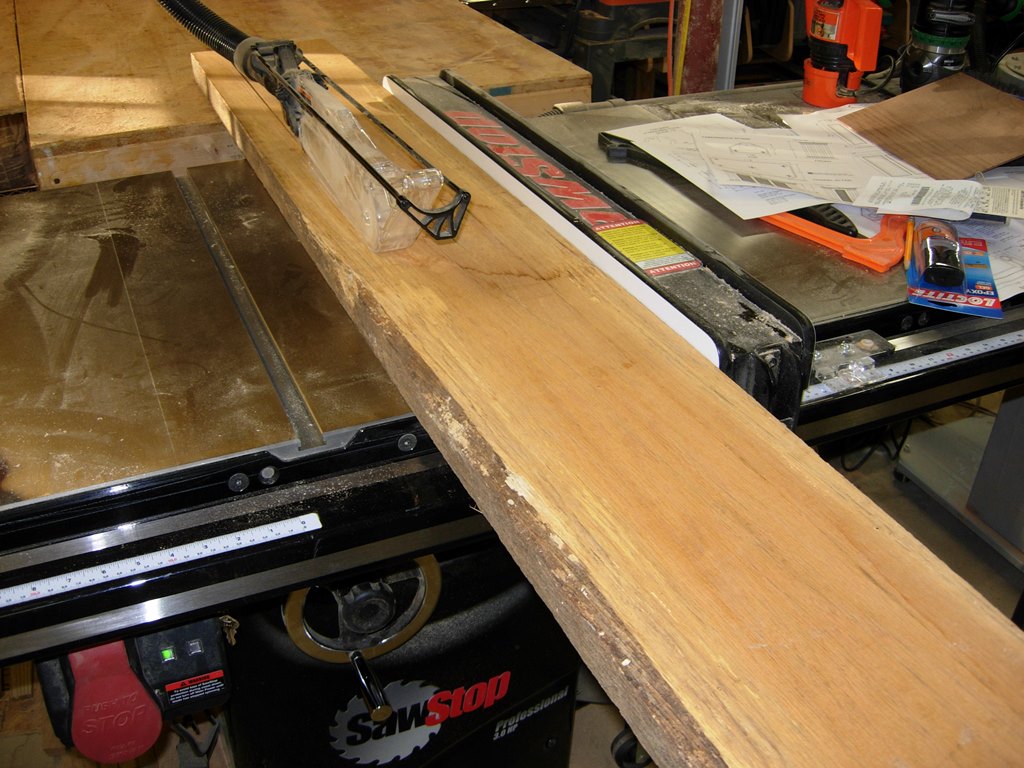
Cutting down the 6/4 boards
The base is going to be fairly heavy. It will start with a piece of 6/4 (1-1/2″) oak, them have another 1″ piece layered on top of that. The 6/4 board will be 13-1/2″ wide. Since that is wider than my planer, it will be made in two pieces joined together. I cut down my 6/4 boards the other day. They are now roughly 6′ and 3′ long. This makes them much easier to handle, but it wastes a bit more wood. I ran the boards through the table saw to dimension the widths of the boards and straighten up the edges. Next, I ran them through the thickness planer to remove the rough-sawn faces. I had to take off nearly 1/4″ to get them all smooth. The rough-sawn boards start out about 1/4″ thicker to begin with for this reason. All my base pieces are not 1-1/2″ thick exactly.

Planing down the 6/4 boards

Halfway done, bag full…
Halfway through the planing, I had to stop and empty the dust collector. You would be amazed at how much sawdust is made when an entire project starts with rough-sawn boards. Luckily the rest of my boards are from Vintage Lumber and were already planed down to a nominal size. I shouldn’t have to do much more planing on the rest of the project.
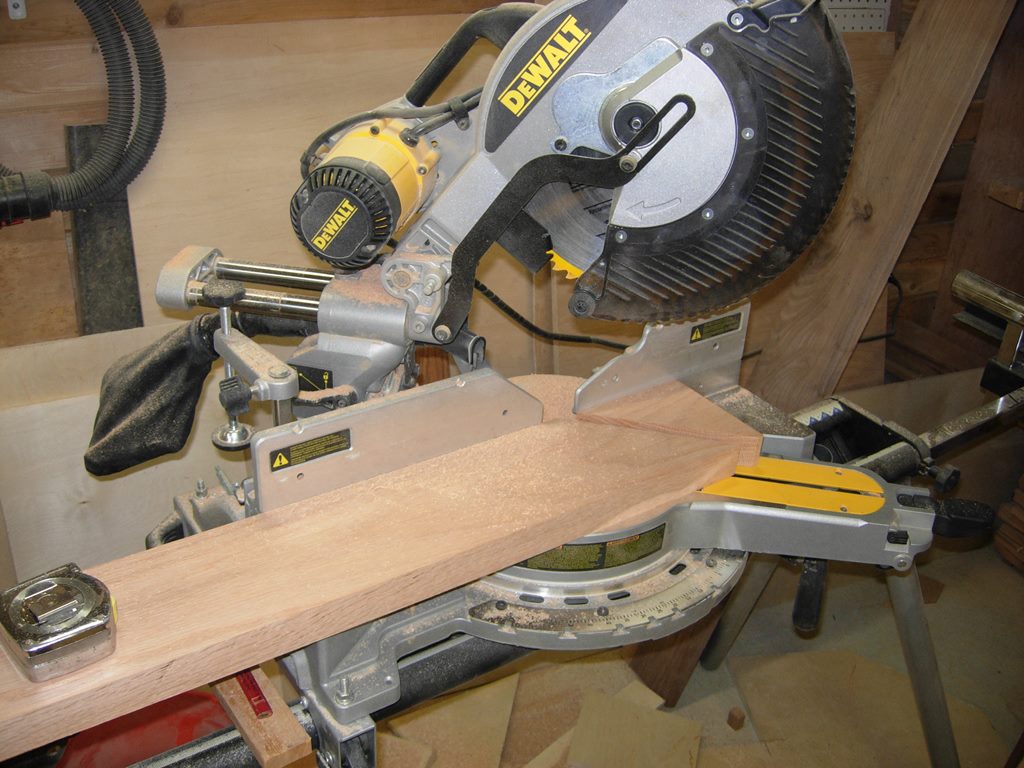
Mitering the 6/4
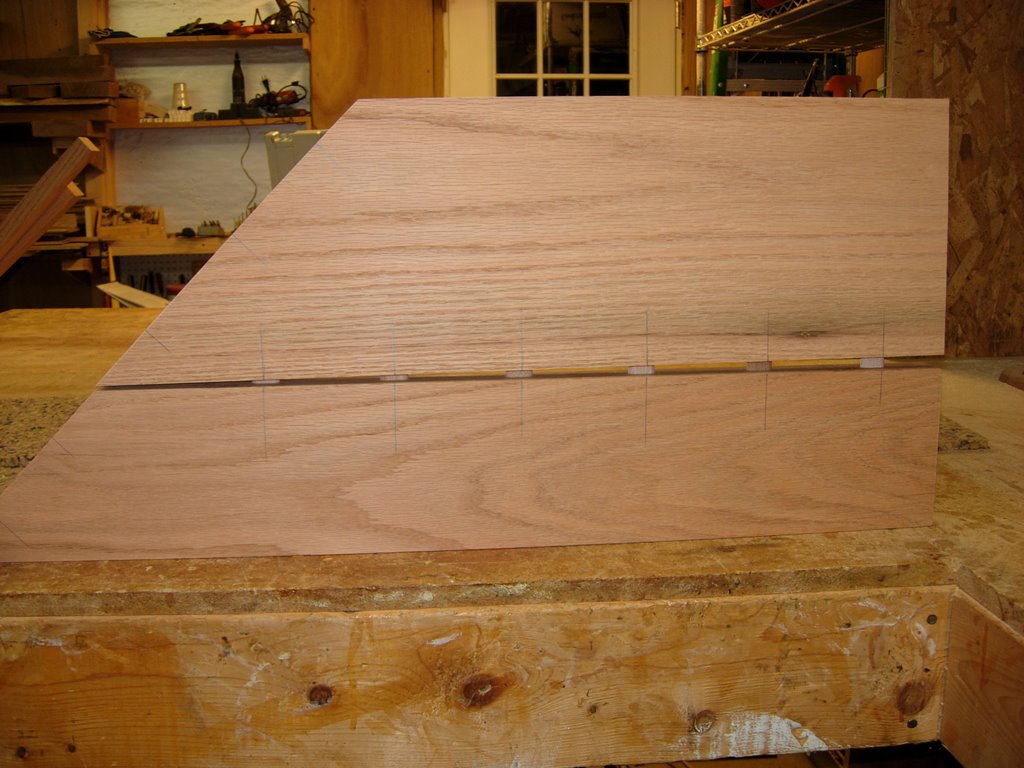
The big challenge for this base is the large miters on the corners. One of the reasons that I take on these big projects is to learn how to do these things. I know the overall dimensions of the base, so I cut the miter to the long dimension on the outside piece, then cut the first miter on the inside piece. Next I lay them together and use my framing square to project the second miter and mark it. After the front pieces are cut, I perform a similar operation on the sides. This would have been a bit more difficult with my old miter saw. The long 45 degree miter on the wider board would not have fit. I probably would have joined the boards then cut the miter with my circular saw along a straight edge. But the new sliding compound miter saw cut a perfect 45 with no problems.
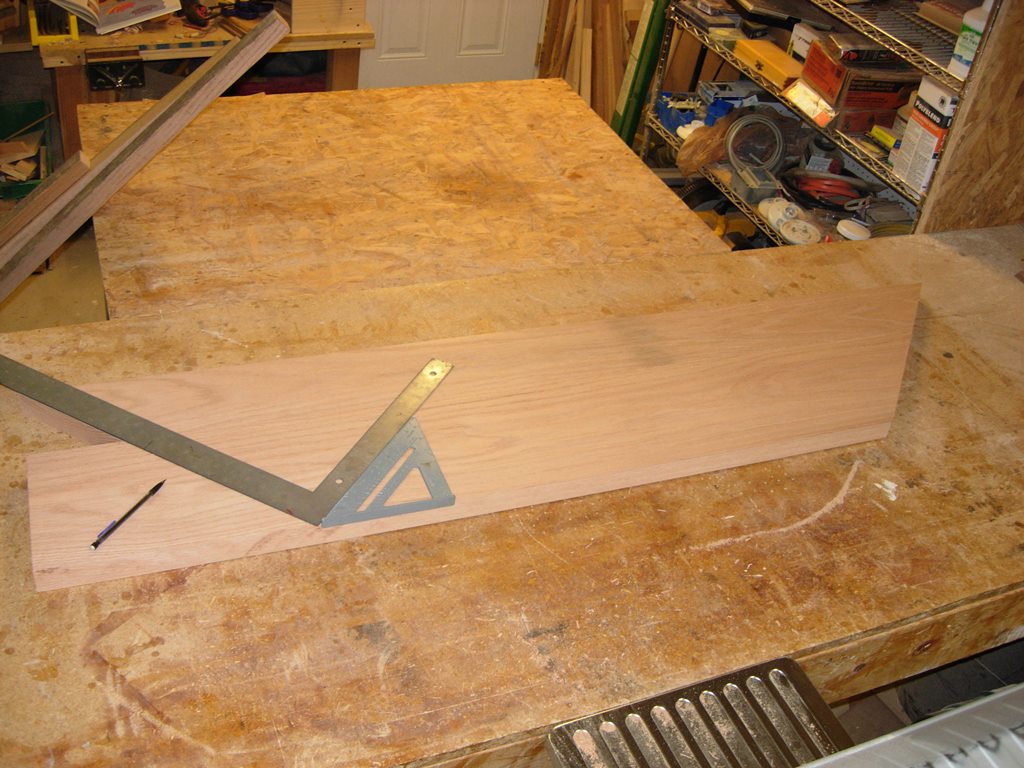
Matching the miters

Dry fit
I dry-fit the pieces and began laying them out for joining. I borrowed a Festool Domino From my friend Dave at Saint Joseph’s Carpentry Shop. I have never used a Festool product before. The Domino is supposed to be like a biscuit jointer on steroids. I have never had much luck with biscuits, but the Domino tenons are a lot beefier. I laid the domino tenons out every 4″ to 6″.

Laying out the Dominos

Custom dust collection connection
Since the Domino has a huge collection of expensive, metric sized, accessories, I had to create a custom dust collection adaptor. 6″ of painter’s tape should do it…
Since I have never used one of these before, I decided to do a test run on a few pieces of scrap to make sure the settings were all correct. I got it set up and cutting the way I wanted and test fit the first Domino.

Test fit

First run of Domino mortises
I laid one of the side pieces on some scrap carpet backer to prevent sliding and cut in the first run of mortises. After doing the opposing side as well, I pressed in some Dominos and did a dry-fit.
Yeah, it fits…
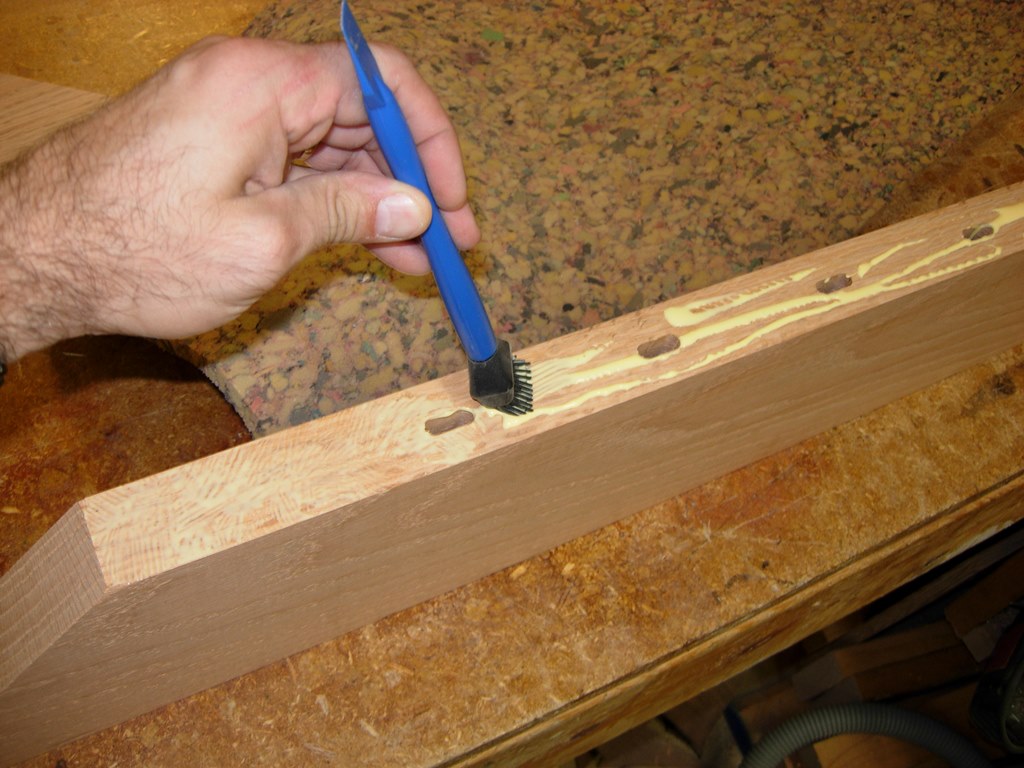
Yellow glue with the grain
I went ahead and spread some glue on the edges and a bit on the floating tenons and clamped up the first side. I am using tightbond yellow glue along all the long grain sides. It will be less effective on the end grain in the miters so they will get two-part epoxy instead.

Clamp it tight
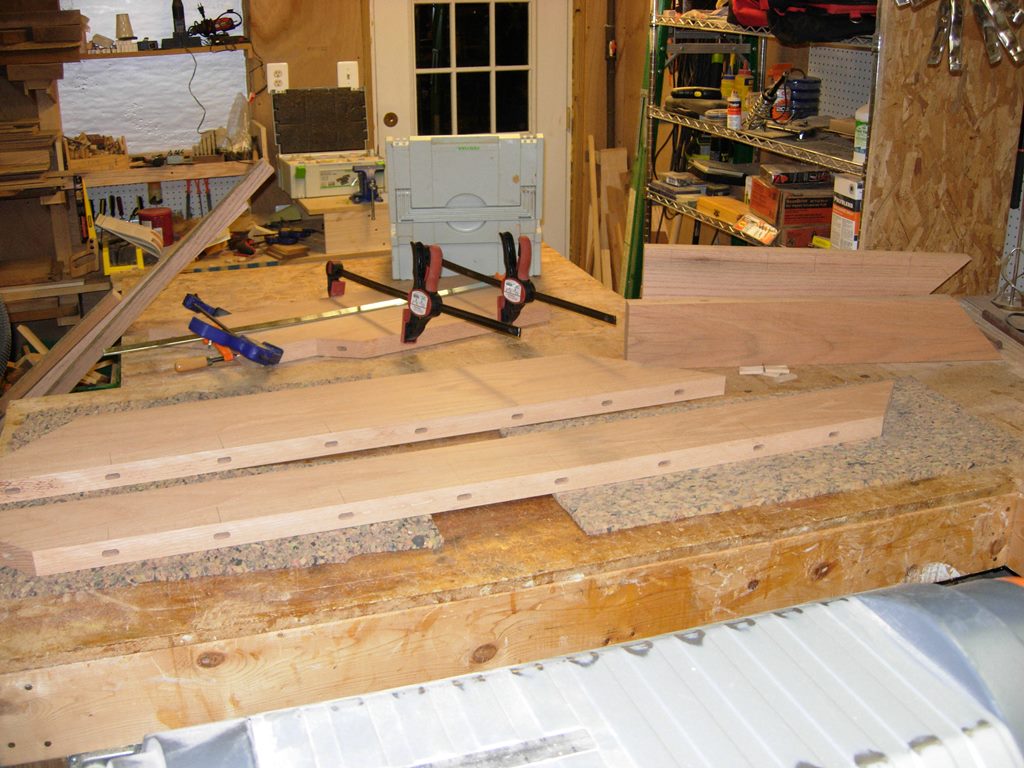
The rest of the mortises are cut
I went ahead and cut the rest of the mortises and glued and clamped the other two long grain sides. Since I can’t find a two-part epoxy in any large quantities at the local stores, I had to resort to buying a couple one-ounce tubes at Home Depot. I will eventually buy a couple of larger bottles with pumps. I am finding a lot more uses for the stuff these days.

Mixing the epoxy
Unfortunately the only epoxy available was the quick set stuff. I only get about 5 minutes to figure out the best way to spread and clamp everything. Since I am working on the flipped-over altar top, I laid down a bunch of wax paper to prevent the glue and epoxy from becoming one with the top. I don’t know if the epoxy will stick to the wax paper, but it will be on the bottom and shouldn’t be too difficult to clean up later.

Epoxy on the end grain
I spread the epoxy on both sides to make sure it would be enough to squeeze into all of the pores in the end grain, then clamped everything together with some extremely large clamps that I borrowed from Dave. Since rusty steel and oak don’t mix well, I cut some leather pads to separate the clamps from the wood. This also has the added benefit of cushioning the clamps so they don’t dent the wood. The acid in the oak reacts to the iron in the clamps and will turn the wood black. I prefer to do as little sanding as possible, so I used the leather instead.

All clamped up
Tomorrow I will work on the base for the tabernacle stand. hopefully it will not be as challenging. But It is almost midnight again and I have to go to work in the morning…
