
Church Altar and tabernacle stand – day 10
Finally made a bit of progress today. I finished op on the top for now and was able to get most of the veneer done on the bottom and the tabernacle stand as well. I also received my new Triton 3-1/4 hp router, that I ordered. This should give me plenty of power for doing the raised panels.

My new Triton 3-1/4 hp router

Scraping down the last bit of filler on the crosses
I started out by scraping down the filler that I applied the other day, followed up by the sander.

Filled and cleaned up
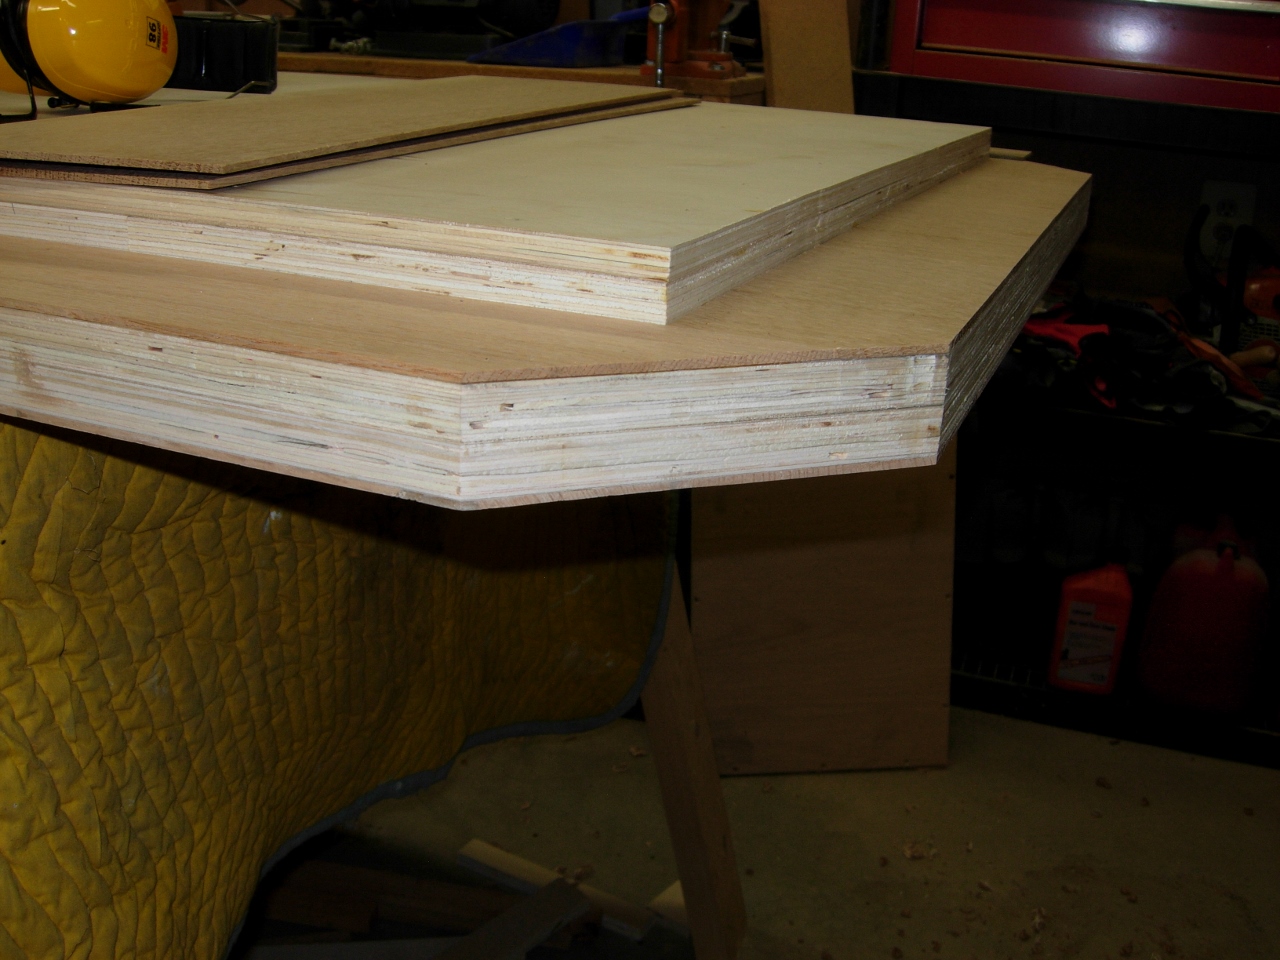
I wiped down the crosses with Naphtha to see if they would look ok when finished. They are not perfect, but I am happy with them anyway. The top veneer is done for now, time to flip it over and veneer the bottom lip as well as the tabernacle stand.

Top done for now

Tabernacle stand top
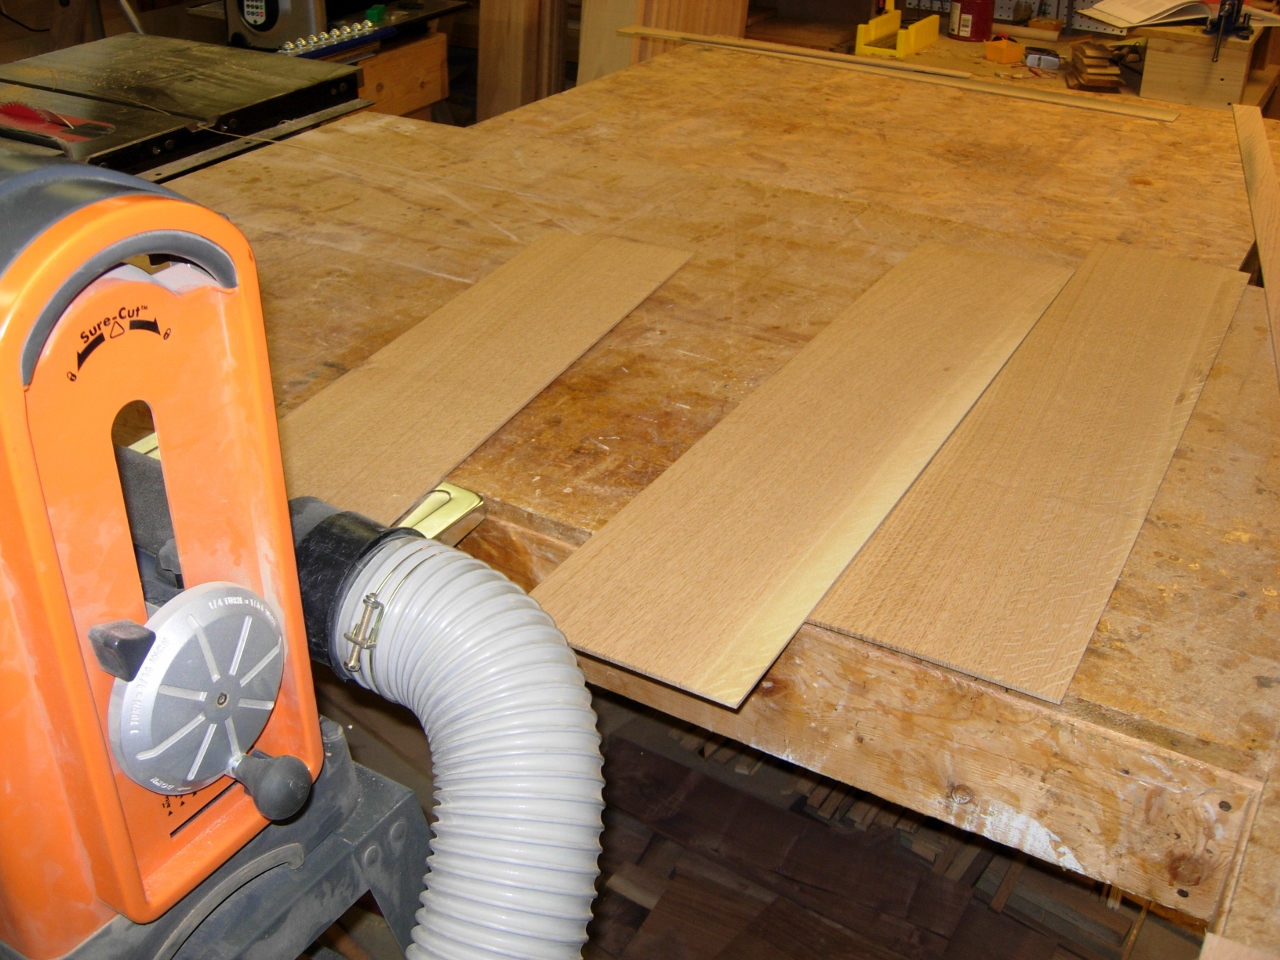
I was rooting through my wood pile and I found some extra wood that was re-sawn off of previous projects. I had a 8″ wide by 6′ long piece of red oak that I planed down to 1/8″ thick and cut up to make the veneer for the top of the tabernacle stand. The rest was a pile of quarter-sawn white oak that was left over from the pub chairs that I built a few months back. It will work perfectly for the bottom lip of the top and on the bottom of the tabernacle stand. Stained it will match the red oak fairly well, but it will be on the bottom, so no one will be looking at the top and the bottom at the same time.

Cutting more veneer
I had to re-saw one additional piece of red oak for the top. I planed the red oak down to 1/8″ and cut it just oversize for the top of the tabernacle stand.
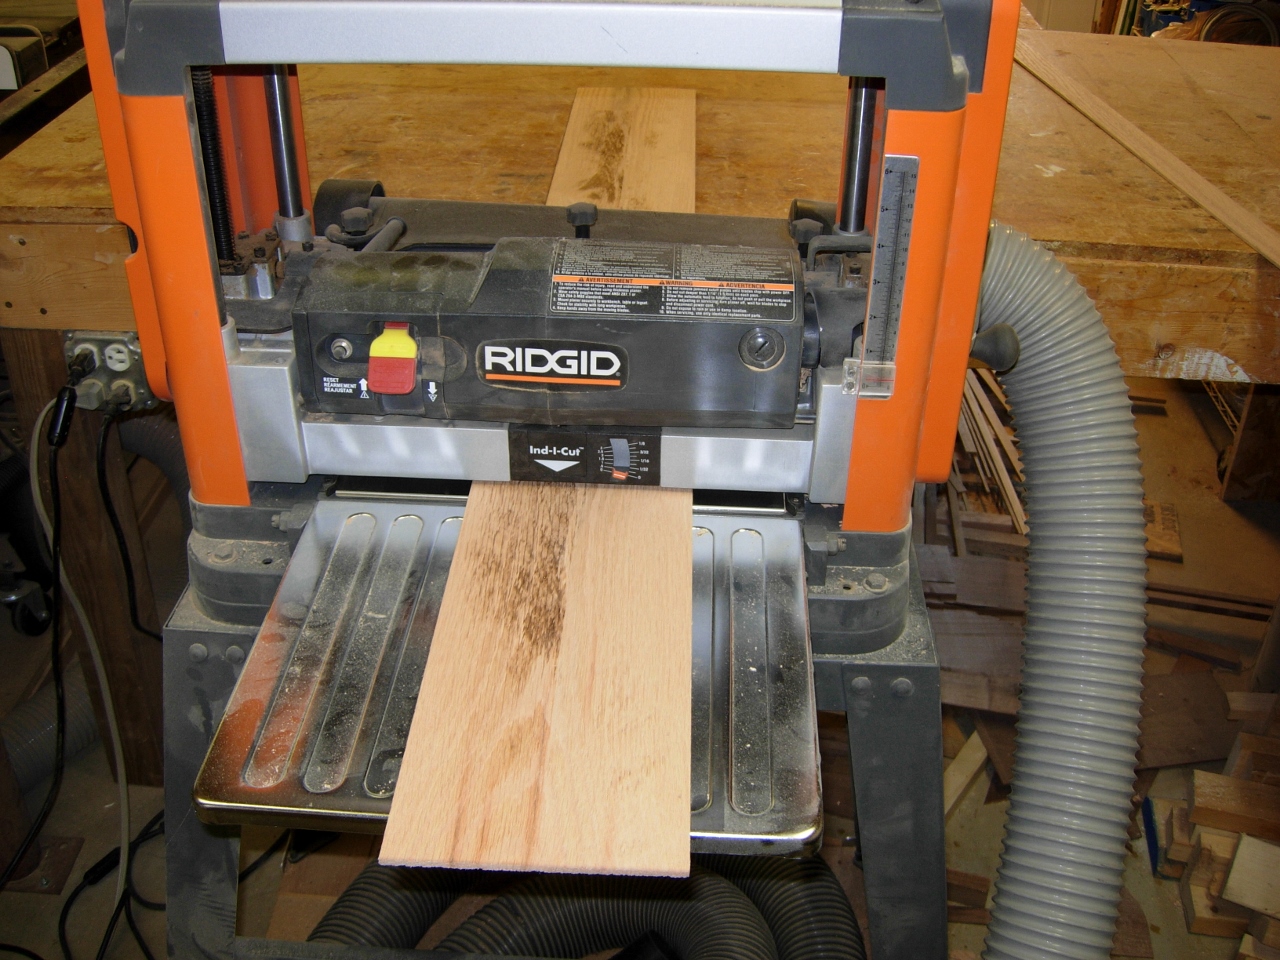
Planing the veneer

Laid out and taped
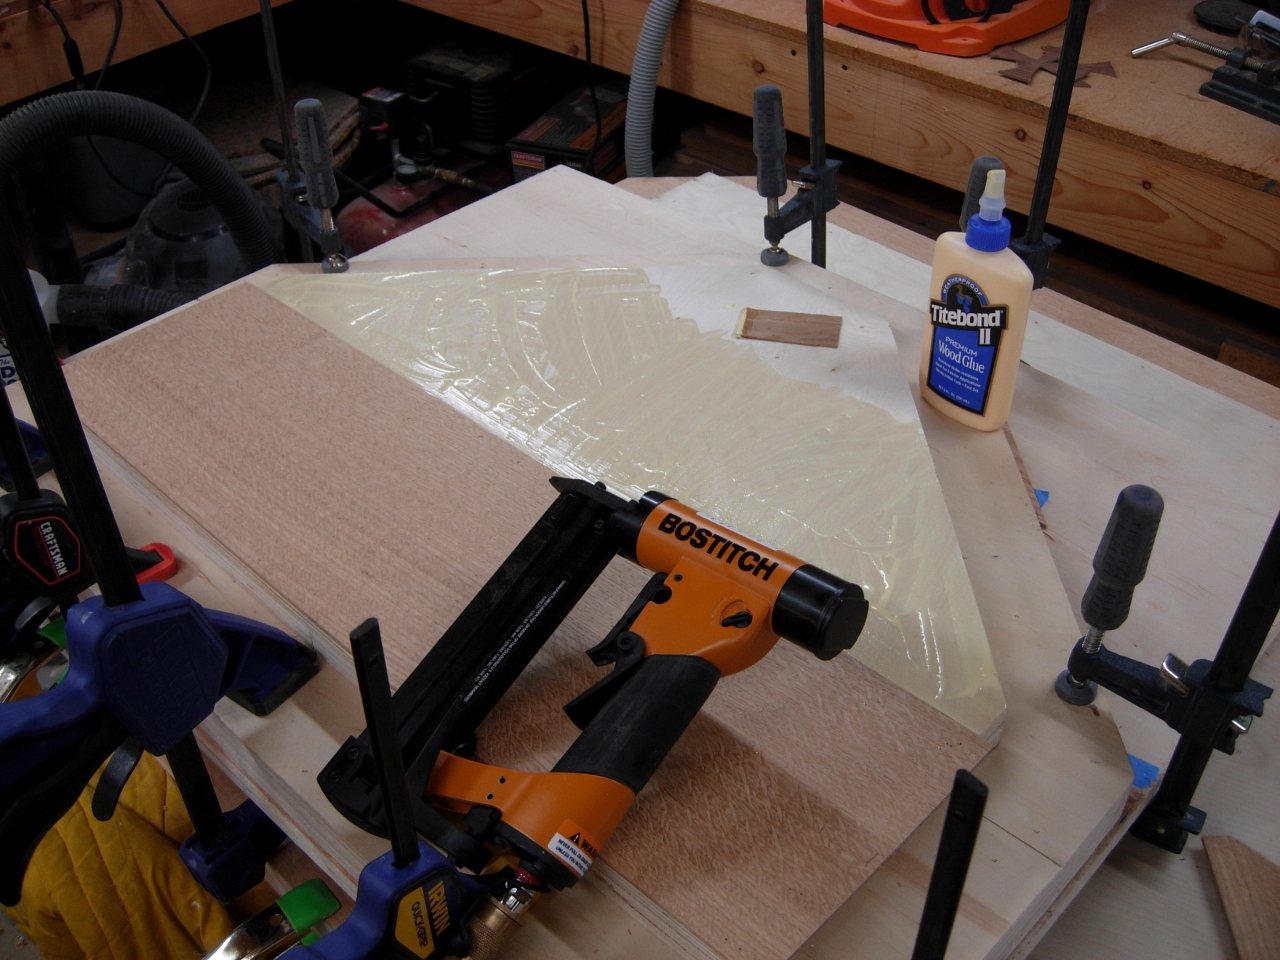
I matched the grain as best I could then taped the pieces together. This surface area is considerable smaller than the altar top, so I am hoping to avoid some of the issues I ran into there. I decided to mount the entire piece as one piece. I rolled out the glue and laid the veneer in place.

Rolling out the glue

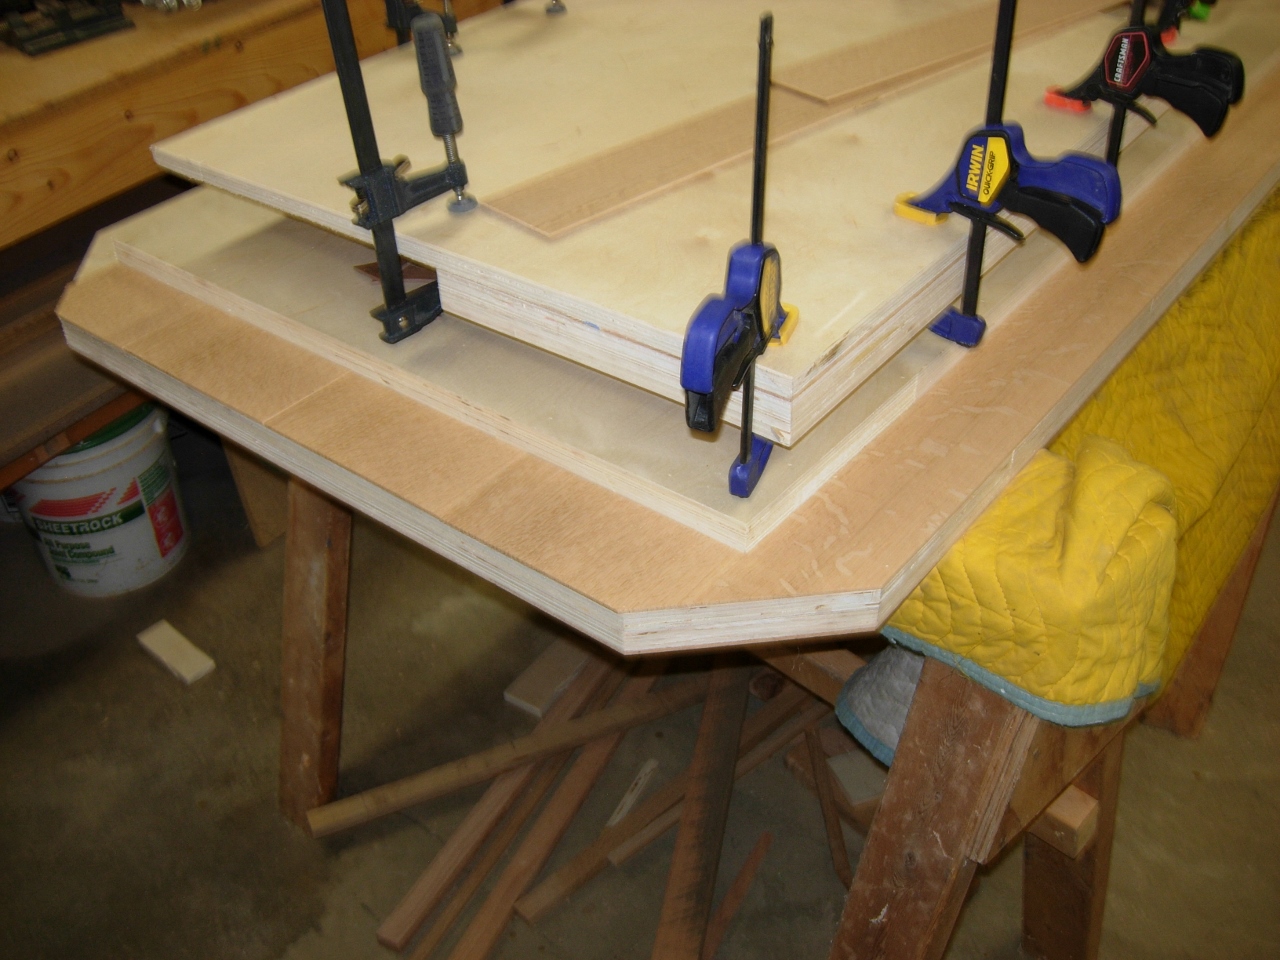
Pressed and clamped
I grabbed a left-over piece of 3/4″ plywood and clamped it down to the top. With that done and drying, I started sorting through my extra white oak pieces.
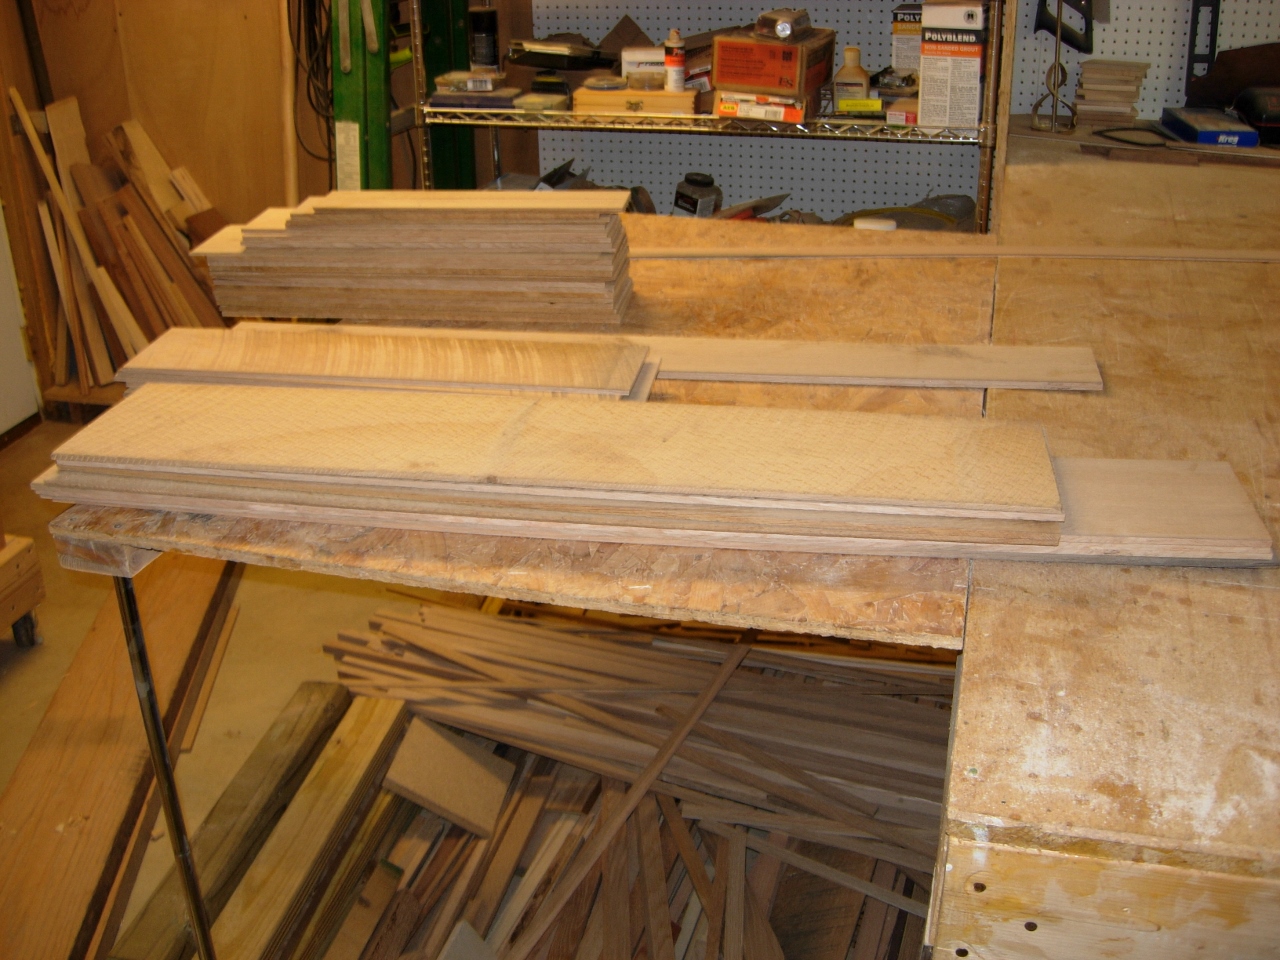
Left-over white oak veneer
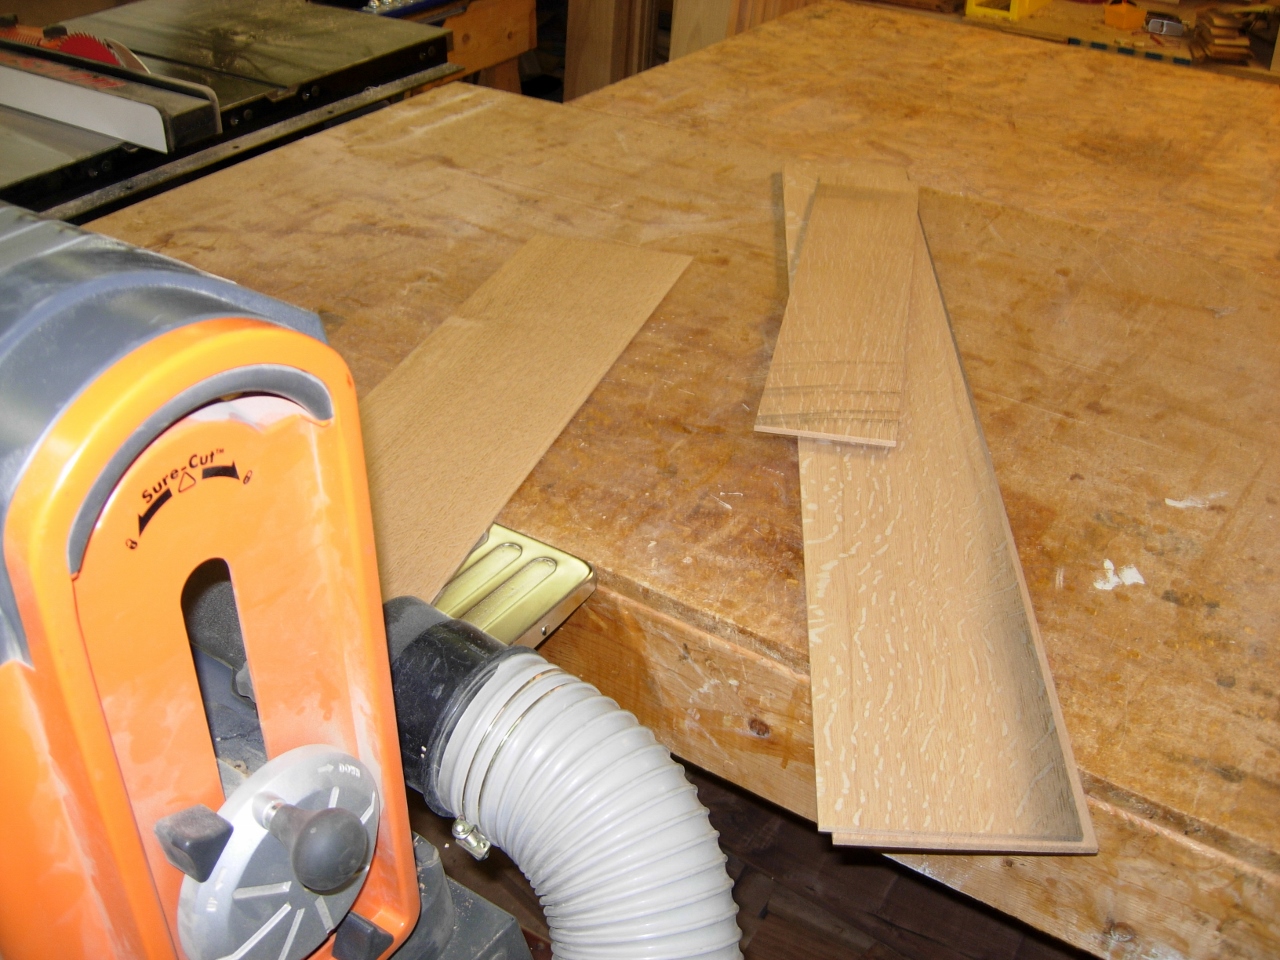
Planed down to 1/8″
I cut and planed the chosen boards then fit them in place.

Cut to fit bottom lip
Laid out and trimmed
With everything laid out perfectly, I started spreading the glue and laying the pieces back in place.

Glueing down the veneer

Attaching with pin nails
I would take forever, on this, if I had to wait for things to dry so I could re-use my clamps. I decided to use my 23 gauge pin nailer to hold down the bottom veneer. The nail heads are barely visible, and they are on the bottom. I shot the nails in at an angle so the veneer wouldn’t pull up off of the nails when it started to curl. The brads are basically a piece of wire with no head, so angling them is the best way to hold everything in place.


Planing the bottom trim flush
I cleaned off any glue squeeze-out and trimmed the veneer flush with my hand plane. With the step down I had no room to use my router with the flush trim bit. It actually went fairly quick, and had no tear-out, so I was happy.
All trimmed flush
Planing down the bottom trim for the tabernacle stand
I flipped the clamps over on the top of the tabernacle stand and turned it over. I need to veneer the entire bottom, so I may as well get some of that done while everything else is drying. I grabbed more left-over oak and planed it to size.
Attaching the bottom veneer
I glued and pin nailed this area as well, since it would be difficult to clamp in place. Oh well, that is enough for today, it is after midnight again, so I am off to bed.

Pinned and drying
