
Church Altar and tabernacle stand – day 5
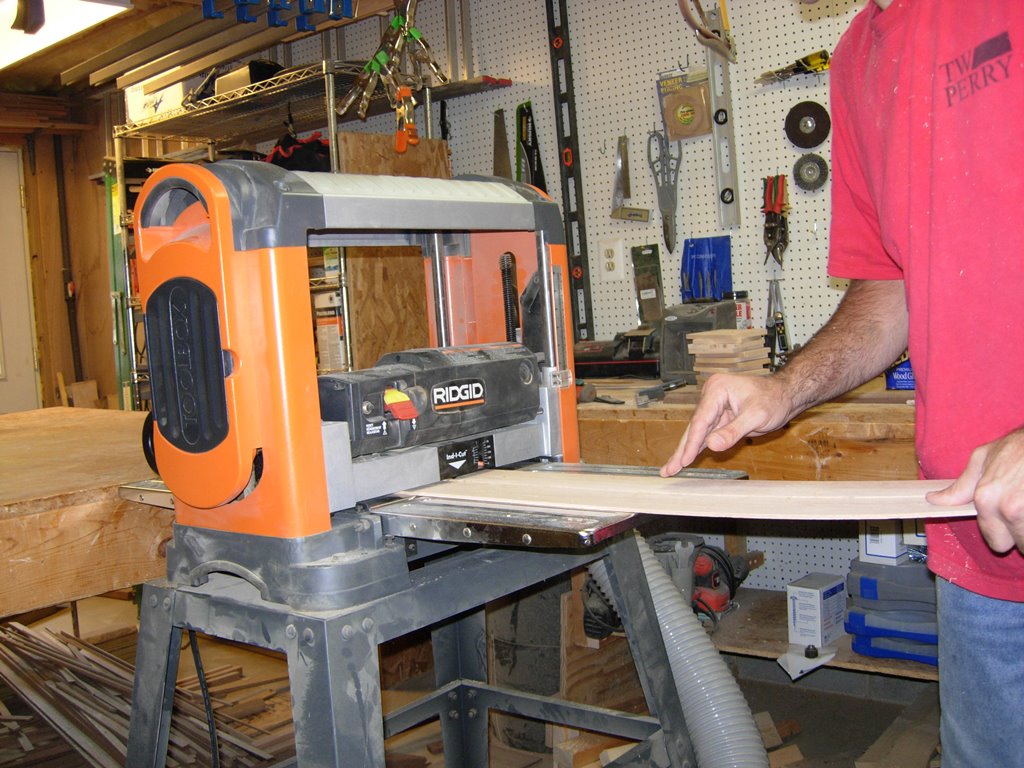
I started out today with planing down a piece of walnut to 1/8″ thick. This piece will be for the cross that will be inlaid on the door I just glued up. I have only done one or two small inlay projects before, so this should be a learning experience.

Planing down the walnut veneer
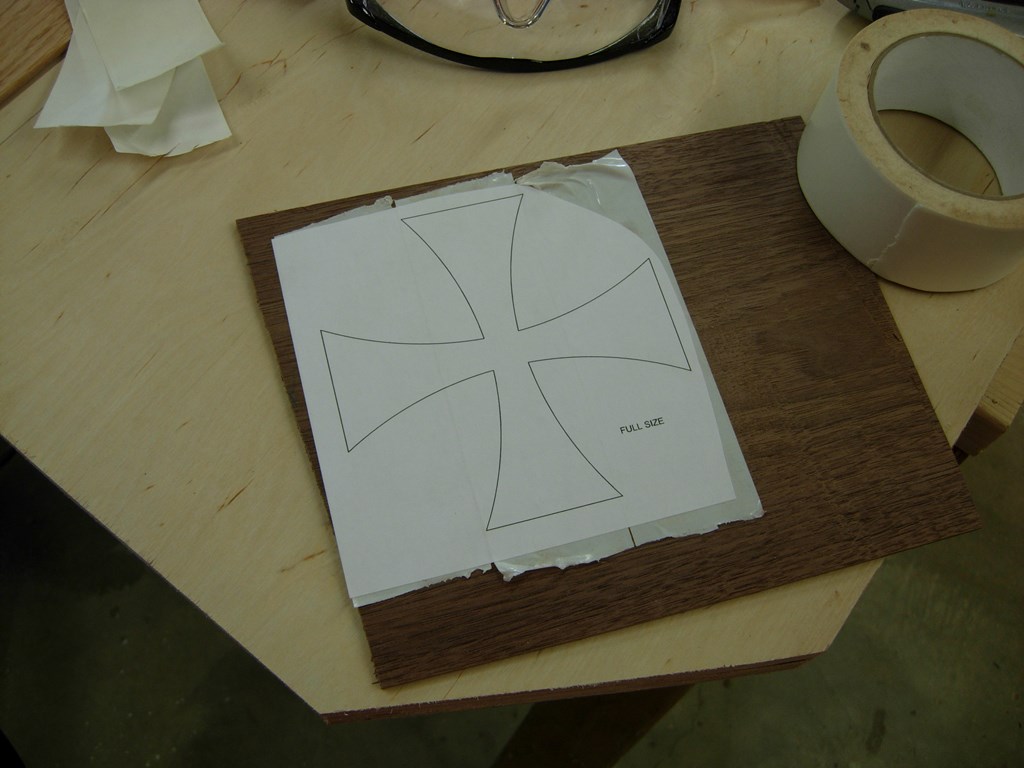
Cross pattern
I applied a few pieces of carpet tape to the back of my pattern and stuck it to the walnut. I cut out the cross on the scroll saw. My bandsaw blade is way too big for intricate work.
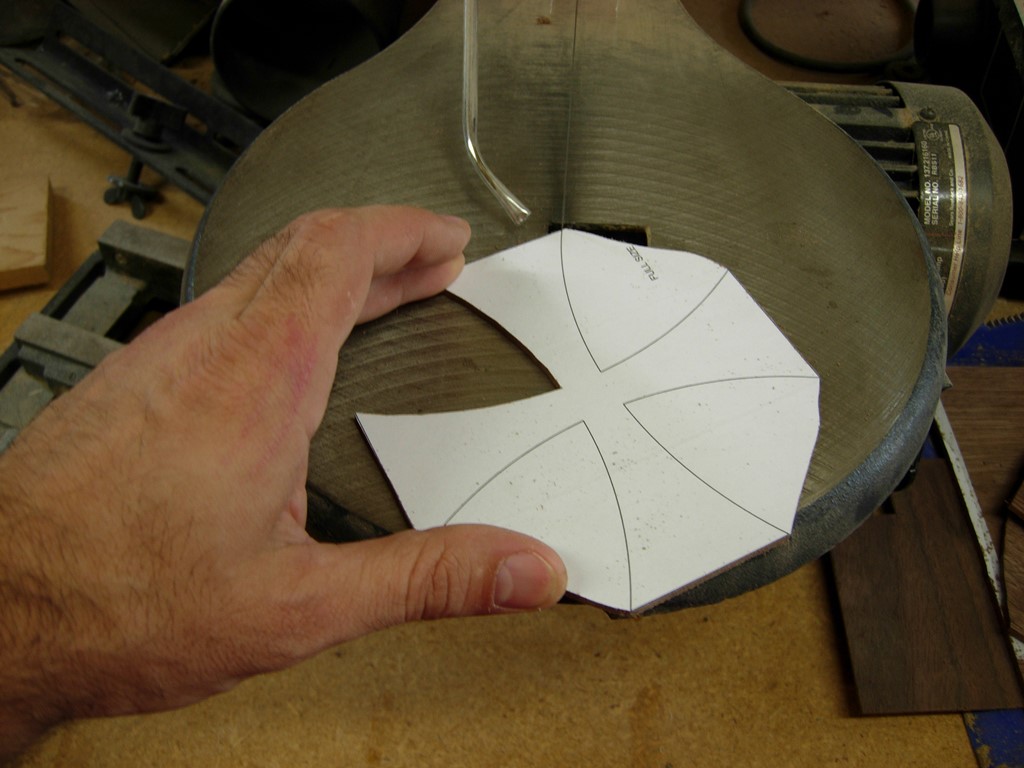
Cutting out the cross

Tracing the location
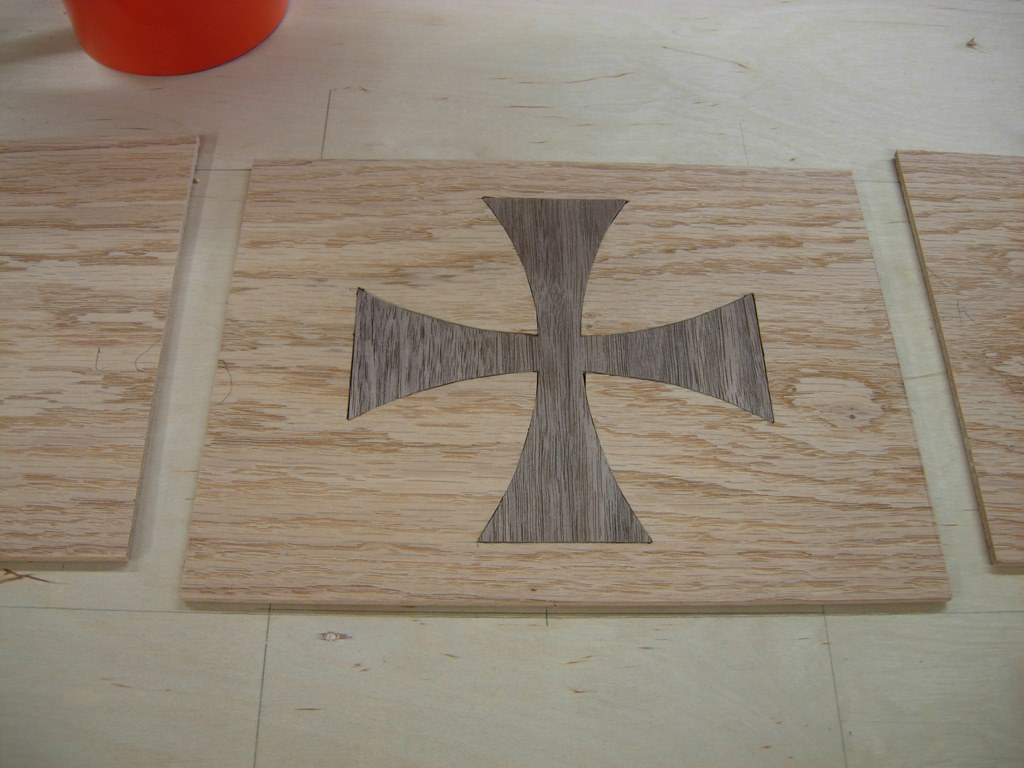
I did manage to break the cross removing the tape, but it will all be glued in place, so I taped it back together to trace the location of the cross onto my oak veneer. I used my small trim router to cut the 1/8″ deep cross.

Routing out the cross

Cleaning up the corners
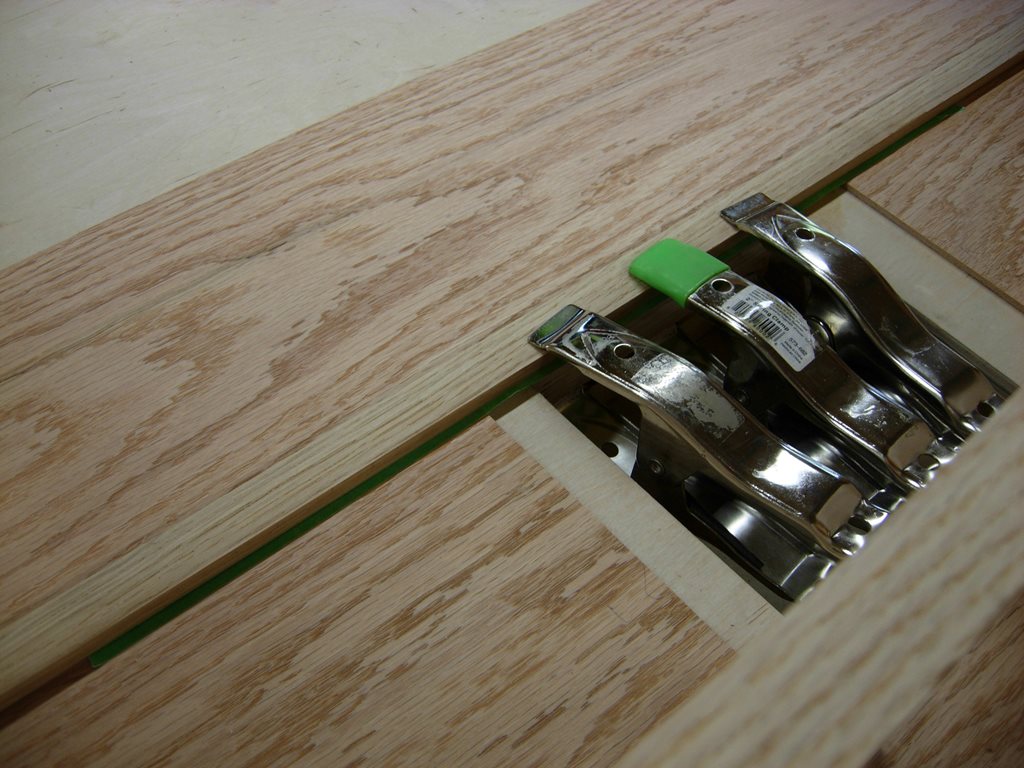
With a chisel, I cut out the sharp corners that my 1/4″ bit would not fit into. I also cleaned up any loose veneer on the bottom of the hole so the glue would stick better. A quick test fit showed a few places that had to be trimmed to allow the cross to fit snugly. I cleaned those up with the chisel as well. The latch I am using requires a steel slug to stick up into the veneer a bit. I removed the slug before glueing on the veneer so the router wouldn’t hit it. Now I mark the location of the slug onto the back of the cross and gouge out a small recess to receive it.

Gouging out a notch

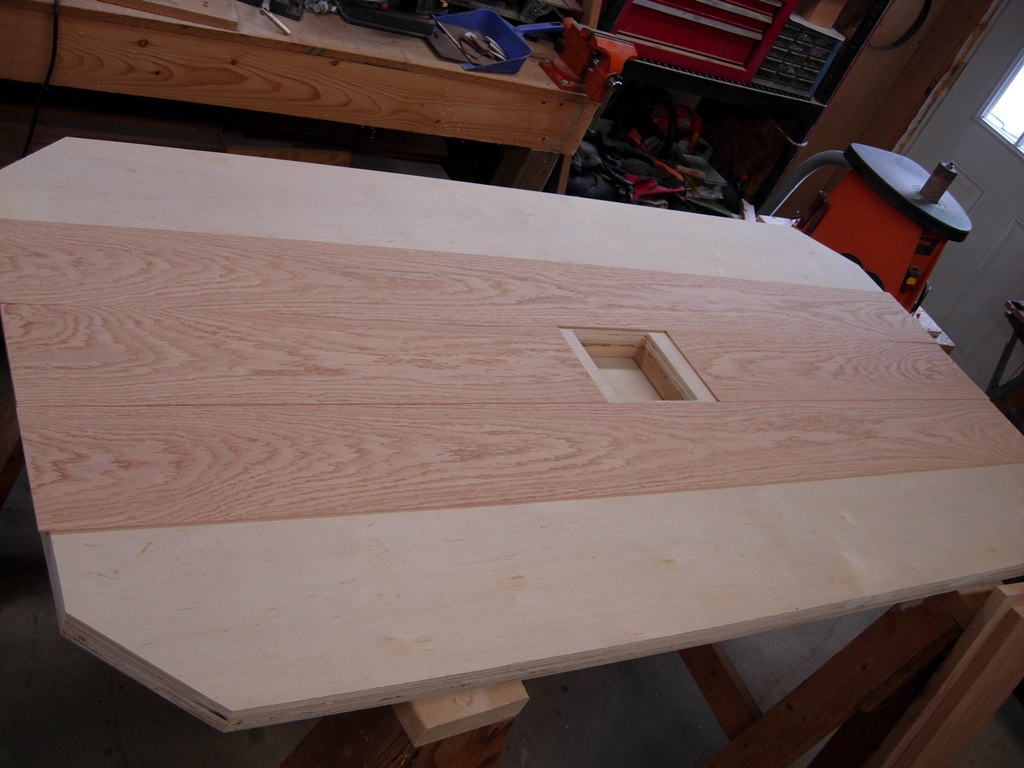
Glueing the cross
I applied some yellow glue to the back of the cross and pressed it into place. I clamped a board over the cross and let that dry. A few hours later, this is what it looked like:
Dried and installed

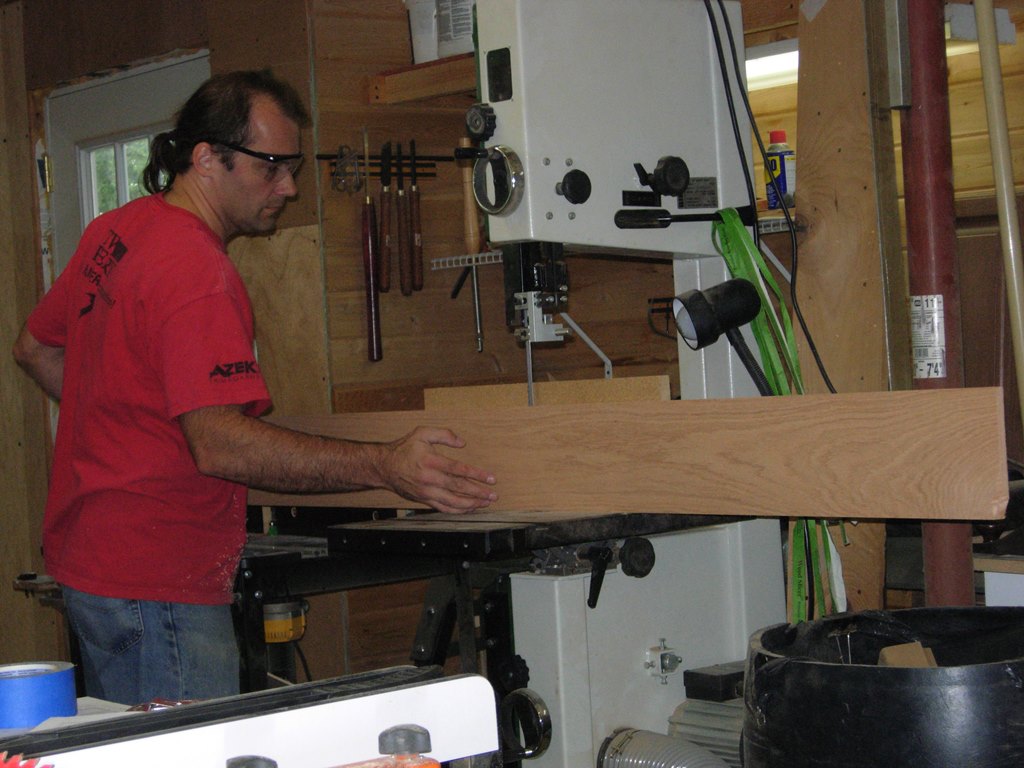
Ripping new veneer
I needed to cut more veneer to continue on with the top, so I used the same board that the center strip came from. I can get about three pieces from each 3/4″ board.
Finishing the cut
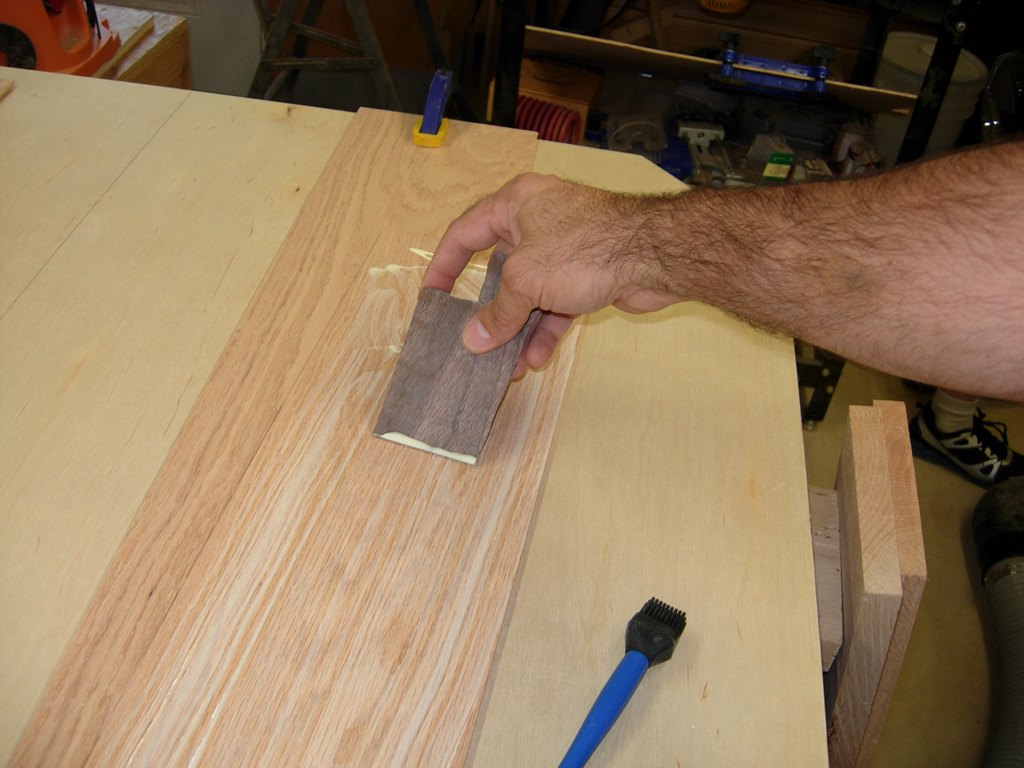
Planing the new strips
I tried to book match the grain the best I could. Unfortunately, I don’t have too many boards with matching grain patterns. I should be able to find two boards that look similar enough that it would give me six matching pieces of veneer to cover the top.
Matching up grain
I installed the door in the center of the top and laid out the first three rows around it.

Dry-fitting and locating the veneer
Adam decided to drop by and start on a project while I was working. I believe he is building something to go with one of his Lego sets…

Adam using the bandsaw
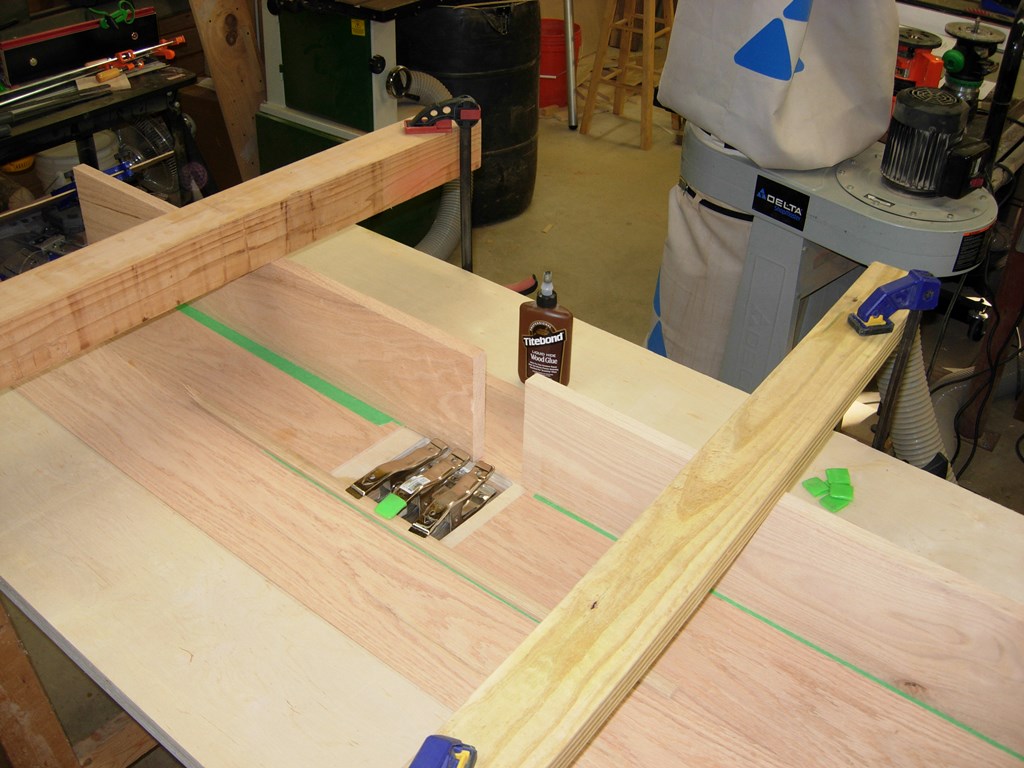
Spreading the glue
Anyway, I spread the glue out on the veneer and laid the center strip in place. I used painter’s tape on the sides of the door panel as a spacer and to protect from glue squeeze-out. Since I have never done any veneering before, I do not have a large vacuum press. Instead, I decided to lay a board over the strip in the center and hold that down with heavy strips of wood clamped across it.

Clamping down the center strip

Glueing up the side strips
I gave those pieces an hour or two, then glued up the veneer strip on either side. I probably should have done one strip at a time, but I am impatient. I got creative and tried to get pressure evenly spaced along the strips.

Creative clamping
Re-glueing a few spots
Apparently I am not as good at veneering as I would like. I had a few areas that were still up in the air when I removed the clamps. Since squeezing glue in between the seams of two glued pieces is going to make a mess, I decided to try some hide glue for the repair effort. It is not supposed to stain the wood. Yellow glue can prevent the wood from taking a stain if some is dripped on the surface. (This is also the first time that I have tried hide glue, so this will be interesting.) I squeezed glue into the seams and applied some painter’s tape to the glued areas. This should prevent my clamps and cauls from sticking. After a bit more creative clamping. I moved on to the next step.
More creative clamping
Impatient as ever, I started veneering the last two strips on one side. I ran out of clamps, or I may have tried to finish it.

Glueing on two more strips of veneer
The last thing I did before calling it a day, was to print out six more cross patterns so I can cut the rest of them out when I have an hour or two to kill. I took the time to tape them to the wood so they are ready to go.
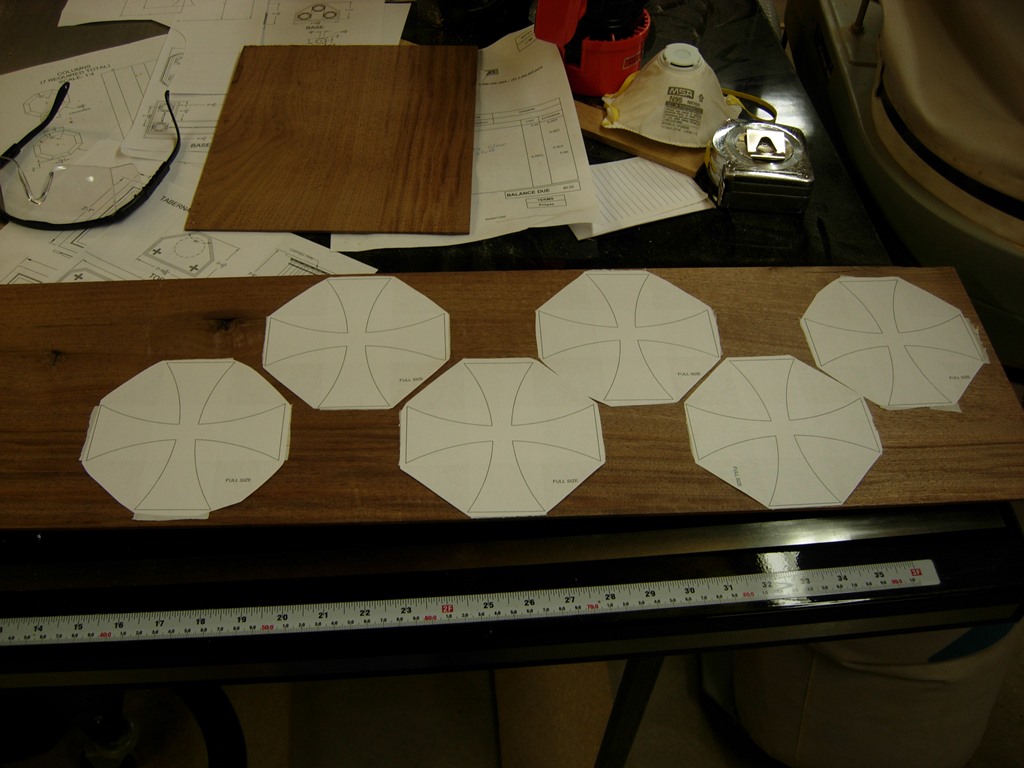
Attaching six more cross patterns for cutting
