
Church Altar and tabernacle stand – day 4
Long day today. We spent the day getting my oldest moved in to his college dorm room. By the time we got home and ate dinner, I only had a couple of hours to play in the shop. Since I have all my wood and hardware, I decided to start with what I think will be one of the more challenging aspects of this build, The door to the relic chamber. My goal is for it to sit in the center of the altar and not stand out. I purchased a hidden magnetic latch so there will be no visible means to open it. I thought about using hinges, but I intend to overlap the veneer past all of the edges on the door, and most hidden hinges are incapable of swinging out, then open. European style hinges, like I used on some of my other projects would work, but they require more room than my 6″x6″ door will allow. I also can’t drill the holes required into the sides of the chamber. I don’t have a tiny angle head drill. I decided, instead, to use table top fasteners on one side, and the latch on the other. The door will just be removed completely then re-inserted to close. This, of course, is all theory until I get it fully assembled. If It doesn’t work, I have another option or two that can be done, but will be more difficult.

Locating the hardware
I eye-balled the first fastener and marked its location I then drew a line, with my square, straight through the center point of the marked hole and marked the other two on that line. I pre-drilled the three holes and screwed on the fasteners. I measured the height of the fastener and cut a slot in the back of the chamber for the fasteners to slide into. If I had decided on using the fasteners before building the top, I would have cut the slot in my stiffener with the table saw. As it is already assembled, I had to be creative. I used my Dremel multi-tool to cut as much of the slot as I could, then pried out the slivers, that remained, with a chisel. I cleaned out the groove with a tiny common screw driver then test-fit the door.

Cutting the slot

Cleaning the slot
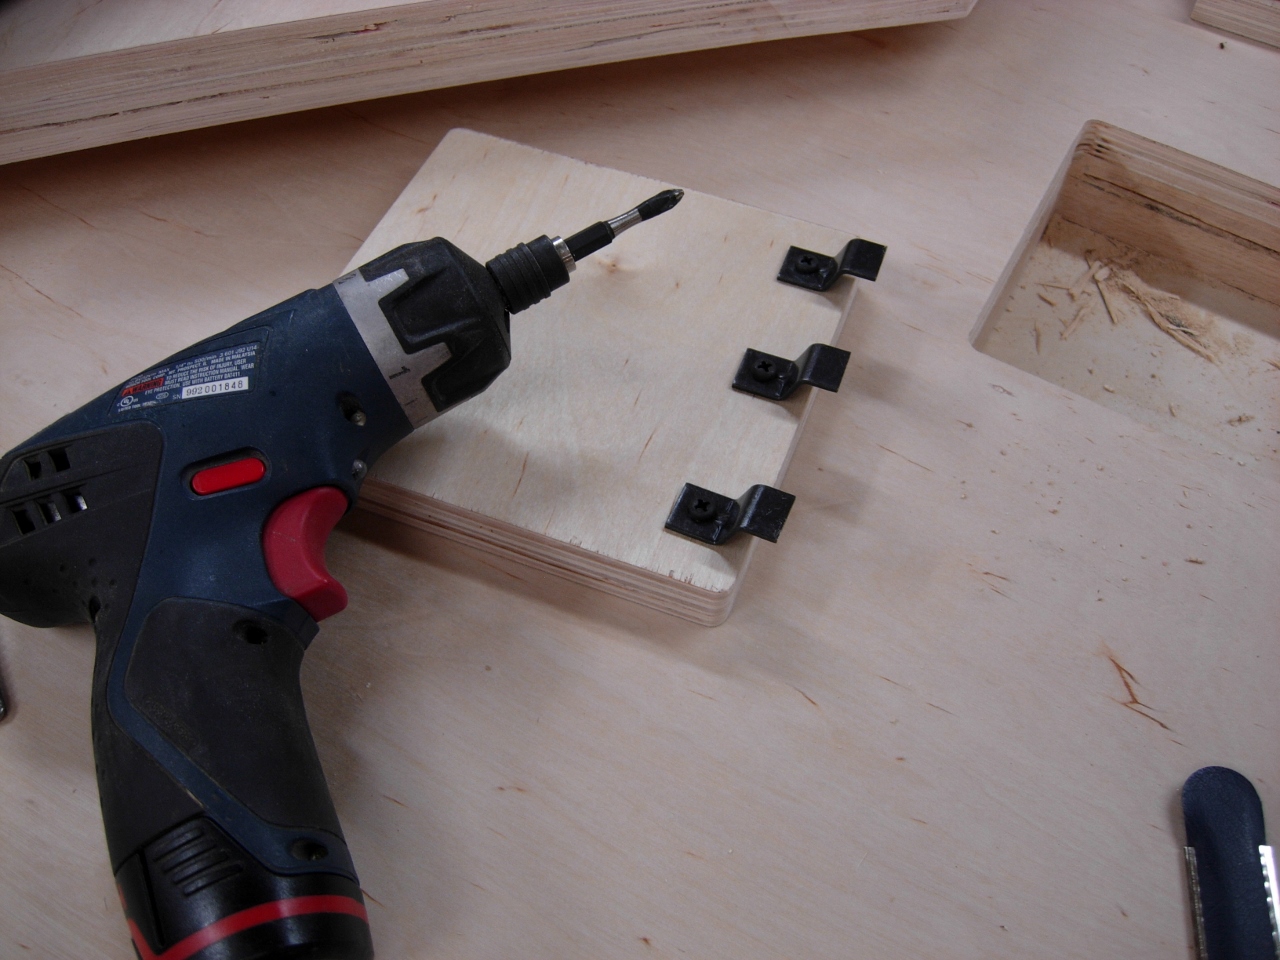
Hardware assembled

Lined up
The slot seemed to line up ok, so I moved on to attaching the latch. I located it in the front, center, per the directions. The magnet requires that the steel slug for the latch be only about 1/16″ below the surface in order for the magnet to be strong enough to lift out the panel. This means that I will have to gouge out the veneer before it is attached. This will be especially difficult since I will be inlaying a cross right over the spot.

Attaching catch
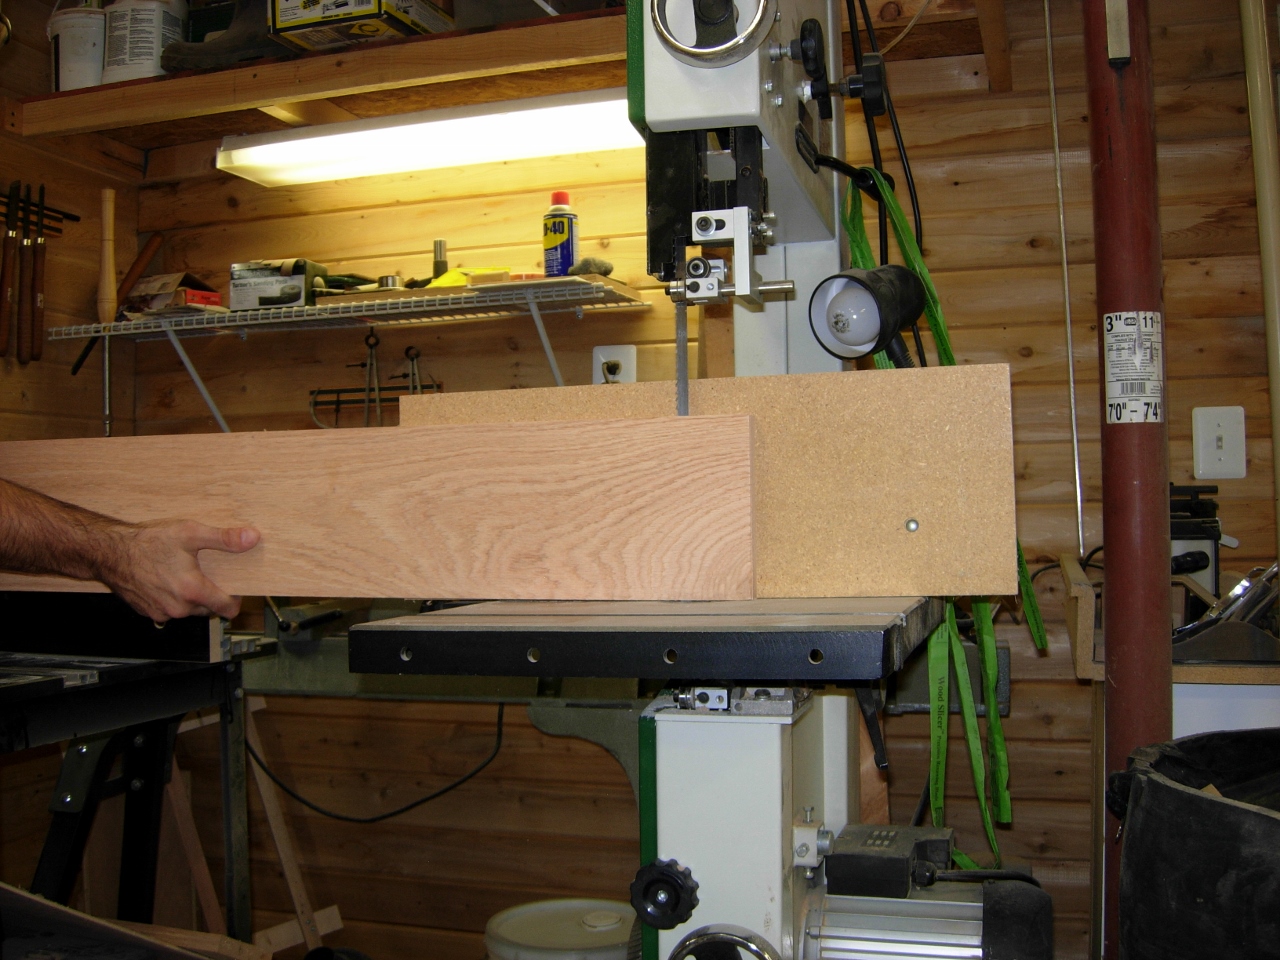
Once the catch was installed, I started making the veneer for the top. I grabbed a 6′ long piece that was about 1/2″ wider than the door. I need to re-saw it down to about 3/16″ thick, then plane it down to 1/8″ thick. My preferred method is to cut as much as I can on the table saw.

Ripping the center veneer piece
I raised the blade up as high as it would go and ran the board through, flipping it then repeating the cut. when this was done, there was only about 1/4″ left to be cut. This was easily taken care of on my bandsaw.
Resawing the center veneer piece

Planing the veneer
I left the board about 6″ longer that I needed in case the planer sniped the end. This was apparently a good idea because the planer got hungry and took a bite from the end about 3″ long. I planed the board down to 1/8″ thick.
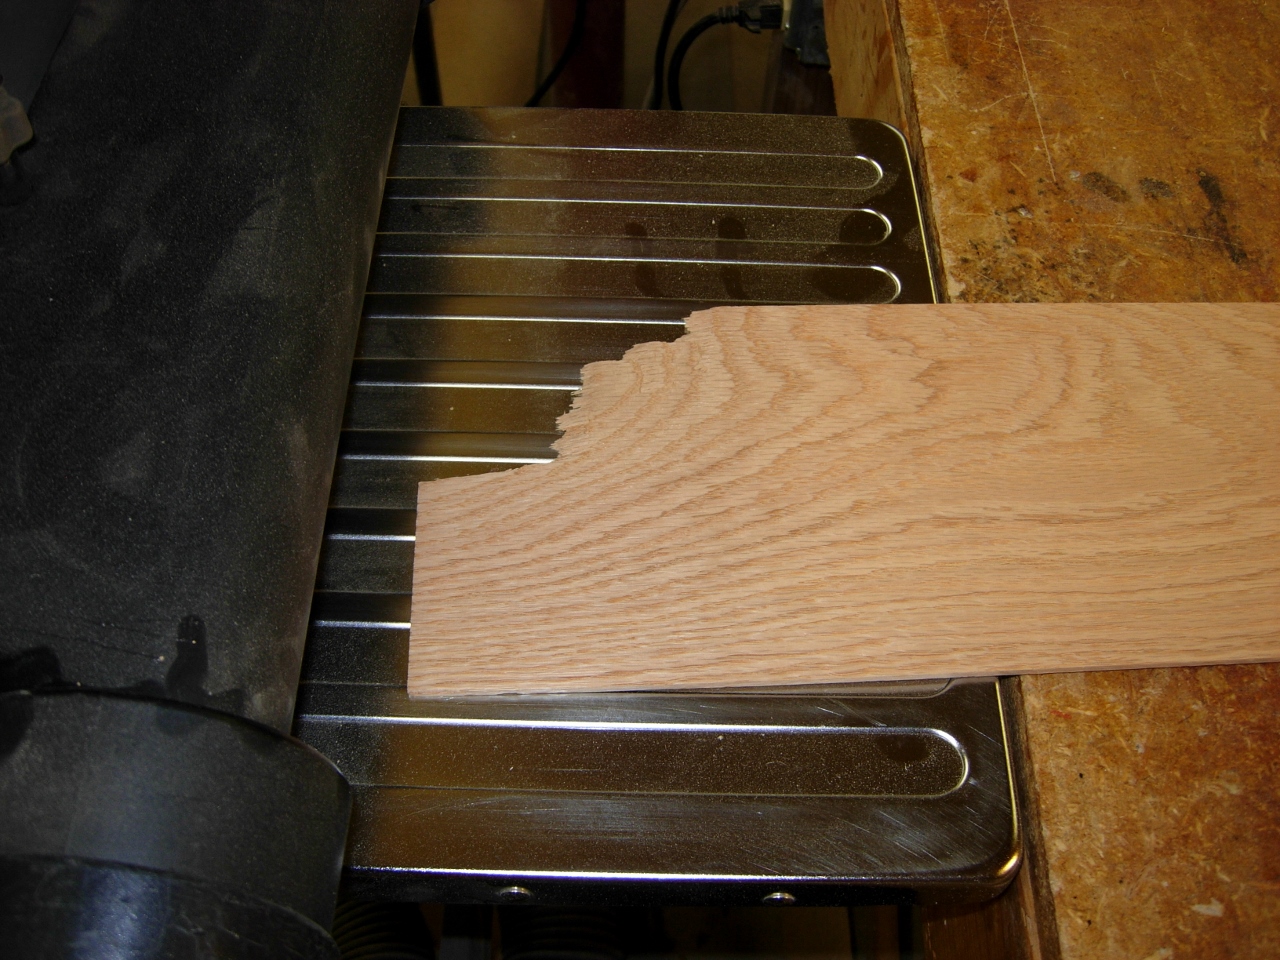
Planer was hungry

Veneer is slightly wider than the opening
I centered the veneer over the hole and marked two perpendicular lines about an inch past each side of the opening.

Locating and marking the veneer
The goal is to have the door not stand out, so I wanted some really clean cuts on the edges that would butt together. I thought I would try wrapping a 2″ wide piece of painter’s tape around the board in an effort to prevent the wood tearing out. It worked surprisingly well.
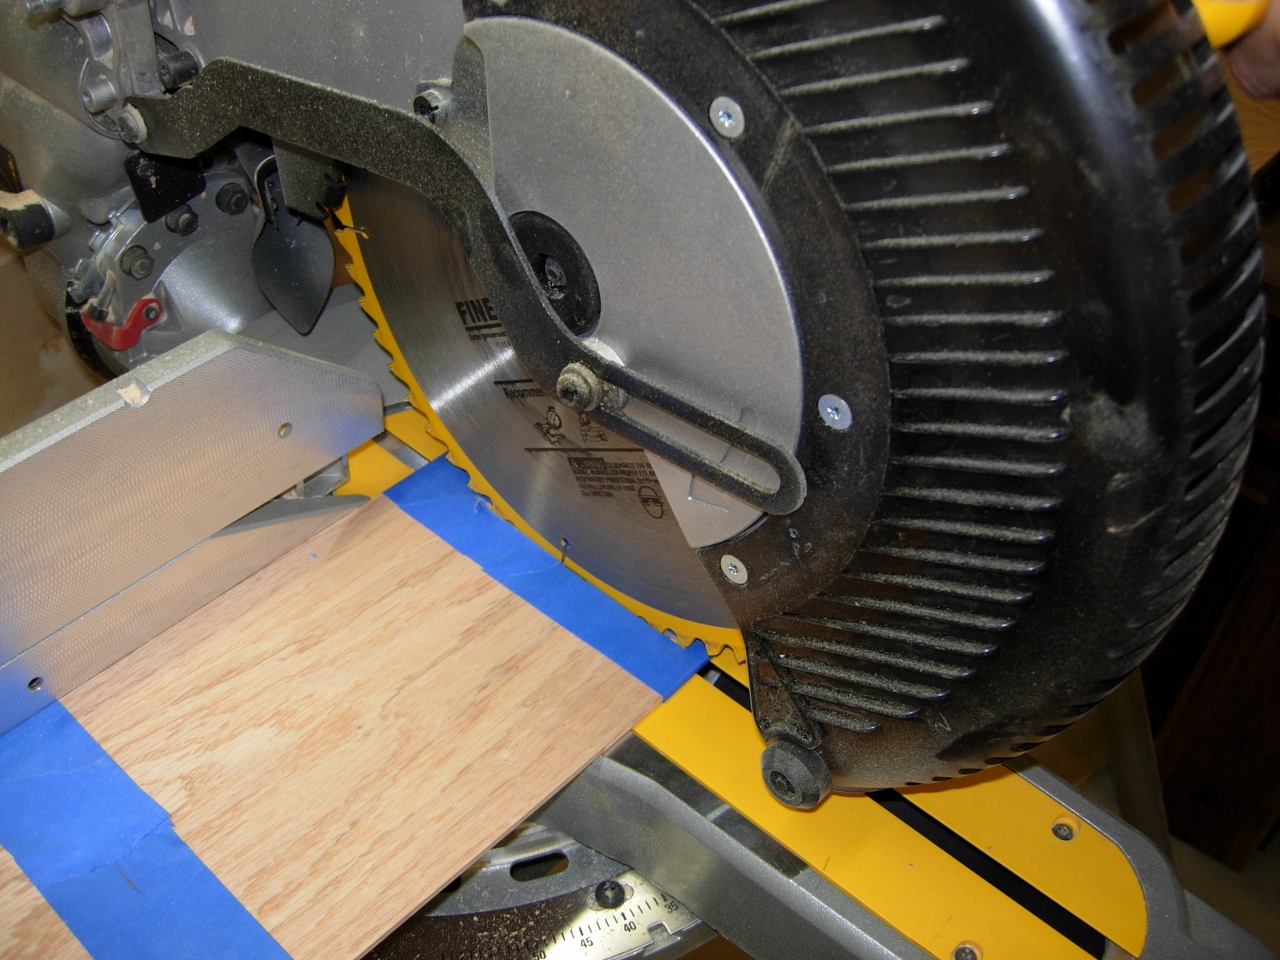
Cutting clean edges

Glueing the veneer to the door
With the veneer cut for the door, I centered and located the panel on the veneer, then spread some glue and clamped it up. I will let that glue dry over night, then tomorrow I will close up the door and line up the rest of the veneer, for the center strip, to the door. Once that is done, I can finish cutting veneer and attaching the rest to the top. Well, it is once again after midnight, so I will pick this up again tomorrow.

All clamped up
