
Altar platform part 4
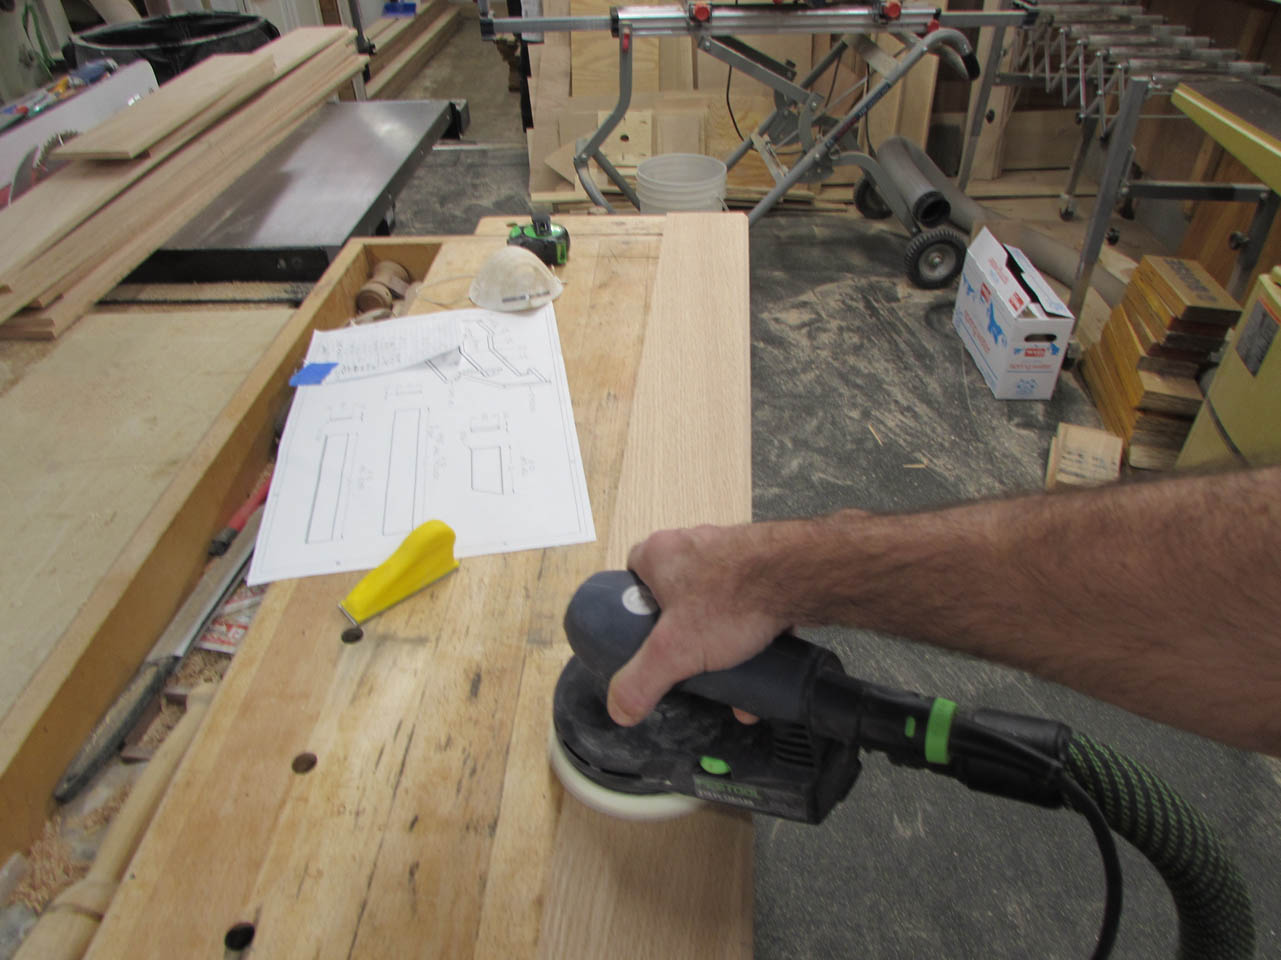
I gave all of the base trim a final sanding, breaking any sharp edges with a sanding block.

Then it was time to start cutting and fitting the pieces of base into place.

I started on the inside, center and worked my way out.
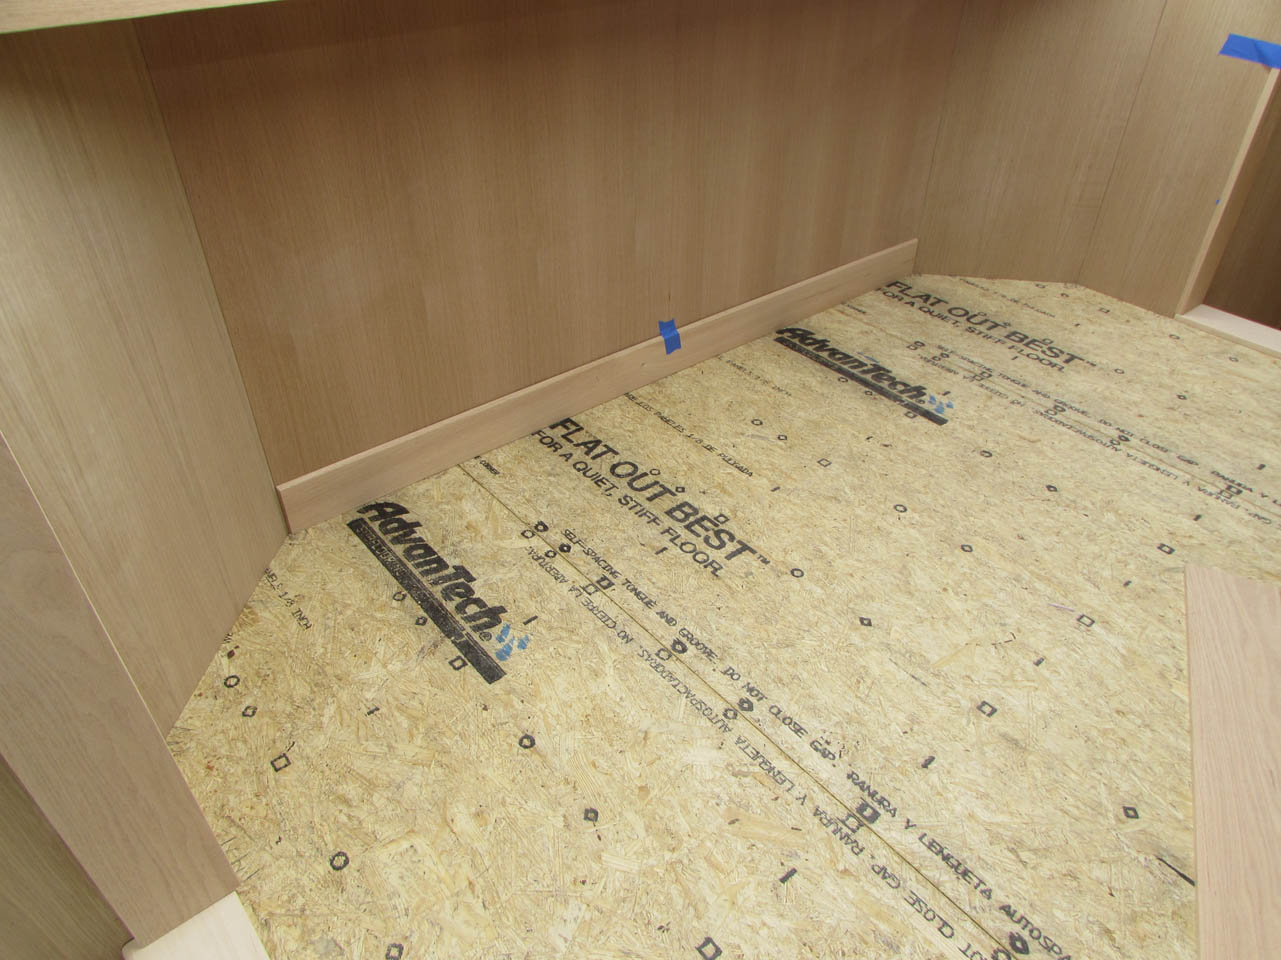
I cut the edges at 22.5° on the miter saw, slightly over-cutting each piece then trimming it to fit exactly with a second or third cut.
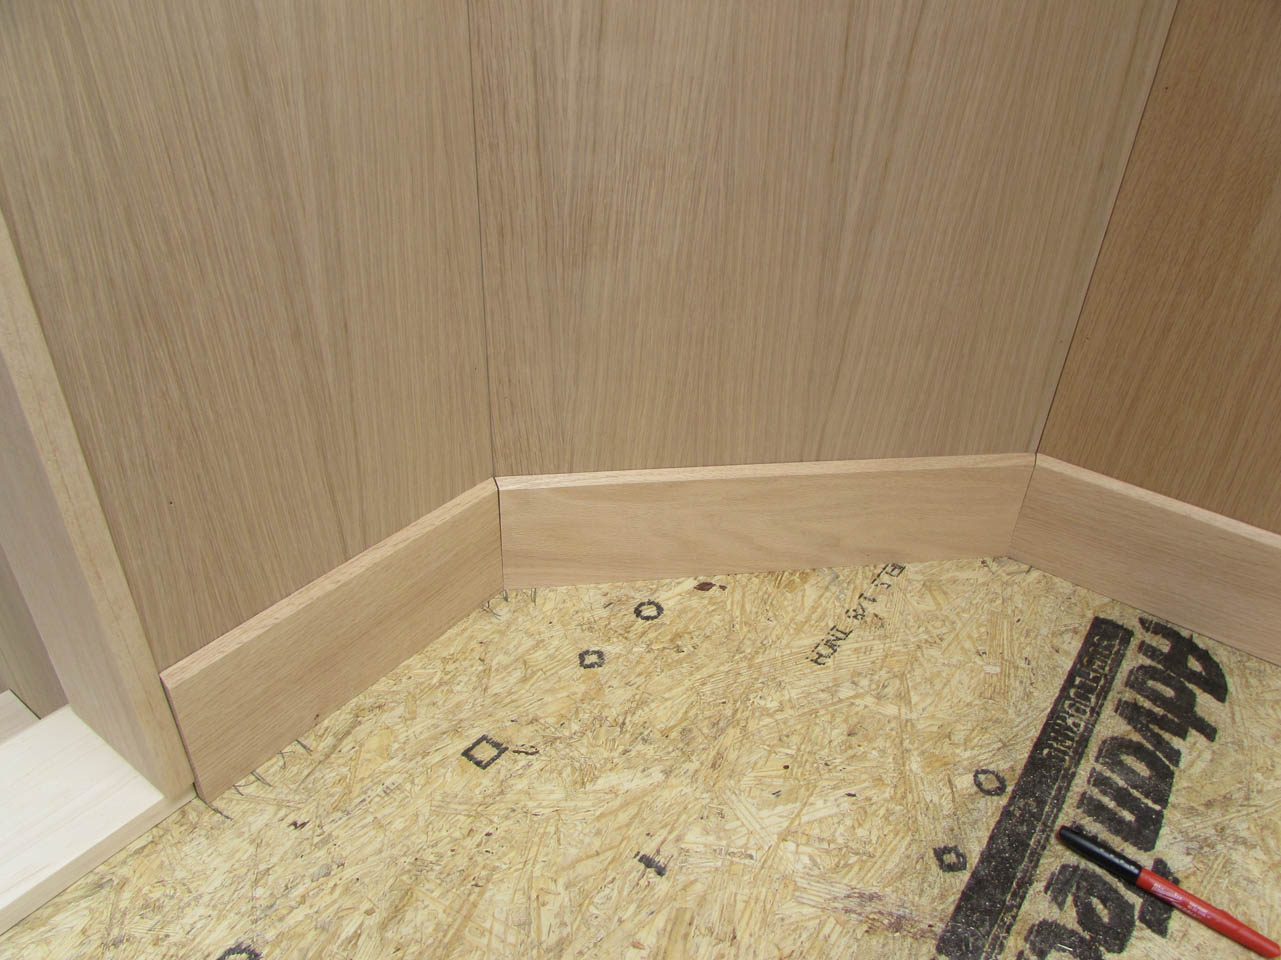
It is a slow process, but it always looks nicer when you take your time.

The base trim sticks out about 1/8″ past the end trim on the walls so I used my block plane to create a bevel on the trim that butts up against it.
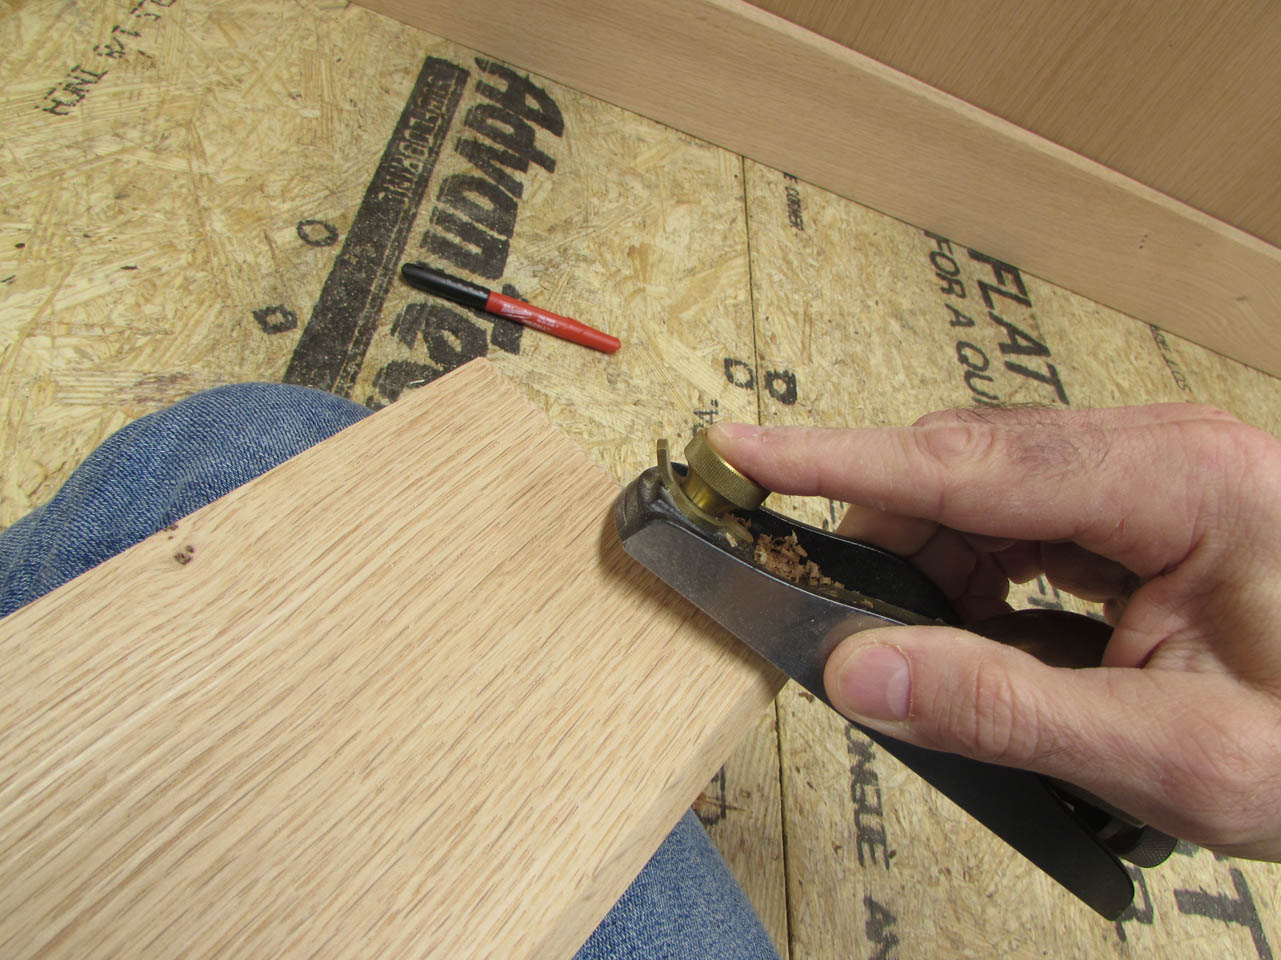
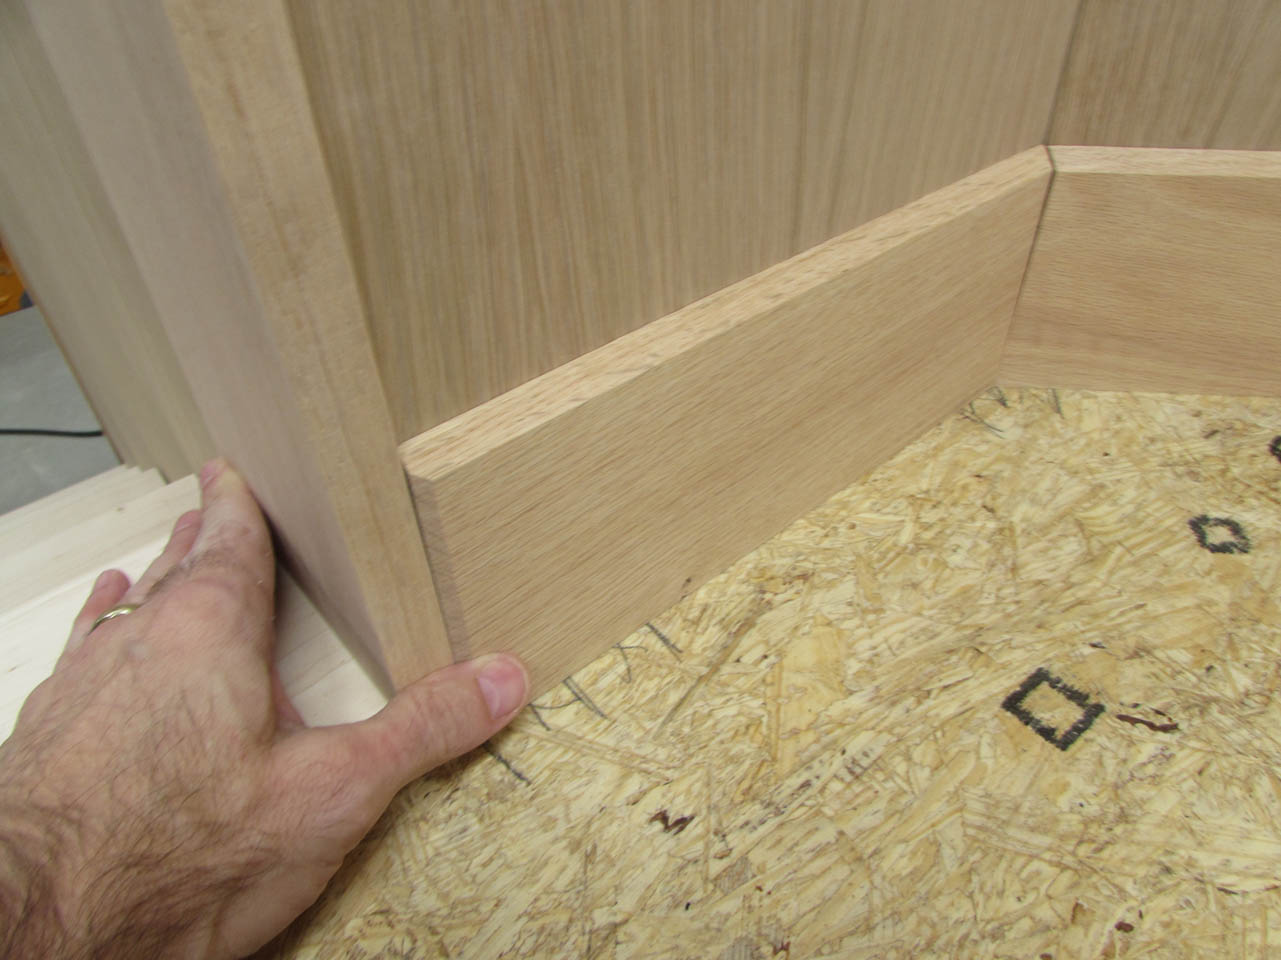
This creates a better look than having the end pieces stick out 1/2″ past the wall to cover the end of the trim.

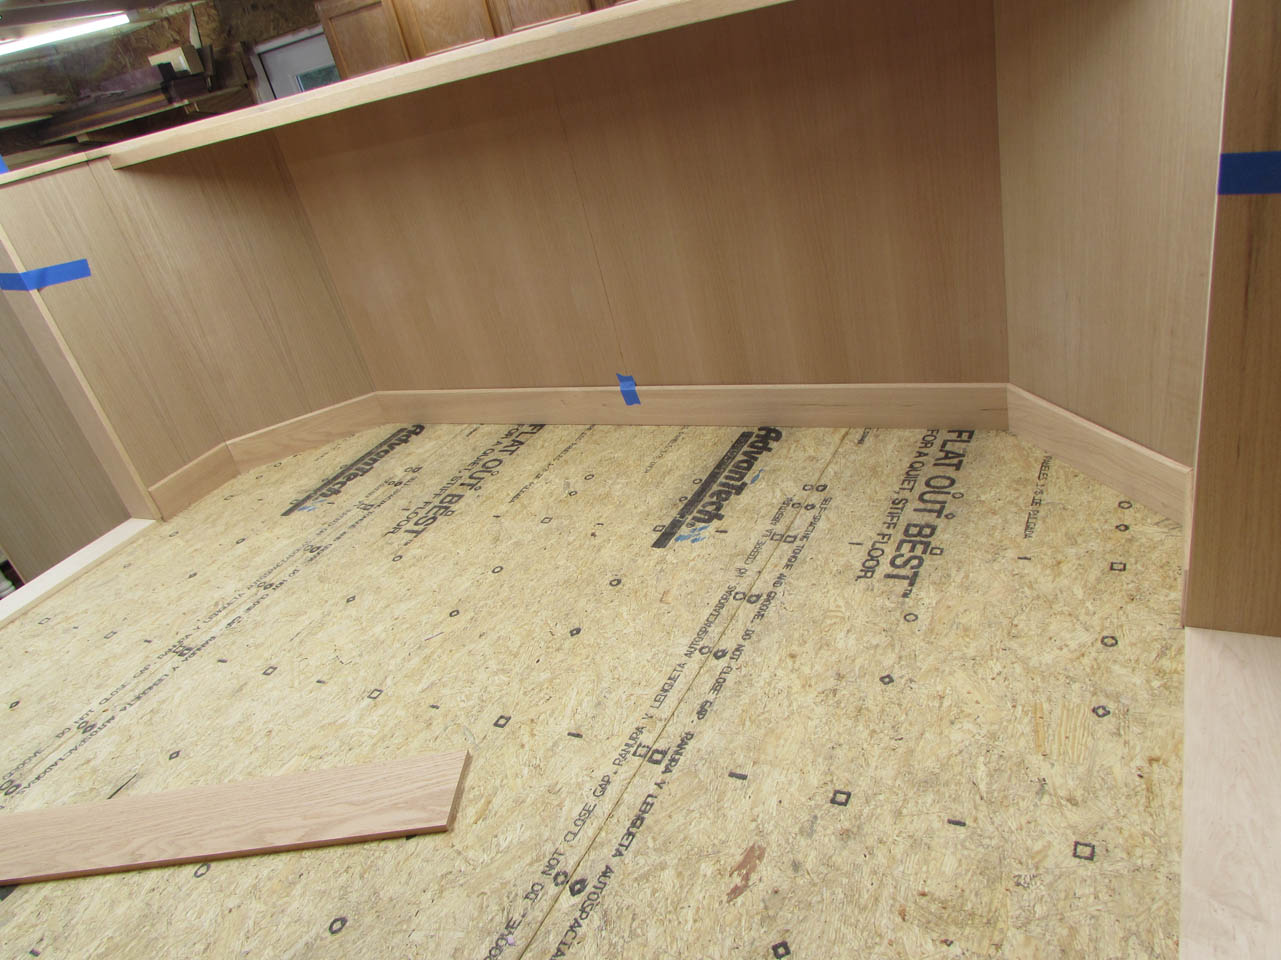
Once the upper level was done, I made the smaller pieces at the foot of the steps.

Then I moved on to the outer trim along the floor. It is a bit of a risk, pre-cutting the trim before final assembly but I really wanted to minimize the mess made at the cathedral. I will make extra base trim in case I have to re-cut a piece later.

Last thing I need to do is to finish the access panels.
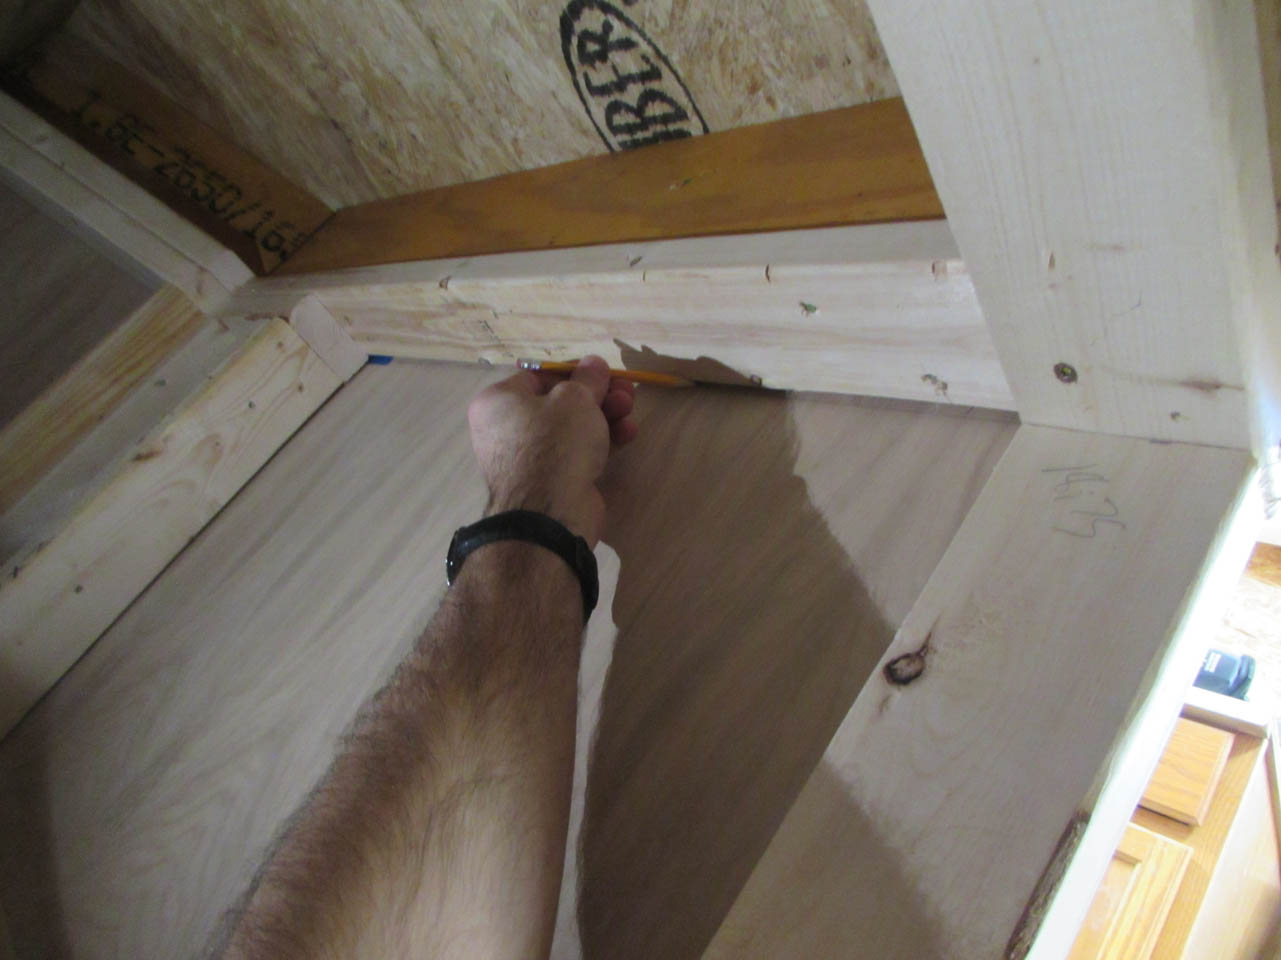
I crawled inside and marked the location of the studs on each panel so I know where to place framing to stiffen the doors.

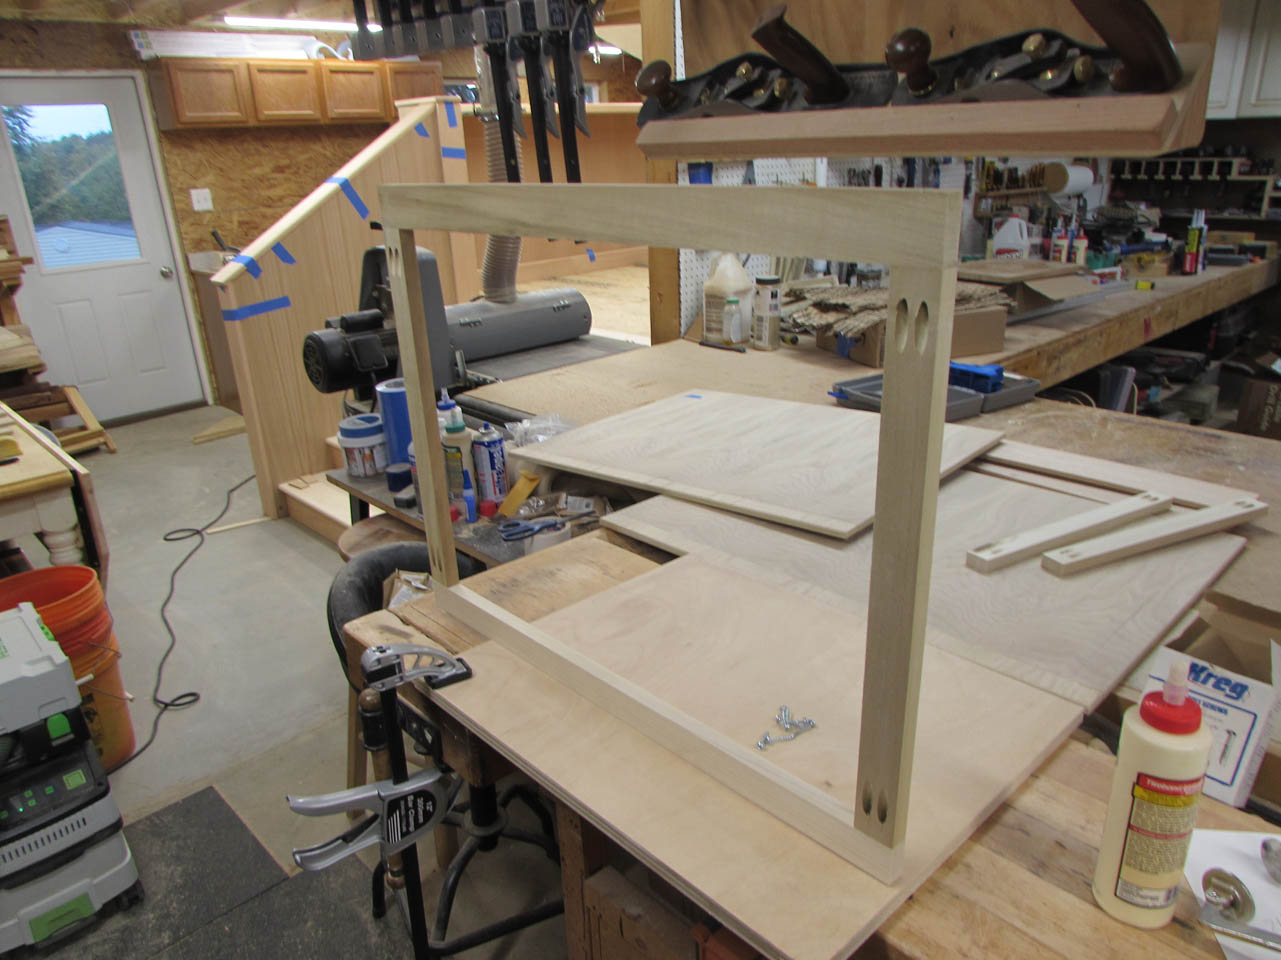
Then I cut down some lightweight poplar to make a frame for each panel.

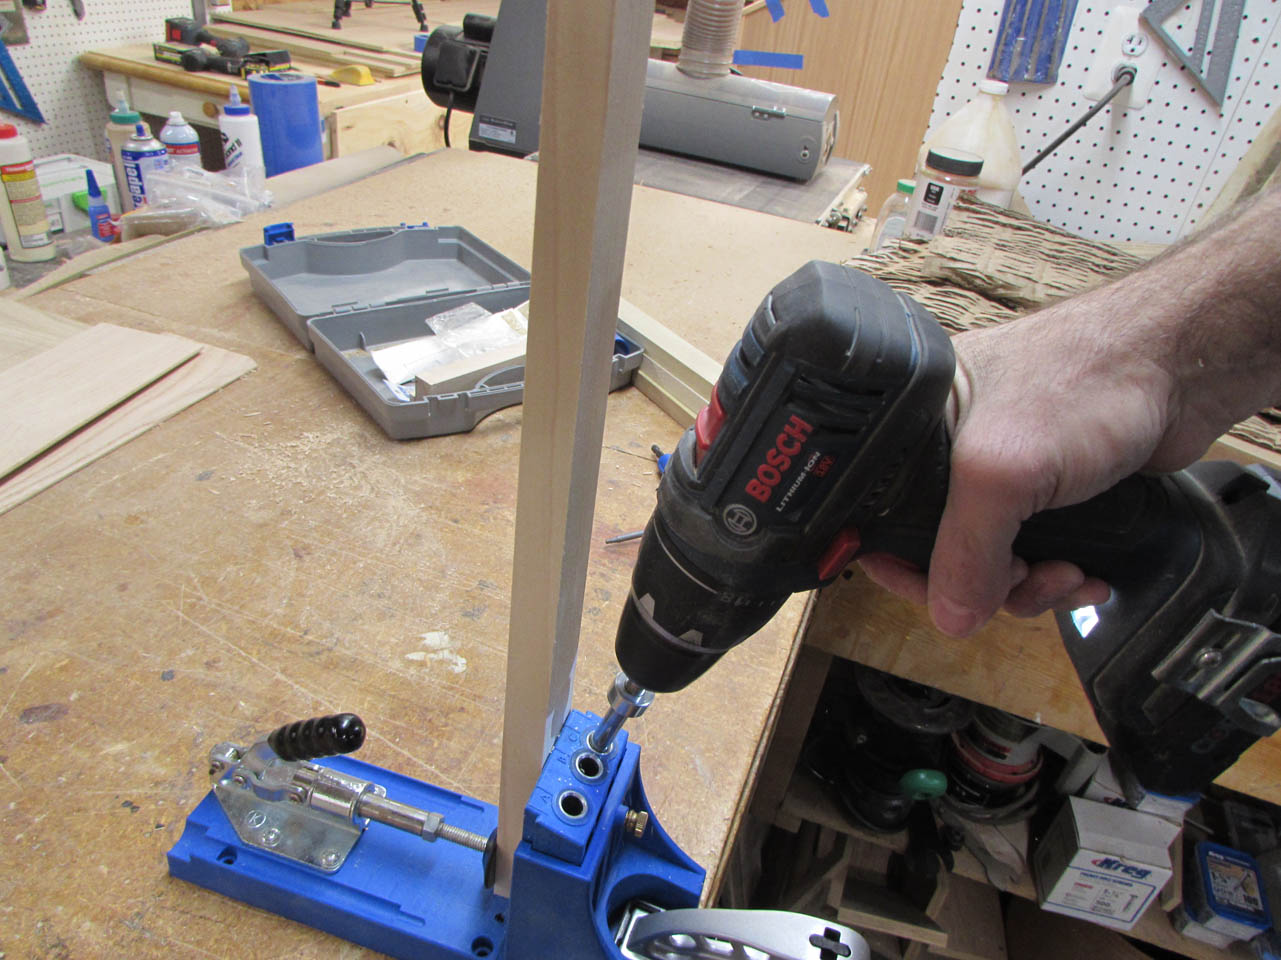
To hold the frame square, I placed pocket holes in the ends of the vertical parts of the frame.

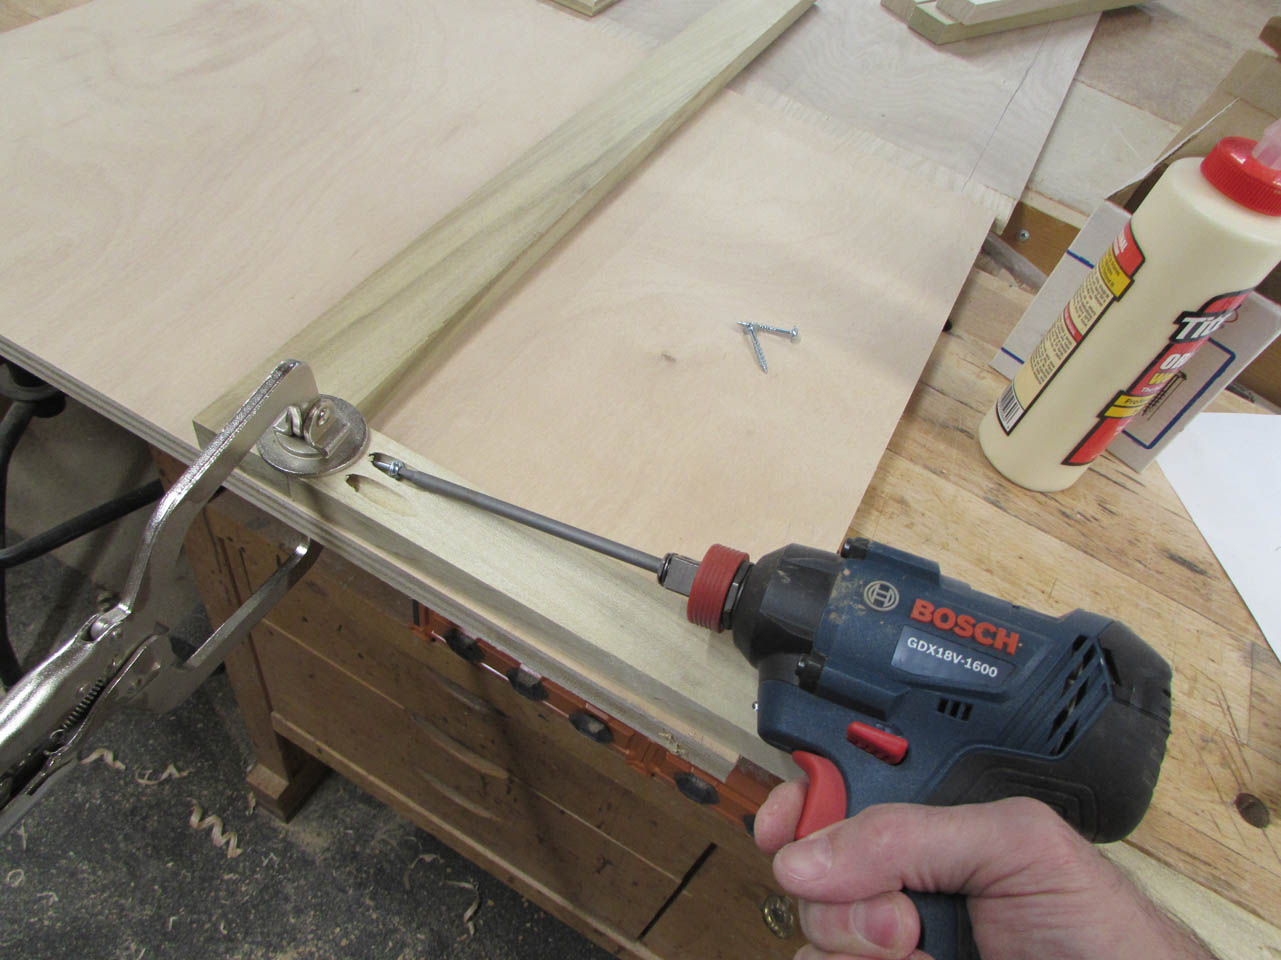
With a little glue and some pocket hole screws, I have a flat, perfectly square frame.
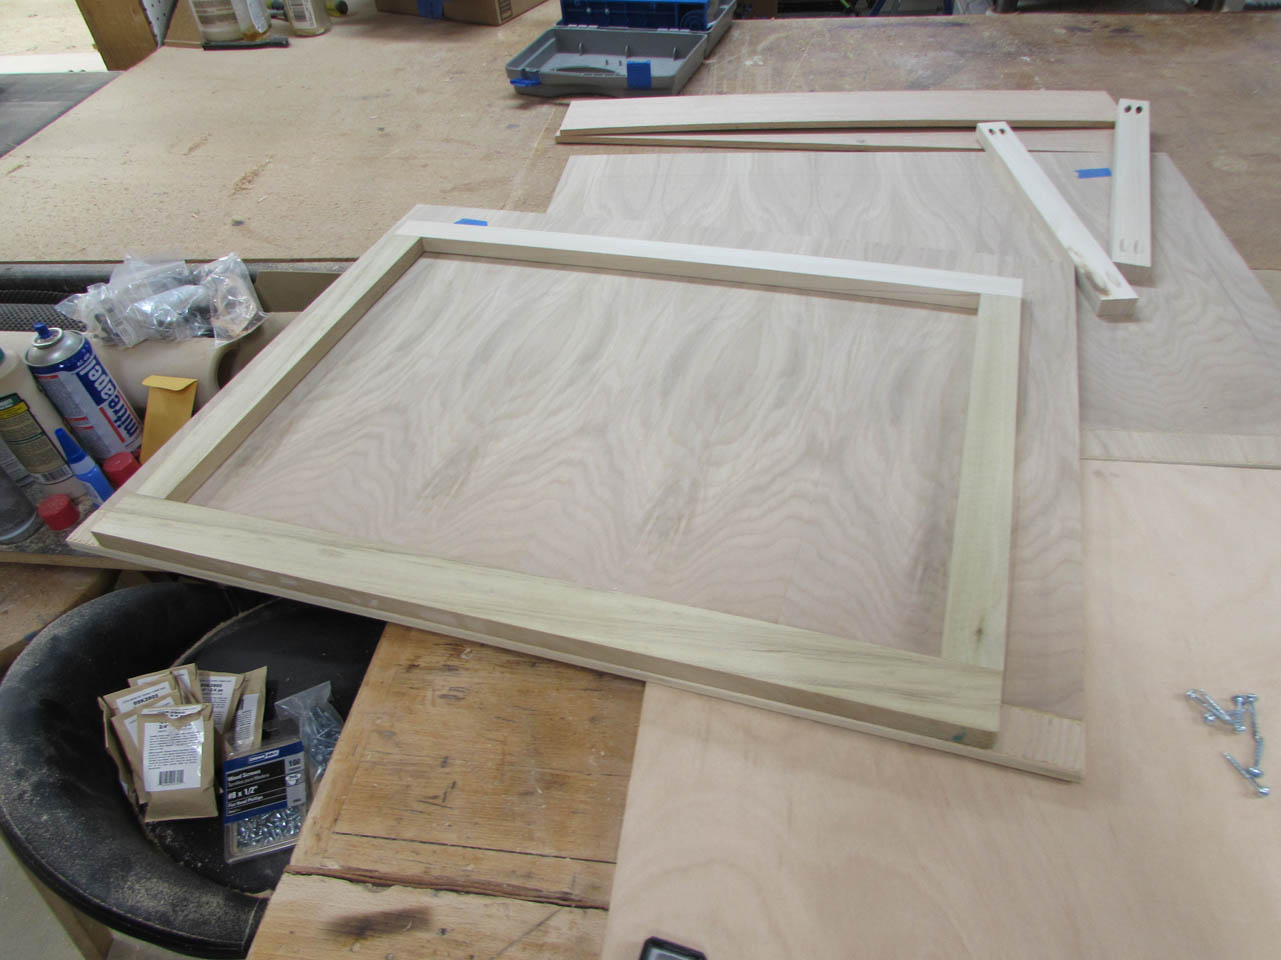
I applied glue to the back of the frames and set them in place, within the marked lines on the plywood panels.

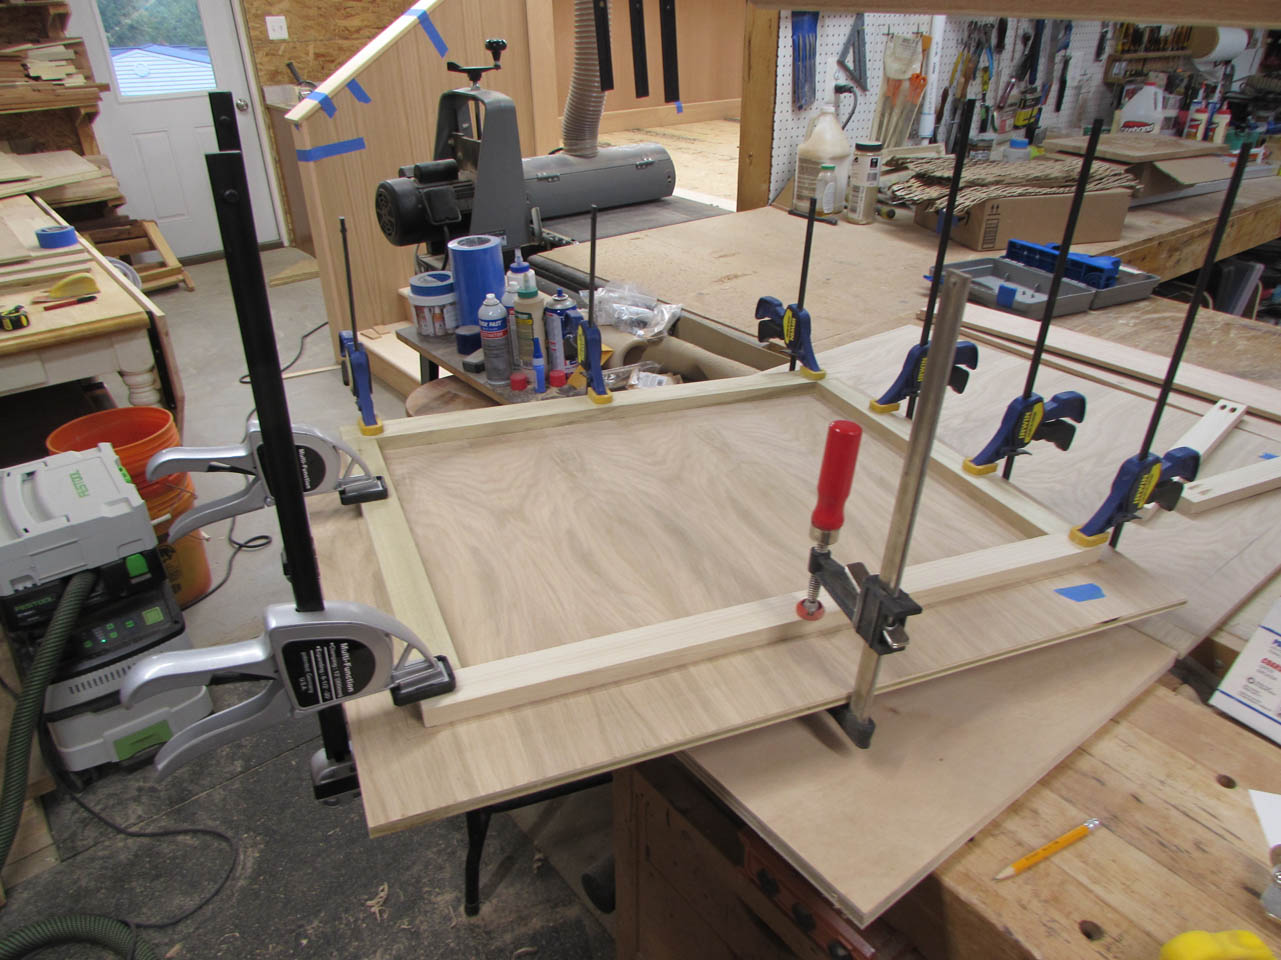
Then I clamped them up and left them dry for an hour or so.

Since the stiffeners will be close to the framing of the openings, I used my block plane to create a bevel along the edges of the frame. This will help ease the panel into place.


Next, I cut a piece of base trim to attach to the front of the panel.

Gluing this to the front and the frame to the back really stiffens the panel and will keep it from warping over time.


Next step is to locate and install the pull handles on the panel. I created counter-bores along the back so that the screws would be set deep enough to engage the pull handles fully.
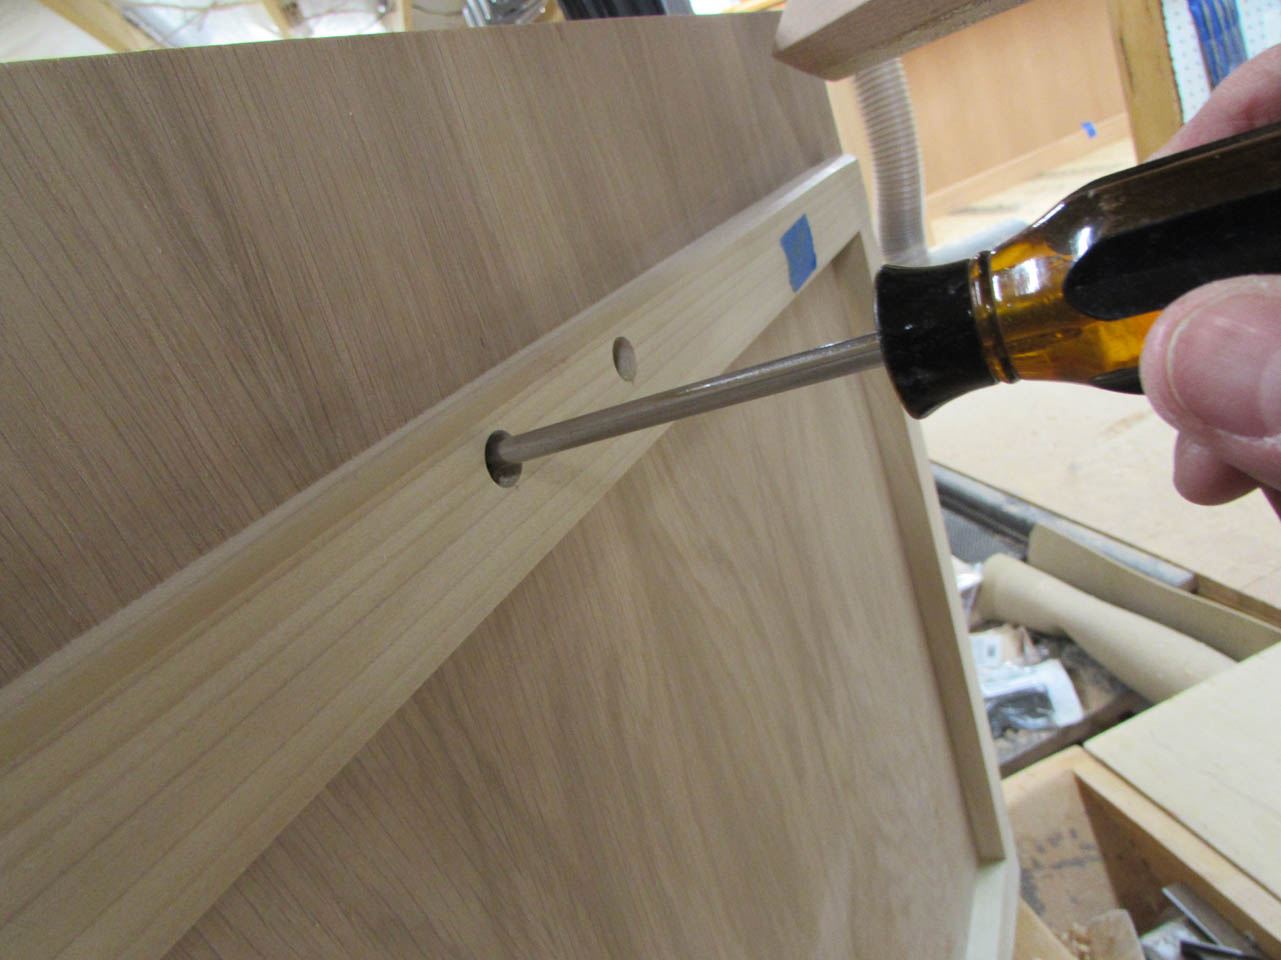

To hold the panels in place, I am going to try magnets. These “cup & washer” magnets have counter-sinks to receive a wood screw and have about a 12 pound pull.

I measure and locate washer on the panel, then match the layout on the frame to temporarily install the magnets.
I gave the panel a pull and it gave a satisfactory resistance to being removed.

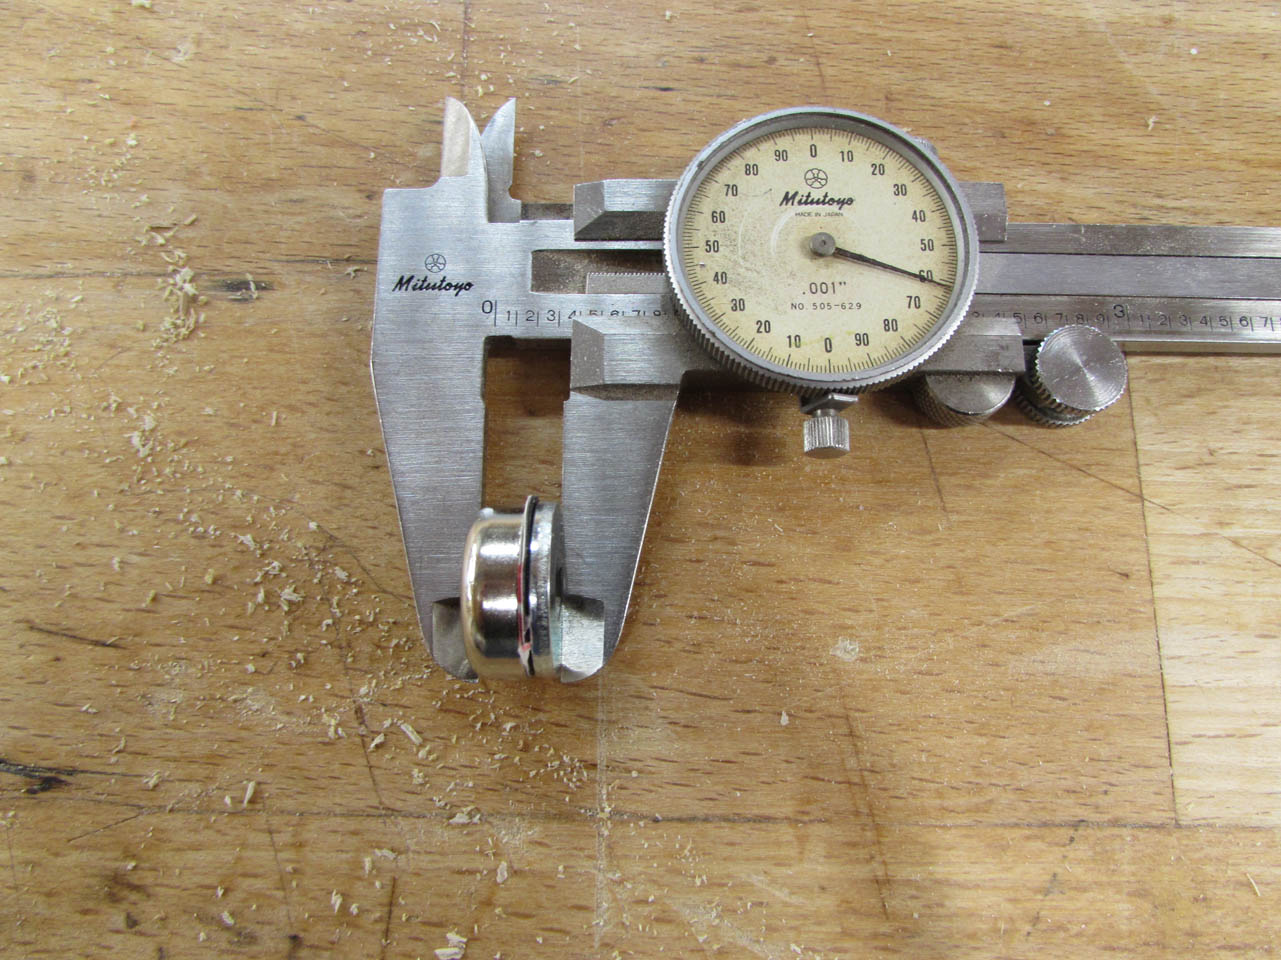
Happy with the outcome, I measured the combined thickness to know how deeply I had to drill the counter-bore to recess the magnetic cup.


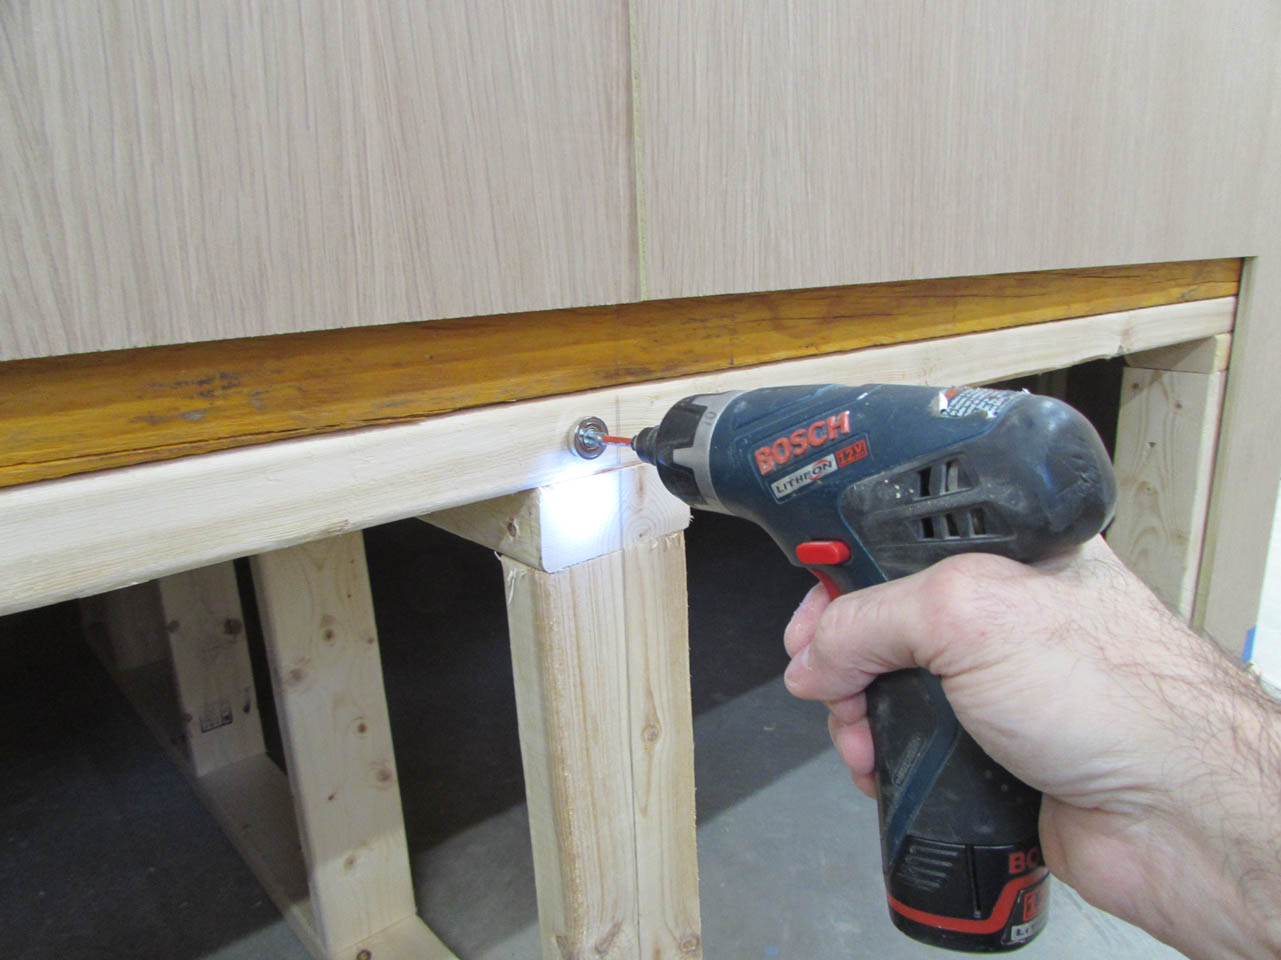
When the cups were reinstalled, I added washers behind any that were drilled too deeply.

The panels look really good installed and they hold just tightly enough that they won’t be knocked off by accident.


I finally got some details about the microphone jack hardware so I can pre-drill the holes for them.

I had to mark and drill the top stair riser as well as the outer joists with a 1.5″ diameter hole.
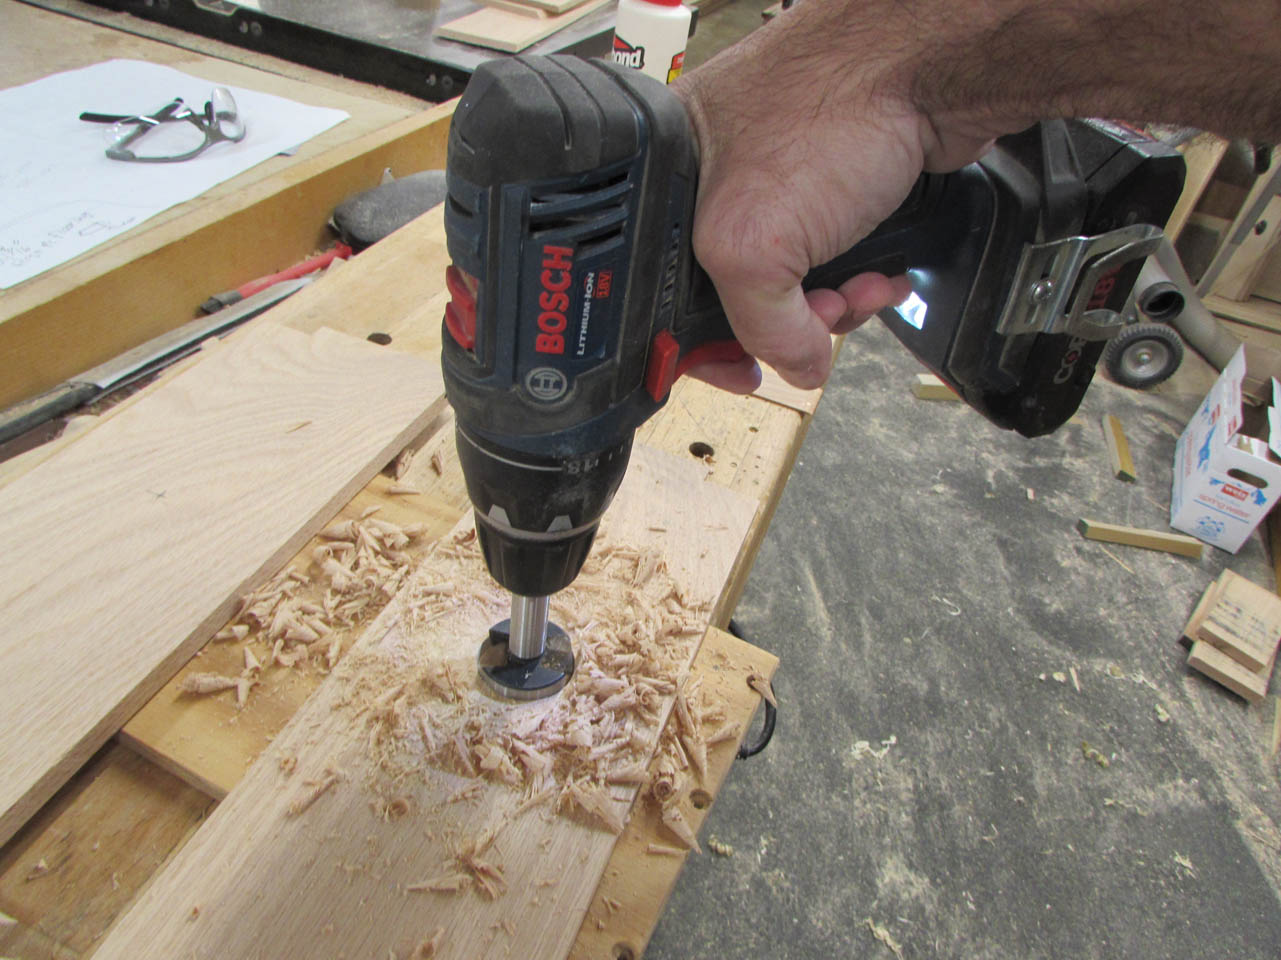
I used a forstner bit for both operations.

Then it was time to mark all of the trim and tear it all apart for finishing.
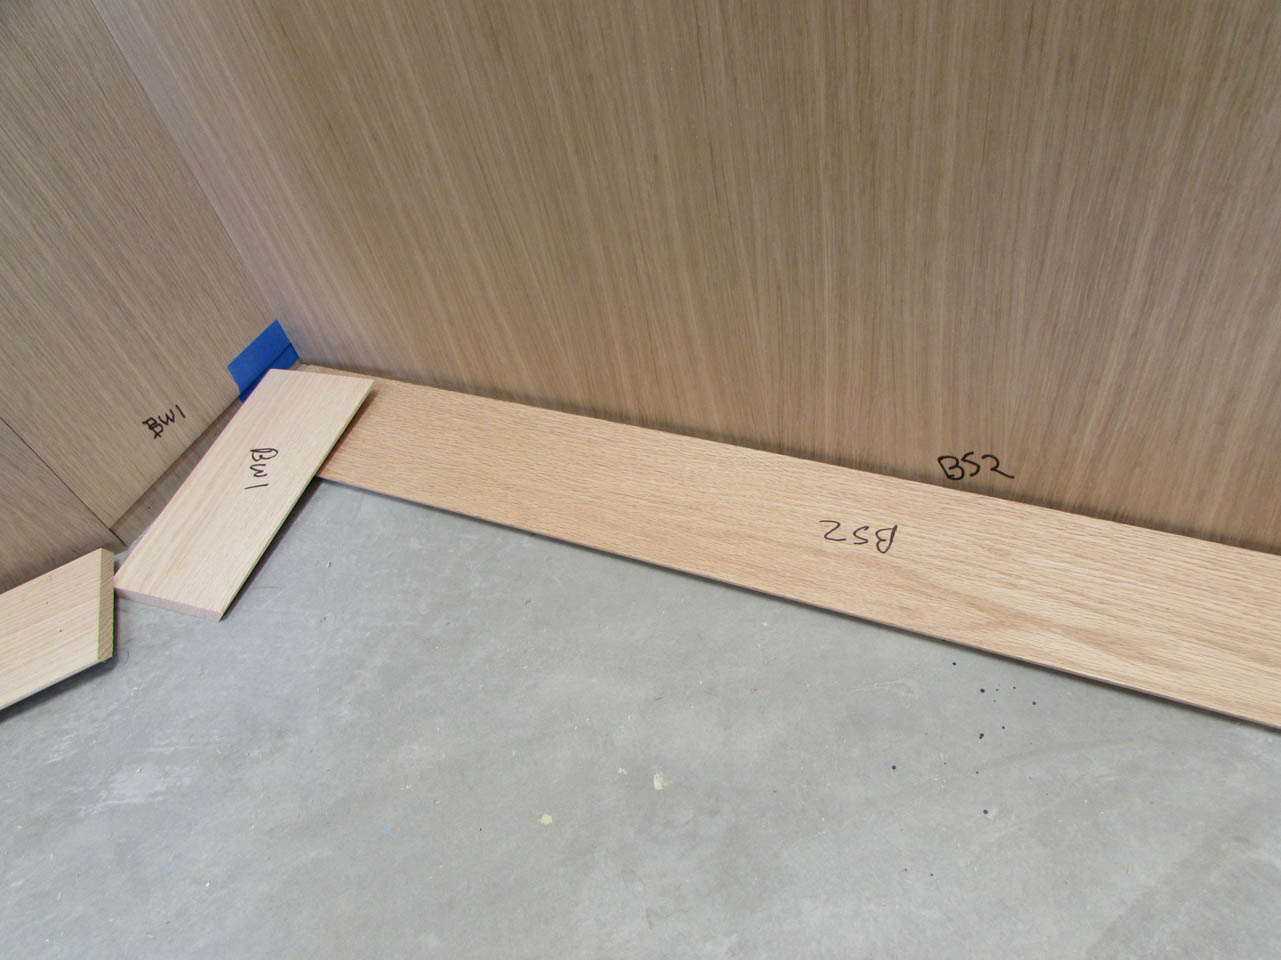
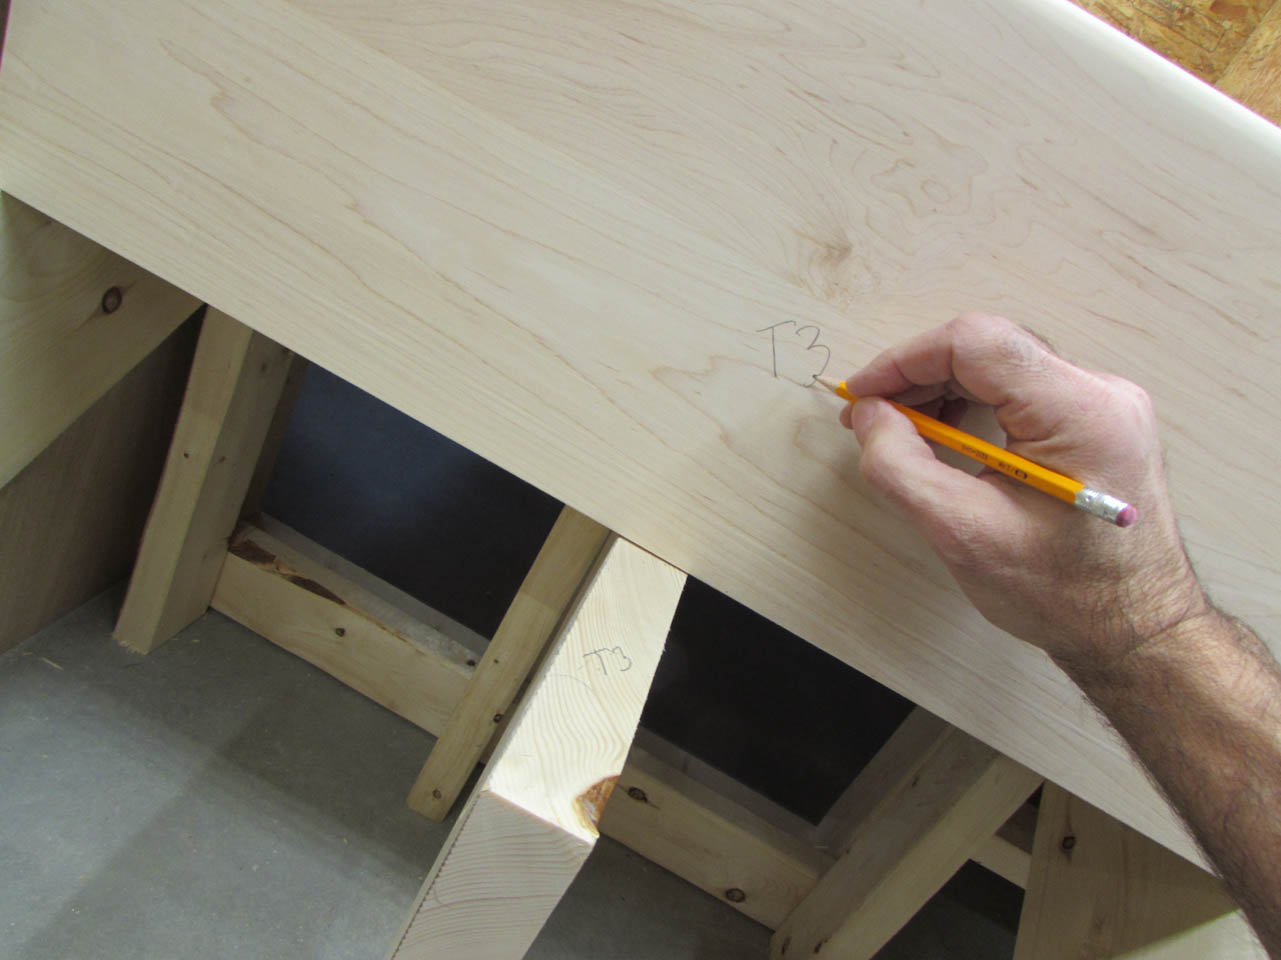
I marked all the risers and treads as well. It should be obvious where everything goes, but it doesn’t hurt…
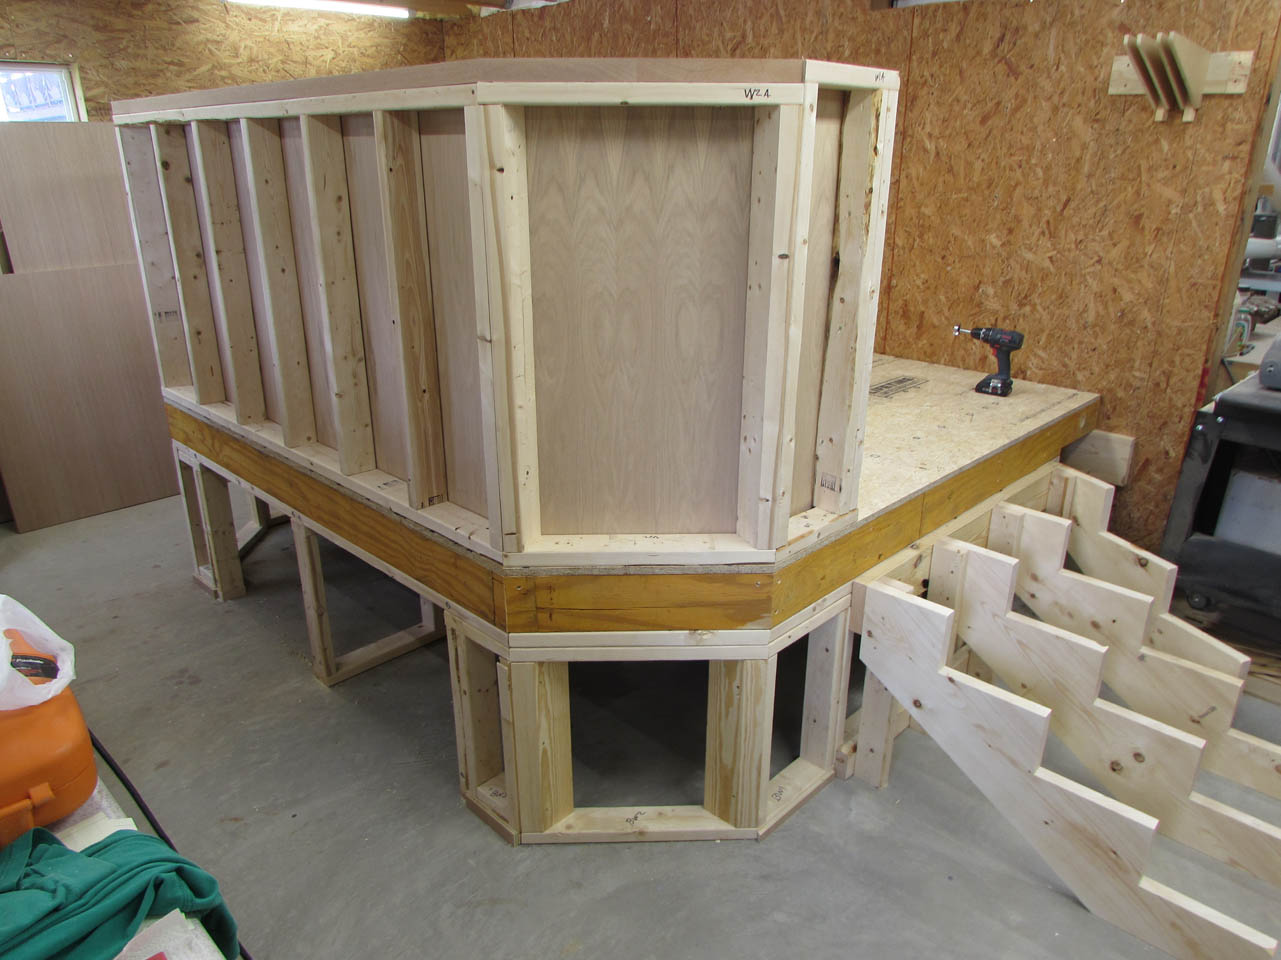

Some sections I left assembled because they were small enough to handle. I left the screws in the framing to make reassembly easier later.

When the sub-floor was removed, I drilled the additional access holes for the microphone wires to the open section where the jacks will be.


Then the frame was marked and disassembled as well.
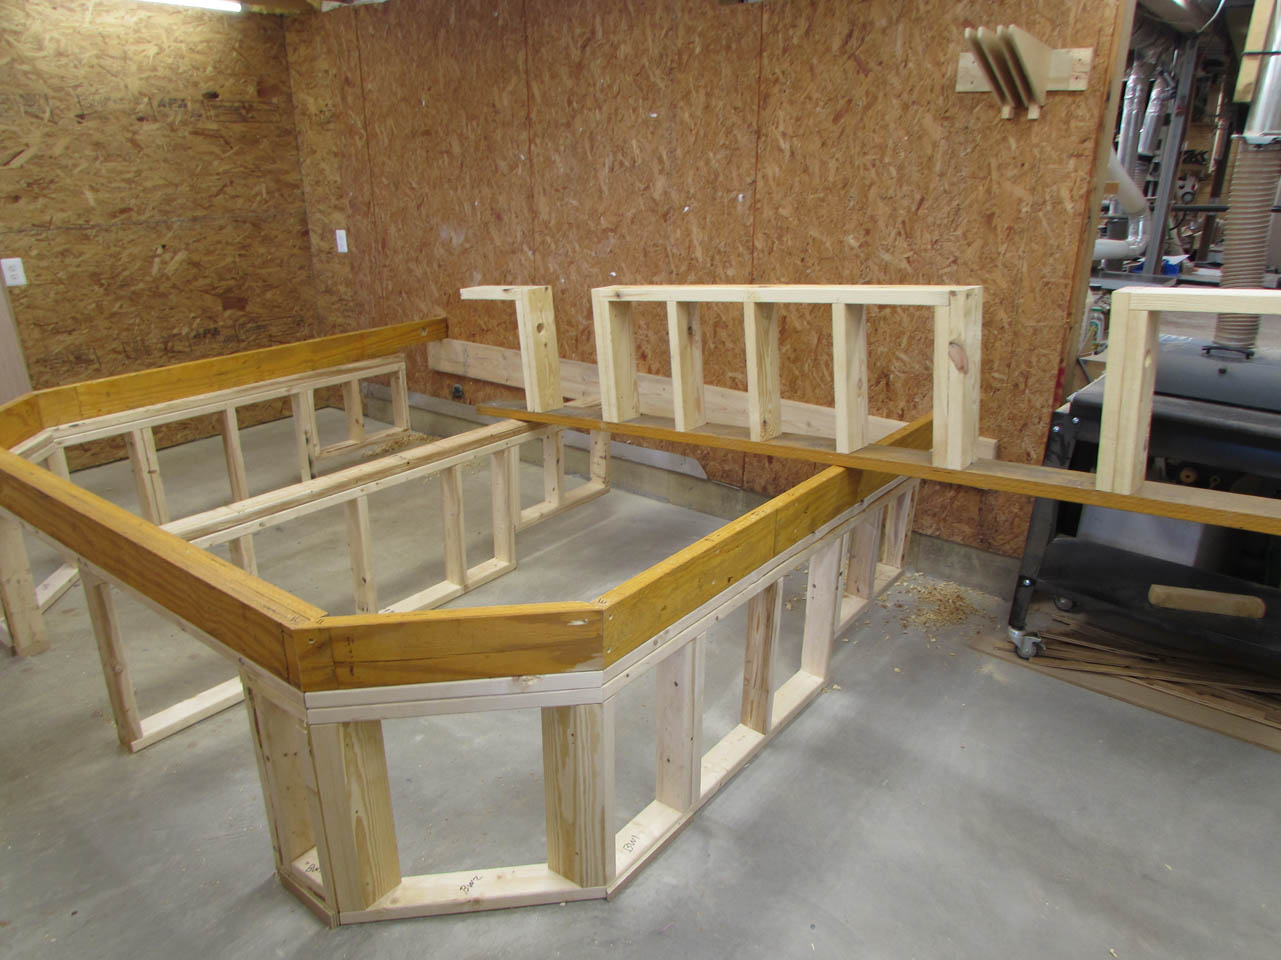
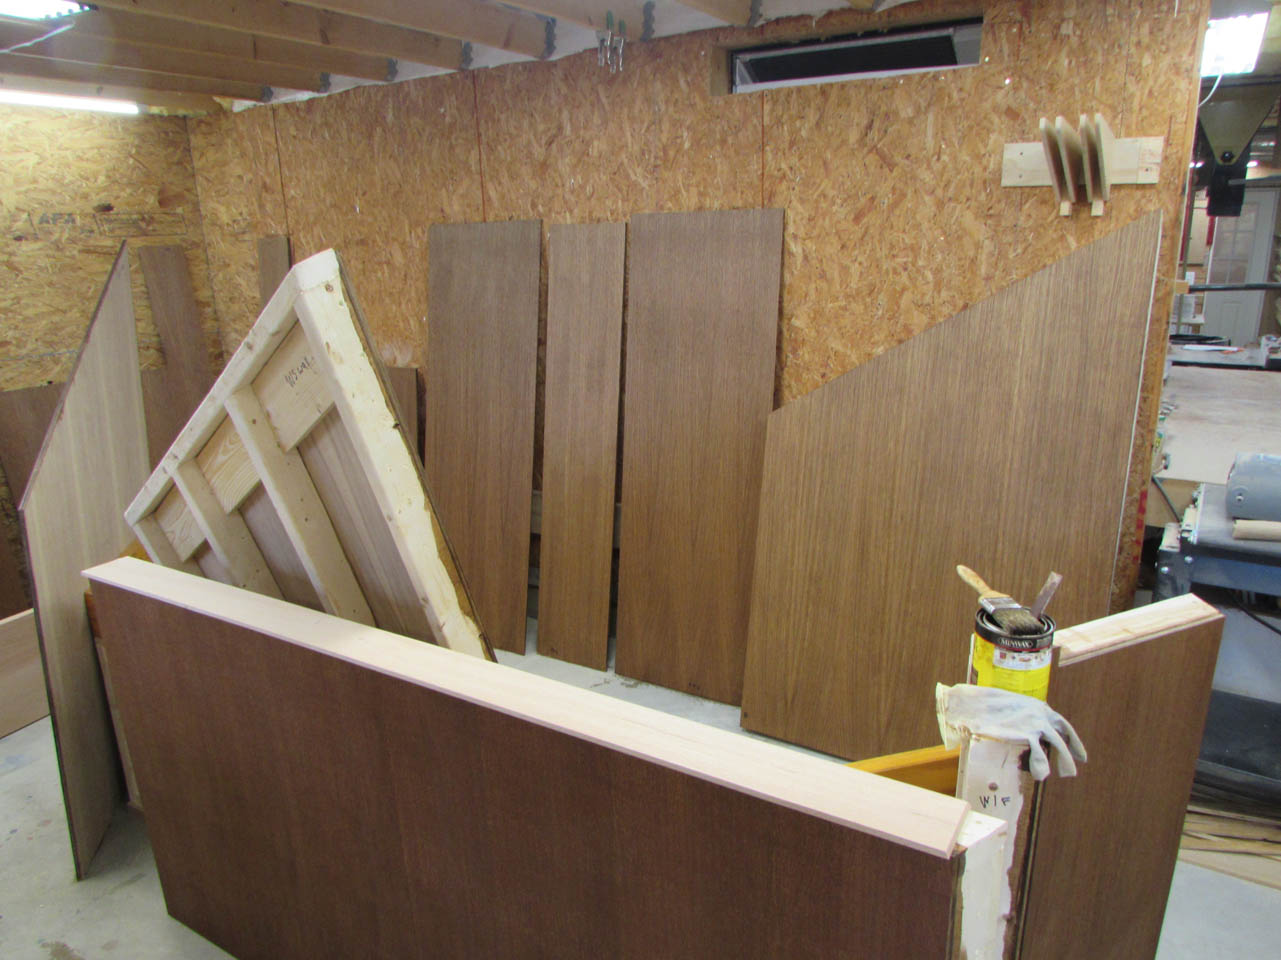
I thought this section was going to be disassembled as well but apparently I nailed it together so it can stay here to give me something to lean my plywood against for staining.

A good thing too, there is a lot of plywood for staining…

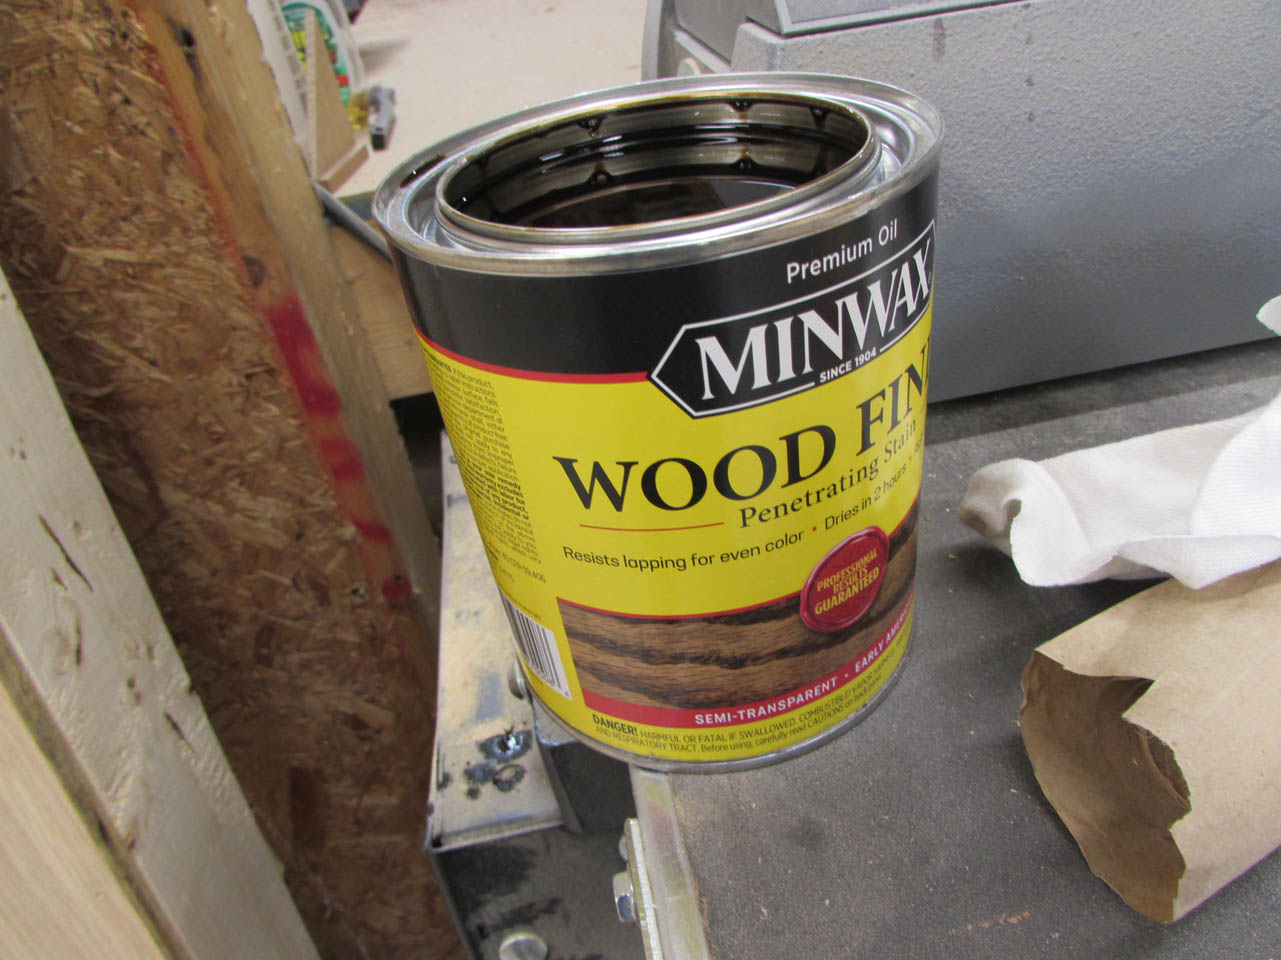
I have never stained such a large amount at once so this will be an adventure.

My buddy Dave recommended brushing on the stain with a stain brush, then wiping off the excess with a cloth.
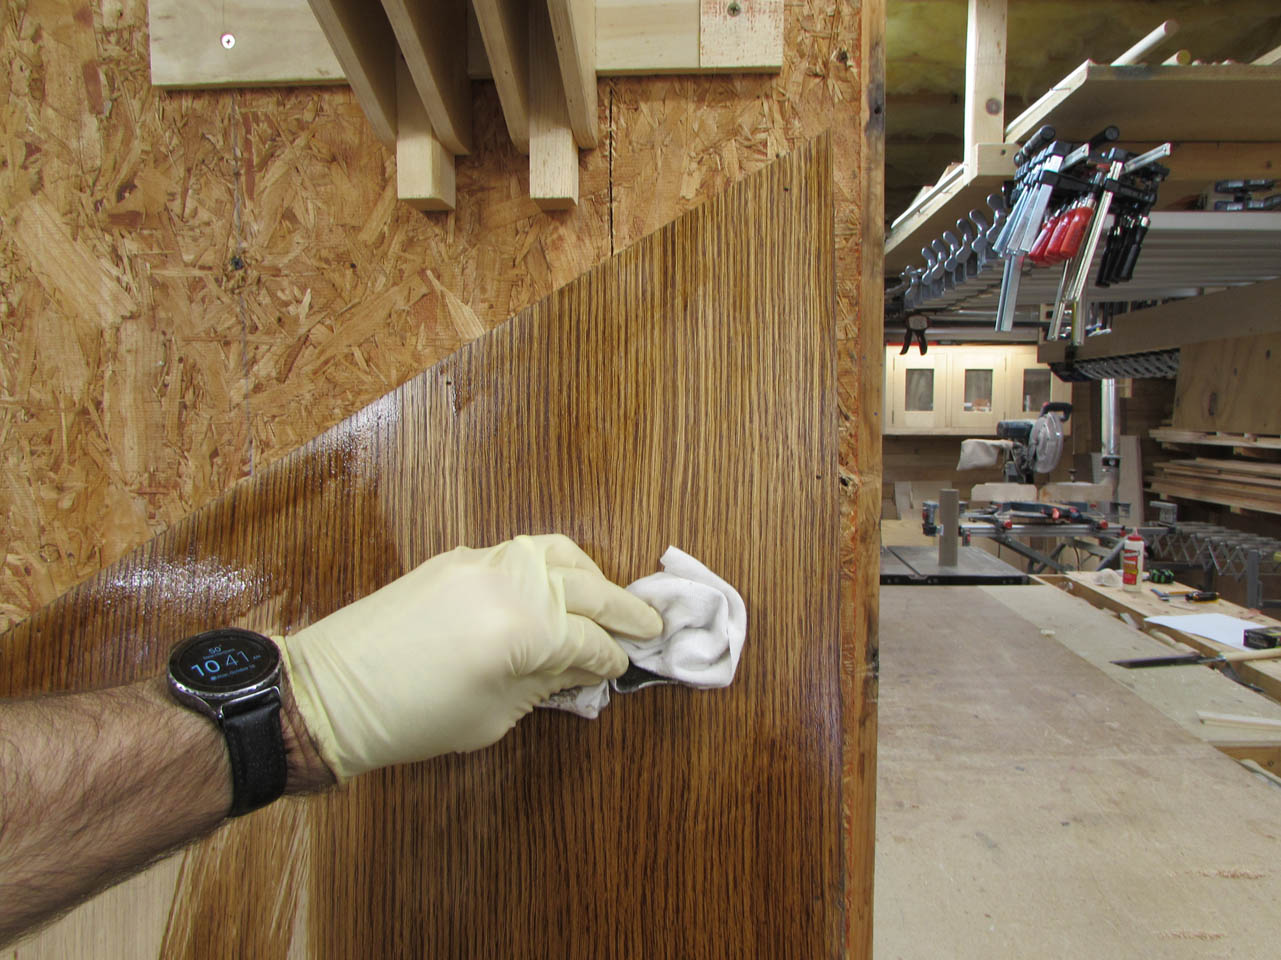
This technique worked really well and I moved at a steady pace, able to coat the entire board with time to rub the stain out evenly, leaving no light spots or blotching.
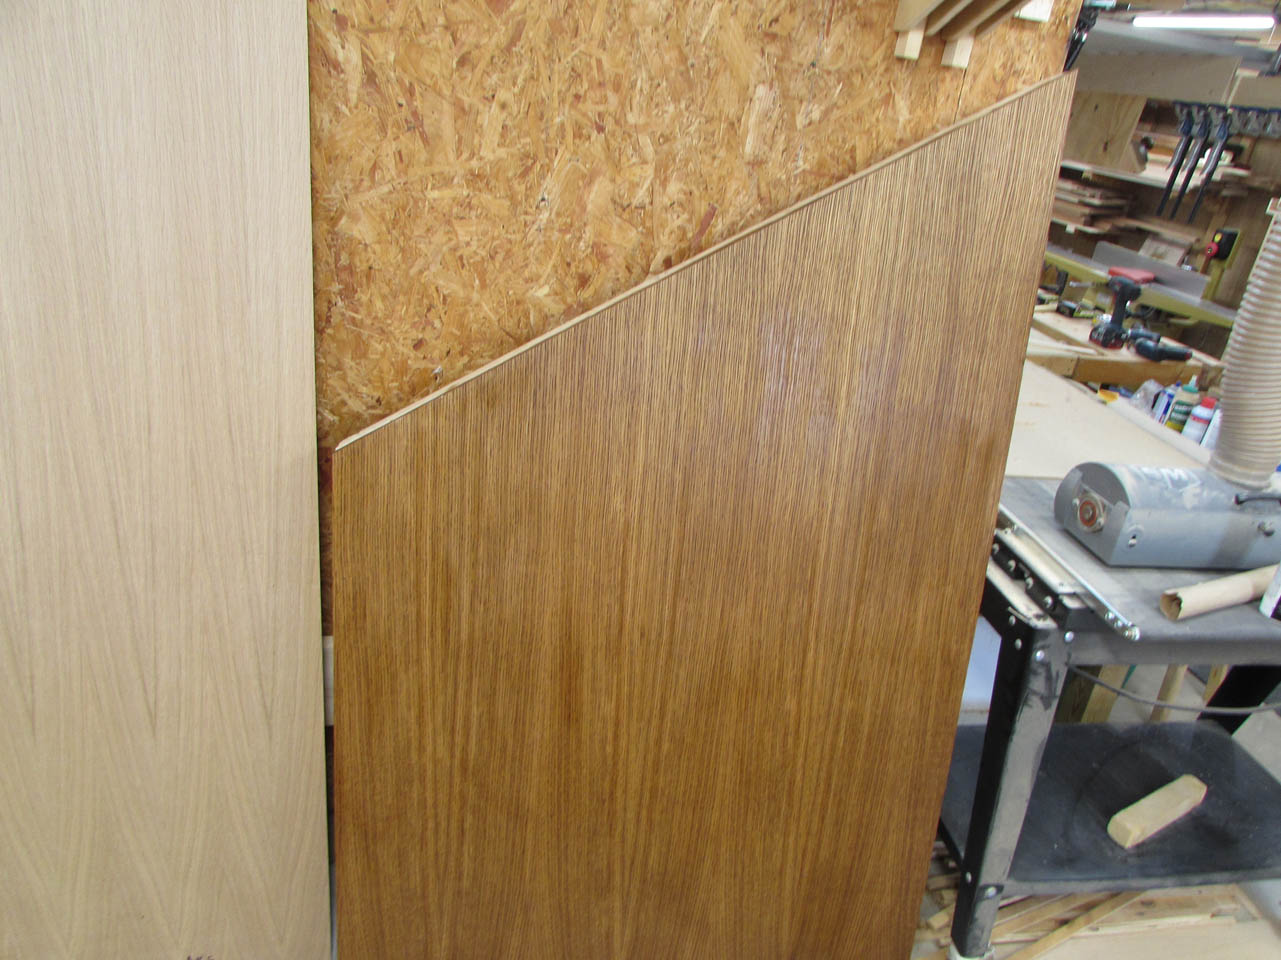
There were a lot of things to stain…
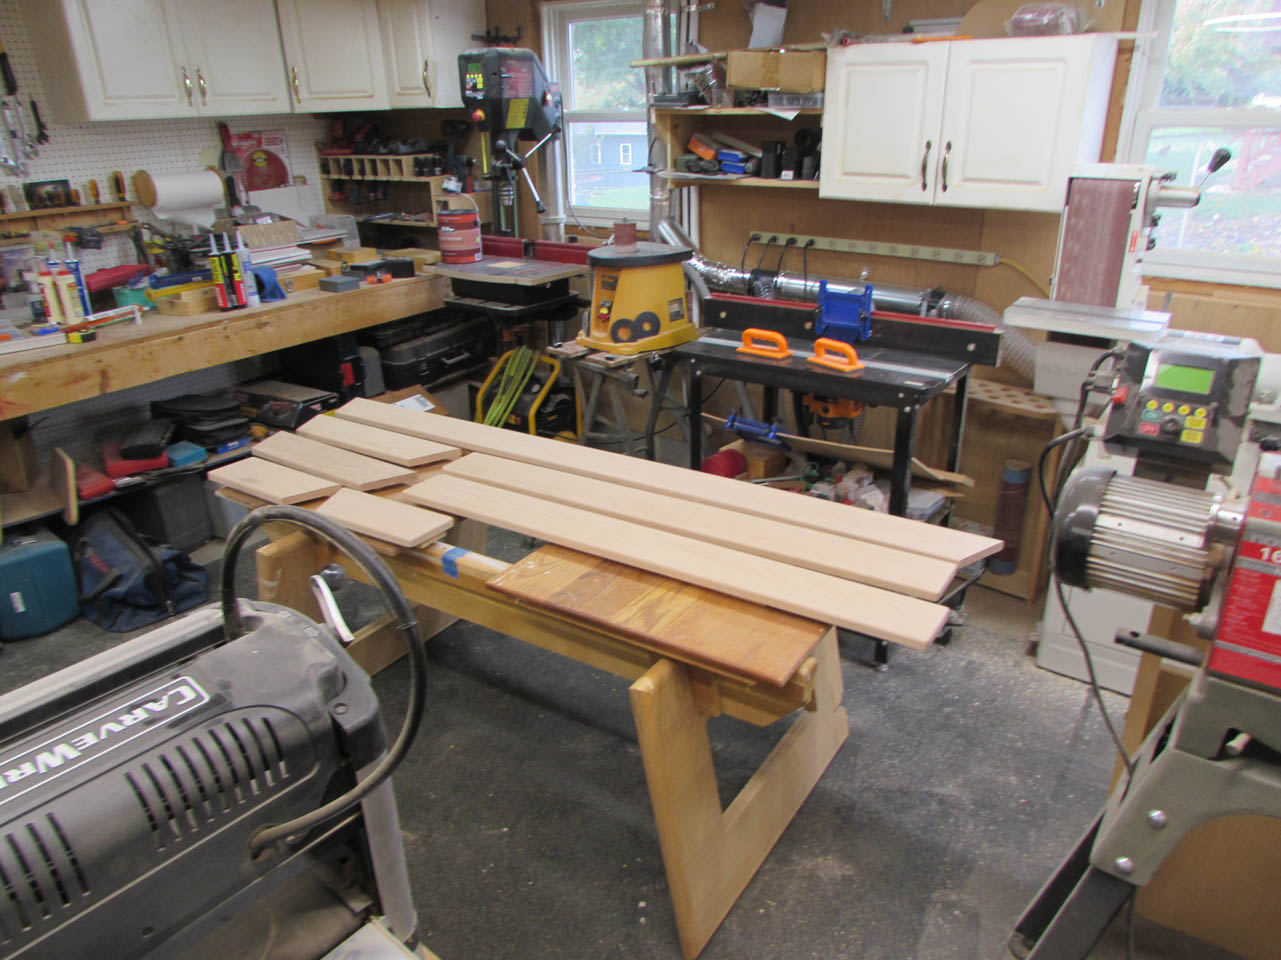
Not knowing how far a can of stain would go, I did the plywood first, then laid out the solid wood to stain next.

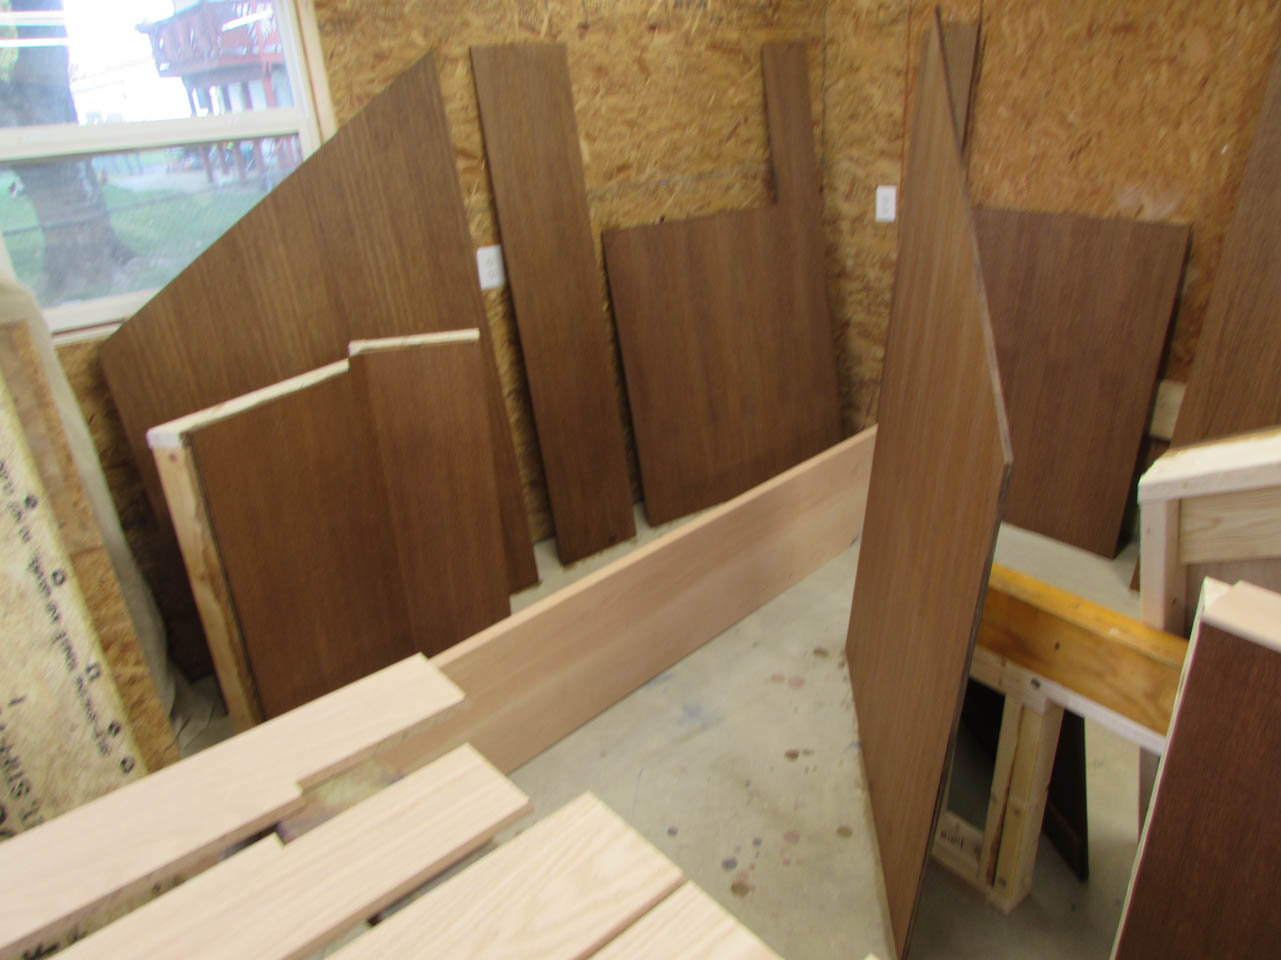
There was a large amount of that as well.


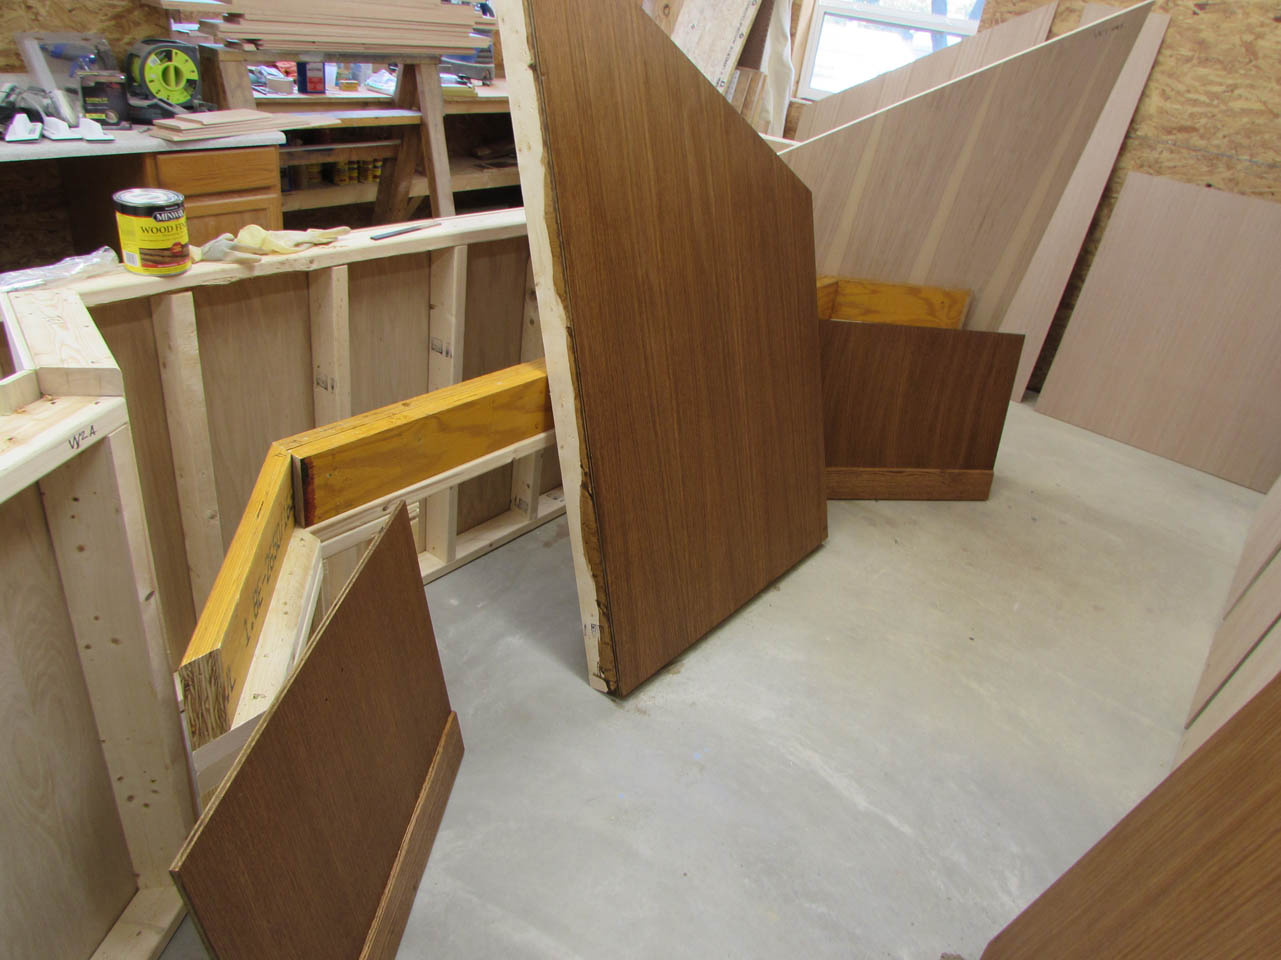
It wound up in every section of my shop…
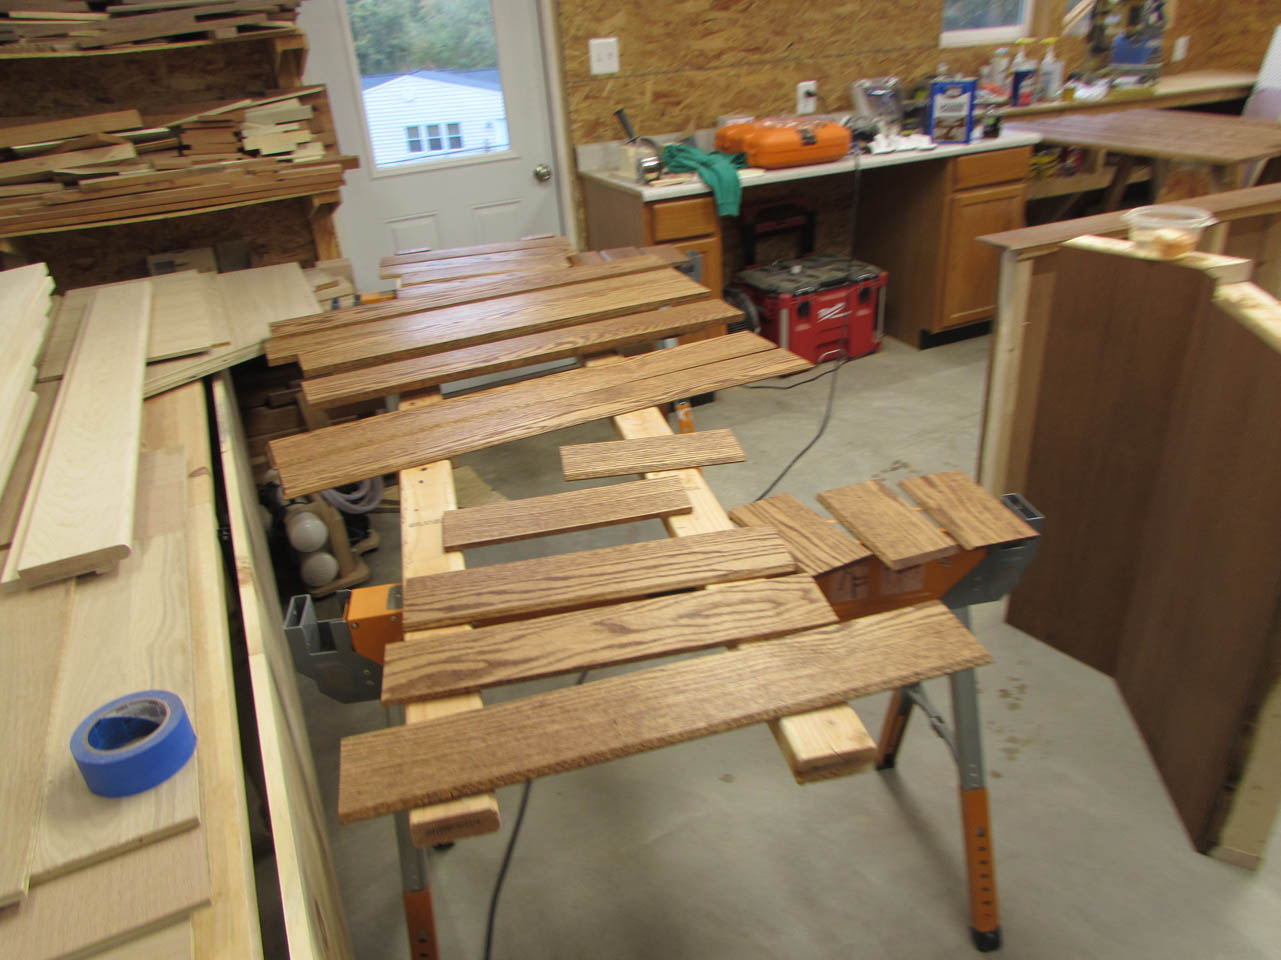
After several hours, I finally finished. Ironically I had four small boards left to go when I hit the end of my quart of stain. Luckily I had a very small can of the same color on the shelf with just enough left to finish the project.


With only a slight headache from hours of sniffing fumes… Finding a place to spray on the finish will be interesting. It will probably have to be done in several separate batches.

A tip I learned for dealing with the fumes is to cut some onions in half and place them, cut face up, in a bowl of water, near the work area. The onions absorb the fumes without putting off any onion smell. I don’t know how it works but it does. My wife is very sensitive to the fumes and this helps remove them completely.
