
Altar platform part 5
Pre-finishing all of the trim and plywood at once would take up way more room that I have in my shop.

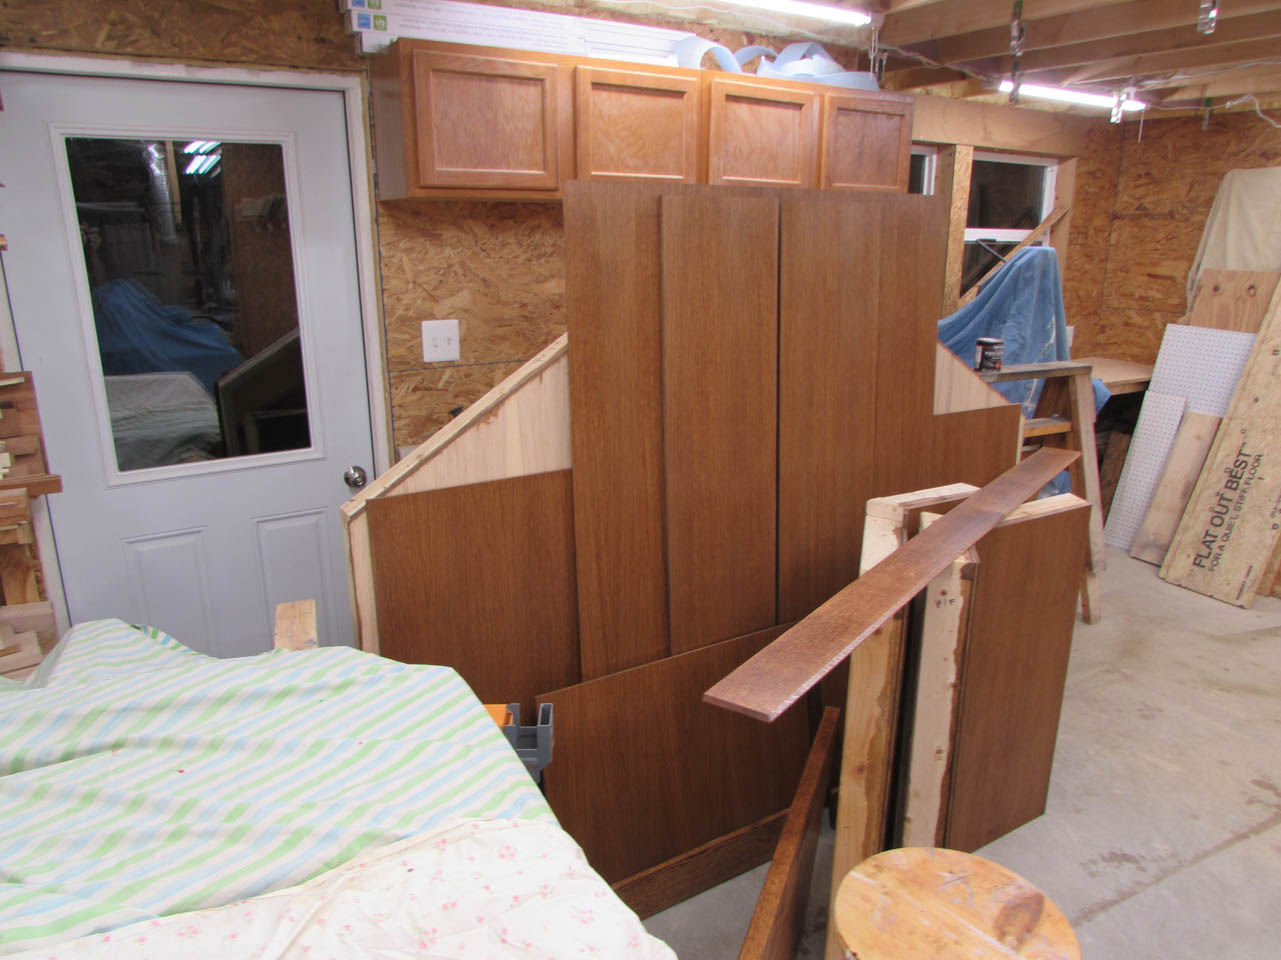
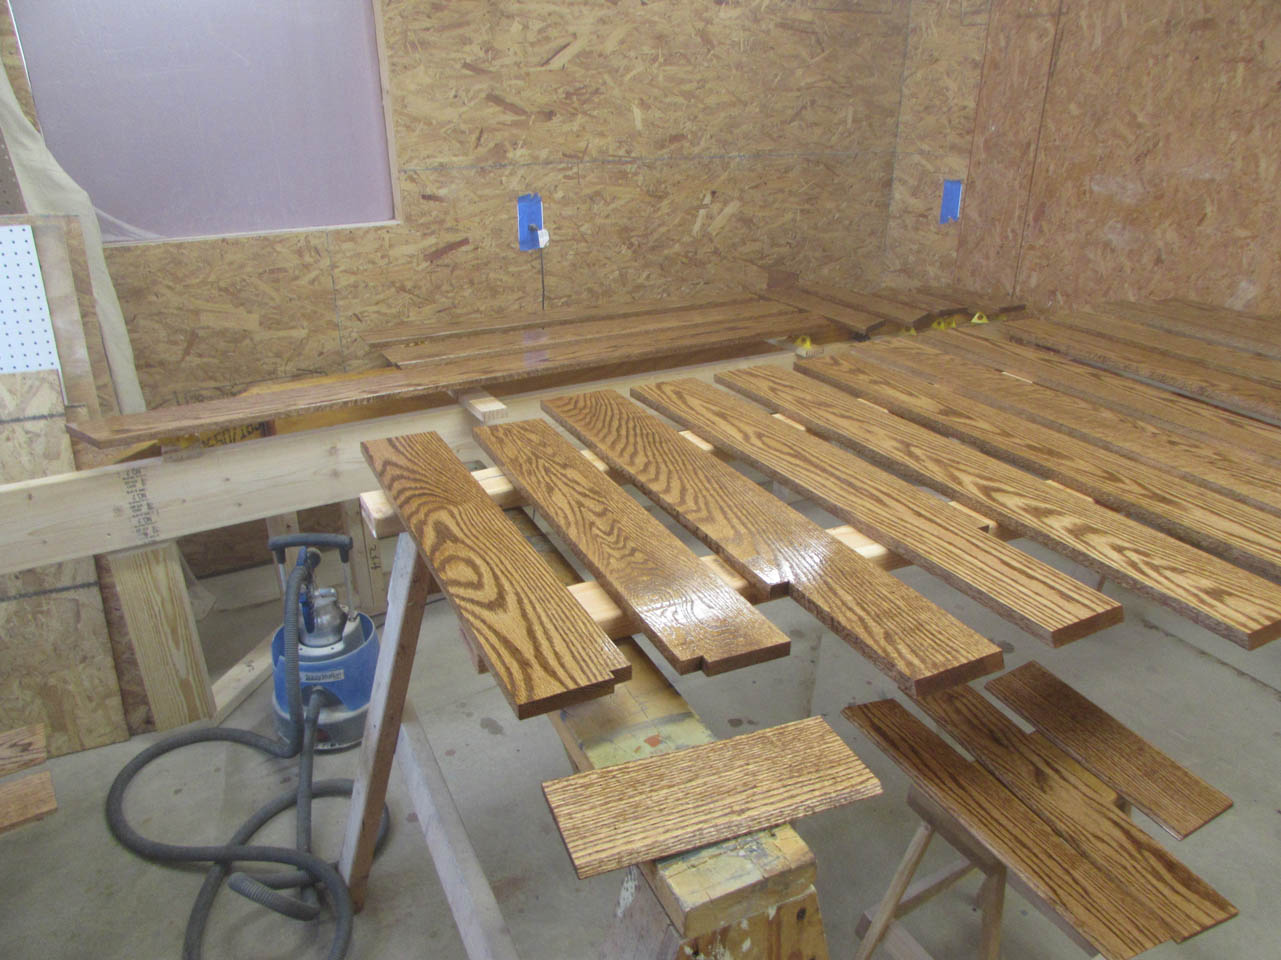
I moved the majority of the structure out of the back of my shop before staining but I still don’t have enough room to set up a spray booth. I grabbed a couple of old bed sheets and draped them over the trim and treads as well as some of my tools in the vicinity. This will protect them from over-spray.
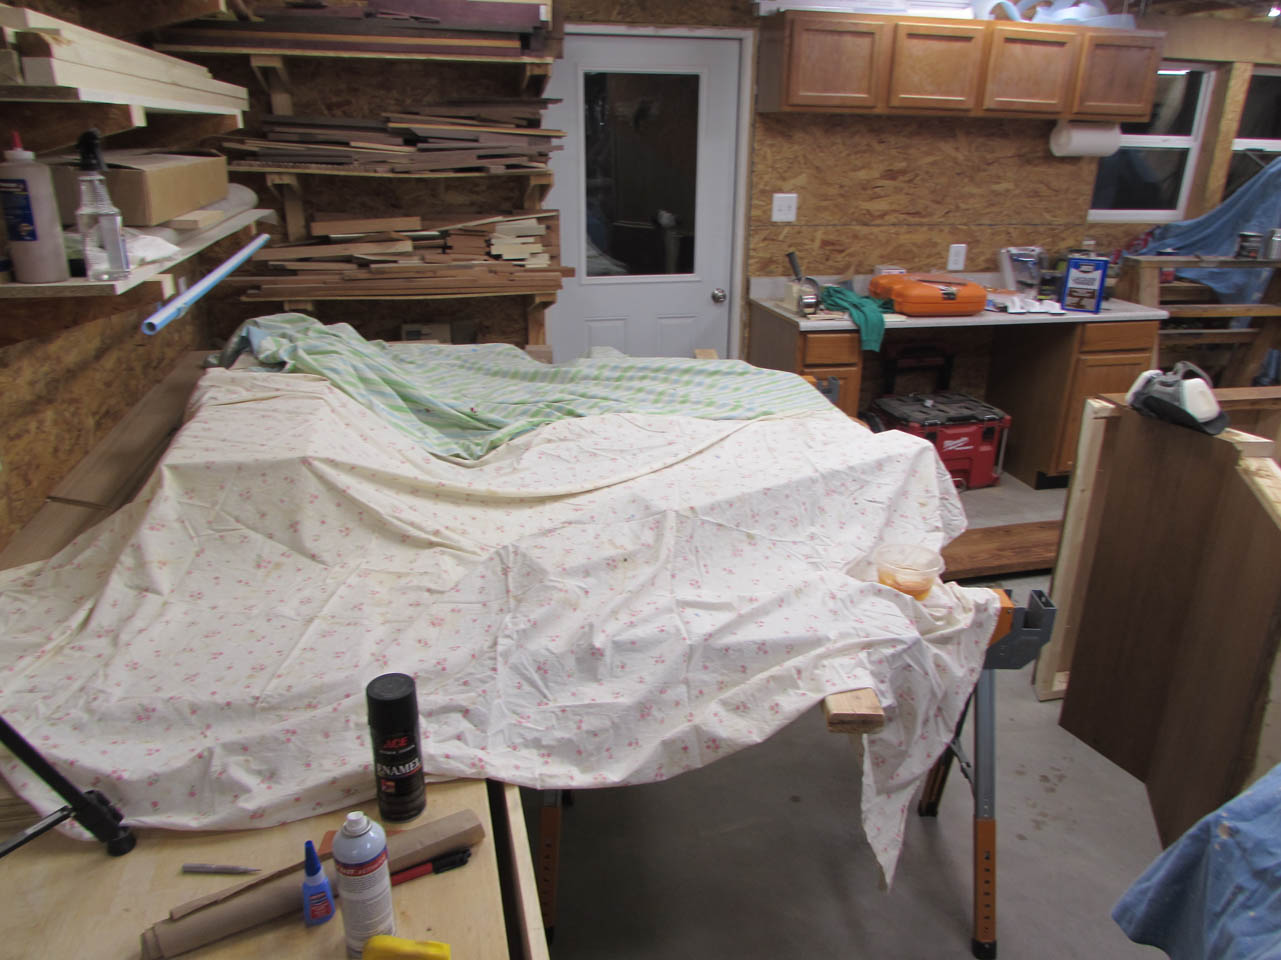
I arranged the plywood panels around the room, along the walls, and up against the back wall of the support structure. It won’t fit anywhere else at the moment and over-spray won’t hurt it.

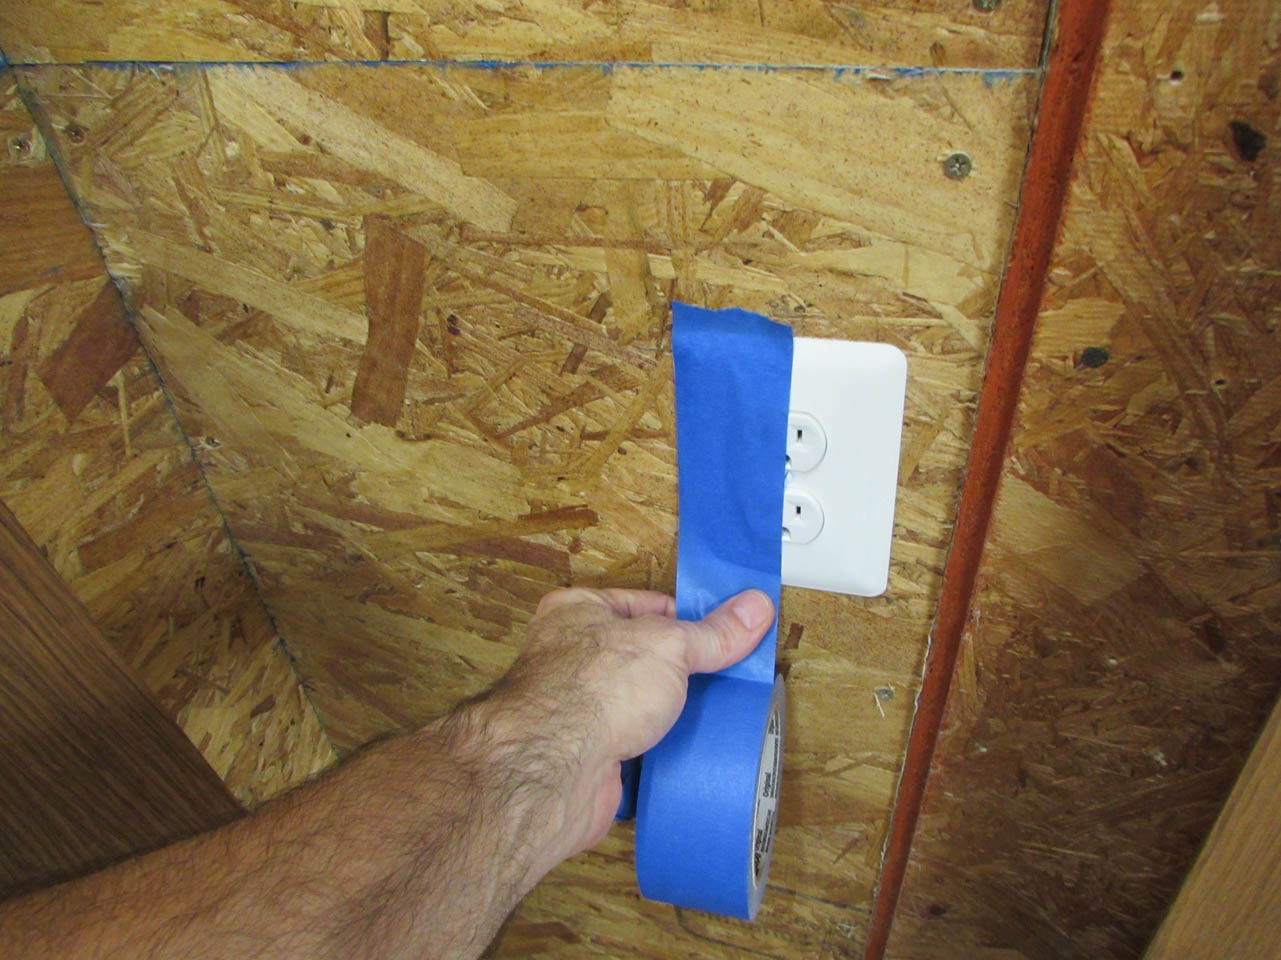
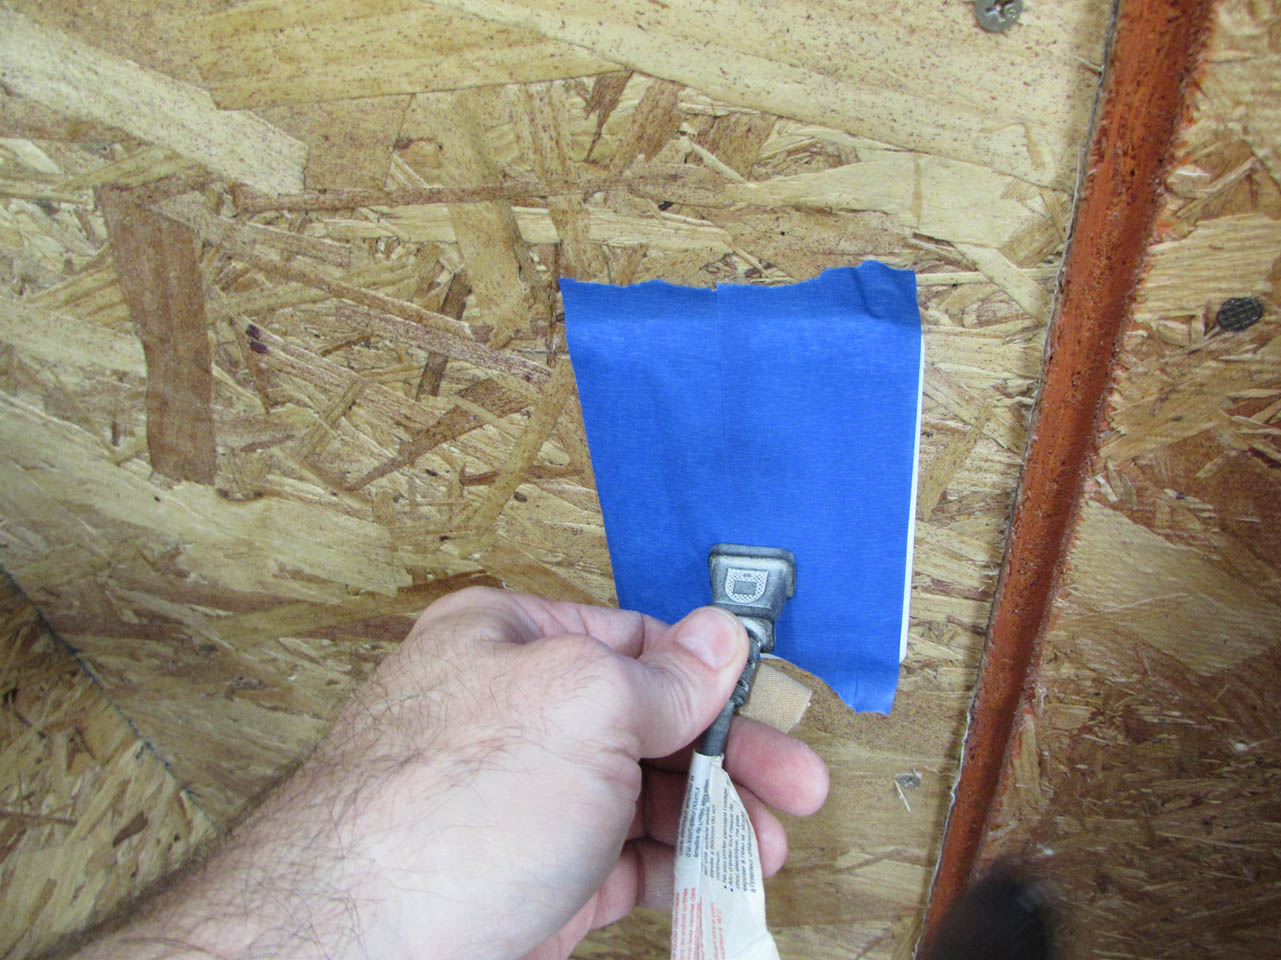
Then I taped over all the outlets in the area to keep out any sprayed polyurethane. I can still plug the sprayer in through the tape.

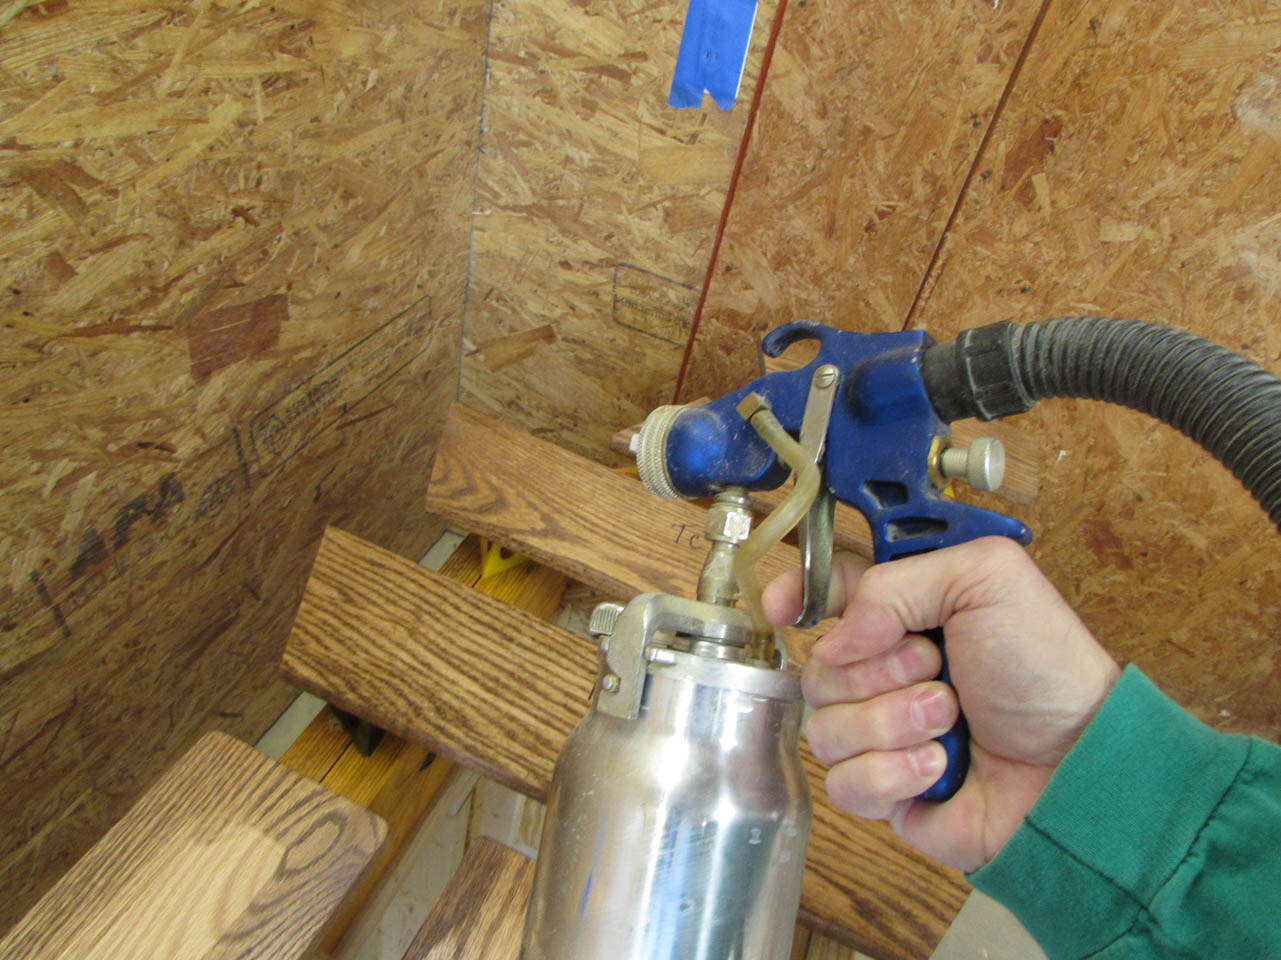
Then I filled up the HVLP sprayer and got started.
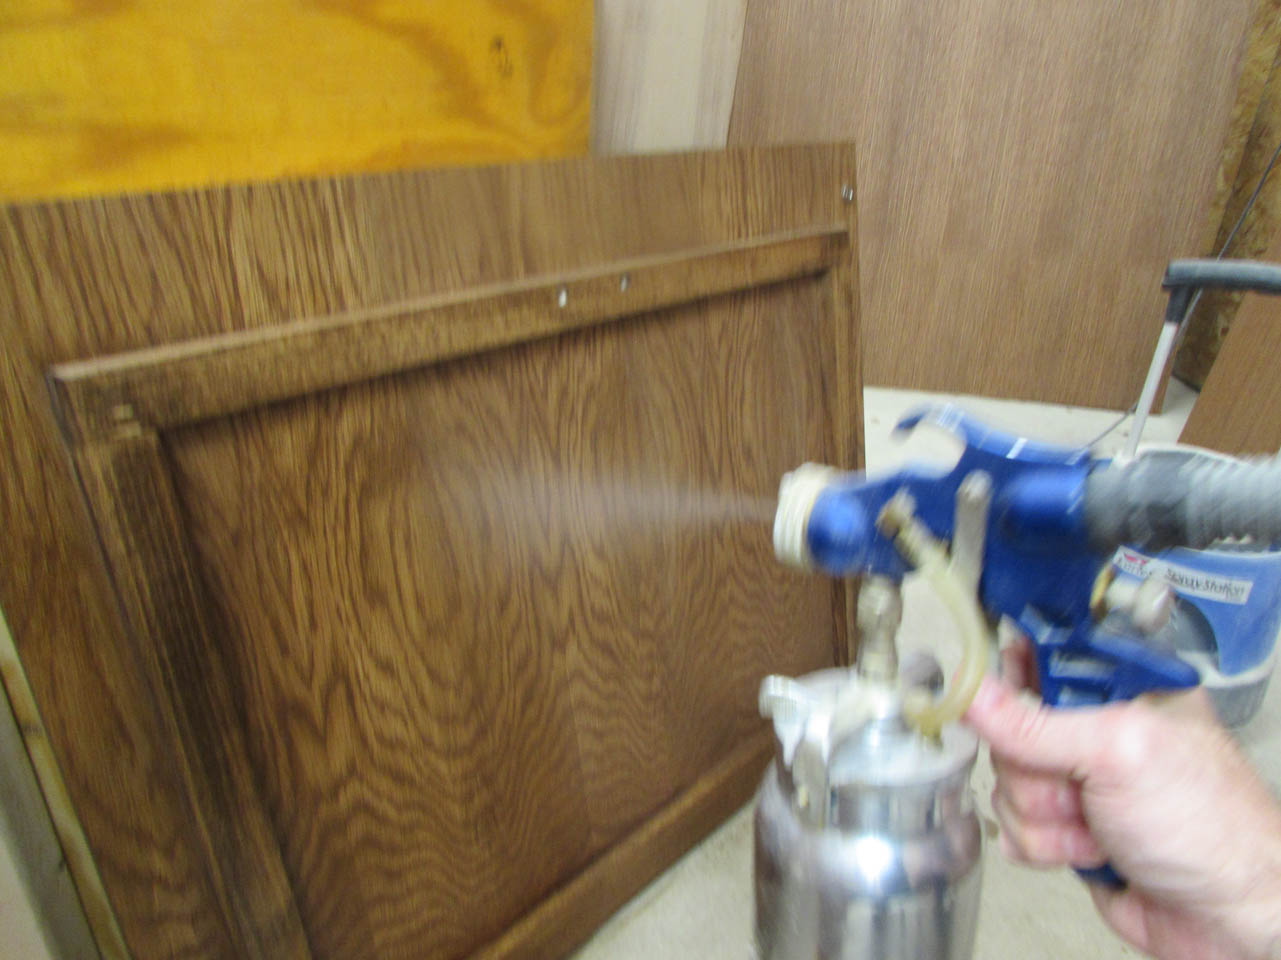
The access panels are the only panels that will get both sides finished so I spray the back sides first, then flip them around and spray the fronts.


Then I moved around the room, spraying each panel.

When I was done, there was a thick fog of polyurethane in the air. I turned on my air-cleaner and left the shop so the air could become breathable again.

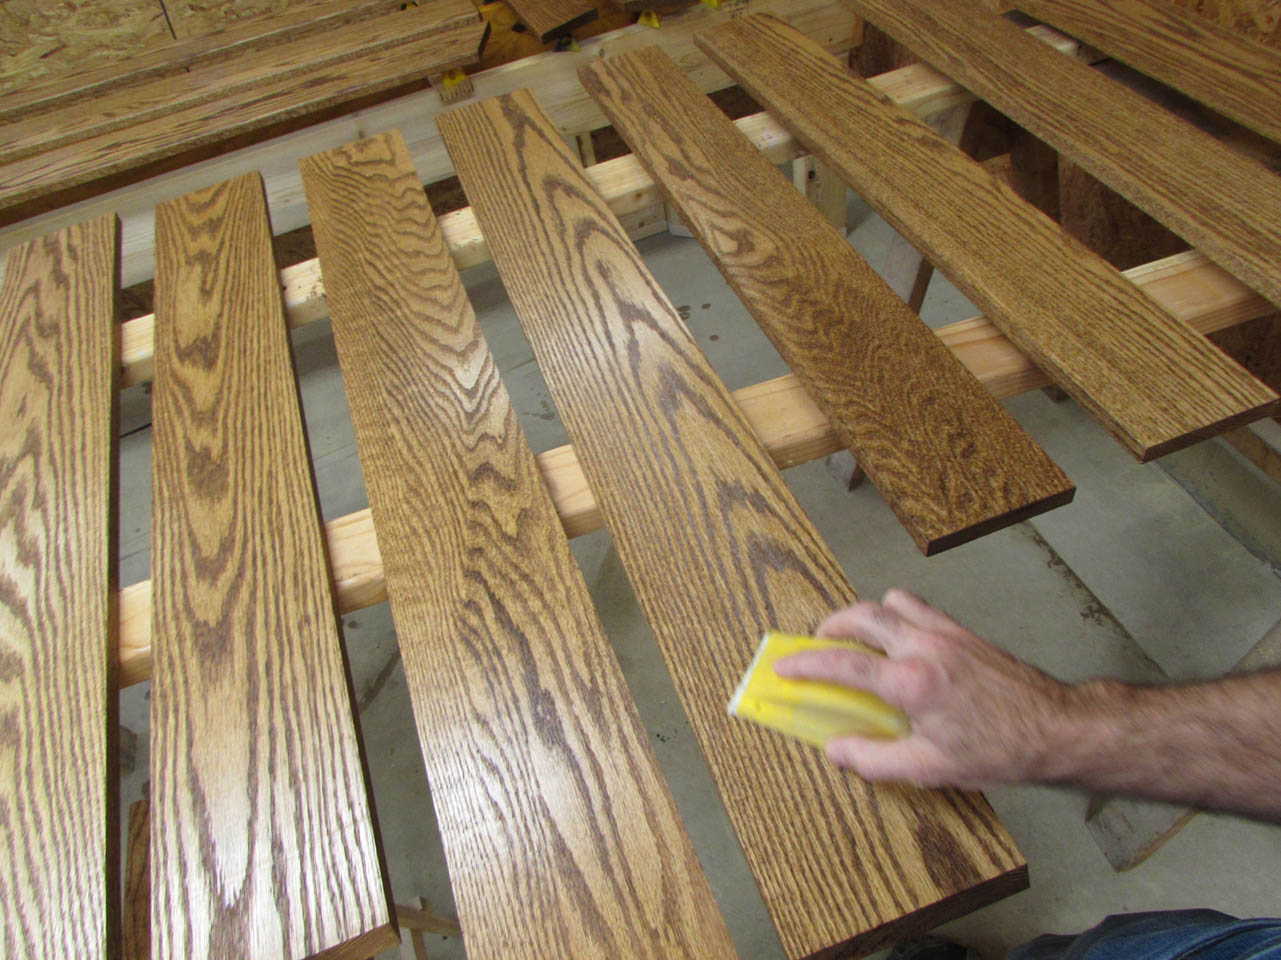
The next morning, I started sanding. I sanded each finished surface with 400 grit sandpaper, and wiped them down afterwards.

This took a while…


When that was done, I fired up the sprayer and created another fog bank while applying the next coat.

The next day, I took all of the dry panels and moved them out of the way so that I could set up the spray booth again and spray the finish on all of the trim.
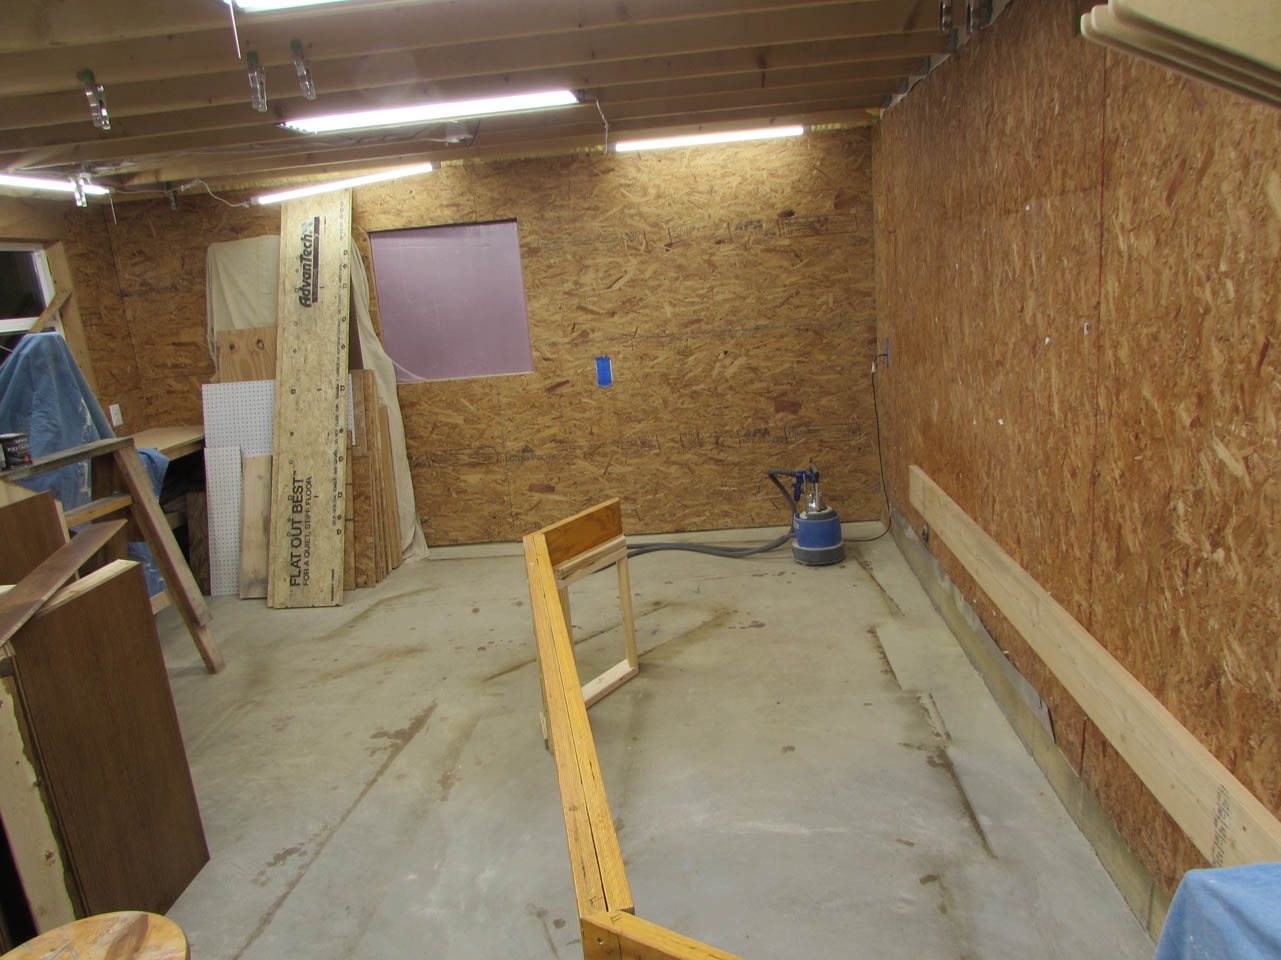
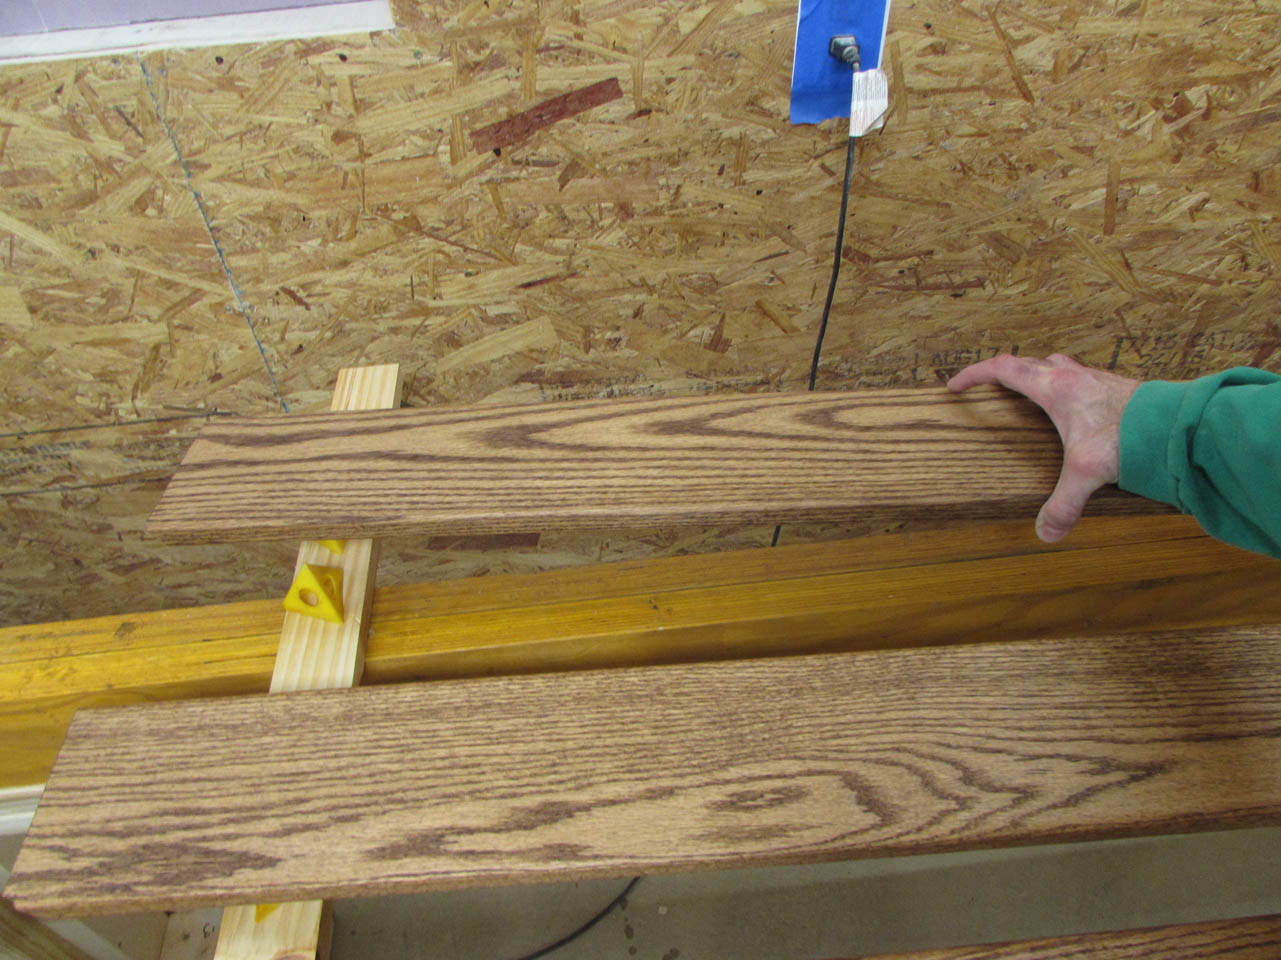
That rear piece of structure was still in my way, so I decided to put it to work again. I pulled the 2″x8″ board off the wall, since I don’t need it to support the floor anymore, and attached it to the structure.

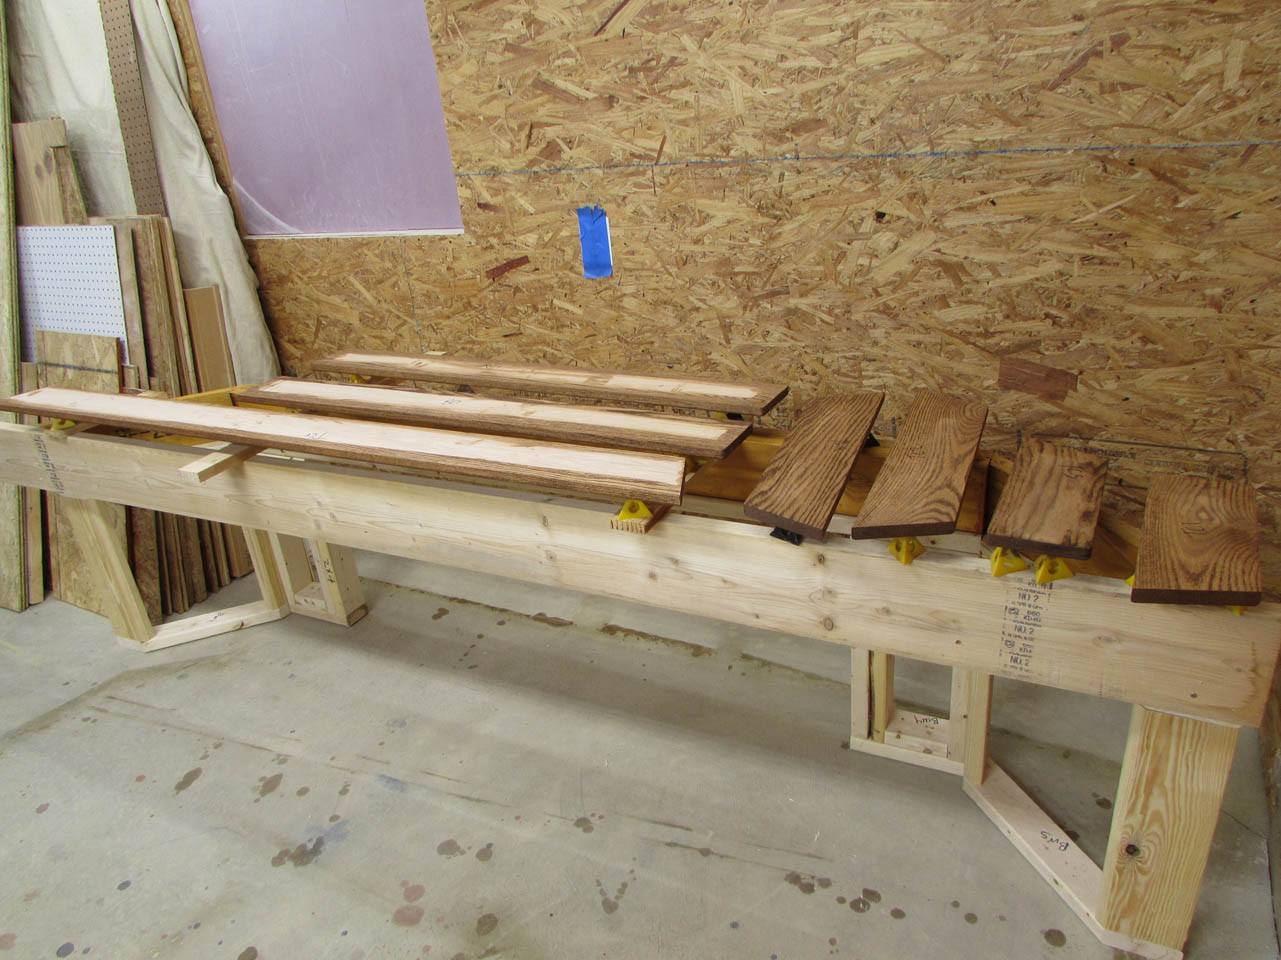
This gives me a handy table to place some of my trim on for spraying. All of these parts will have both sides sprayed so I placed them face down on painter’s pyramids. When I spray them, I can flip them over and spray the opposite side at the same time. This will cut my finishing time in half.
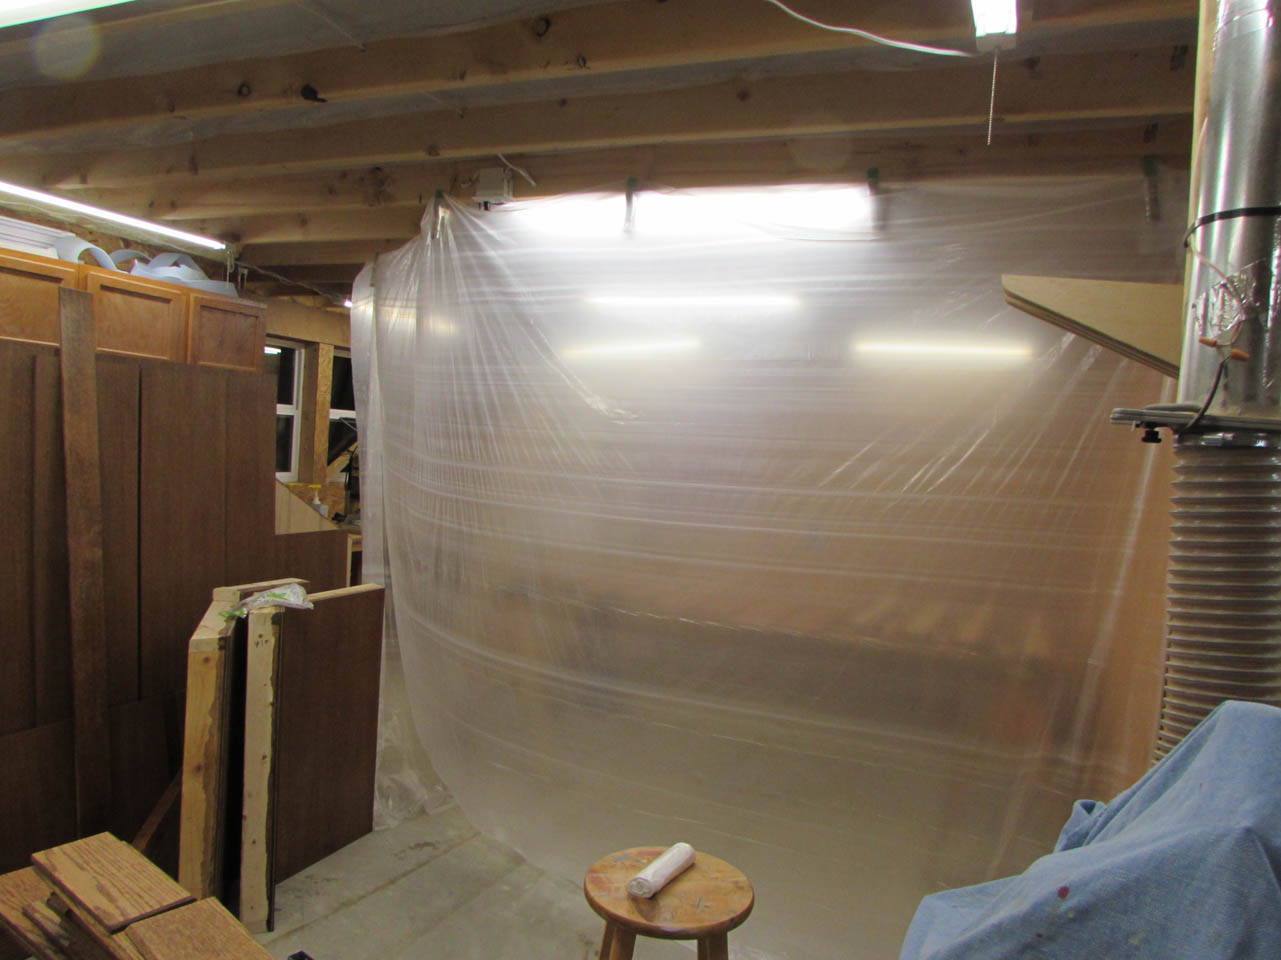
Then I start hanging the plastic and bring in a couple of saw horses to support more trim.

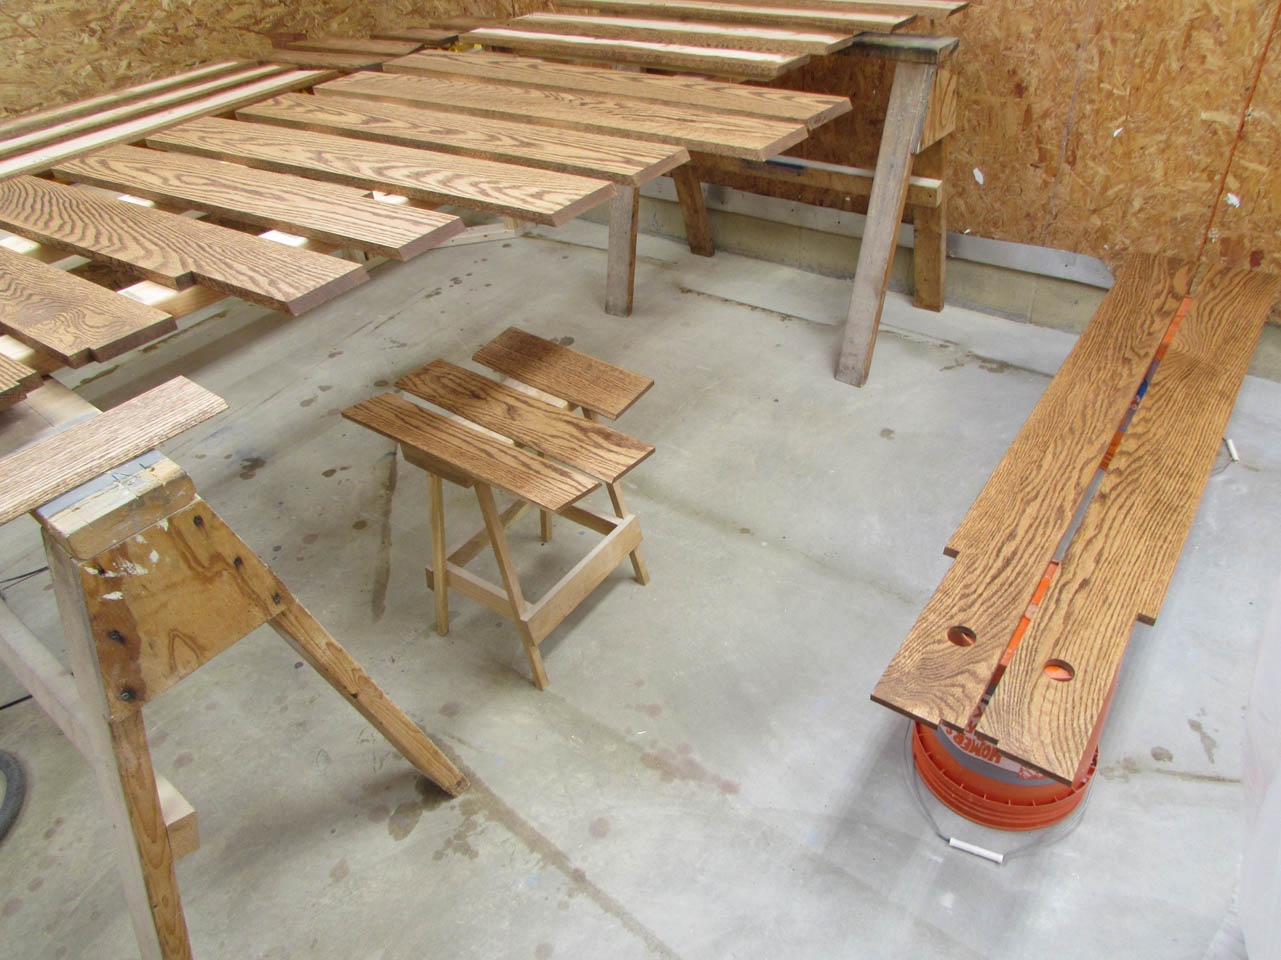
I add some stools and buckets to support the rest of the trim.


Then it was time to start spraying again. After coating the back sides, I flipped the rail caps and sprayed the top and sides as well.
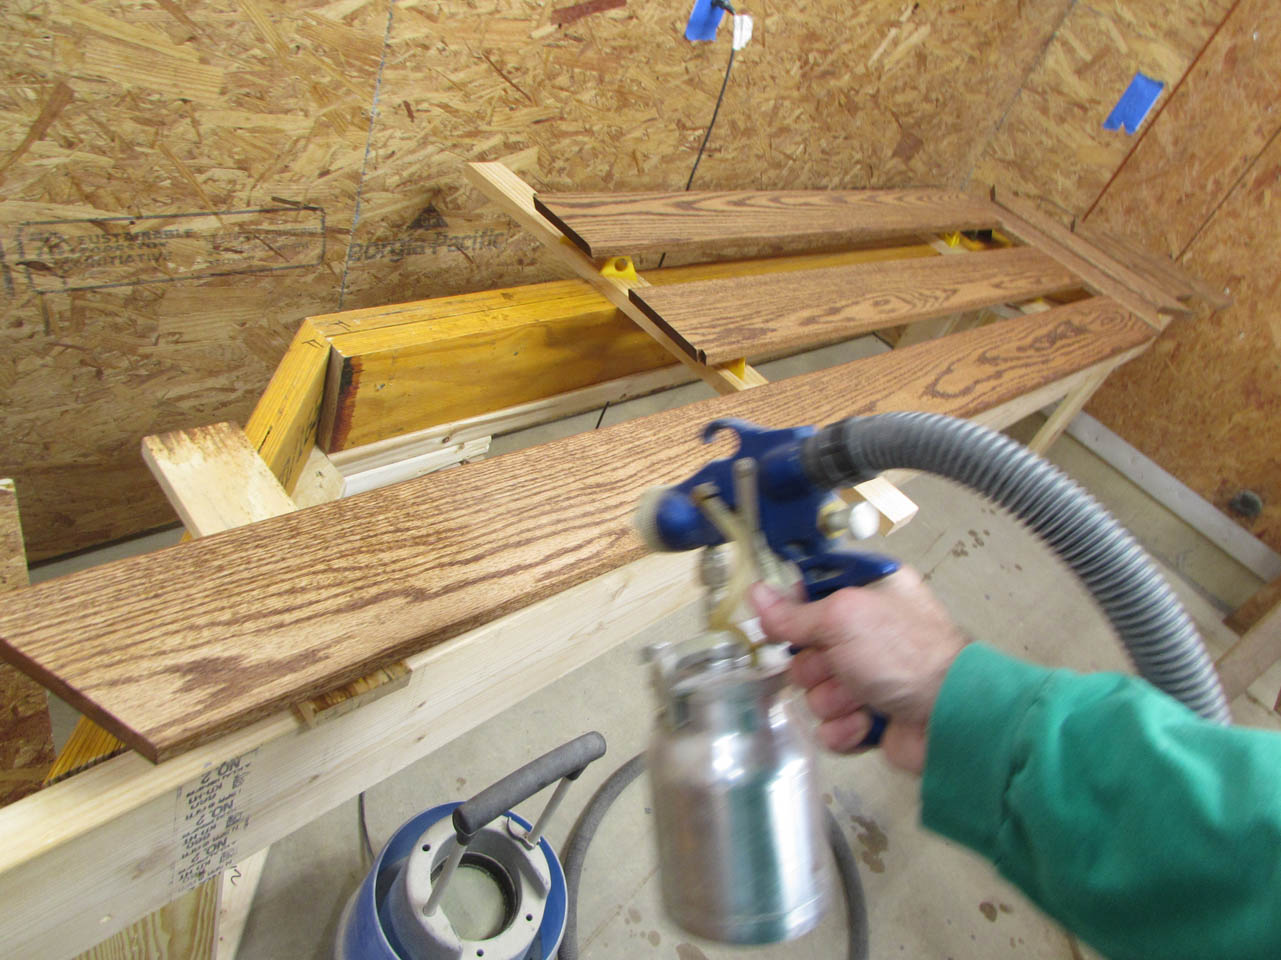
While I am spraying in the booth, I wear a respirator and close up the plastic with clamps. This at least keeps the overspray trapped in the bubble of plastic.


I worked my way carefully around the room, spraying a light, even coat on all of the trim.


After the last boards were sprayed, I exited the bubble and clamped it shut until the next day.


When everything was dry the next morning, it was time for more sanding with 400 grit paper.
Then another coat of spray.

When done, I closed up the spray booth and moved onto the next thing.

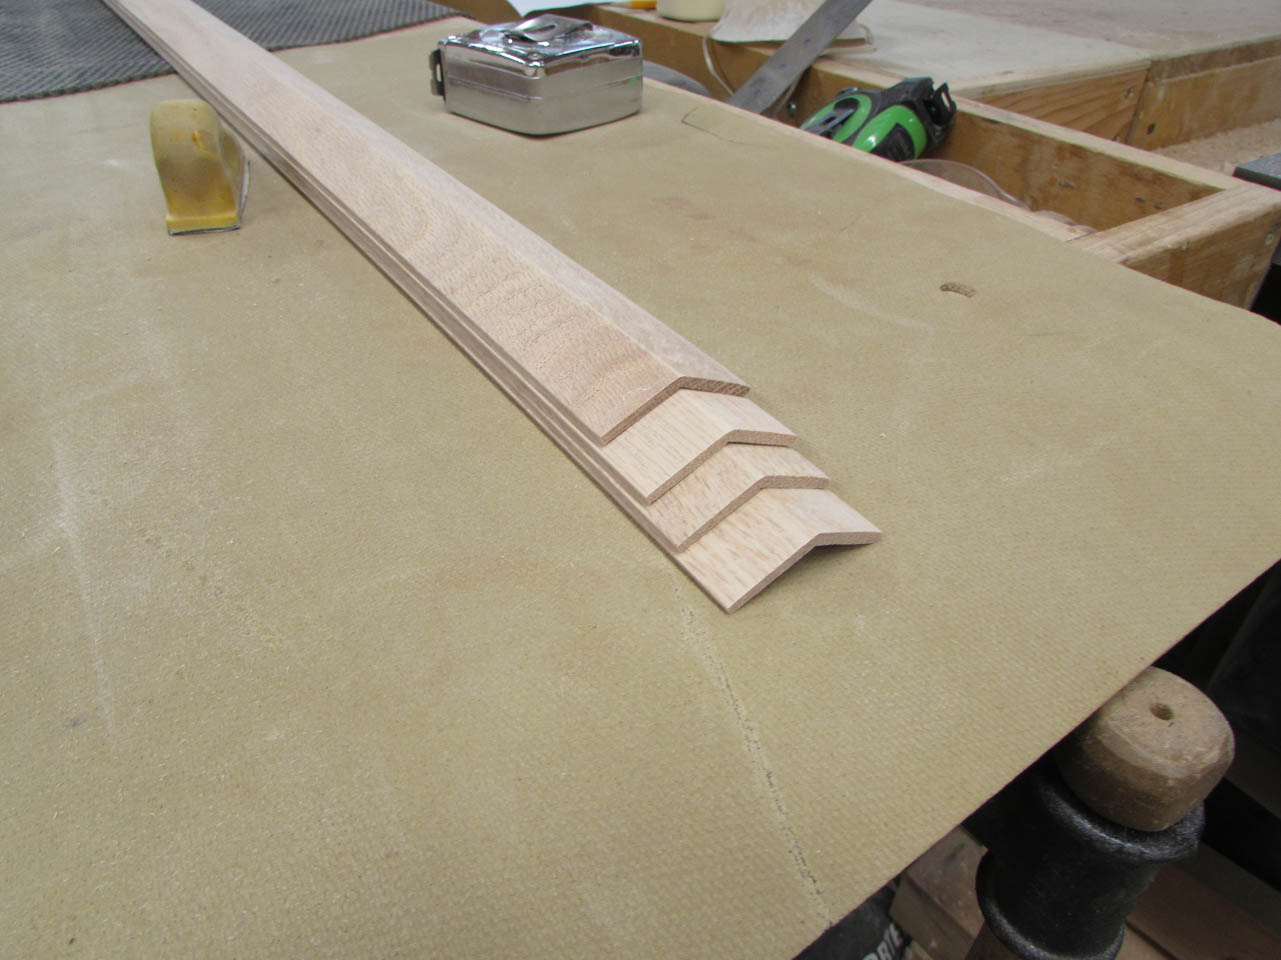
Since the wet parts are protected from dust by the plastic sheeting, I can make saw dust again. I am hoping that my mitered plywood panels fit perfectly at installation, but I expect they won’t. To cover that seam, I will need to make some trim that is at 135°. To do this, I start by setting my blade at 22.5° and cut a strip of wood along one edge, then flip it to cut the opposite edge as well.

While I have a nice stable base, I go ahead and sand the cut face smooth. It would be a lot harder to do when the piece is finished.

Next, I lay the piece down flat and move the fence over another inch to cut the complimentary angle along both sides, then straighten the blade back to 90°.

To create the 1/8″ thick trim, I move the fence 1/8″ from the blade and lower the blade to 7/8″ tall and make two cuts with the sanded face held tight to the fence.

The first piece worked perfectly.

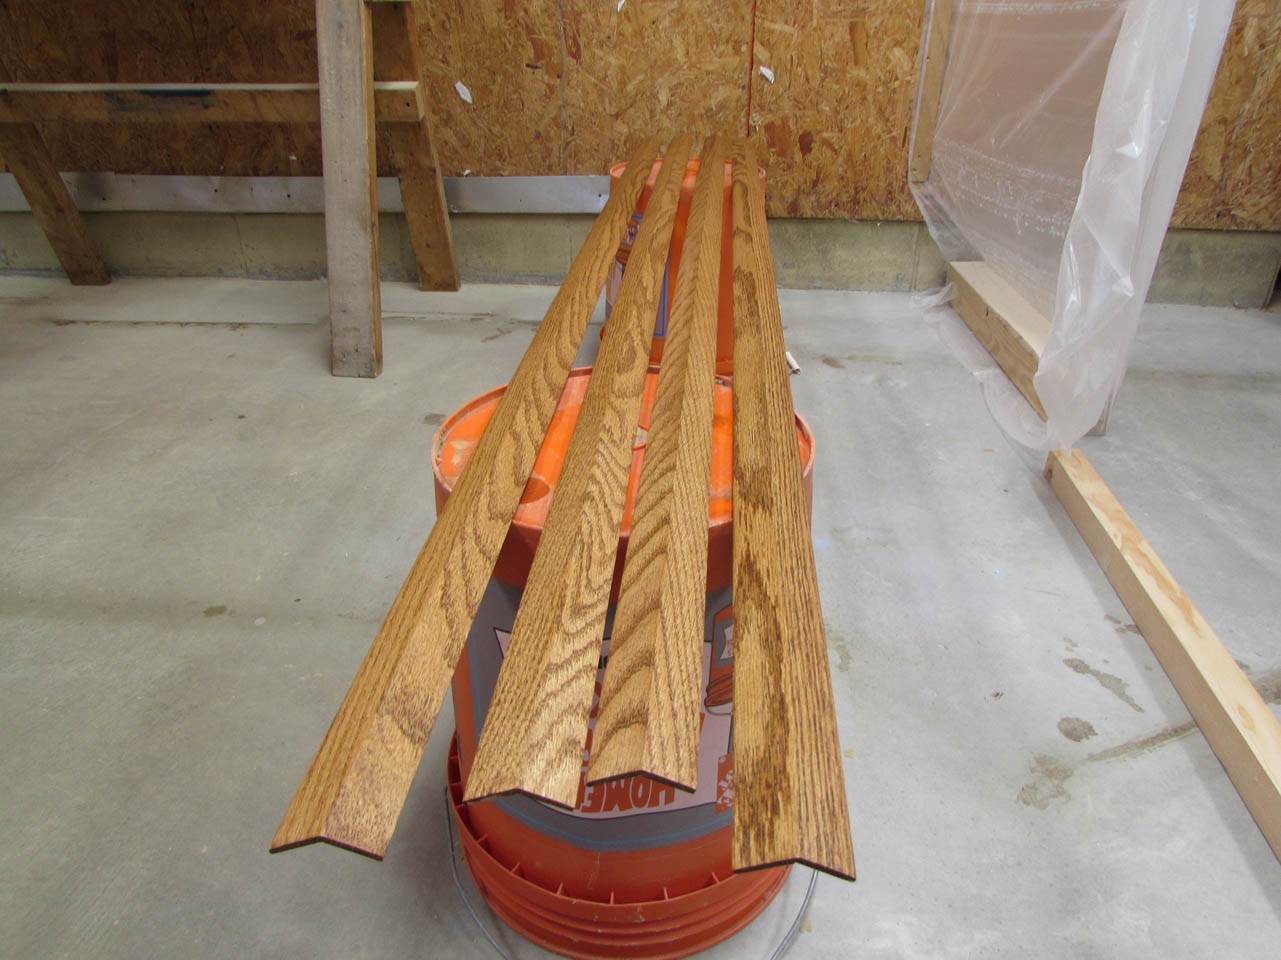
So I cut three more.

Then I used a small sanding block to hand-sand the 1/8″ thick edges.

They turned out really nice.

I used the last few dregs of stain that I had to stain the outer sides of the angled trim. Then I repeated the spray-sand-spray process on these as well.
Now I need to find a home for all of this trim and the plywood so I can apply finish to the stair treads, then pre-finish all of the hardwood flooring. But that is tomorrow’s problem…
