
Altar platform part 3
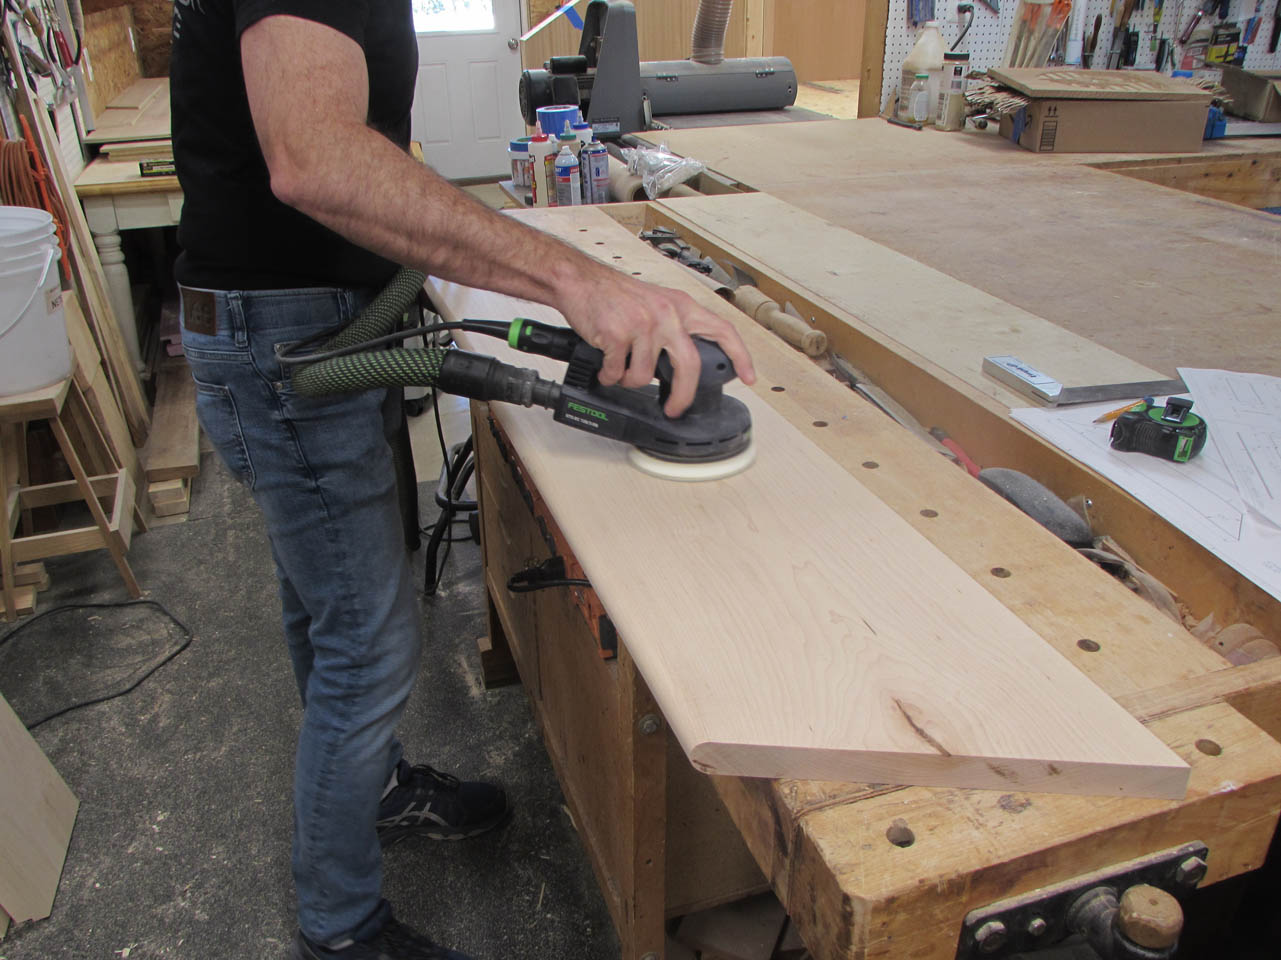
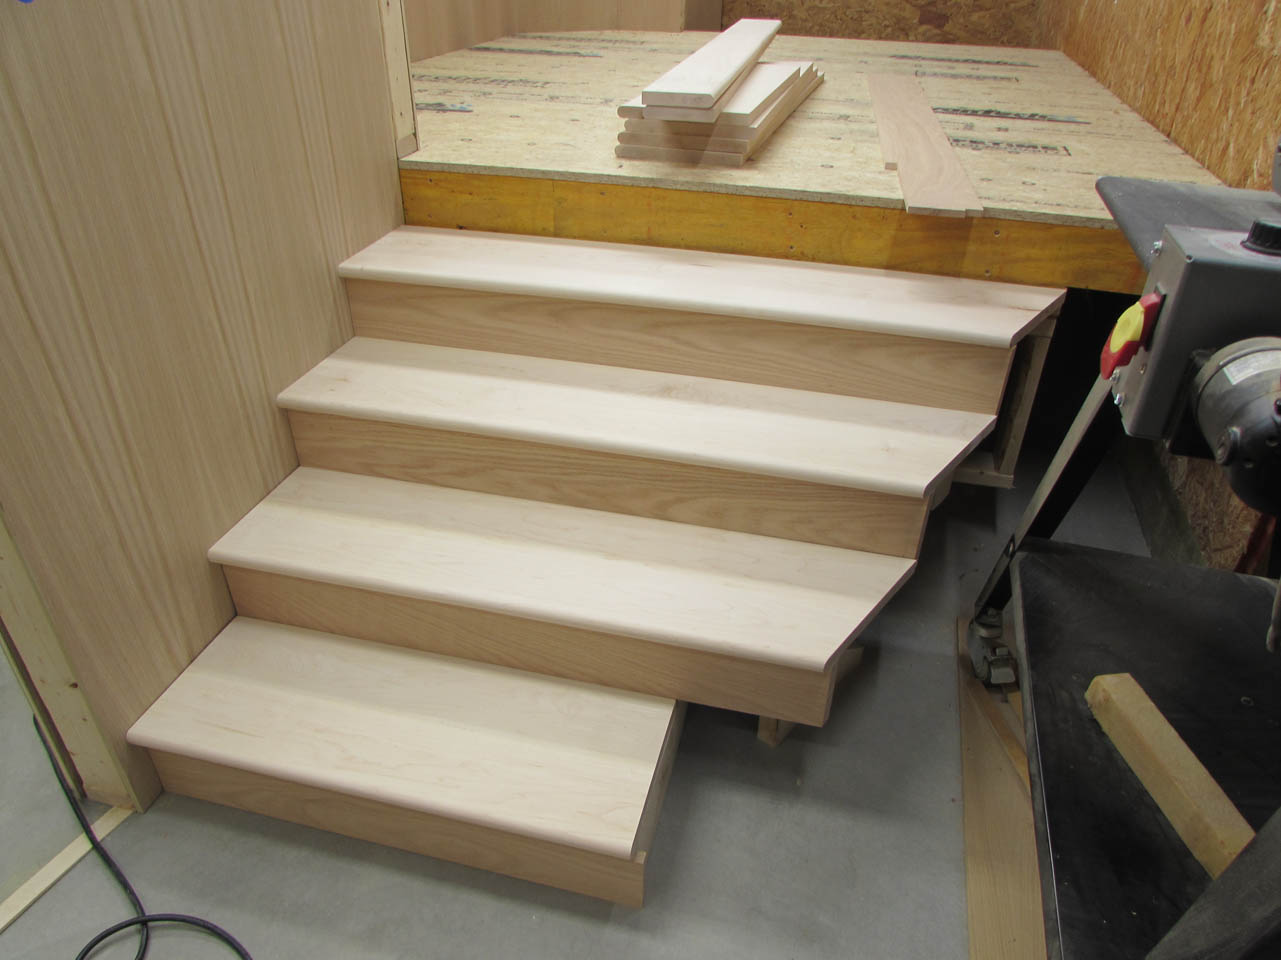
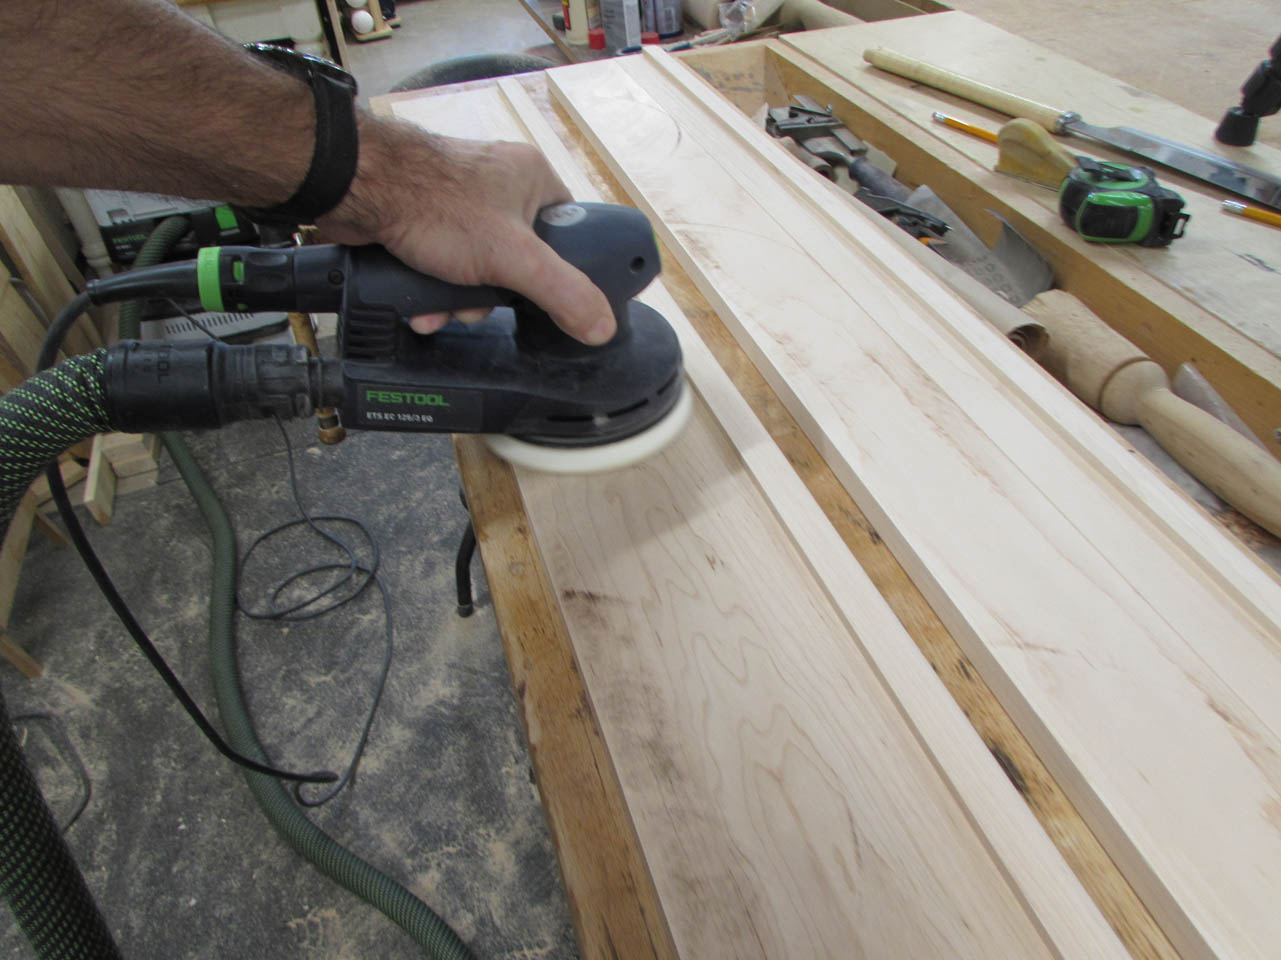
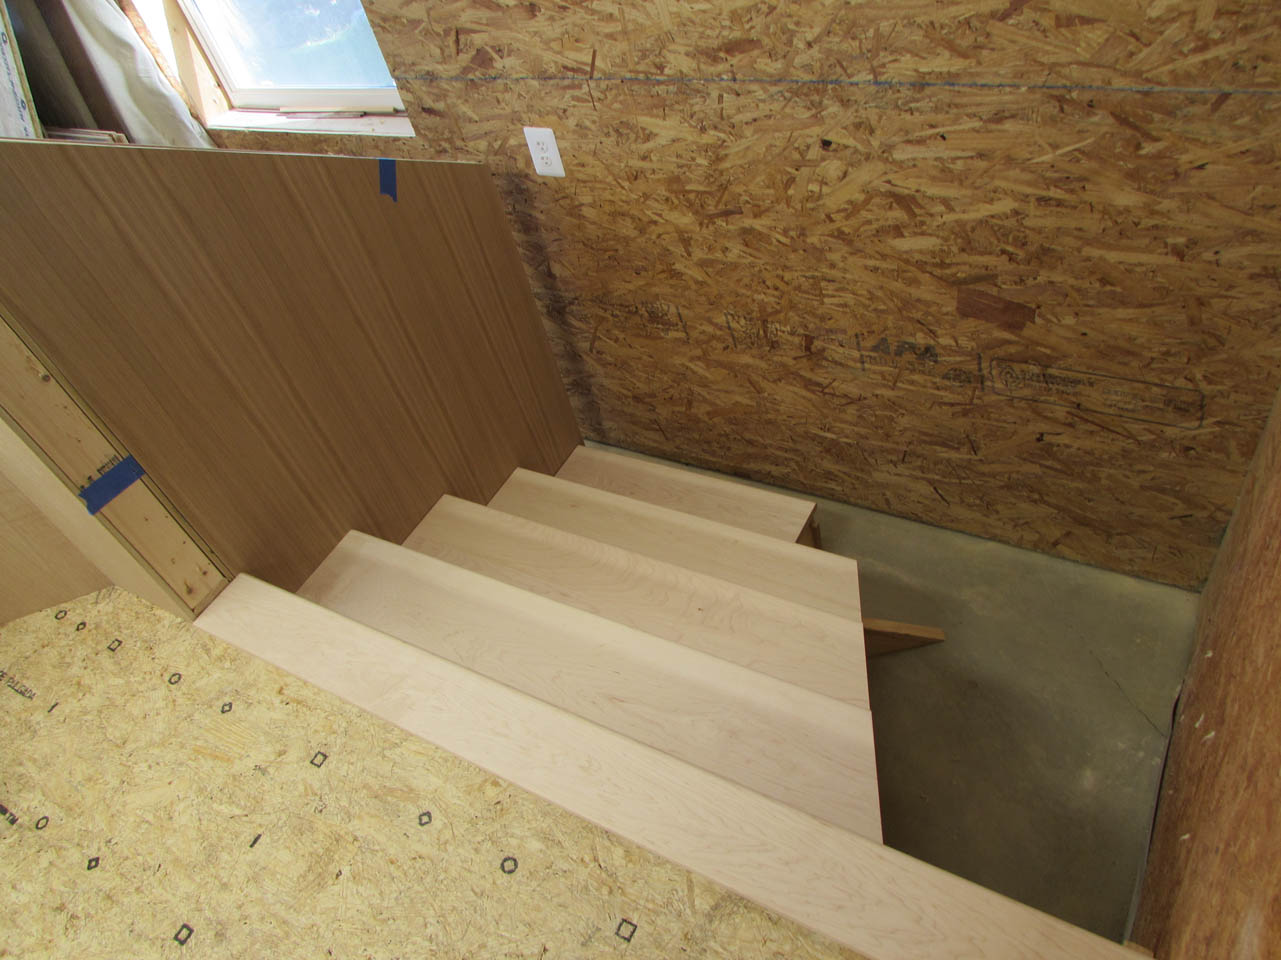
The stair treads fit well so I gave them all a good final sanding and set them aside to build the risers.

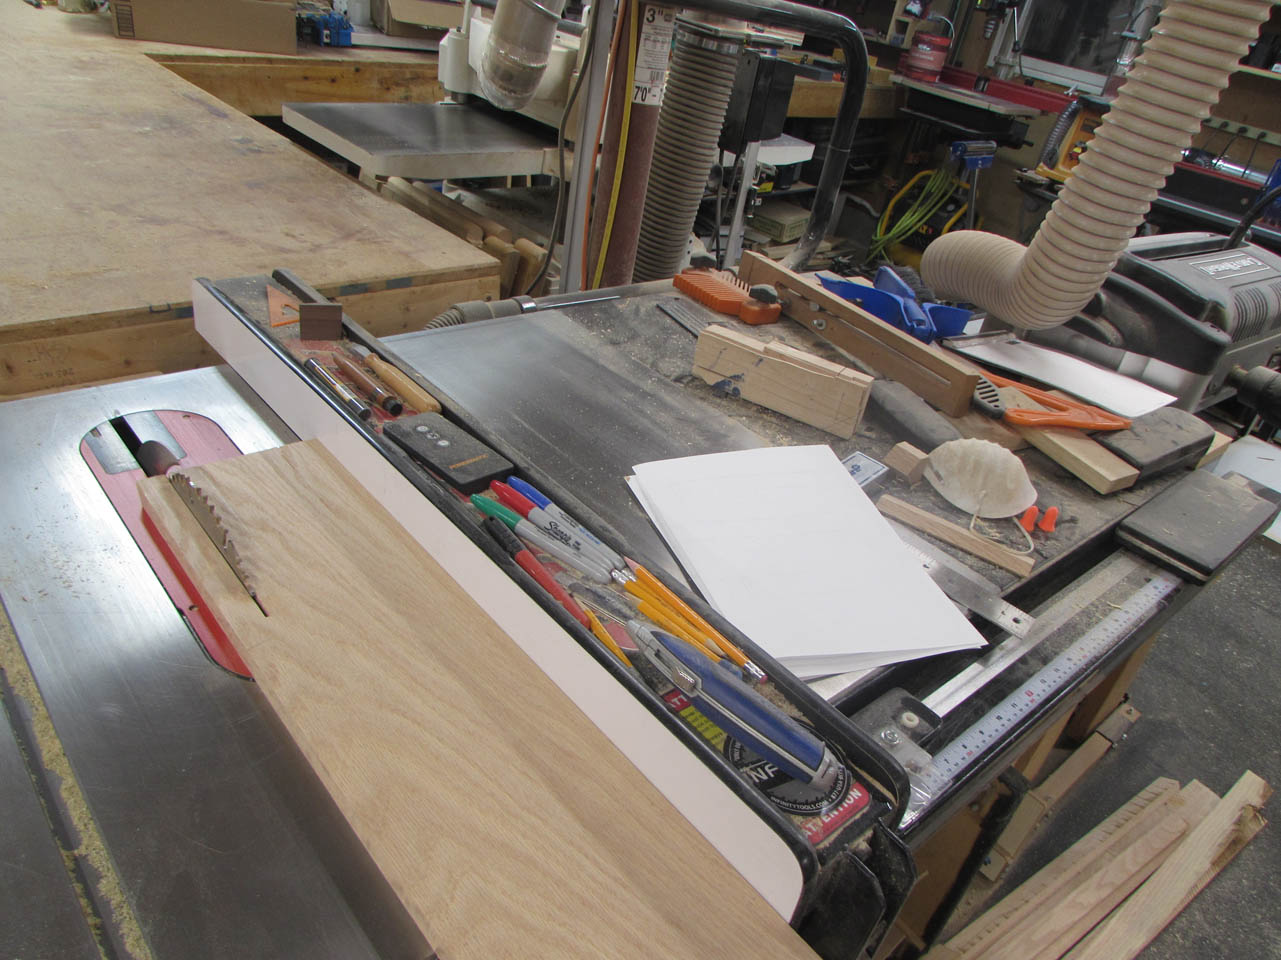
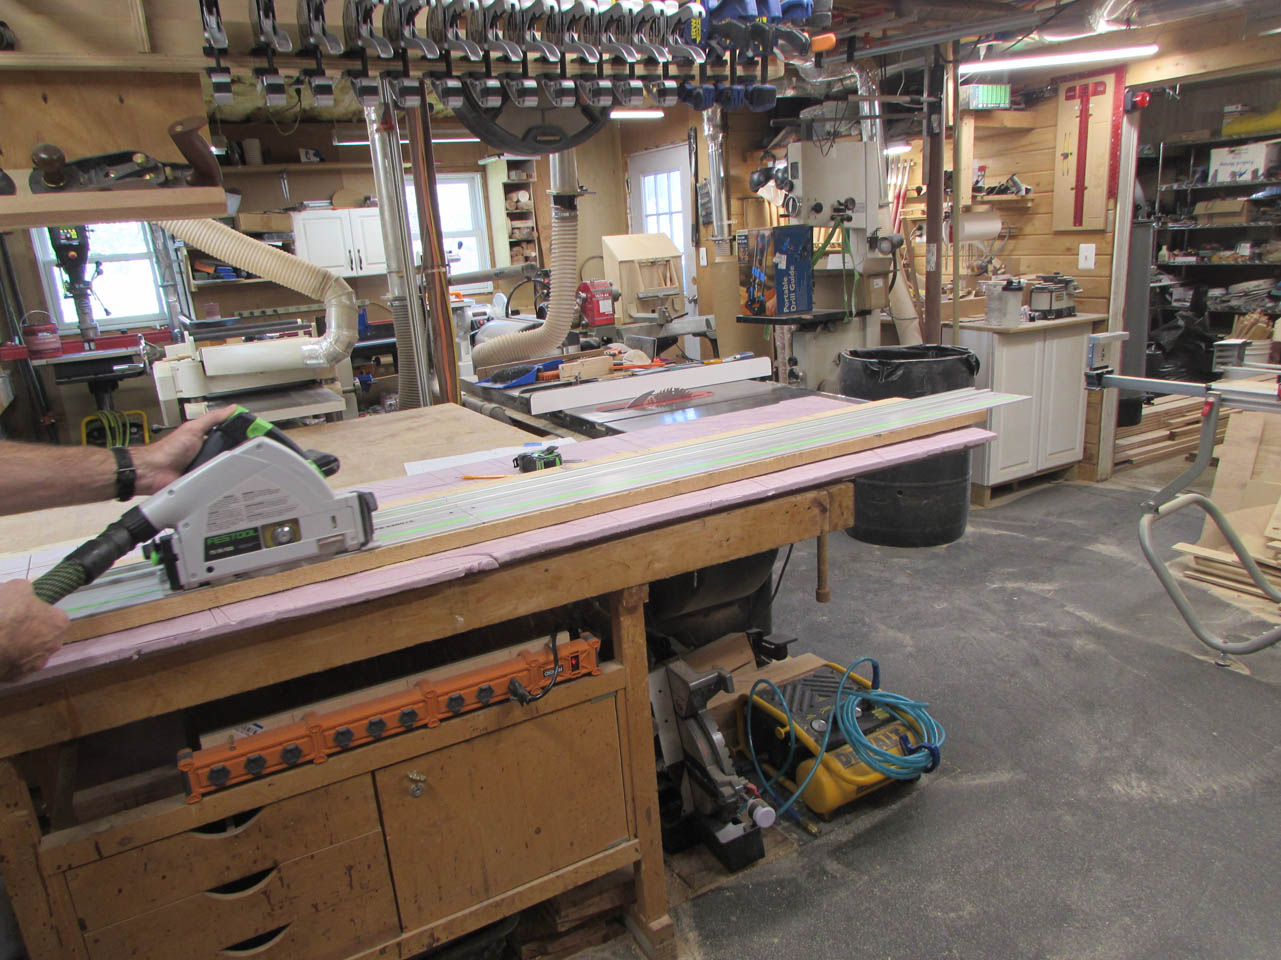
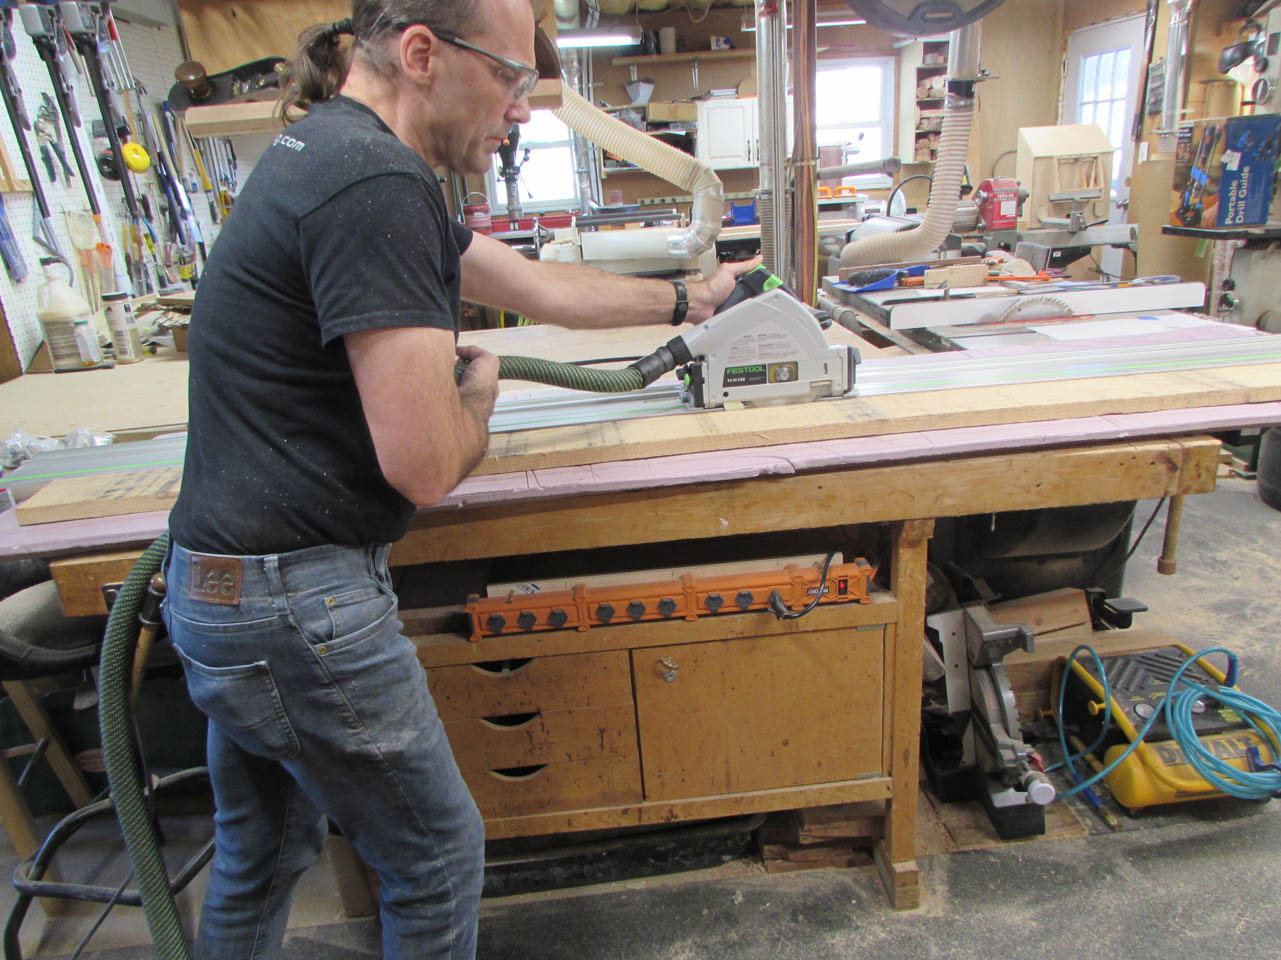
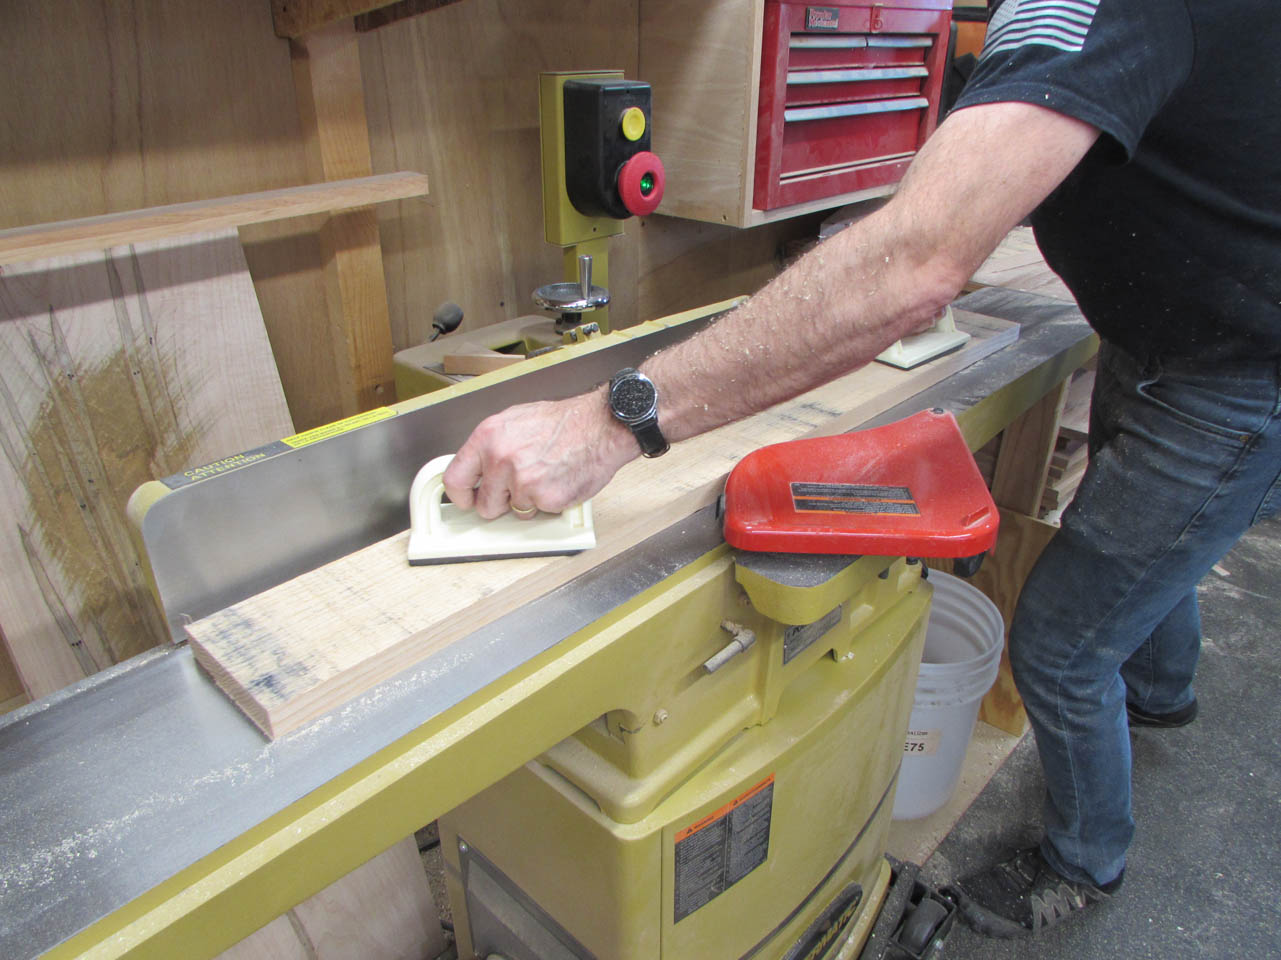
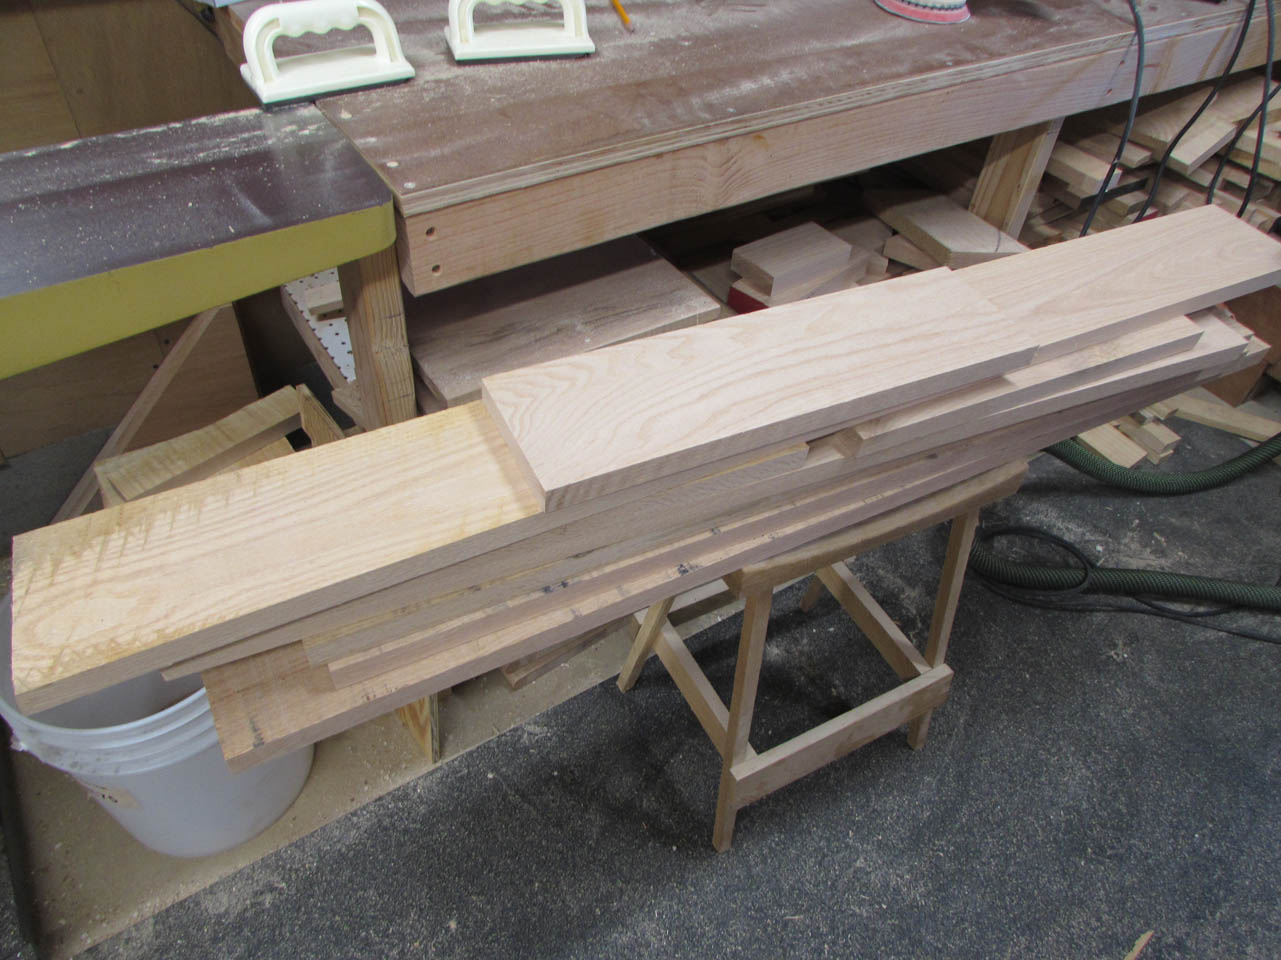
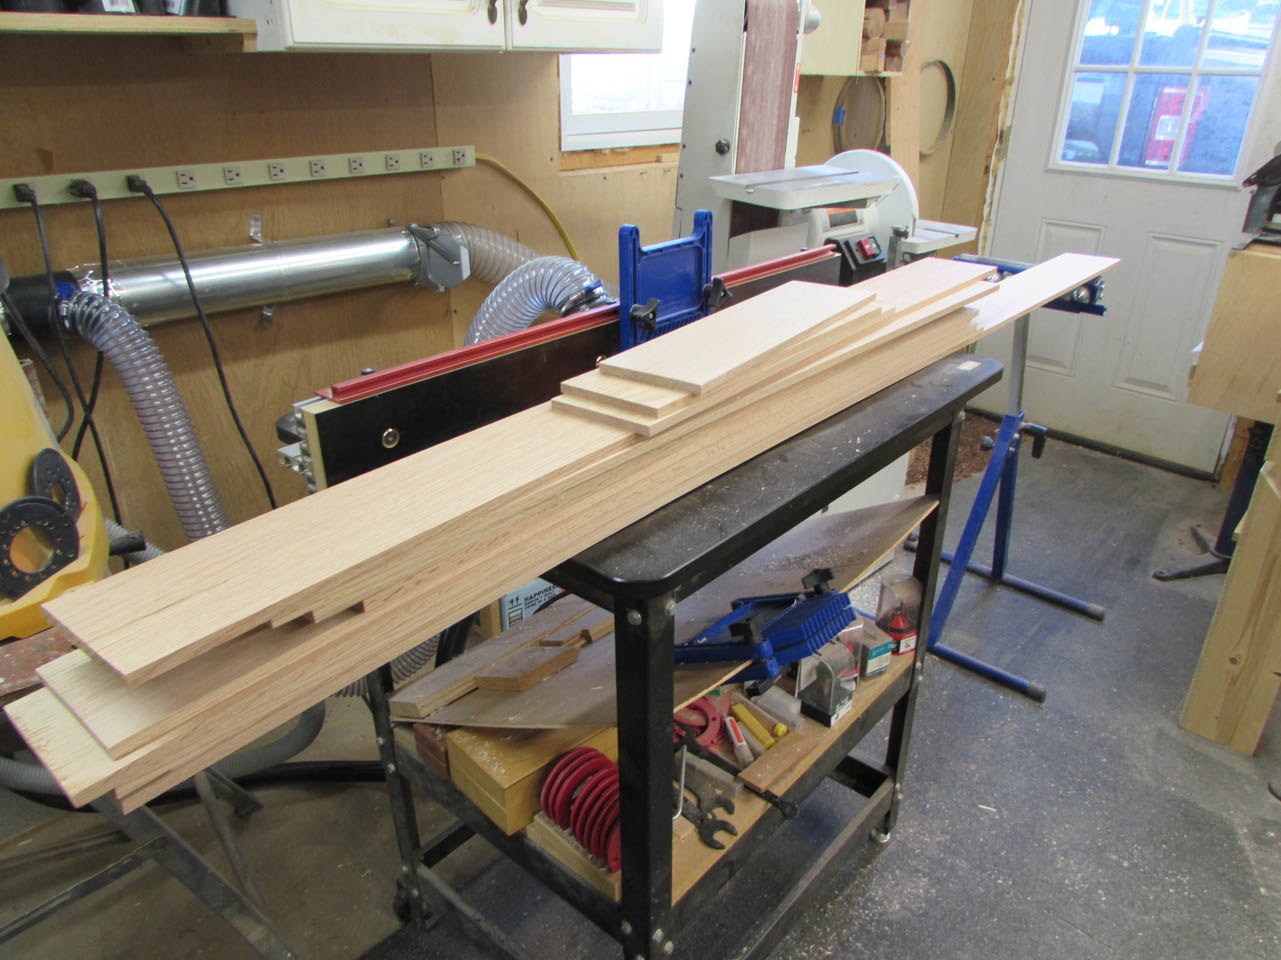
The risers and the rest of the trim are coming from this pile of rough-sawn oak.
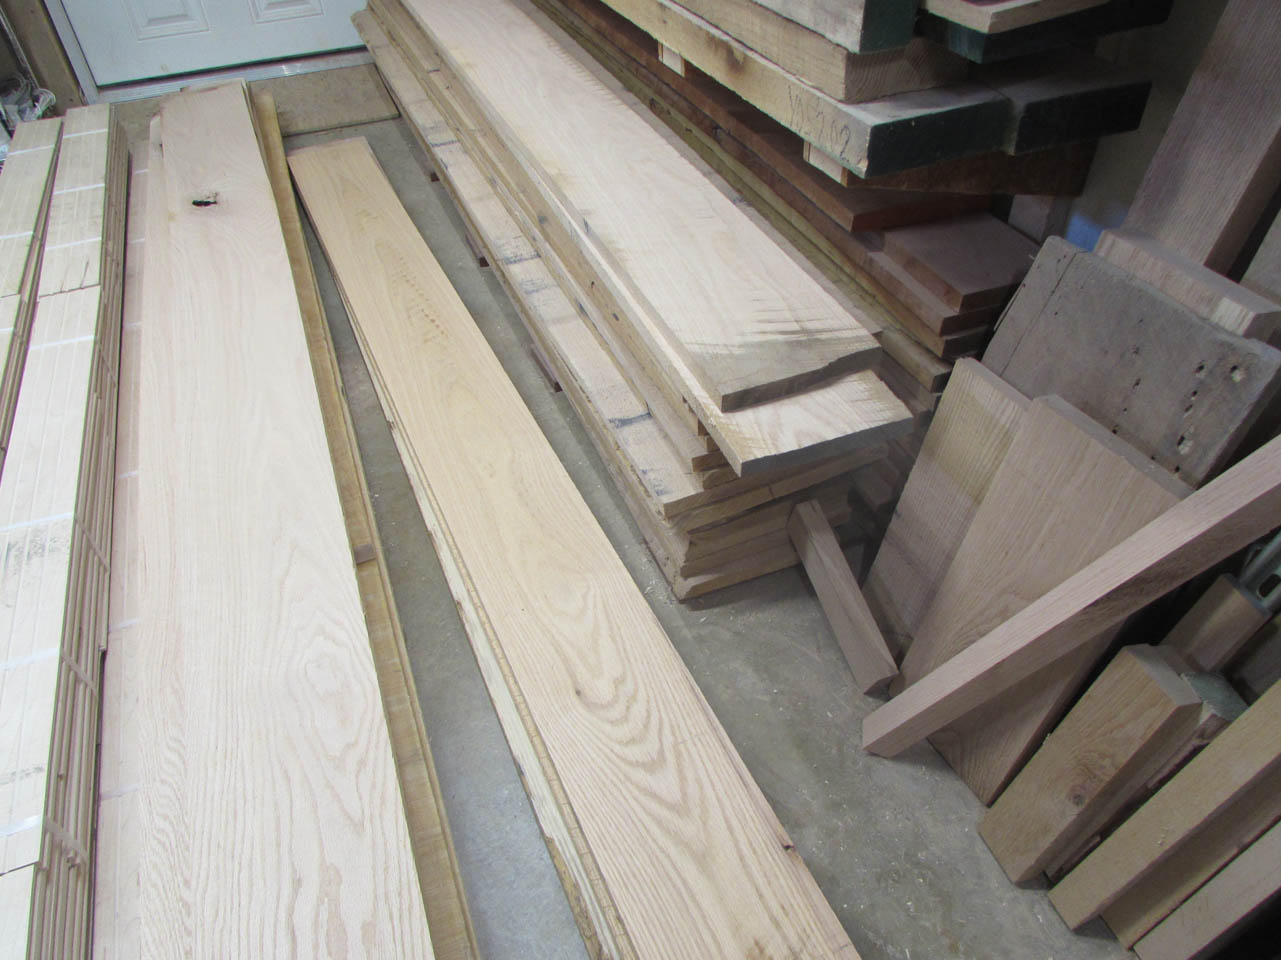
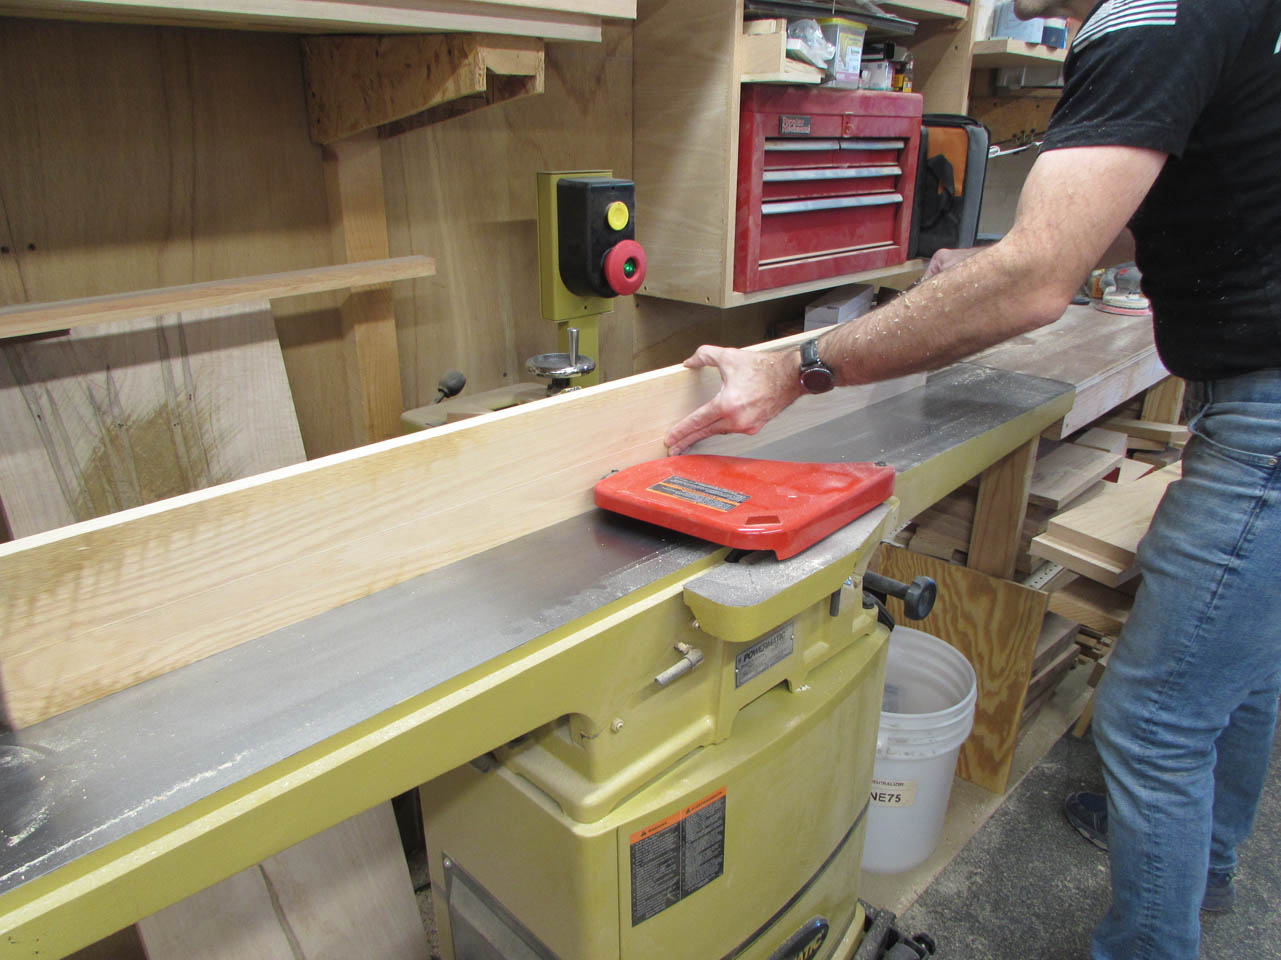
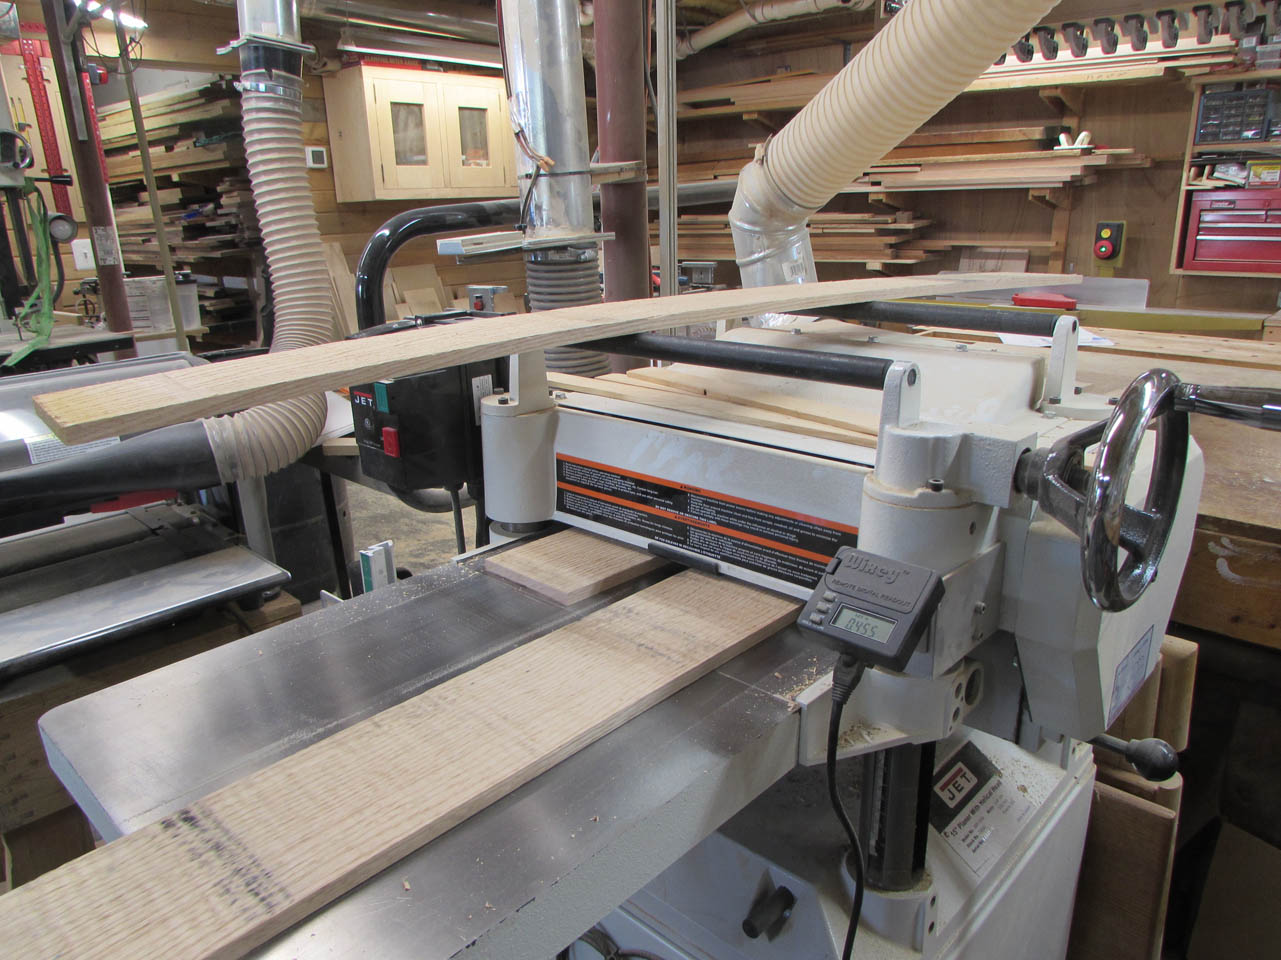
The best way to start milling it all down is to get a straight line cut down one side.

If these pieces were shorter, I would just run them across the jointer, but these are mostly 9′ long and the curve in and out over 1/4″ in places.
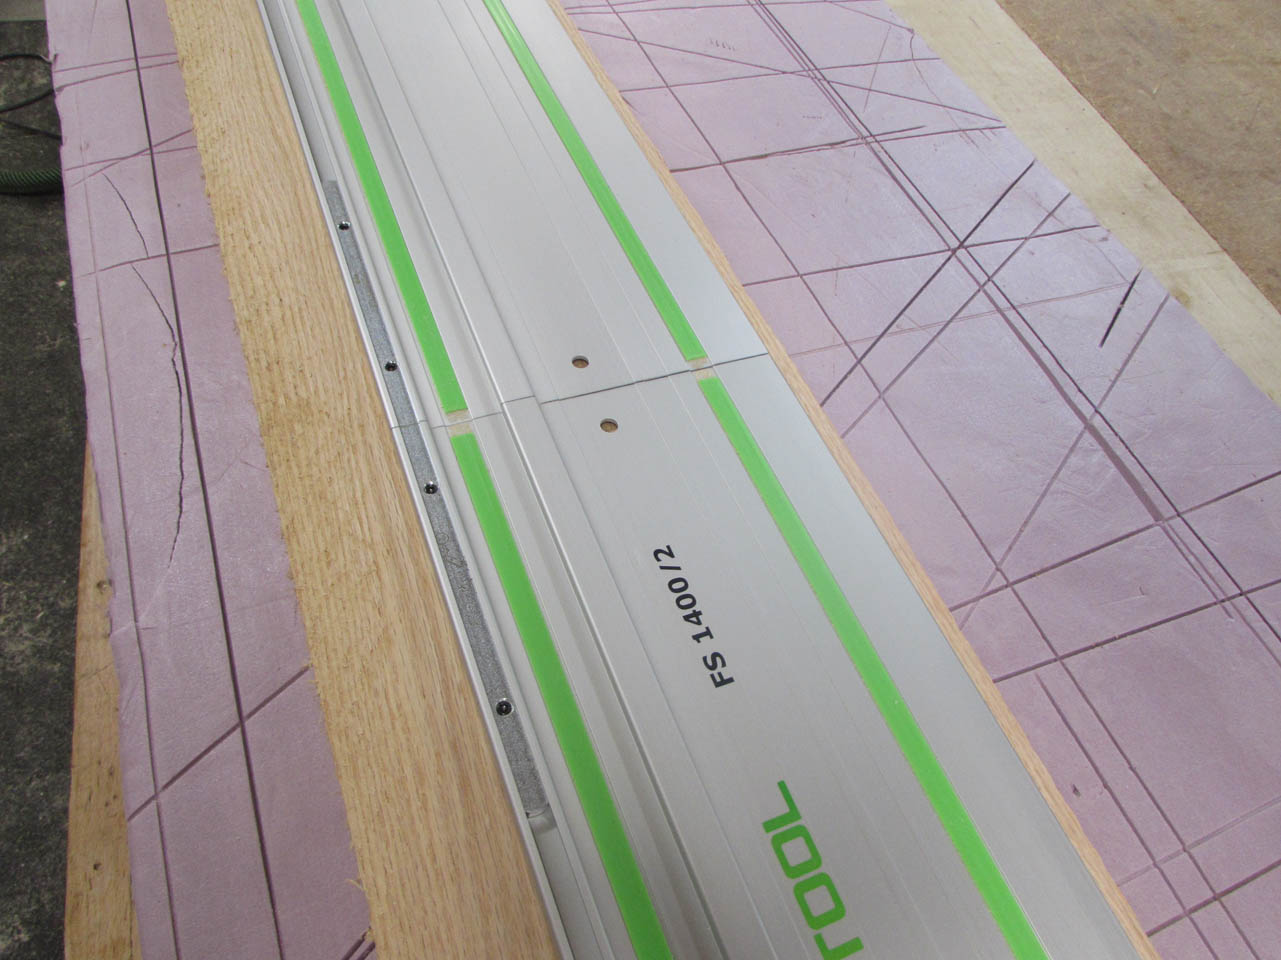
The track saw is the most efficient way to get my straight line and it typically leaves a glass-smooth edge.

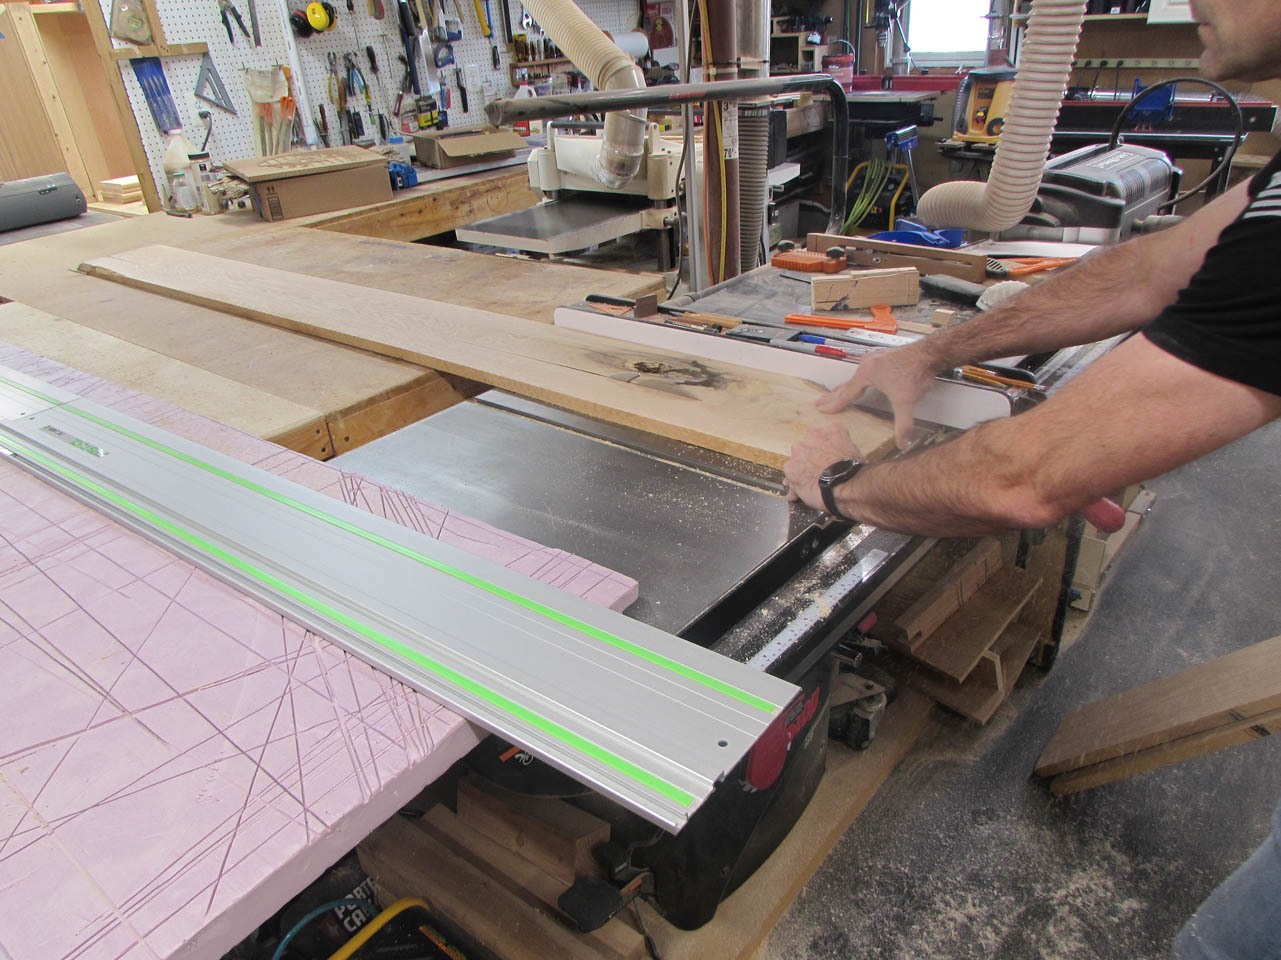
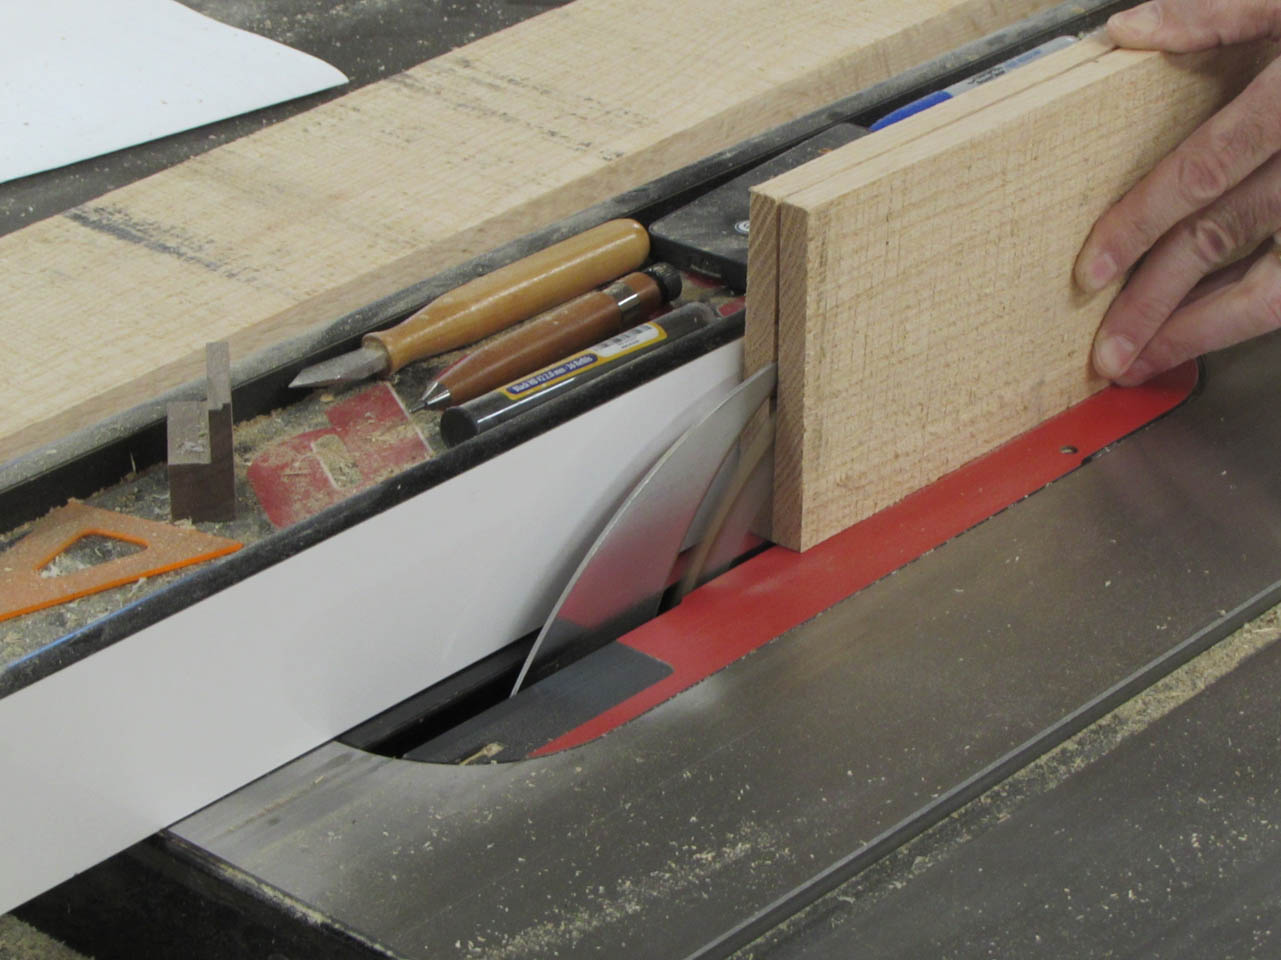
After I get the first edge, I can cut it down to the correct width on the table saw.
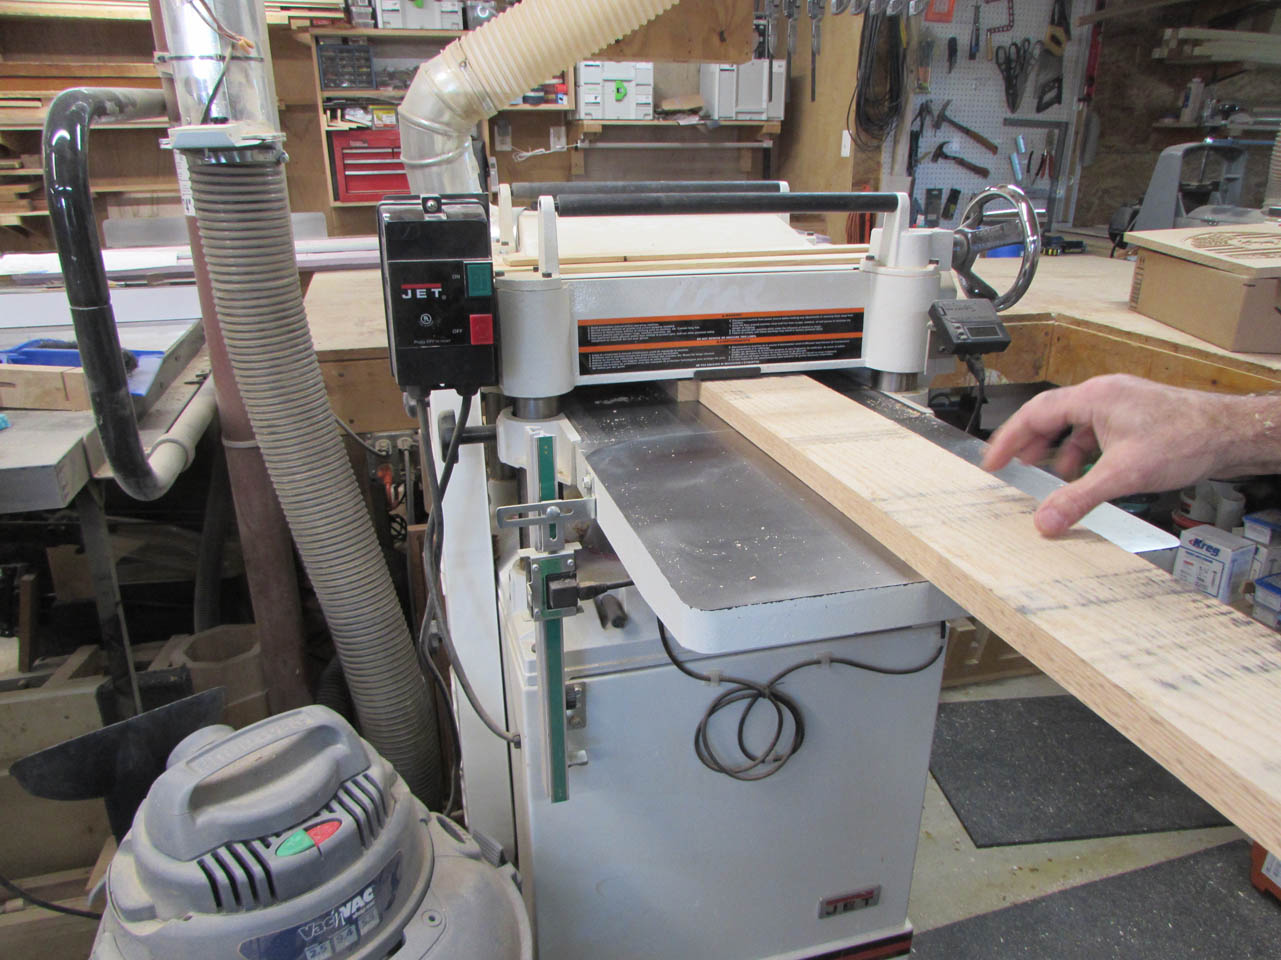
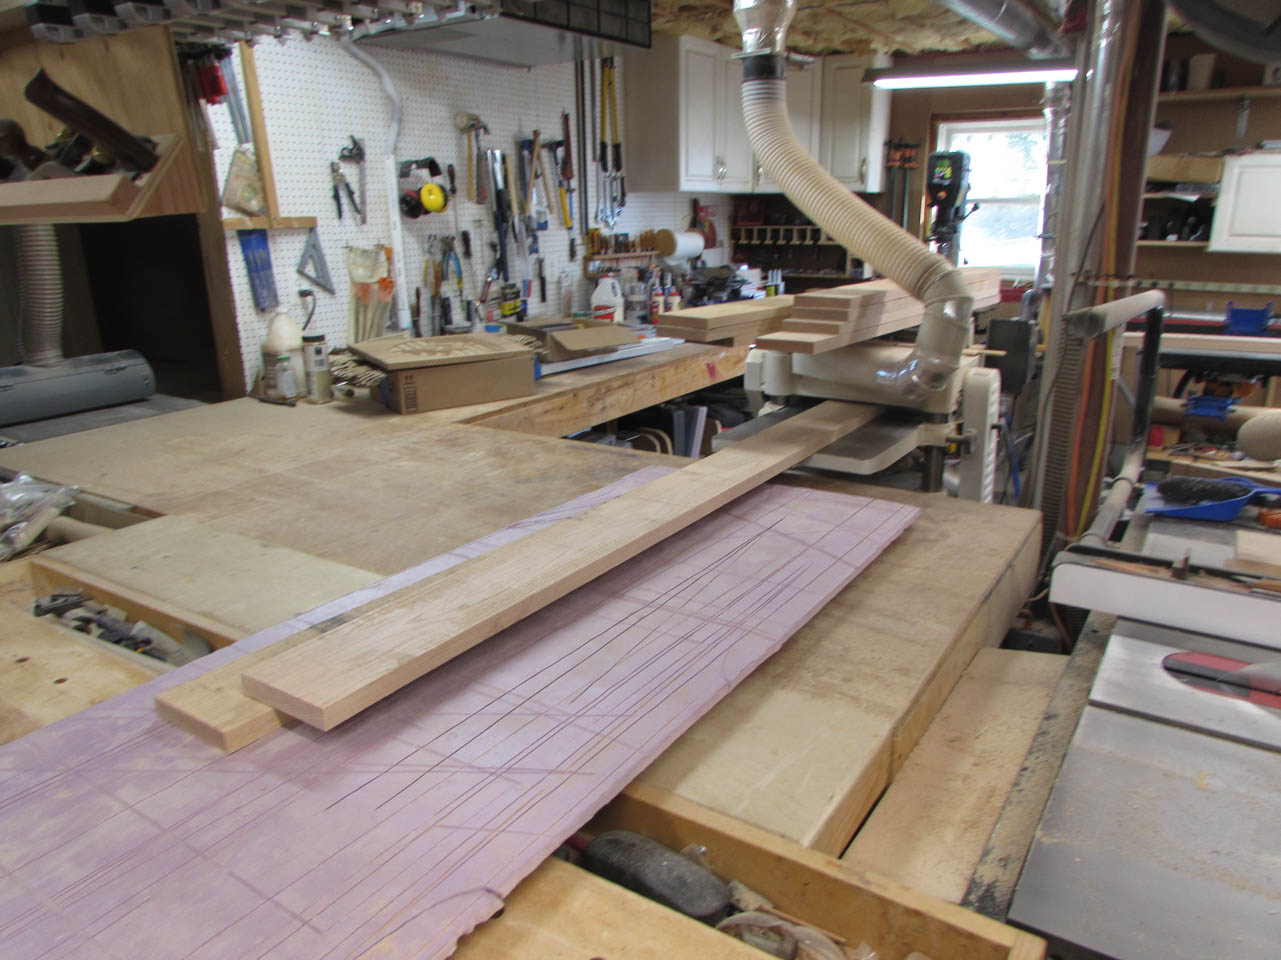
Then I over-cut all of my risers about 4″ longer than necessary.
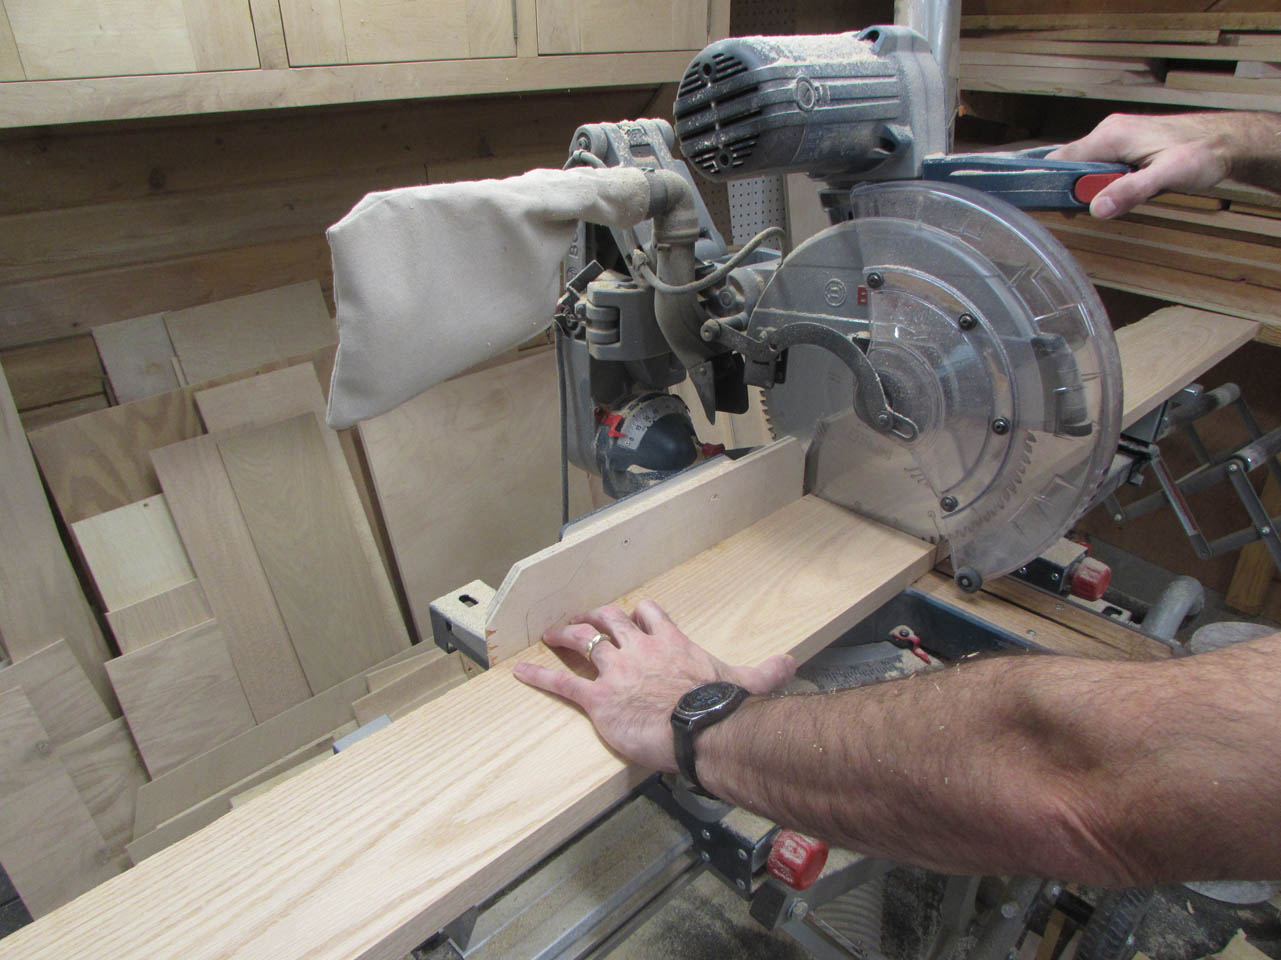
The over-cut allows for split ends and planer snipe, if it occurs on the ends.
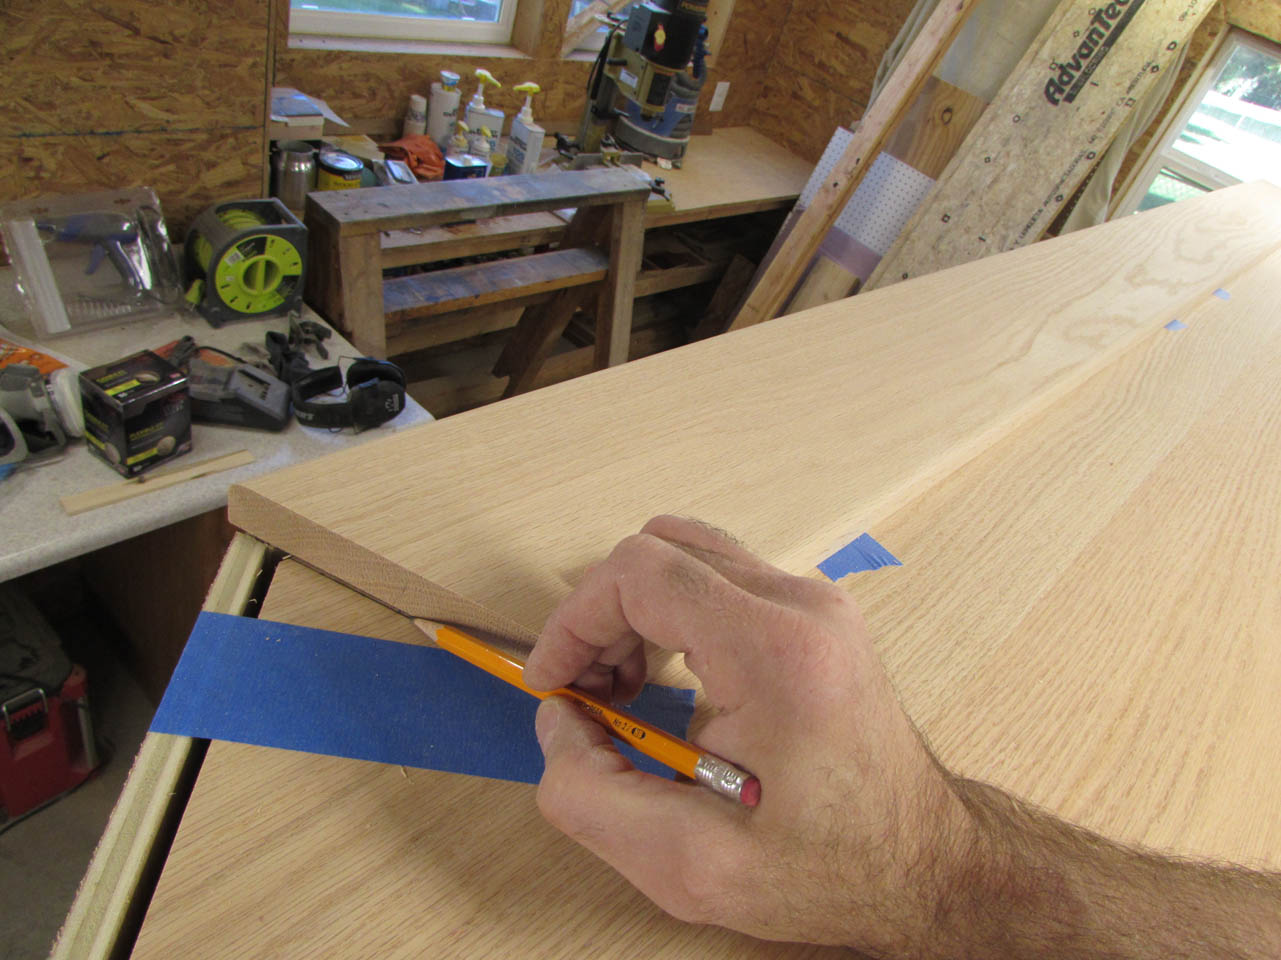
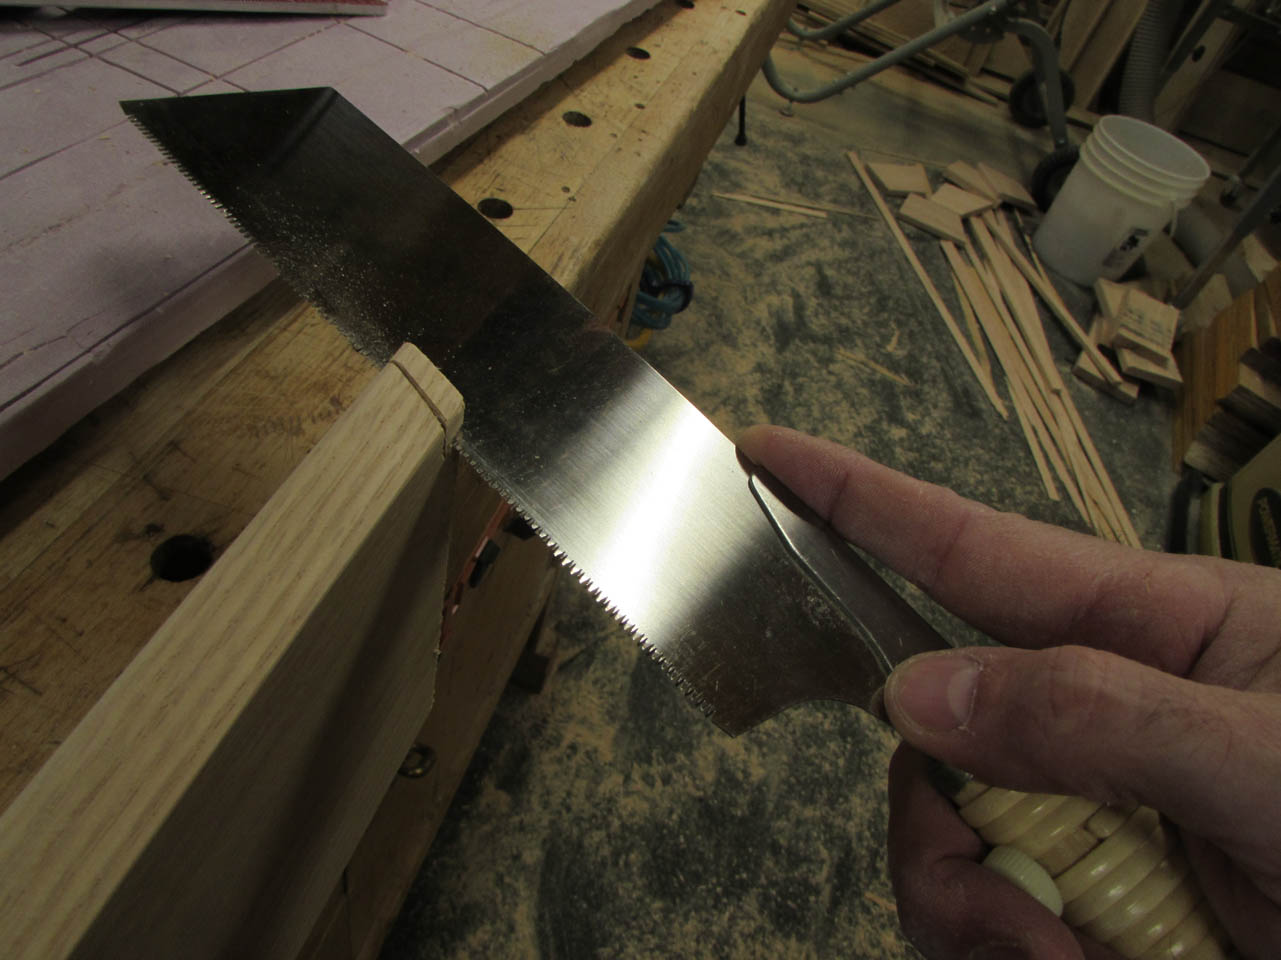
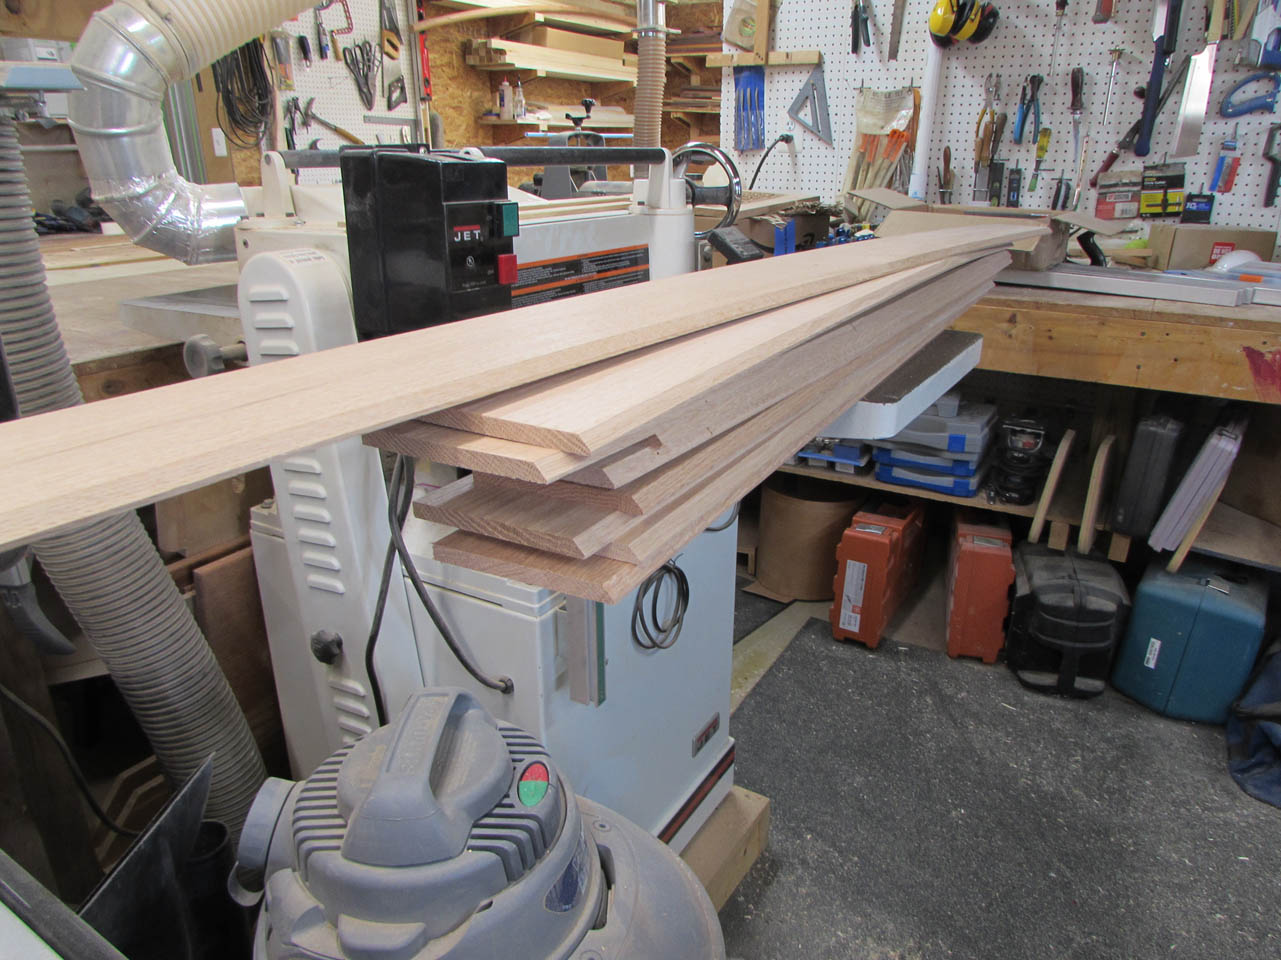
Once I have the blanks all cut, I can then cut and notch to fit each one.

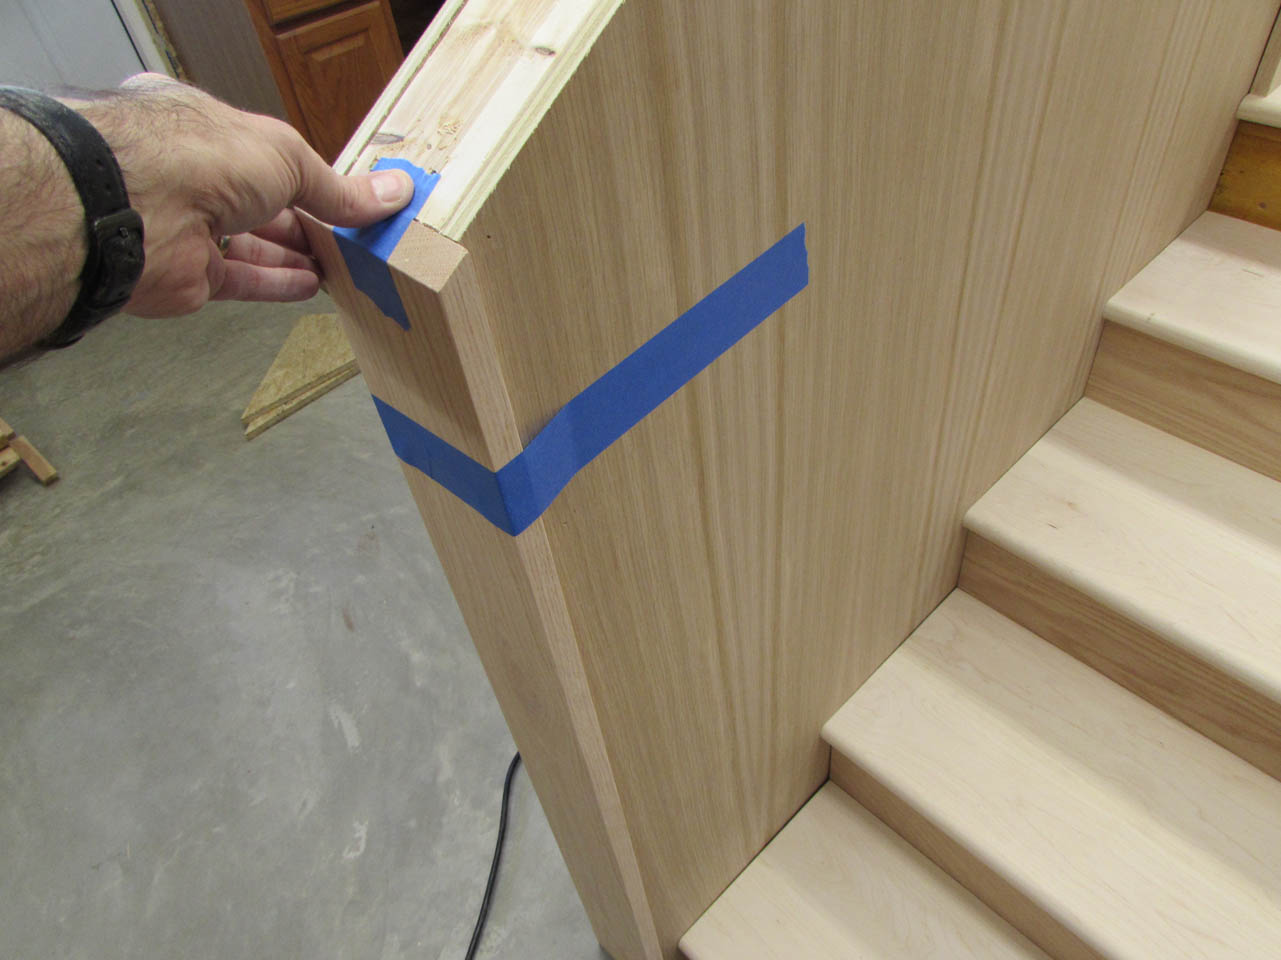
These steps all meet up to an existing marble platform so I will need to cut notches to fit around it.
I also have to cut the ends to meet up to some angled pieces as well.
I cut and notch each piece as I go, paying close attention to the angles and locations on my drawings.


Everything seems to be meeting perfectly. I can always fine tune at installation.
I can test fit everything but the very top riser. That one is 1/4″ longer than I have the space for so I double-checked the measurements and set it aside.
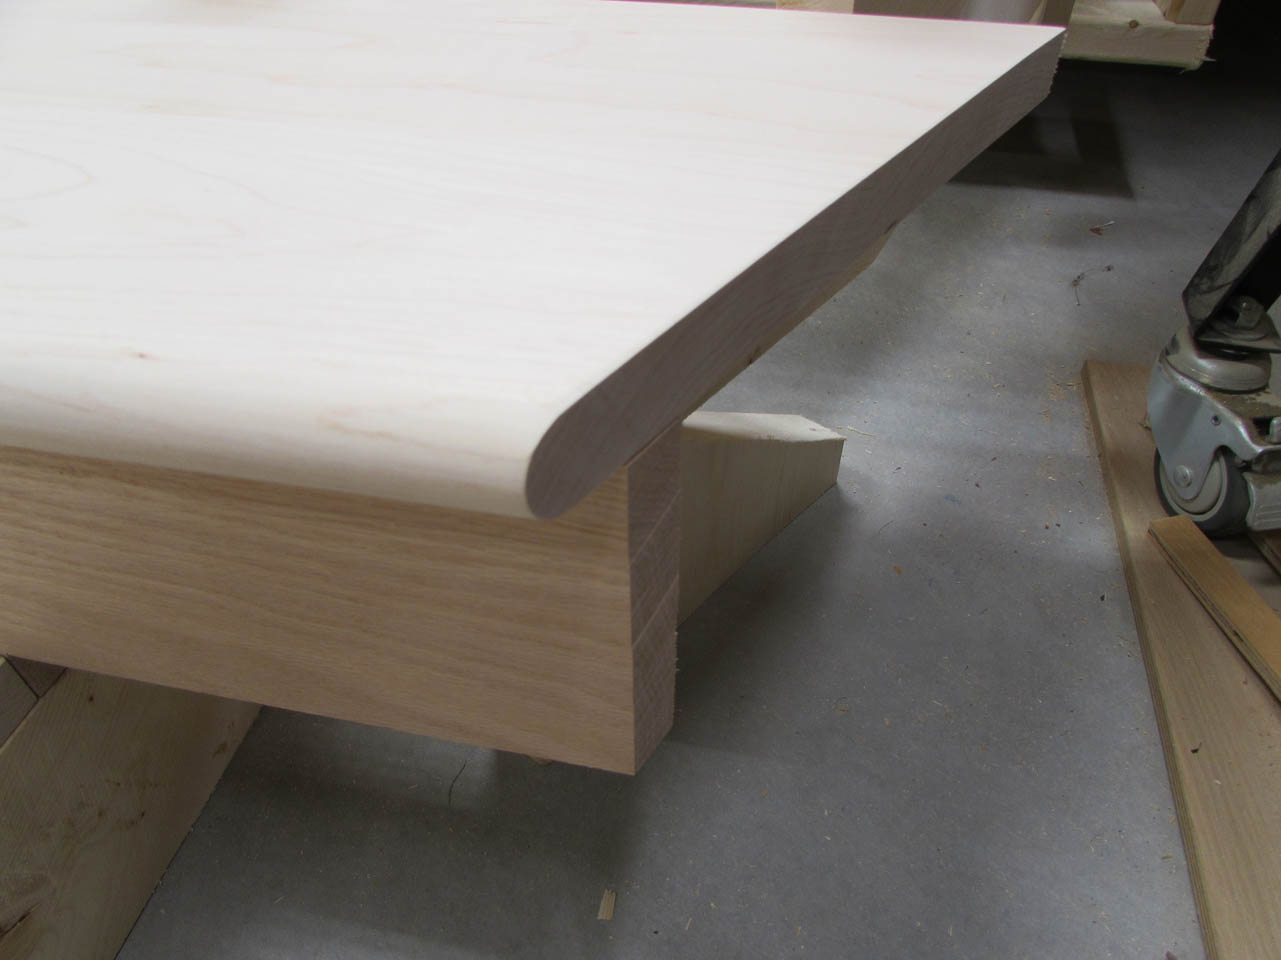
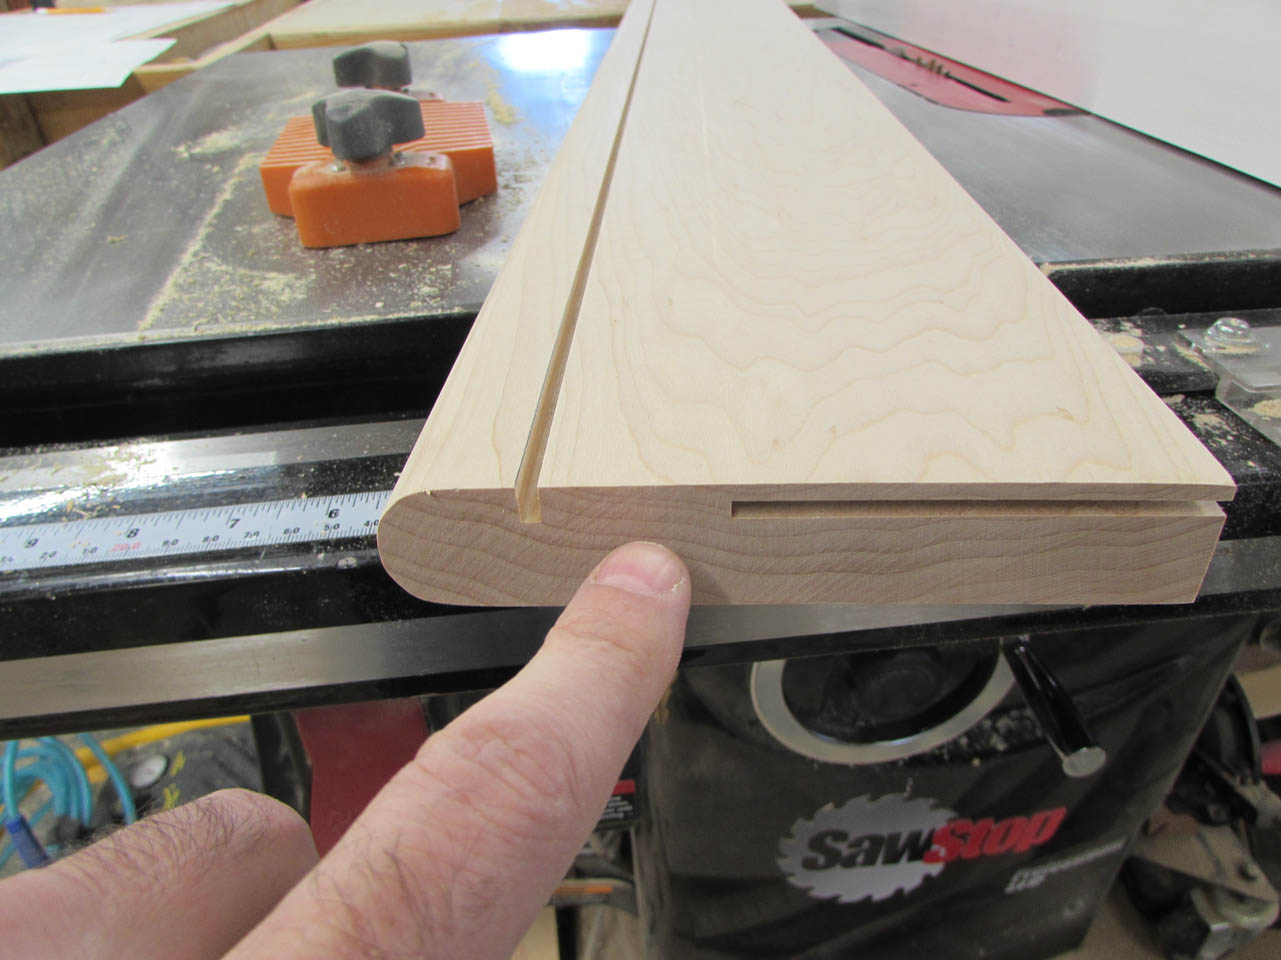
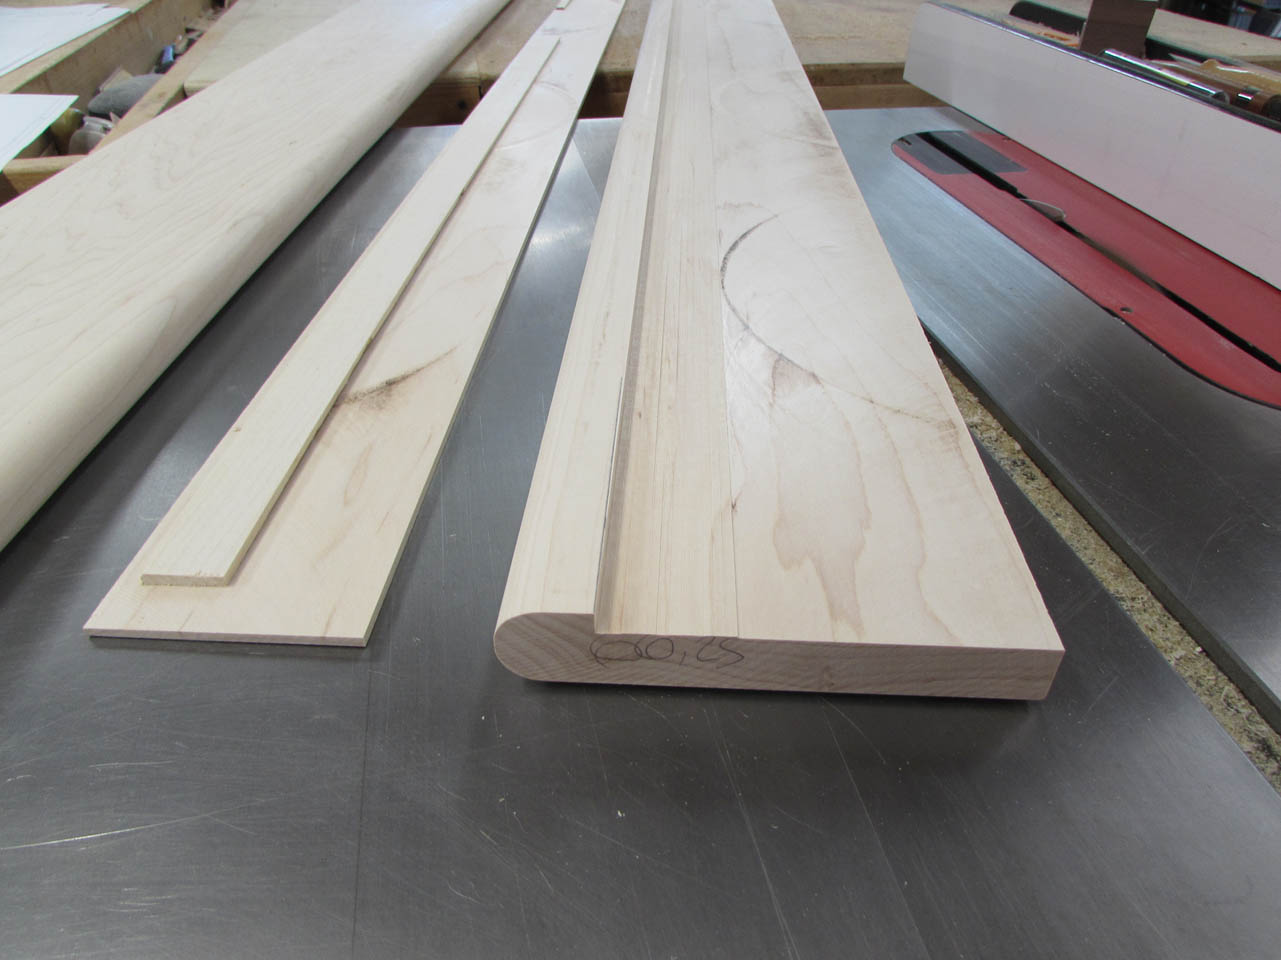
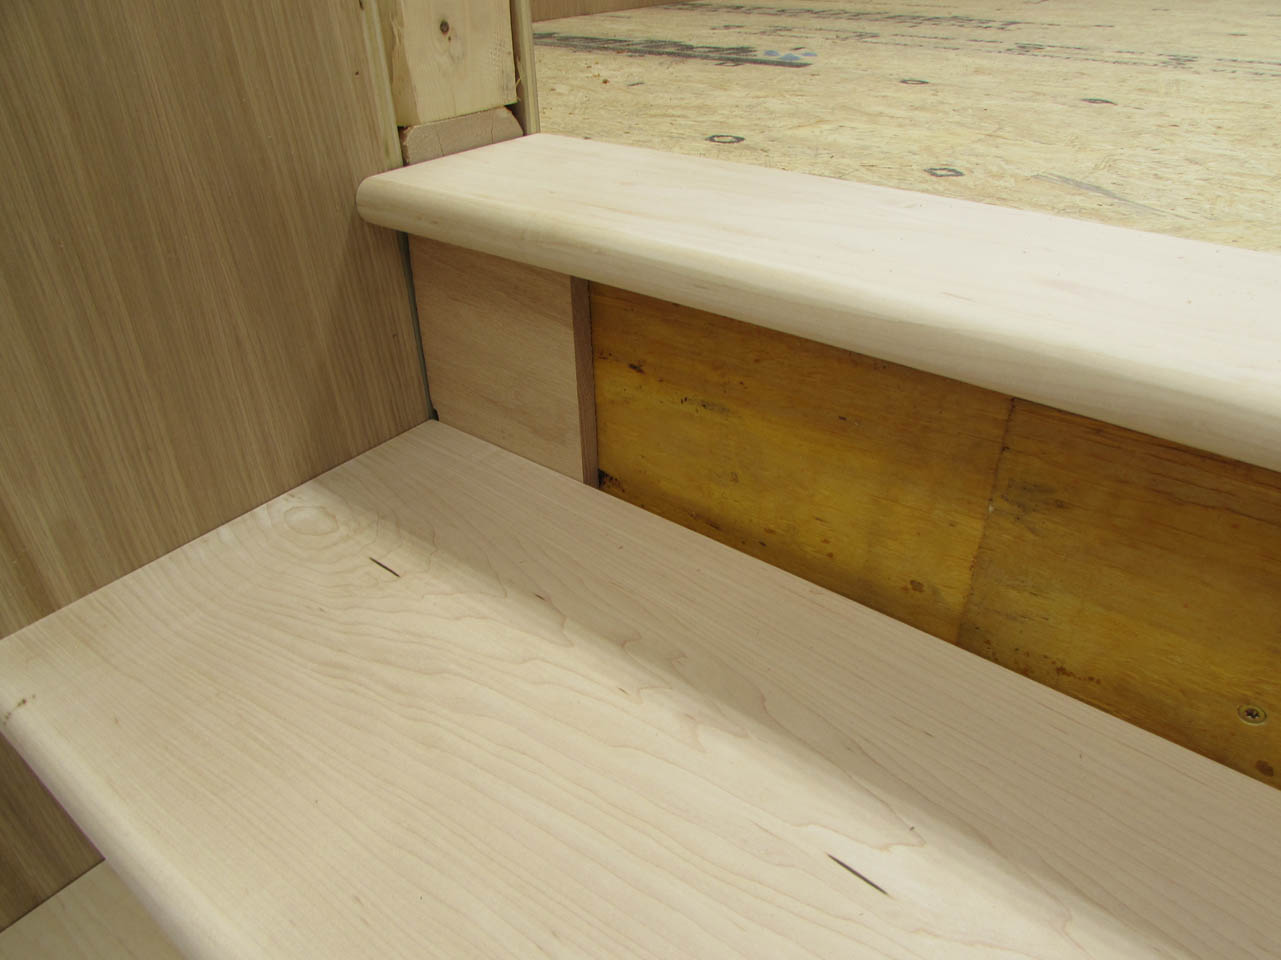
Above the top riser is the edge piece for the flooring to butt into.
I made that a 1″ thick bullnose like the treads but I have to make the rest of it 3/4″ thick like the floor.
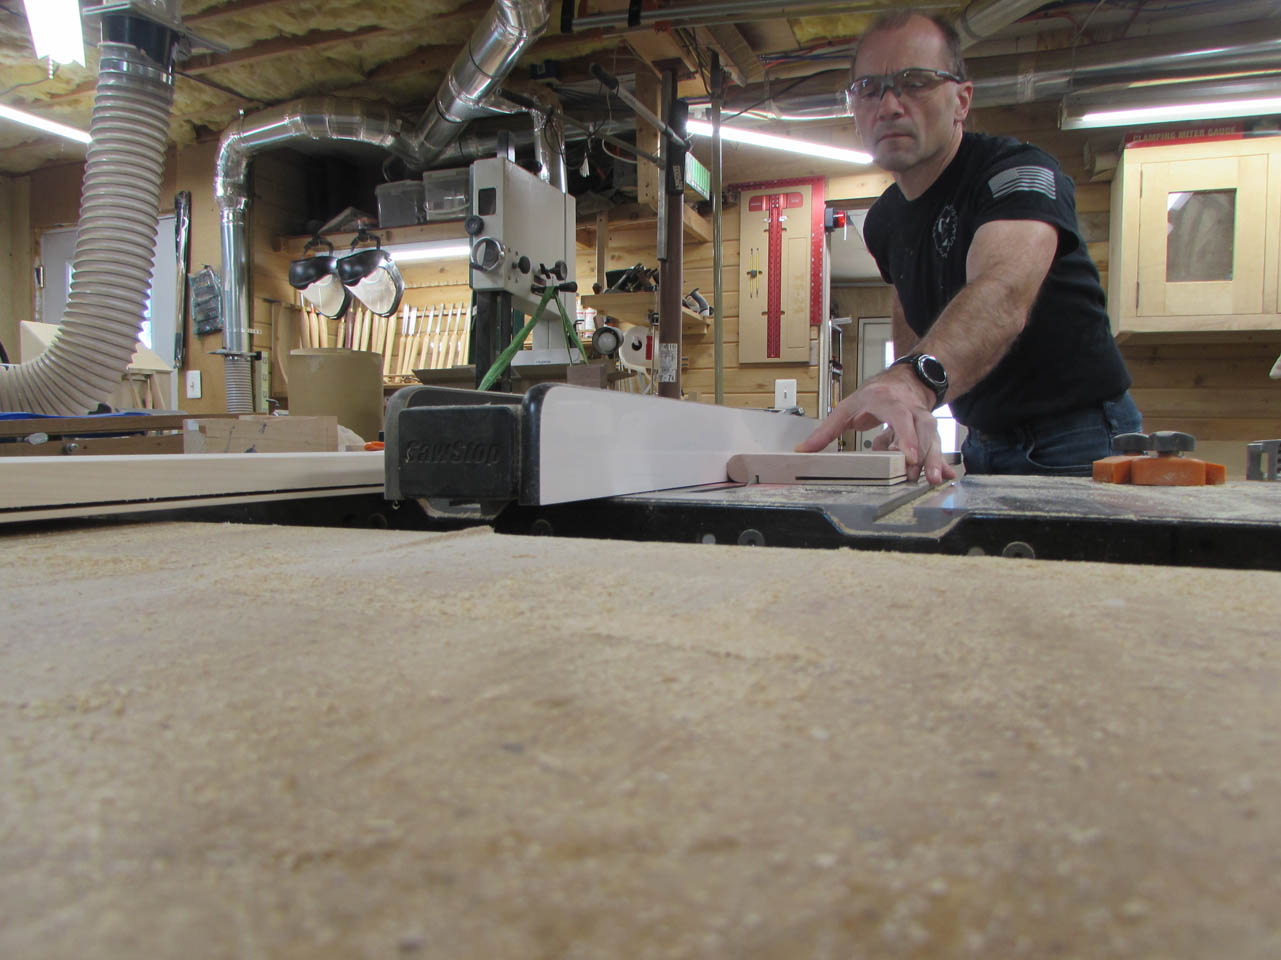
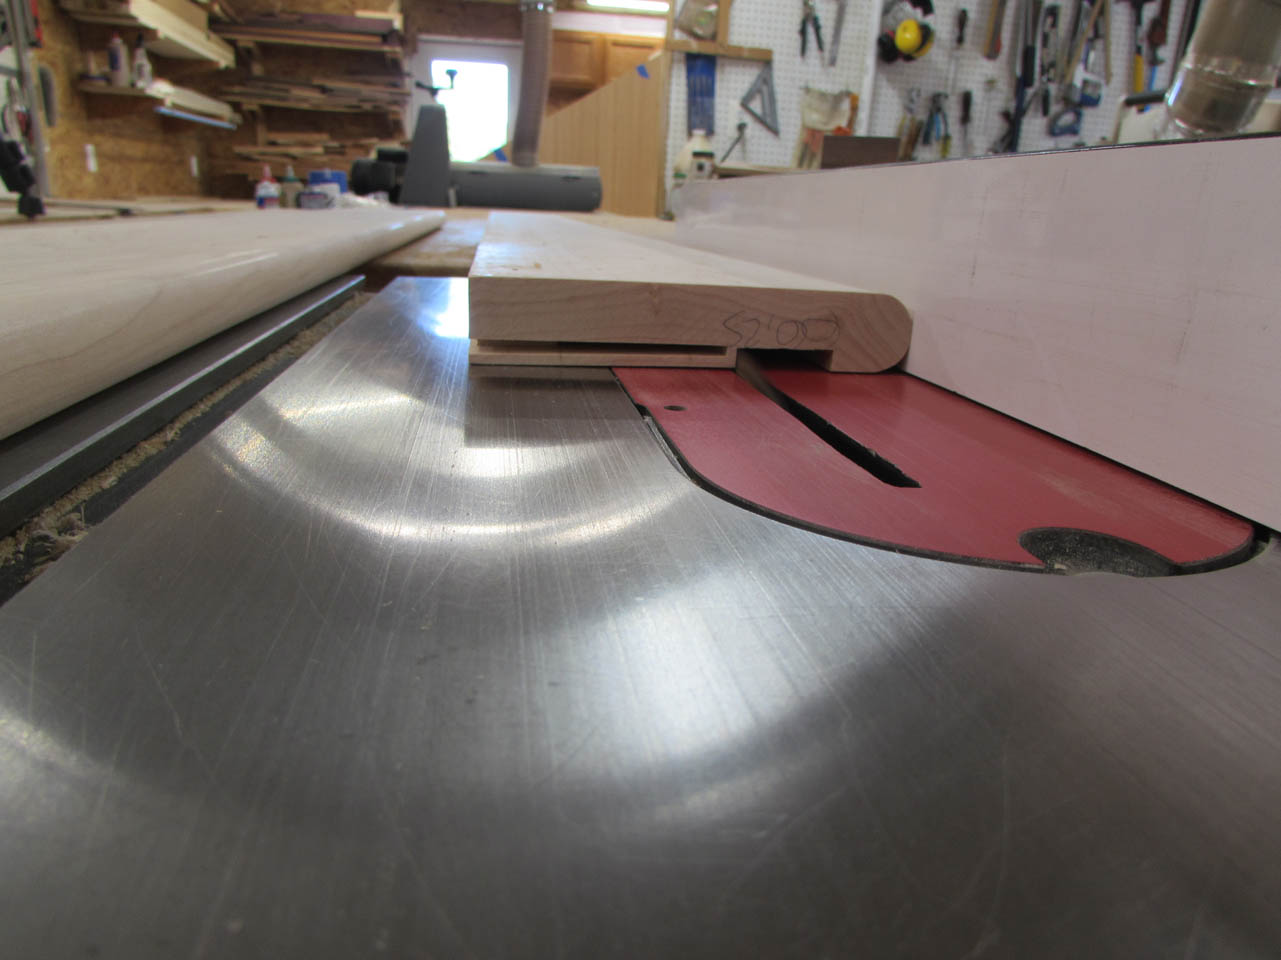
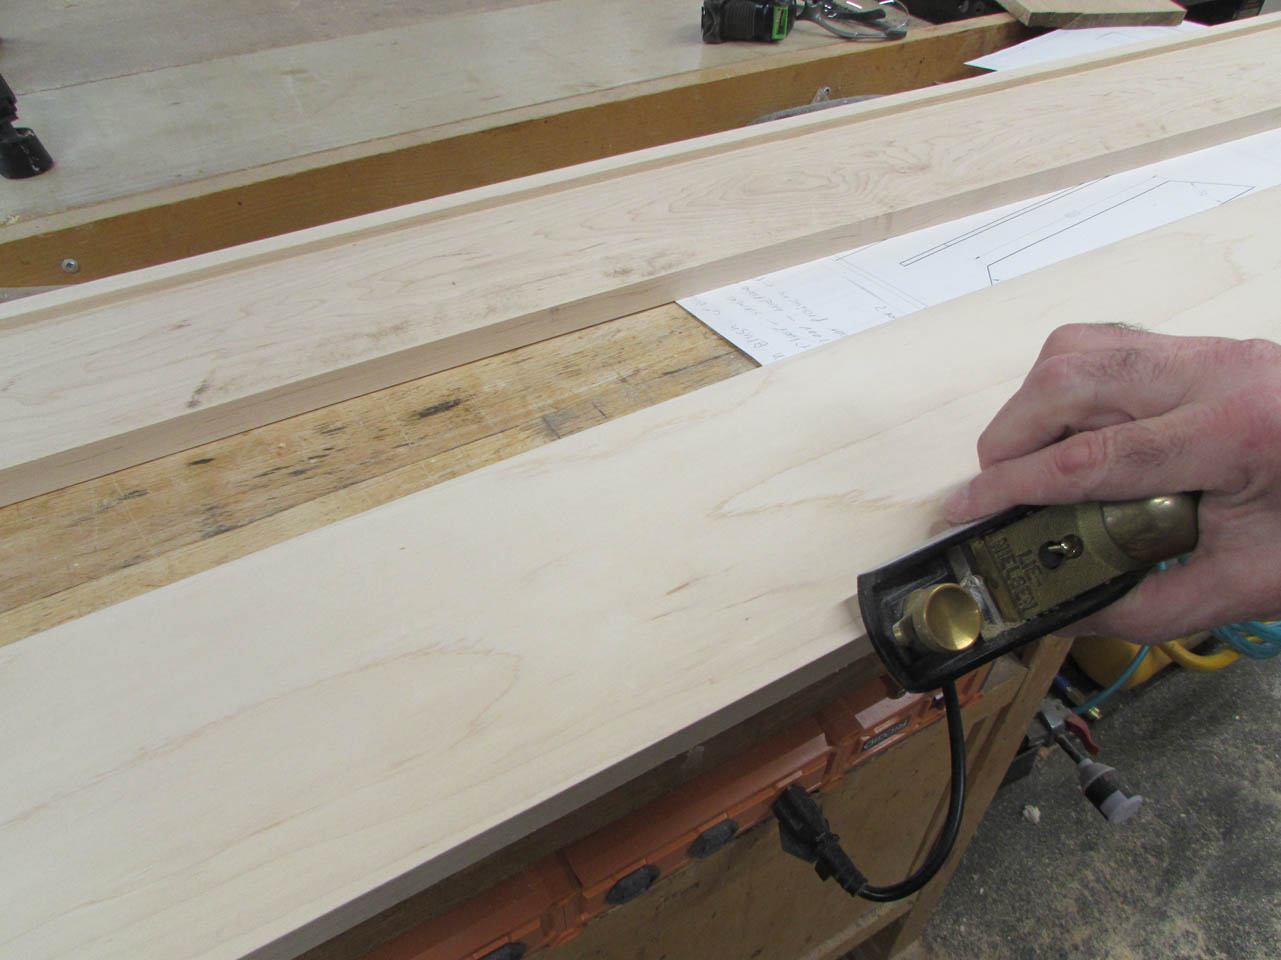
Since my table saw cannot make the full depth cut, I have to get creative.
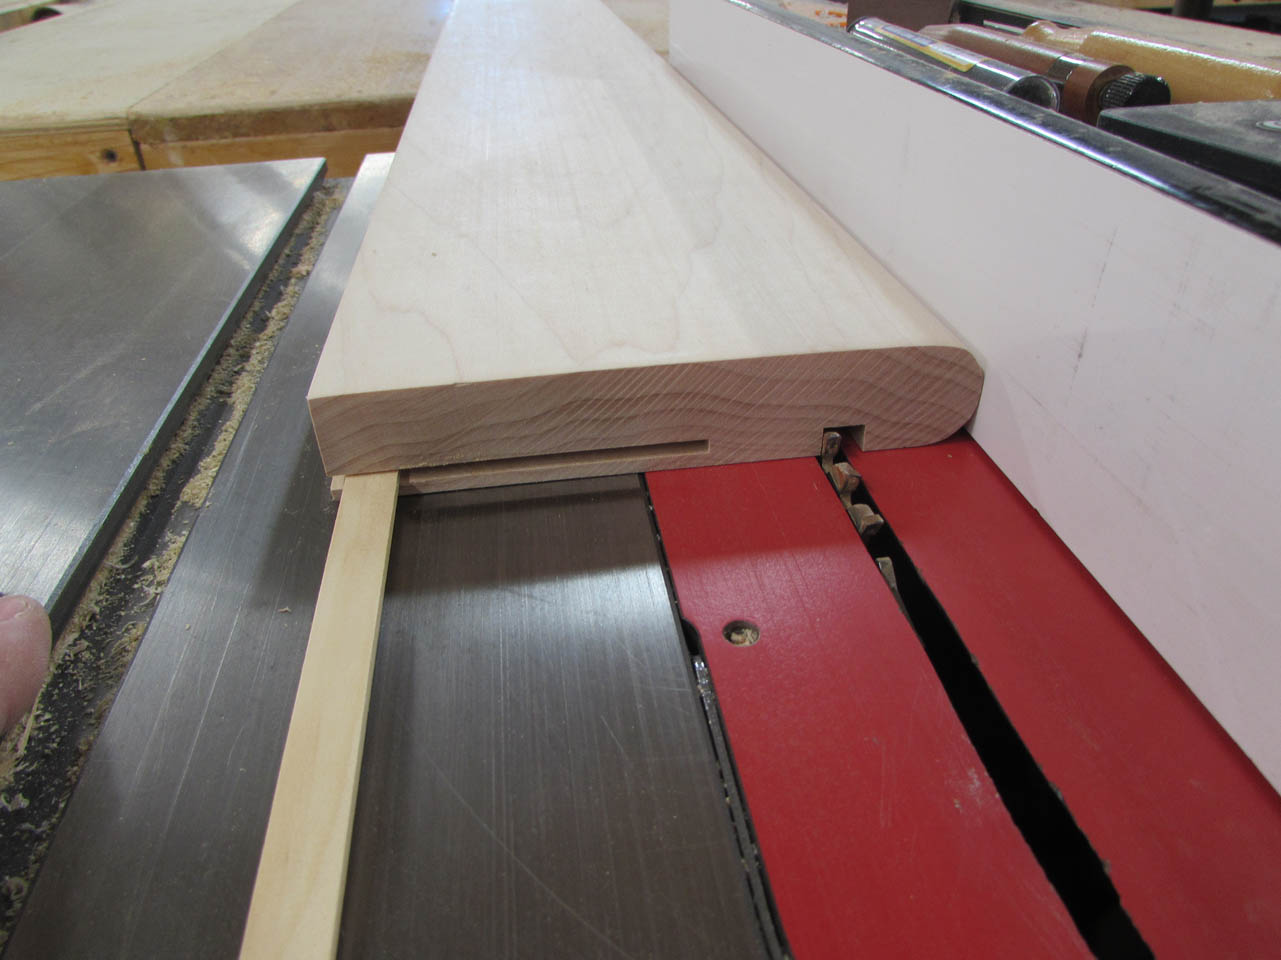
I start the cut with the board on edge, then finish with multiple passes until the waste is removed.
I should have done that part first, I had to cut a 1/8″ thick spacer to wedge open the vertical cut for the last pass, otherwise it would have tipped down.
After a little sanding, I used my block place to apply a slight bevel to the edge that meets the flooring..
I will also be planing this same bevel onto each piece of flooring when I pre-finish it so that it meets up without any edges sticking up.
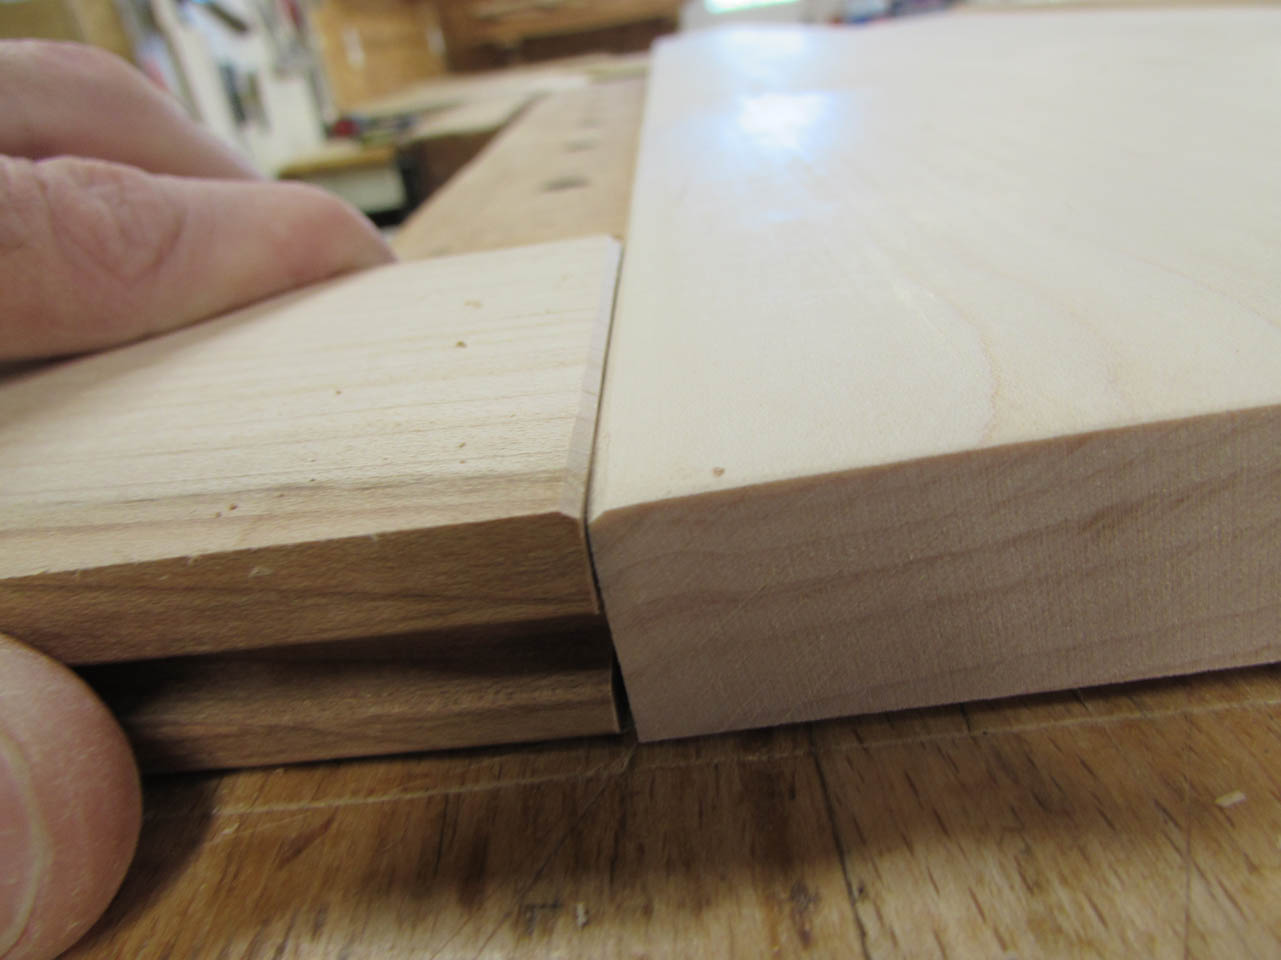
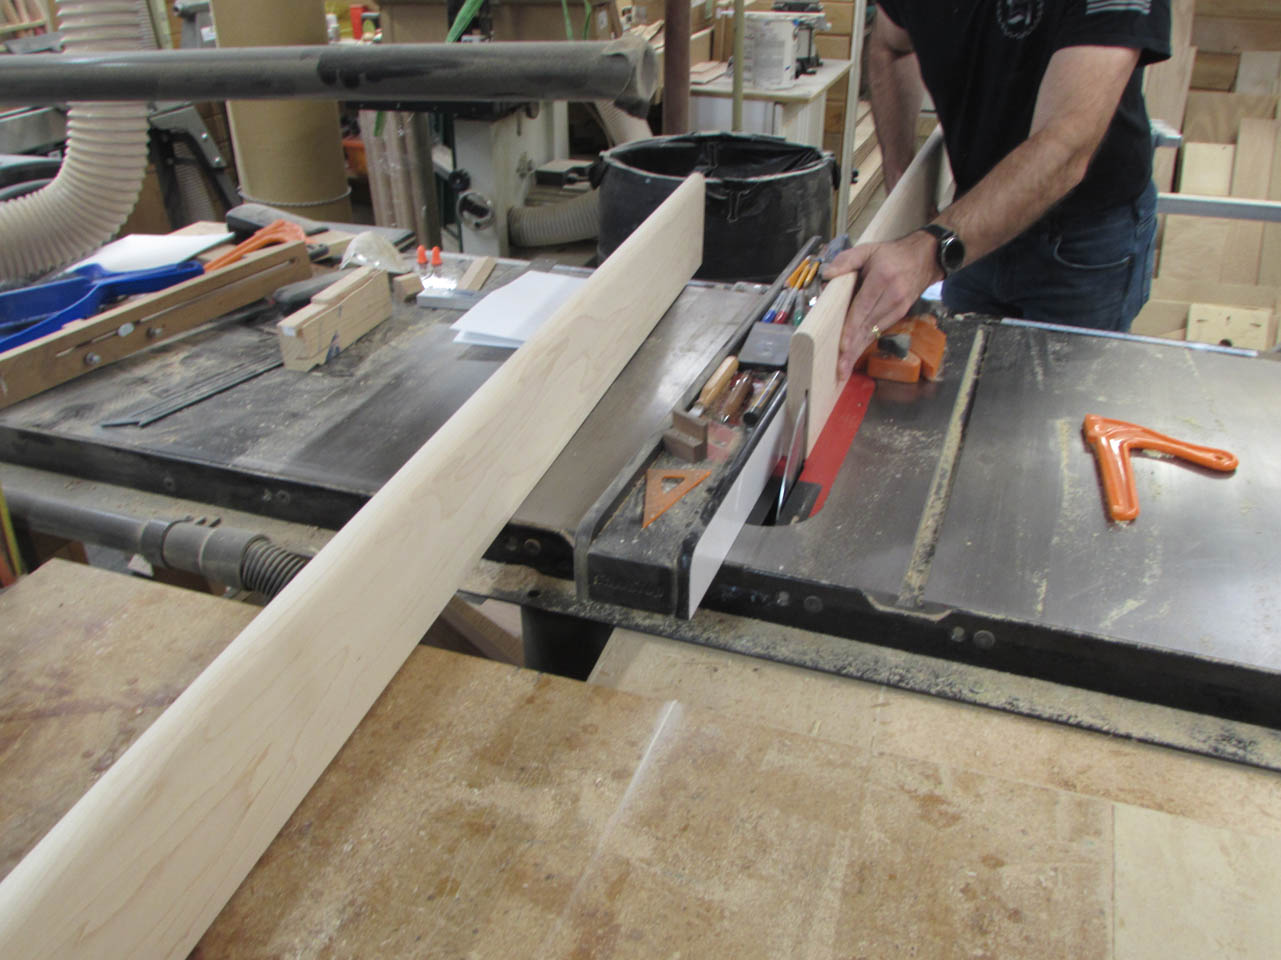
I made a mock-up piece for the riser to test the fit.

After the first side was done, I cut each of the risers for the opposite side as well.

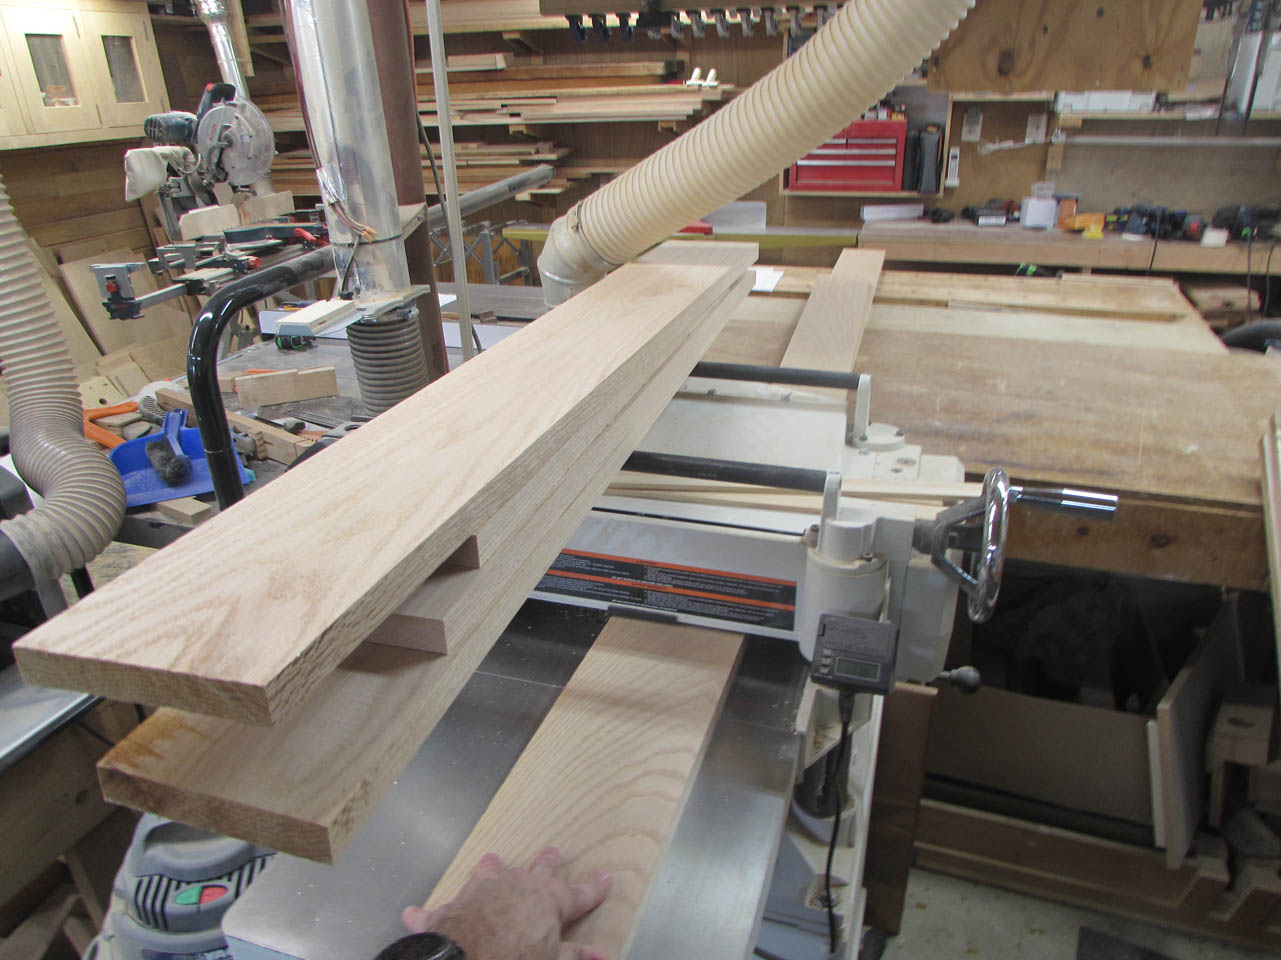
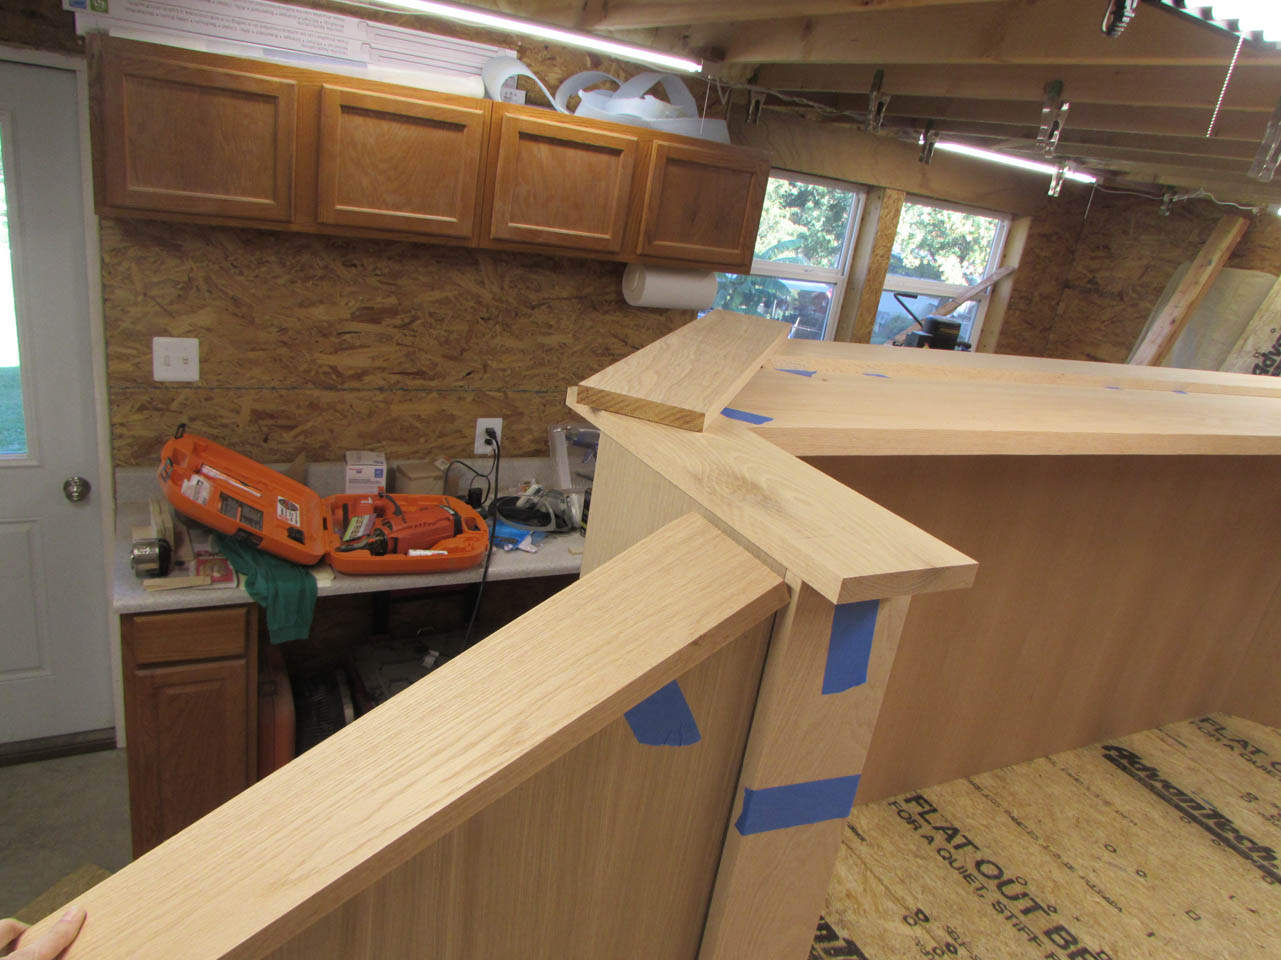
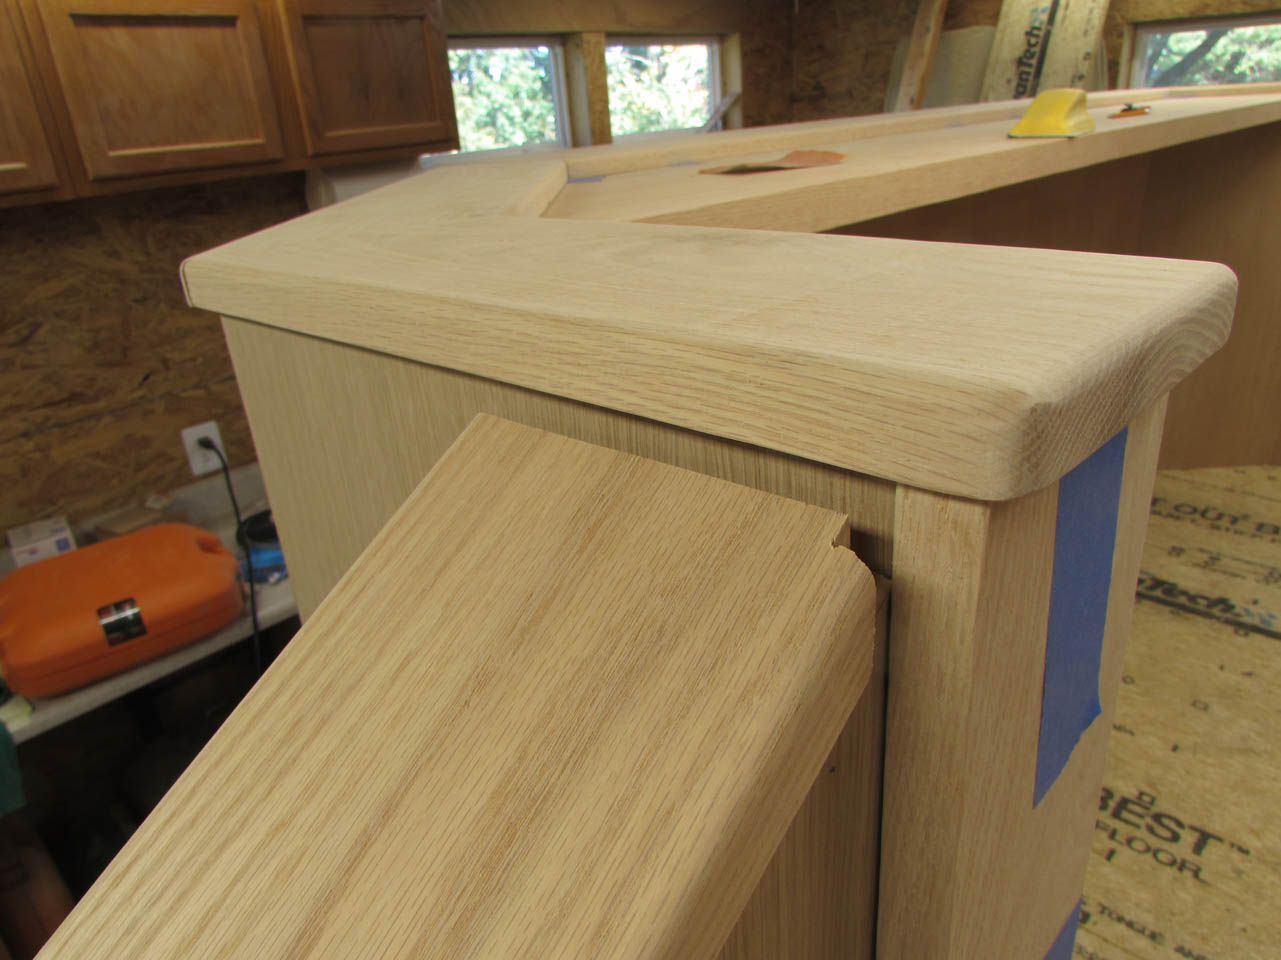
Time to repeat the milling process to create the top and end caps for the back wall.

These pieces were all cut, planed and jointed down to 7/8″ thick.
I did the vertical surfaces first since the top caps will have to go over them.

Then more cutting and planing for the top pieces.

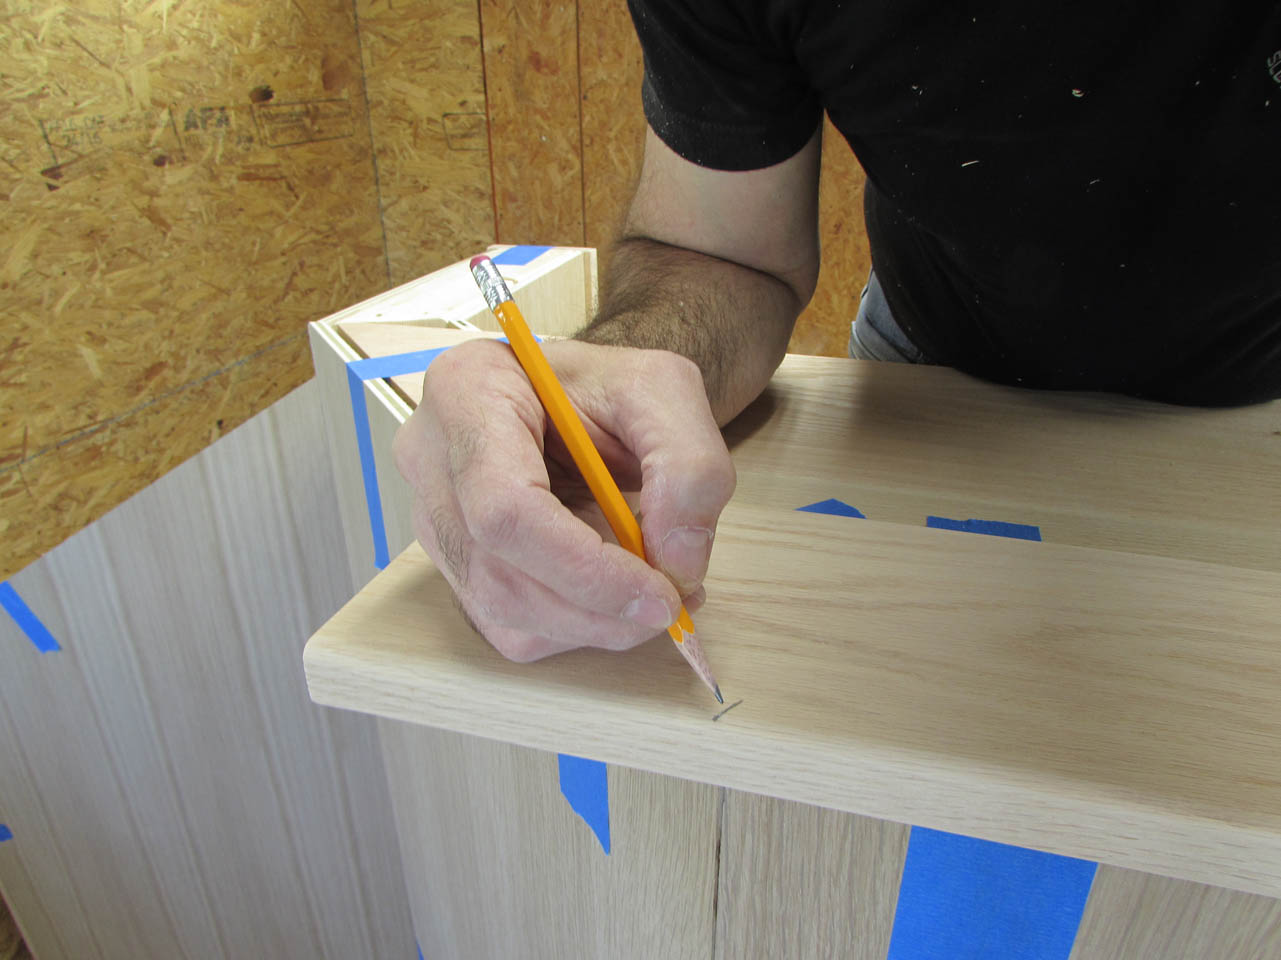
These were cut to rough length, then laid in place and marked for to show me where to cut the round-overs.
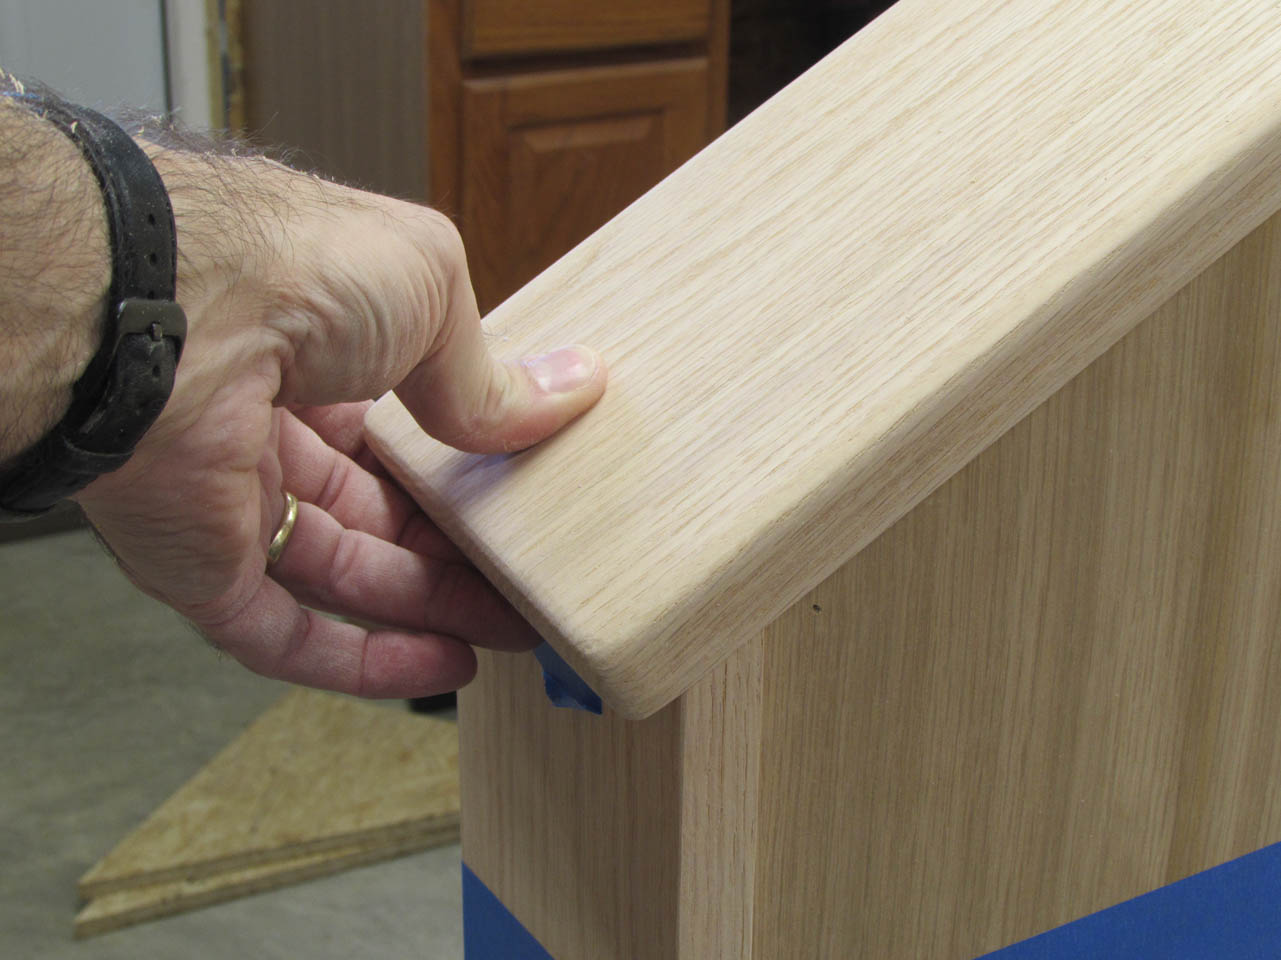
Before cutting them to final size, I am adding the 1/4″ round over.
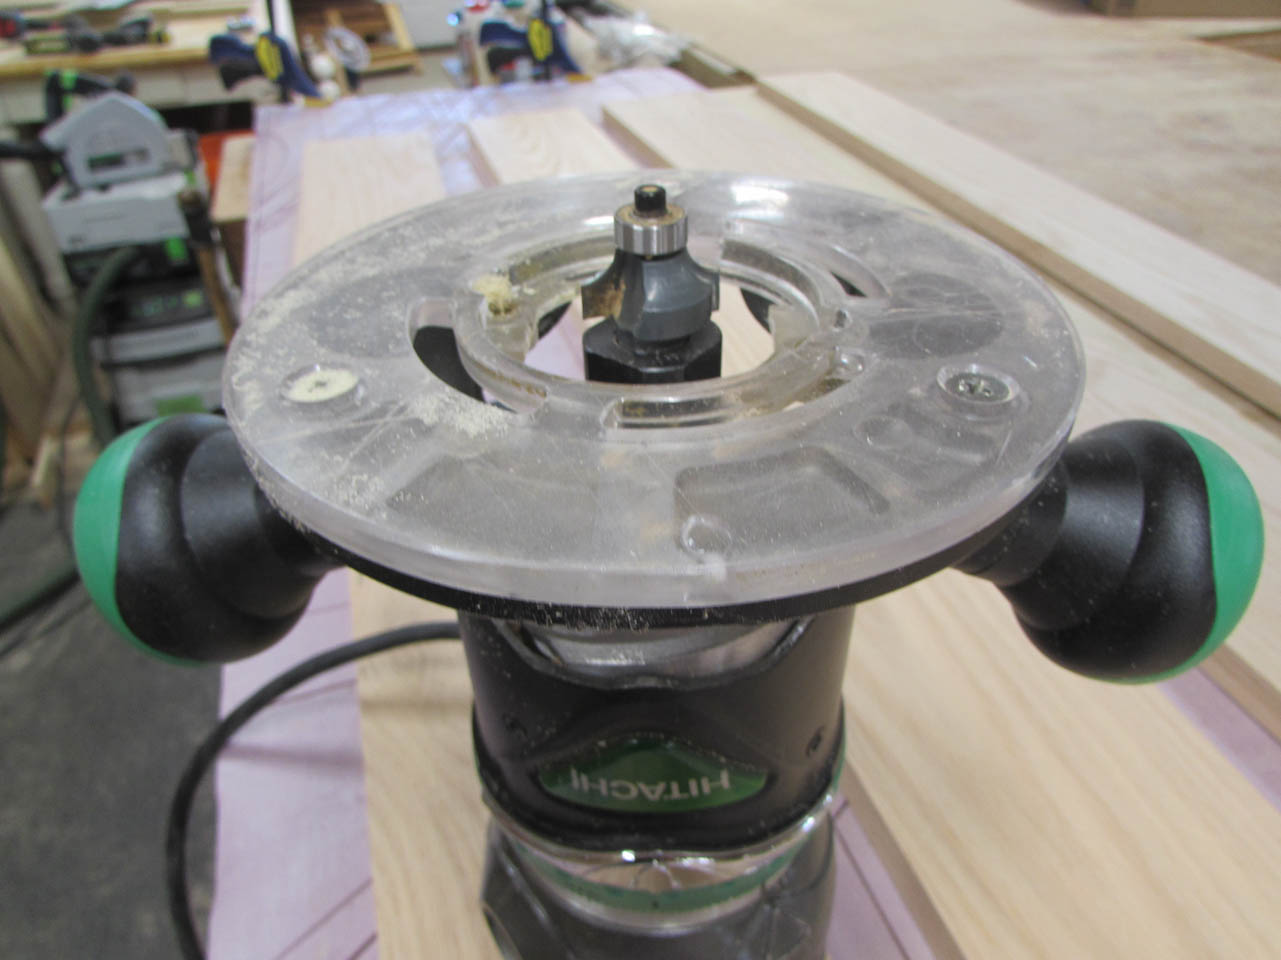
This will prevent me from accidentally over cutting an end since the ends will be cut down further for final fit.

Once the edges were radiused, I gave them all a final sanding.

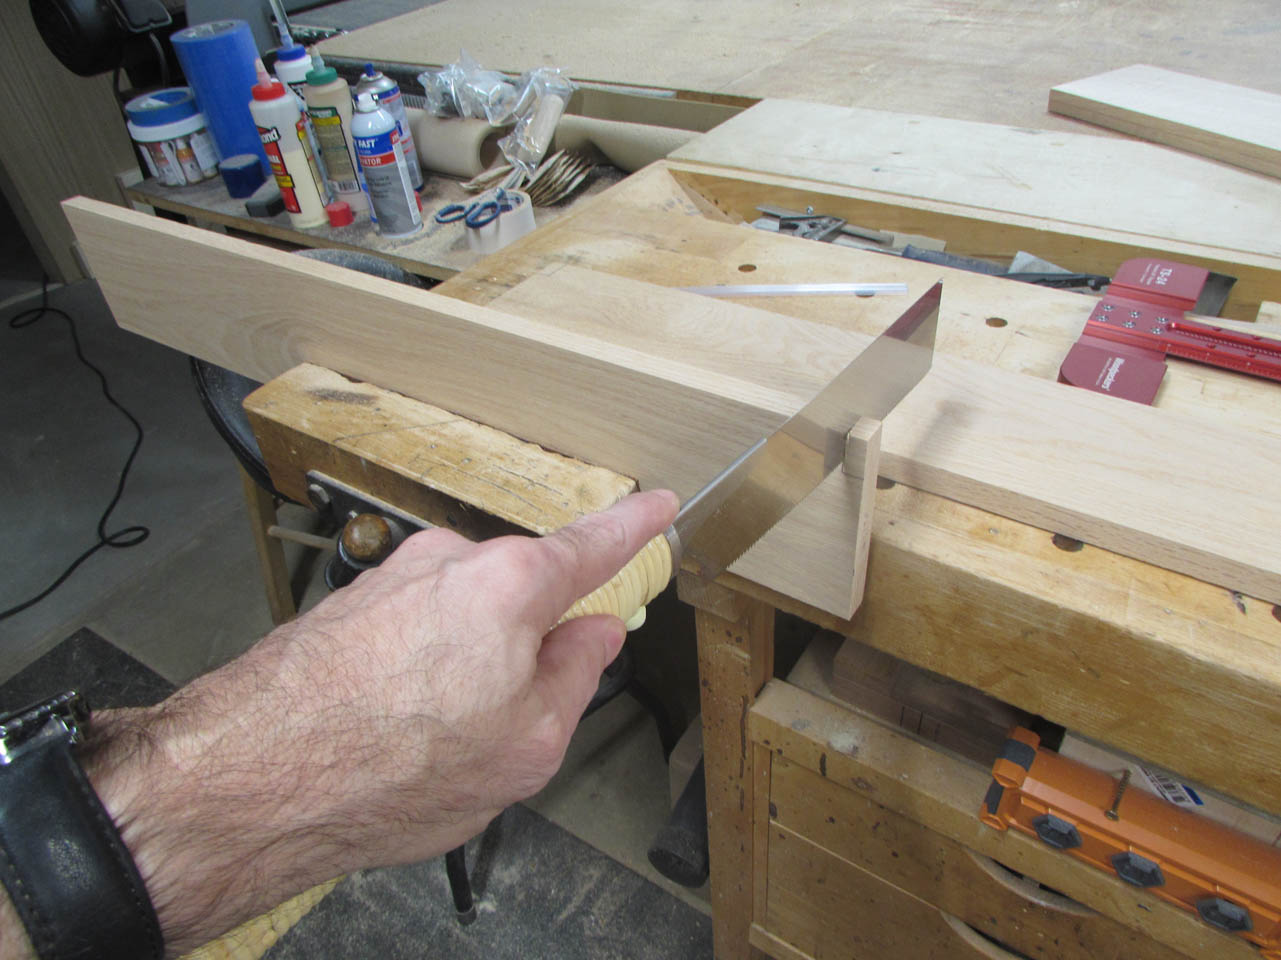
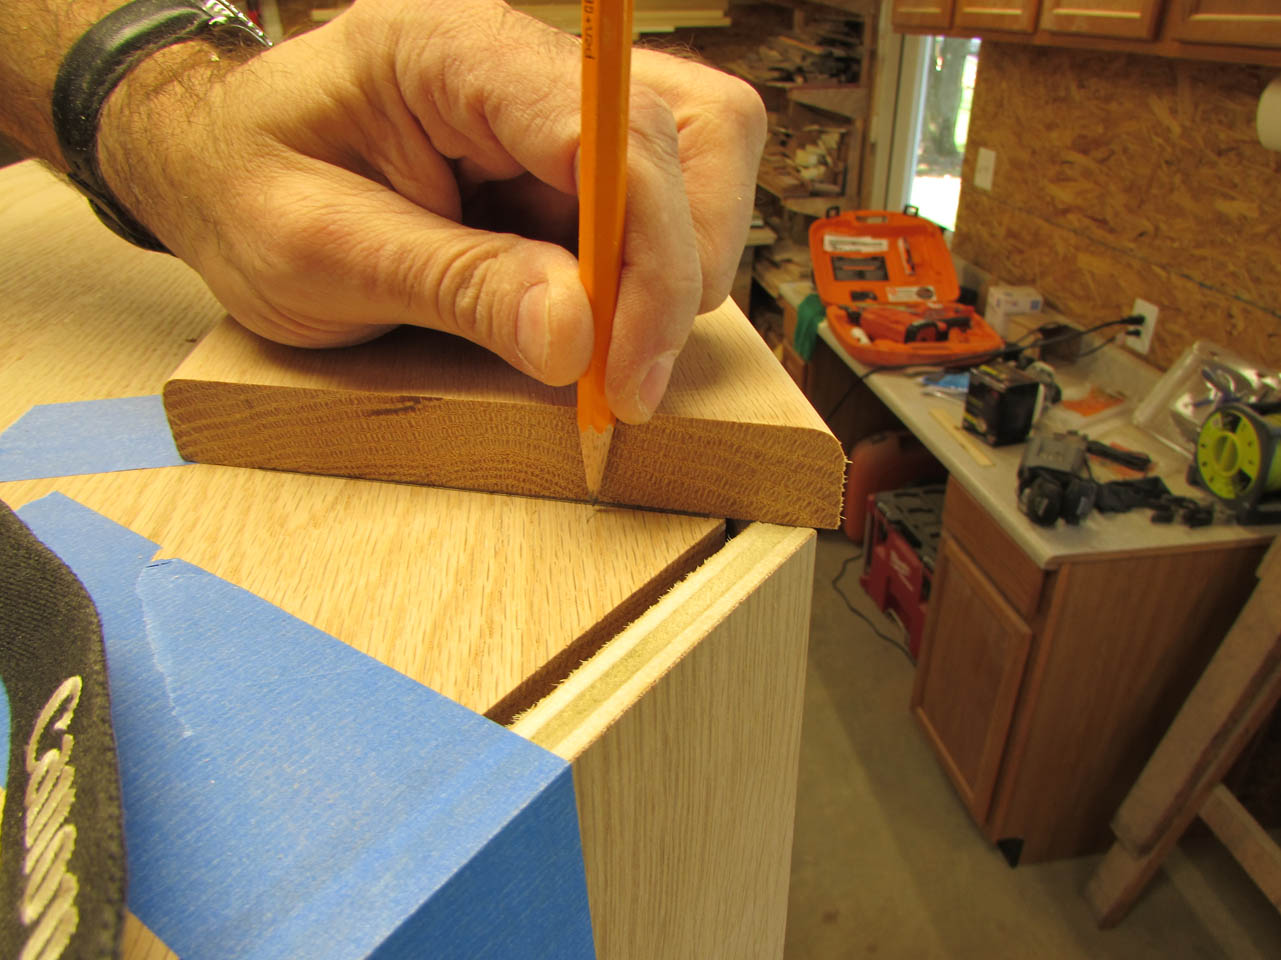
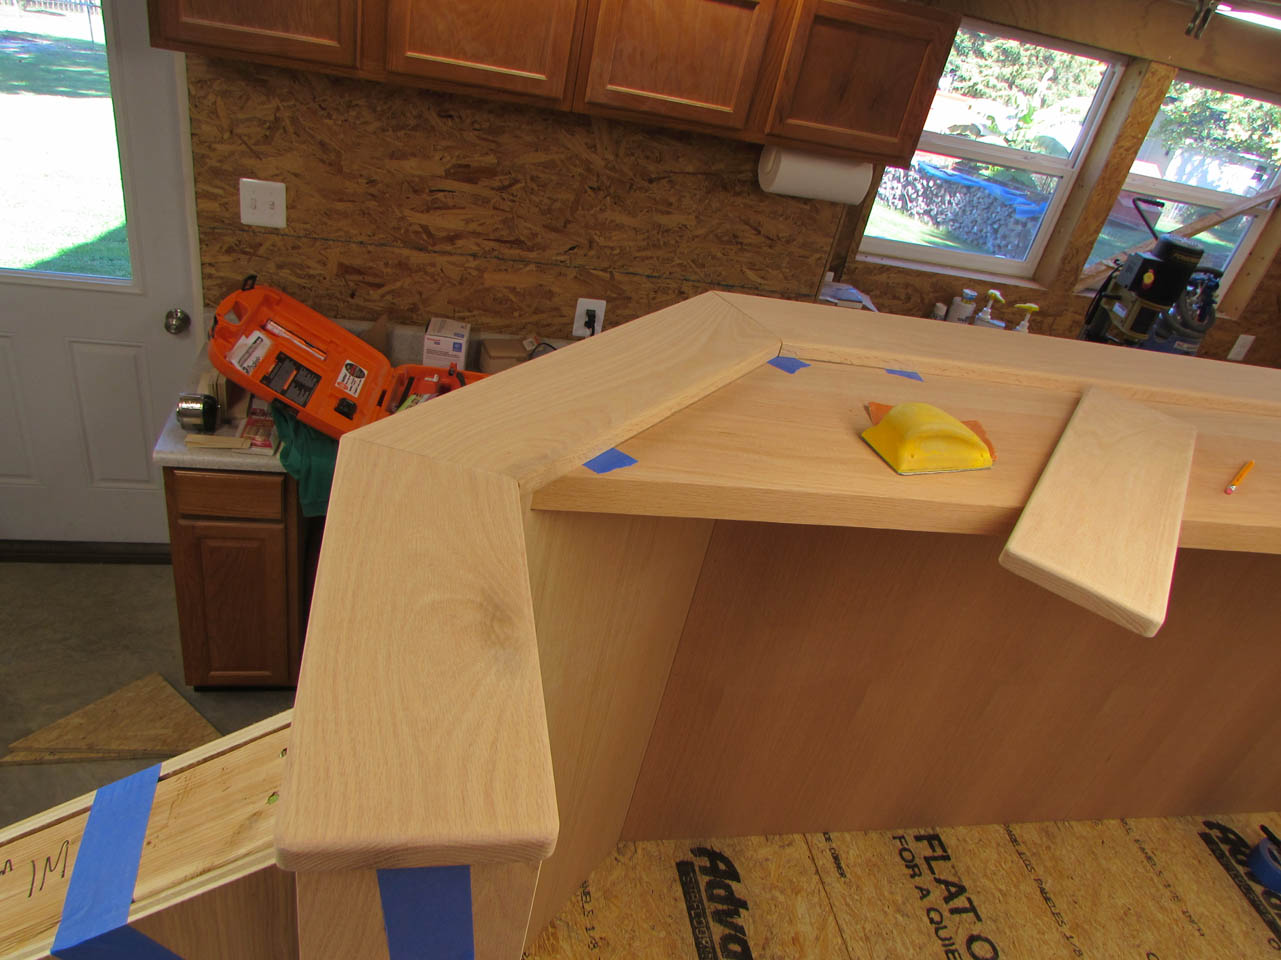
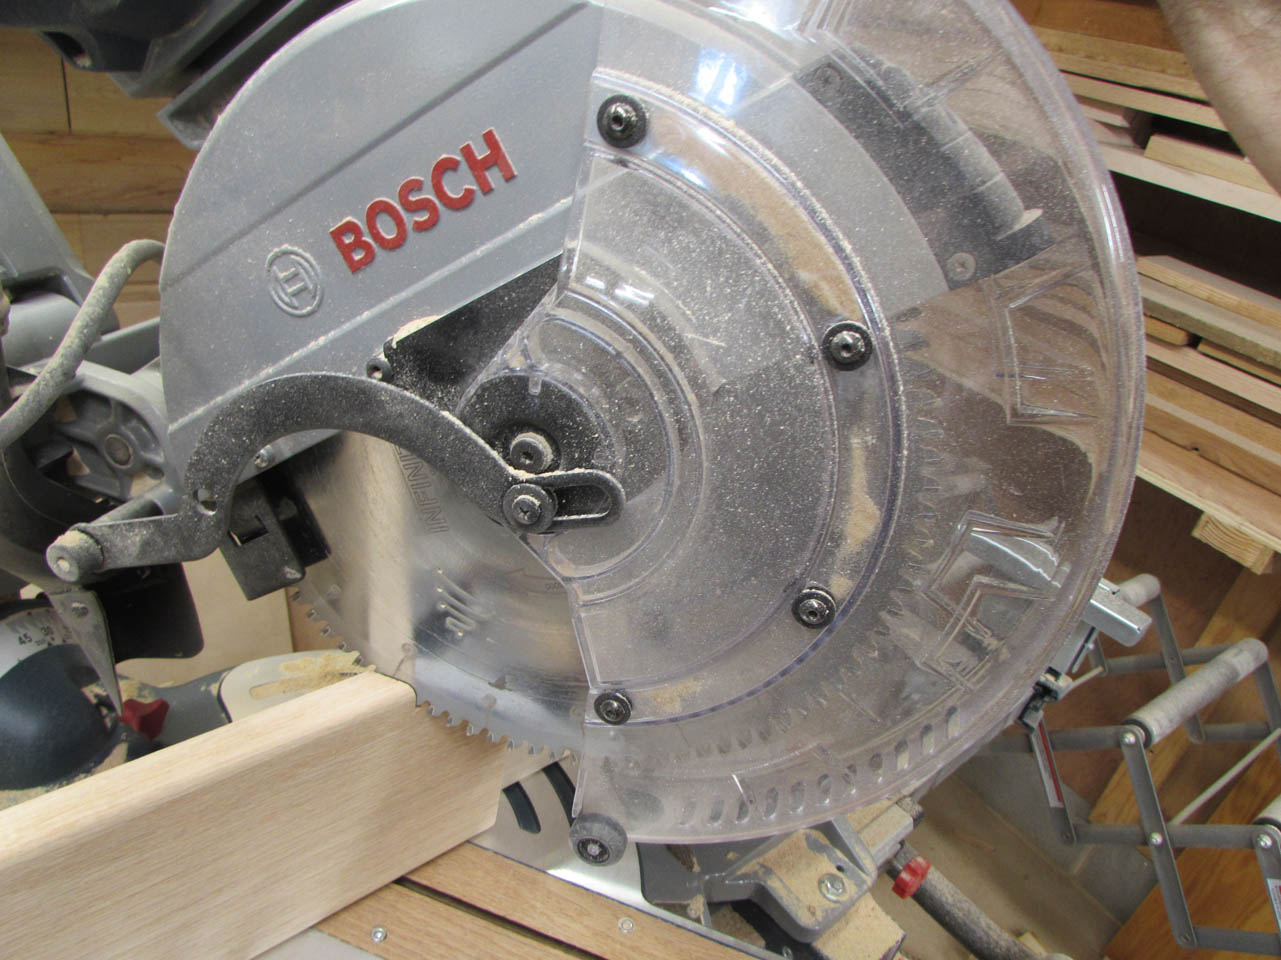
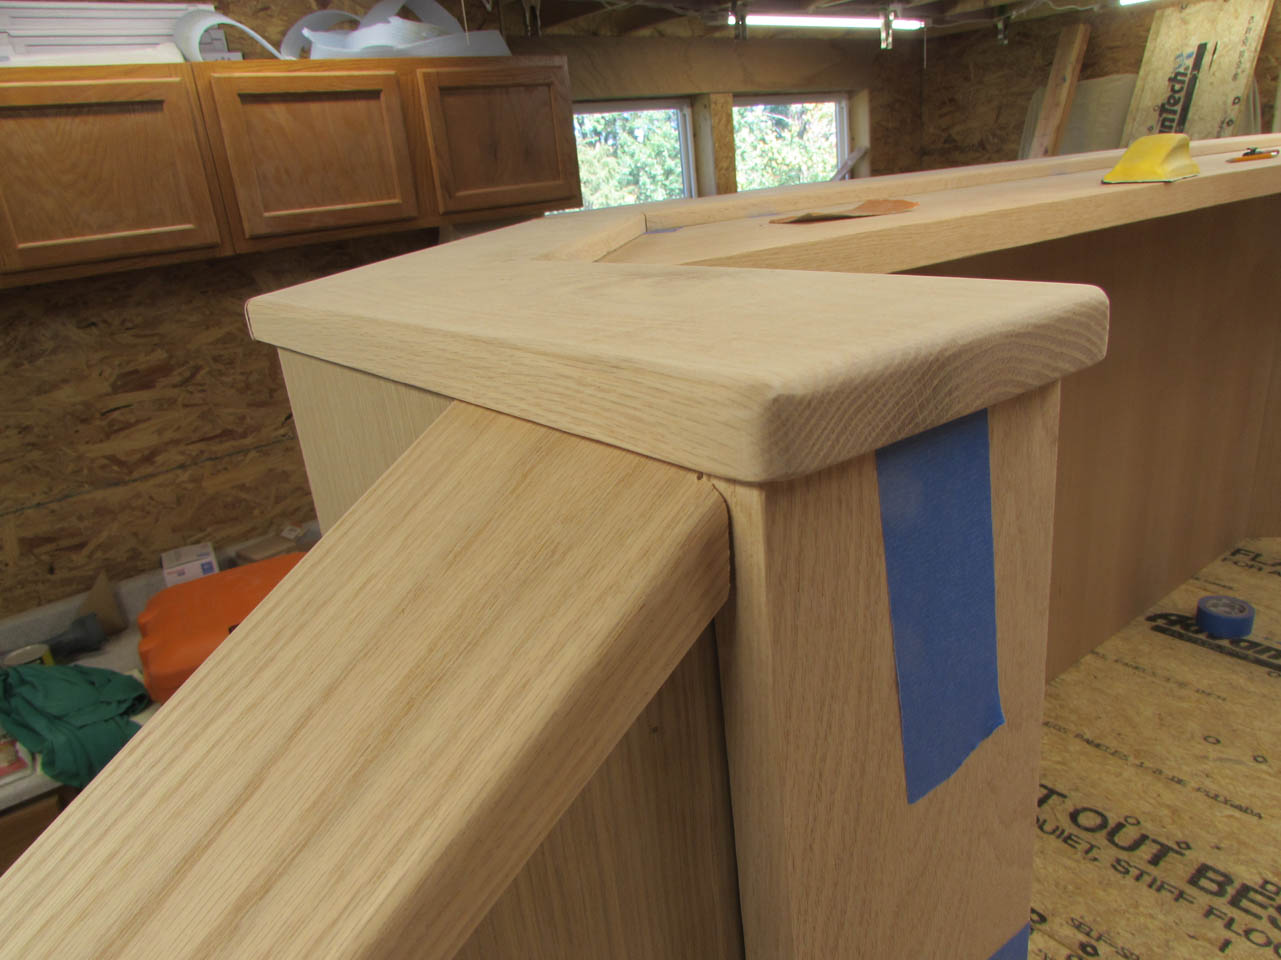
Then it was time to start cutting the miters.

I started with the long piece in the center. I cut the first 22.5° miter, then set it in place and located the miter on the opposite side.
I took my time and carefully marked and cut each successive piece.
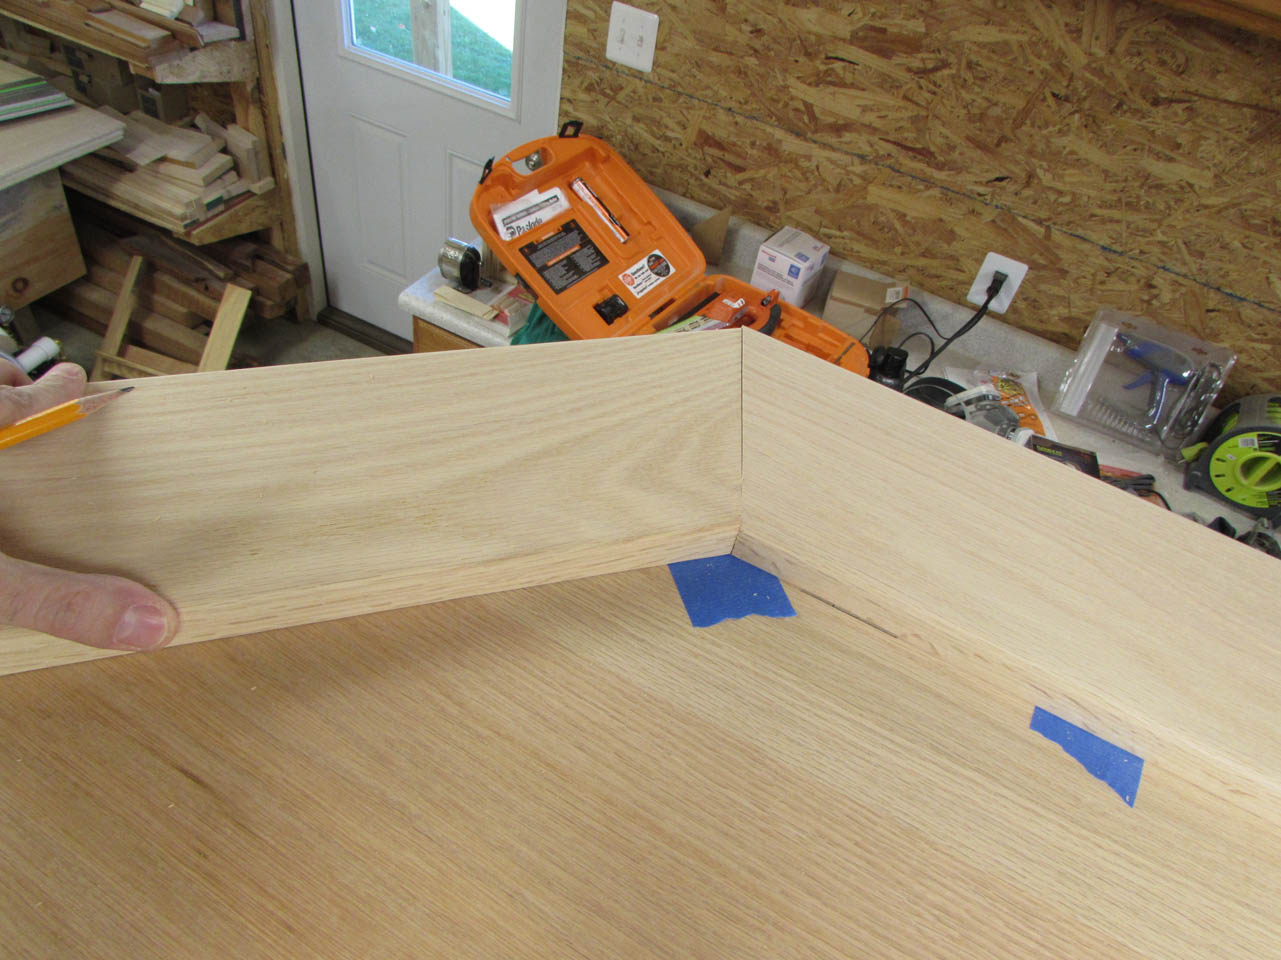
Looks really good so far.
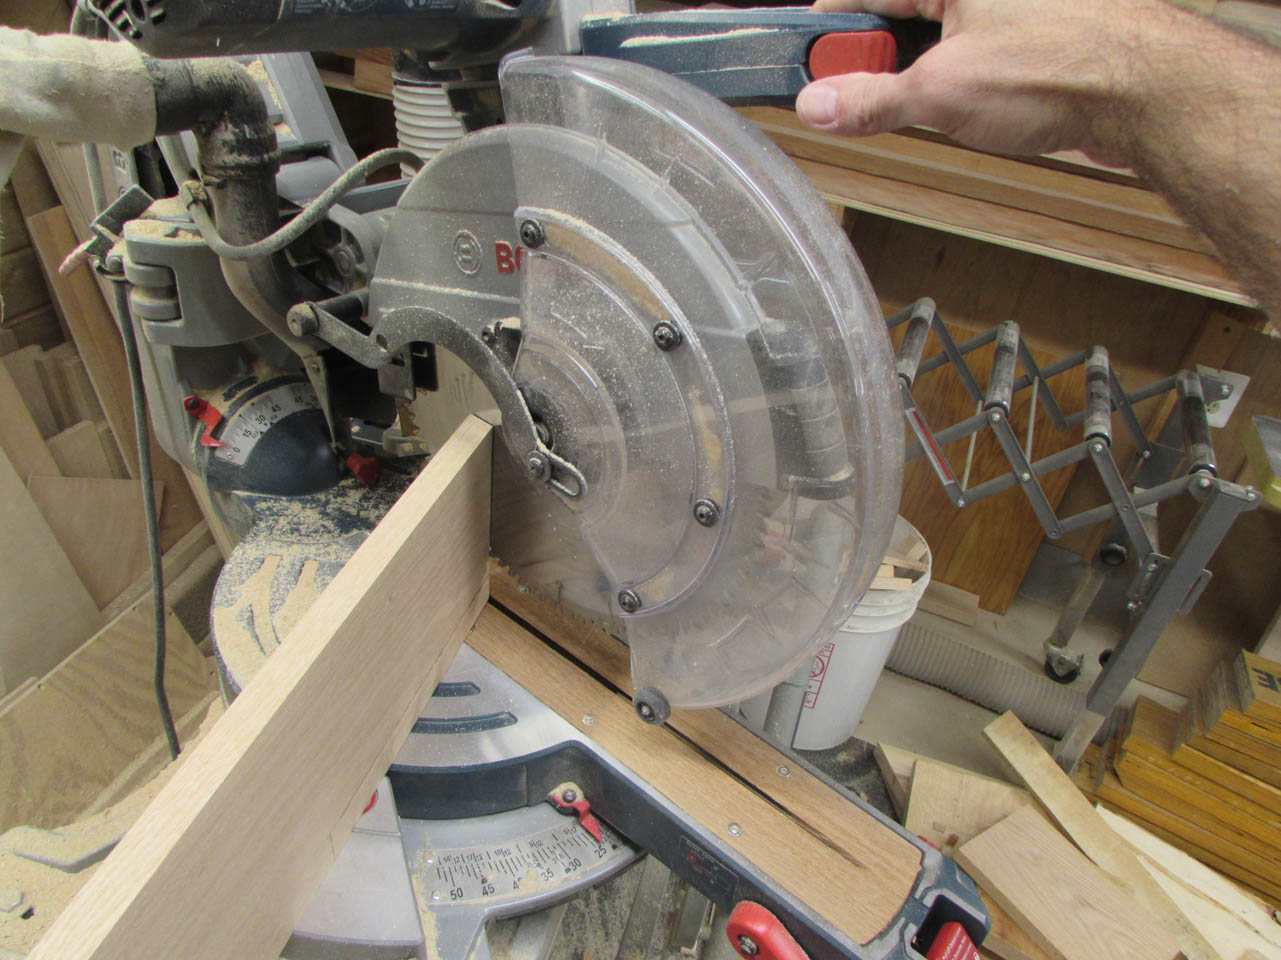
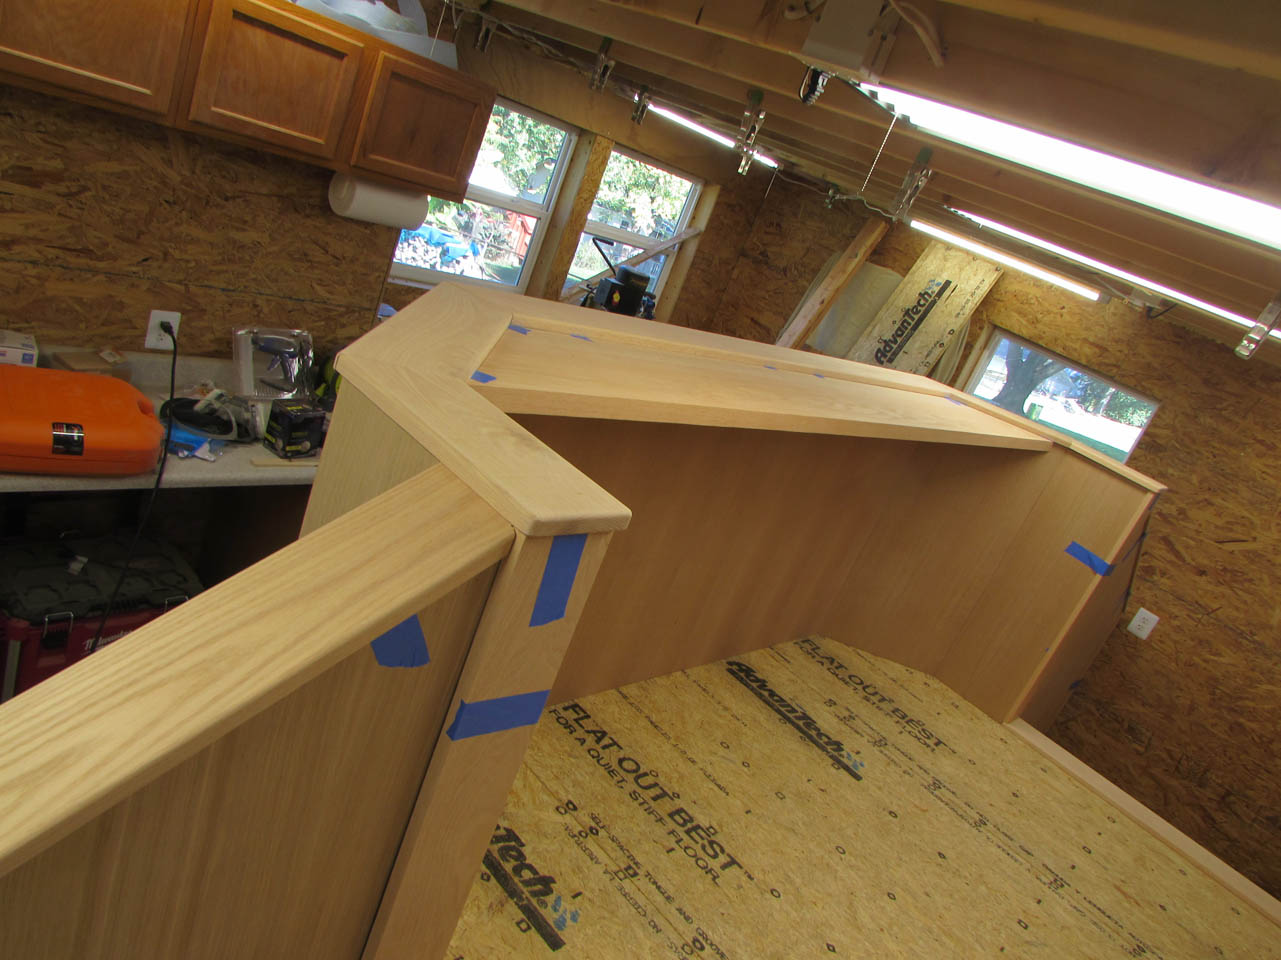
Last piece was the stair wall cap. This had a 31° angle cut into it.
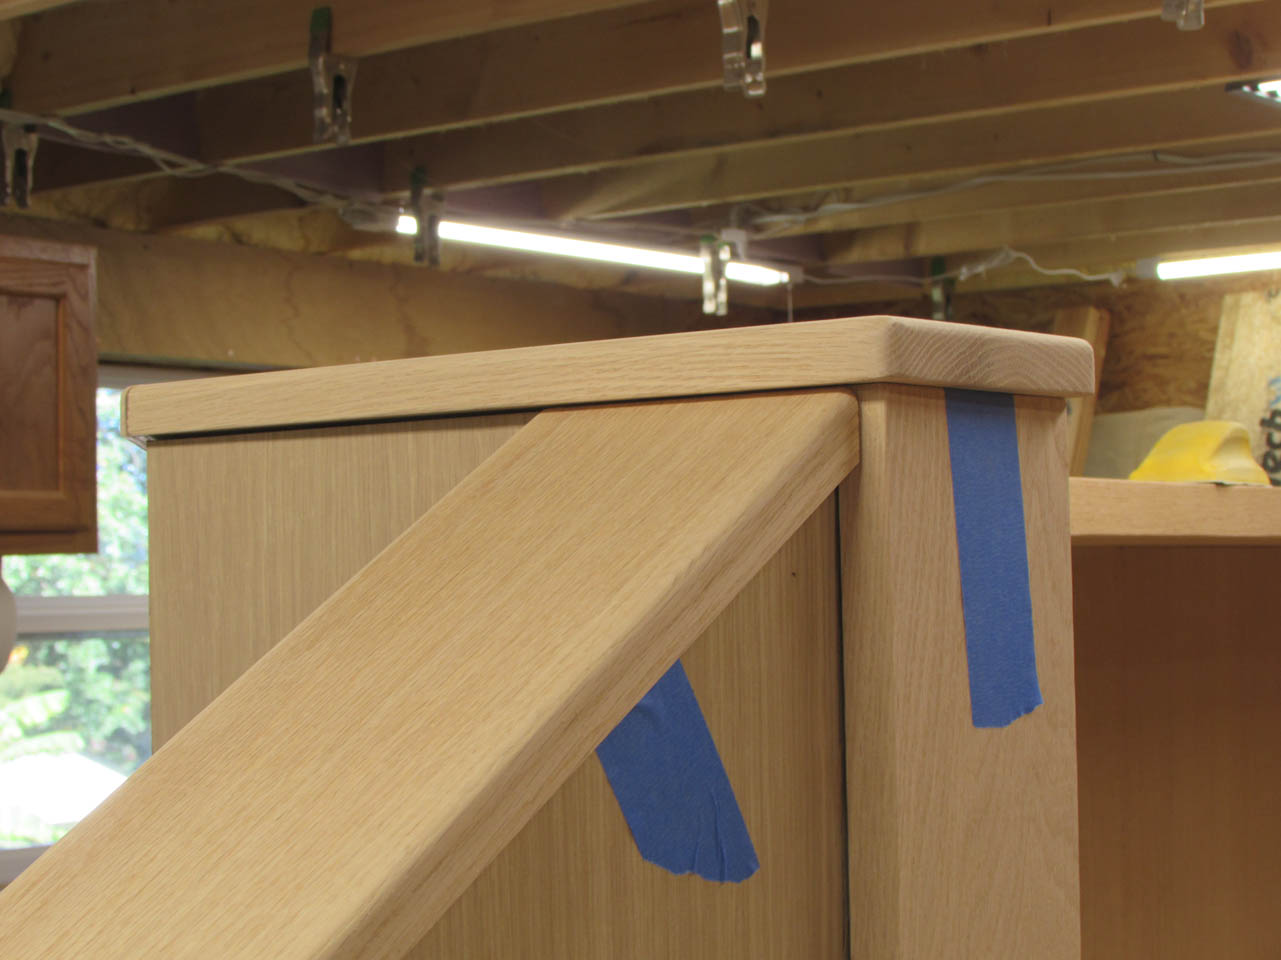
I also had to cut a 1/4″ notch to go around the vertical trim.
That all came together pretty well, so I taped it all in place and started working on the base trim.
The base trim is only 3/8″ thick to match the existing trim at the cathedral.

For my thicker boards, I was able to re-saw them in half to get two roughly 1/2″ thick pieces.
I wasn’t happy with the slight curve the tension in the wood created so I will be using these pieces for the shorter trim and just planing thicker boards down for the rest.

After more planing and jointing, I had a nice pile of base blanks.

The existing trim has a simple bevel along the top so I set up the router with a 45° bevel bit and cut the top edge of all the trim.

I only had one piece tear out a bit, but I made extra.
Next will be sanding and pre-cutting some of the pieces.
