
Altar platform part 2
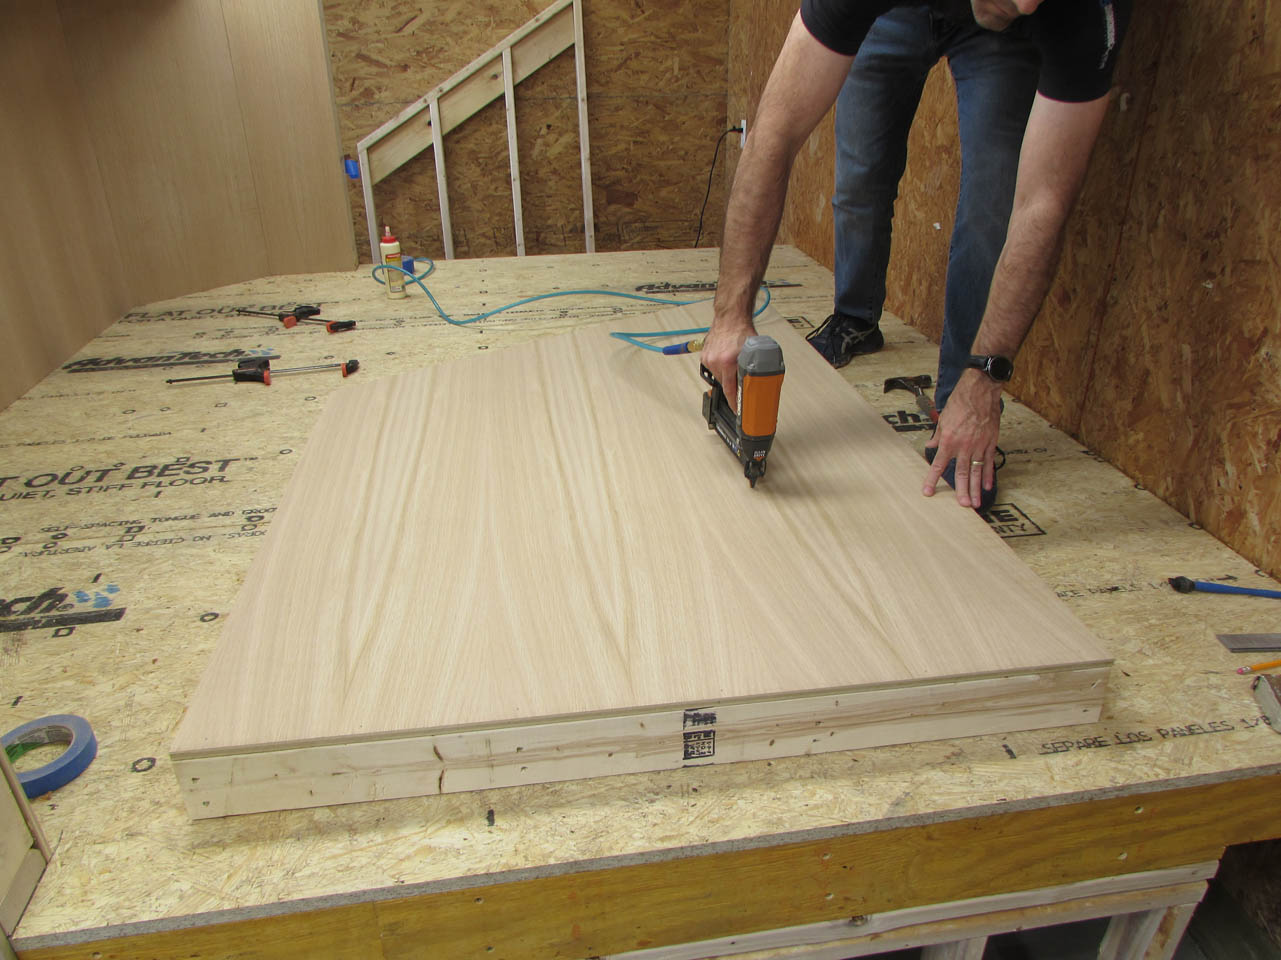
I started the outer panels with the two in the rear.

They both contain an access panel door at the bottom so I carefully cut them out with the track saw so that I can use the small piece as the panel. This will keep the grain aligned so that it really blends back in.
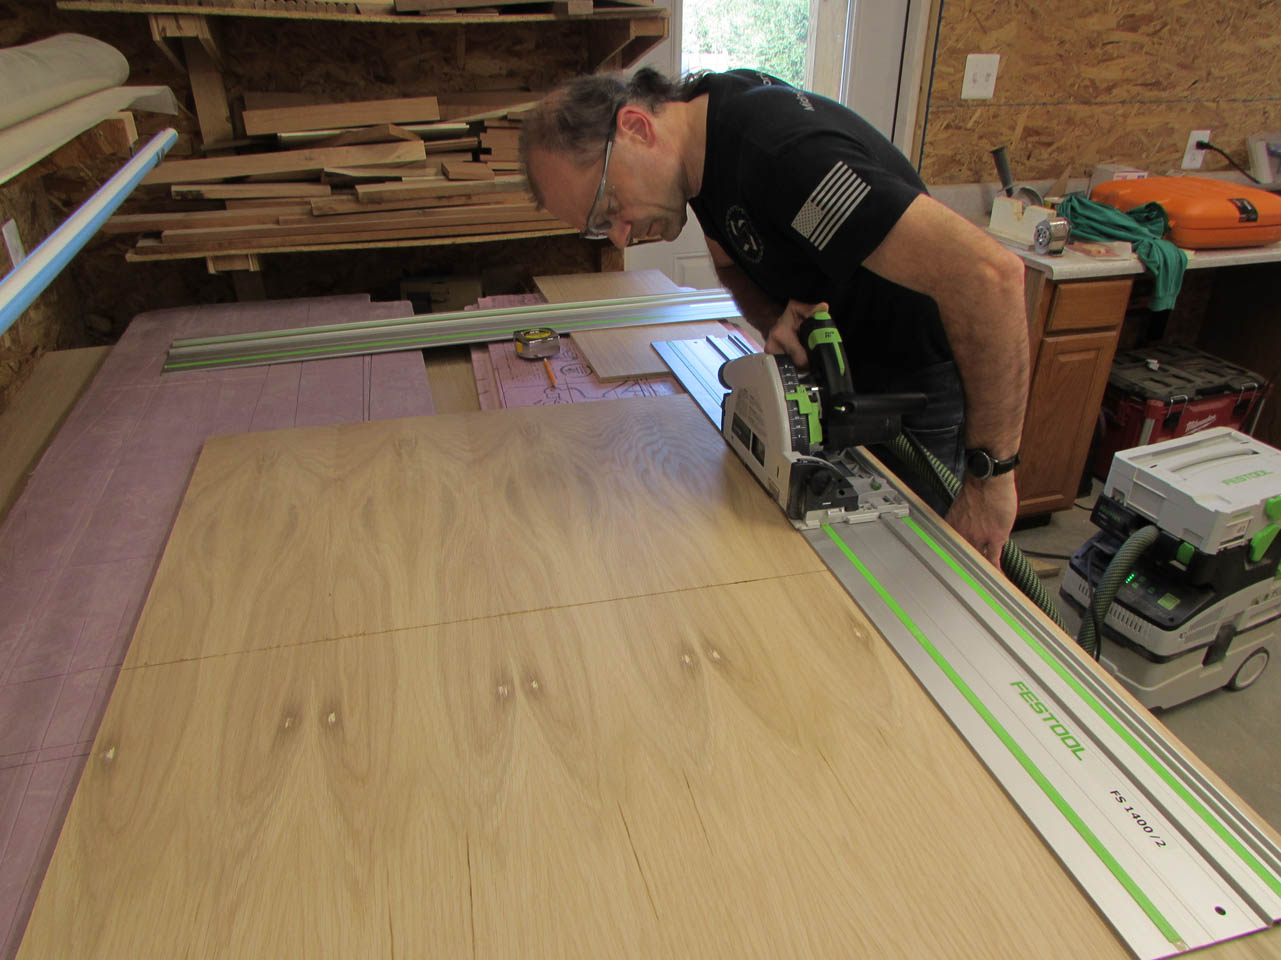
Since I didn’t over-cut, I had to finish cutting away the panel with a hand saw.


The hand saw blade is thinner than the one on the track saw so I had to use a block plane to clean up the corner of the panel.

Just a few swipes with the plane and the corner is smooth.


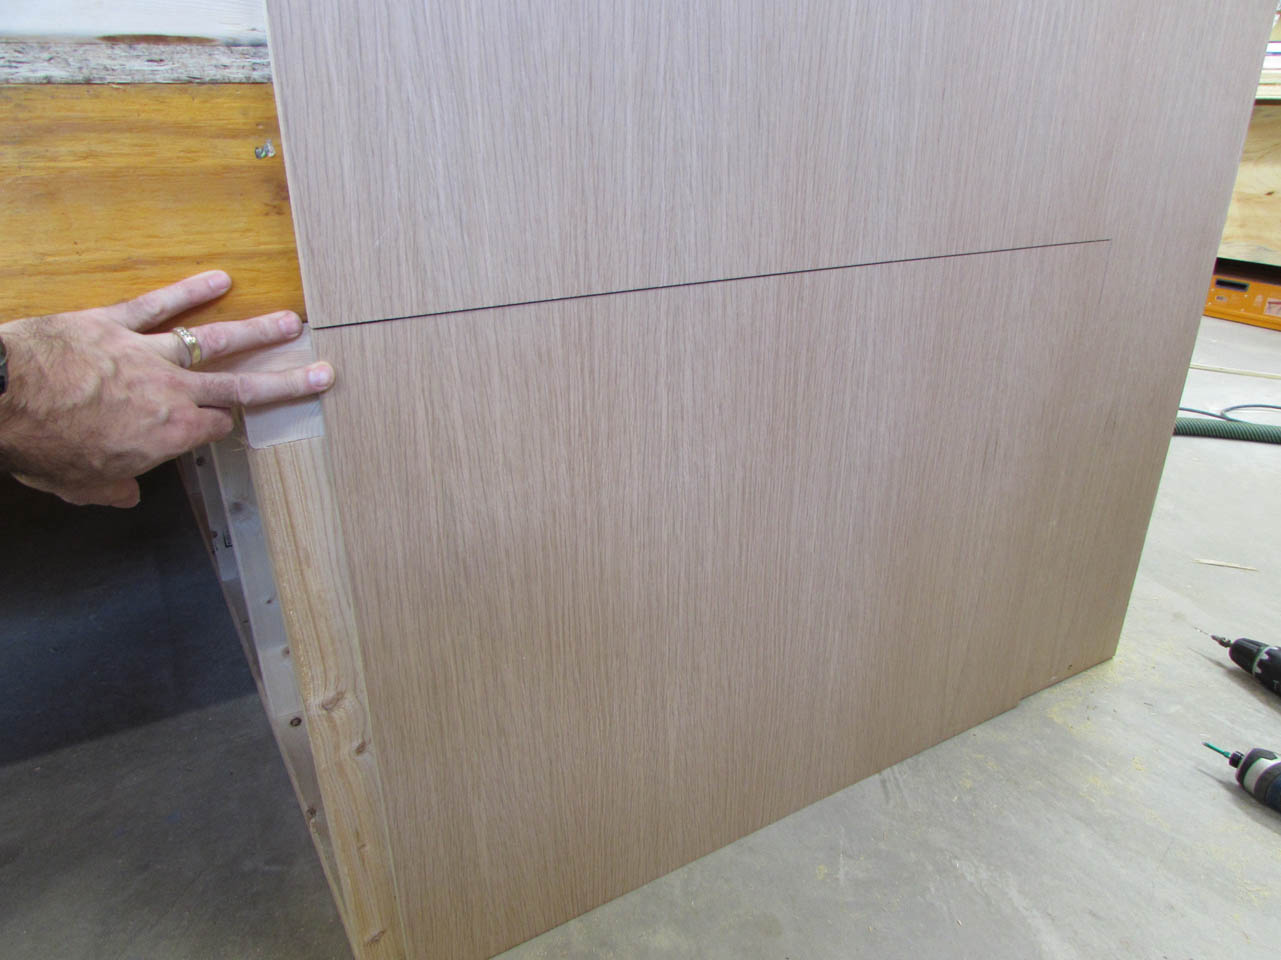
I use clamps to hold the panel in place while I try to find the perfect alignment.

When I was happy with the fit, I placed a screw at the bottom as well.
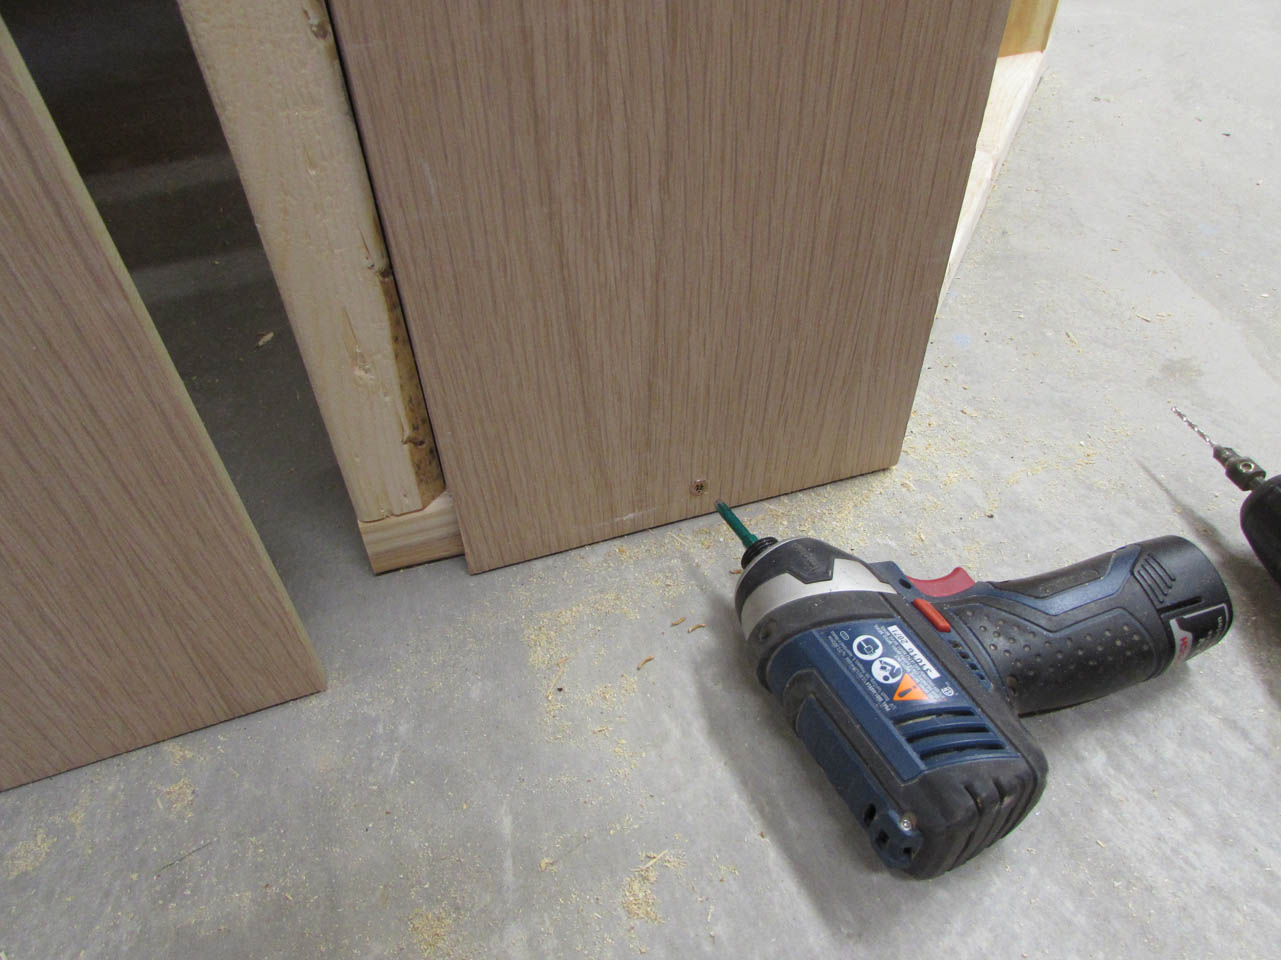
This helps me find the location again at installation. The screw hole will be covered later with base trim so it won’t be visible.

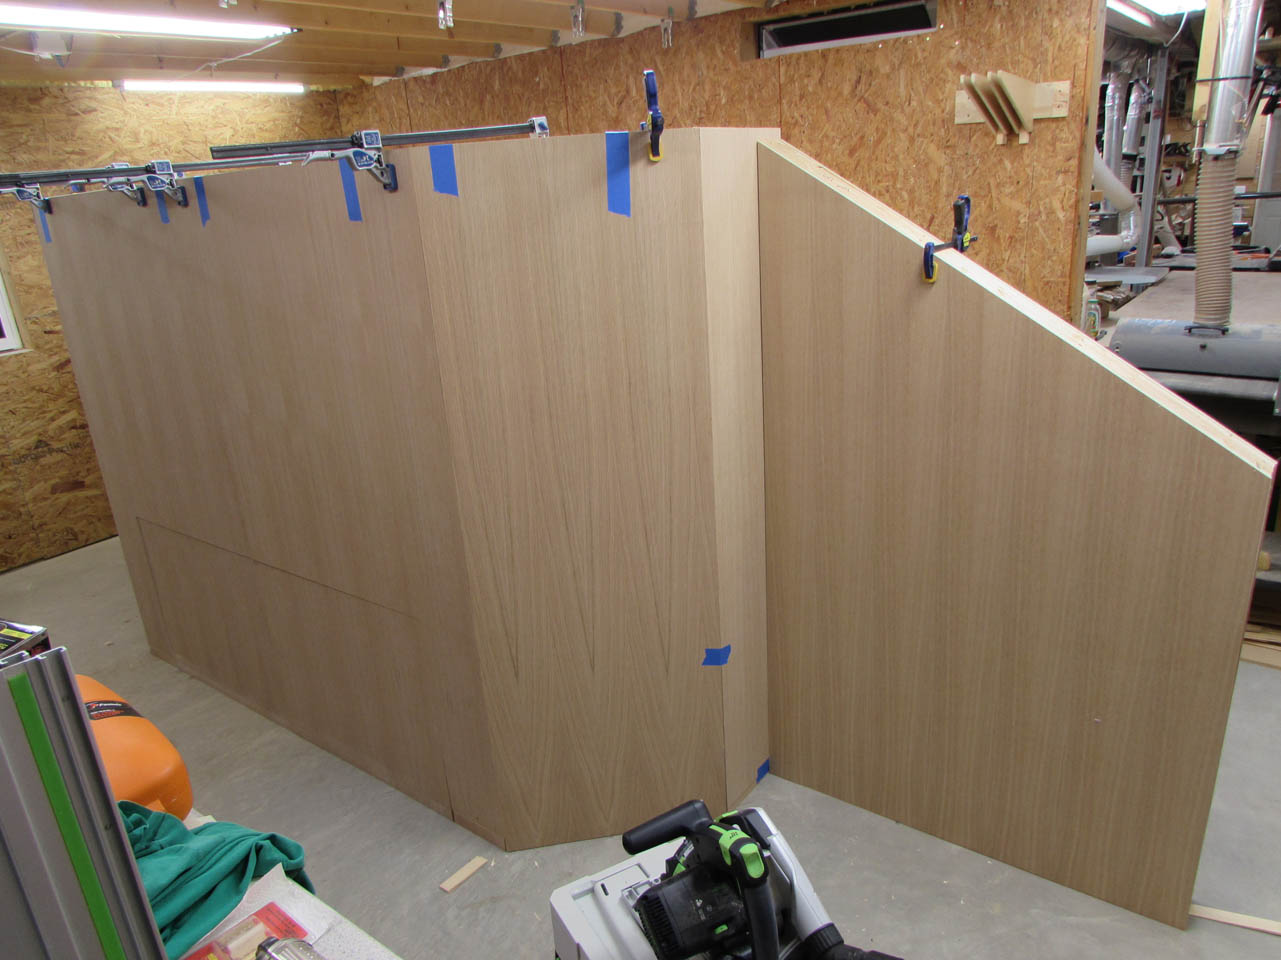
I double check the alignment of the 22.5° edge with the corners before setting the second panel next to it.

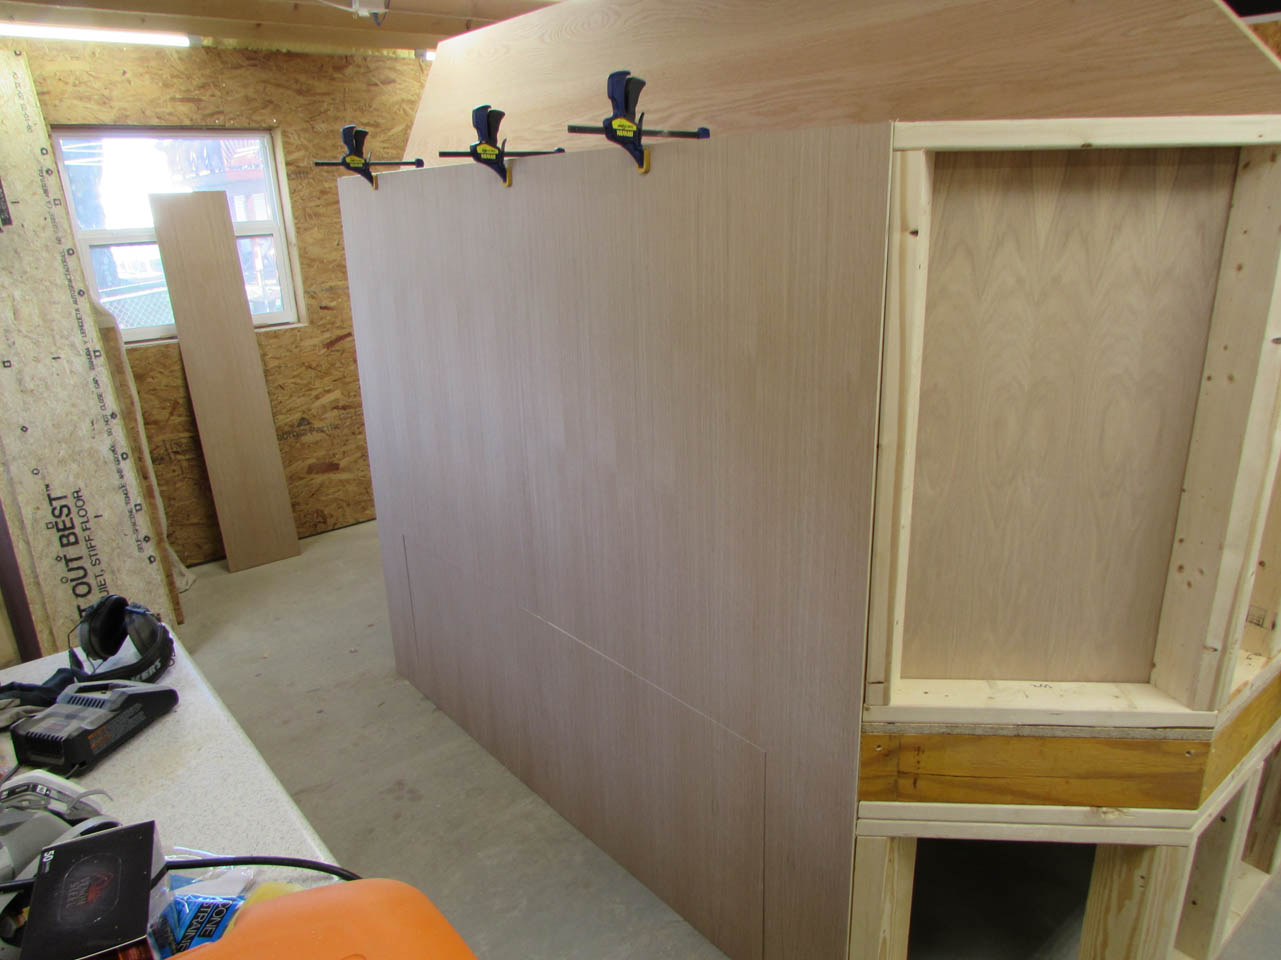
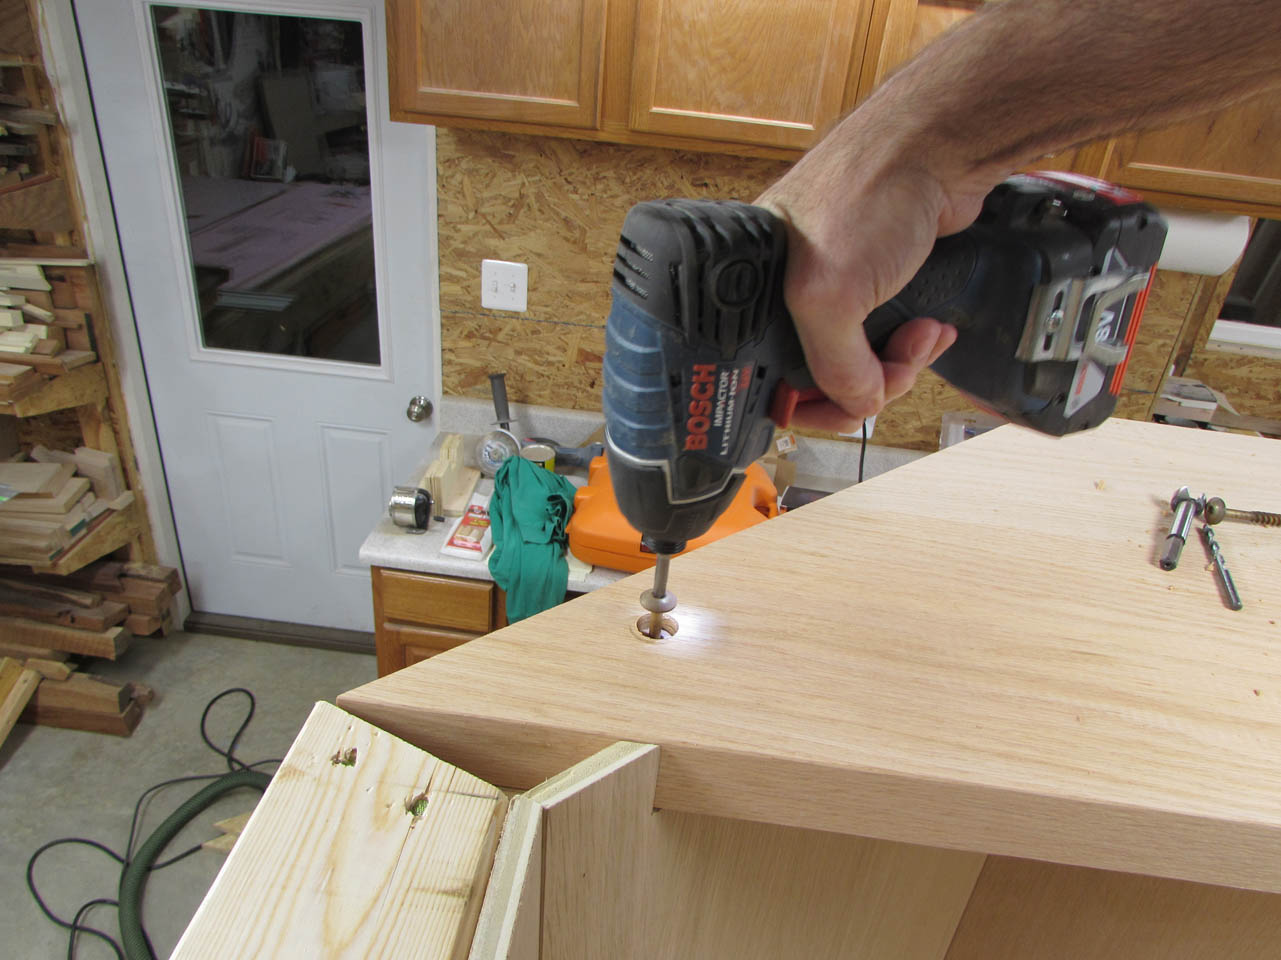
I decided to bolt down the shelf at the top so that I could make sure it wouldn’t be in the way of the panel installation.
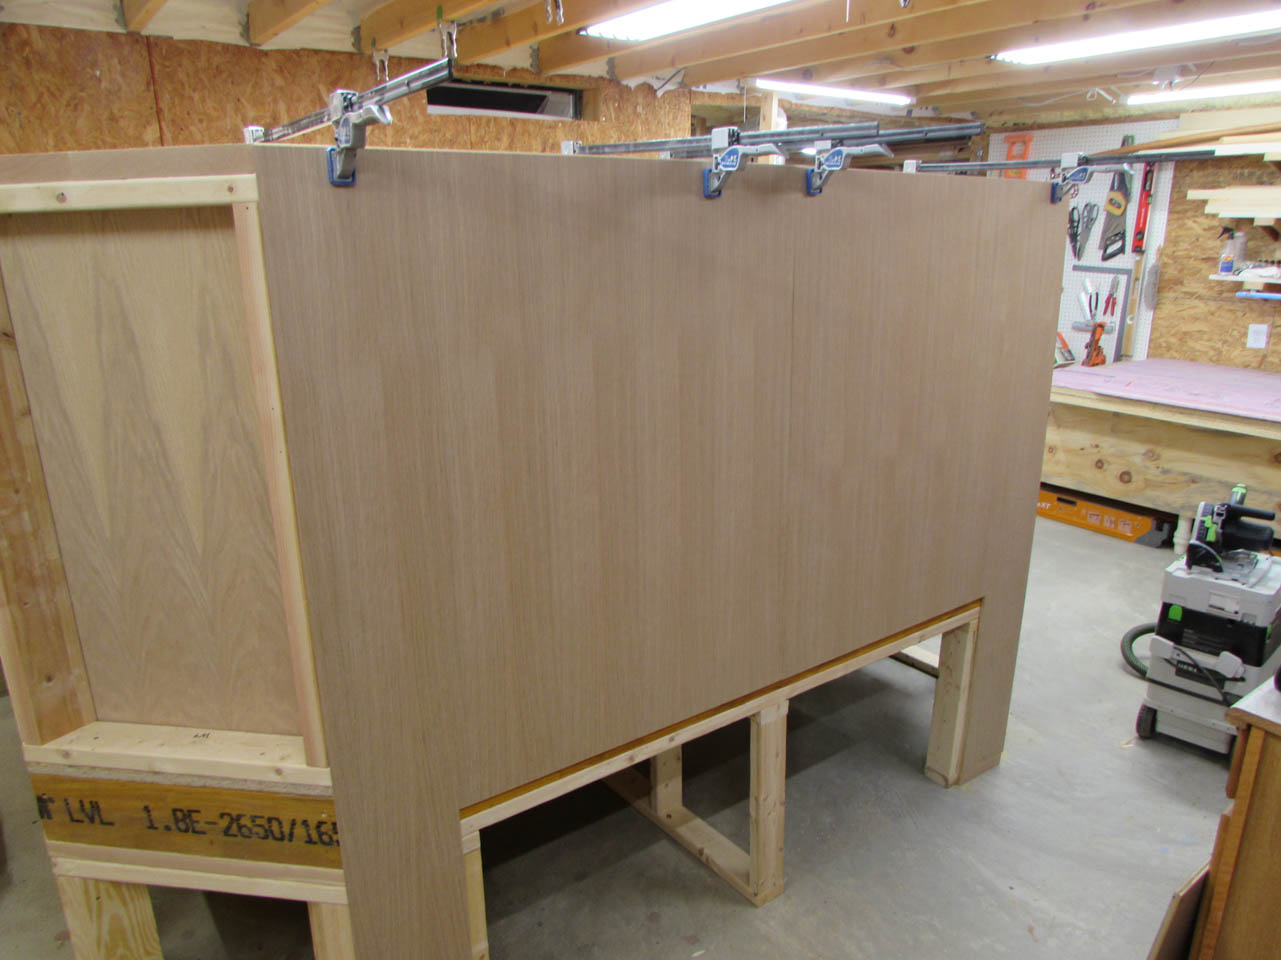
I re-clamped the rear panels to the shelf to hold them in place.
Next, I cut and placed the next two panels on each side.


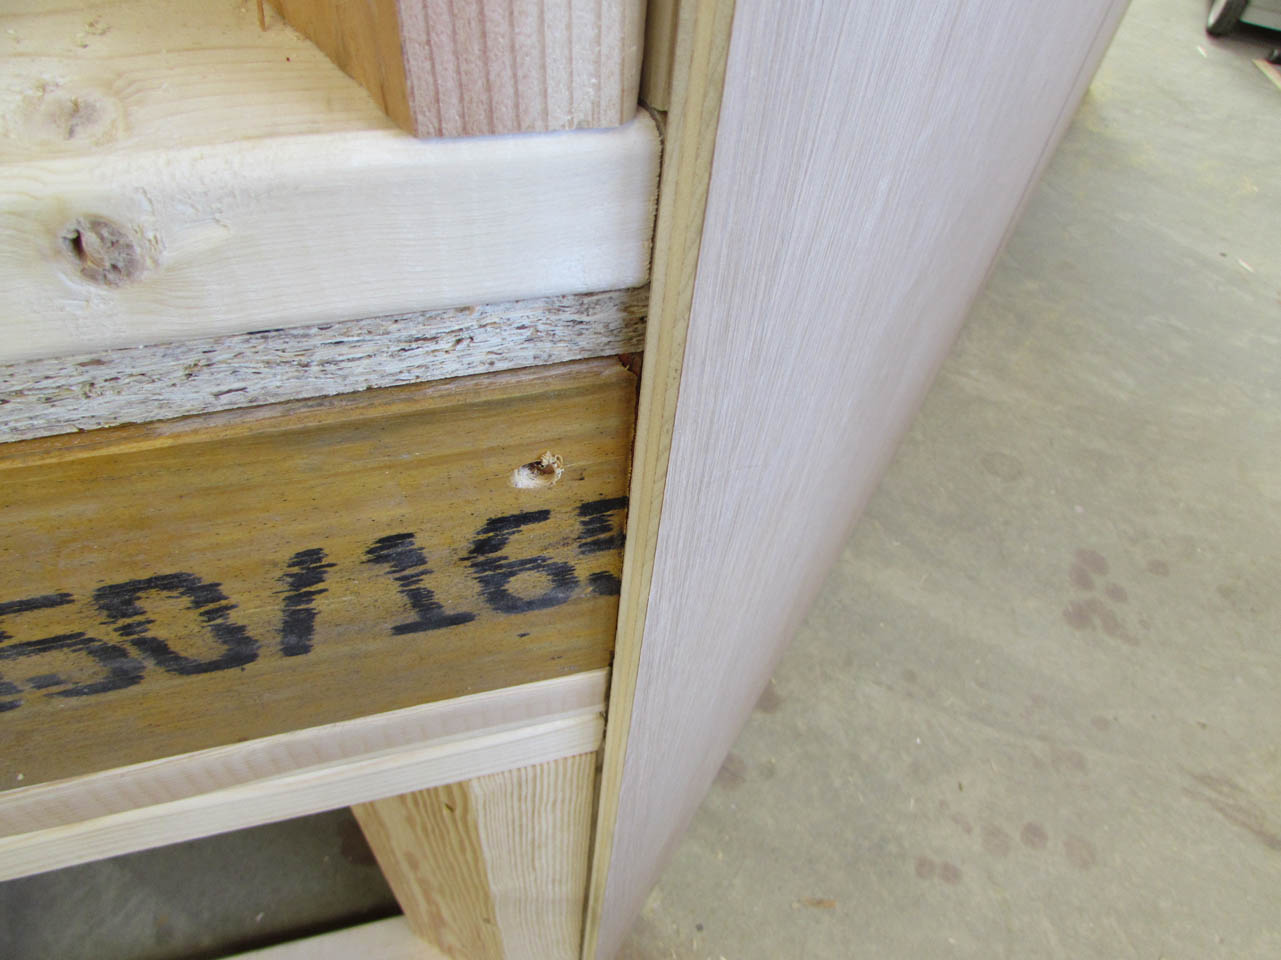
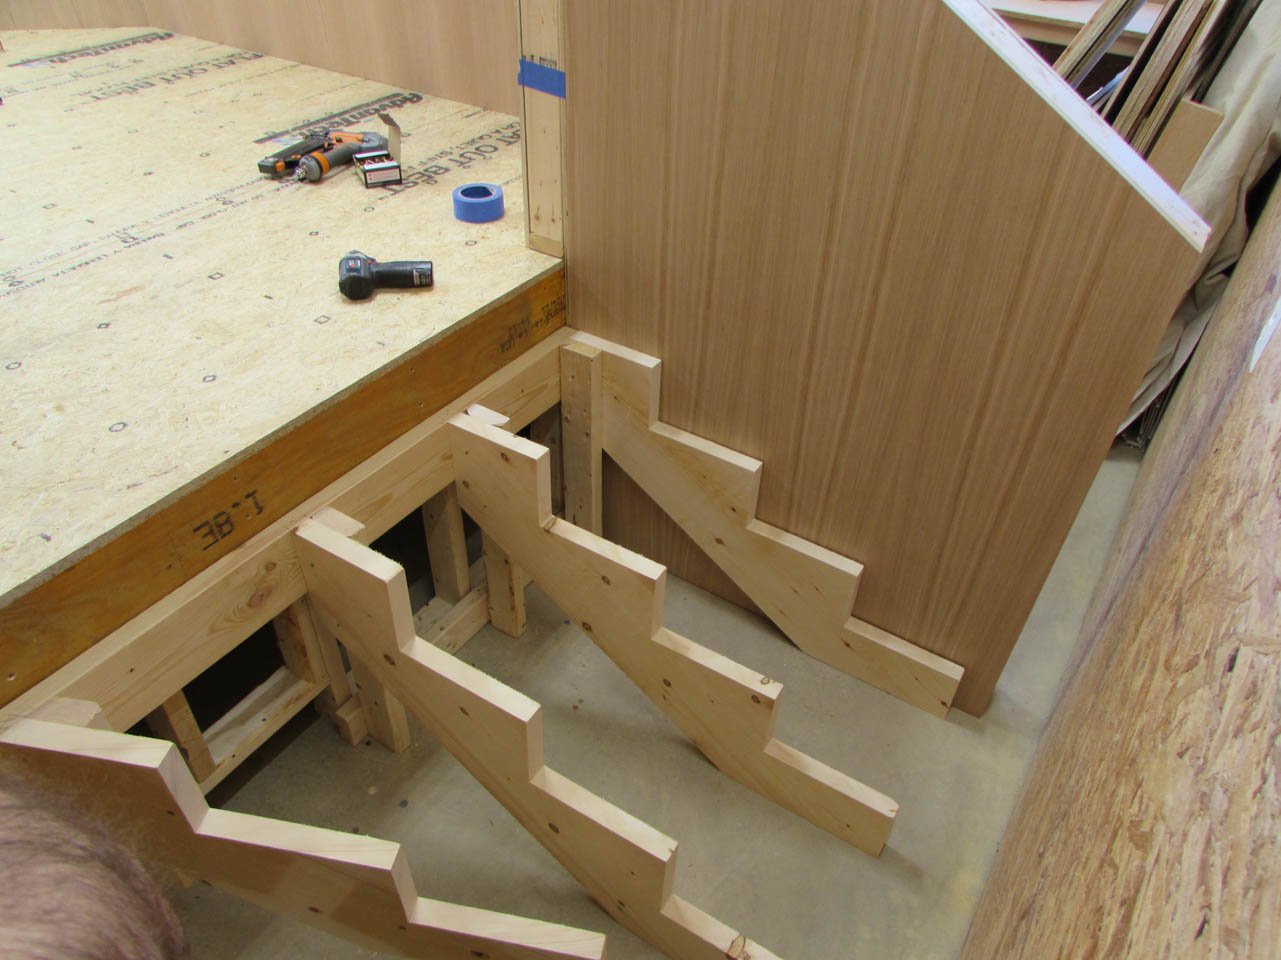
I can now clamp the stair wall in place and get dimensions for the plywood panels that attach to it.
With the panel cut, I can glue and nail the inner one in place.
I can screw it to the main walls now to temporarily hold it in place so I can install the stairs.


I repeated the process on the opposite side, then made the rear facing panels and clamped them in place.

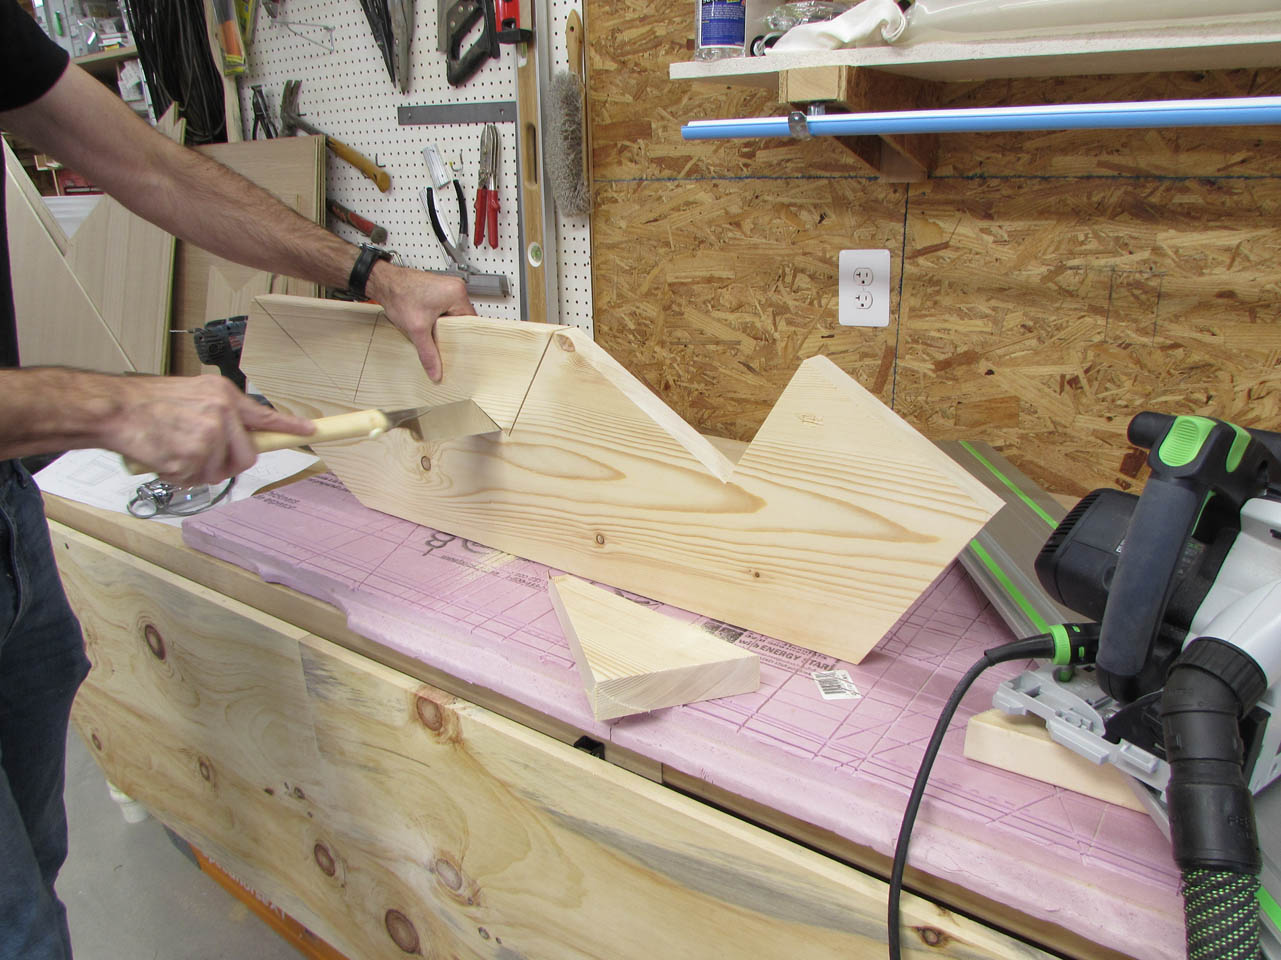
With the plywood cut, I can move on to laying out my stair stringers.
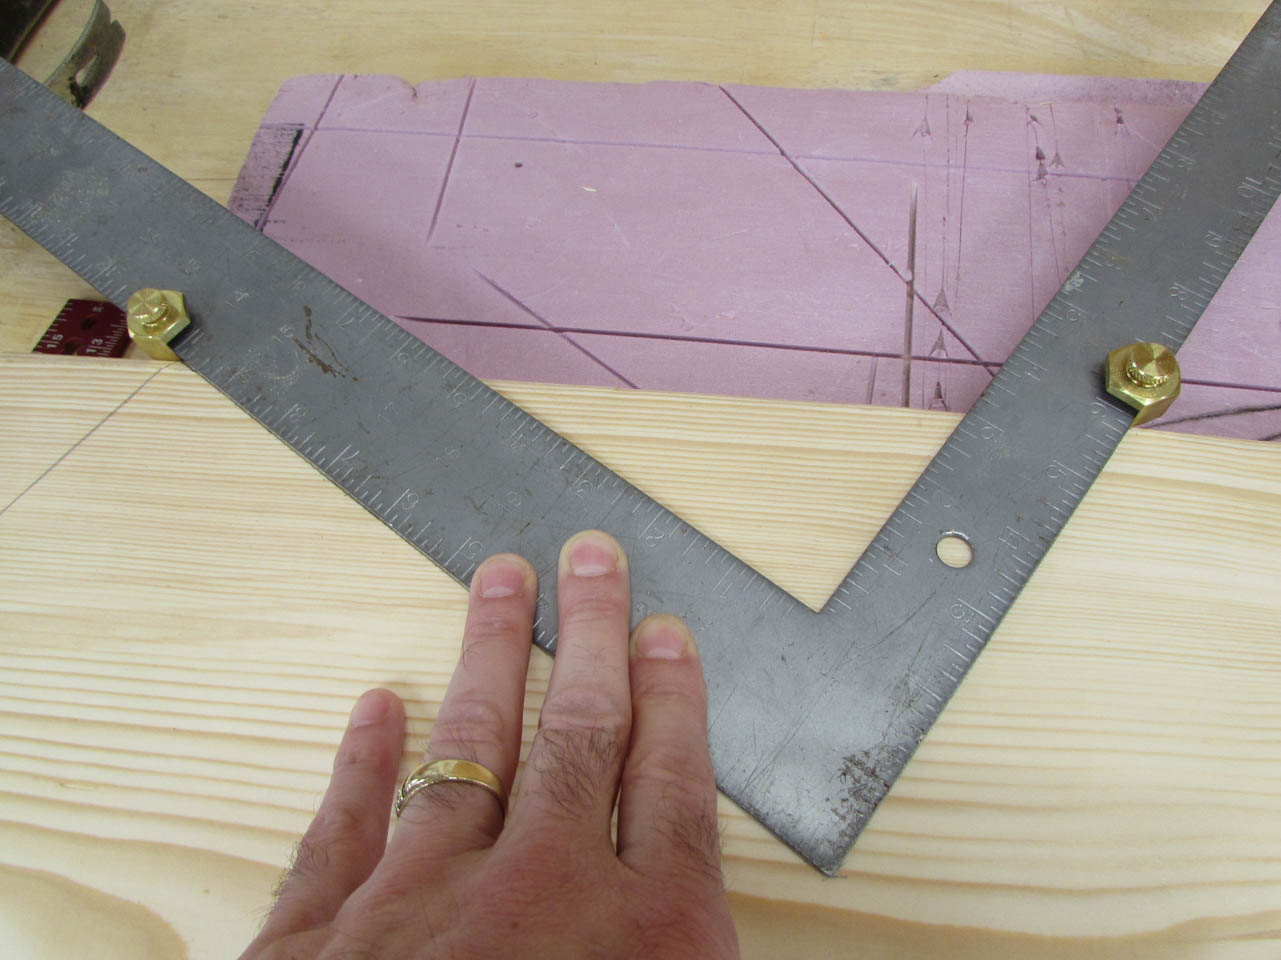
I have two different size stringers so I laid out one of each on a 2″x12″.

Then I used my track saw to carefully cut out each stair notch.

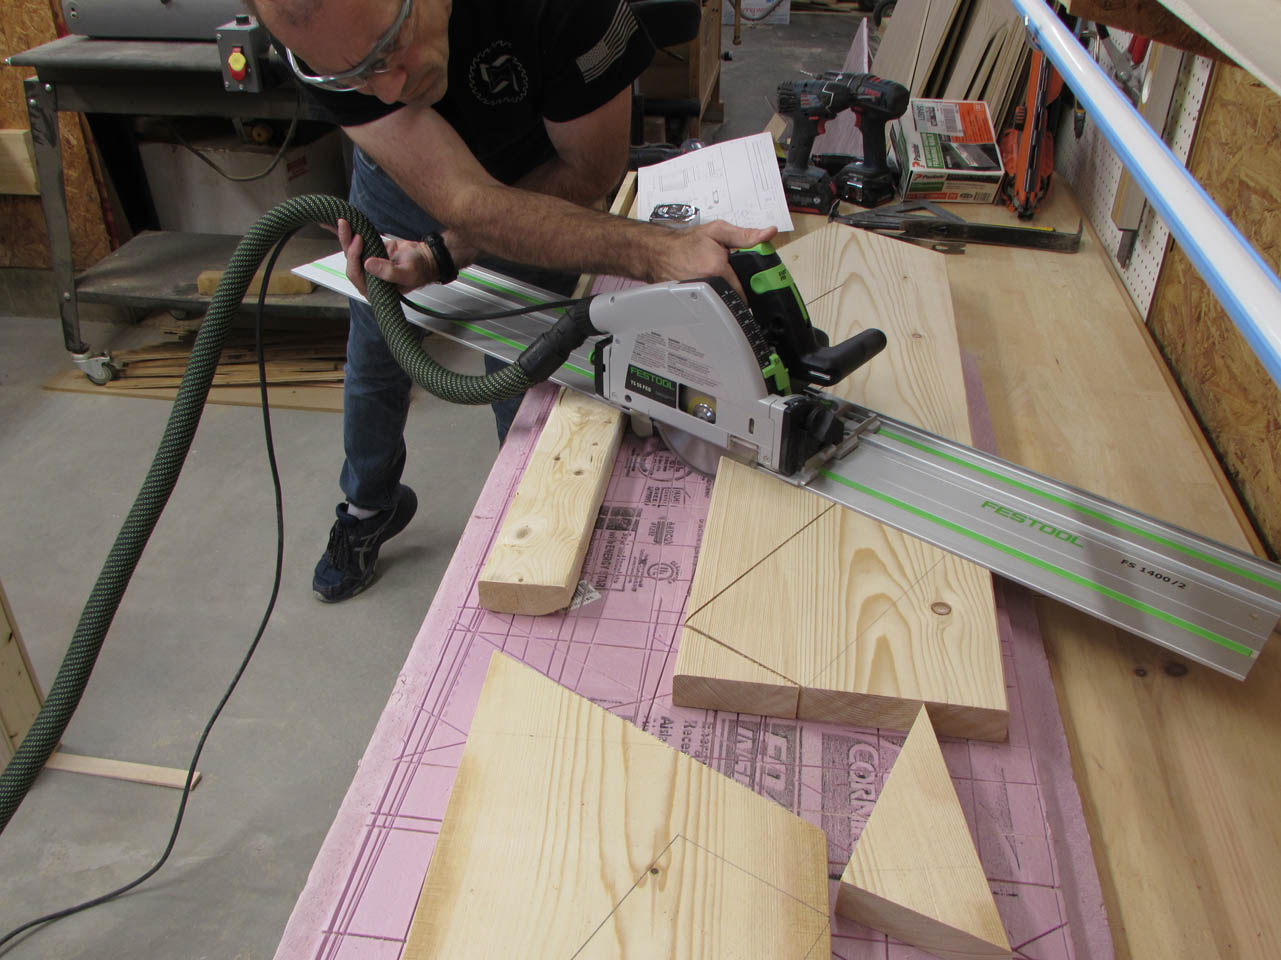
Once again, I used the hand saw to remove the last bit of connecting wood.

Both stringers are cut out so I can use them for patterns for the rest.

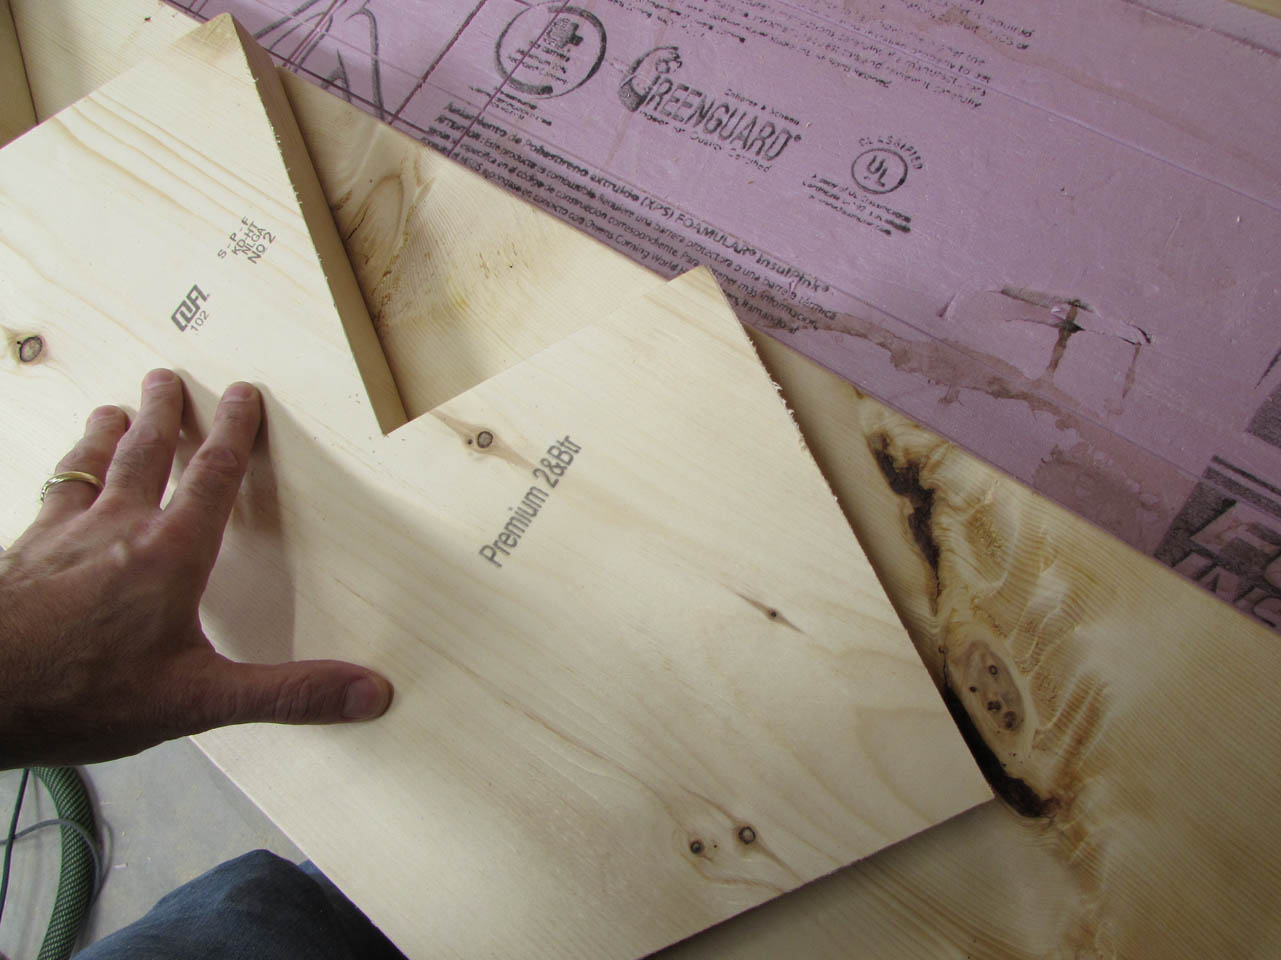
The nice thing about having patterns is that you can move them easily to avoid the knots.
Once I find a good location, I trace the pattern with a pencil.

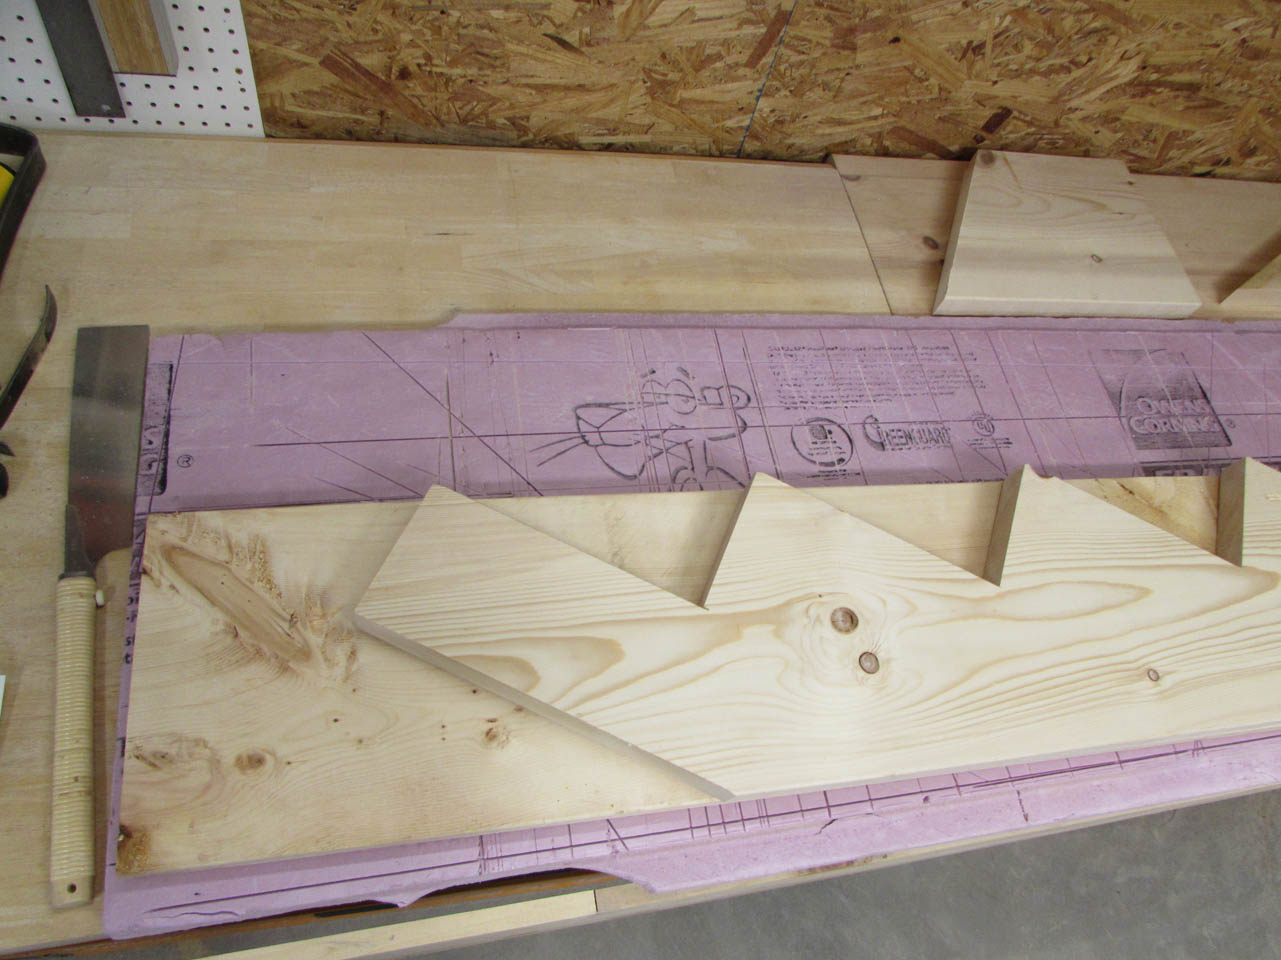
The track saw is a little awkward to get used to but it makes very precise cuts. I don’t think I have ever made six identical stringers before…


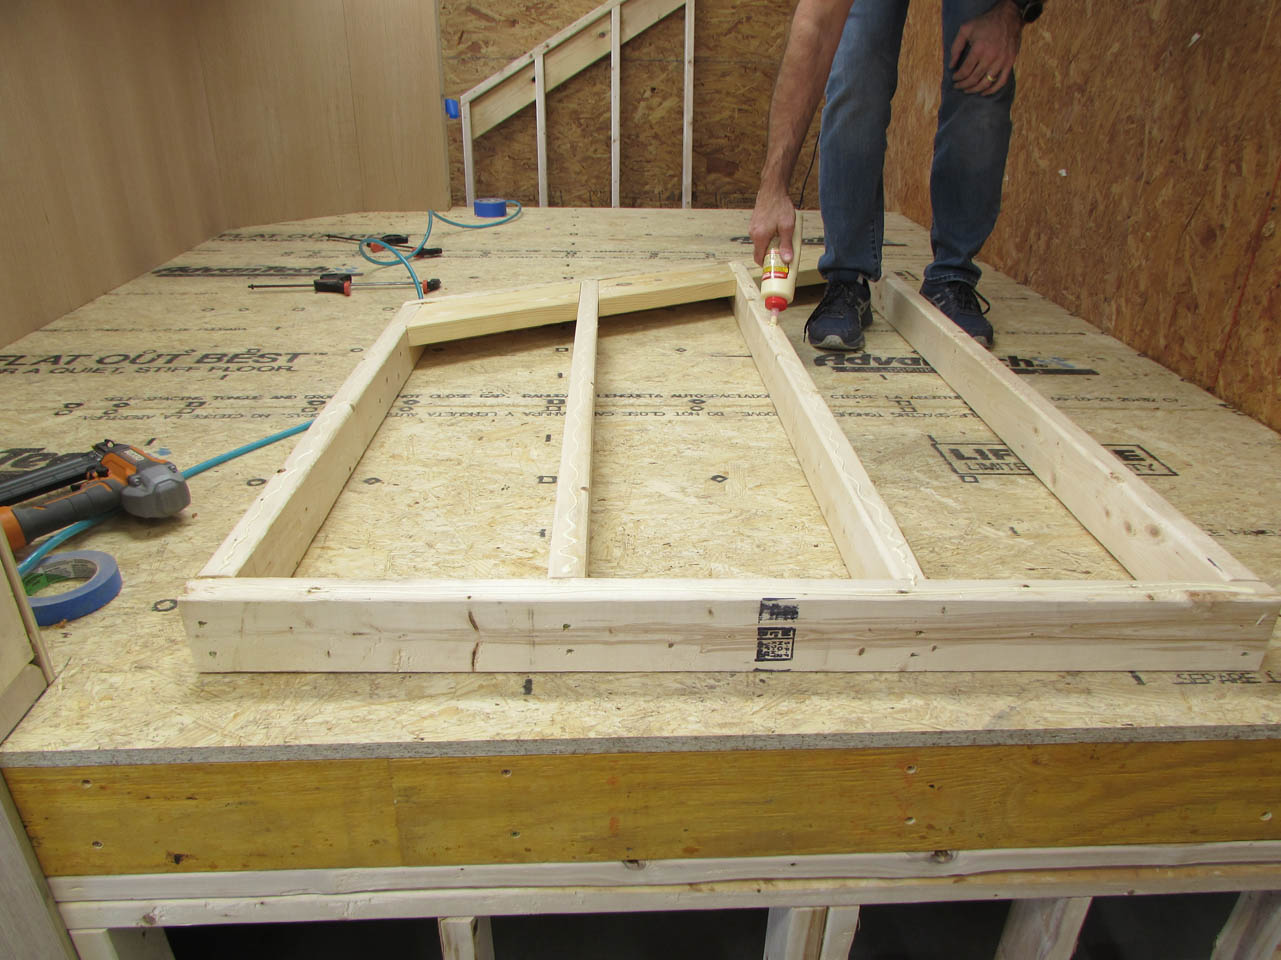
With the stringers created, I can move on to building the support structure with the remaining framing material.
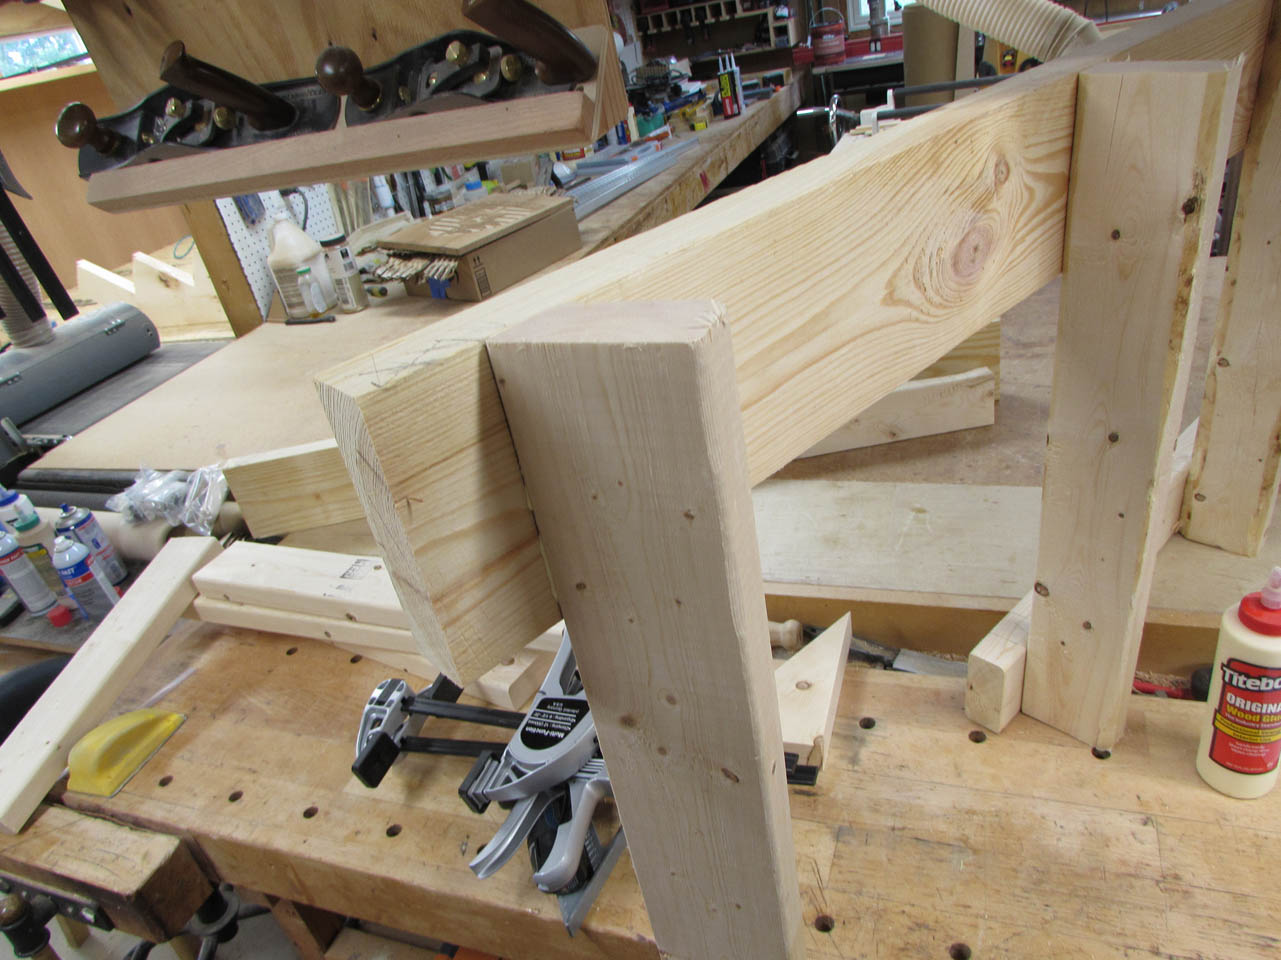

I line up the stringers and attach them to the support frame with framing nails.

I block up the short stringer and use a 4′ level to make sure all of the stringers align.
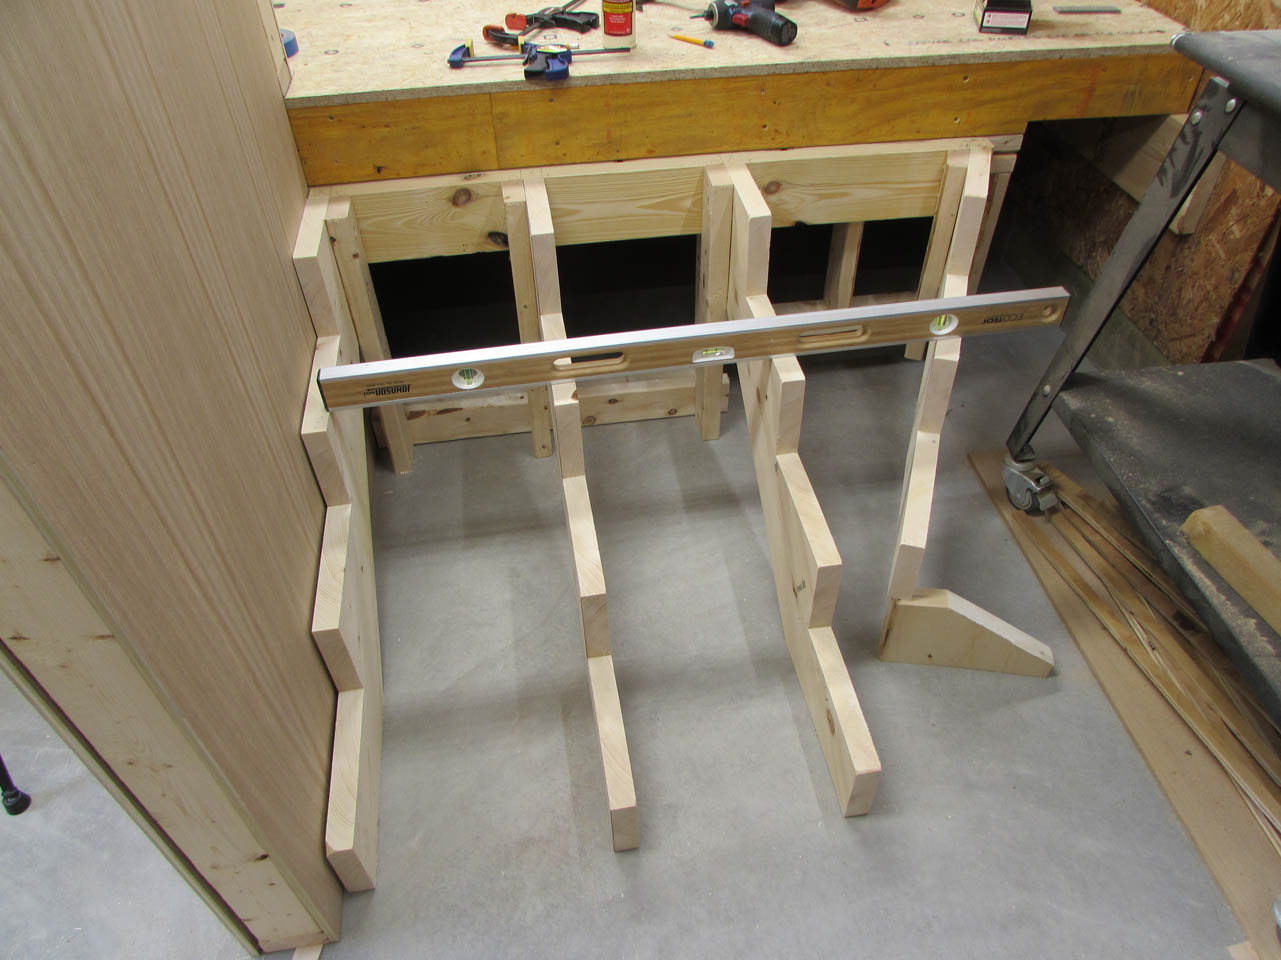

Then I built the opposite one and attached them both in place with screws.

The stringers look good, now it is time to make the maple treads for the stairs.
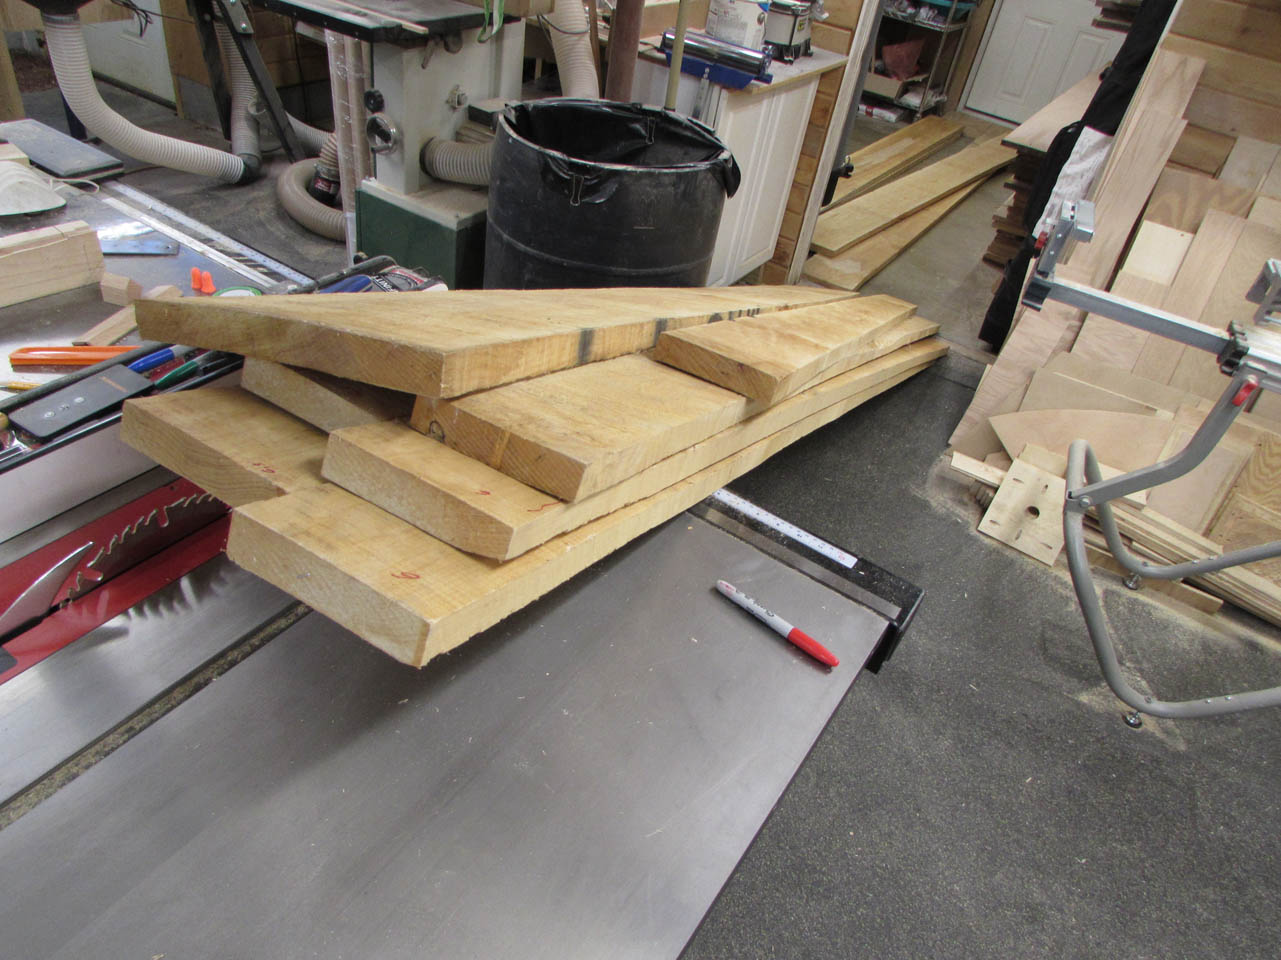

This will involve a lot of cutting and milling.
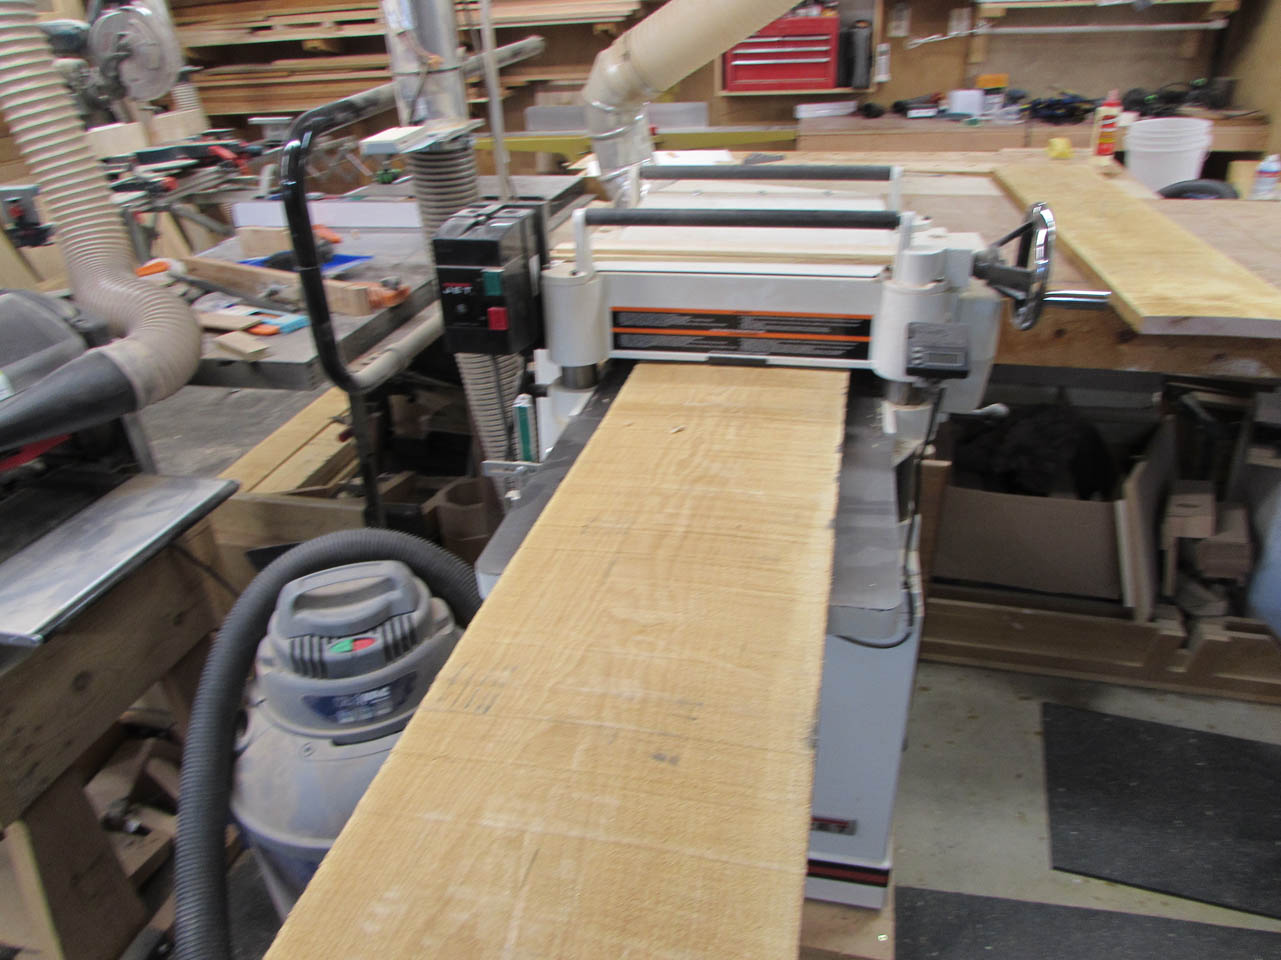
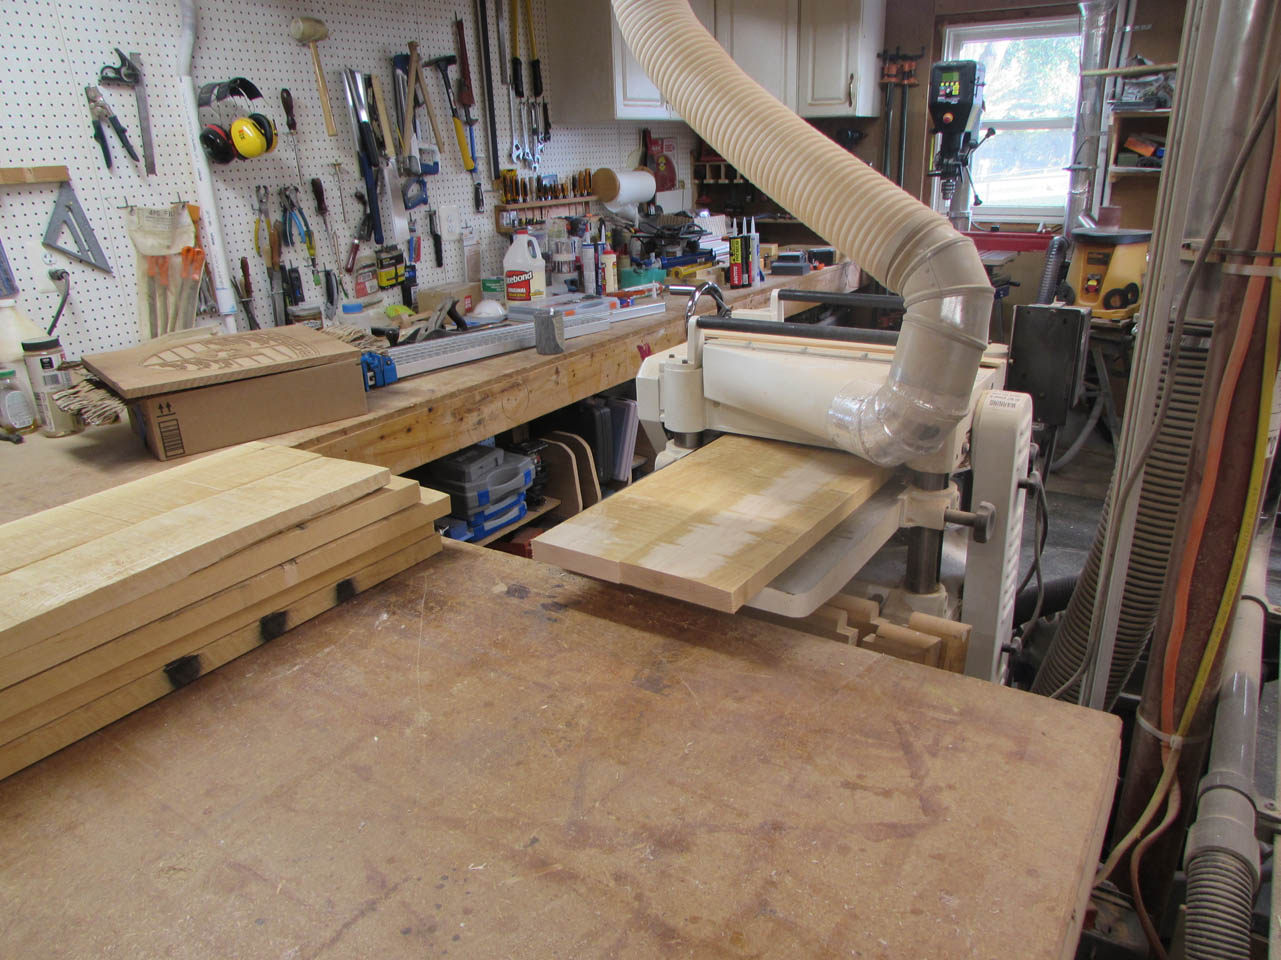
I have one 11″ wide board that will work for the two top stringers. After just one pass on the planer, you can see the clean, white maple below.

Another pass or two and it looks fantastic.


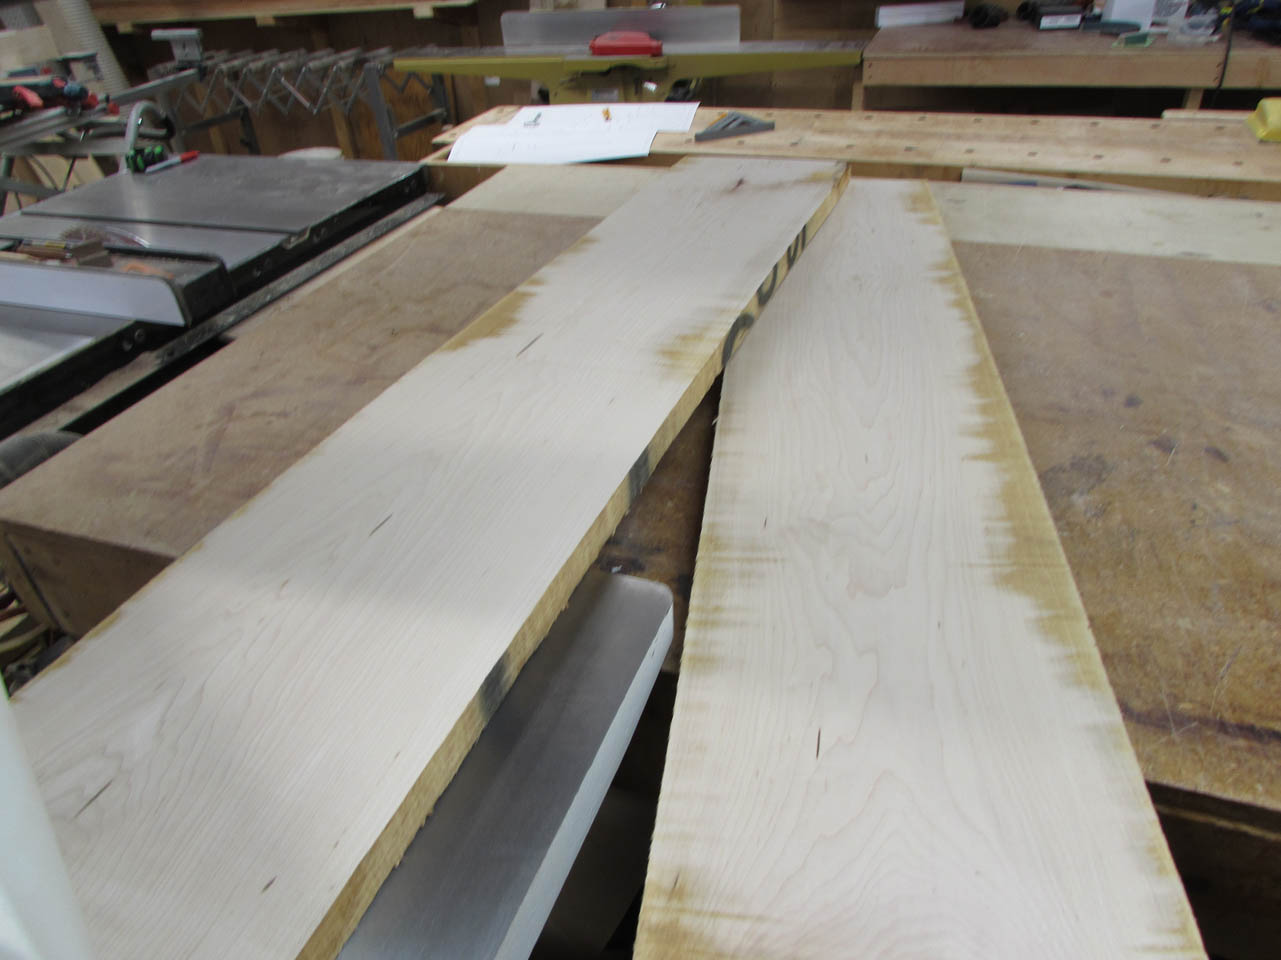
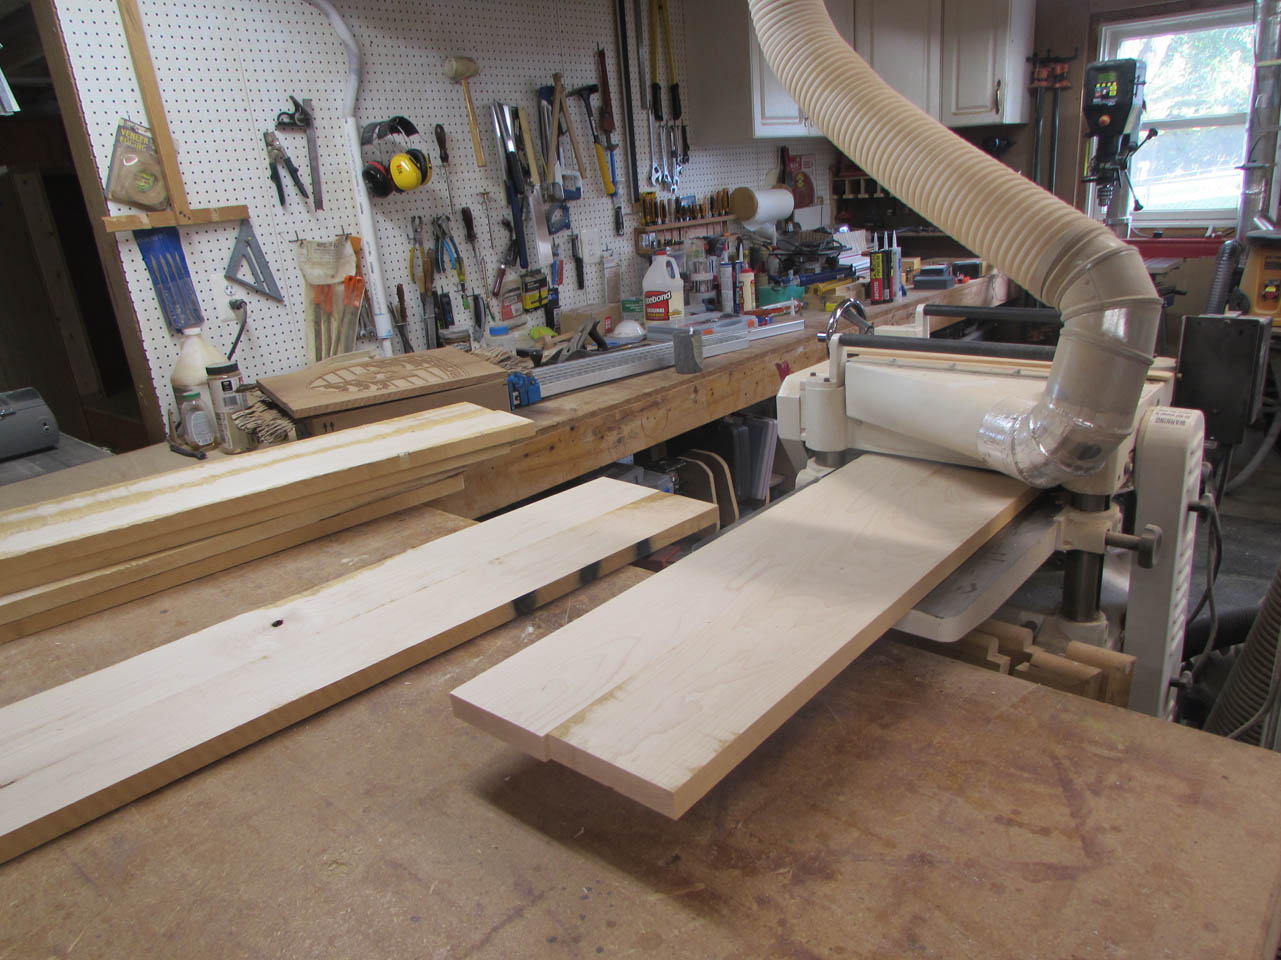
Next, I joint one side, then cut the opposite side parallel. These two are ready for a bullnose on the edge.

The rest of the boards are half the width so they also get jointed on one face and one edge.


I only get a few of the boards milled down before my new light goes off in the doorway. I installed it with the new dust collector to warn me when the dust bin is full.

Here is my first 35 gallons of dust in my new dust collector.
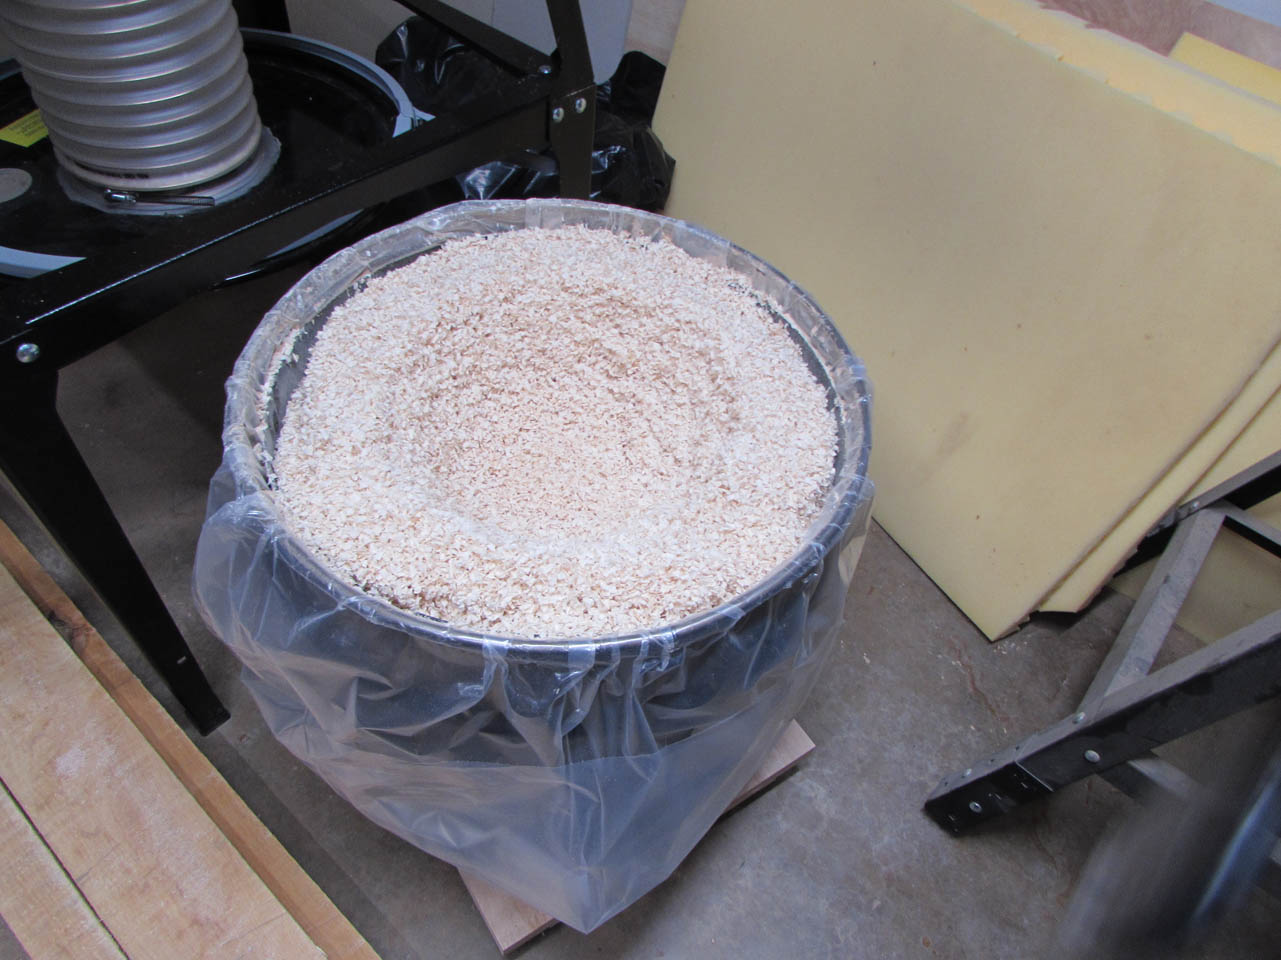
I bag it up for a local farmer and get back to work.
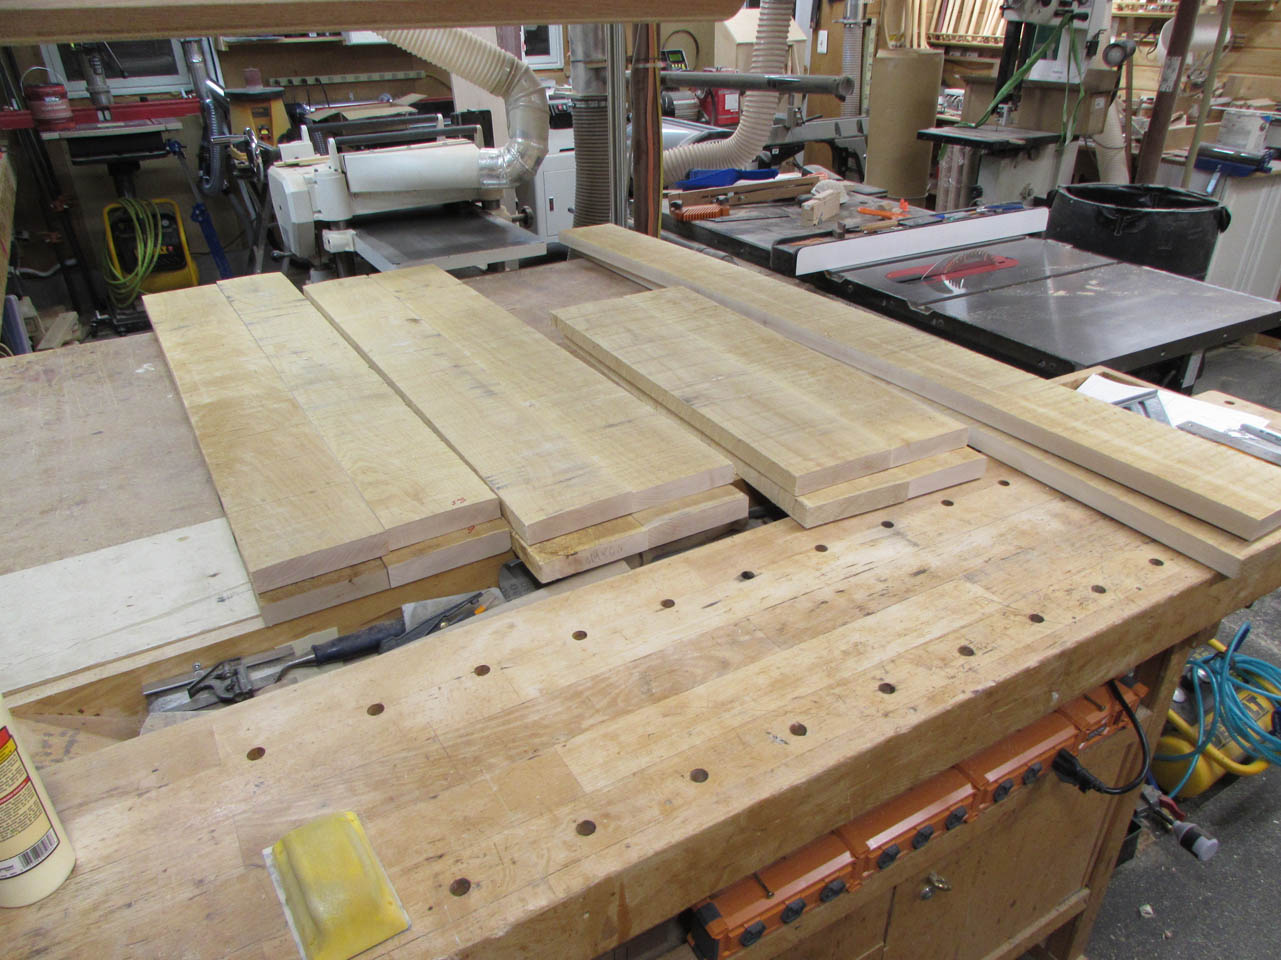
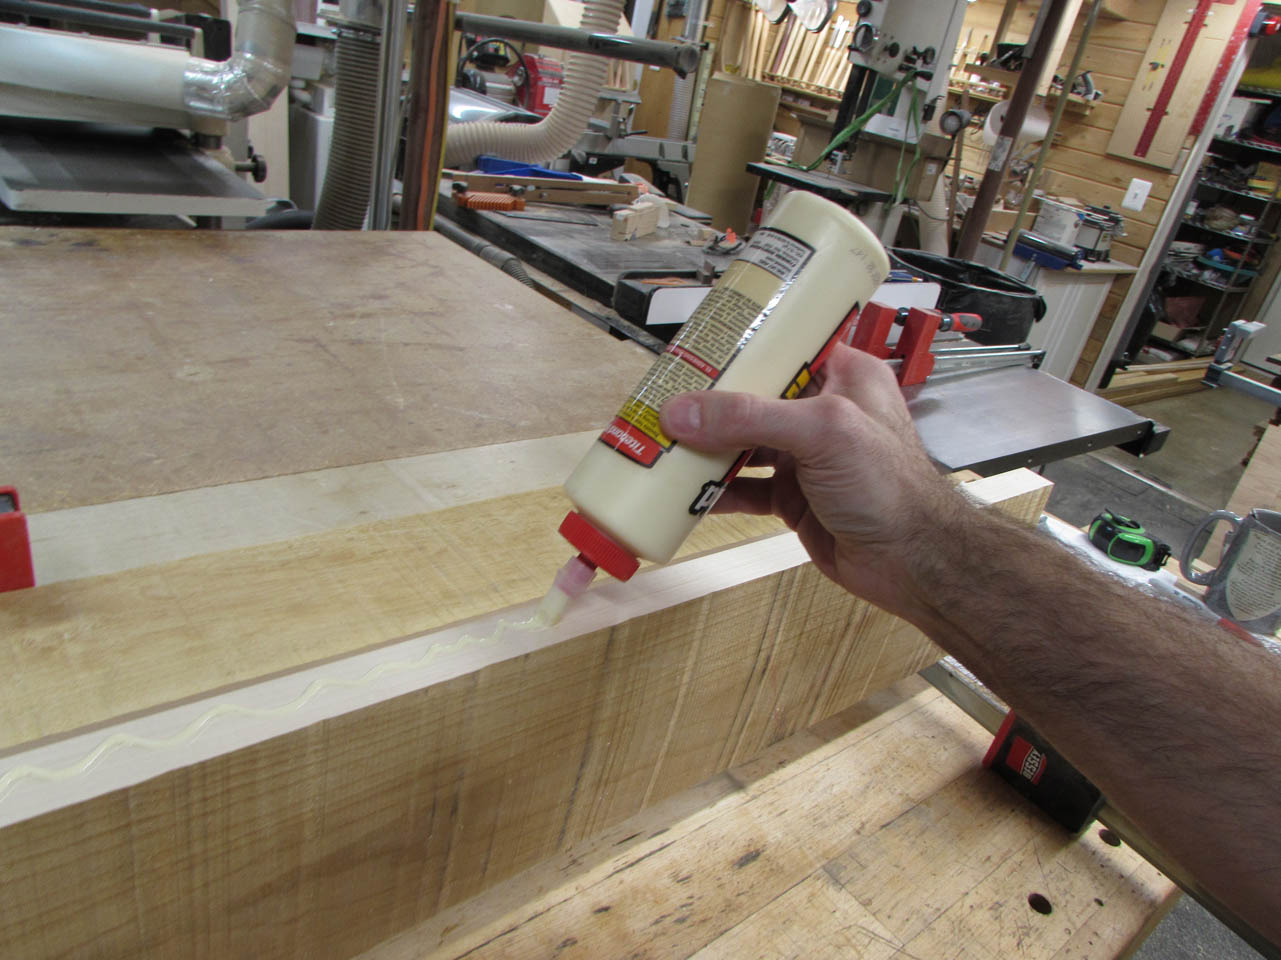
All of the panels need a thin layer of wood glue spread onto the joint.

Then they are clamped together.
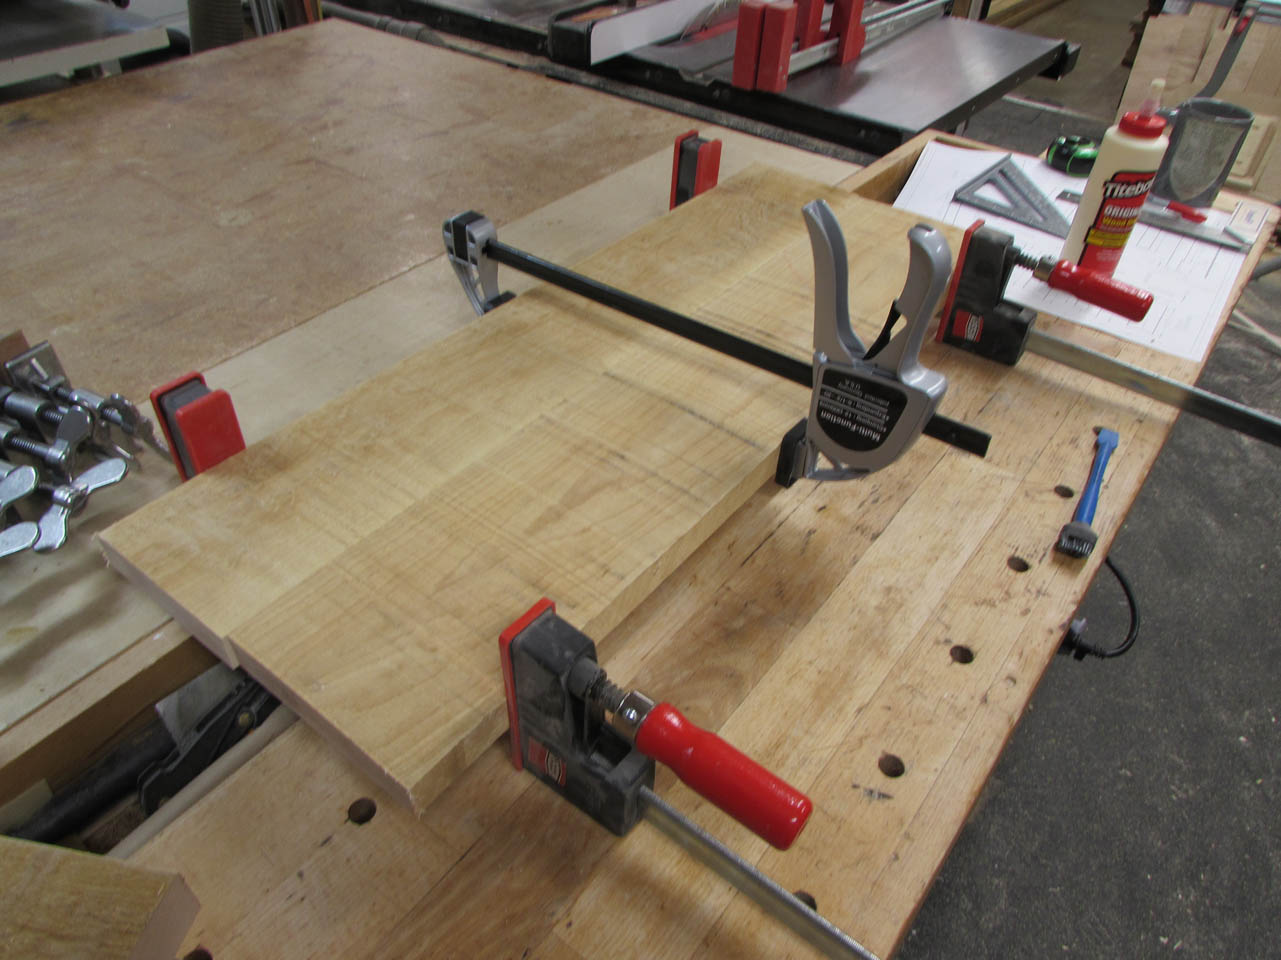
Looks good and flat on the bottom so I set it aside and moved on to the rest.

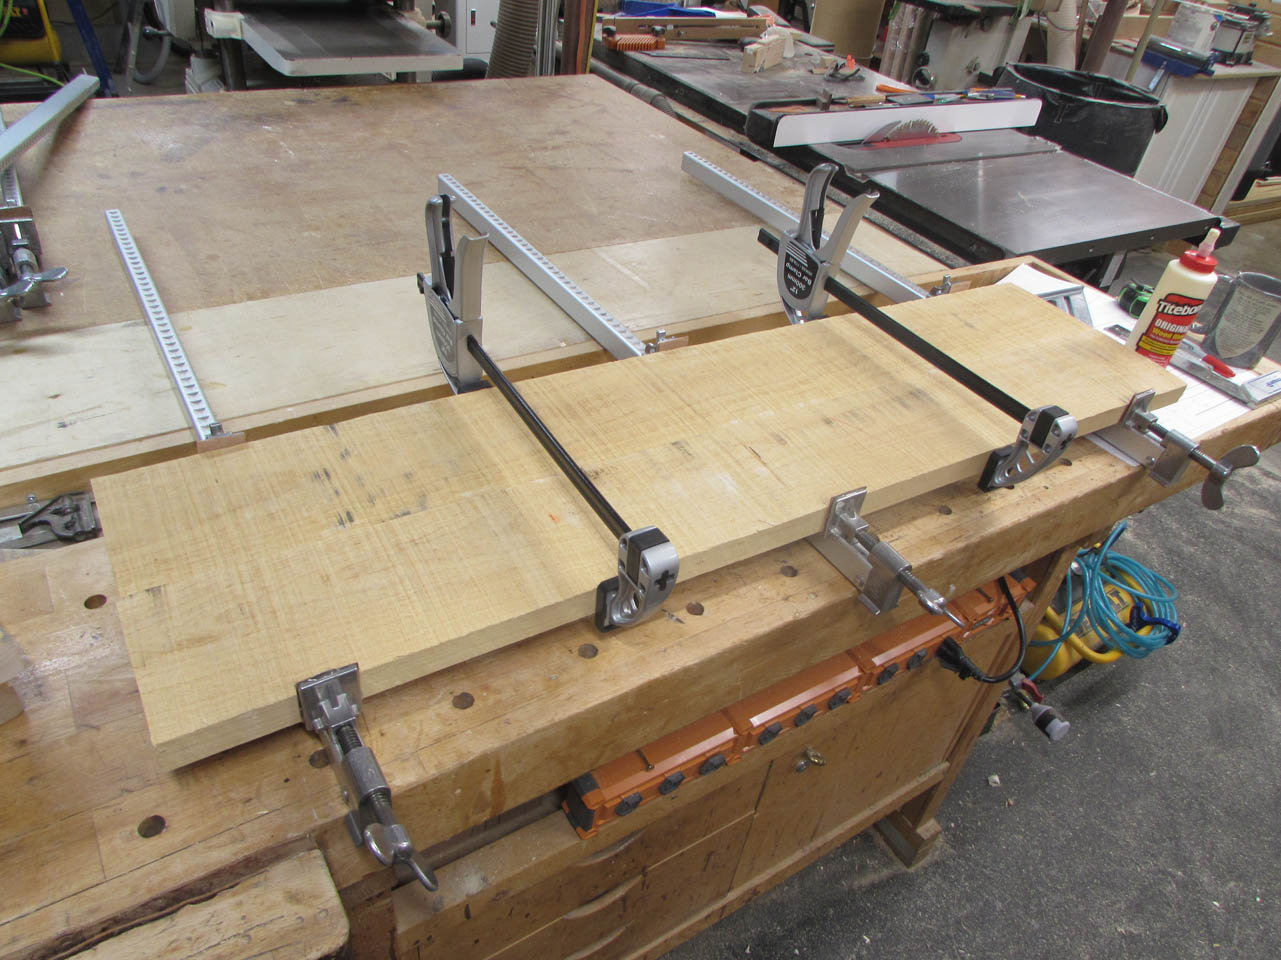
The longer boards required a few more clamps.
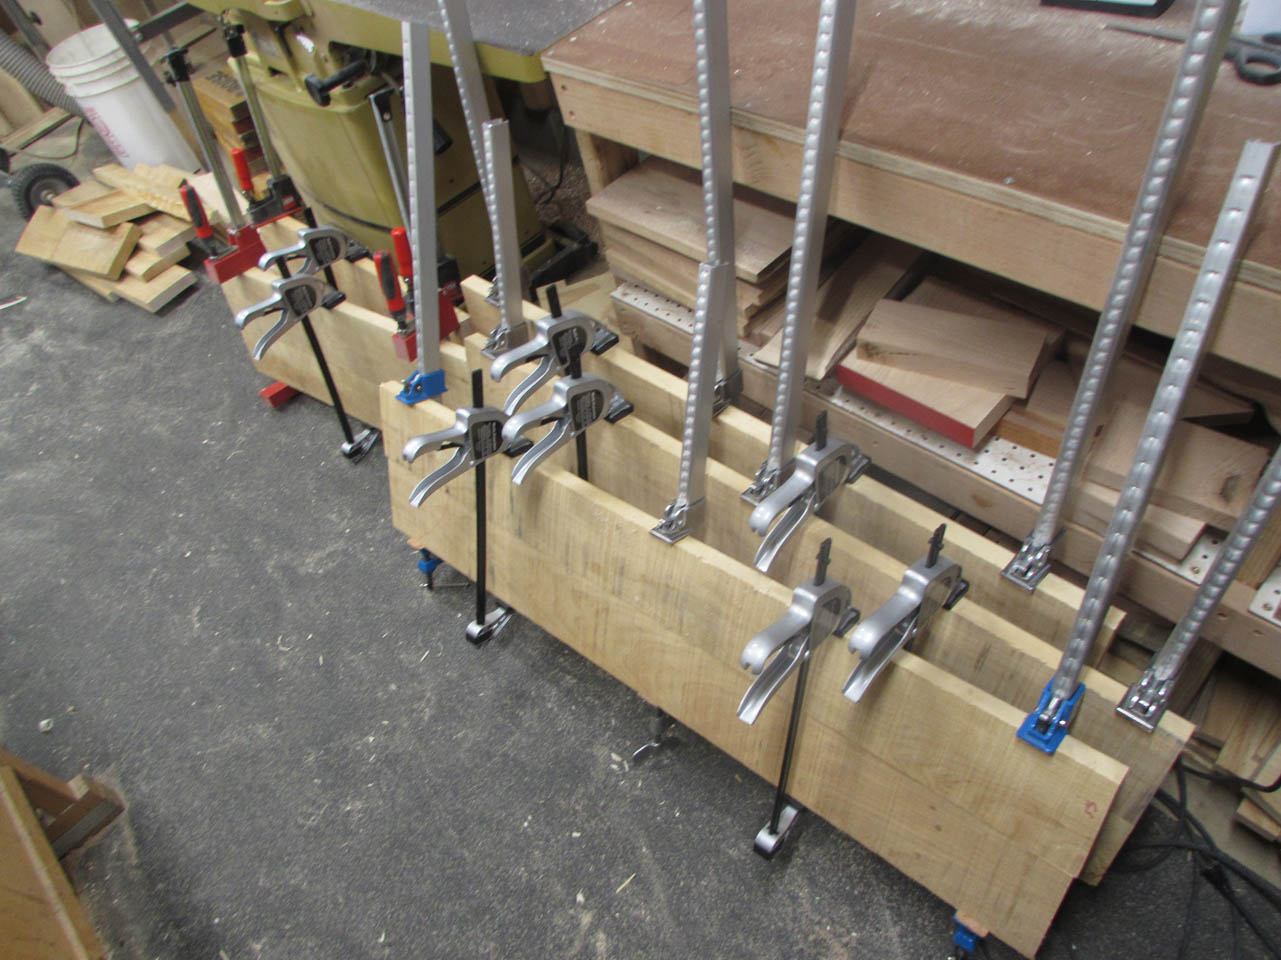
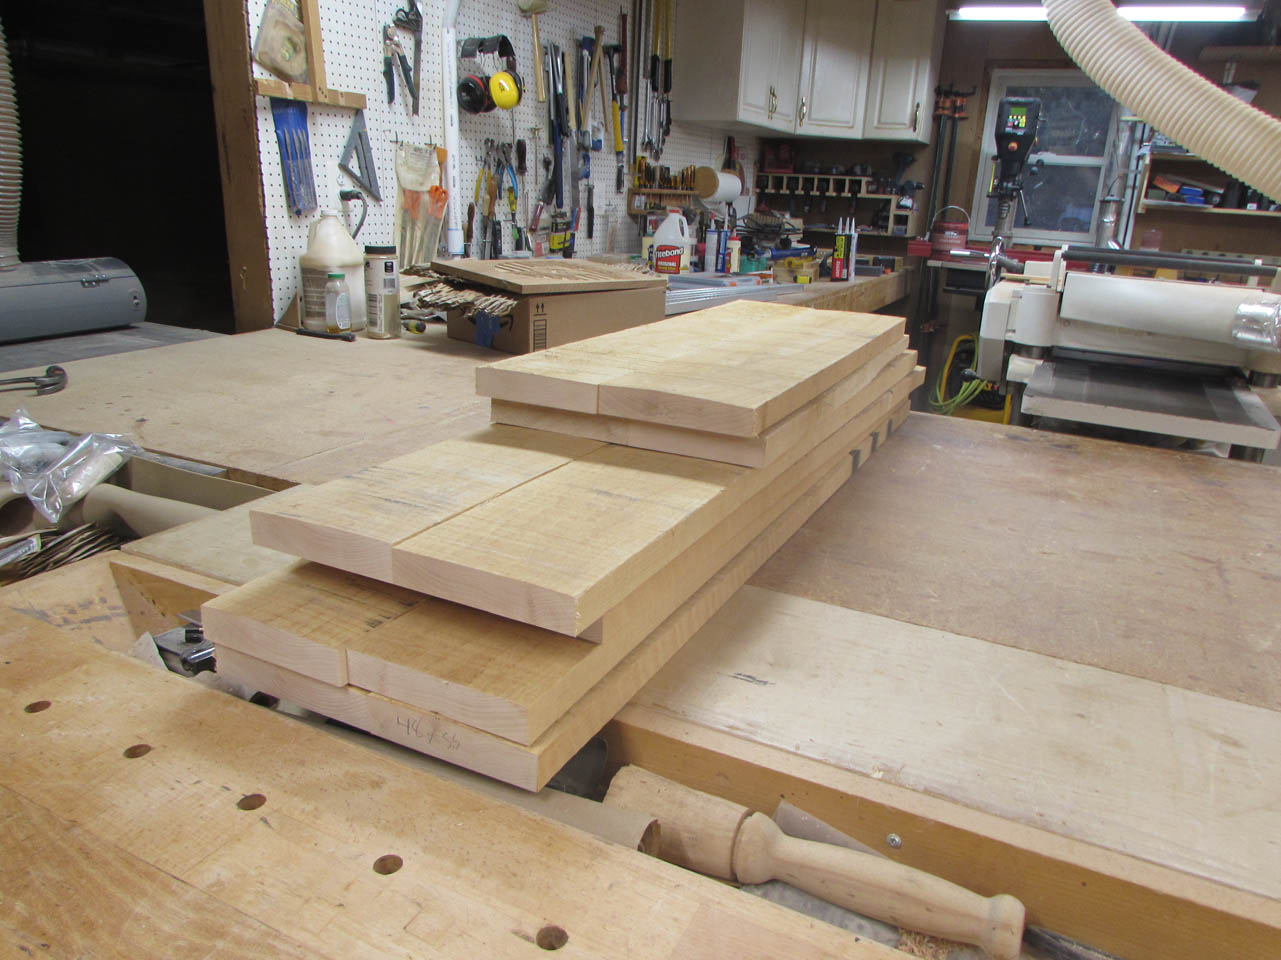
I let them dry overnight and started planing them down, first thing the next day.
Boy do they clean up nice!


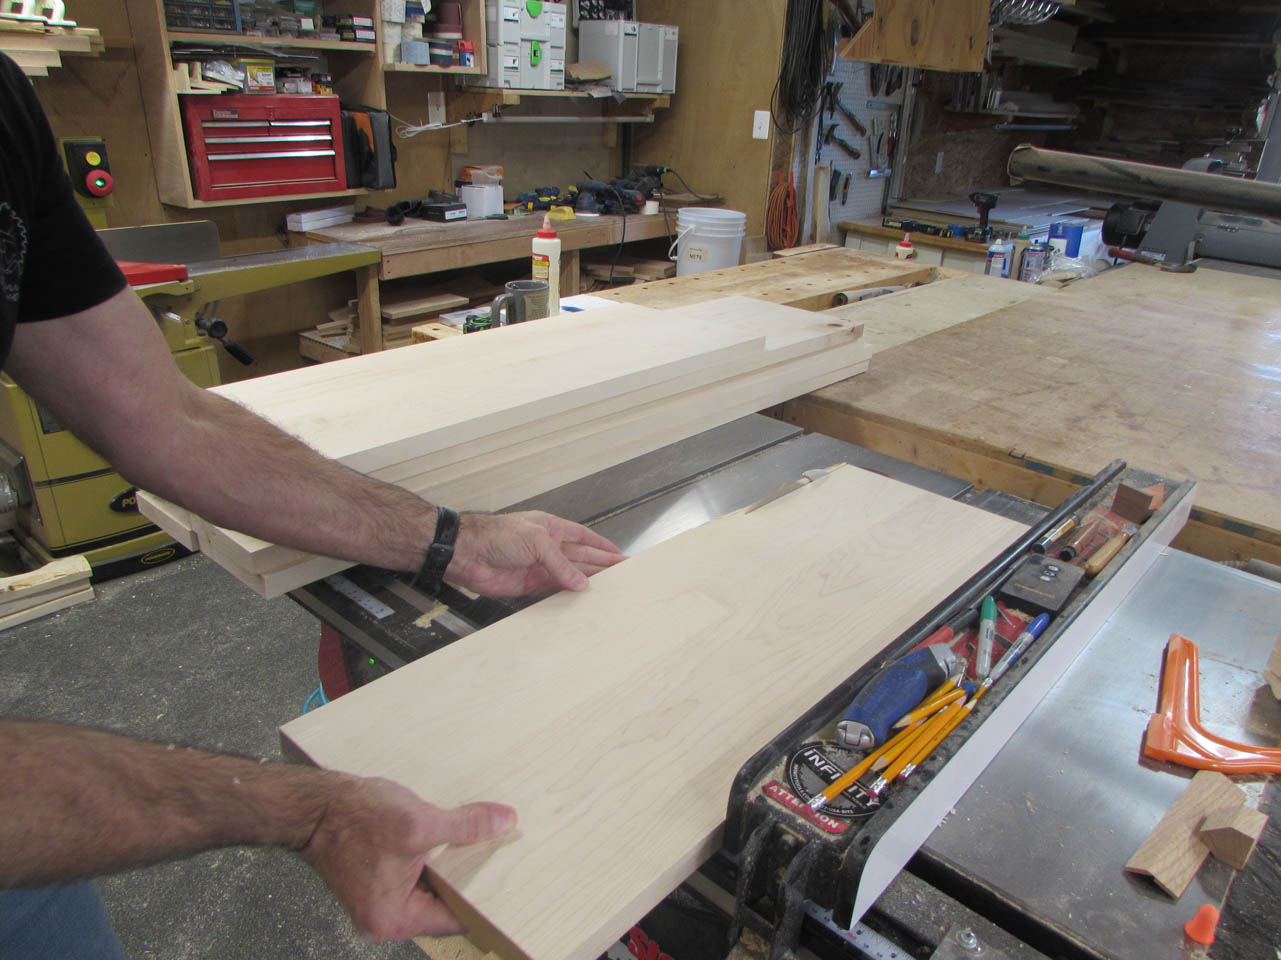
Now all the boards need one edge jointed straight, and the opposite was cut down to the 11″ required for the treads.
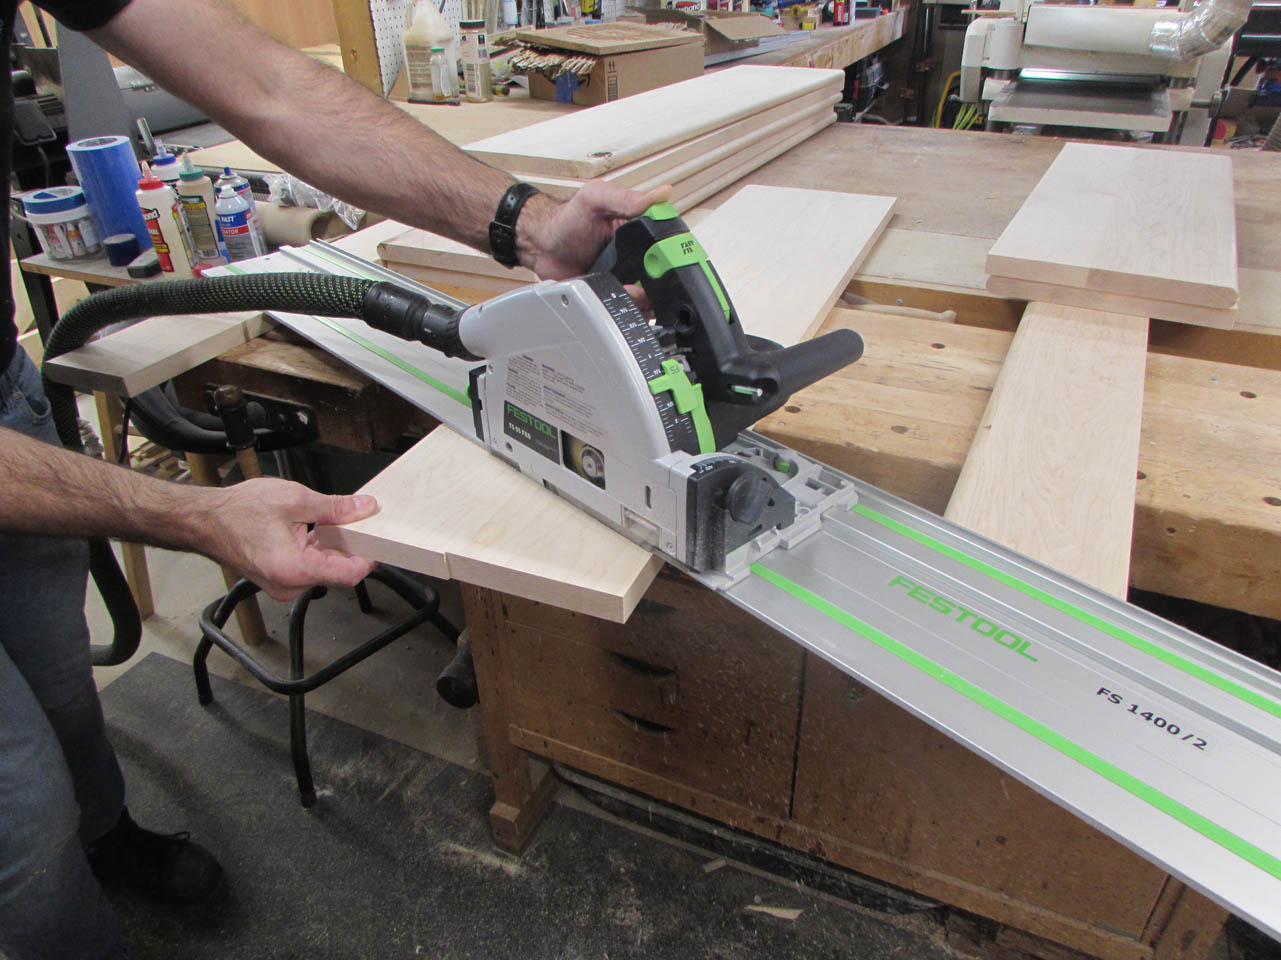
I used a straight edge to lay out the angled side of the treads before putting on the bull nose so that I still had an edge to mark.


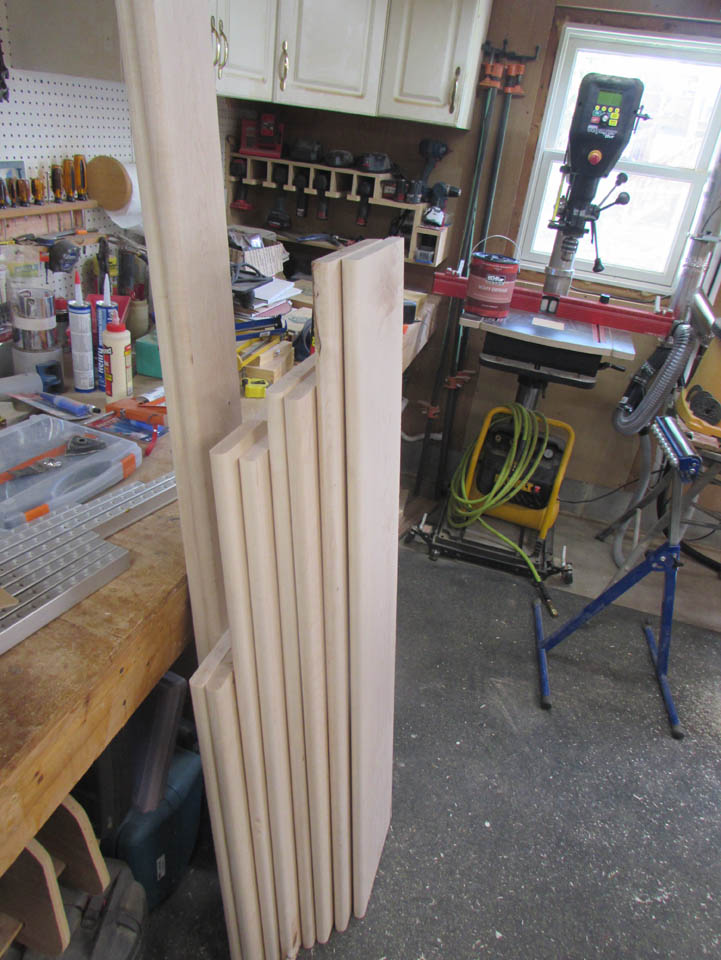
The bull nose was created with two passes with a 1/2″ radius bit.

After a little sanding, it will look great.

I repeated the process on all of the rest of the treads.

The last step is to lay the track along the angled line and cut the waste off with the track saw.
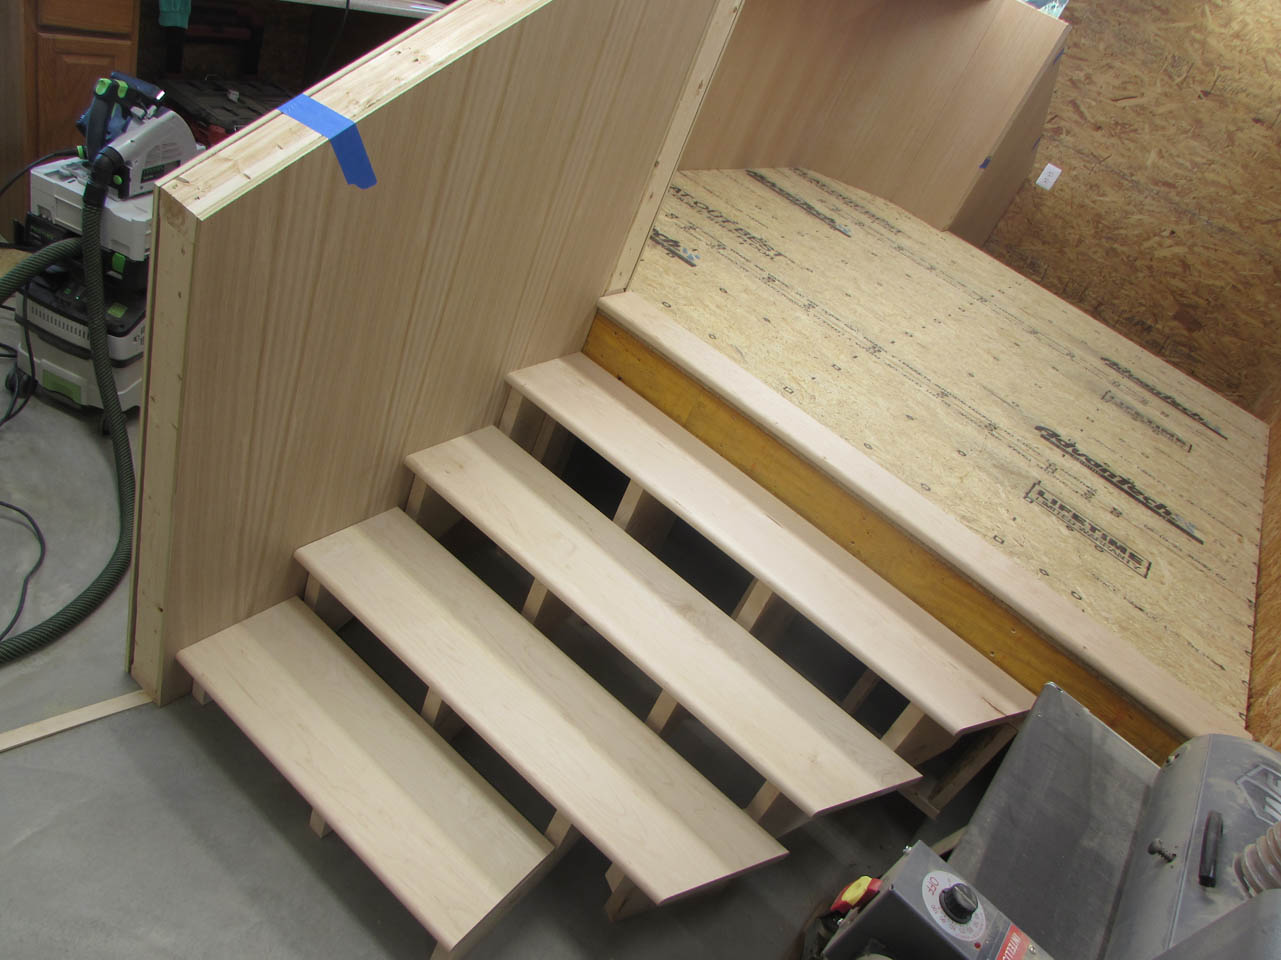
Dry-fit of the treads looks really good.

Next, I get to mill down a large pile of oak into my tread risers and all of the trim.
