
Altar platform part 1
I have a new project that I started on this week for the Cathedral of Mary Our Queen in Baltimore, MD.

A platform is required to be built behind the altar. A temporary one was rented for a time to establish roughly what size would be needed.


I created a design that would better match the existing architecture and allow better accessibility, on and around the platform.

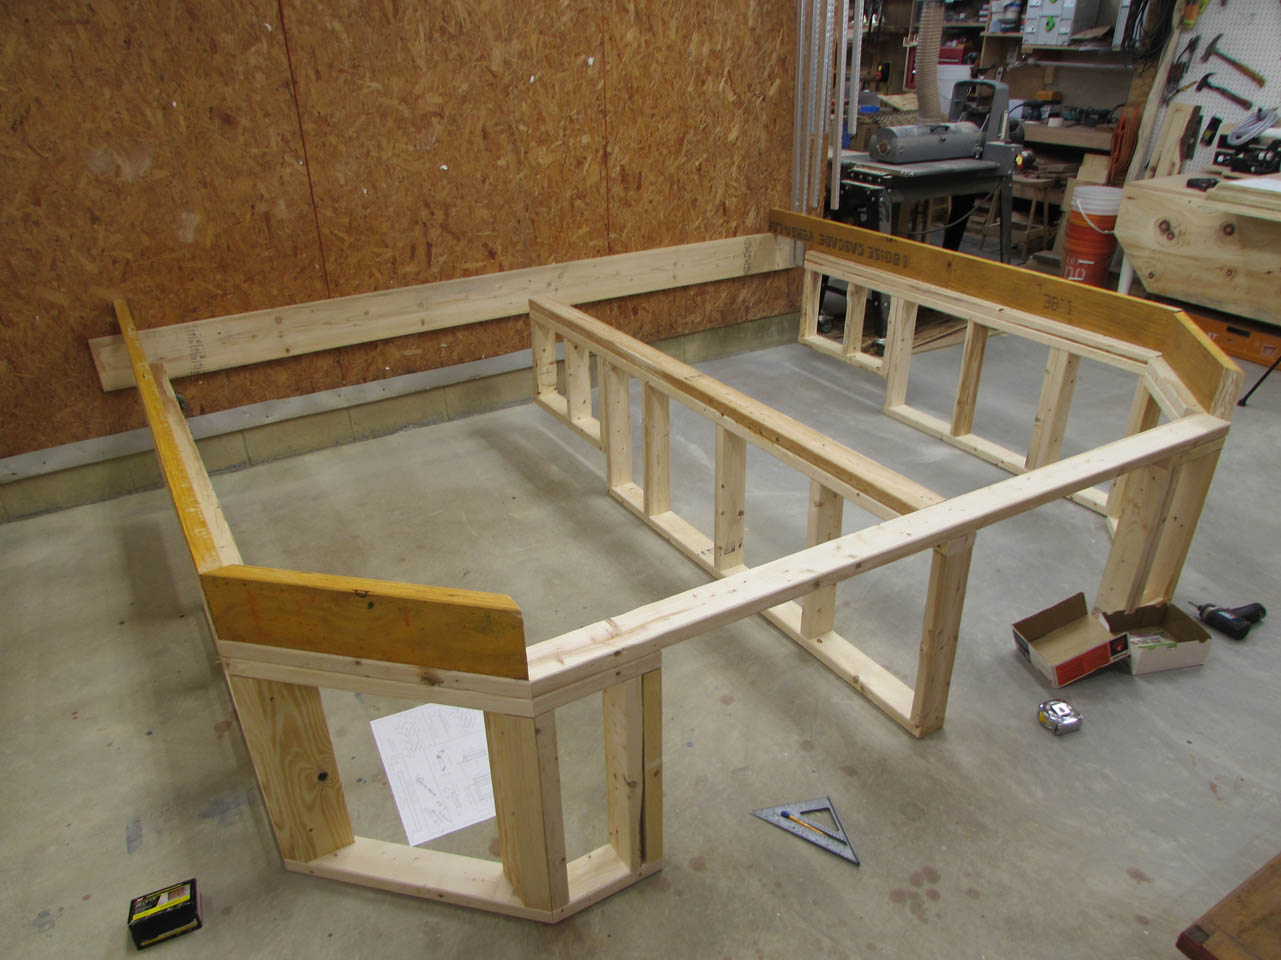
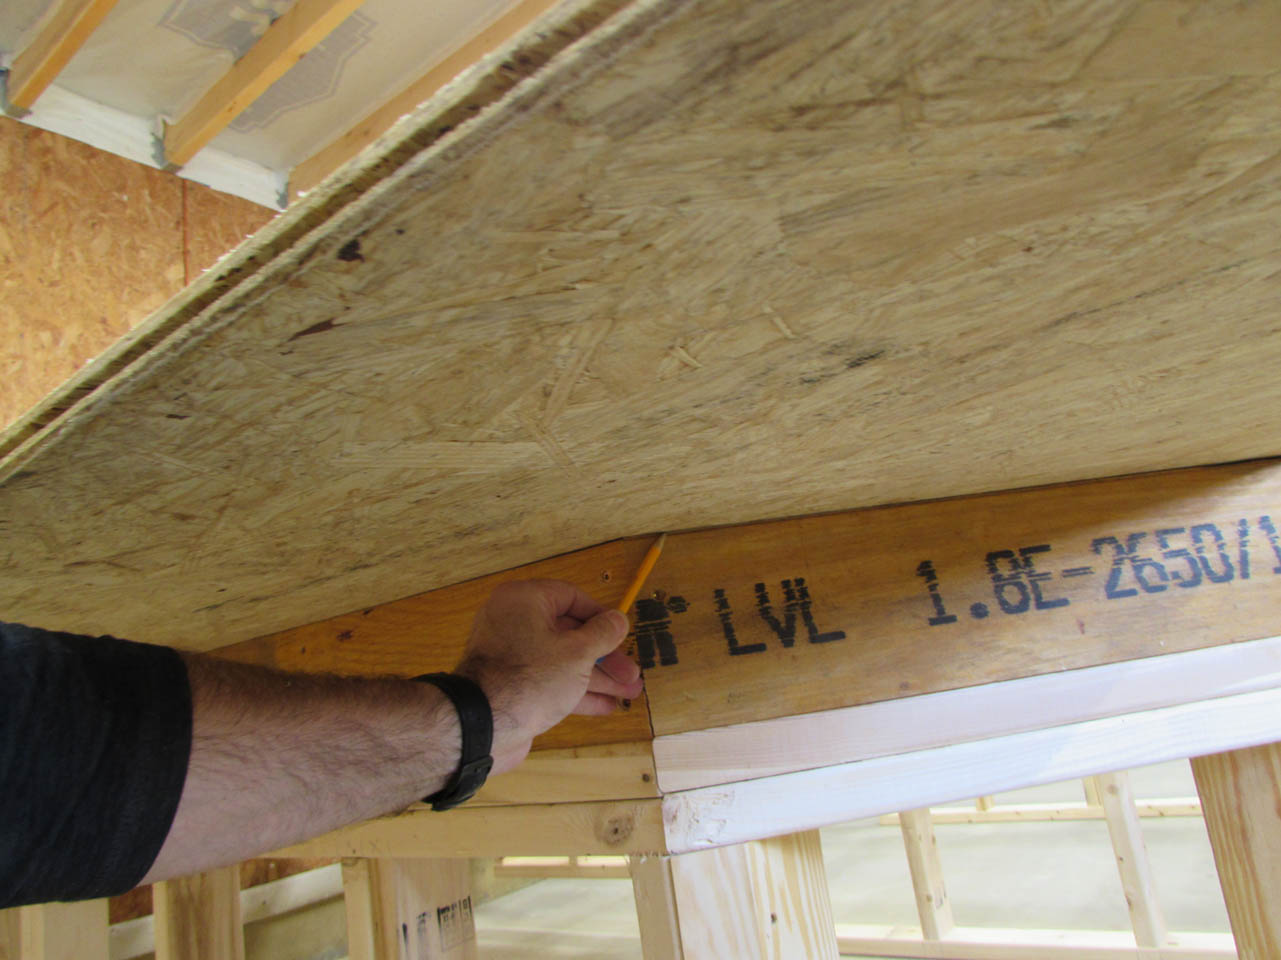
Since this project will be built in my shop, then dismantled and reassembled at the cathedral, I spent a lot of time on the design, trying to figure out the best approach to creating panels that could be mostly finished but light enough to be carried into the cathedral and assembled quickly with little impact to the cathedral’s schedule. These are the plans I came up with for the base construction: PLAN-DIMS.pdf There will be three main supporting walls with LVL joists to support the floor.
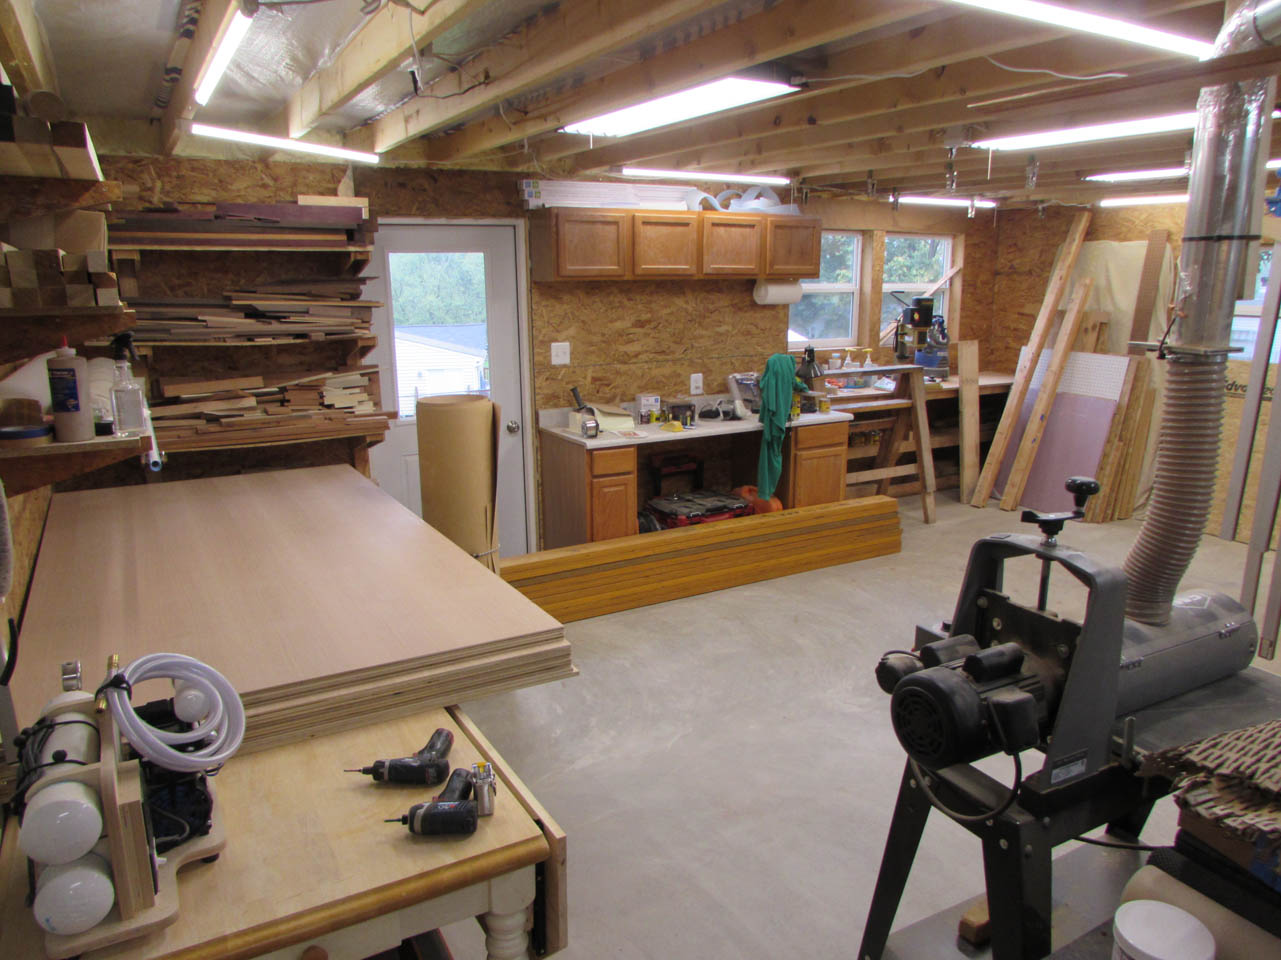
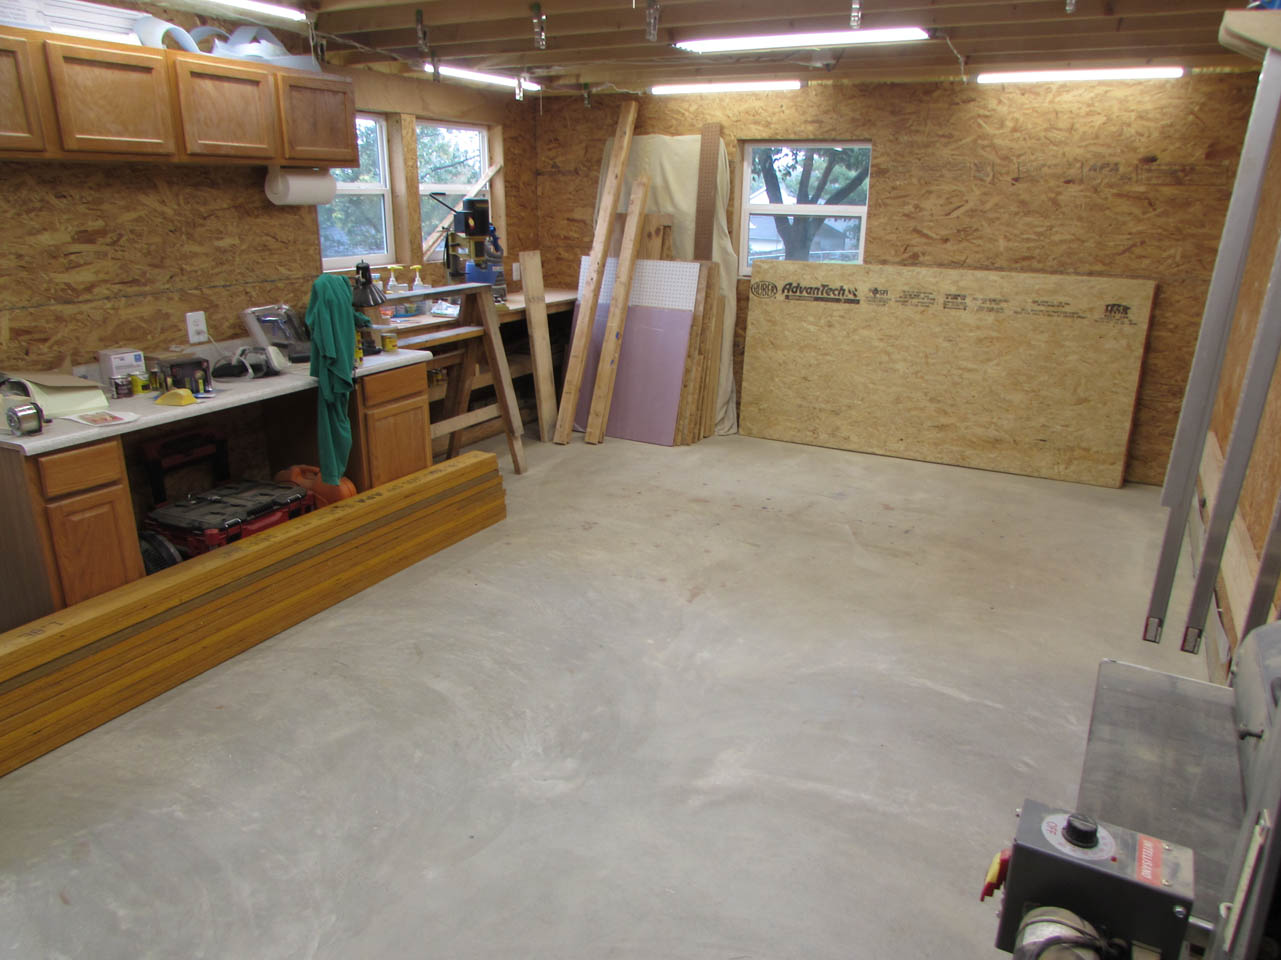
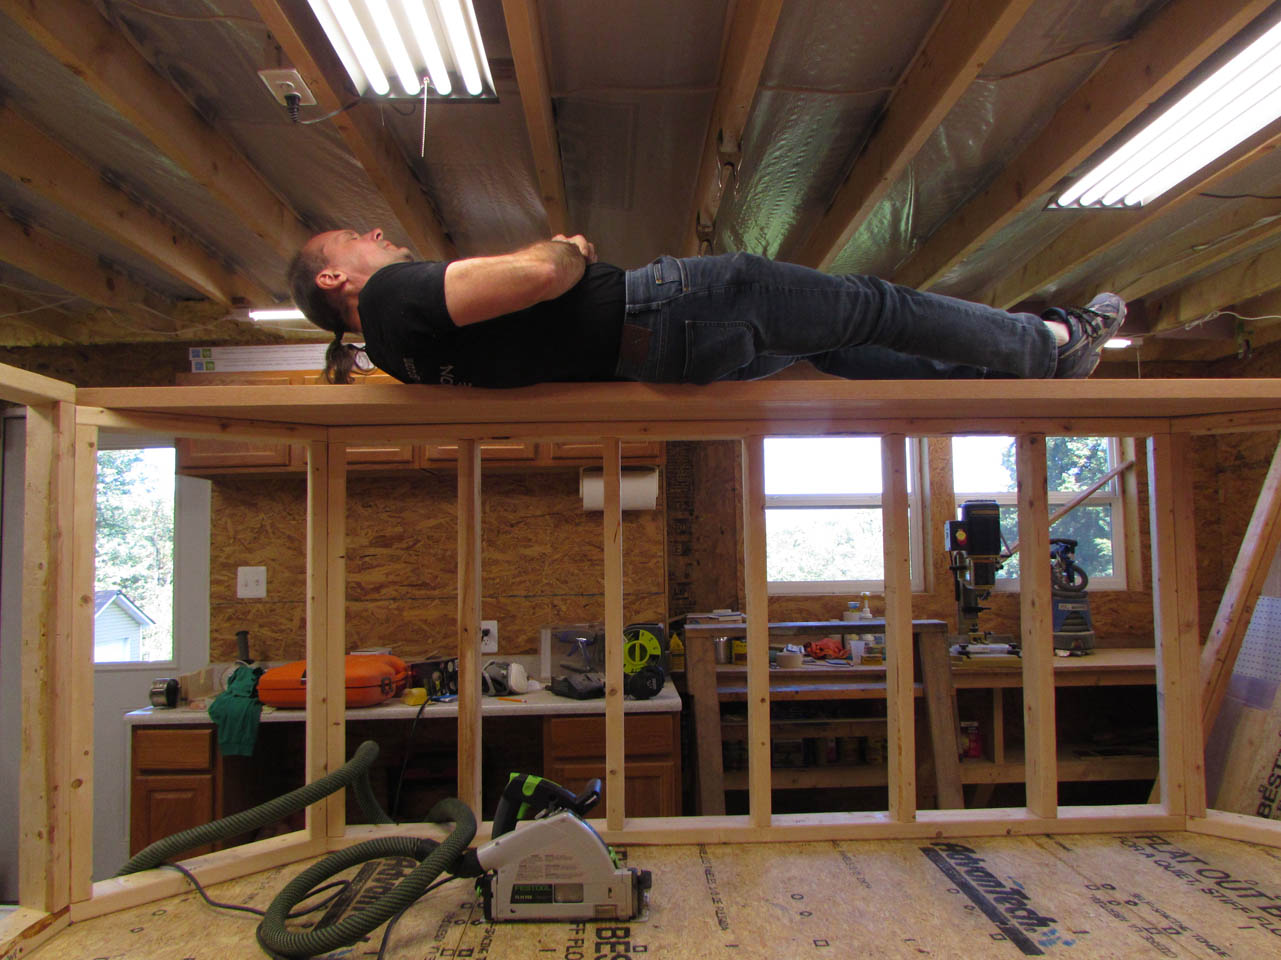
The first step for me was to clean out an area large enough to build the platform. The main platform is roughly 10′ wide and 8′ deep, along with two sets of stairs that add an additional 42″ to the width on each side. I took down my spray booth and cleared the entire back end of my shop to get just enough room.
I attached a board to the wall at the exact height of the marble plinth that the platform will sit on. It won’t be needed for support, just a reference point to start from.


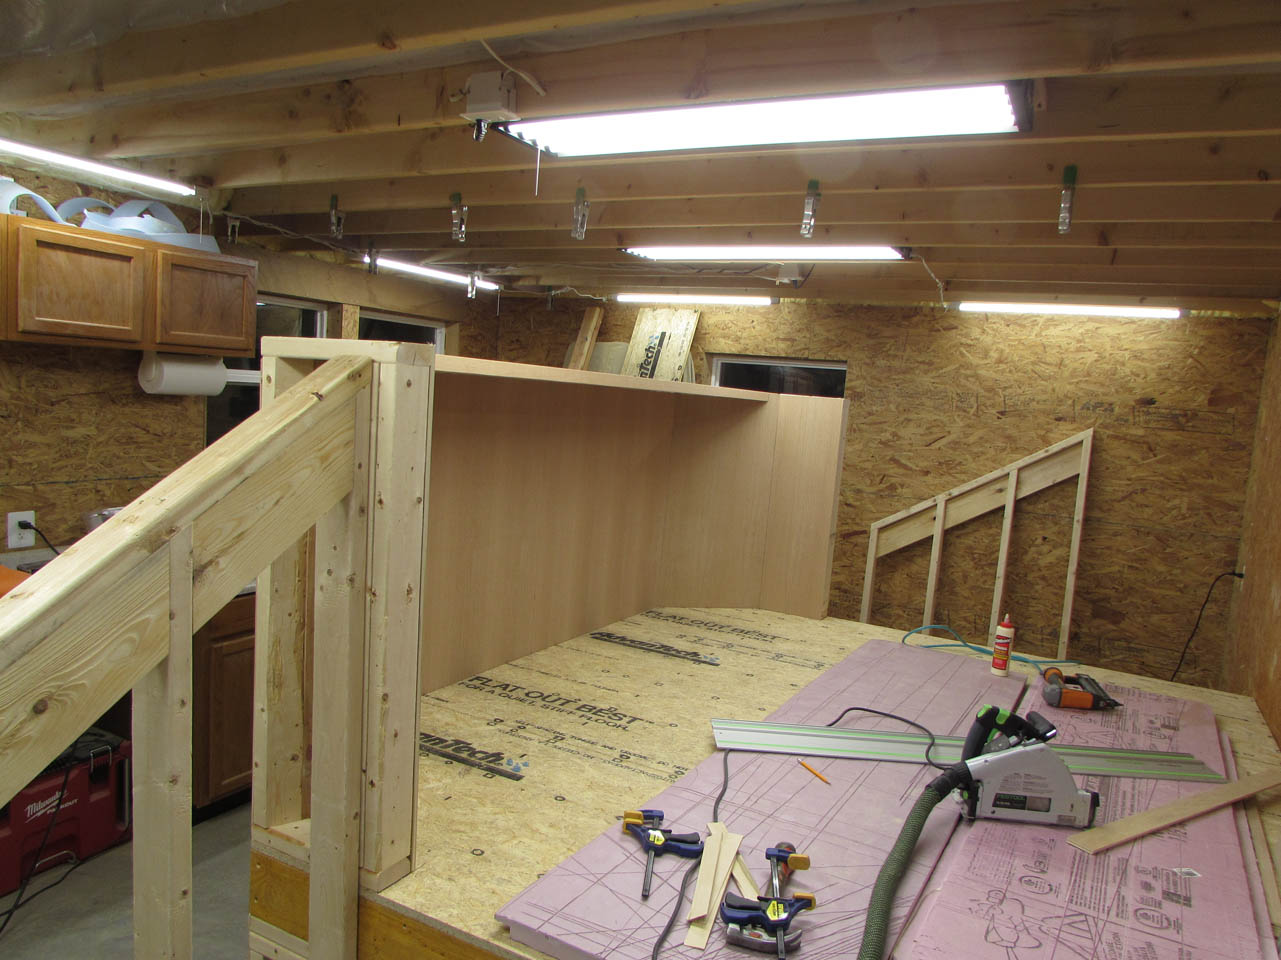
Before starting this project, I finally got all of the parts for my new dust collection system. I passed my old Laguna dust collector on to a friend and brought in the new beast. This has been a needed upgrade for a while. The timing was a little annoying because all of the pieces for the new one arrived the week before I started so I had to scramble to get it up and running just to free up the floor space for material storage…

My first pile of materials came from a trip to the lumber yard. 2″x4″s for the walls, 2″x6″ LVLs for the joists and 2″x12″s for the stair stringers, along with some 3/4″ tongue & groove subfloor.
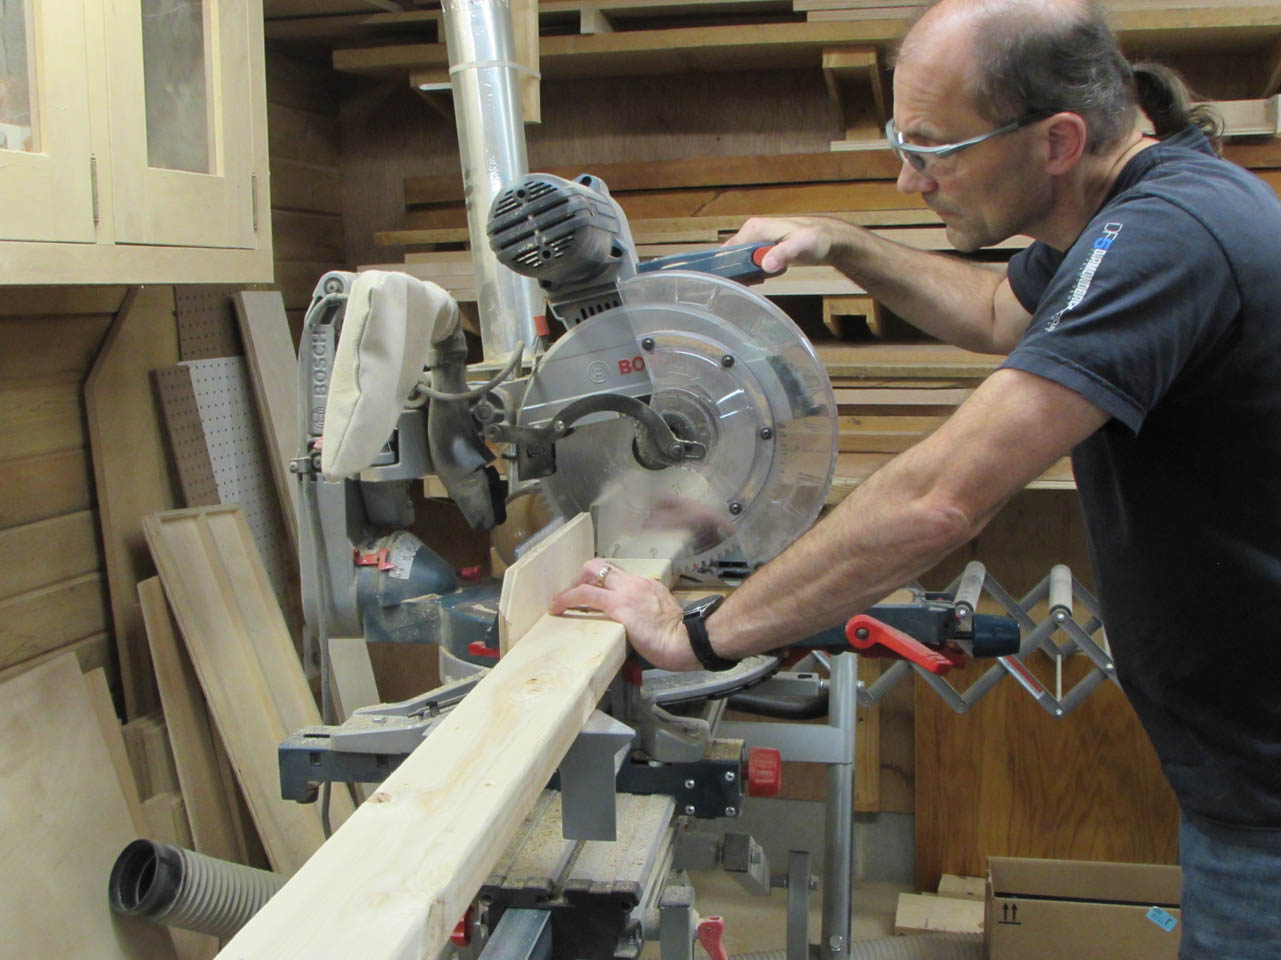
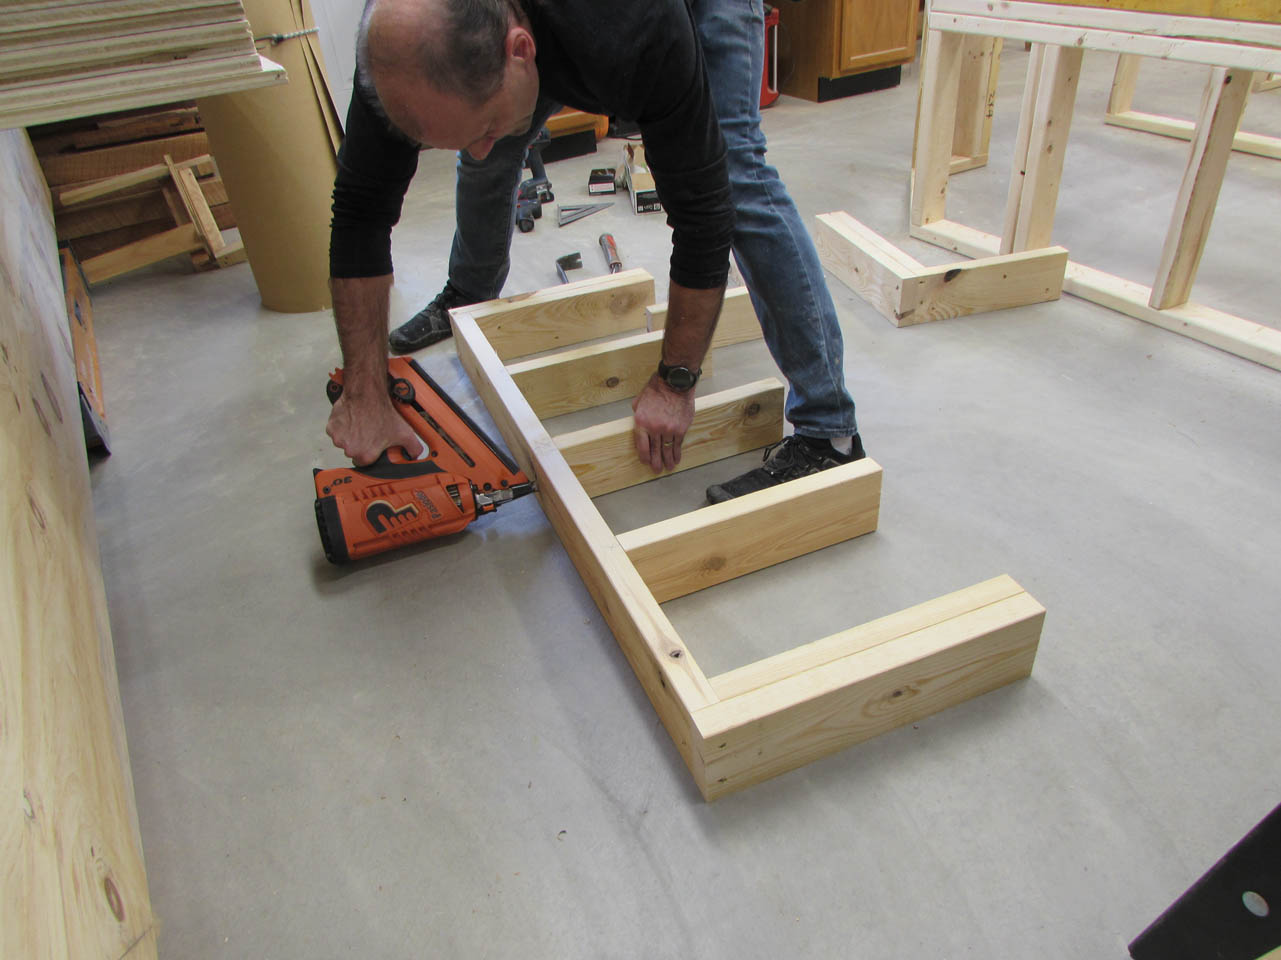
Using my detailed drawings, I pre-cut all of the wood for each sub-wall.
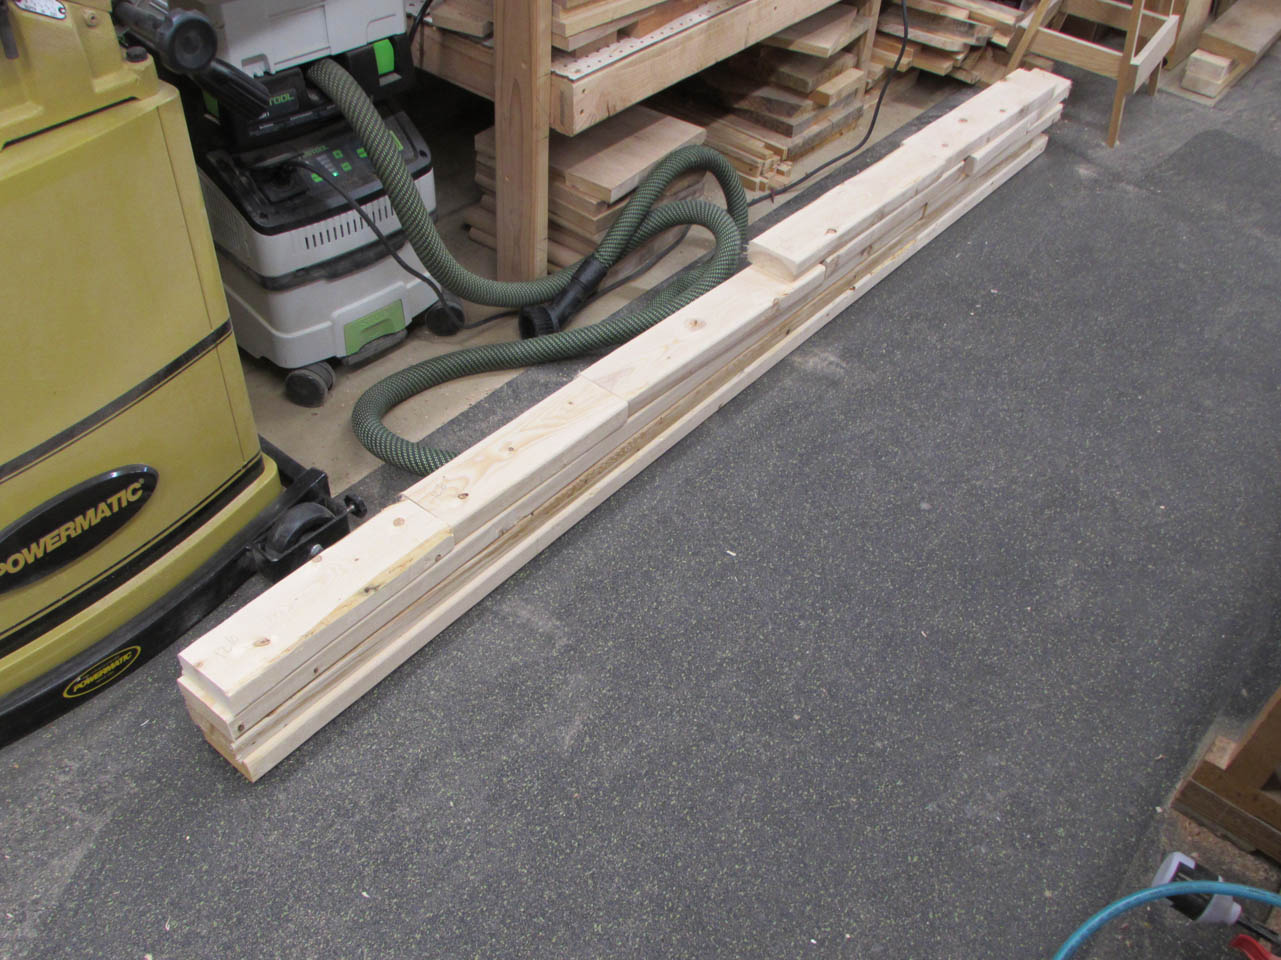
Ganging the wood together, when I could, to ensure the exact same dimension for boards that would be duplicated.


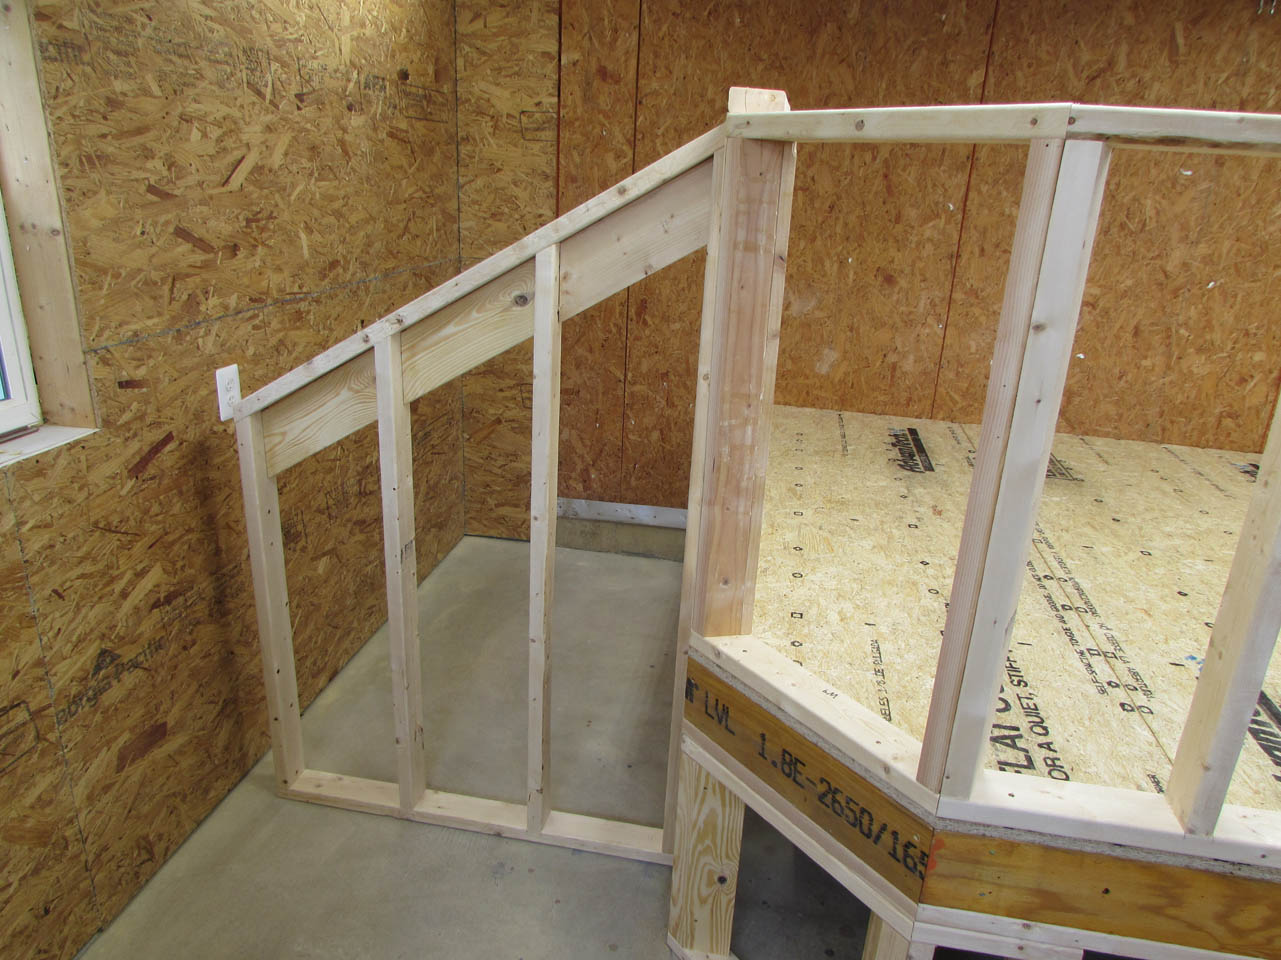
On the 45° walls, I used 2″x6″ studs to create the angled sides.

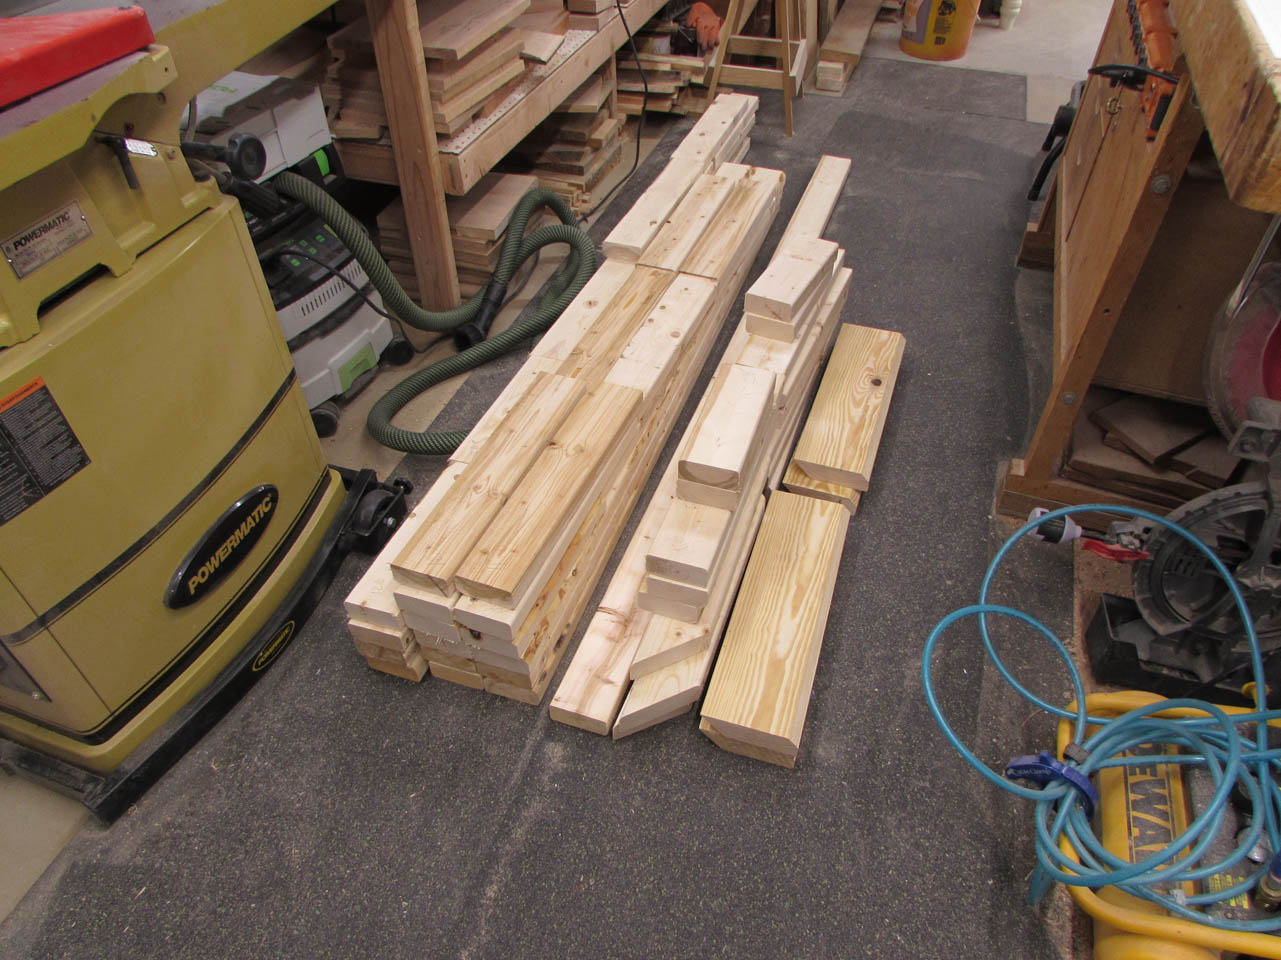
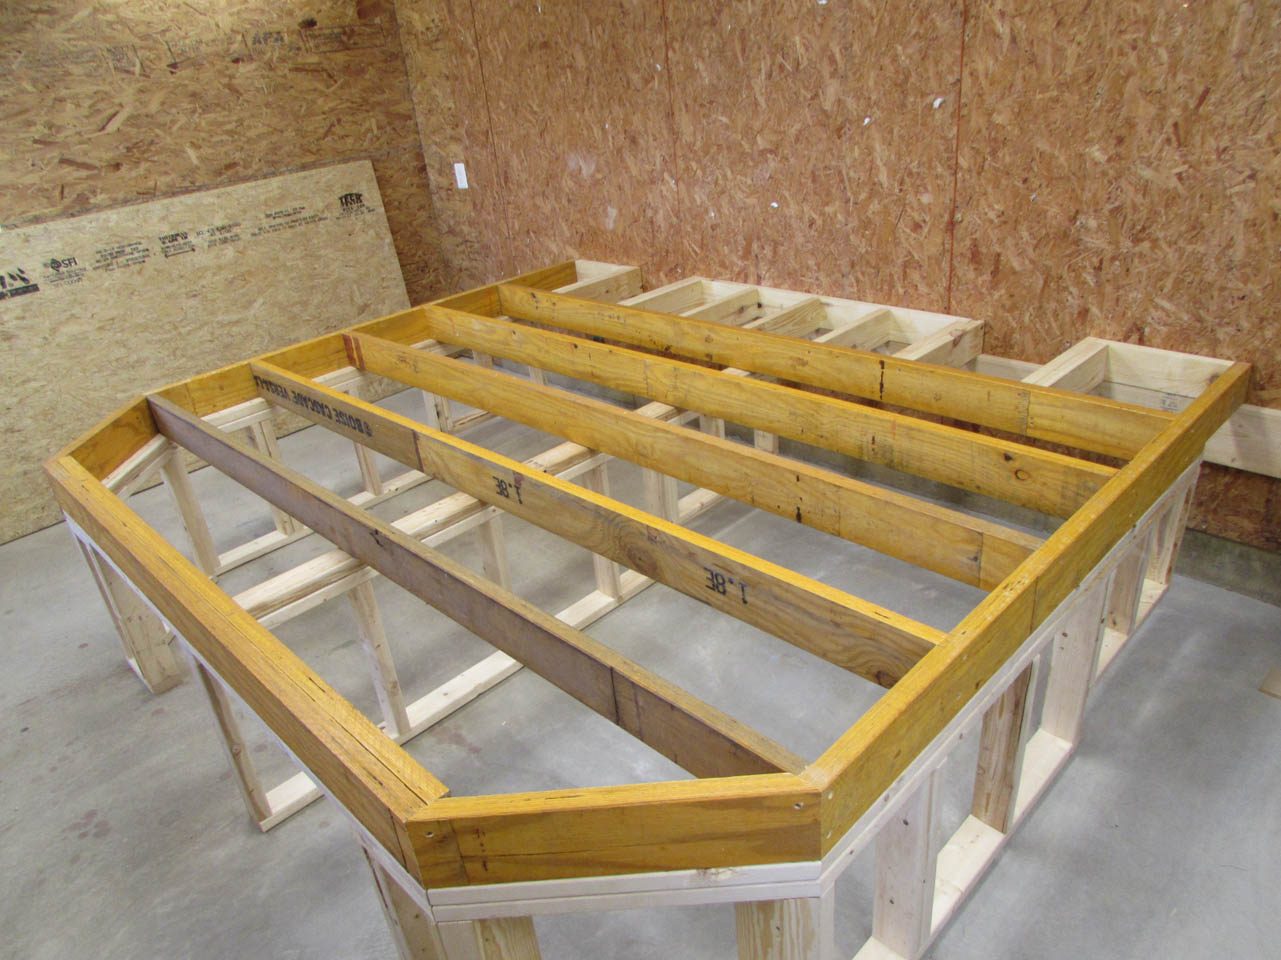
After all the stud material was cut down for the lower walls, I started cutting down the LVL top pieces.

Some of them required notching.

This was done with a combination of the table saw and a hand saw.

I used a cross-cut sled on my table saw, to create accurate 45° corners on the LVLs.

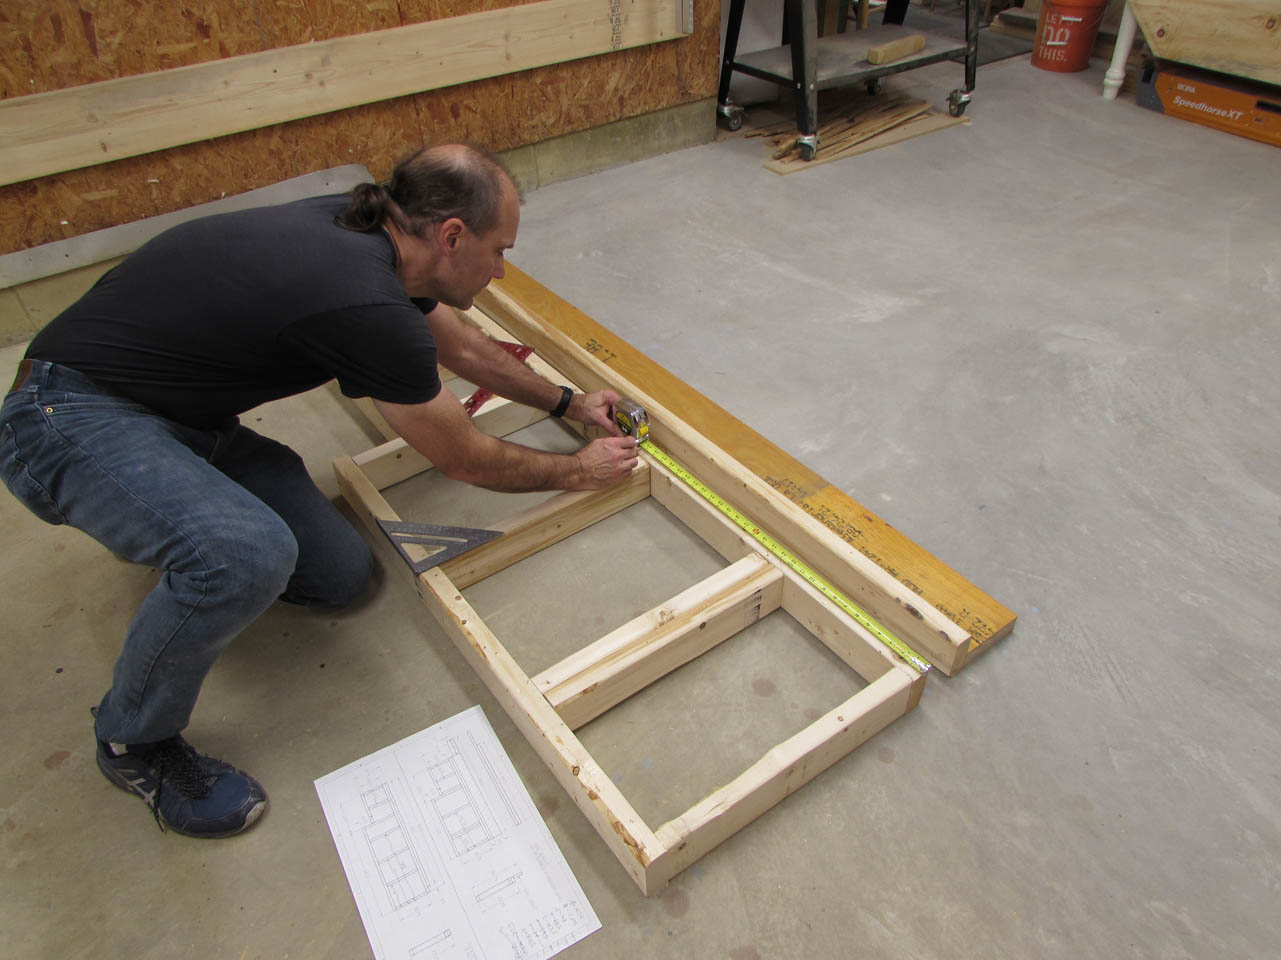
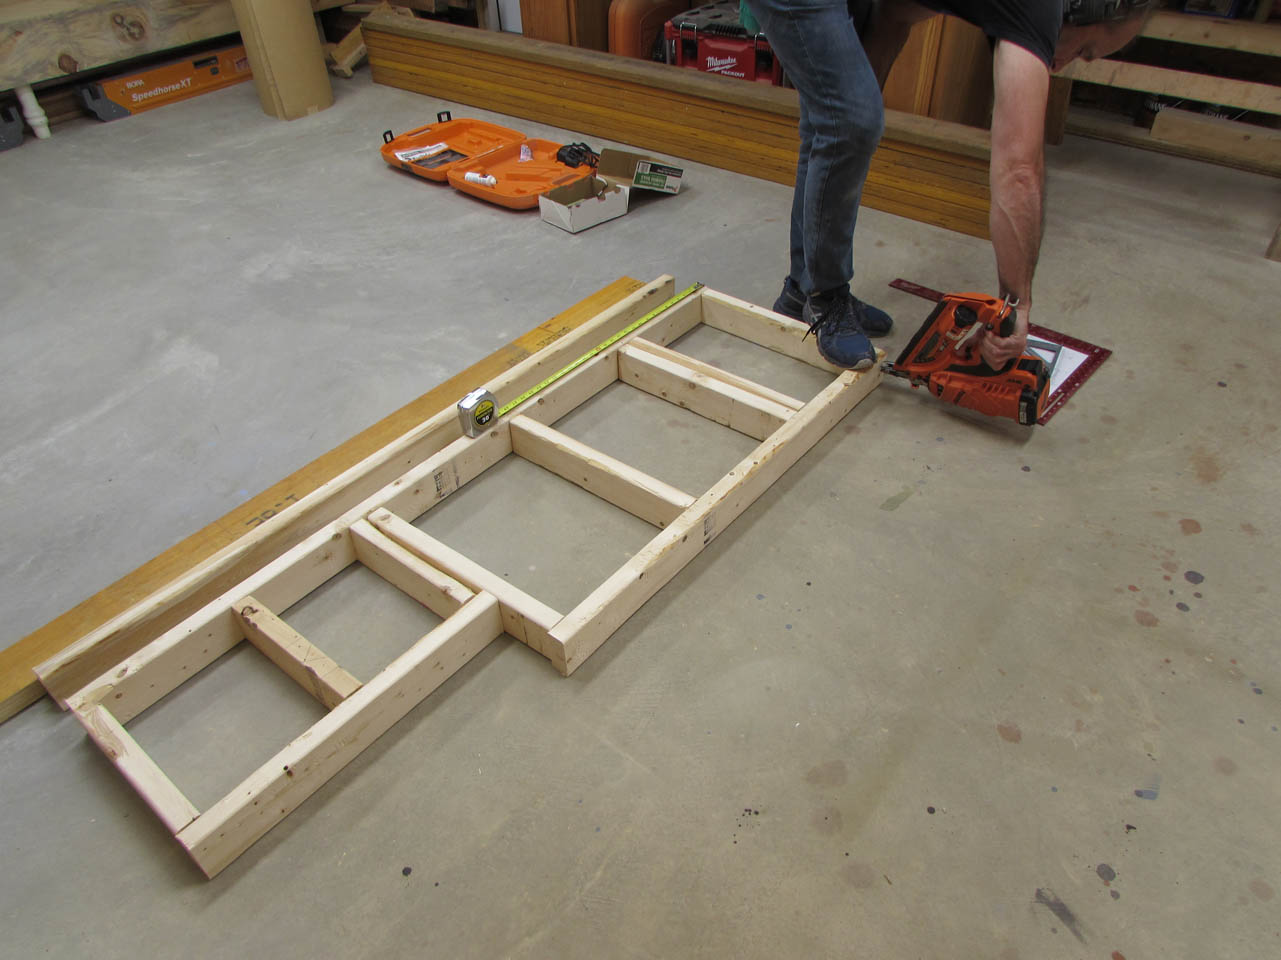
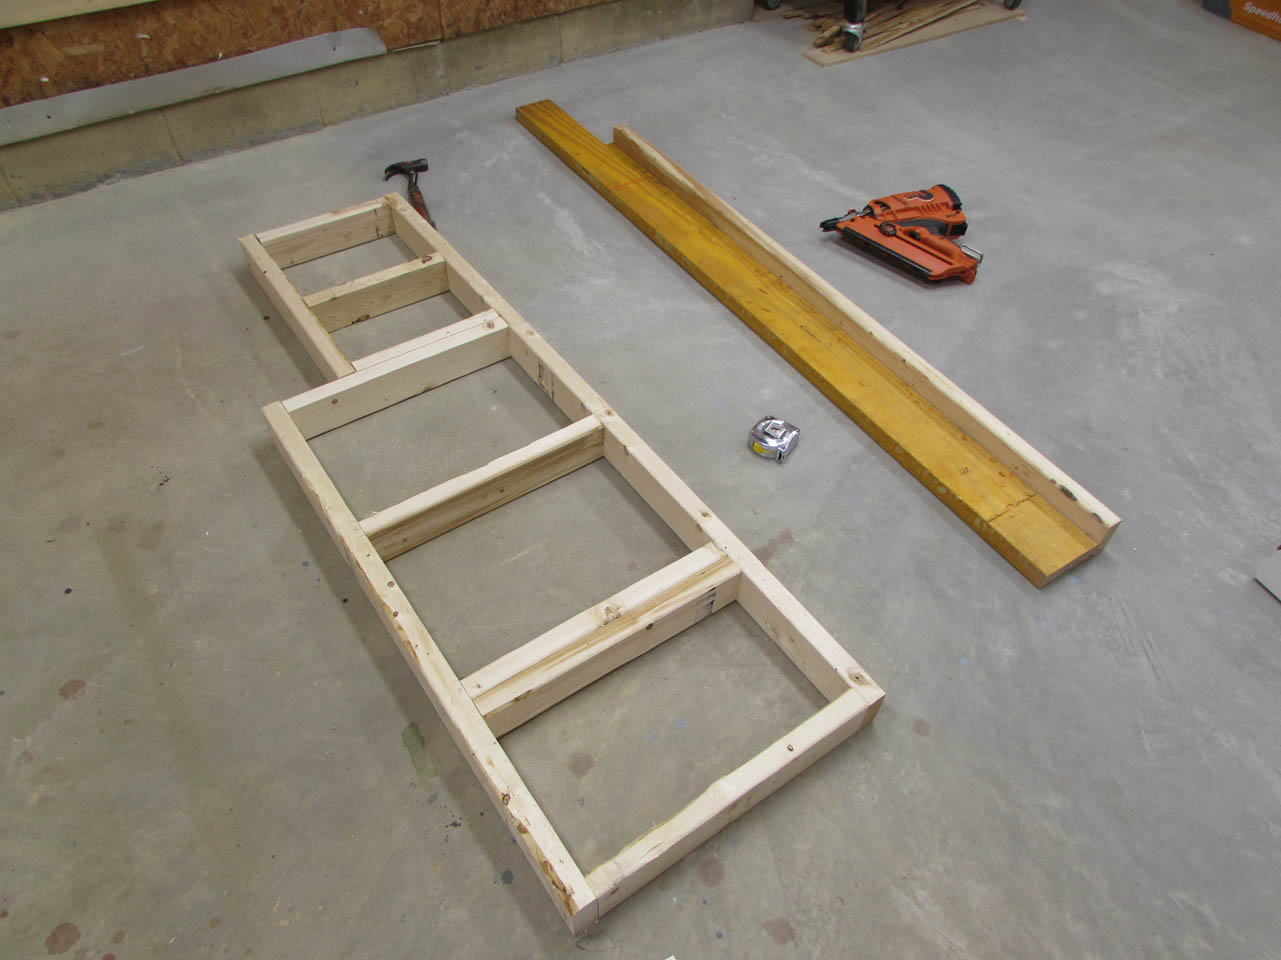
After carefully laying out the walls, I used a framing nailer to attach all of the studs to the plates.
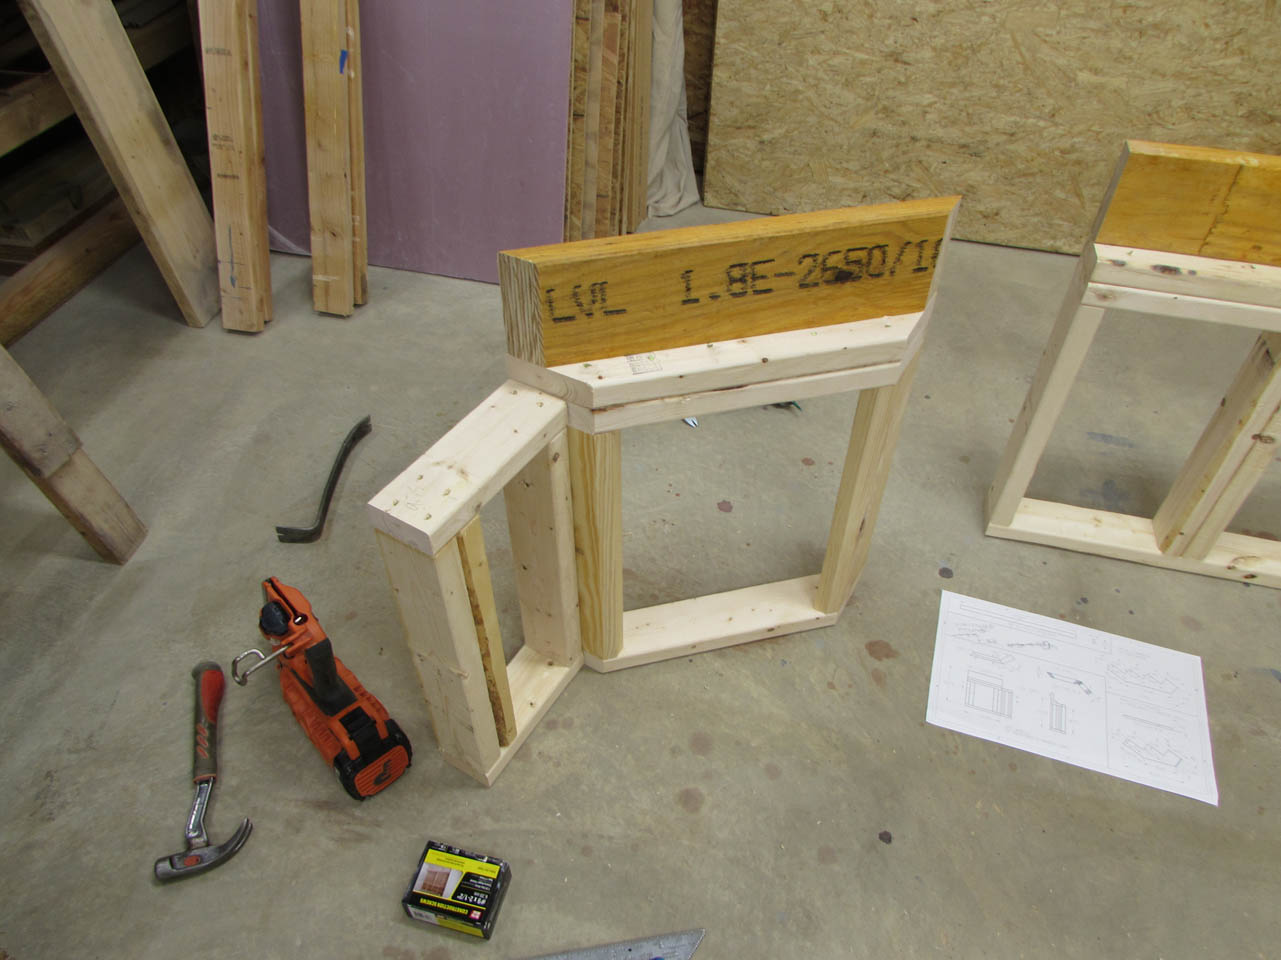
I also attached a plate to the bottom of the LVL.
Then attached that assembly to the top of the wall.

I built the 45° corner assemblies in a similar fashion.
These pieces will all be light enough to carry, but I attach these assemblies to each other with screws so that I can take them apart later for transport.

After the main base is assembled, I can verify dimensions and cut the joists. These are attached with screws form the outside, also for disassembly later.
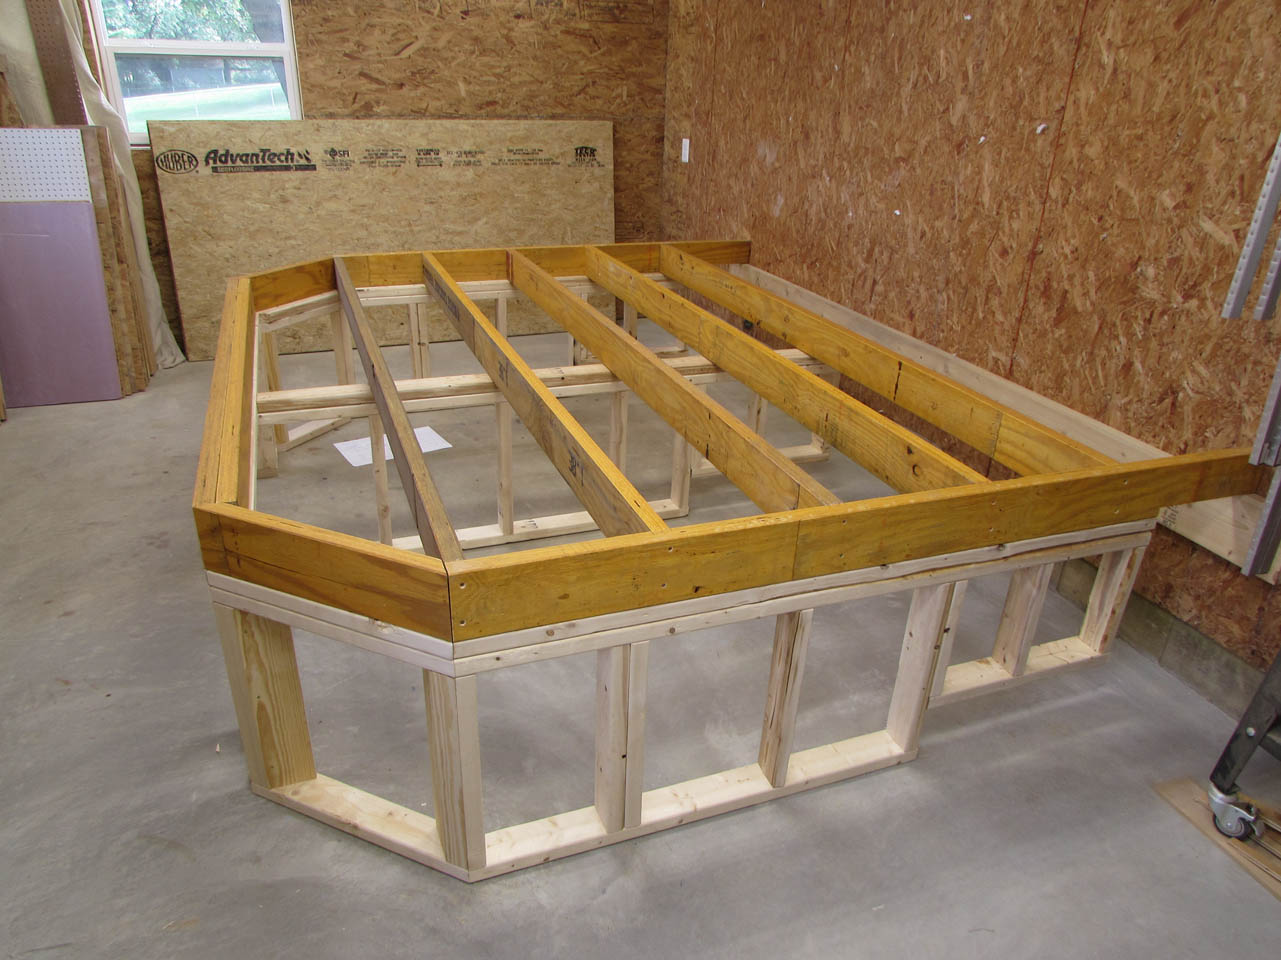

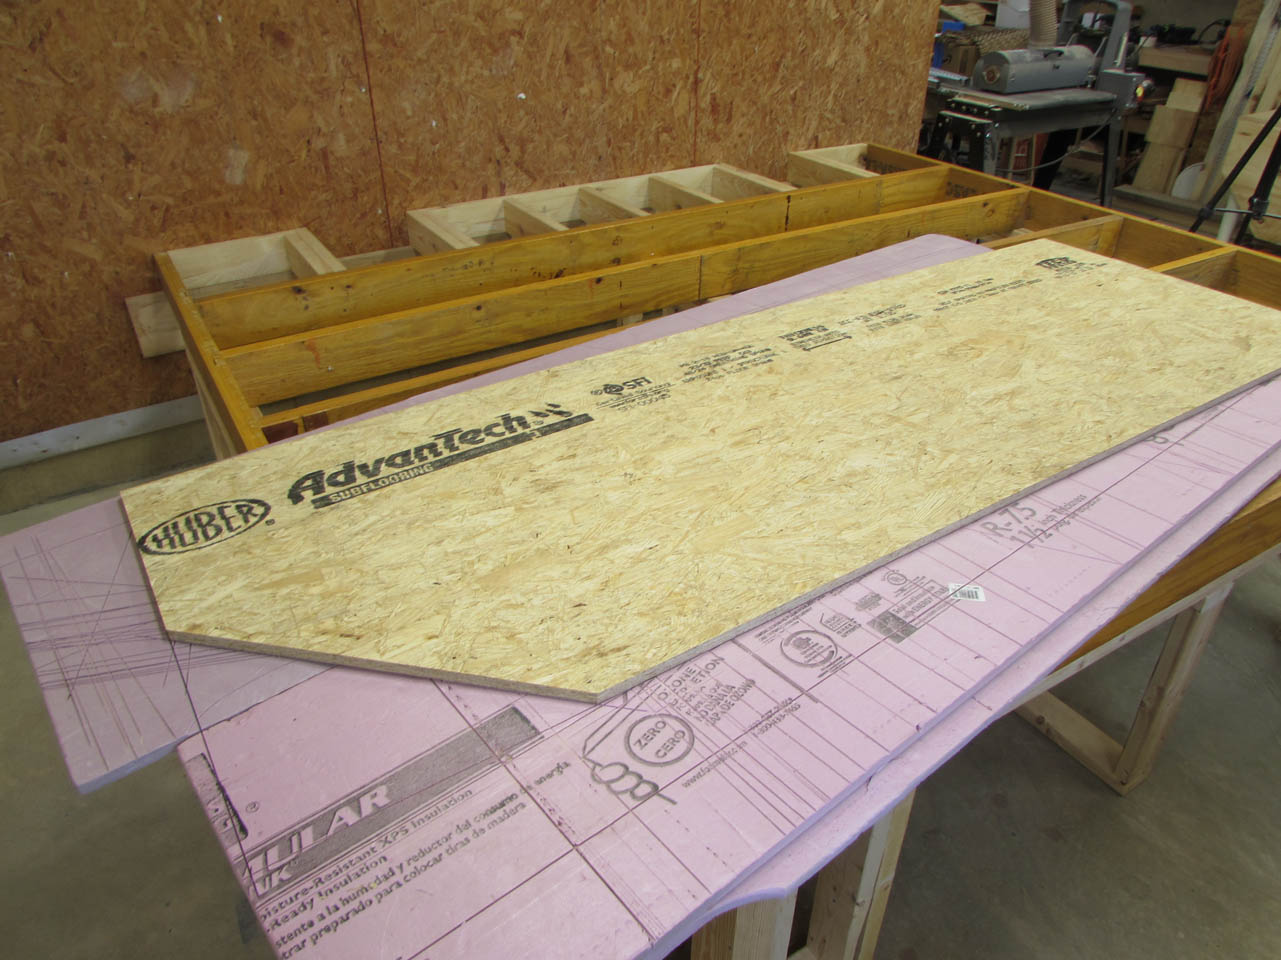
The final part of the floor does not have to be the heavy LVL’s because it will sit on a marble step. This is made from 2″x6″ material, cut down to 4-1/2″. Gaps are left in the areas where the microphone jacks need to be accessed. Holes will be drilled later to extend the jacks to the sides of the platform.
These were all nailed to the front joist. That will be a heavy one later…

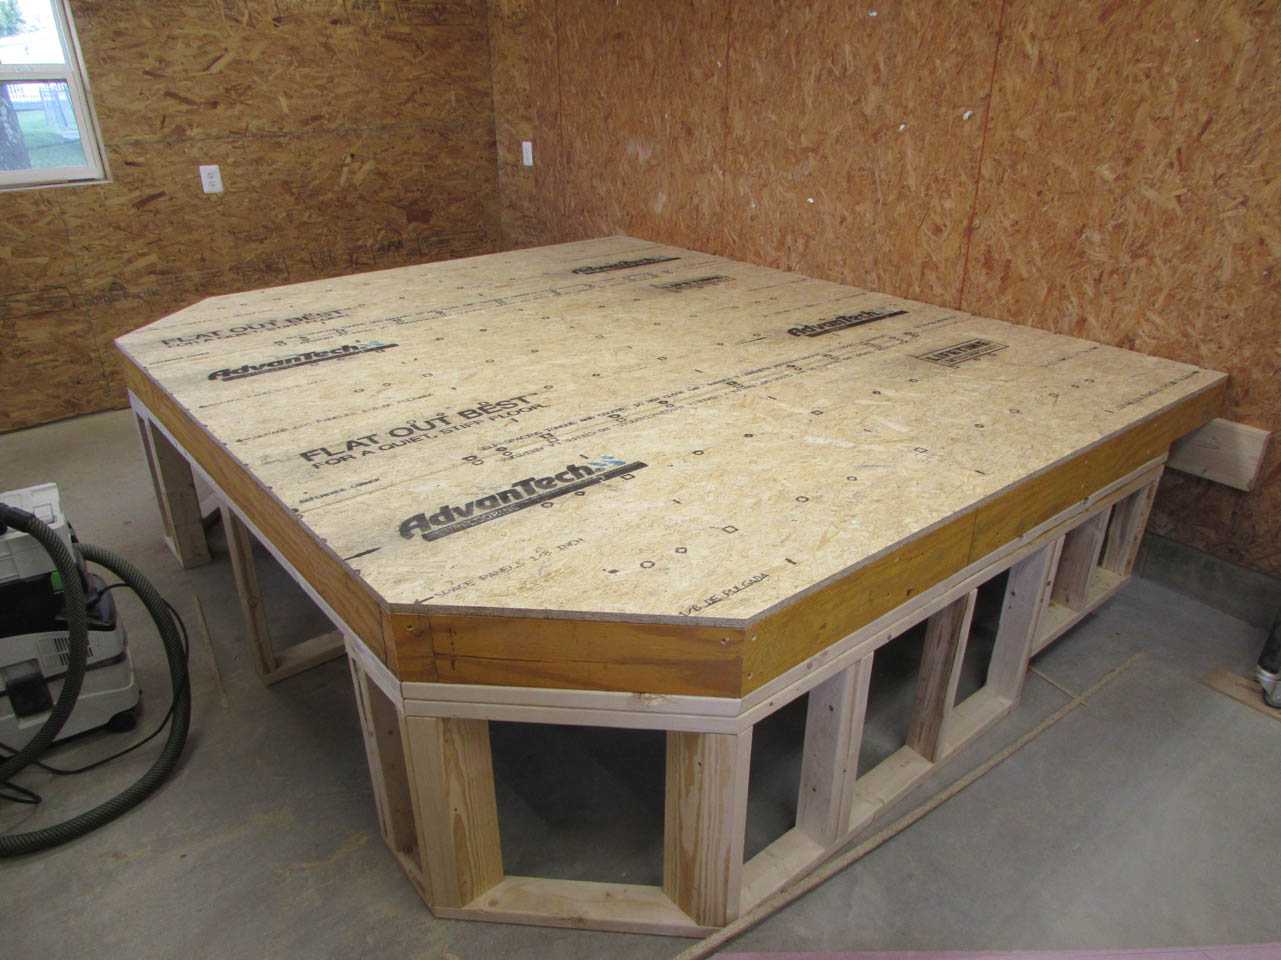
And, here is the base. I used two tape measures to square up the assembly before attaching the sub-floor.


After calculating the location of the first piece of sub-floor, I measure and locate it.

Then I mark the outer edge of the floor to be cut away.

I use my track saw to cut perfectly straight edges along each line.
Then use a few screws to hold the first sheet in place.


This process was repeated with the second, then the third sheet as well.
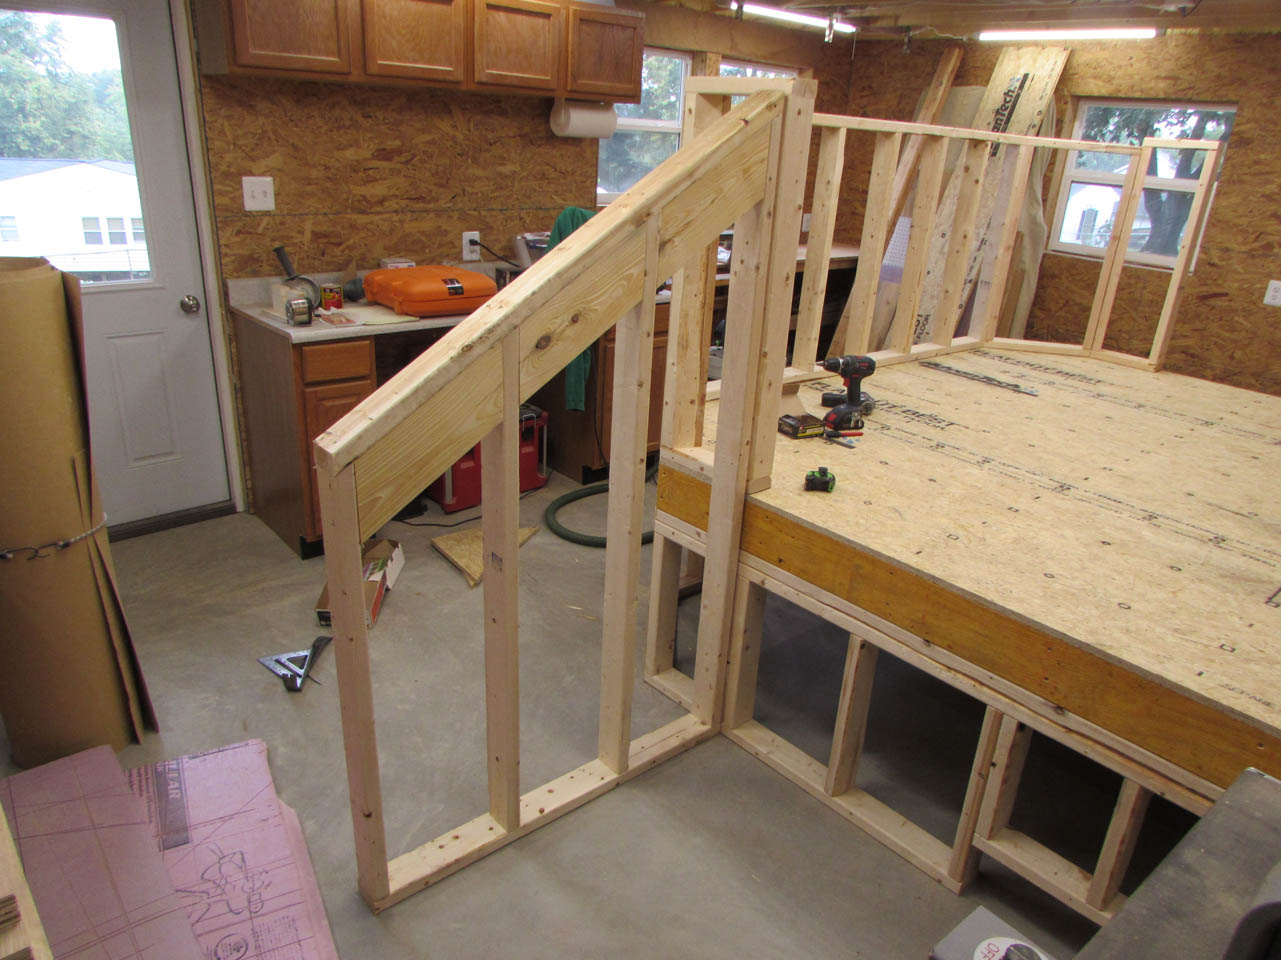
With the floor in place, I spent some time laying out and cutting the upper level walls.


Next, I cut and assembled the wing walls that will go next to the steps.

I added additional blocking along the top for the wall so that graspable handrails can be easily added after final installation.
The main skeleton of the platform is now assembled.
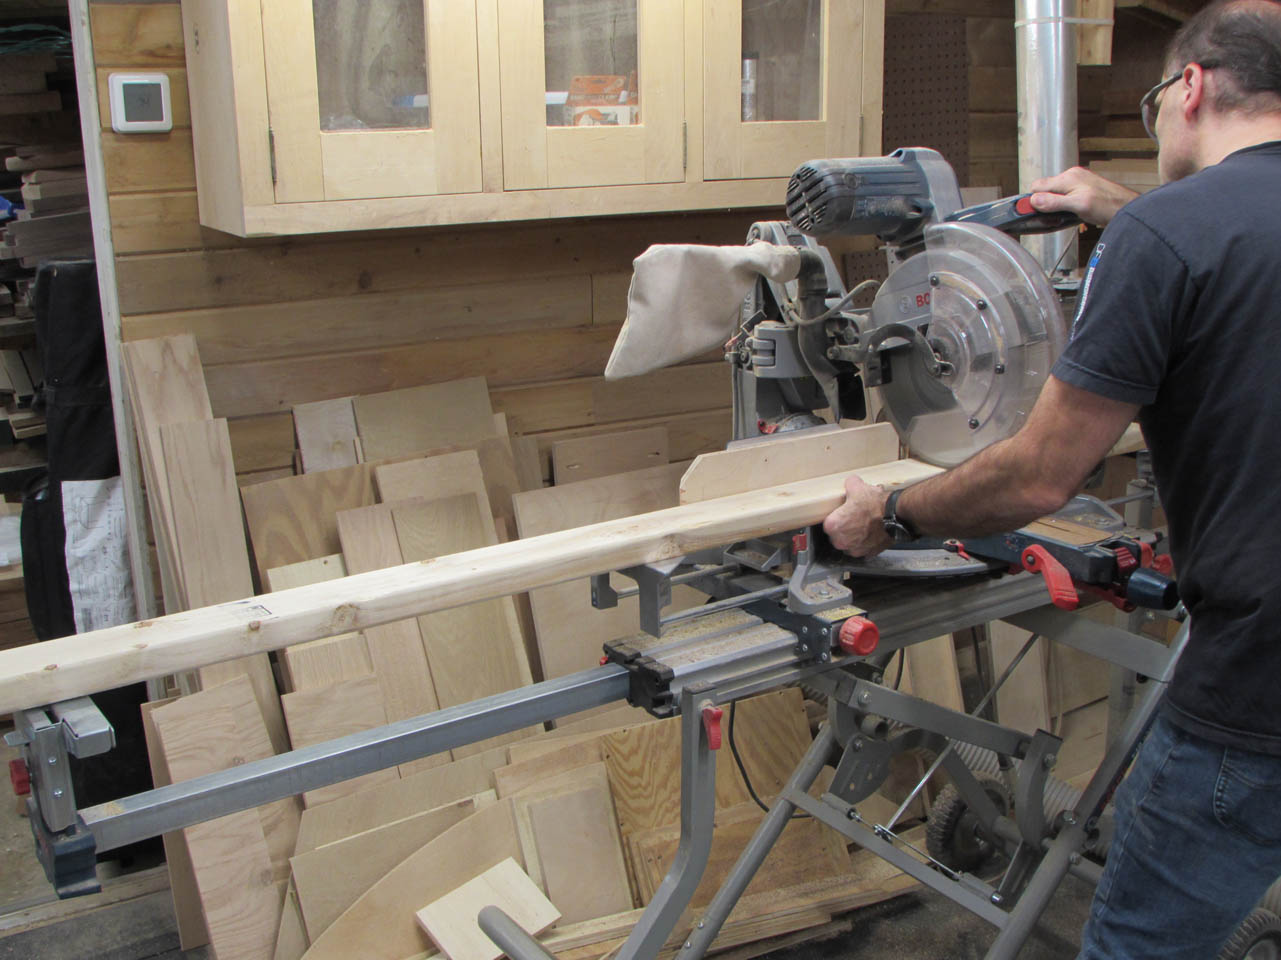
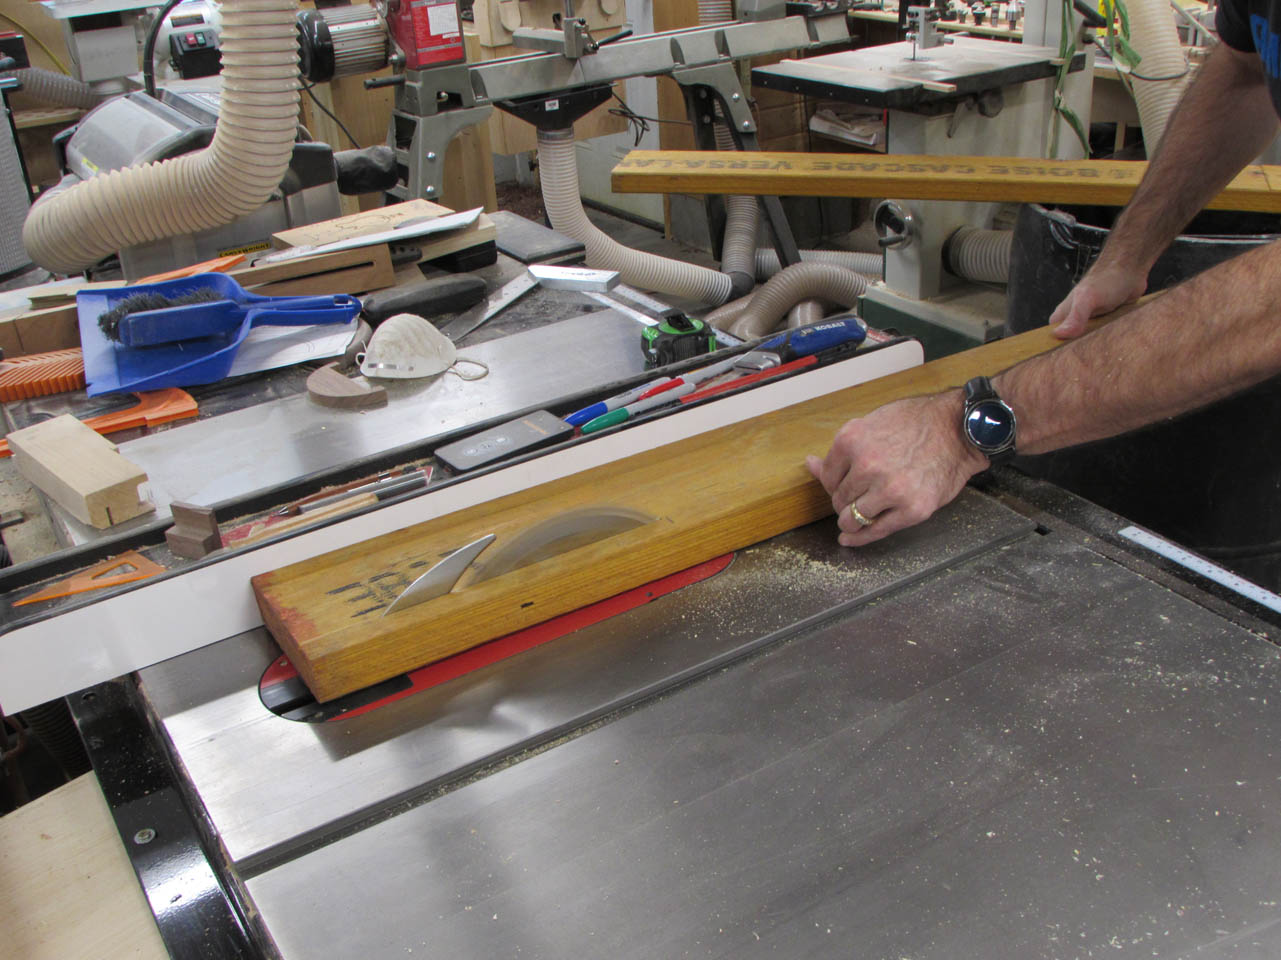
With the structure up, I took a trip to the mill to pick up some oak and maple for the shelf, trim, and stair treads.
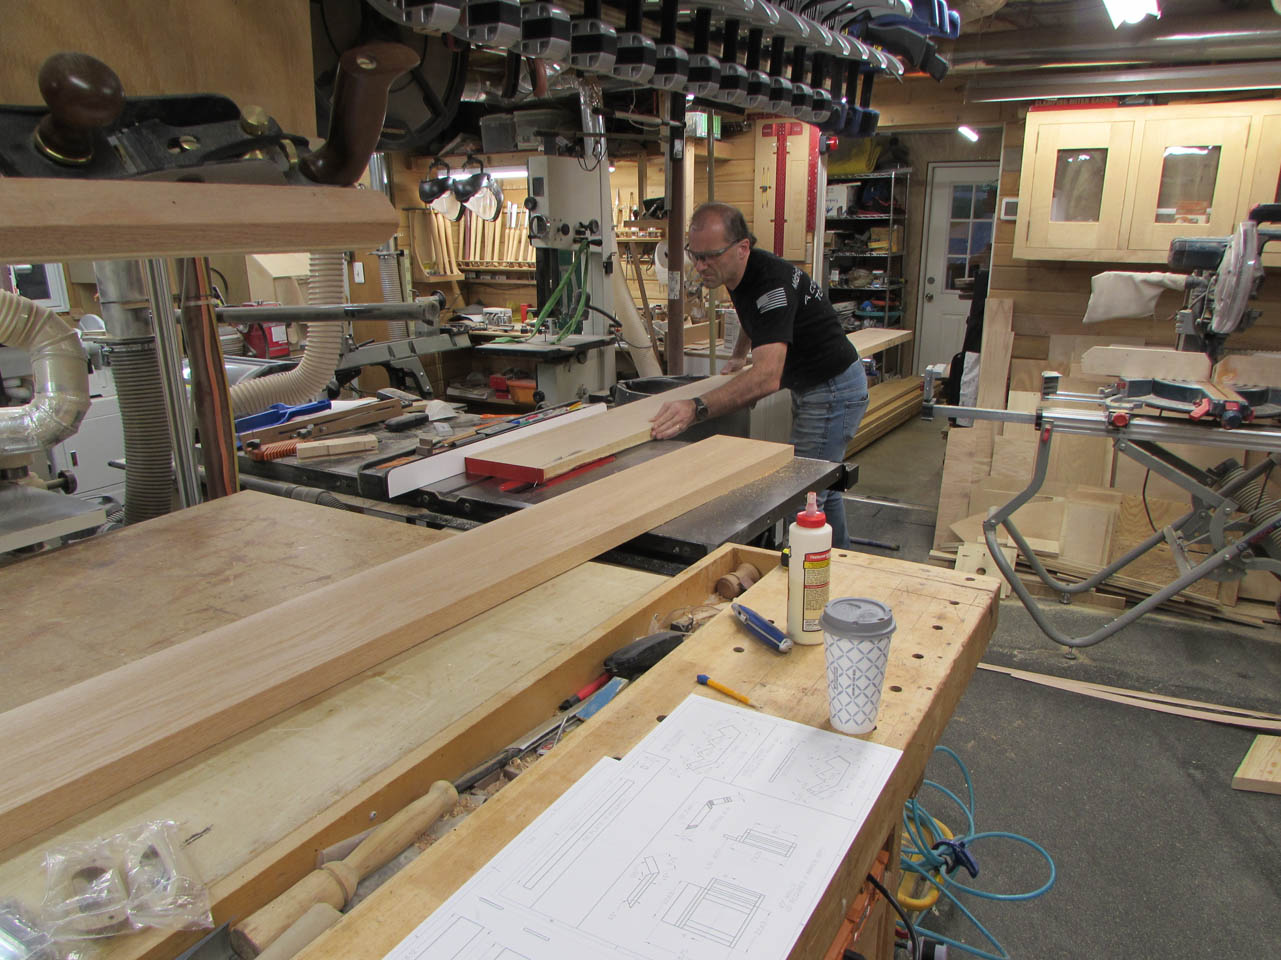
There will be a thick oak shelf along the back for seven large brass\oil-filled candles to sit on. I am gluing together two pieces of 1-1/2″ thick red oak to create a 16″ deep, 10′ long shelf.

Since the boards are so large, I had them planed down at the mill and one side straight-line cut so that I could easily trim them down to size in my shop.

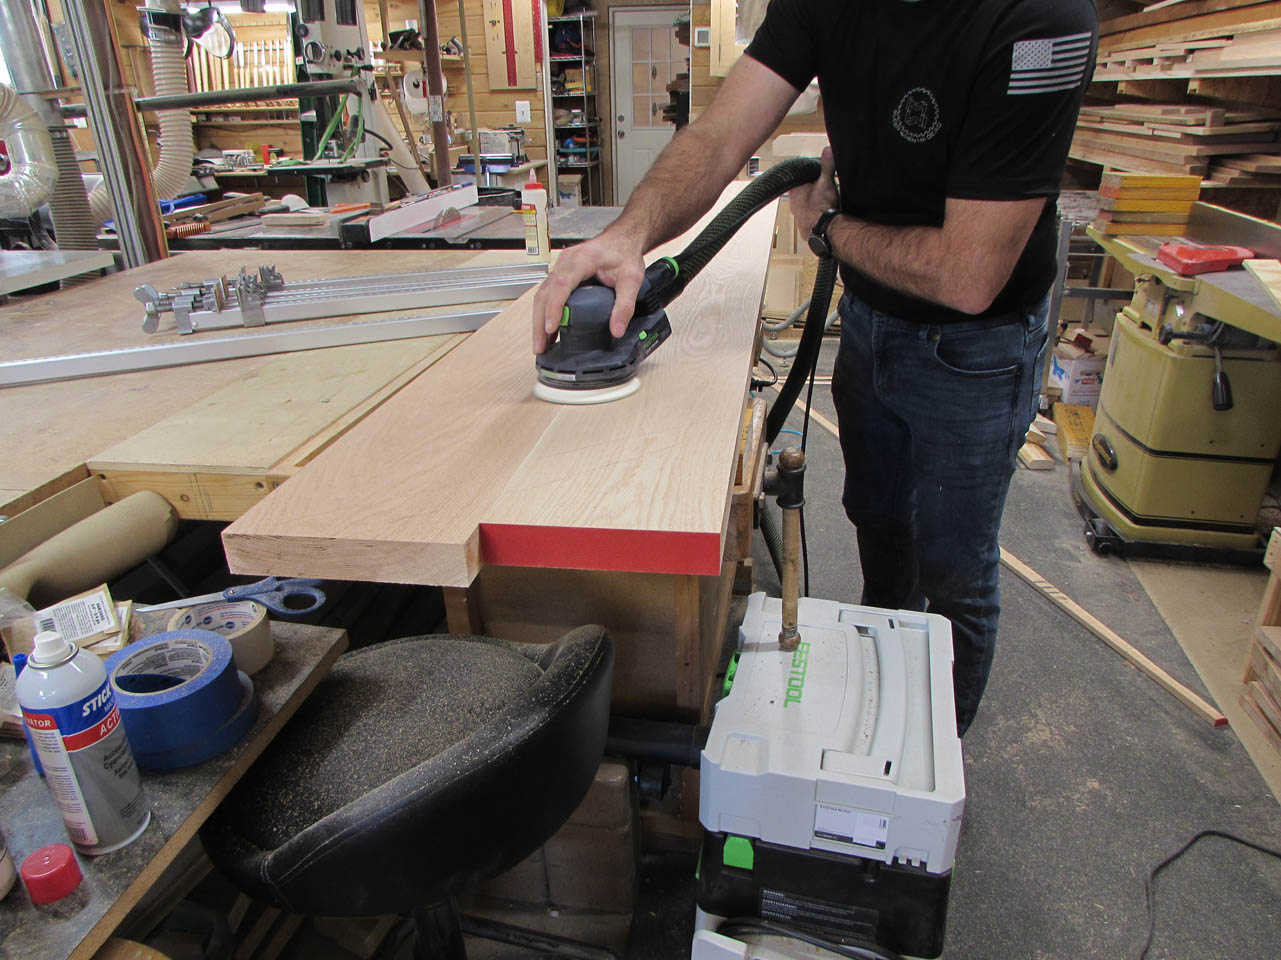
I applied wood glue to the joint faces and clamped the boards carefully together.

The alignment was nearly perfect and only required minimal sanding when I pulled the clamps, the next day.

I set the very heavy shelf in place so that I could mark the ends for cutting.
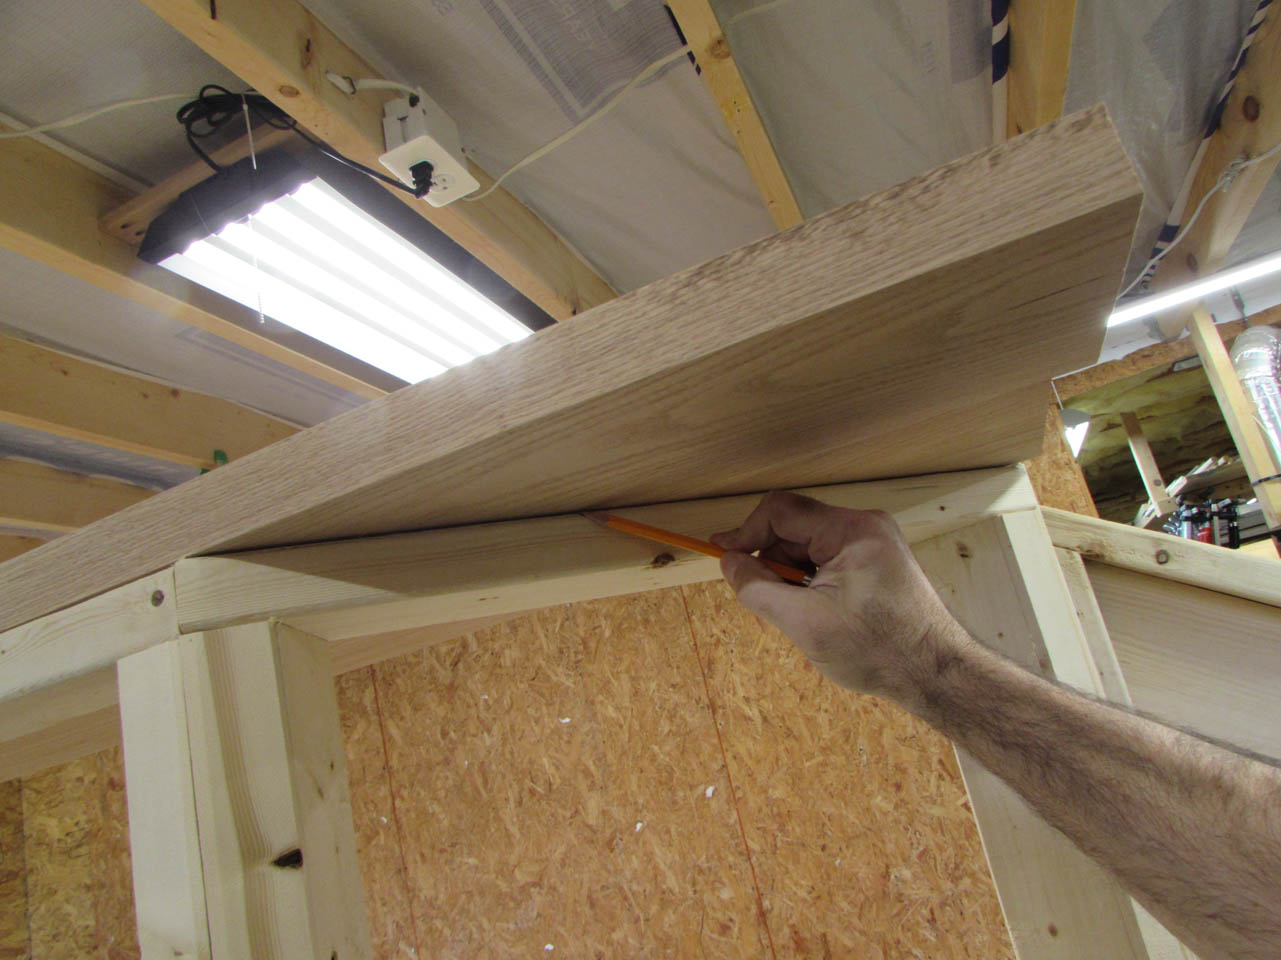

I used the track saw to cut the 45° corners off the shelf.

Then set the shelf back in place.

We estimate the candles to weigh about 40 pounds each so I did a simple load test to see if the shelf could handle 175 pounds in the center. There was no deflection so the shelf should handle the candles with no problem, once it is permanently bolted down.
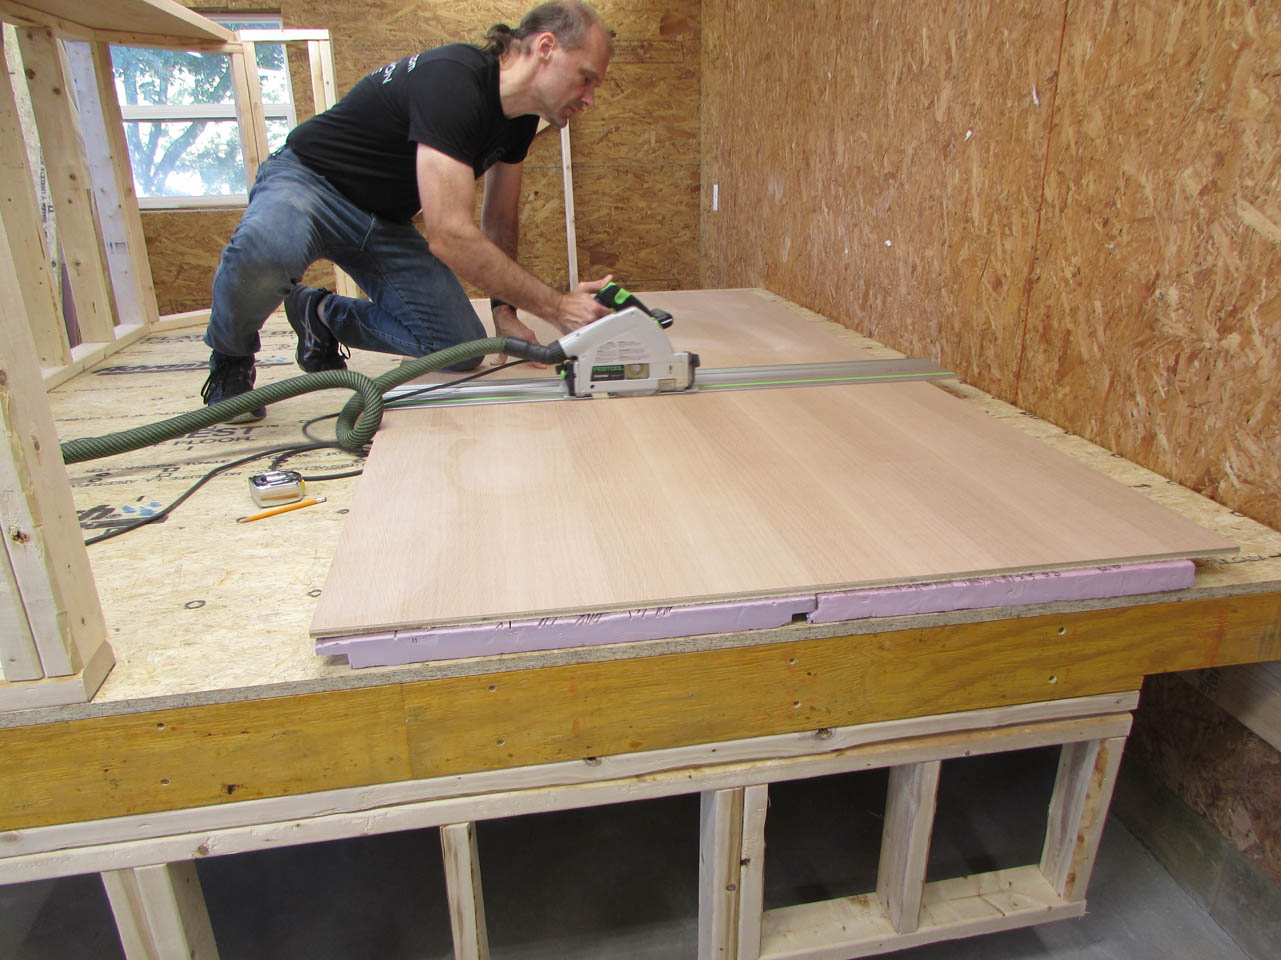
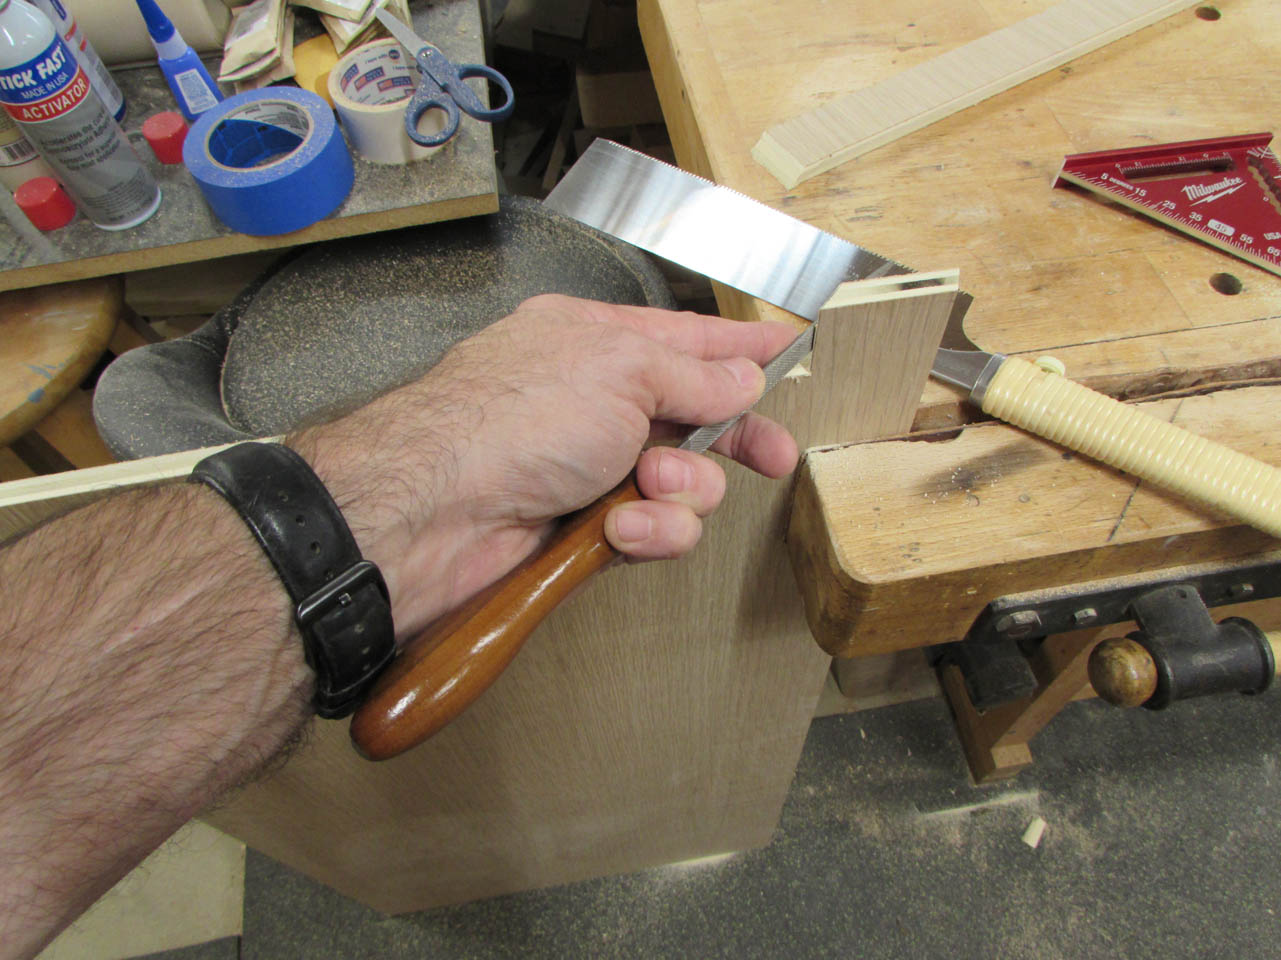
Moving on to the rift-sawn oak plywood that will be installed along all of the wall surfaces.

I used the track saw to cut each panel down to size.
It is also a good tool for cutting the 22.5° angle required for the joints at each corner.

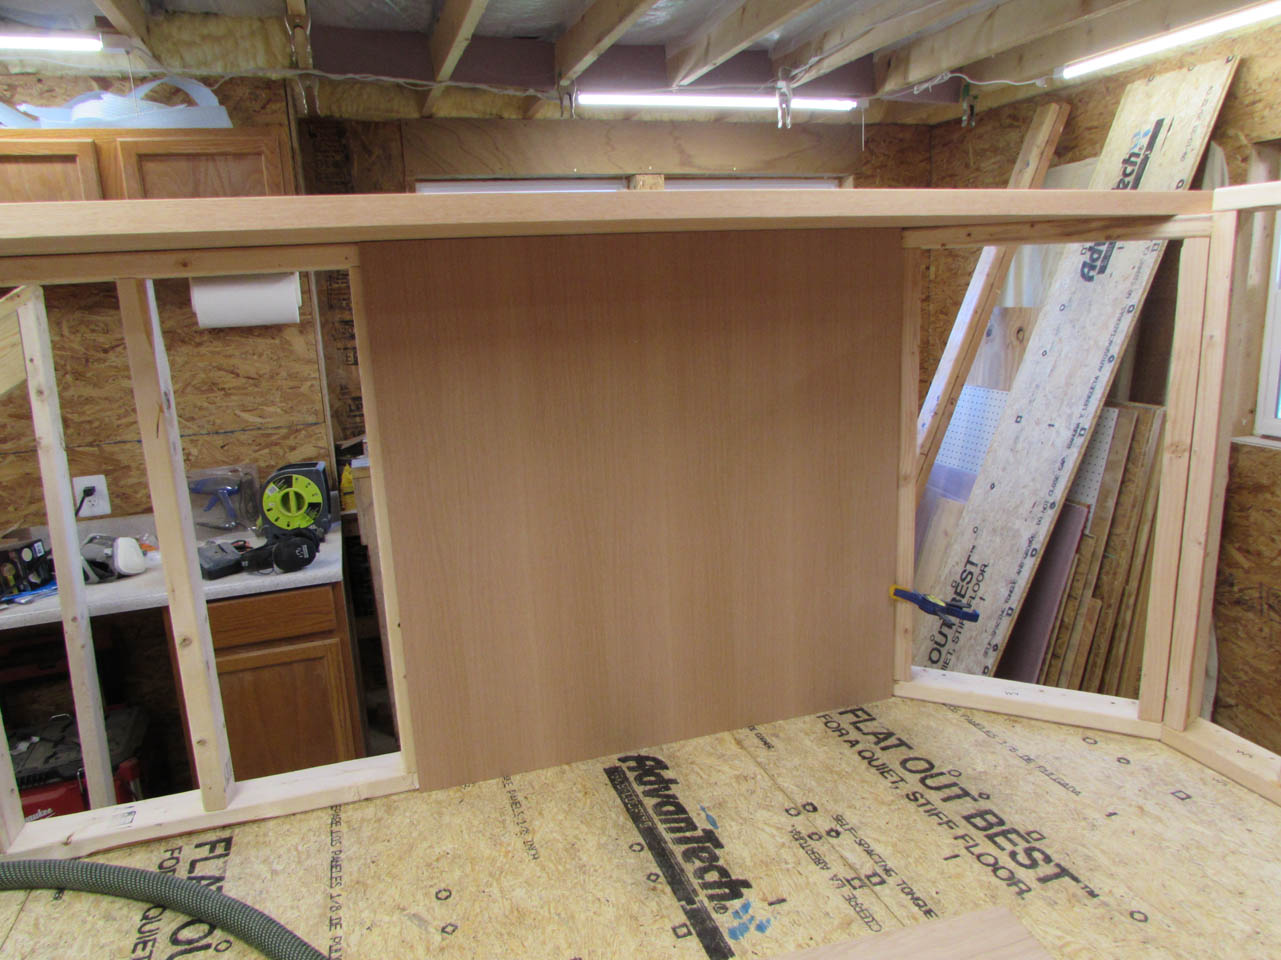
I set the first two panels in place, then marked the locations of the framing on the back side.
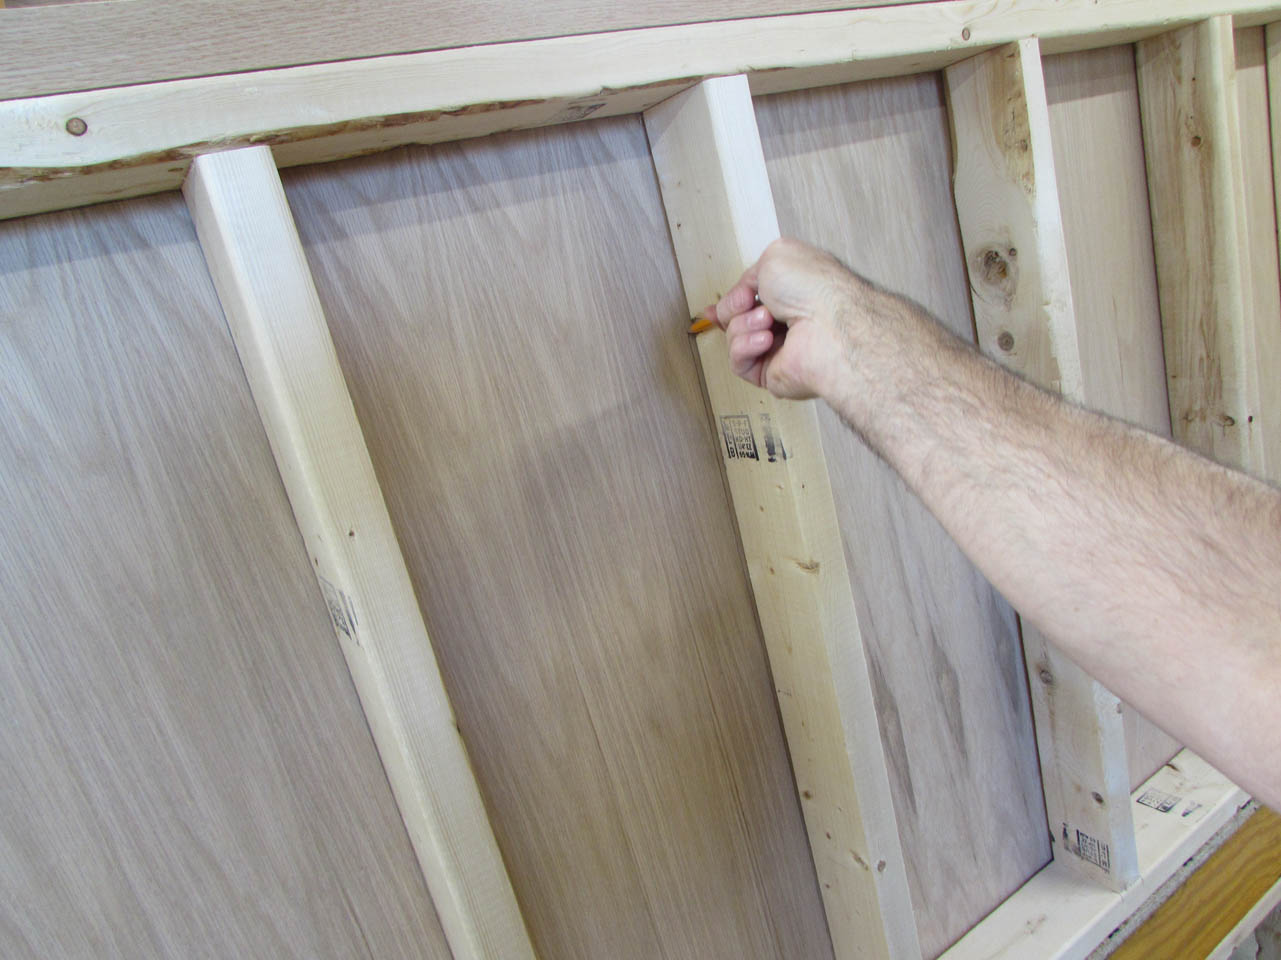
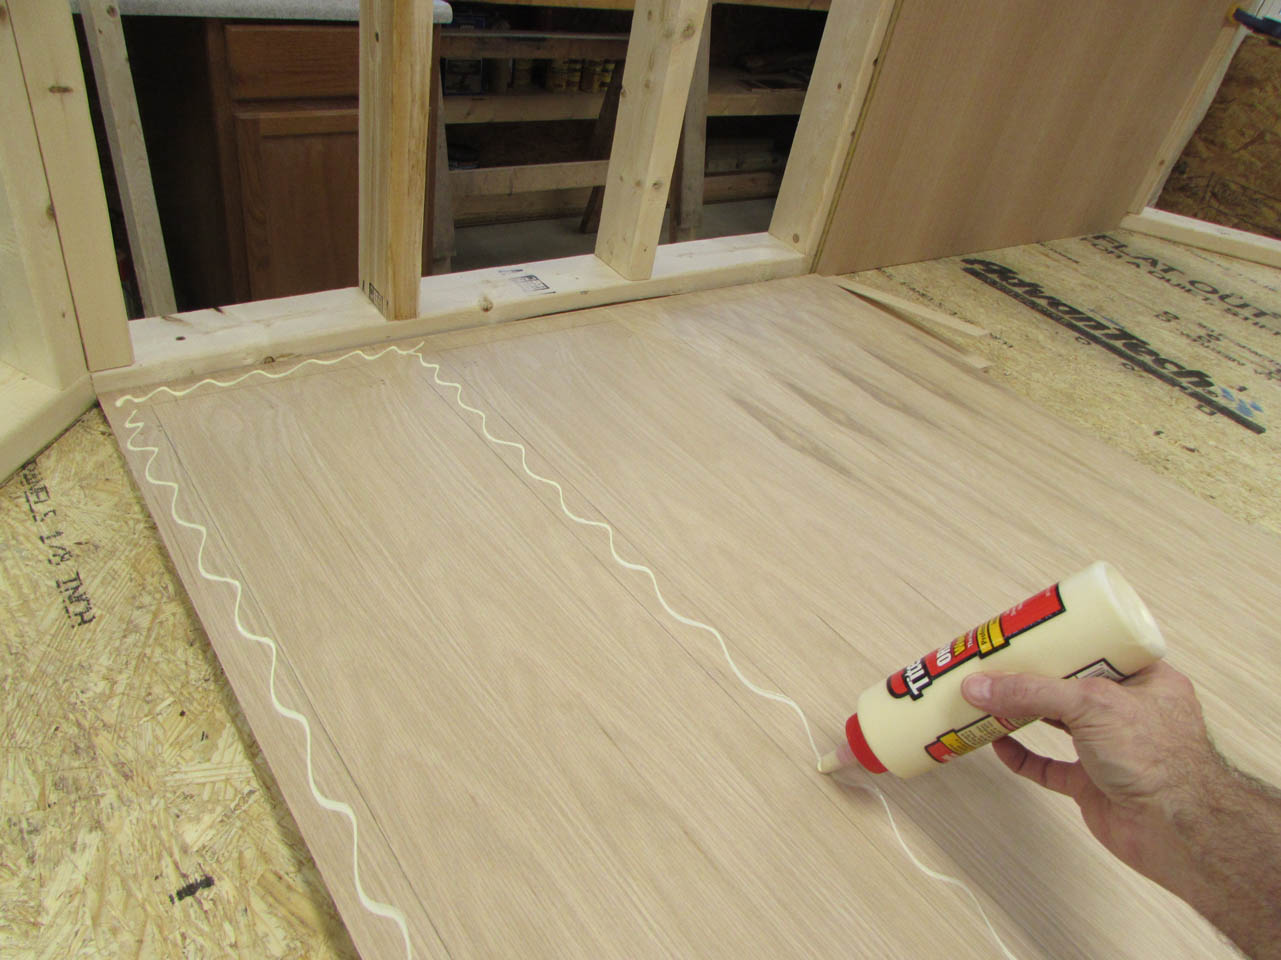
I applied wood glue to the marked spots and attached the panels with 18 gauge brad nails.


I continued working my way around, taking my time to match up each new section.


Once the left side was on, I repeated the process on the right.
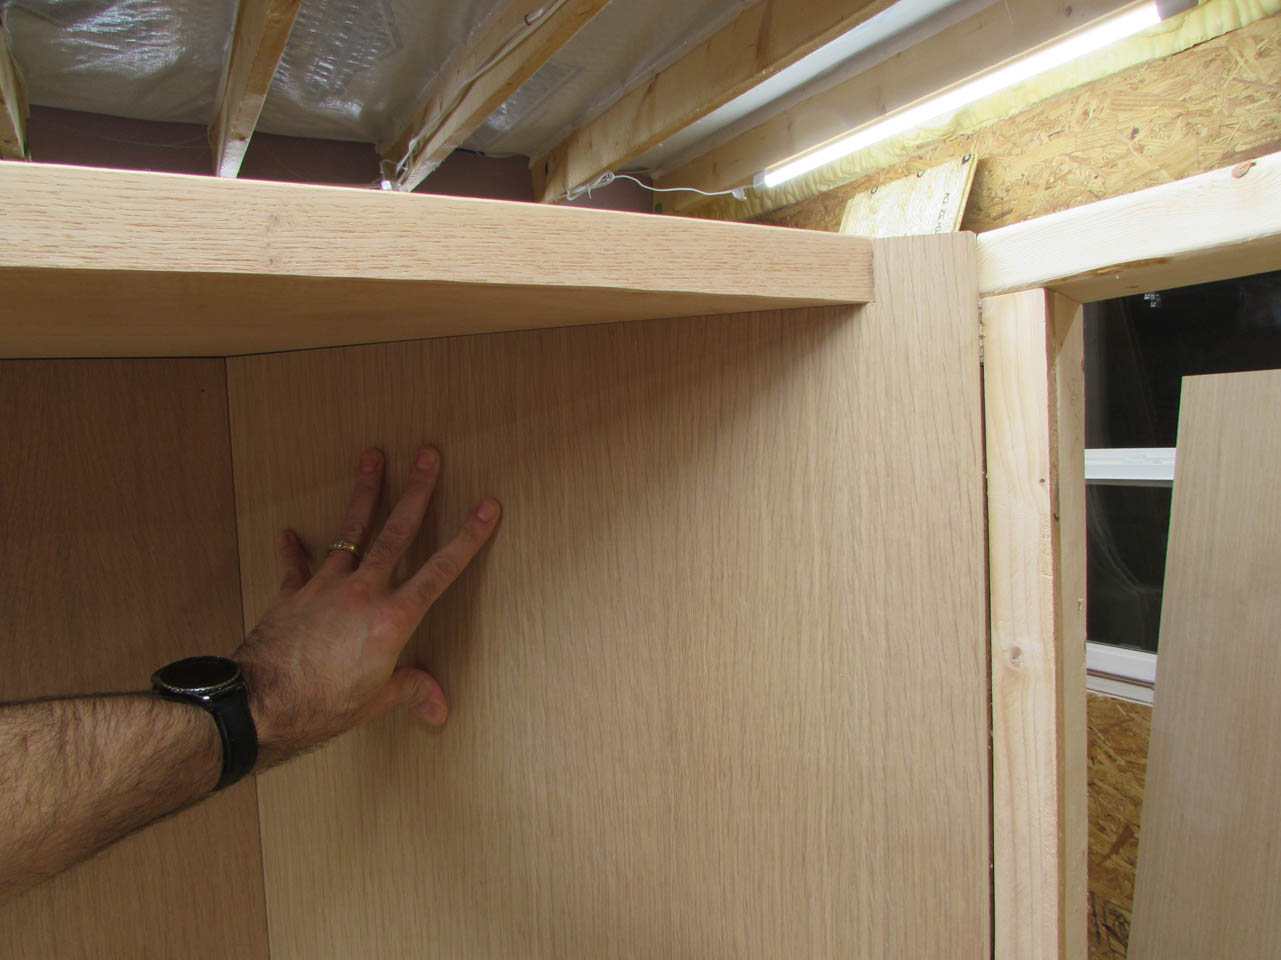
I think it looks really good. When I disassemble the panels later, I can stain and finish the oak.

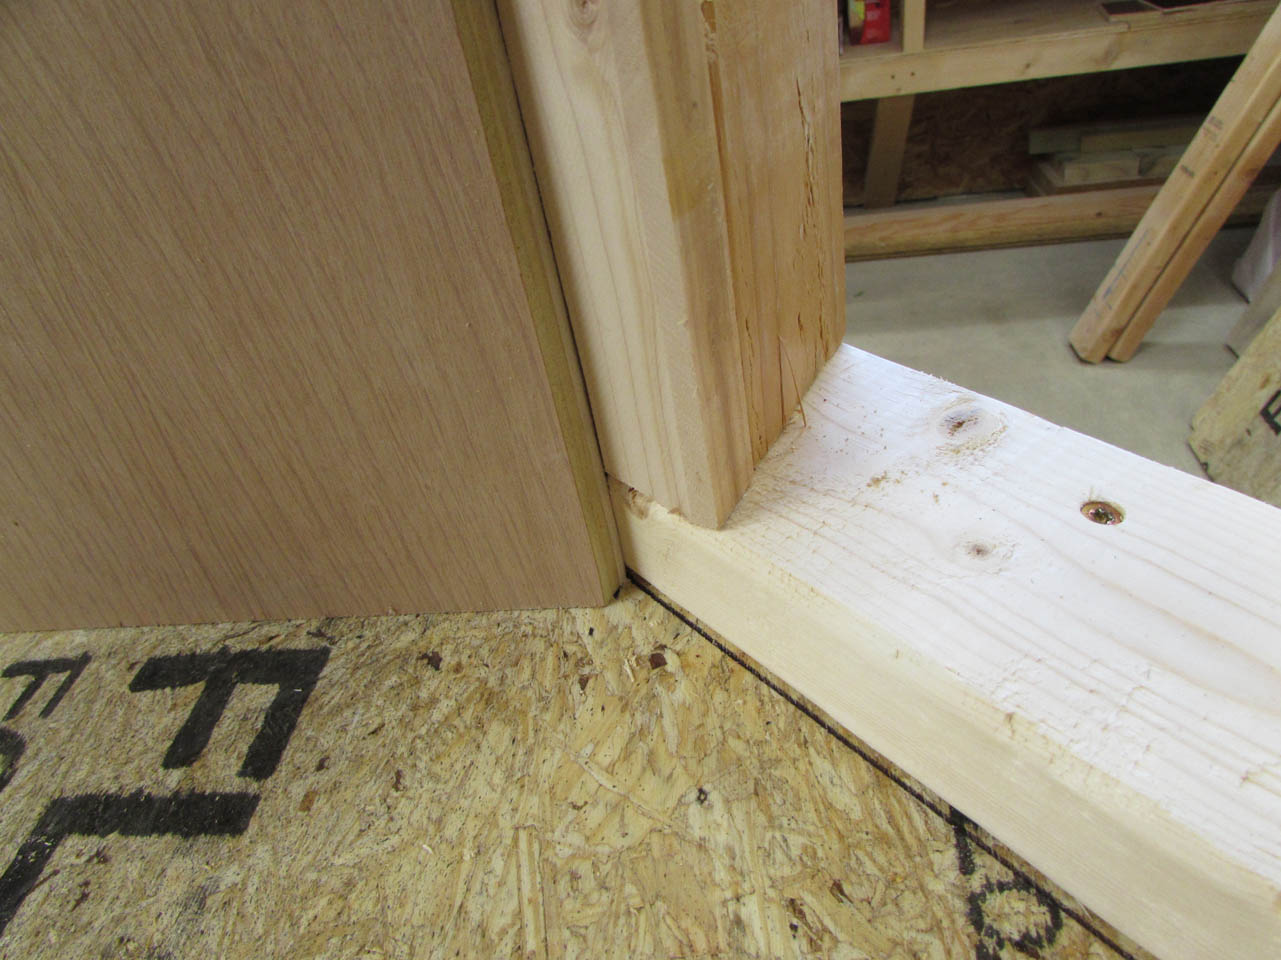
I will leave the oak attached on just one side for now so I can break down the walls for transport.

Next up, the outer panels, then the stairs.
