
Raphael’s desks – part 4
My friend Raphael has been busy this summer, but I finally dragged him back into the shop.

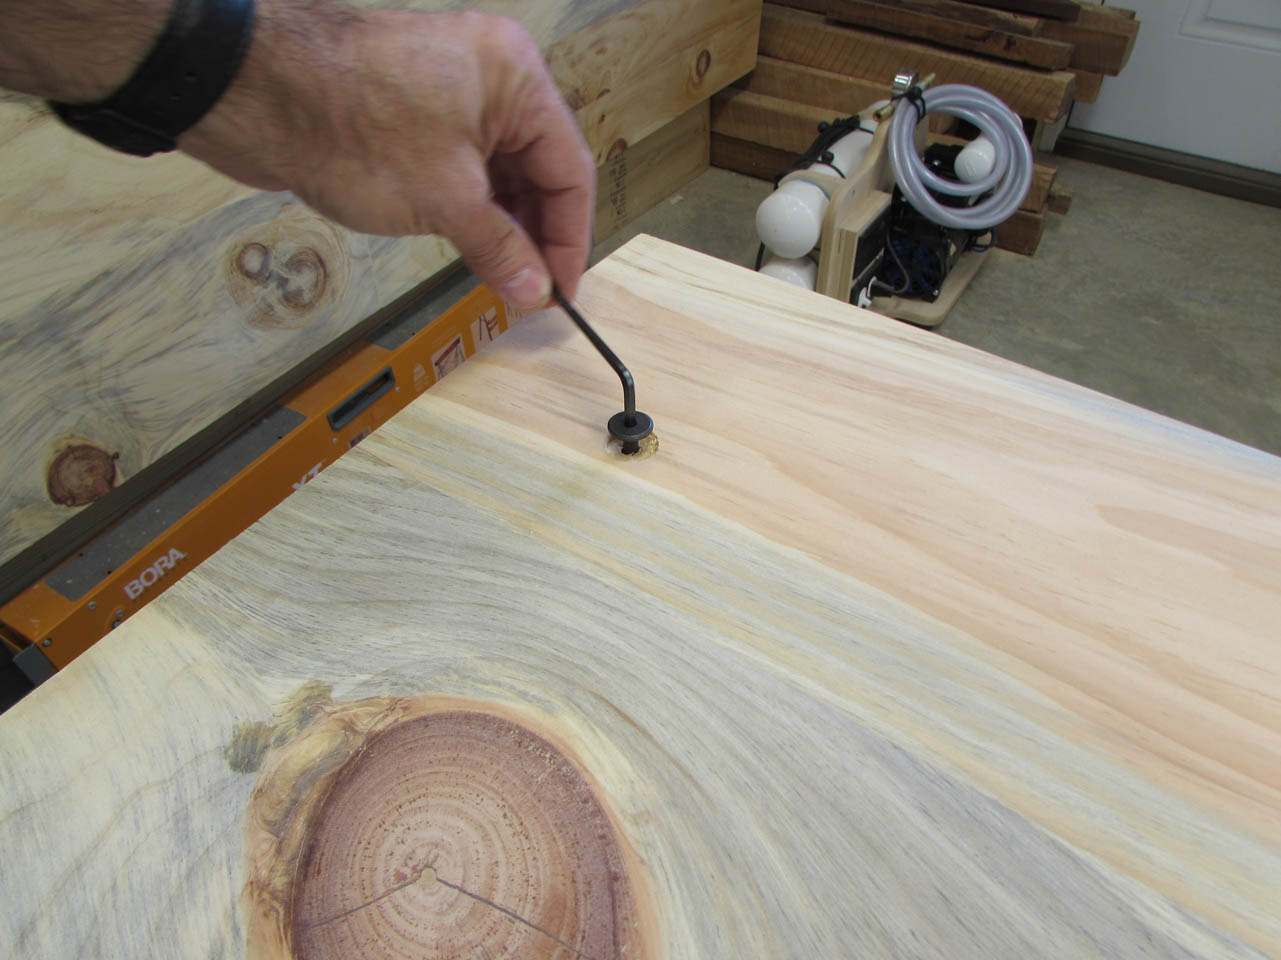
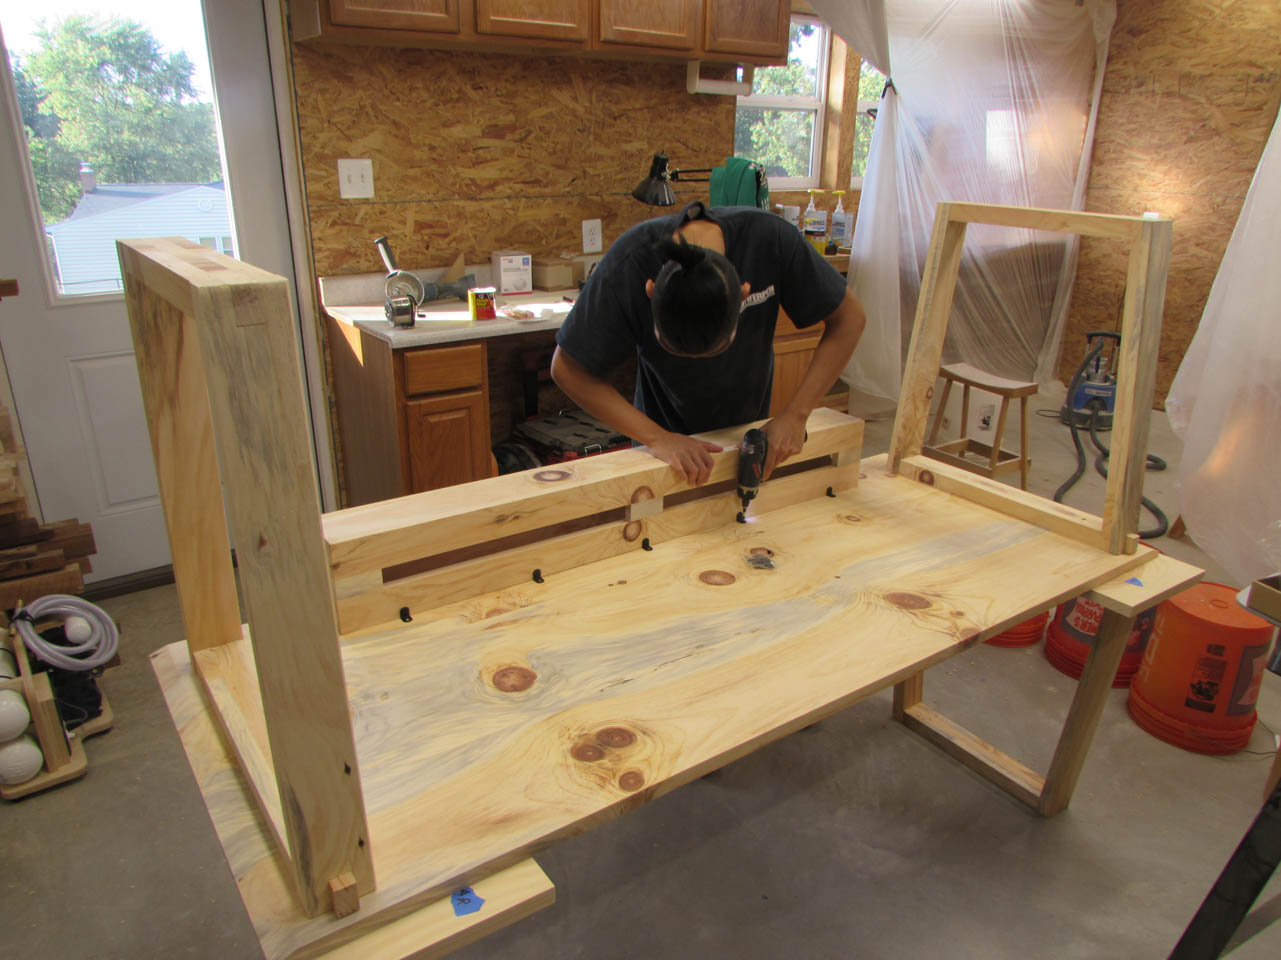
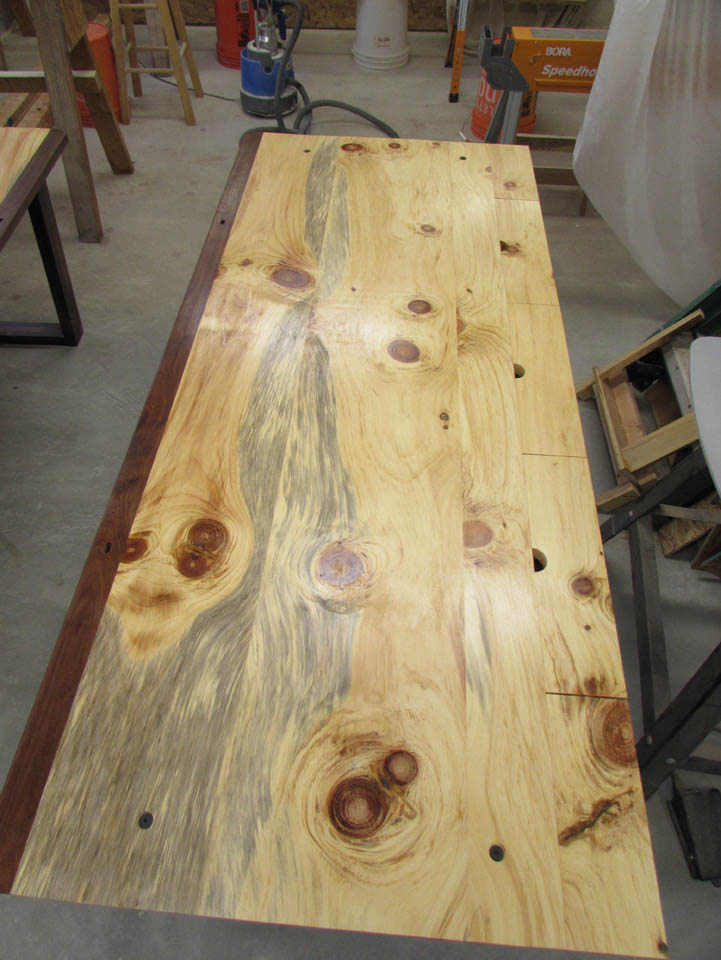
With most of the parts of these desks complete, we now have to start cleaning up the details of how it all gets assembled. He wants the legs to be removable for easy transport so we drilled two holes in the top of each and he installed threaded inserts. To locate the holes in the top and the legs, we set the top in place and drilled a small pilot hole through the top into the legs.

After drilling shallow counter-bores in the top of the desks, he inserted some large wafer head bolts to attach the top.
Yes, the bolts are visible from the top but these are computer desks so the shallow holes will not be in the way of anything. Structurally it made more sense to attach from the top into the legs. We would have had to use smaller screws to attach from the bottom up.

Load testing was successful.

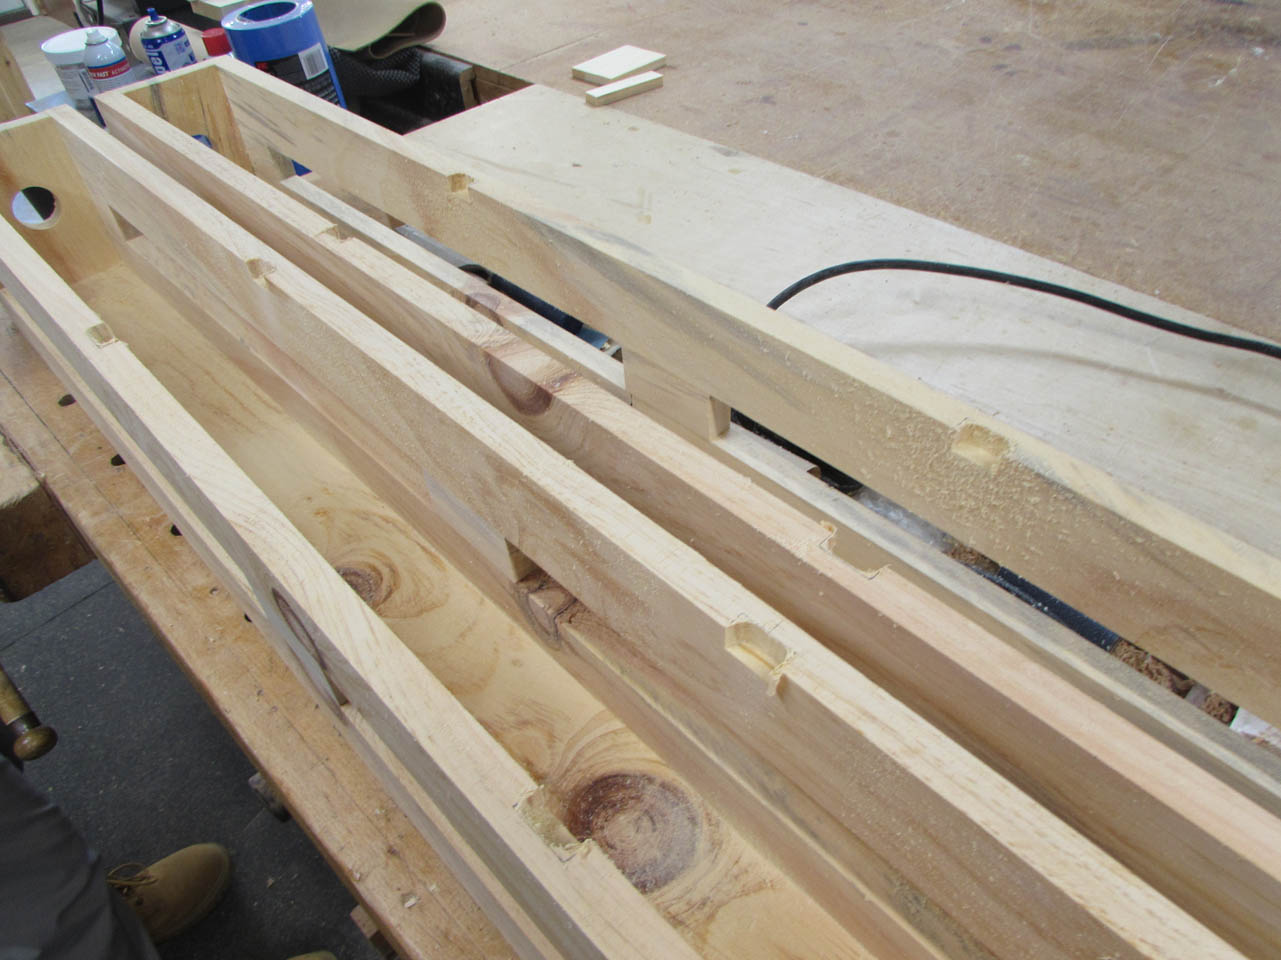
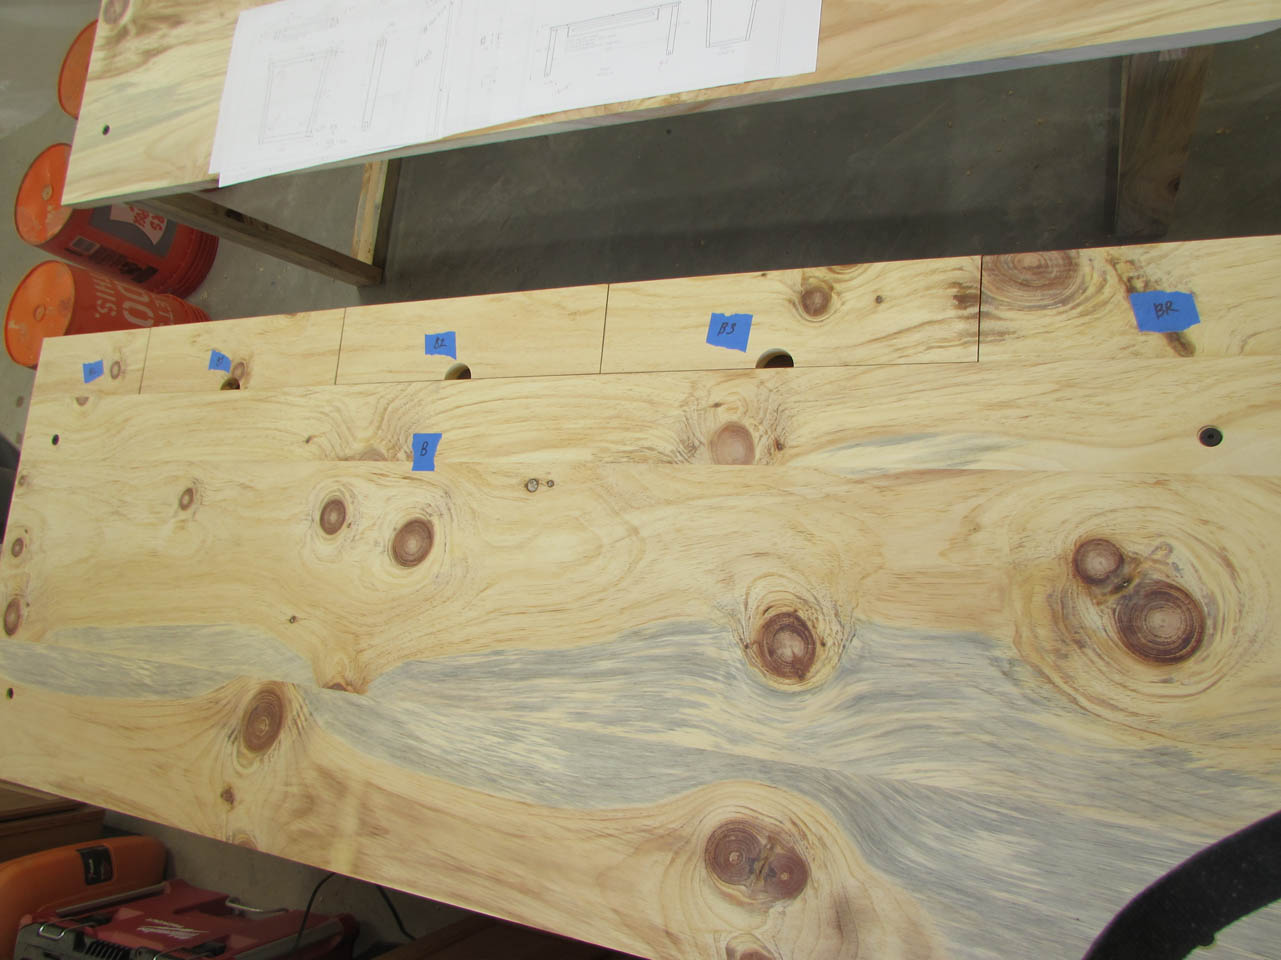
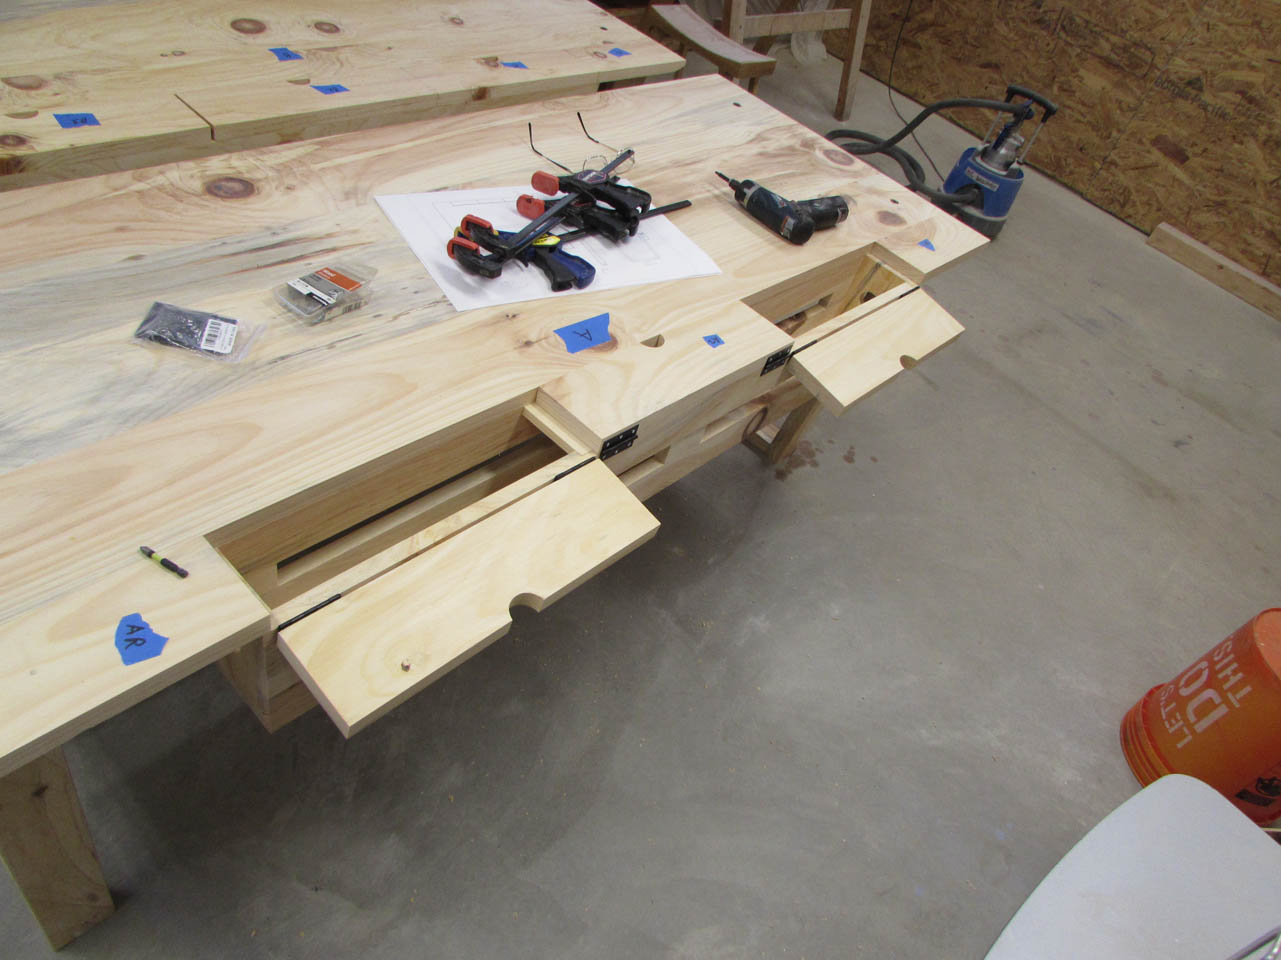
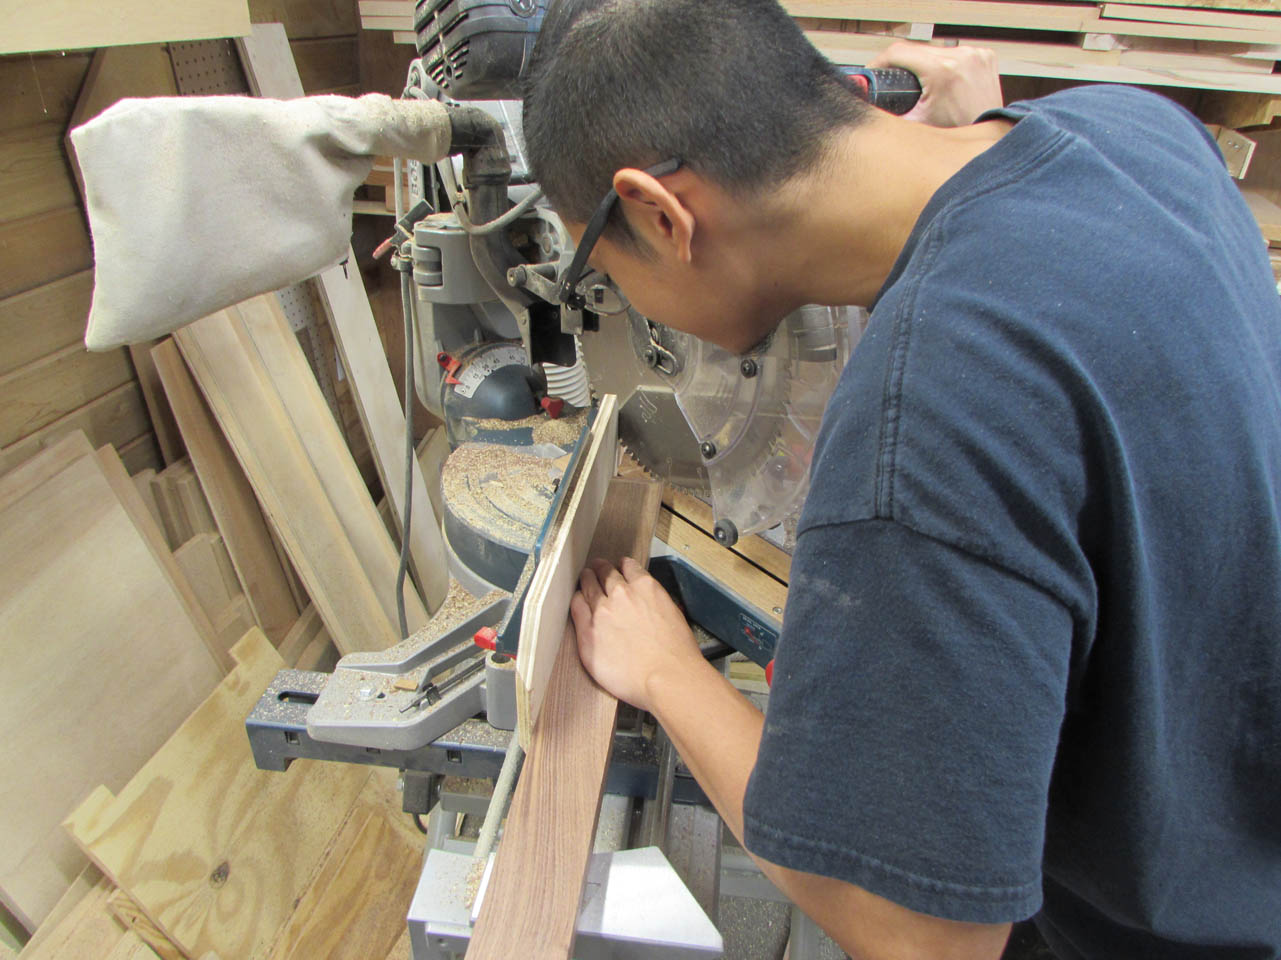
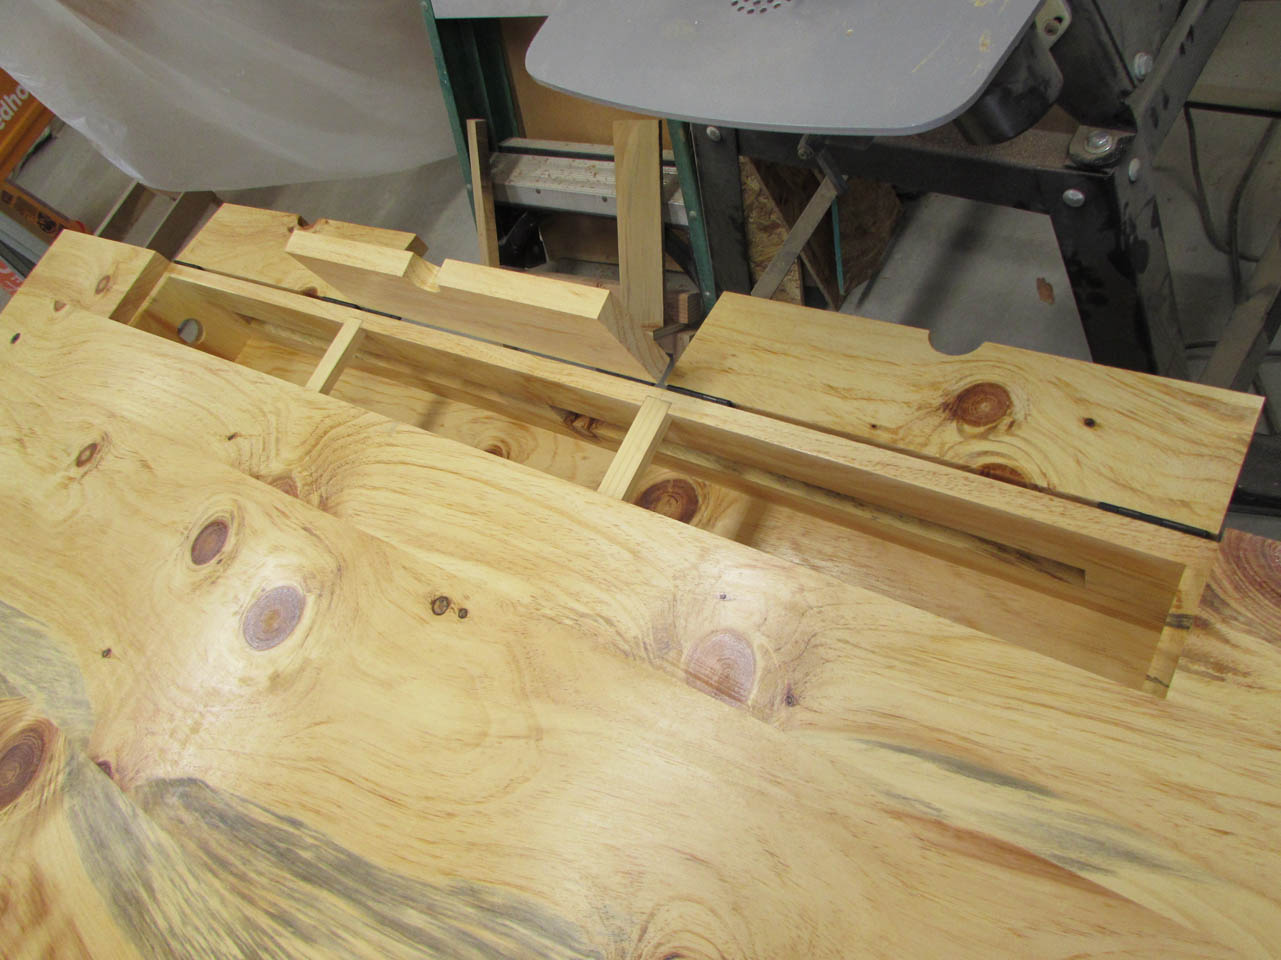
Next detail is to cut the doors that access the wire trough. Raphael wants all of the wires up, out of the way so they will all run into this basket in the back and come up through notches in the doors.

We want the doors to be grain matched so we will cut them from the marked piece of wood that was left over from cutting the two back corner pieces.


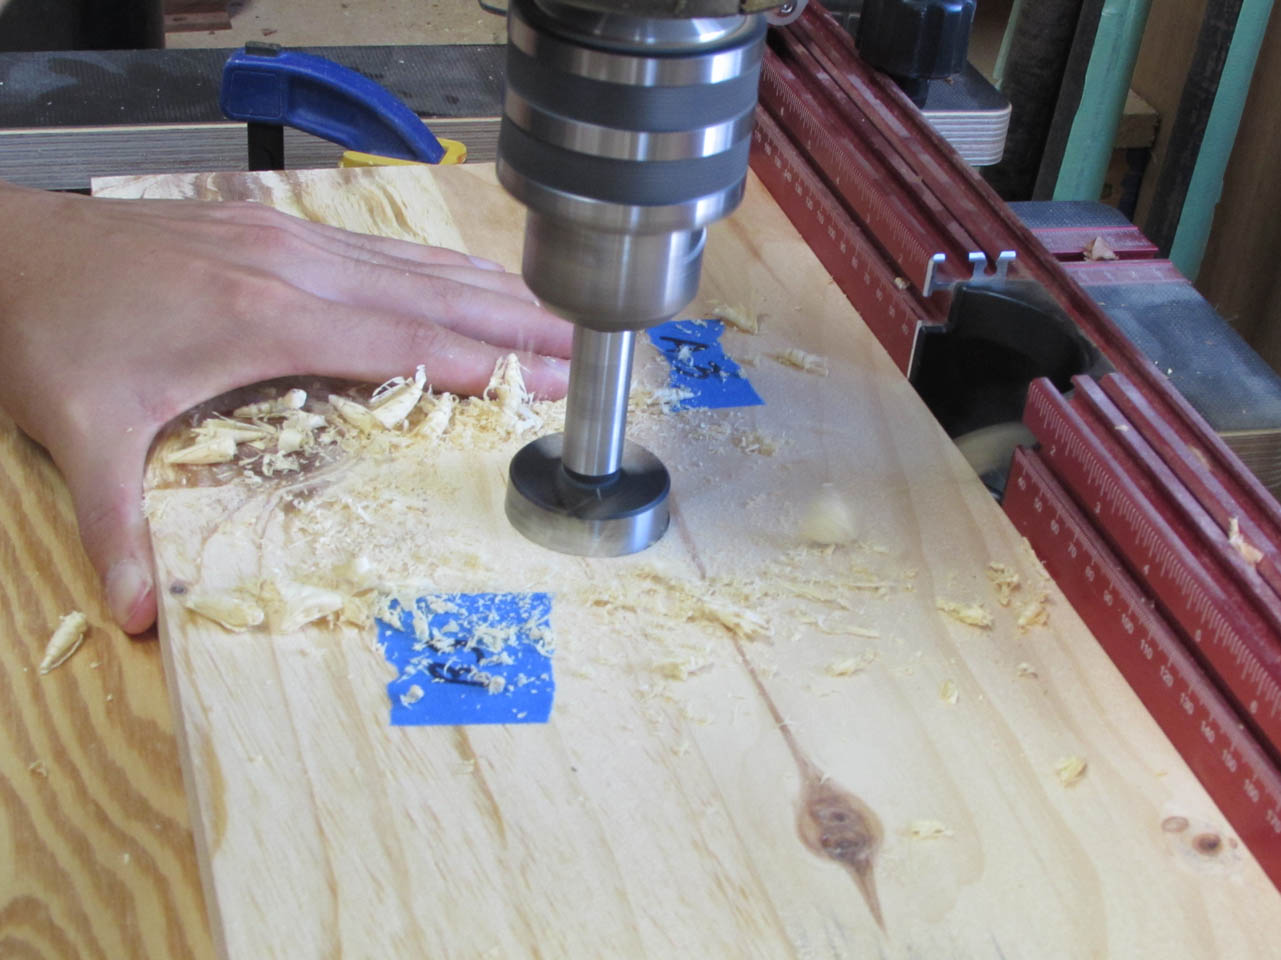
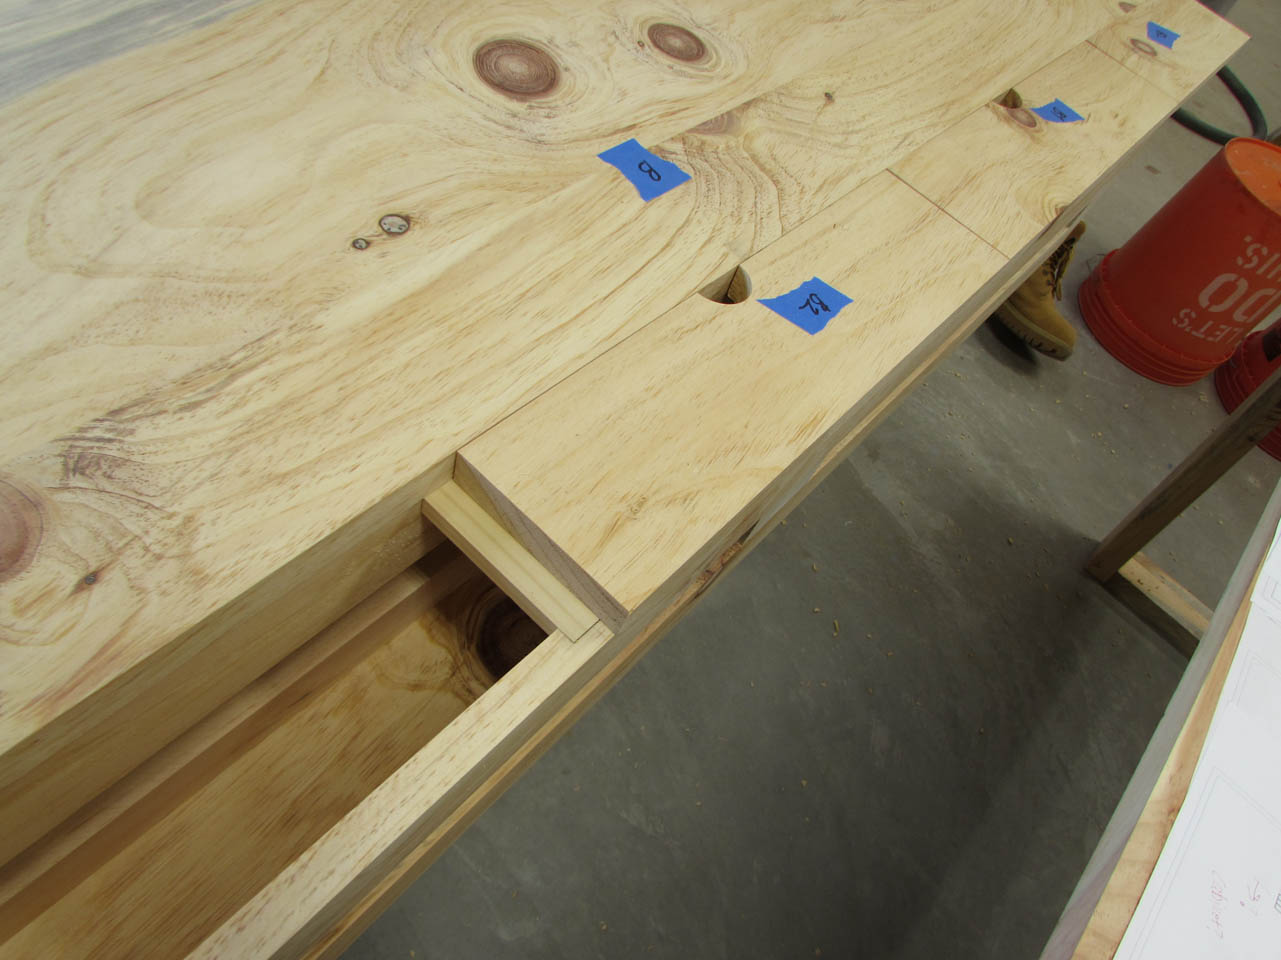
To create half-circle notches, we just butt two of the doors together and drill a hole in the center where they meet.

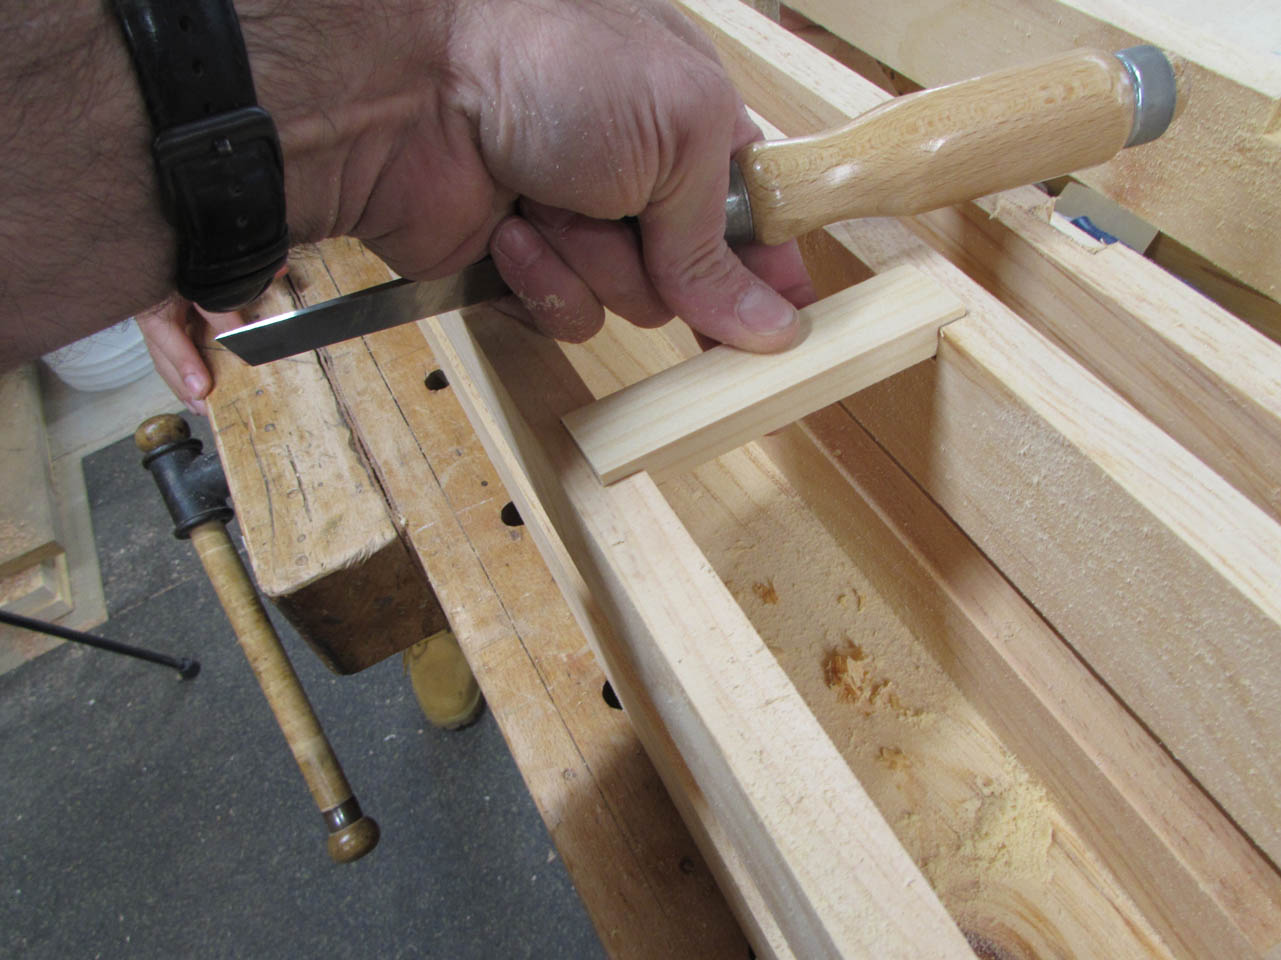
The doors will need a lip to land on so we need to recess some cross-bars where the doors meet.
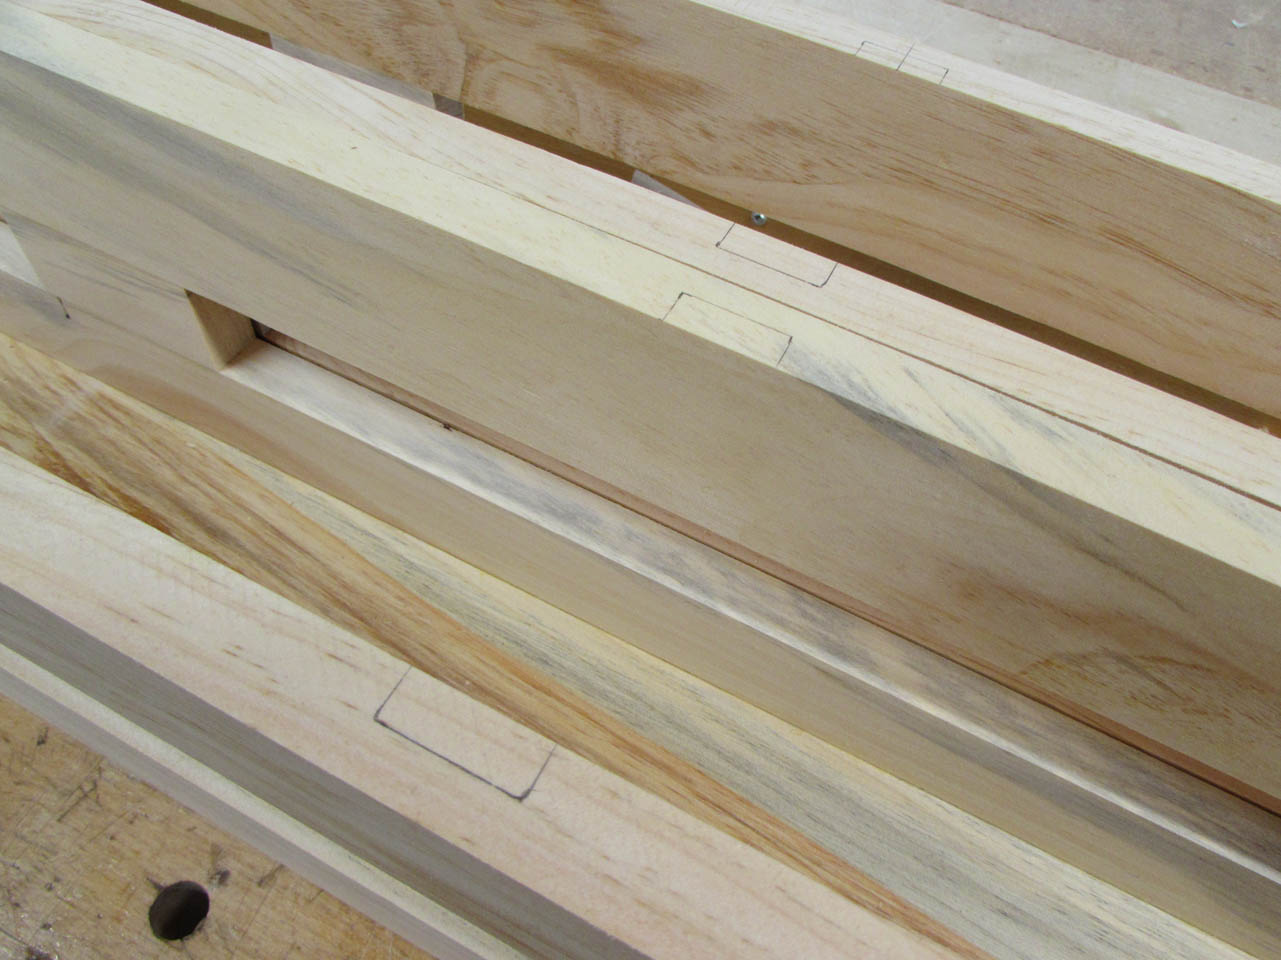
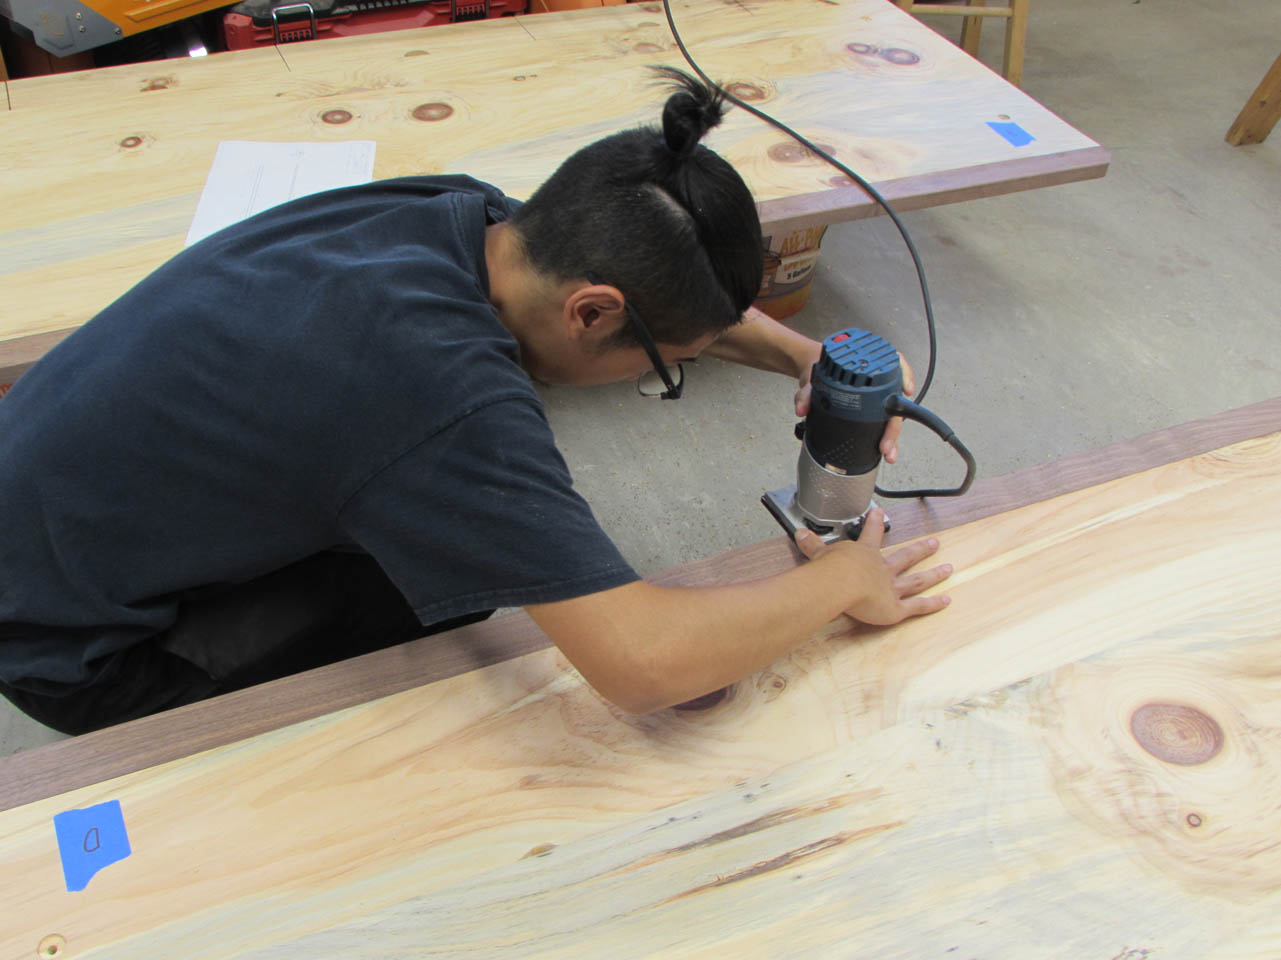
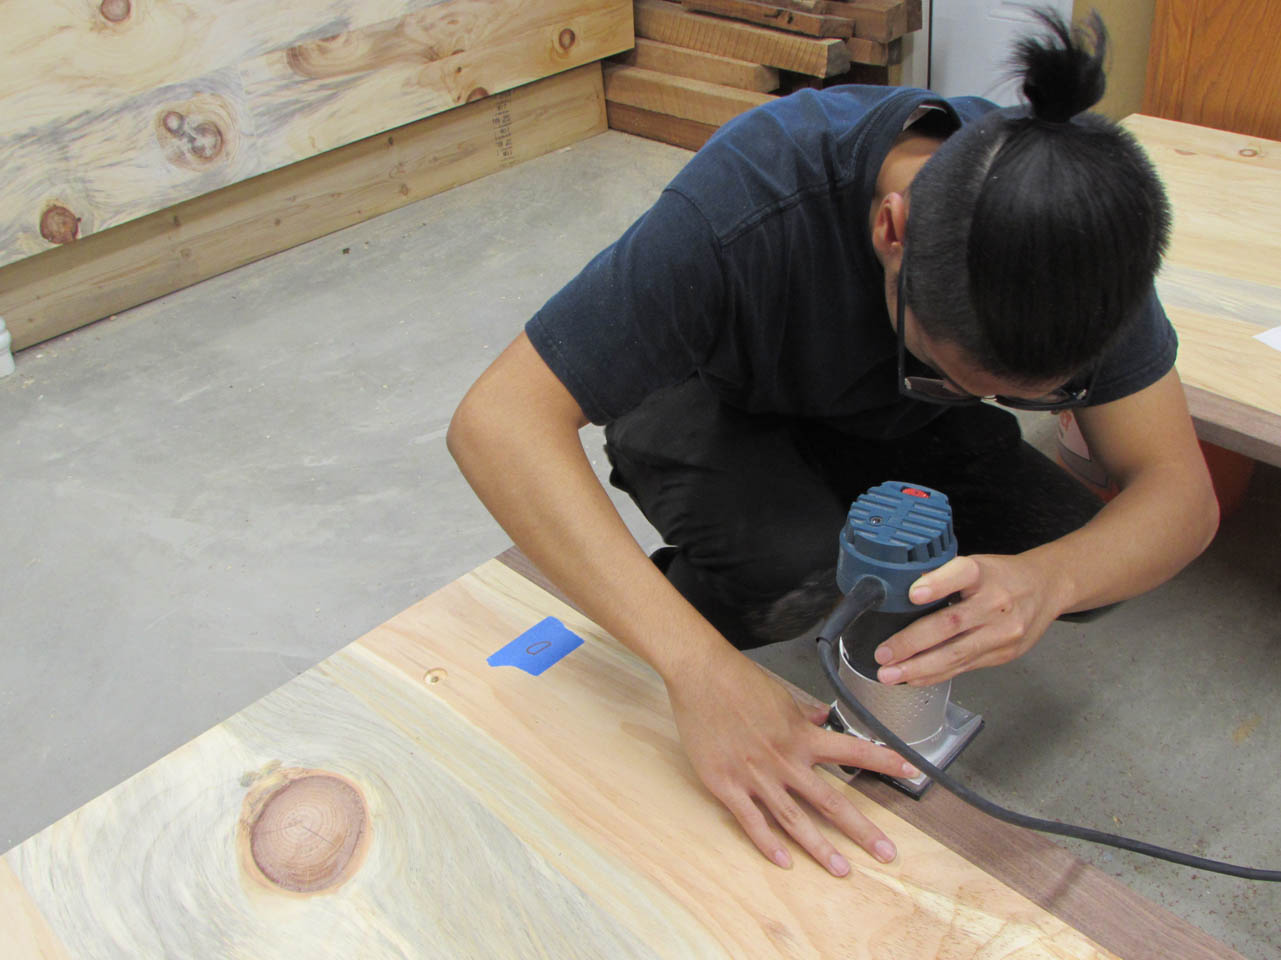
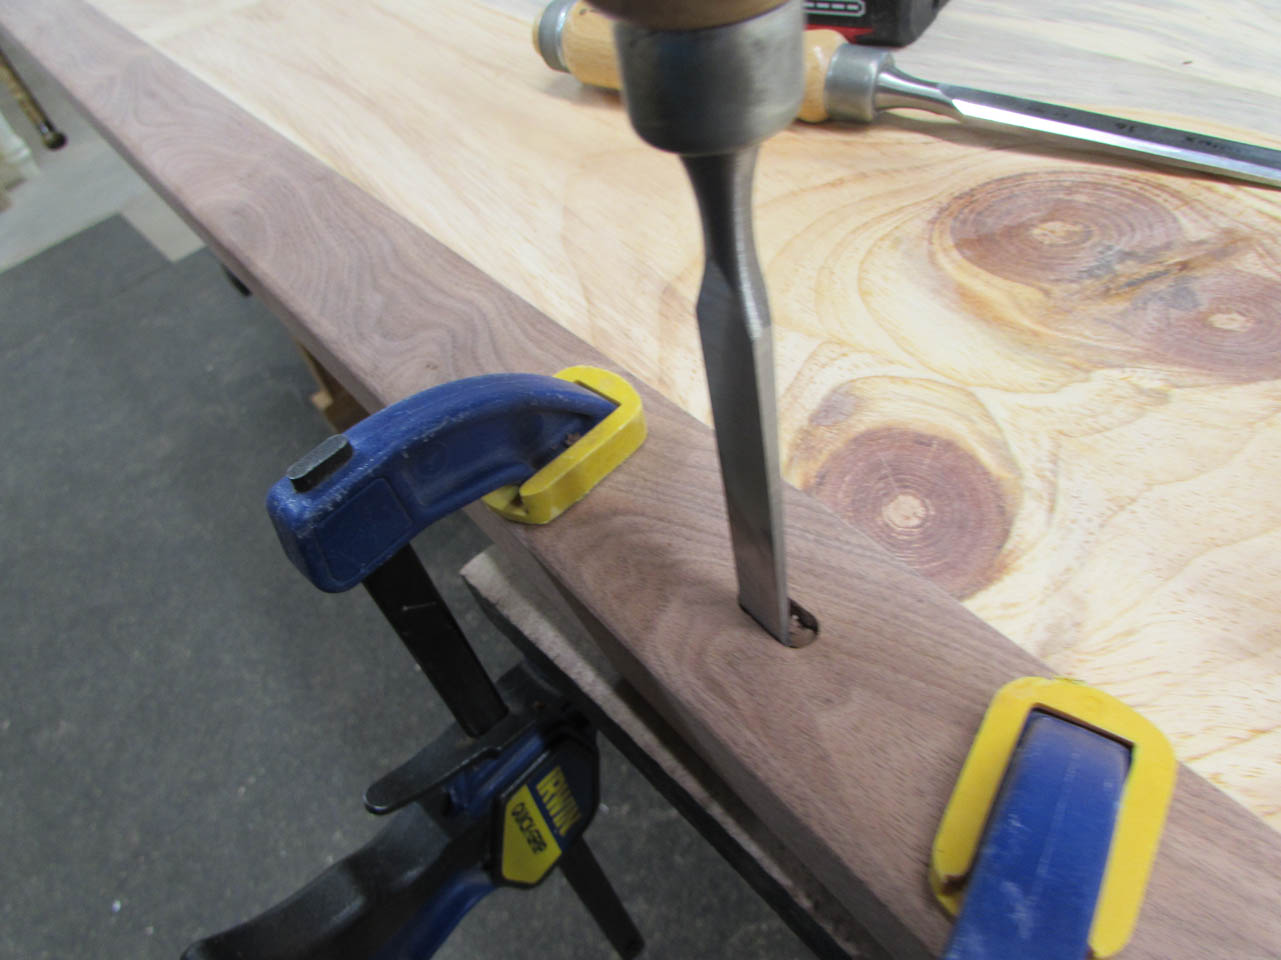
To create these notches, I used a cross-bar to set the depth of my router.

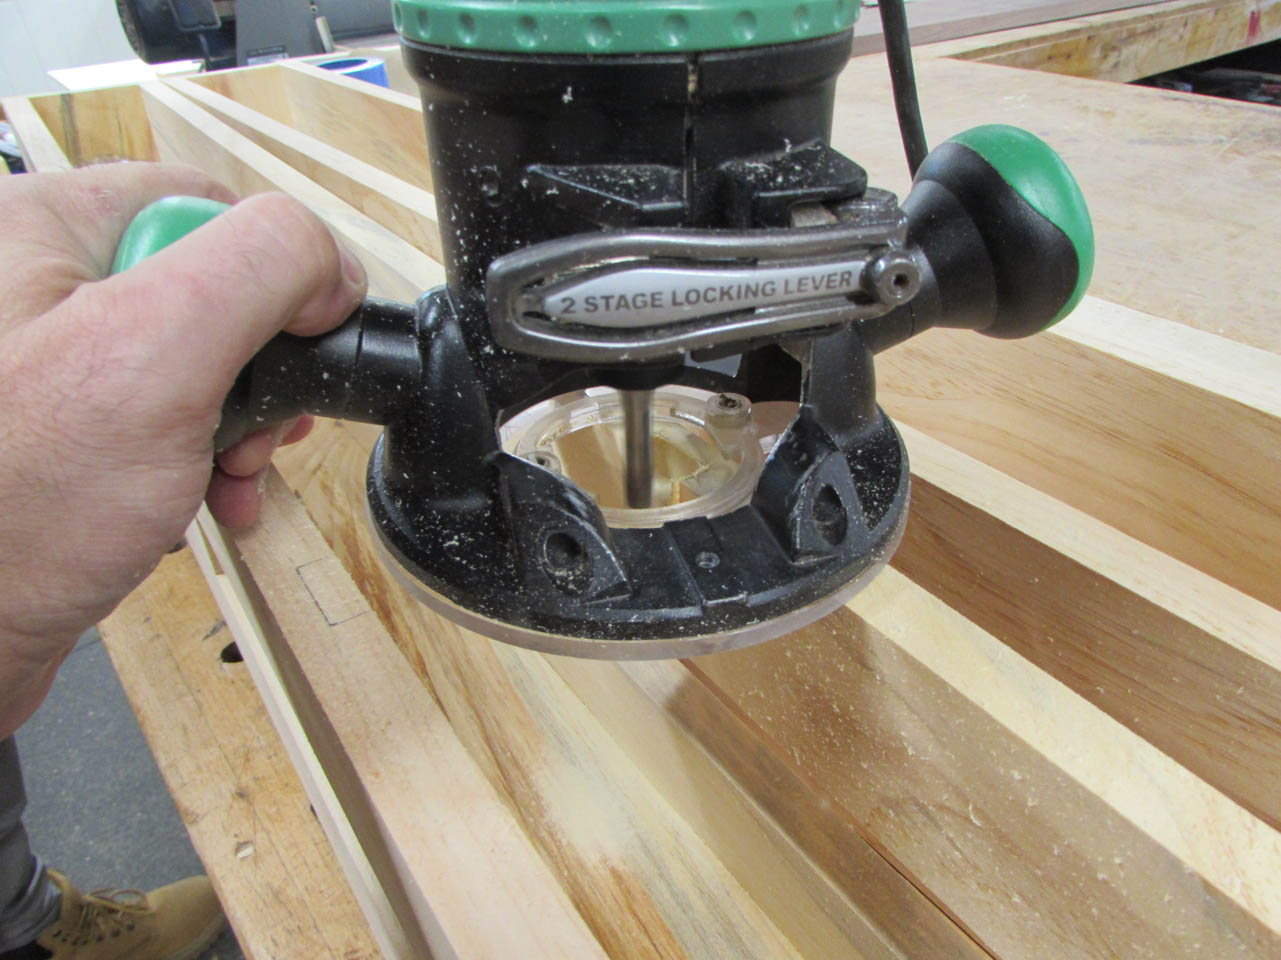
Then I free-hand cut each notch by eye, staying inside the line.

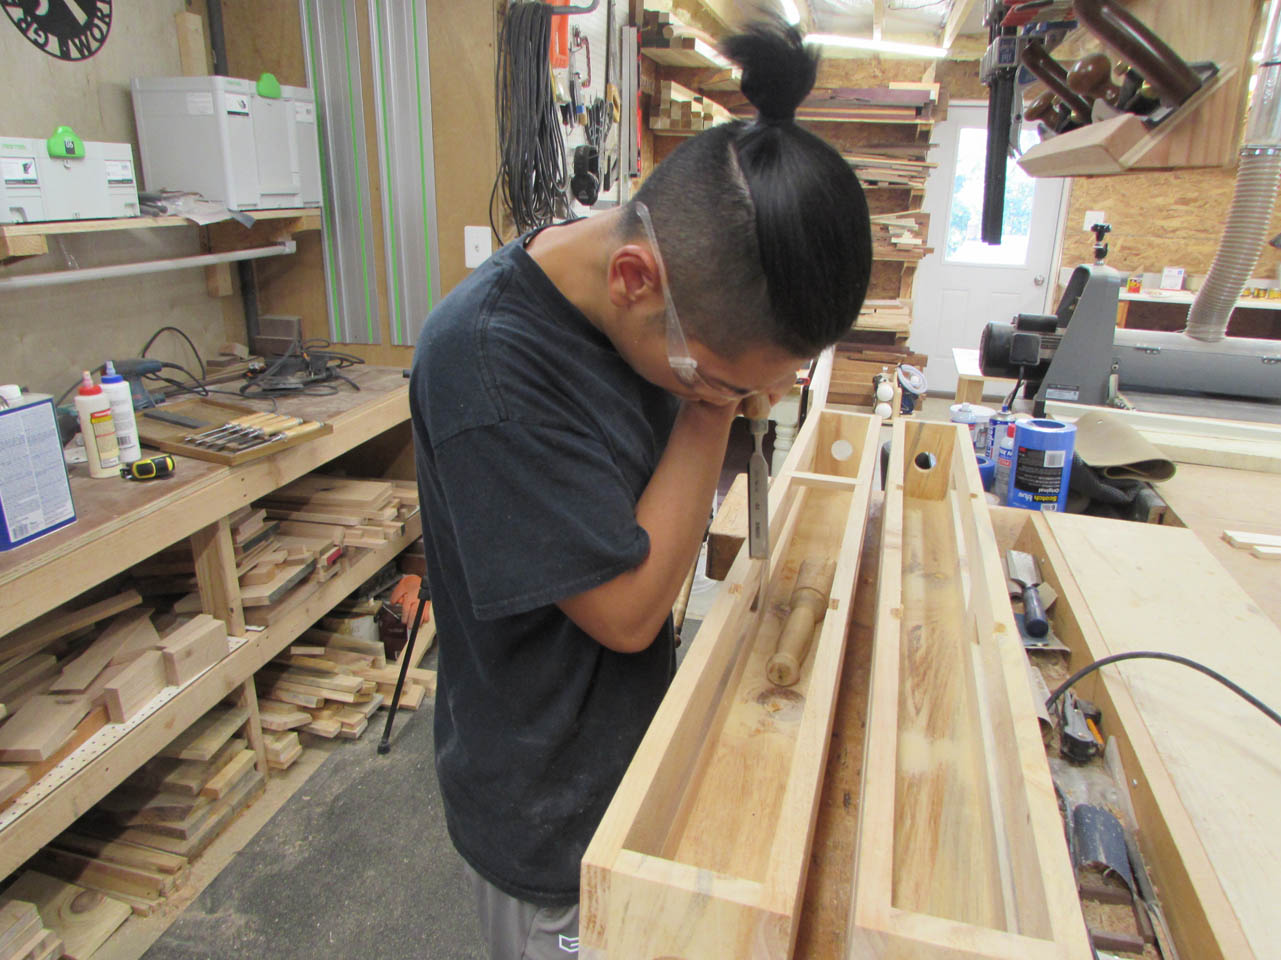
A hand chisel can easily clean up and sharpen the corners.
I did the first one and Raphael did the other seven notches.
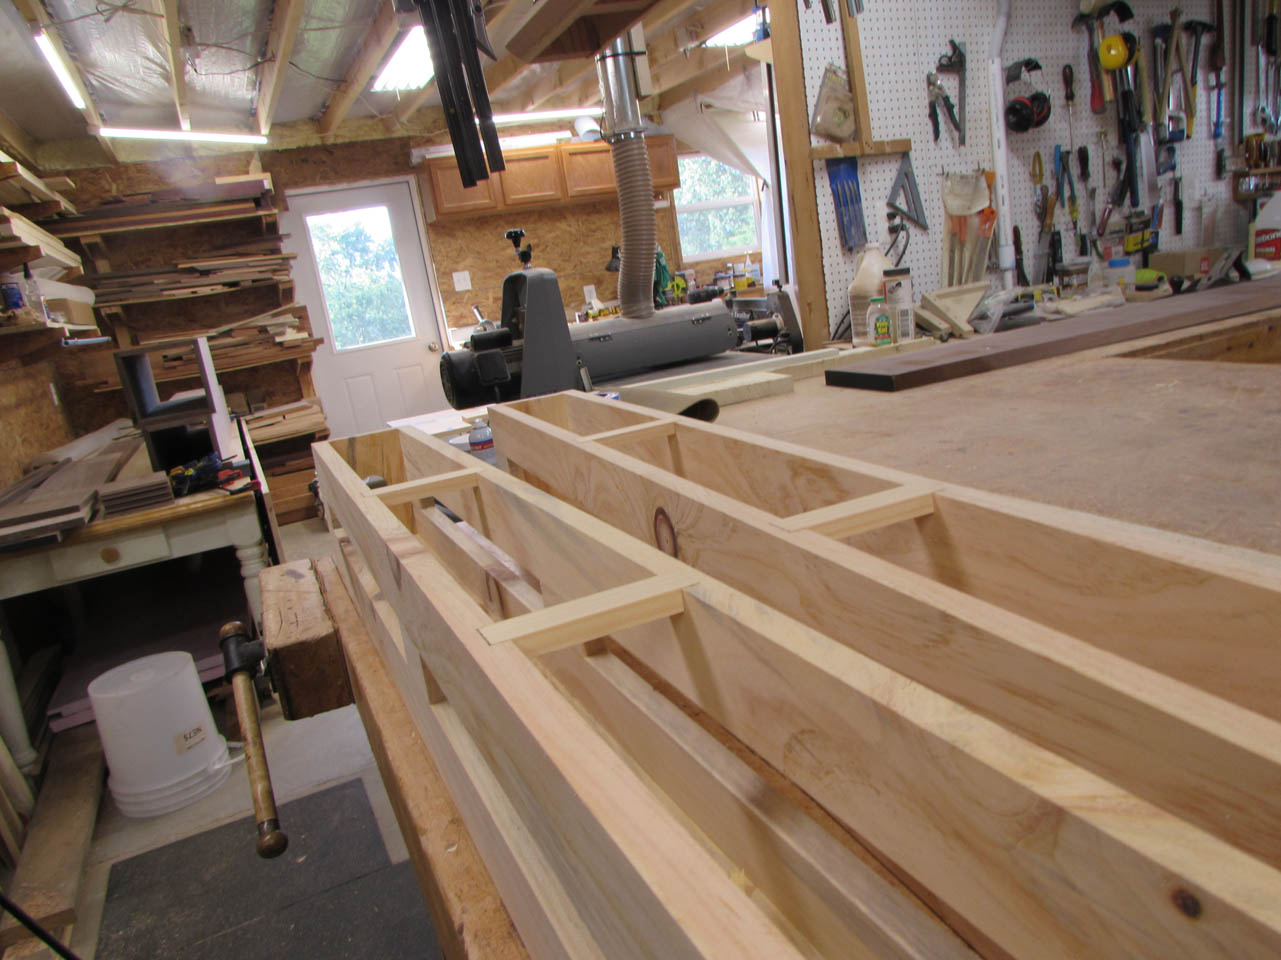

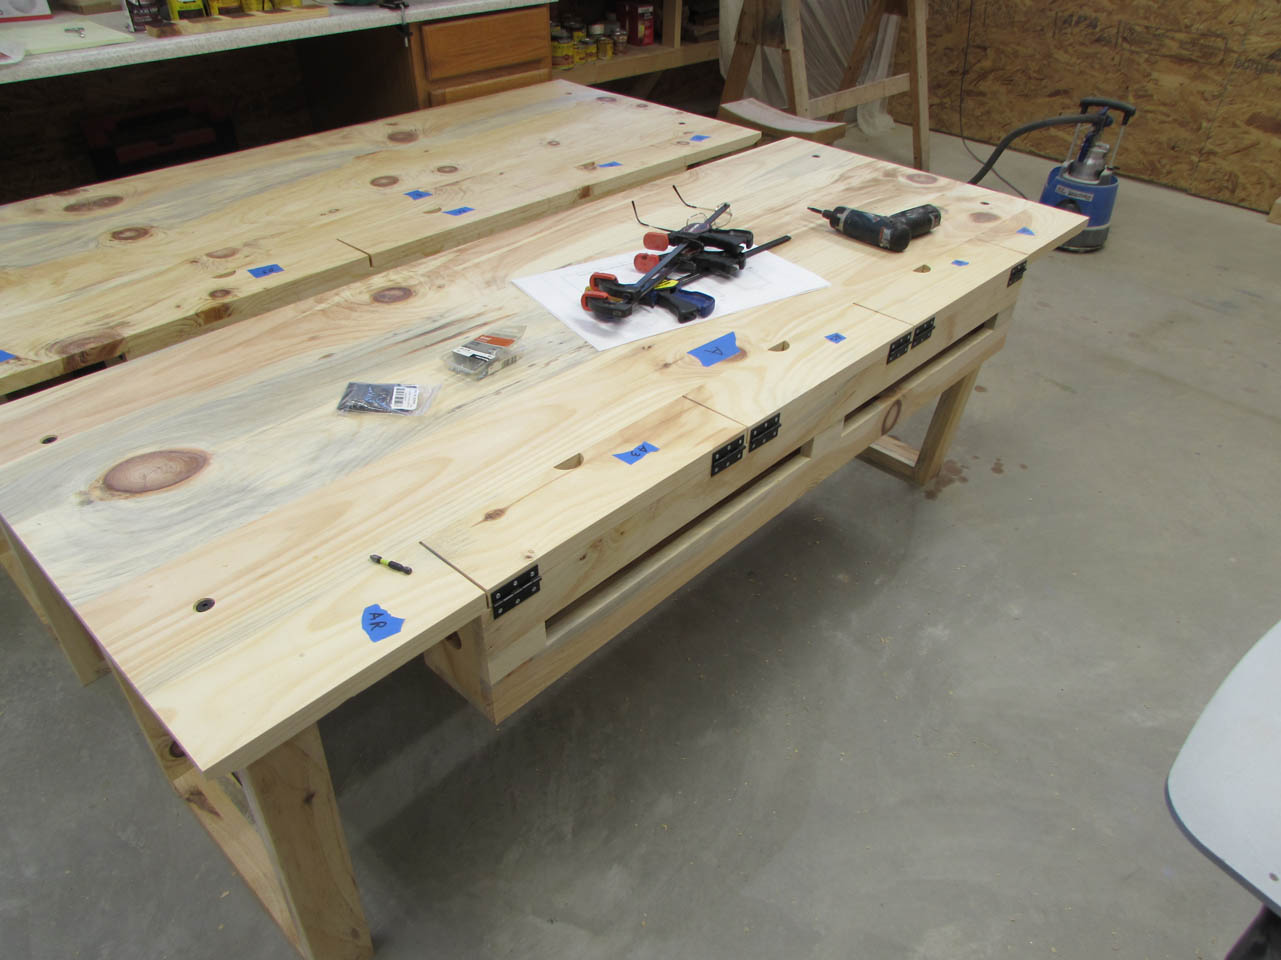
To attach the wire trough, Raphael purchased small angled brackets that he located about every 8 inches and two on each end.
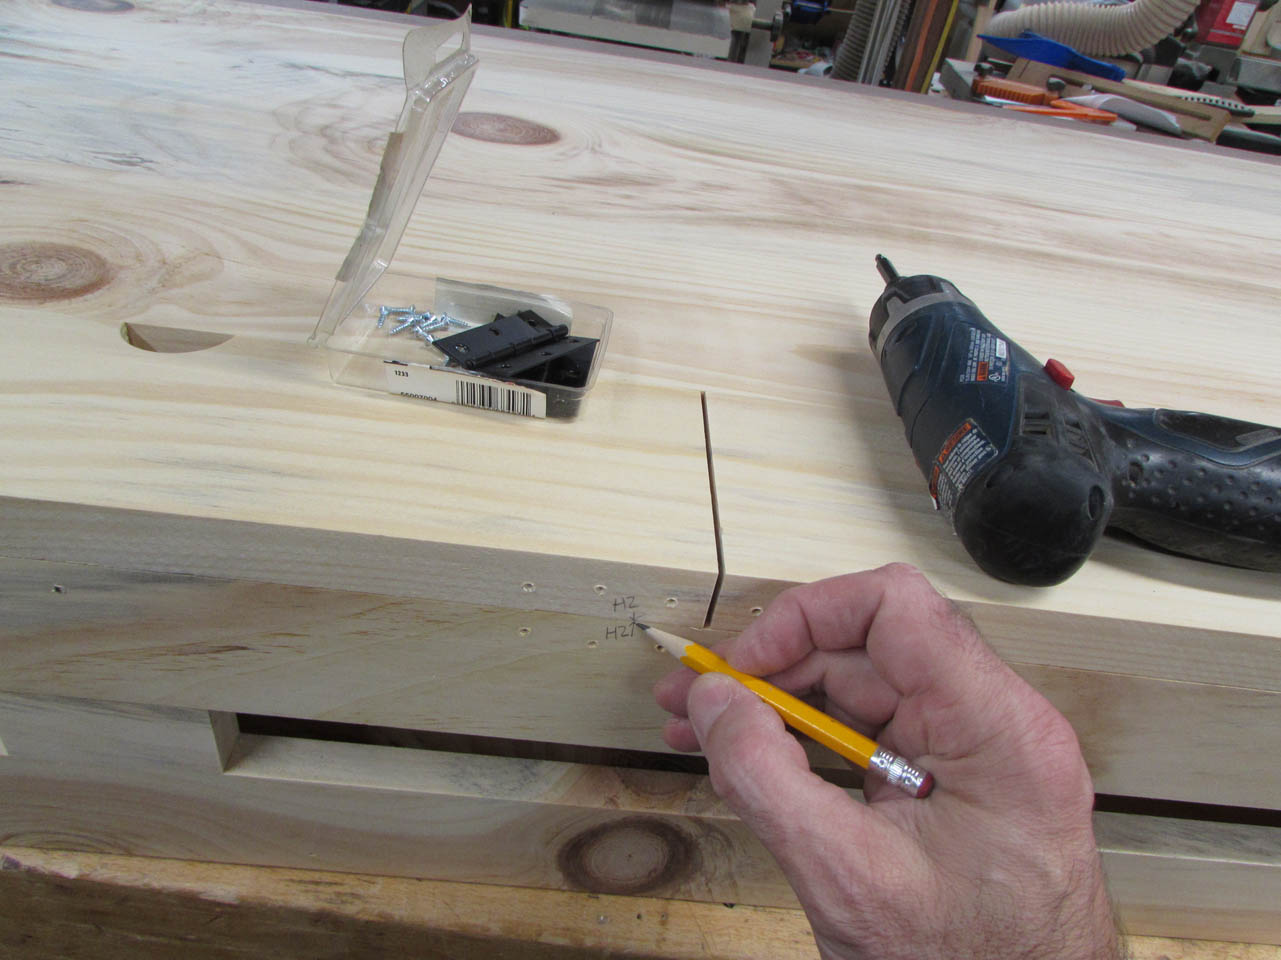
With the trough attached and the doors in place, we can locate the access doors.
After testing the fit, we cut a 3° angle on the front of each door so that they wouldn’t bind and be easy to open.
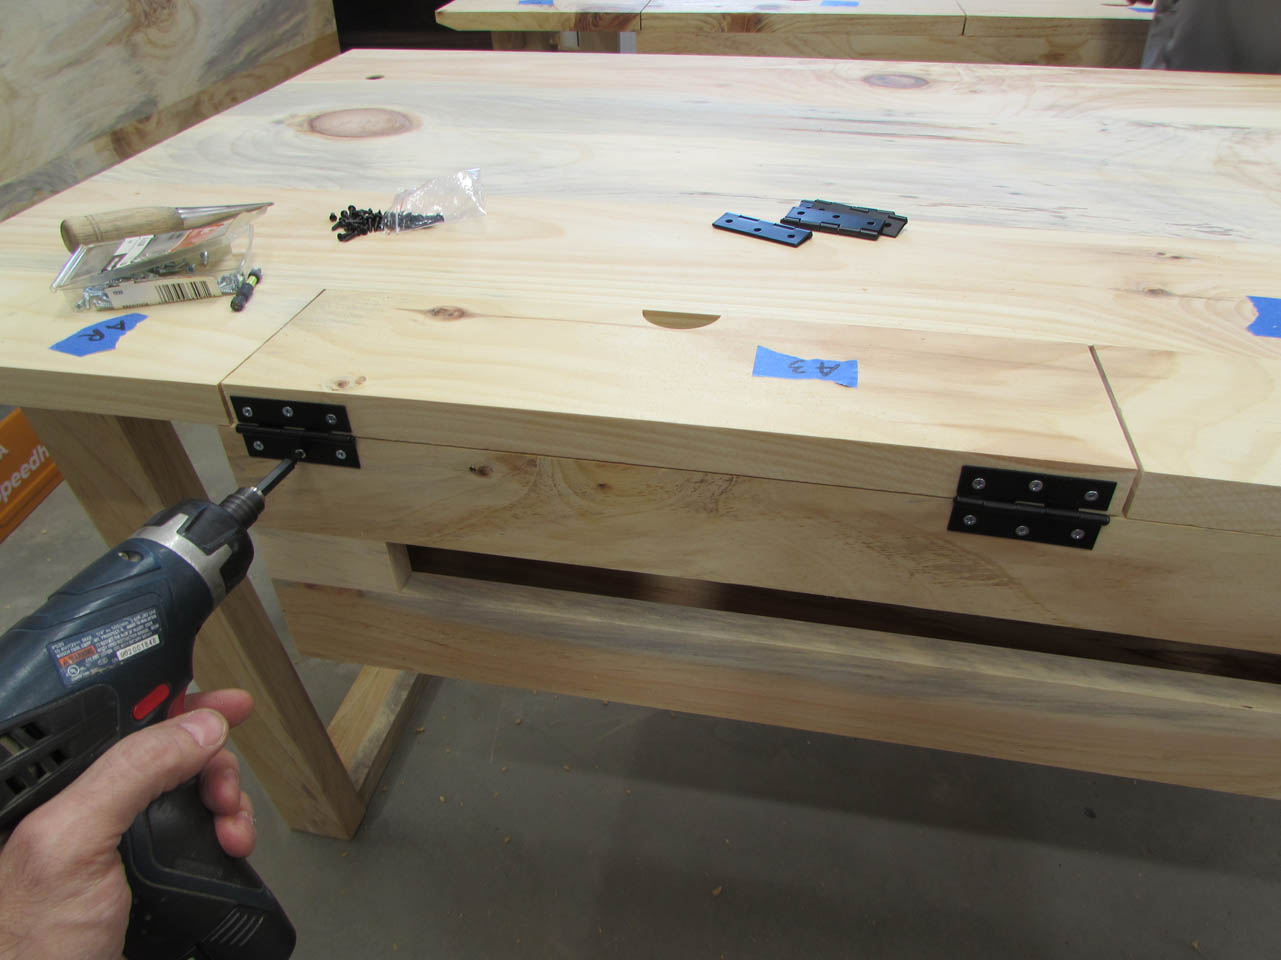
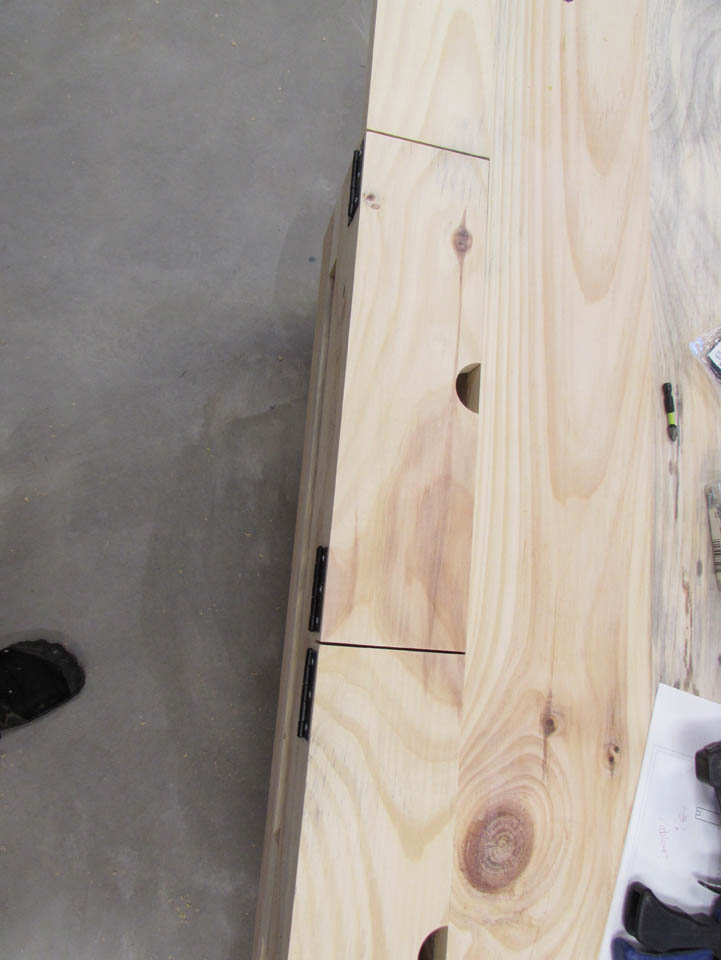
We installed 2″ hinges along the back. Two per door.


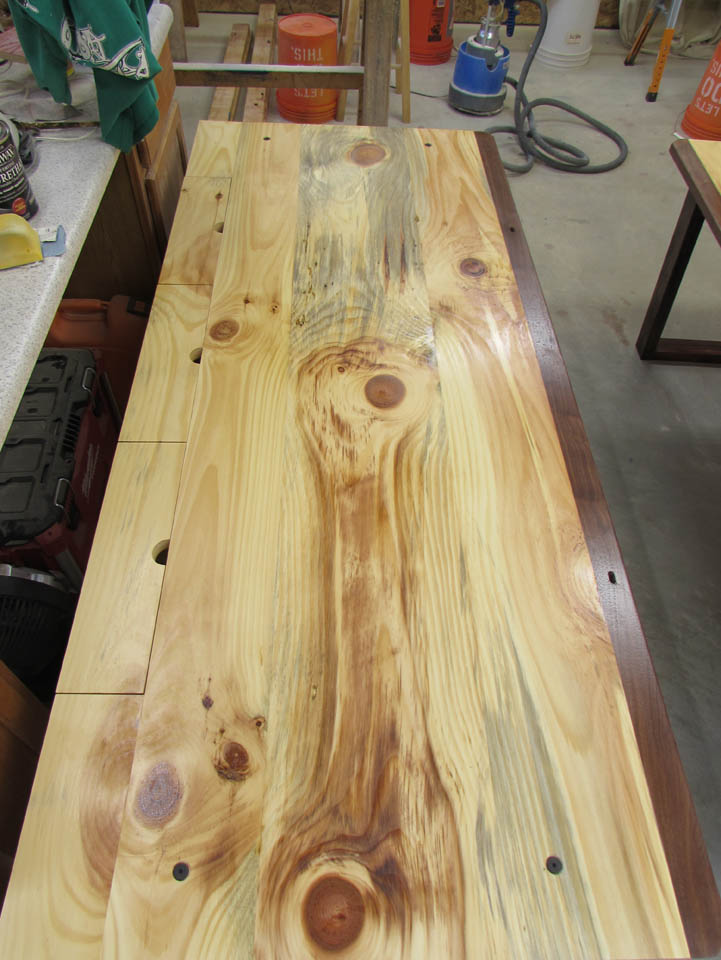
Both sets of doors were installed and tested.
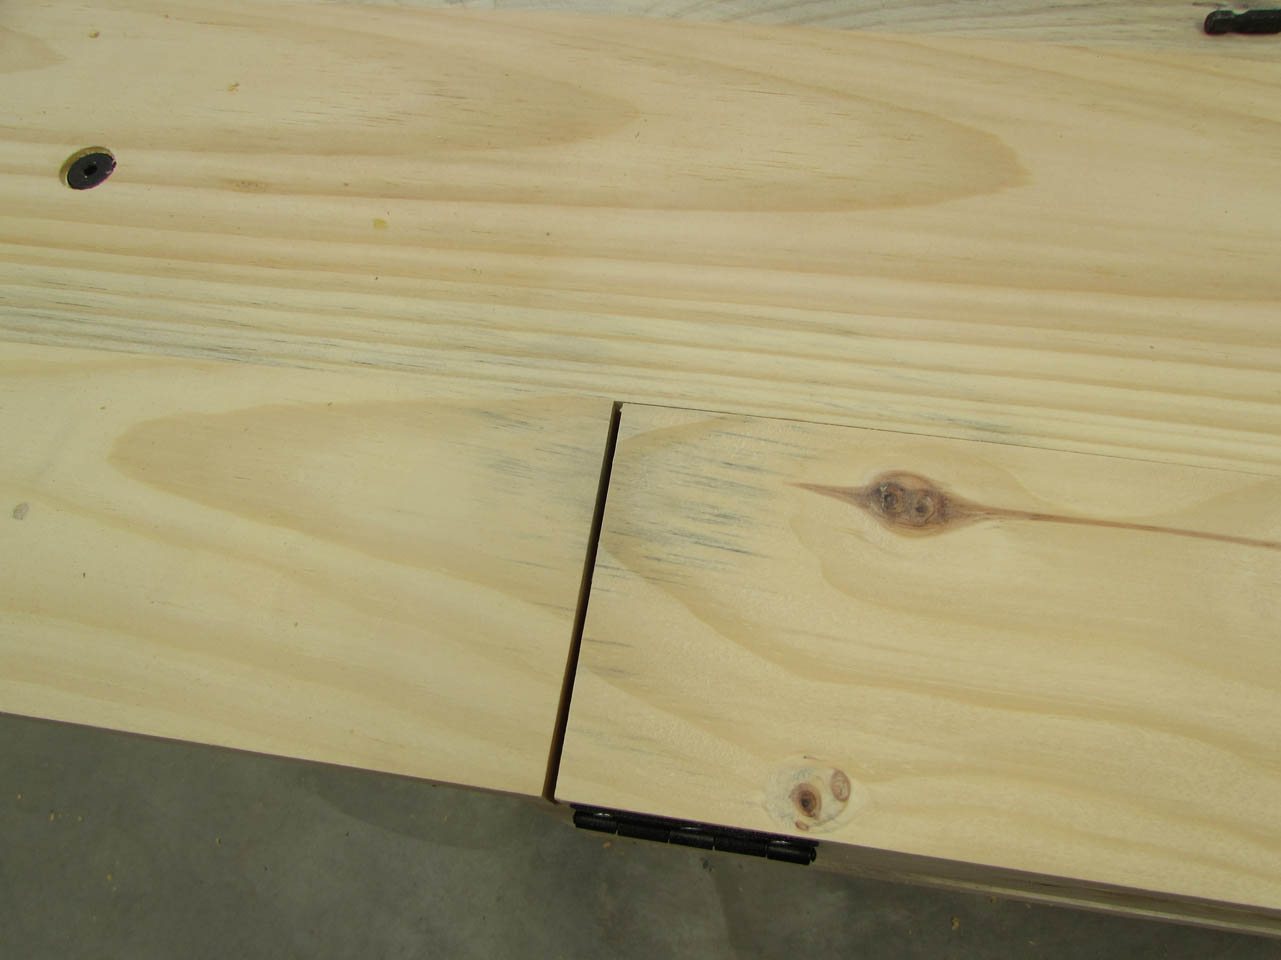
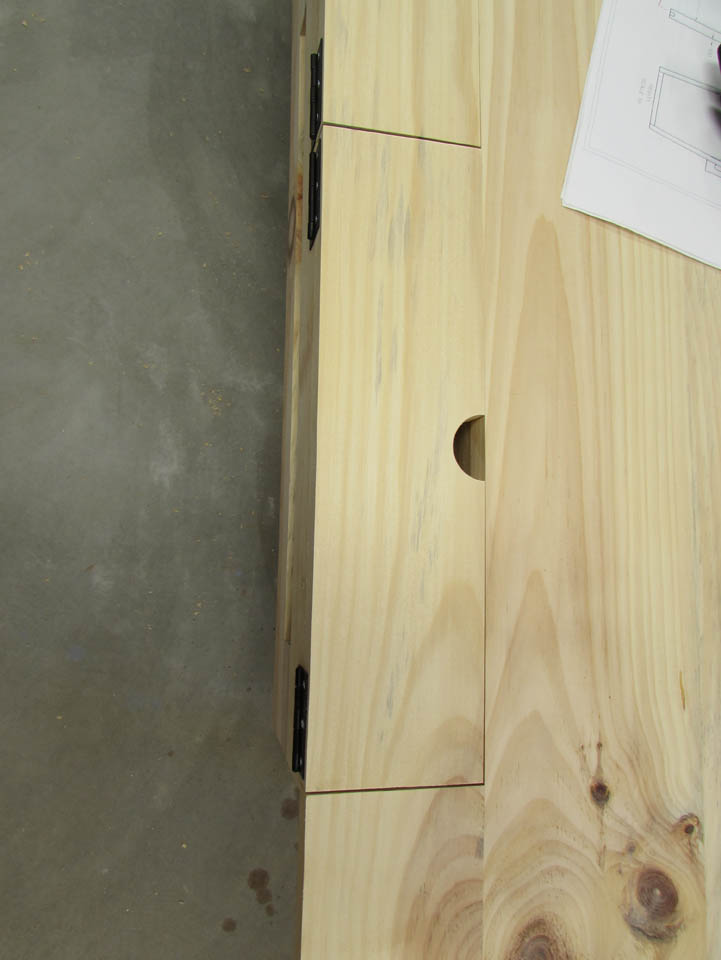
The grain flow looks really good across all the access doors.
The last piece of the puzzle is the nosing along the front. The desk is made of a soft wood and Raphael wanted something harder along the front where the chair and people walking by could bang into it.
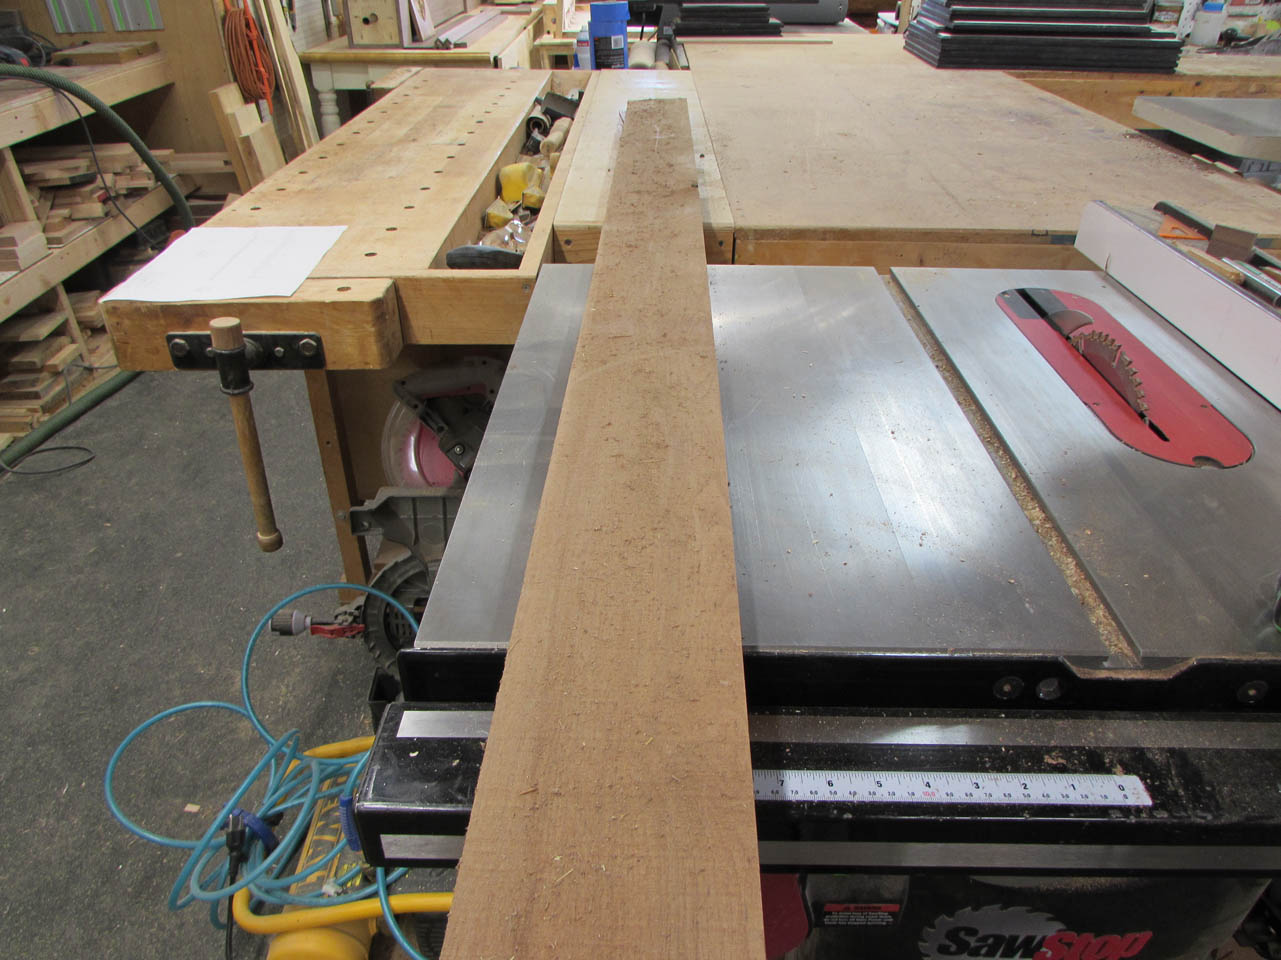
We are going to use a piece of air-dried walnut for the nose.
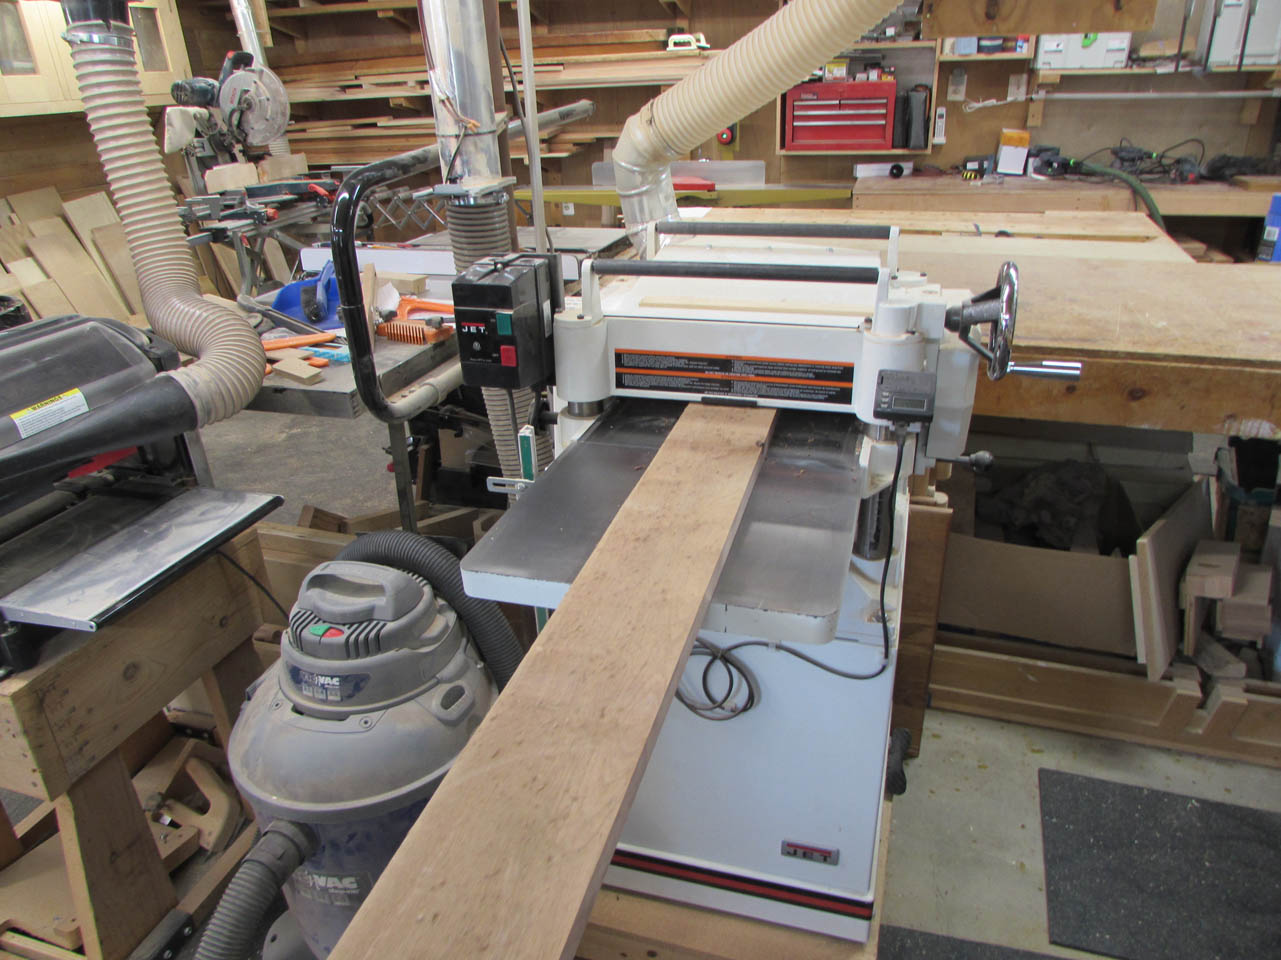
We planed down a rough-sawn piece.
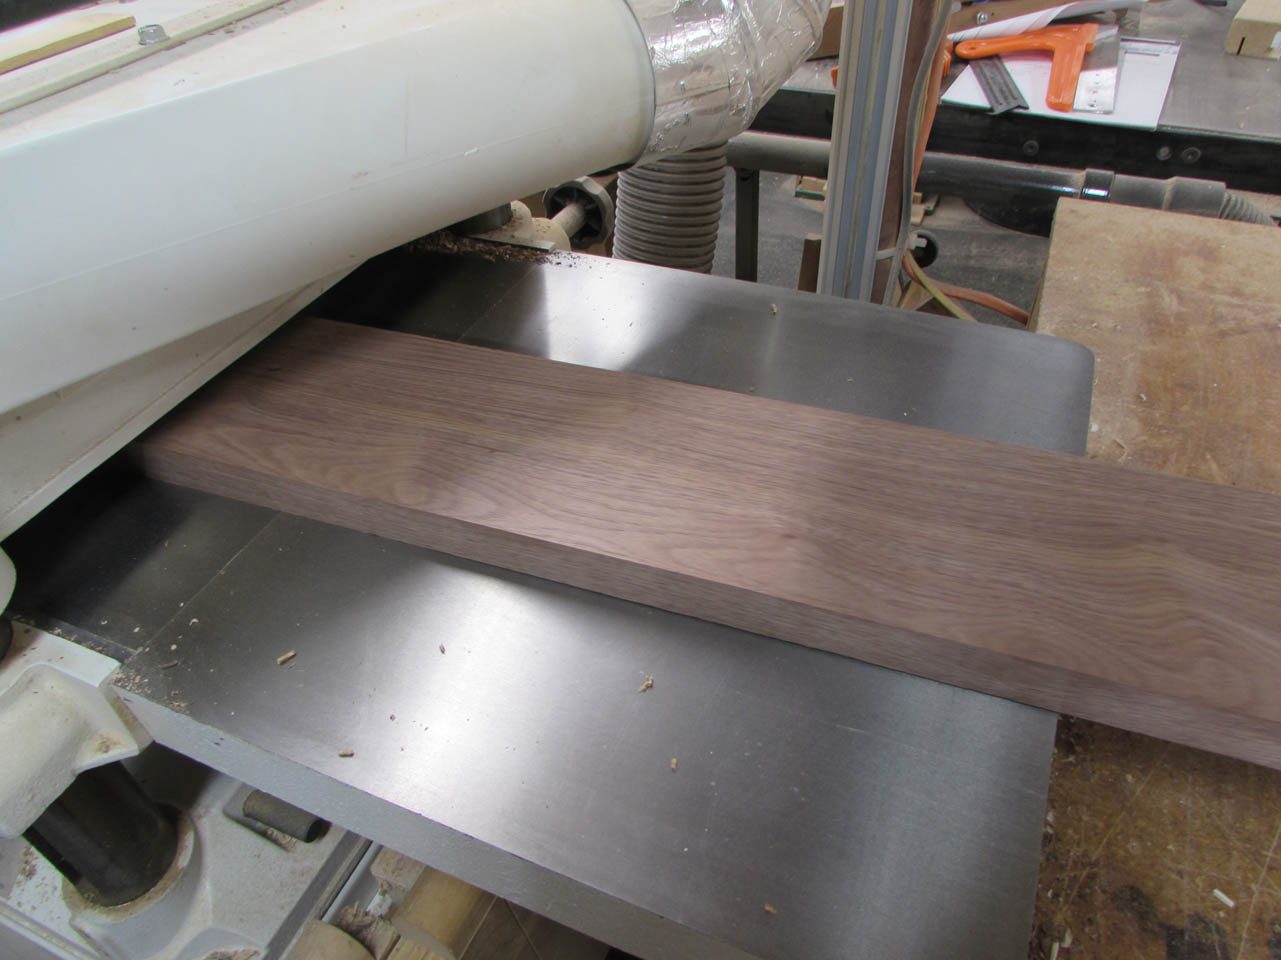
Then Raphael jointed one side perfectly flat.

We cut two 2″ nose pieces from it.

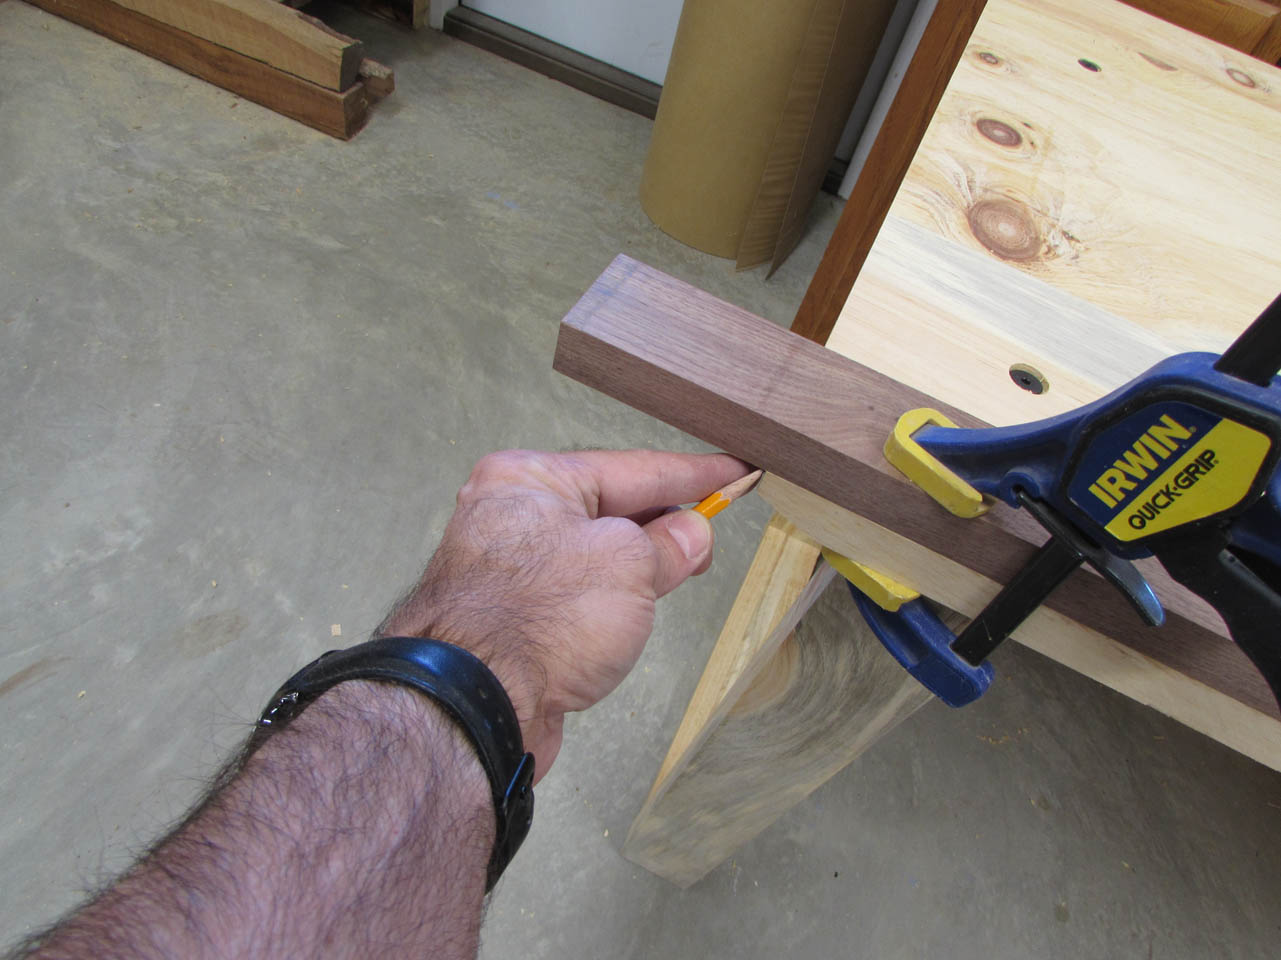
To match the length of the desk, we laid the nosing on top and marked the length to be cut.

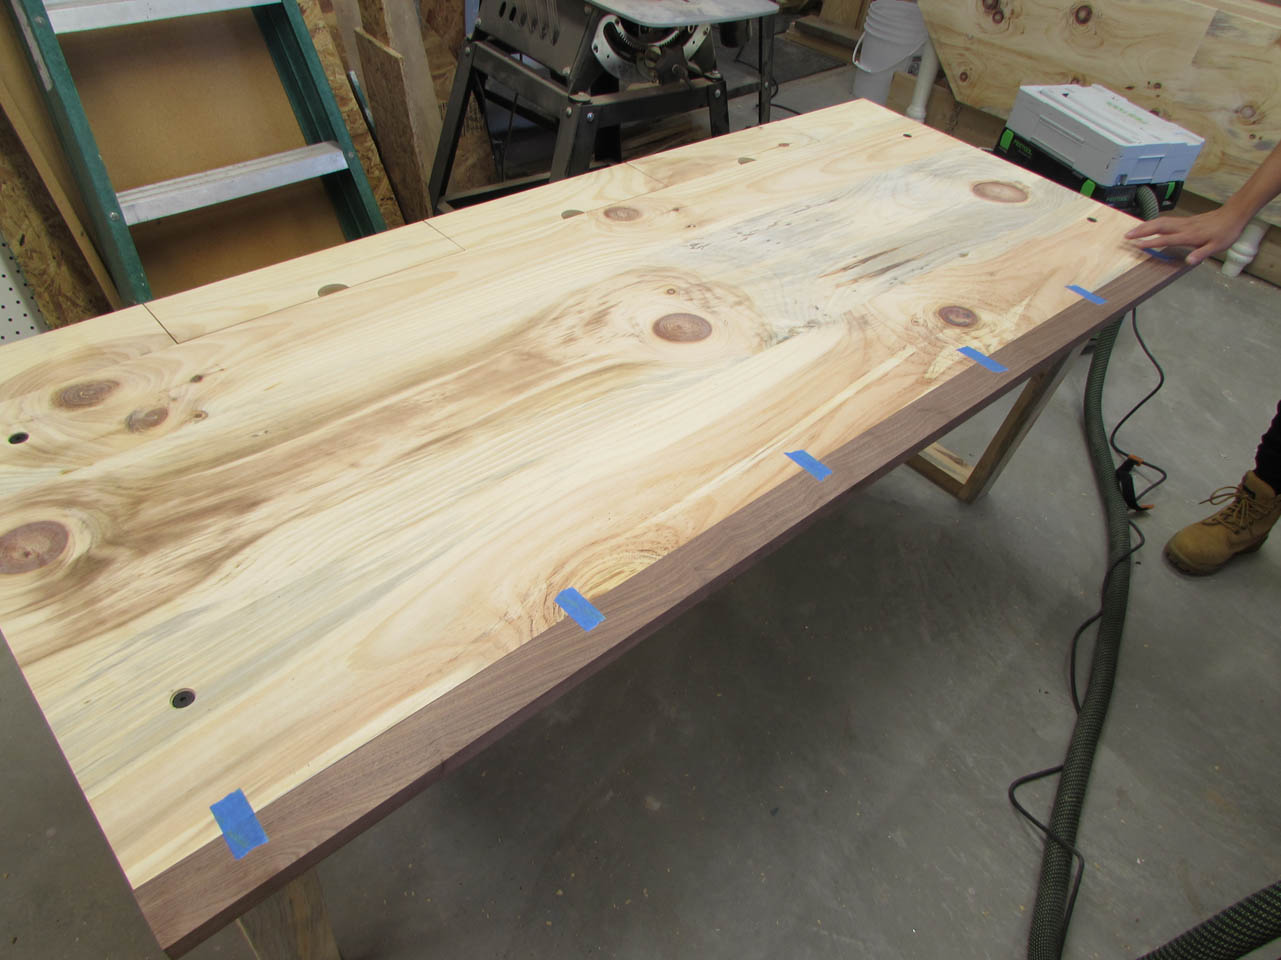
We will be using my Festool Domino jointer to cut mortises in the desk and the nosing. To locate those cuts, I laid painter’s tape along the joint and marked both sides. The tape makes it easier to see the marks and I don’t have to sand the marks off the wood when I am done.

After cutting the tape to split them apart again, I used the Domino jointer to make a mortise at each mark. The ends were cut tight but the middle ones were made wider to make it easier to fit together with the tenons in place.


We installed the tenons and did a dry-fit.

Looks good.
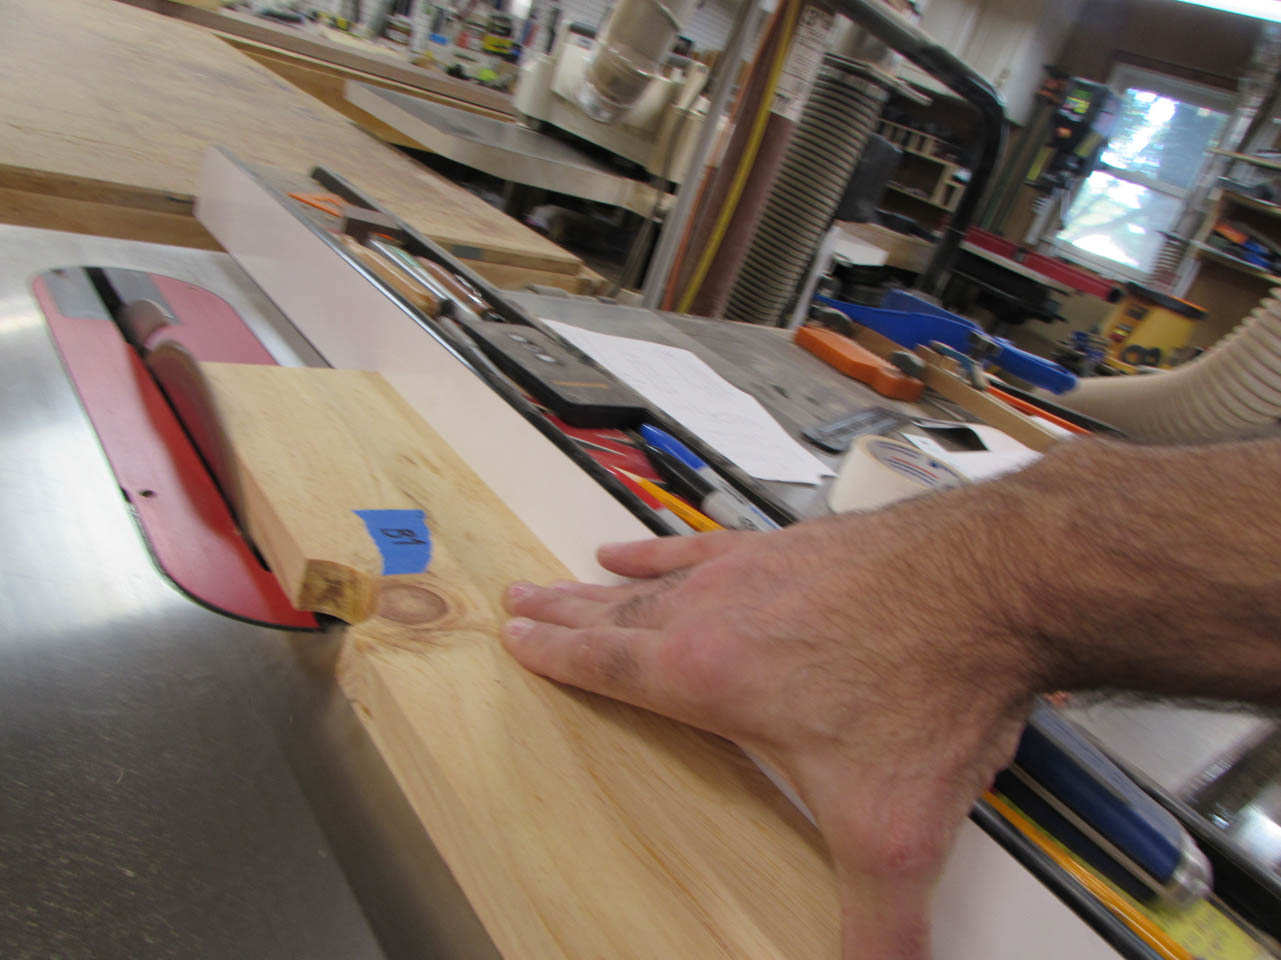
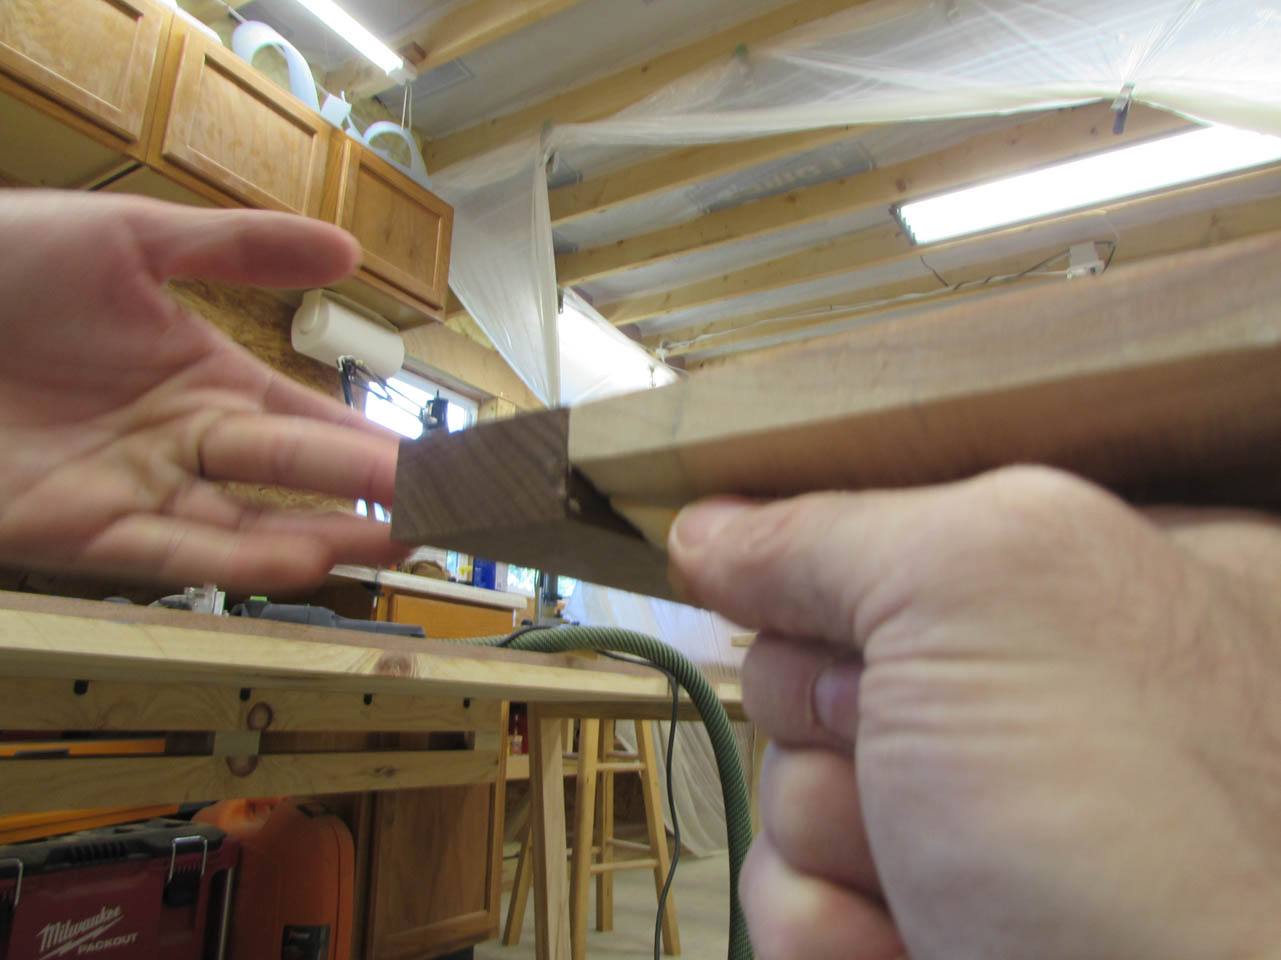
While it was attached, we marked the tapered ends so we could match the angle on the walnut.

I set up a 90° fence jig on the miter saw to cut the 19° angle required.

Then Raphael cut a 45° angle on each end of the nosing.
Then he applied glue and re-installed the tenons.

We clamped the nosing on and used a wet paper towel to clean up any glue squeeze-out.
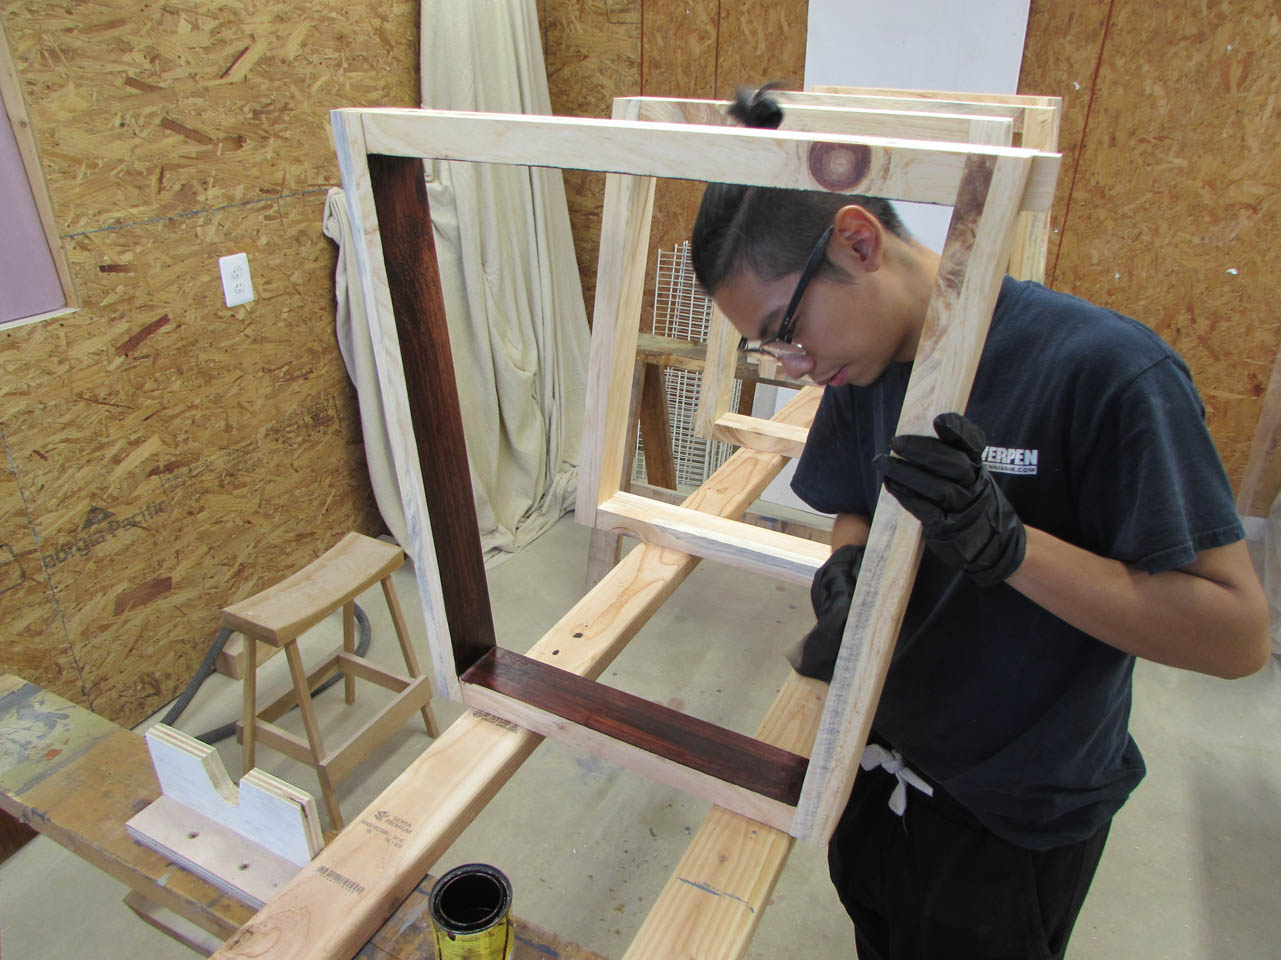
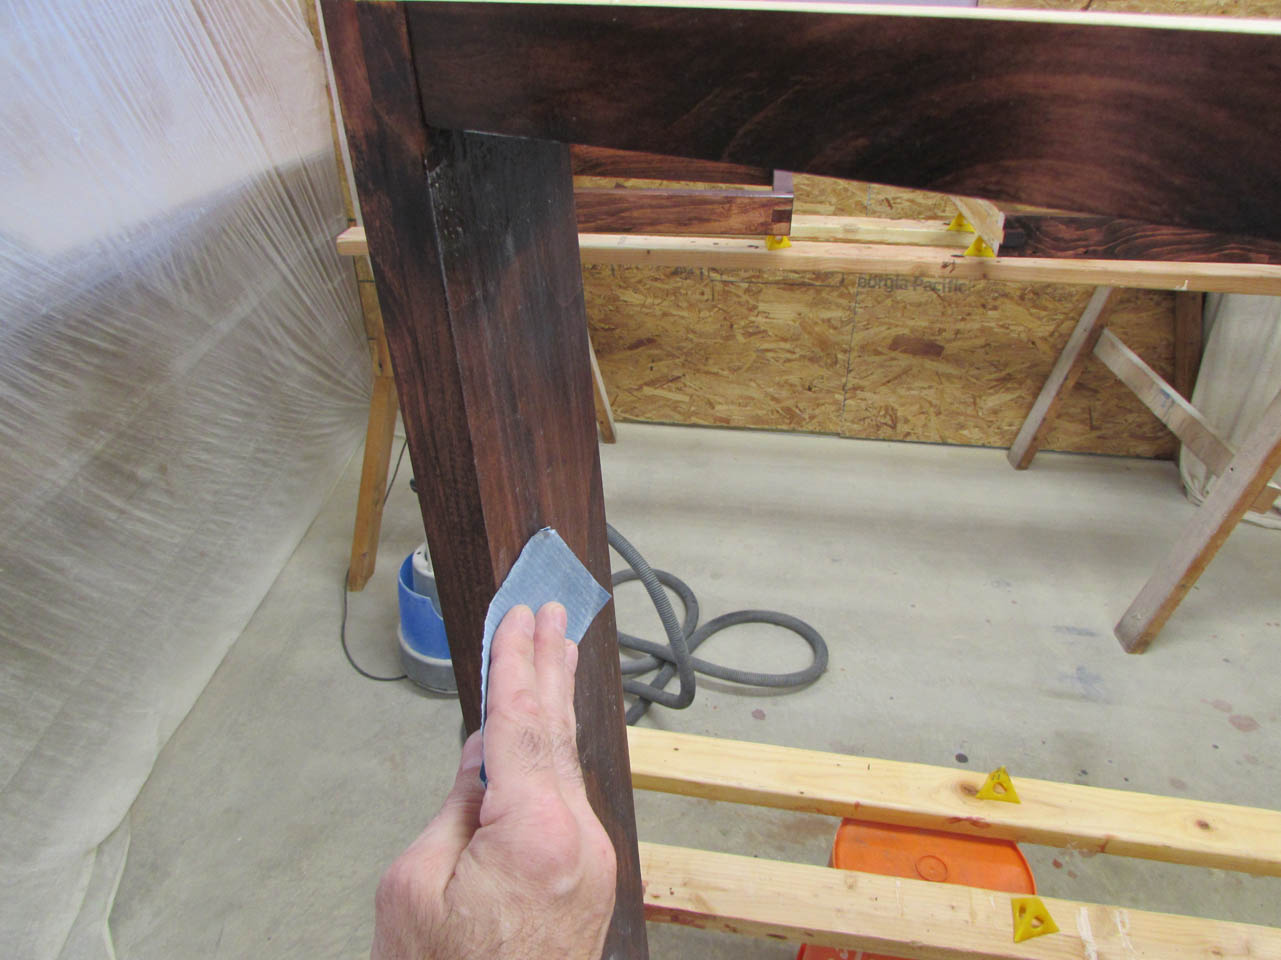
Raphael decided that he wanted the legs to match the color of the nosing so he applied a stain to them.

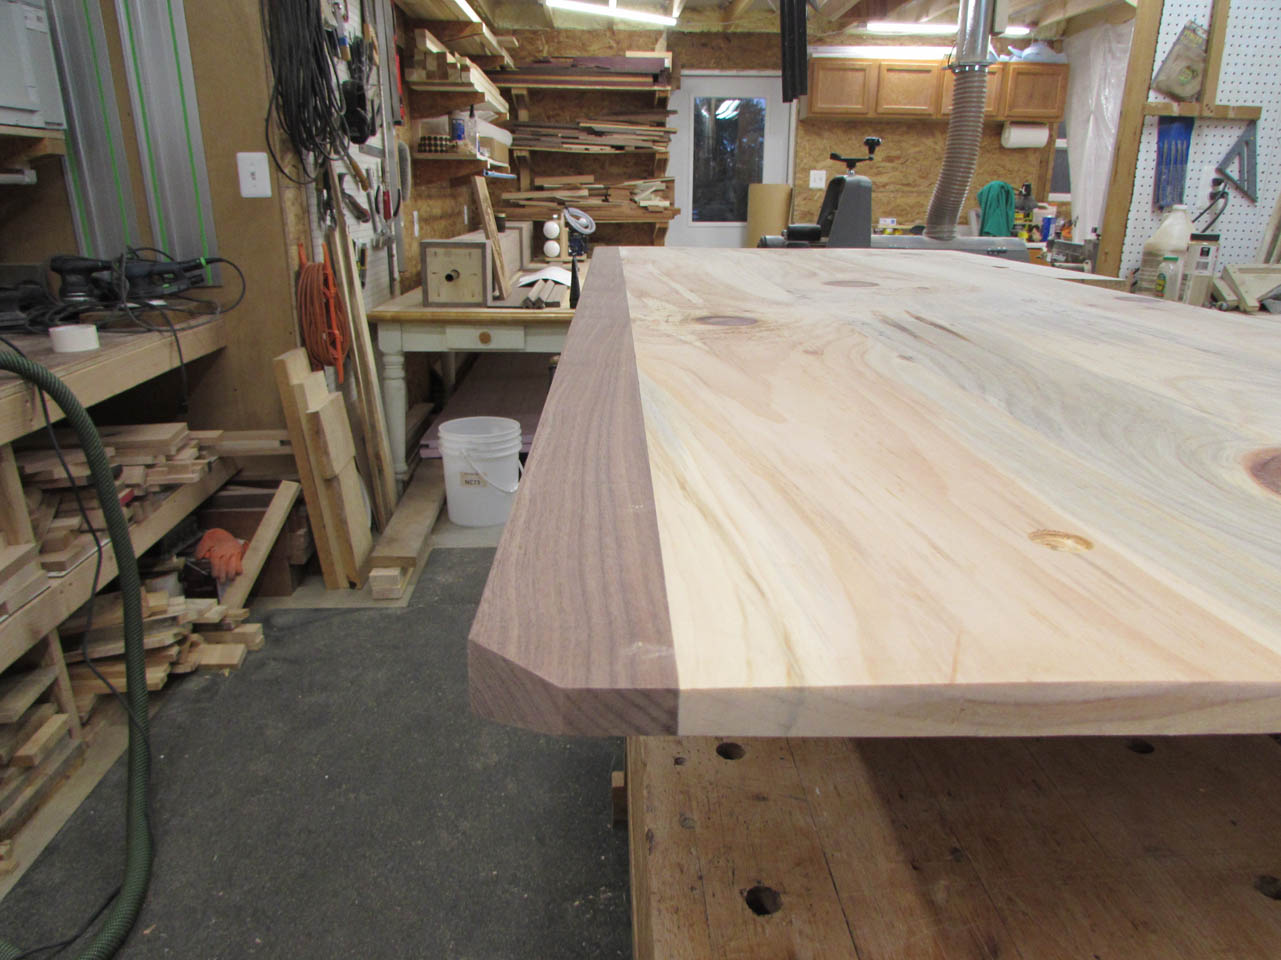
Final details before finishing are a small round-over on the top of the nosing.
And a relief bevel on the bottom so that there are no sharp edges to bump into.

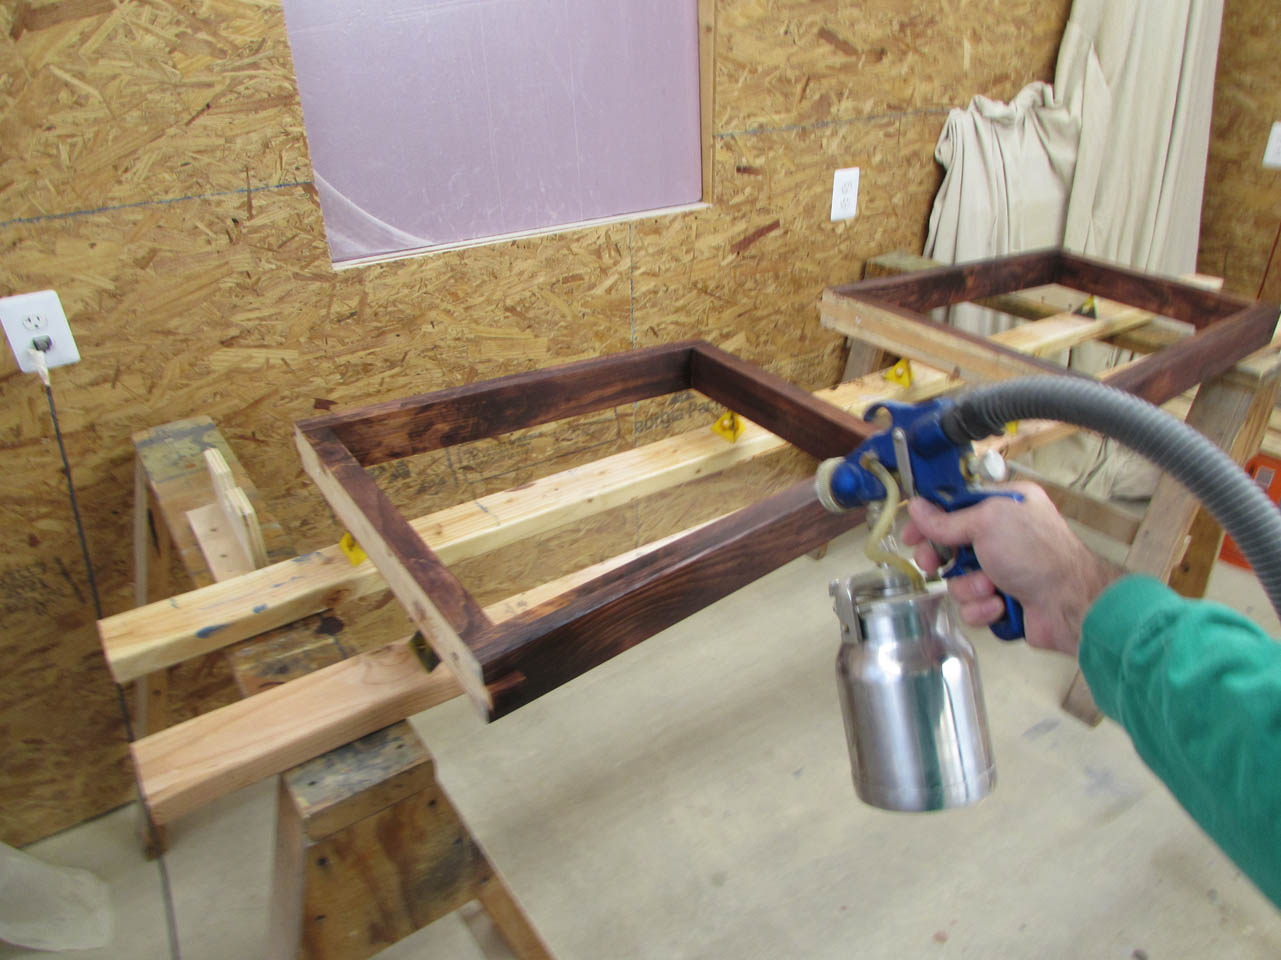
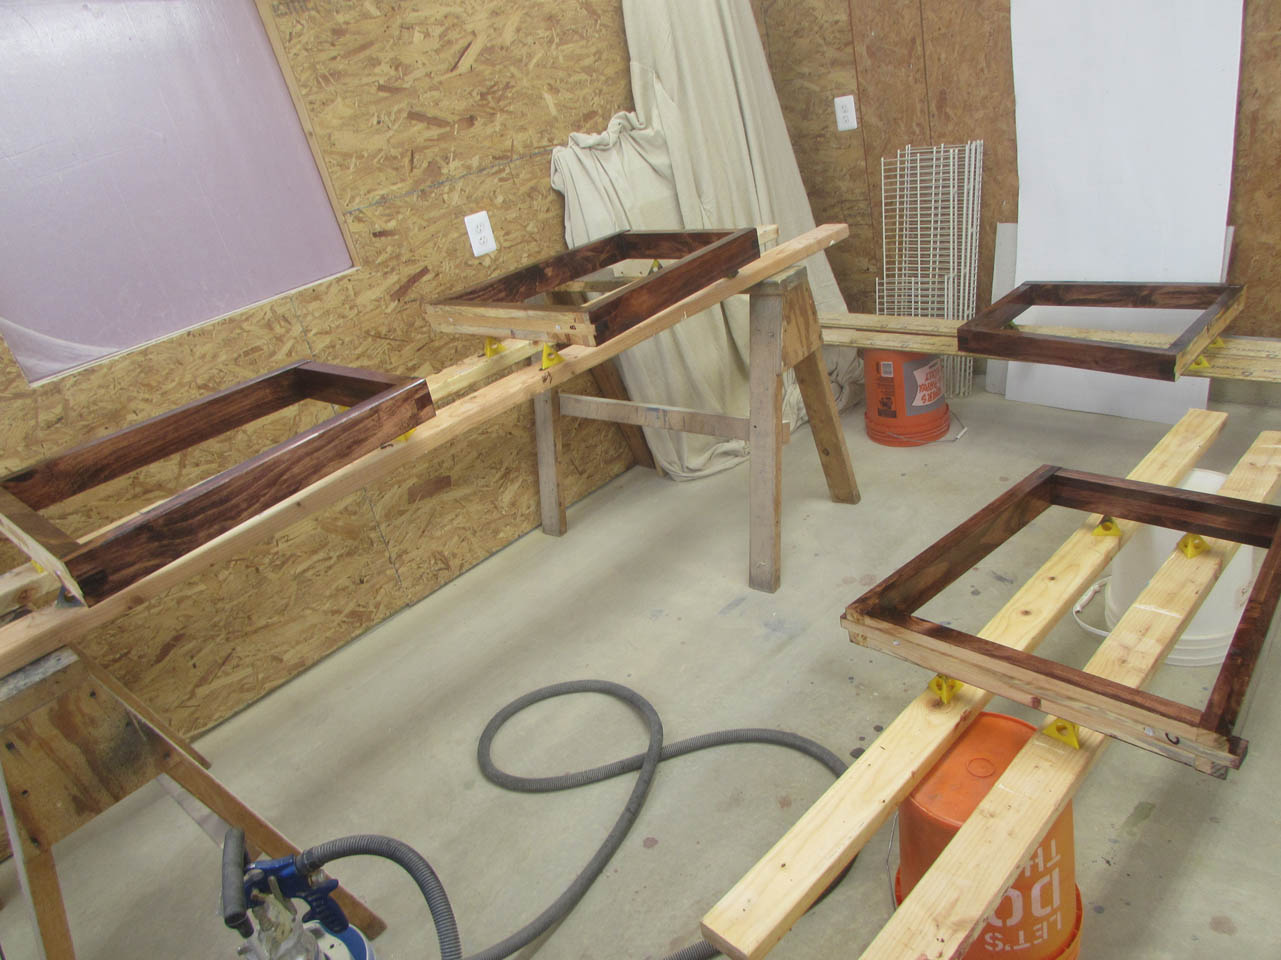
My spray booth is not big enough to do everything at once (disassembled) so I decided to do the legs first.

Before spraying, I placed a small piece of tape over the threaded inserts. Threads can get gummed up easily with polyurethane.
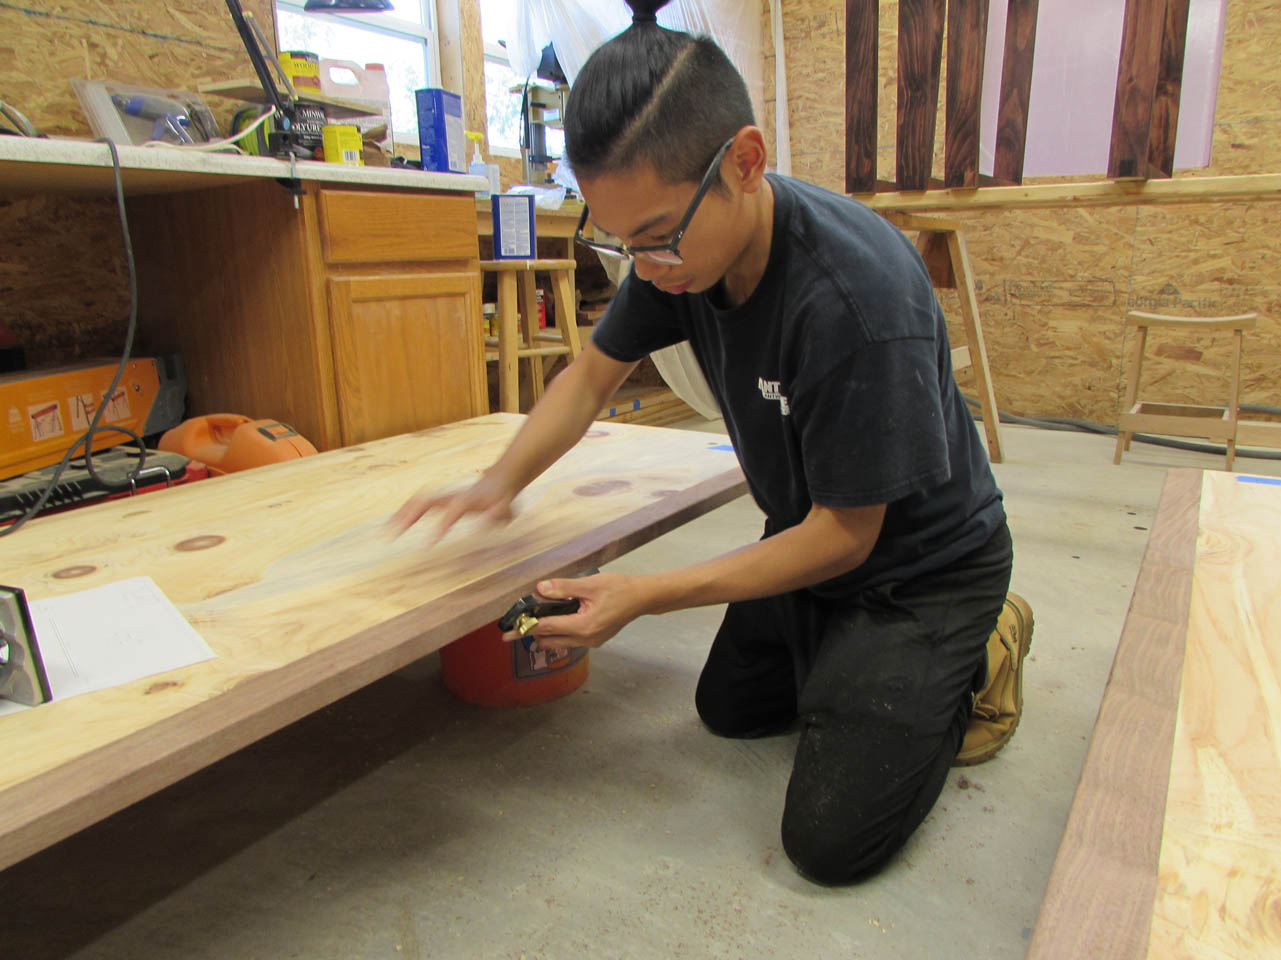
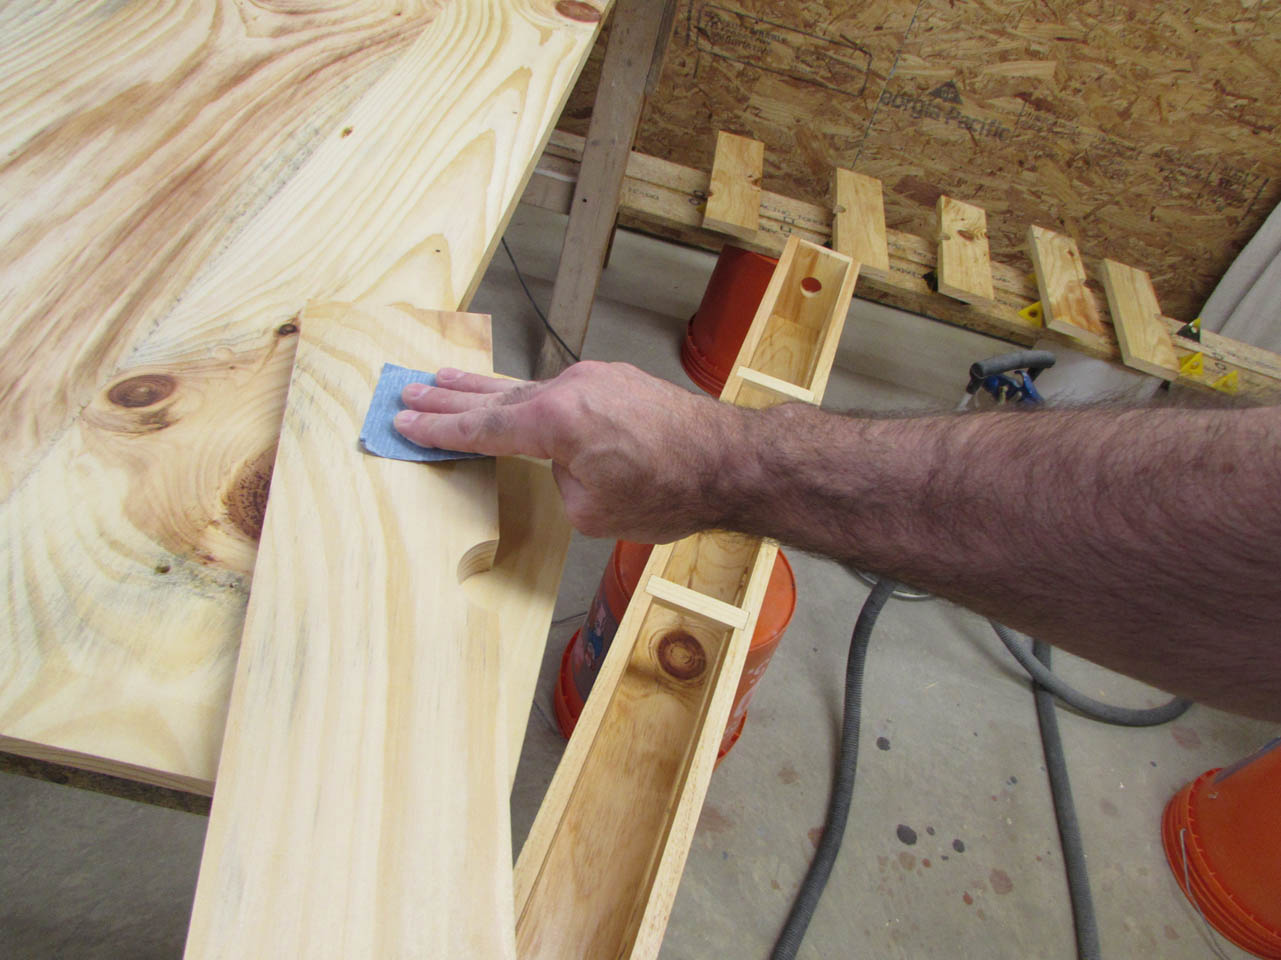
While the legs were drying, I started sanding the nosing perfectly flush to the top of the desk.
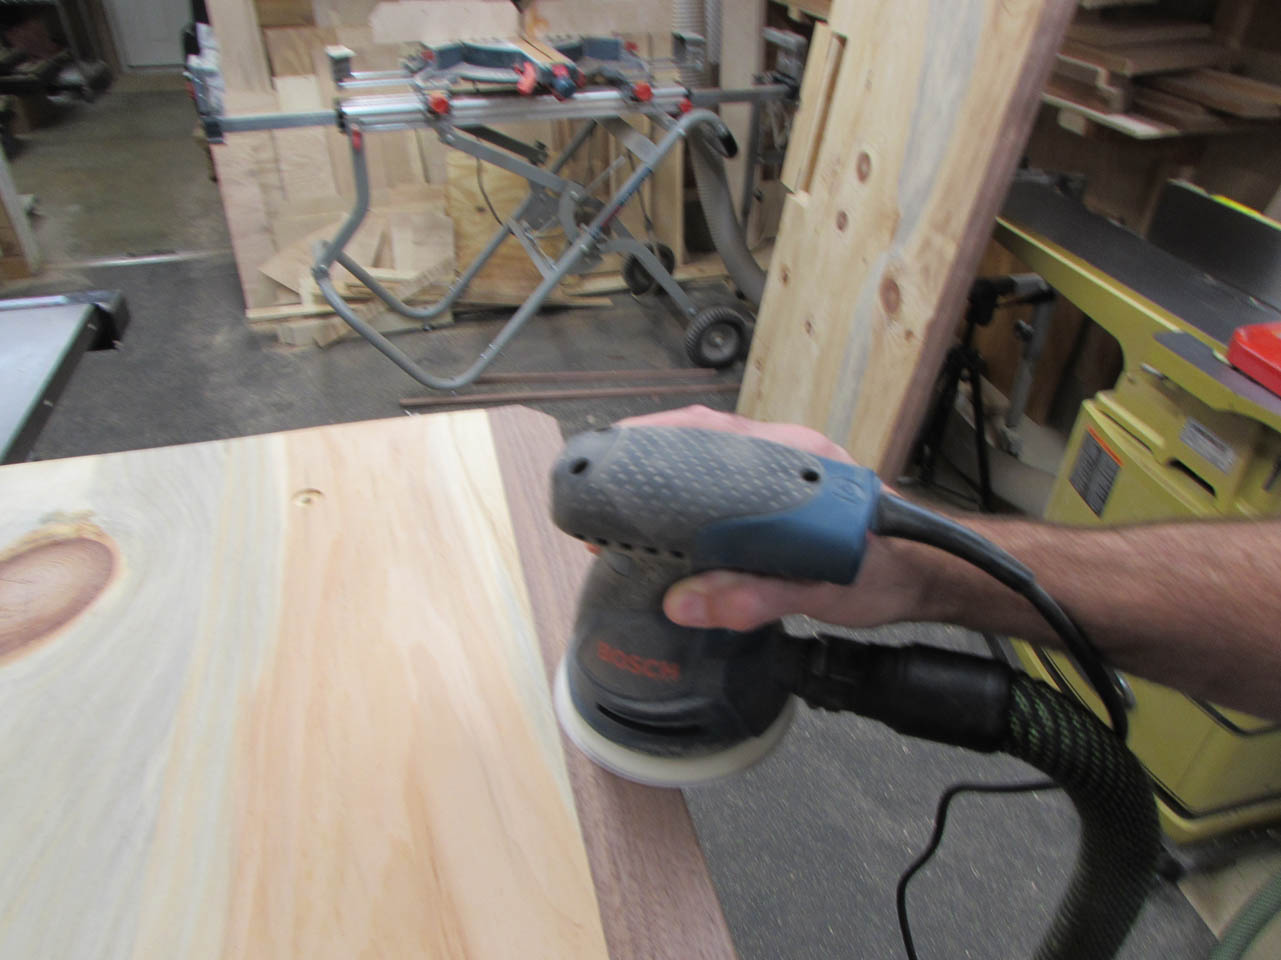
I also did a little sanding to blend the bevel to the pine.

Next, I removed all of the hardware and marked panel locations.

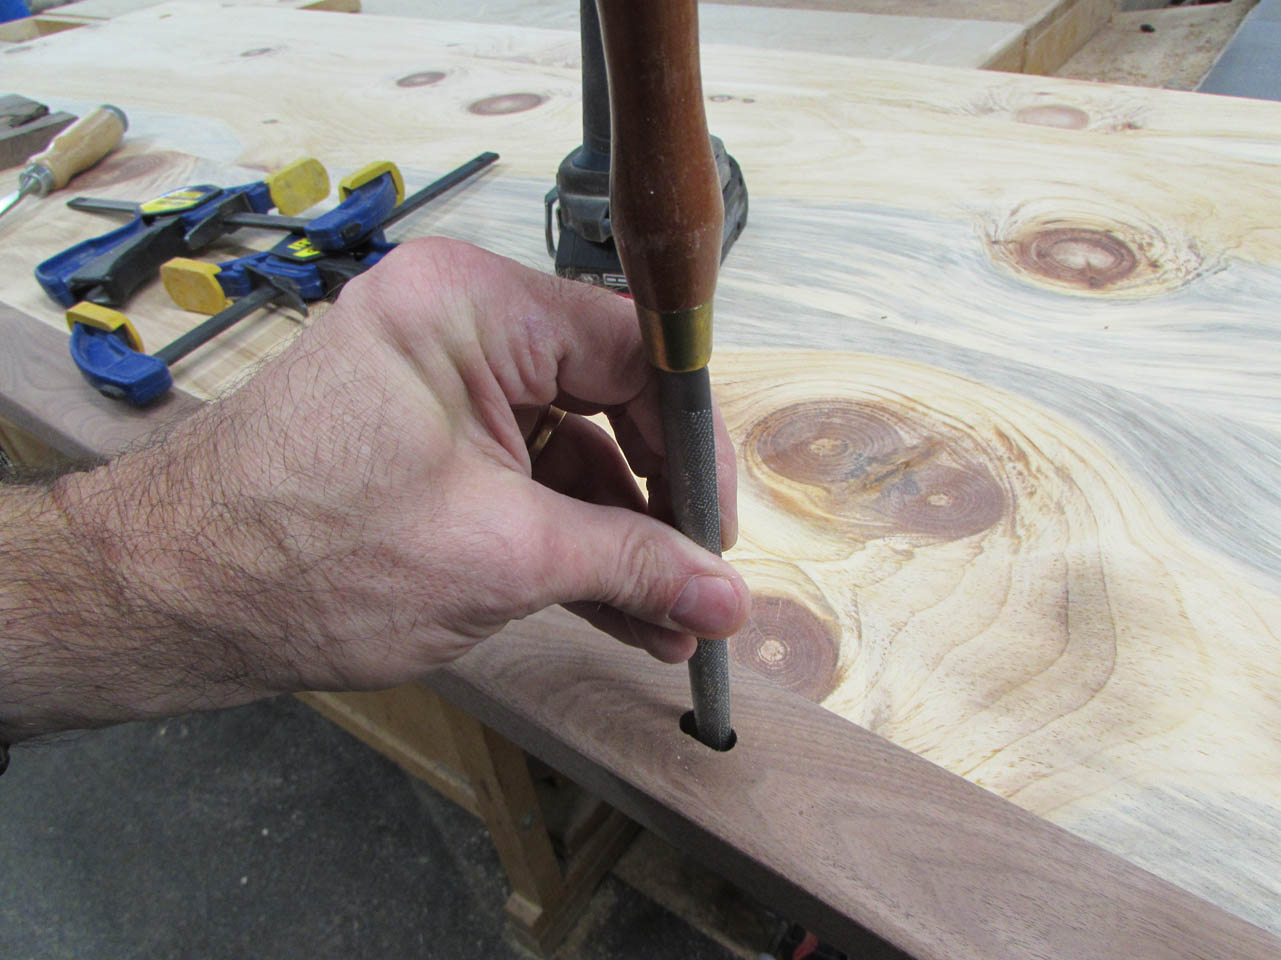
Oops, Raphael and I forgot the USB wire holes that he wanted in the nosing.

I marked and drilled two 3/8″ holes, then connected them with a chisel. I clamped a scrap block below to prevent any tear-out.

I cleaned up the slot with a rasp, then I was done.
Bouncing back to the legs, when they were dry, I sanded them all down with 400 grit paper and applied a second coat of polyurethane.

When those guys were dry, the following day, I moved in all the rest of the pieces of the desk.
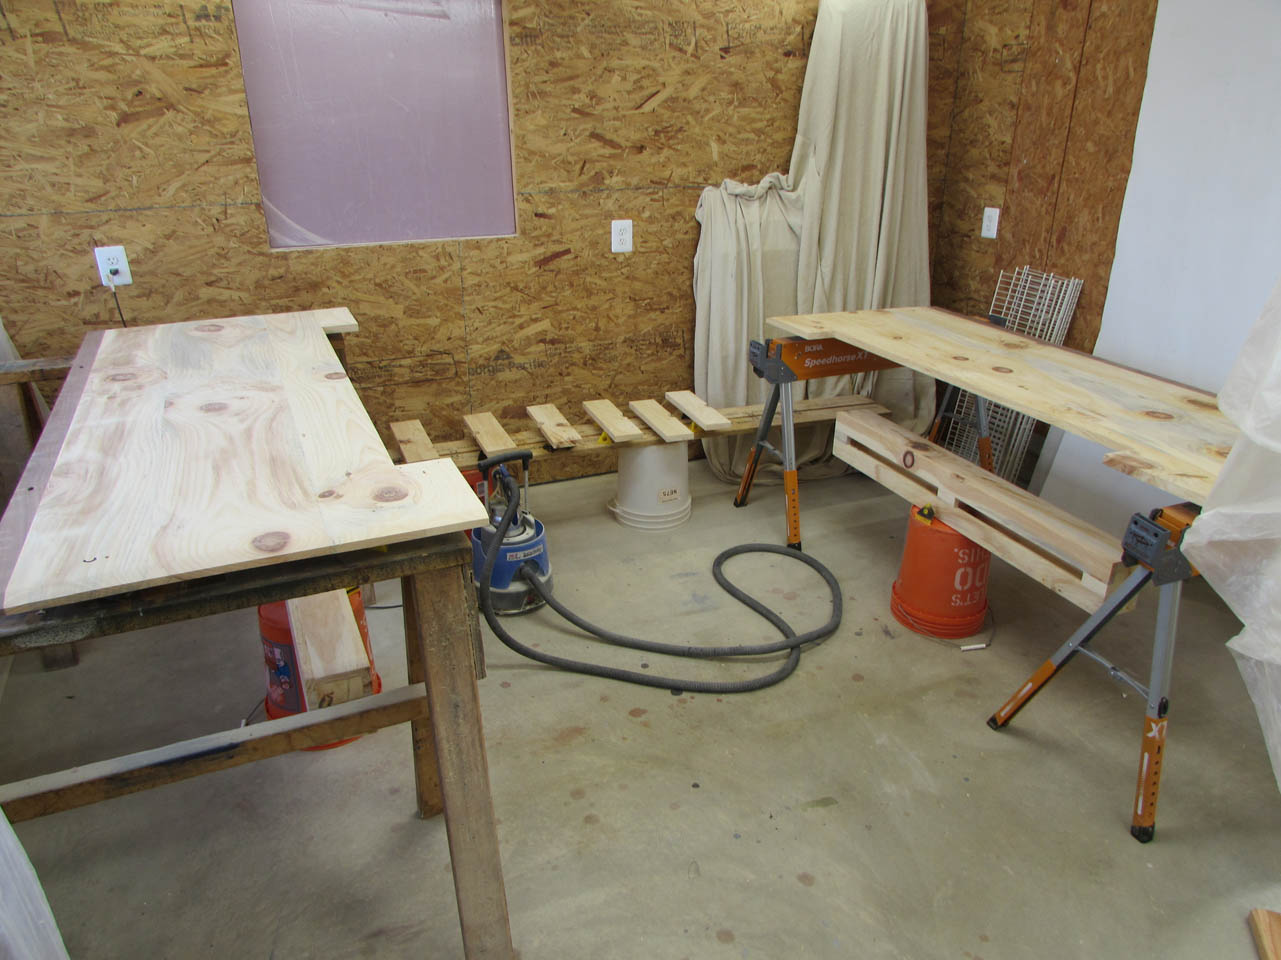
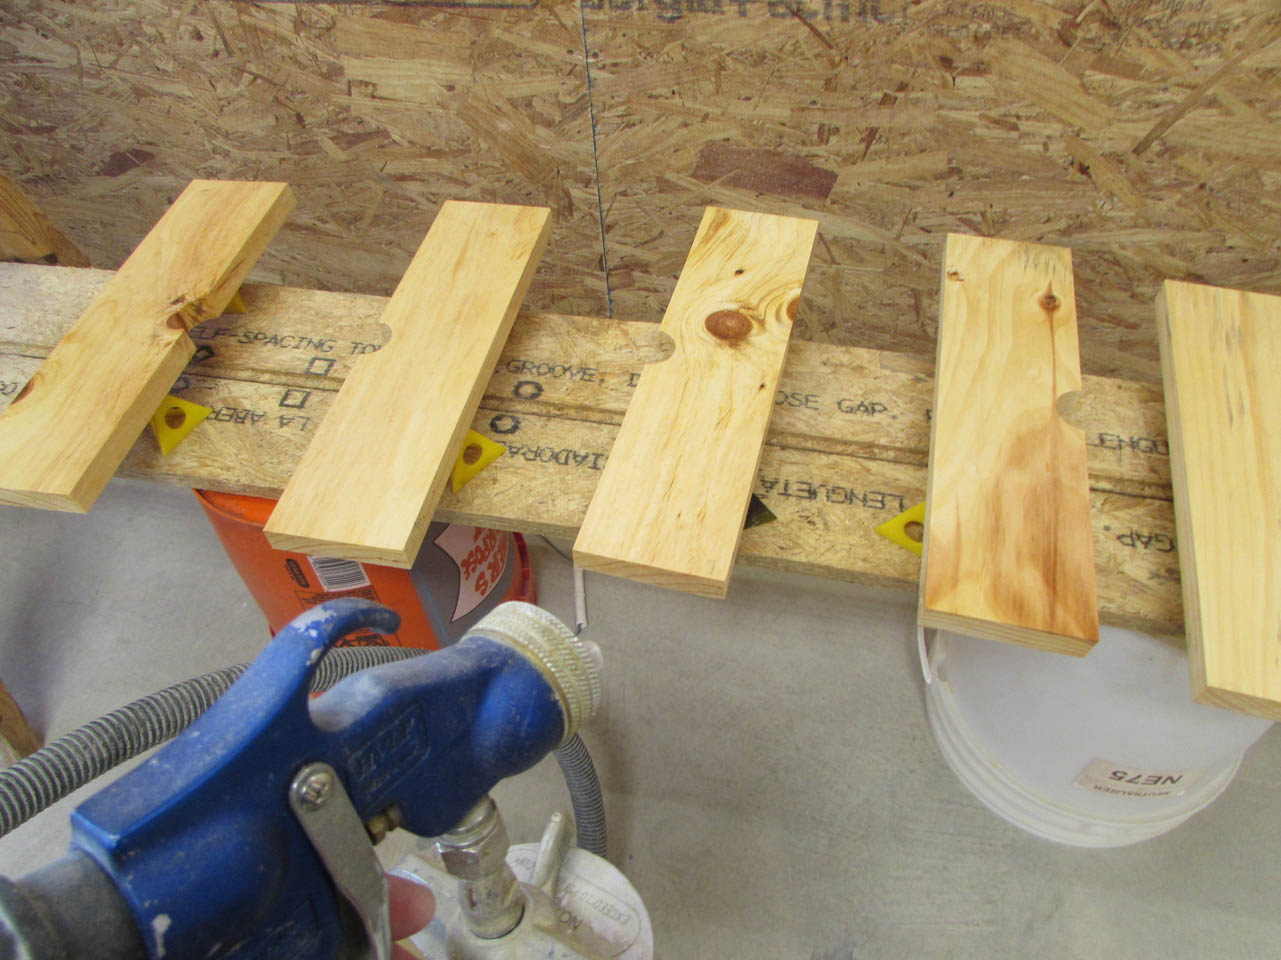
The little pieces could be set on painter’s pyramids so that I could spray both sides.
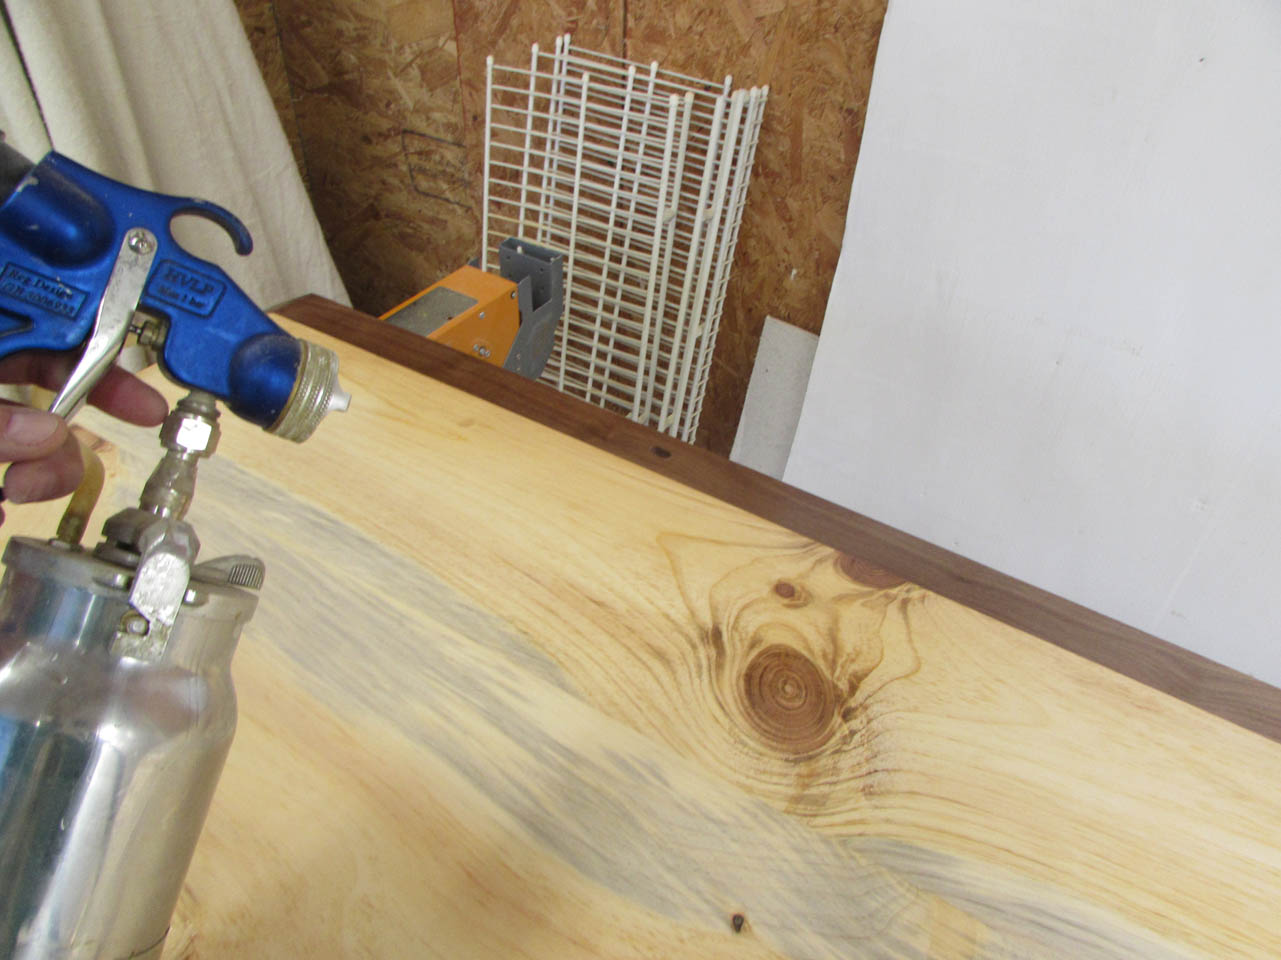
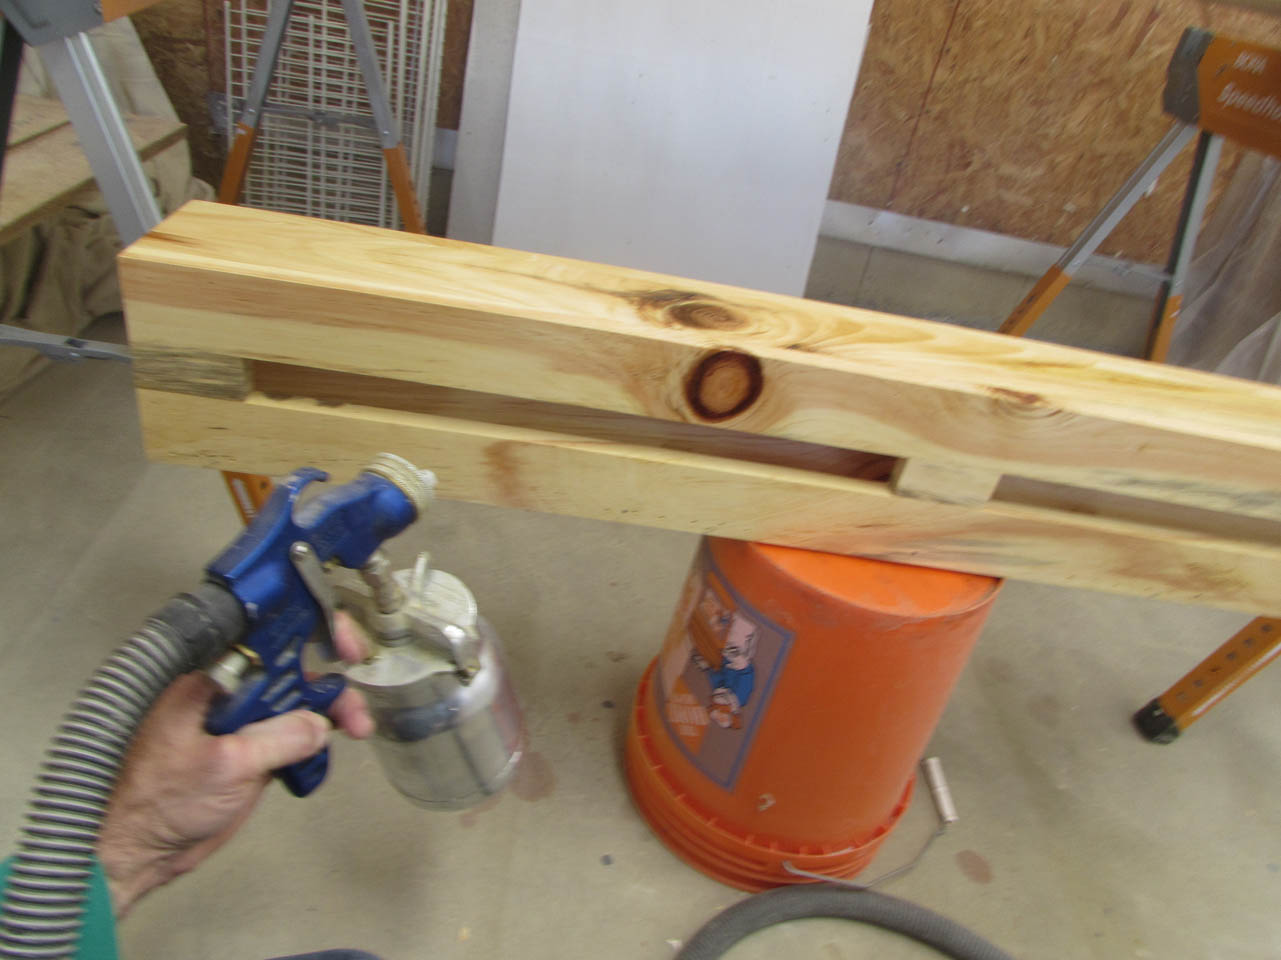
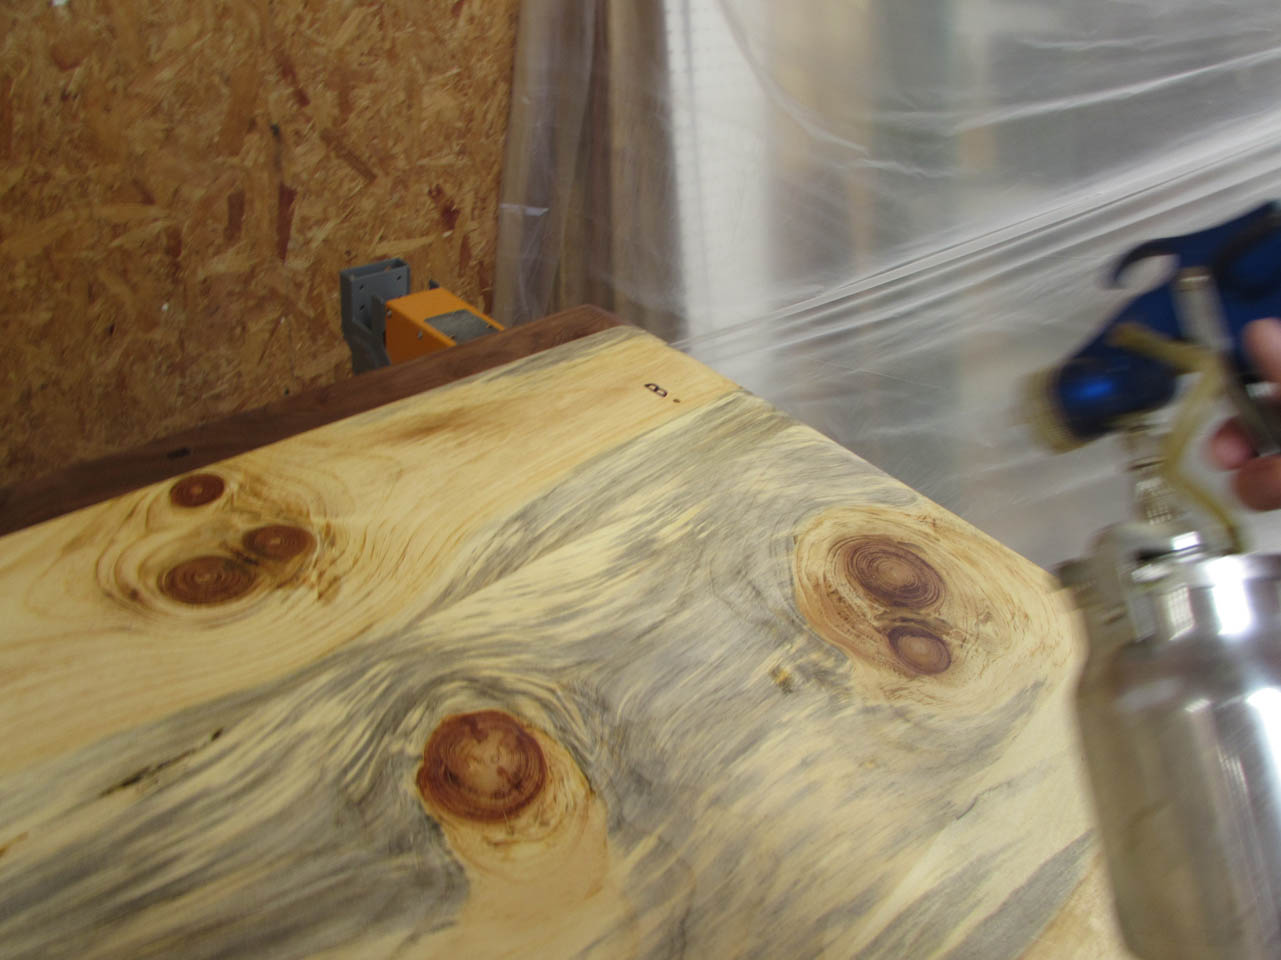
But the tops were too heavy and awkward to flip when wet so I took my time and did them one side at a time. I started with the bottom side.

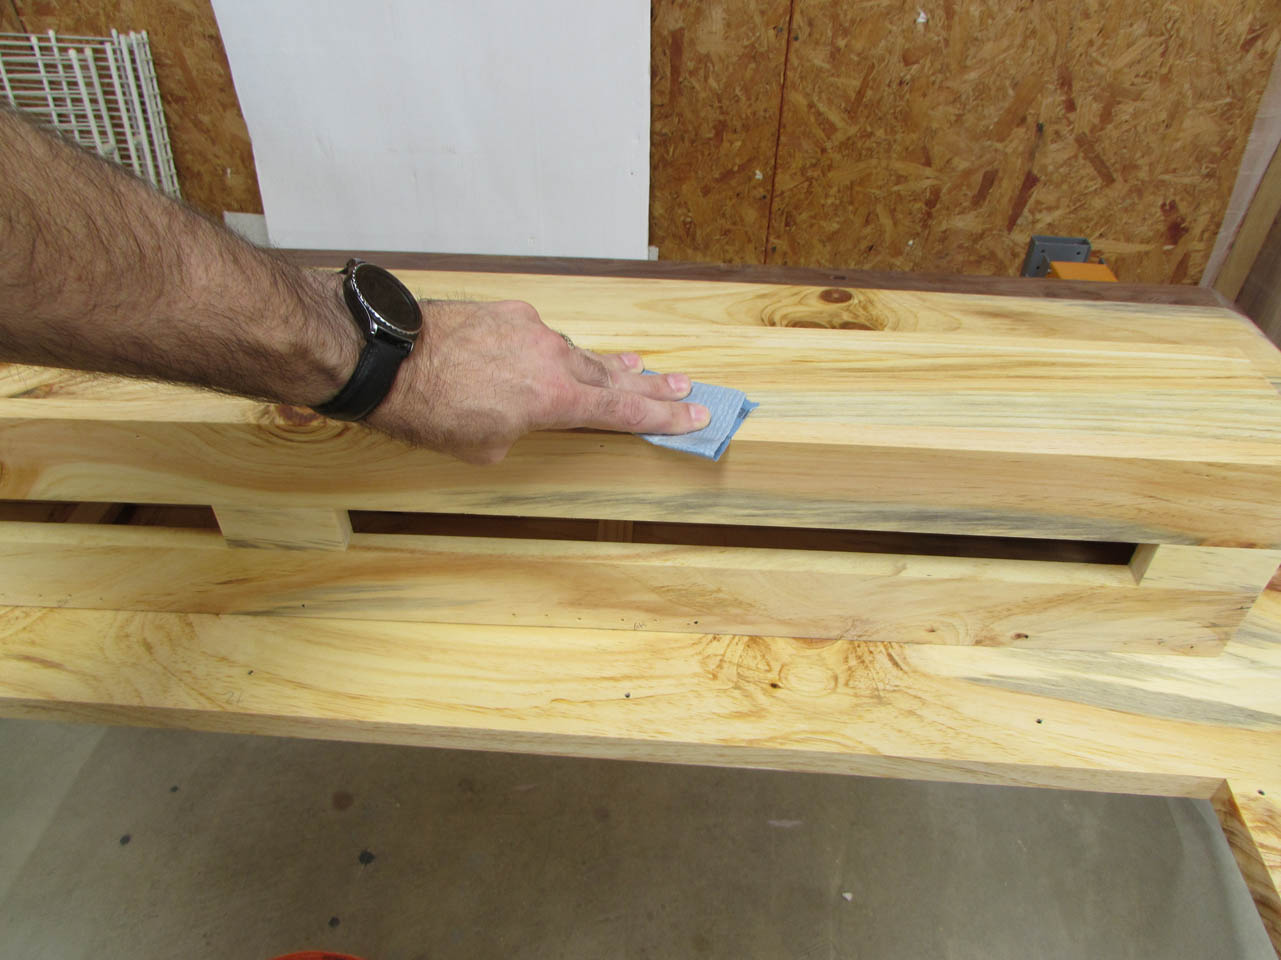
The next day, after everything was dry, I sanded down all the surfaces to remove the over-spray that had settled and dried.

Then I cracked open another can of finish and got back to spraying.

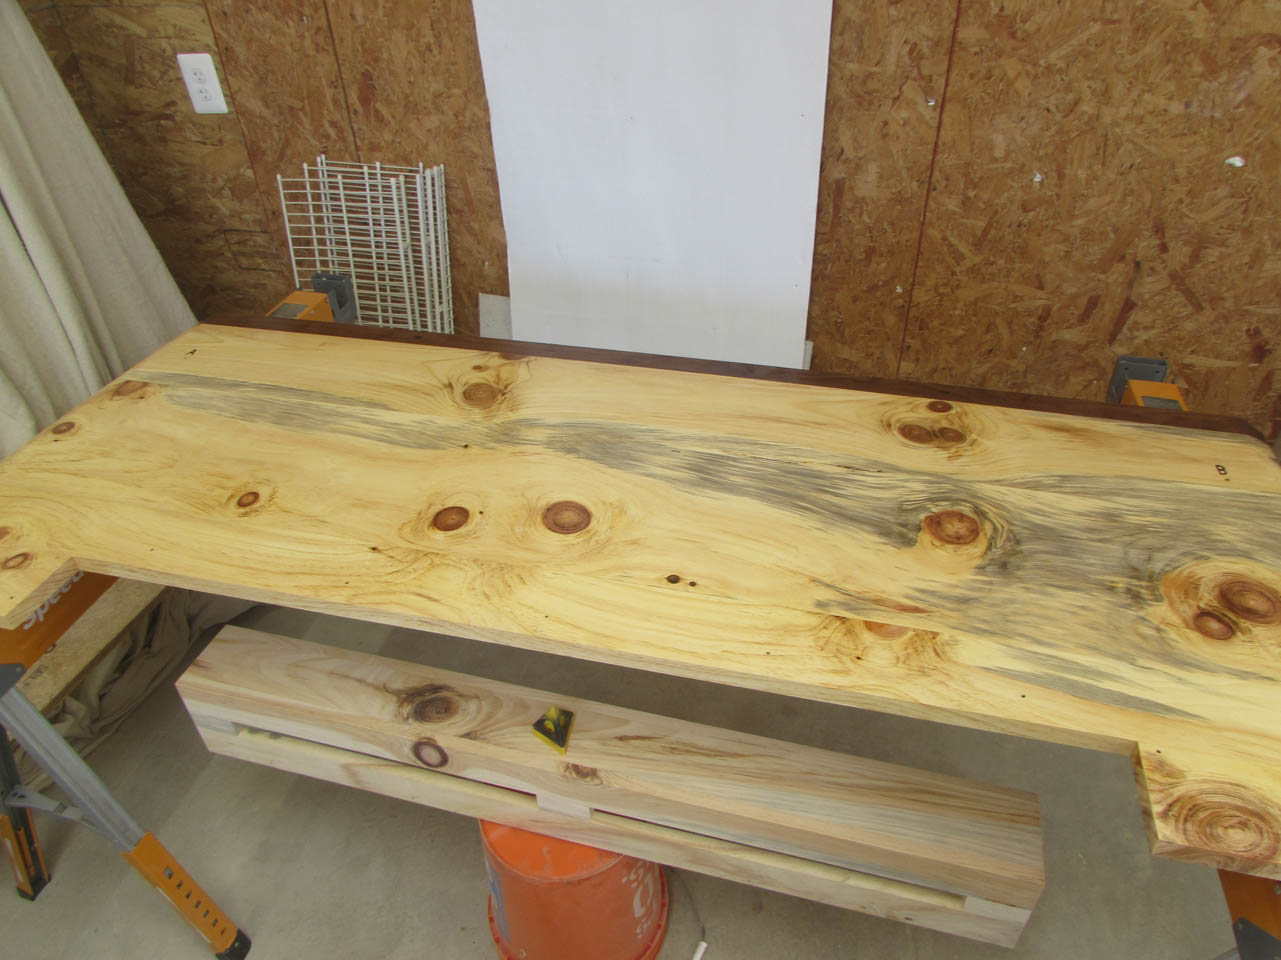
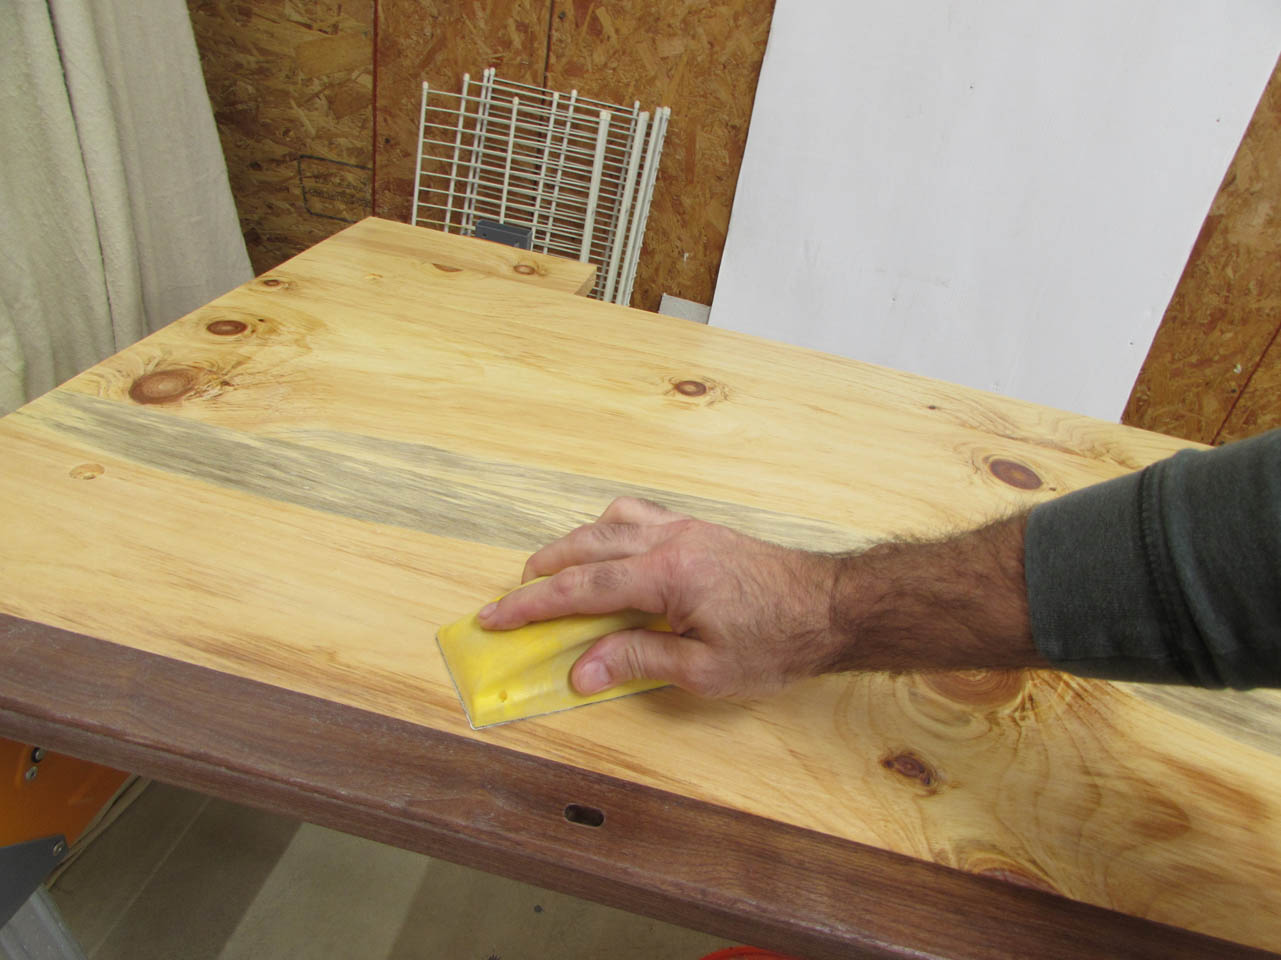
Over the next two days, I sanded and sprayed until everything had at least two coats. I applied an additional coat to the top of the desk.


A day or so later it was all dry enough to put back together. I used crumpled brown paper to polish off all of the settled over-spray.

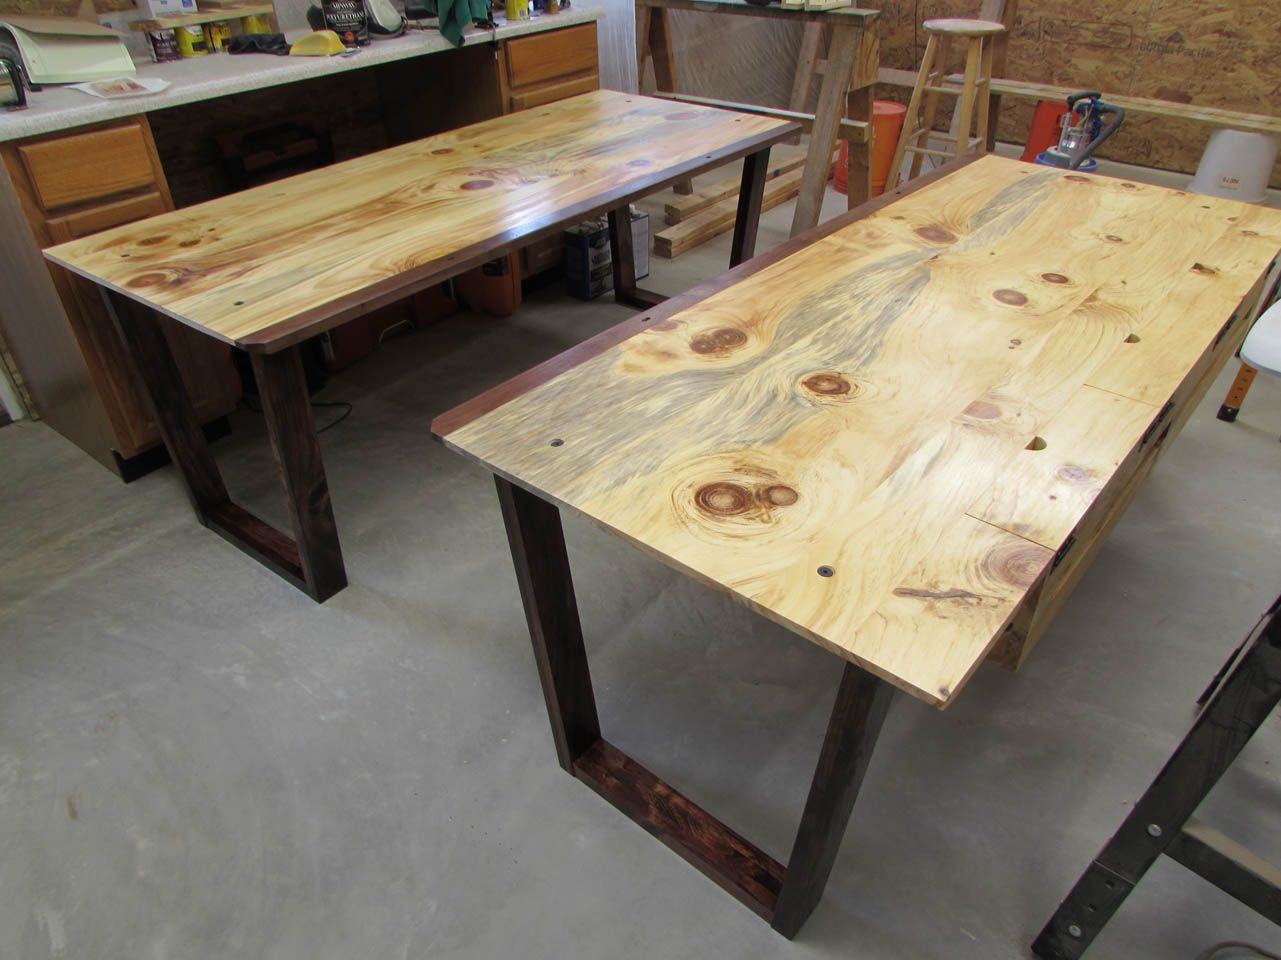
After final assembly, they look really good.

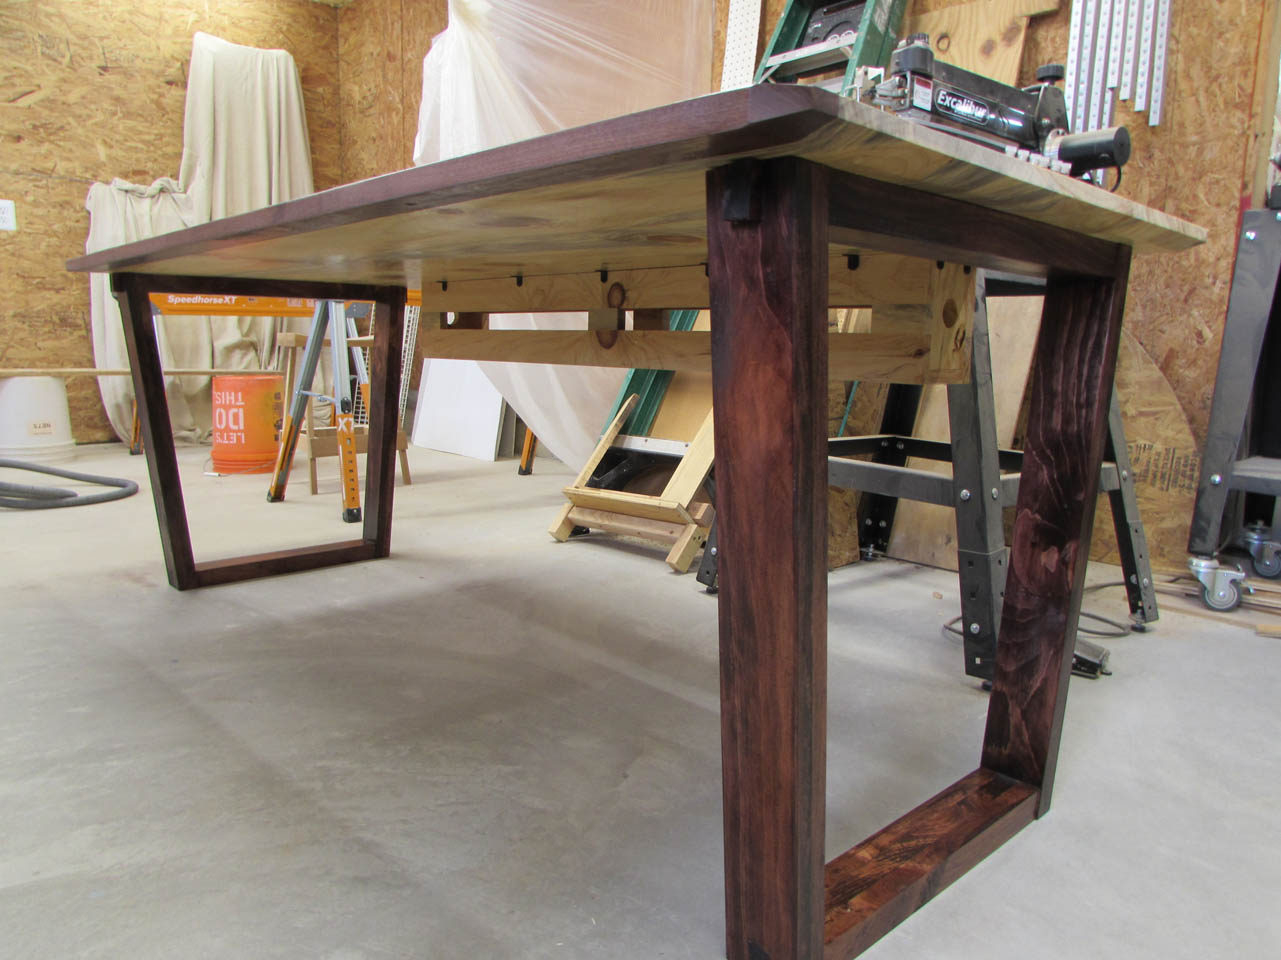
Here is a couple of shots from below.
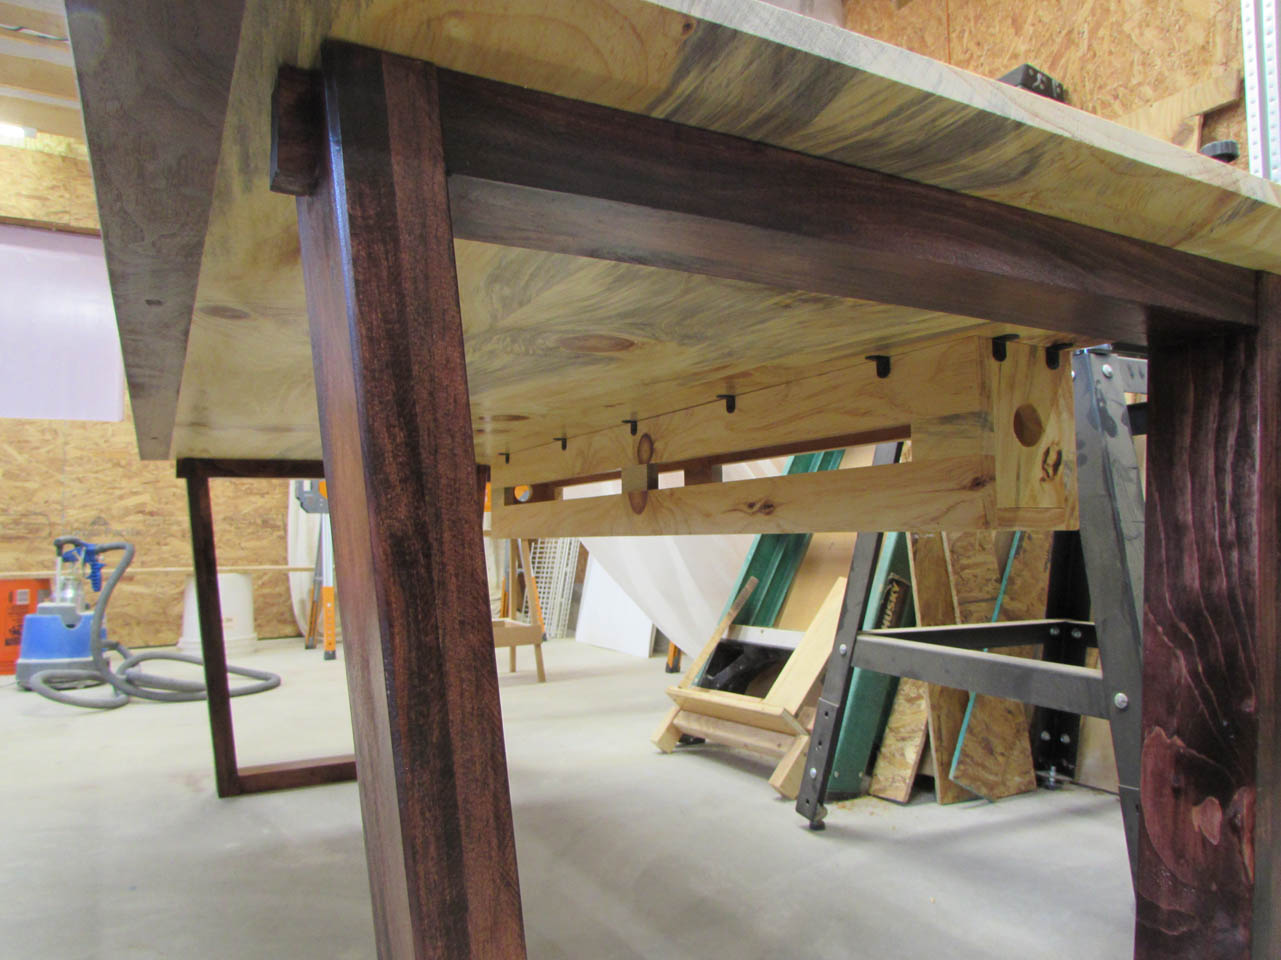
This was a fun project and it got rid of all that weathered pine that I had laying around…
