
Portable podium for Holy Spirit church – part 5
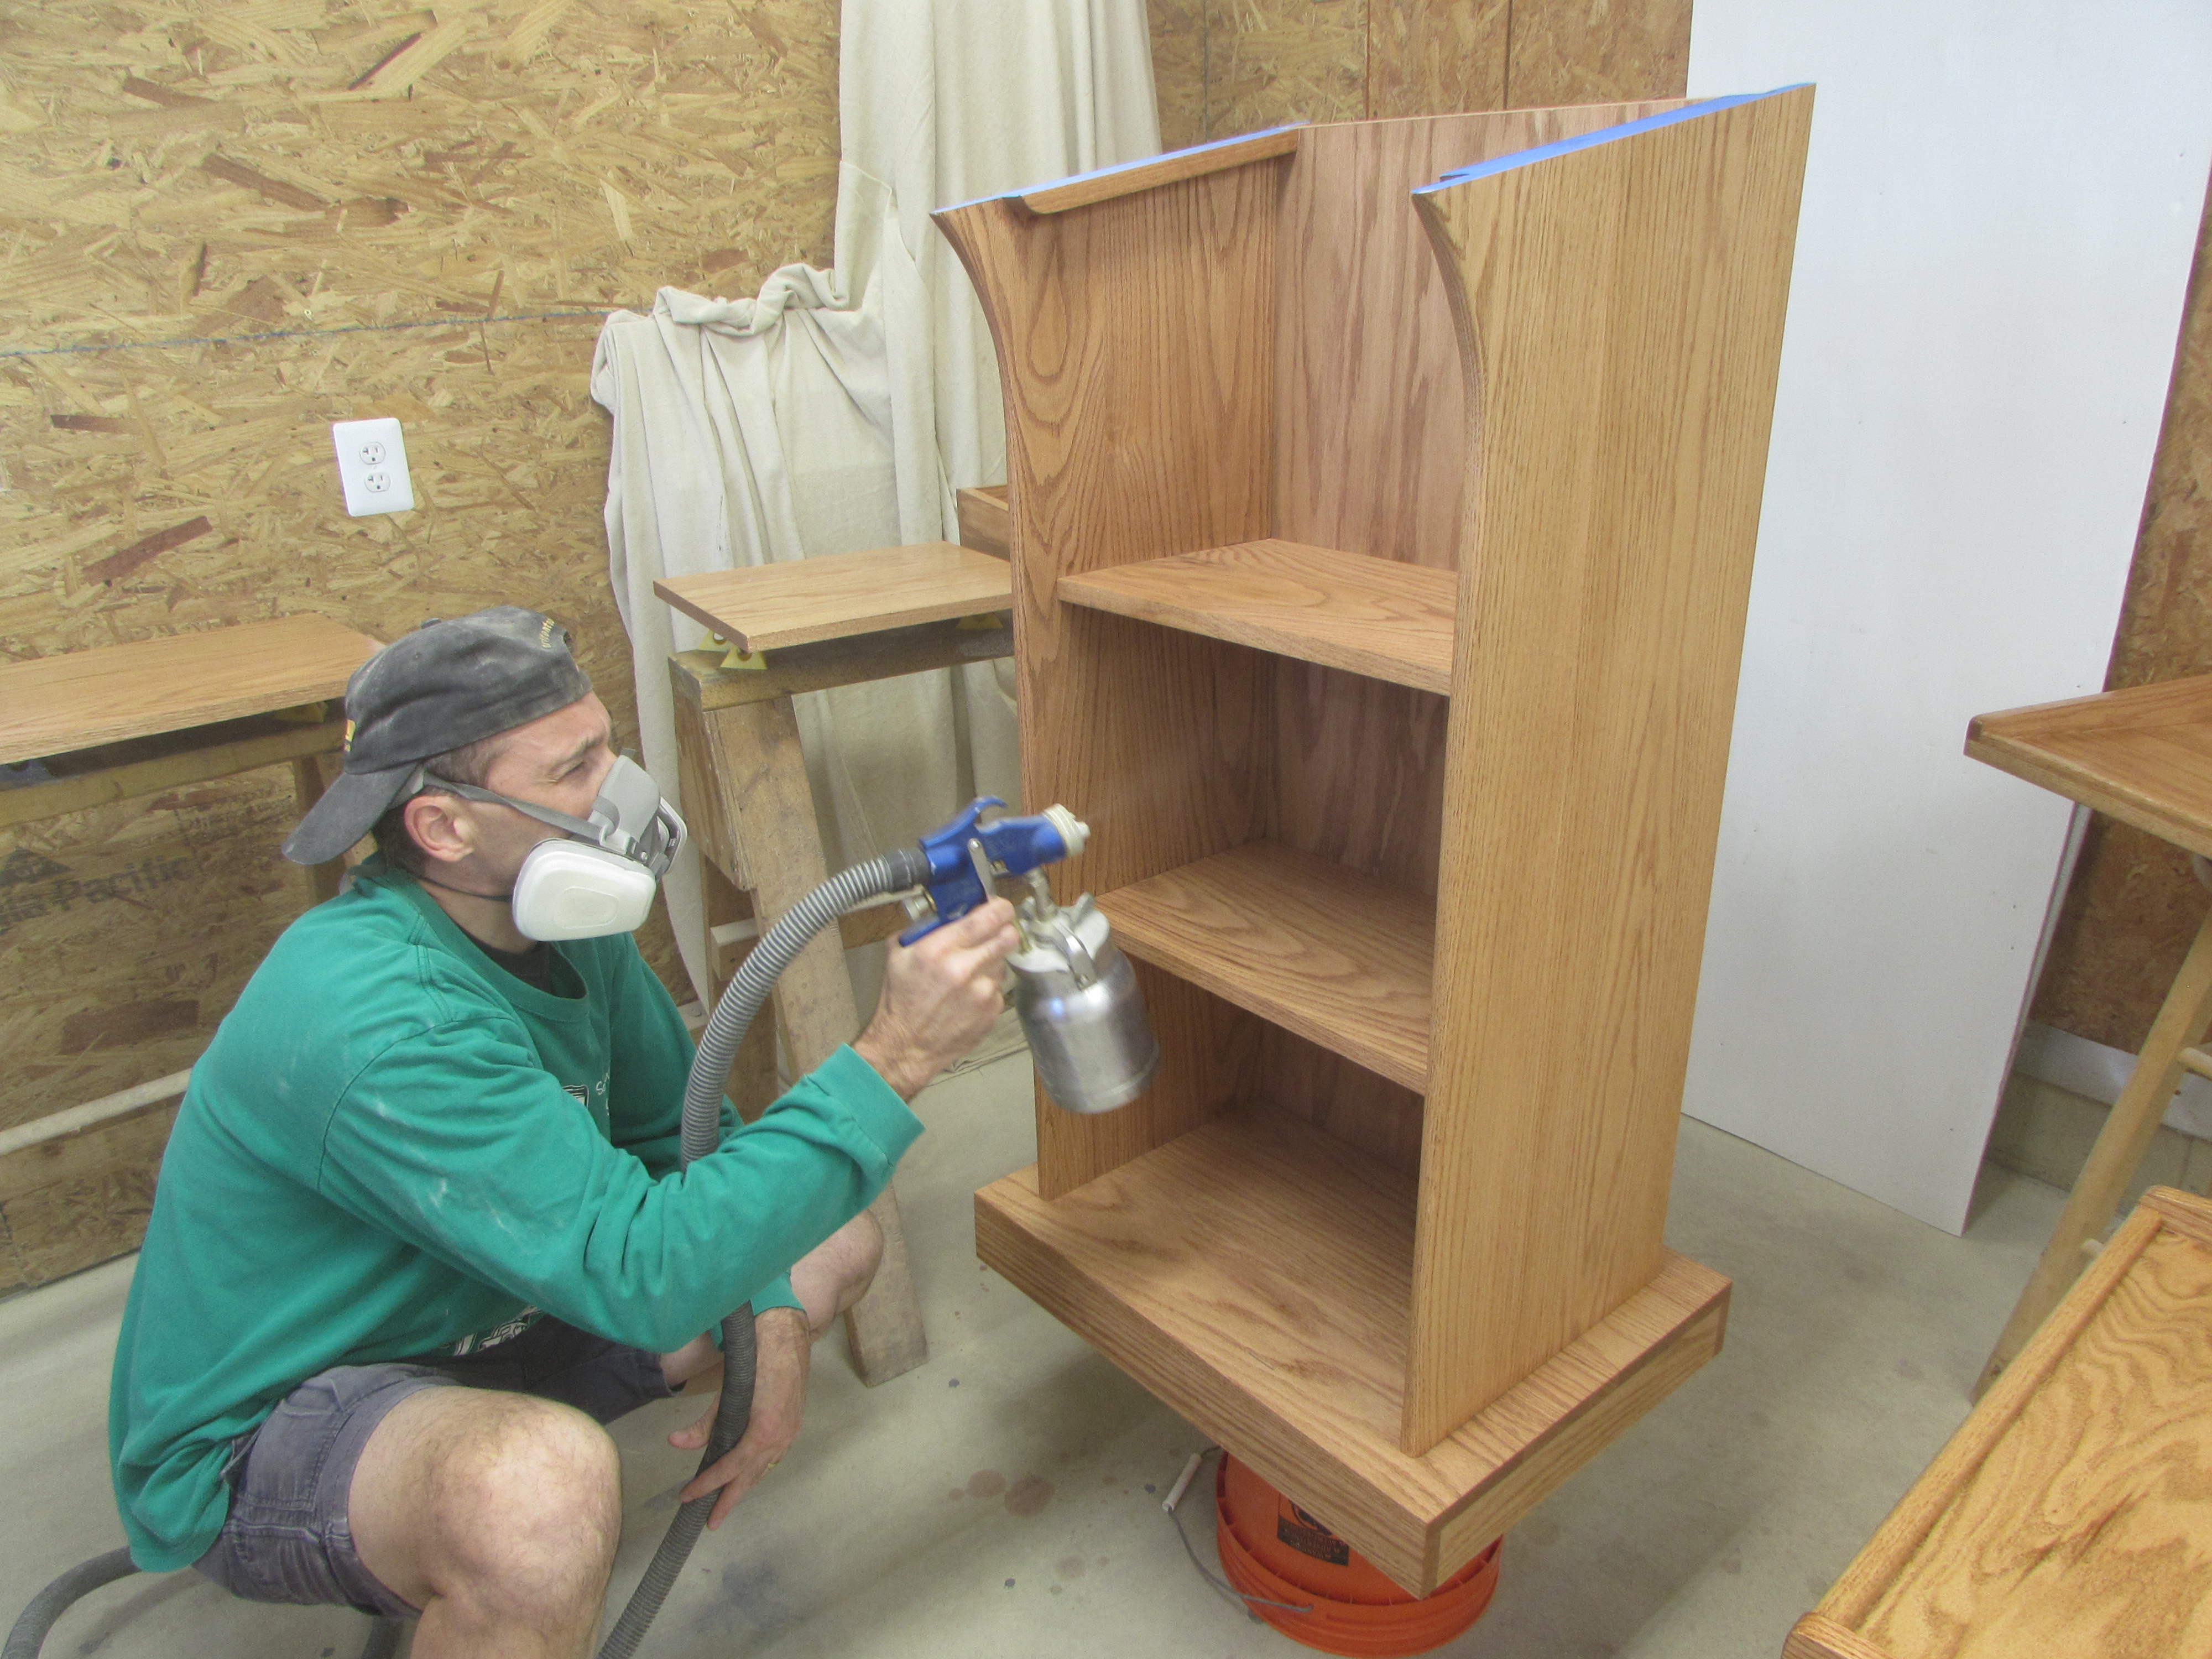
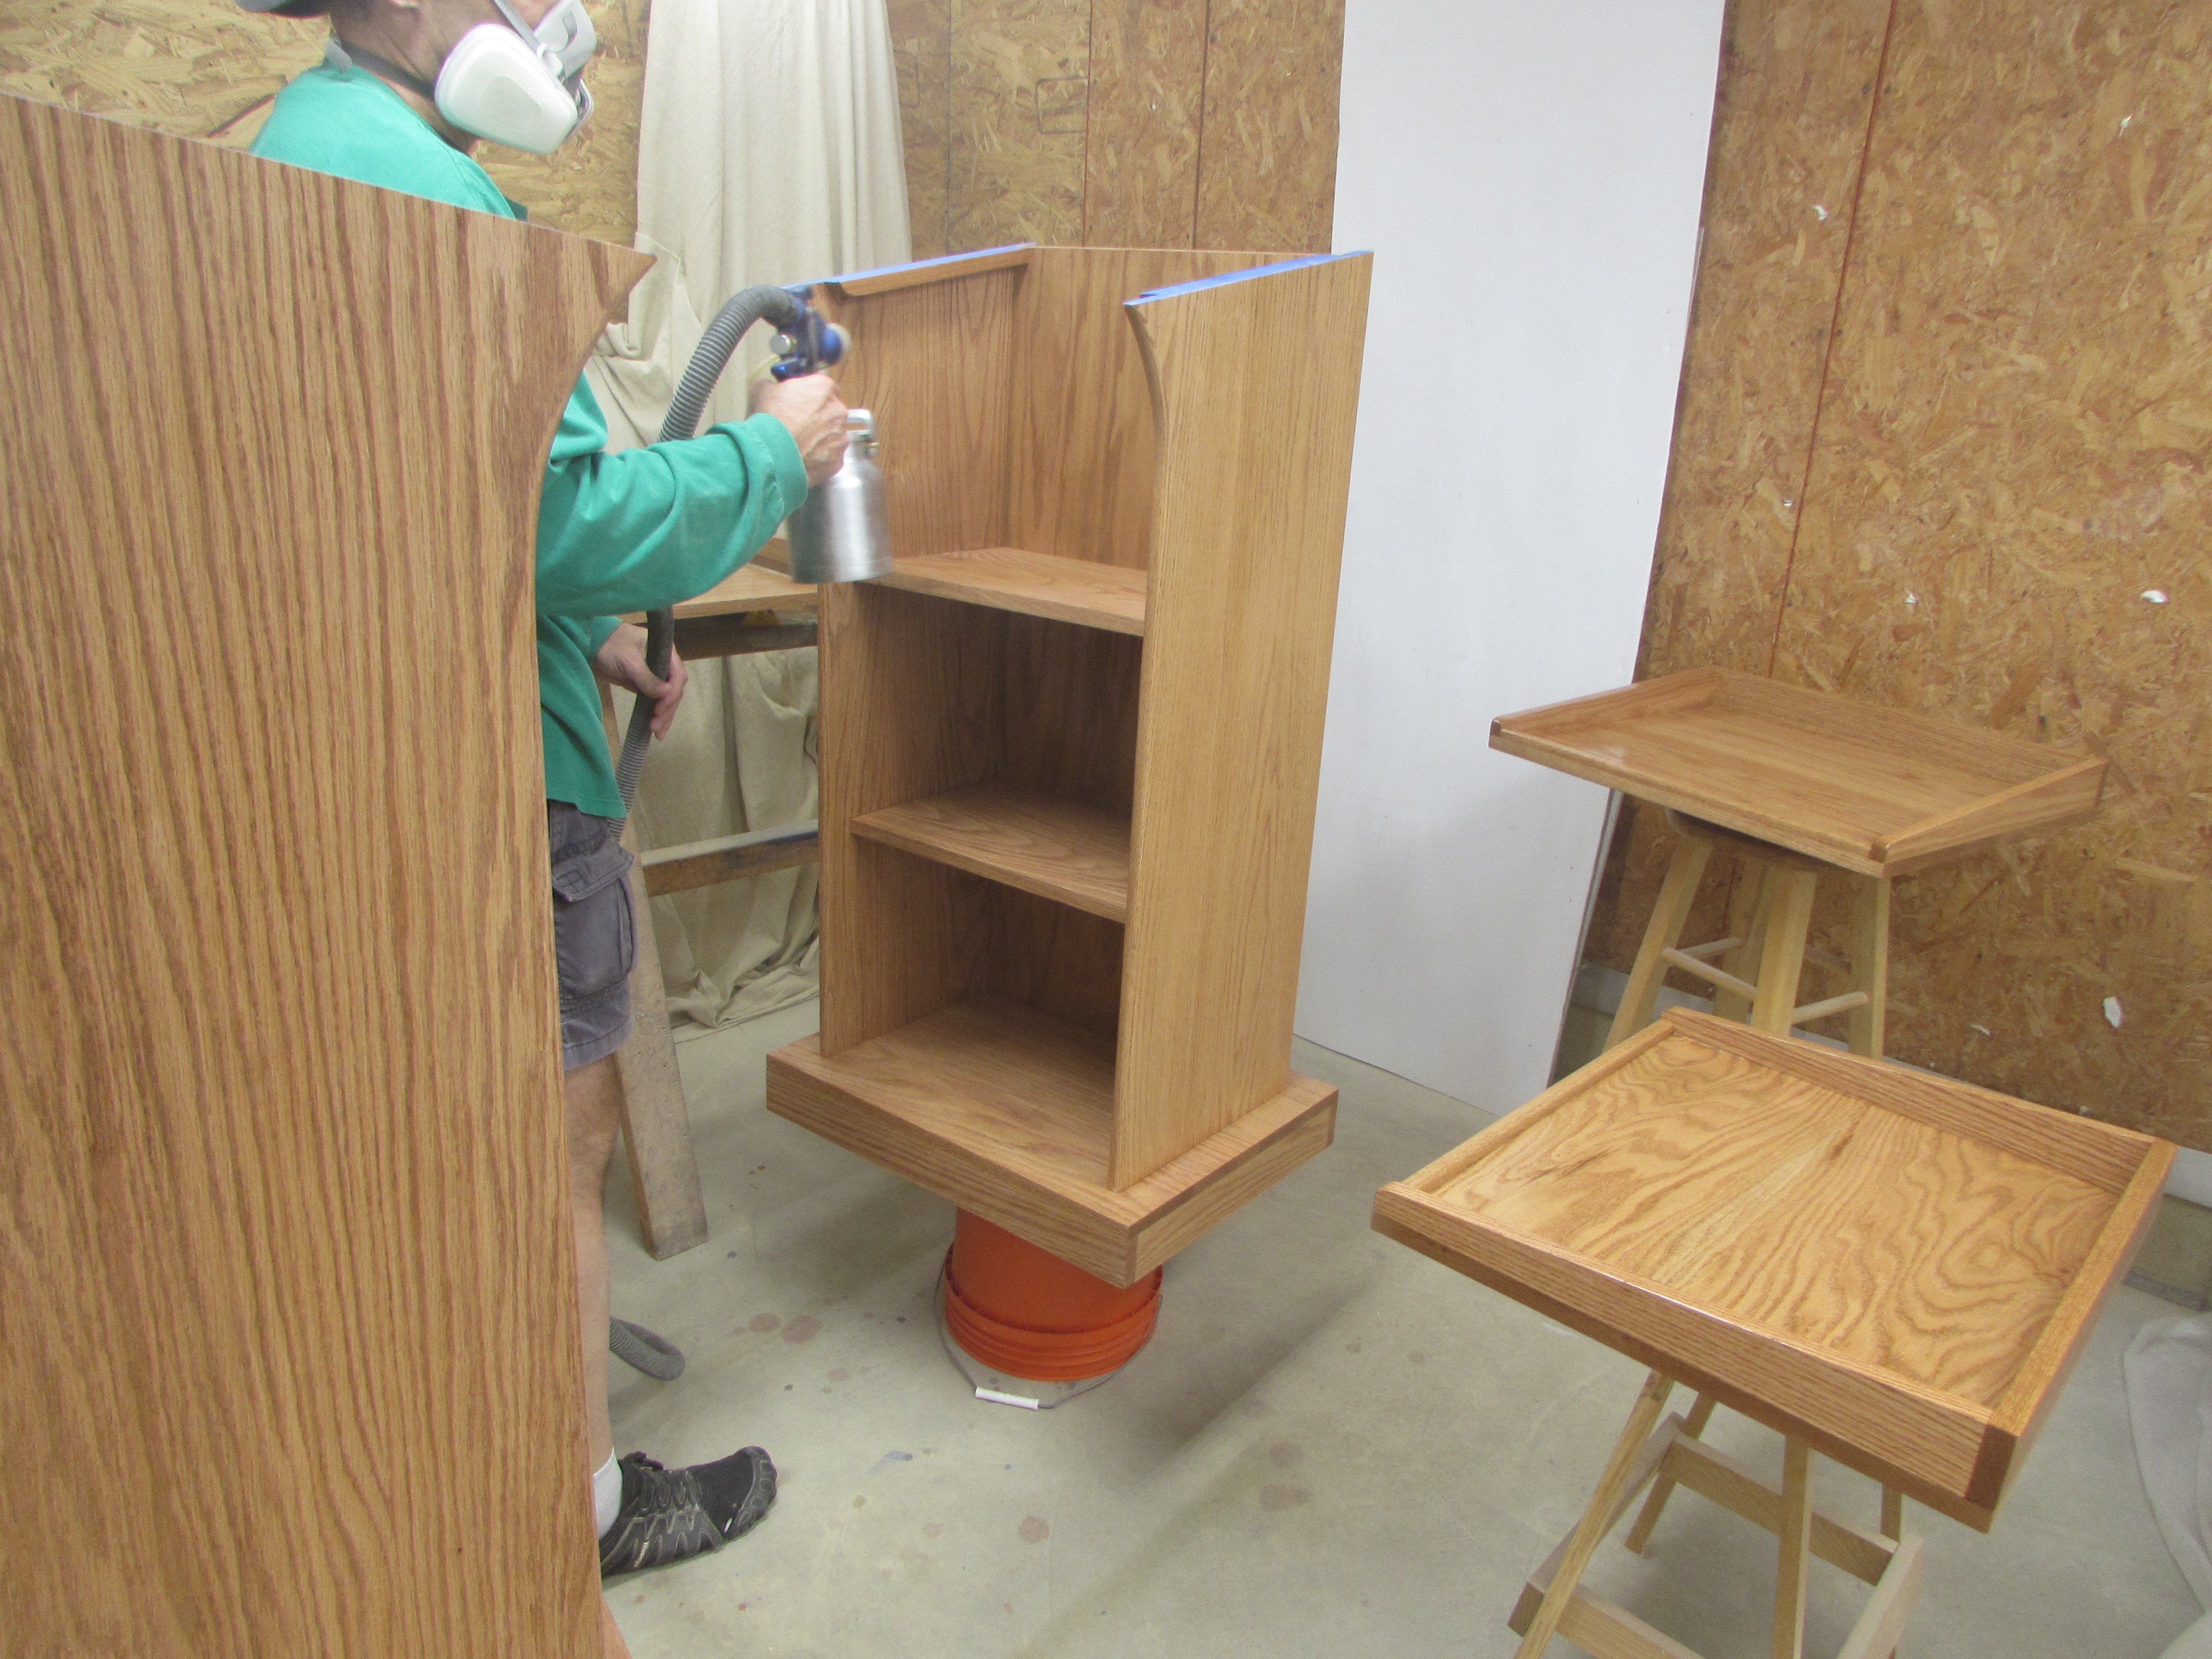
The stain has dried overnight so I can start my day by cramming all the podium parts into my spray booth.

I am using Minwax semi-gloss polyurethane. It is an oil-based finish and it helps to pop the grain a bit more when it soaks in.
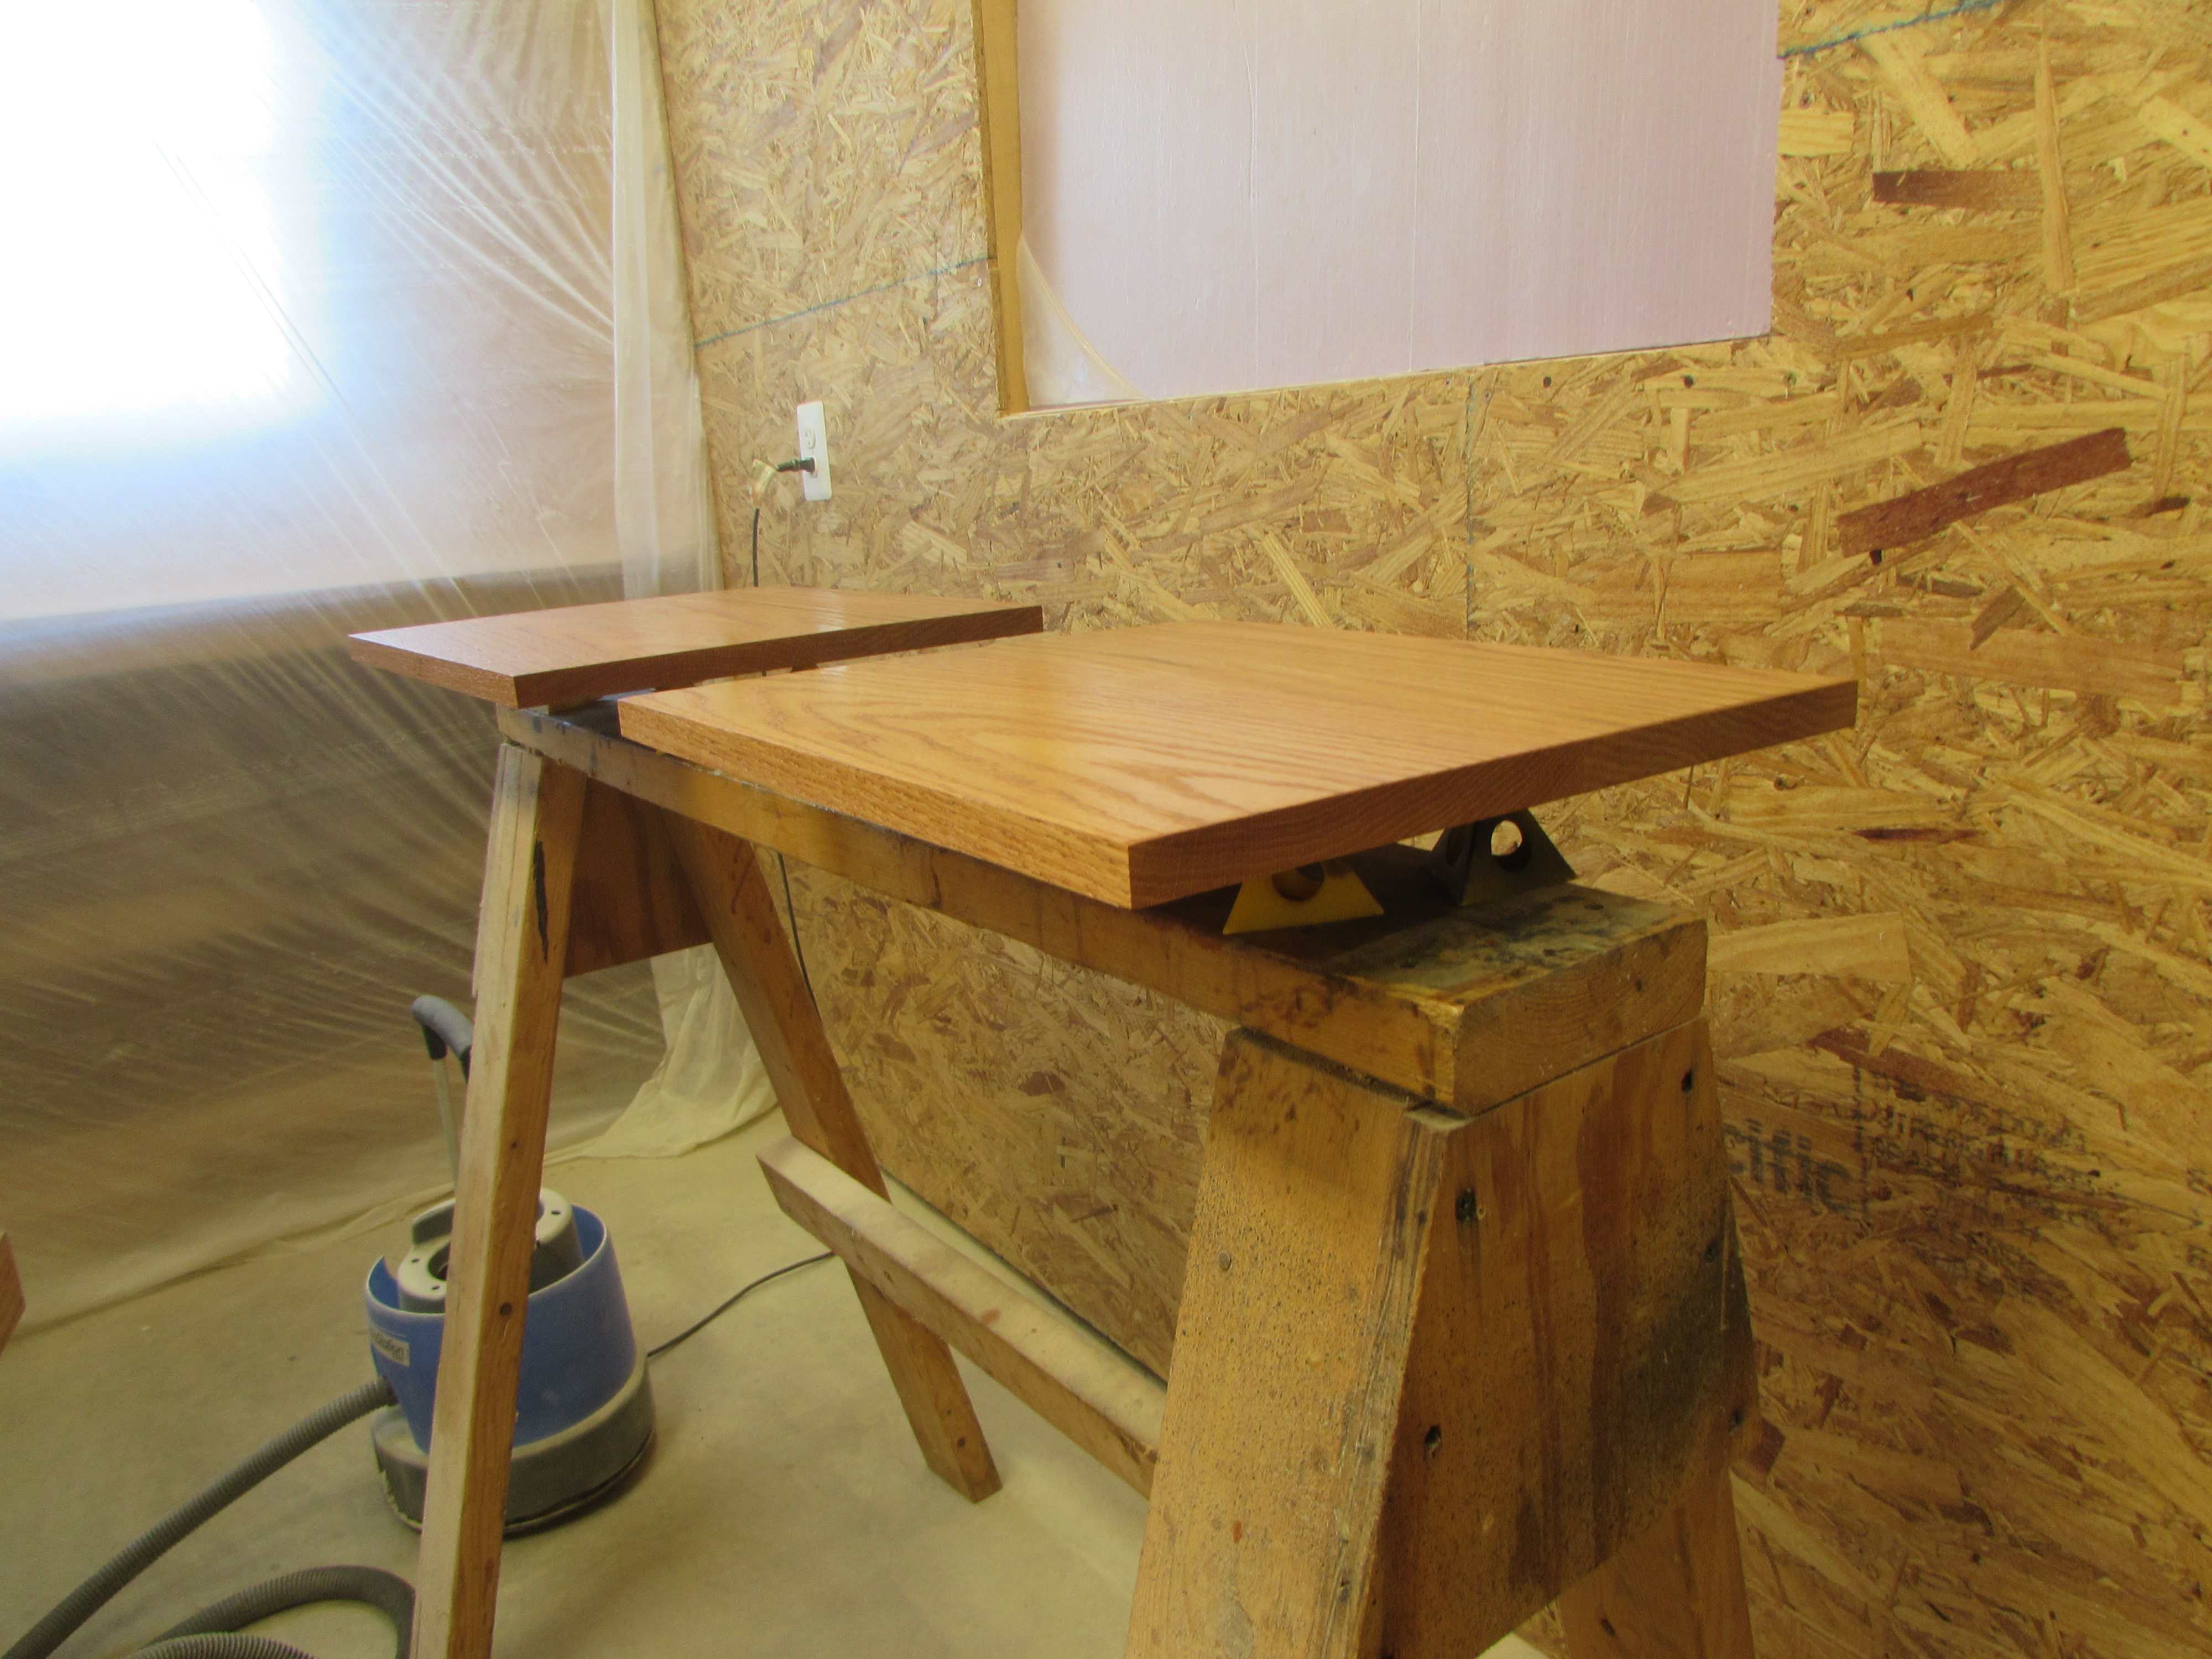
All of the smaller parts can have both sides sprayed at the same time, if I start by spraying the bottoms, then flip the parts over onto painter’s pyramids.
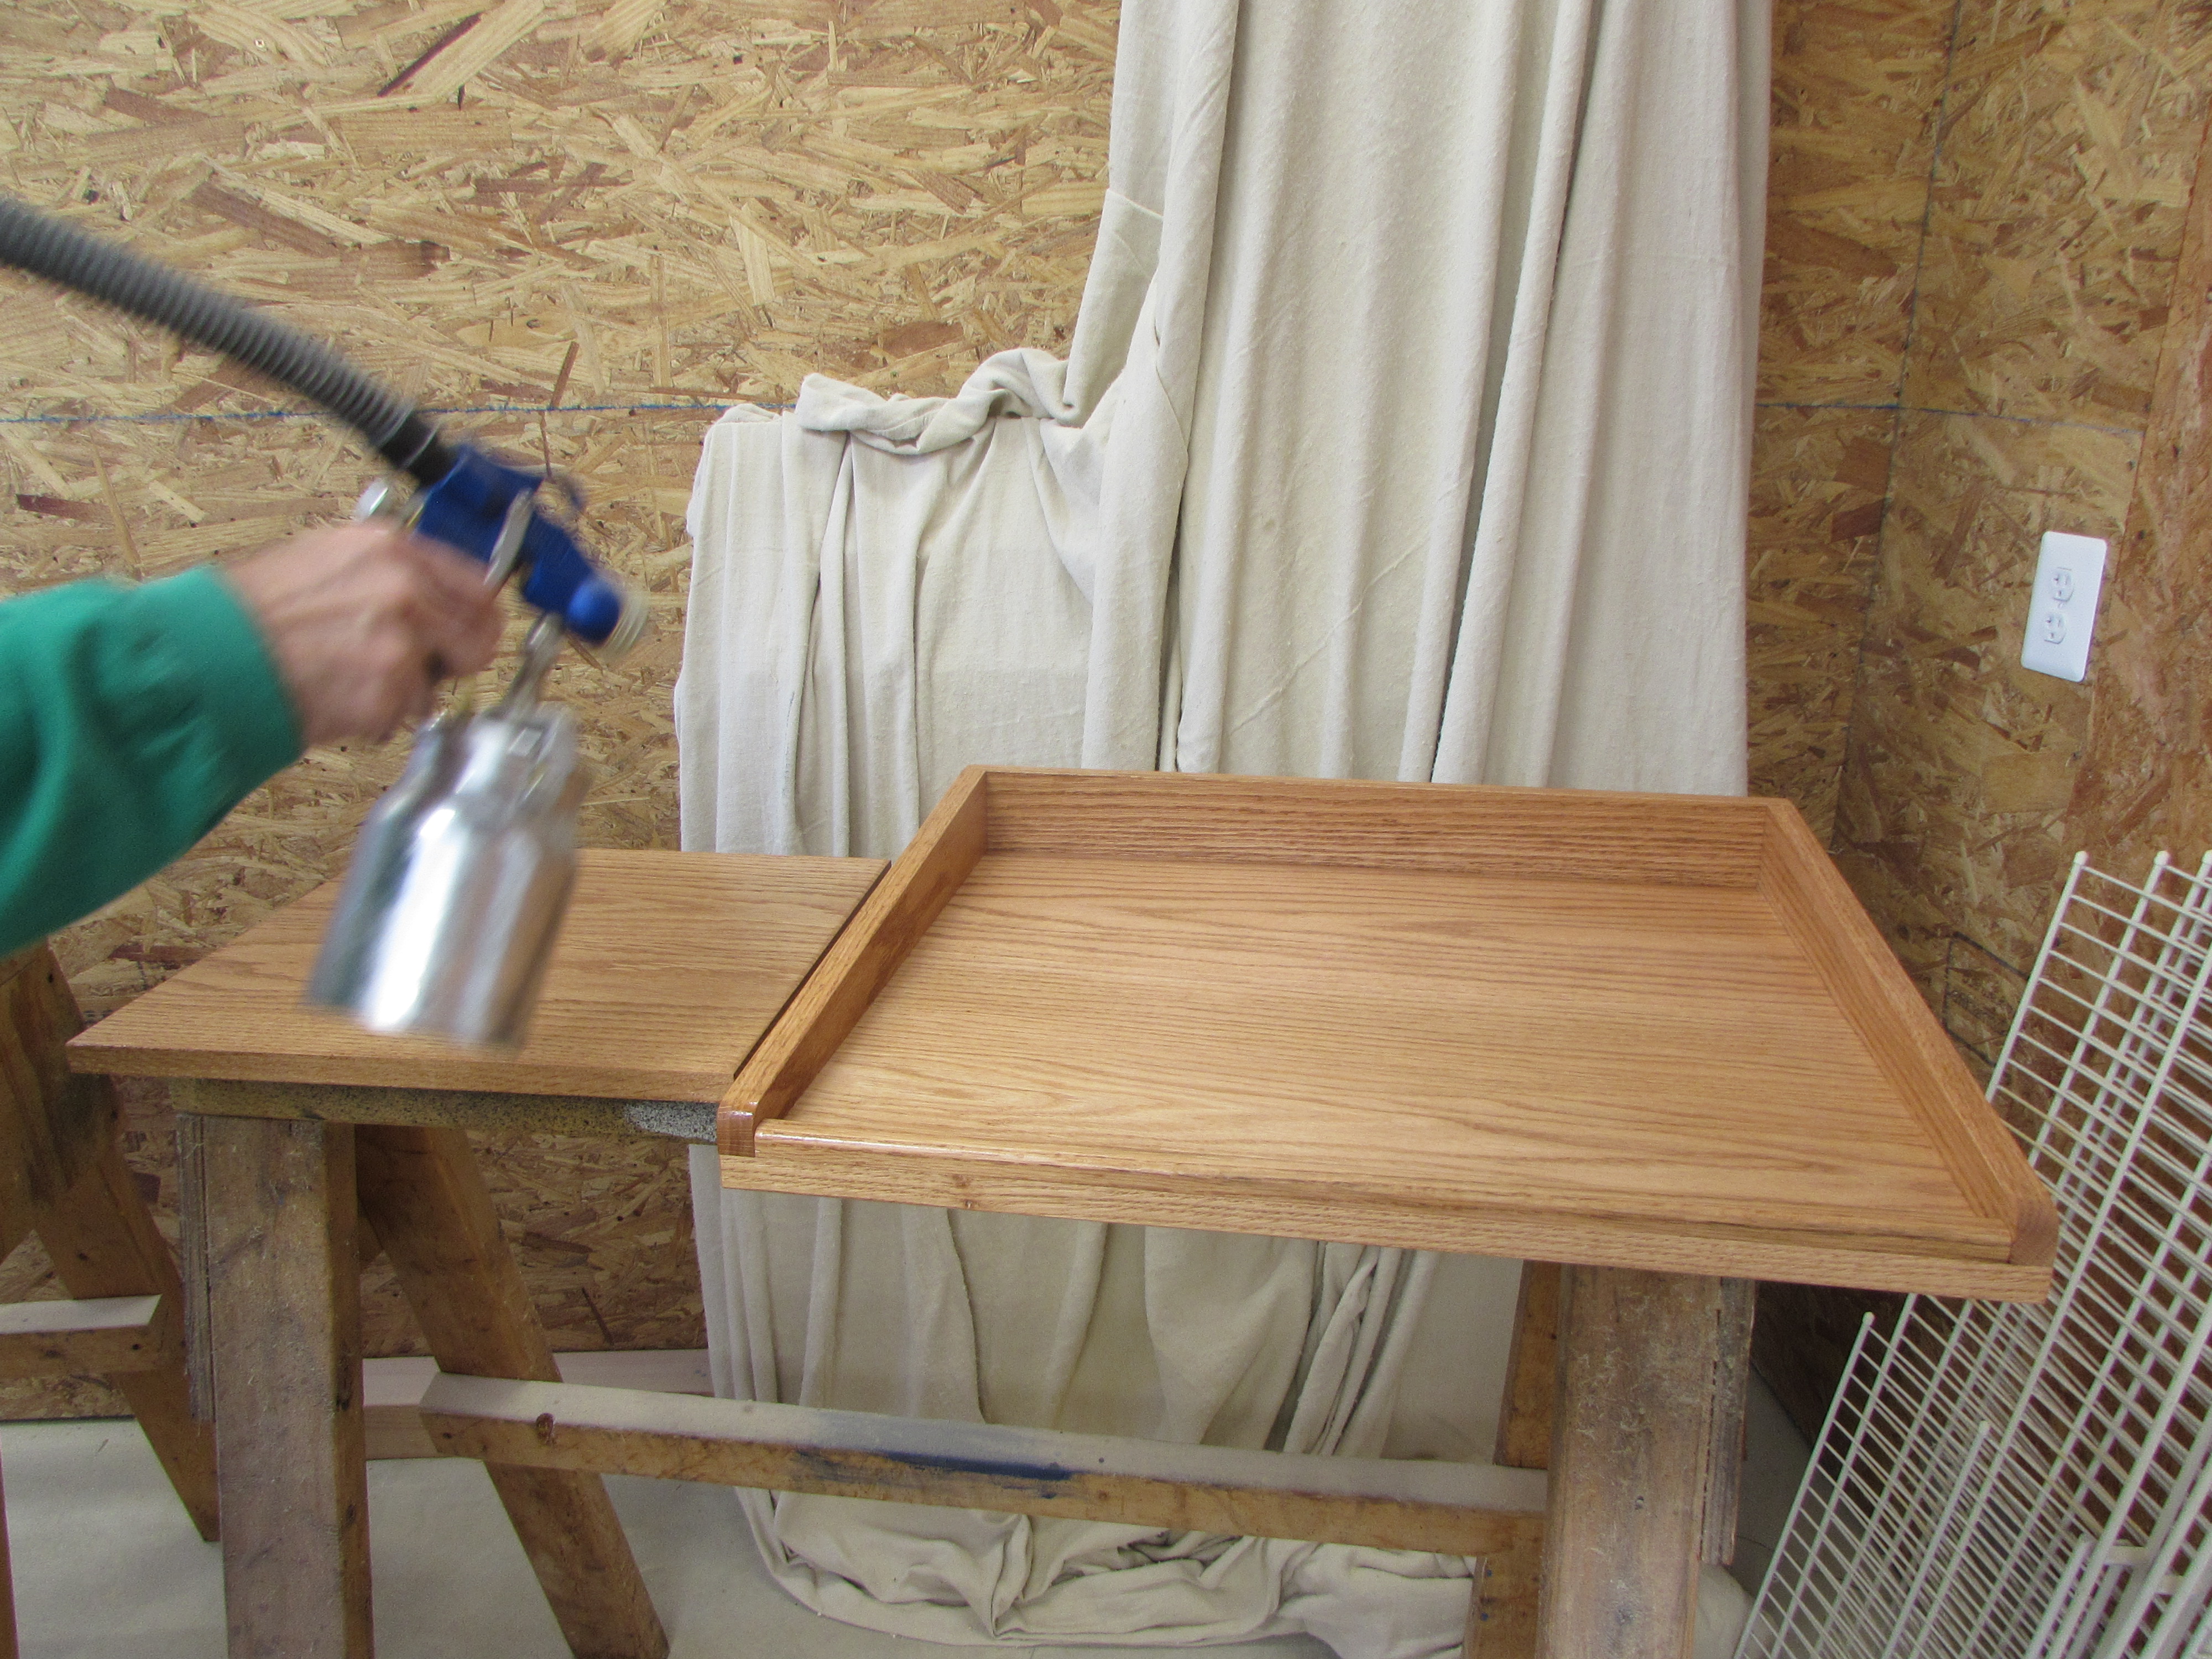
The larger parts weigh about 70 lbs. so that would be more difficult.
I set each on a 5 gallon bucket and spin it as I spray each side. It is definitely a lot easier to reach all the corners with the top off.

After the first coat spent most of the day drying, I came back in the evening and sanded every coated surface with 400 grit paper to remove any over-spray that settled on the surface while drying.
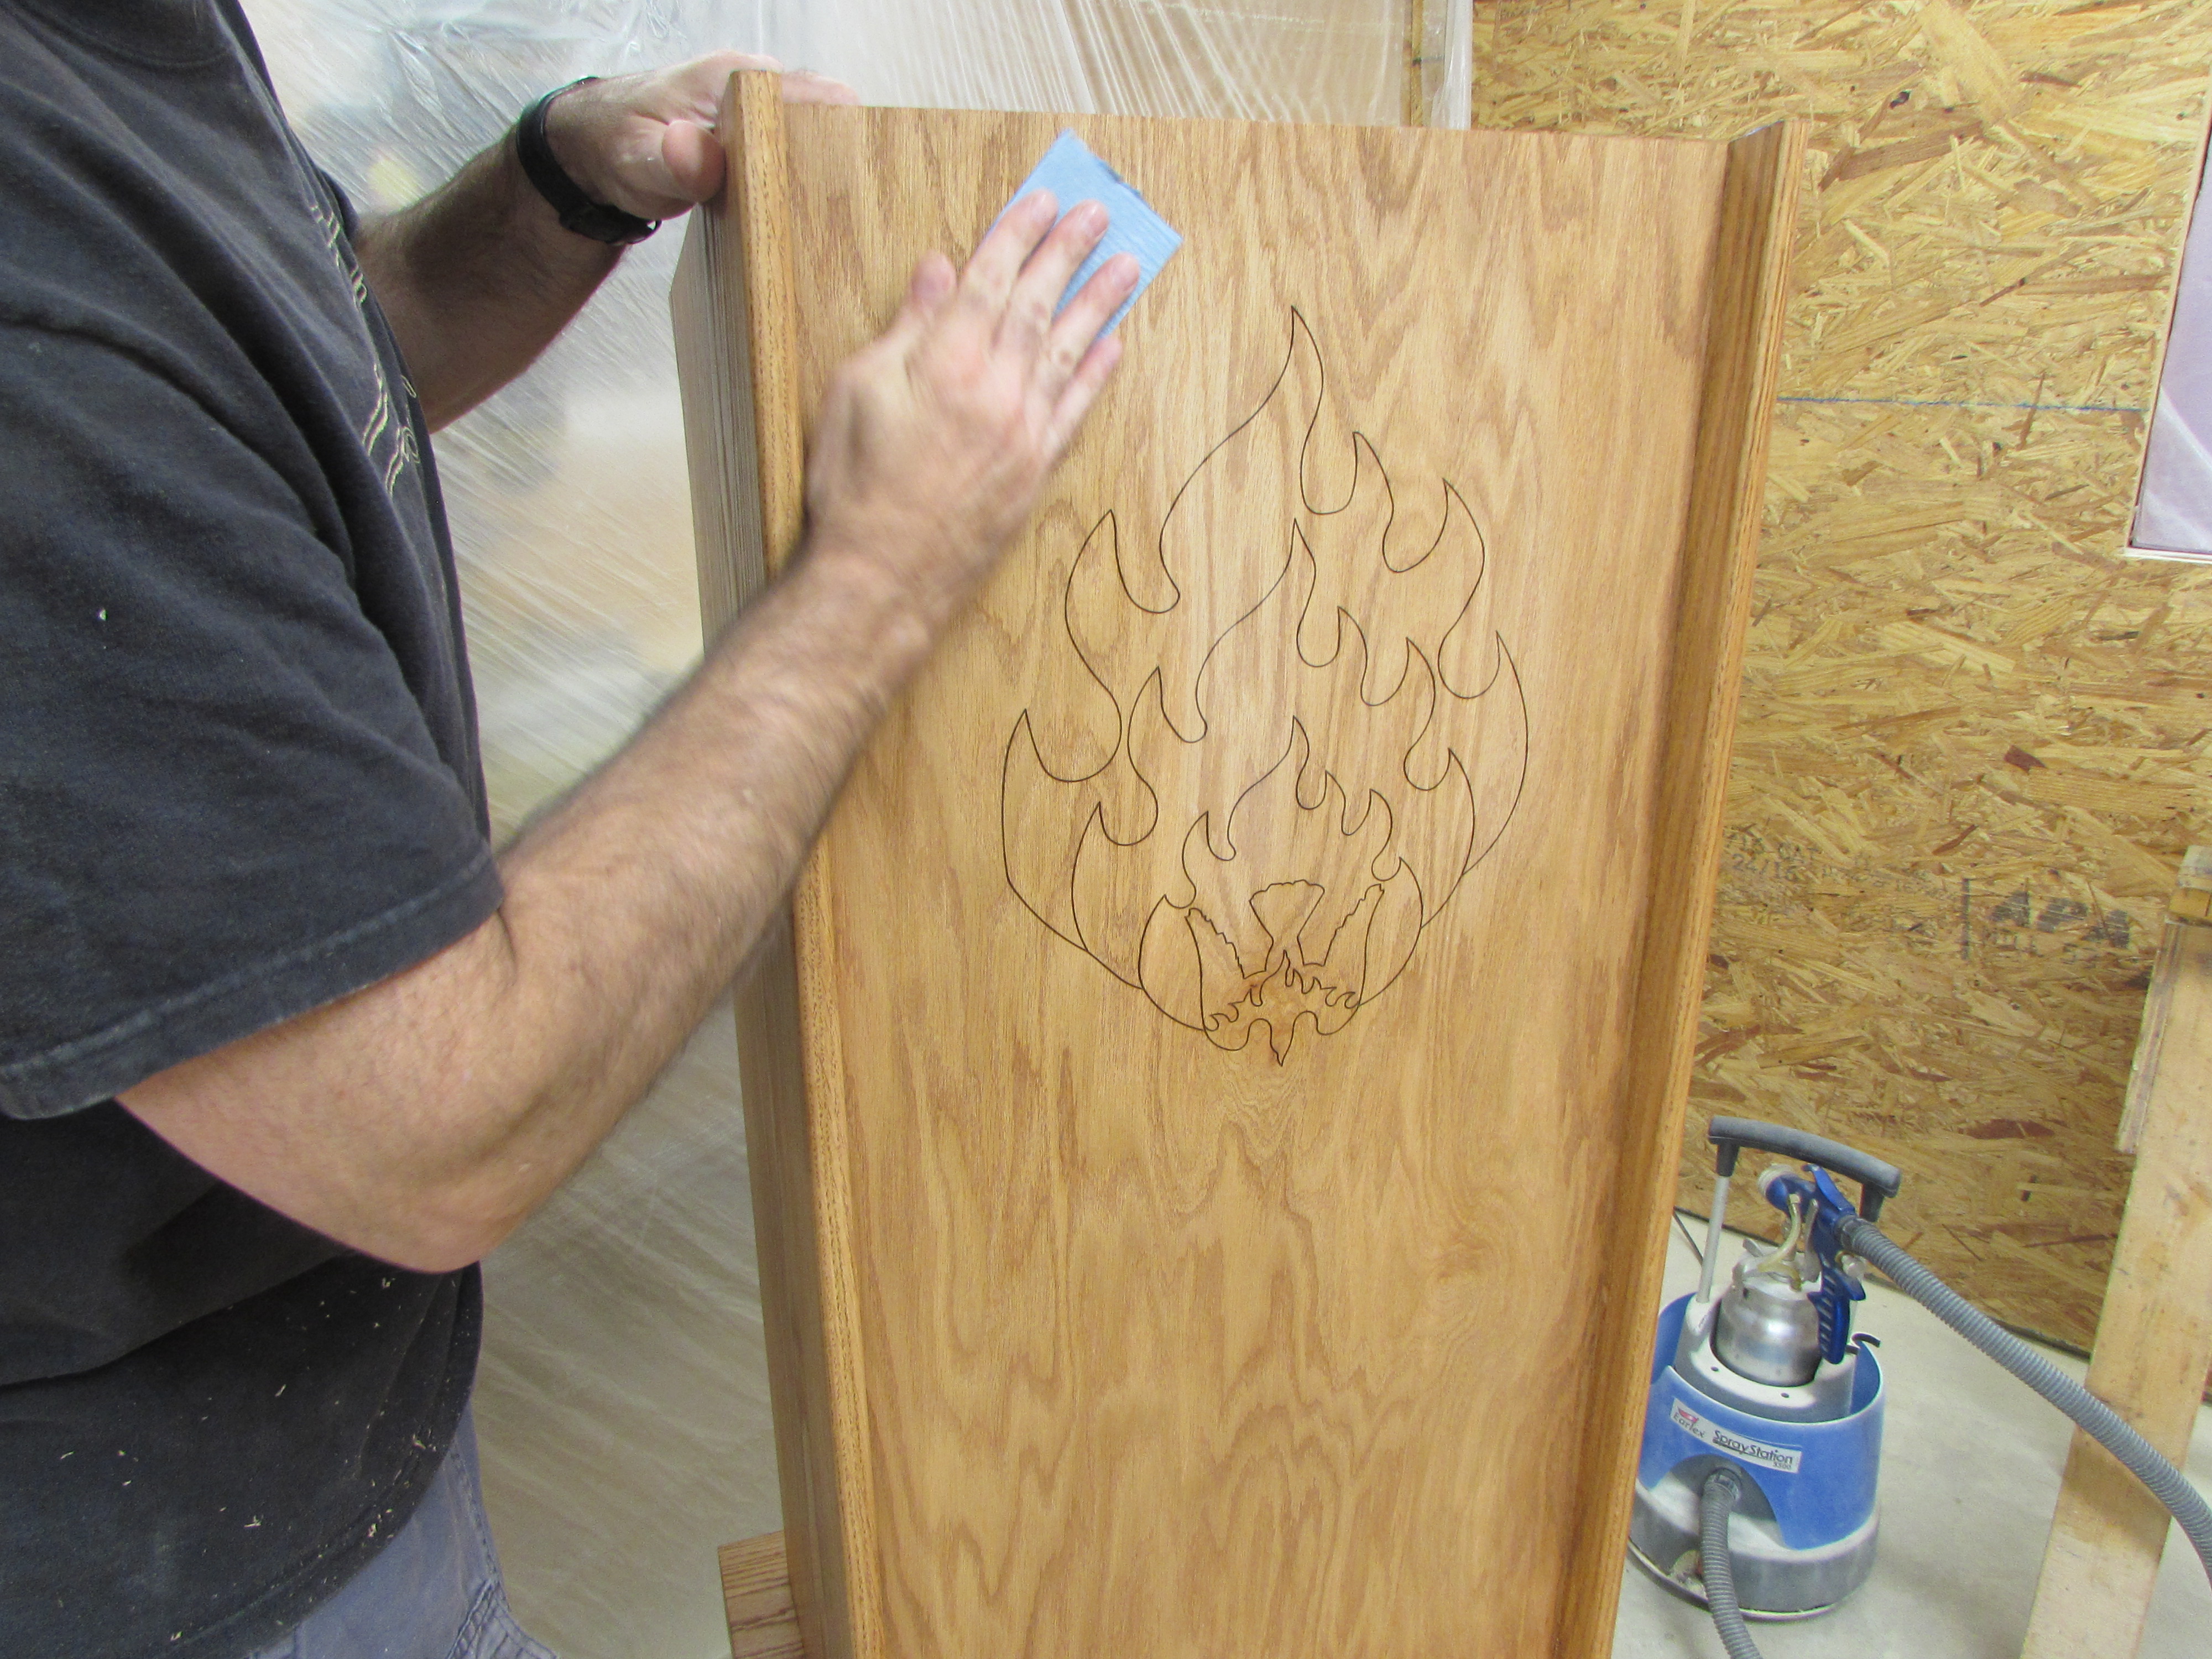
I carefully removed all of the dust with my vacuum to keep the finish as smooth as possible.

Then I repeated the process, giving everything a second coat of poly.
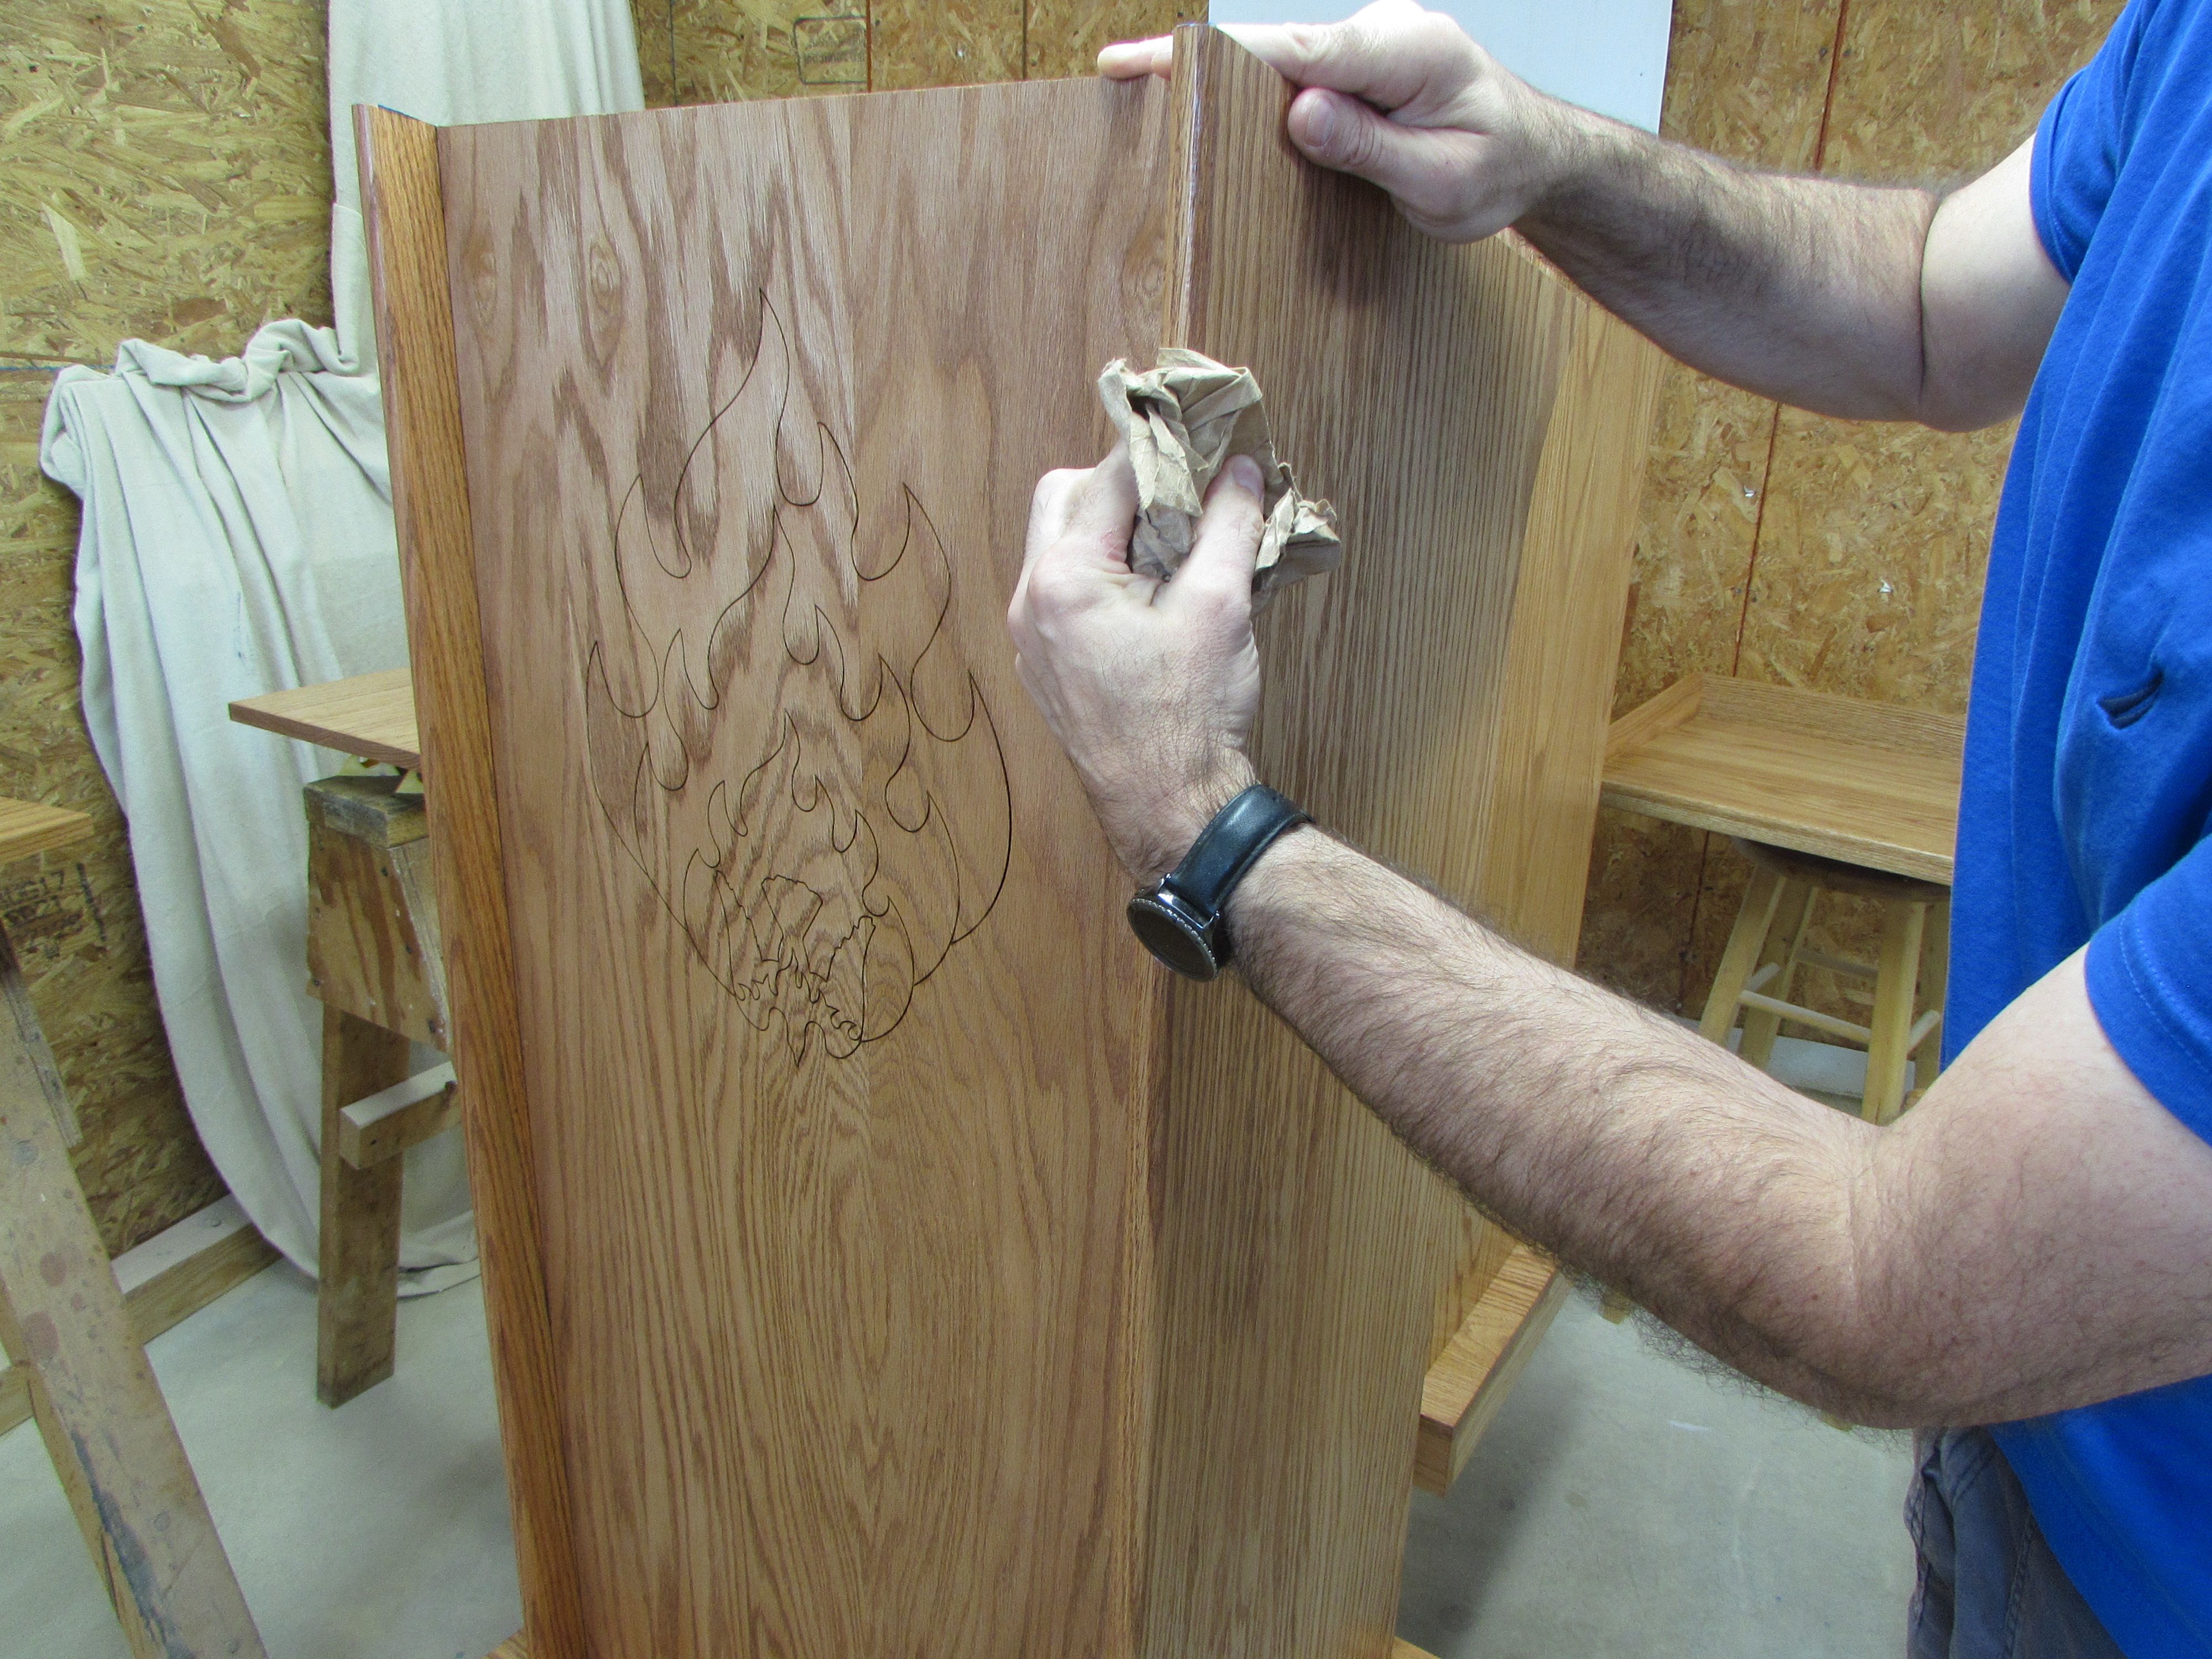
The next morning, I buffed off any dust nibs or over-spray that may have settled with a piece of crumpled brown paper bag. Seems silly but it does a great job of buffing without leaving any scuffs.
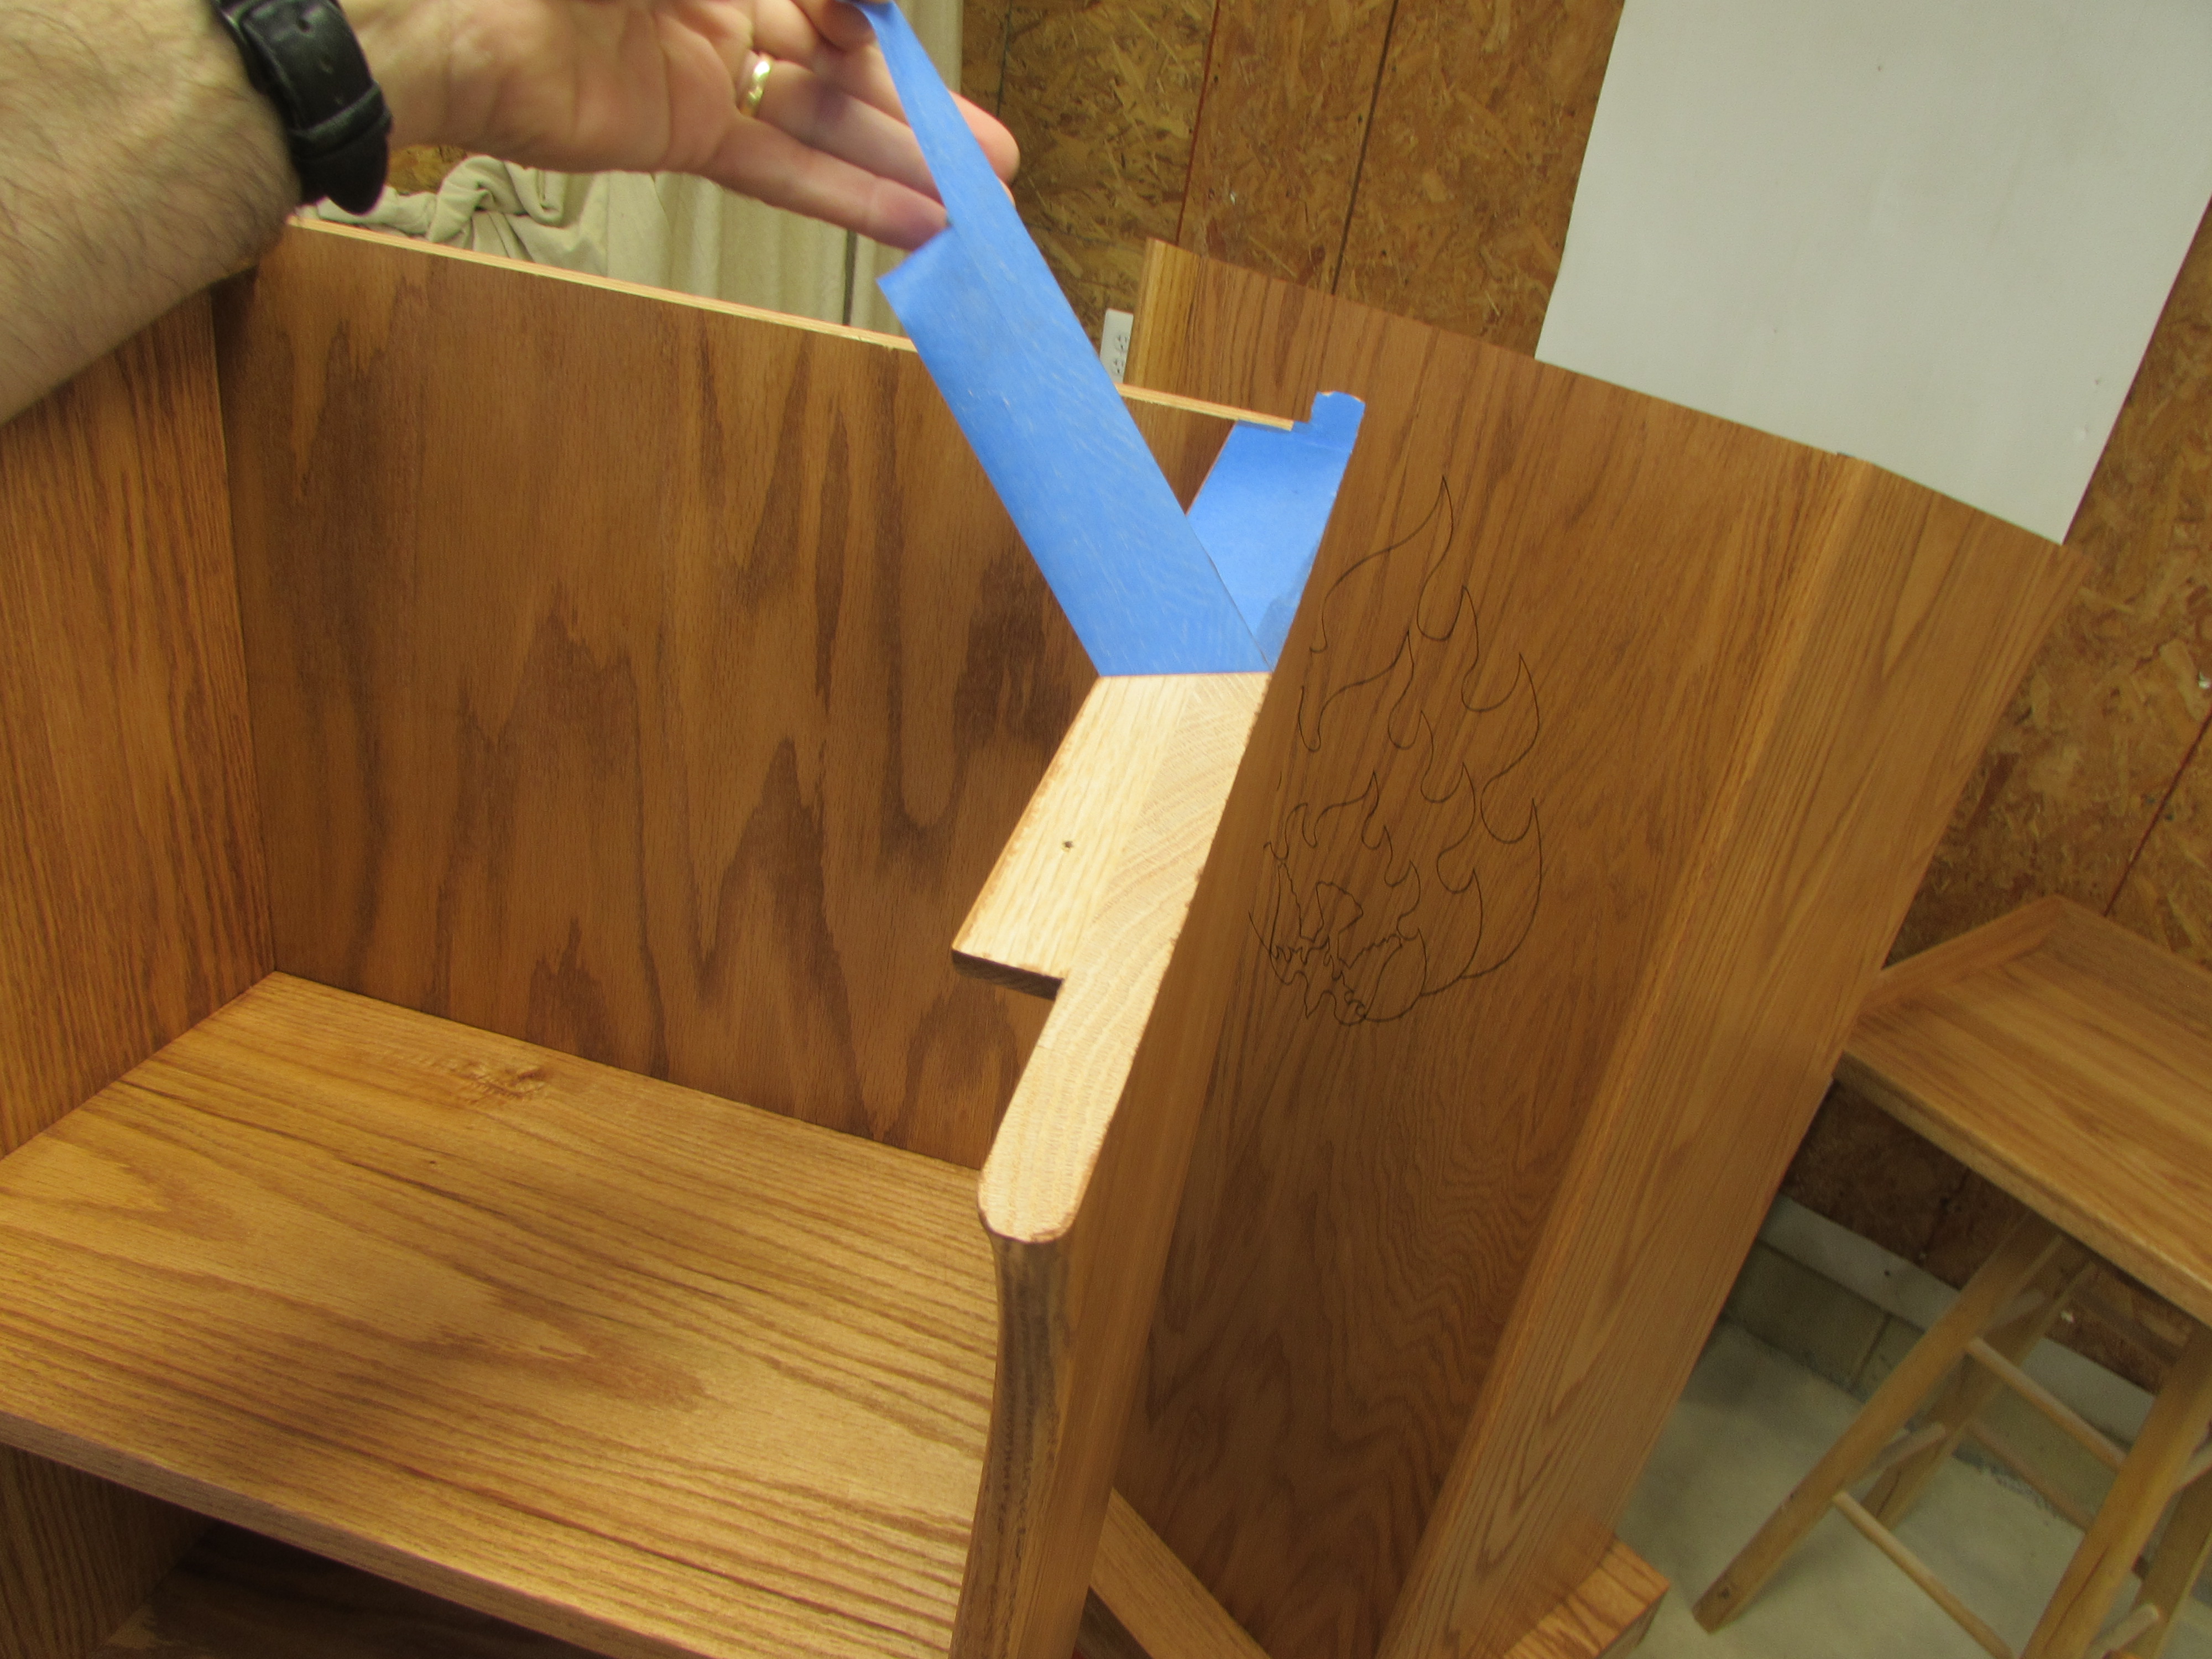
I also was able to peel off all of the masking tape, exposing raw wood so I can get the best glue bond on final assembly.

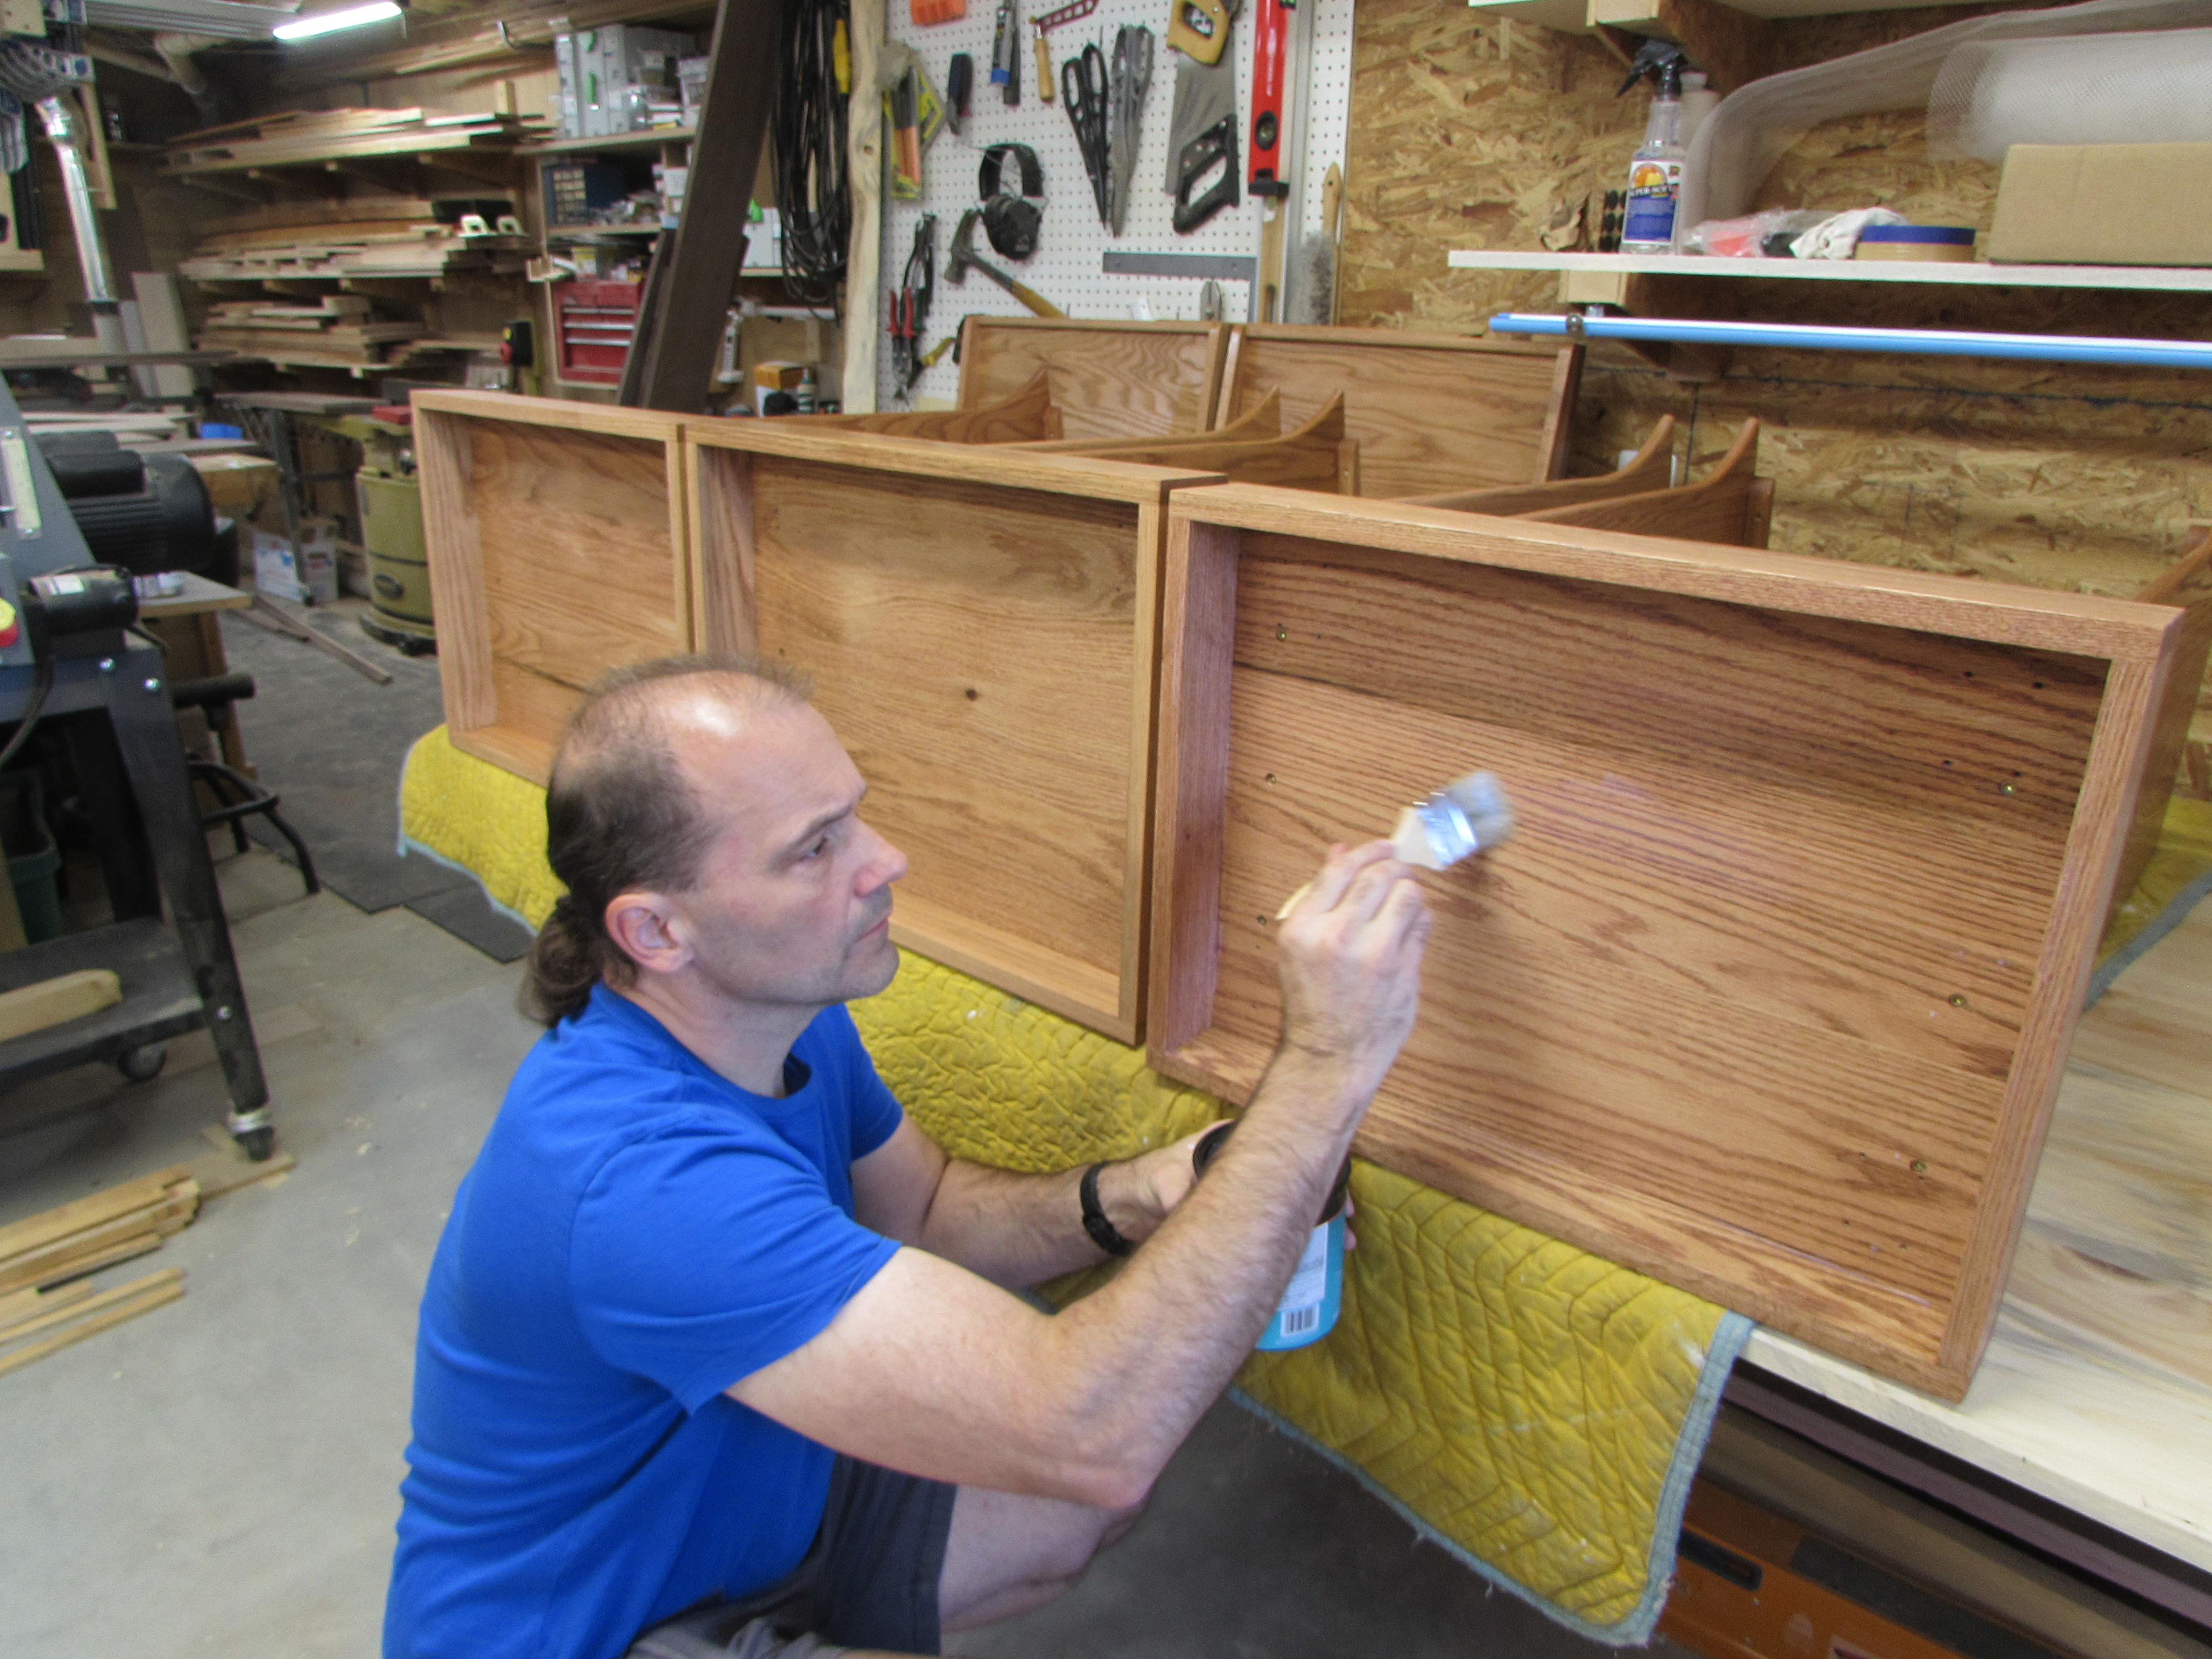
The only unfinished surface left is the bottoms. Without knowing exactly where the podiums will be stored, it is only prudent to seal the bottom as well. If they accumulate moisture below, the wood could swell on one side and that would cause cupping and cracking. Since It is a non-visible location, I brush on a water-based polyurethane. It doesn’t pop the grain as much, but it dries in an hour, allowing multiple coats to go on quickly.
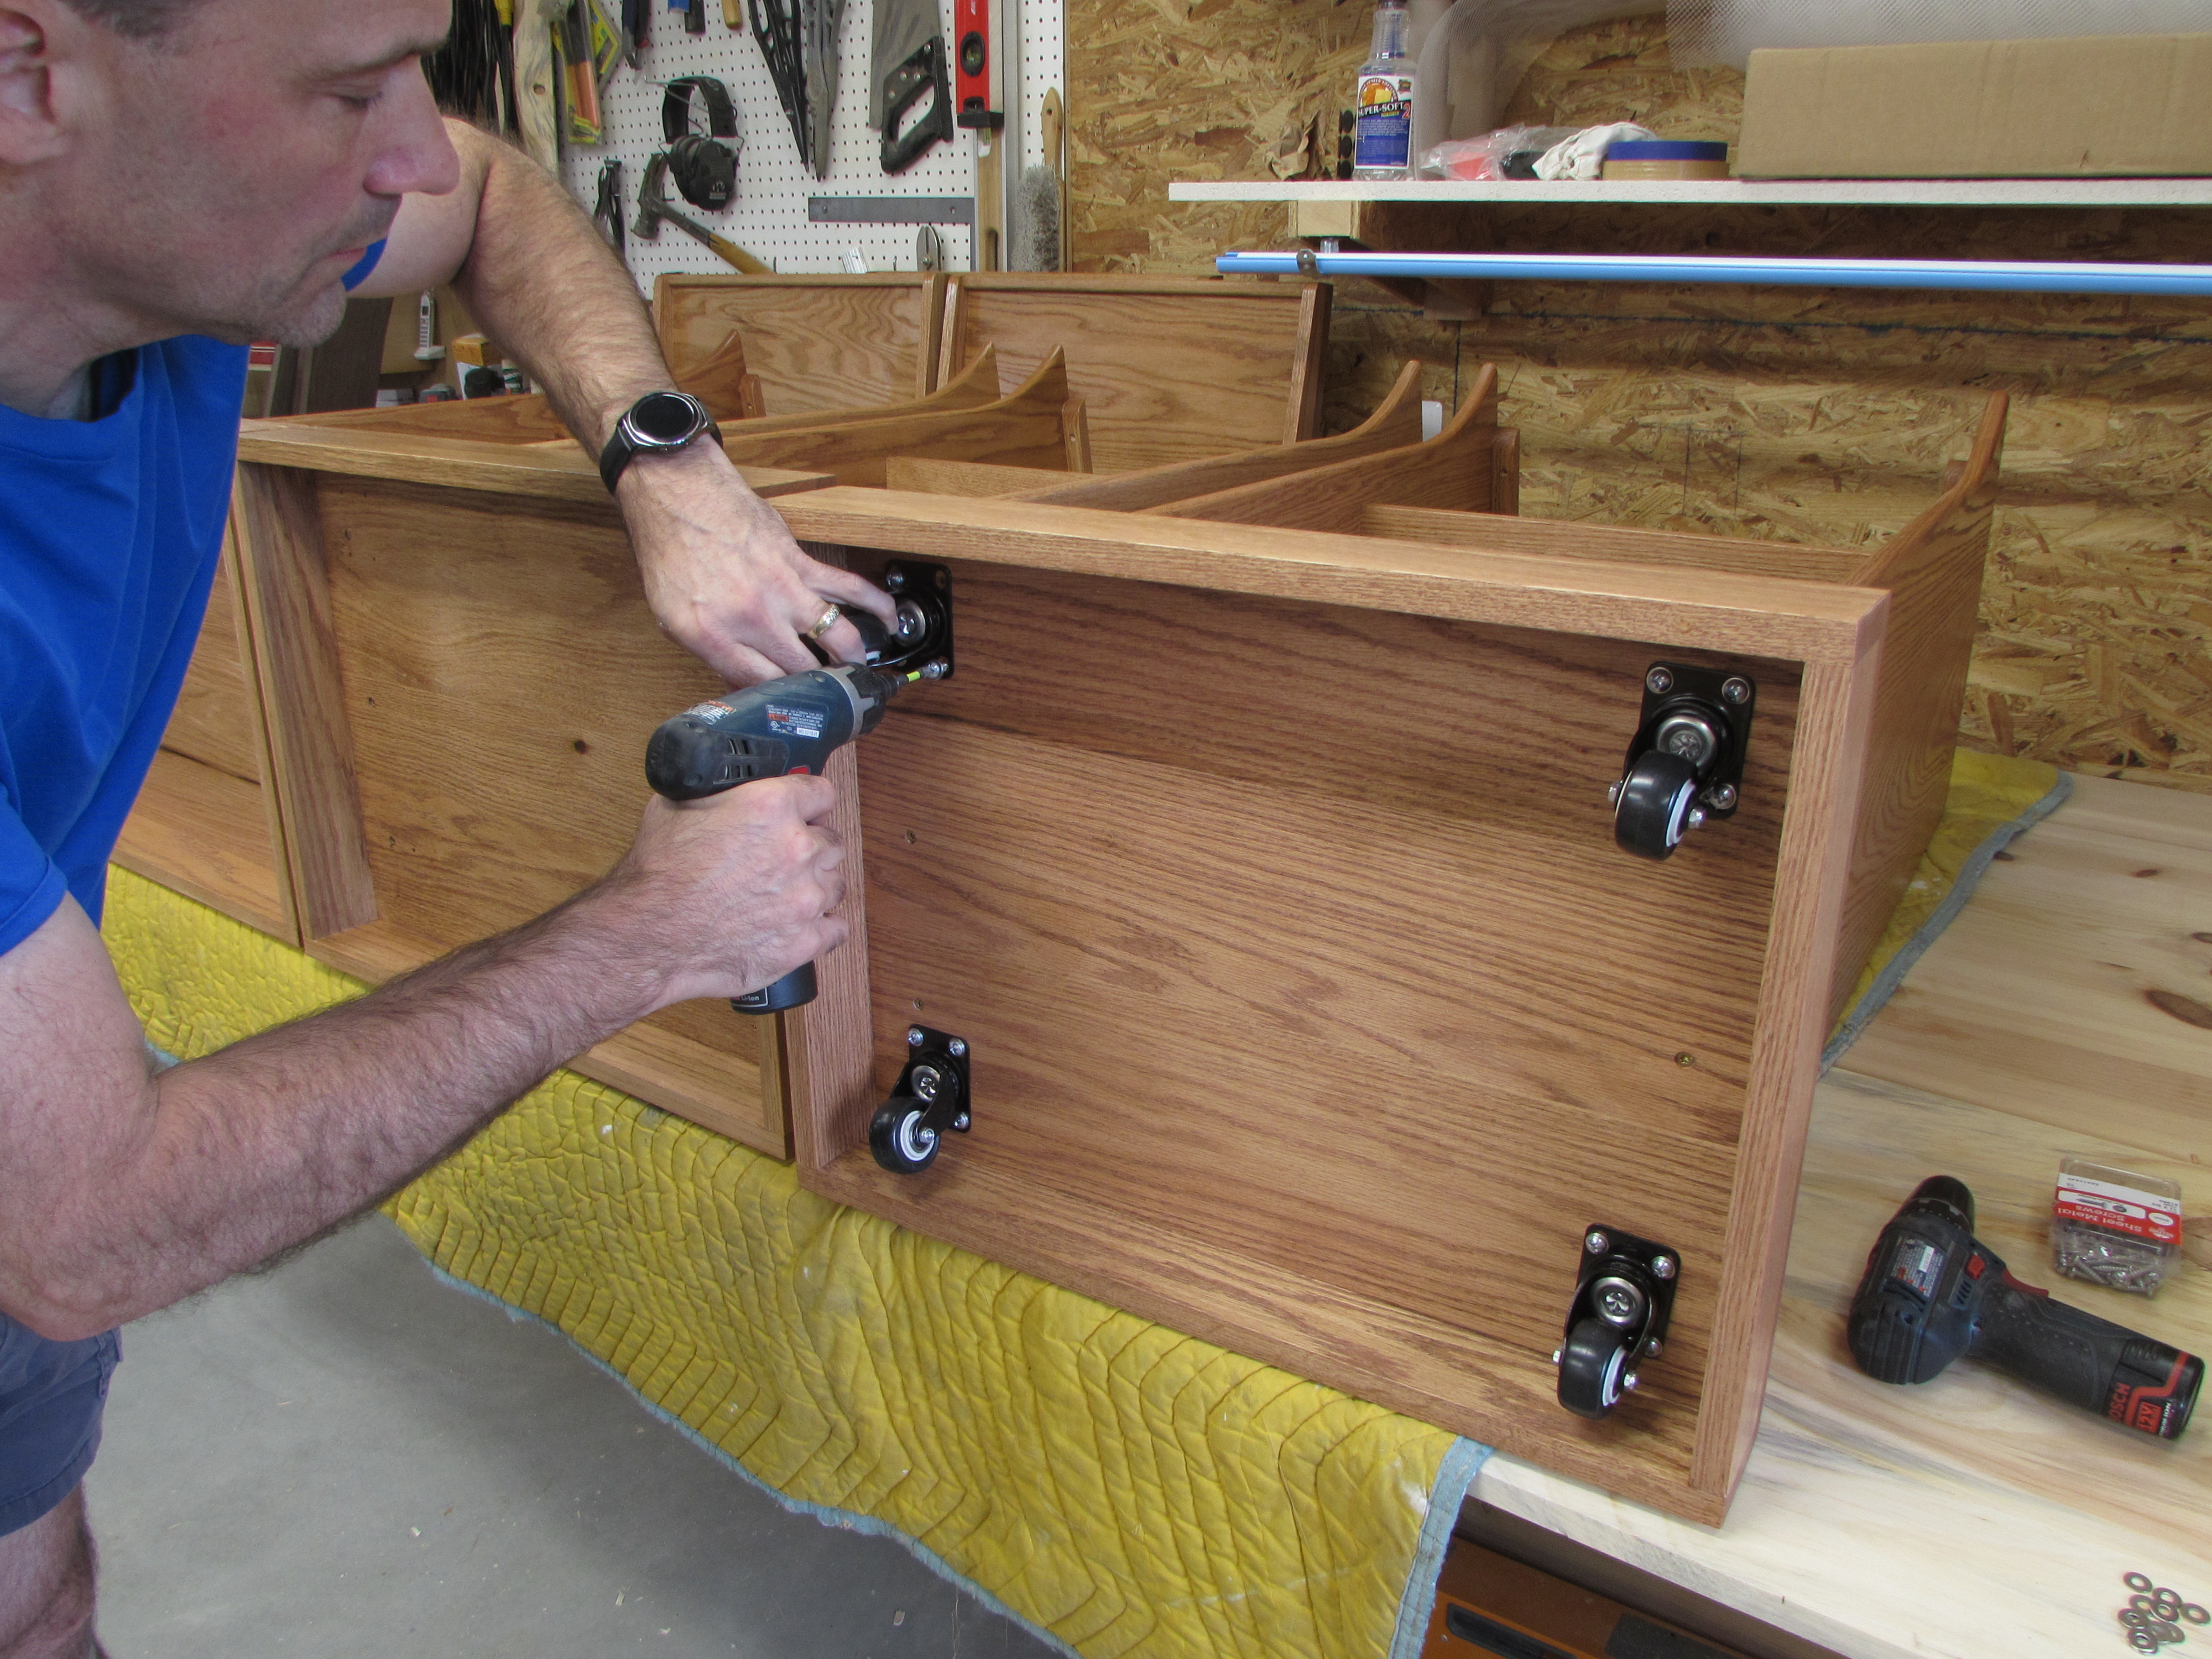
With all the caster mounting holes pre-drilled, I can quickly and easily mount all the casters with a screw gun.
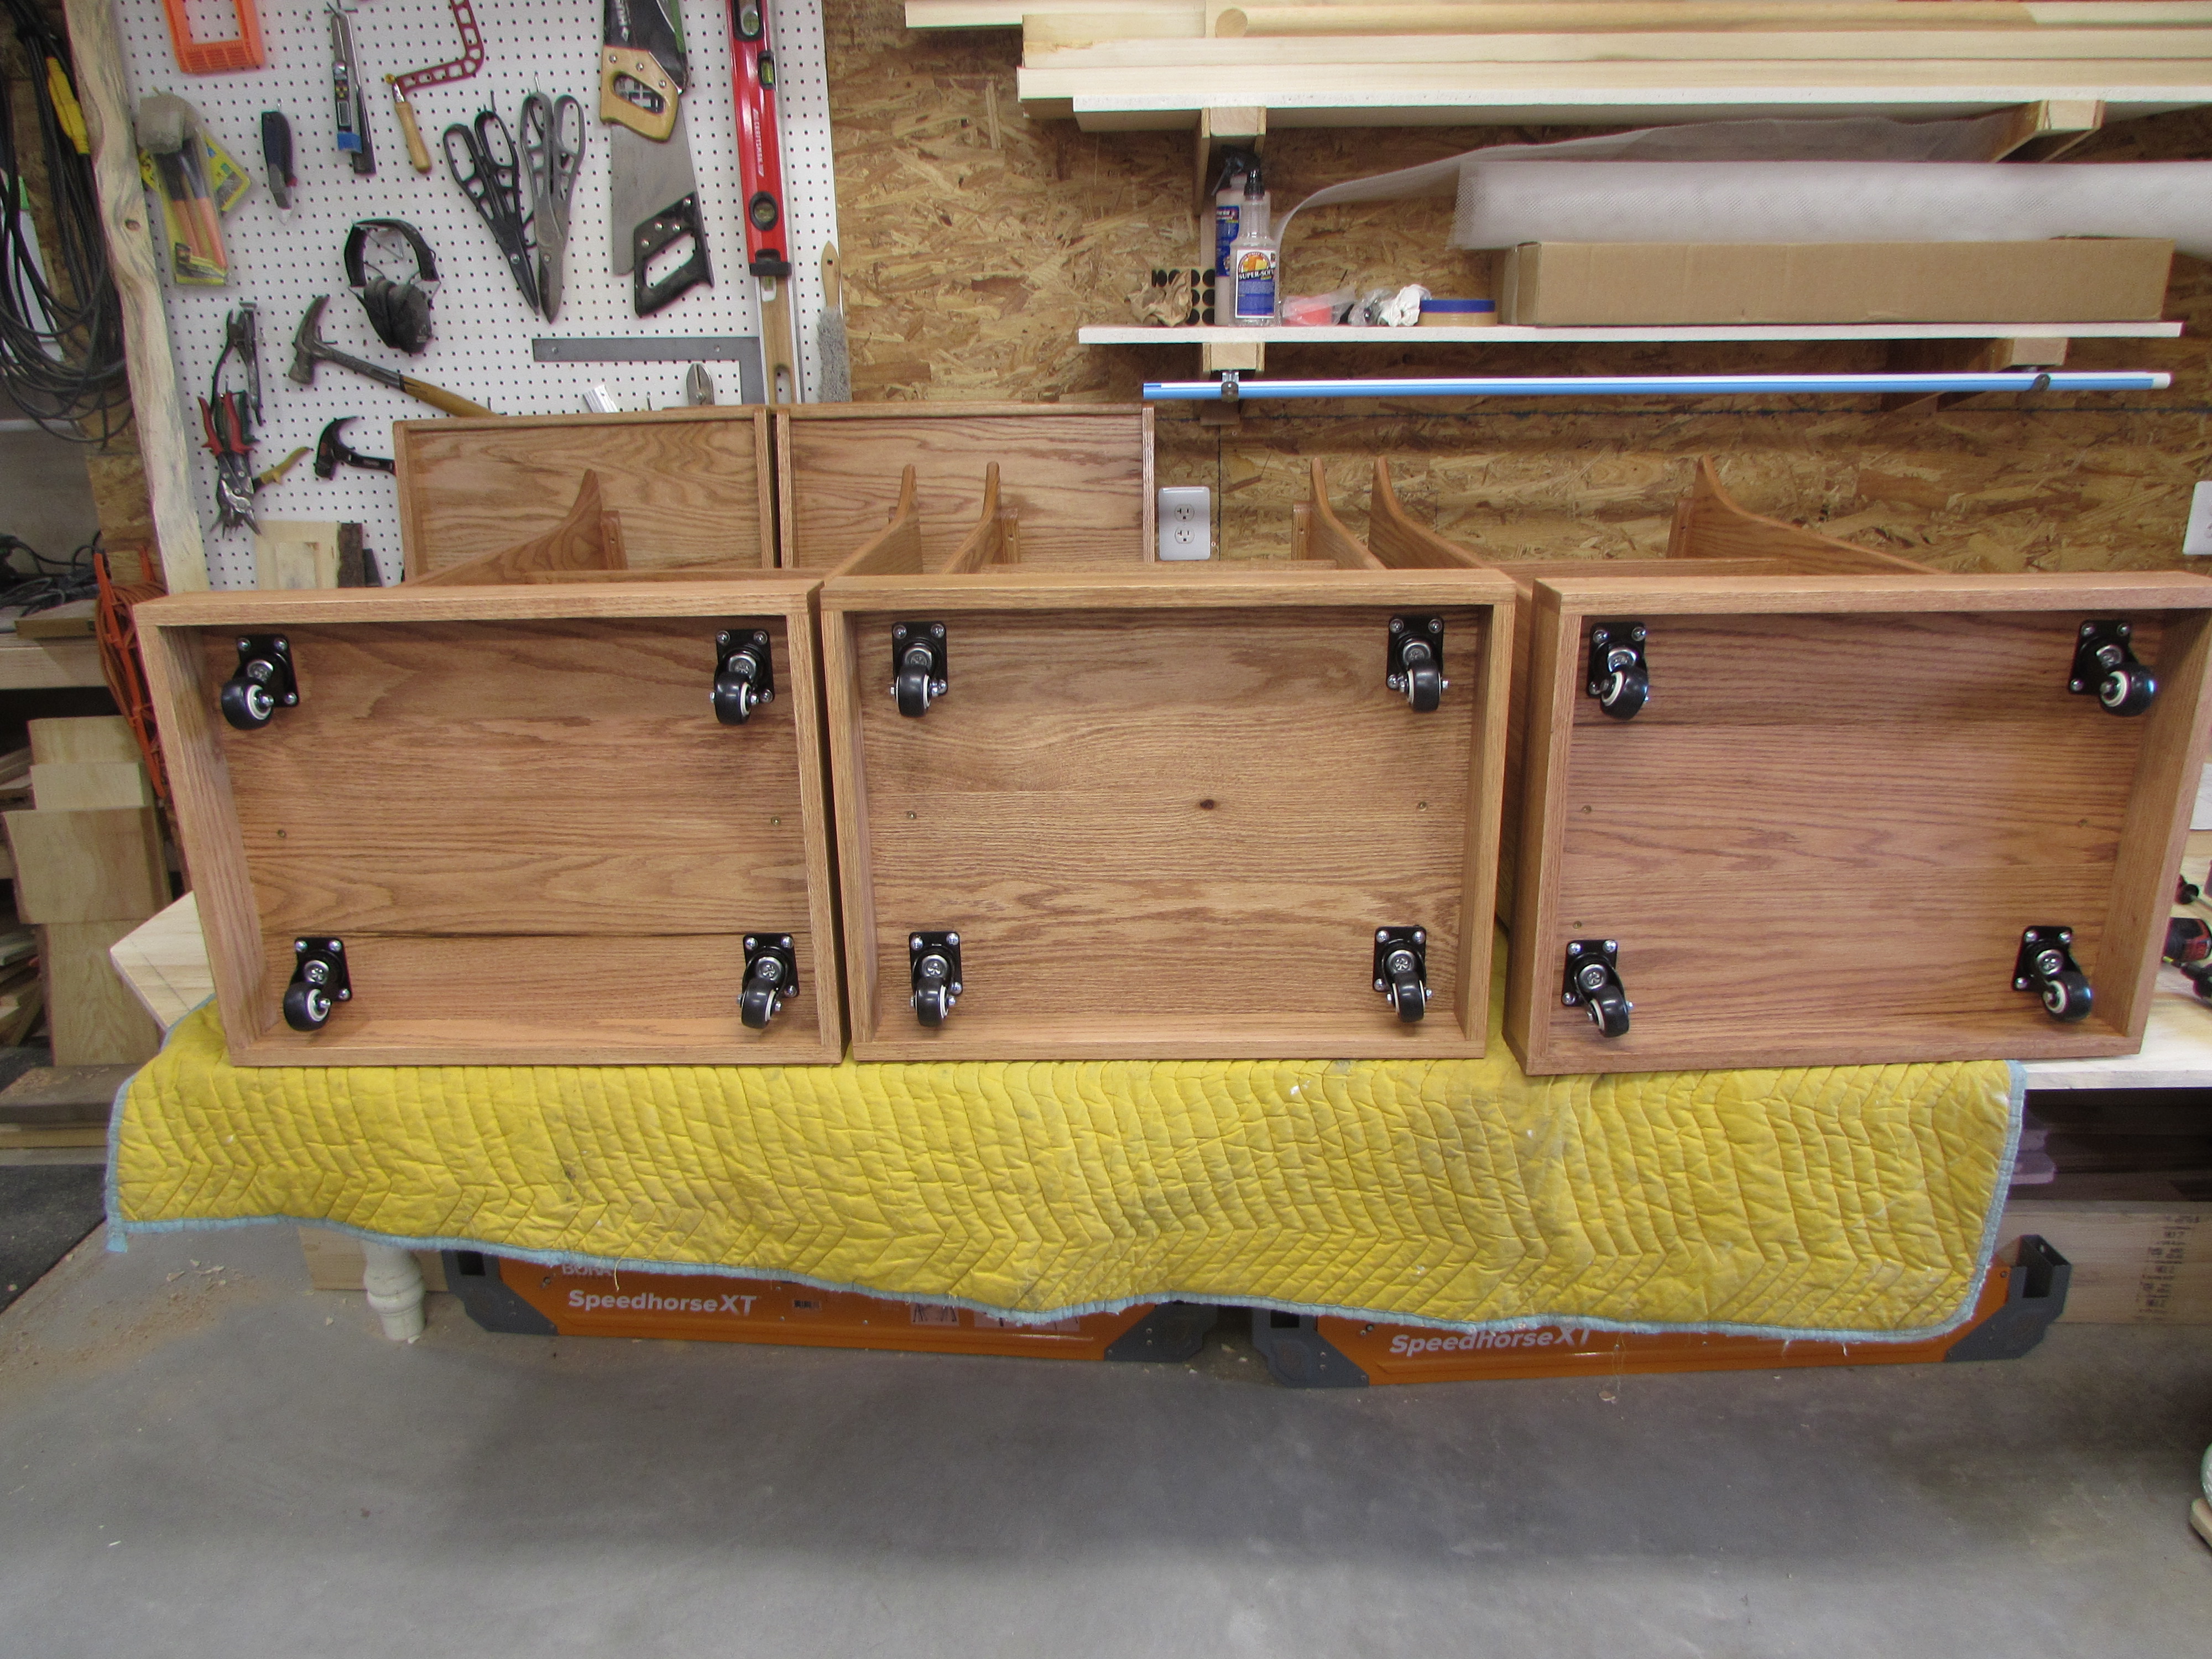
I have used these swivel casters before and I really like how they work. A heavy piece of furniture like this will glide across a smooth floor effortlessly with just a gentle push, in any direction. The 1/4″ ground clearance is nice as well because it looks like the casters aren’t even there.


Time to add the top. I located the top and screwed it on first, then removed it to apply the glue. Relocating the top after the glue is applied is a lot easier because I can leave the screws protruding slightly and just align them with the holes. No slipping and smearing glue. Faster with less cleanup.


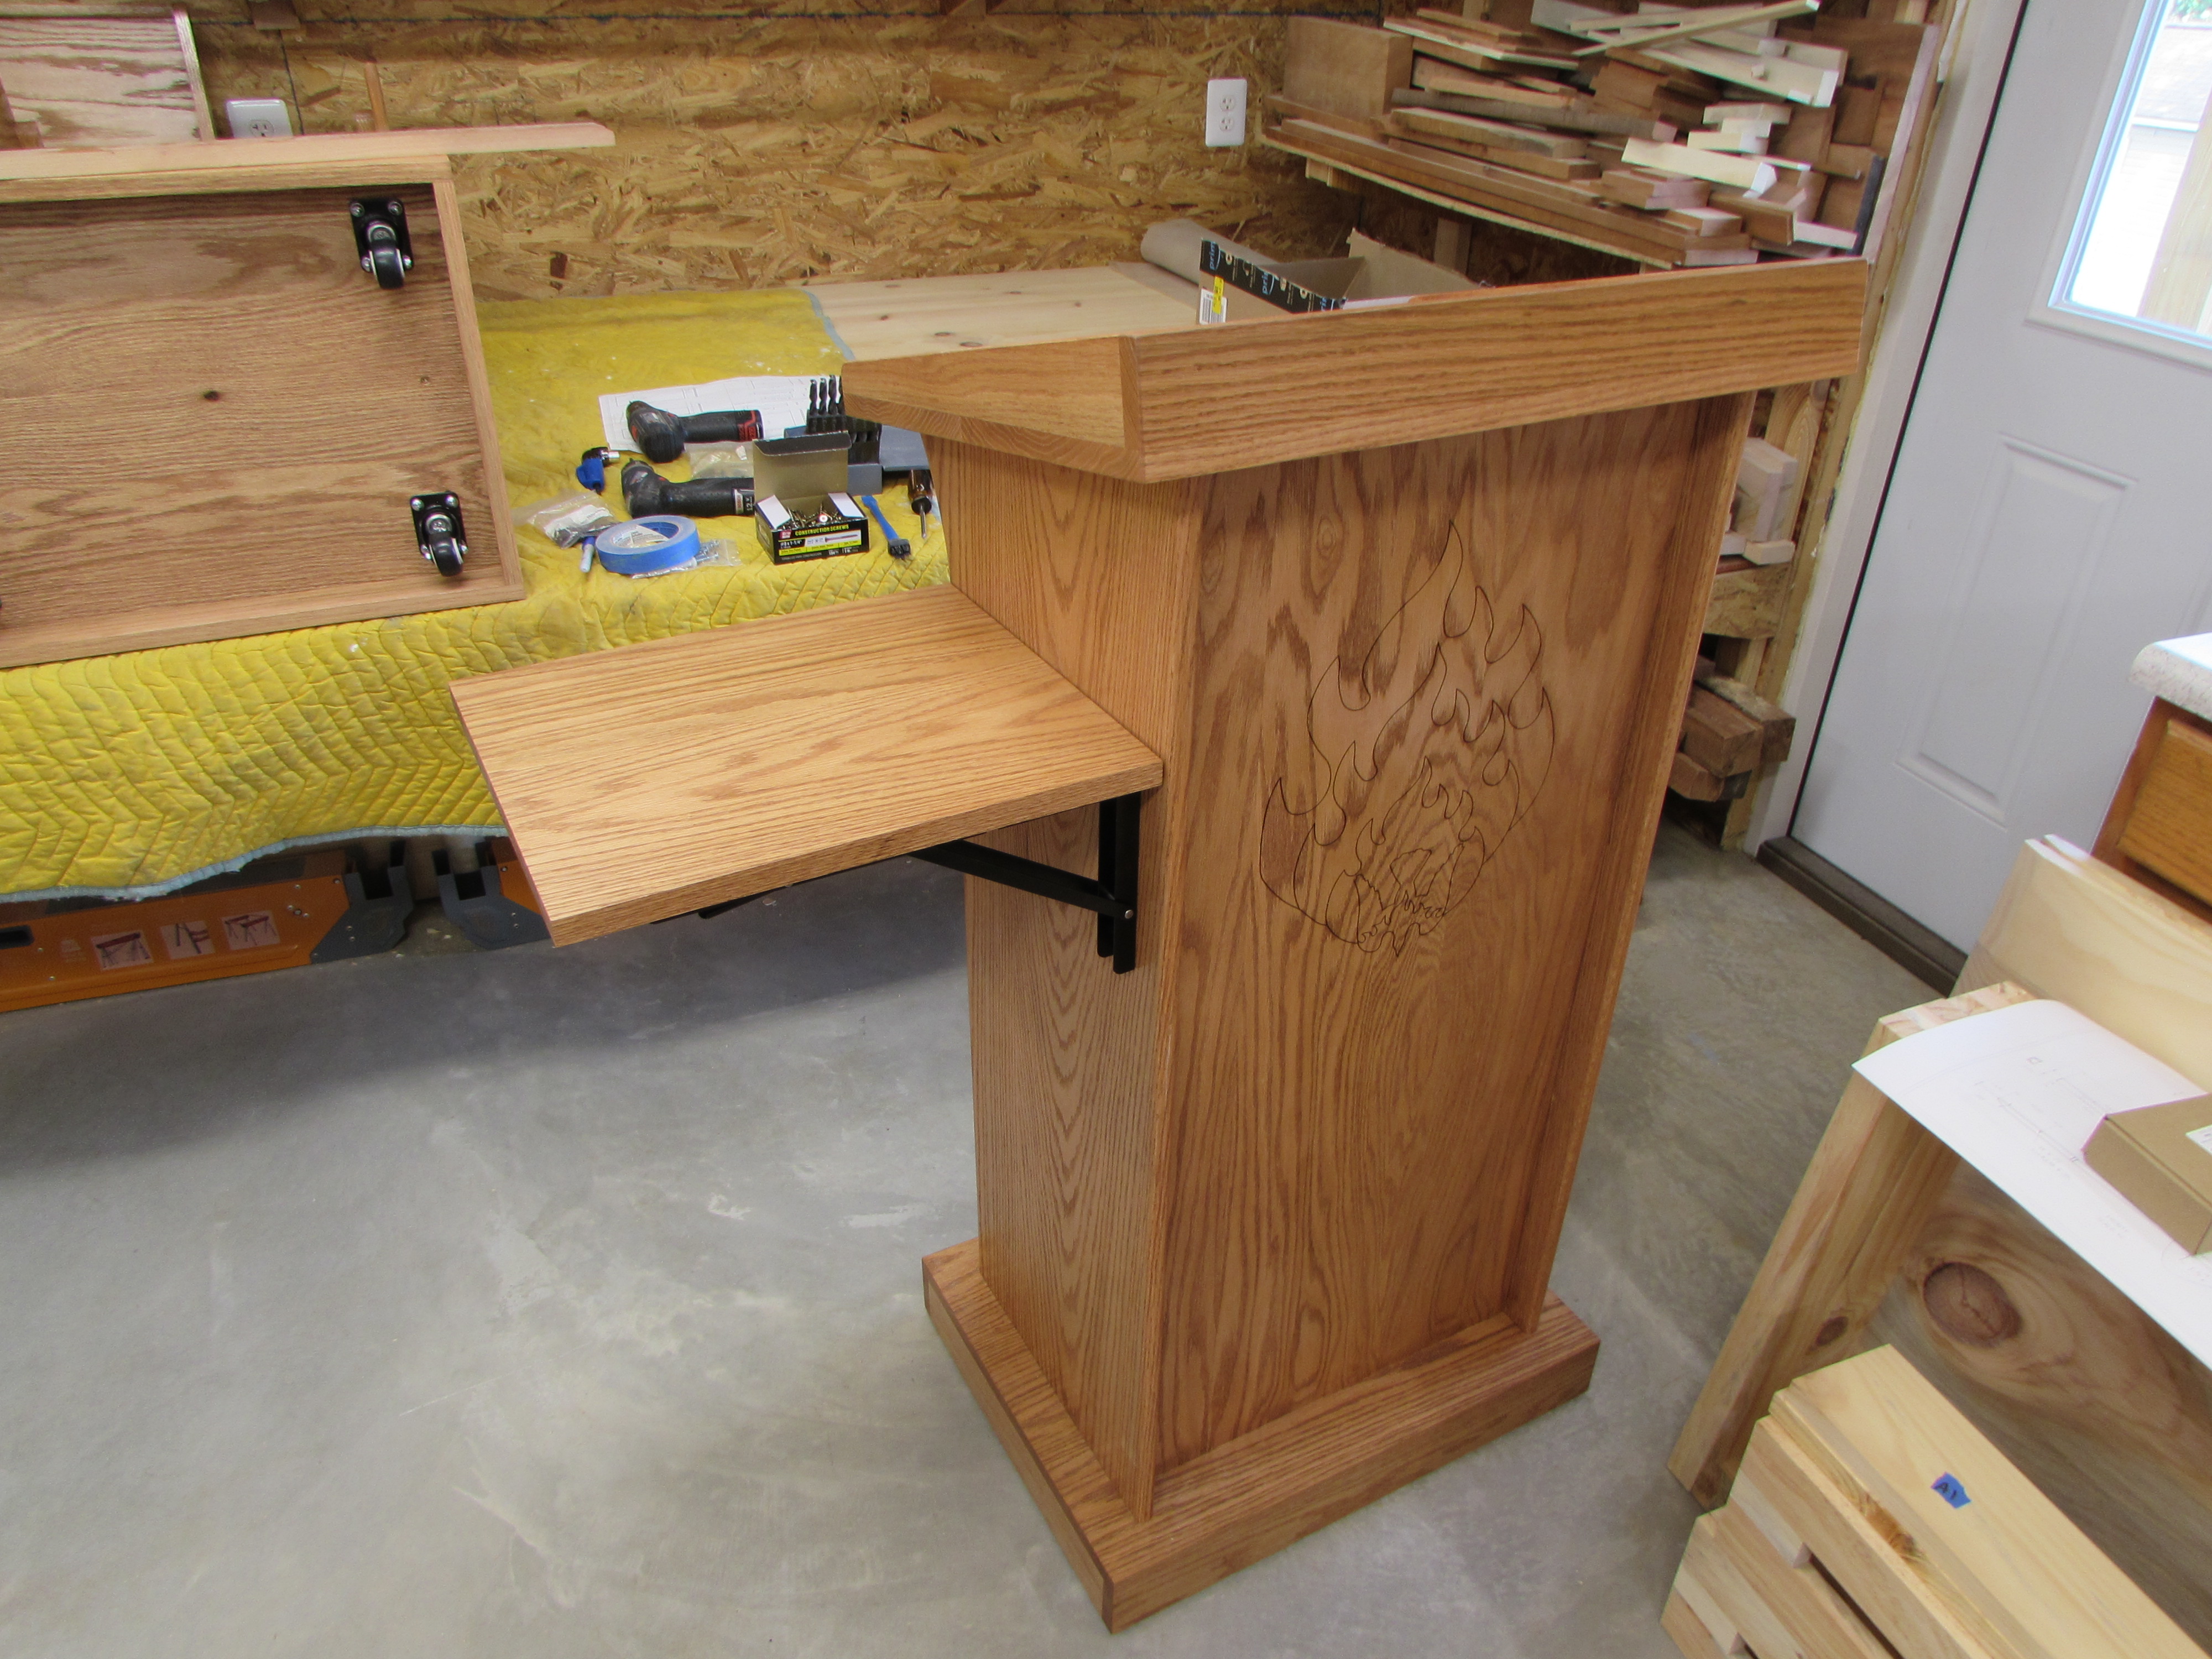
The last piece to assemble is the side shelf. To get the exact height on all three and keep the shelf perfectly parallel to the base, I used a 24″ tall piece of plywood and a strip of wood, cut to a width that will place the final assembly of the shelf at exactly 36″ high.

I clamp the strip in place, then remove the plywood spacer. Now I have a stable ledge to work from.

I hold each bracket in place to mark the three mounting holes with a marker. I drilled pilot holes for each using a piece of tape, on the bit, as a depth indicator.
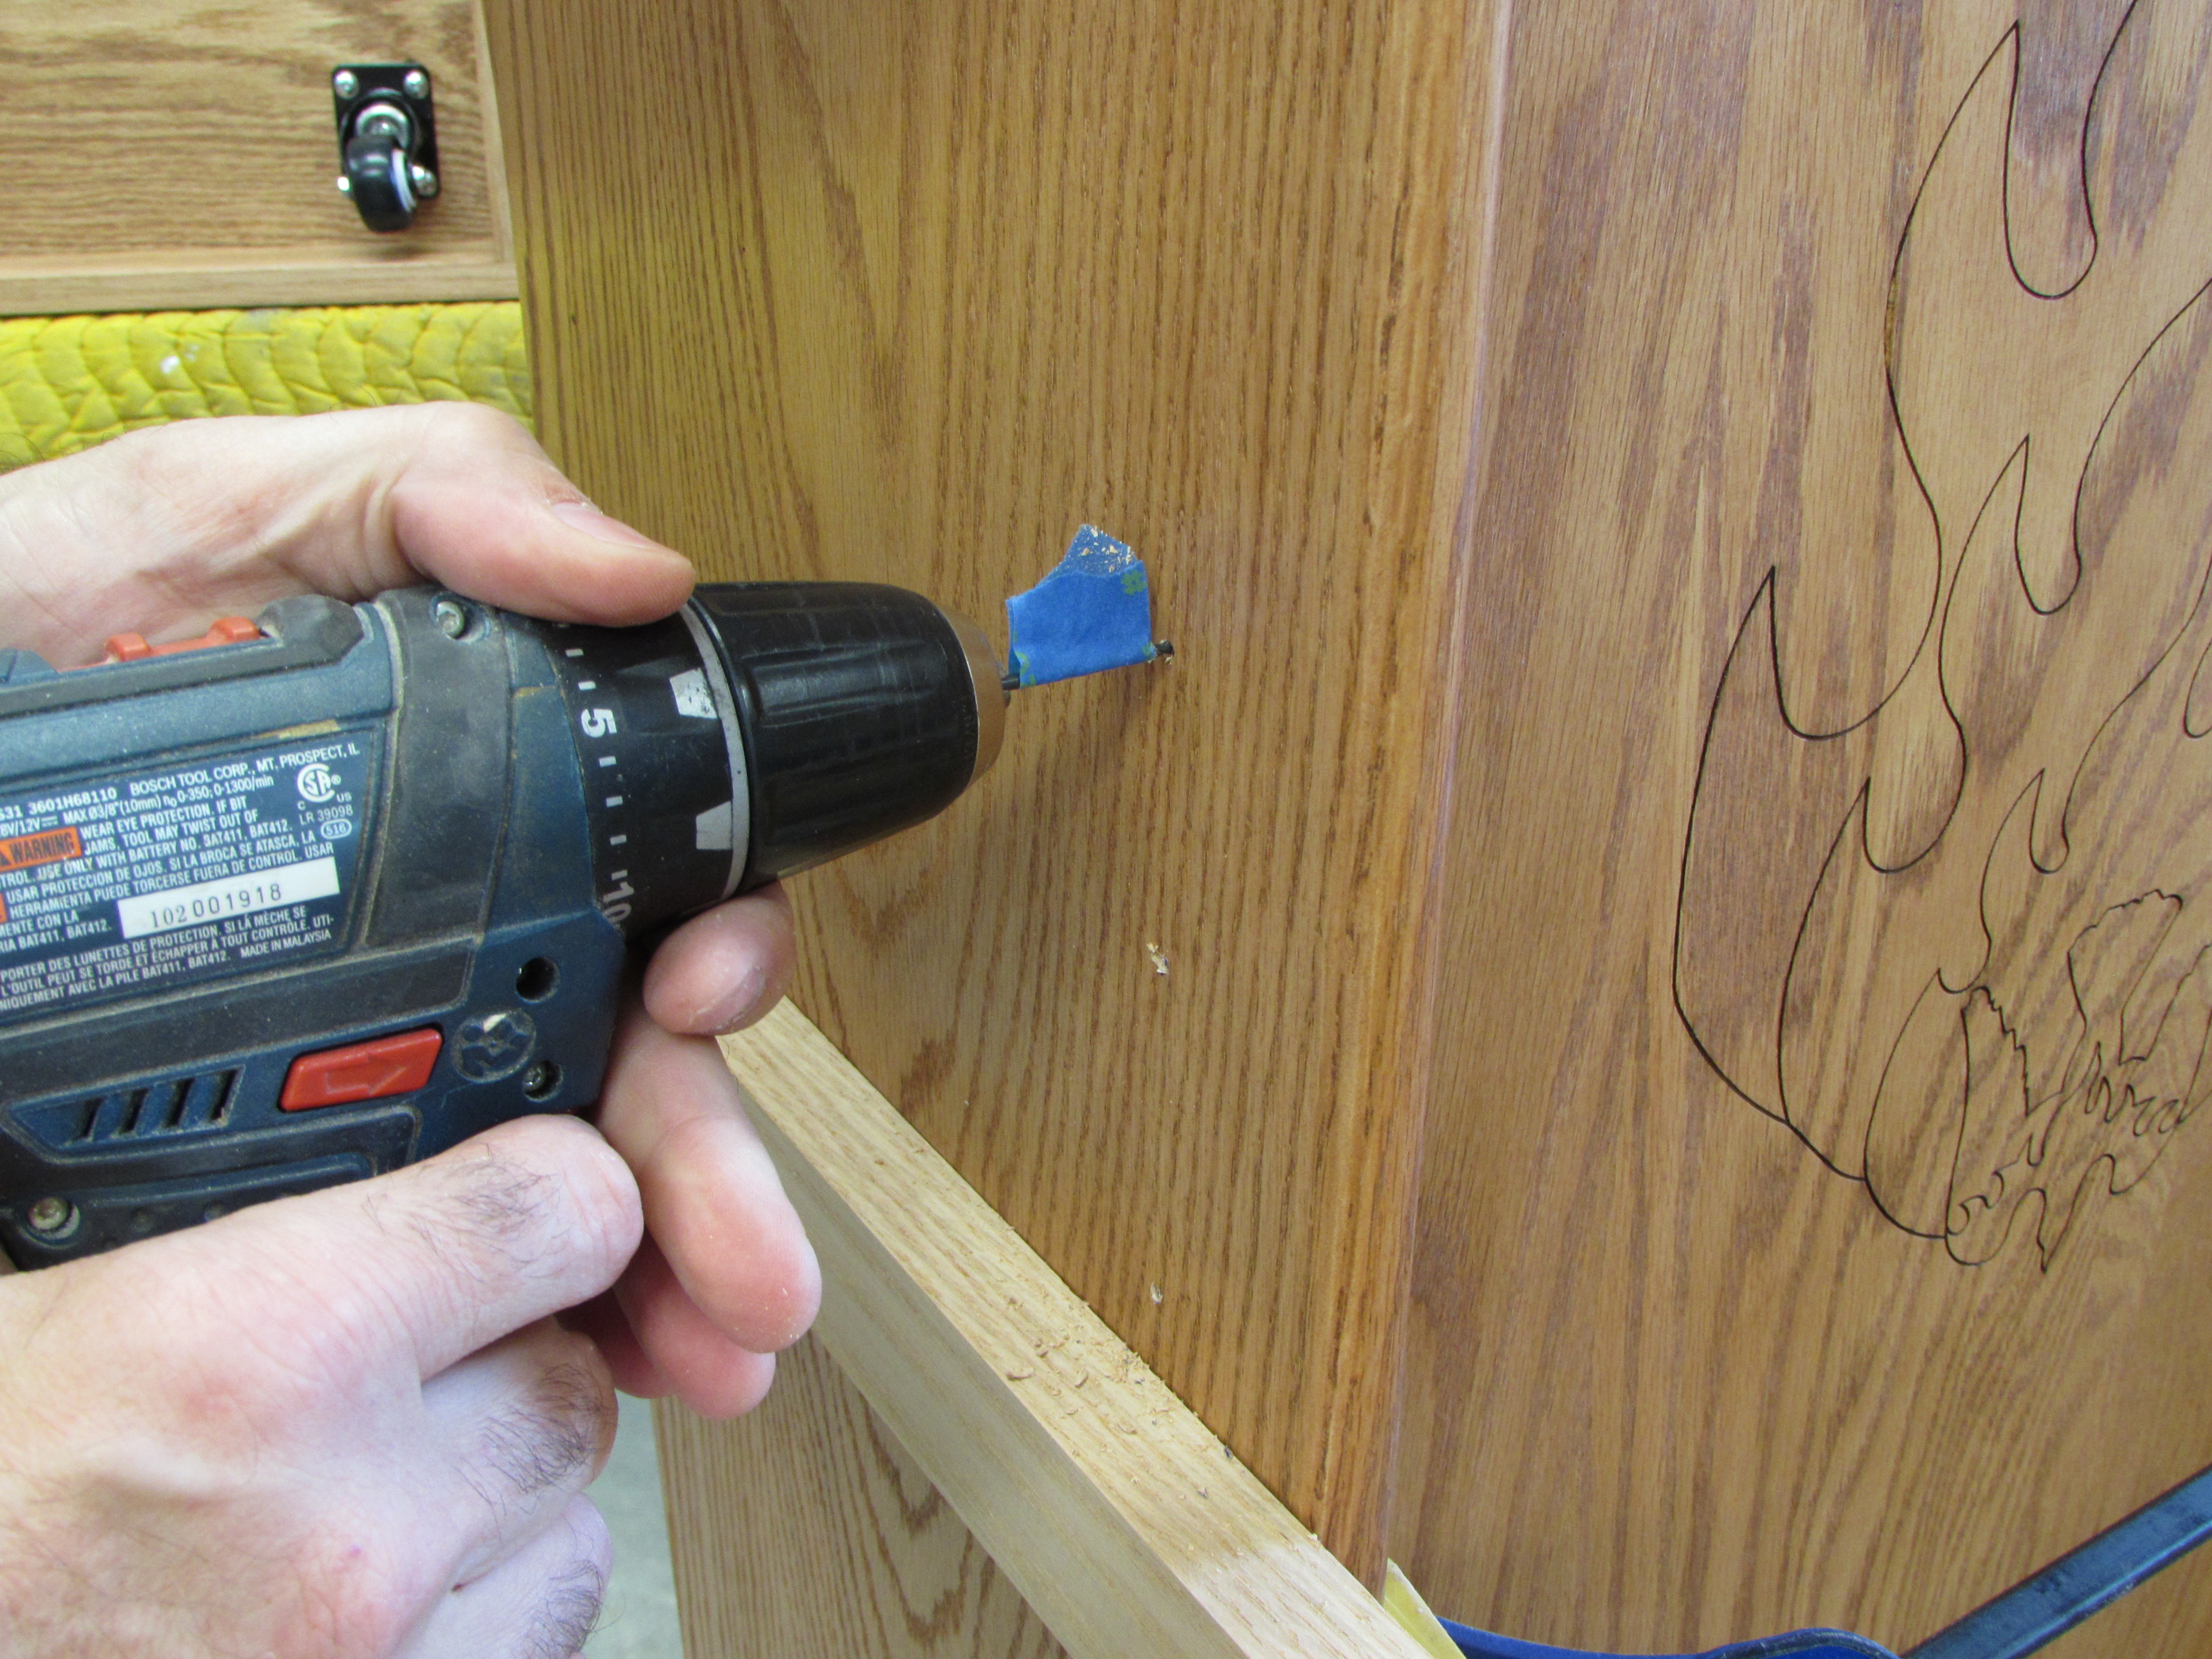
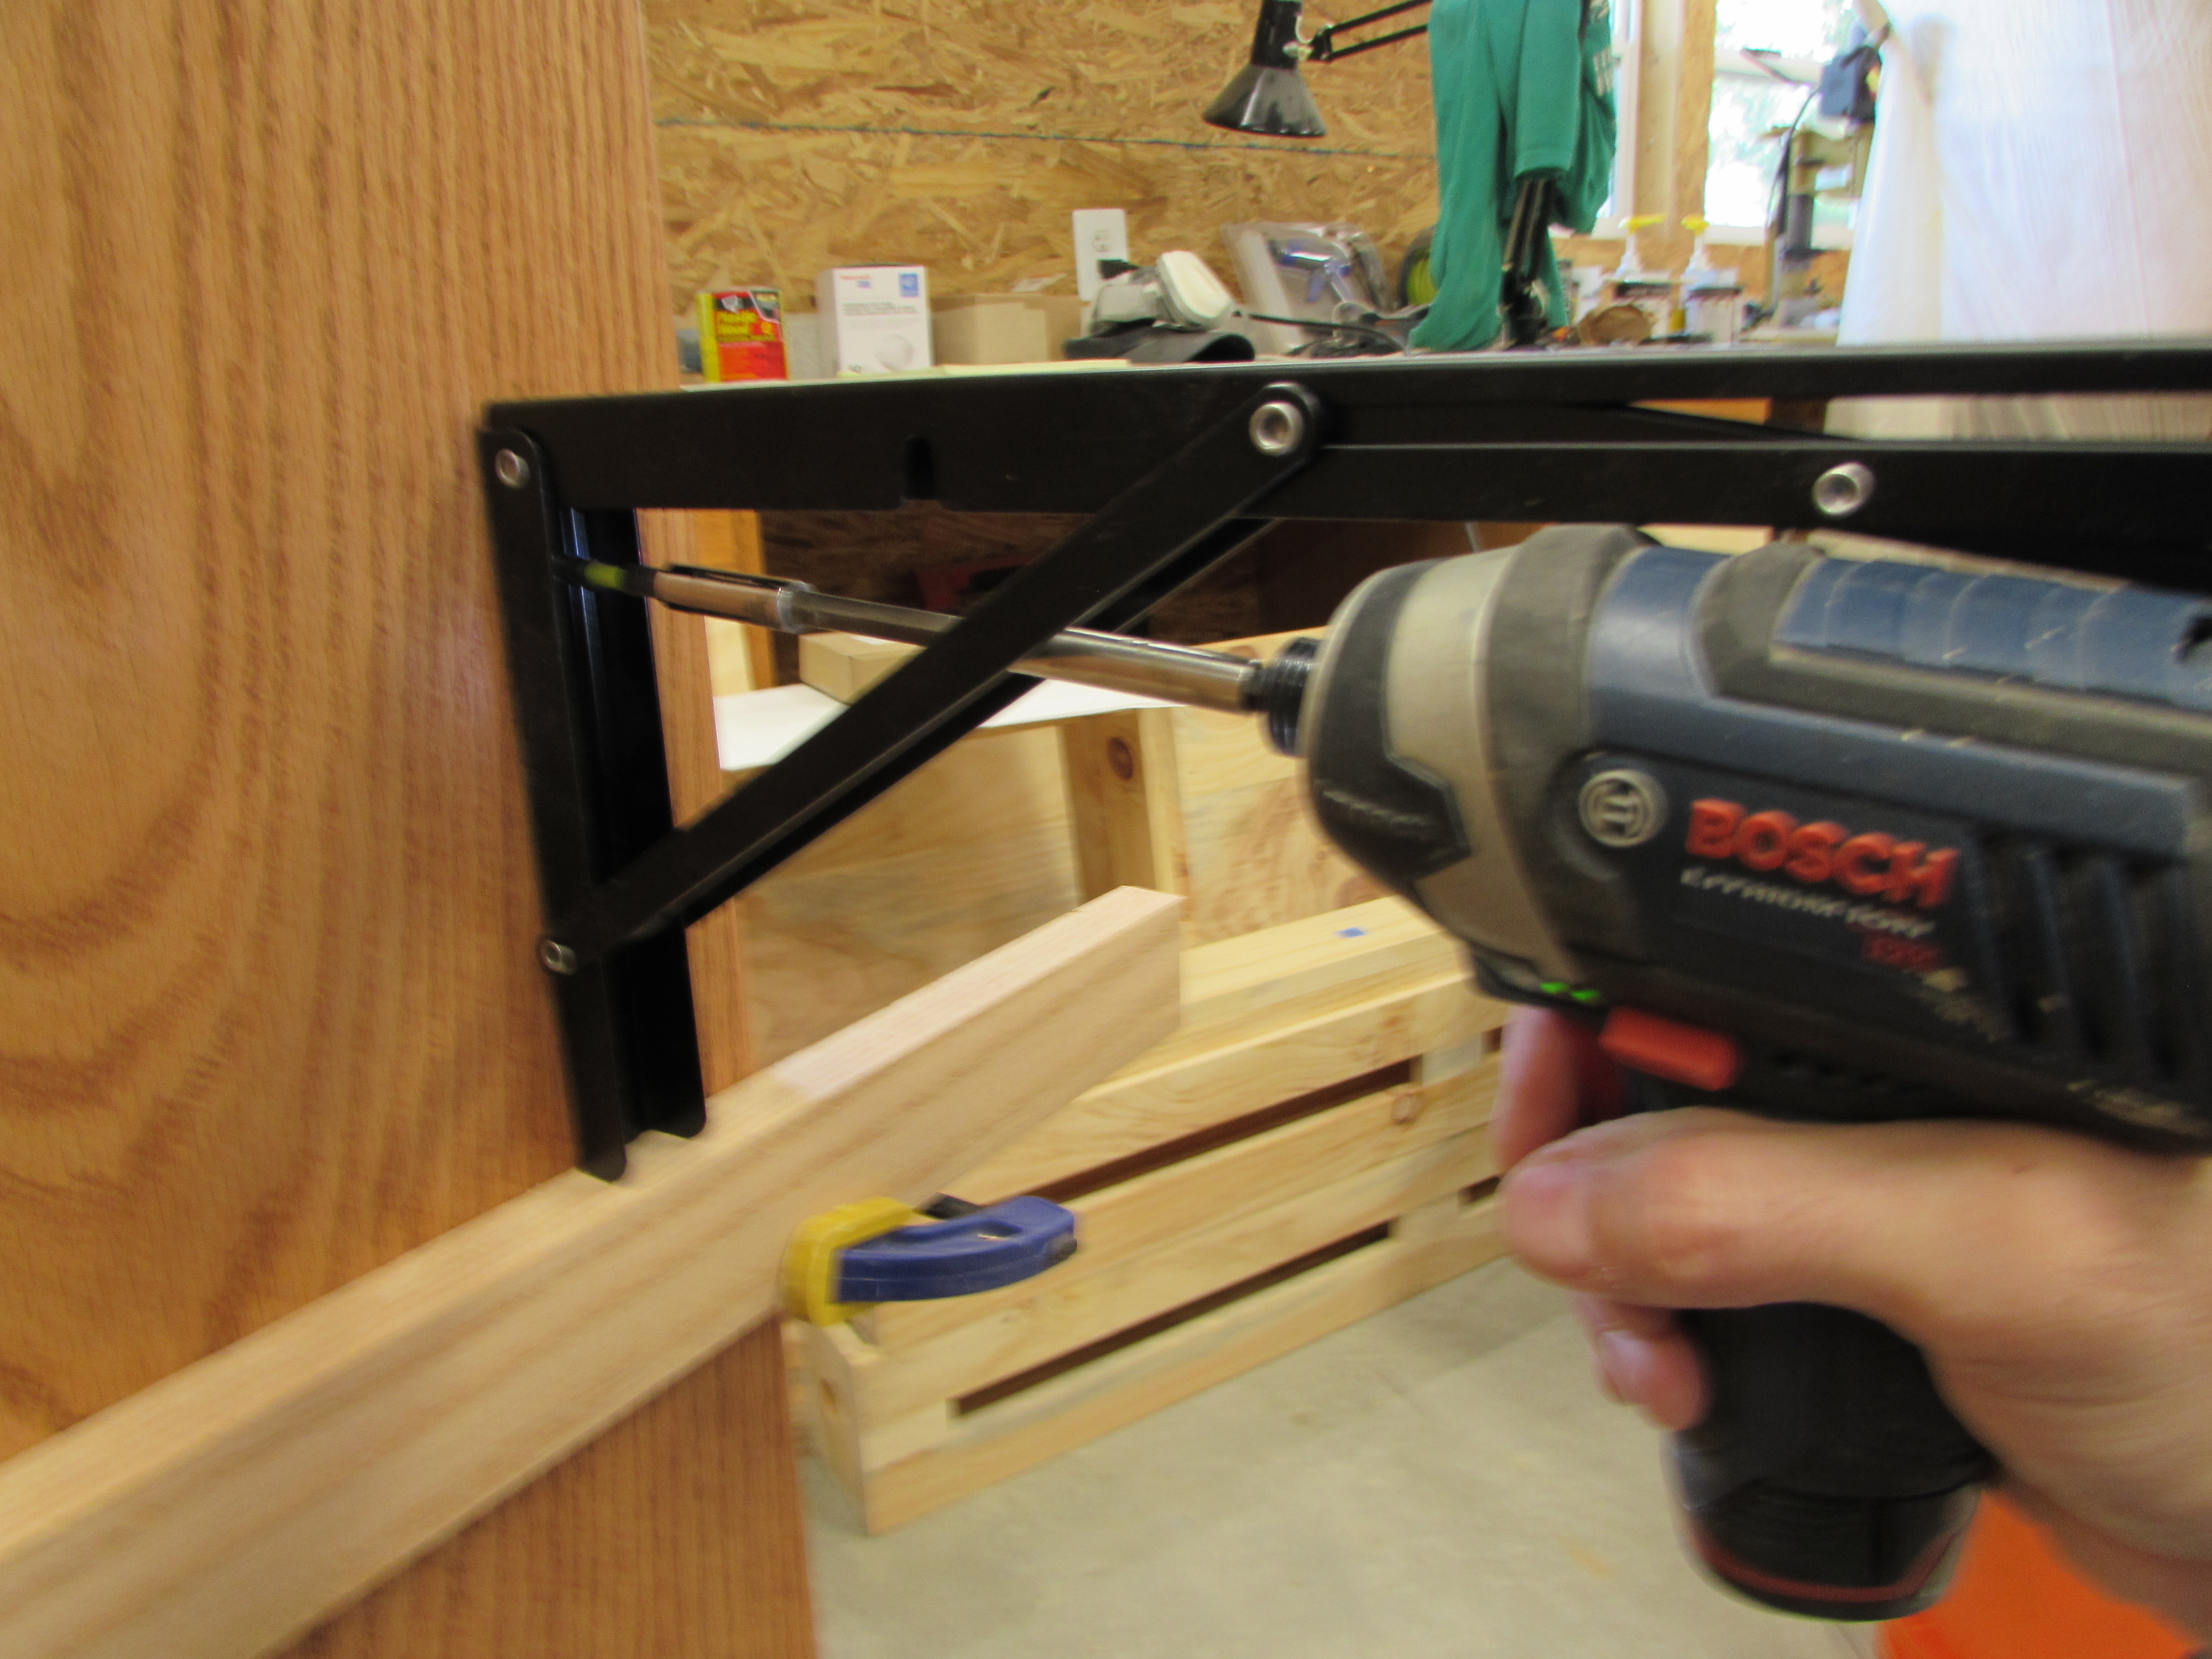
Using a couple of extensions, I can make the bit long enough attach the screws.

The top gets located and attached in a similar, if more awkward fashion.
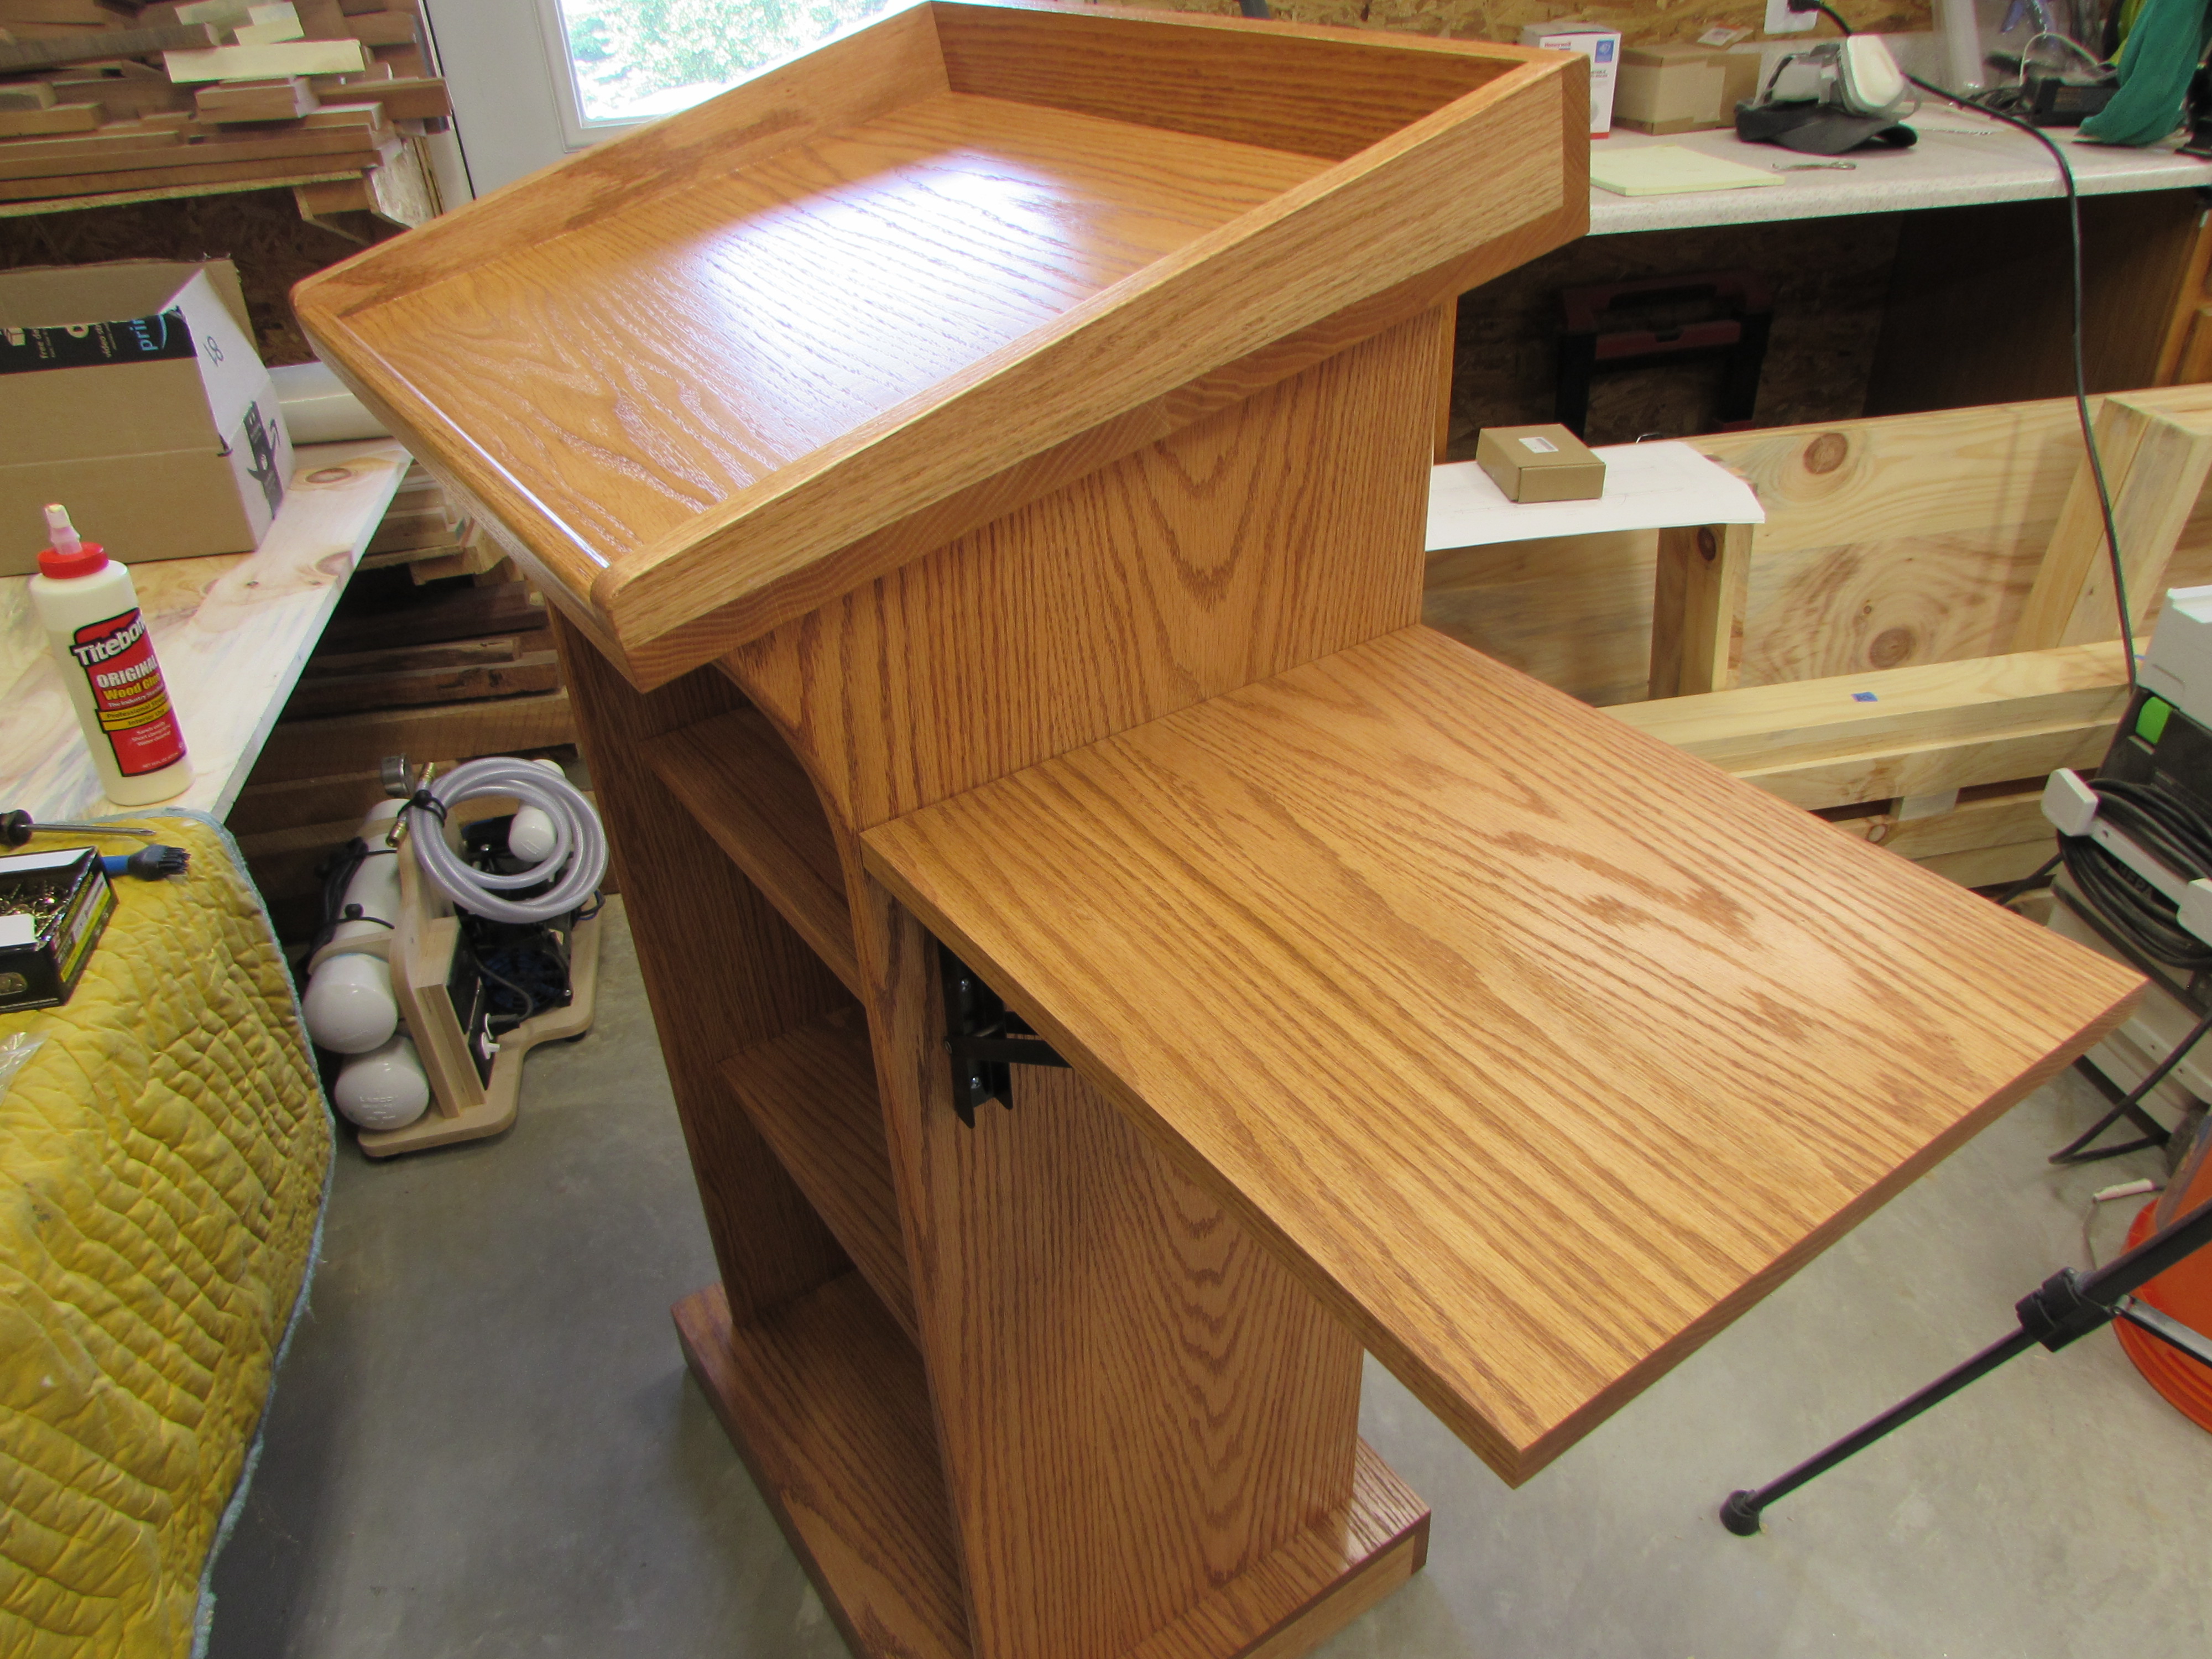
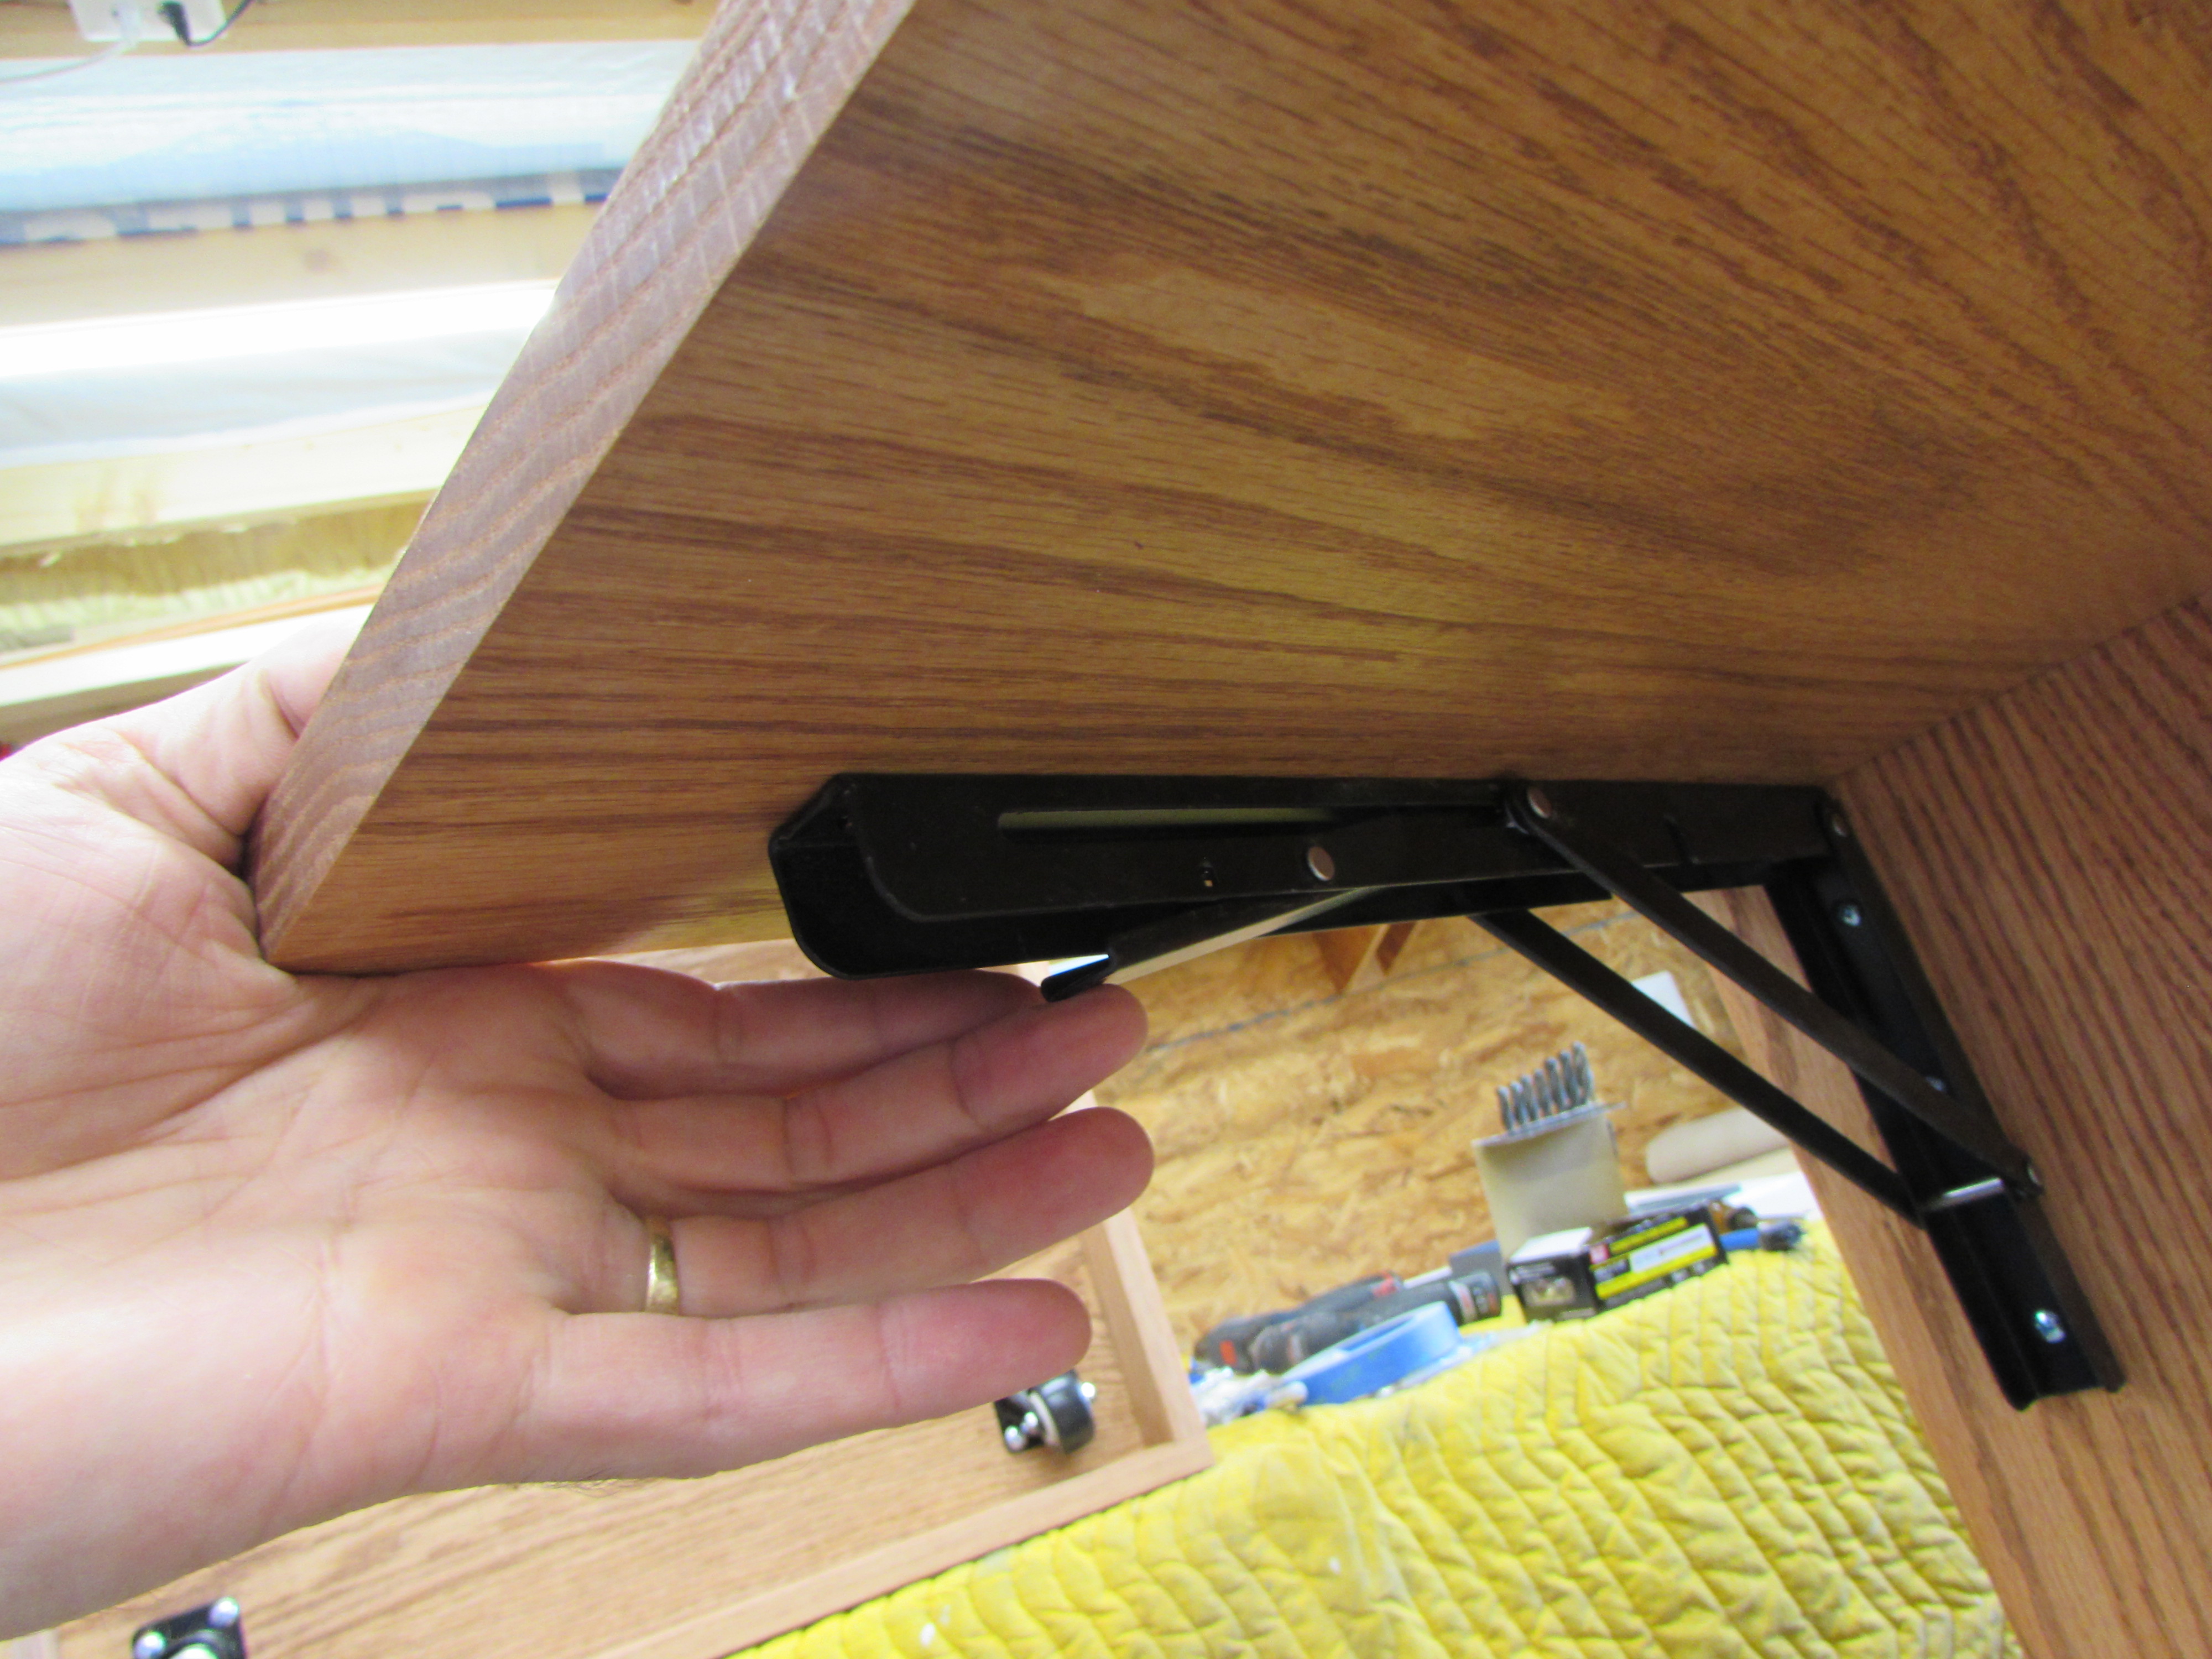
The brackets each have a release paddle. If you squeeze them both, the shelf will drop and rest next to the podium. If you accidentally bump just one of the paddles, the other is strong enough to support whatever weight is on the shelf.

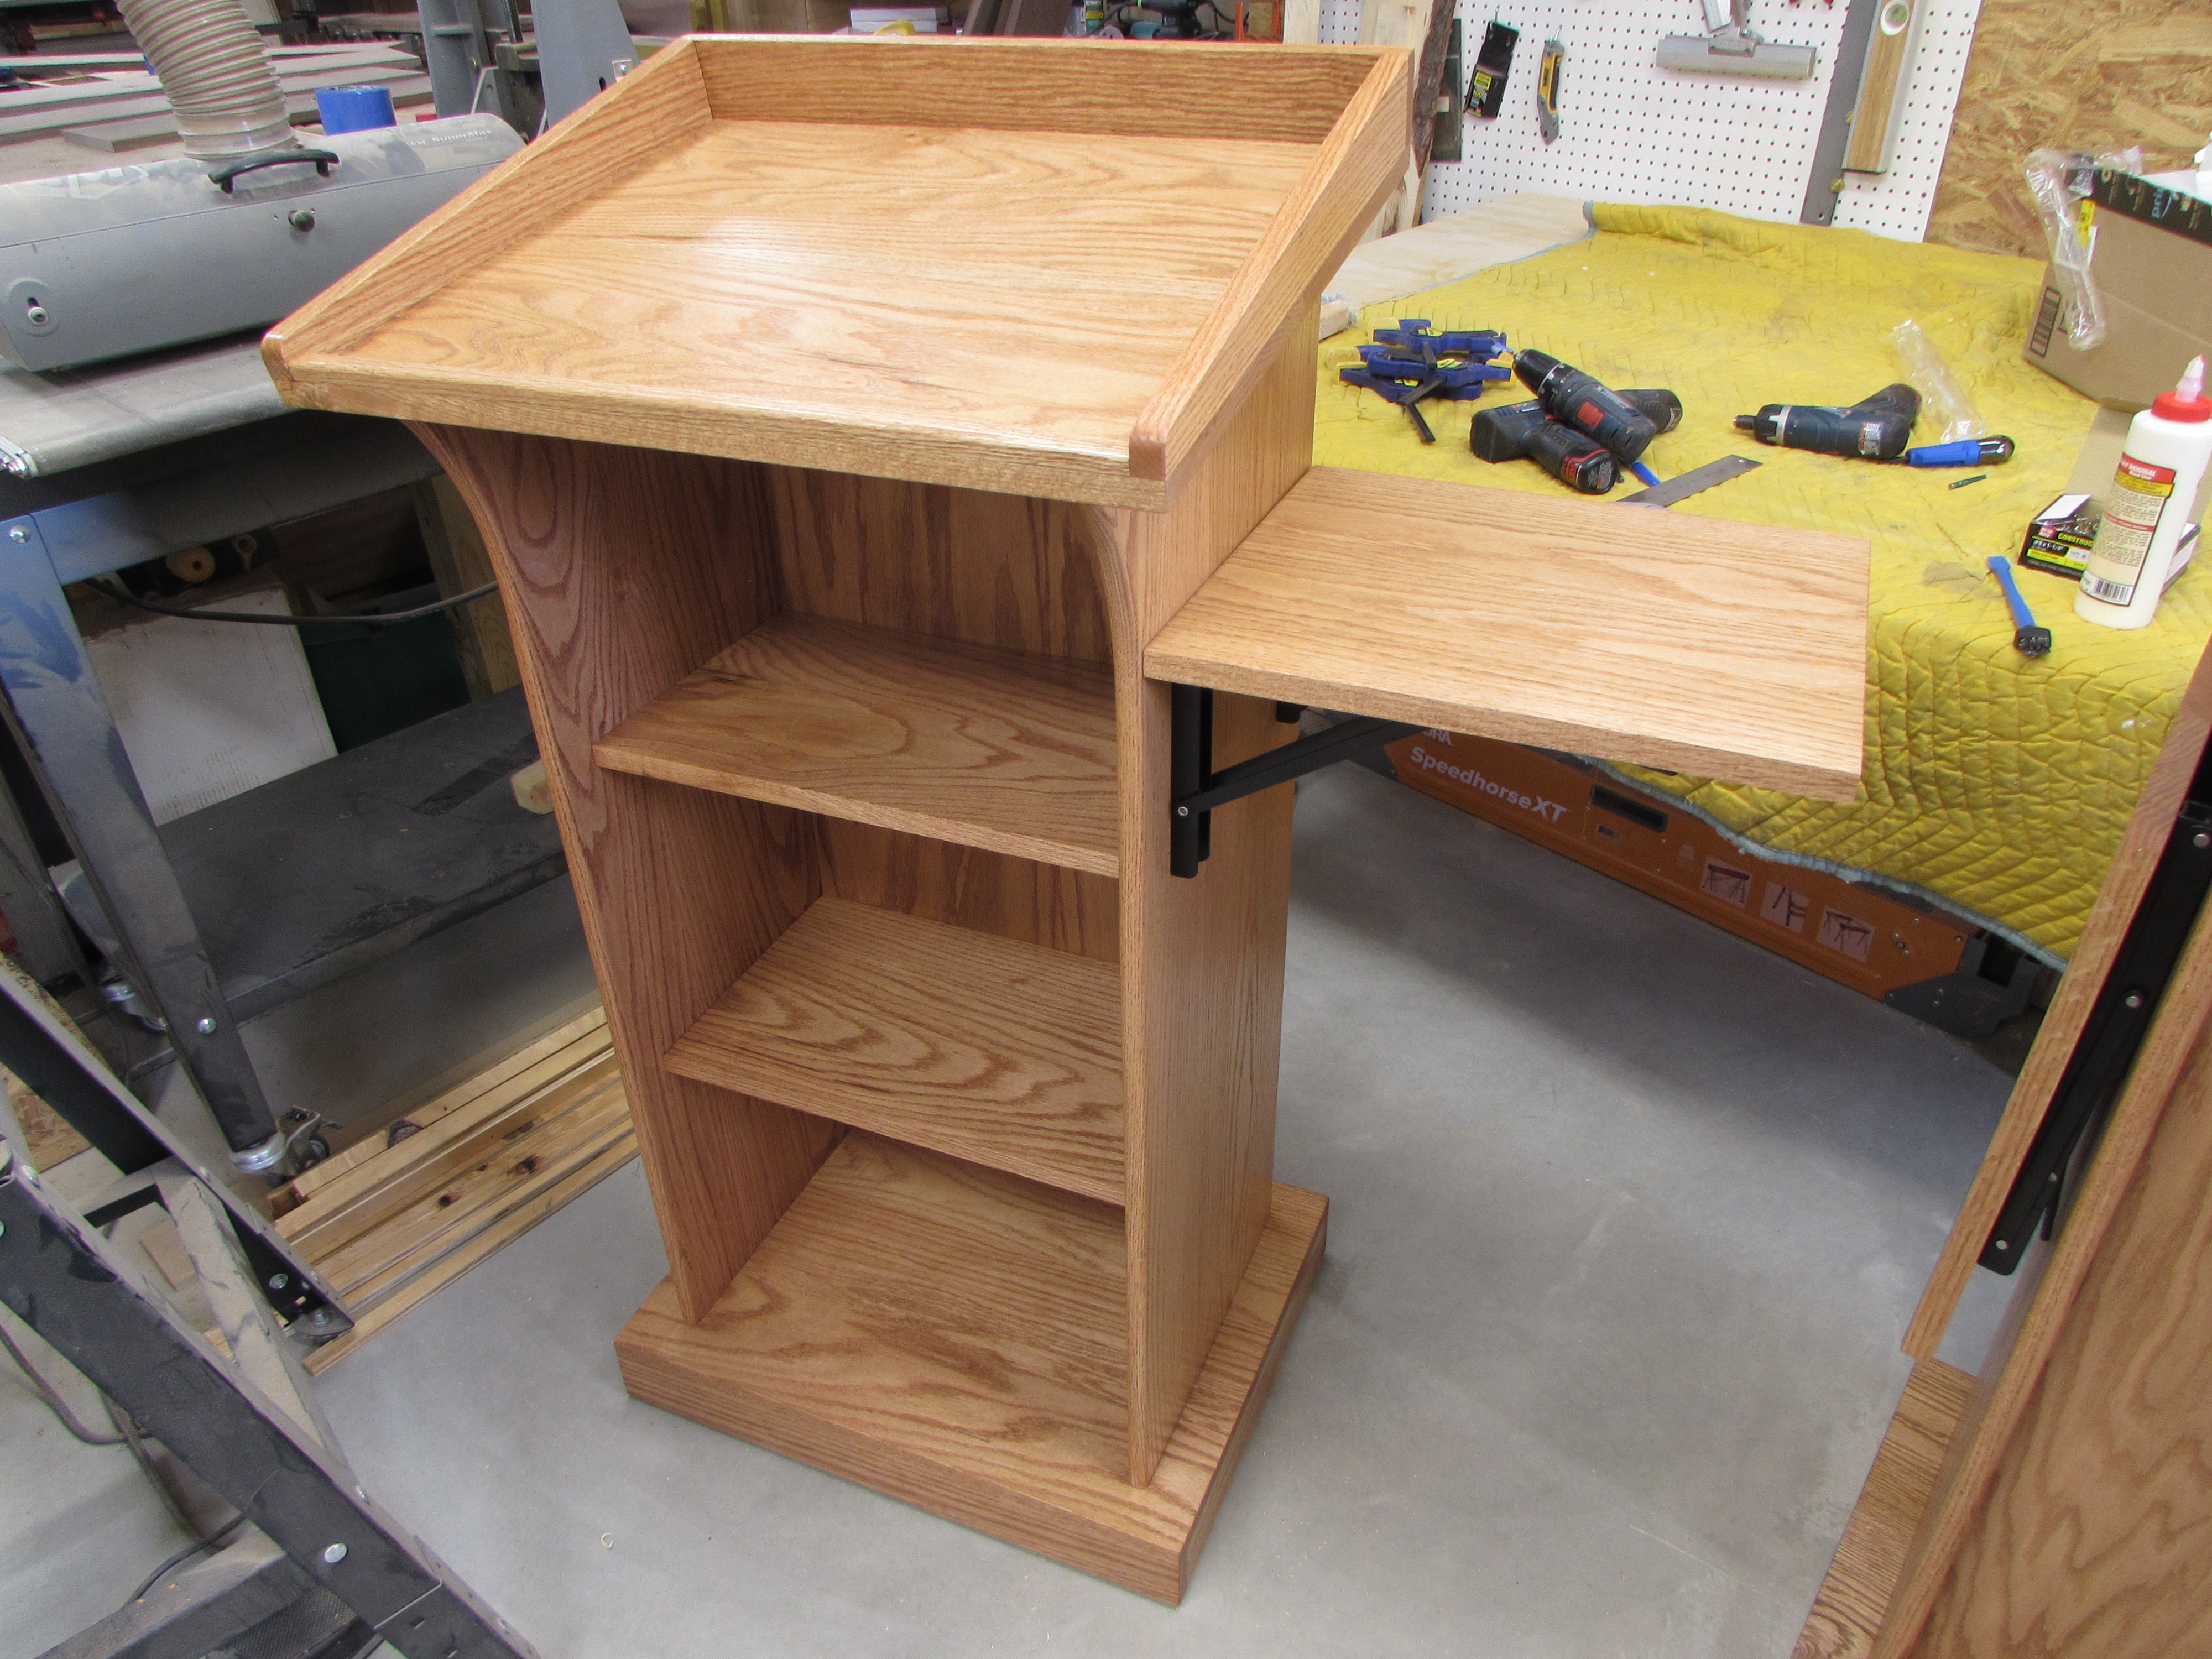
All done. Total weight is between 70-80 lbs.

I think they turned out pretty nice.
Here is the line-up in various poses…

Hopefully the teachers at Holy Spirit Catholic School will get a lot of use out of these this year.
