
Built-in beds – part 5
Bed delivery was less than fun because each bed weighed about 140 lbs. Getting the first couple in the truck was easy with two people, but the last two required a bit of muscle.

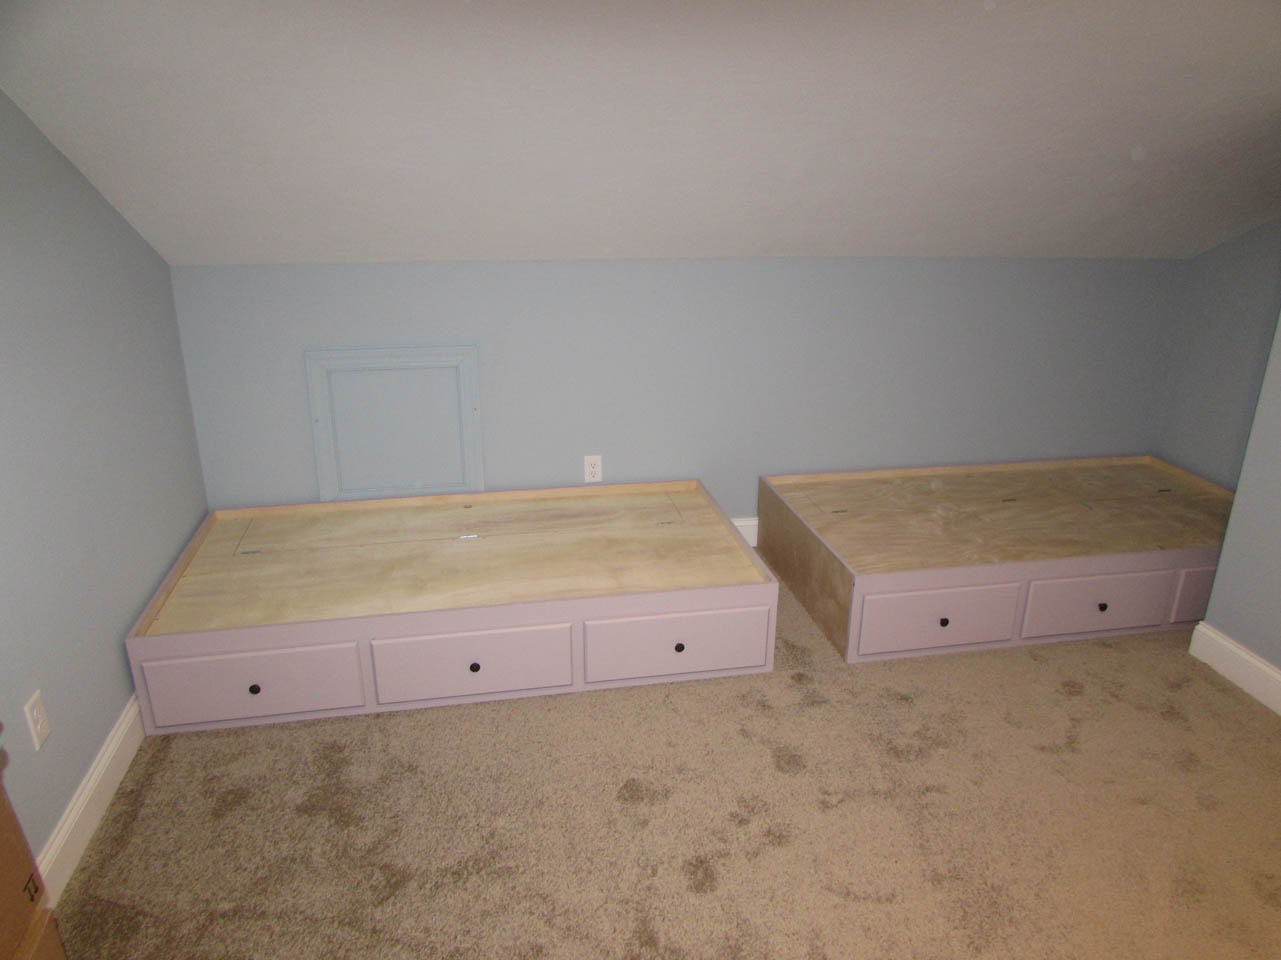
Wrapped in blankets and strapped, they made it safely to their new home.

The two drawer bed tucked in next to the closet and the three-drawer one sits in the other corner, with a small gap in between.

The gap in between is where the new shelf will go to divide the beds to give storage and a bit of privacy to each child.
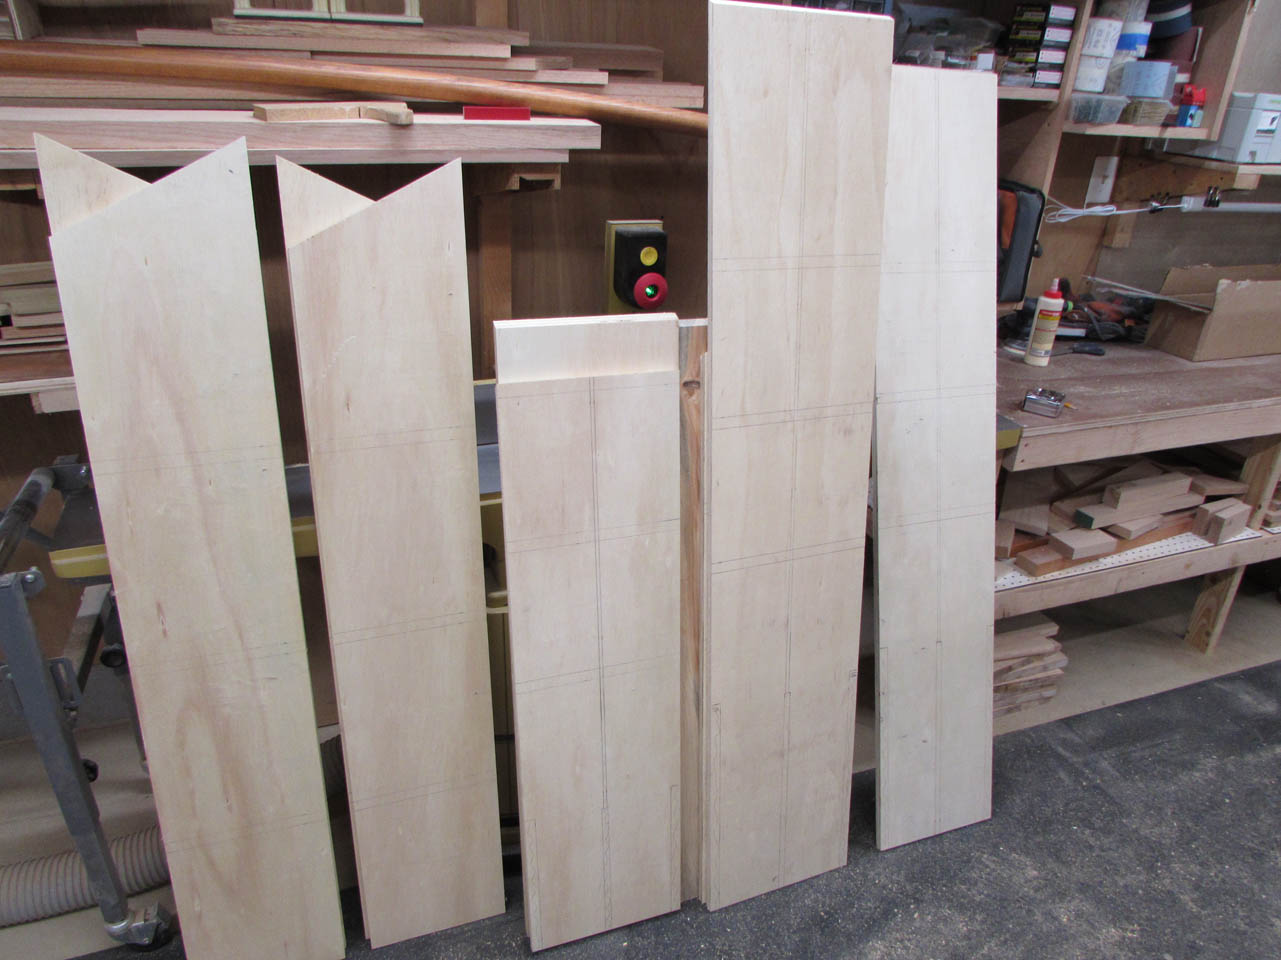
Unfortunately, for me, the height and angle of the ceiling, as well as the length of the rooms are all slightly different making nearly every piece of these shelves slightly different from one room to the other.

The new shelves will also be painted so I will be making them with a combination of plywood and pine. This is a sketch of the shelves along with my cut-list for all of the components: shelf cutlist.PDF

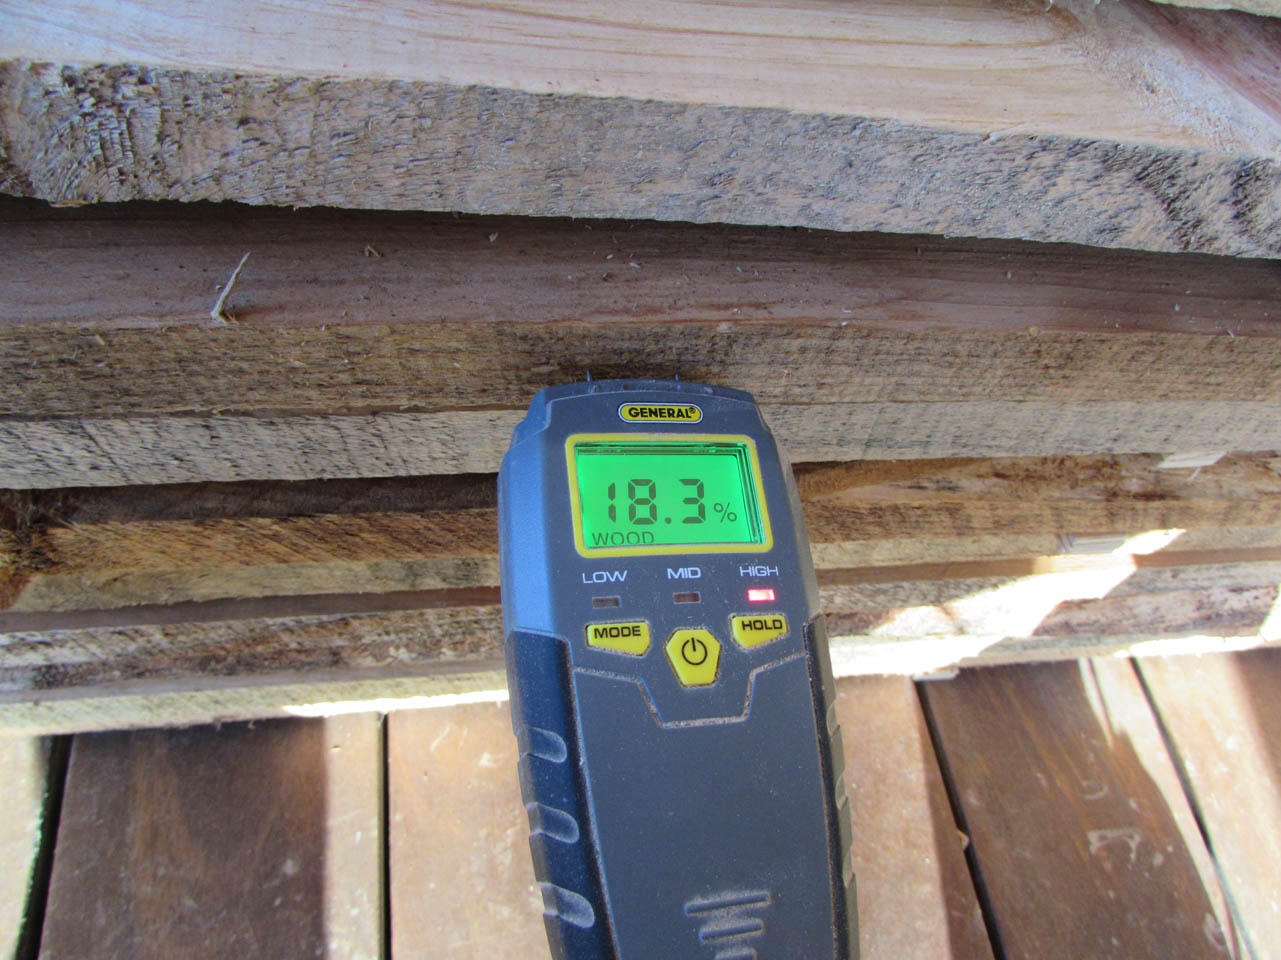
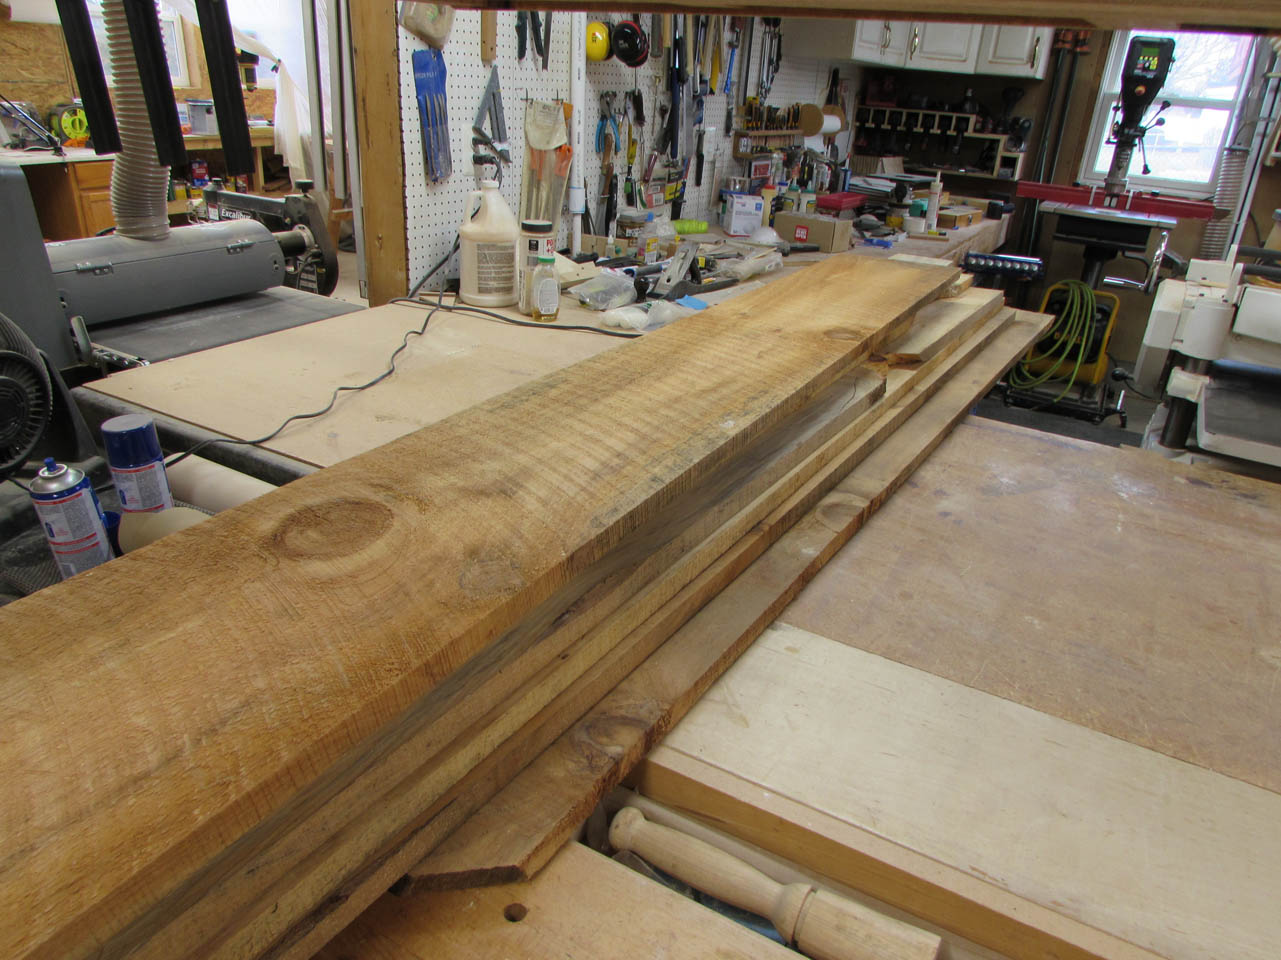
I bought two new pieces of 3/4″ plywood that will make up most of the structural components and I will be using solid pine for the shelves. I acquired a pile of air-dried 5/4 pine from my buddy Dave, It had been dried but was accidentally left out in the rain.

I found that some of the sheltered pieces within the pile were below 10% moisture.
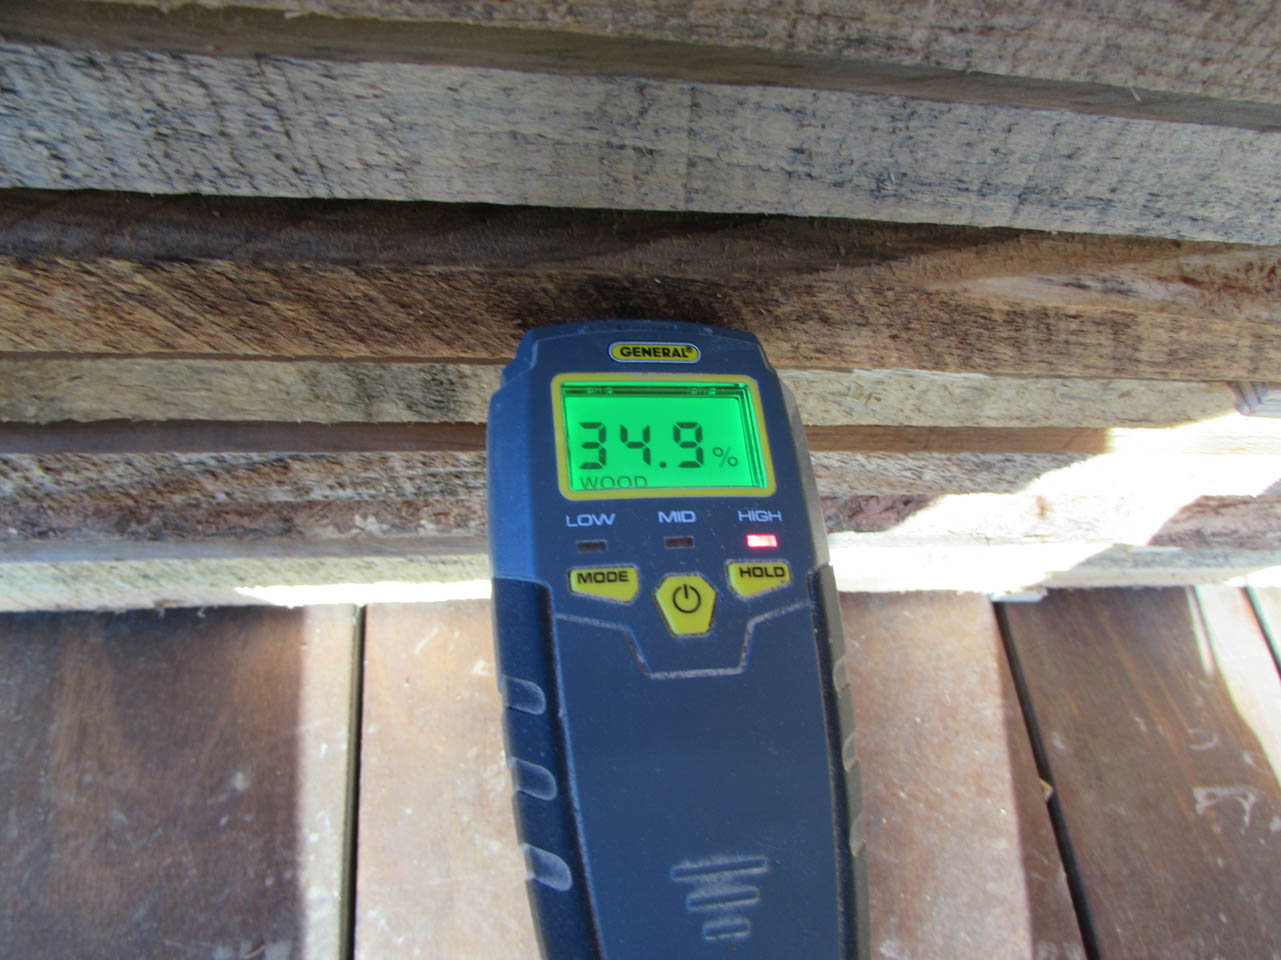
There were also some that were over 30%…
I pulled some of the drier boards into the shop and pointed a fan at them to dry off some of the surface moisture.

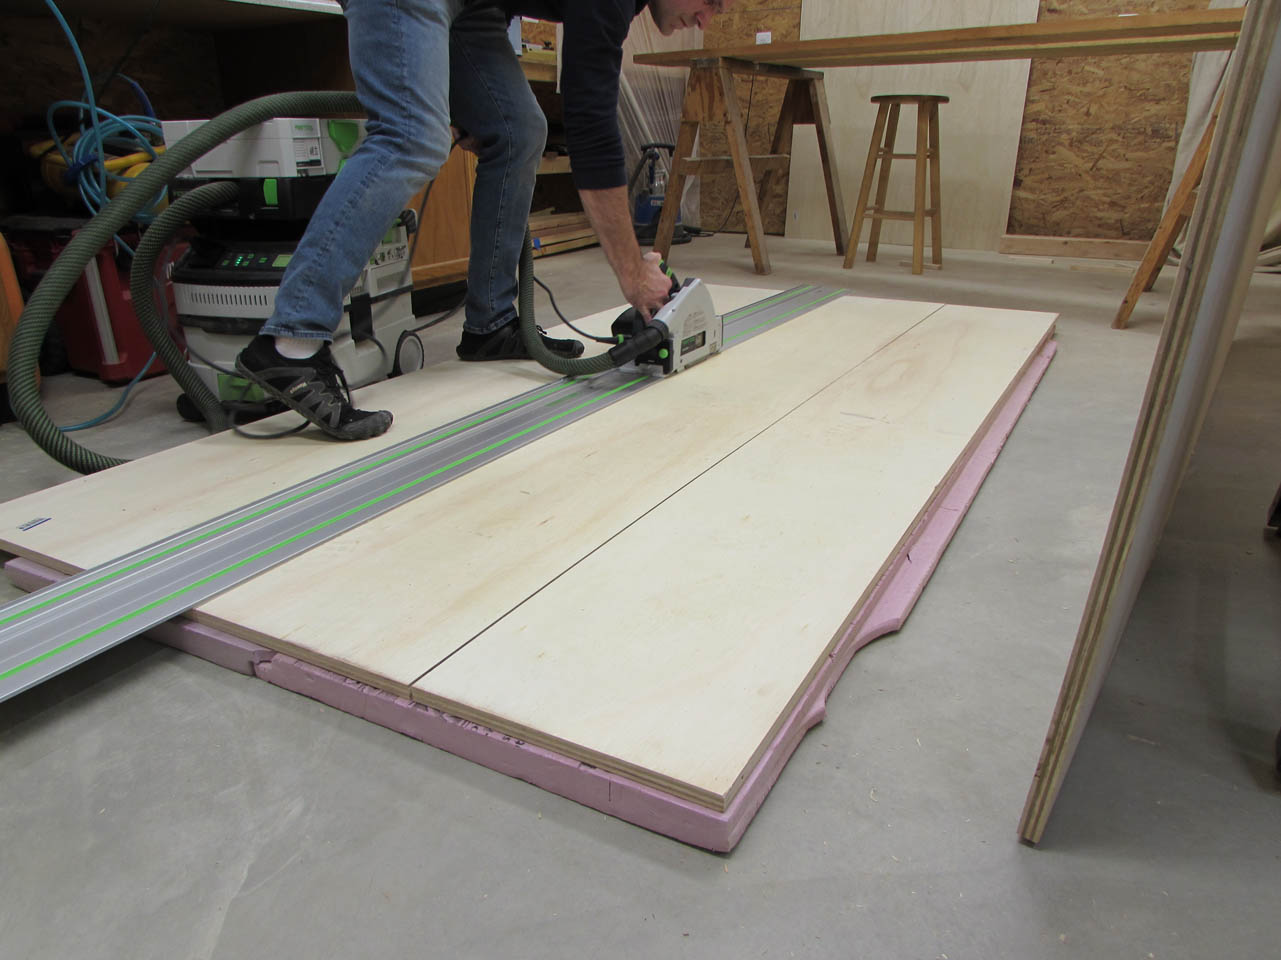
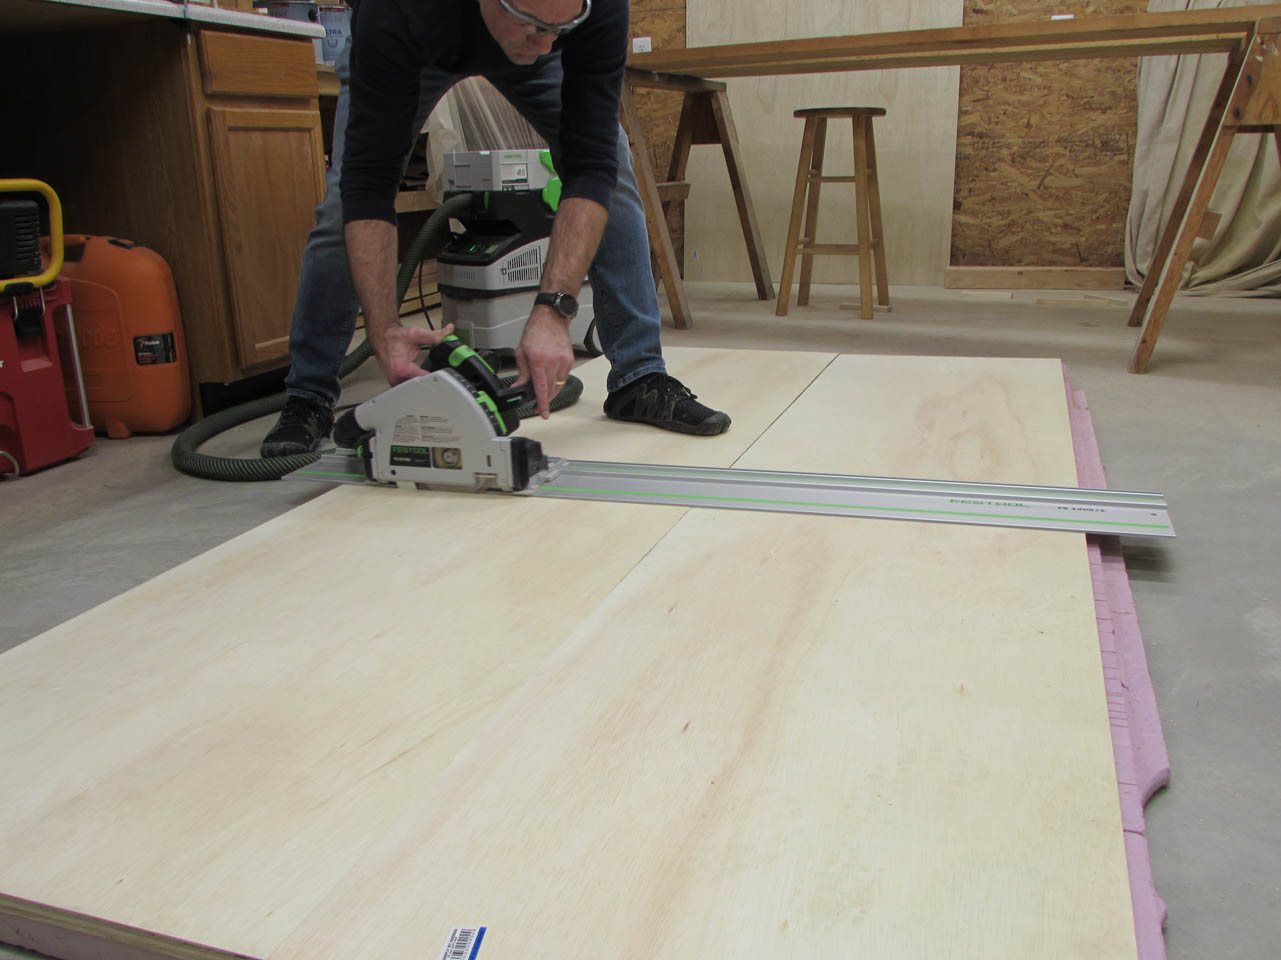
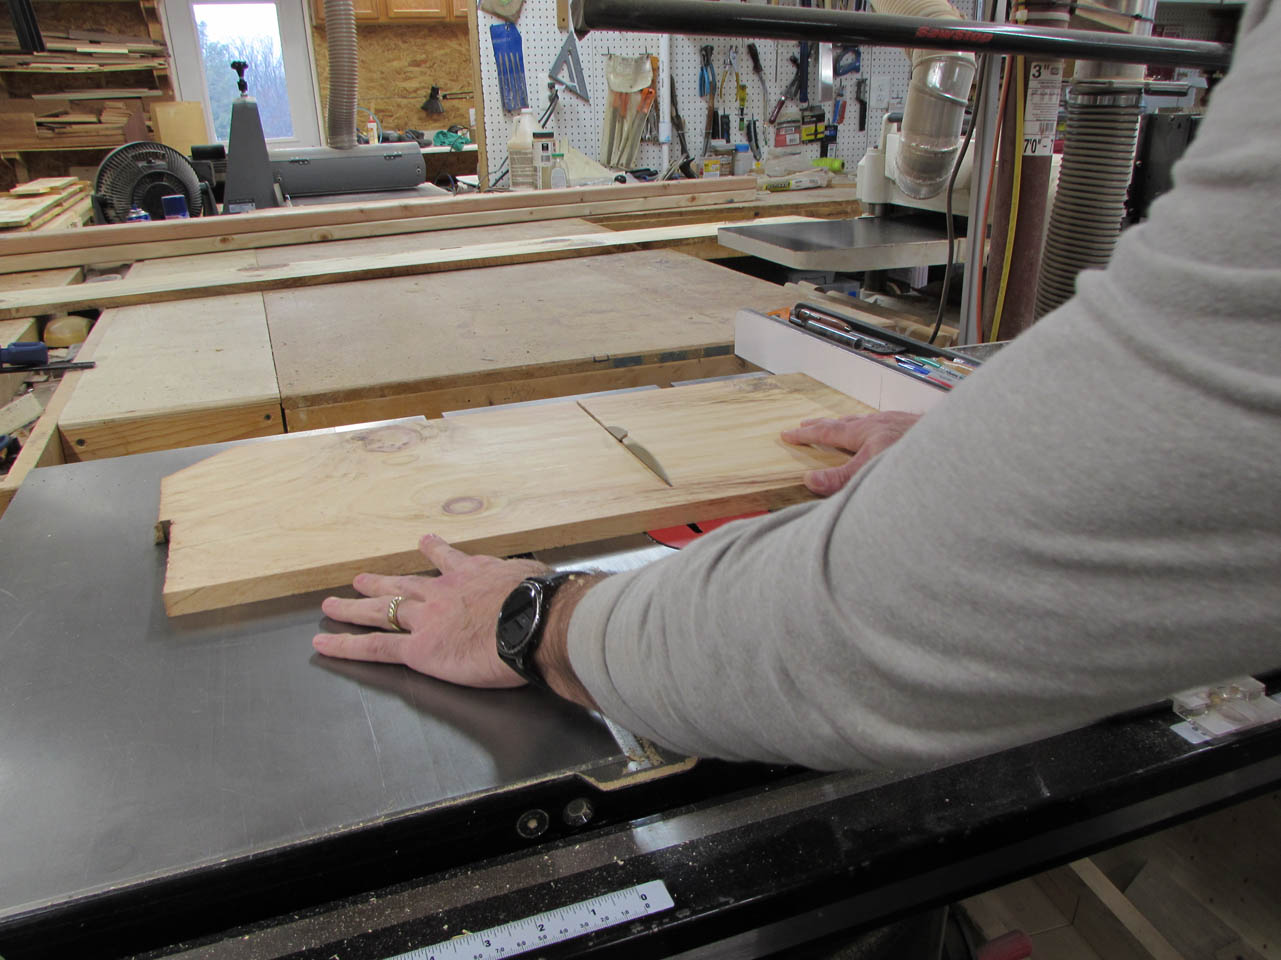
I let them sit overnight to dry out a bit more and moved on to breaking down the plywood. I used my track saw to cut it into slightly over-sized pieces that I can refine on the table saw.

The next day, I started planing down the pine to 3/4″ thick.

Too bad this stuff is getting painted, All of the weather staining has left a lot of character in the wood.

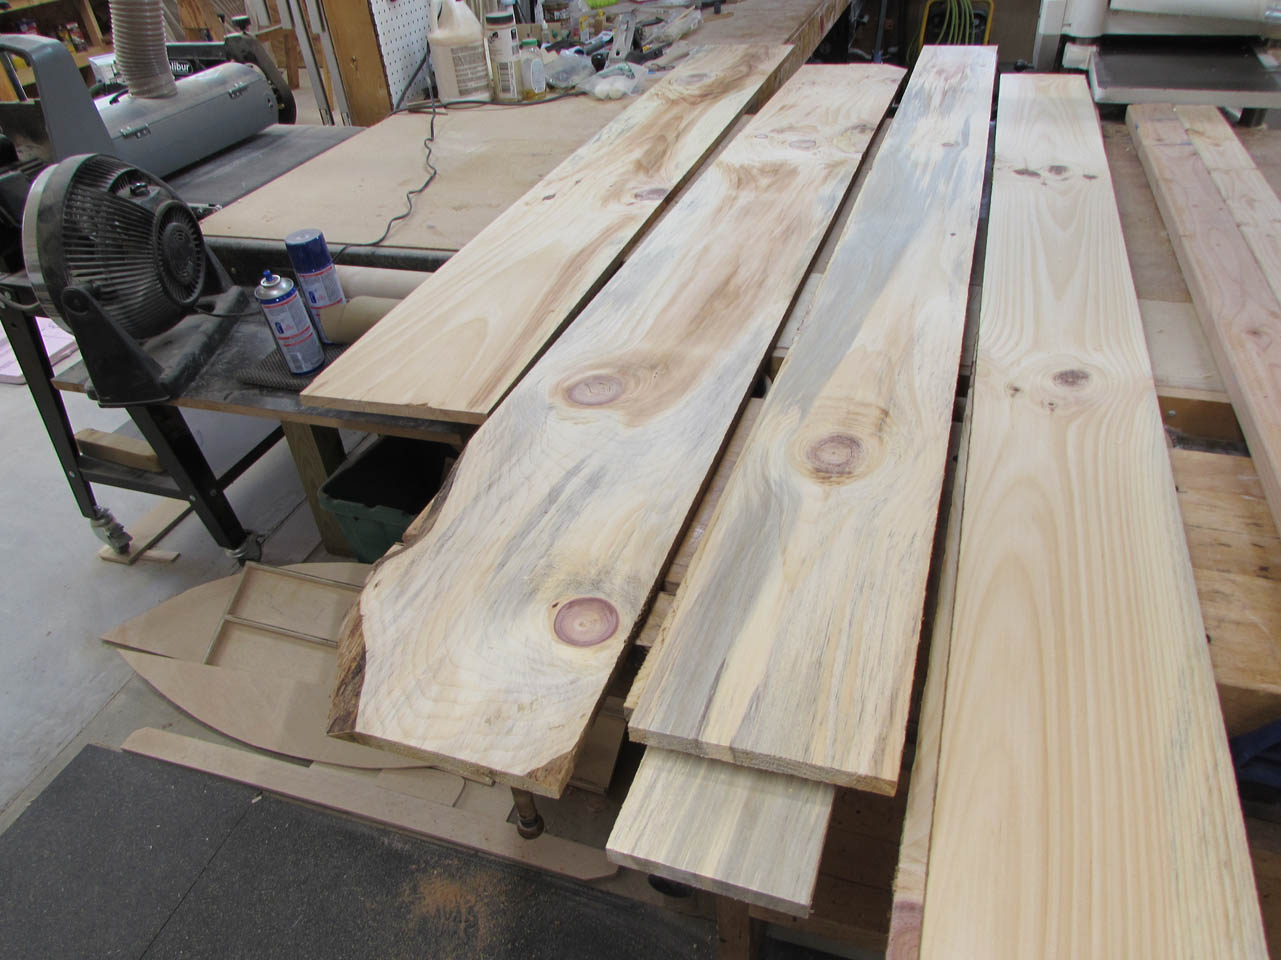
It has a lot of big knots but most of them are tight and I can cut around the rest because I am making a lot of smaller boards for the shelves. Also, I am making a lot of saw dust, about 40 gallons from these six boards alone…

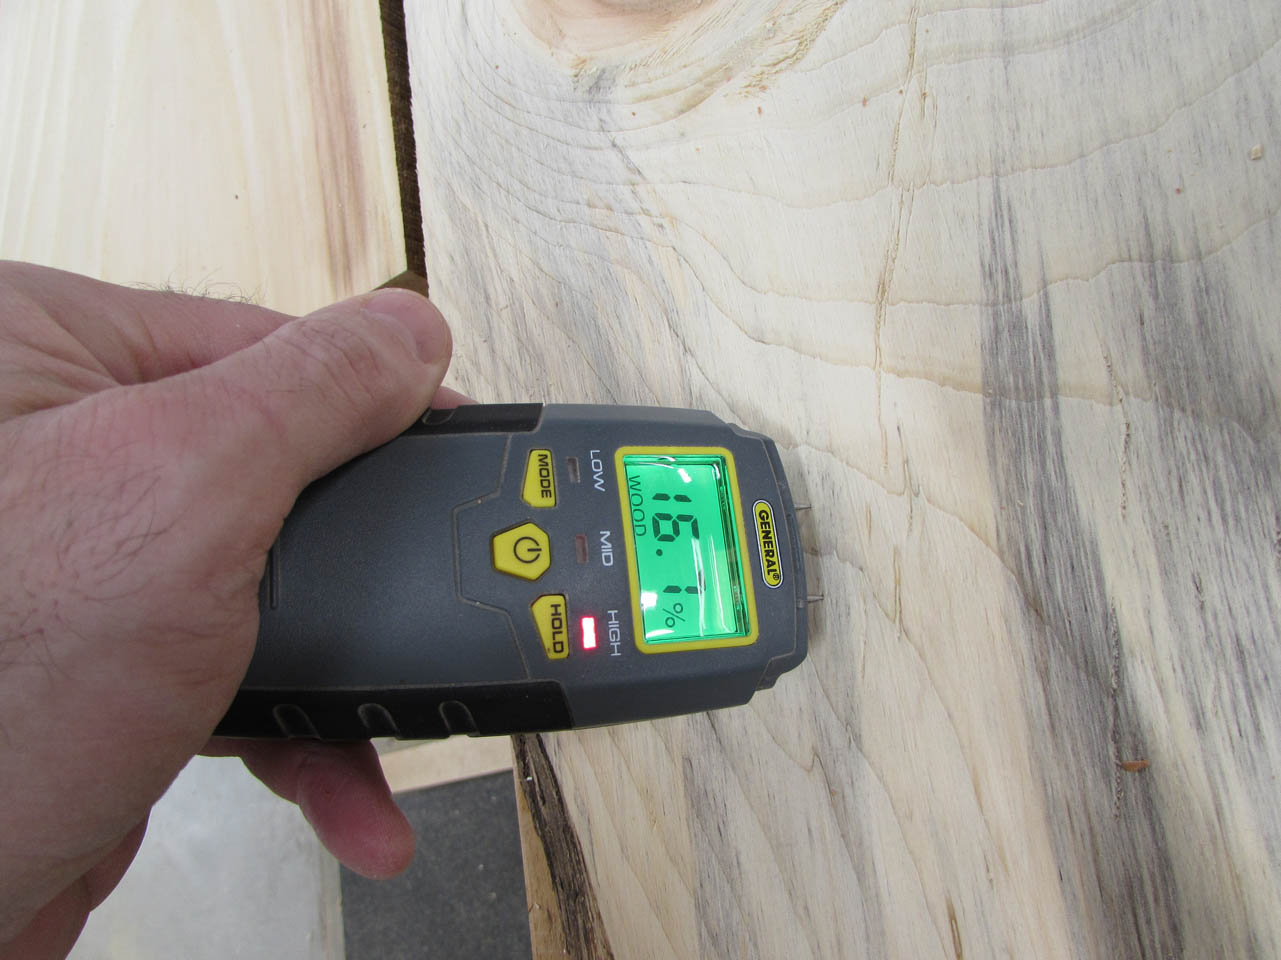
I did notice that the boards with the grey staining seem to be the ones holding more moisture. The wood there seems to be more porous which acts like a sponge. This helps me when picking through trying to find the drier boards, I am extra careful checking the grey ones.


With a pile of dry wood to start with, I can break it down to smaller lengths and joint one side flat.


Then I can start cutting the shelves from these pieces.


With the short shelves out of the way, I can move on to the longer, narrow ones.


I had to pull in another pile of wood or two for drying and planing. I think I wound up with 160 gallons of pine shavings from the planer, in the end. Luckily, I have a friend with a couple of cows and he will take all the sawdust and shavings for bedding for his animals.

After getting all of the shelves cut down, I started cutting the dados in the support bracket to receive plywood. This was done with multiple passes over the single saw blade.

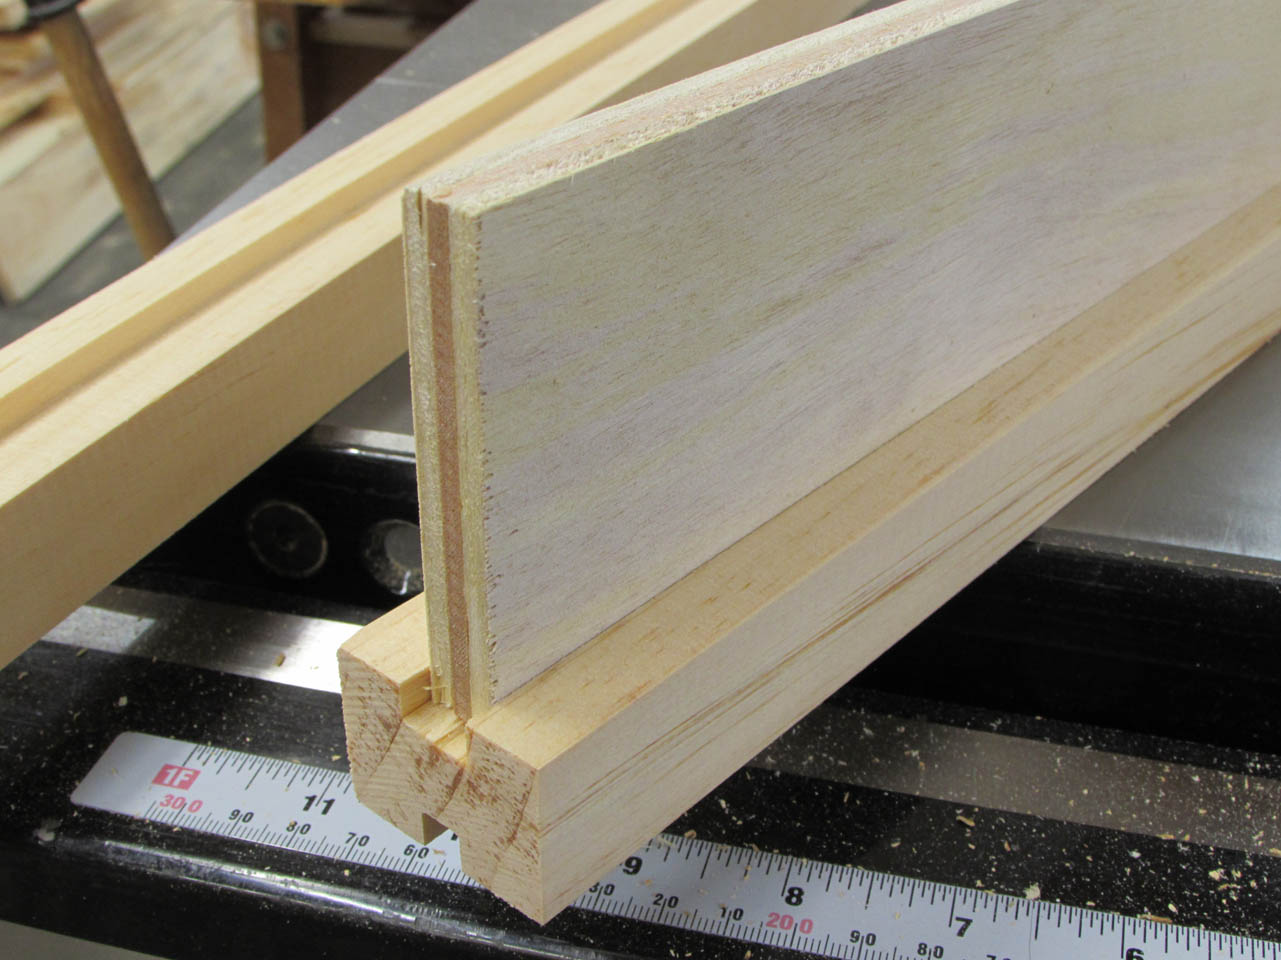
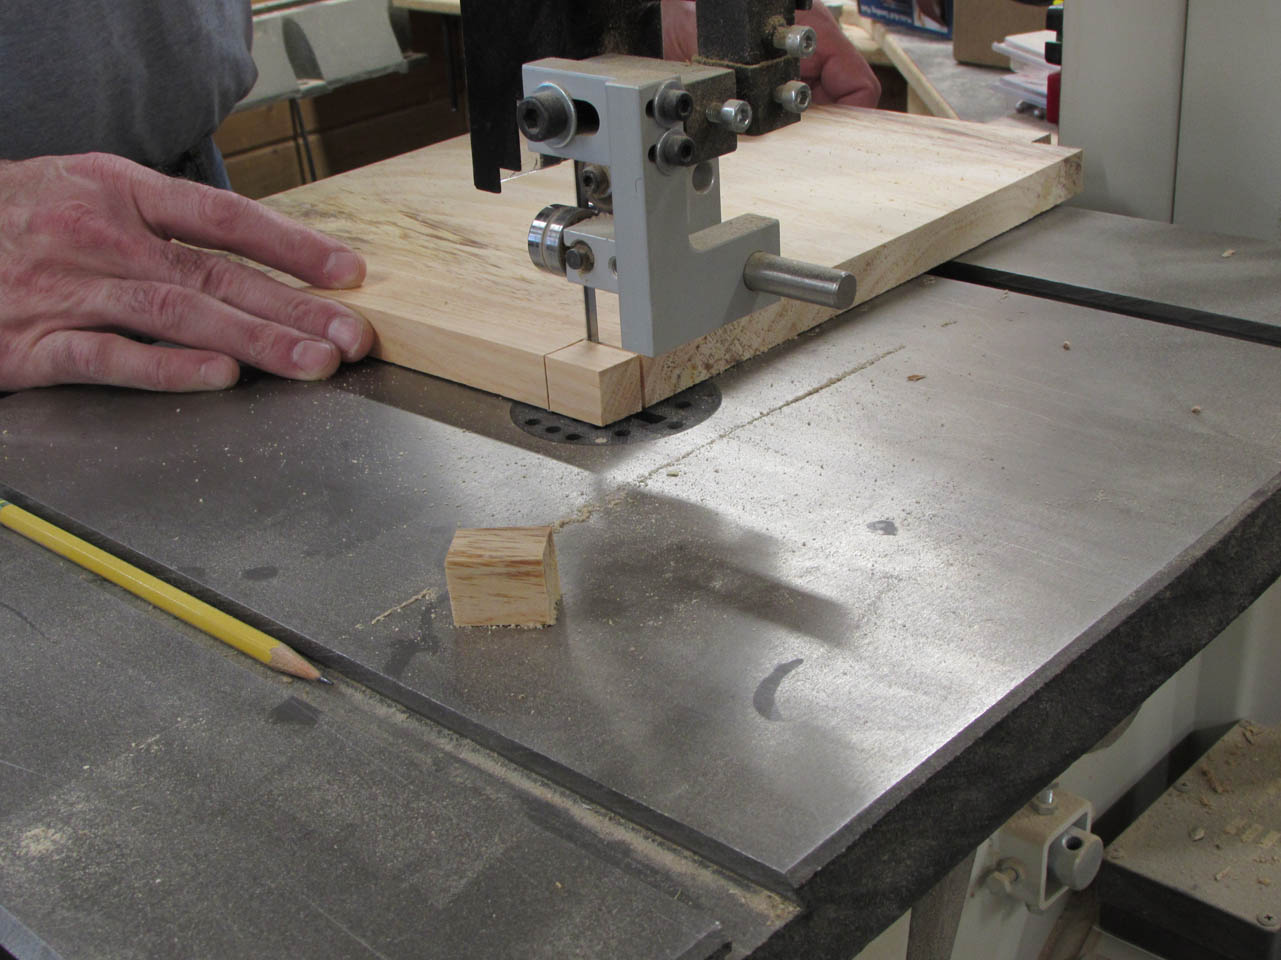
I also notched out the corners of a couple of the shelves on the bandsaw.


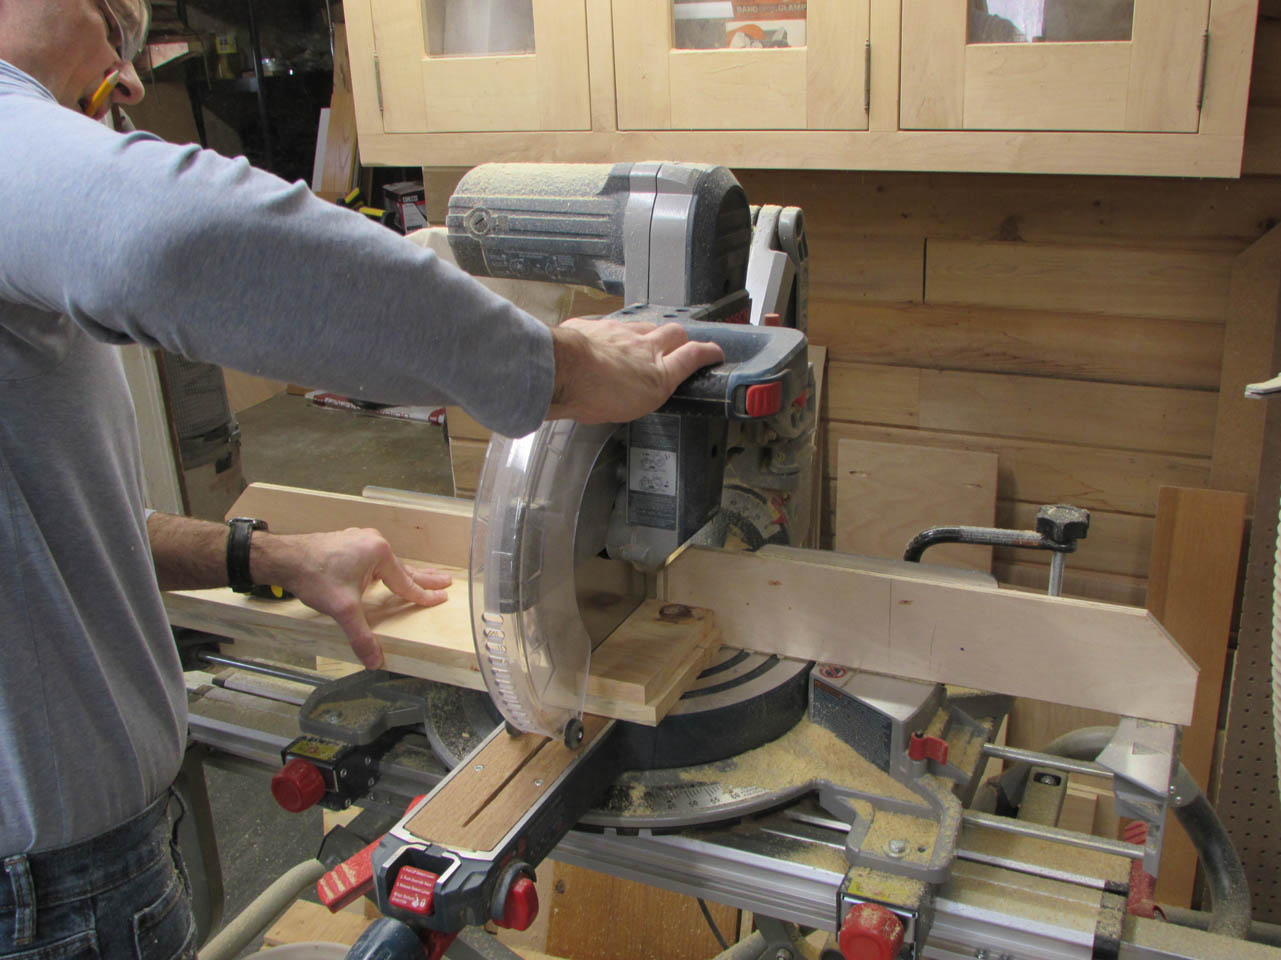
With the pine parts processed, I started shaping the plywood parts. I put an angle on the top of the shelf sides with the chop saw.


But the small angle at the top of the plywood pieces was cut on the table saw, using a cross-cut sled. I used a digital gauge to set the exact angle of the table saw blade.

I managed to only screw up one of the cuts and had to replace one of the plywood pieces with a piece of solid pine panel that I glued up.


Now it was time to lay out all of the complicated dados. I did this vary carefully since the girl’s and boy’s rooms are different. Since I am painting these, I just started writing notes on the boards to keep track of everything.

For the skinny grooves down the center, I used repeated passes over the single blade on the table saw.
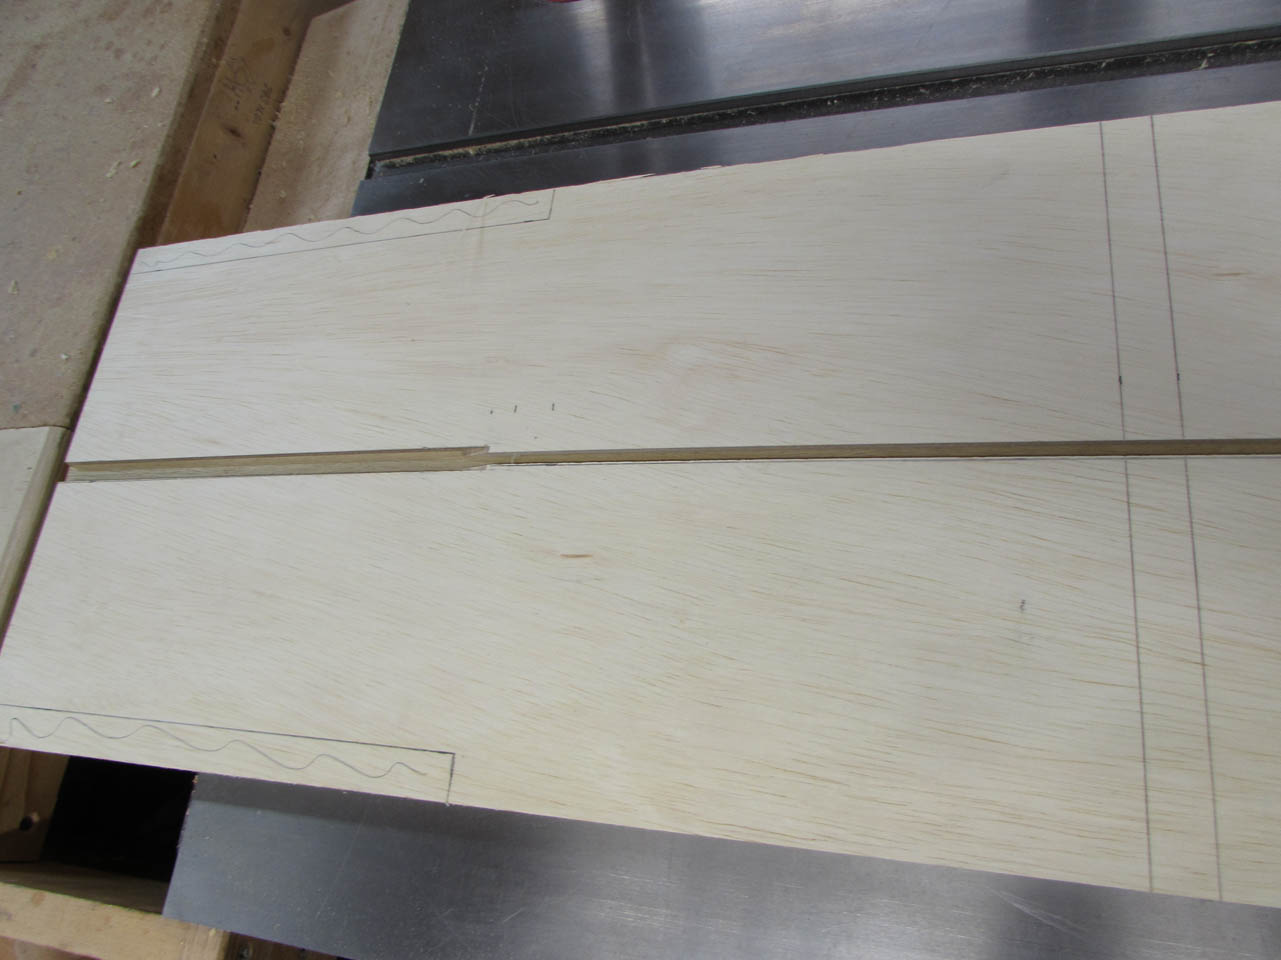

But for the 3/4″ wide dados, I set up my dado blade and used the cross-cut sled.

All the grooves are now cut and it is time to cut out the thinner plywood pieces and assemble these shelves.

