
Built-in beds – part 4
I didn’t receive the paint until after the beds were mostly assembled so I made sure that all of the face frames were still removable while I was gluing in all of the supports. Before painting, I gave all of the surfaces a final sanding and inspection. I also made sure to sand down all of the sharp corners just a bit. Sometimes the finish can crack if the edge is too sharp.
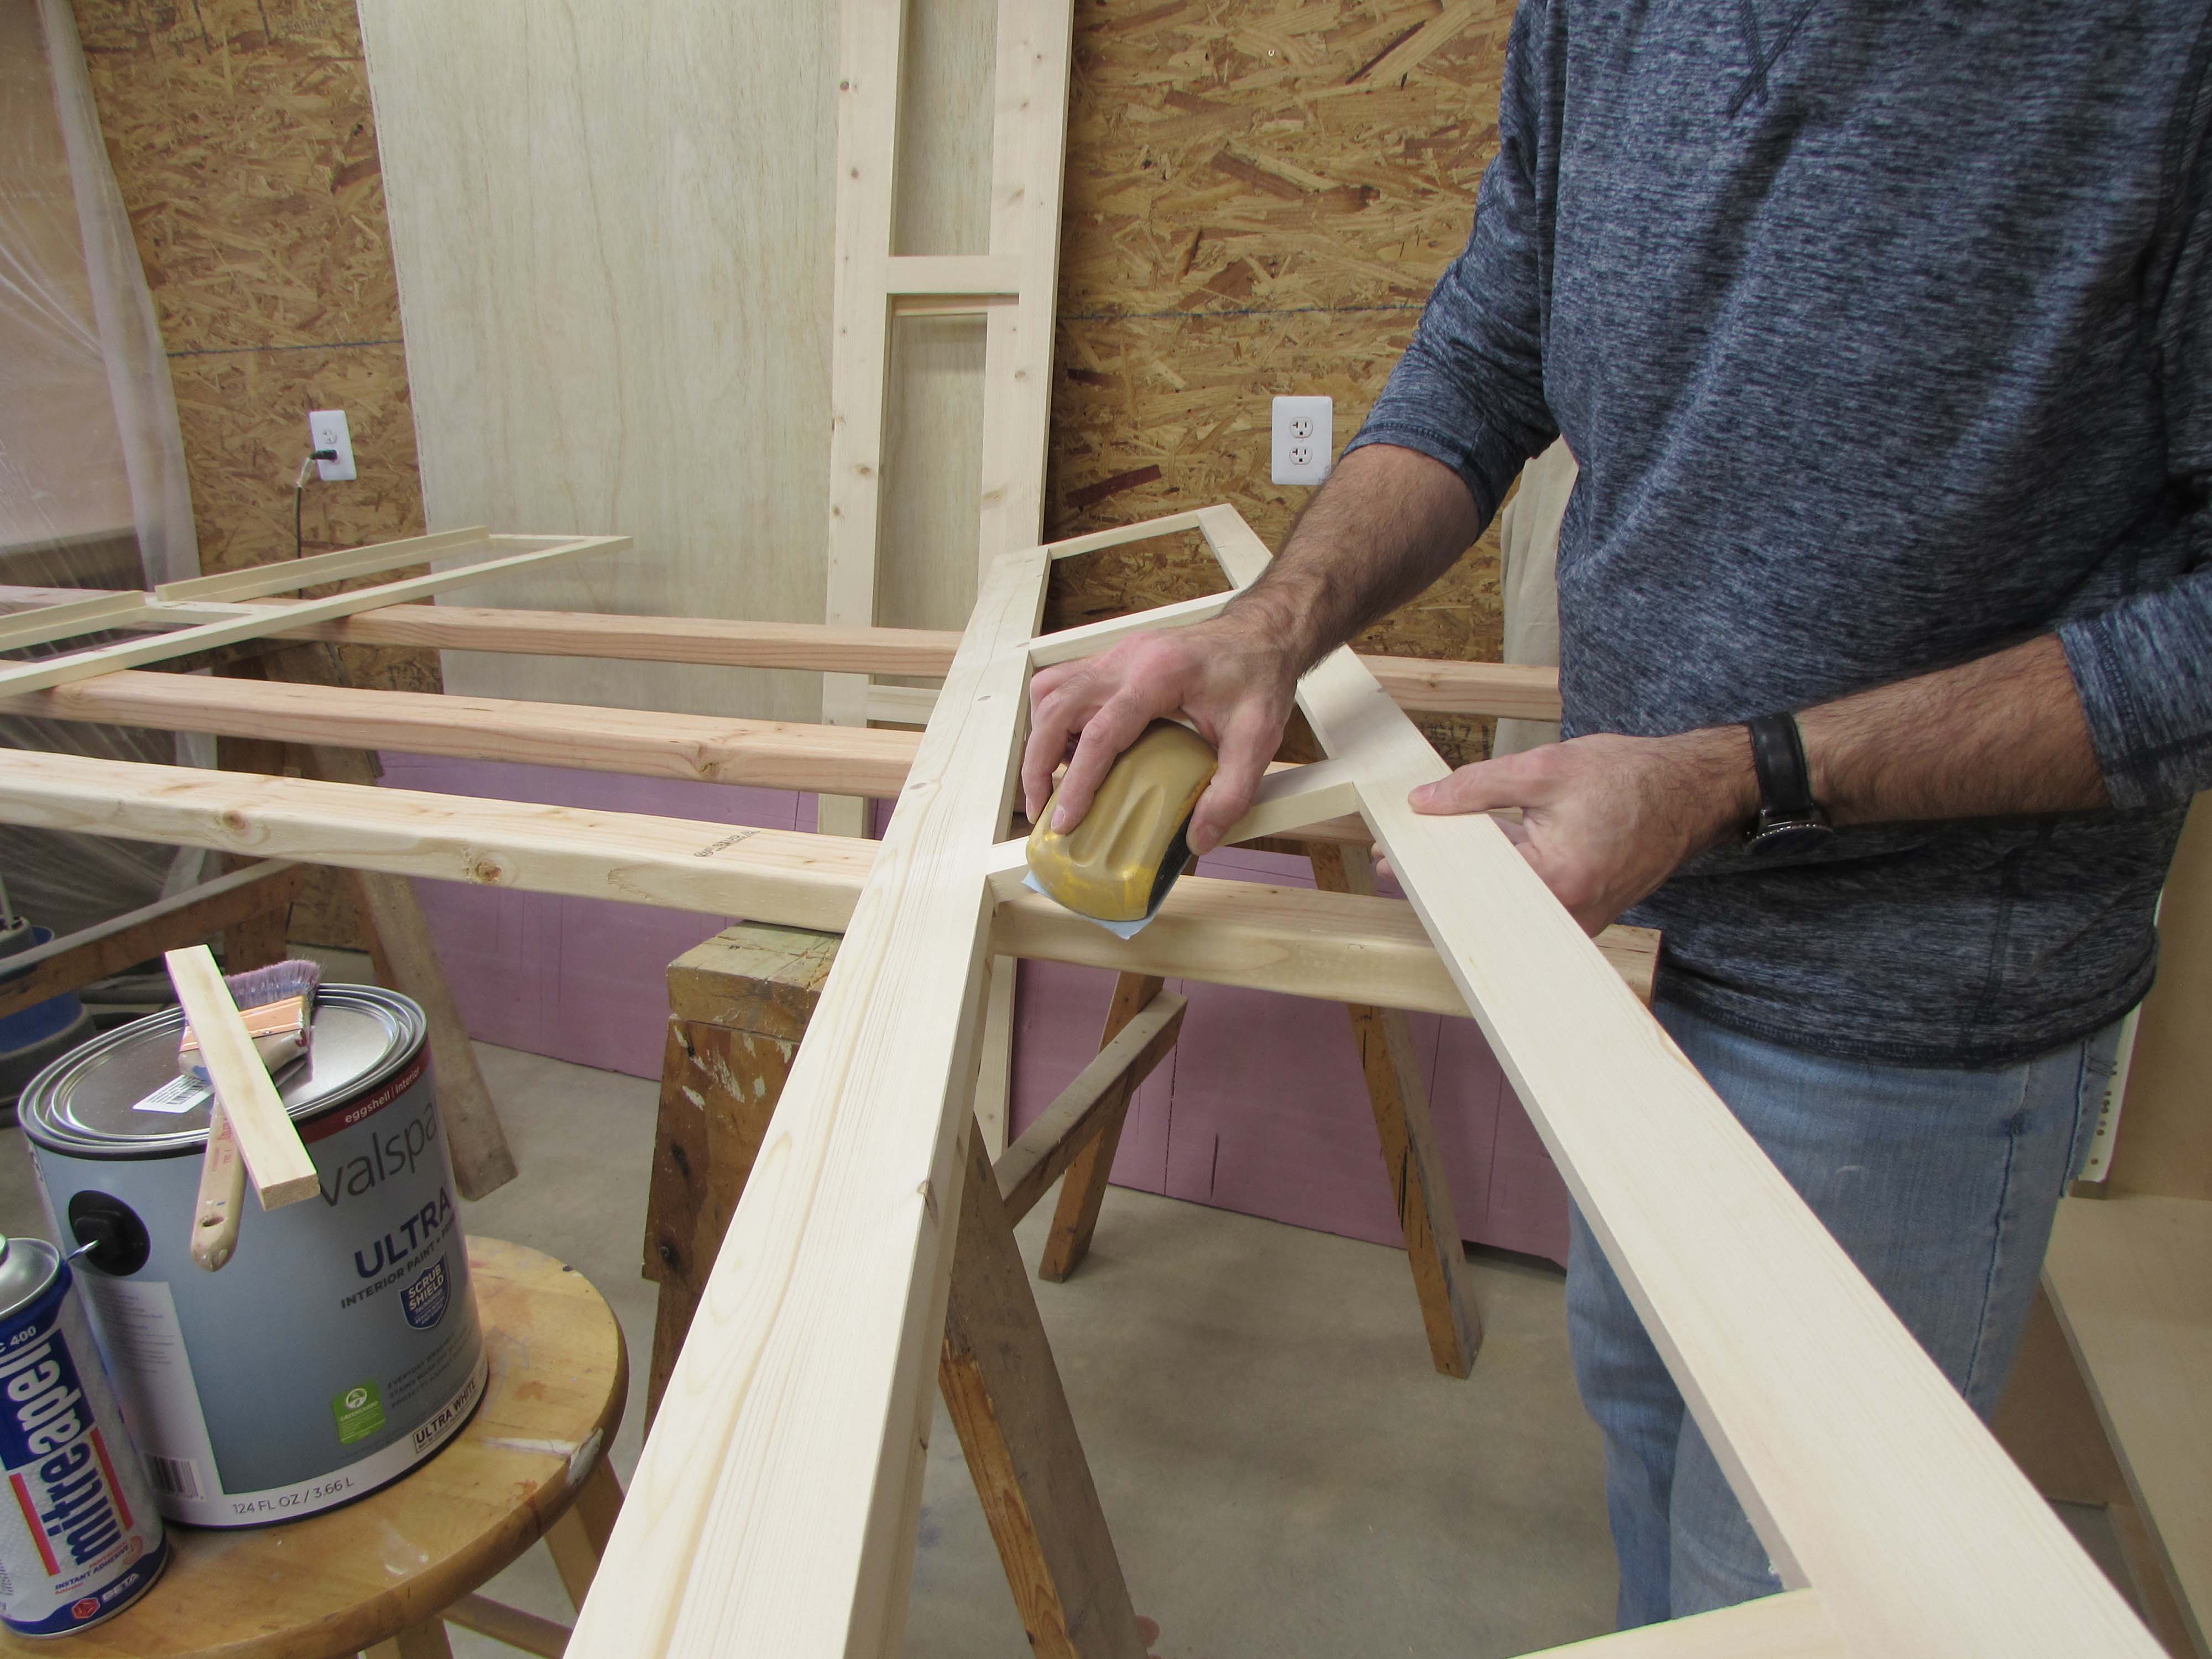
Two of these beds will go into the girl’s room and two will go in the boy’s. That means two different paint colors. Since two of the beds have a specific location, I decided to mark them all on the back side of the face frame, just so I could get them all back onto their original bed carcasses. That way all of the screws would line up and I wouldn’t have any alignment issues with the drawers.

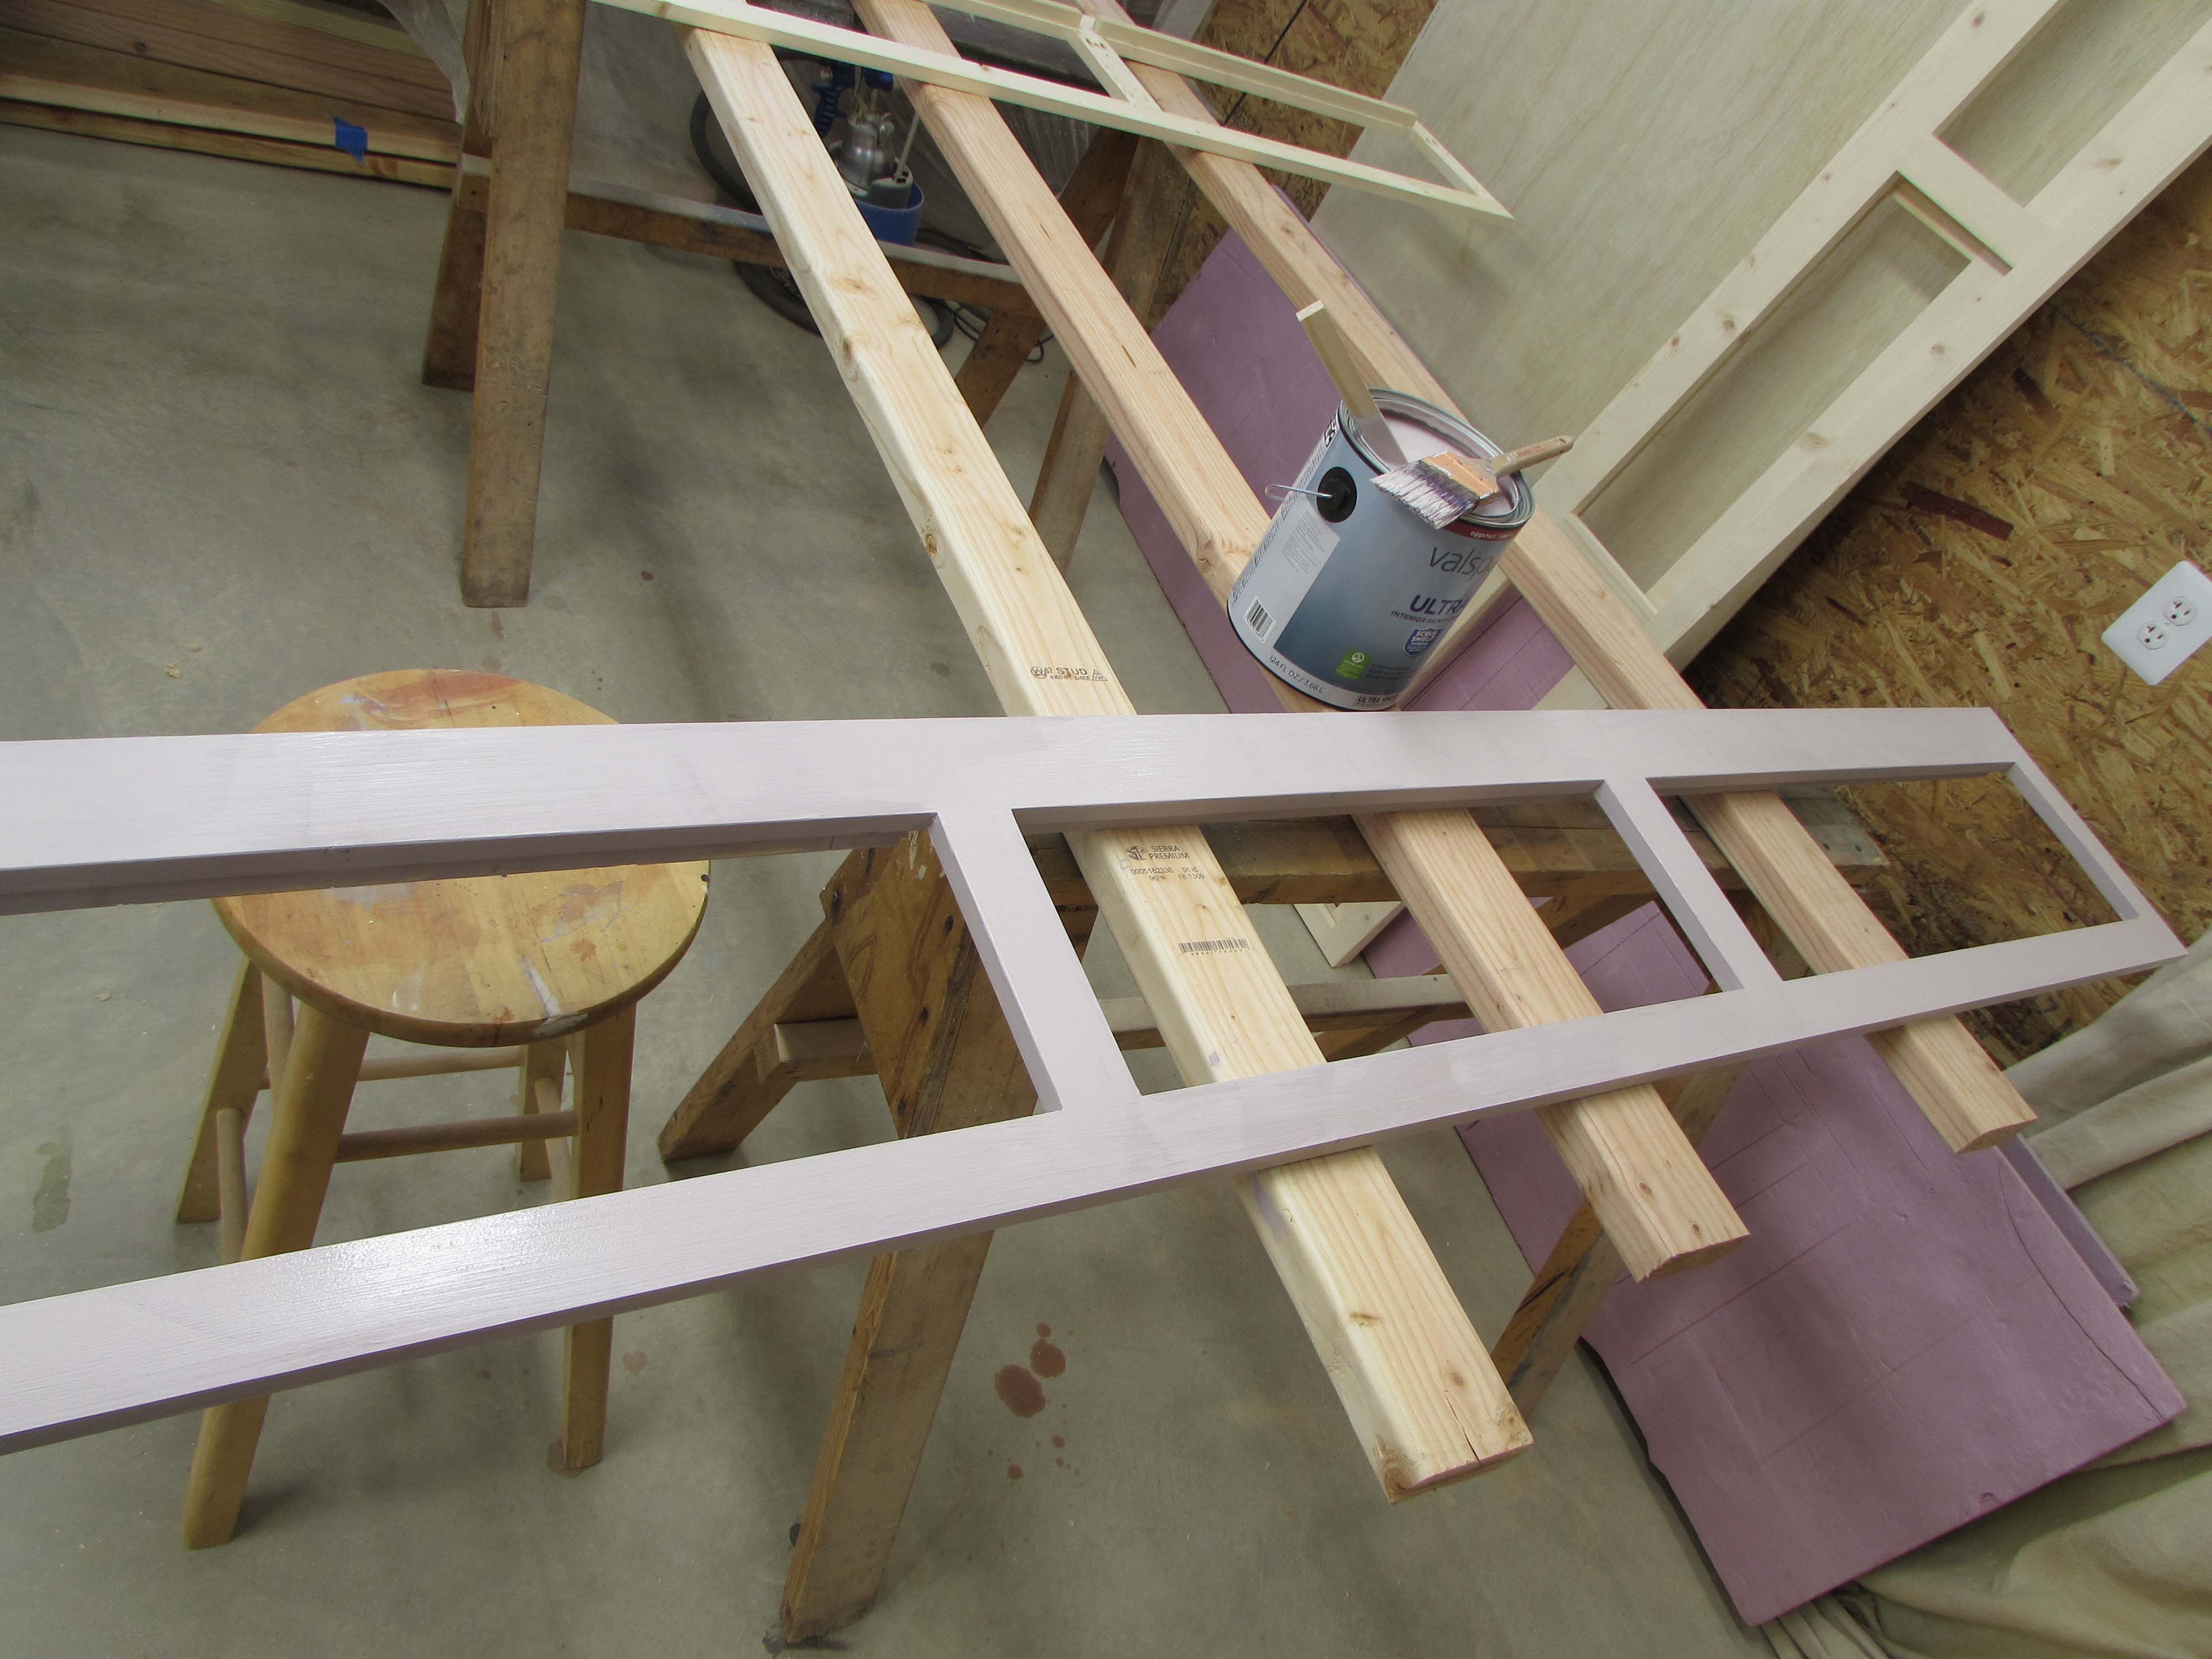
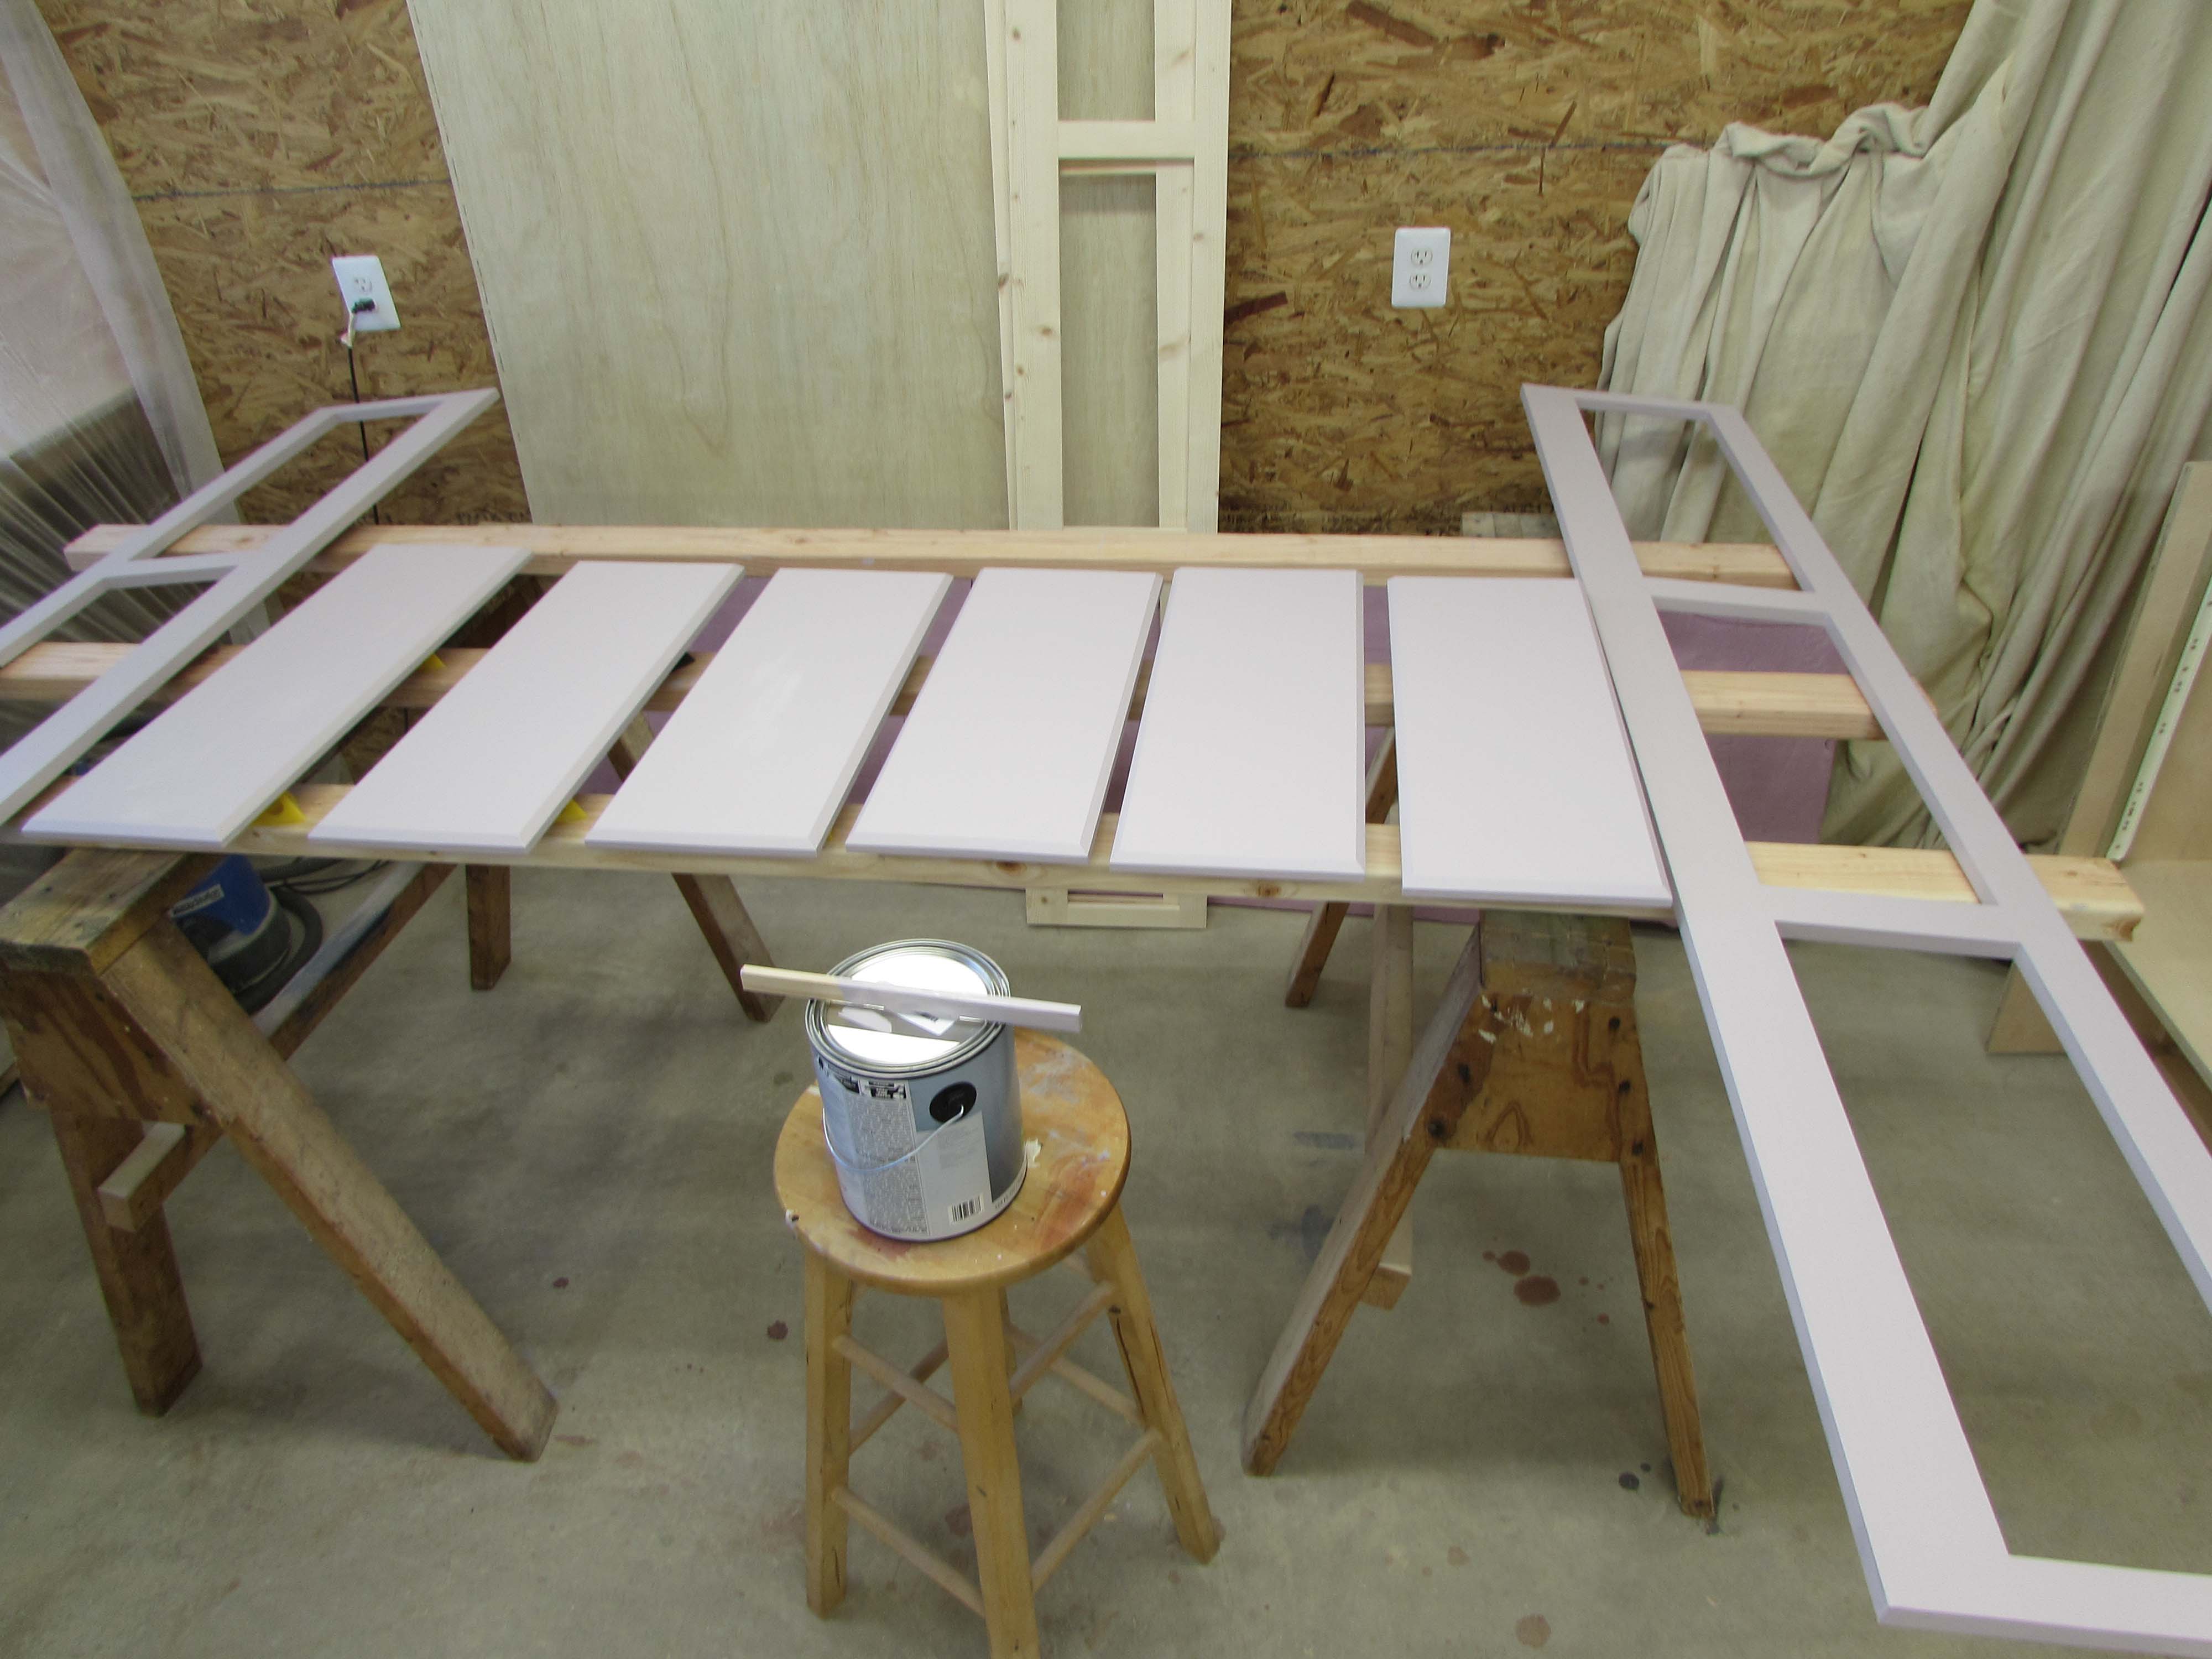
I laid out a couple of 2″x4″s on saw horses for a work table and started on the back of the face frames, applying the paint with a brush.

After the first one was dry, I flipped it over and painted the face.

I left that one to dry and moved on to the next, then the drawer faces were next.
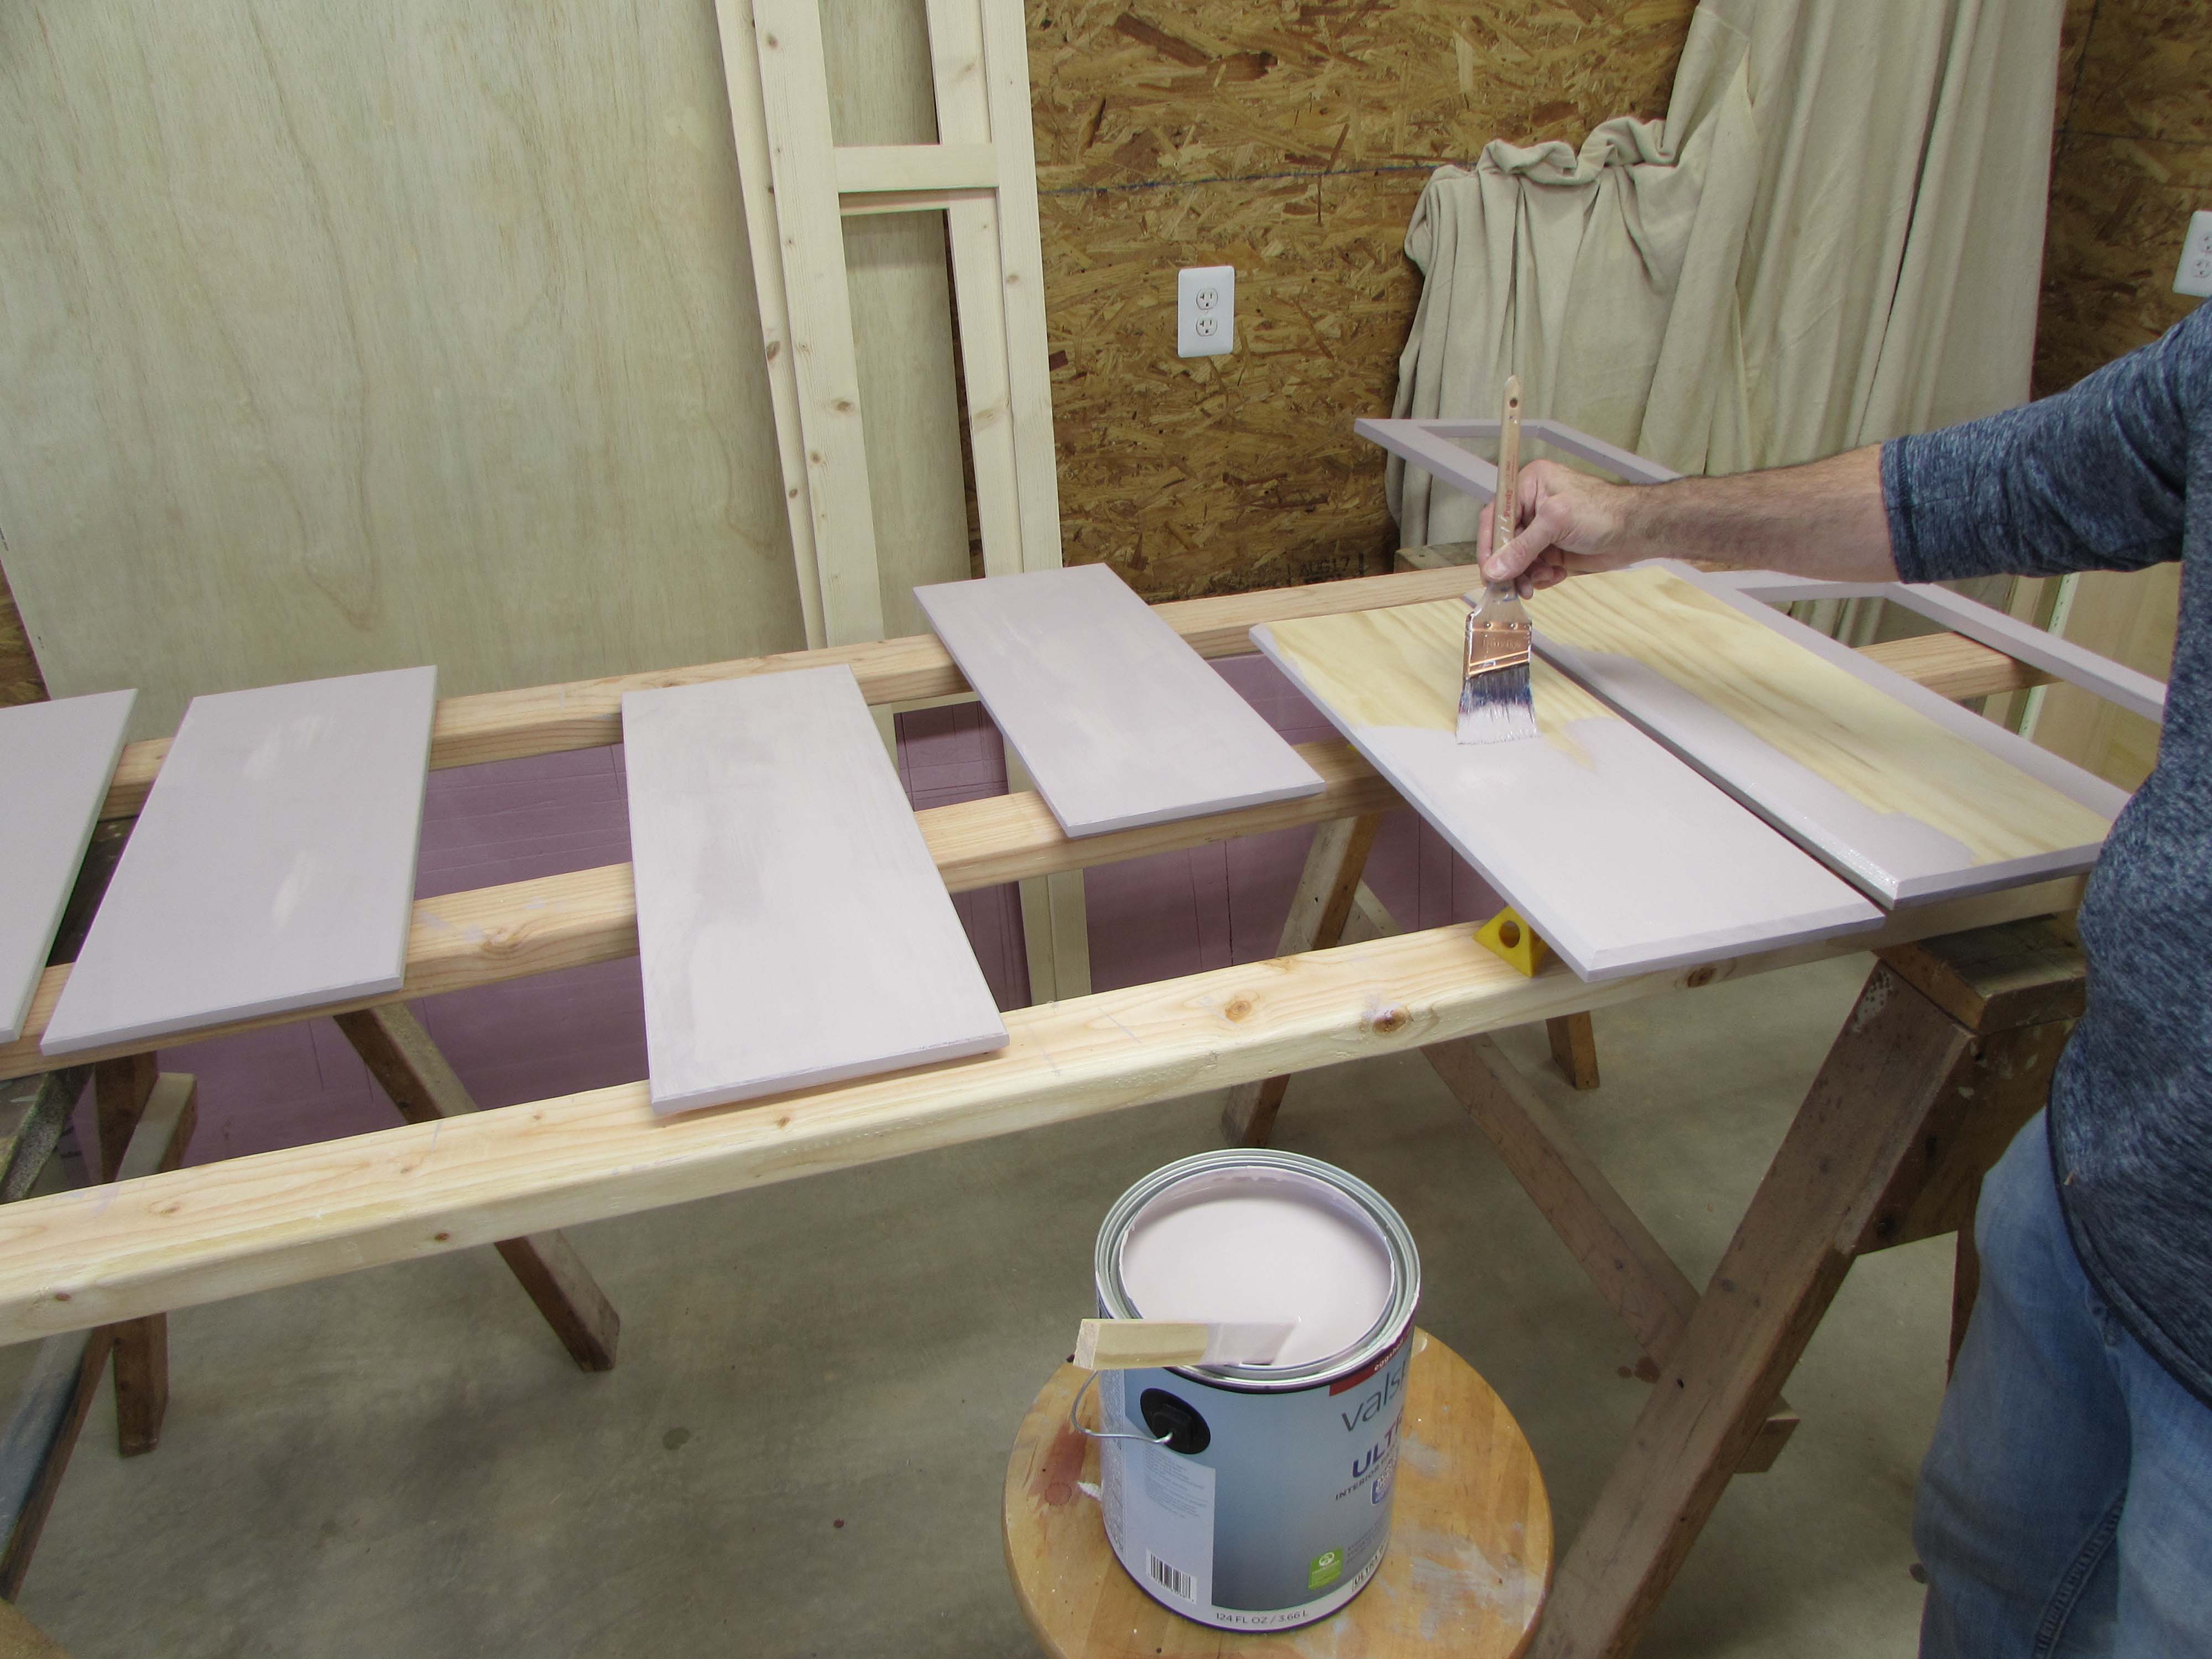
I painted all the backs and edges of the drawer faces. By the time I got to the last face, the first was dry and I could flip them over and paint the fronts in the same order.
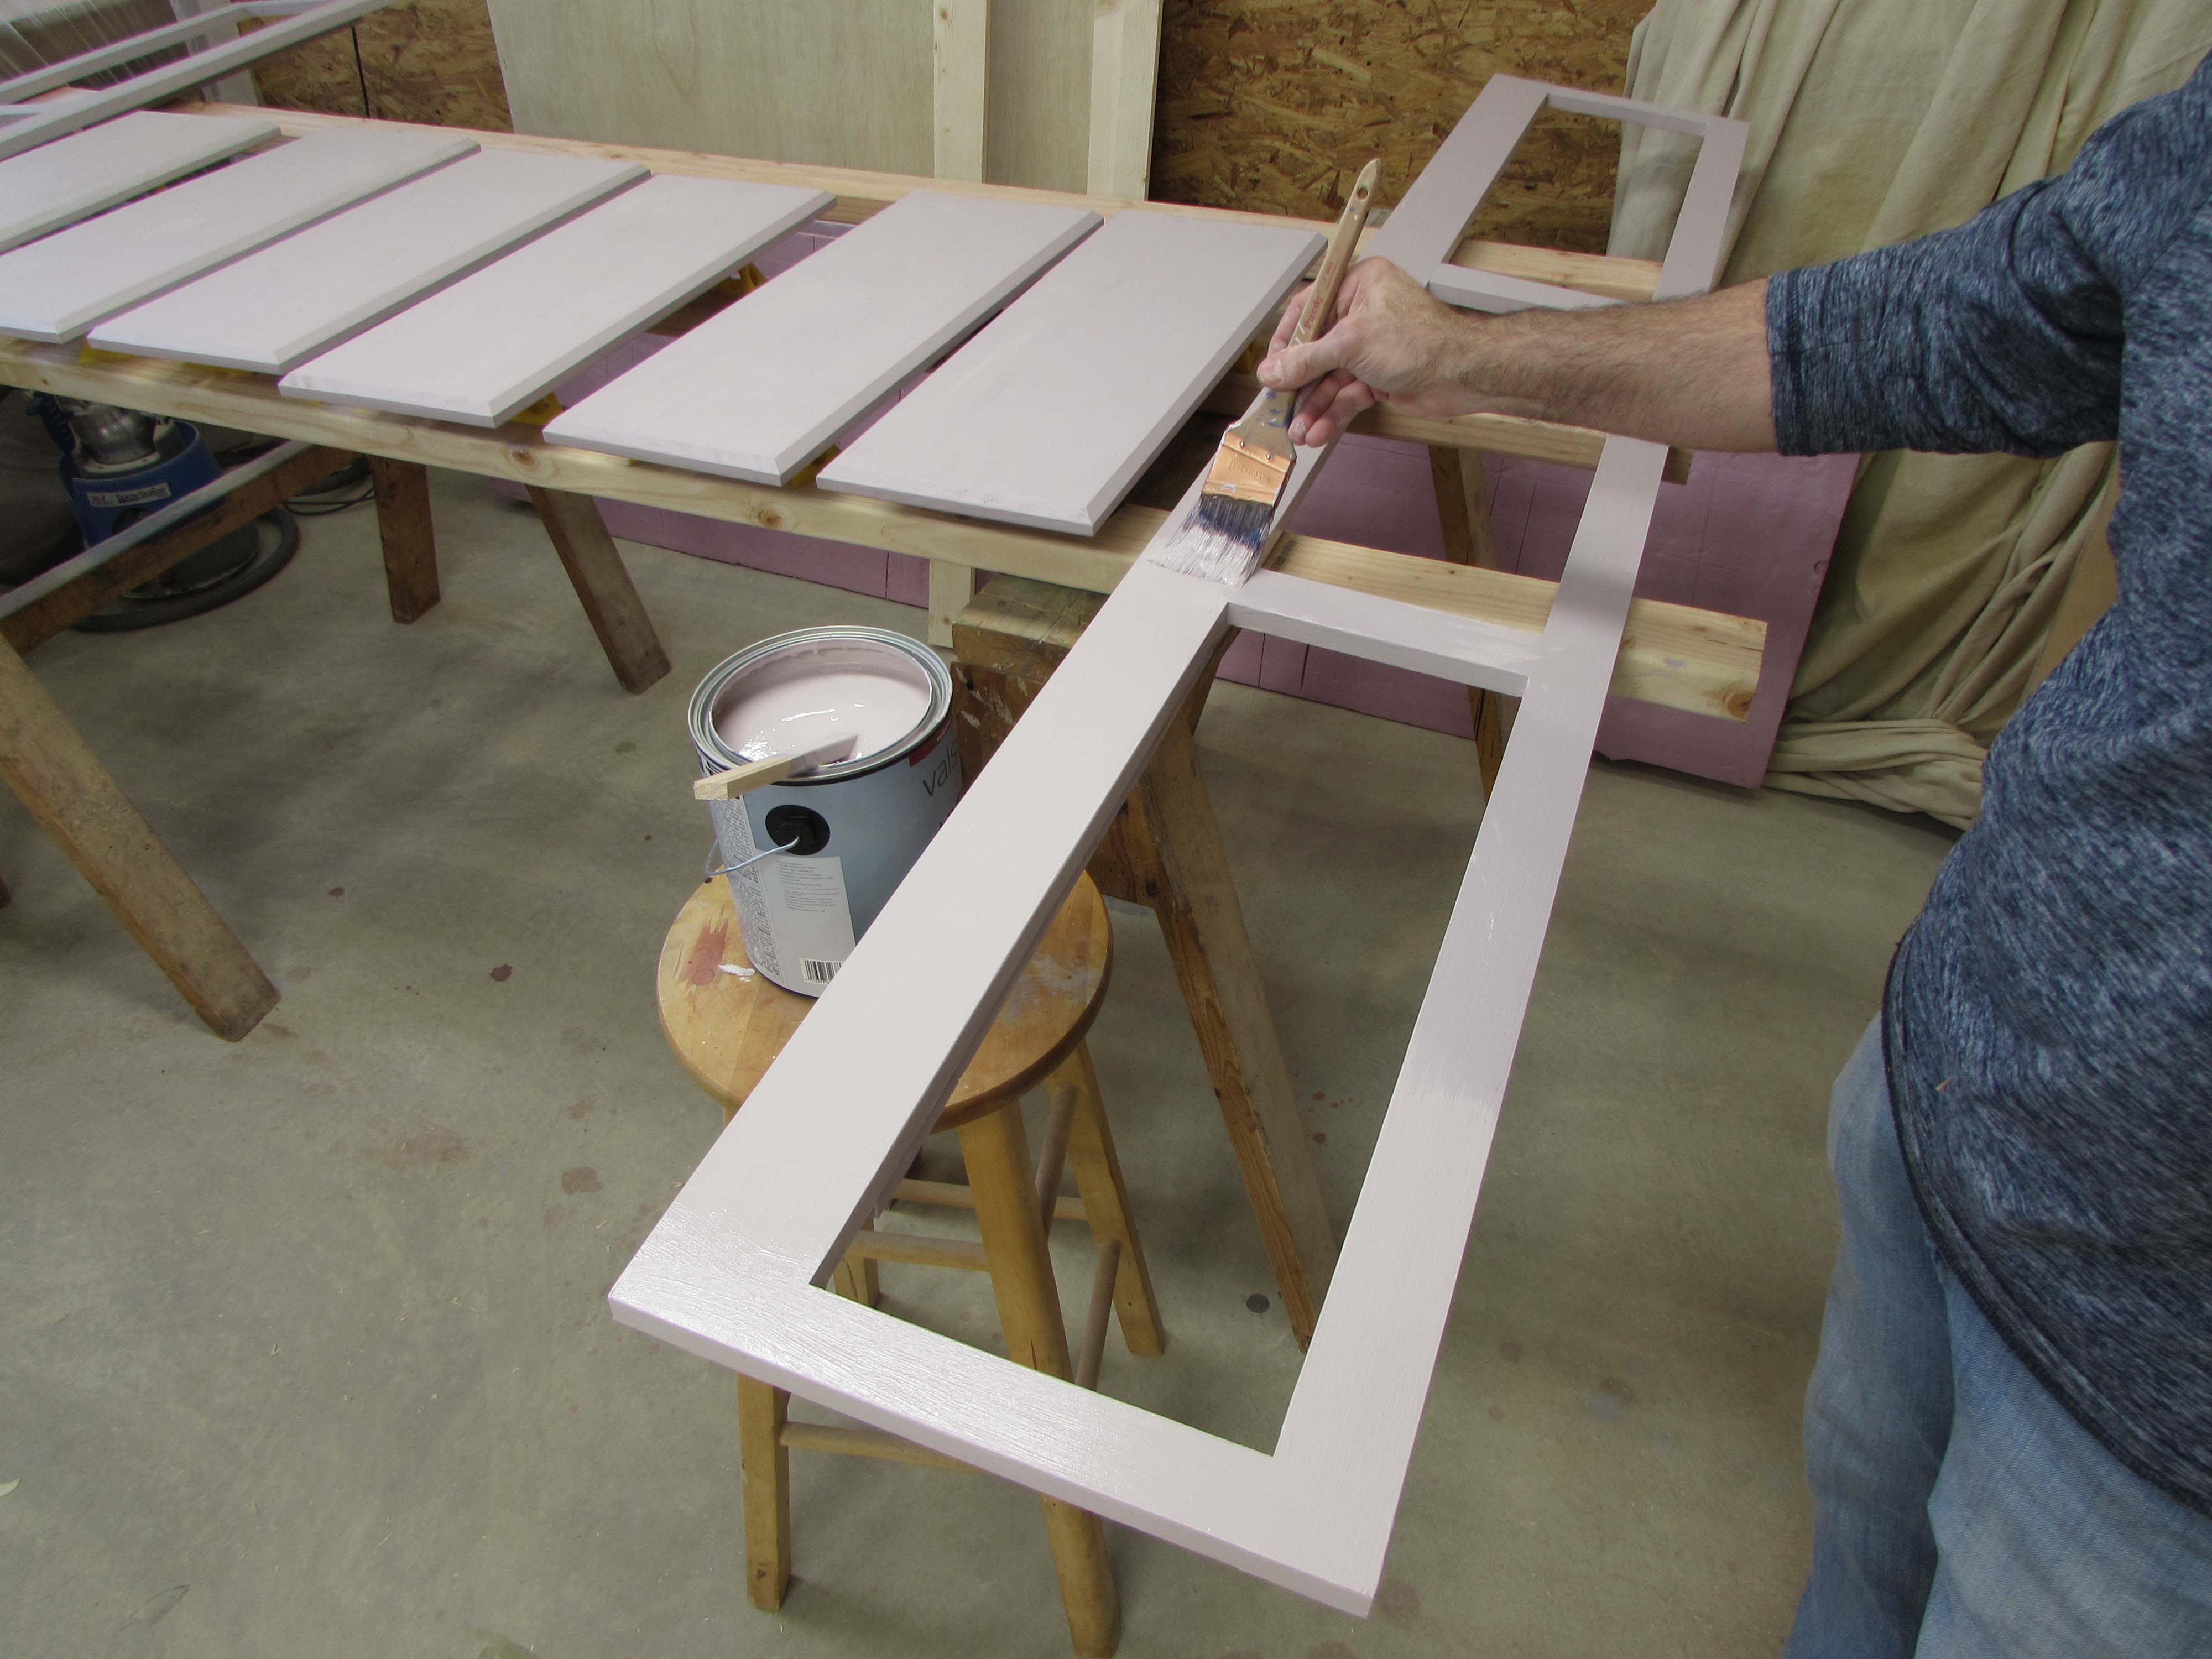
Once they had dried, I repeated the process to give them all a second coat.

After the girl’s bed parts were done, I painted the boy’s in the same way.

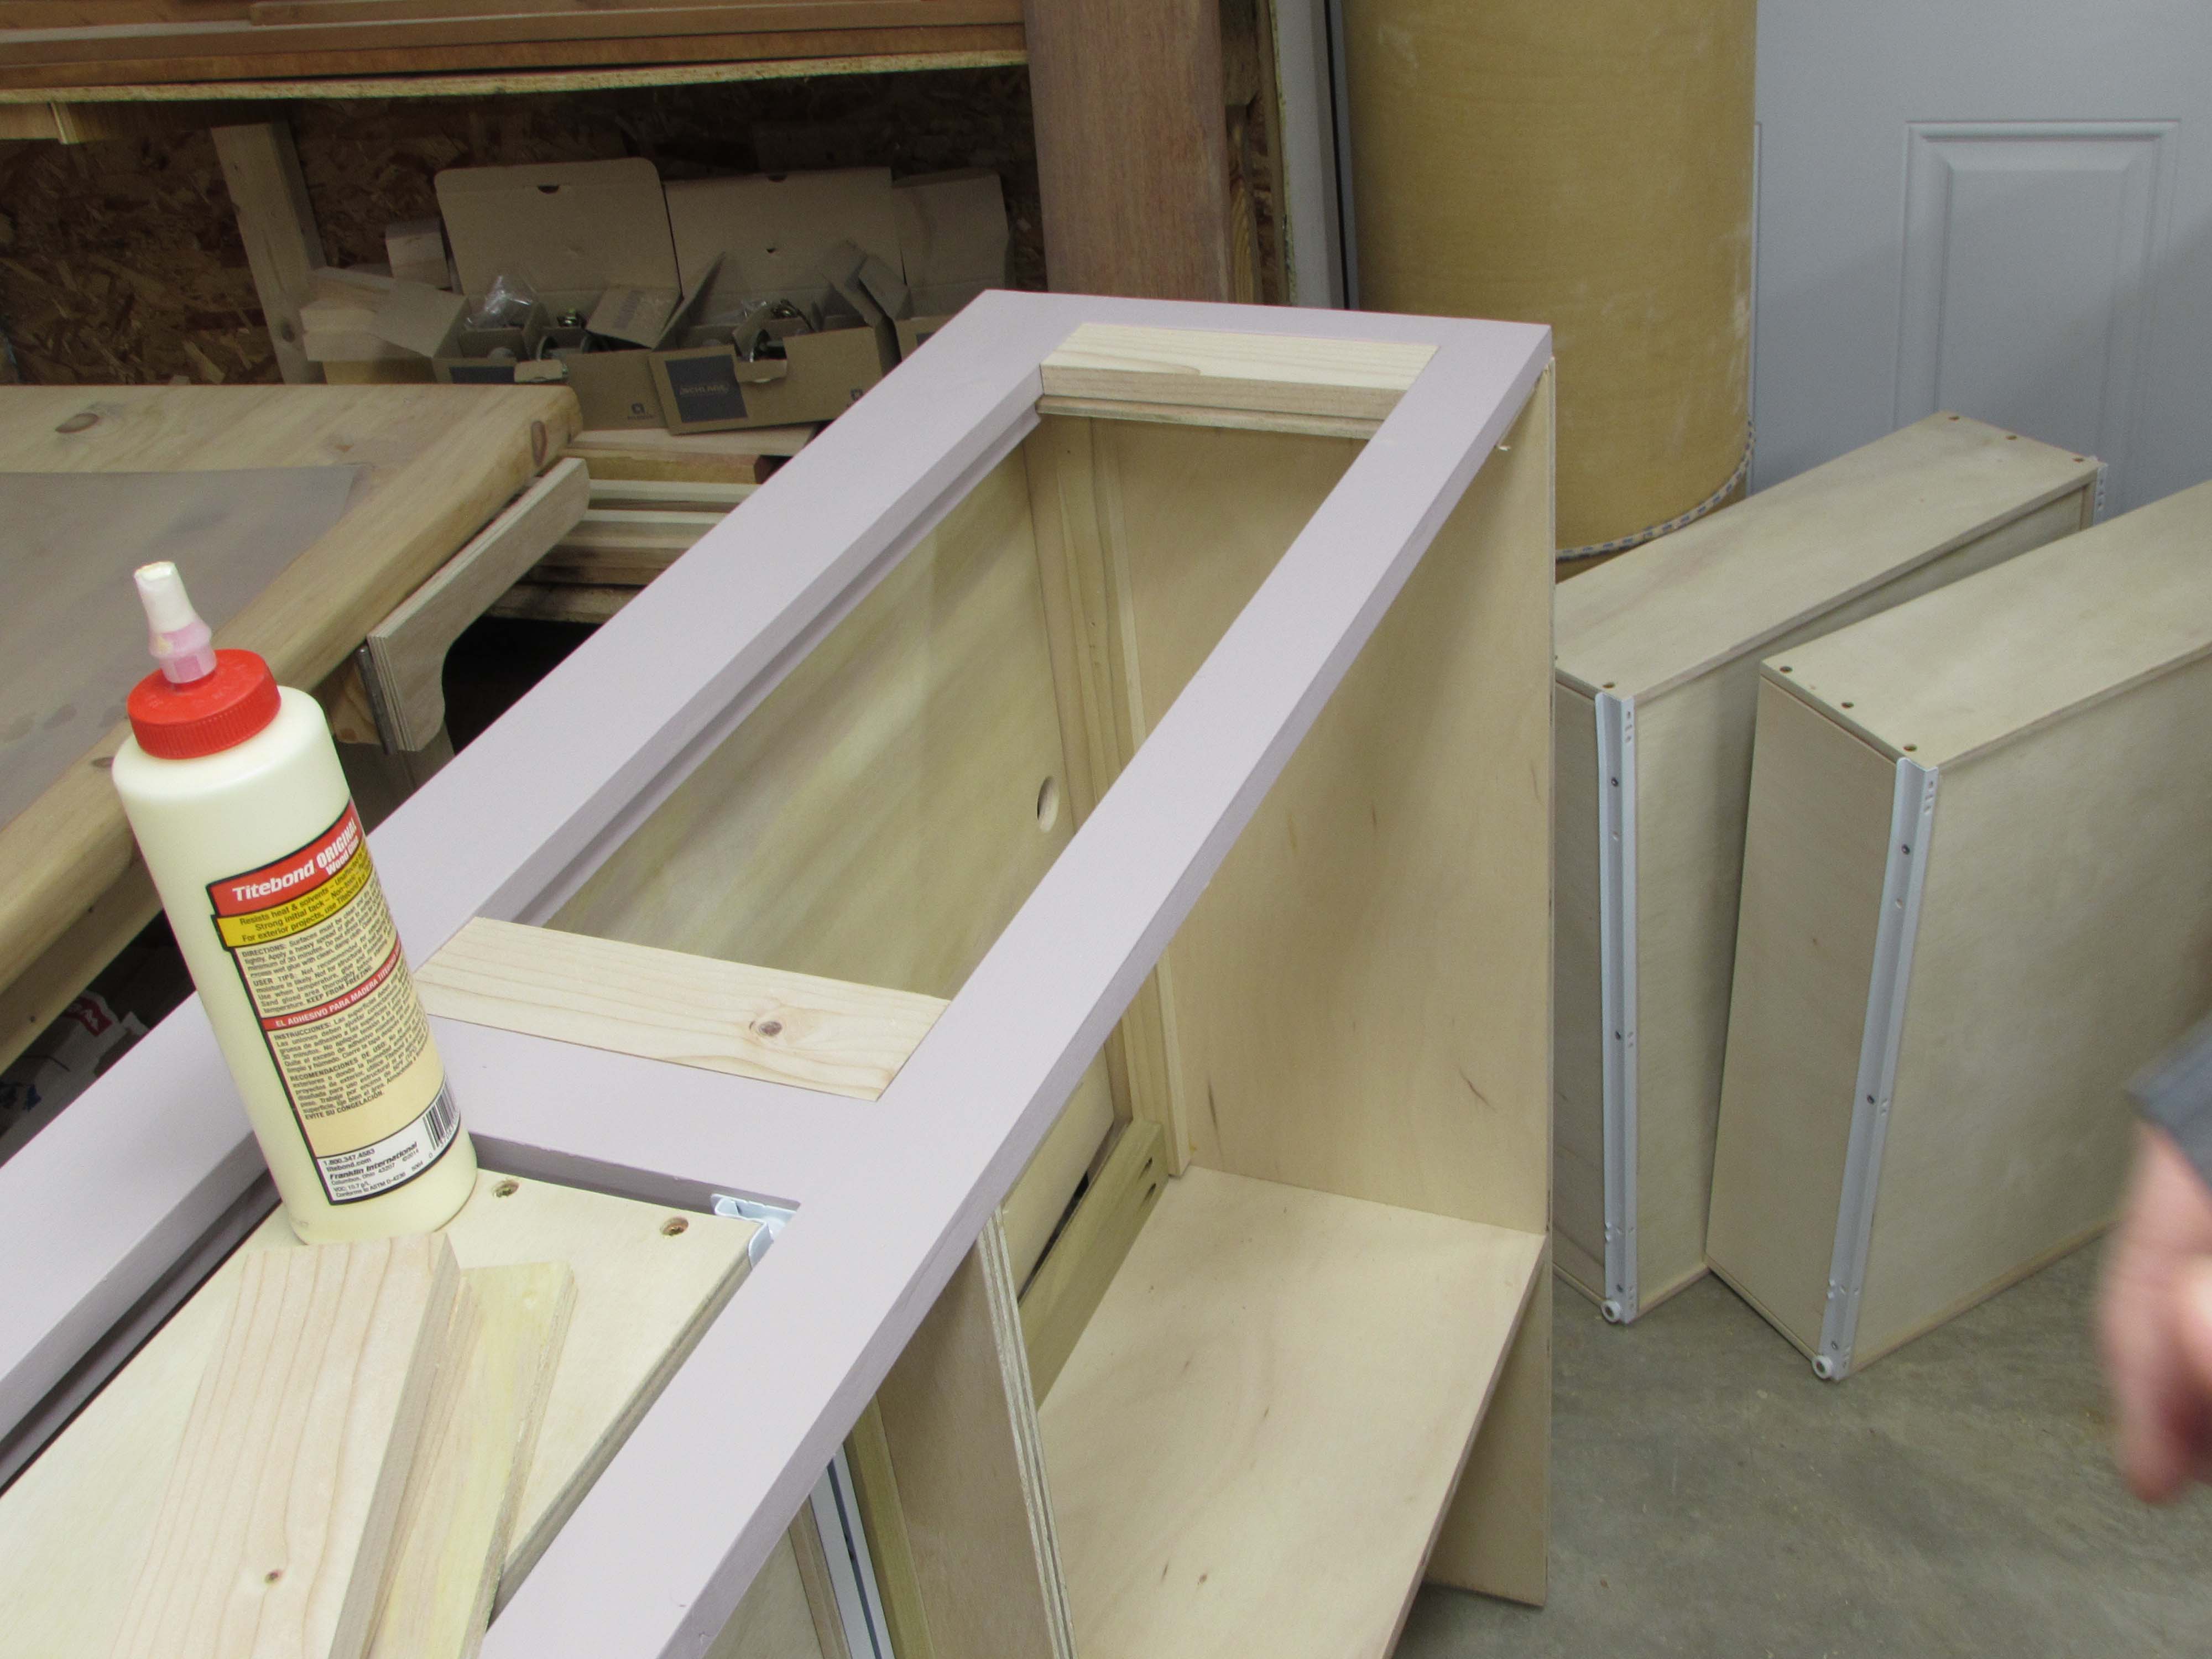
Time to install the drawer faces. I made up some blocks for the two sections that did not have drawers. I also cut some spacers to align the drawer faces with the bottom and side of the bed.
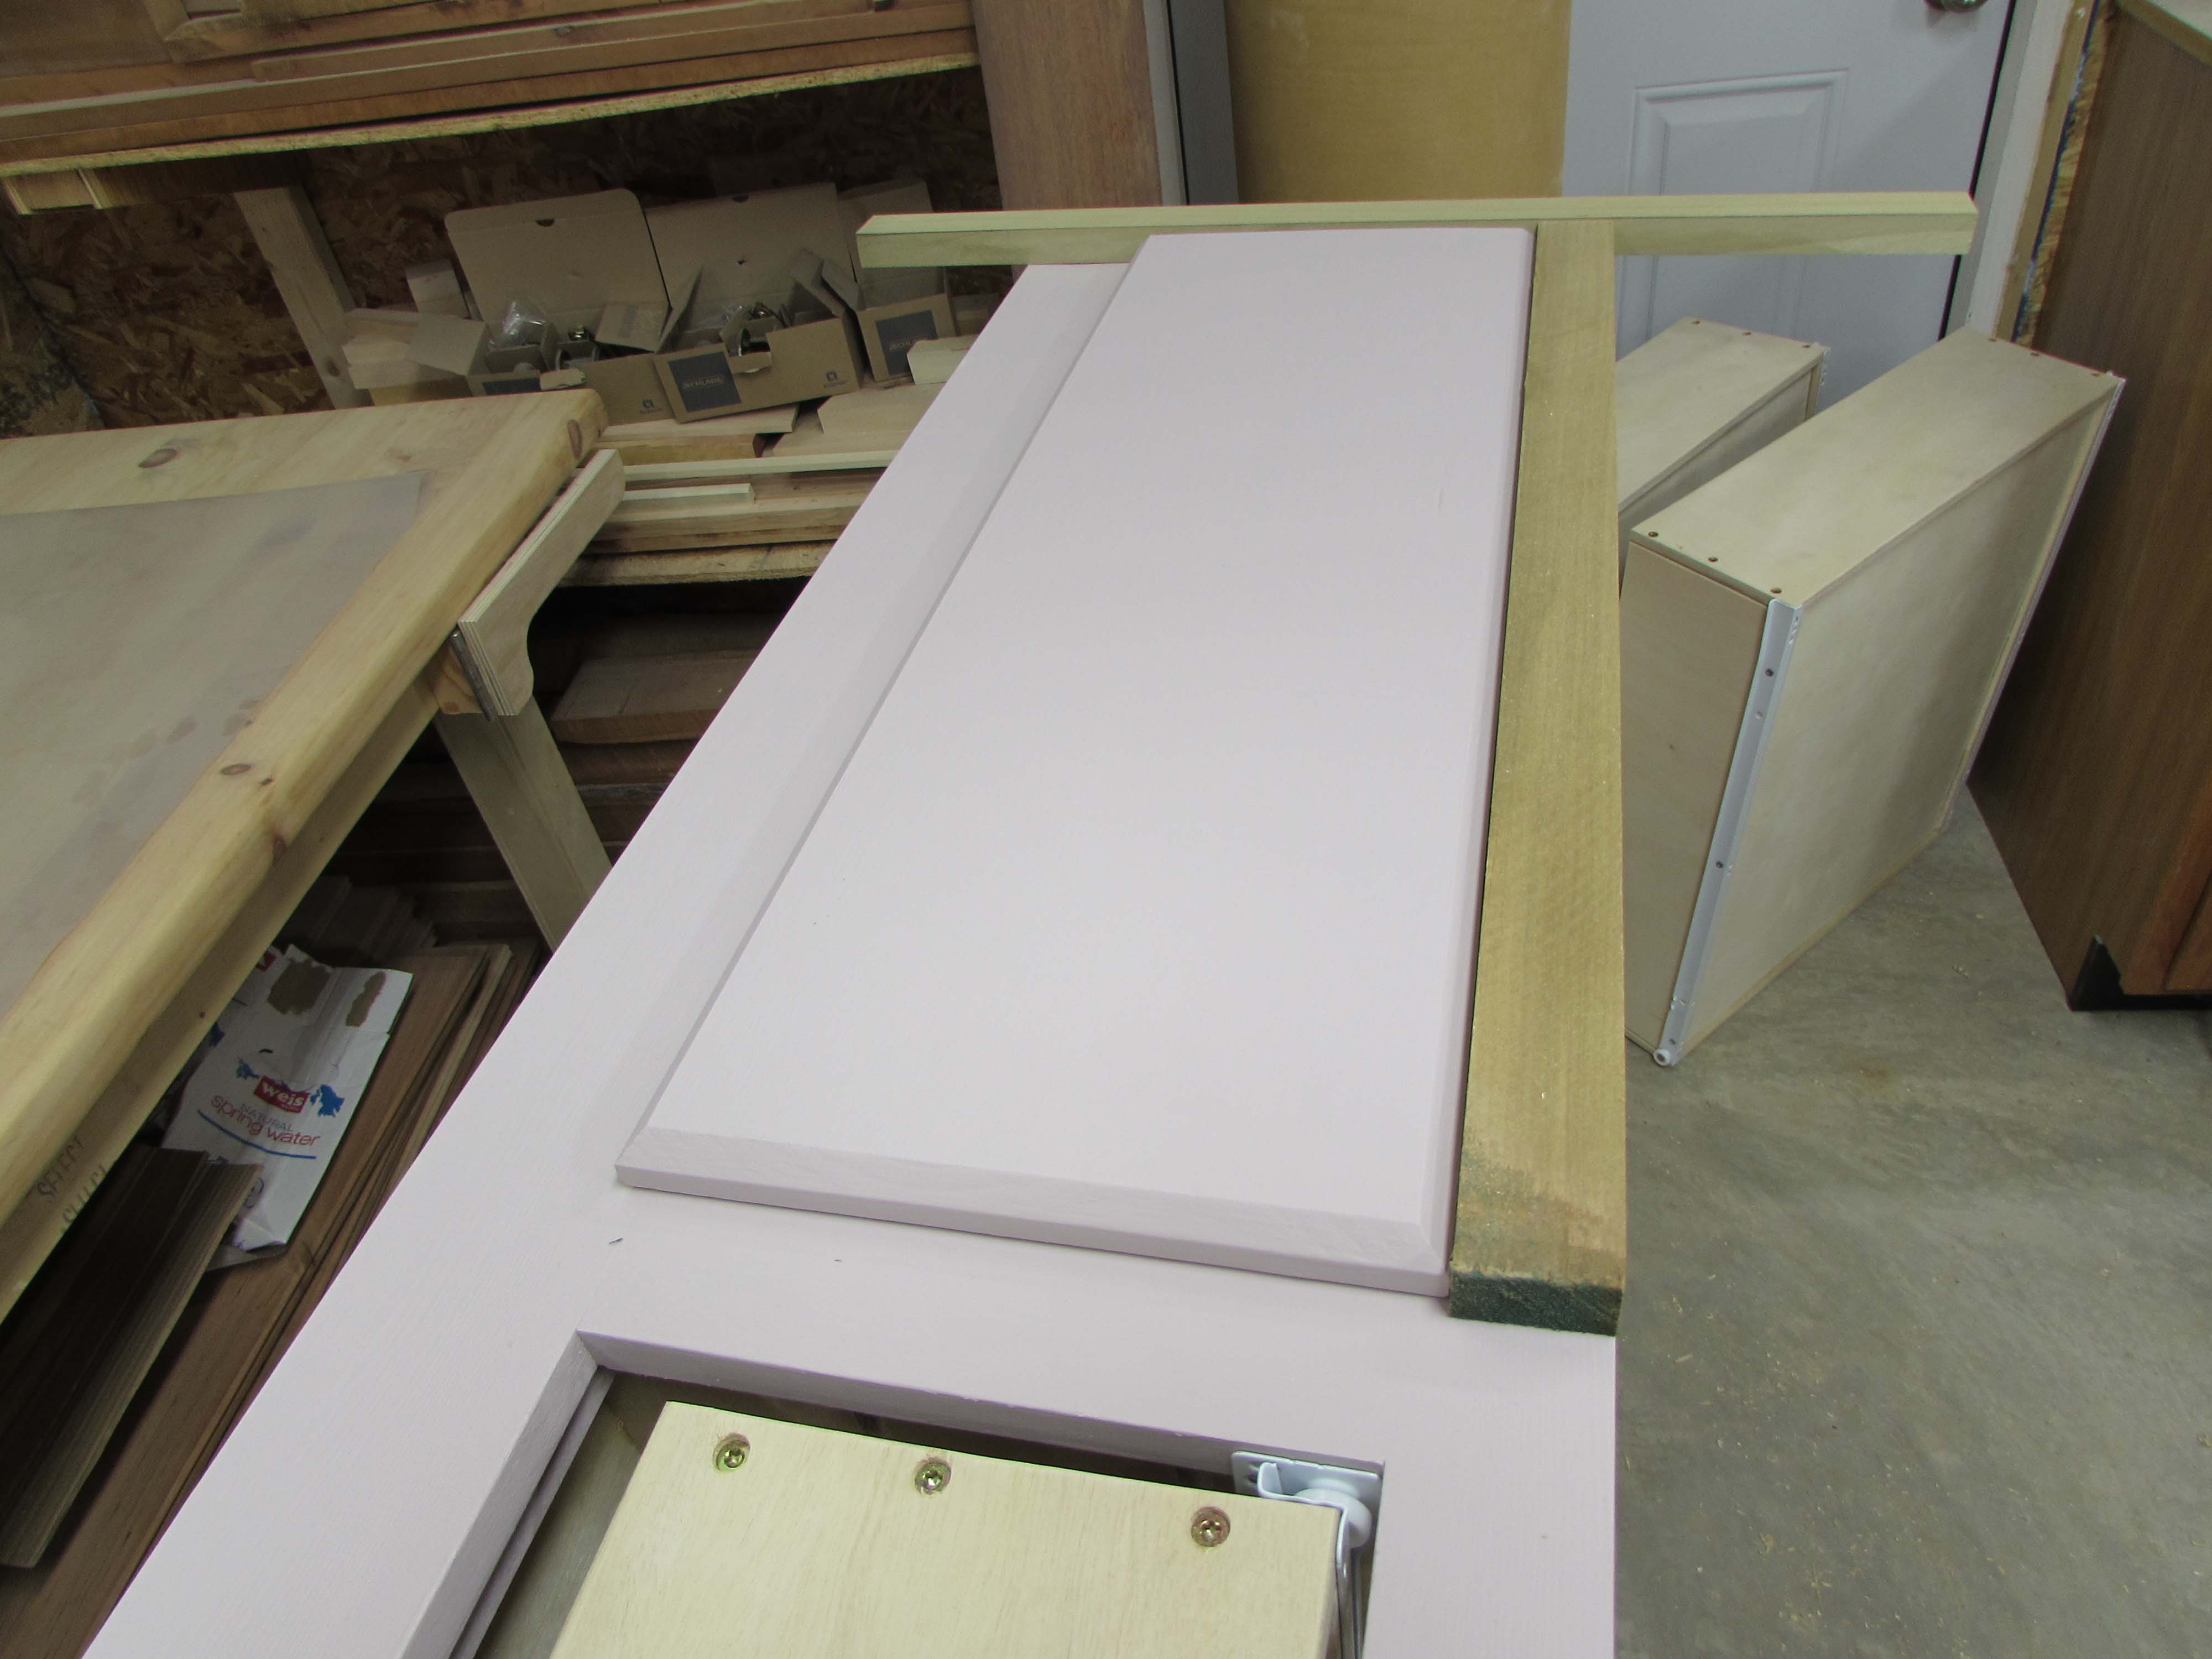
With the first panel in place, I ran some wood screws up from the inside, through the spacers, into the face.

Those two were installed fairly easily. The blocks could be removed at some point and drawers could be added instead, if the beds get moved somewhere else.


To hold the drawer face in place, I predrilled the hole for mounting the pull knob.


This hole is sized to be just barely larger than the mounting screw. Now I can locate the drawer face and run a wood screw through the hole to draw the drawer up tight to the face.

Now I can open the drawer with the face accurately located and attach it with a couple of pocket hole screws.

After removing the temporary center screw, I drilled a 1/4″ deep counter-bore on the inside of the drawer because the knob screws were not long enough to reach through all of the material, into the knob.


I only drilled deep enough to be able to tighten the knob, too deep and the knob would spin loosely.
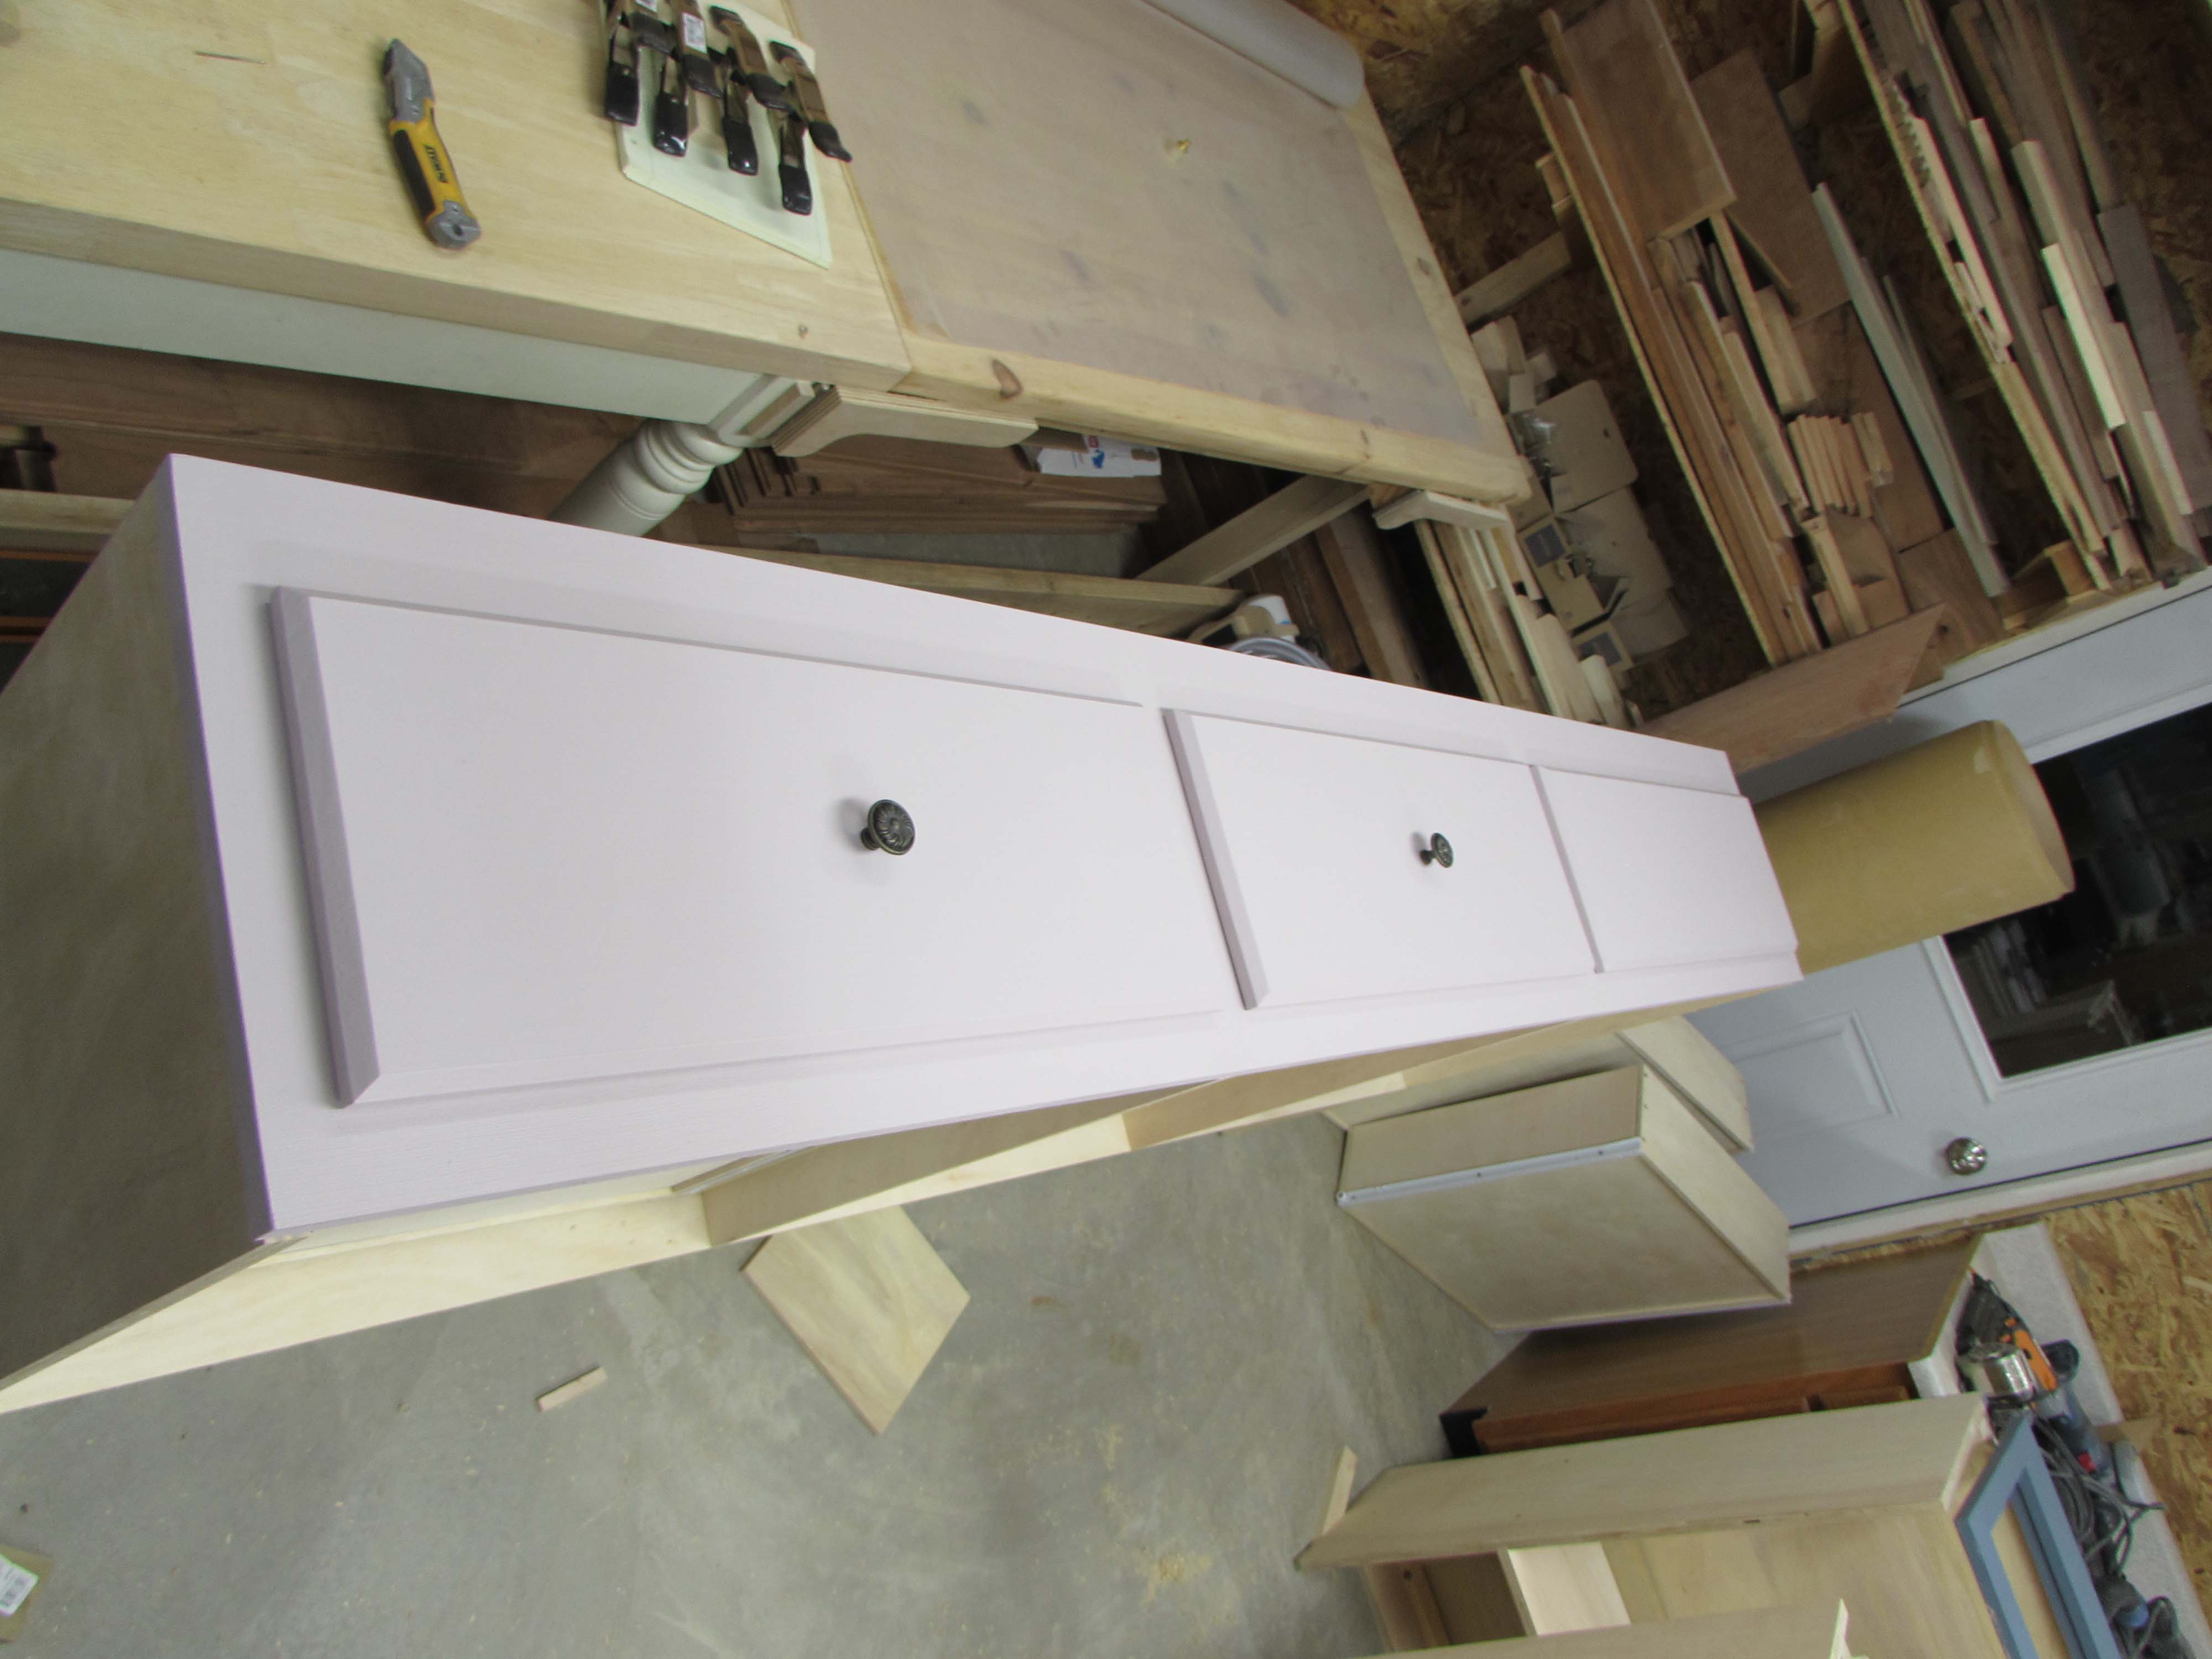
I was two knobs short, but I drilled out the holes so that I can install them when I deliver the beds this weekend.

Once delivered and installed, I can get final measurements on the center shelf system that will divide the beds.
