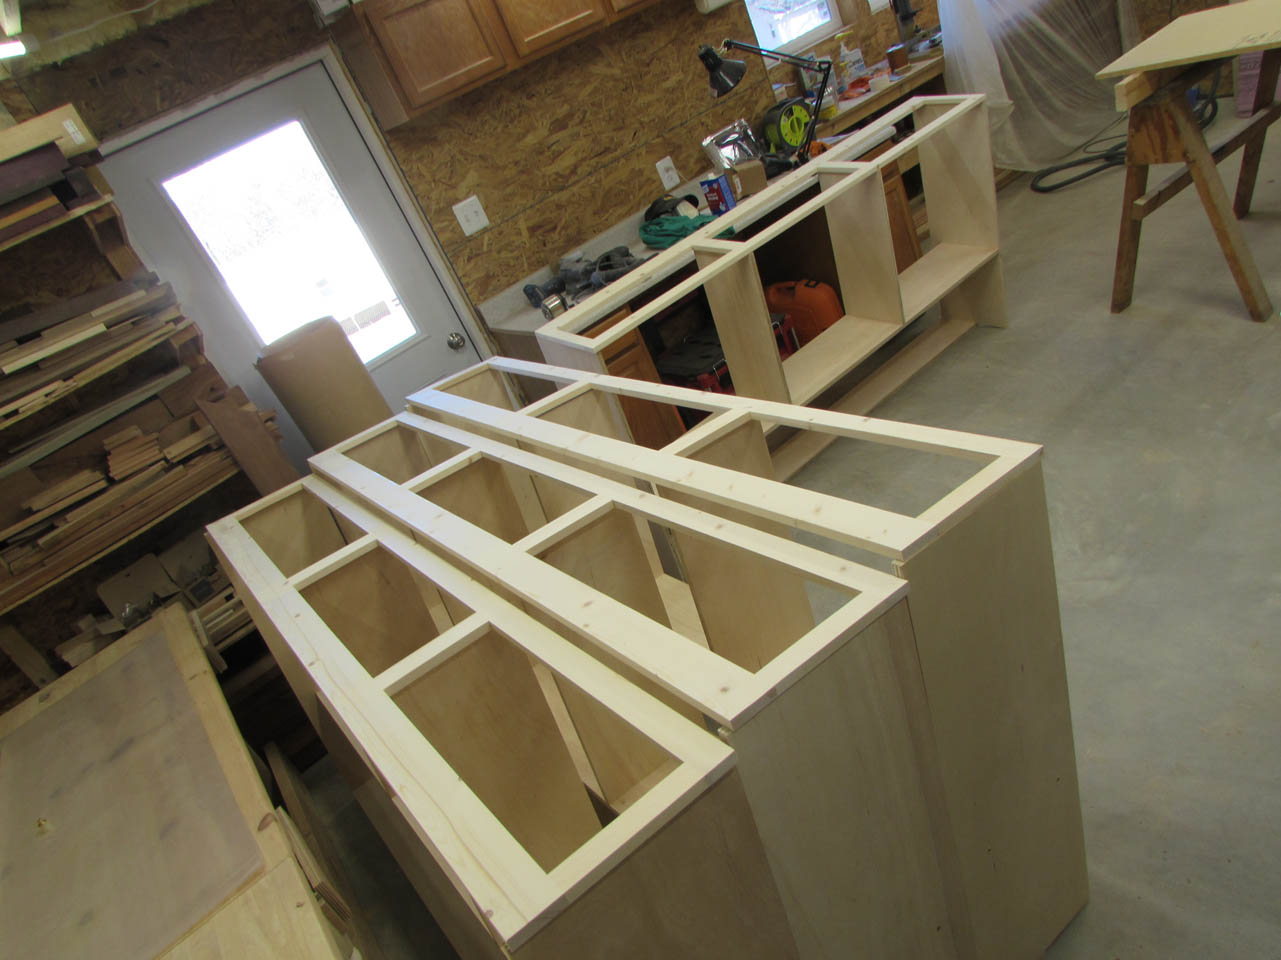
Built-in beds – part 3
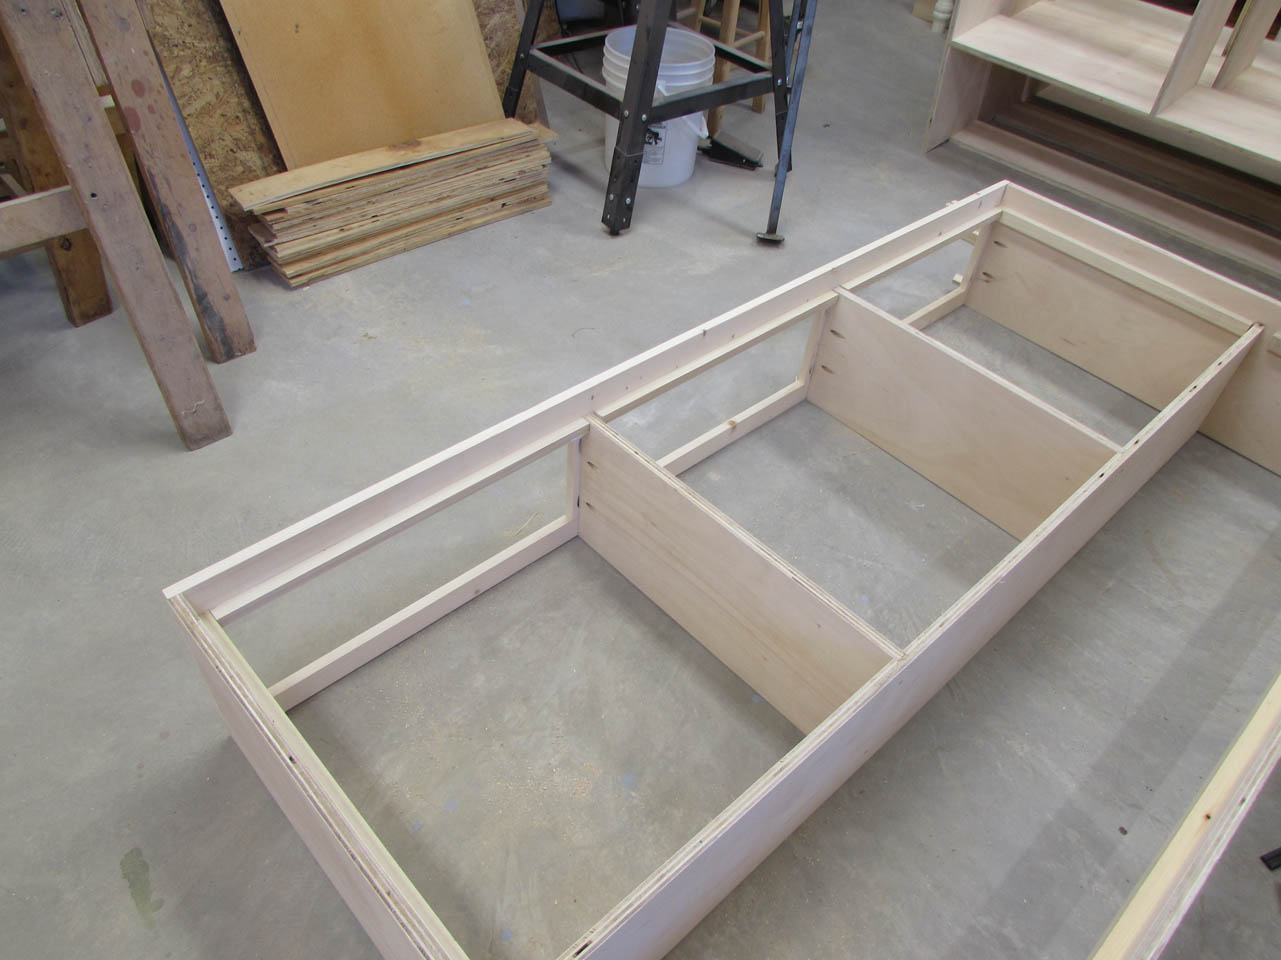
I assembled the rest of the face frames. I thought I had a problem with the first face frame for the two beds that only have two drawers. On these beds, the drawers are 1″ narrower. So there are two 23″ wide drawers on one side and a 25″ wide bay that will be blocked off for under-mattress access since the drawer would hit a wall where it will be located. I thought I built the first face frame backwards because I had the 25″ wide opening on the wrong side. Then, halfway through assembling the second one, I remembered that they were mirror opposites and I could just move that frame to the other bed. That saved a lot of re-work…
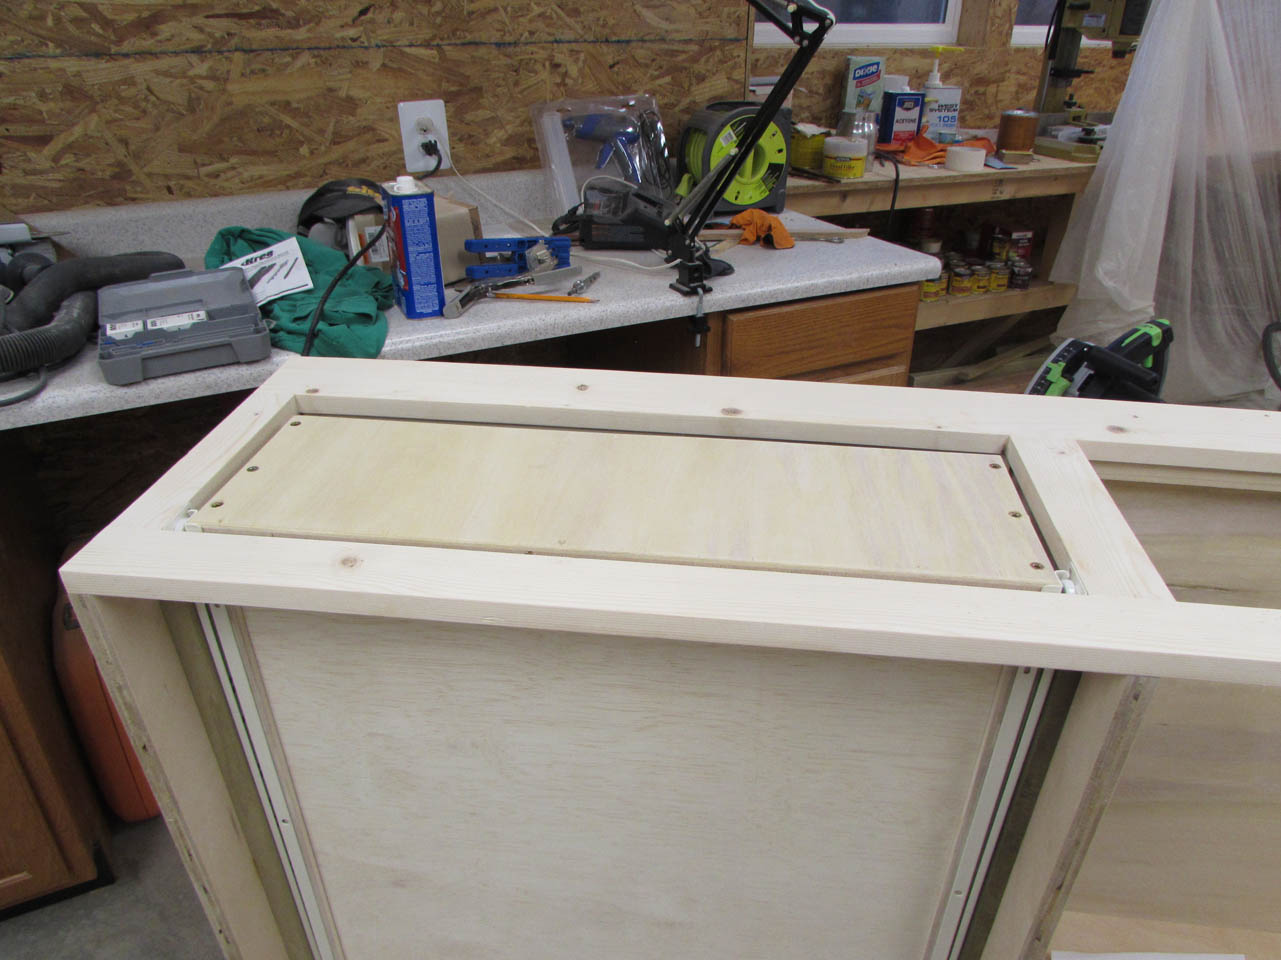
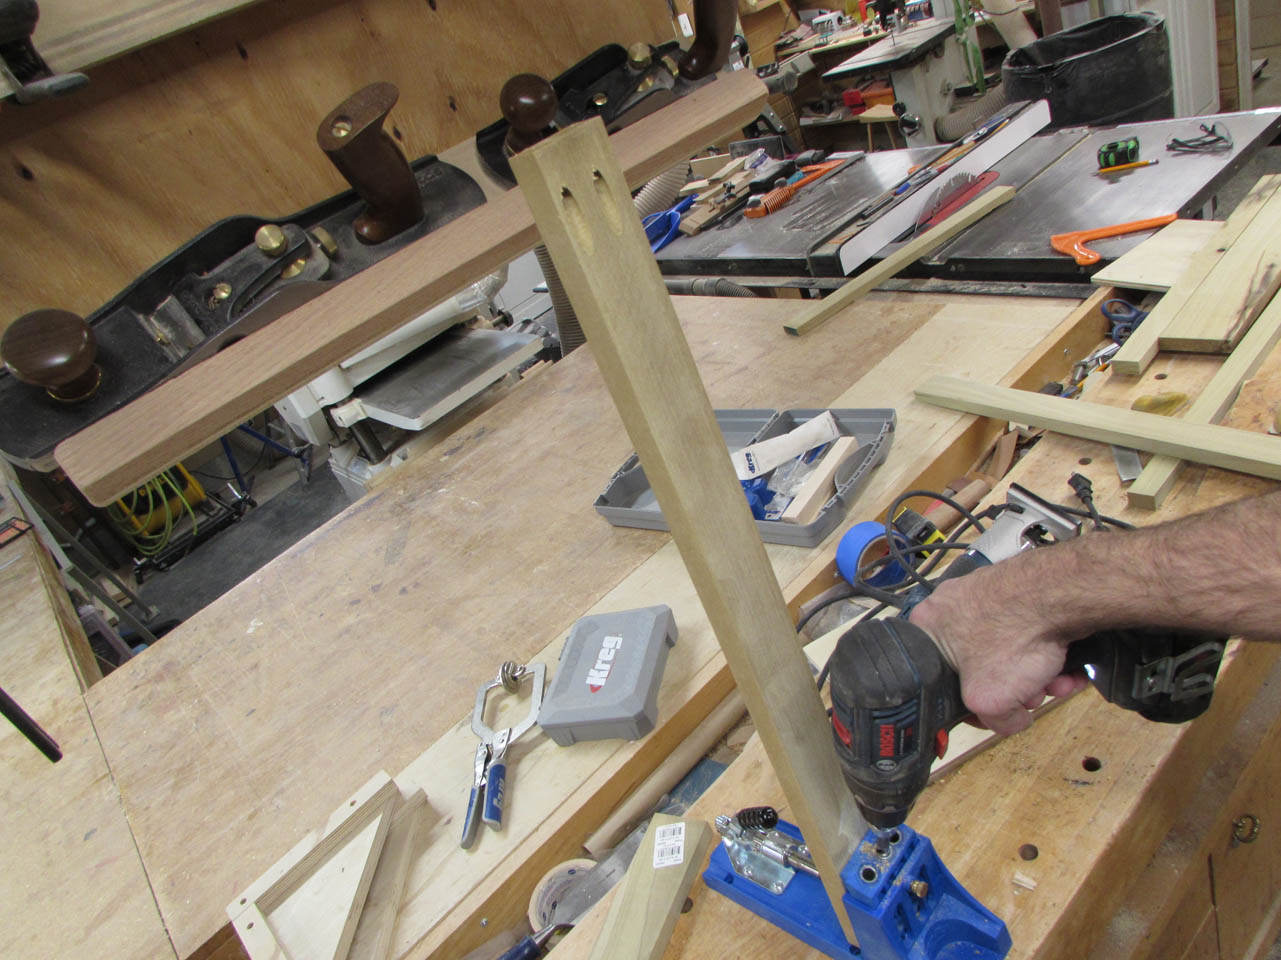
To attach the face frames, I am using a different pocket hole jig that I can just clamp to the material. I place a couple of holes into the end of each plywood divider.
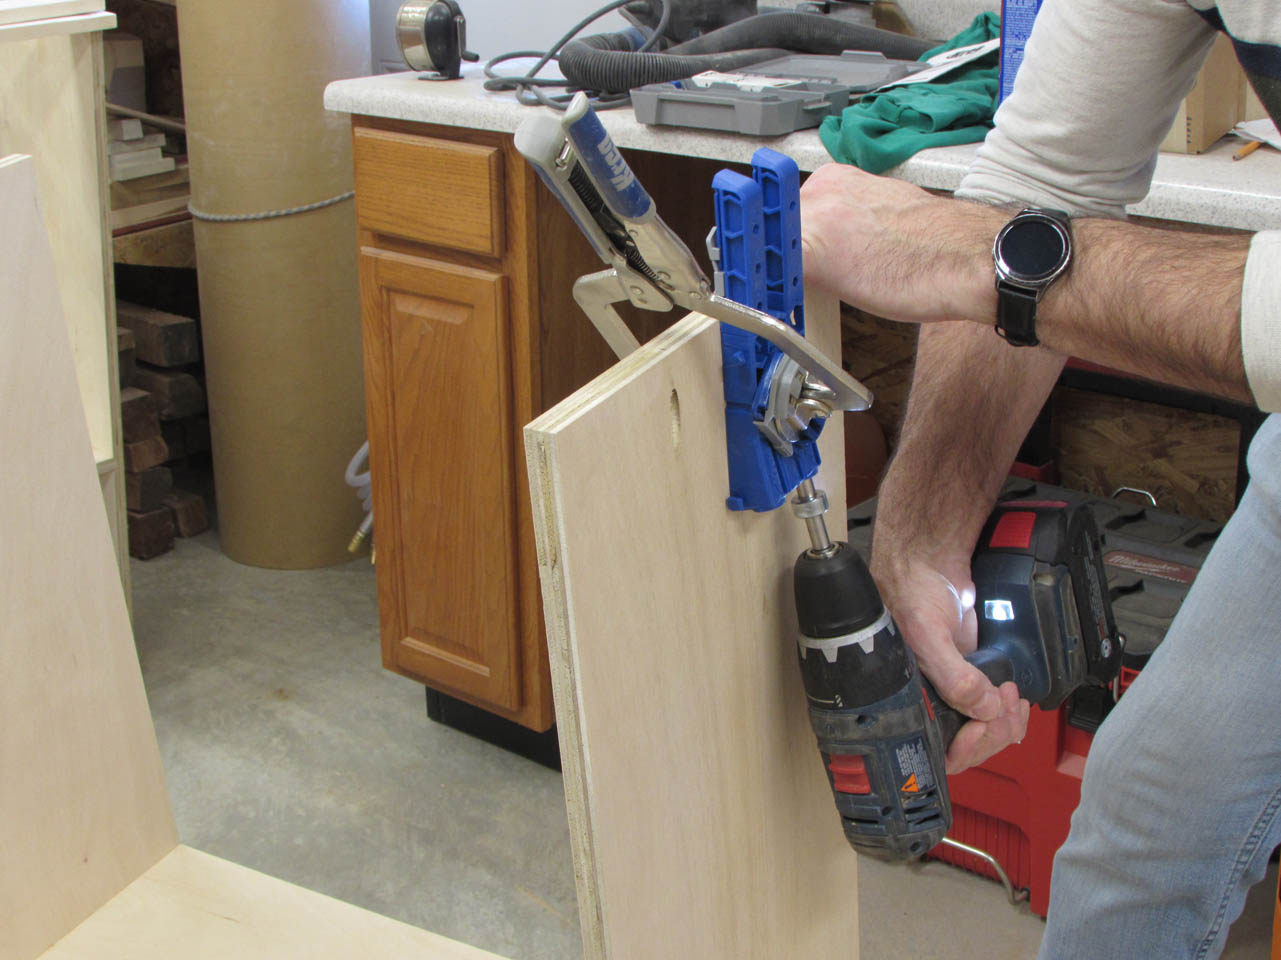
I started with two in each but eventually decided on adding a third to the top of each side. Just a little added strength in case kids start pulling on or jumping off the edge of the bed…
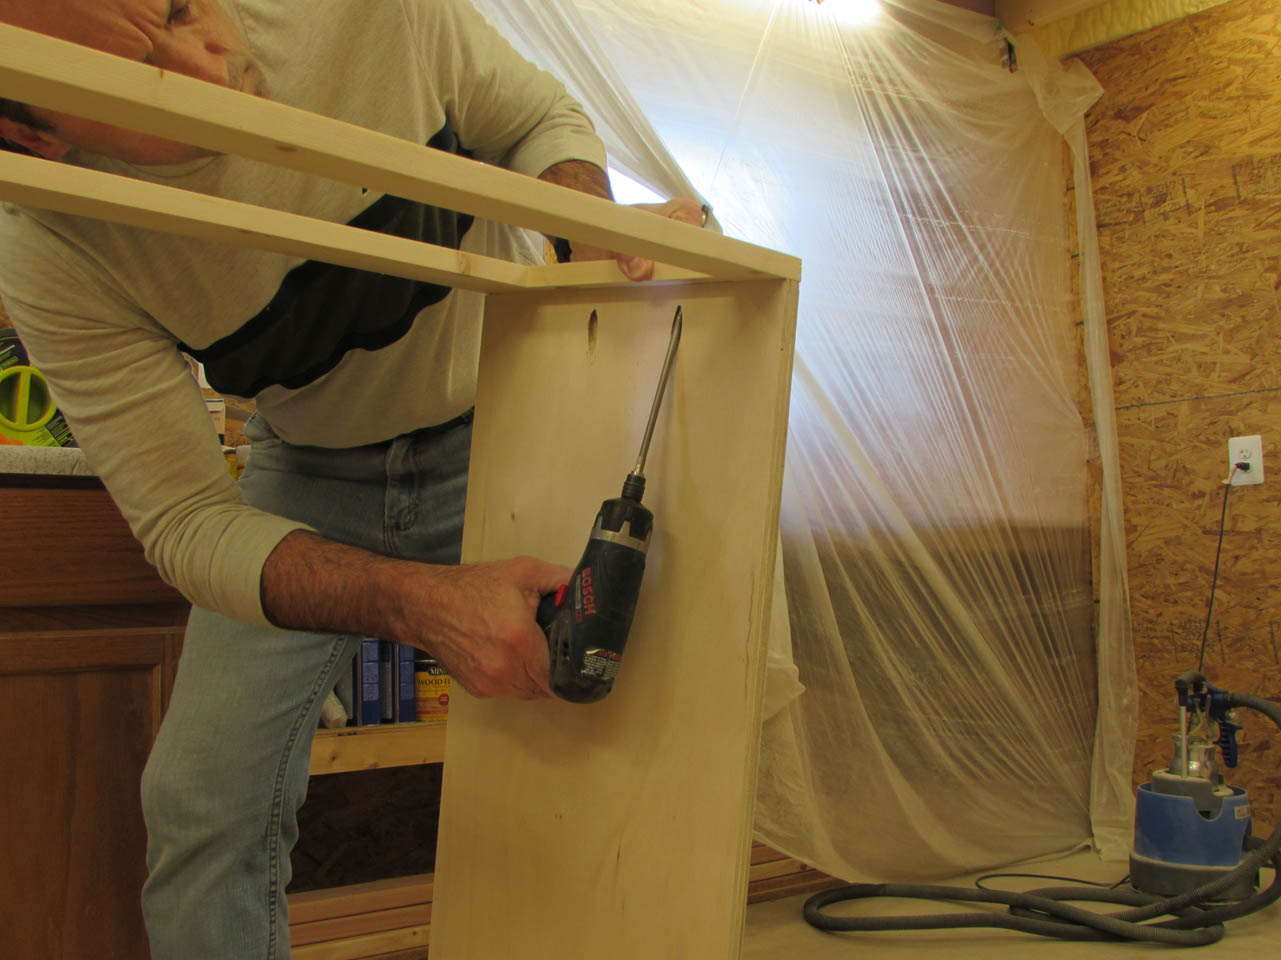
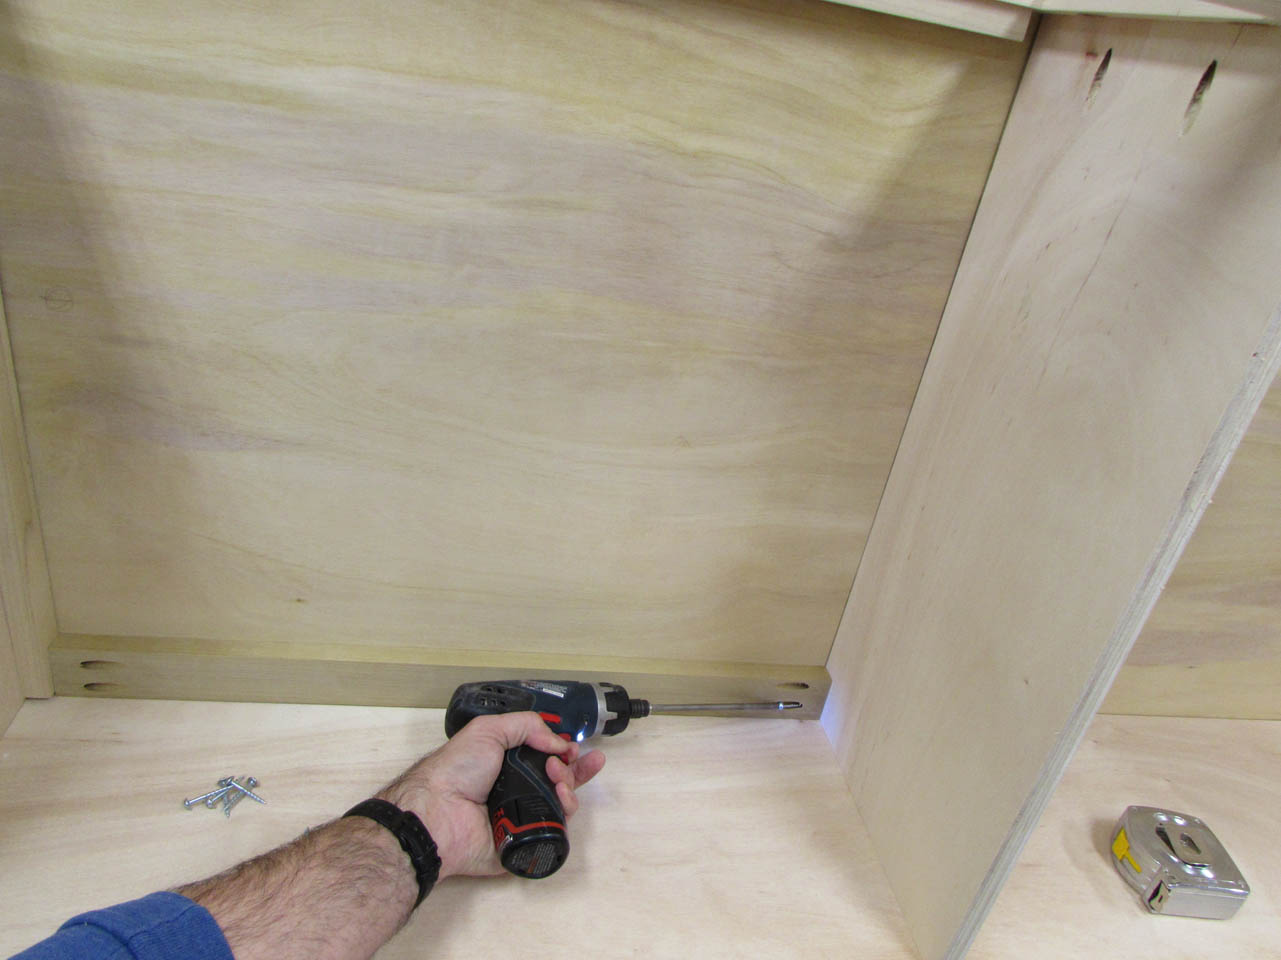
I held the first end flush to the top and side, then attached the screws.
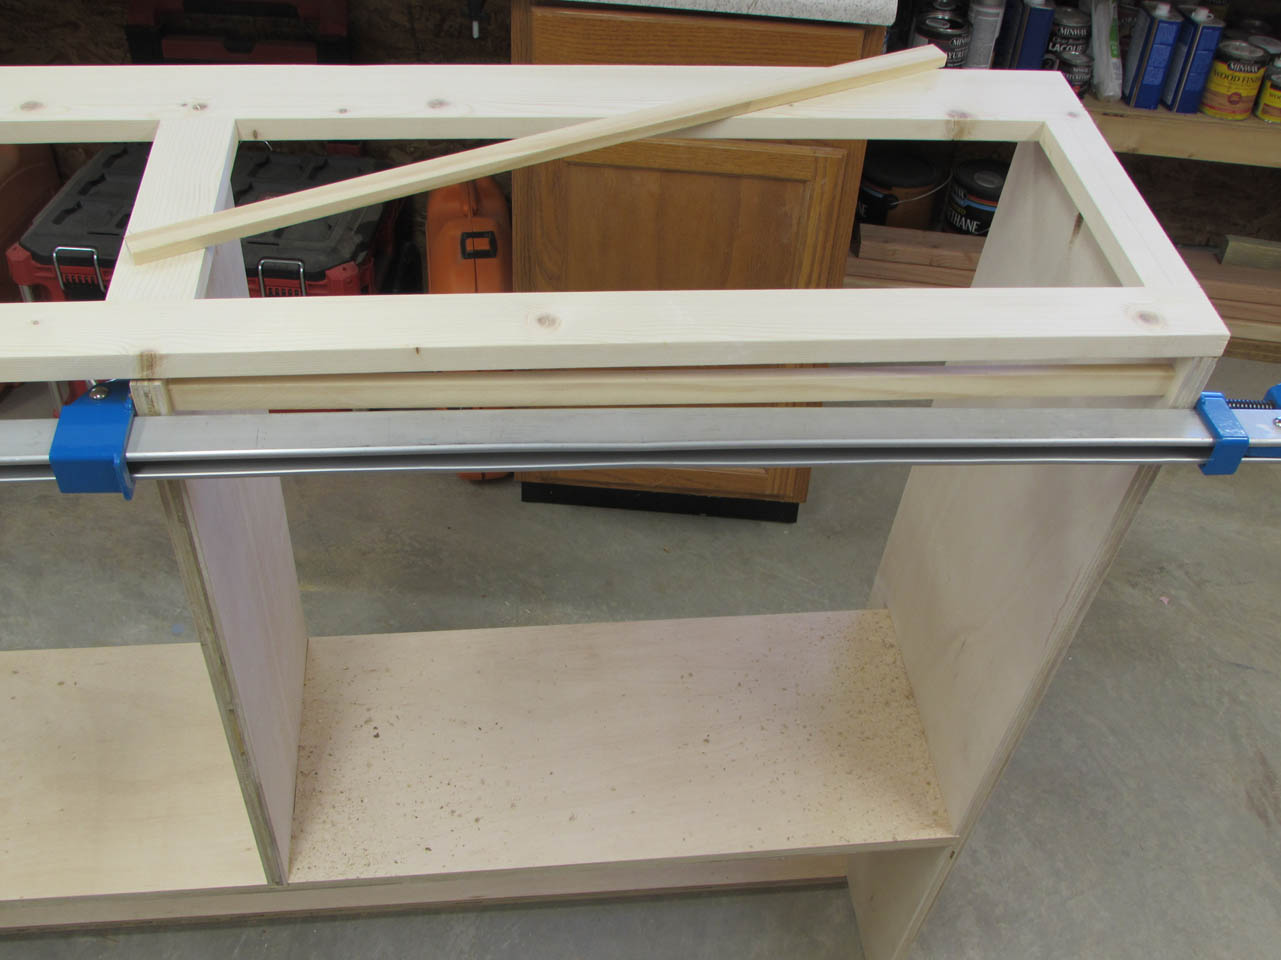
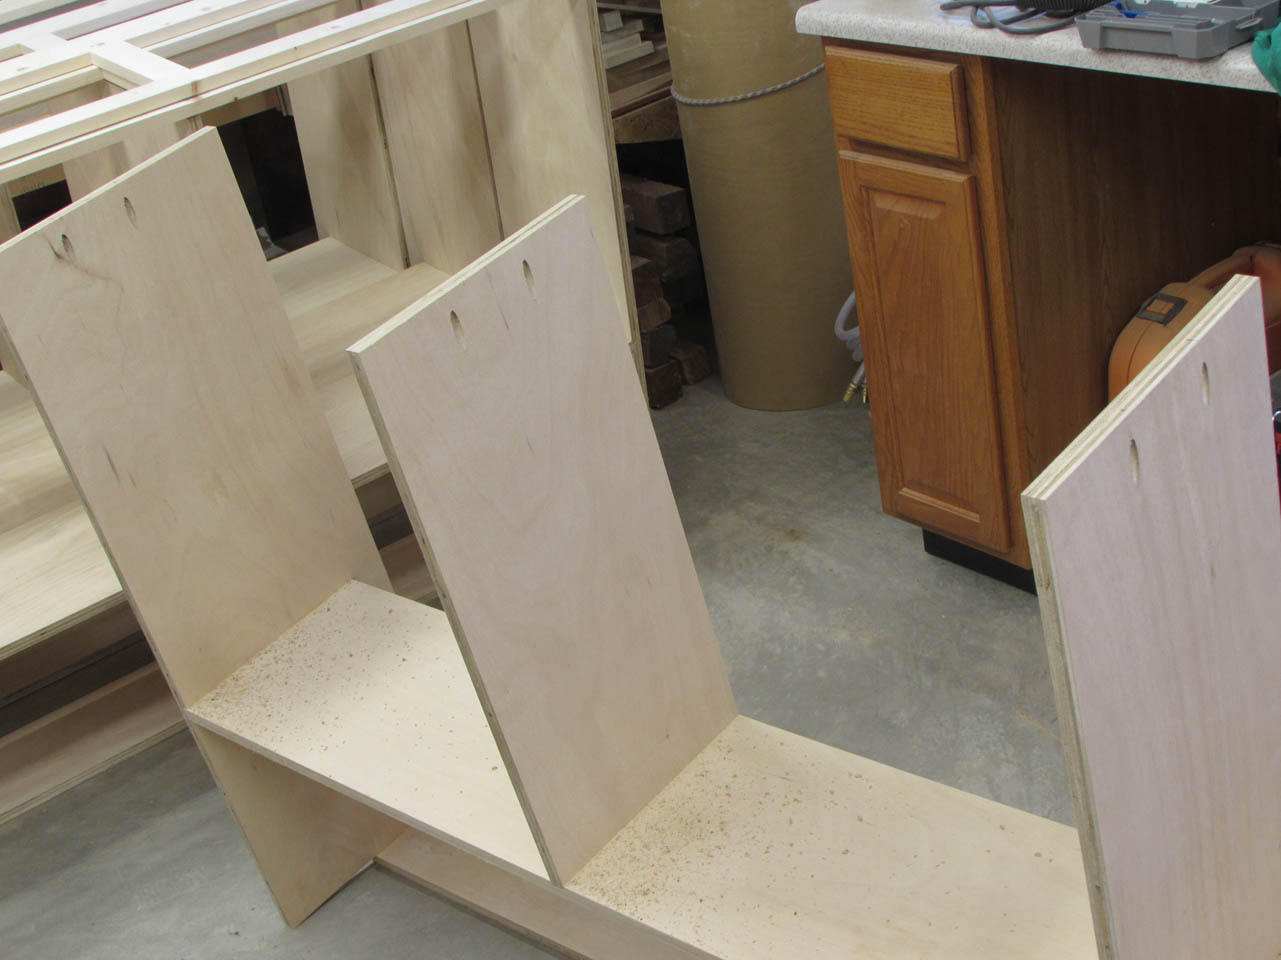
For the rest, I created spacer blocks to keep the sides parallel. If they are not parallel, the drawers will bind.

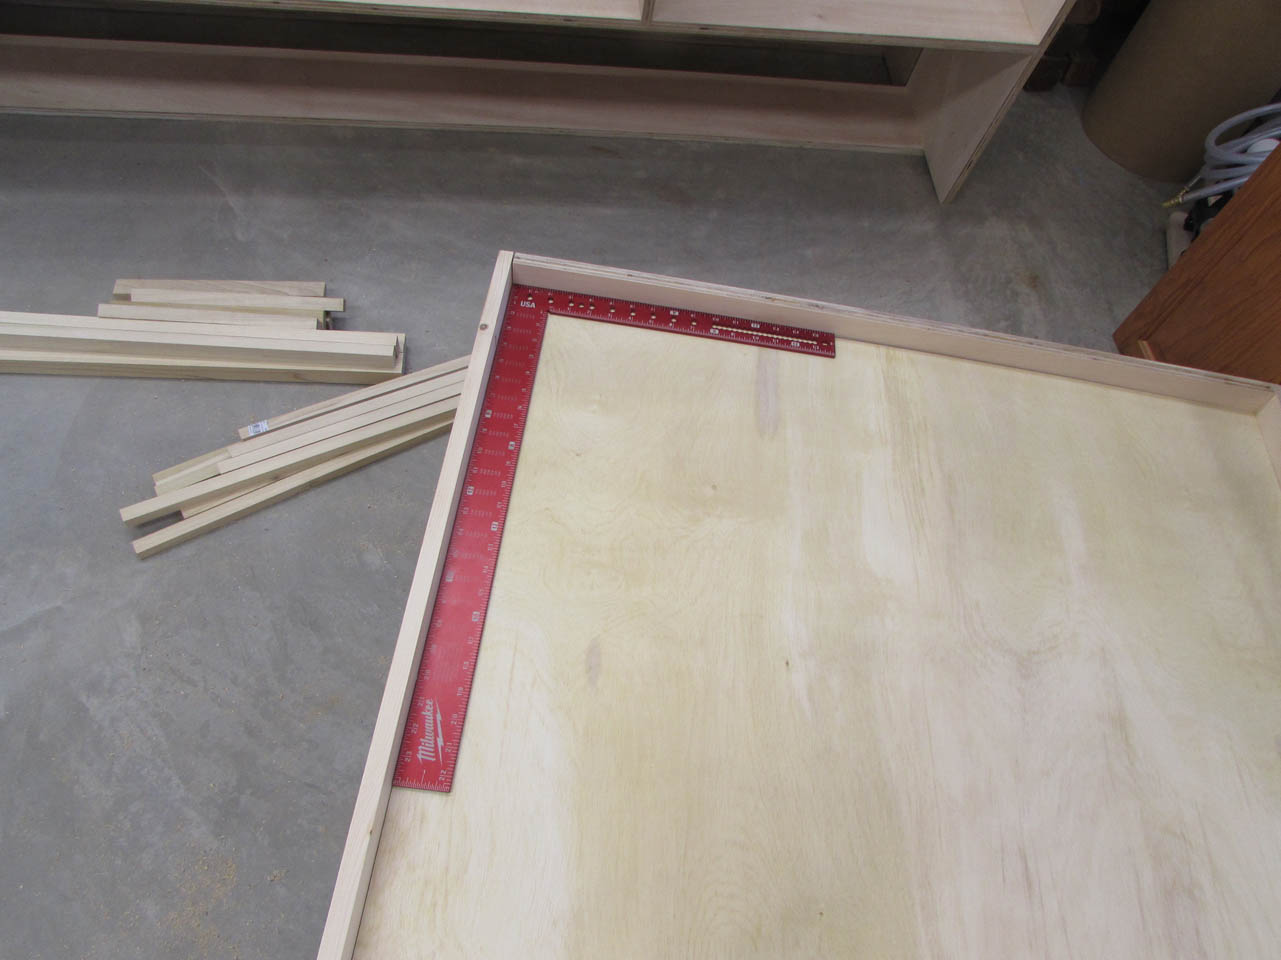
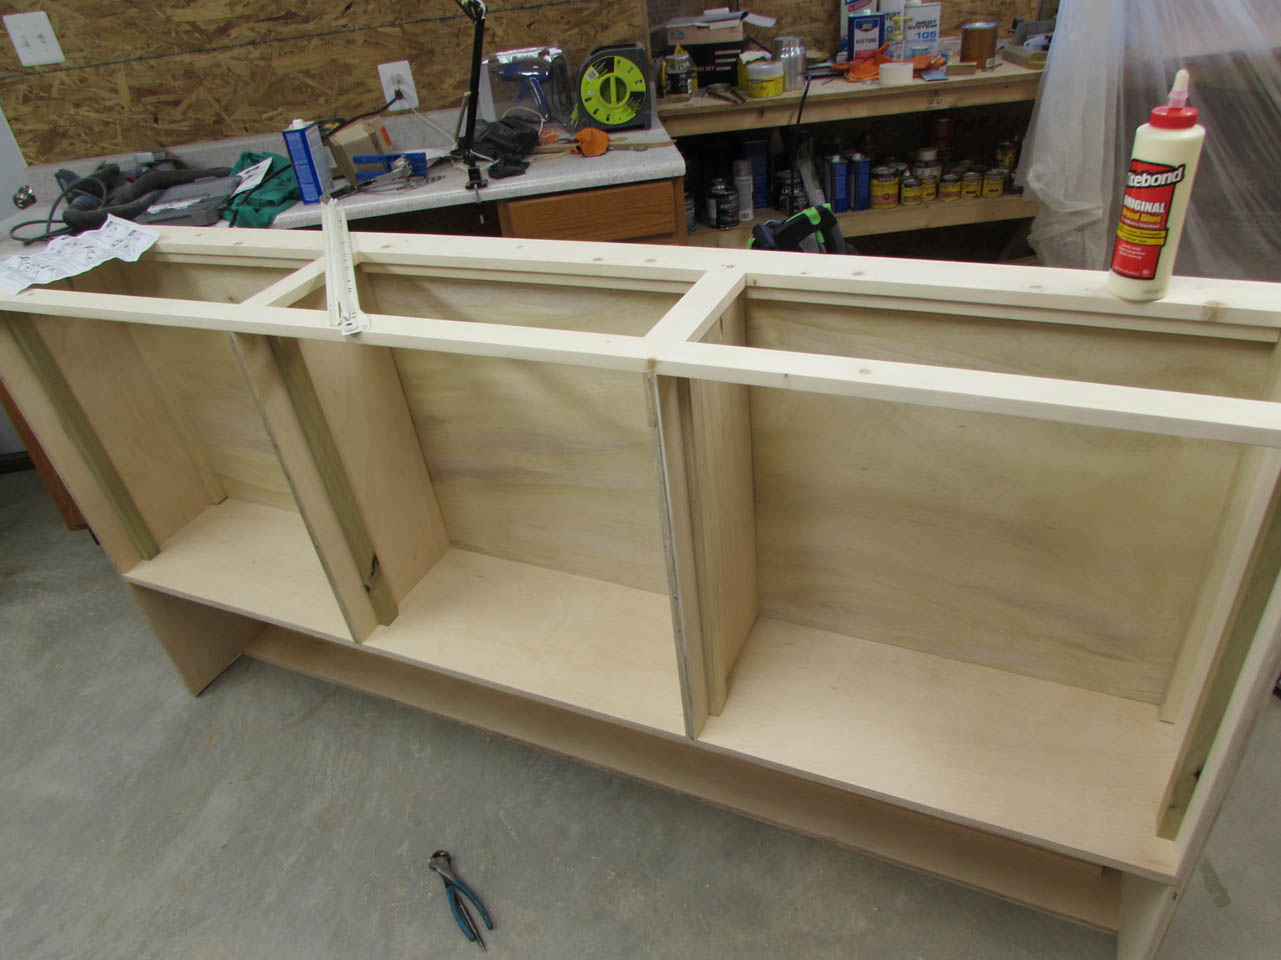
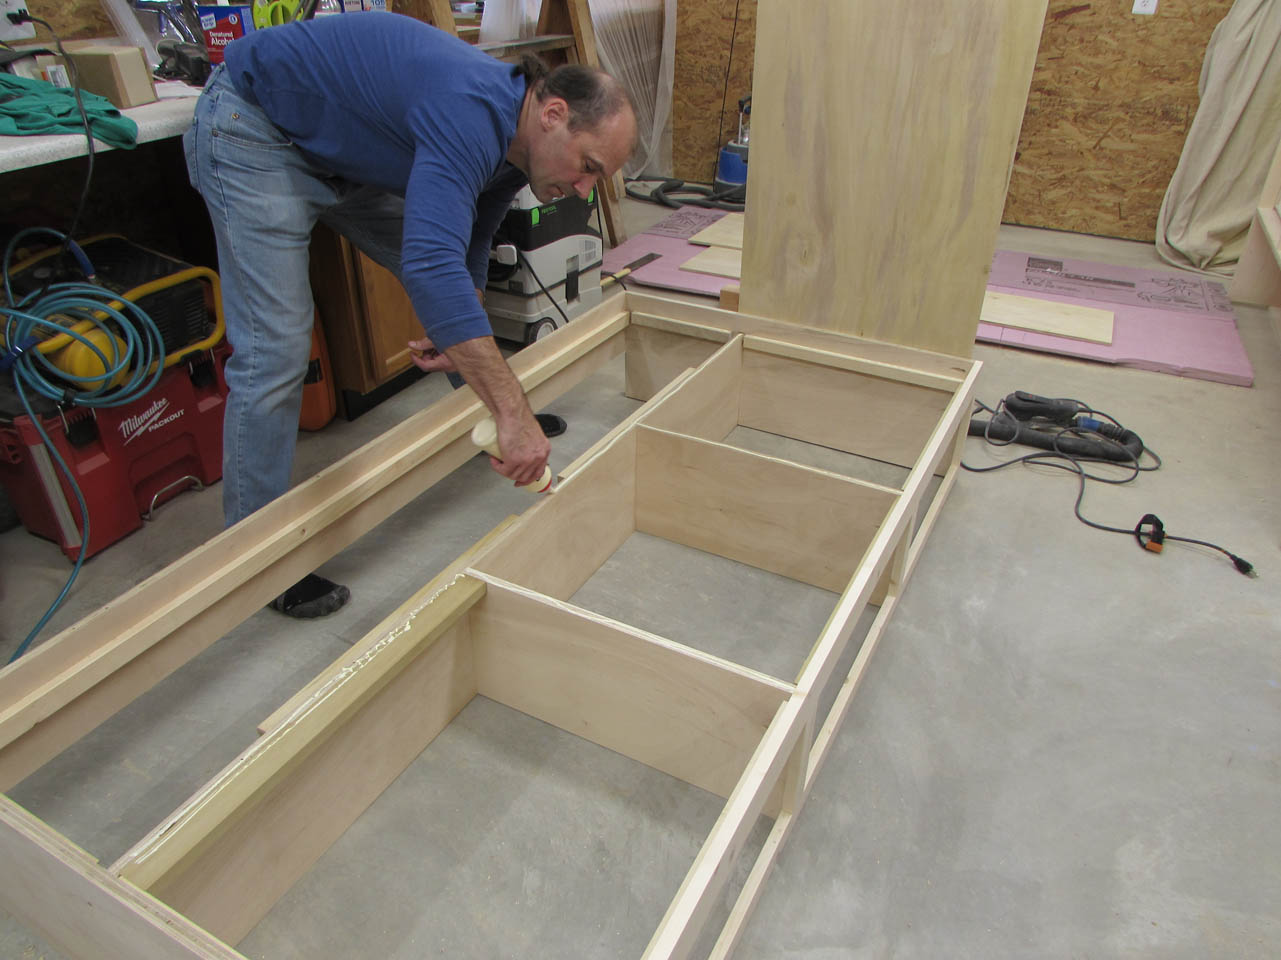
The first one is assembled but slightly out of square. The sheet of plywood will hold it square when it is installed, but I need to add blocking all the way around the edges to support the edges of the plywood in case someone wants to jump on the bed.

I cut a couple of 2″ blocks to match the space from the top of the bed down to the center supports.

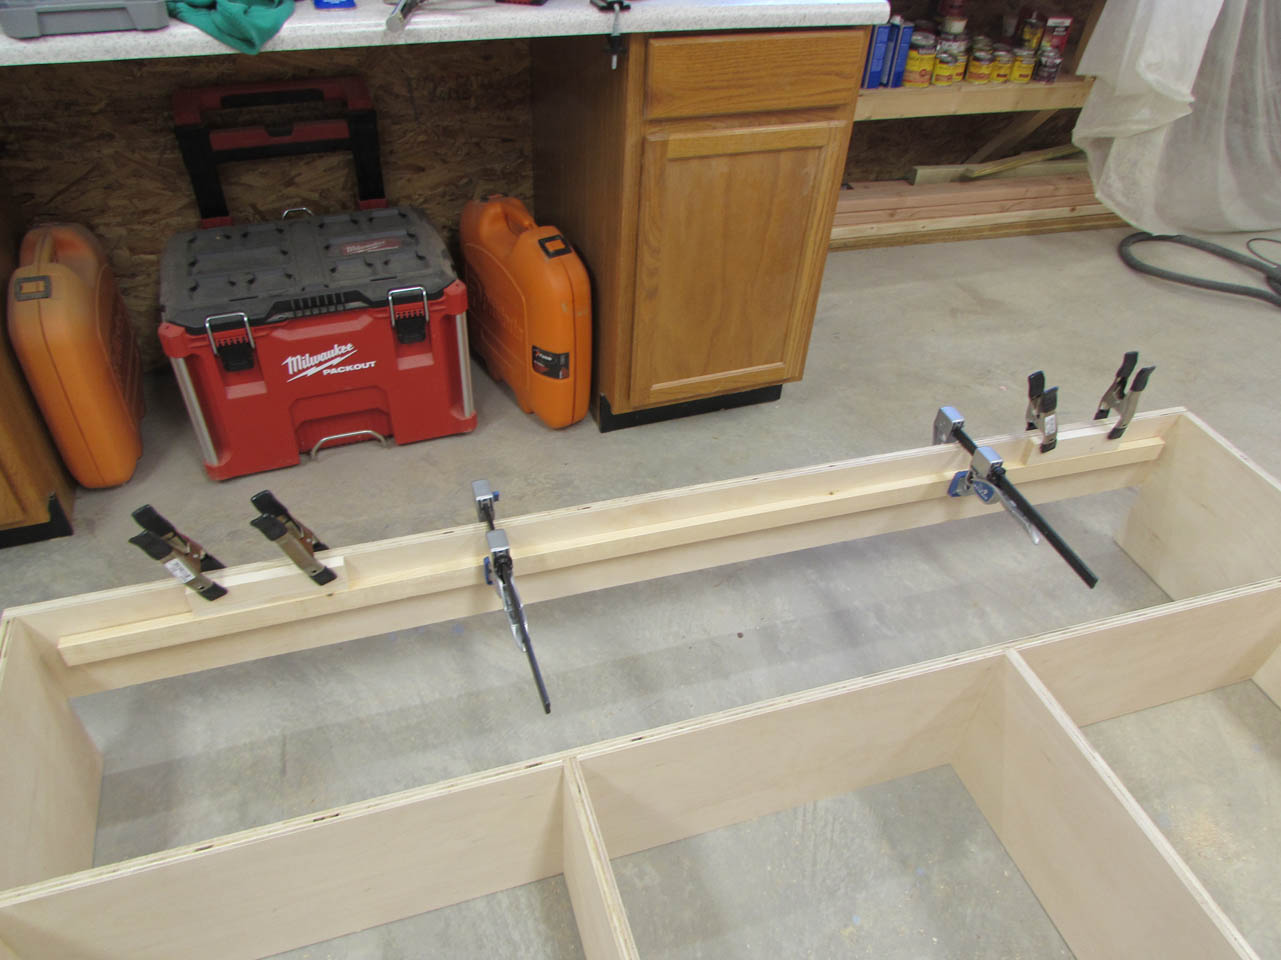
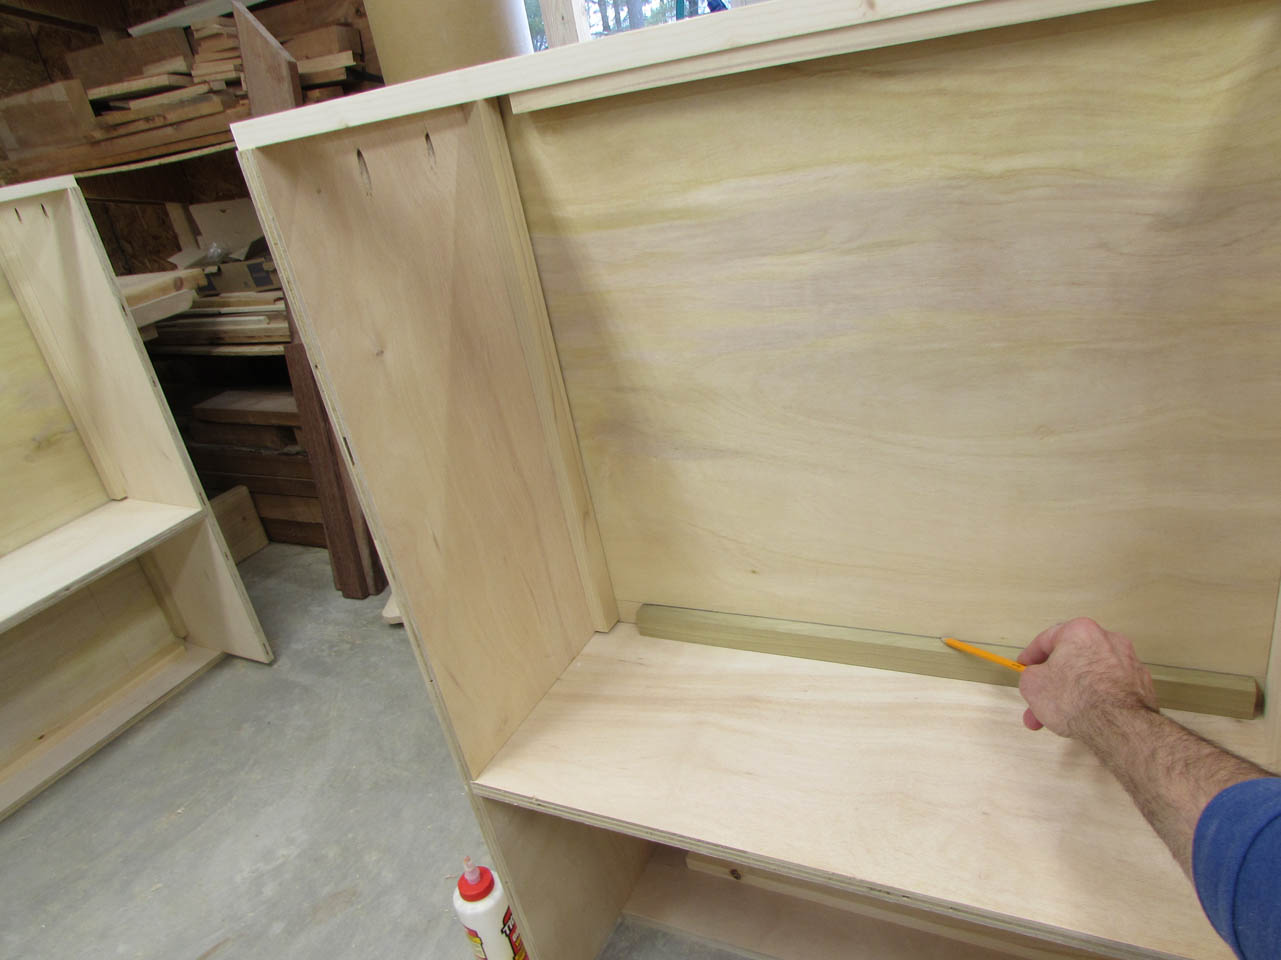
These can get clamped along the back to set my rear support strip against.
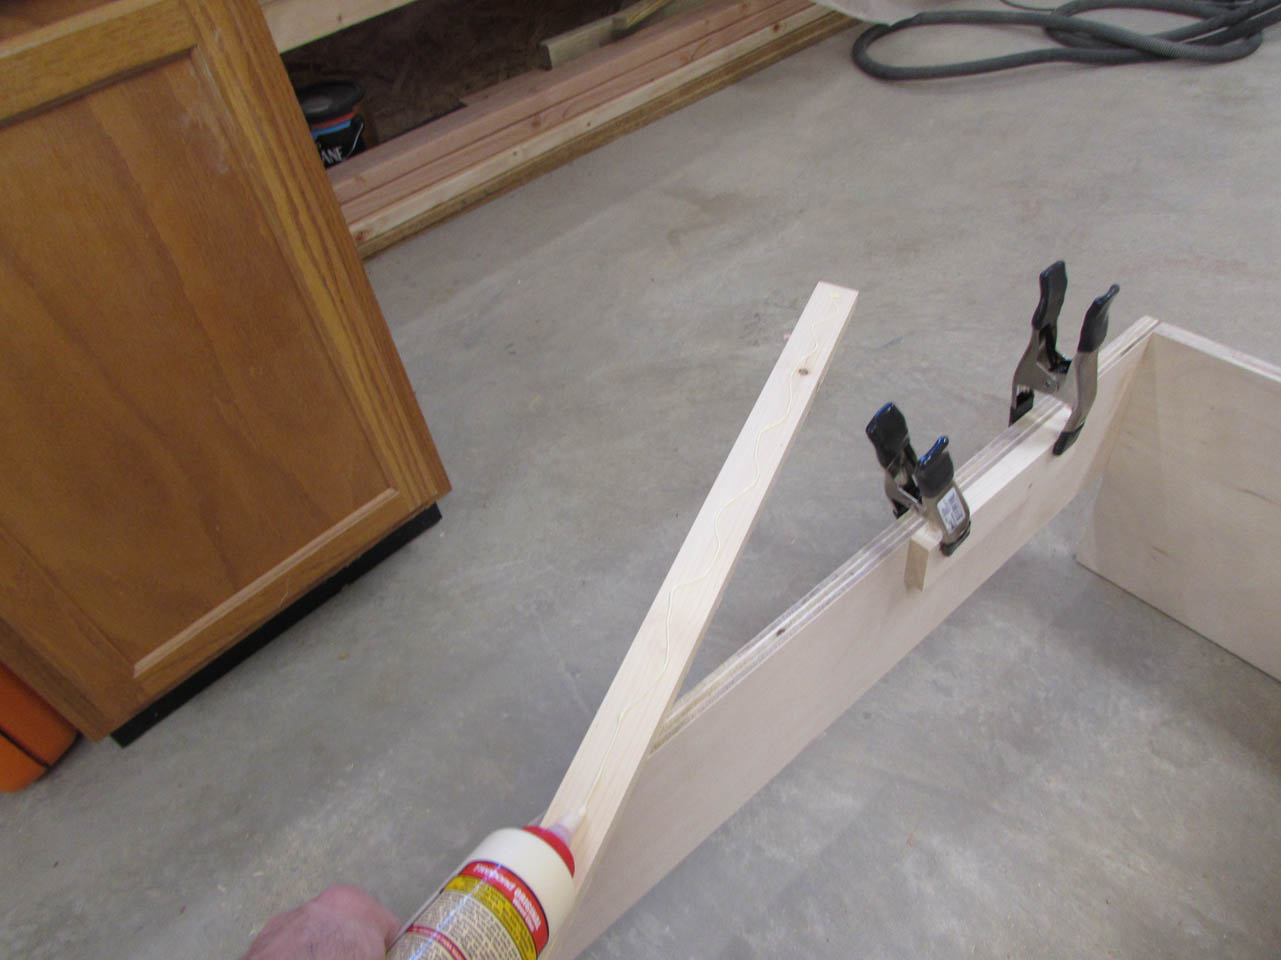
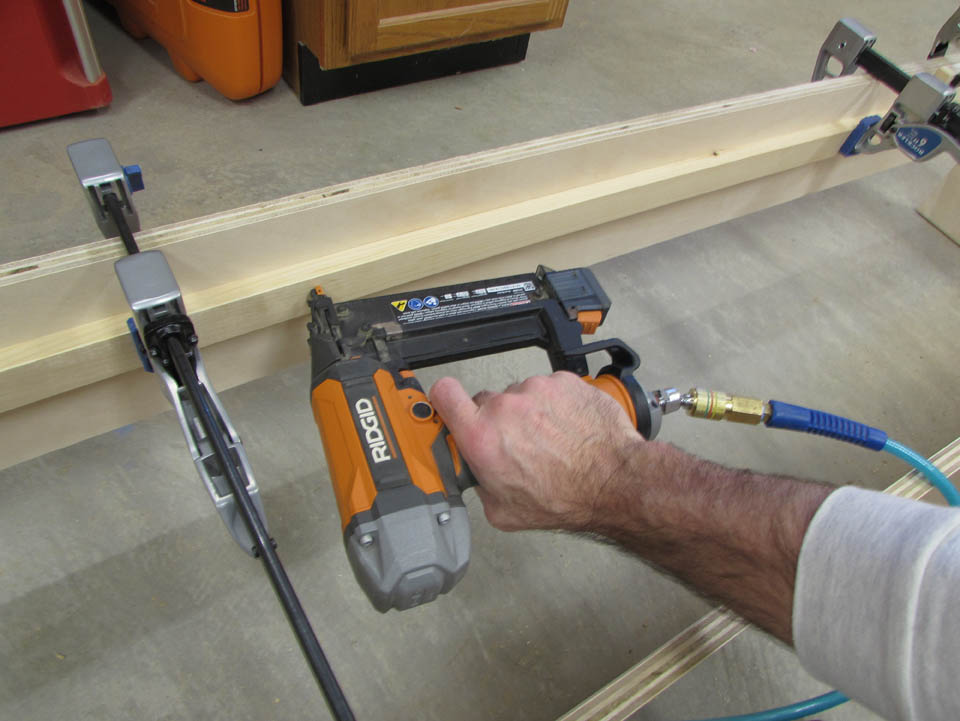
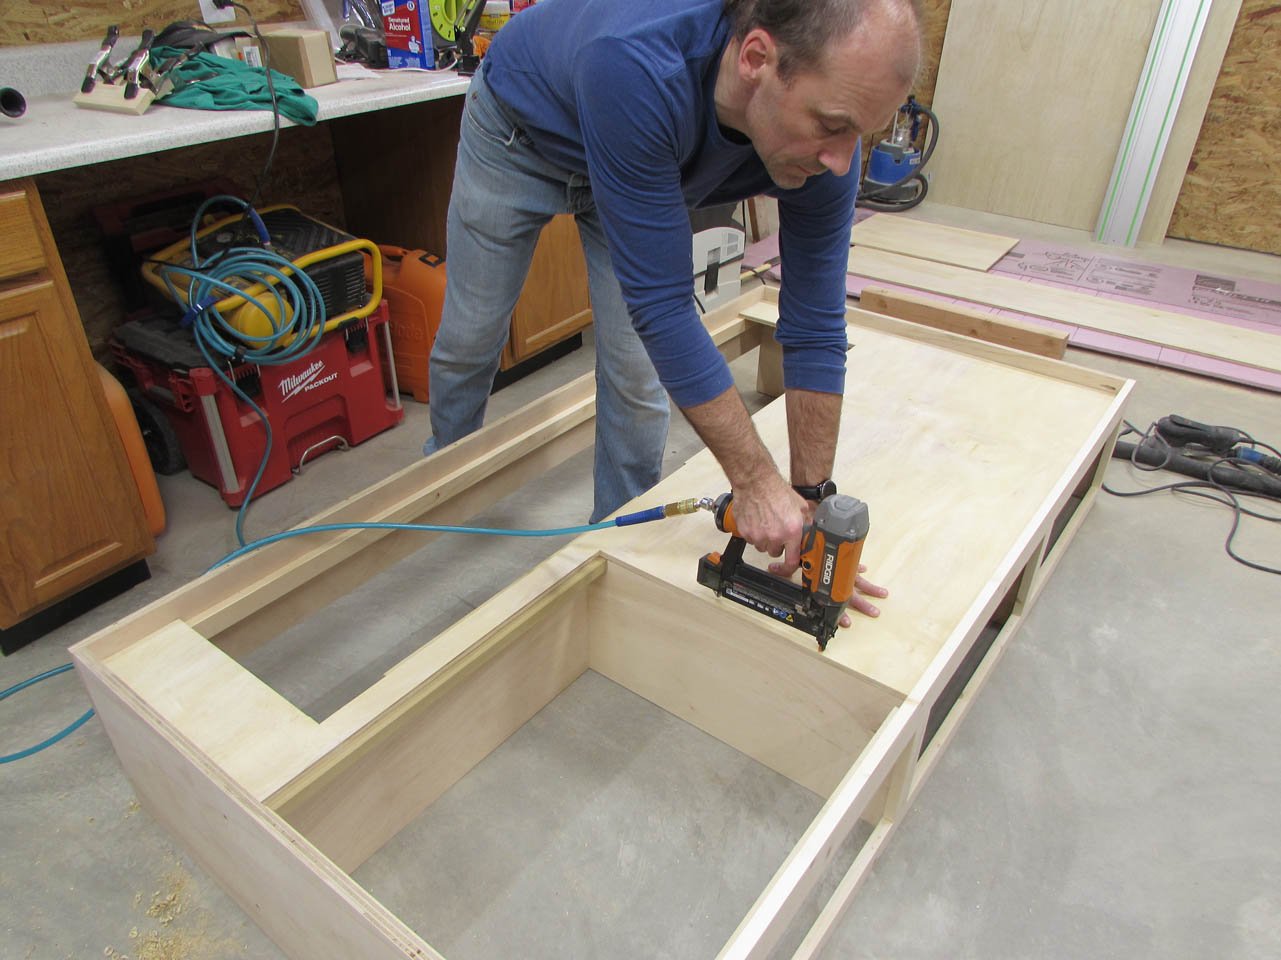
I bought a couple of 6′ long, 1″x2″ strips for this purpose. I applied some wood glue and clamped the strip in place while I used brad nails to hold it.
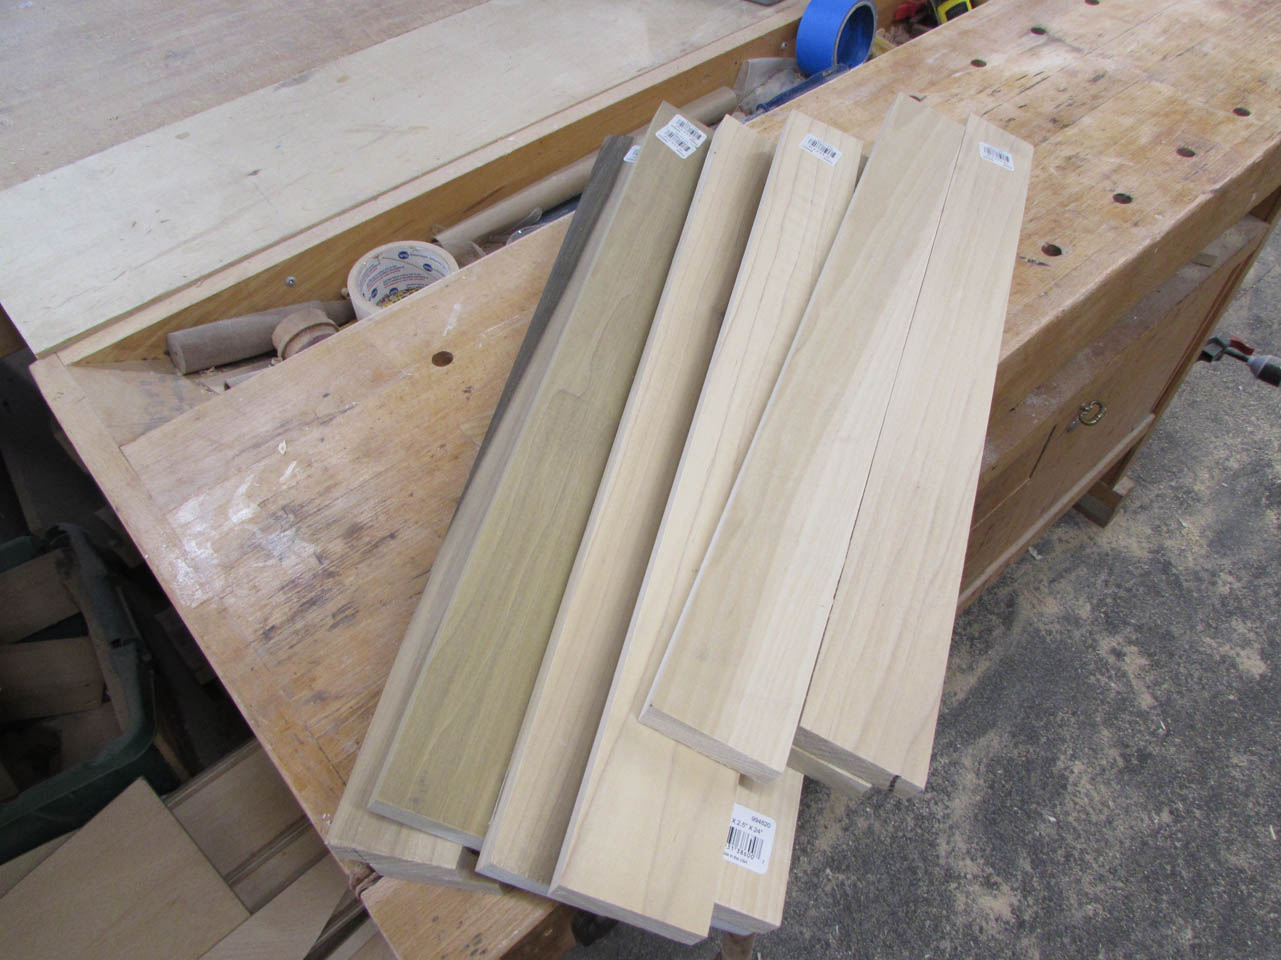
For the side supports, I found some inexpensive 24″ long poplar strips at the home store.
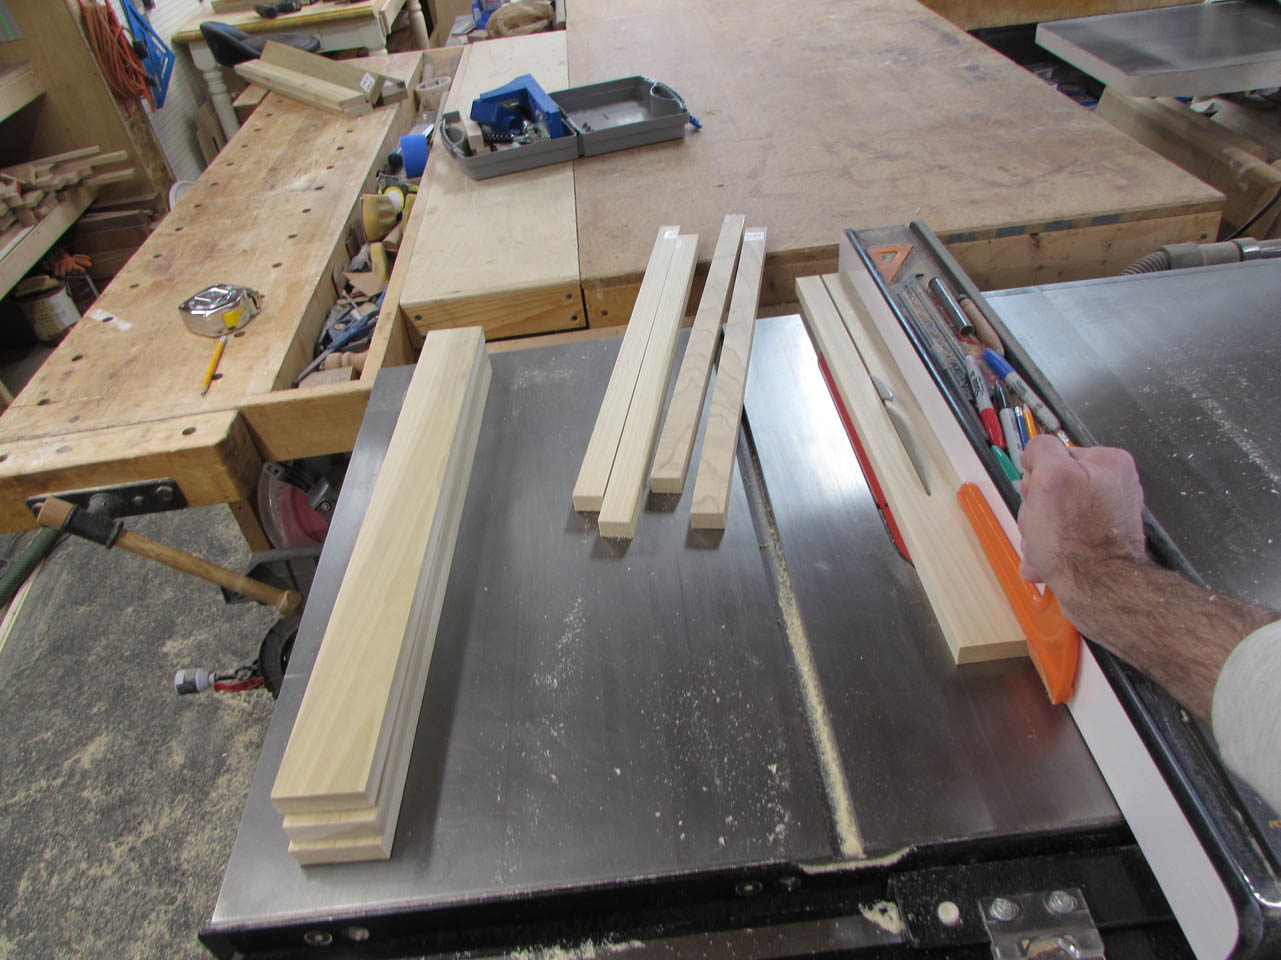
I ripped these in half and started attaching them in the same fashion, all the way around the bed.

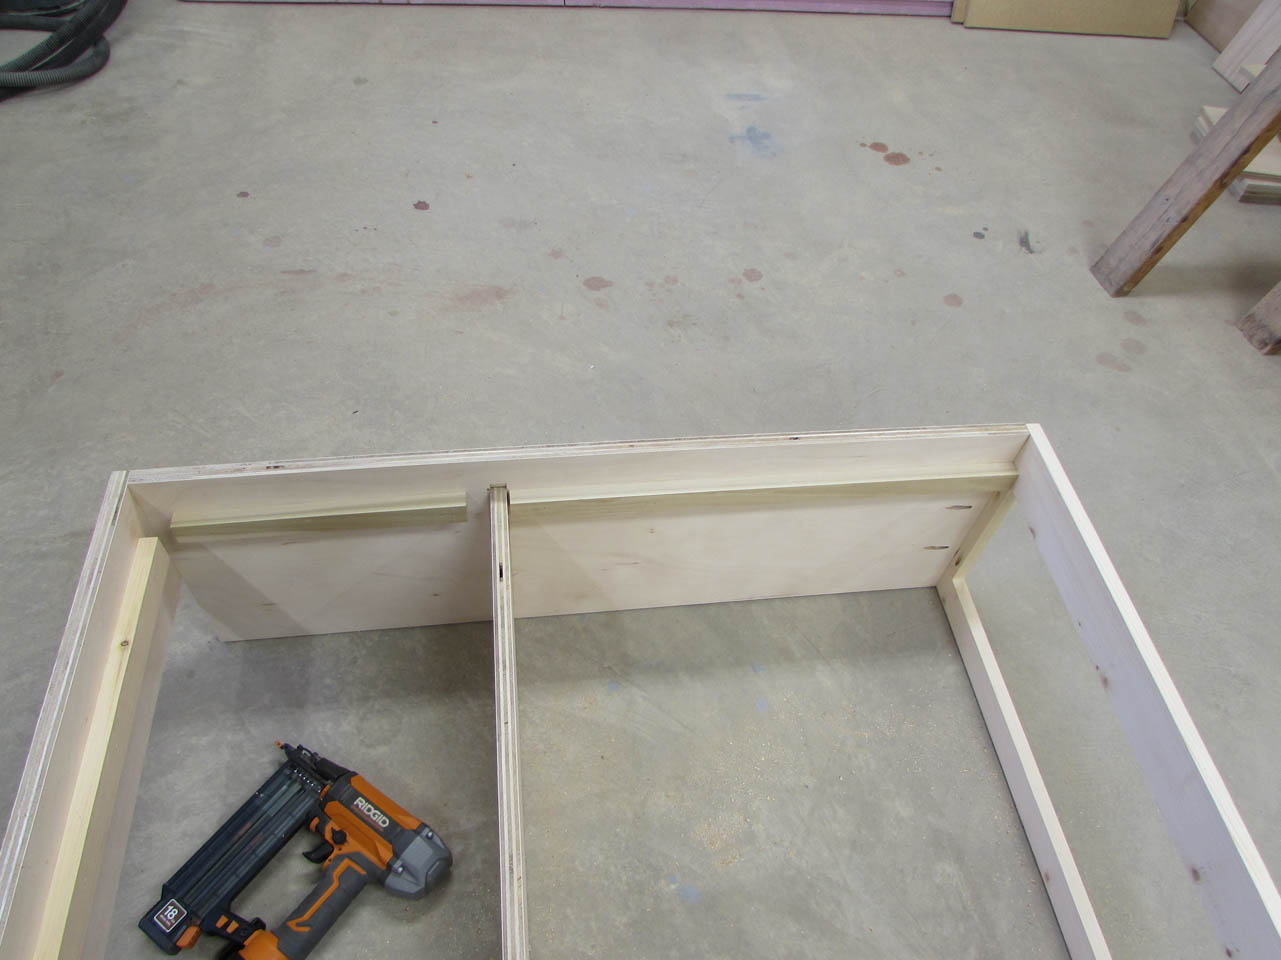
I also attached some narrower ones to the face frames for additional support above the drawers.
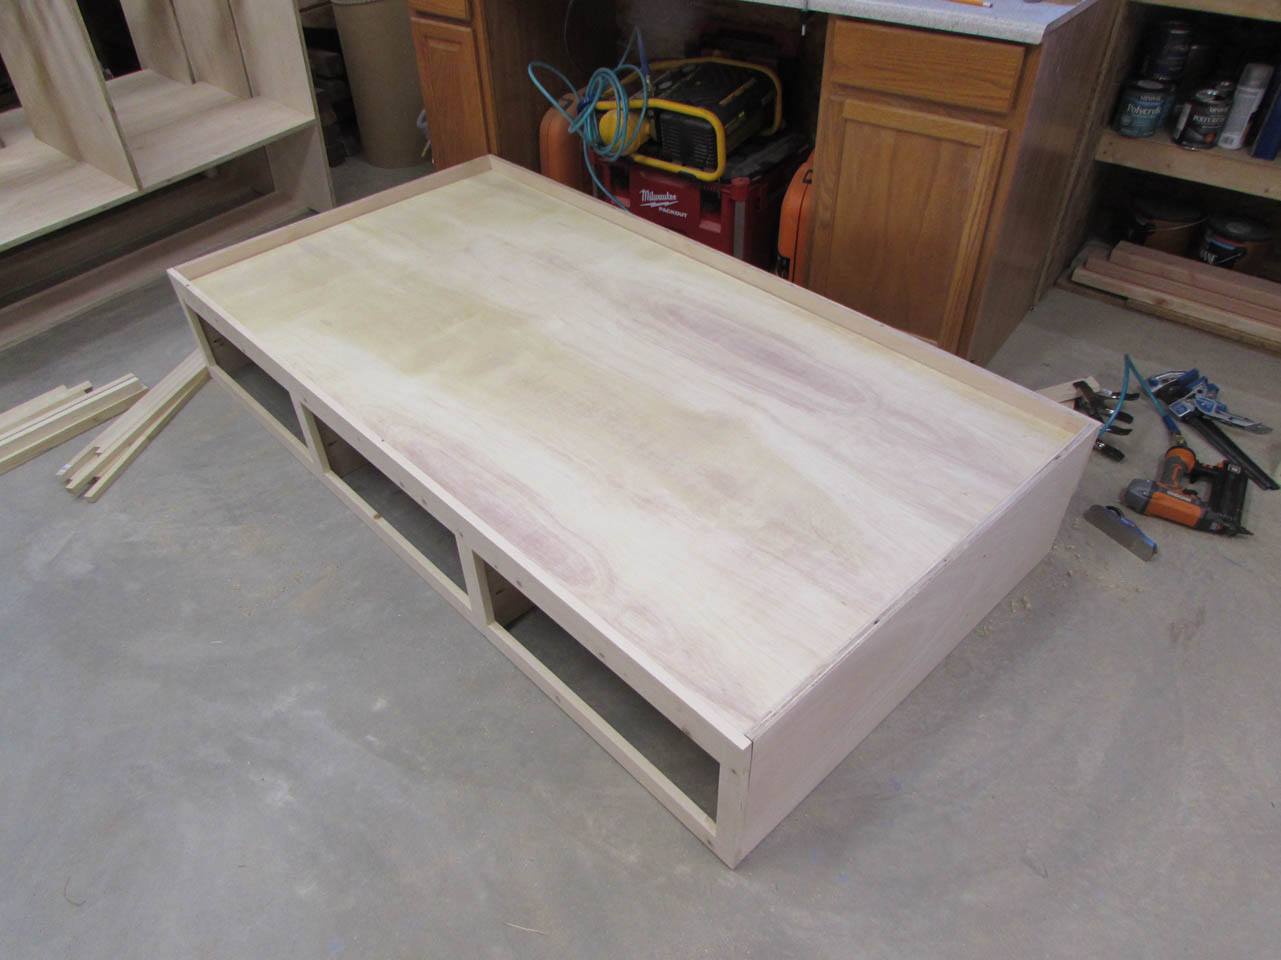
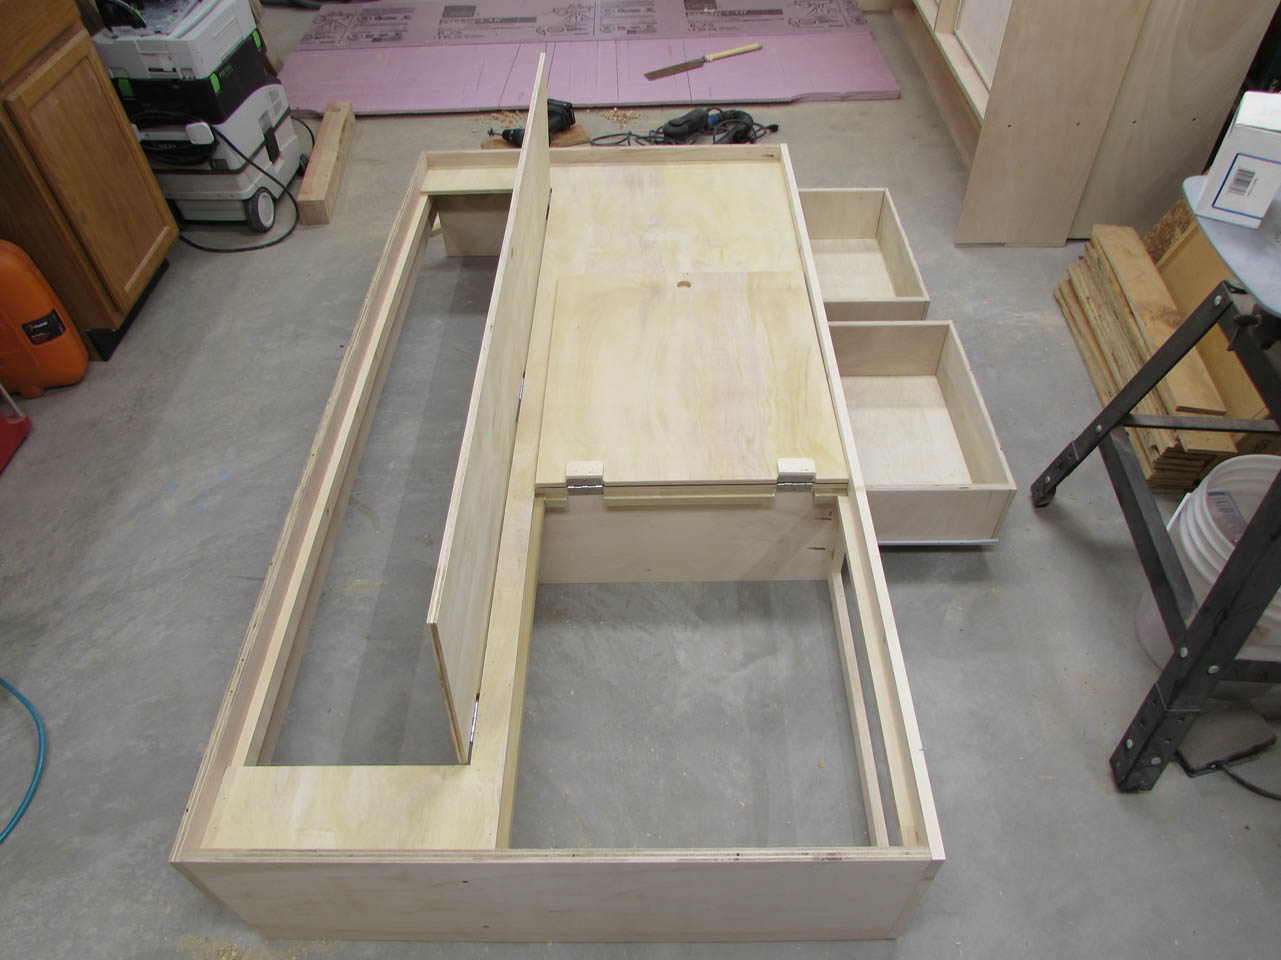
The next step was to drop in the pre-cut piece of plywood and square it all up. It was a tight fit, which is good. I only had to shave about 1/32″ off one of the corners with a block plane to get a perfect fit.

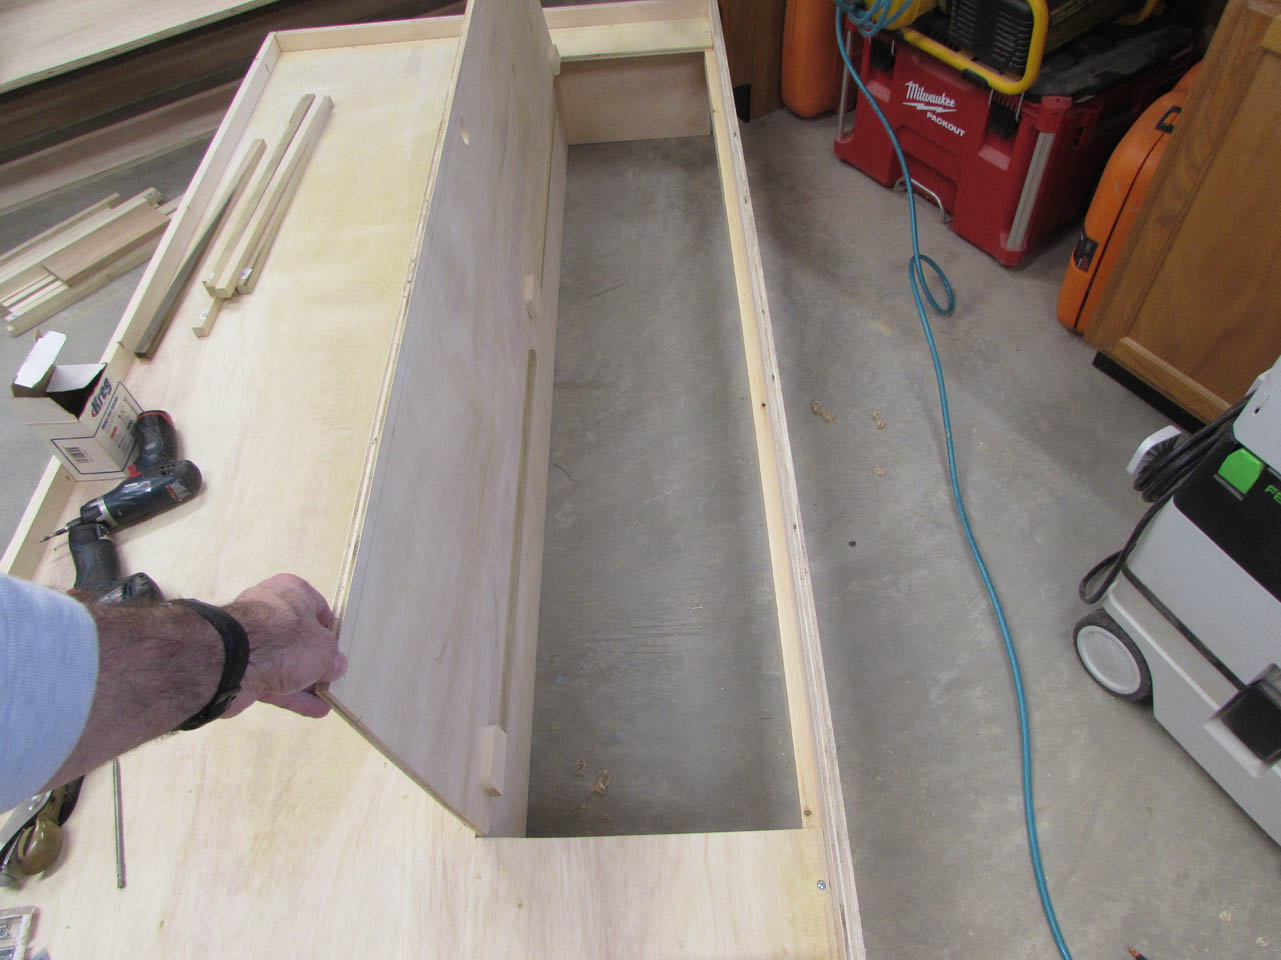
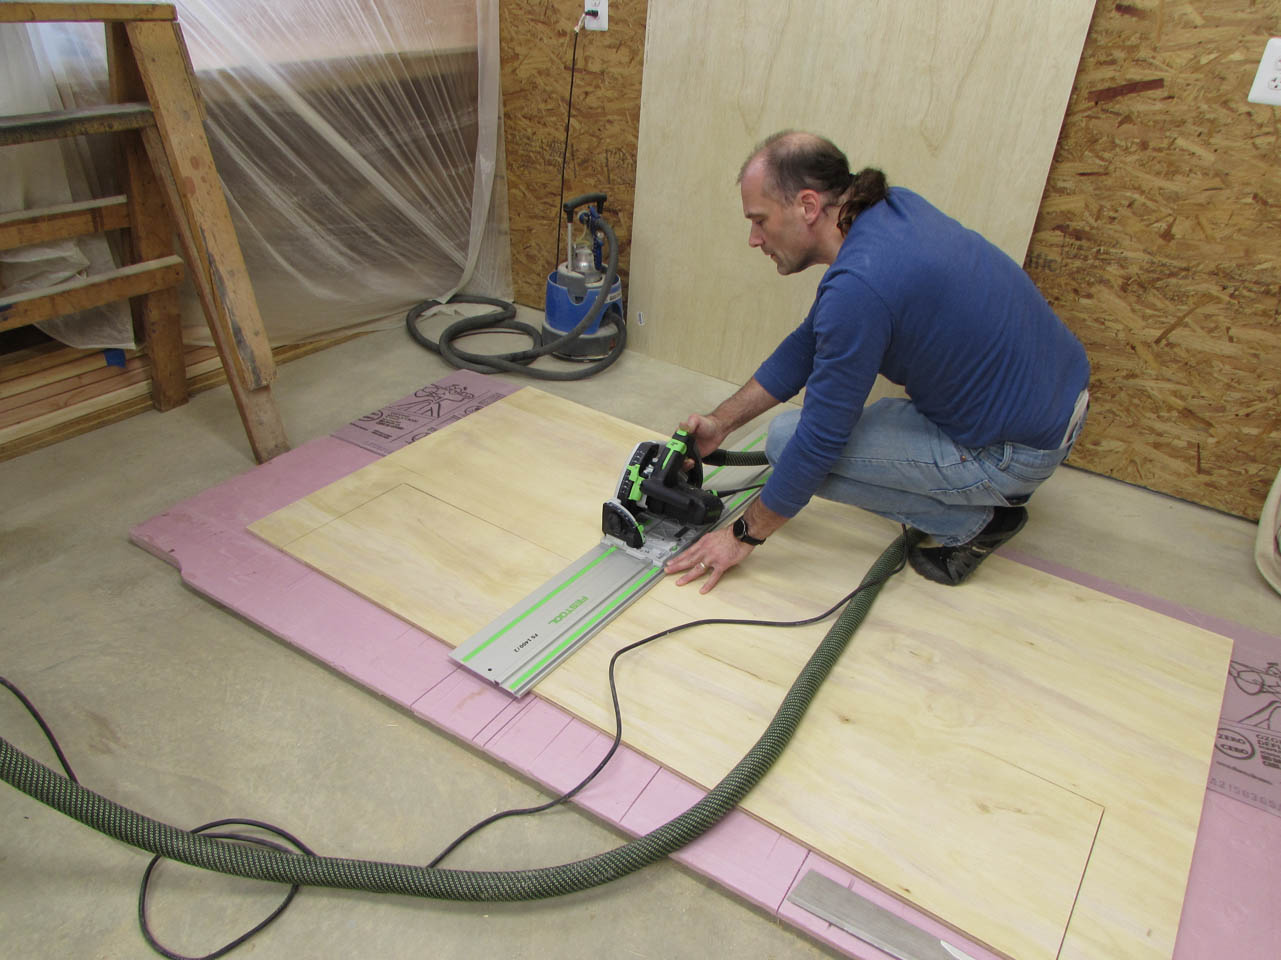
With the plywood in place, I can flip the bed on its rear and make the opening of the storage area. I used some 4″ spacers on the sides to leave a bit more plywood around the edges since that helps keep the bed square.
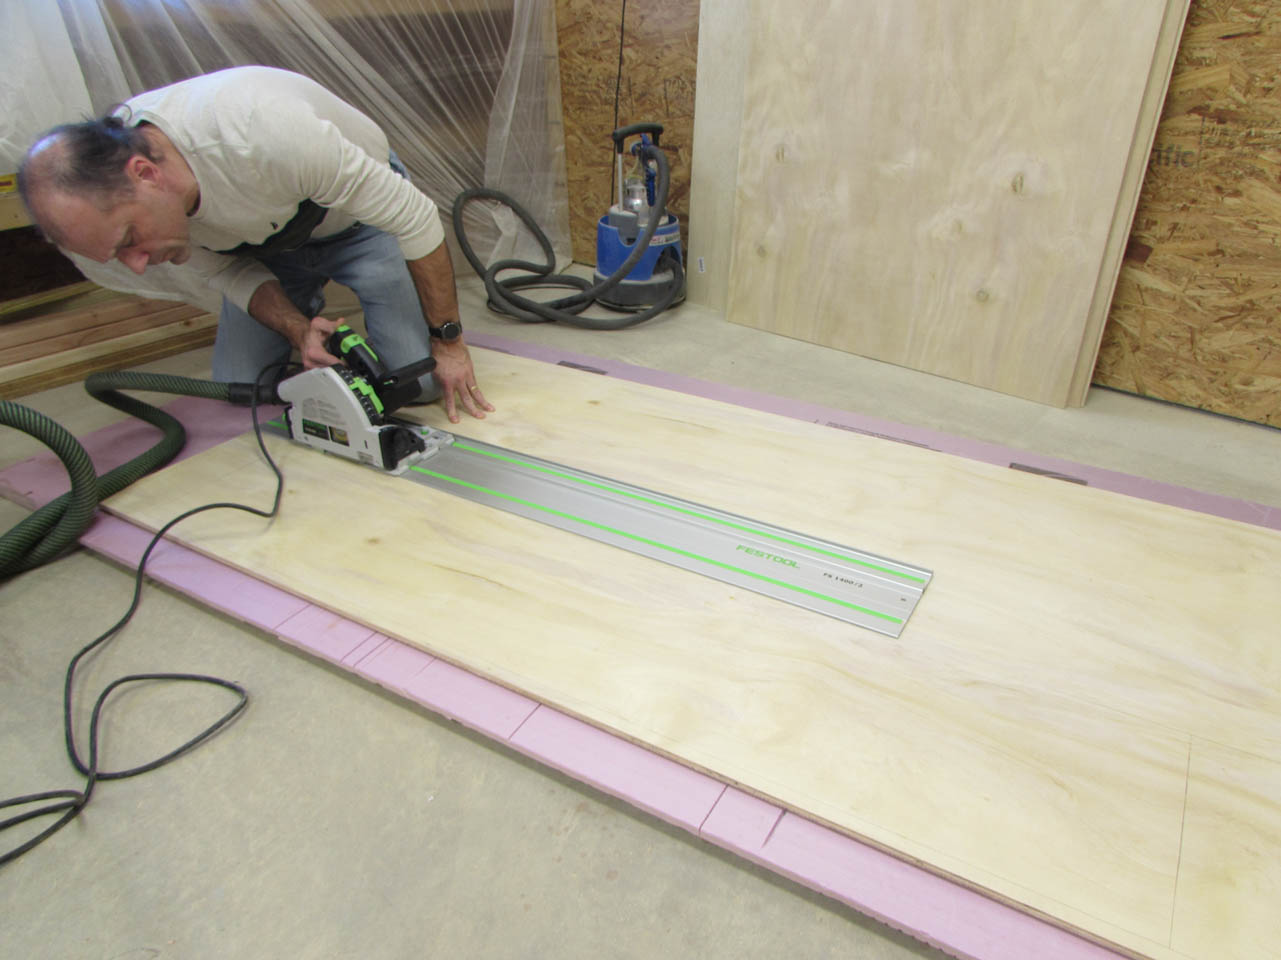
Next, I set up my track saw to carefully cut out the panel. After that, I raised each side and finished the cuts by hand so they looked neat.
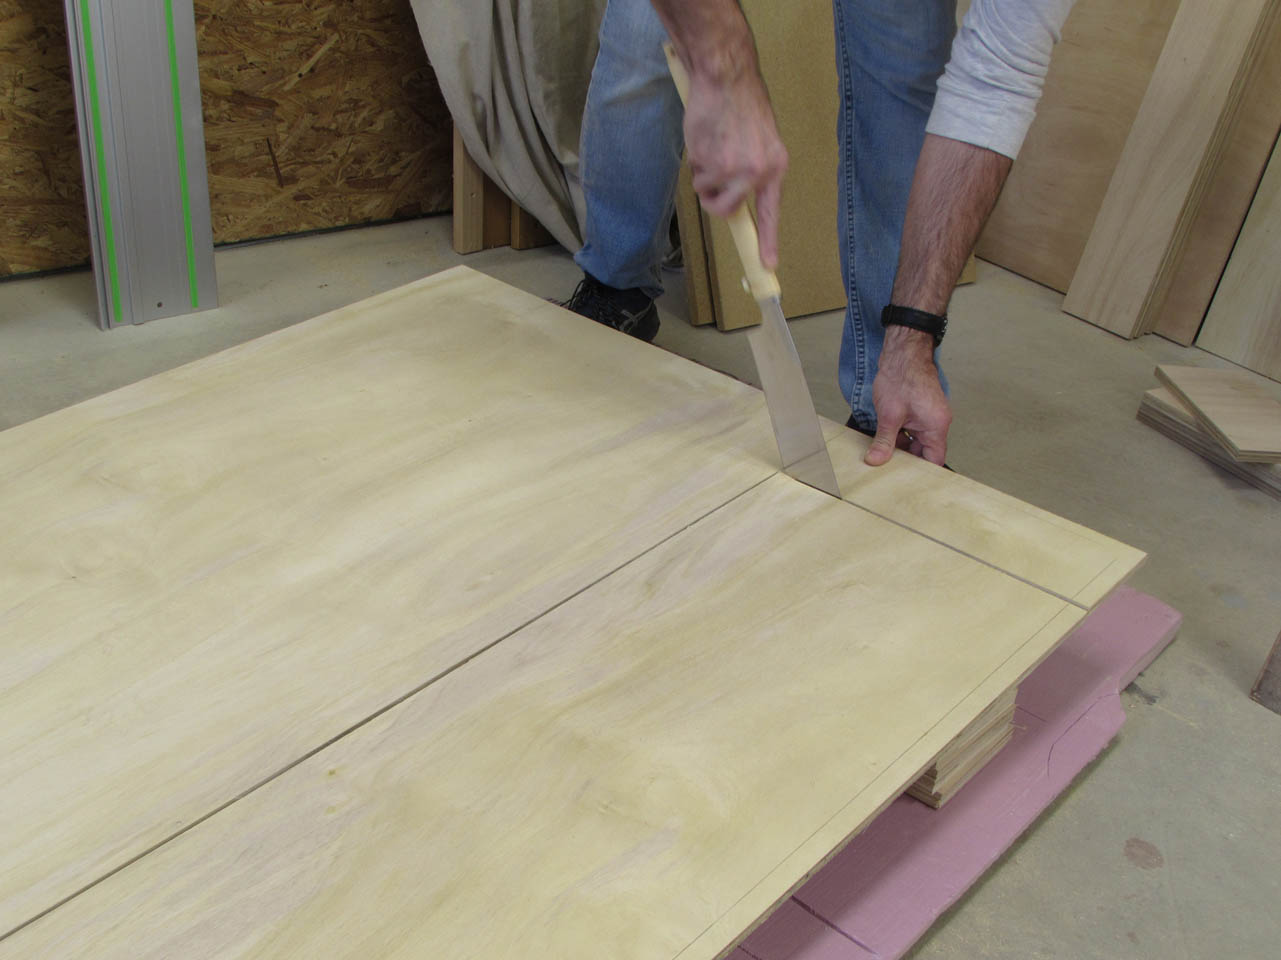
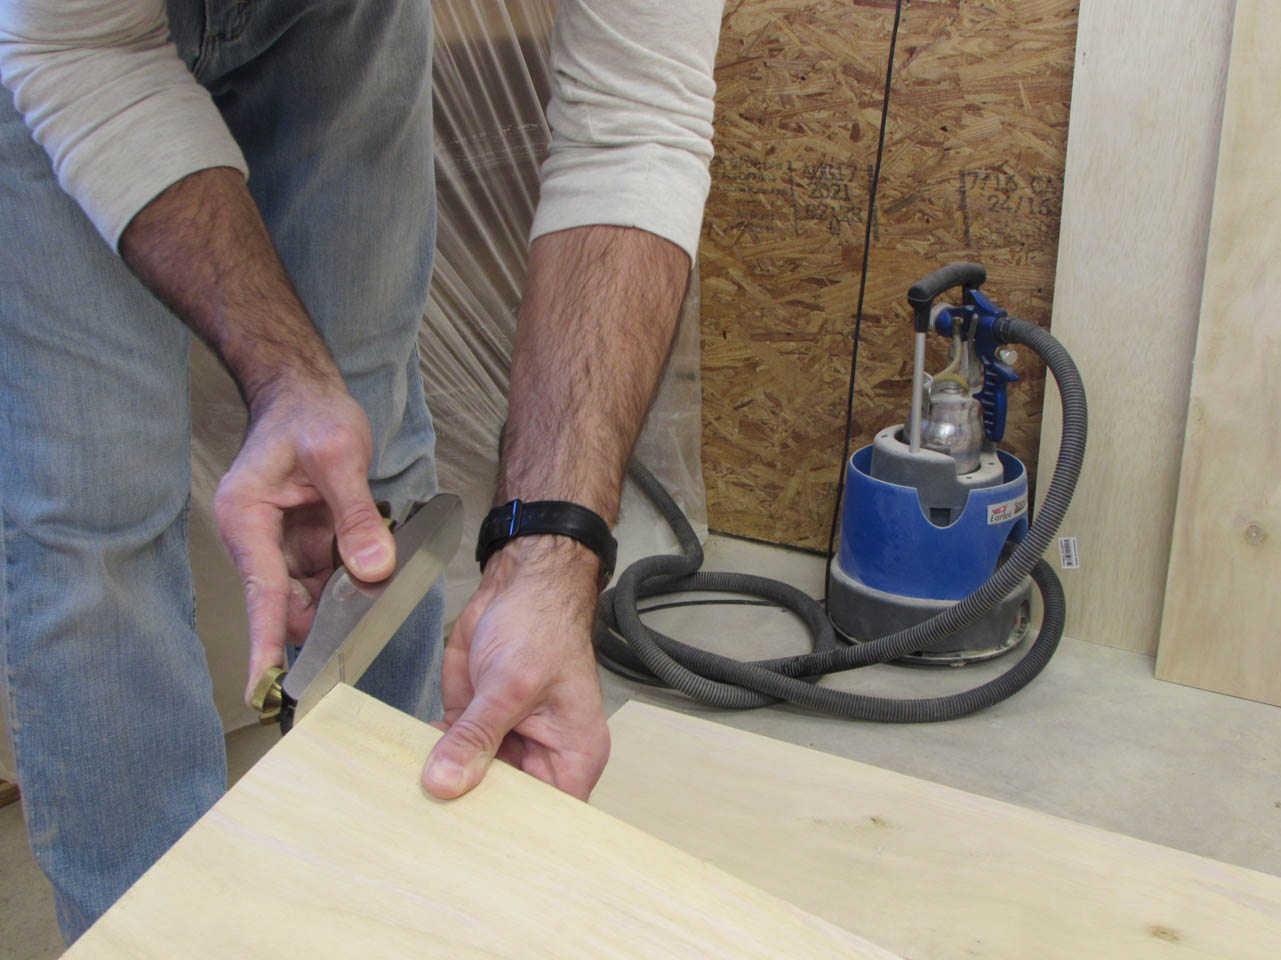
The block plane cleaned up any extra wood on the corners.
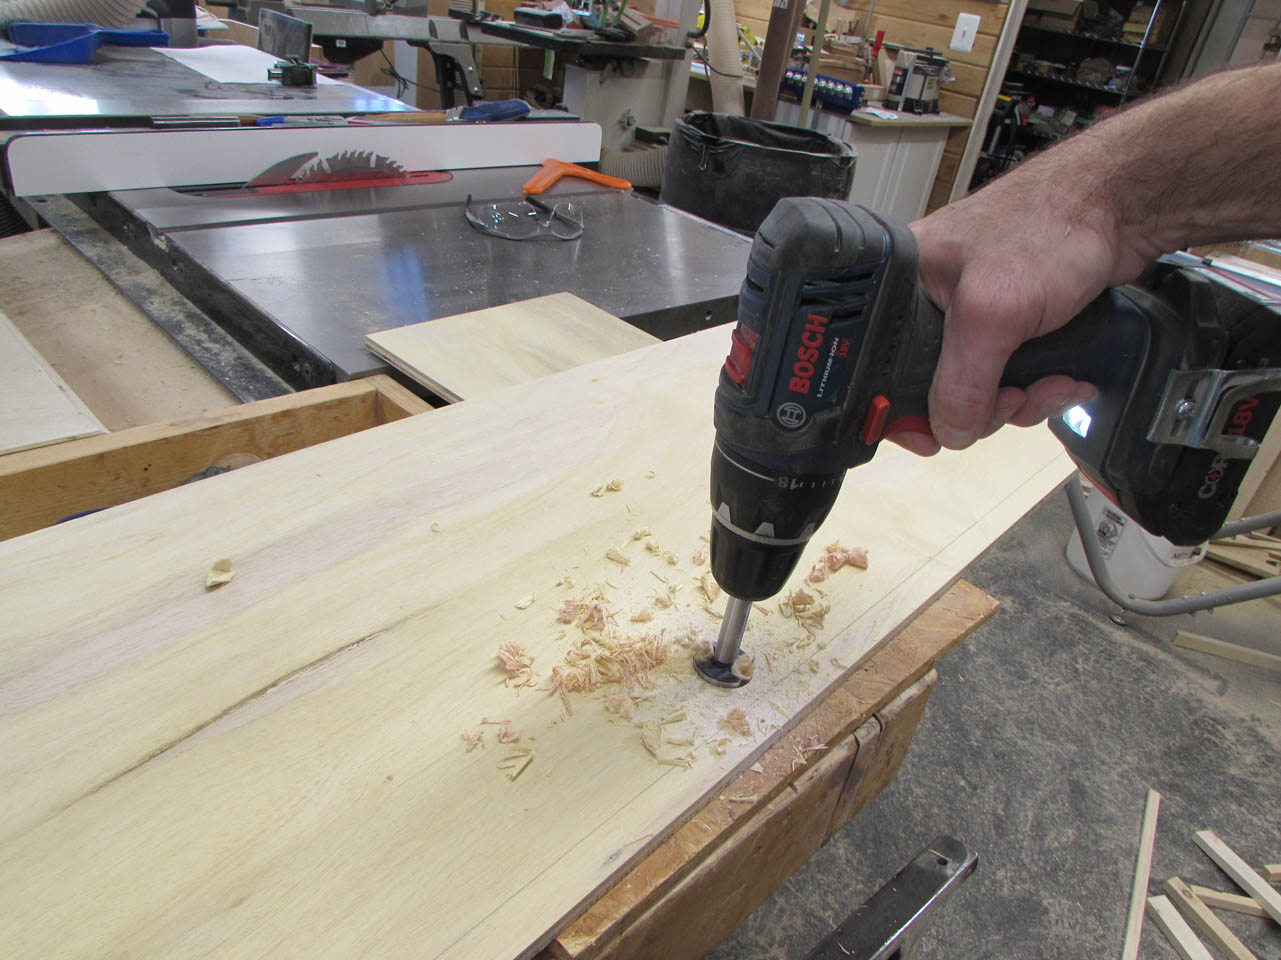
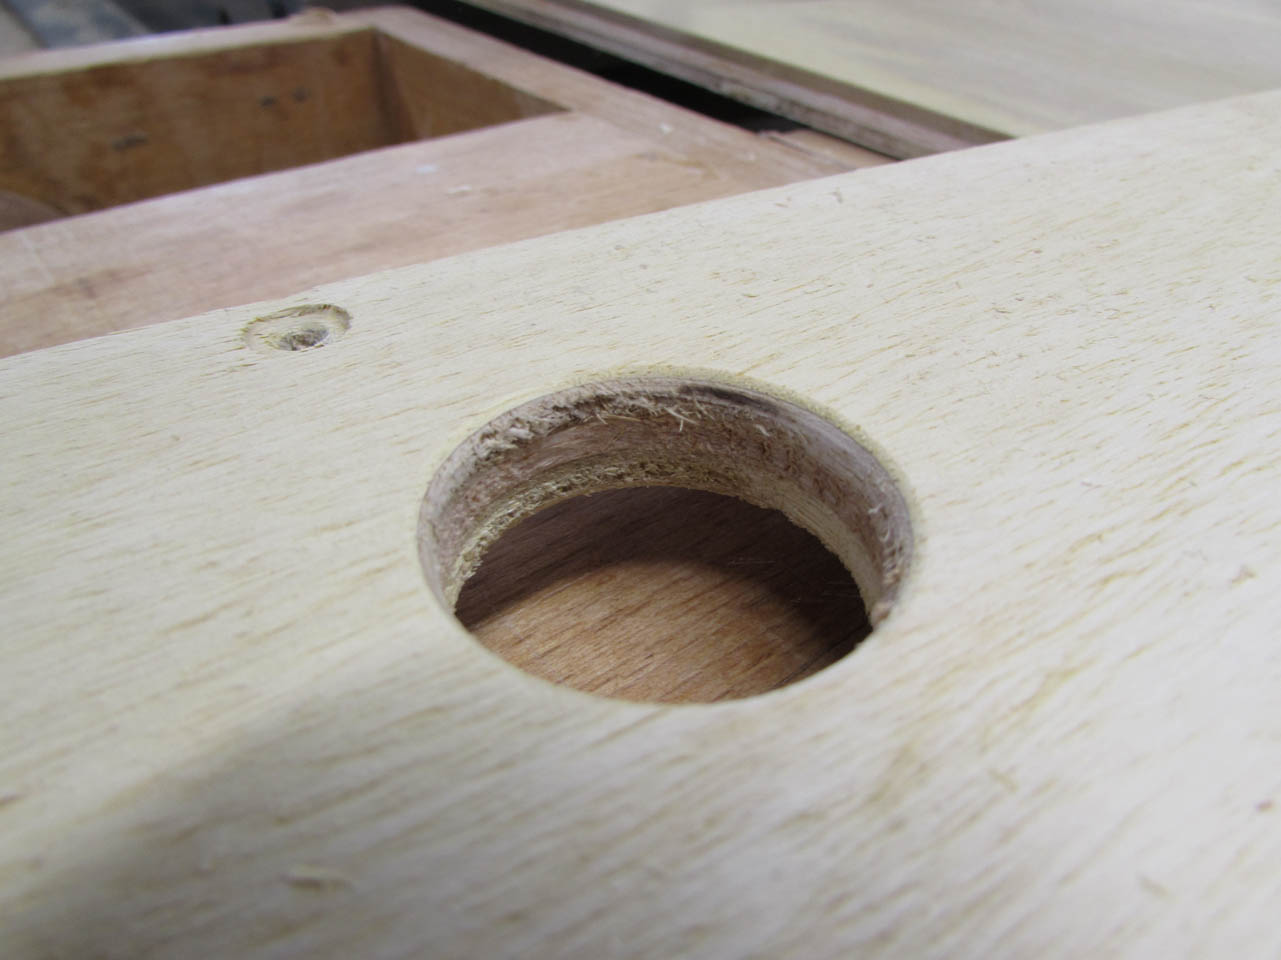
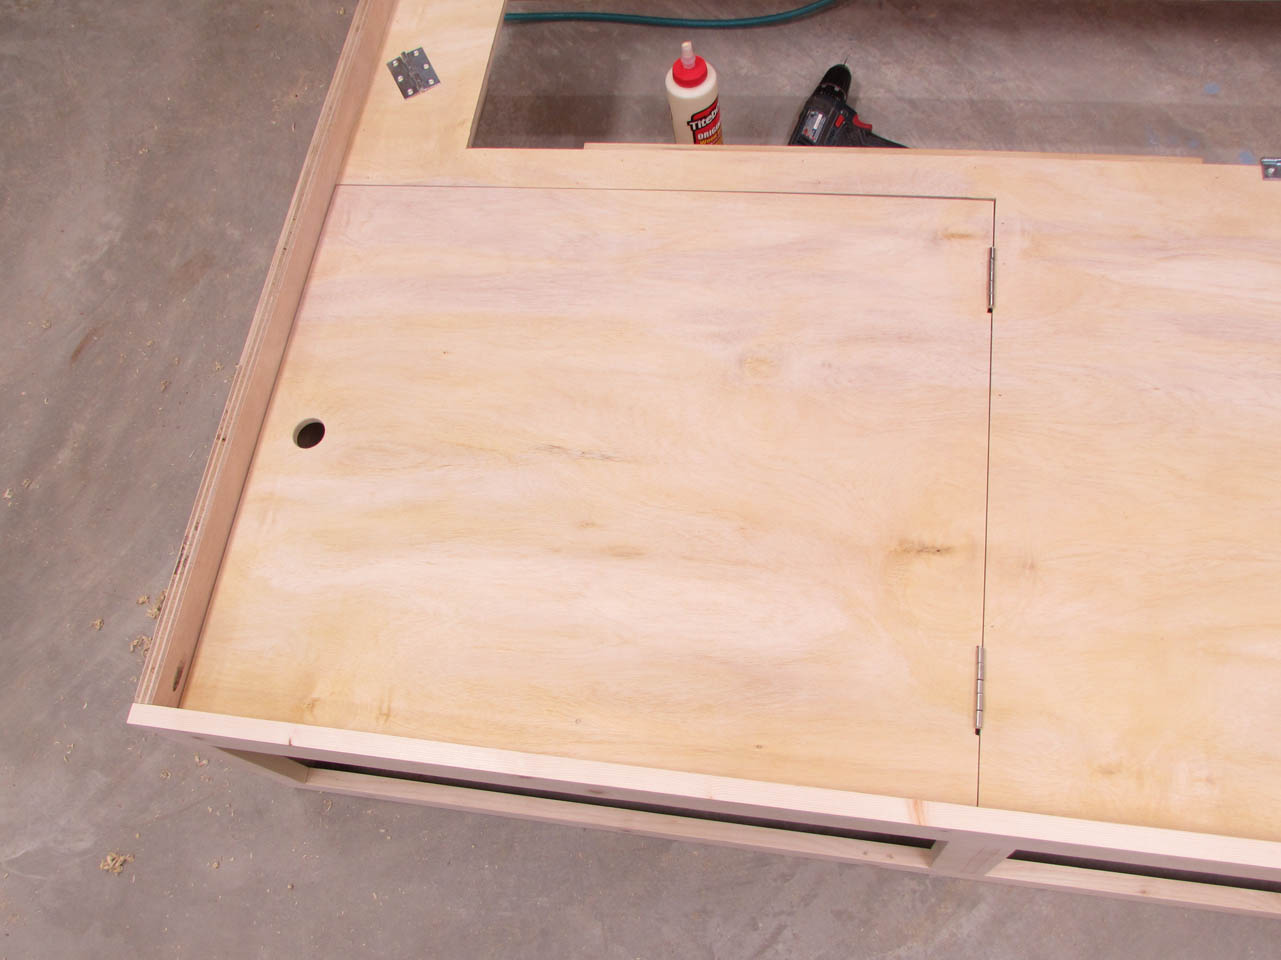
To open the panel, I drilled a 1-1/4″ diameter hole at the center of the back side.
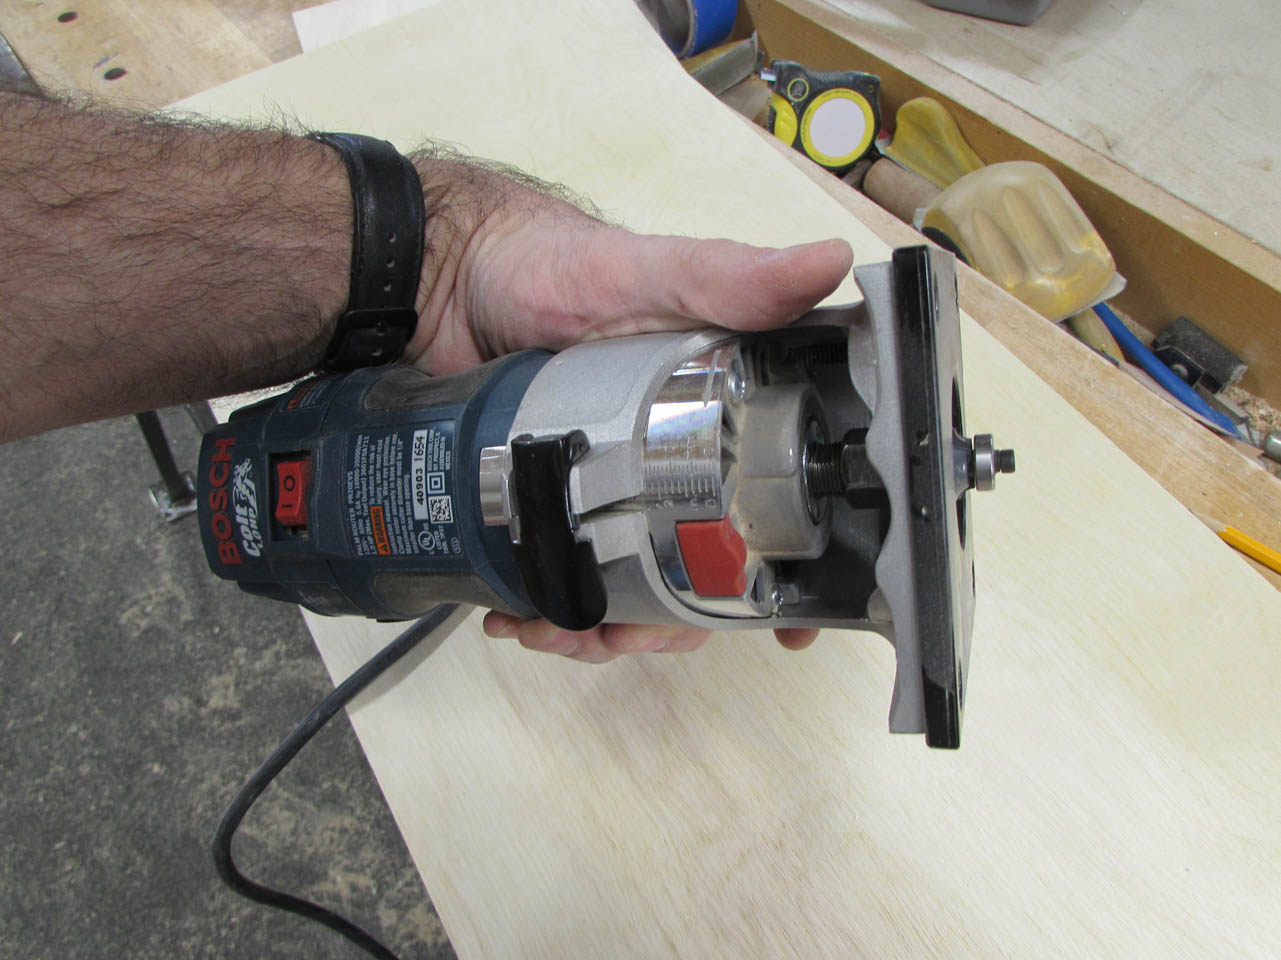
This finger hole will be sharp so I added a 1/8″ round-over to both sides with my trim router.
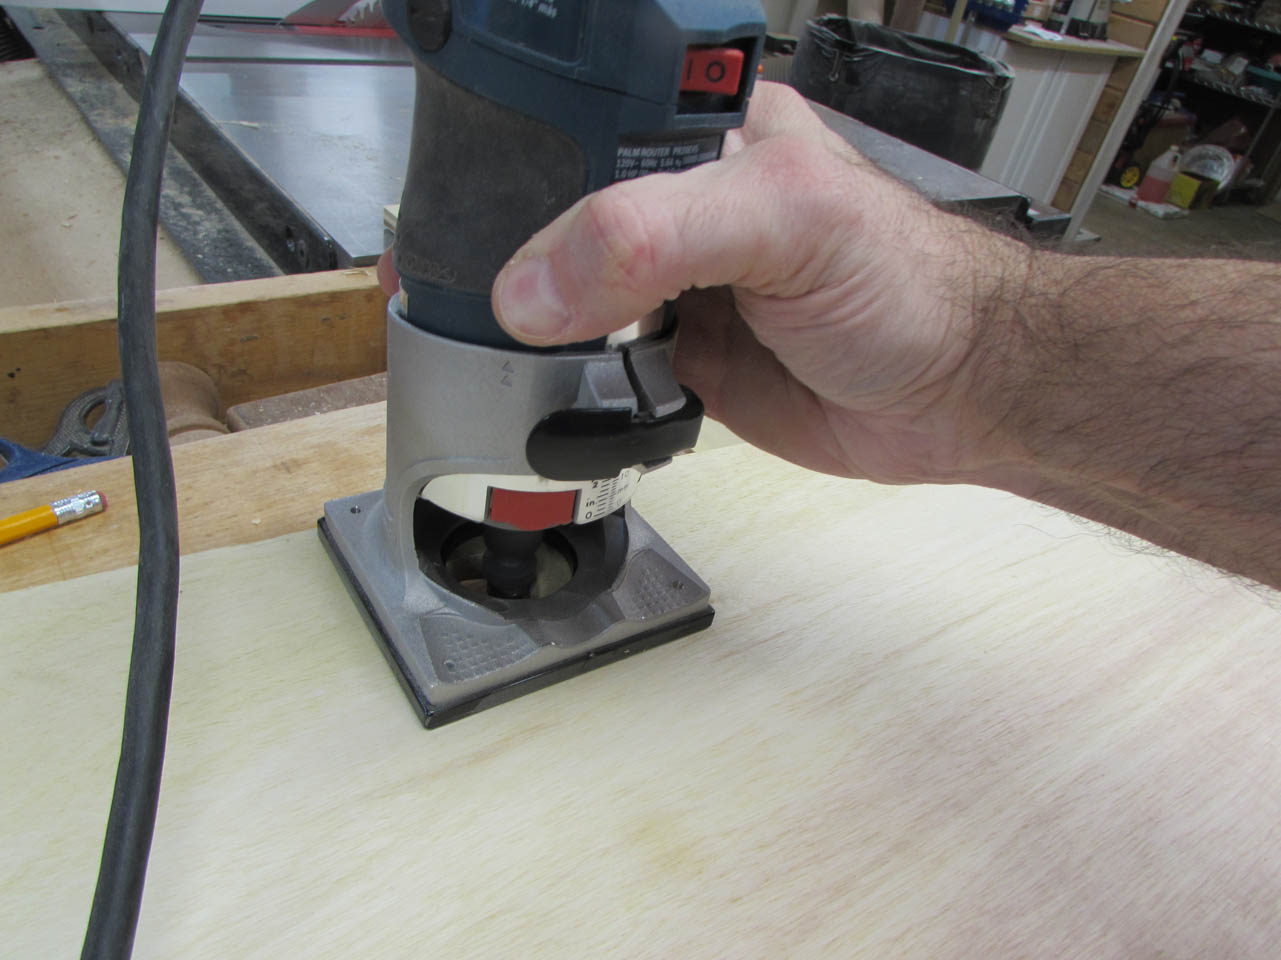
With some additional sanding, it will work great.
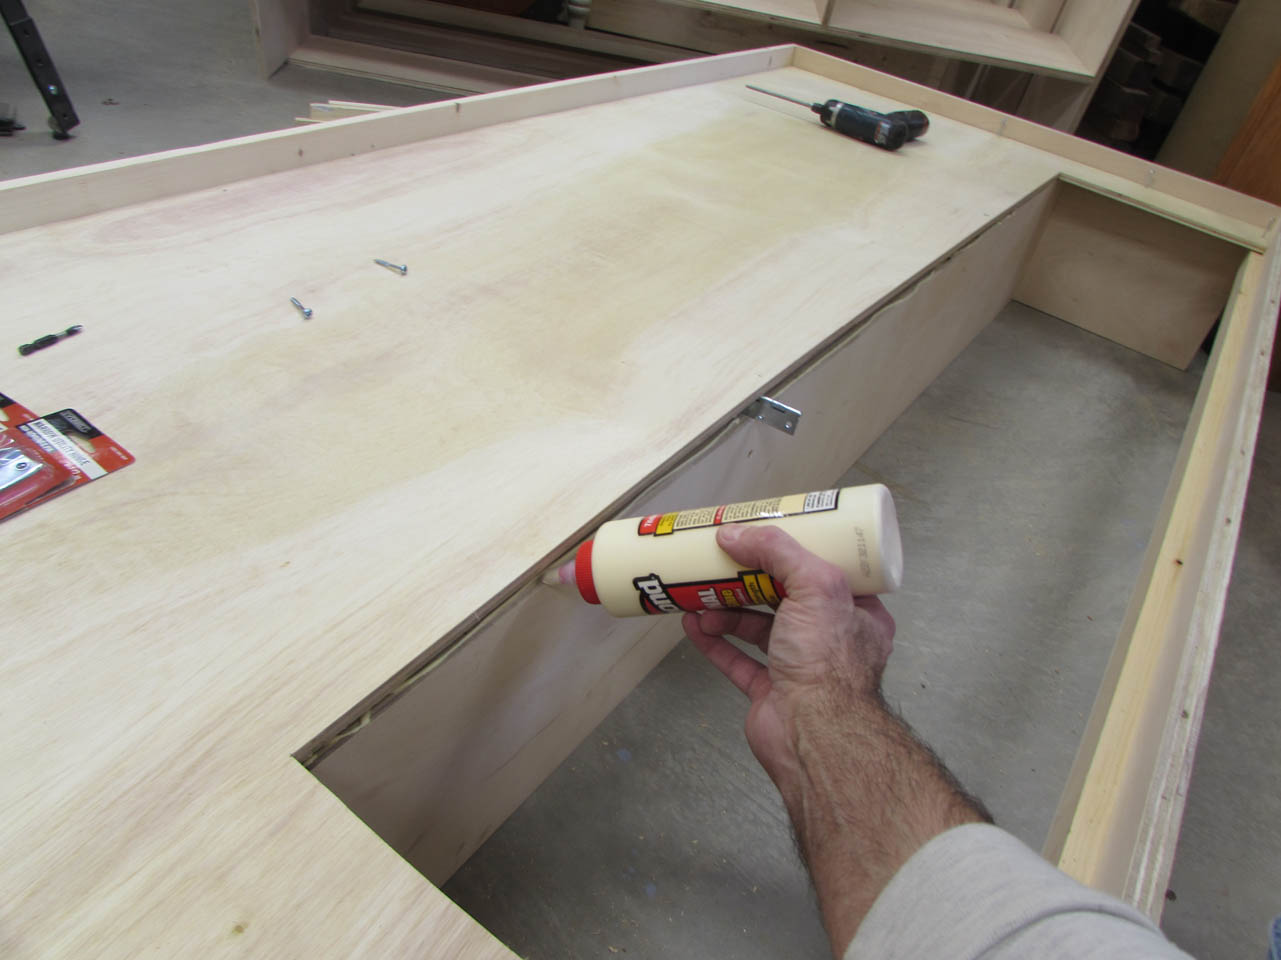
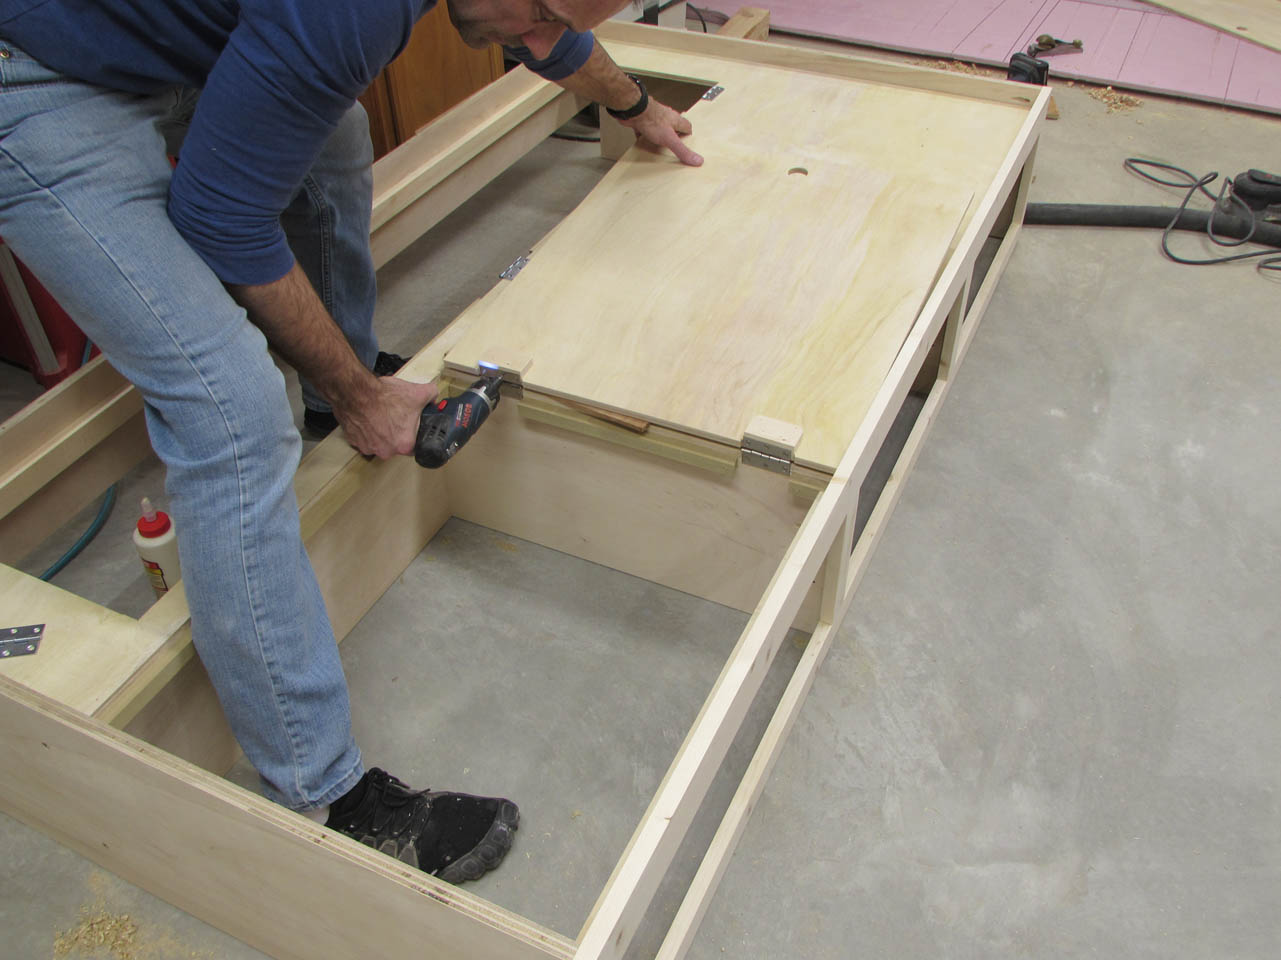
I decided the plywood will be permanently attached so I added some glue to the top of the center divider before attaching with some screws.
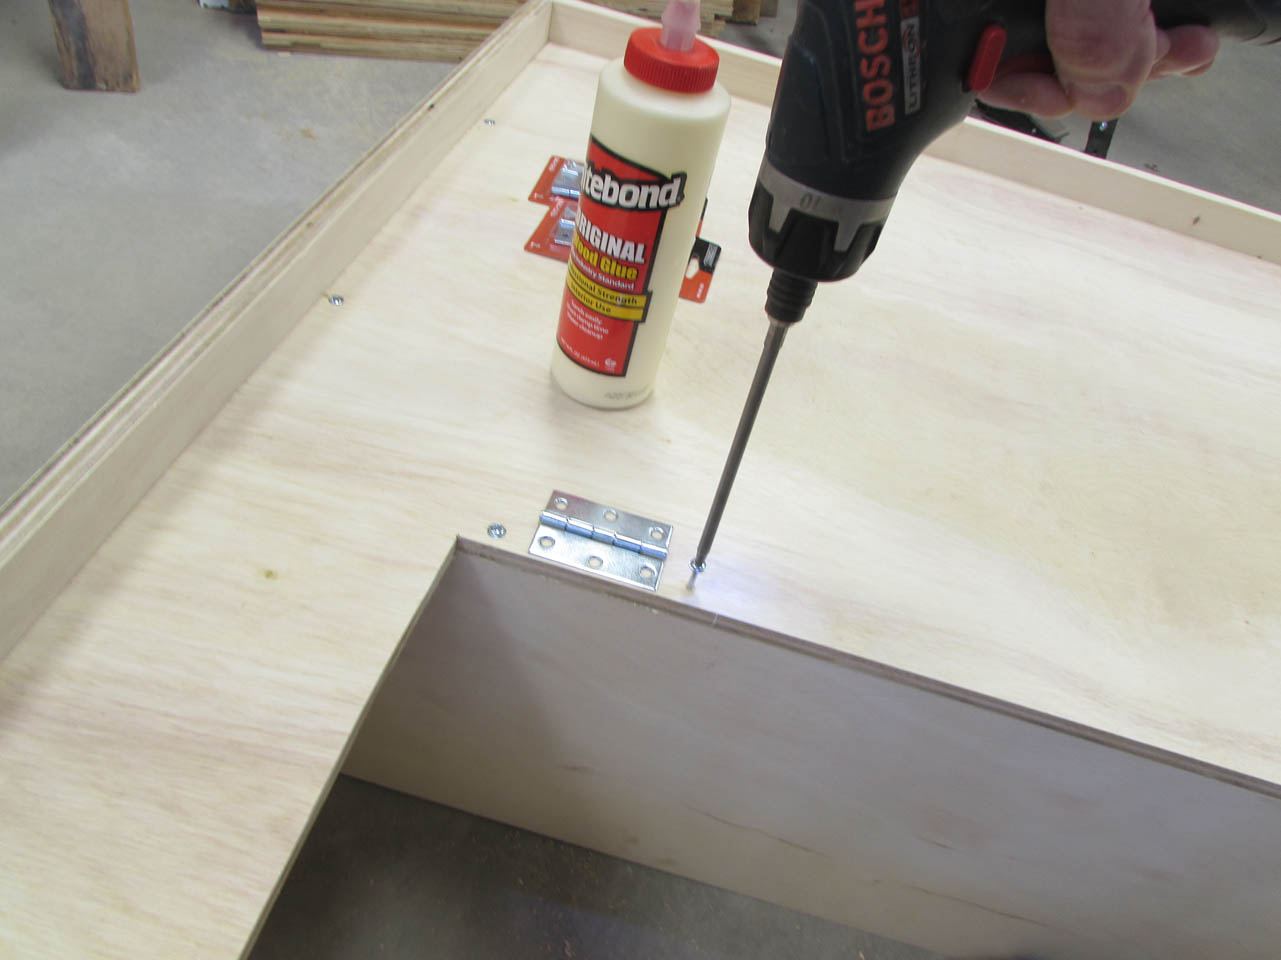
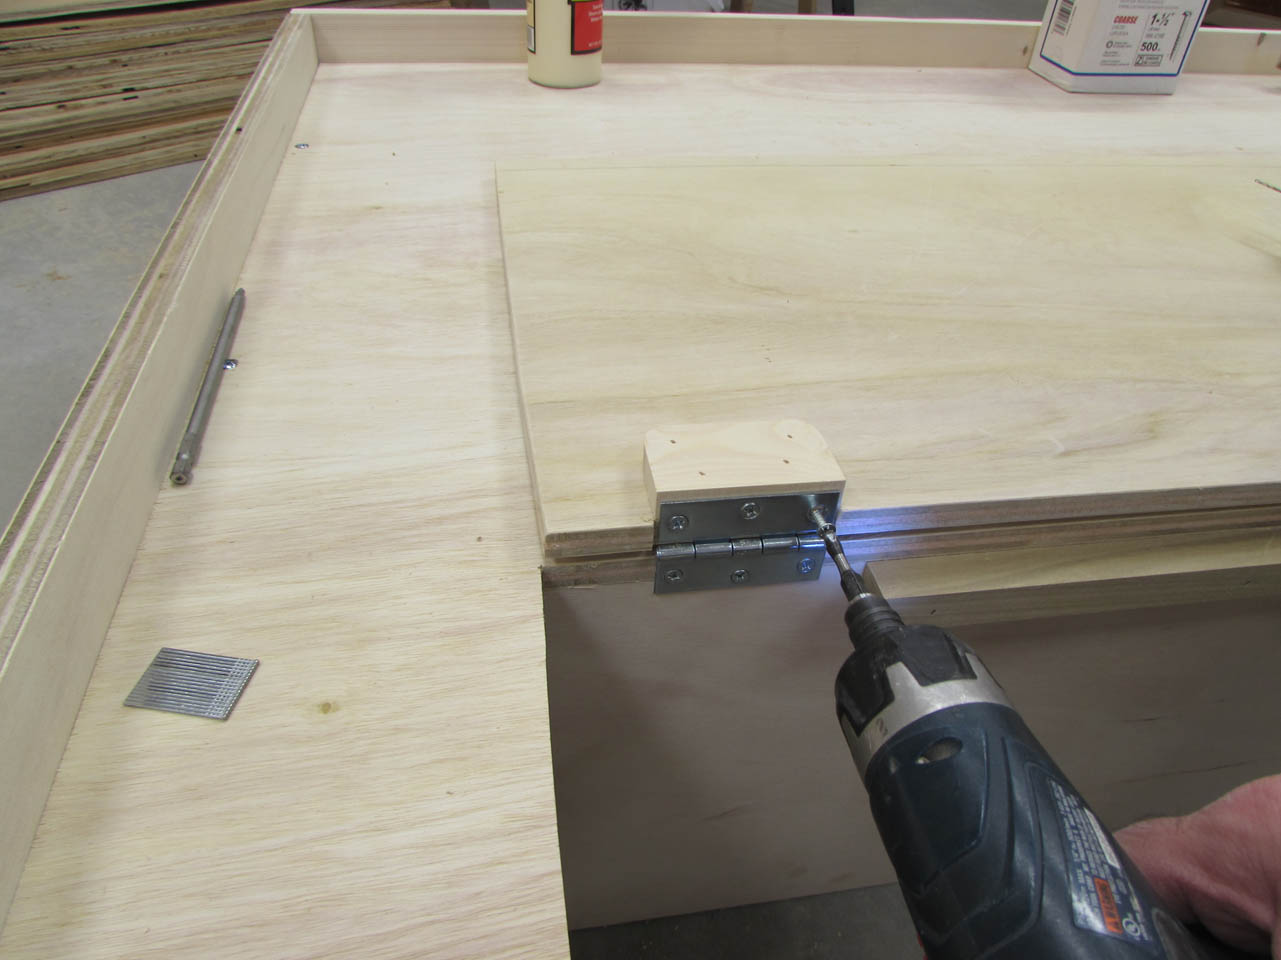
Since the hinges are designed for 3/4″ material, I add some fasteners on either side of the hinge locations, just to prevent separation if the screw is too close to the edge of the 1/2″ plywood.
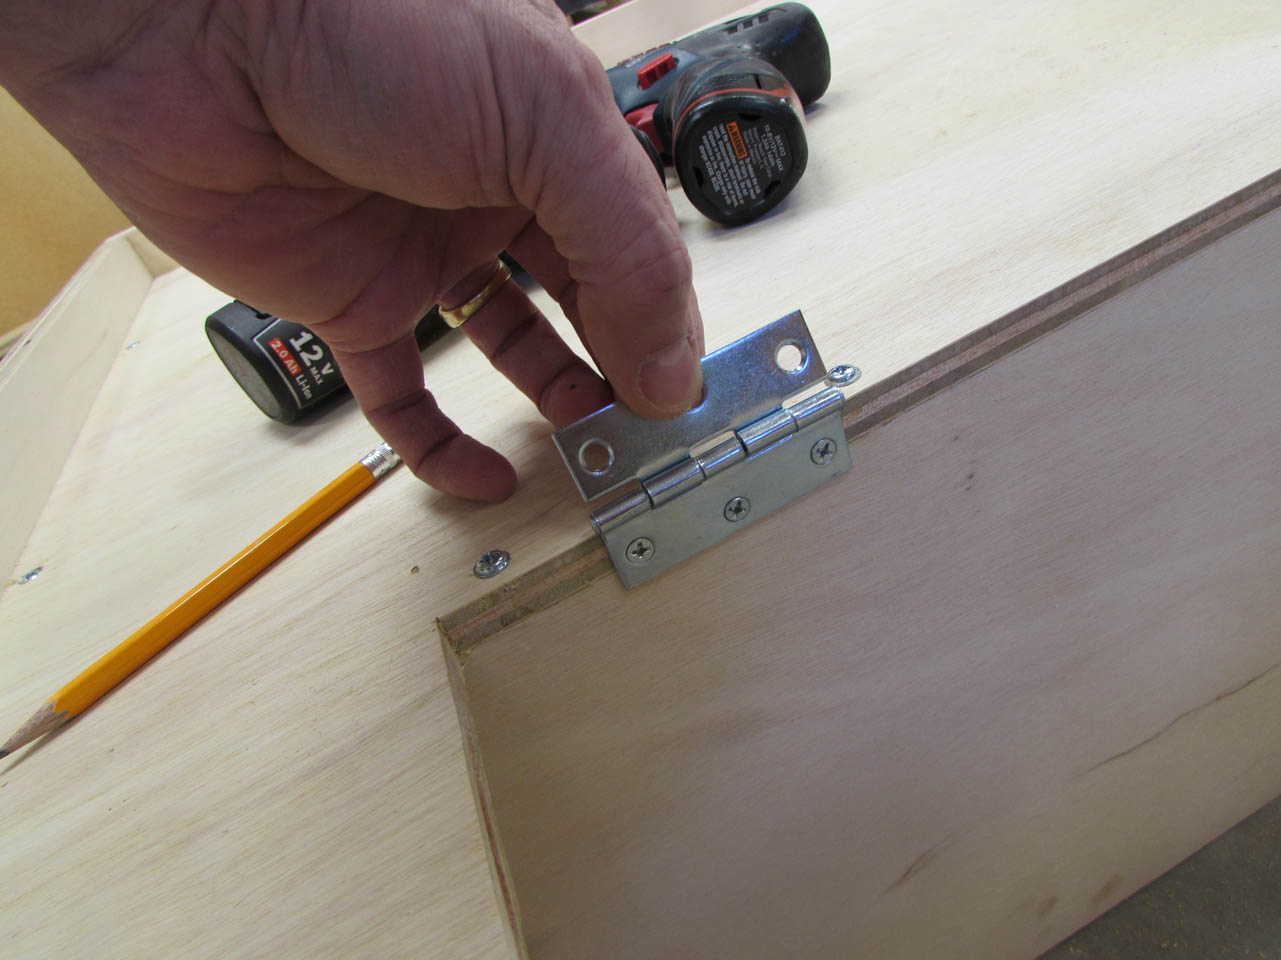
After locating and attaching the hinges, I add additional blocking for support along the hinge side.

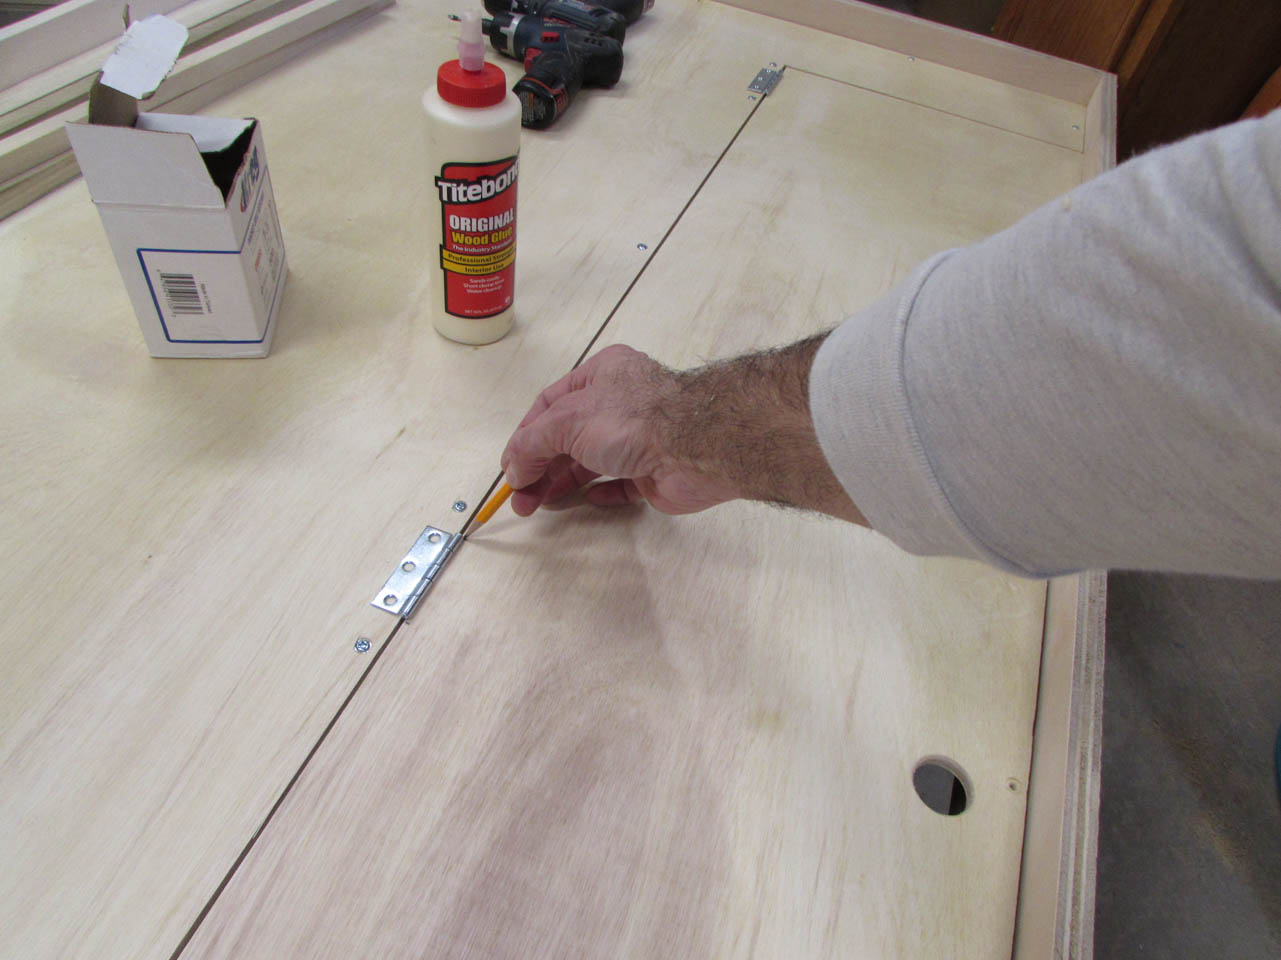
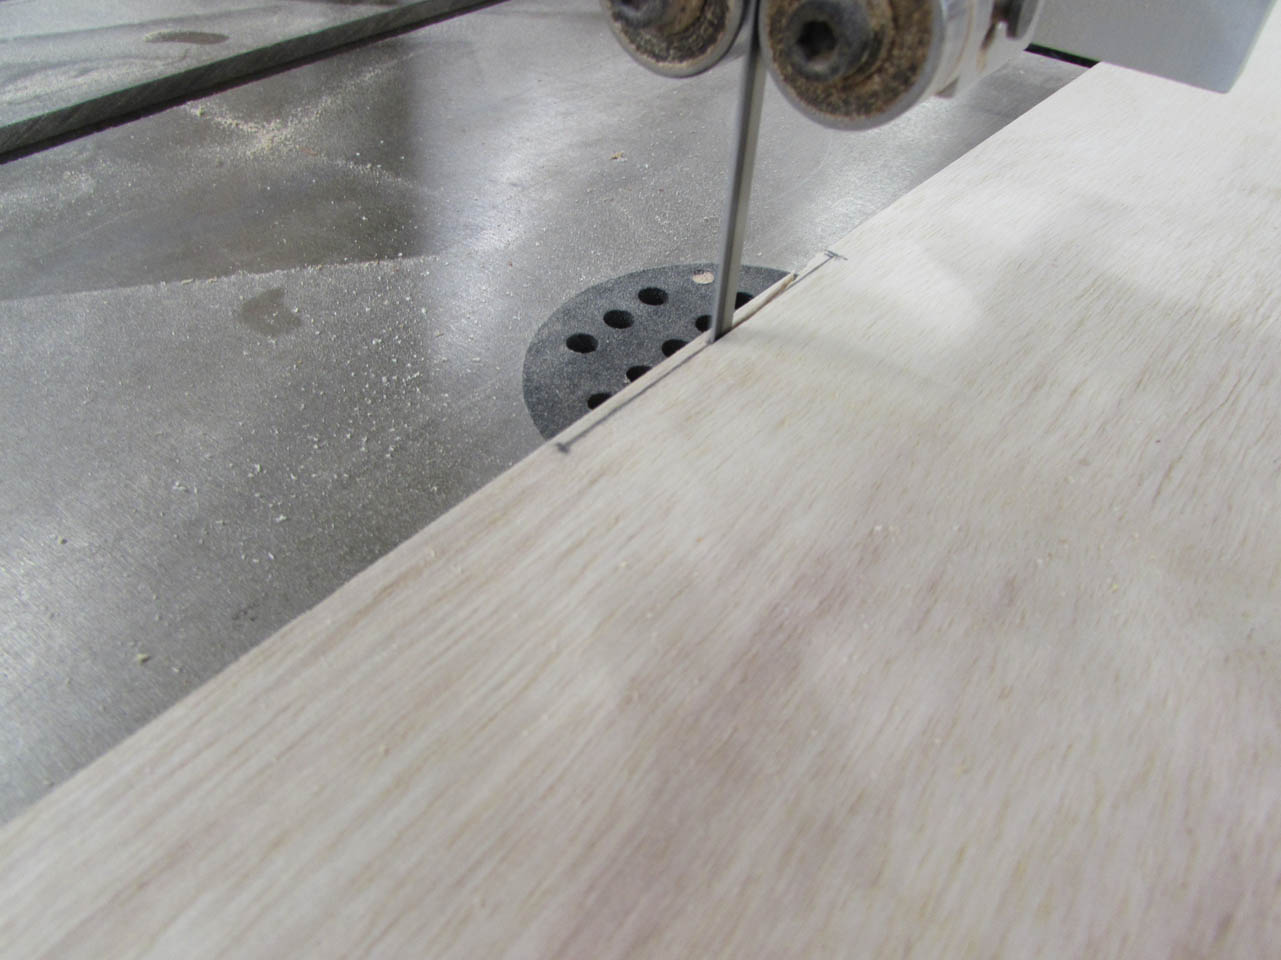
I installed the storage panel and marked the location of the hinges so that I could cut a notch for the hinge to attach to the door. I used the bandsaw to cut these notches, I could have used a jig saw, but this was just faster.
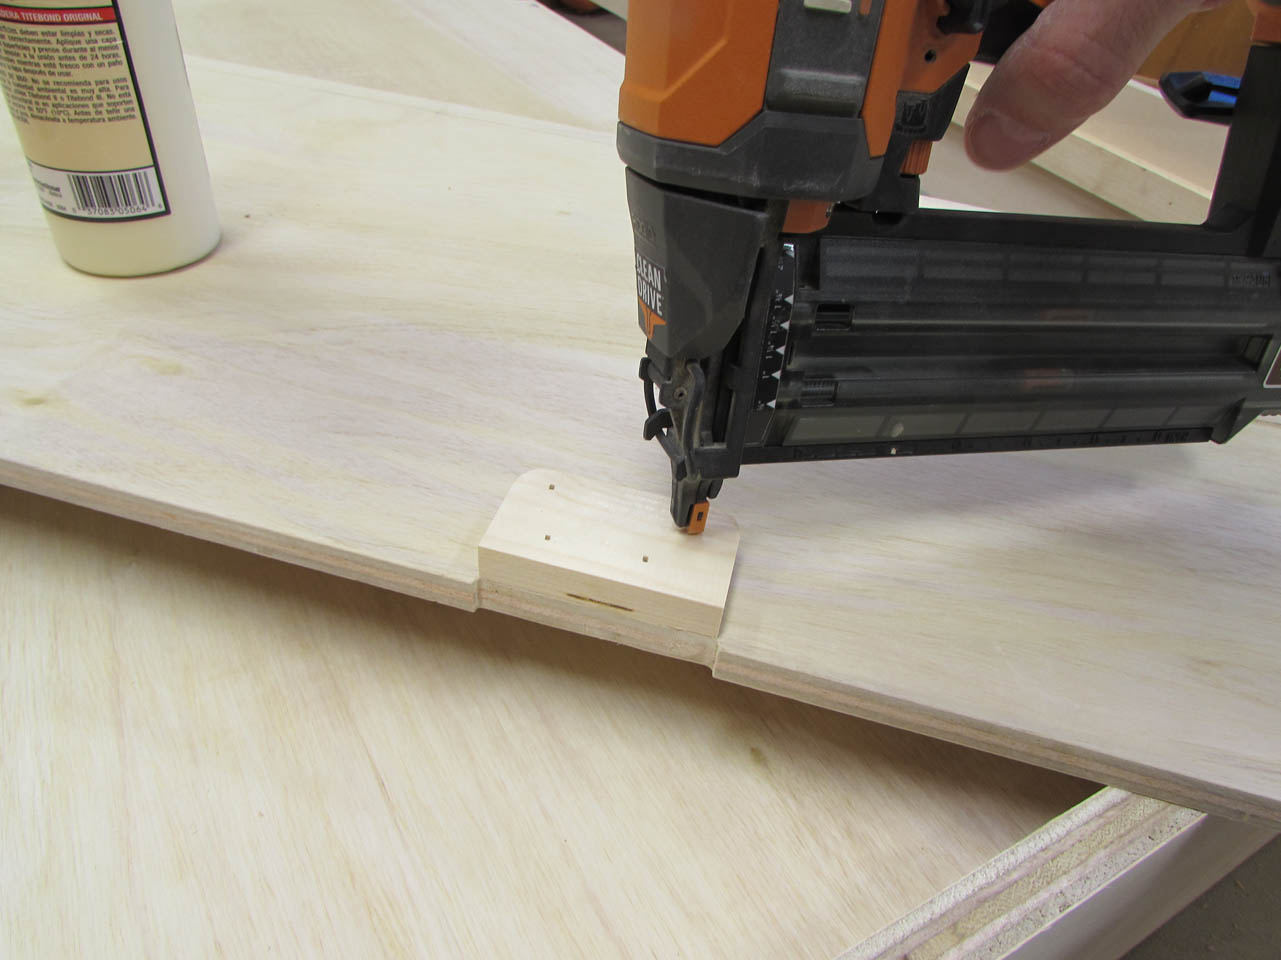
To thicken the door at the hinges, I made some blocks and attached them with glue and brad nails.
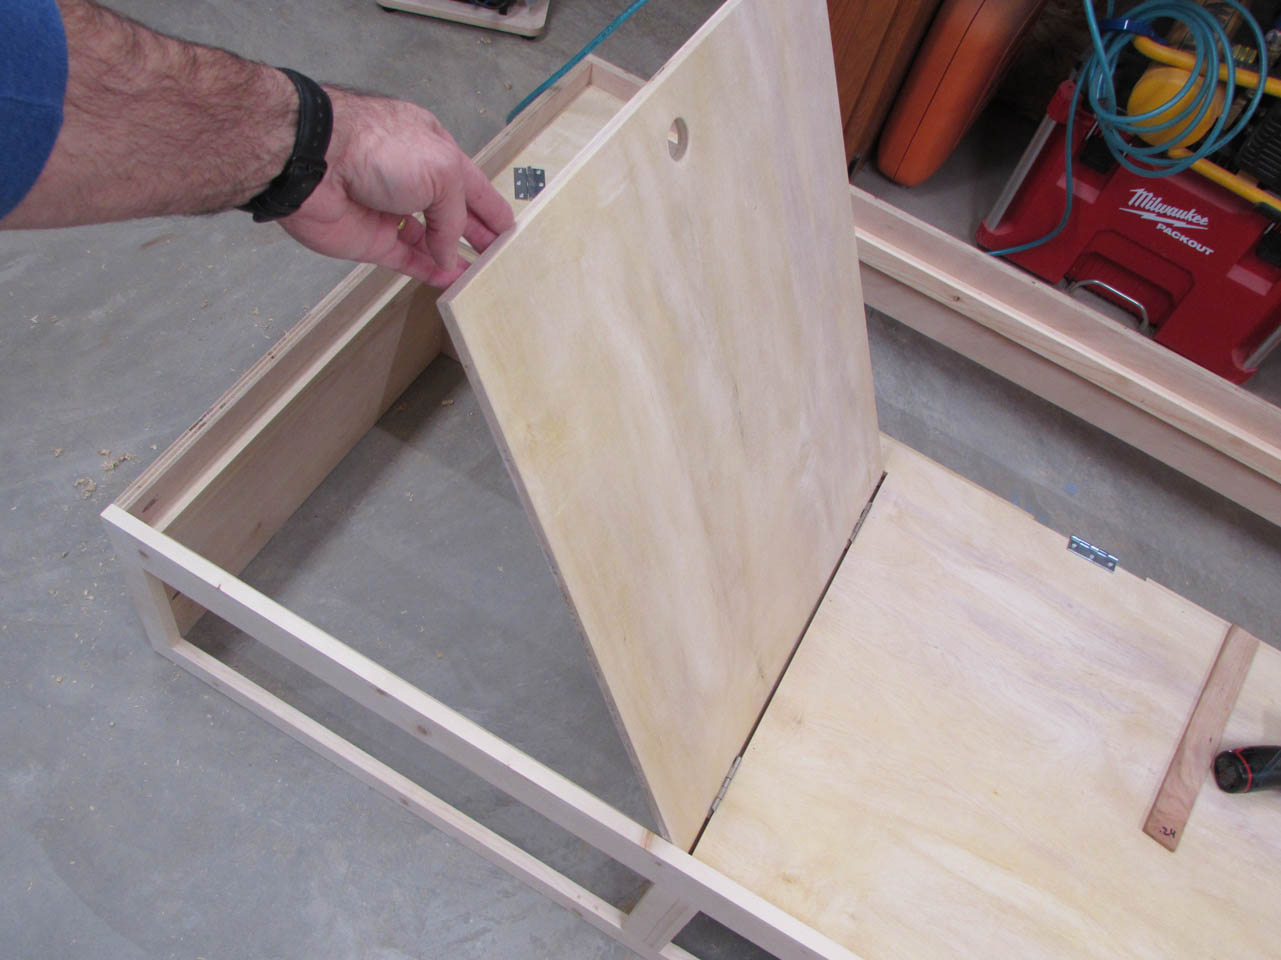
I placed a 1/4″ spacer under the panel to raise it up enough to attach the hinges to the door.
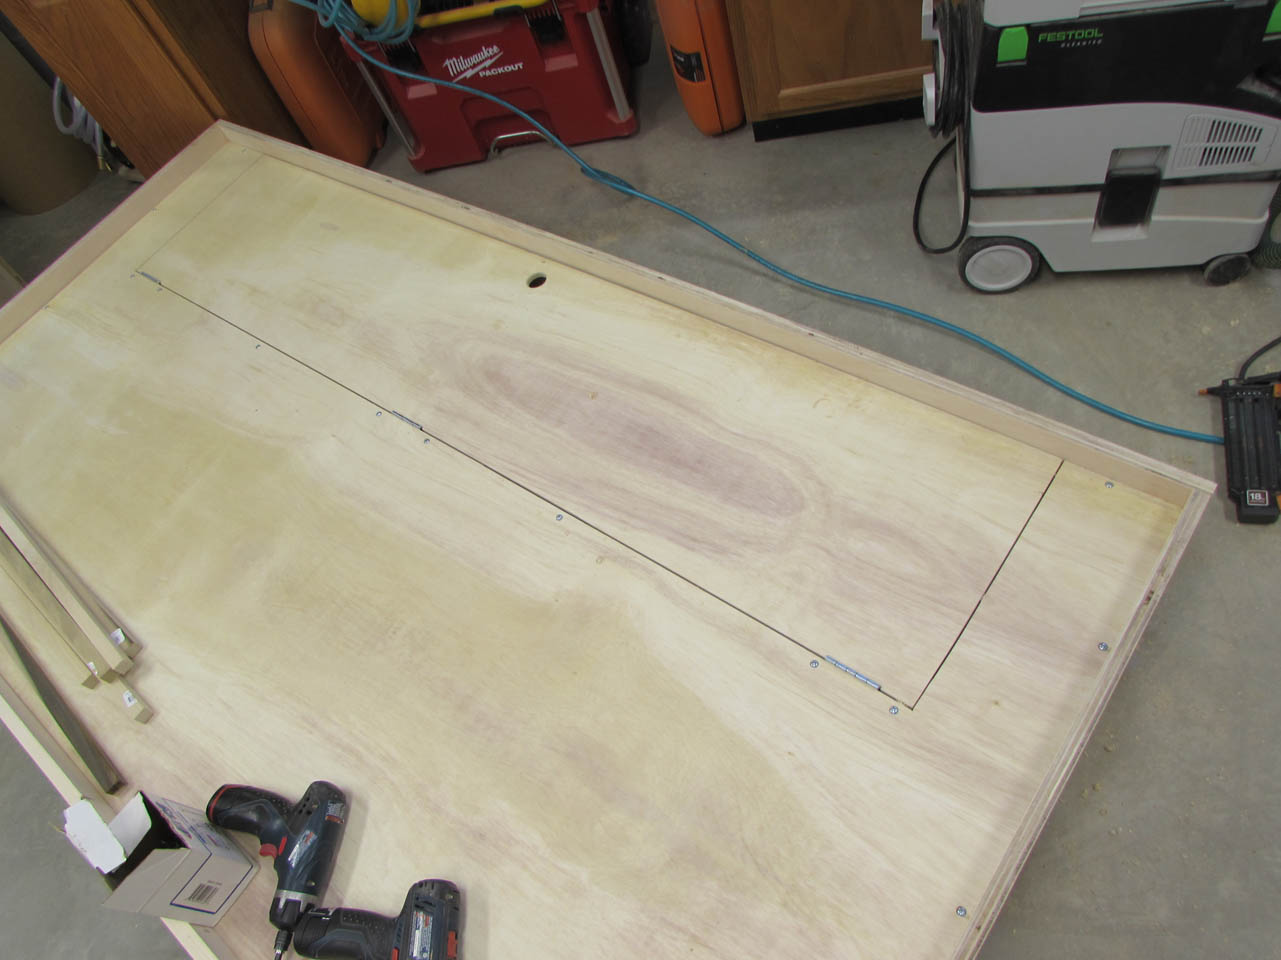
Now I have a functional storage door. The hinges set up about 1/4″ but they do not have sharp edges so they won’t bother the mattress.
Flipping the bed on its backside again, it is time to install the drawers.
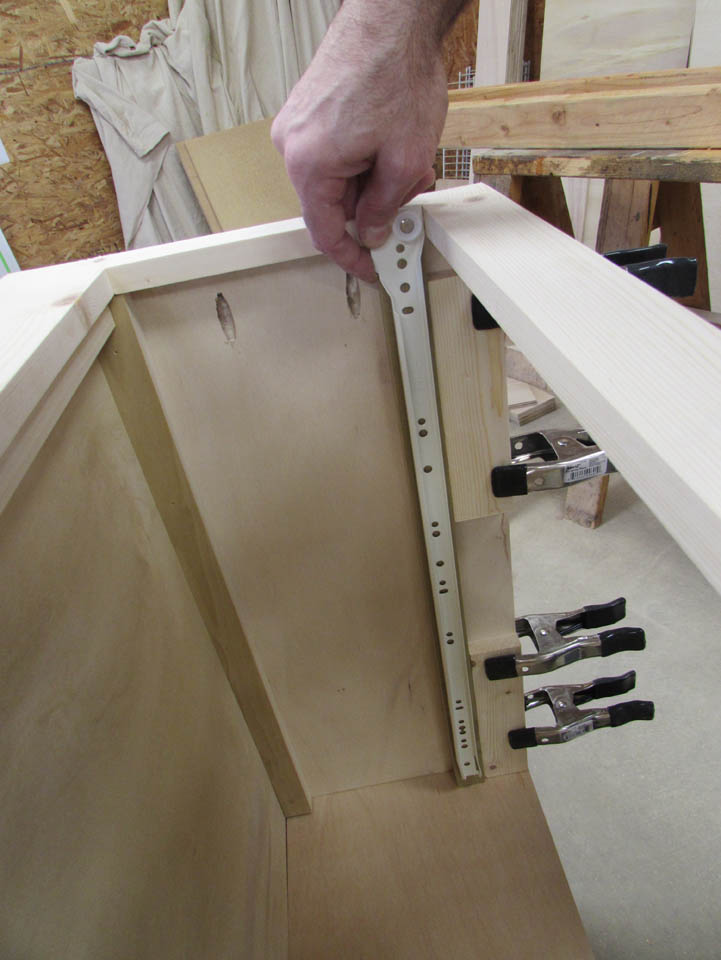
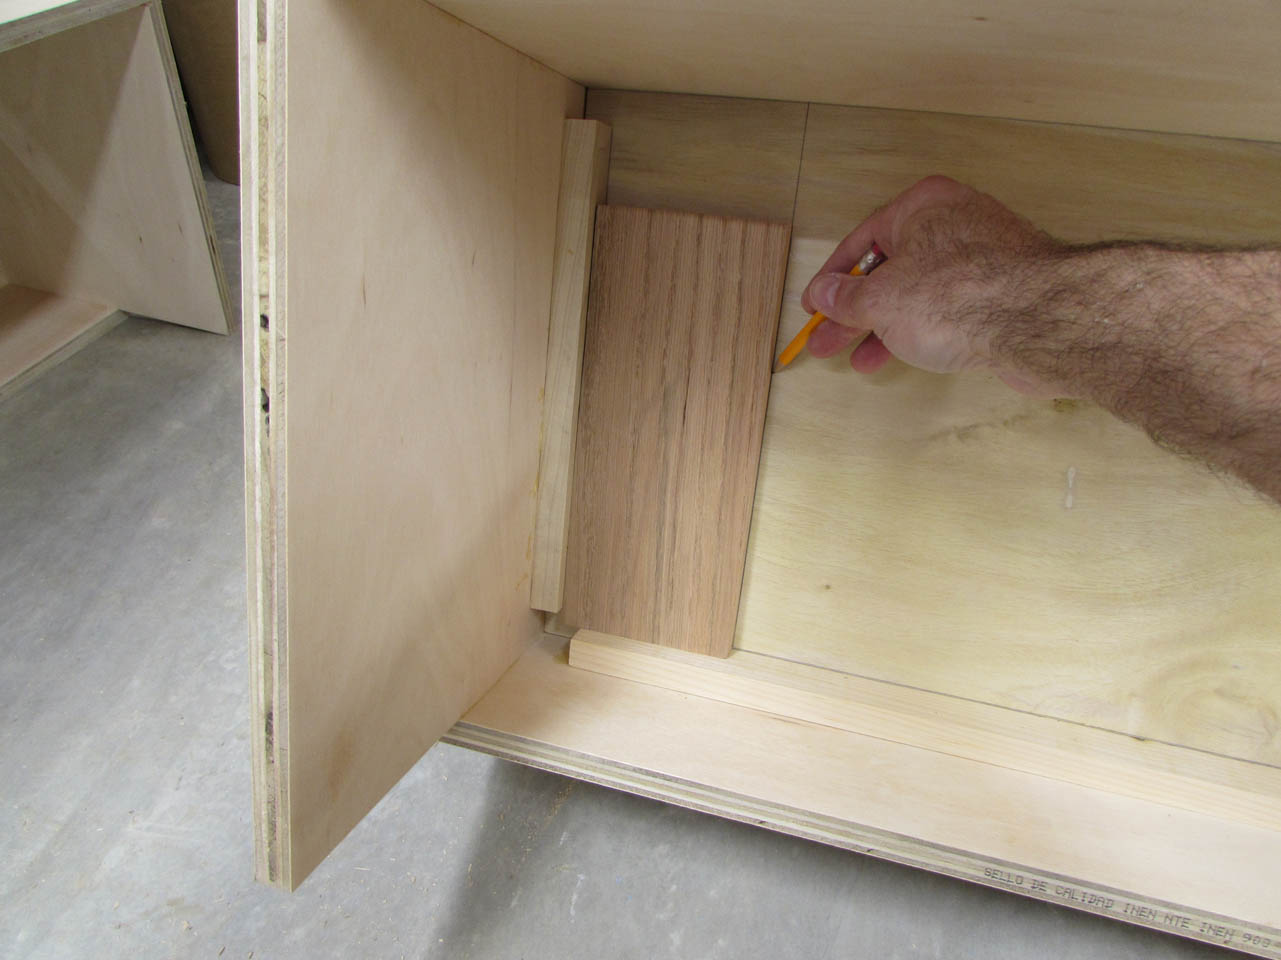
Since the bottom of the face frame is 2″ wide, I used my 2″ blocks to space the strip of wood that I need on the sides to attach the drawer slides to. I carefully measured the distance from the inside of the face frame to the sides and planed the strip down so that it set flush to the face frame when installed. I then glued and nailed each strip in place.
I held the slide about 1/8″ down from the face so that the drawer would set slightly recessed and attached the slides along the new strip.

Holding the drawer slides, flush to the front of the drawer, I attached three screws down each side of the drawers.

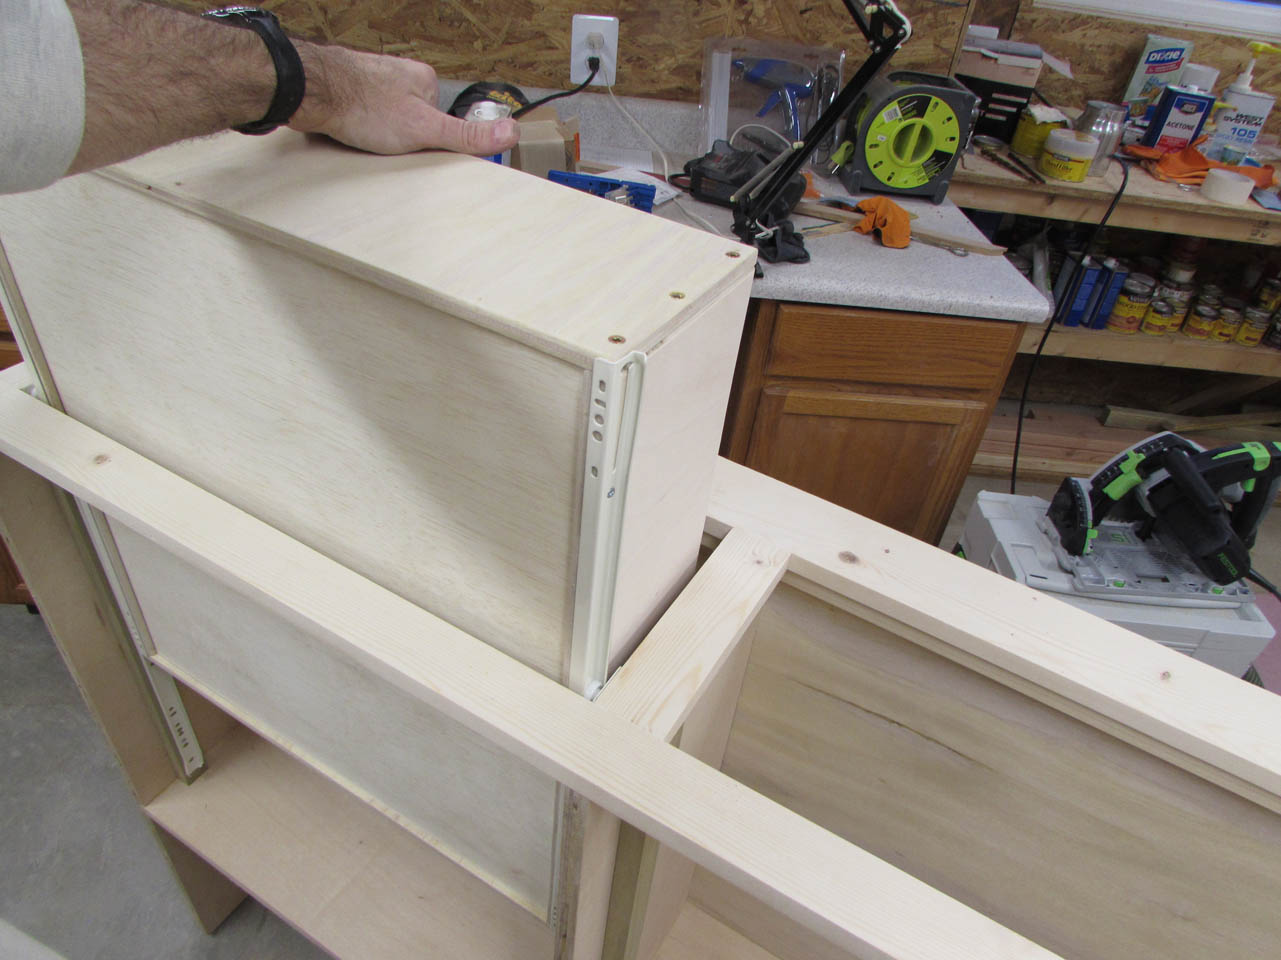
The first and last drawer fit perfectly, but somehow the center one was not perfectly parallel and it bound up a little. I simply removed the hardware and sanded down the runner in the areas that were closer together and then reattached the hardware.
This is one of the drawer faces that will be attached later after painting.
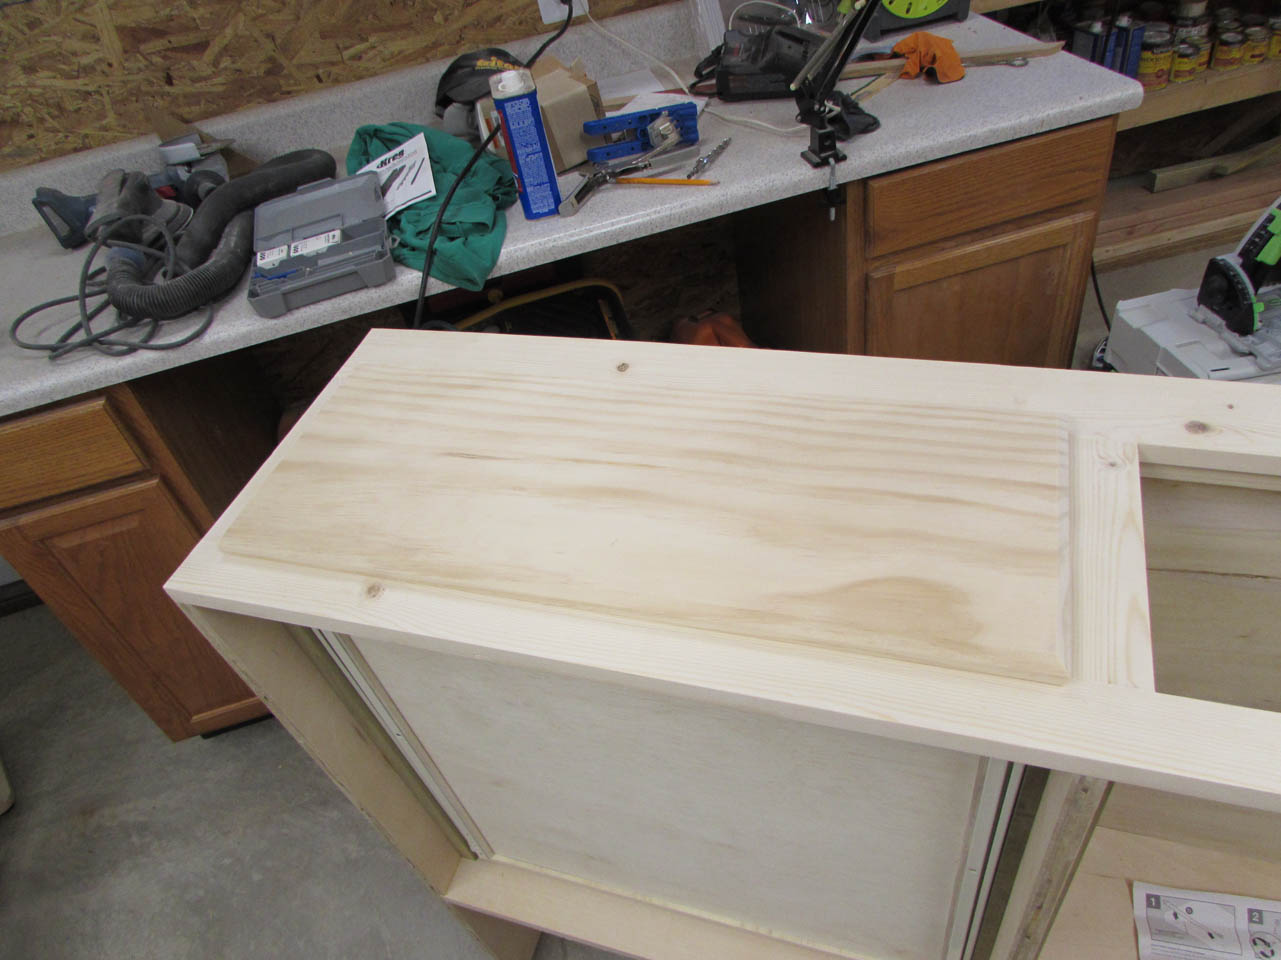
First bed is done and all the drawers work well.
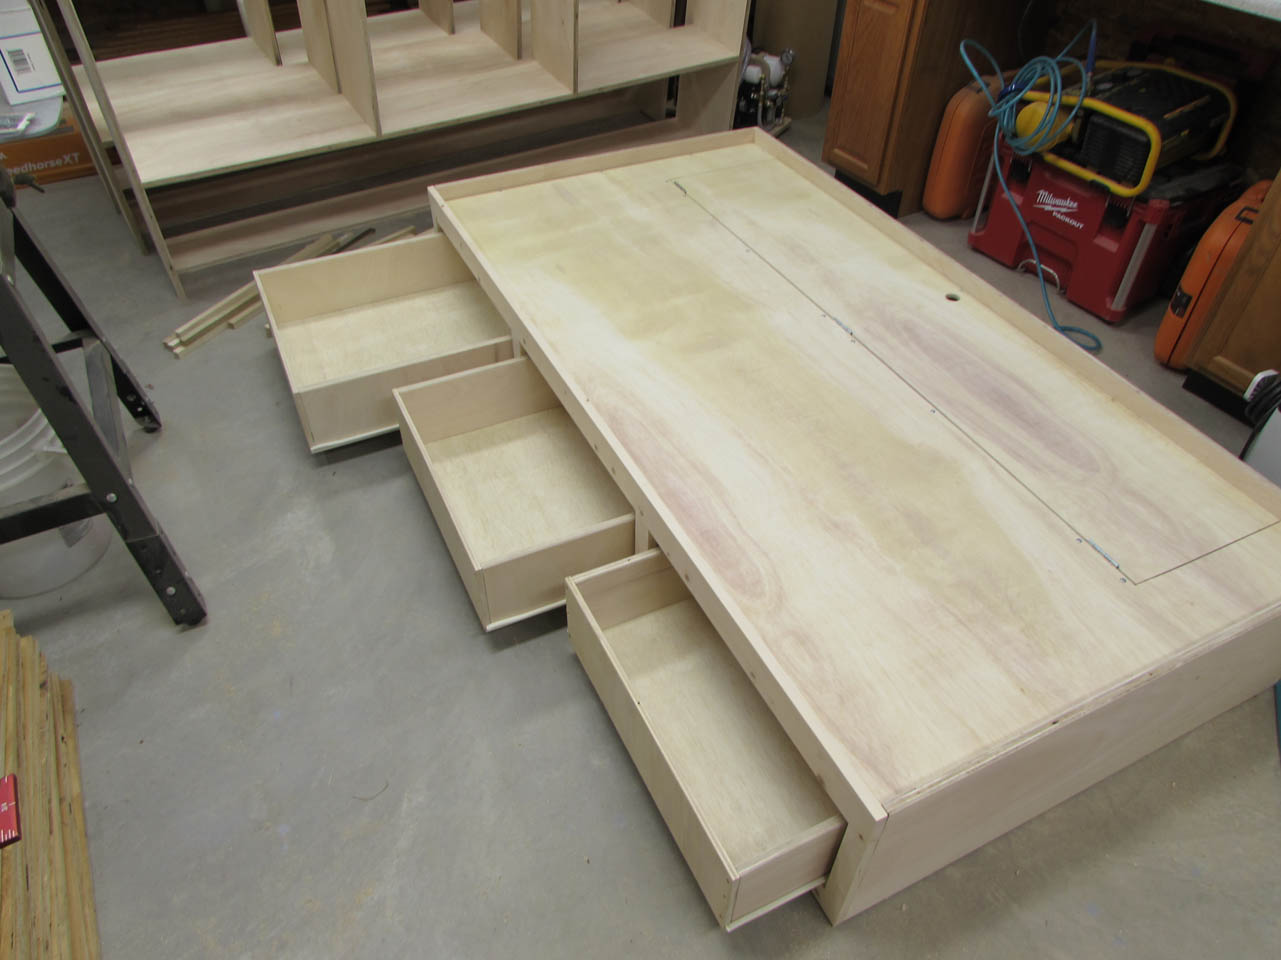
I took more time squaring up the drawer sides in the rest of the beds so that I did not have any trouble fitting the rest of the drawers.

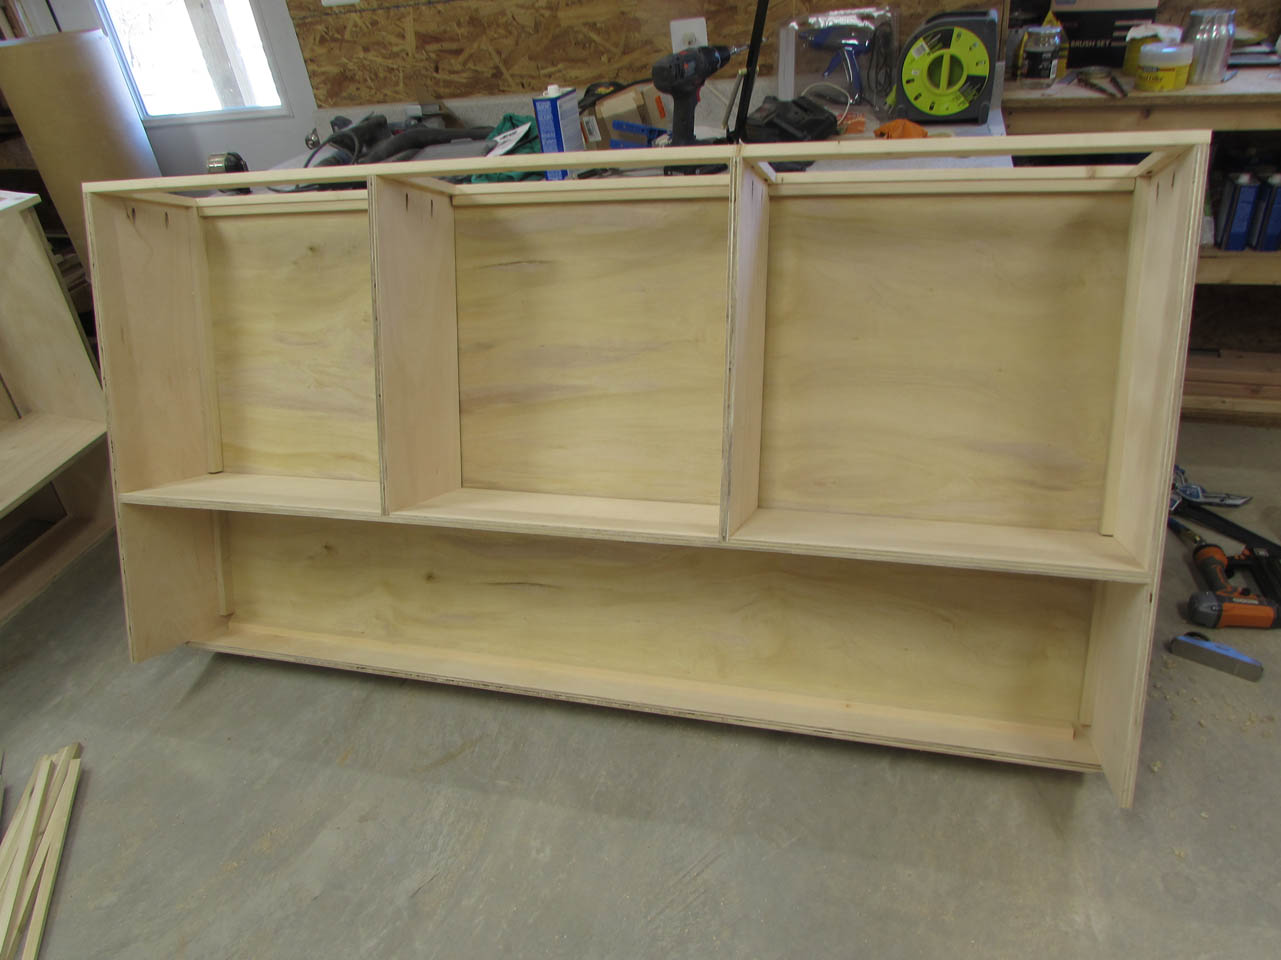
After the first two 3-drawer beds were done, I squeezed them off to one side and started on the two 2-drawer beds.
They have an additional storage section where the third drawer would have been.
This will require additional support along the center divider, so after marking all of my openings, I cut a 2″ wide strip and added pocket holes to the ends to attach in place with glue and screws, plus a few nails from the back of the center support.
Then I took my time cutting the openings out, same as before and I added finger holes for both panels.
Before reattaching the plywood, I applied a bead of glue along all of the supports.
Then I set the plywood back in place and attached it with brad nails. I realized that I did not need to use the screws I attached on the other two beds since I would not be removing the plywood again.
After adding some more blocking around the hinge locations, I installed the hinges.
Perfect fit.

Bed #3 is done, just one more to go.