
Built-in beds – part 6
Before I start assembling anything, I need to address the stopped dados that I cut with the table saw. I need square corners for the plywood to fit into and I have a slight ramp from the curve of the blade instead.

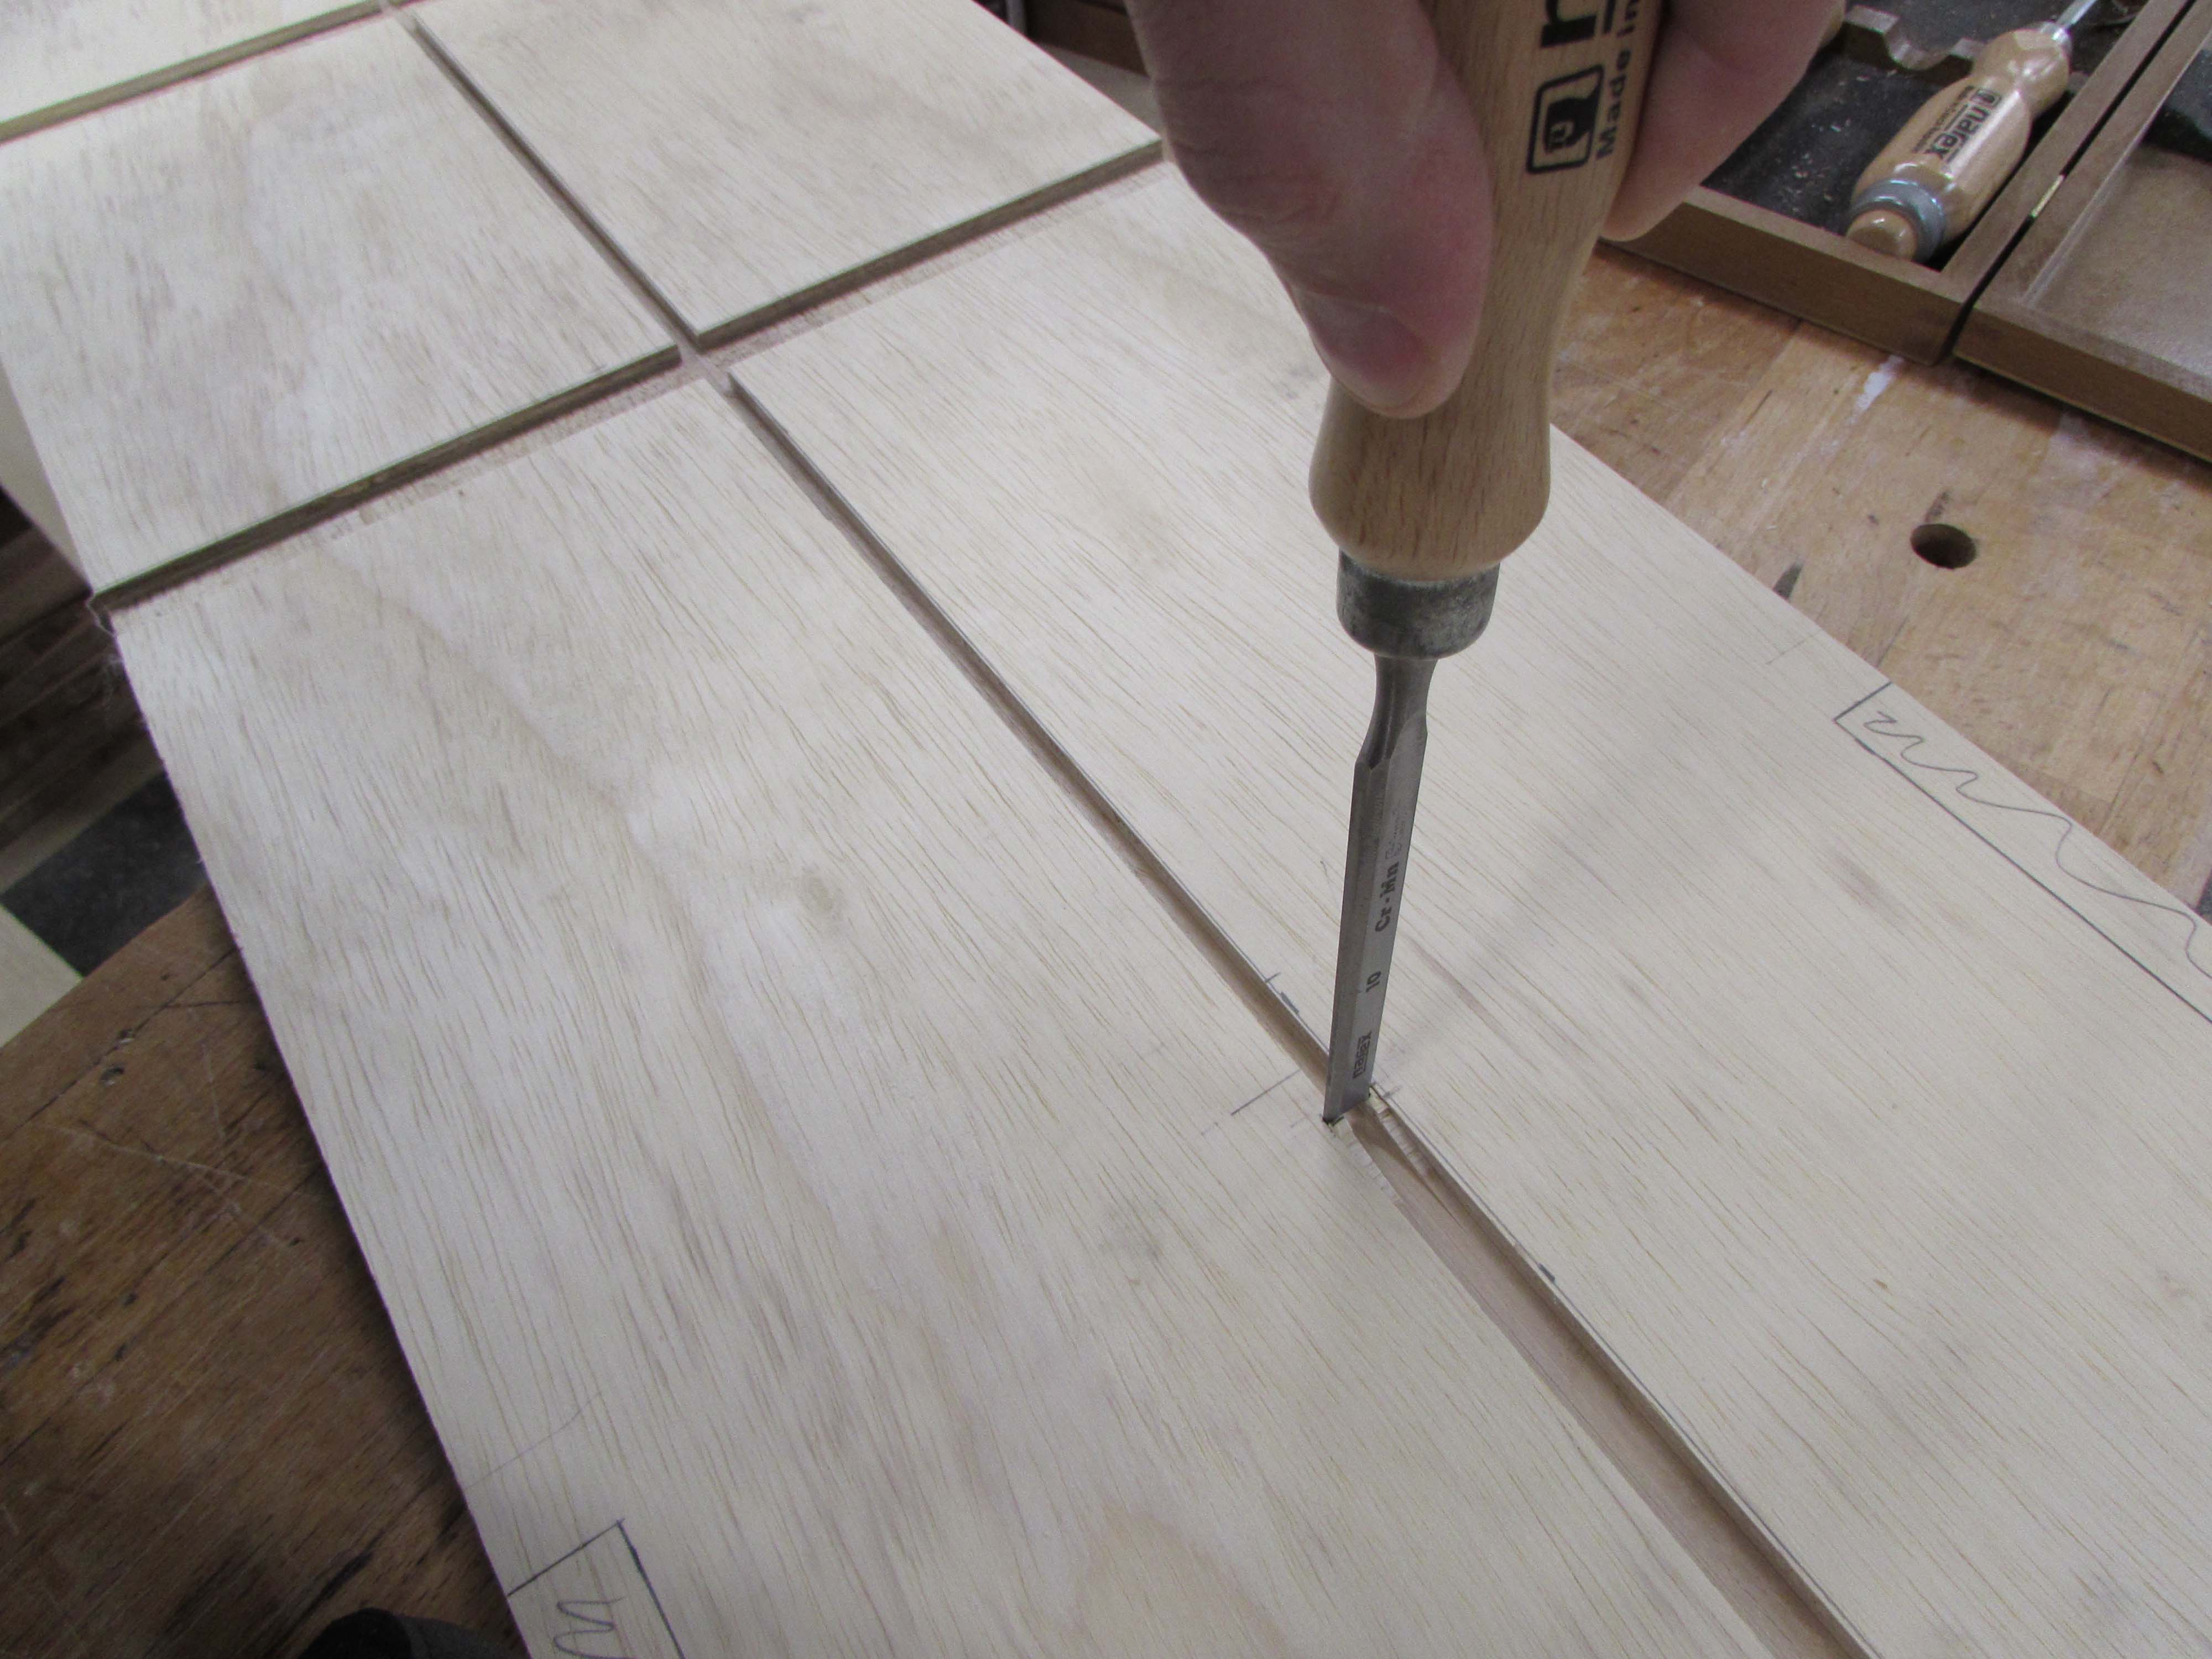
This can be easily removed with a chisel.


The last detail is to cut notches on the sides of the central support piece. This needs to be narrower because it fits between the beds allowing everything above it to be 3/4″ wider on each side to hang over the top of the bed frame and give each kid a little bit more depth to the shelves without encroaching on the mattresses.
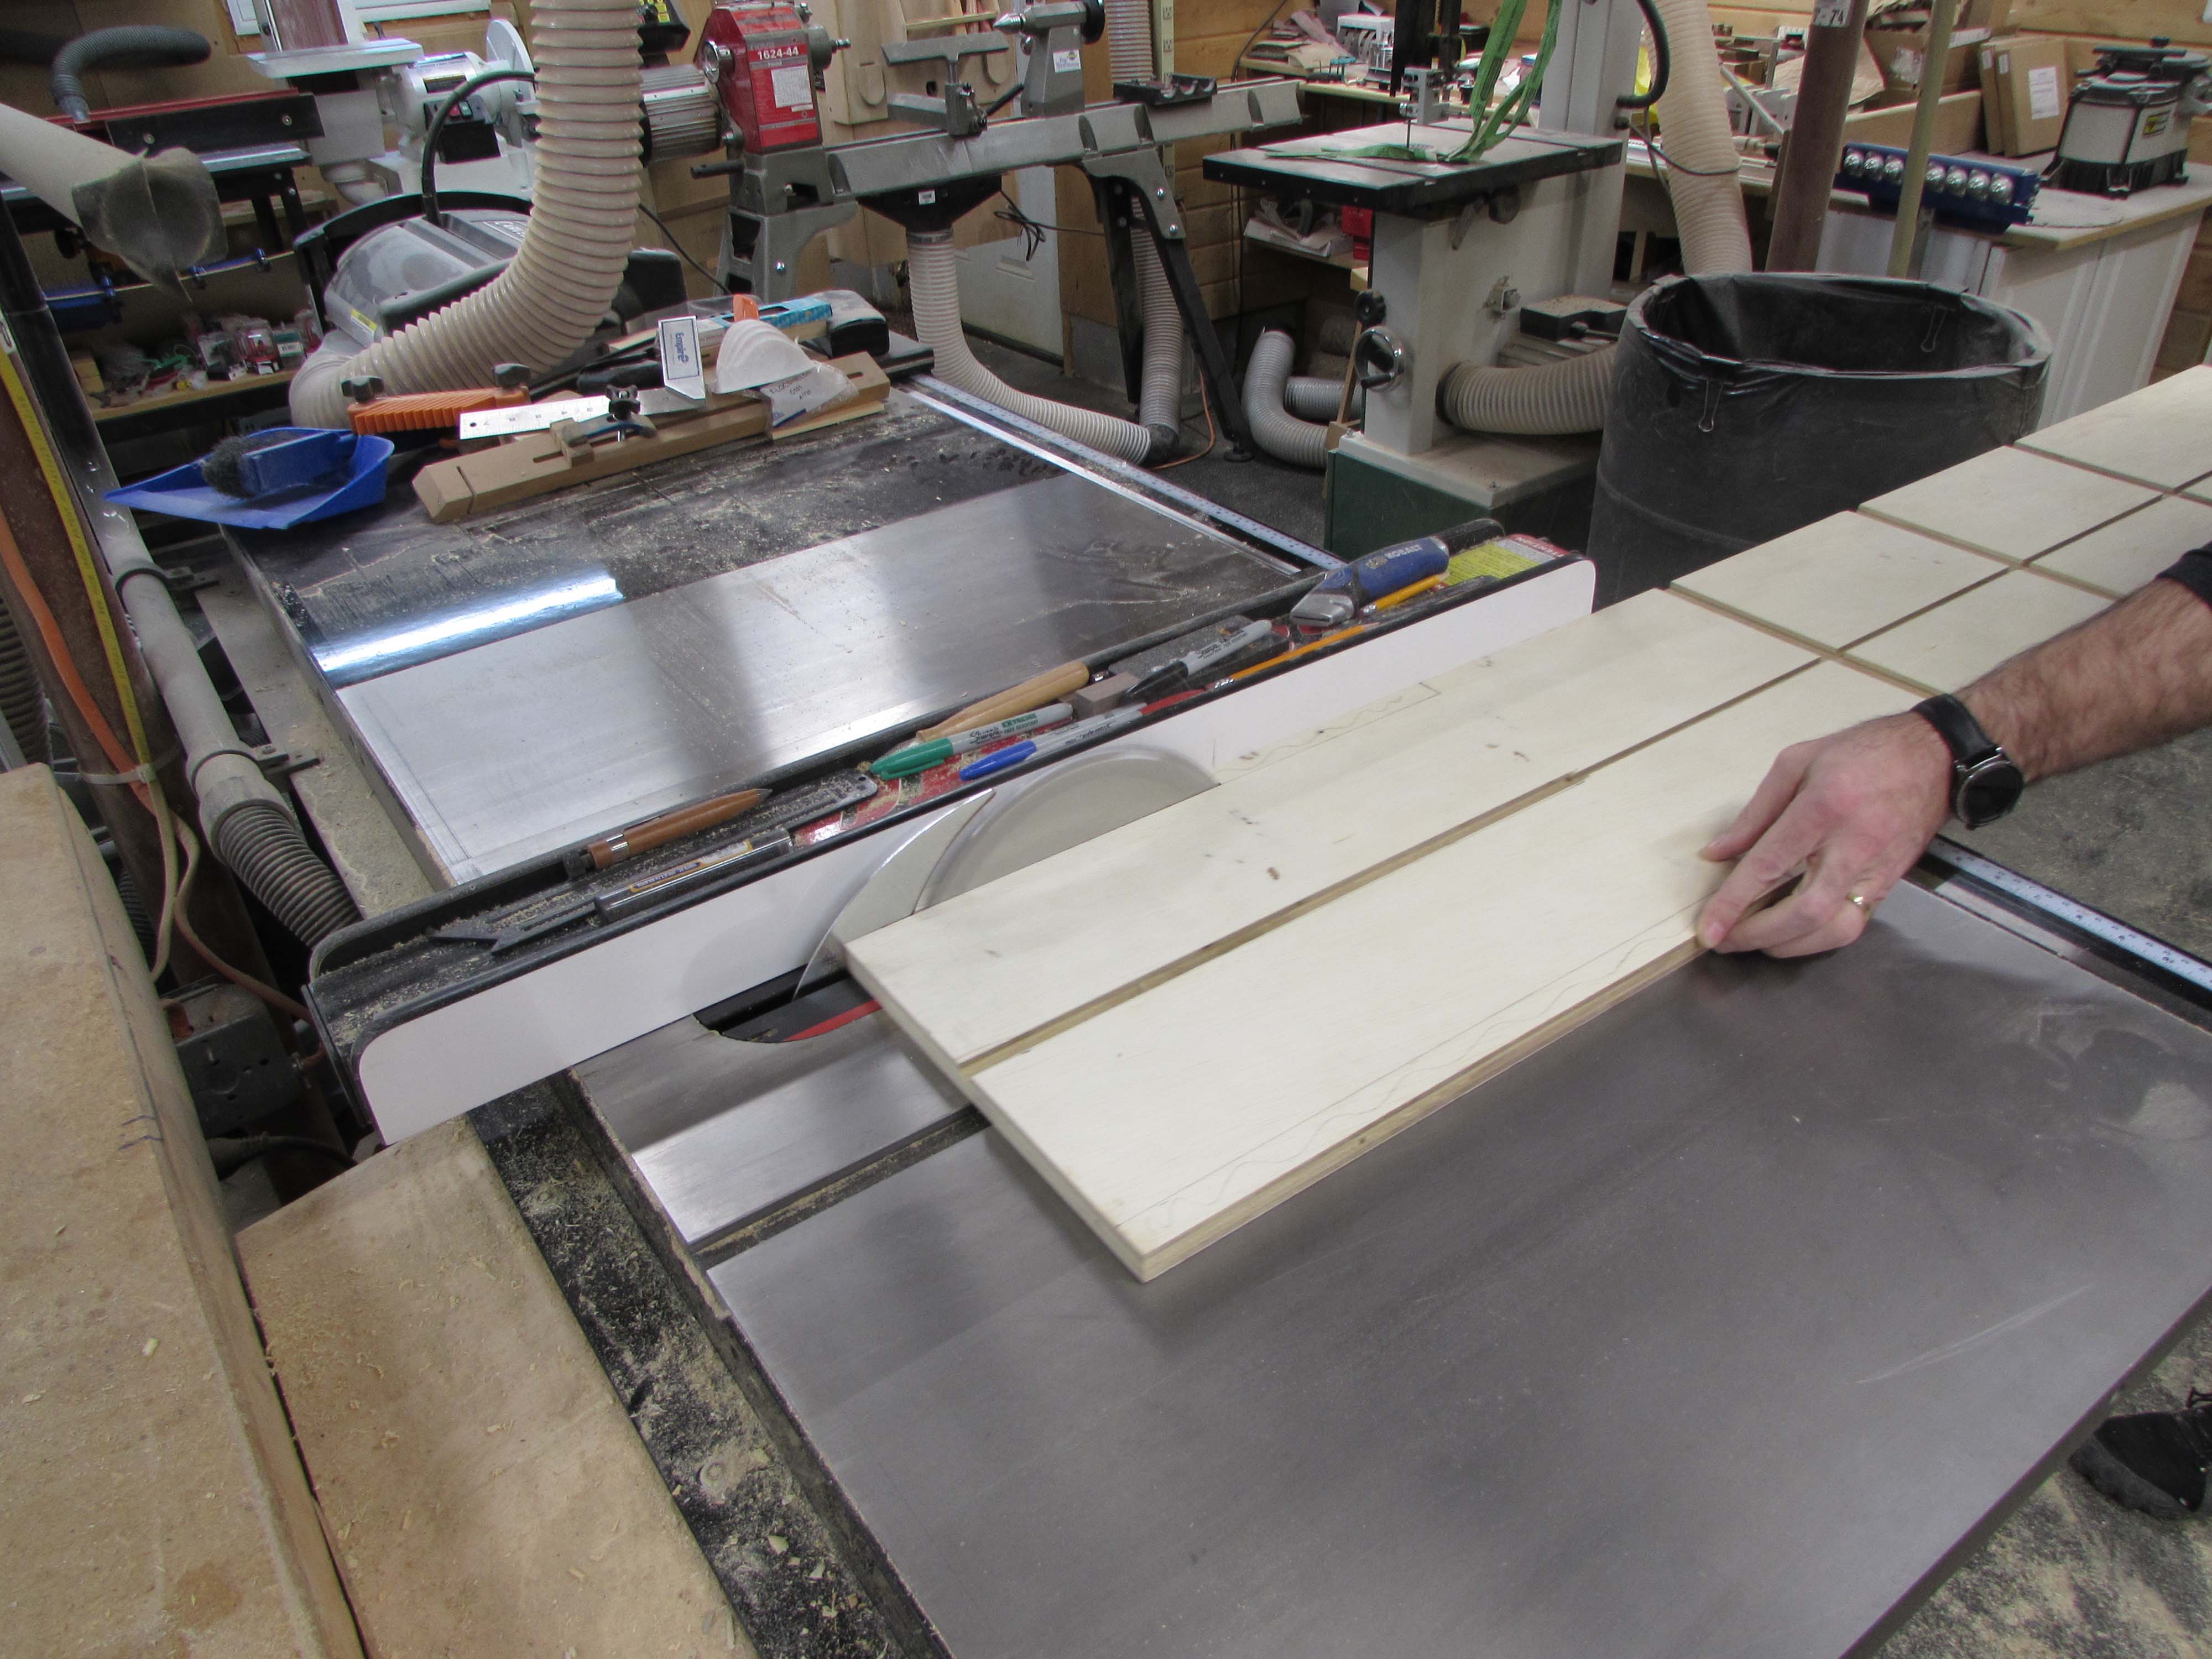
The table saw cuts most of the notch, nice and straight. Then I finish off the cut with my pull saw.

Time to figure out the order of assembly. I am starting by assembling the small box at the base of the book shelf with glue and counter-sunk screws on the bottom.

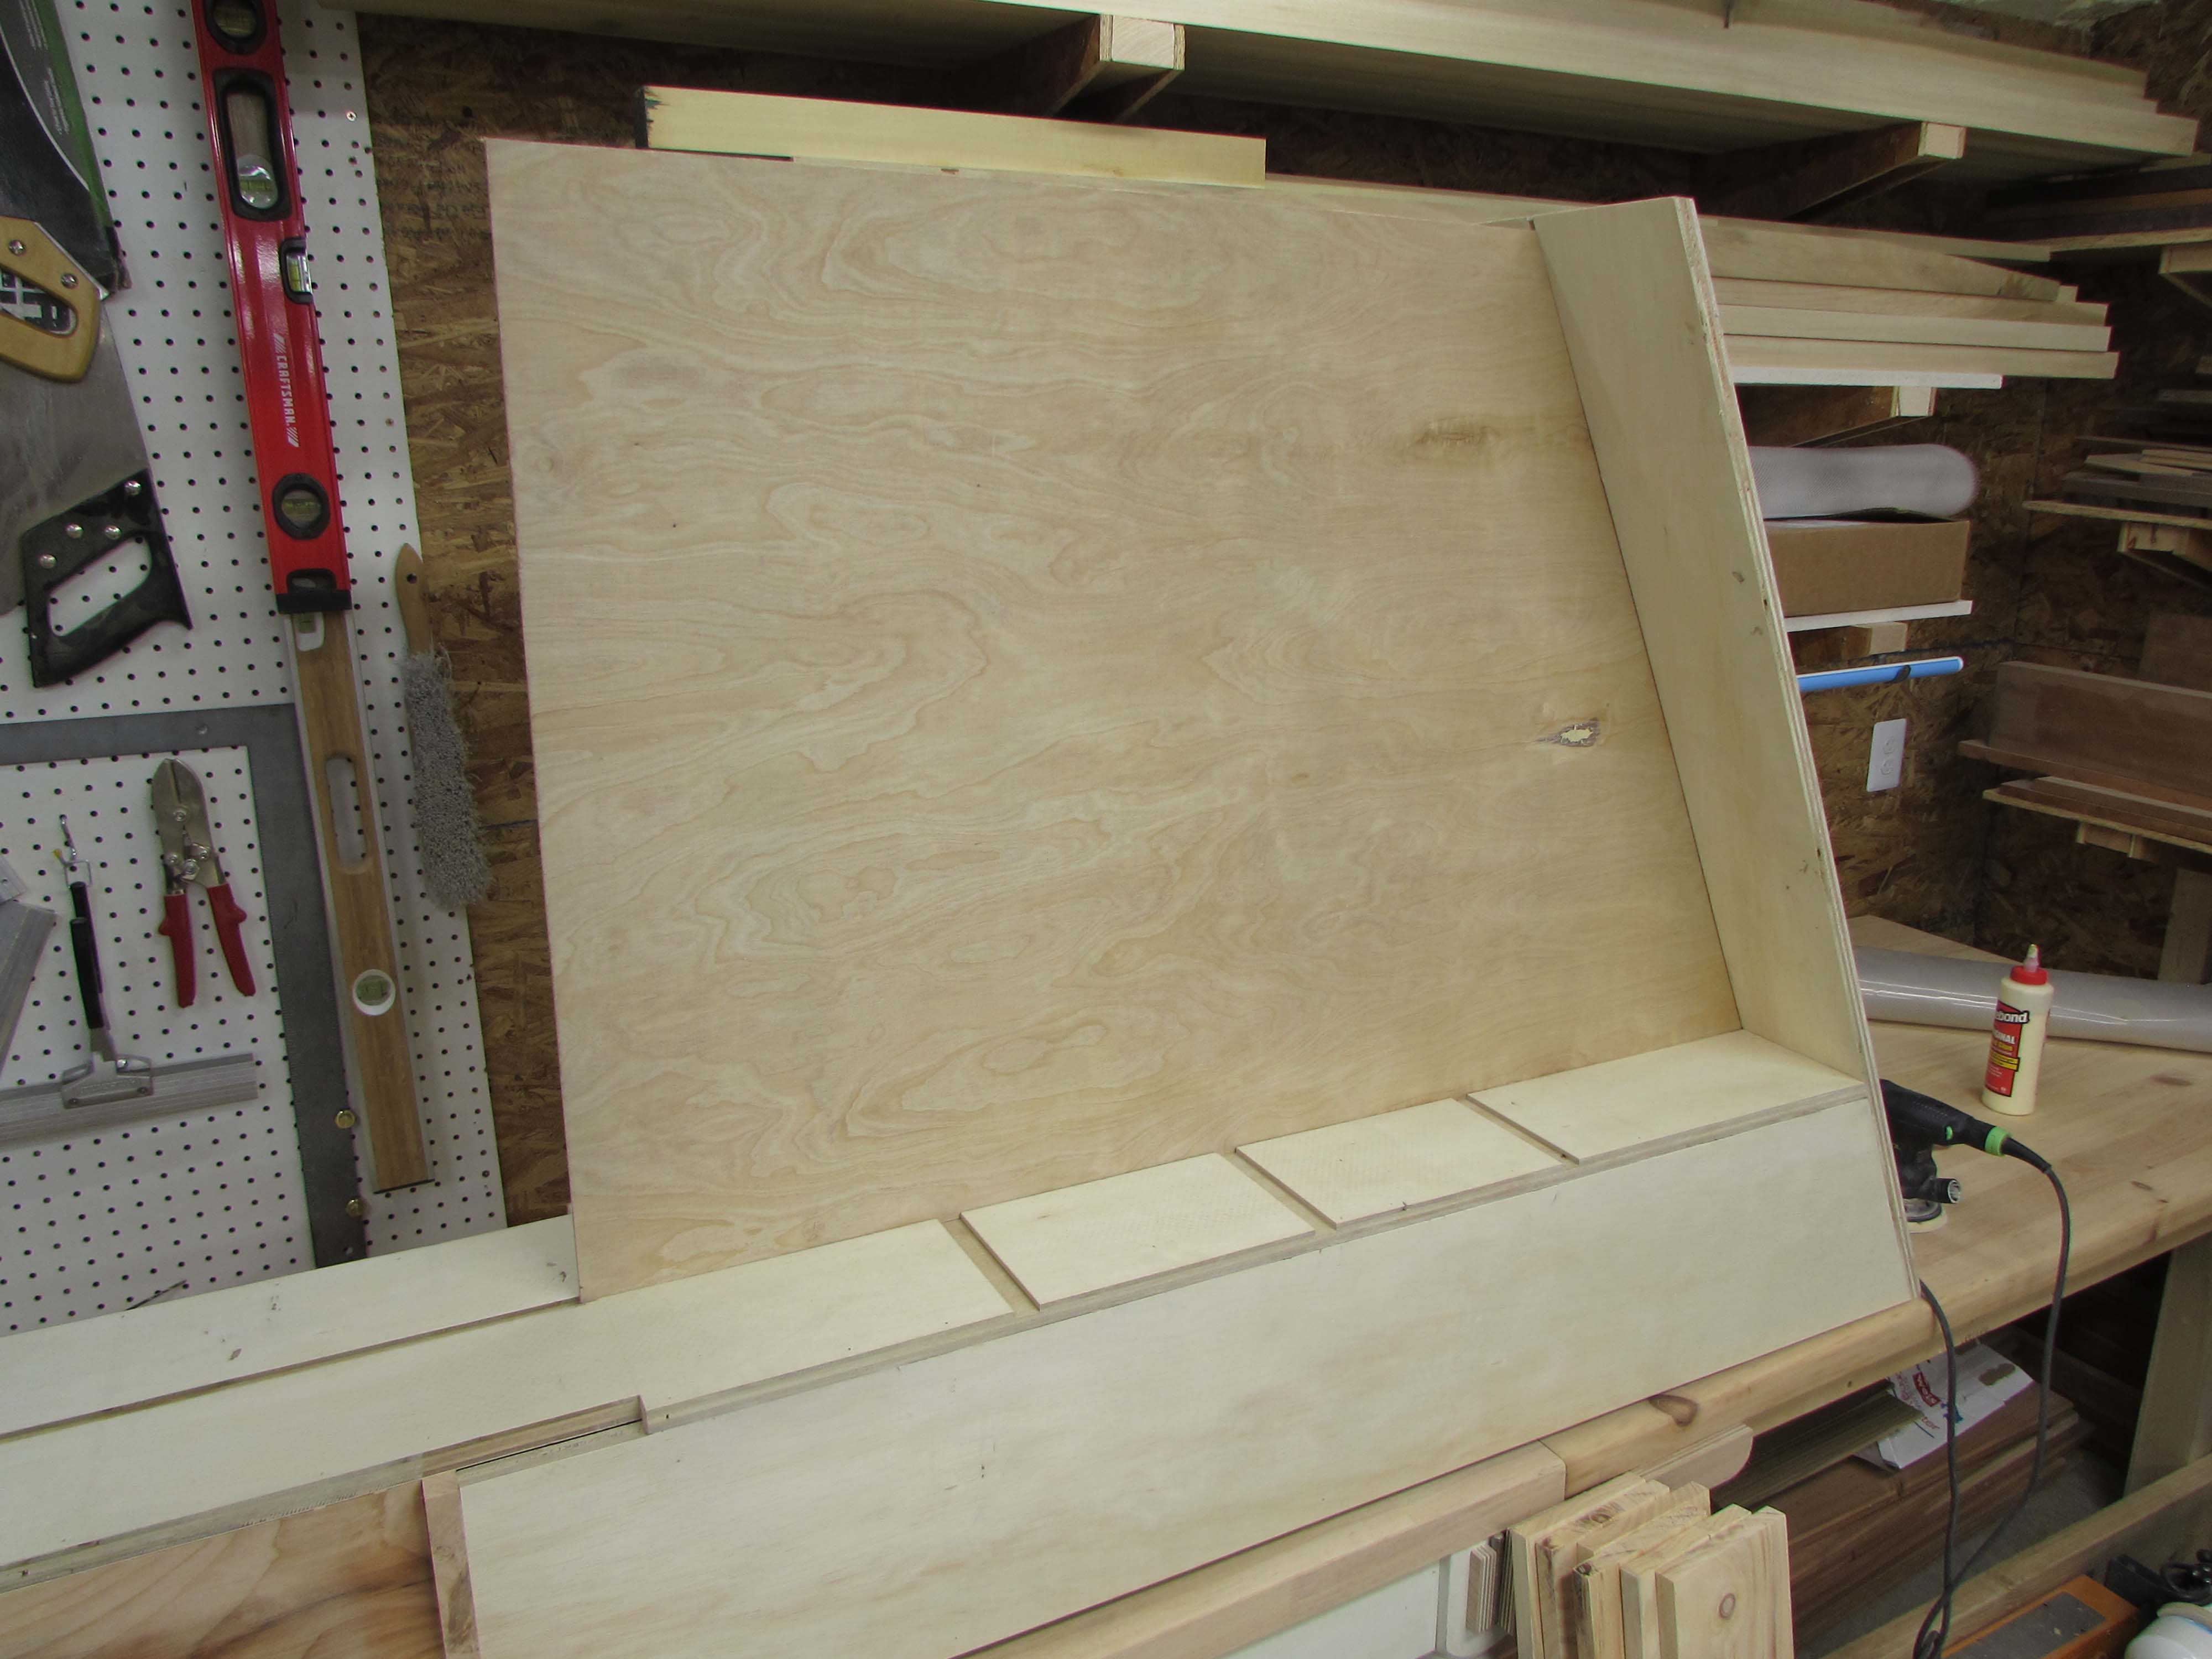
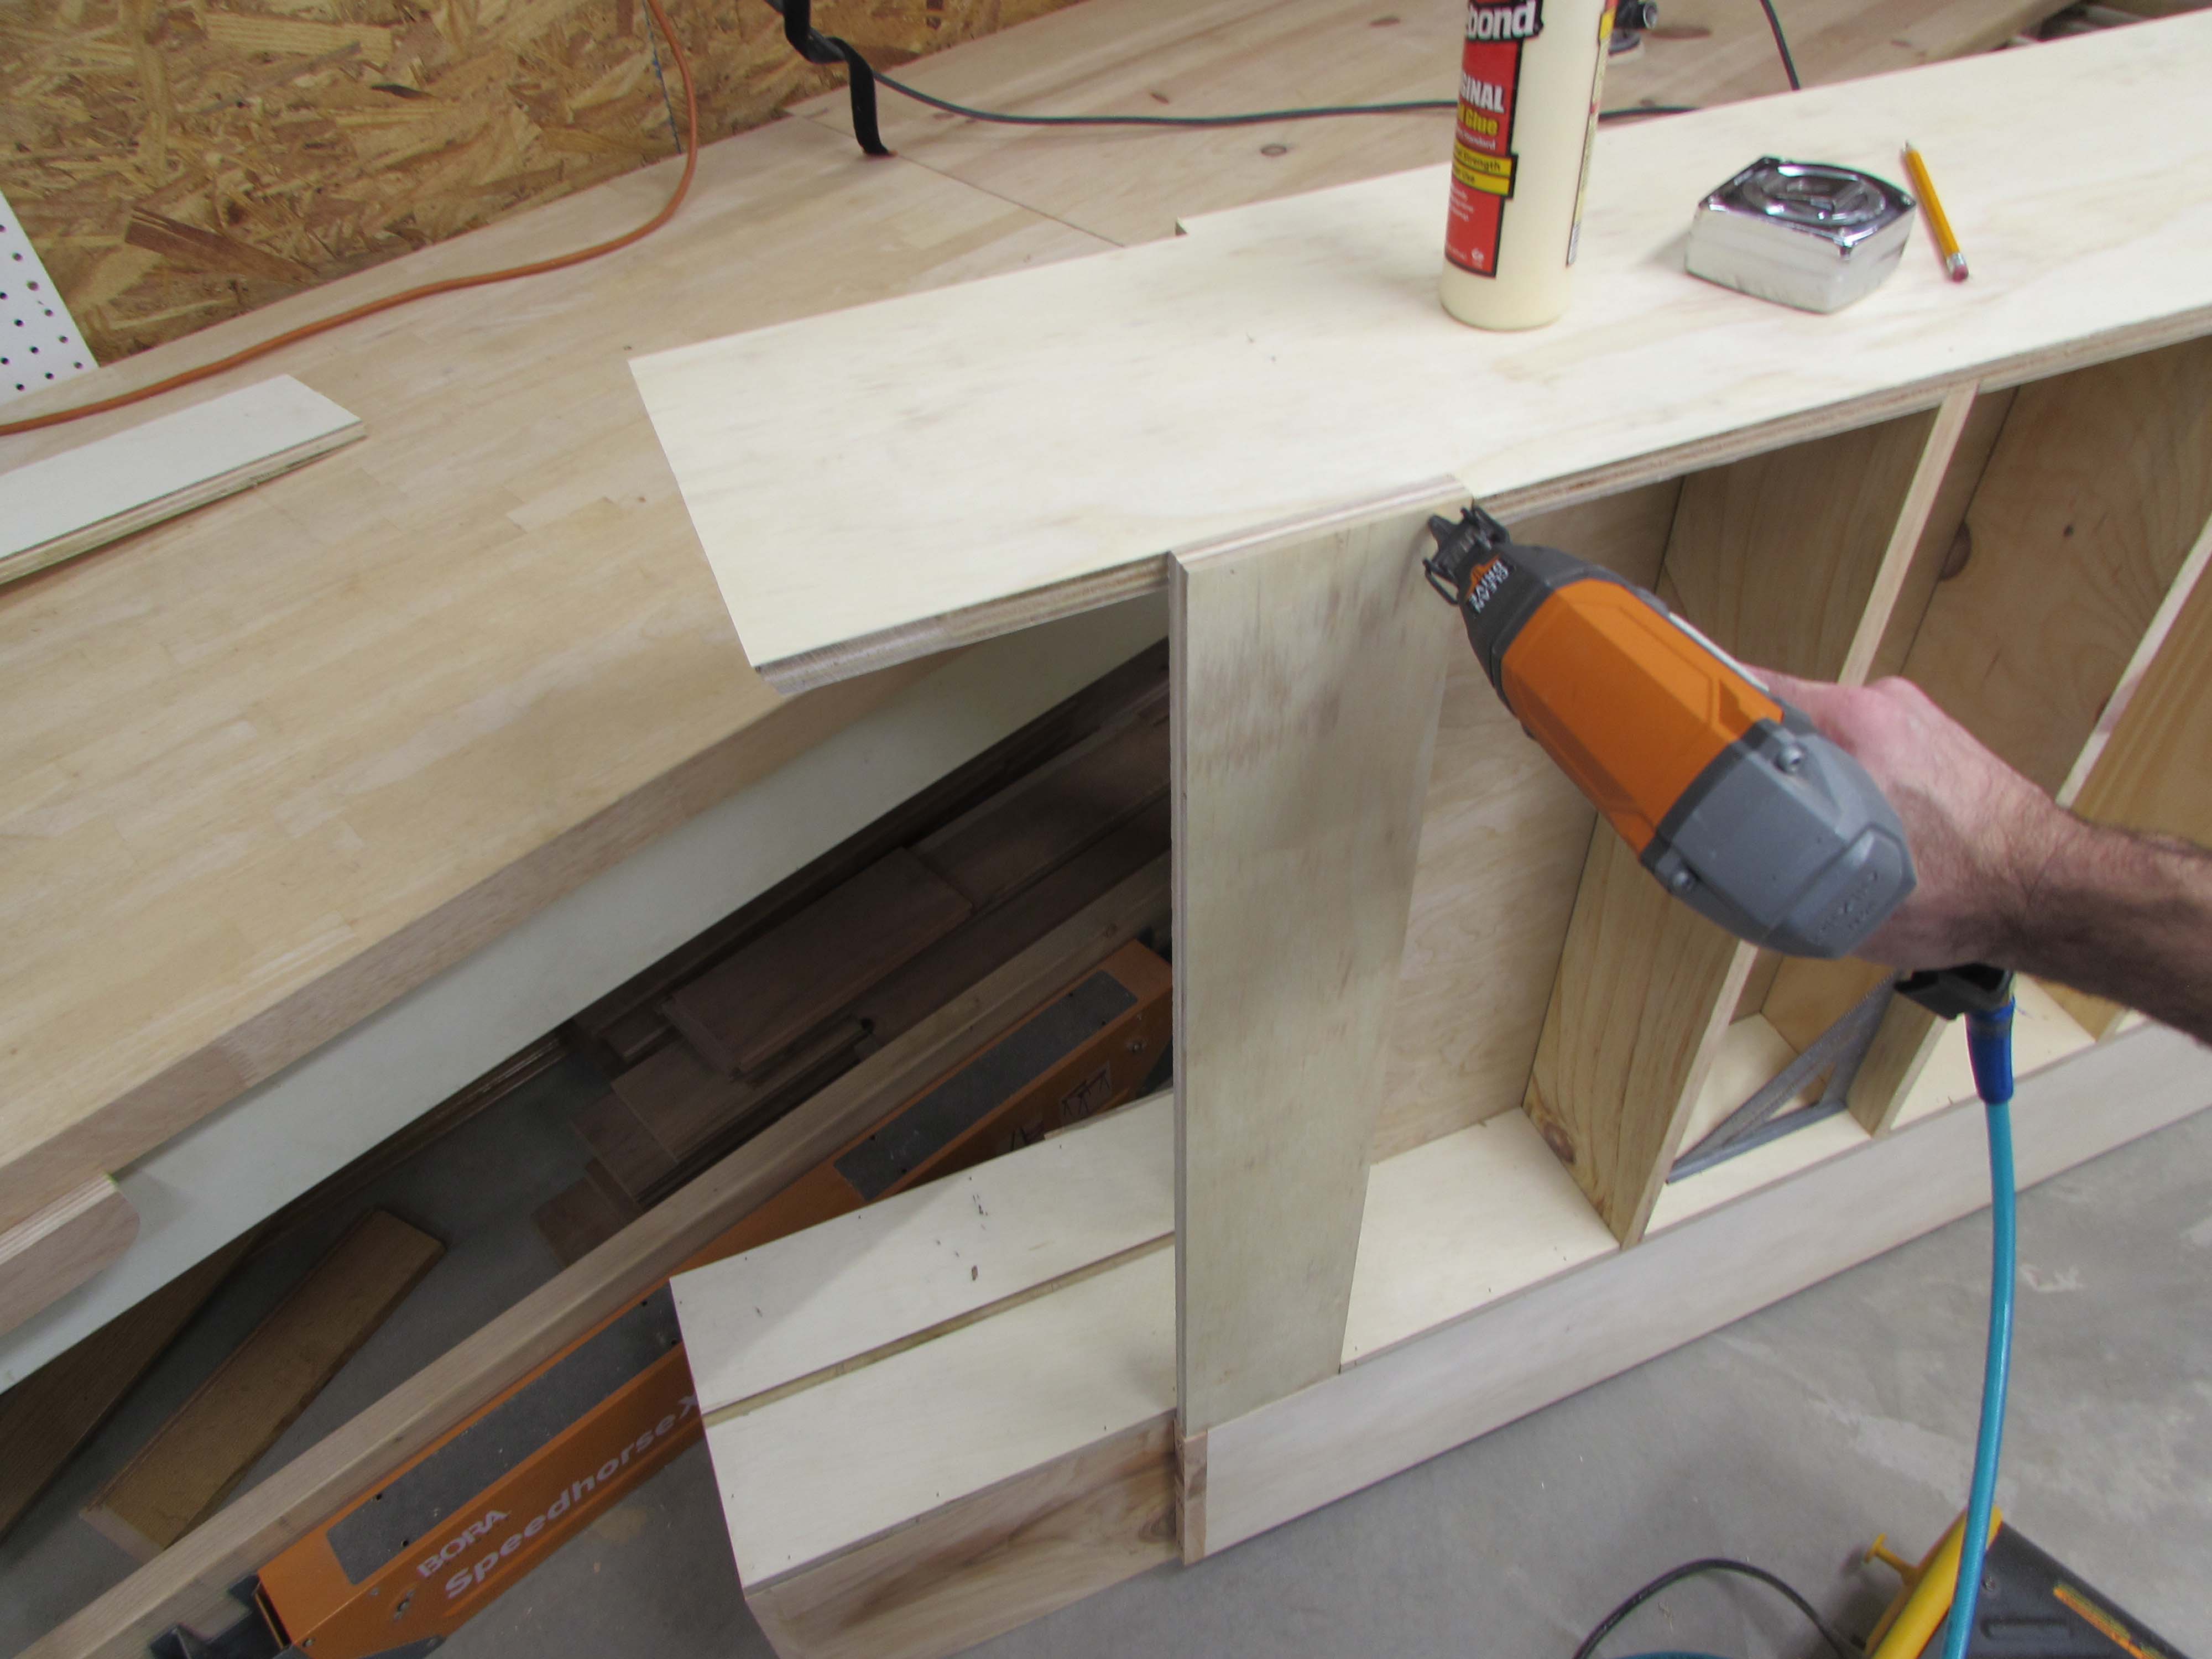
The top of this section is notched because it will stick 1″ out in front of the beds to break up the front plane of the beds visually. To more easily align it, I clamped two 3/4″ pieces of scrap to the sides so I can hold the 3/4″ overhang flush while attaching the top.
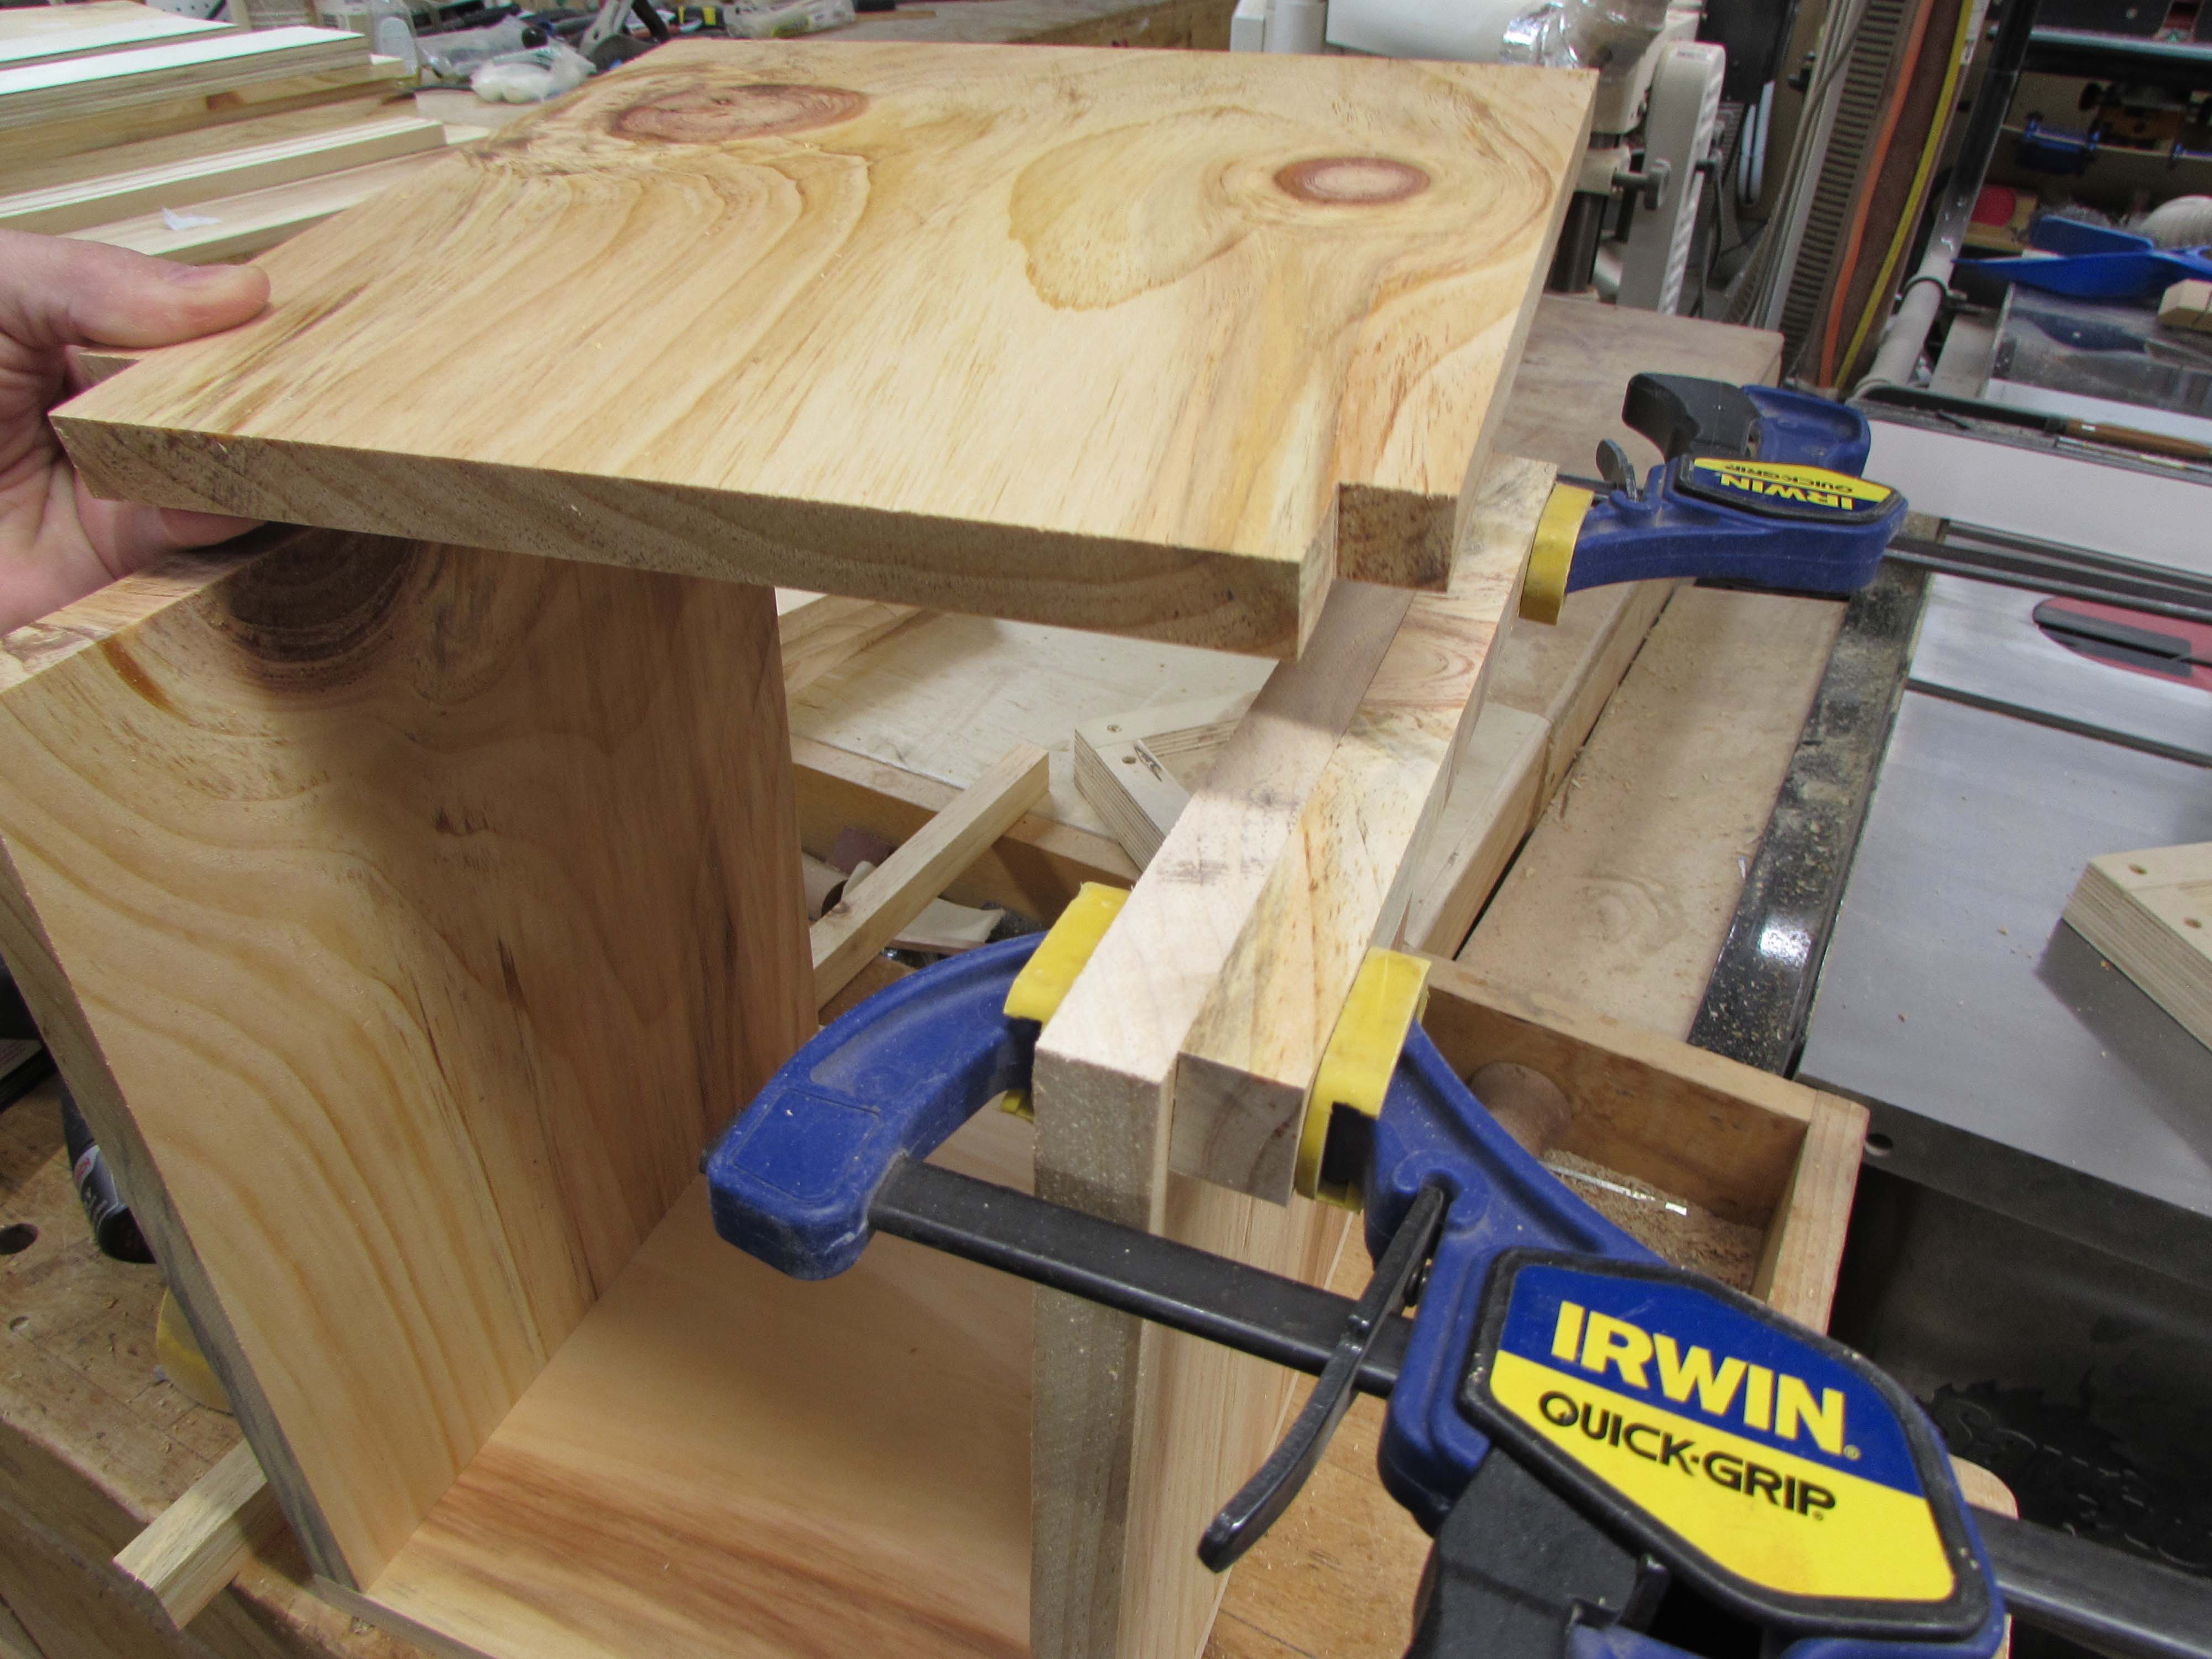
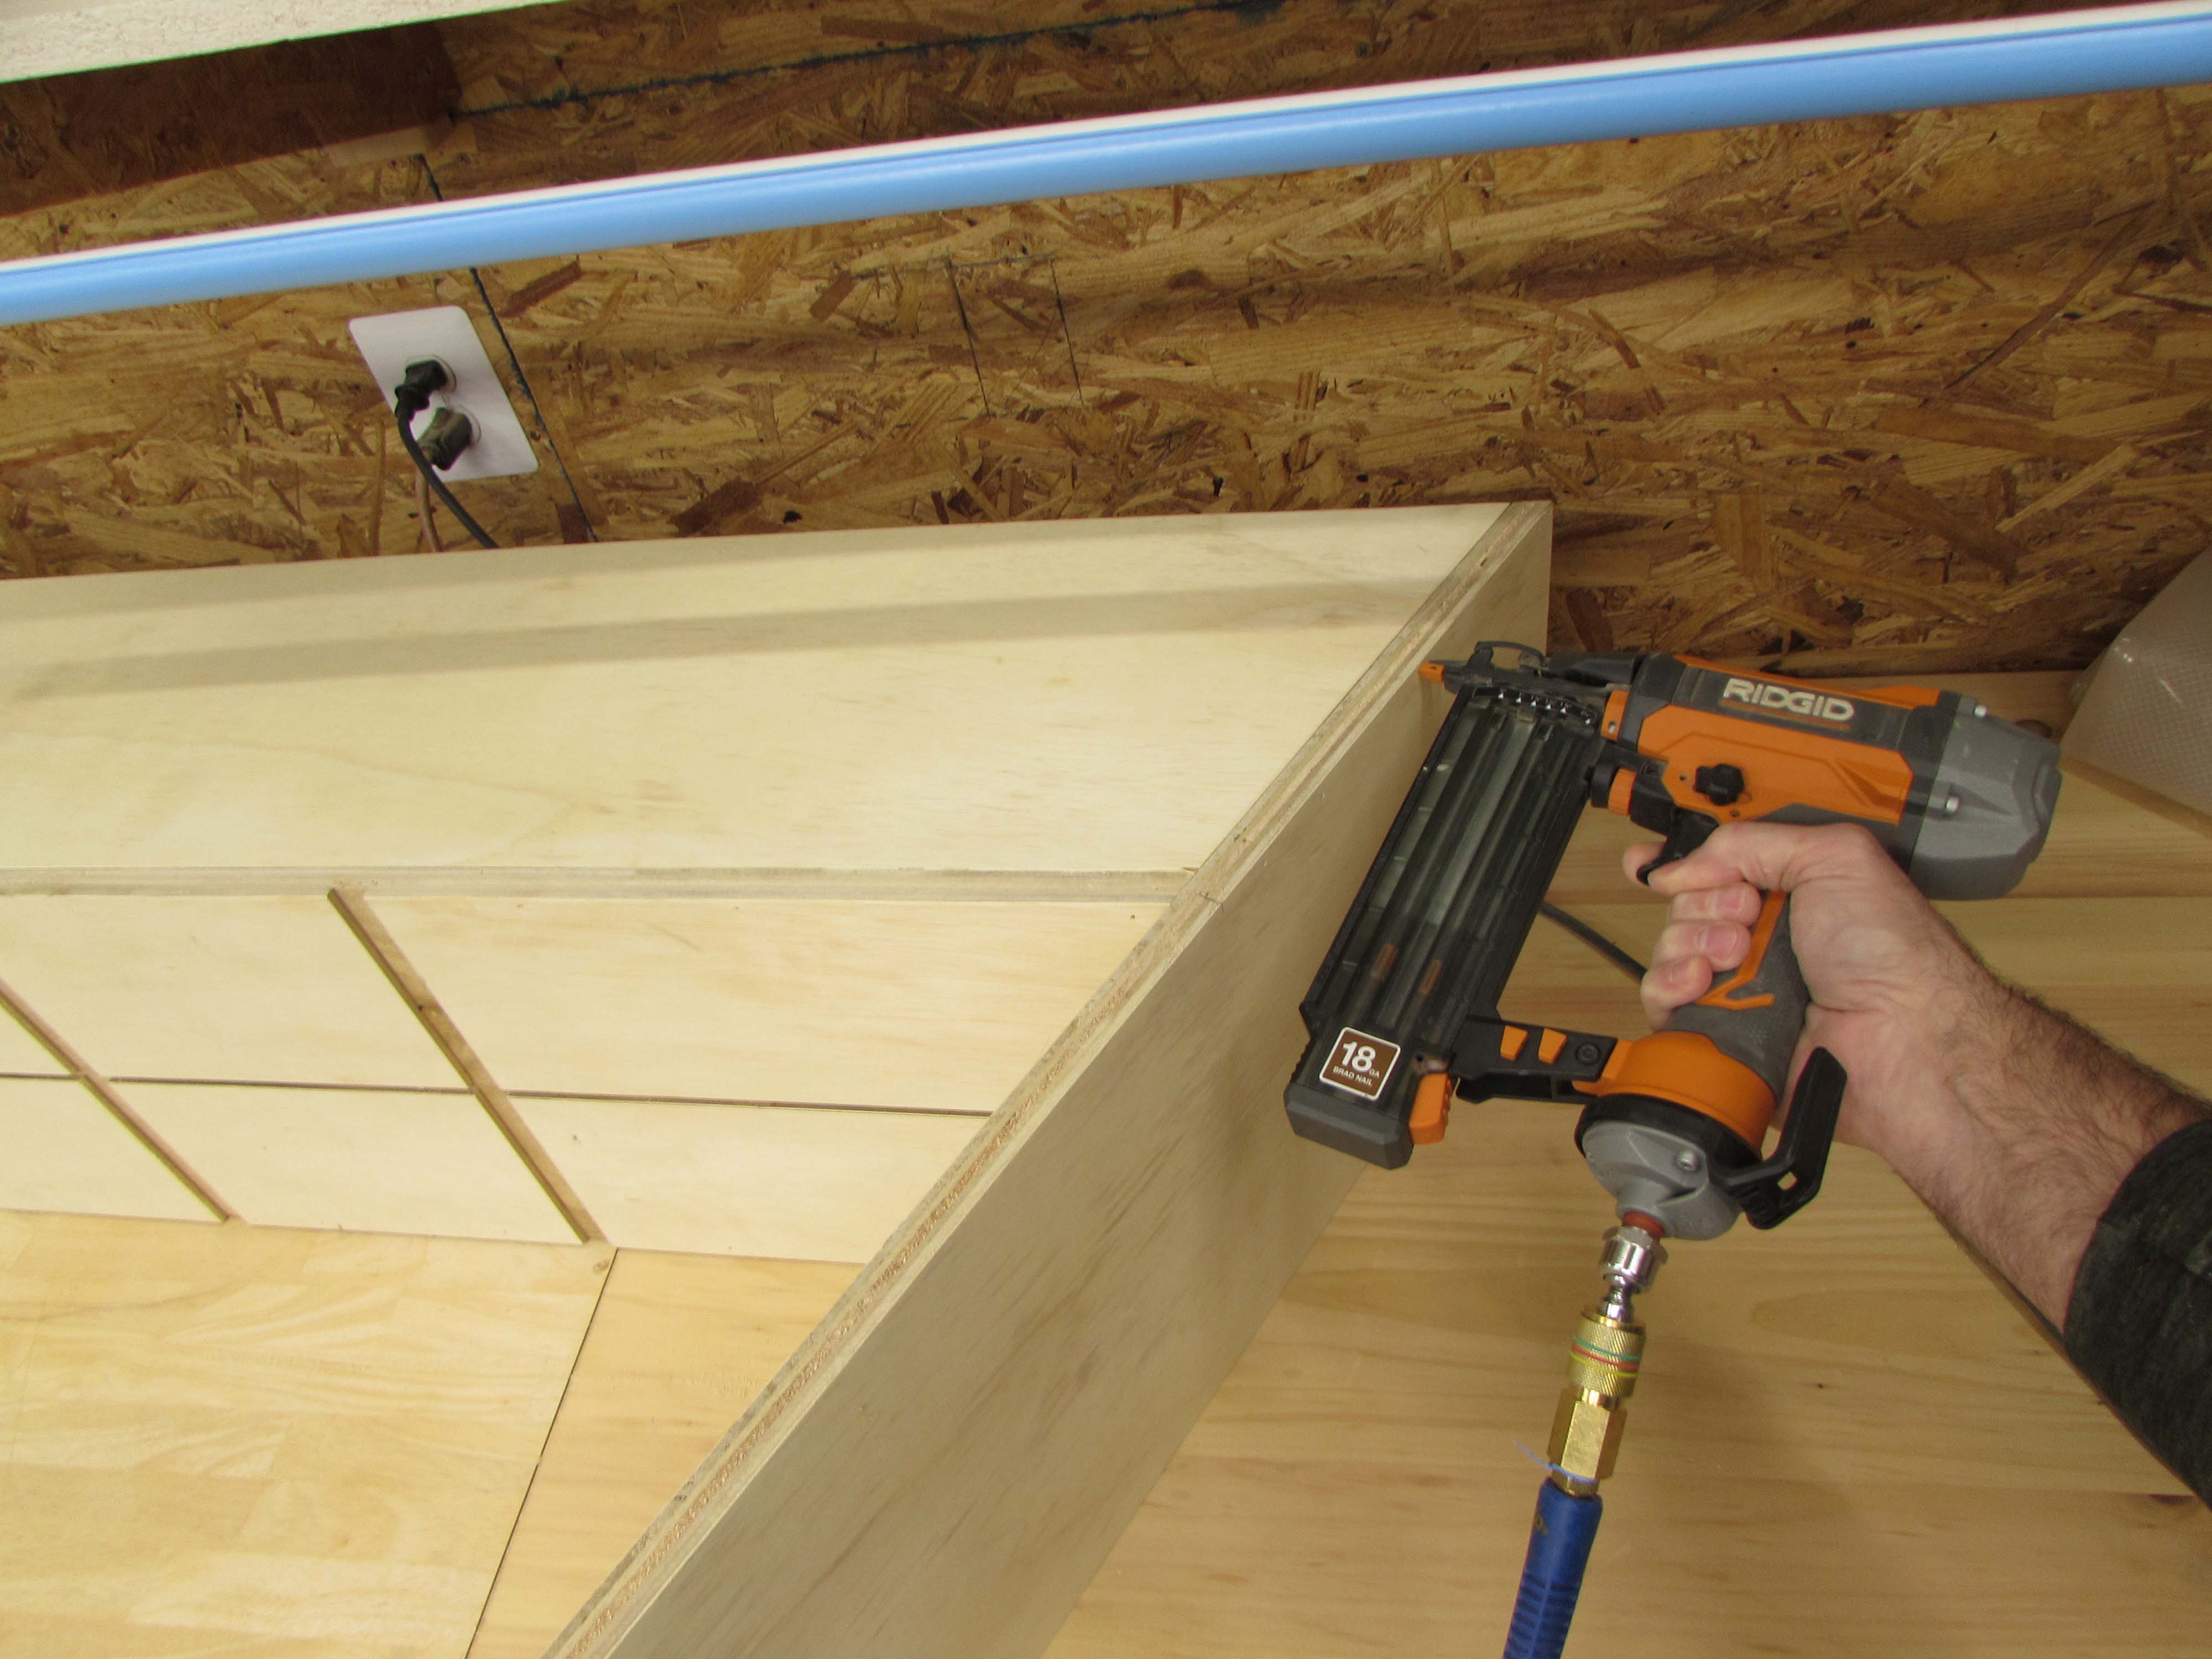
The top is attached with glue and brad nails since they will be in a visible location.
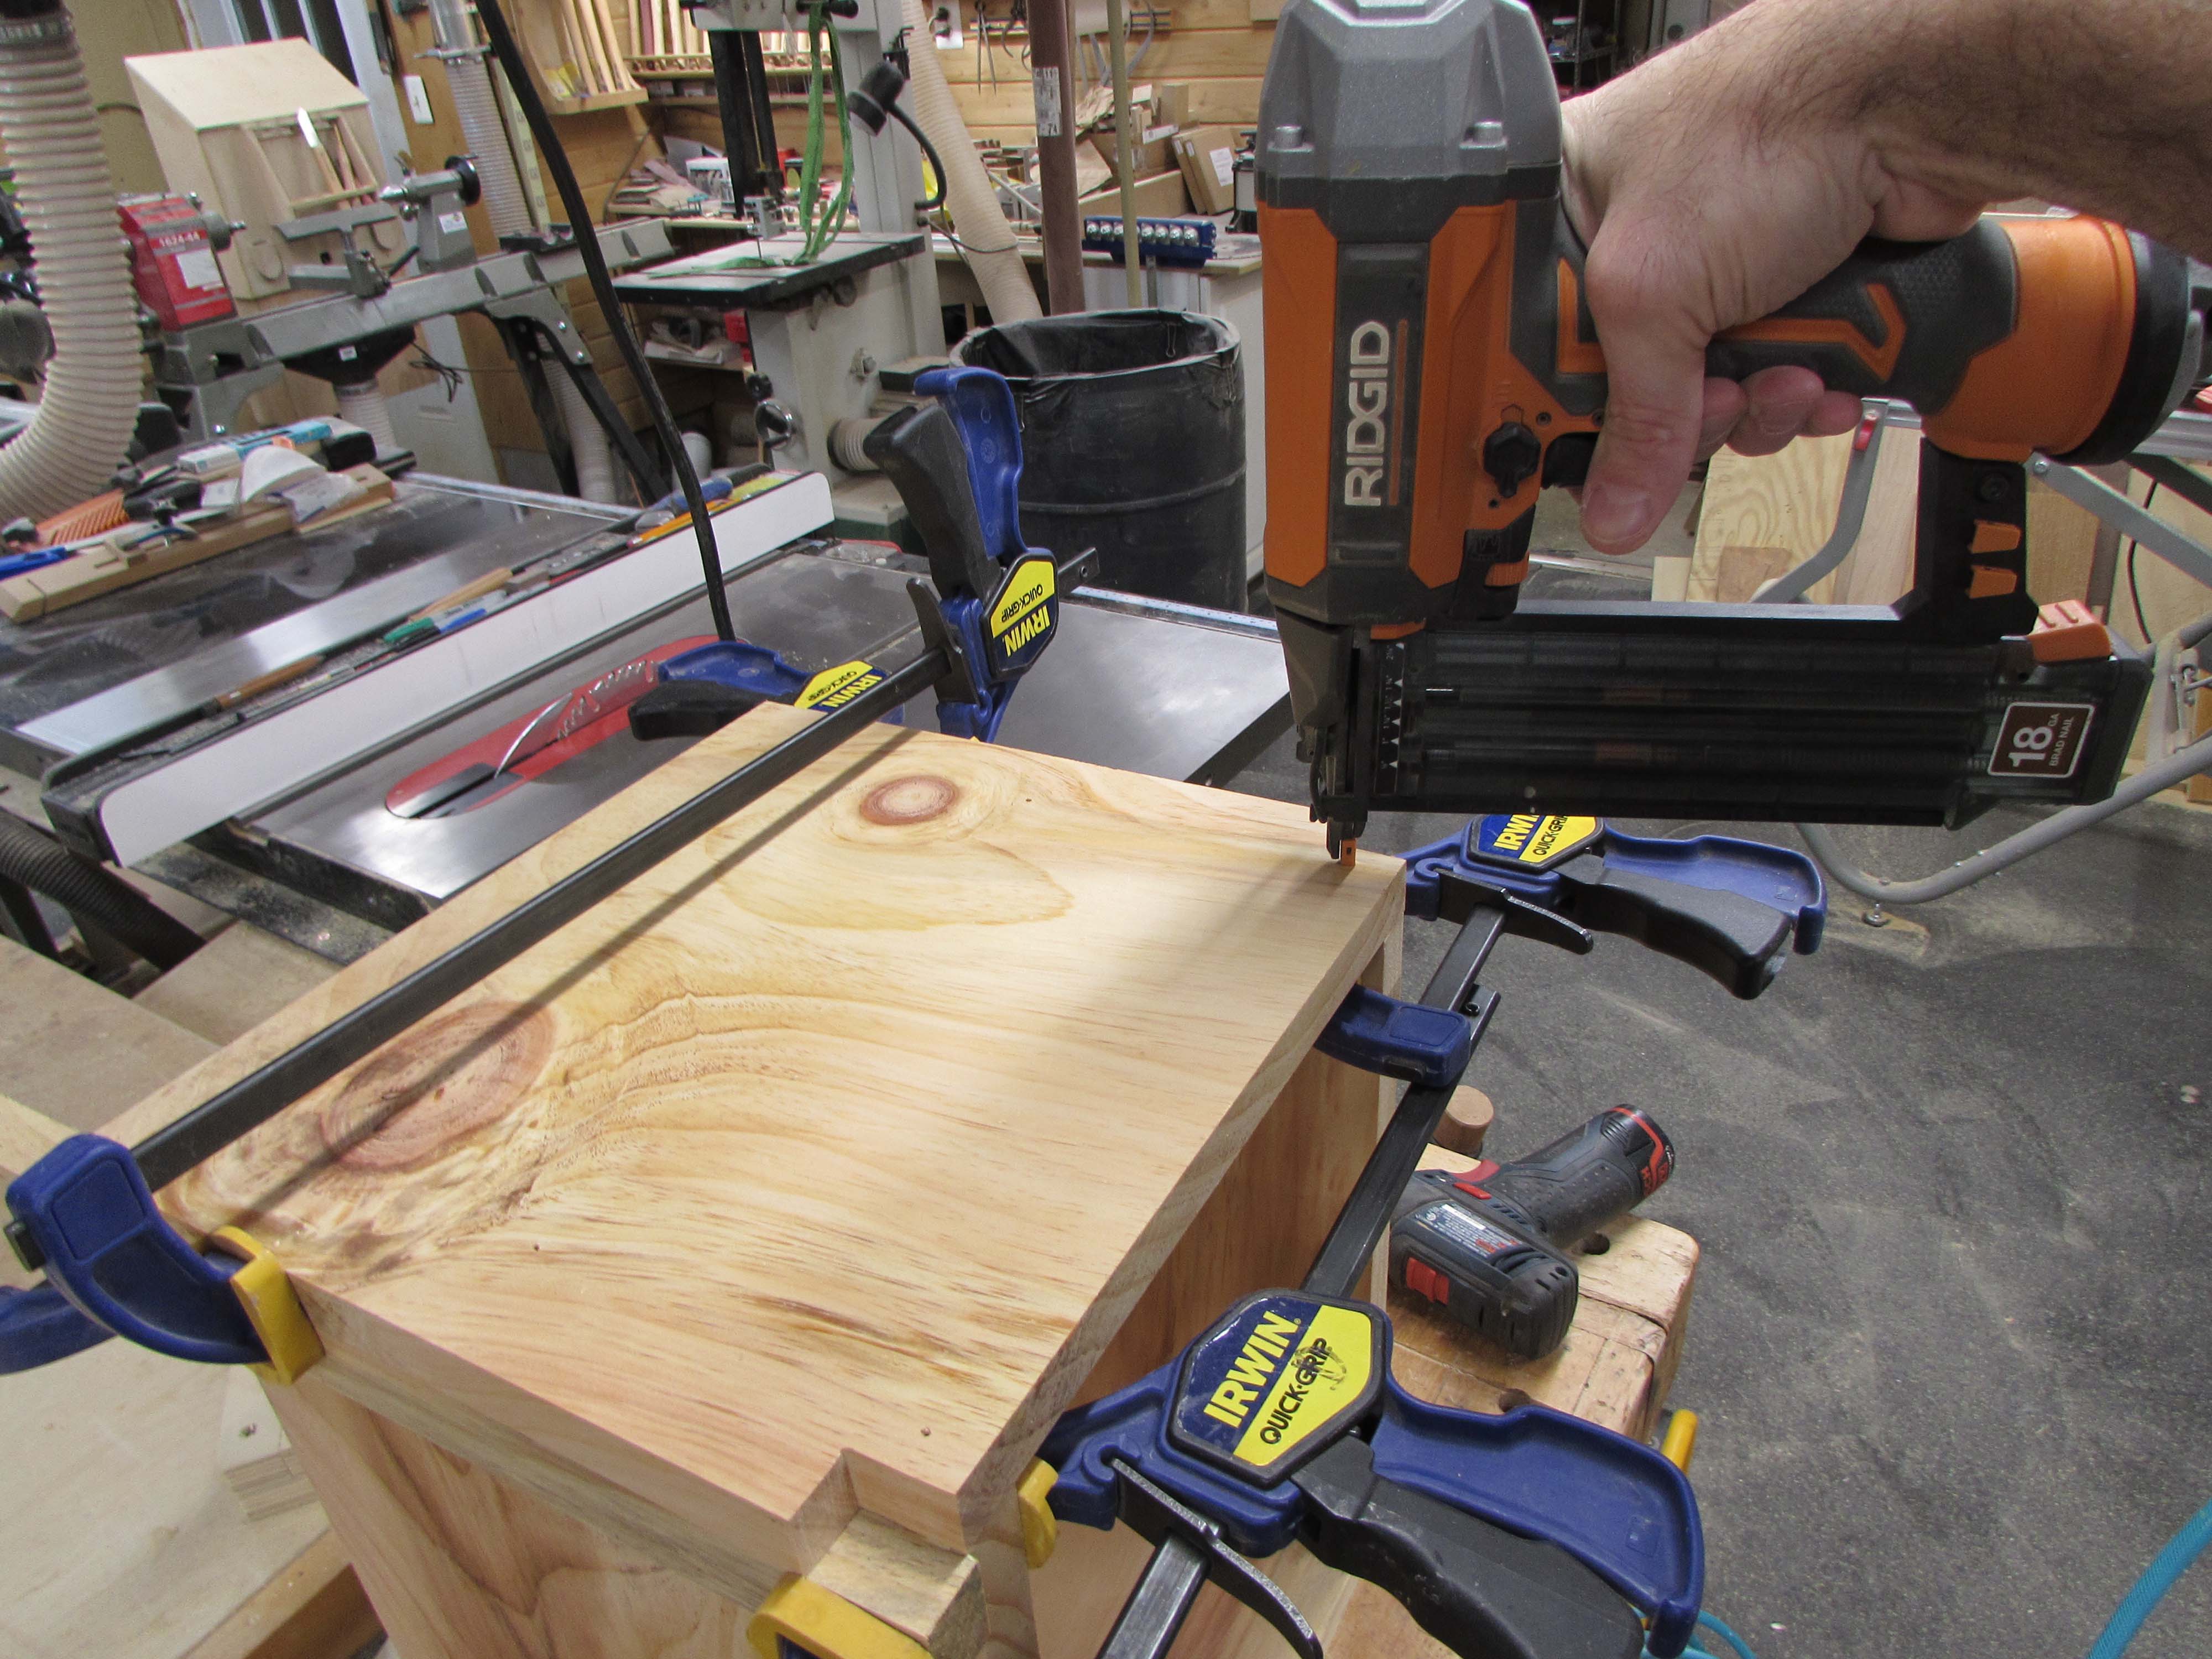
Next, I assemble the top section of the book shelf using glue in each dado.

This will also be tacked in place with 2″ brad nails.

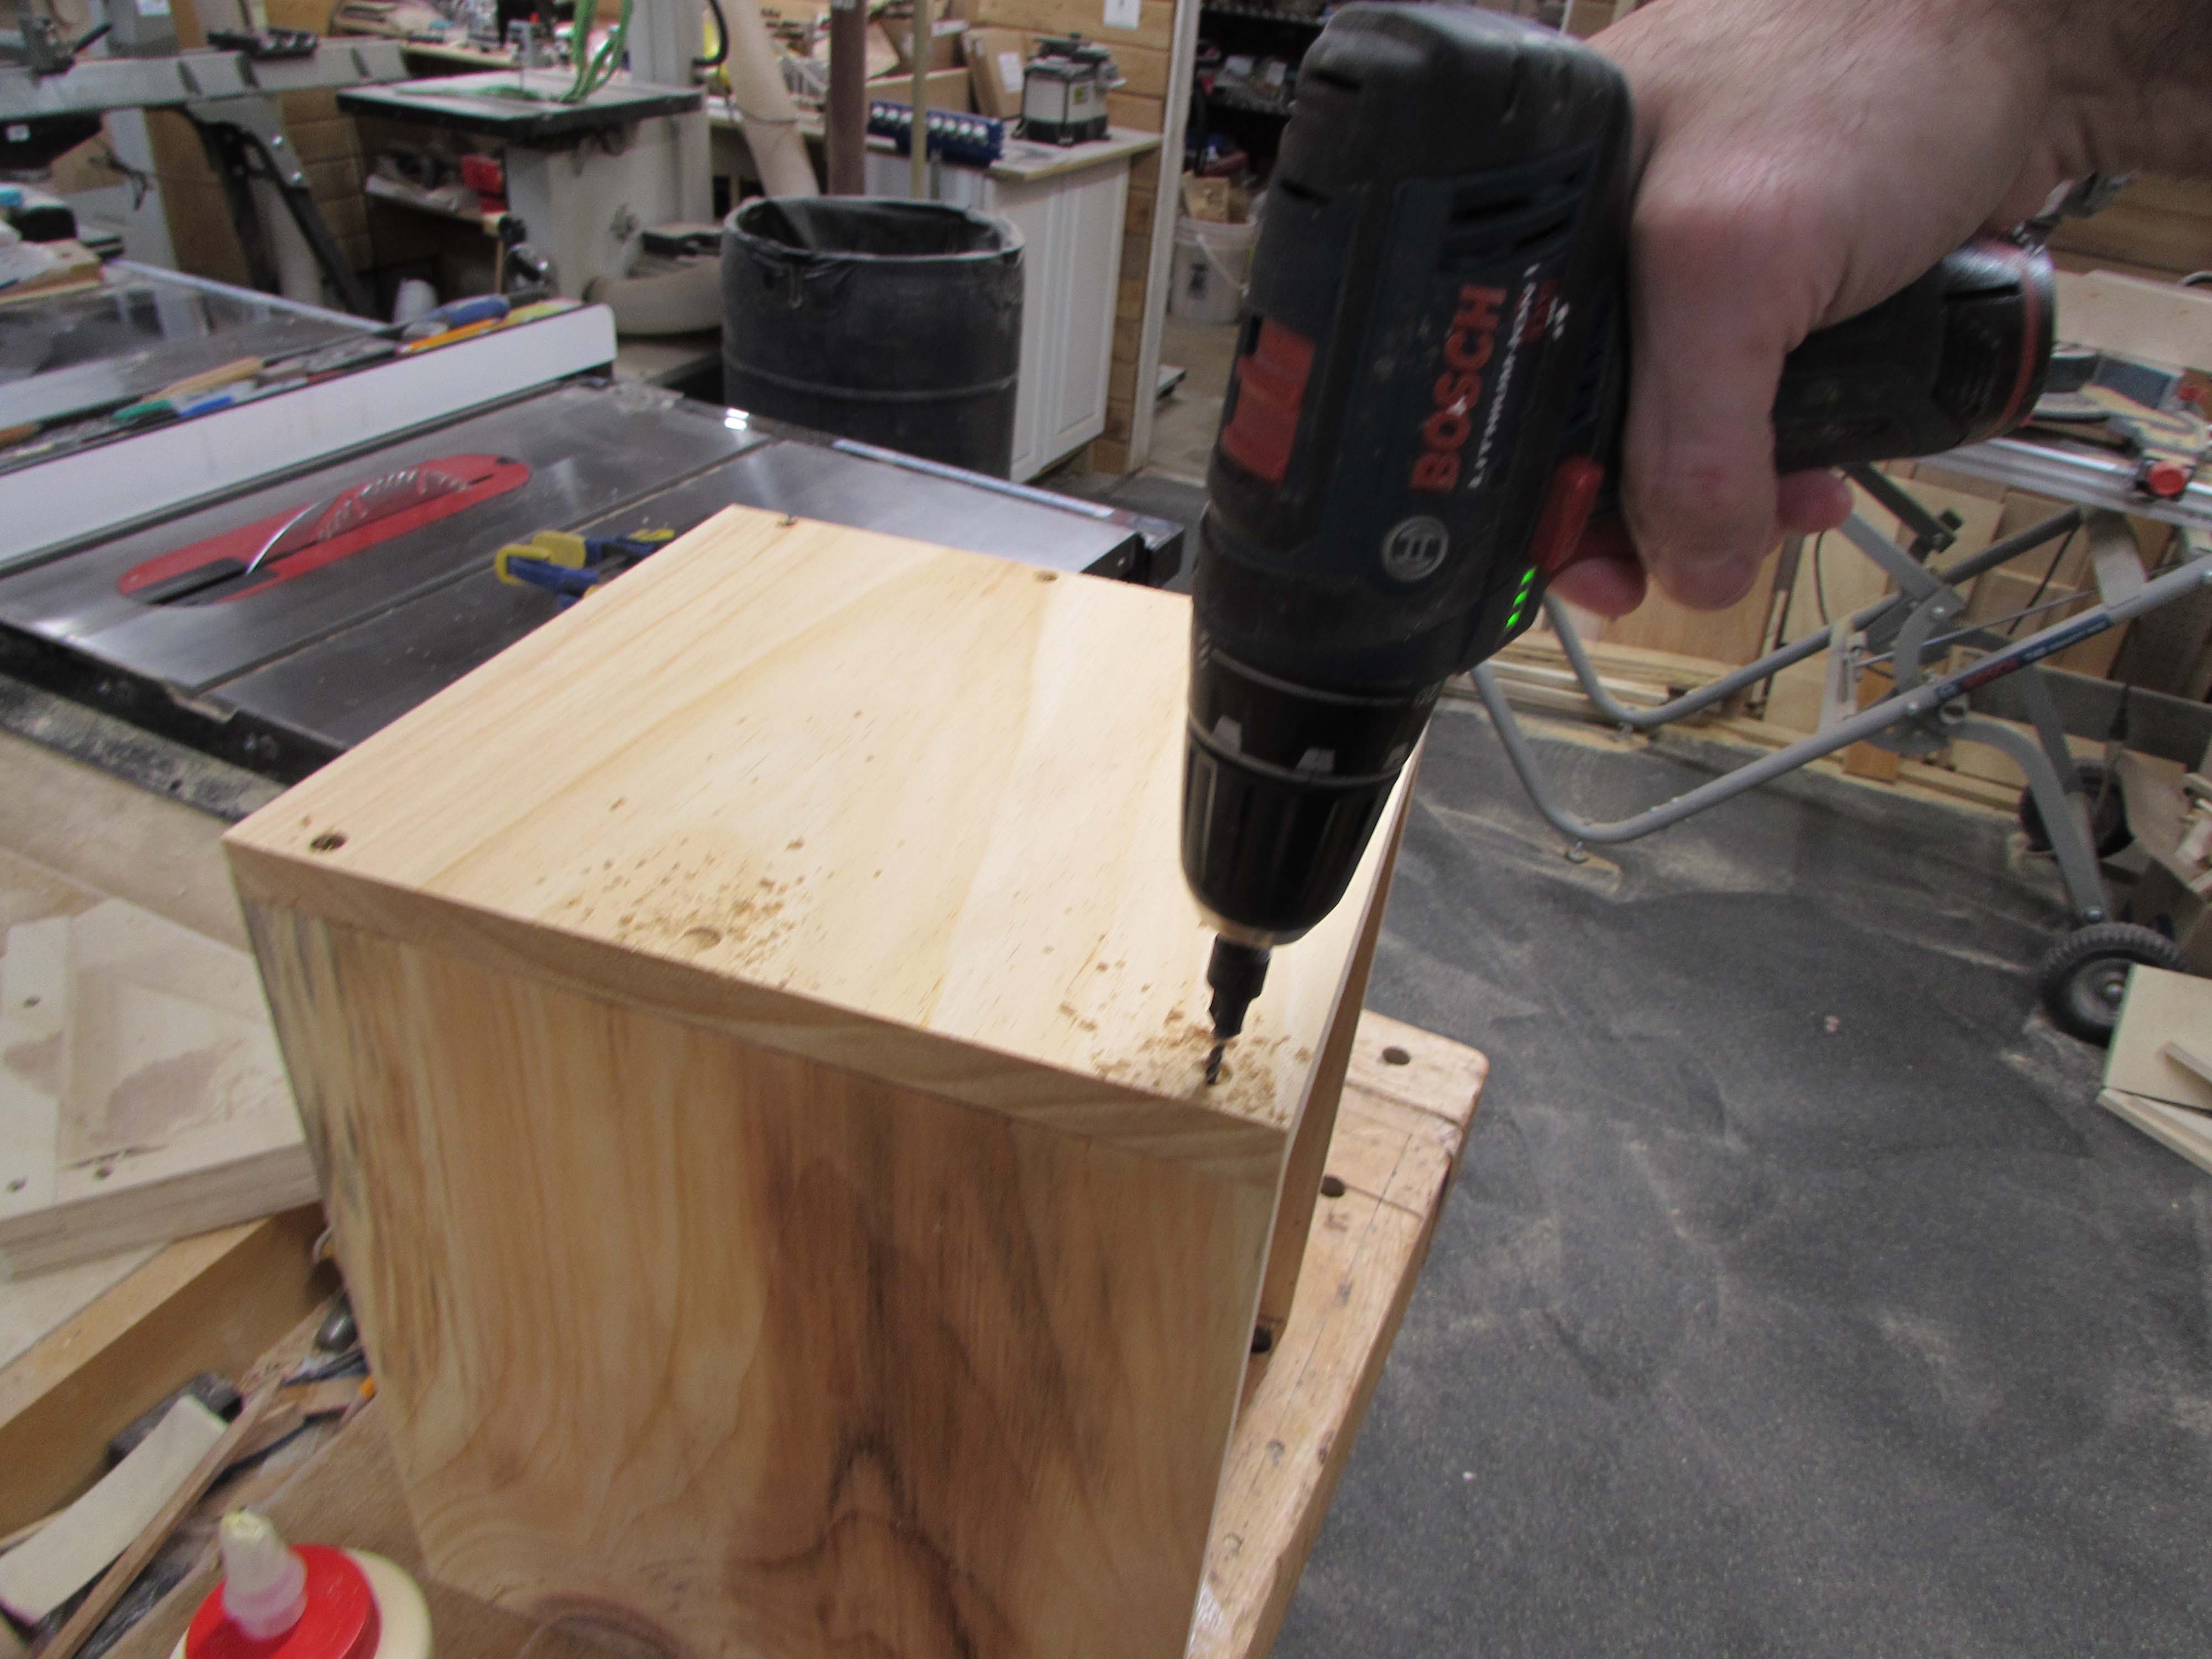
The upper shelf gets attached to the lower section with screws from the bottom.
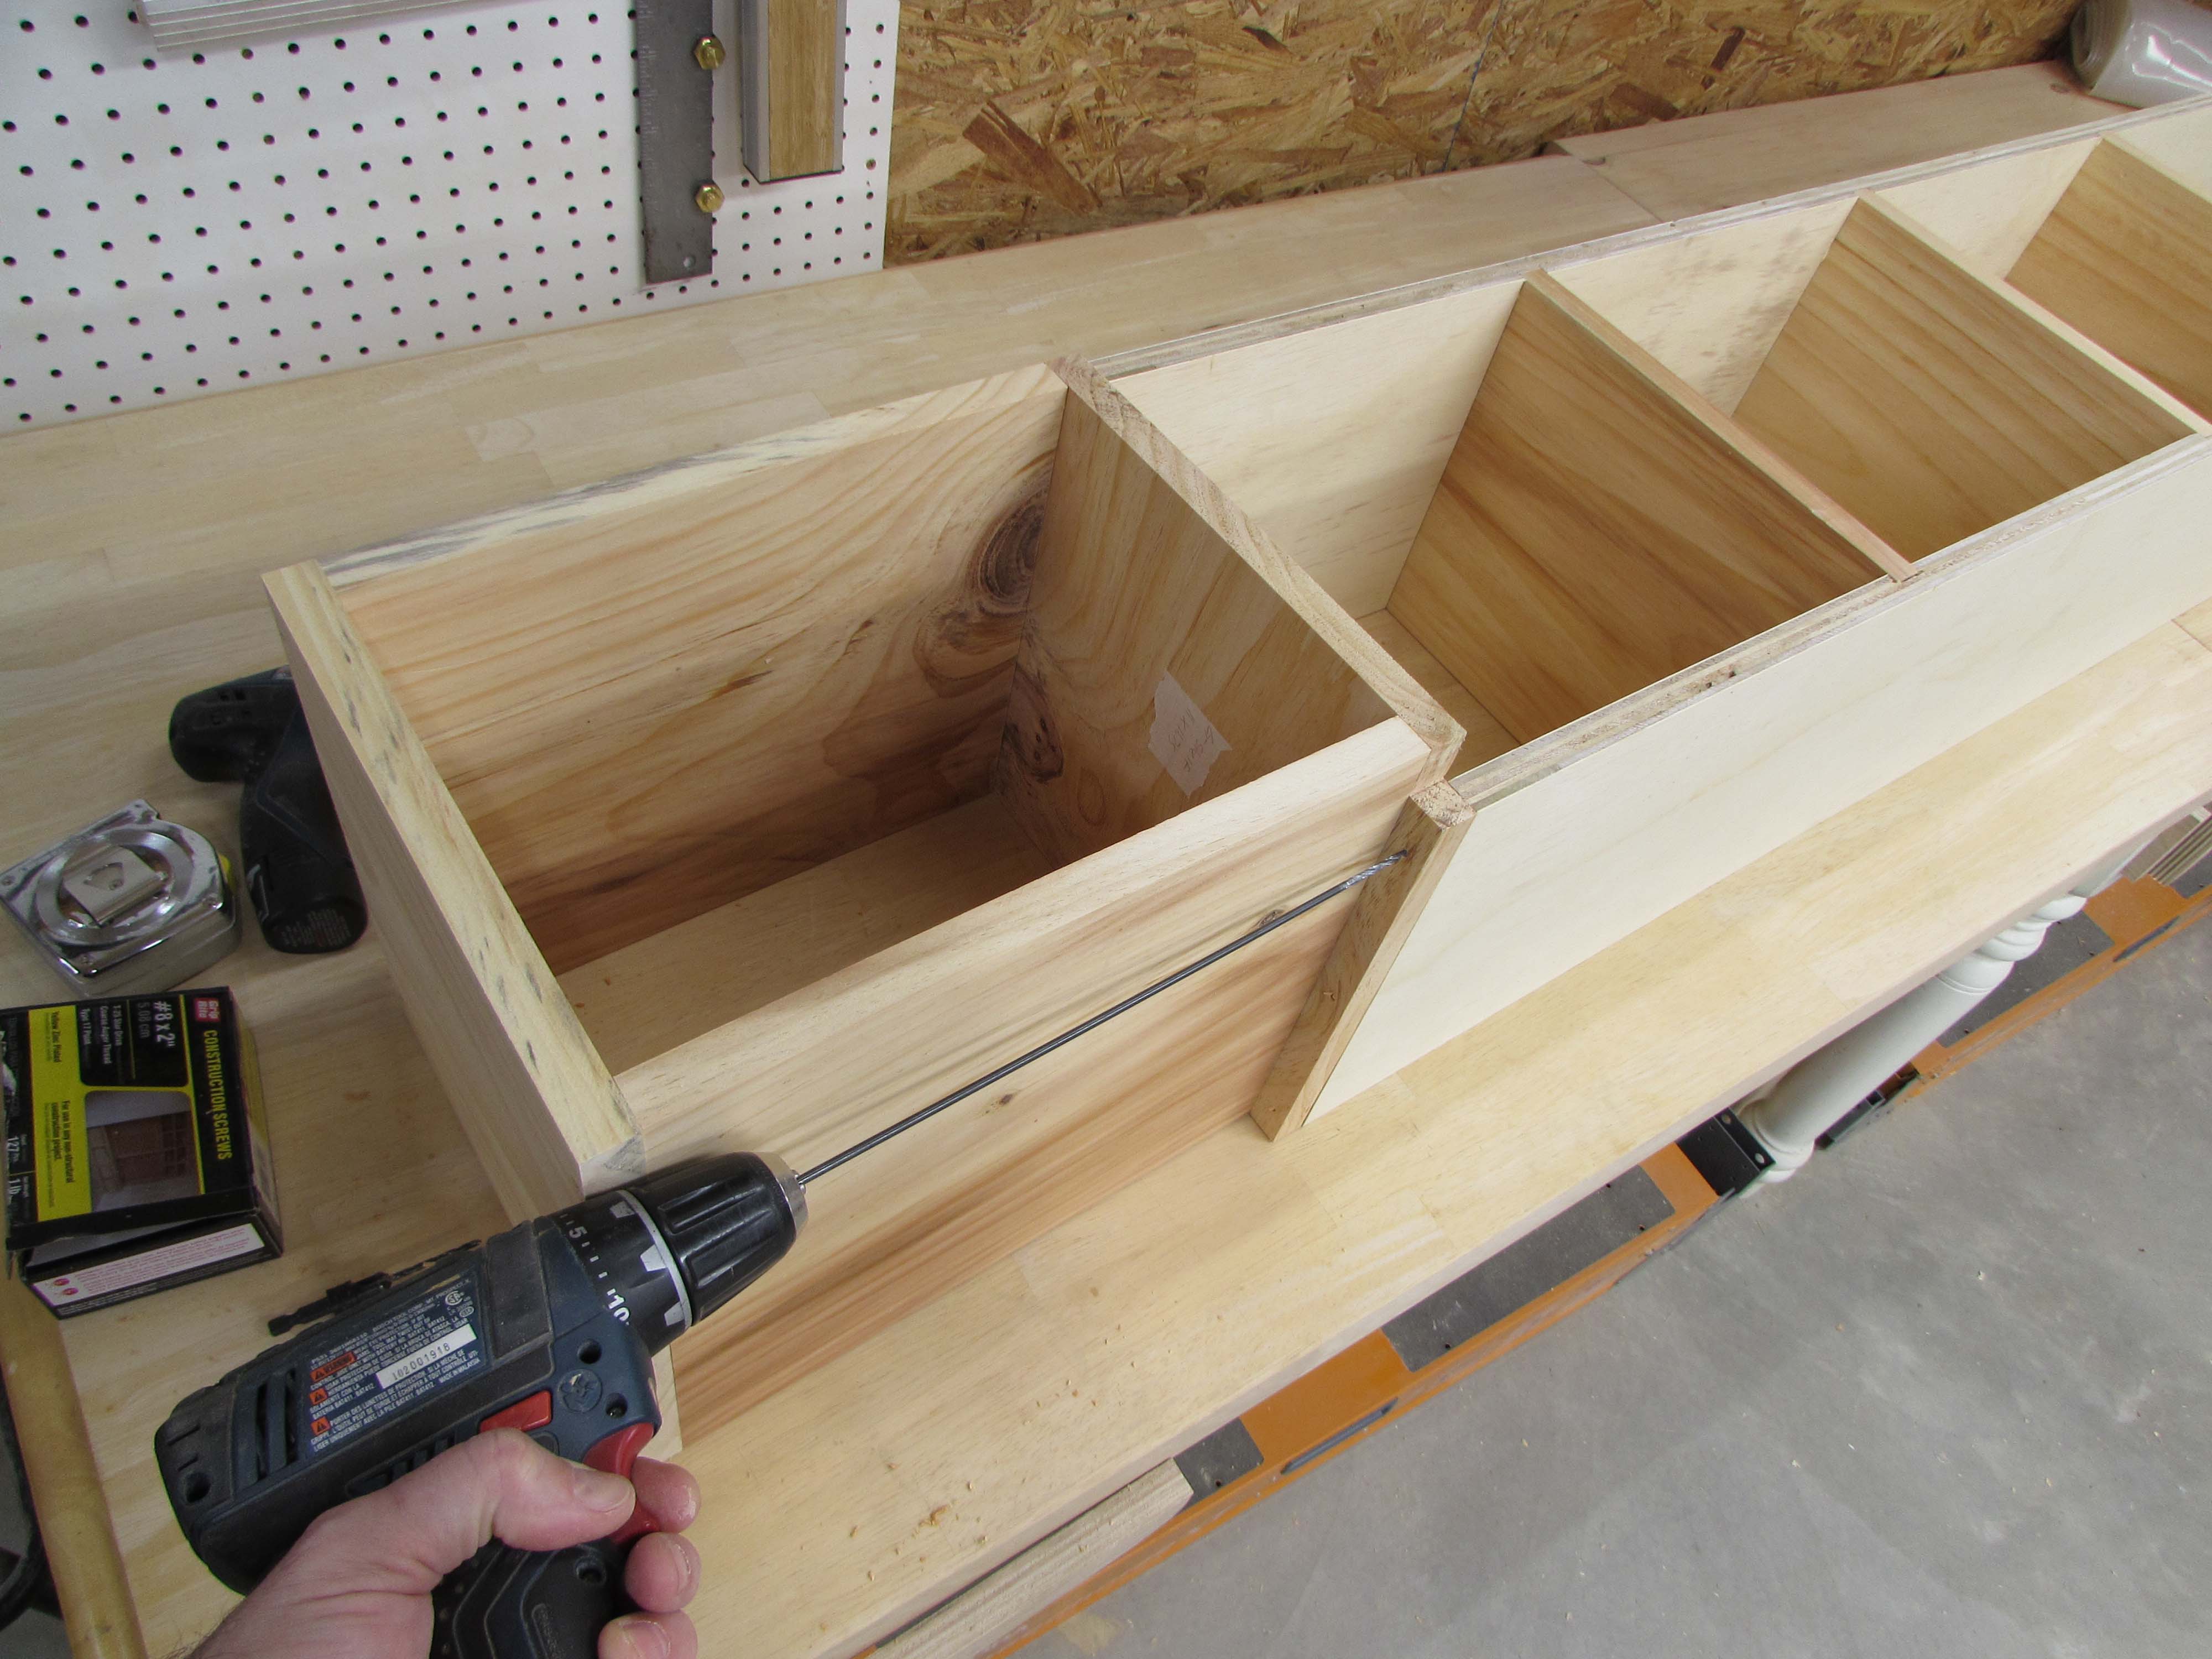
I had to pre-drill the holes from the top of the base, then use a 12″ long bit to match the pilot holes in the upper section, since the drill was too wide to drill a straight through hole.

After attaching the two sections with glue and screws, I sanded all of the front faces to make sure everything was flat and smooth.


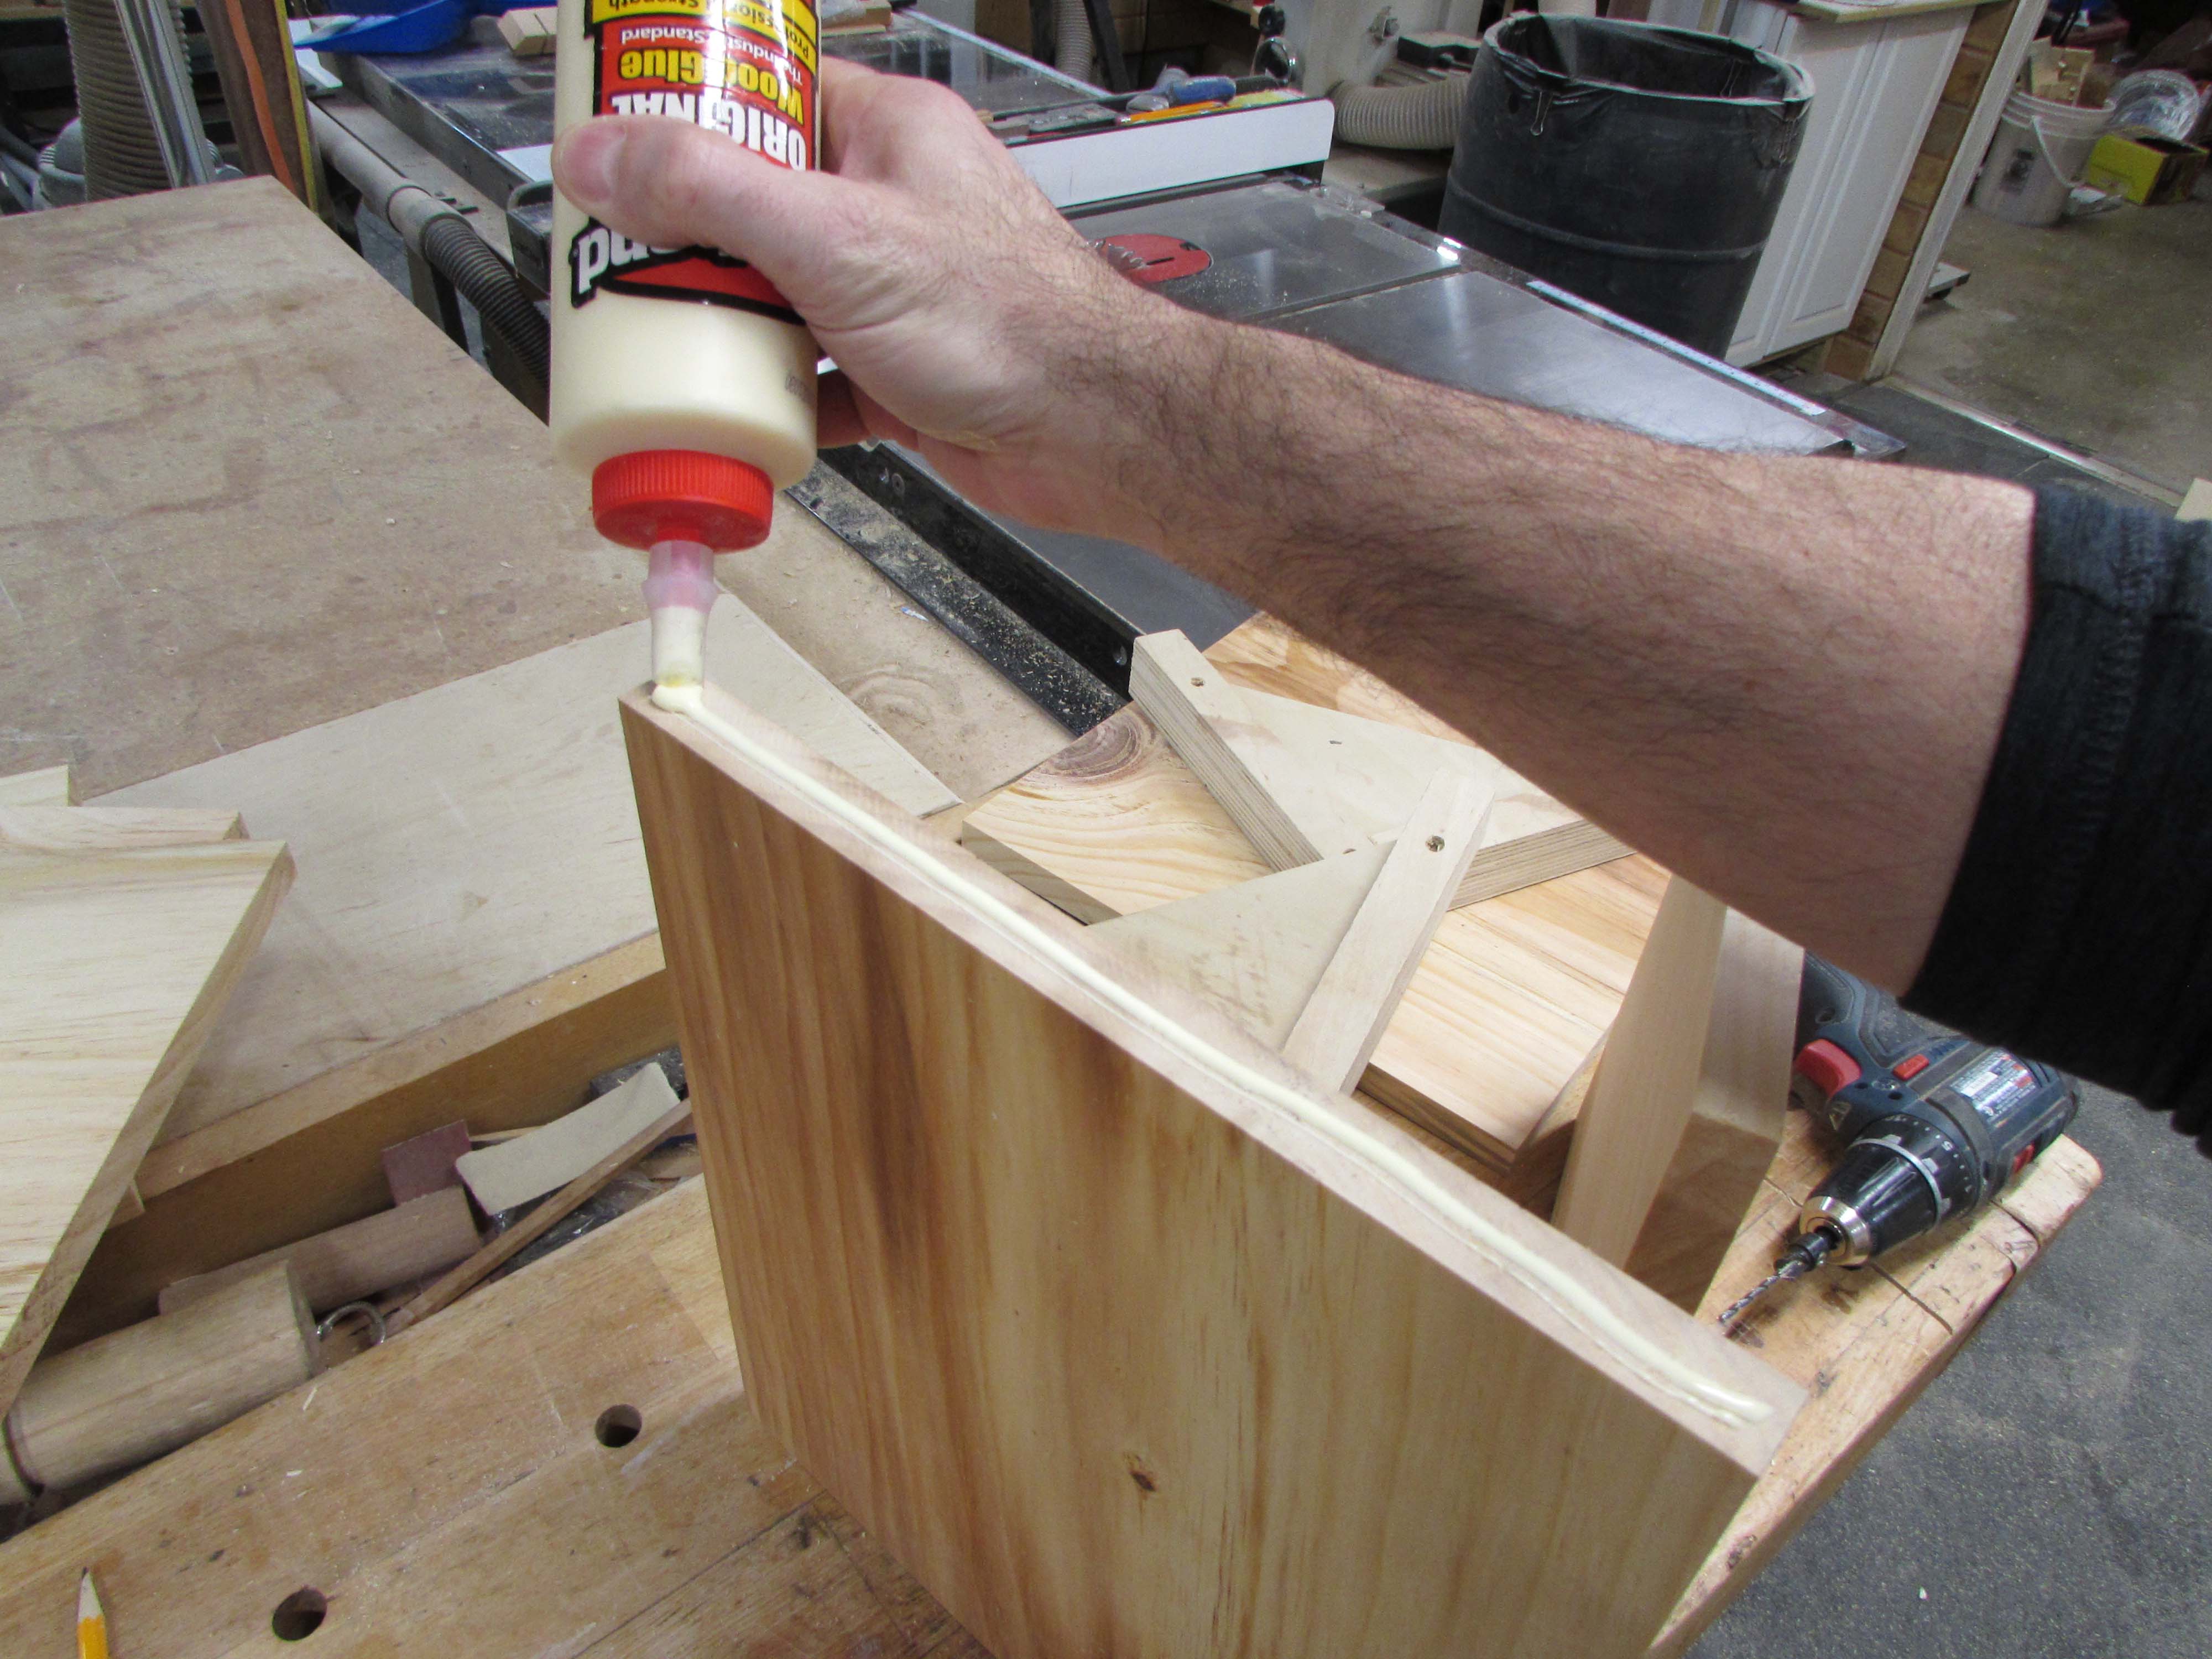
Flipping the assembly over, I applied glue and attached the center support piece.

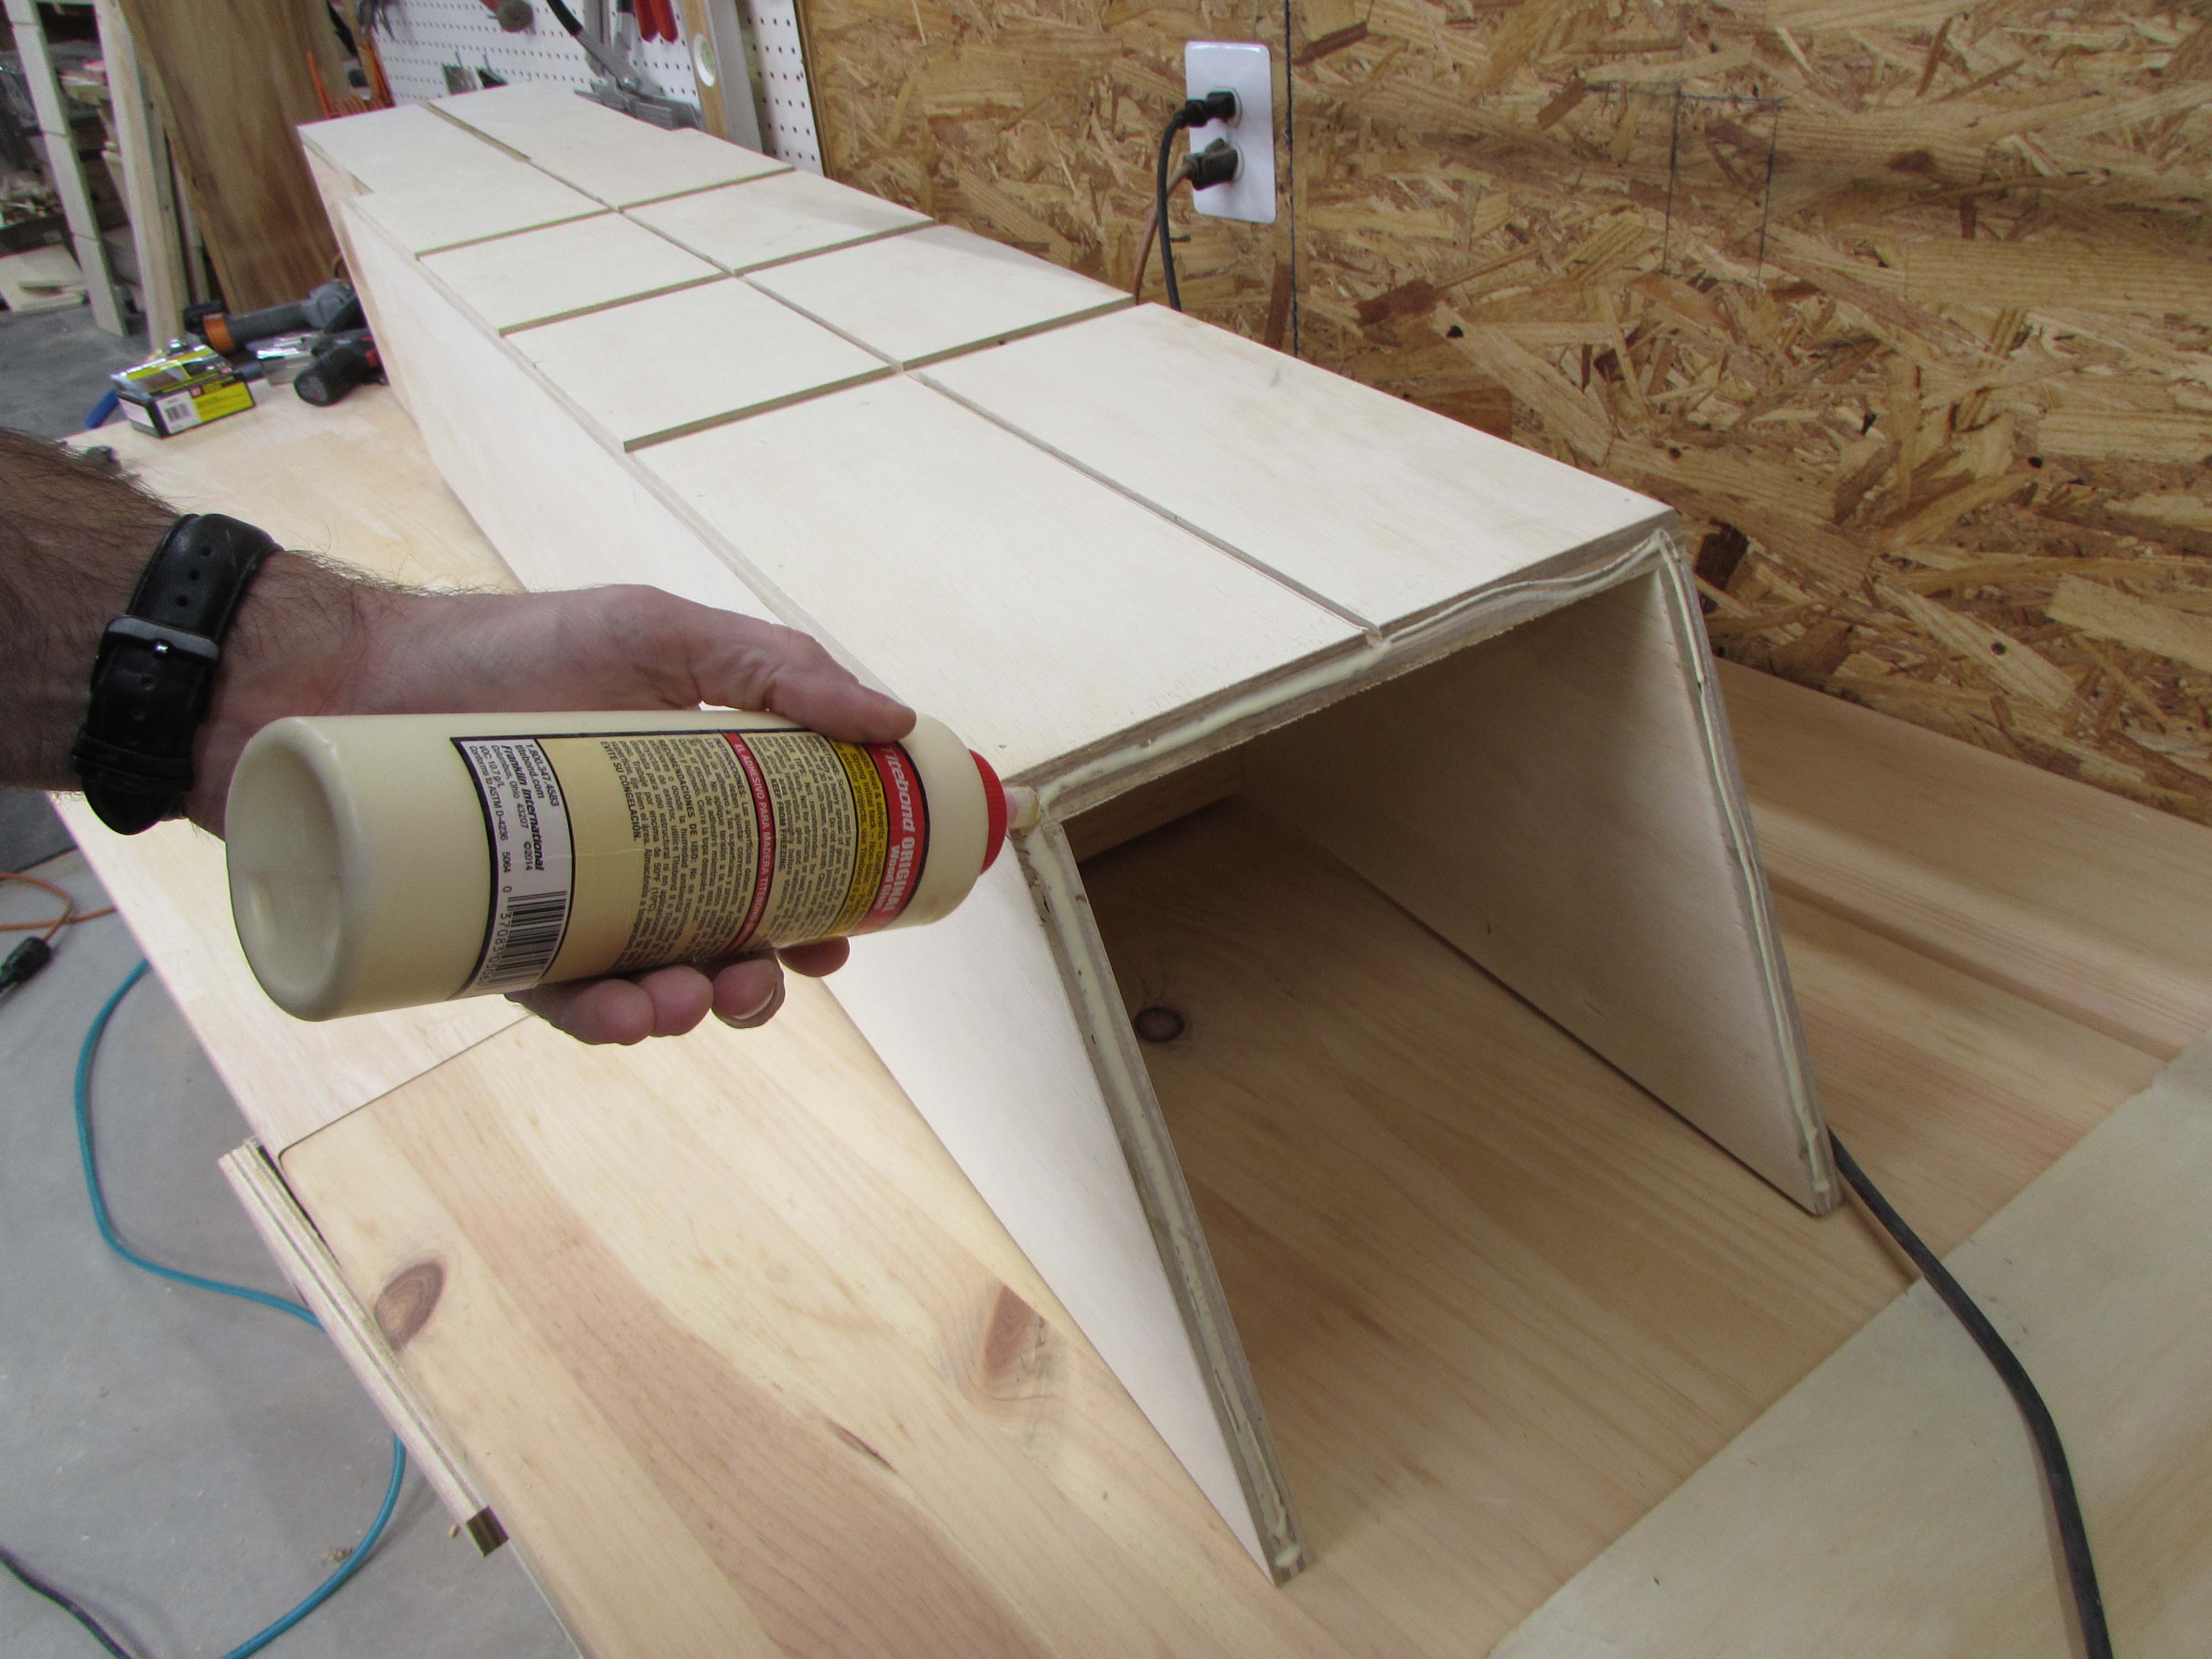
Next, I attached the top.
Before I finish the assembly, I took some time to sand the faces of all of the pine shelves. This will be easier now than when it is all assembled.

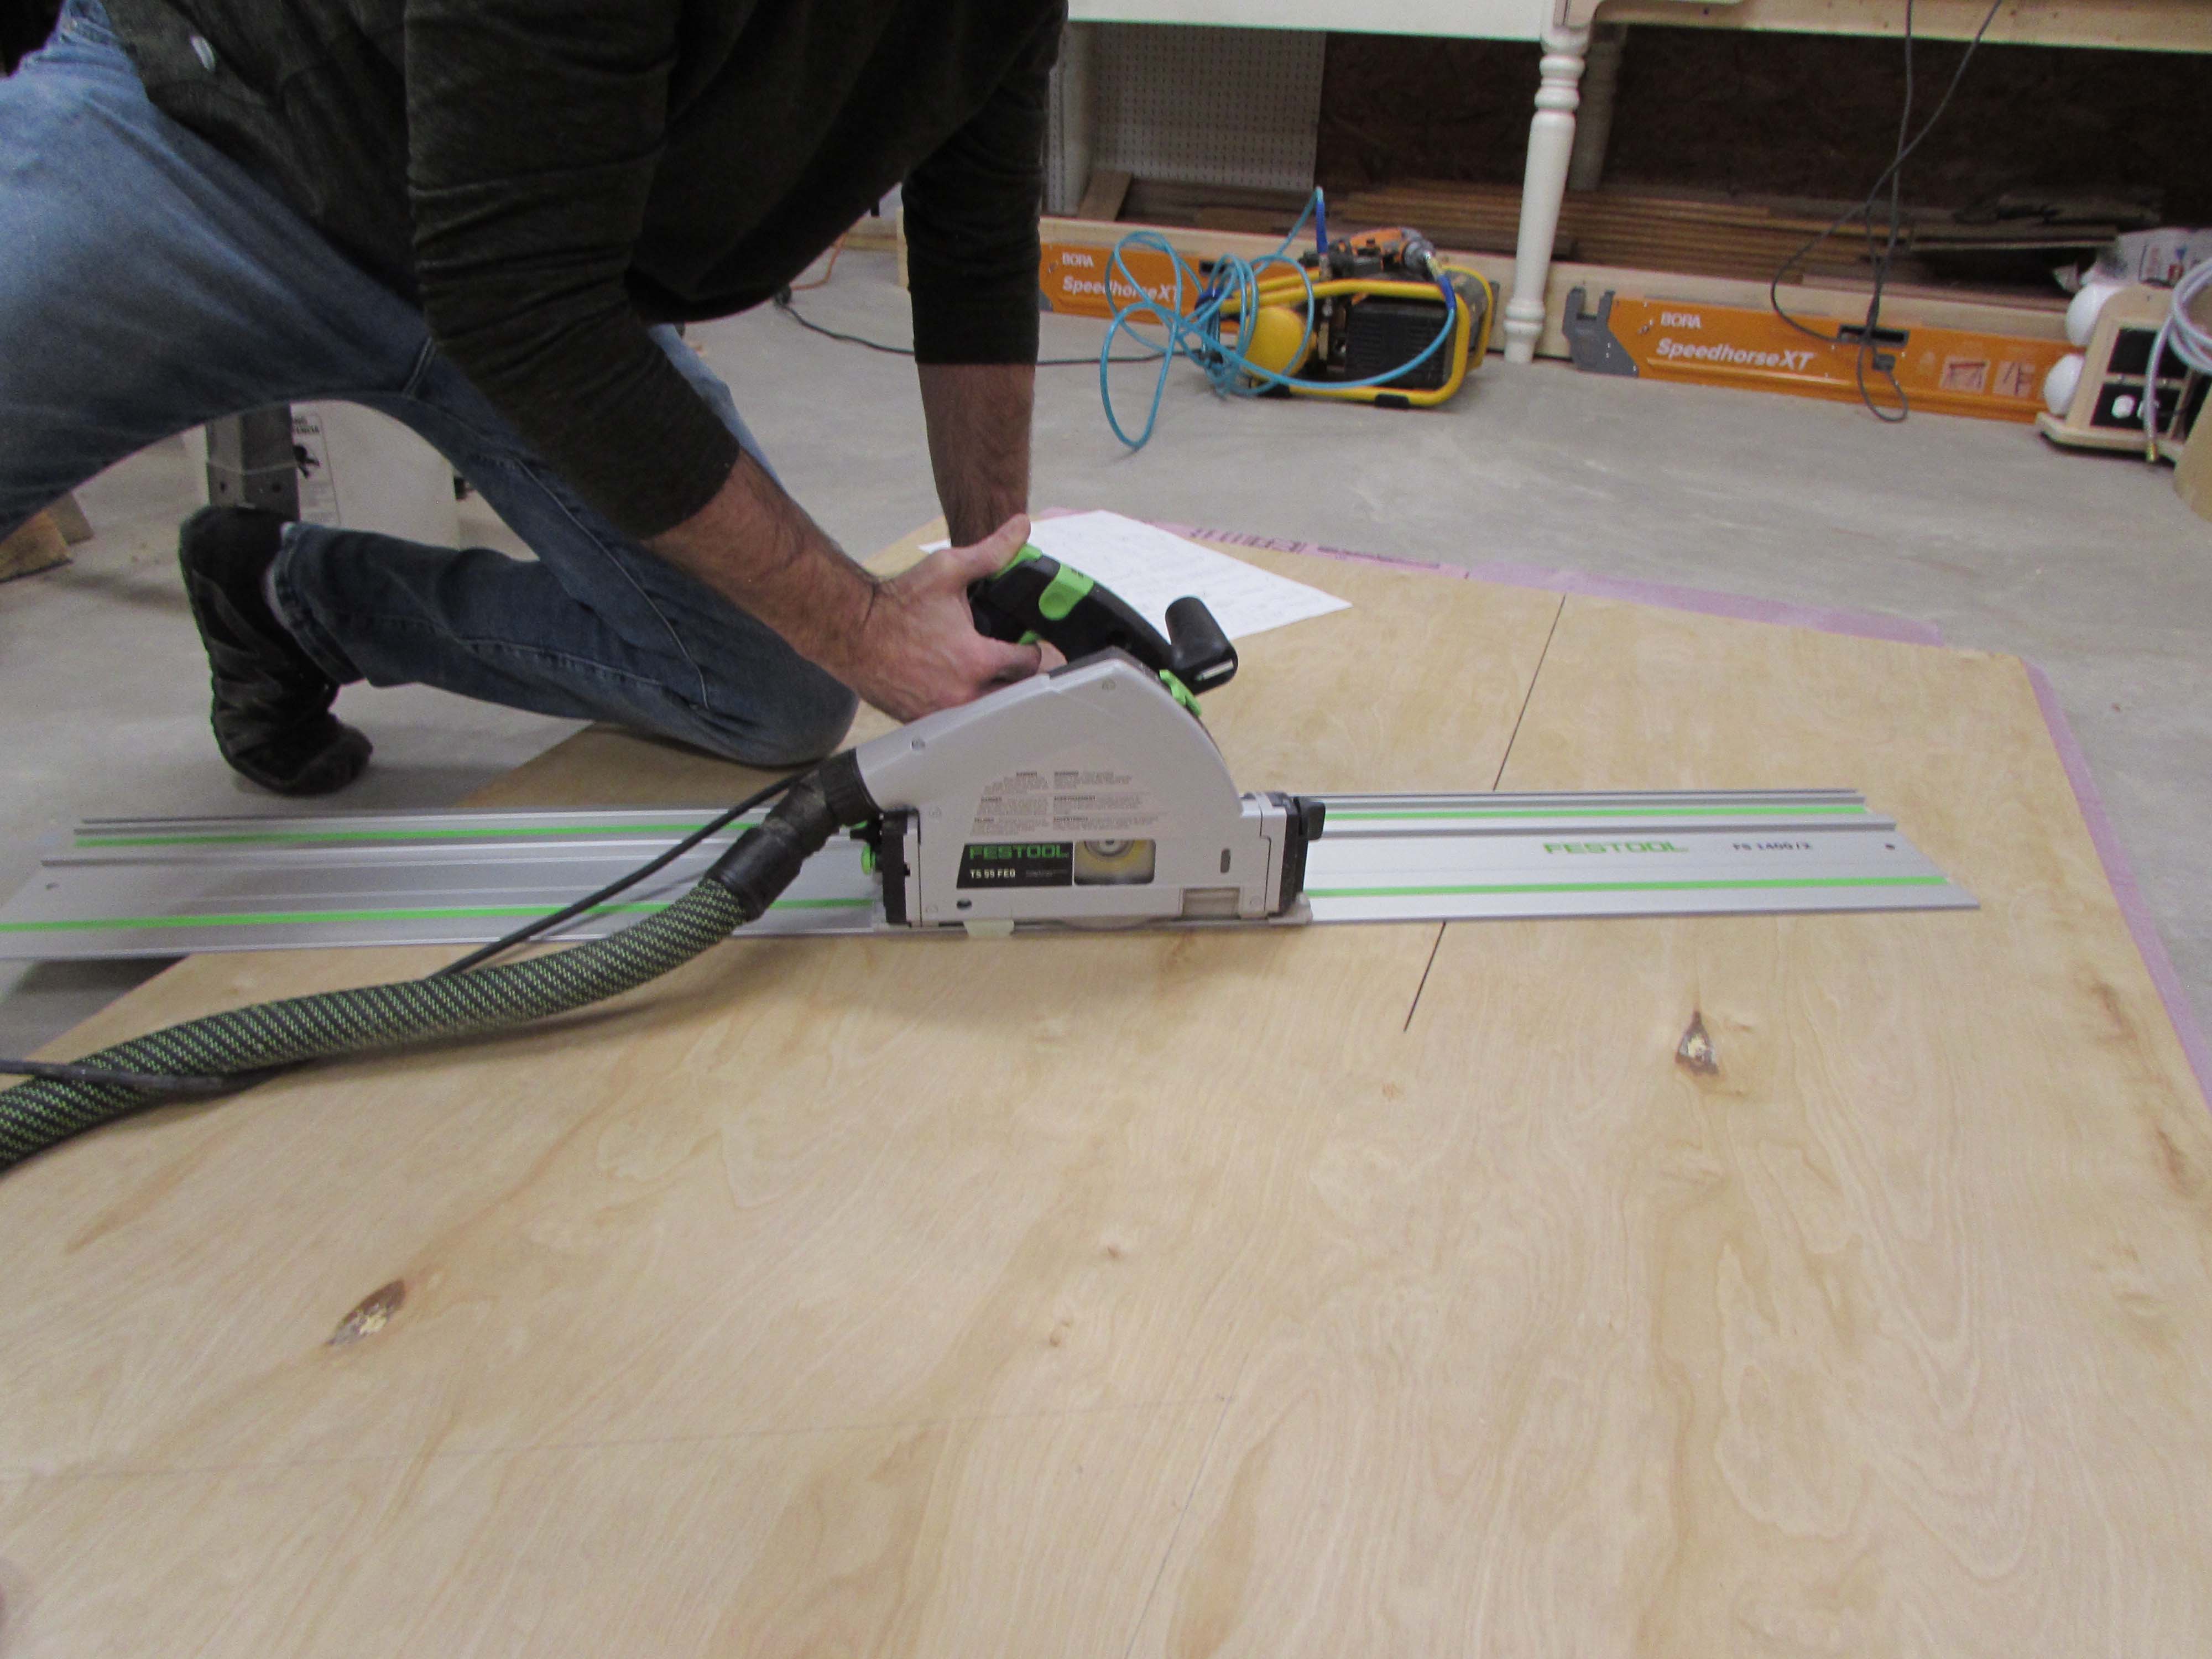
I got the track saw back out and cut a piece of 1/4″ plywood down to the shape needed for the central divider, then glued it in the 1/4″ groove I cut in the support piece and the top.
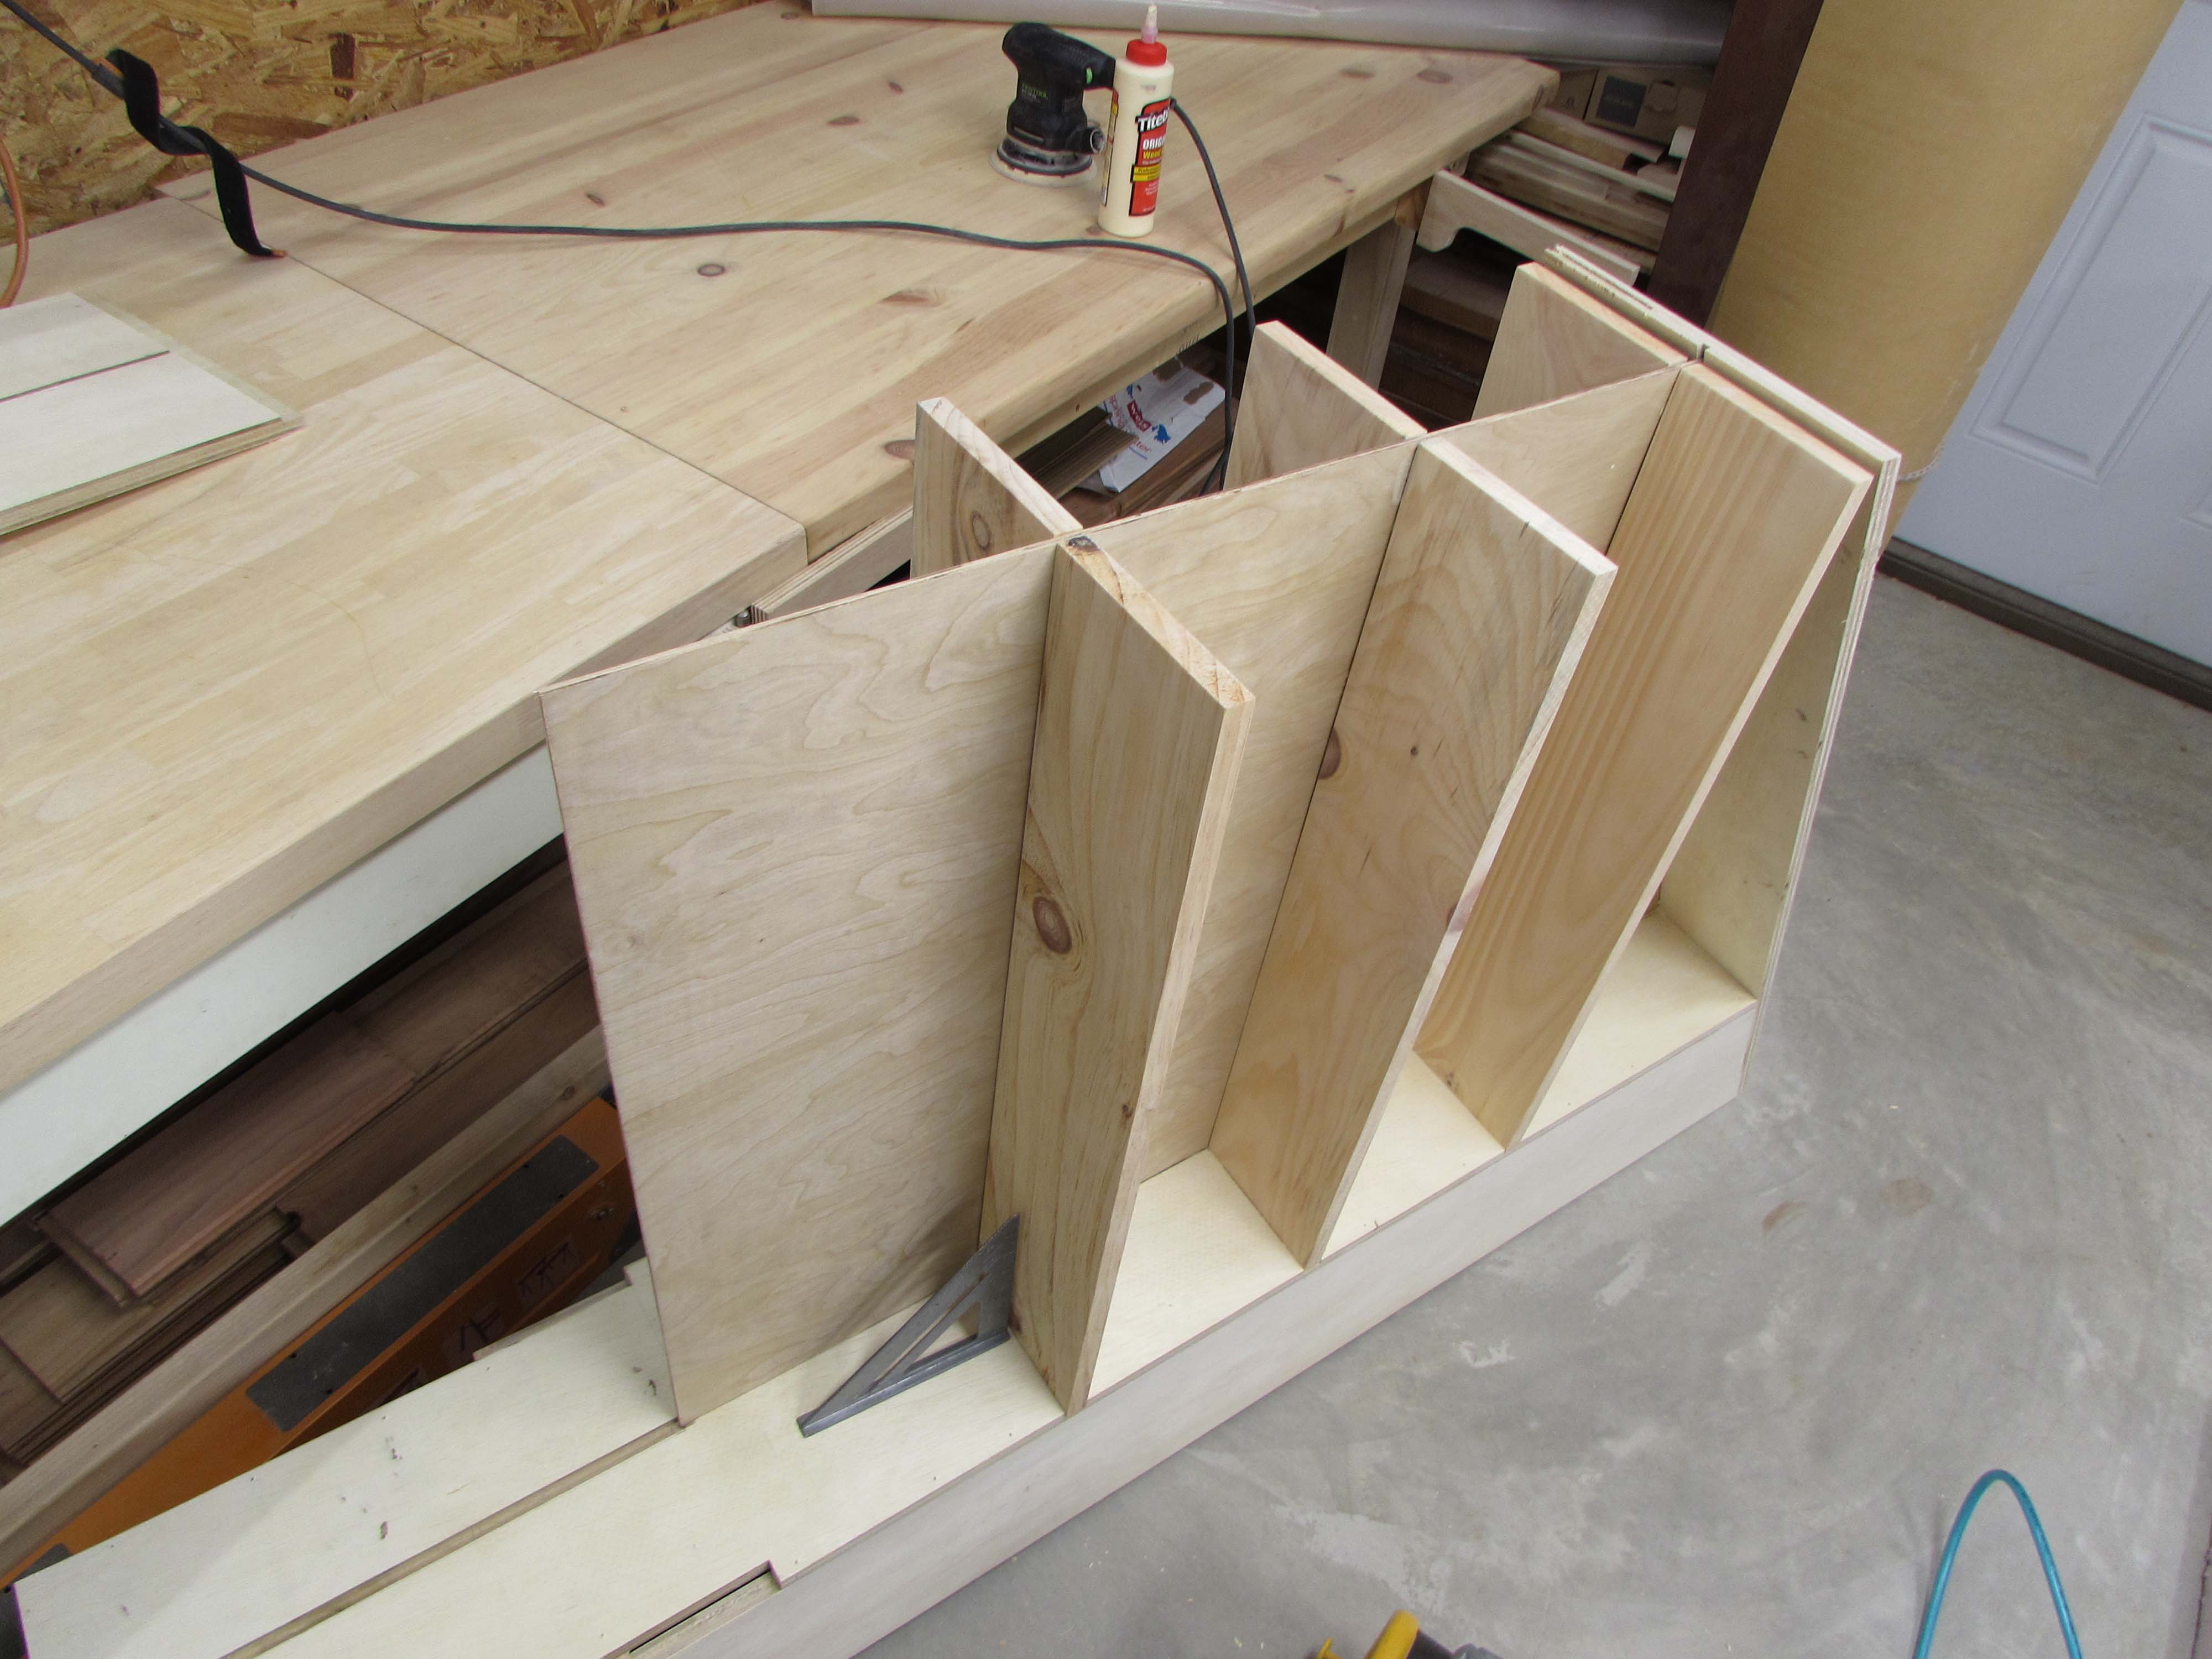
After lining all the dados with glue, I placed all six of the shelves, then attached the rear support.

I used brad nails to hold it all tightly together while the glue dried.

I tacked on the lower support bracket, then the two smaller side pieces that will sit on the beds when installed.
The final piece to go in was the piece of 1/2″ thick plywood that will divide the lower section.

All that is left to assemble is to install a hinge and the lower shelves which will act like a shelf for the kids but will also be a door to a narrow storage area below. The kids will get a kick out of having some secret storage areas.

