
Steve’s custom baritone
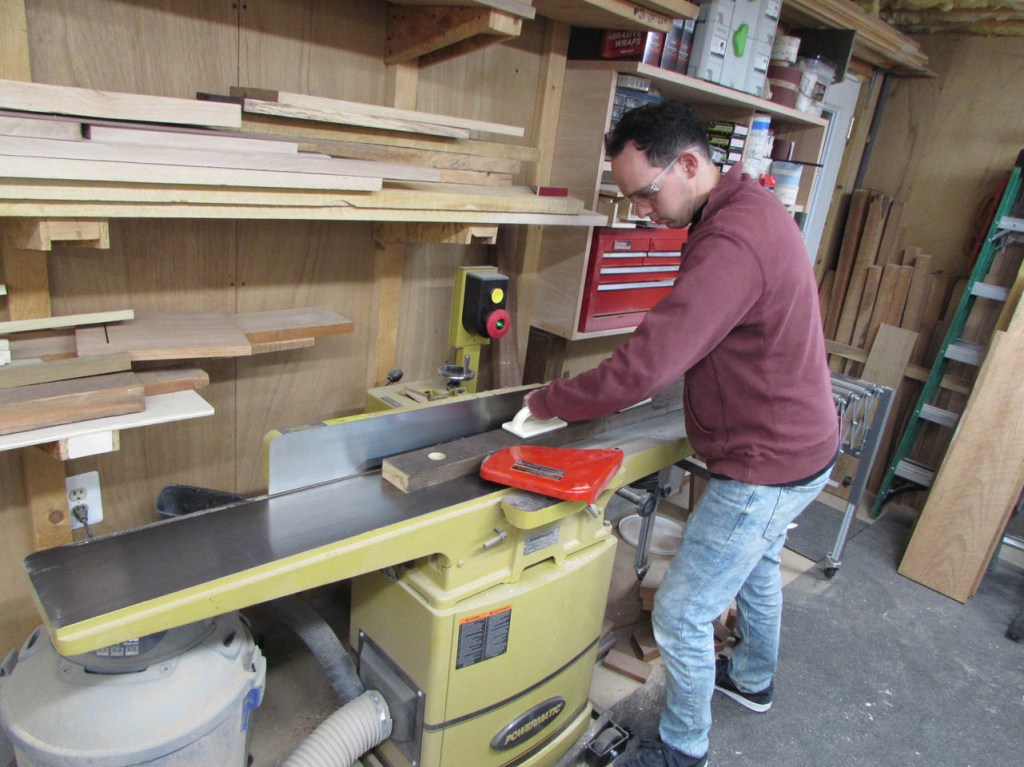
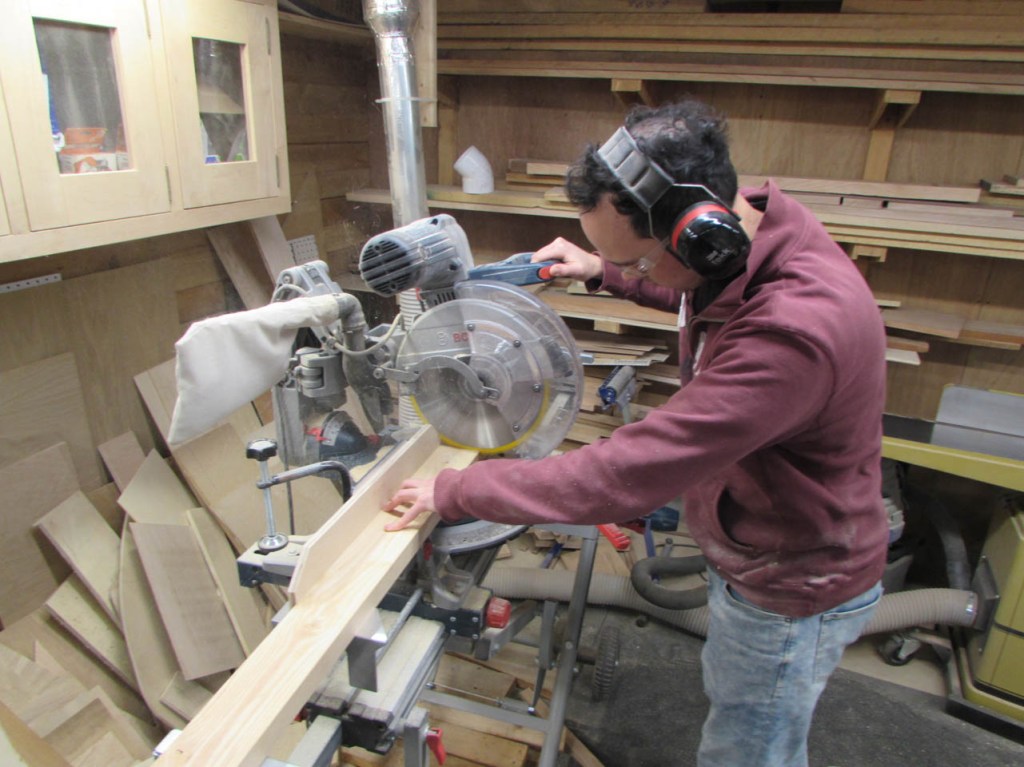
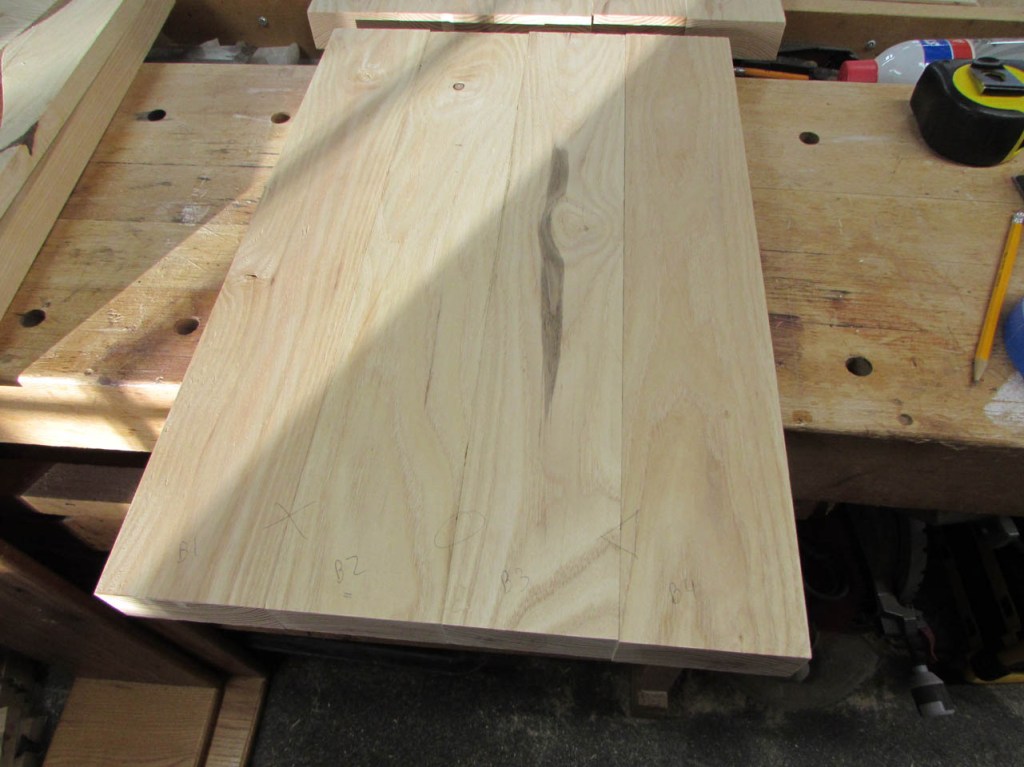
I had the opportunity recently to work on another guitar with my friend Steve. He had some ash boards that were reclaimed from a previous project and he wanted to make a custom guitar with them. They were originally cut for a bed and allowed to air dry. To clean off the old stain and locate the best sections of each board, we started by planing and jointing the faces.
A few years of air drying and use has caused a bit of twist in some of the boards. Luckily these boards will ultimately be taken down to 1″ thick so we can plane past most of the problem areas.
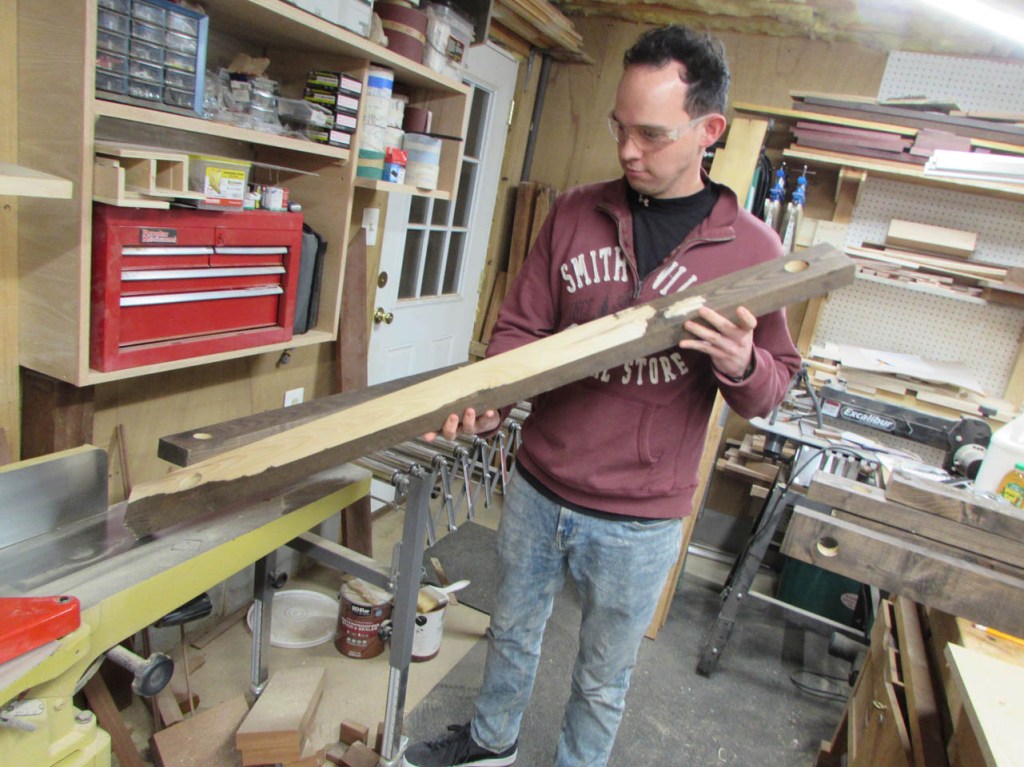

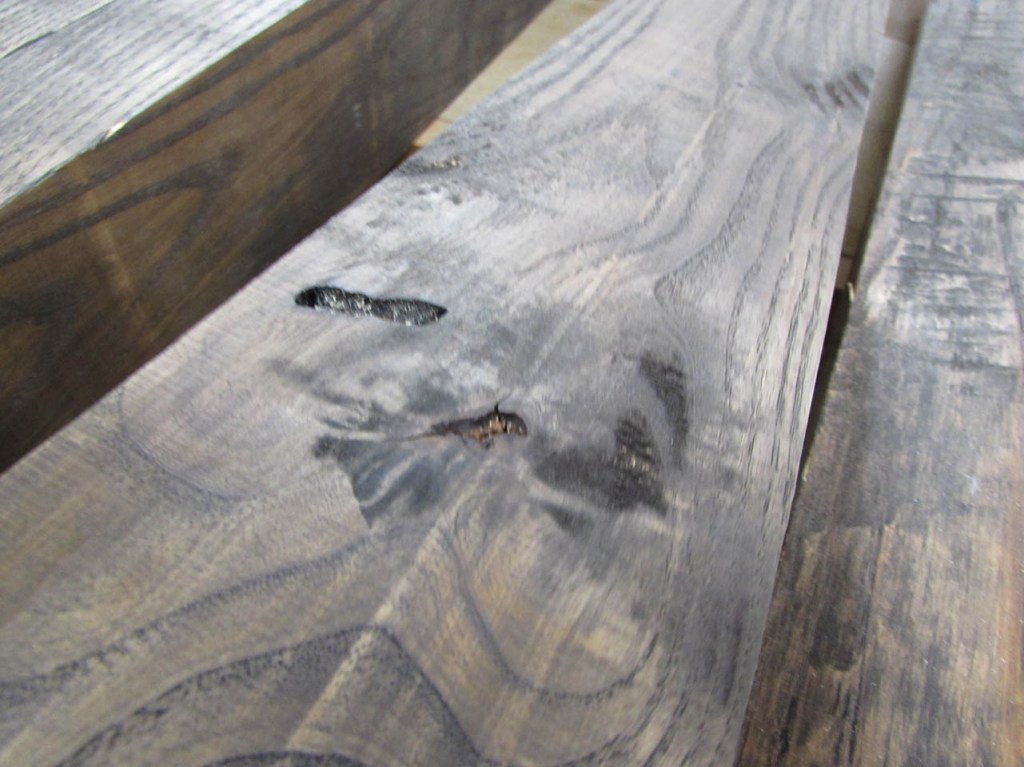
You can see some of the rough sawn marks as well as some knots.
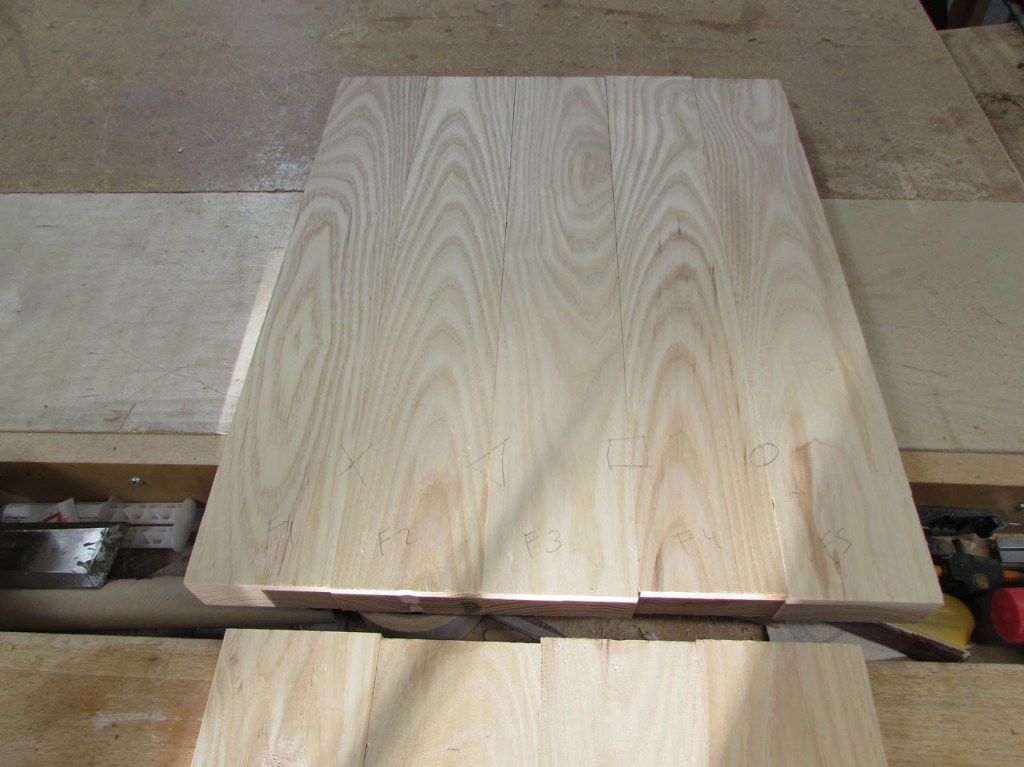
After jointing one side and one of the faces flat and square to each other, we moved to the table saw and cut the opposite side of the boards parallel.
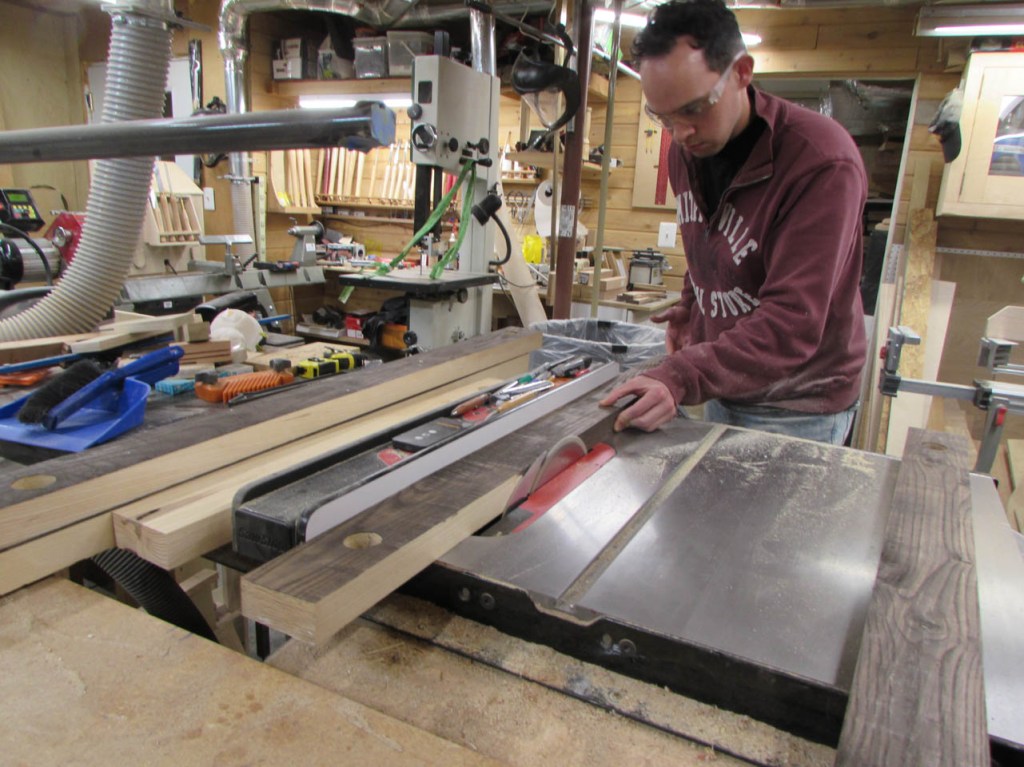
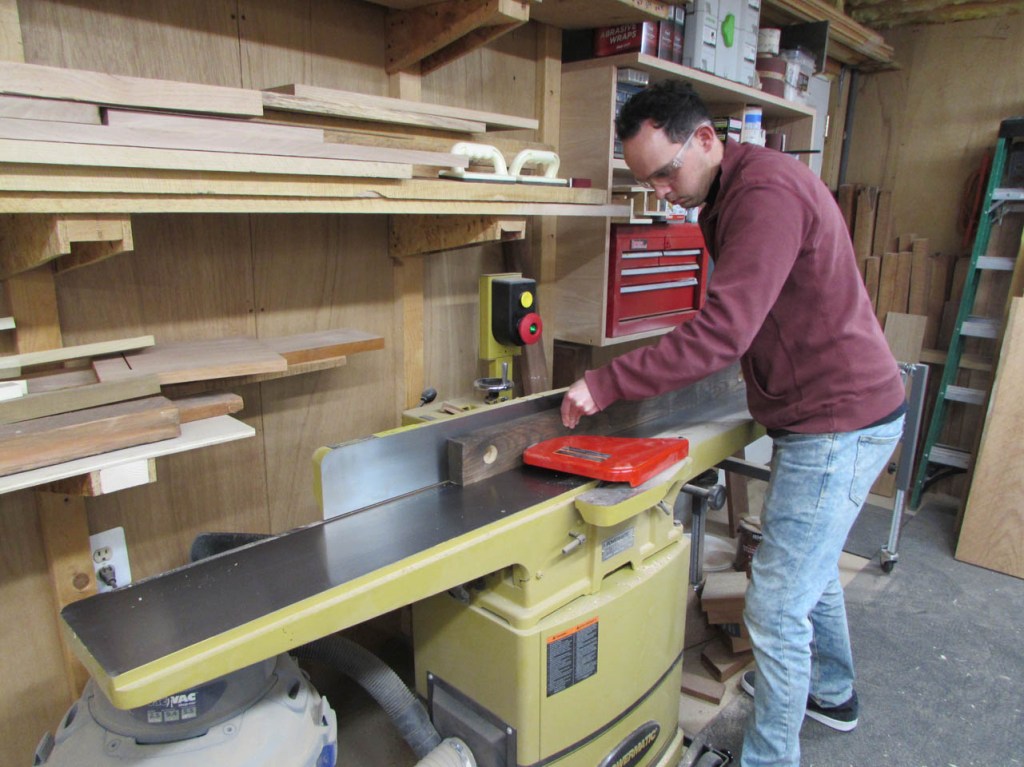
Then, Steve planed the opposite face as well.
The boards were all bowed, some more than others, but with a little patience, we had all of the boards cleaned up, squared and flattened.
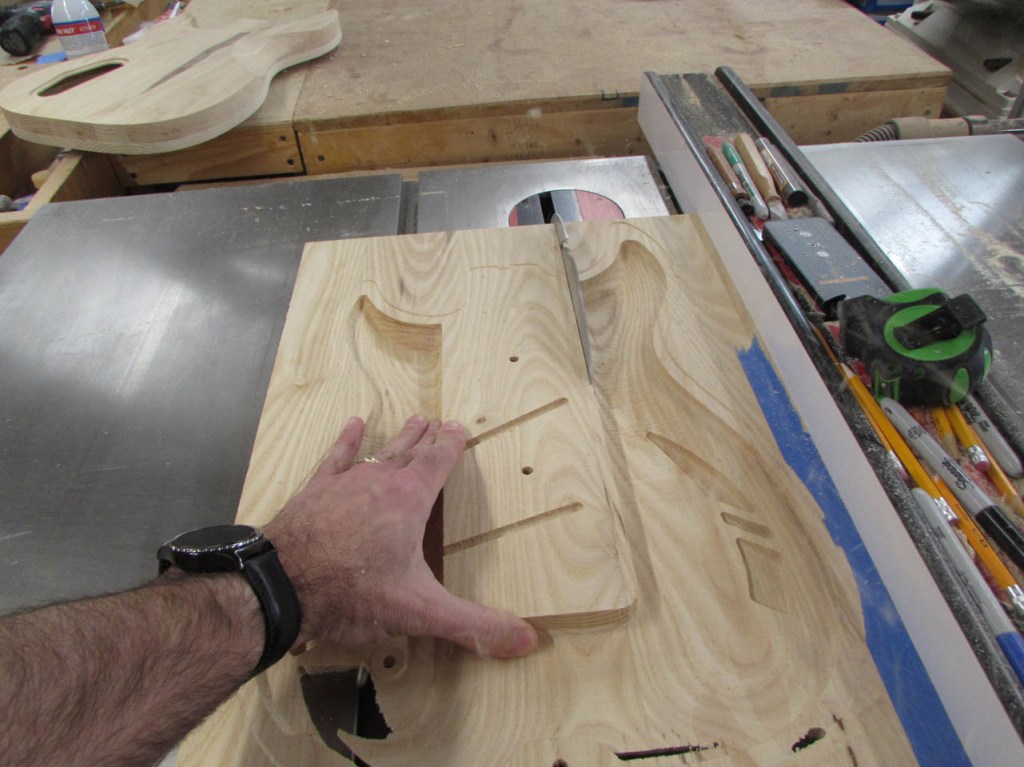
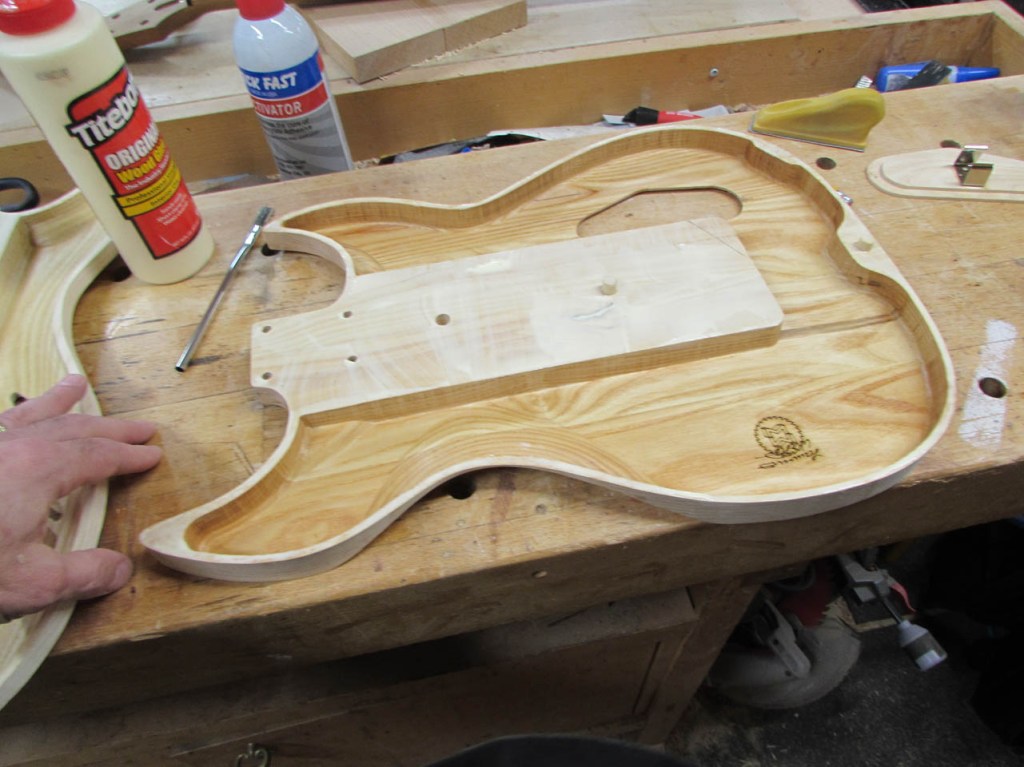
There was a hole at each end of all of the boards.
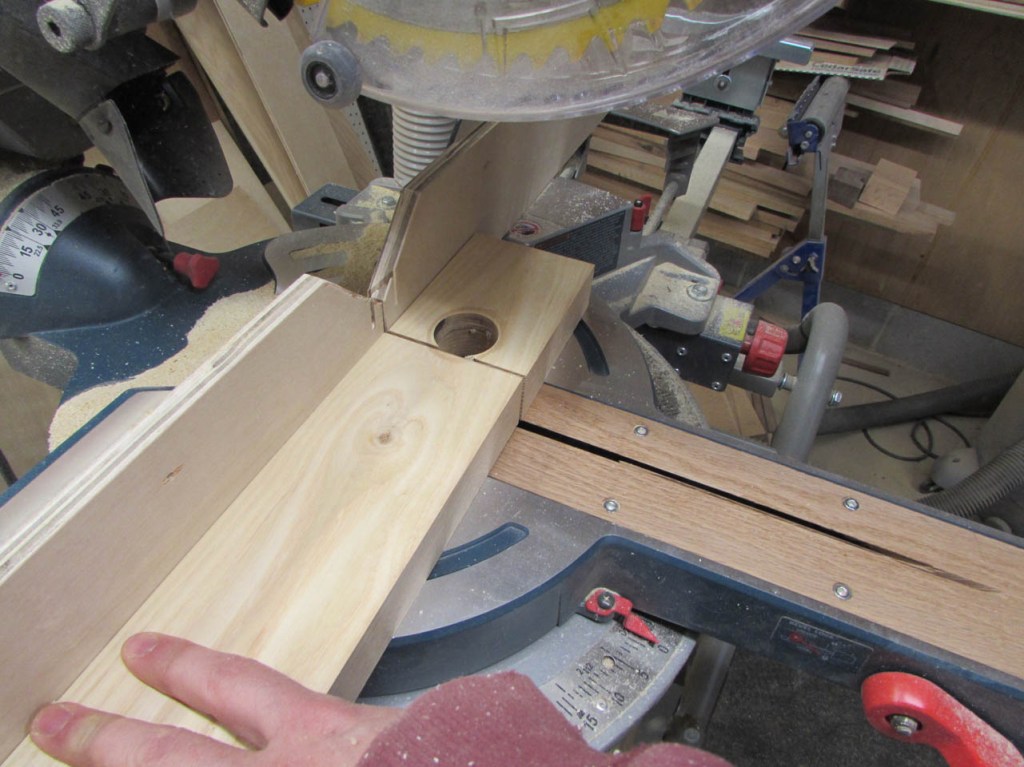
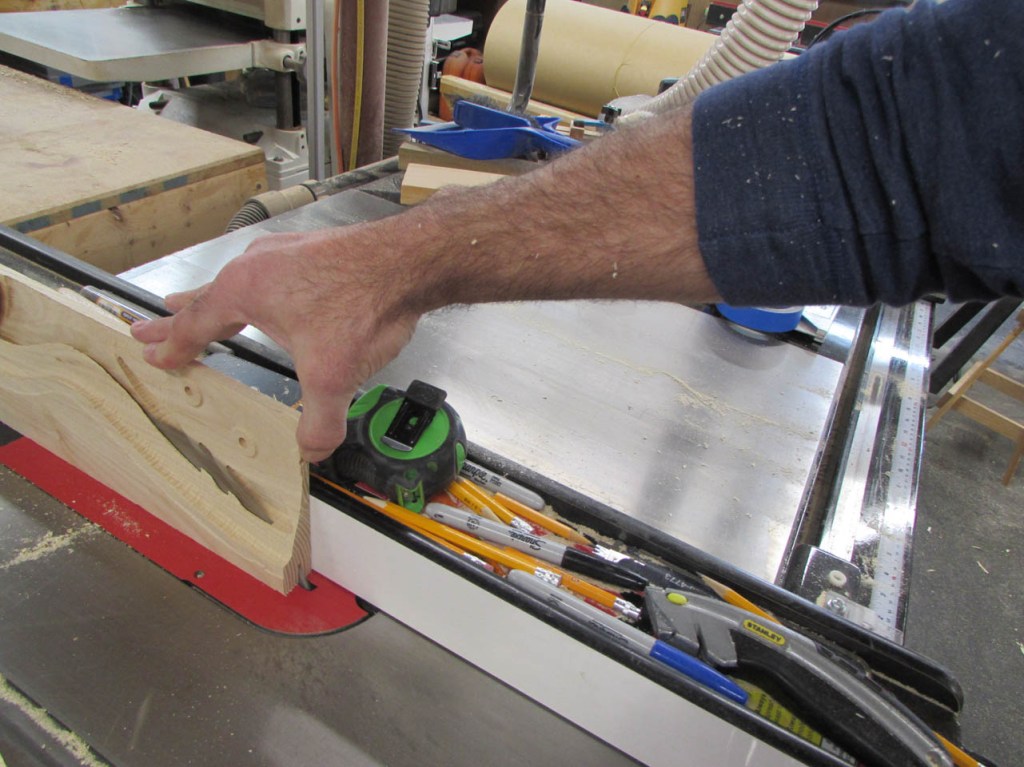
We cut one of the holes off so that we could then cut the best part of each board to the length required.
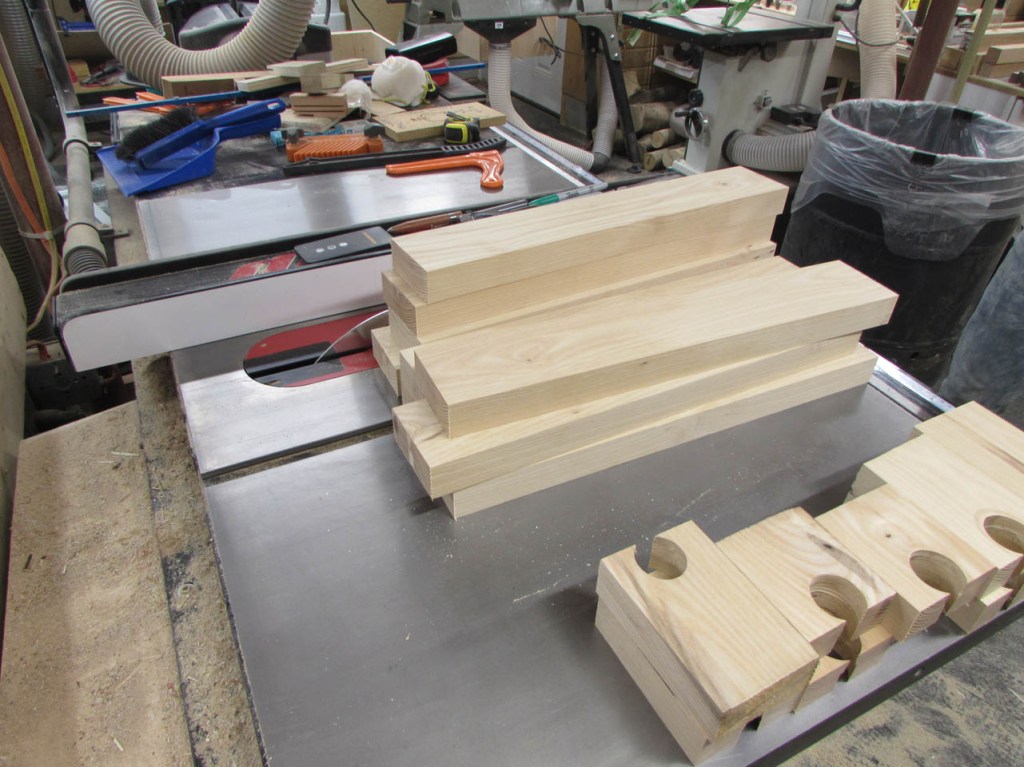
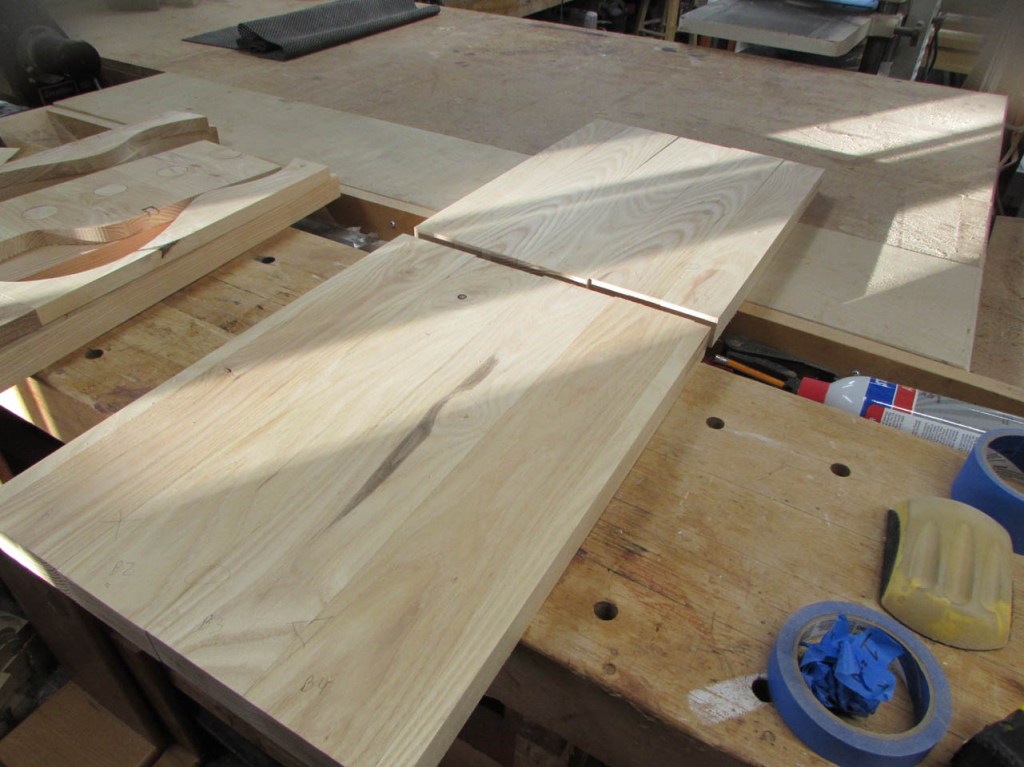
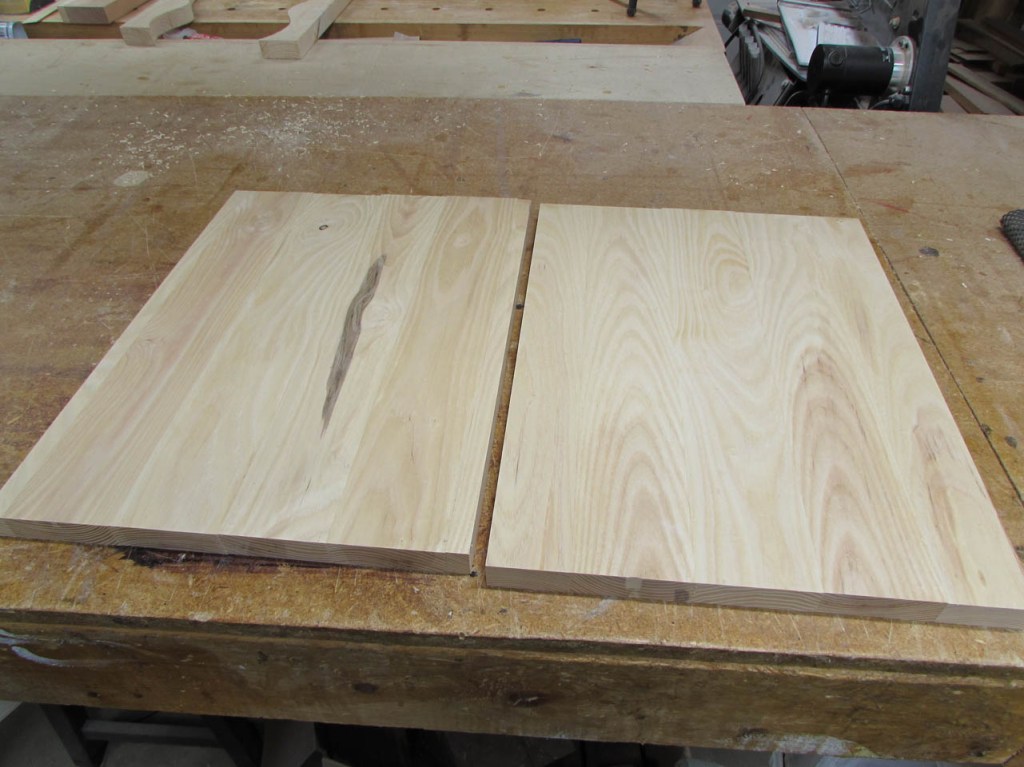
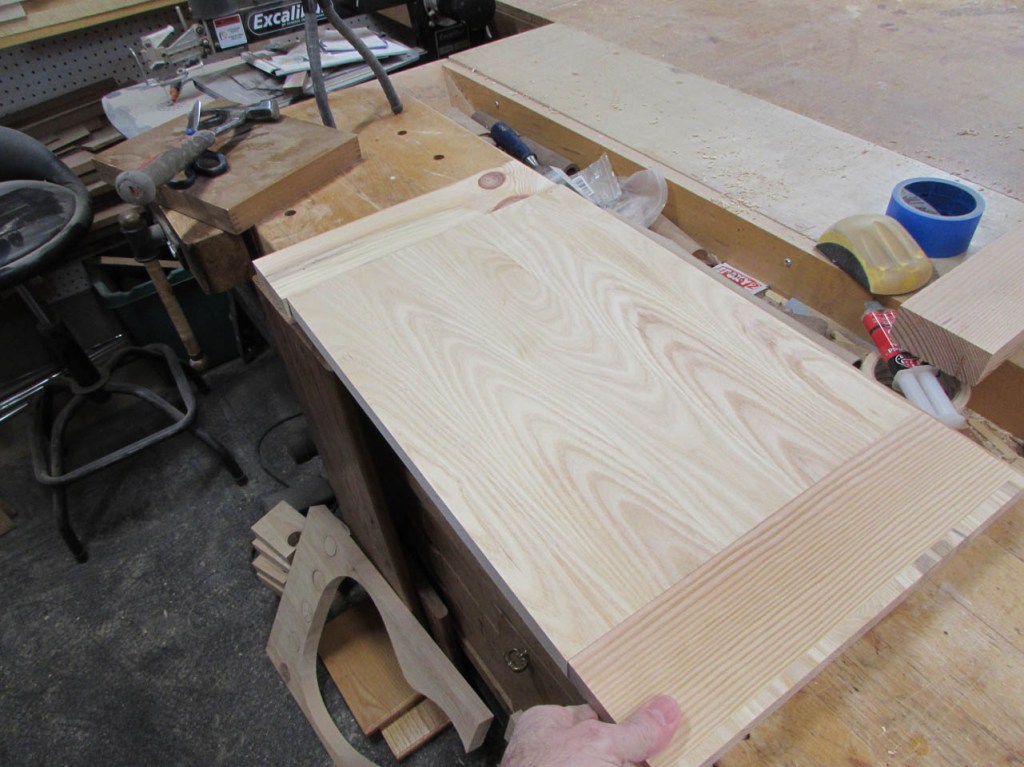
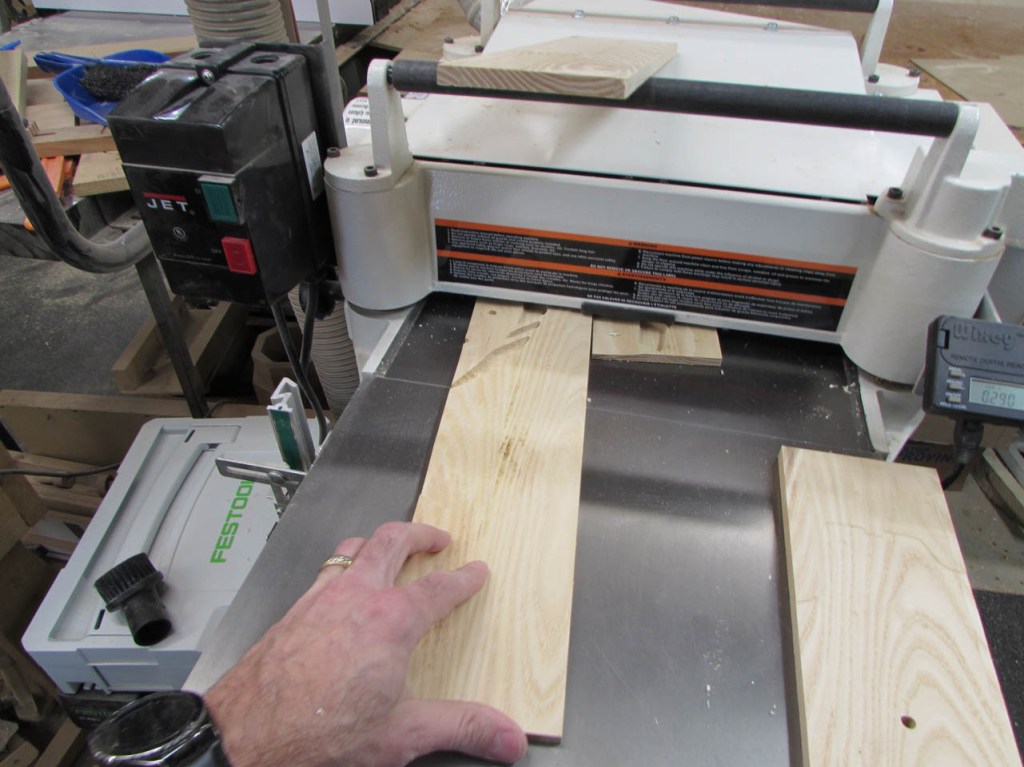
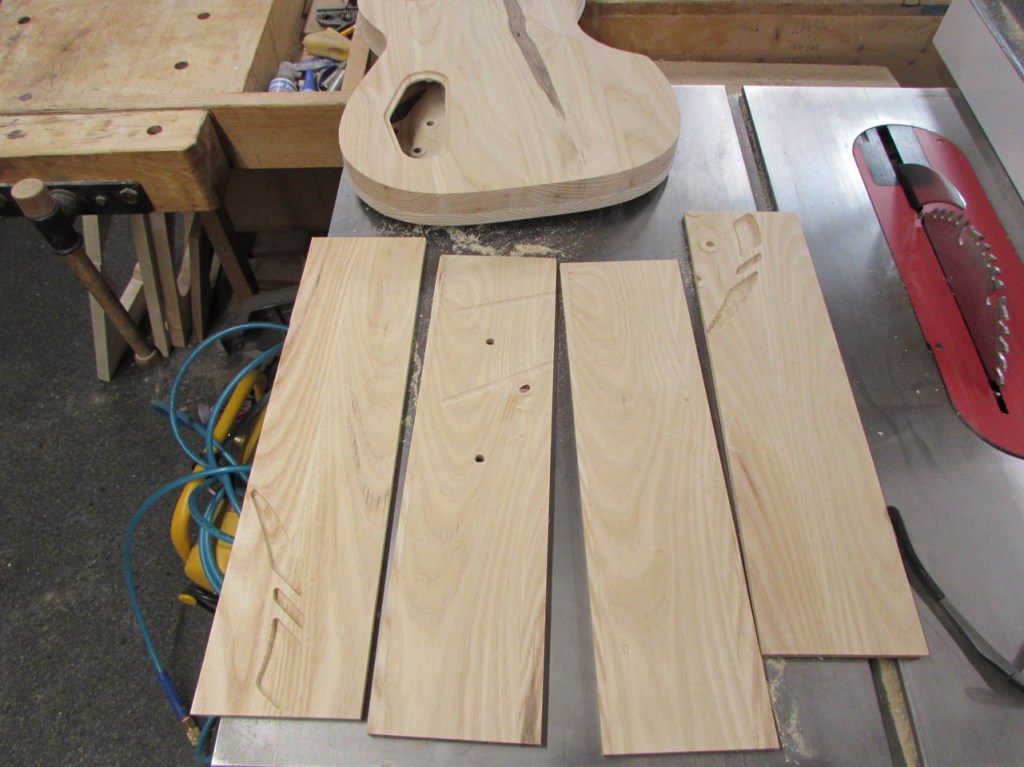
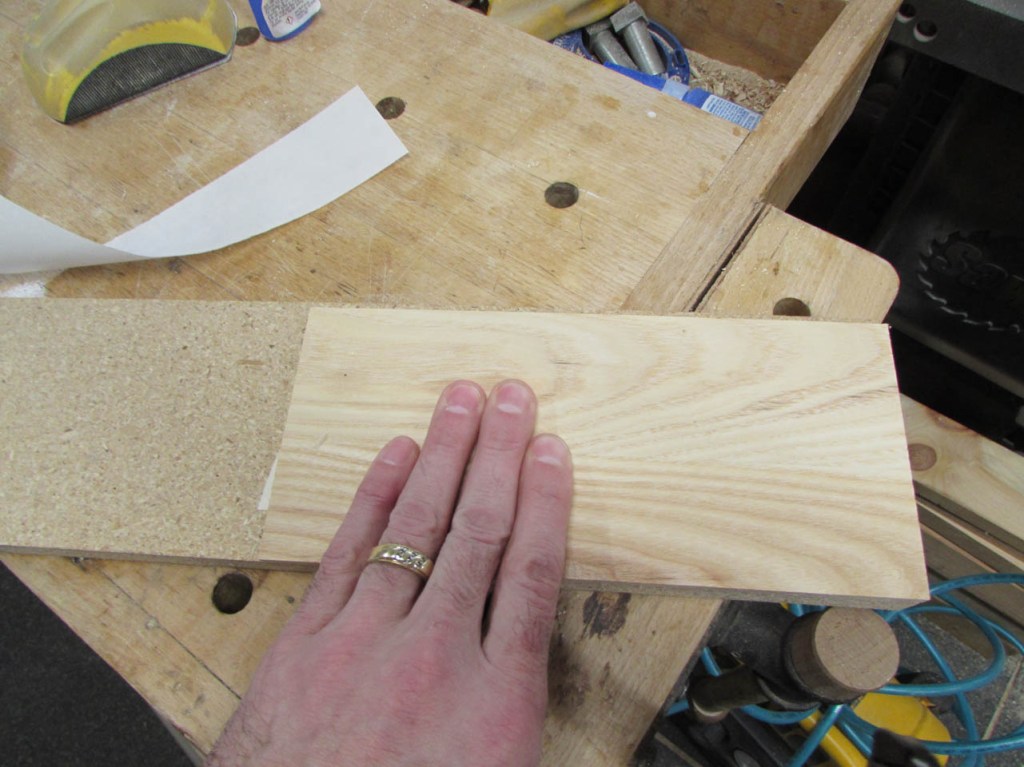
Once we had enough to make a couple of panels, Steve spent some time picking the perfect grain match for the body of his guitar.
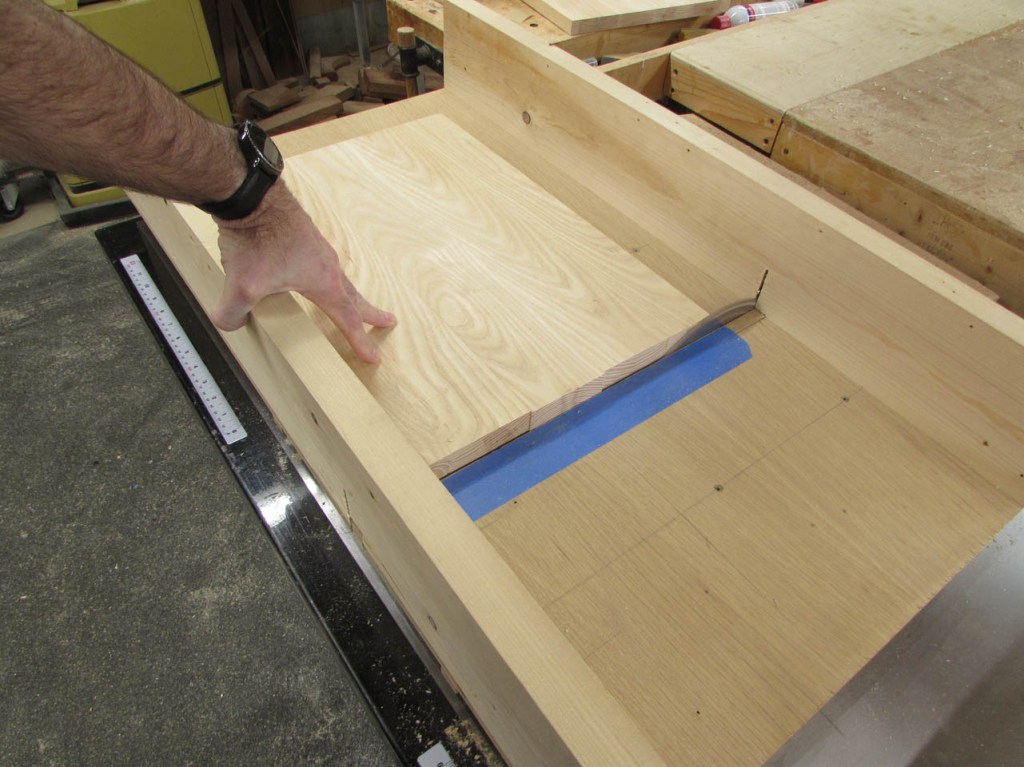
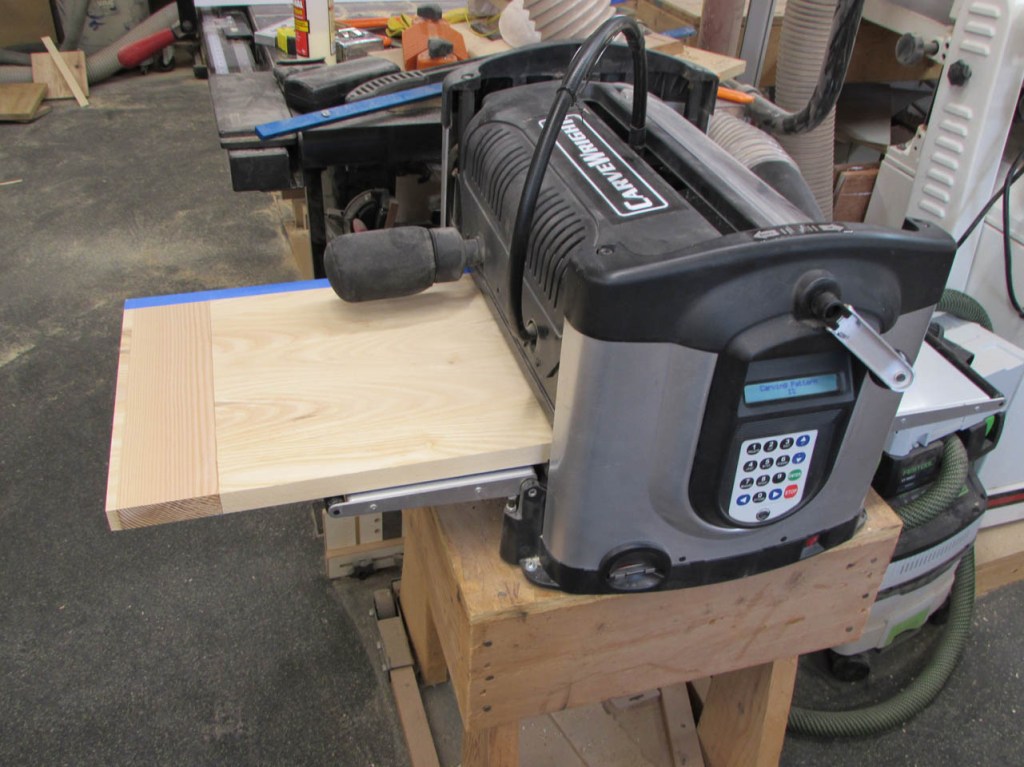
Steve is creating a 3d model of the guitar body so that we can carve it out completely on my CNC. The CNC requires an extra 3″ or more added to each end and at least an additional 1/2″ to each side of the board, so I cut a few pieces to add to the sides. They will eventually be waste so it doesn’t matter what they look like as long as the panel is the right size in the end.
Both of the panels are a bit short. Long enough for the body, but too short for a clean cut on the CNC, I need to glue up the panels and plane them down to size, then I can add a bit to the ends to make up the difference.
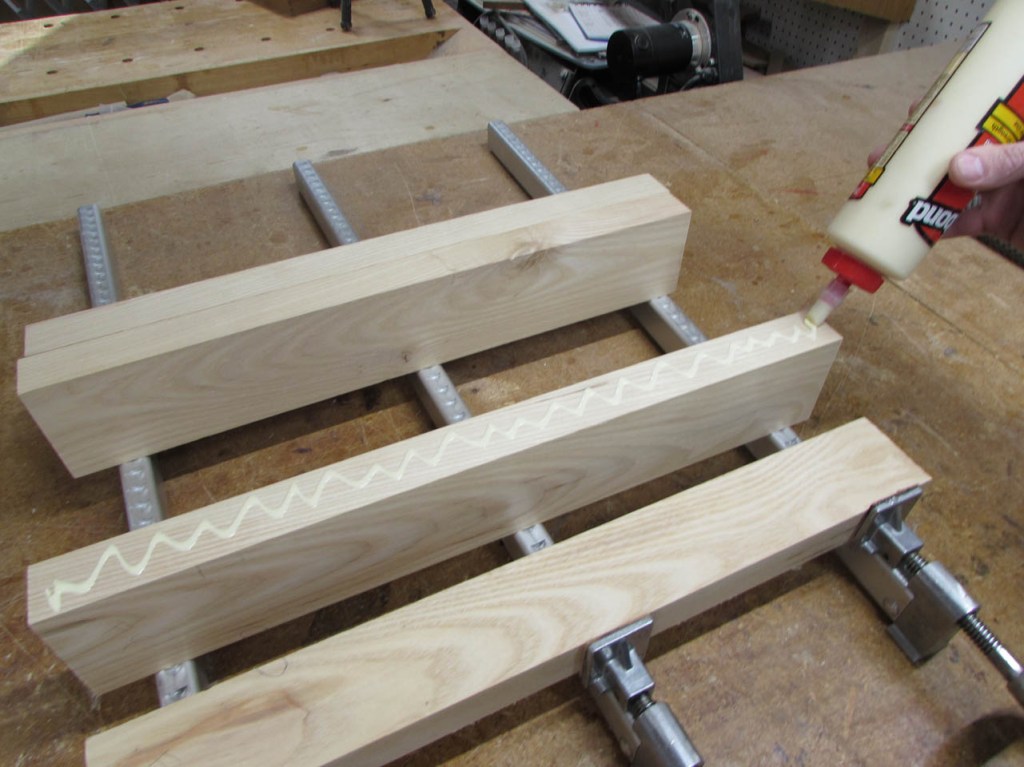
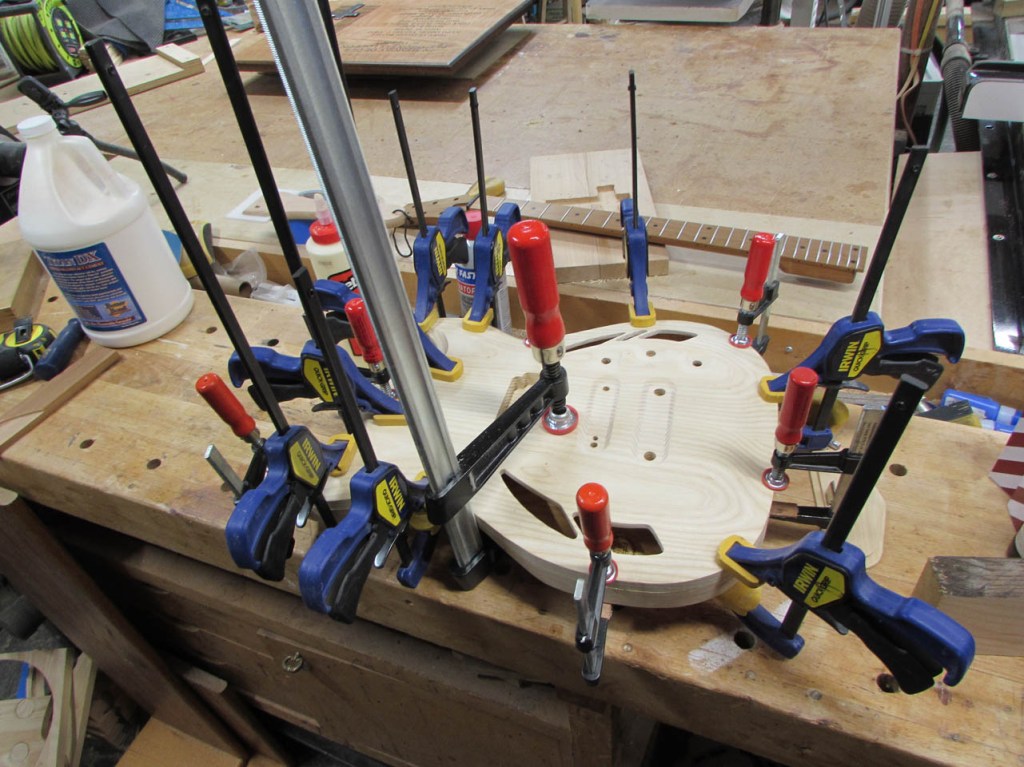
We applied wood glue and clamped the two panels together.

While the glue was half-cured, I used a wide chisel to clean off any squeeze-out.

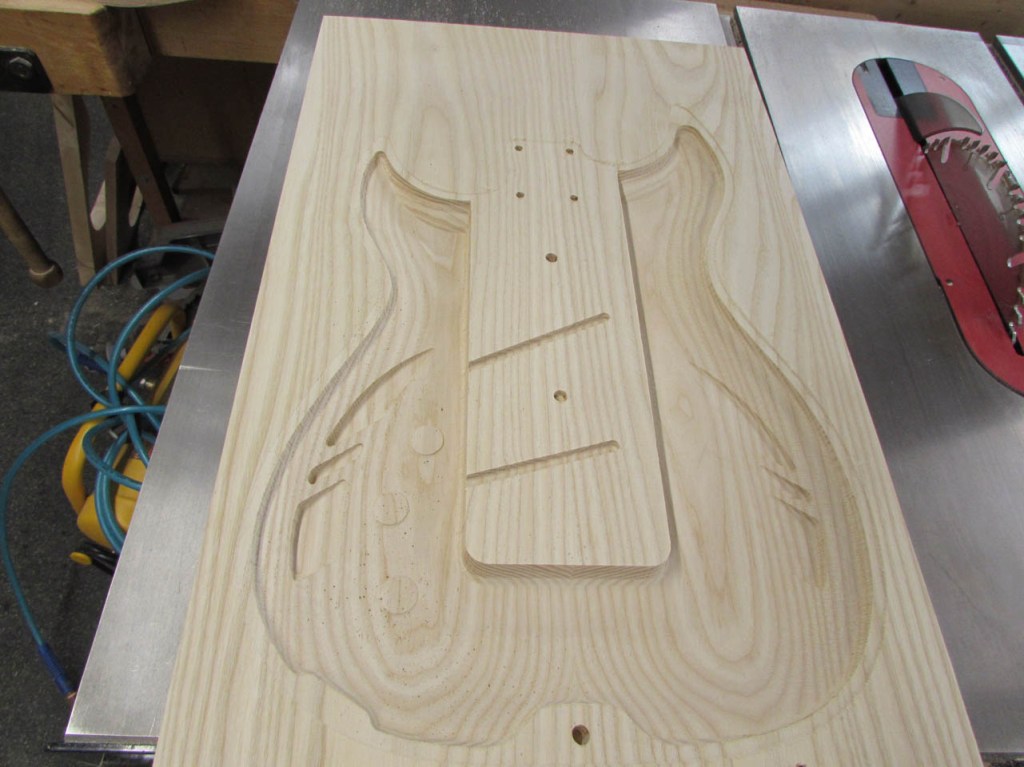
While the glue on that was drying, I created a test neck pocket carve on the CNC and ran it.
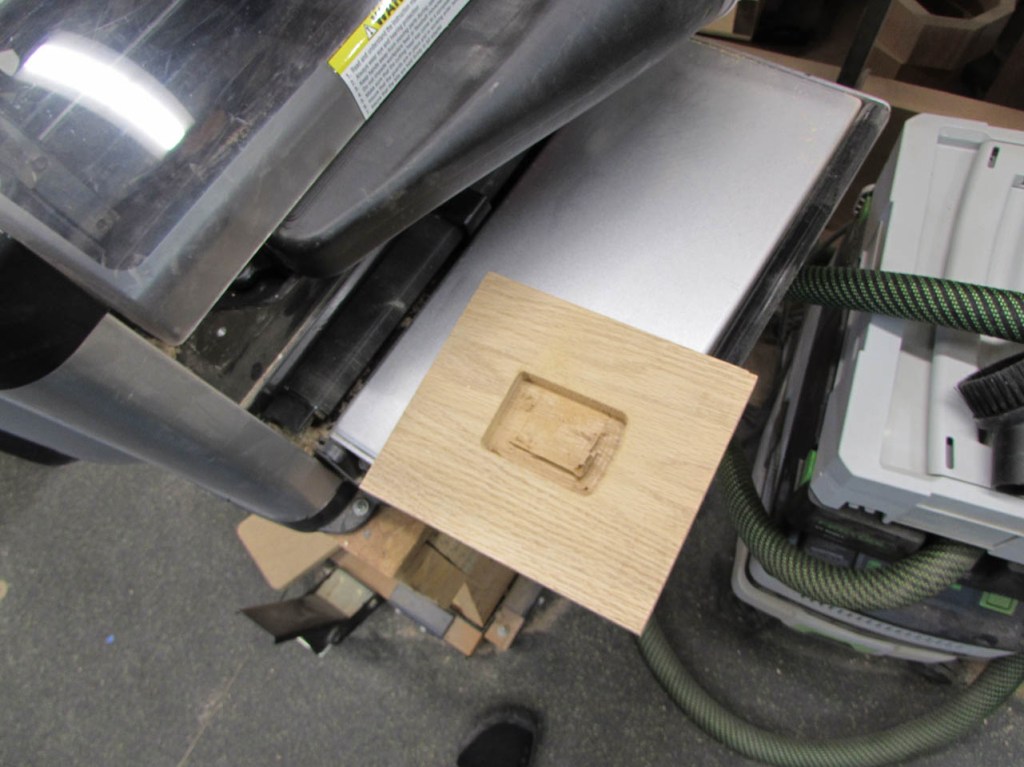
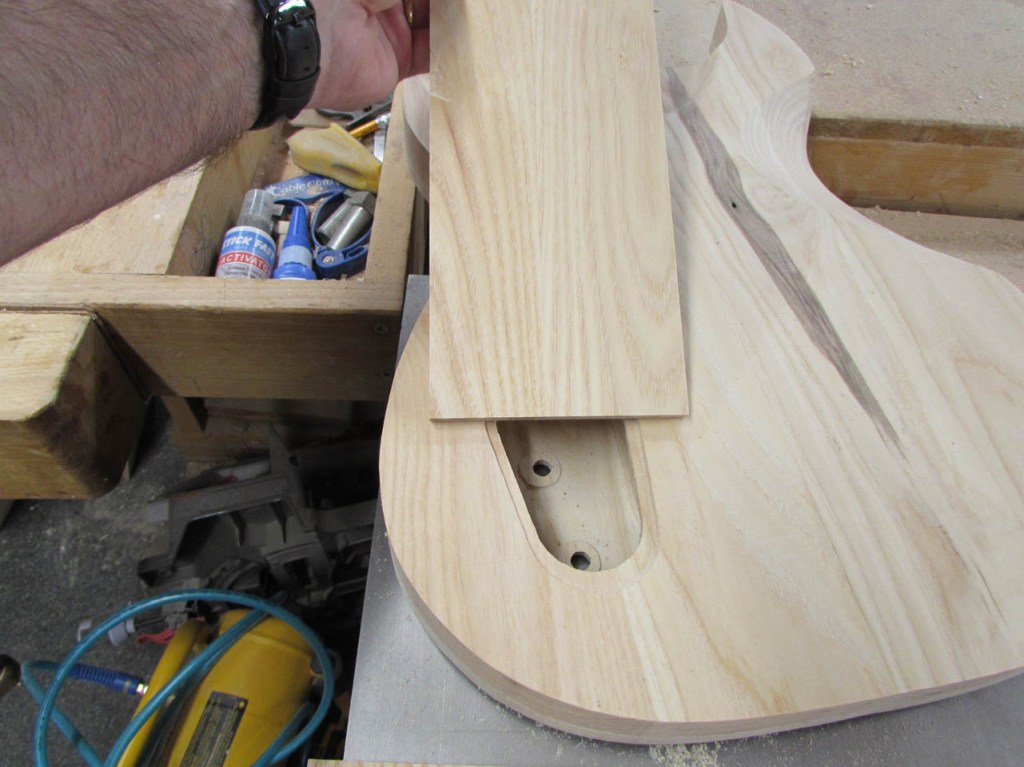
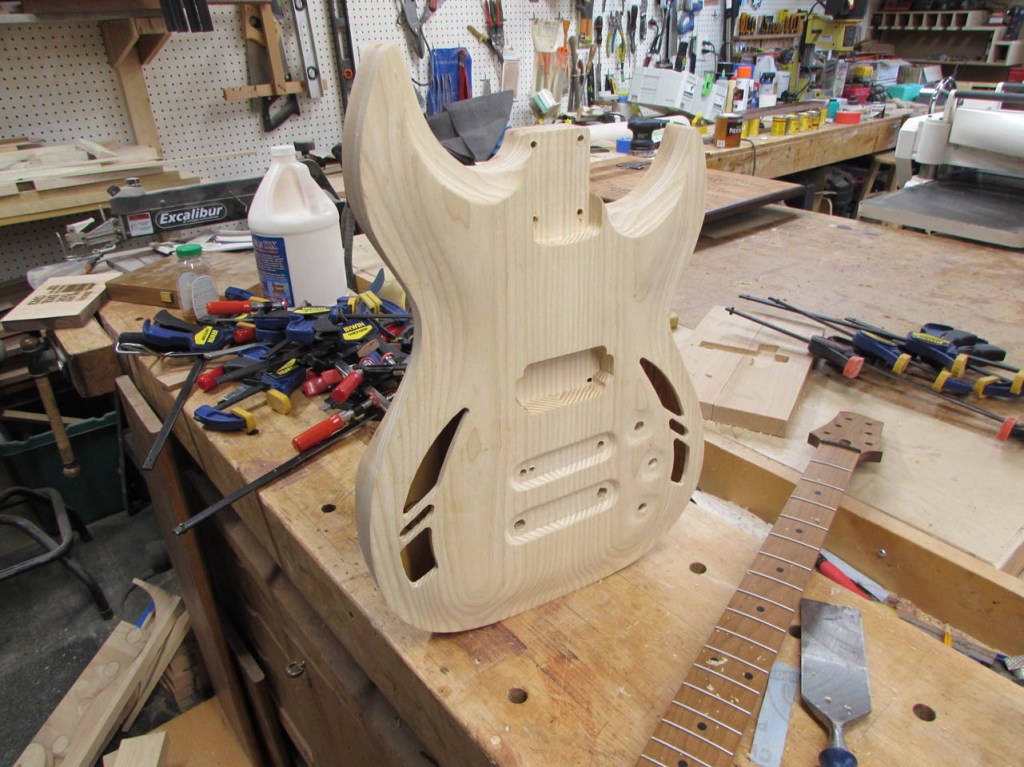
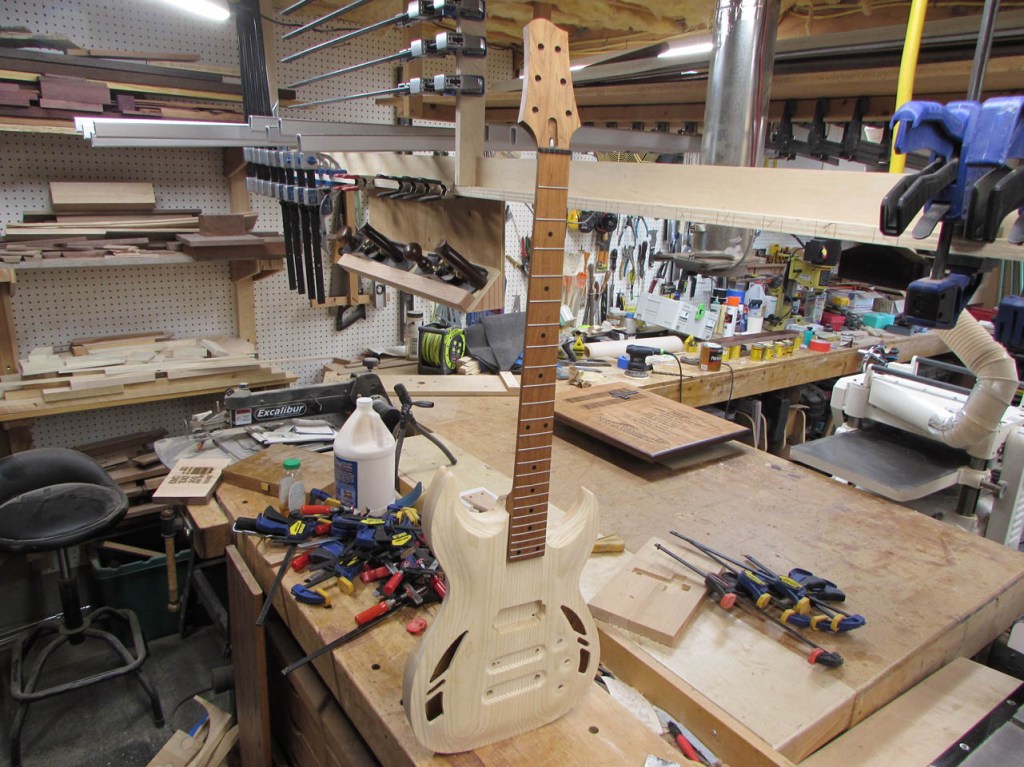
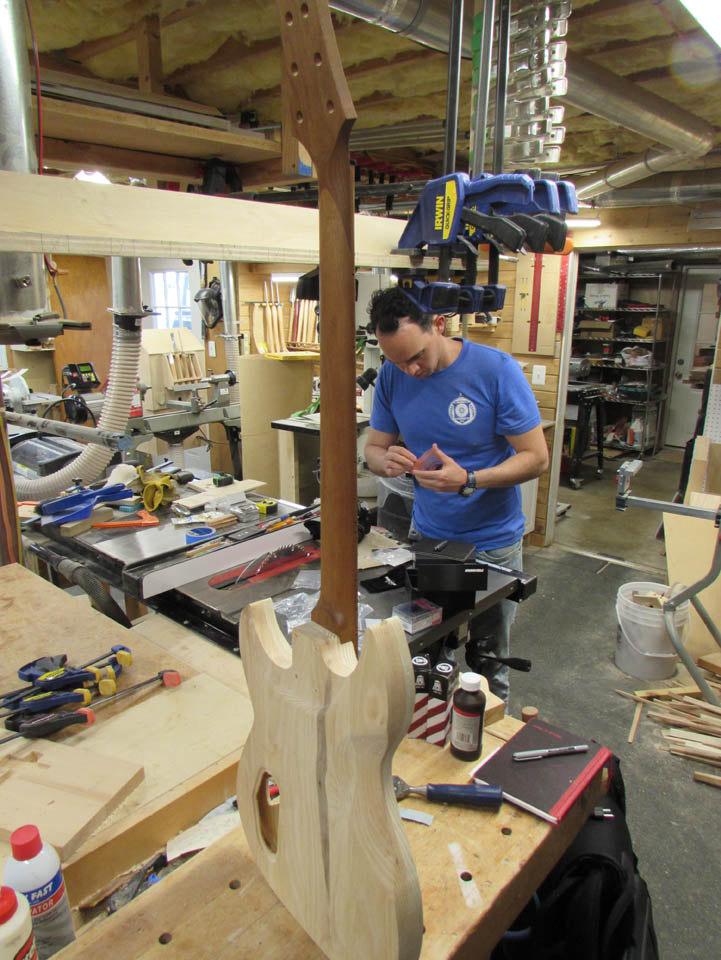
Steve purchased a baritone scale length neck, made of roasted maple, from Warmoth. We measured it and attempted to carve a pocket that would be a nice press fit.
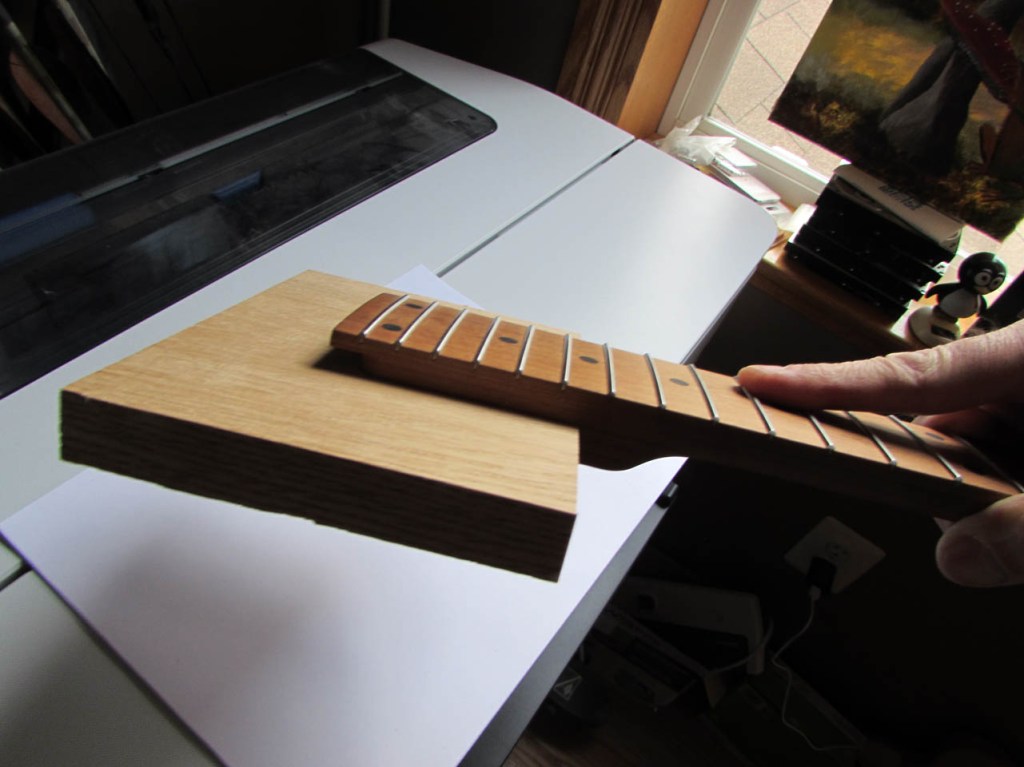
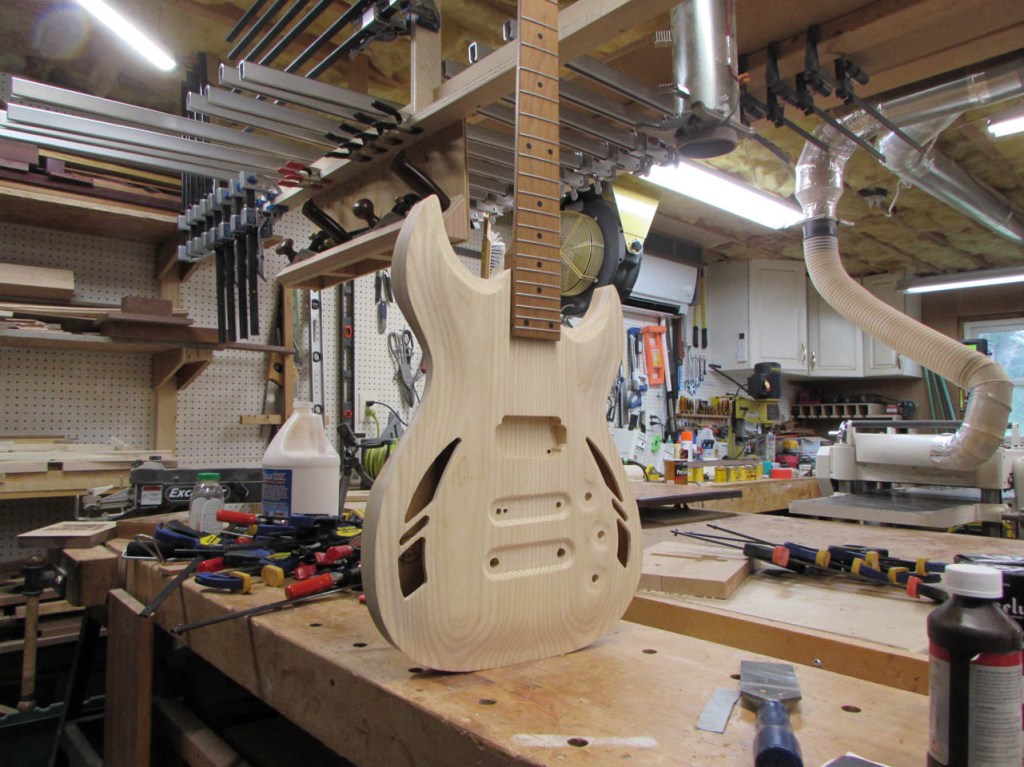
The fit test was a success and we added the neck pocket to the CNC program of the guitar body.
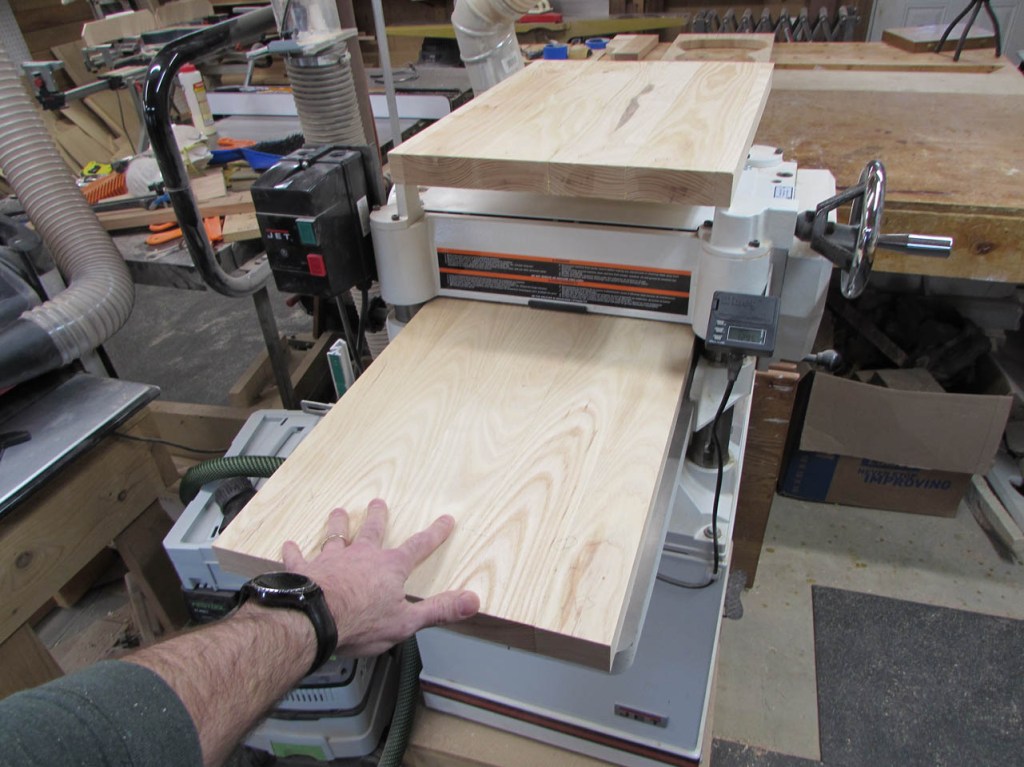
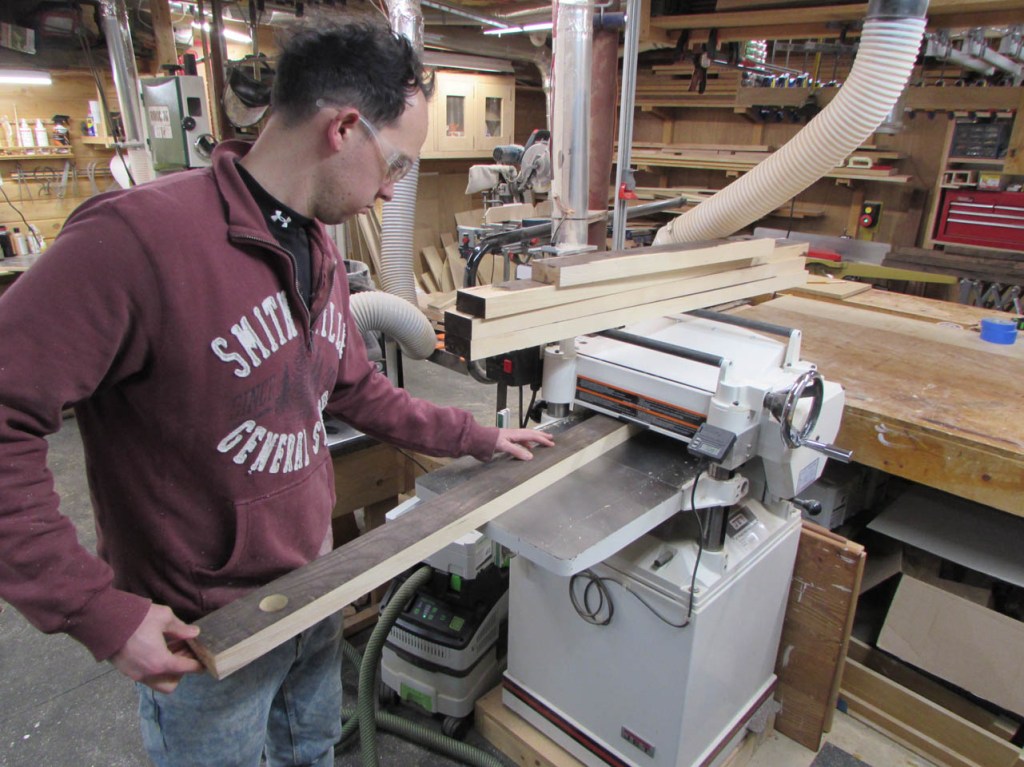
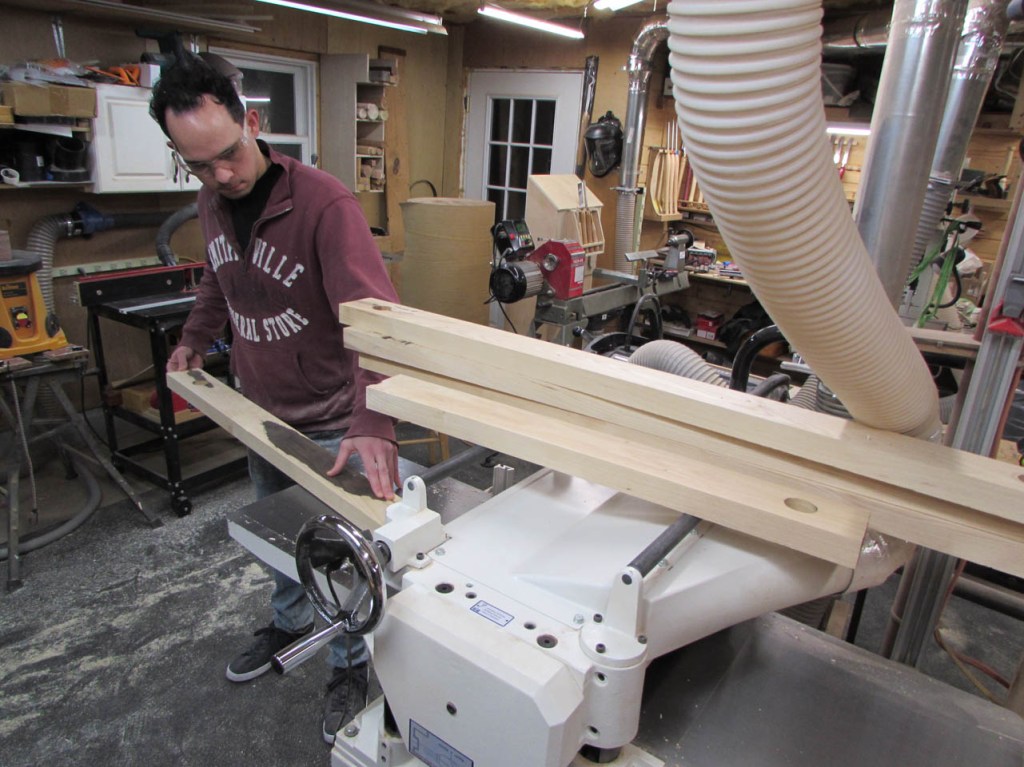
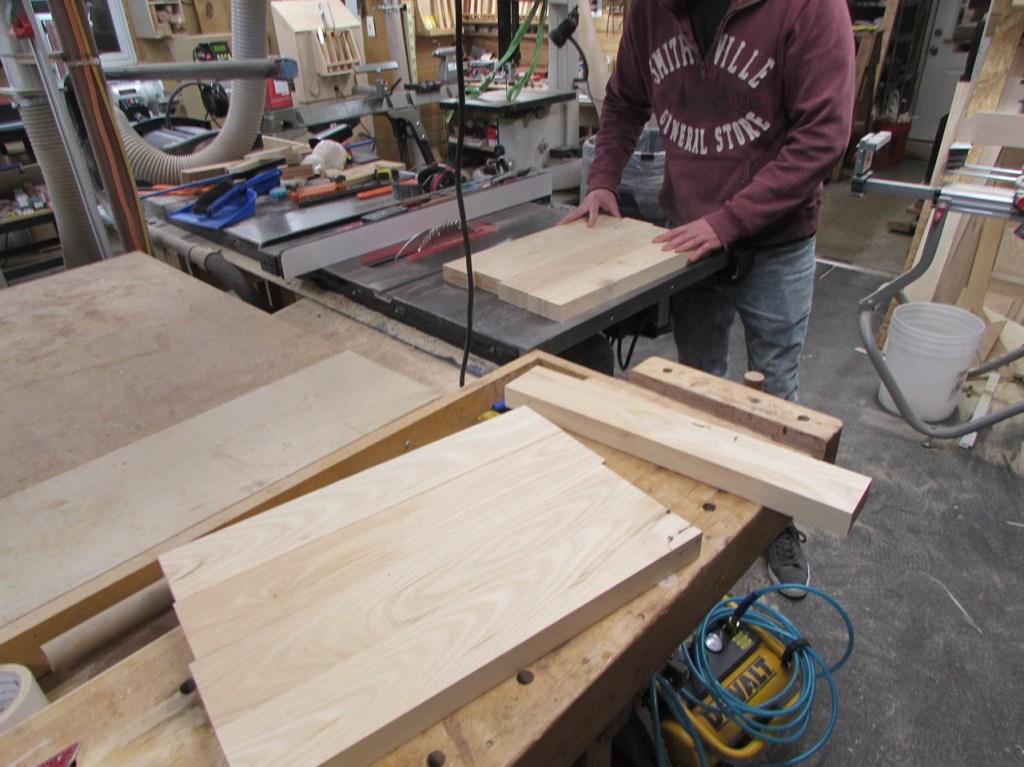
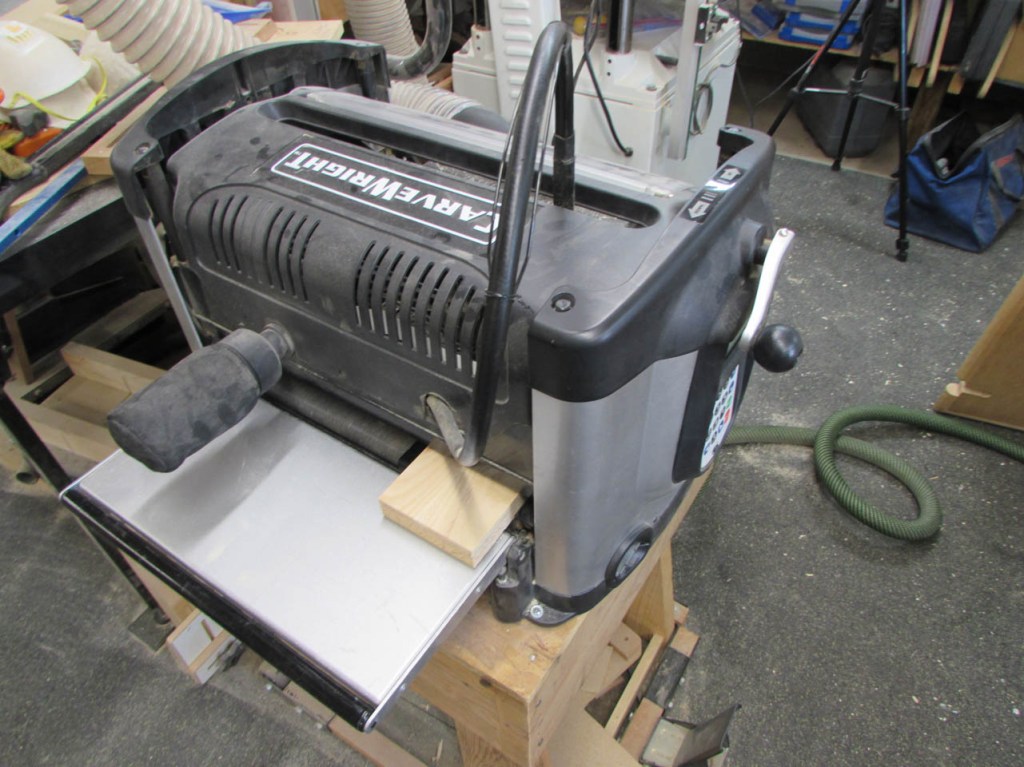
When the glue on the panels was dry, I ran them through the planer and took them down to 1″ thick.

Steve did a good job with the grain match, they look really nice.
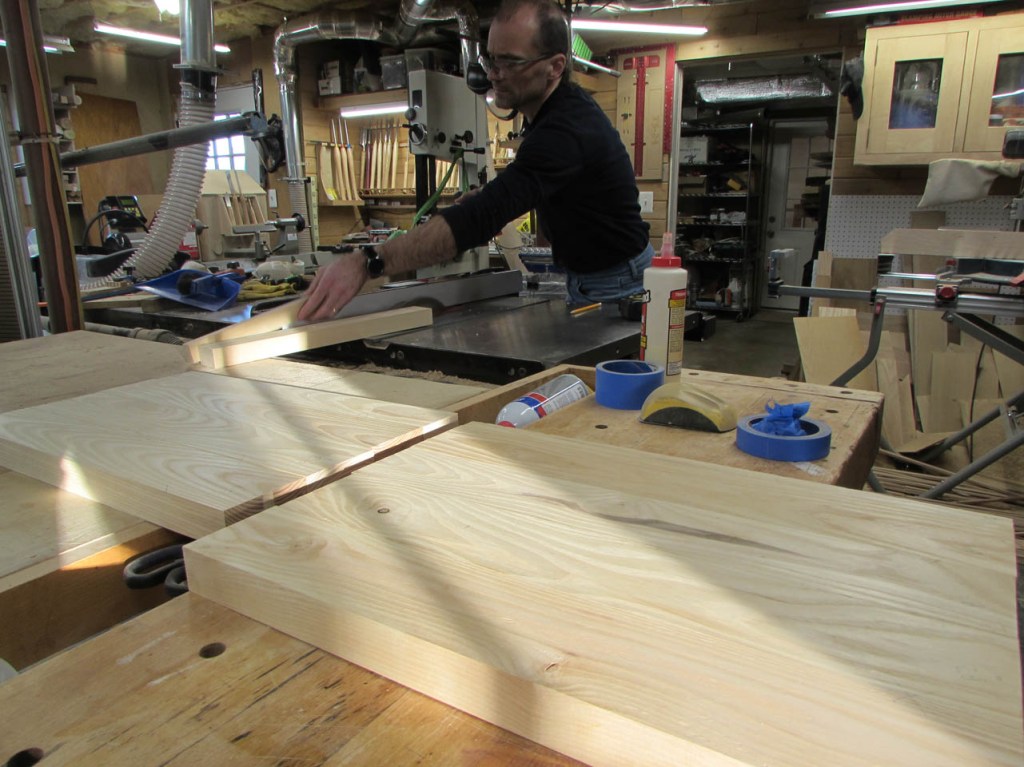
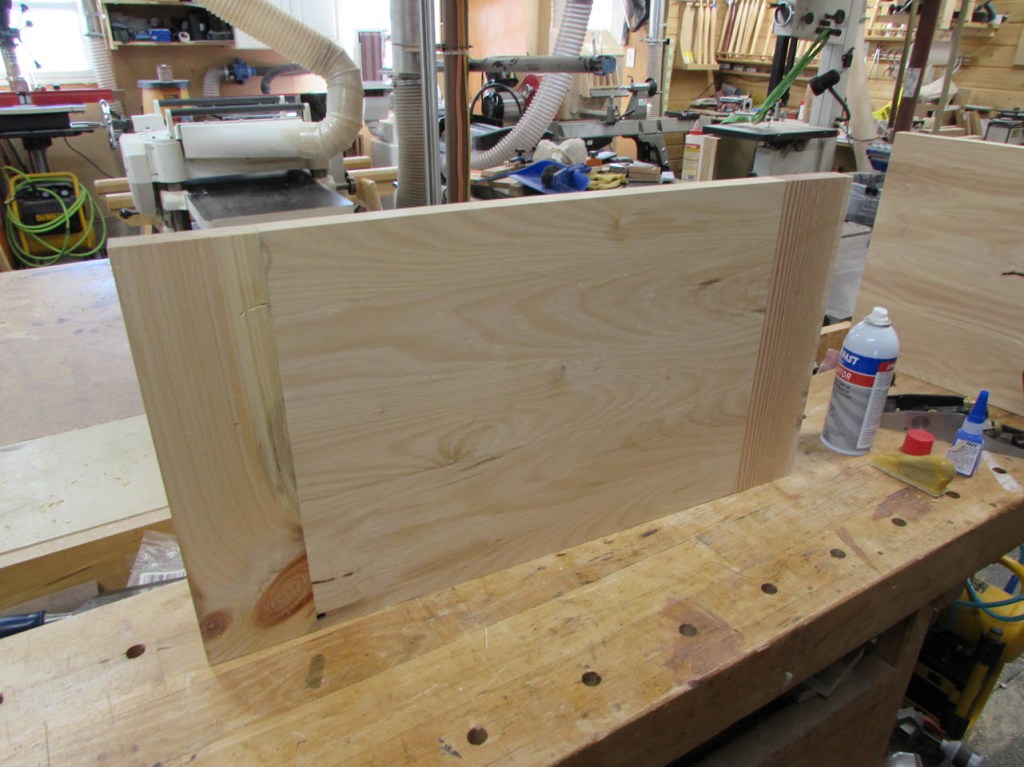
I used a cross-cut sled on the table saw to square off the ends.
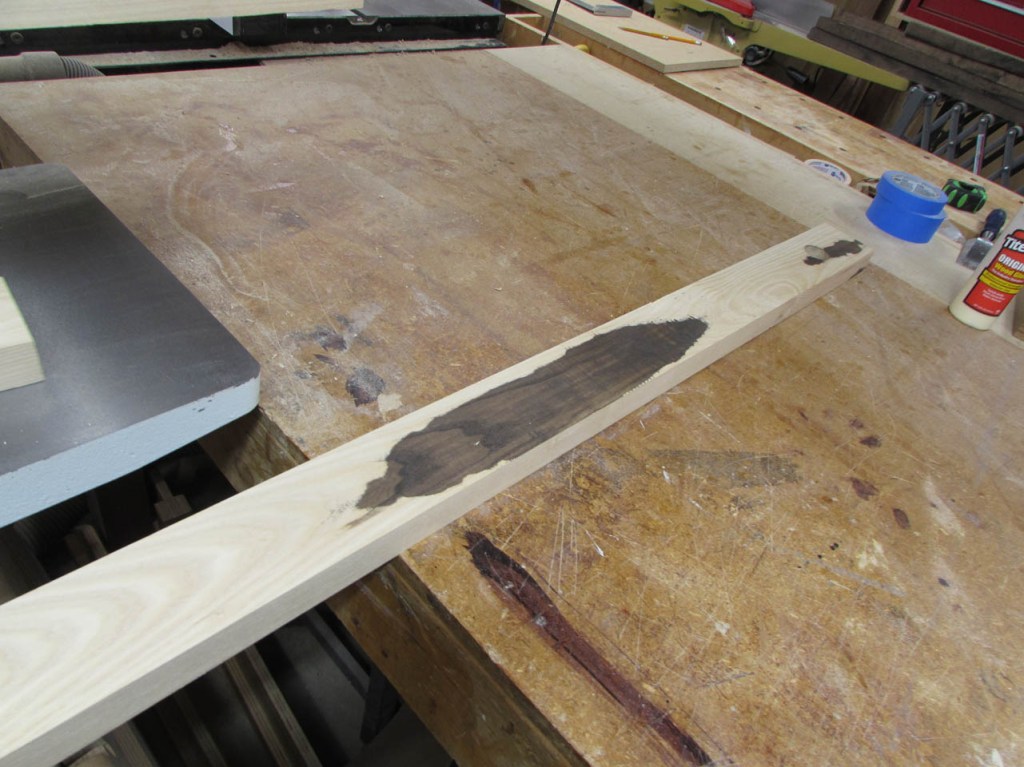
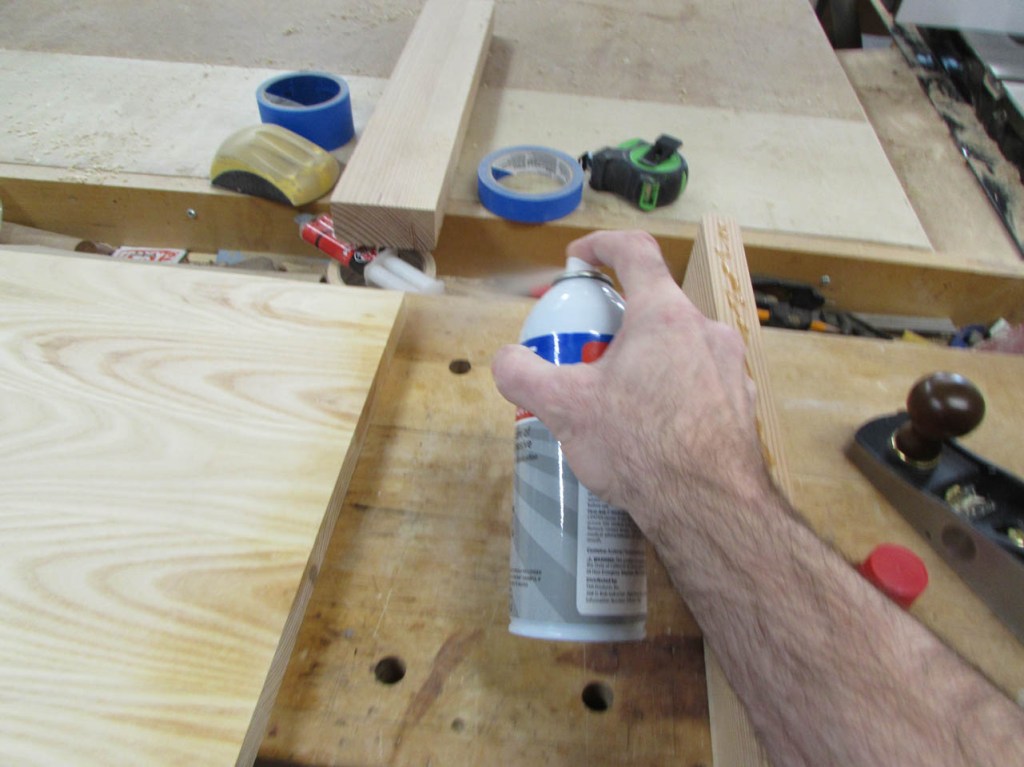
I cut and planed down some pine and fir scraps to attach to the ends.
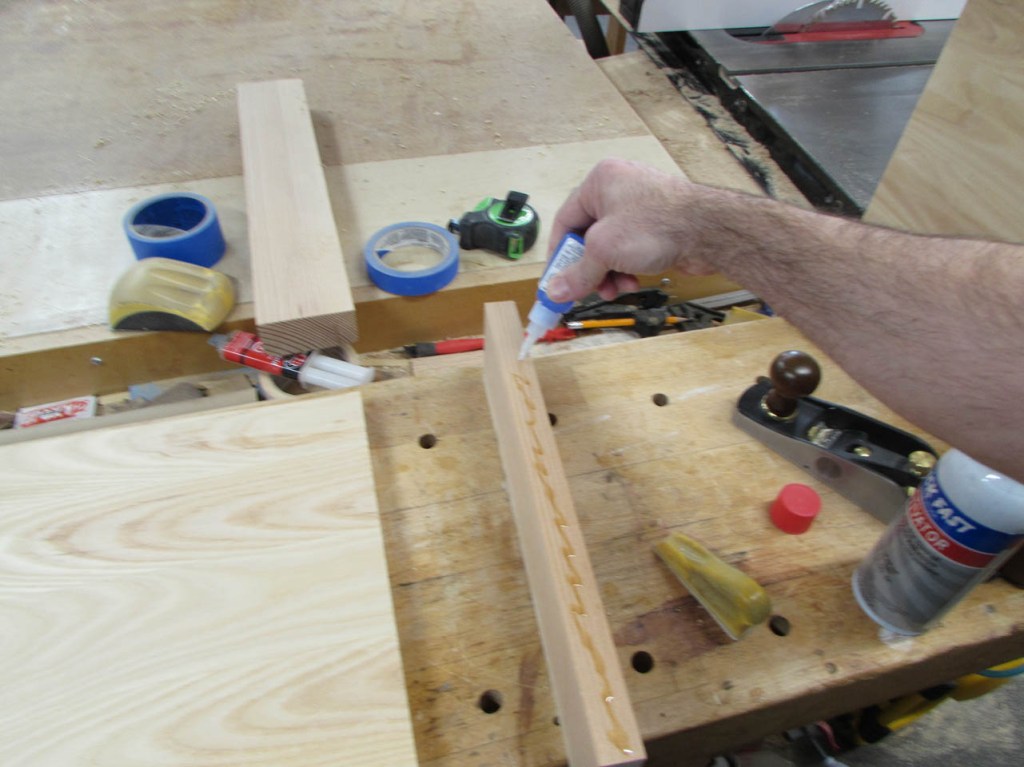
Since it is a temporary extension, I used CA glue and activator.
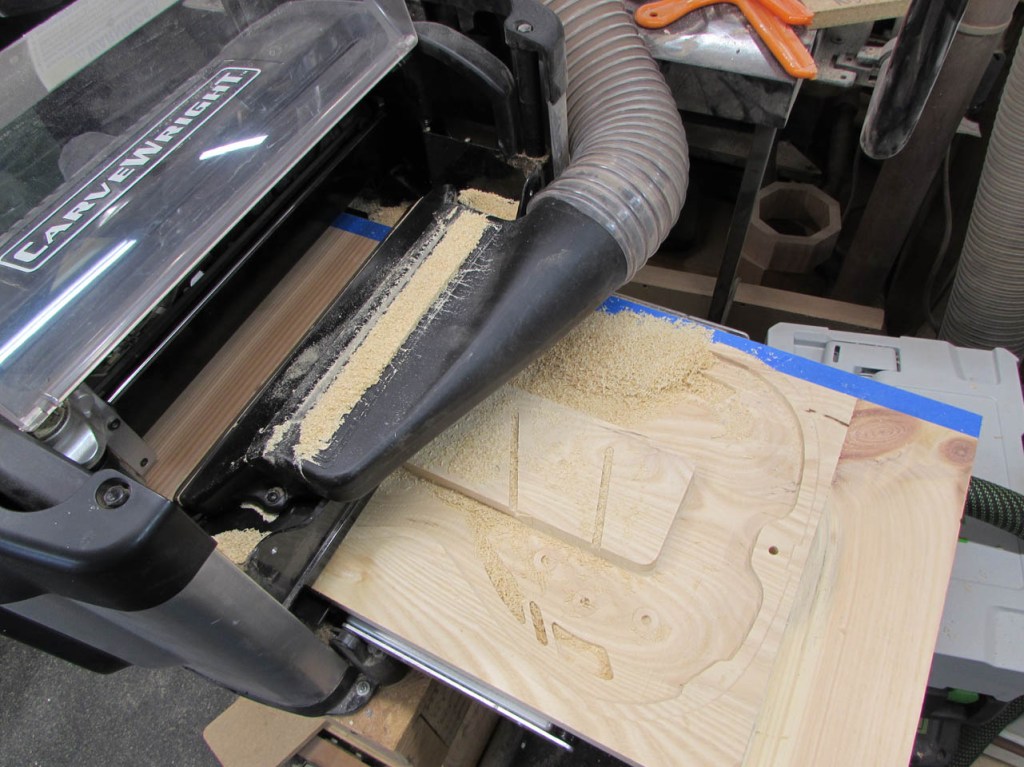
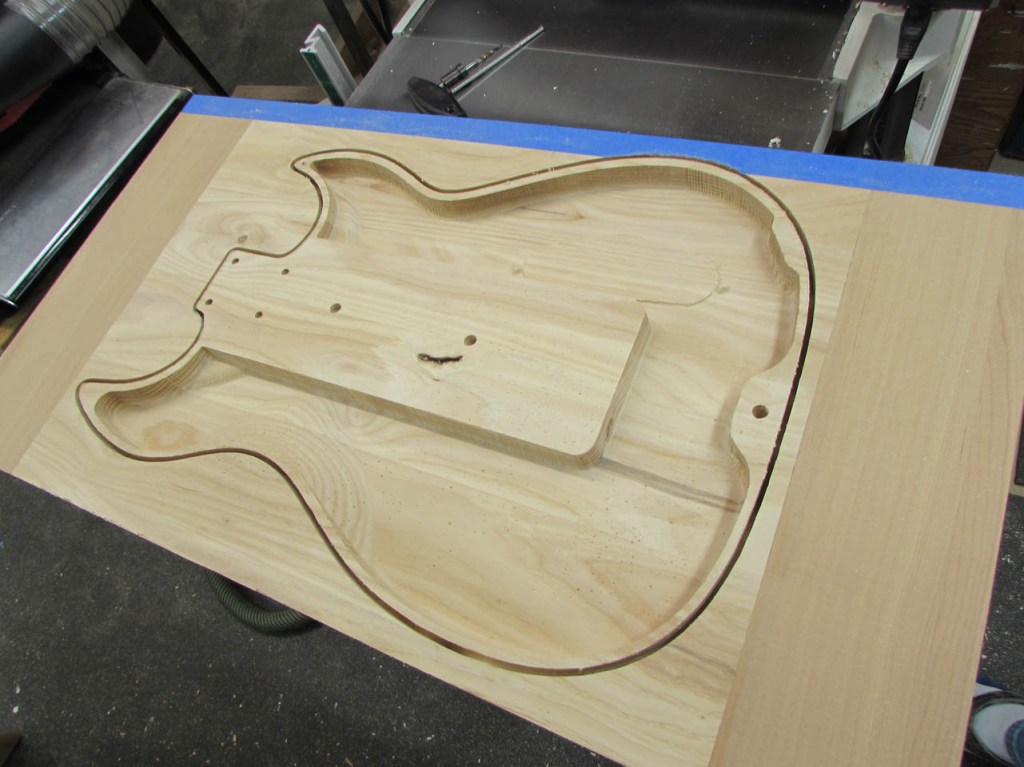
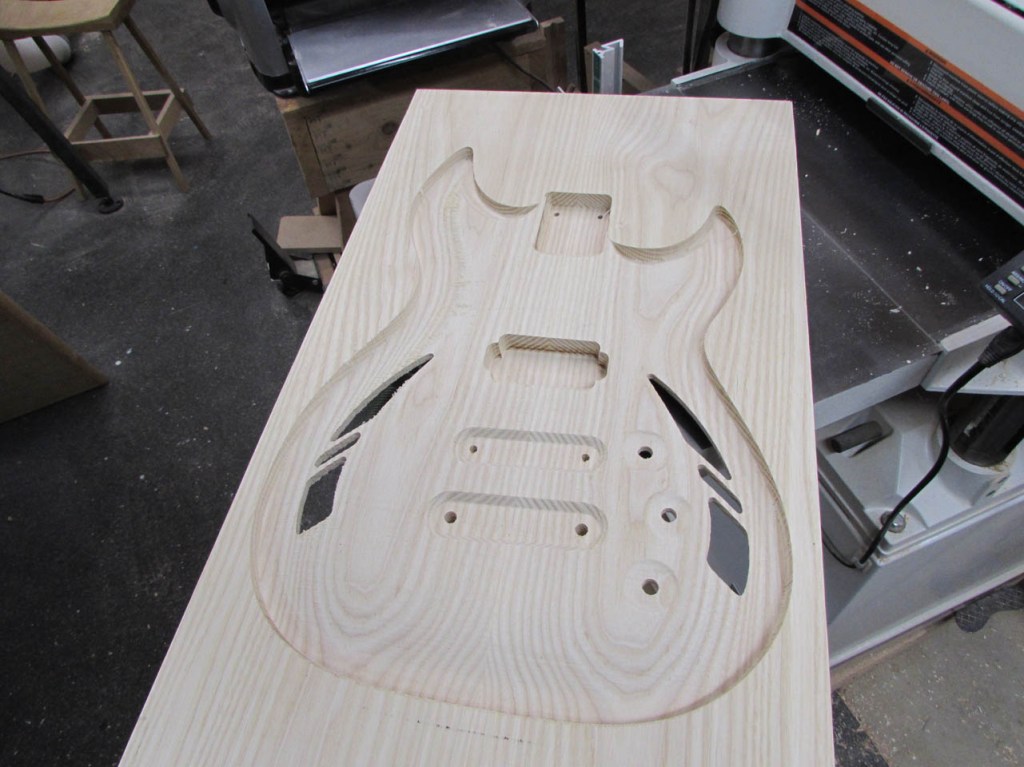
I loaded the first panel into the CNC and started it carving.
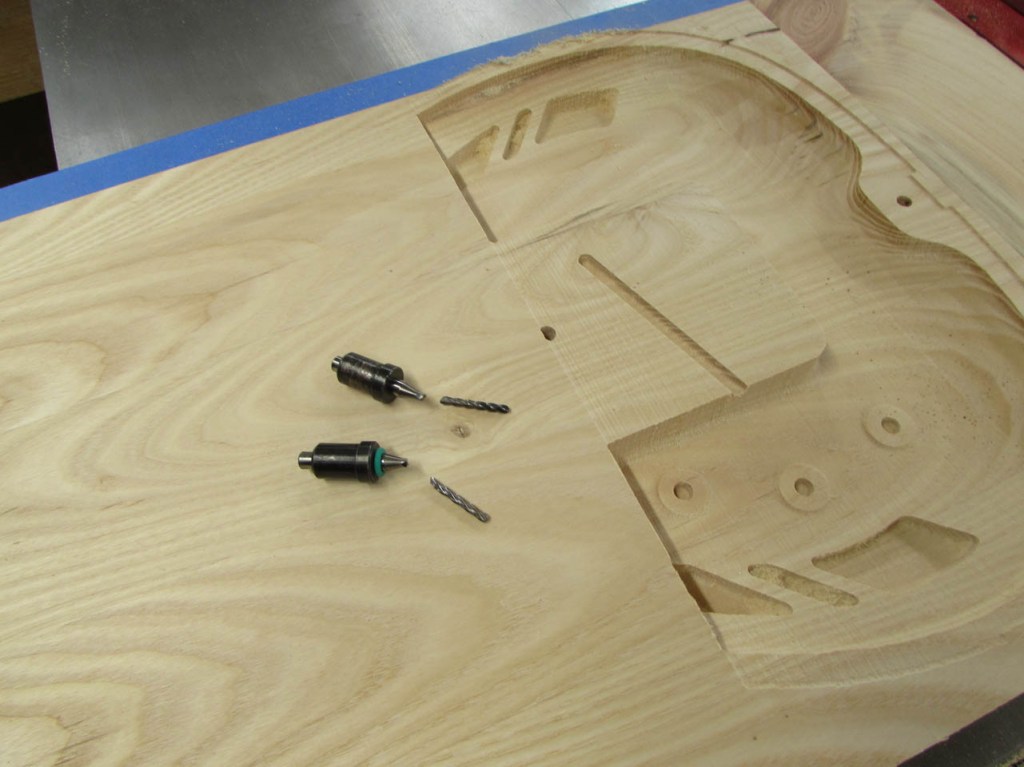
I normally use the 1/16″ carving bit for this type of carve but it is tapered from 1/4″ down to 1/16″. For this carve, I wanted a straight cut. I decided to use the straight 1/8″ carving bit. Steve wanted to do a test carve, so I also glued up an alternate set of panels from the rejected boards. The prototype carve ran perfectly but Steve wanted to tweak a couple of hole sizes and locations. That is what the prototype is for after all. Happy with the changes, we ran the good board. The preferred ash panel must have been really tough and it immediately broke my bit.

Assuming the bit was just old and worn out, I ordered a new one and 4″ later, I broke that one too.
The third $40 bit made it through the back side of the carve, finally.
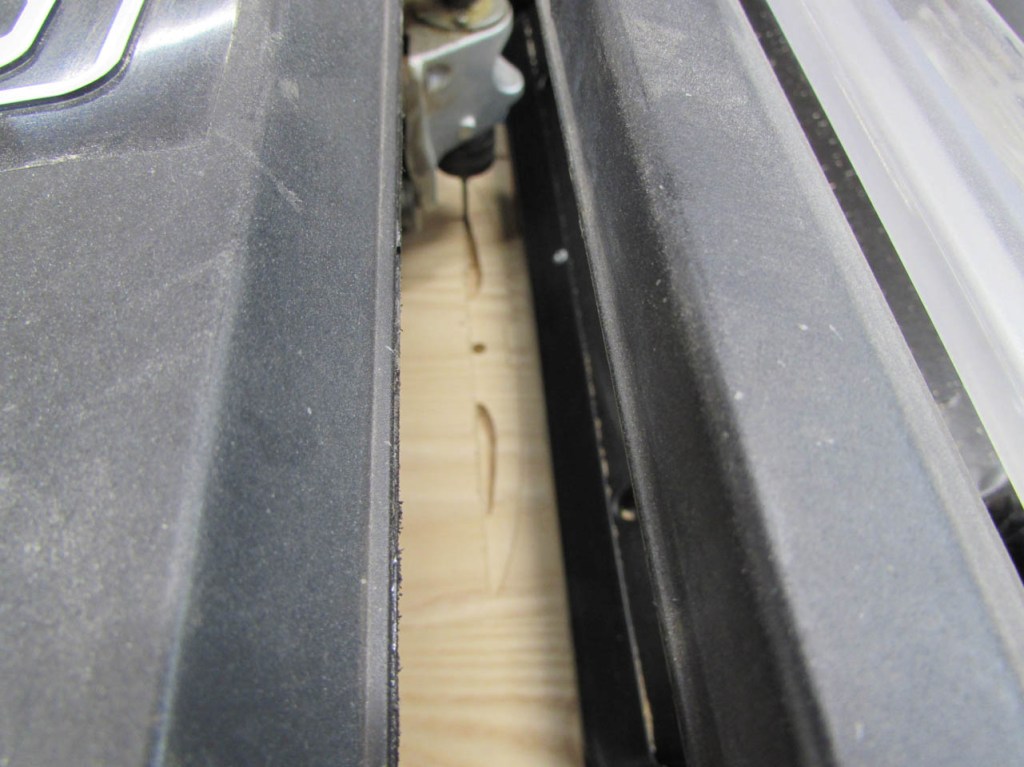
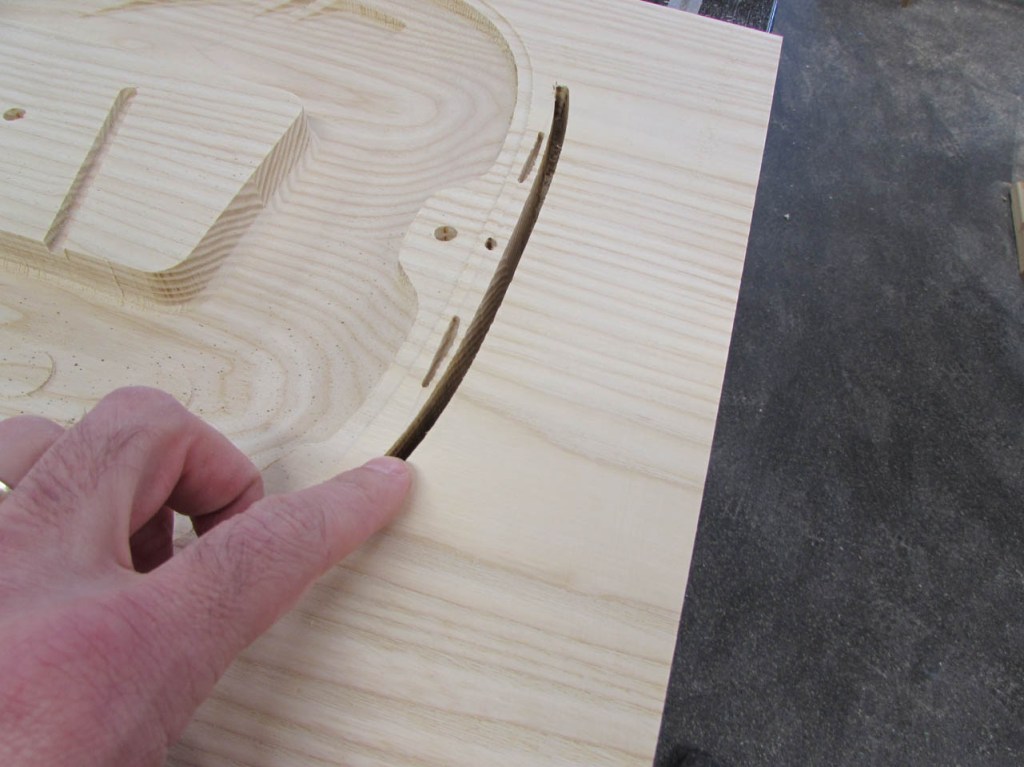
Then, I developed a tracking error, when I flipped the body over to carve the front side. This, of course managed to destroy the entire panel…
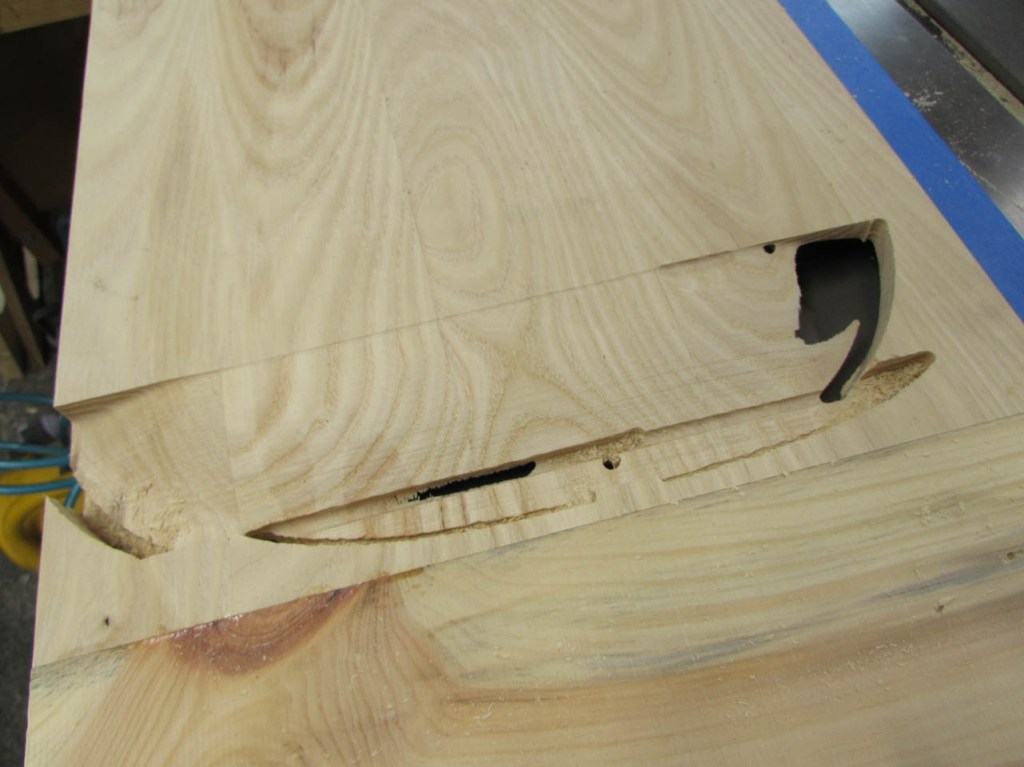
I contacted Carvewright and they told me that they don’t recommend carving with their 1/8″ carving bits to that depth. So any deep carves have to be done with the 1/16″ carving bit. I also managed to burn up my CNC’s motor in the process and had to buy a new one of them as well. I won’t bother telling you what that cost…
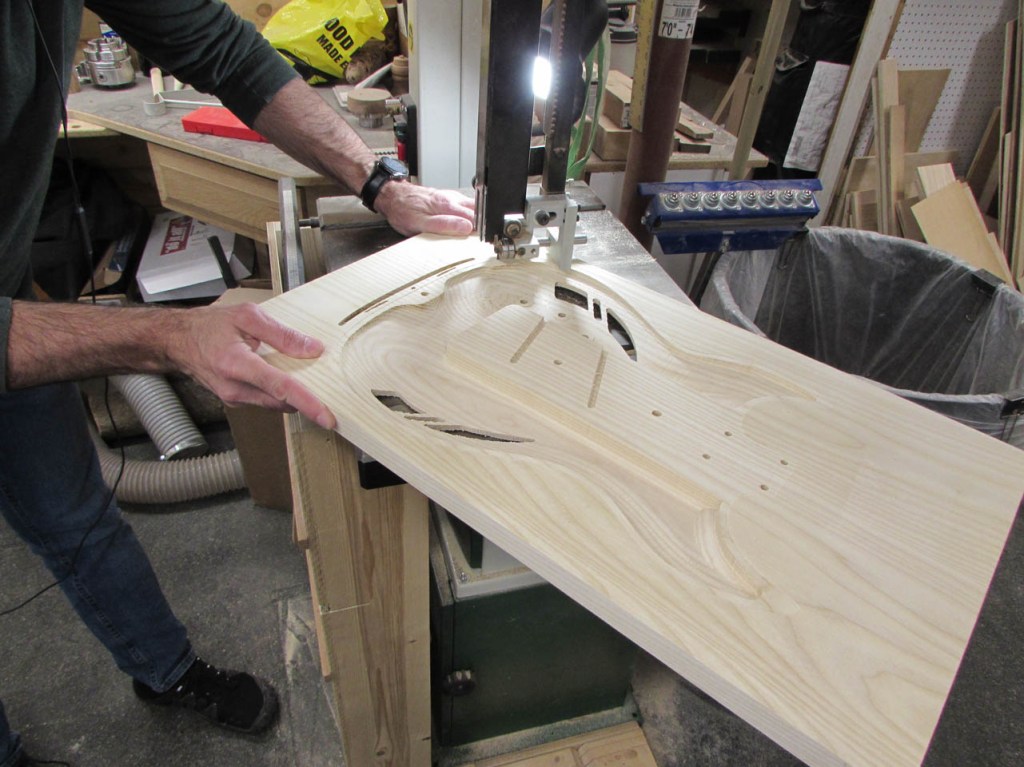
To make a long story short, I had to revise my program a few times and try a few different bits. I cut the outline partially through one side, then just carved the sculpted features on the opposite side with the tapered bit.

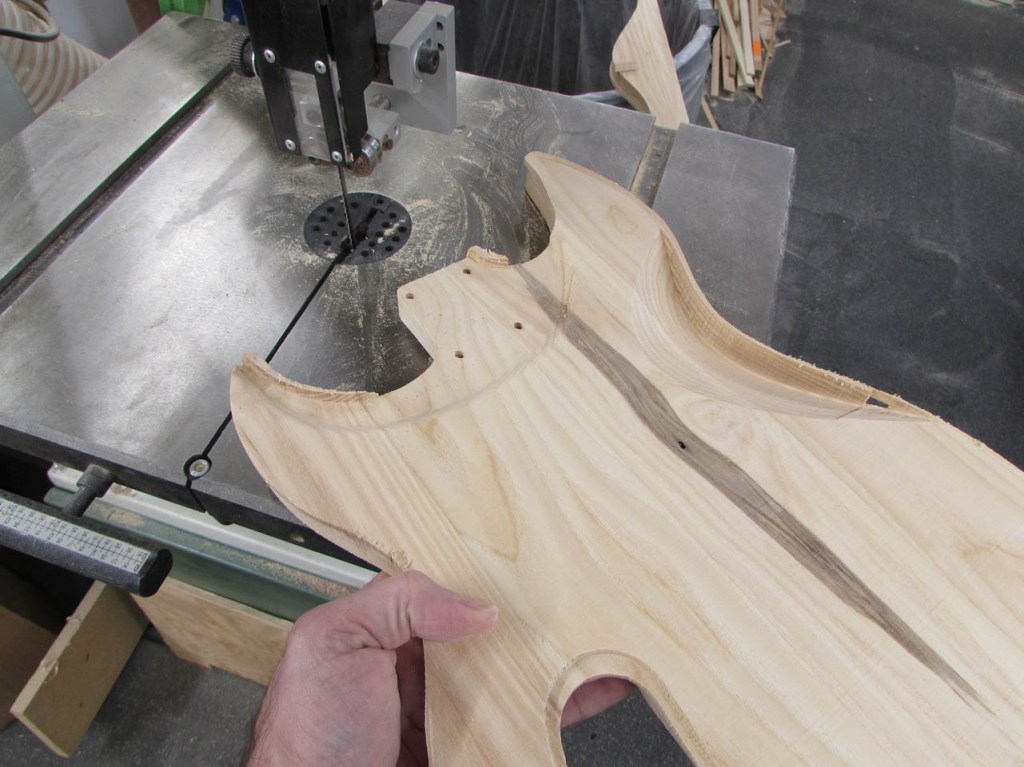
This meant that I had to cut the rest of the way through the body with the band saw.

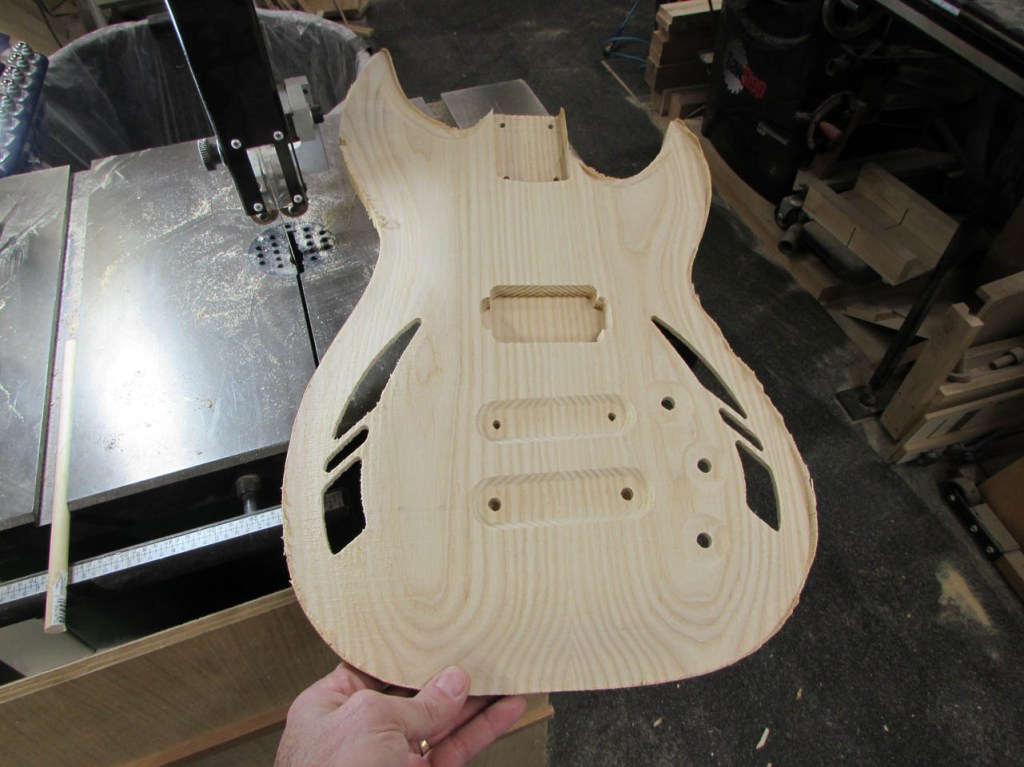
This was not the clean, efficient approach that I first intended, but with a little sanding, it still worked well enough.
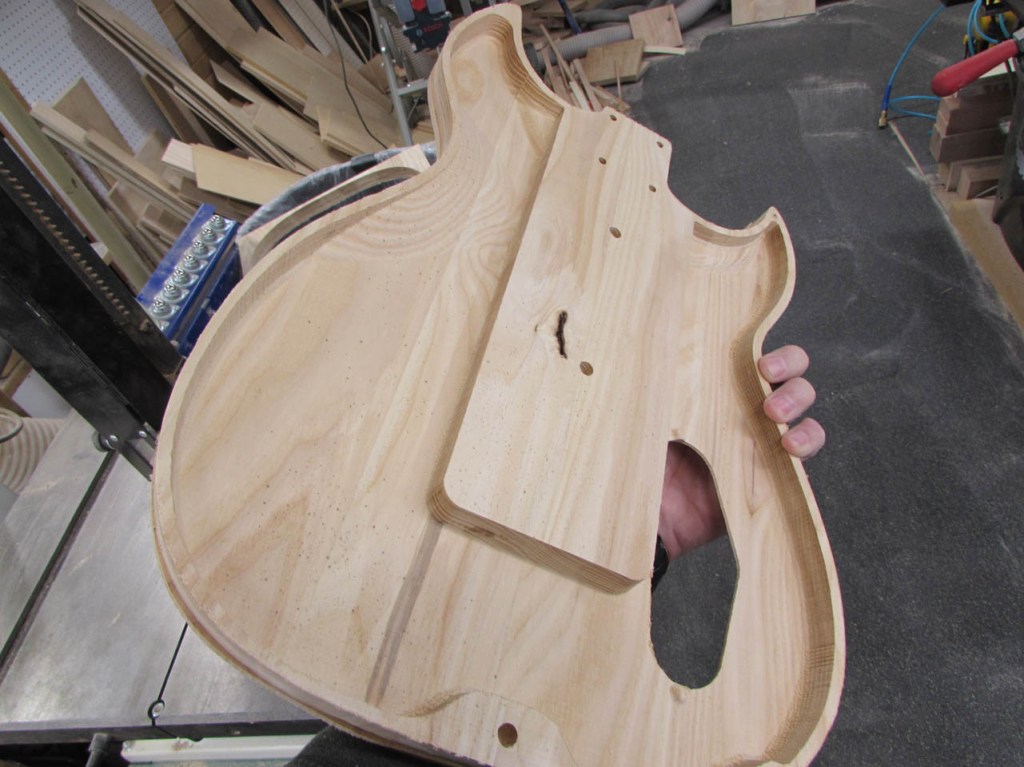
I learned several lessons carving the back half so I tried to avoid most of those problems when carving the more complicated front half. Full-depth carving the outline with the wider carving but wasn’t going to work well, so I widened the outline and hoped for the best…

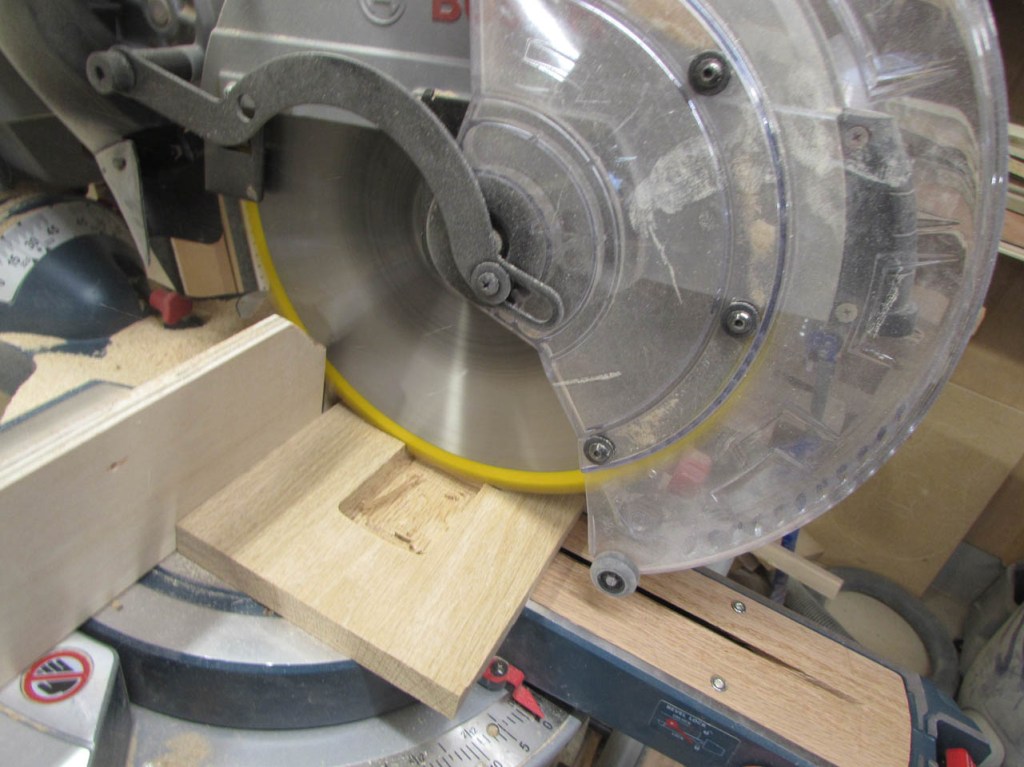
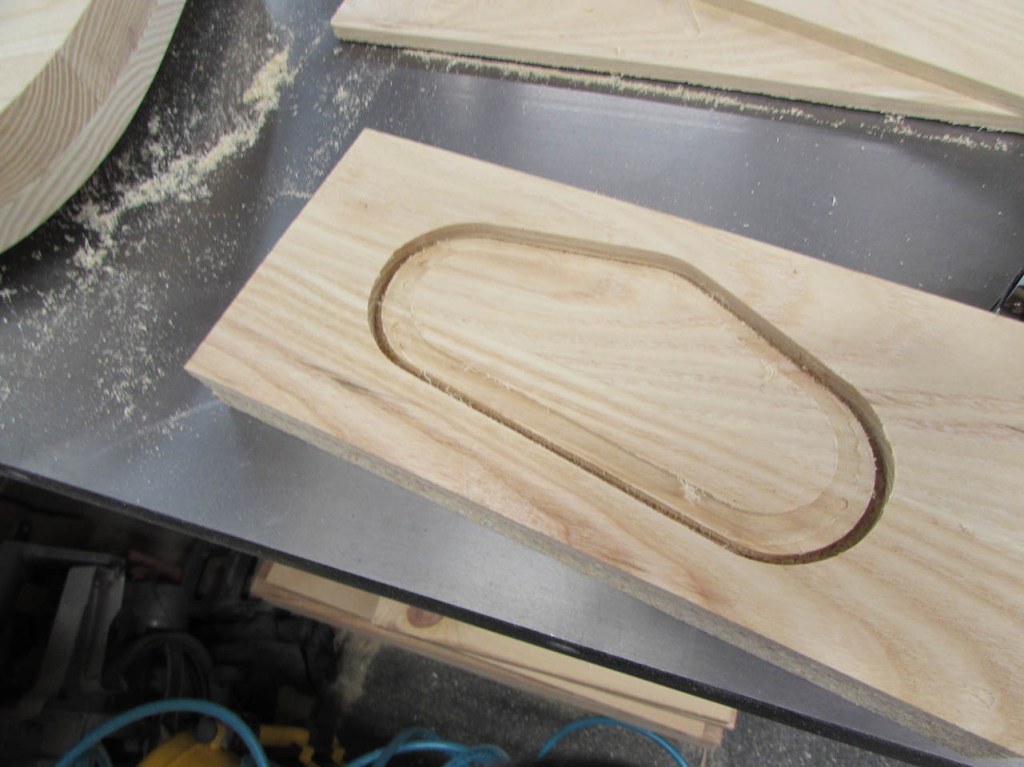
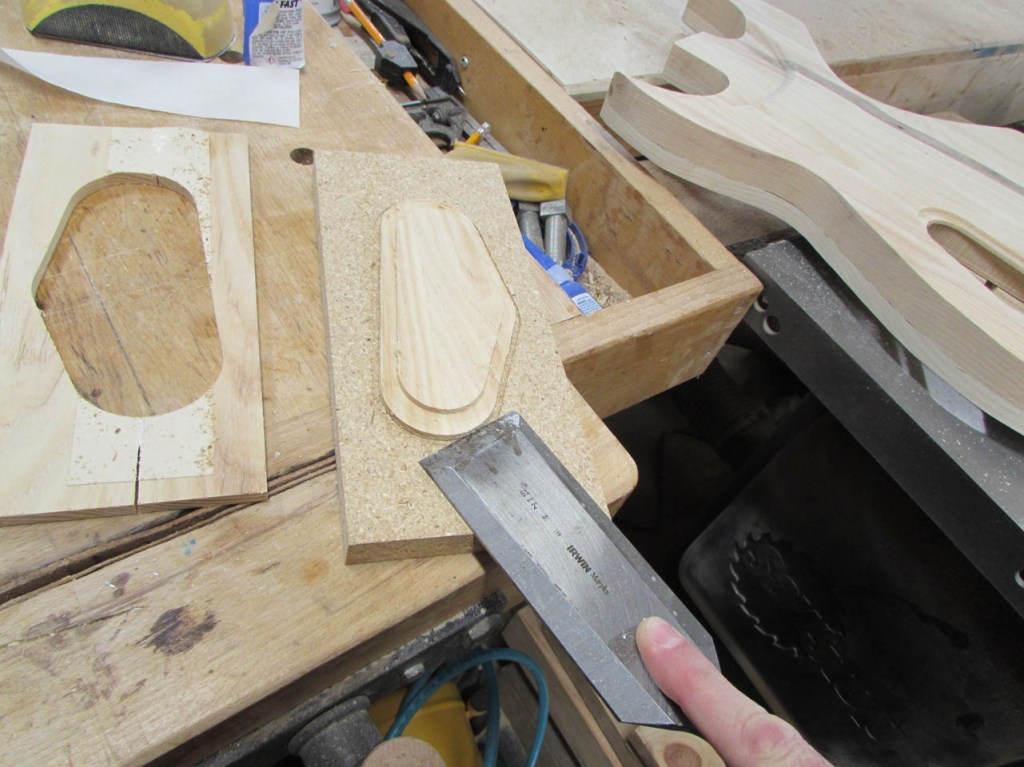
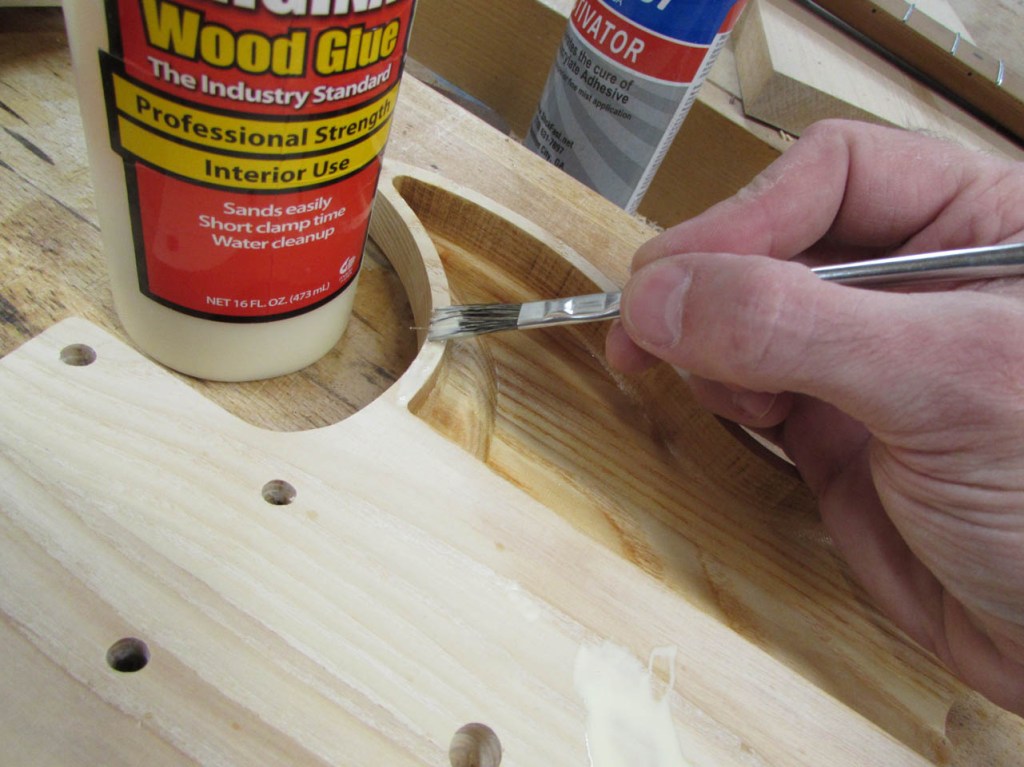
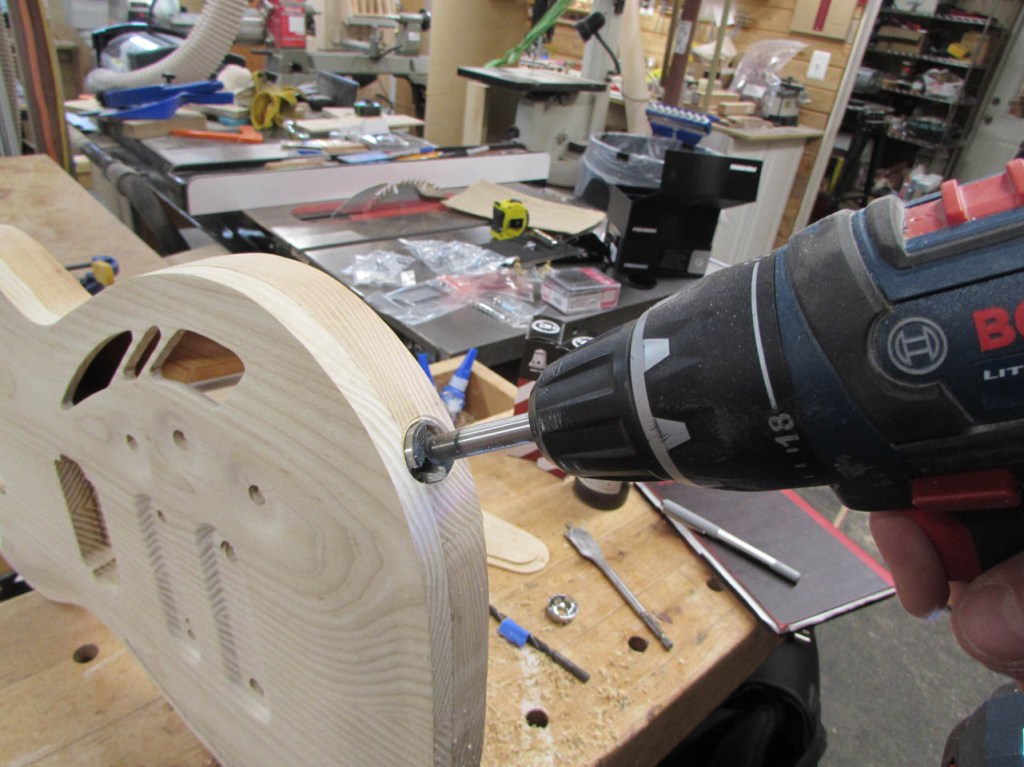
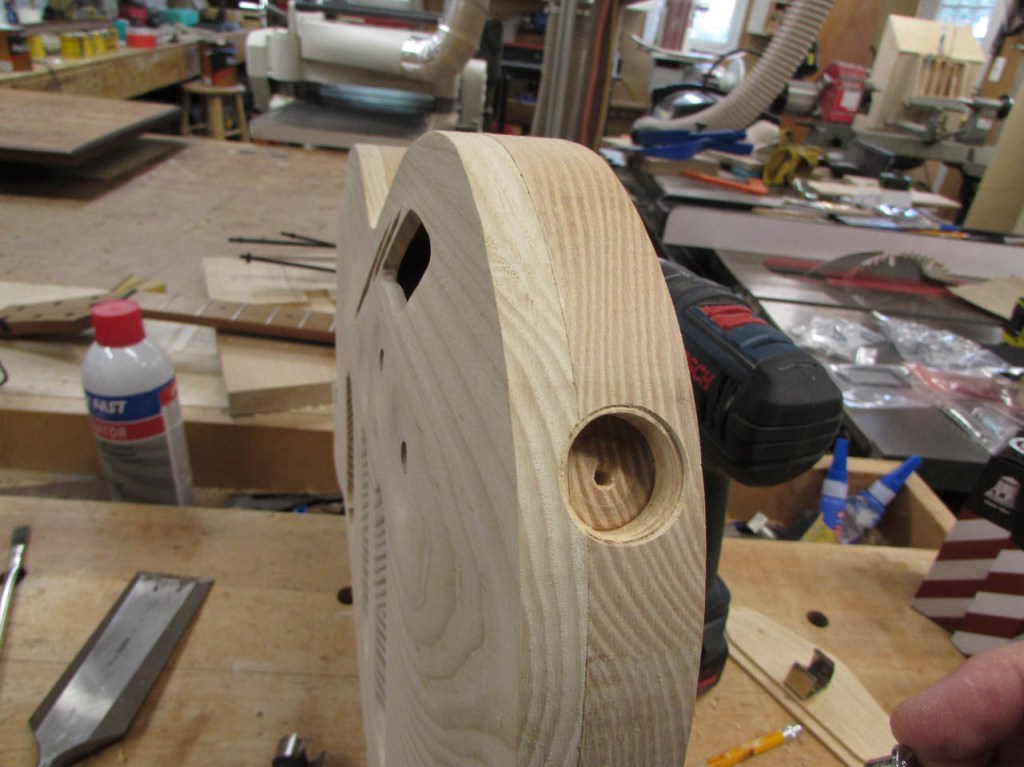
The bolt holes for the neck got widened (accidentally) because of the different bit, so I had to plug them and re-drill. I used one of the failed carves to create some ash plugs with my plug cutting tool on the drill press.

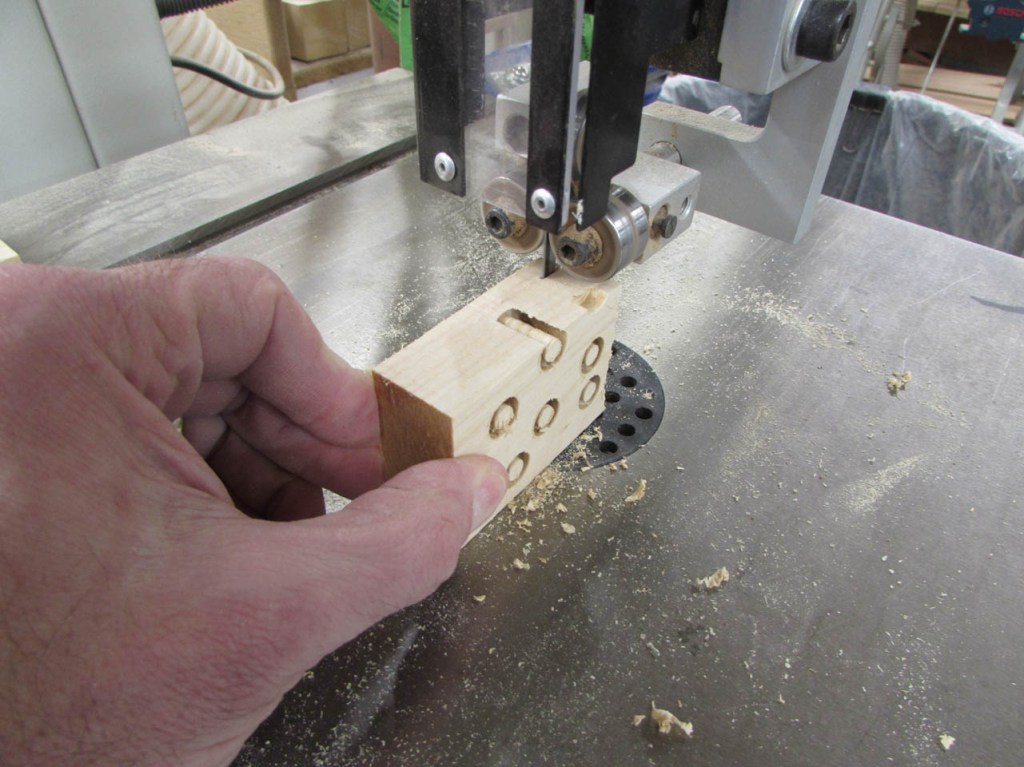
If you drill only part way through, then cut them free with the band saw, they don’t get stuck inside the plug cutter…
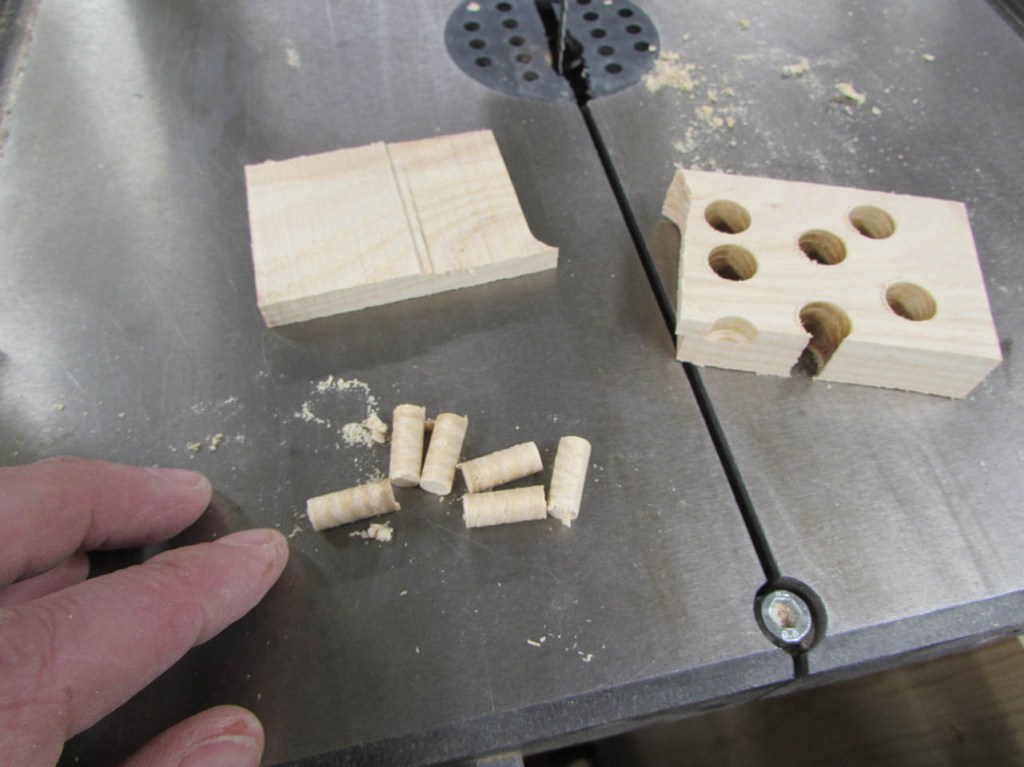
I just needed to drill the holes wider to match the plug, then glue them in place.

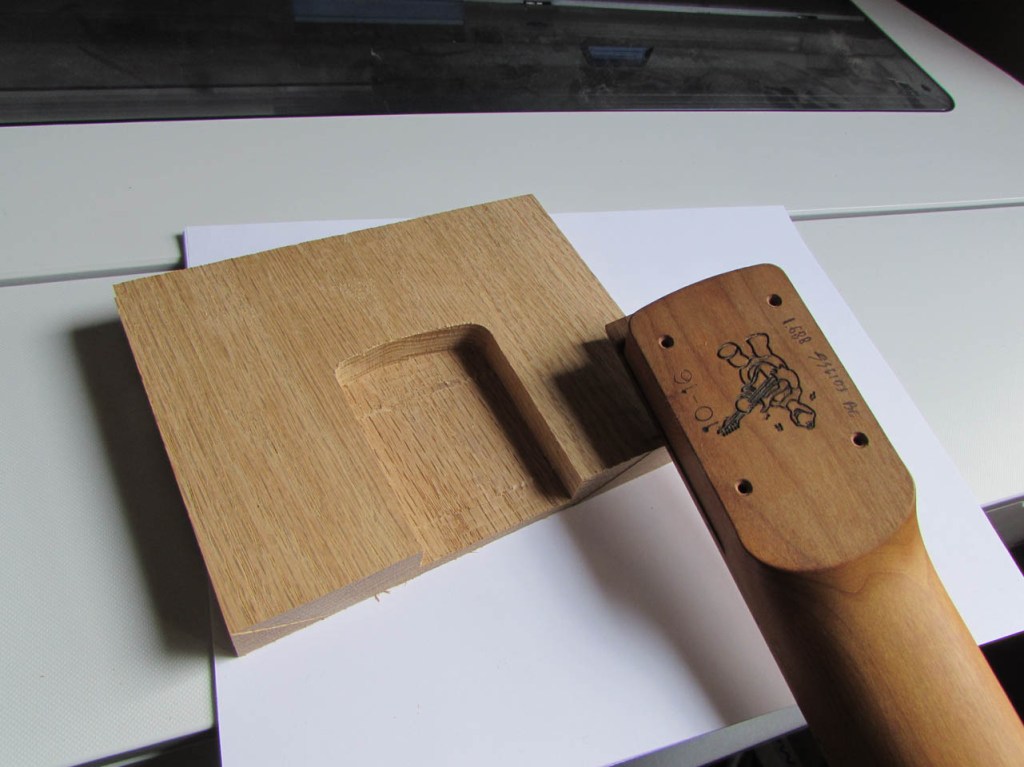
When the glue was dry, I cut the excess away with a flush-cut saw.
After a little sanding, they were filled in again. Once the new holes are drilled and the neck is installed, the plugs will be completely covered up and never seen again.


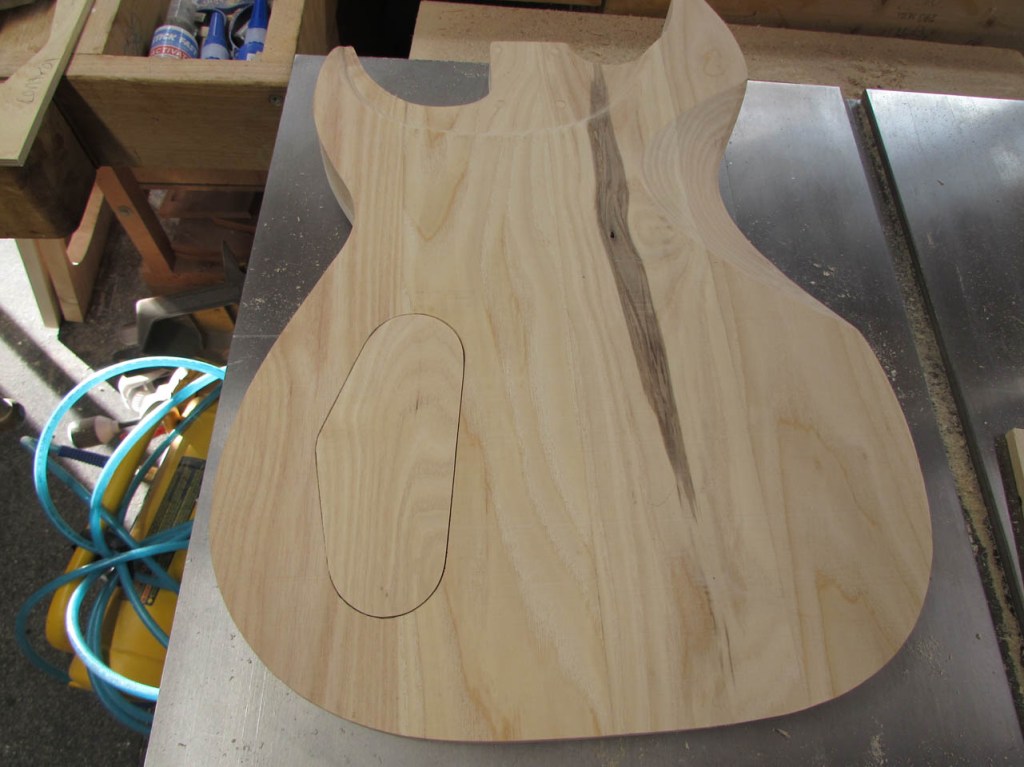
Meanwhile, we had to buy some additional ash to recreate the front of the guitar. We book-matched the grain and it looked really cool.
This half also had to be cut away on the bandsaw.
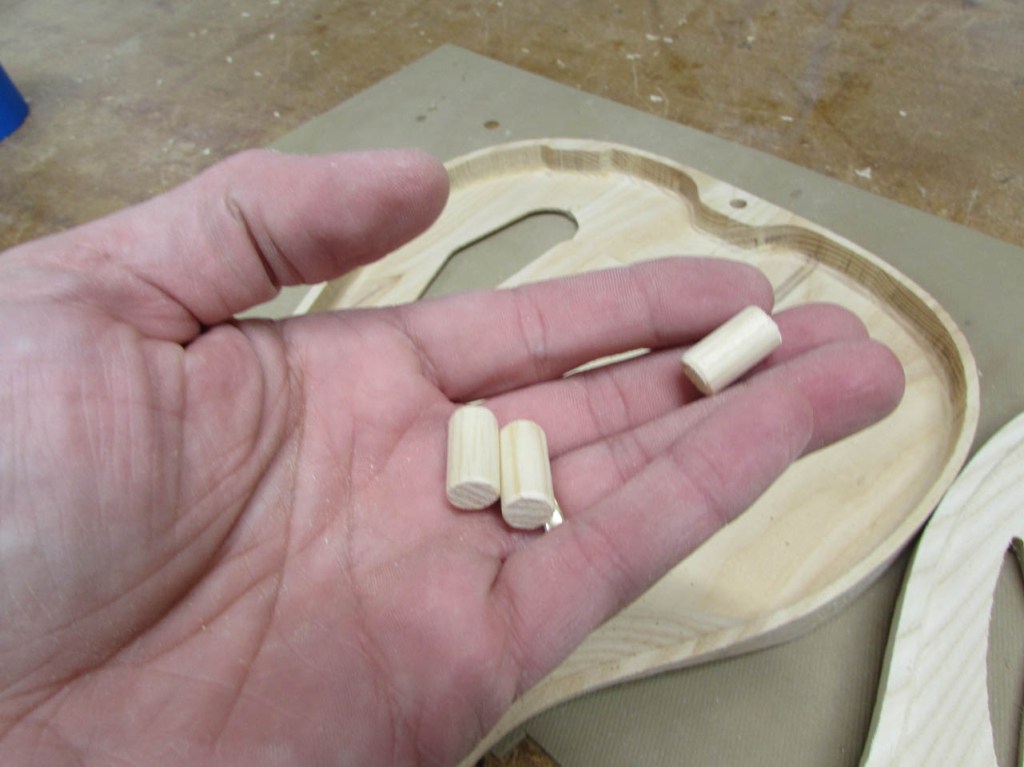
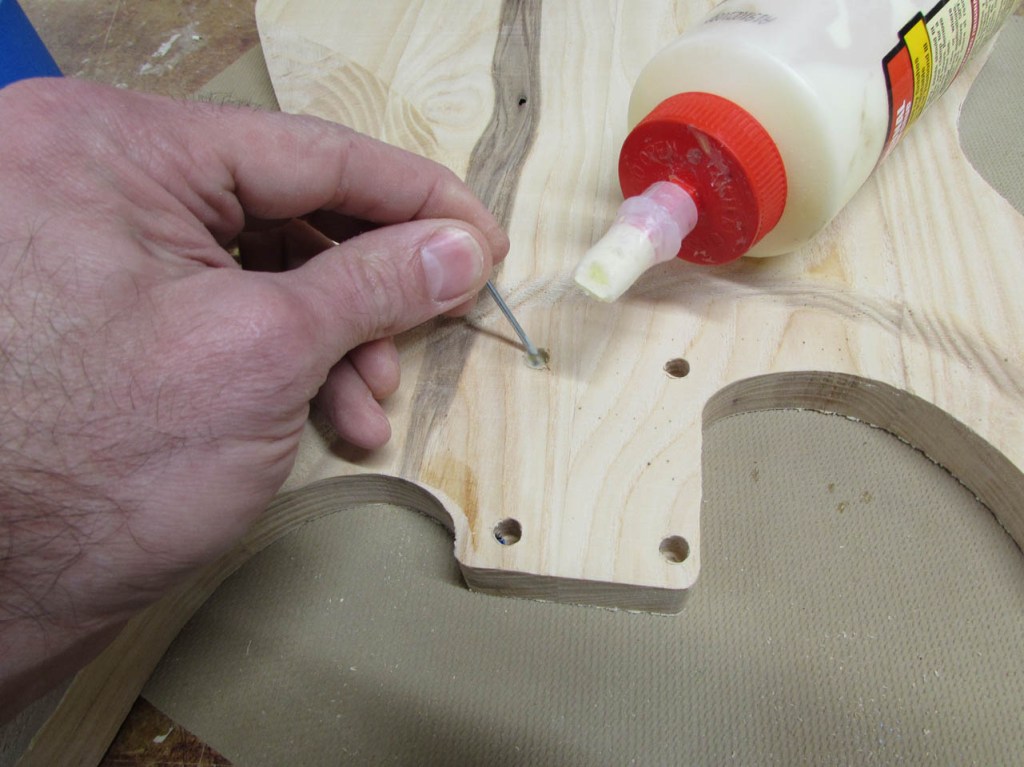
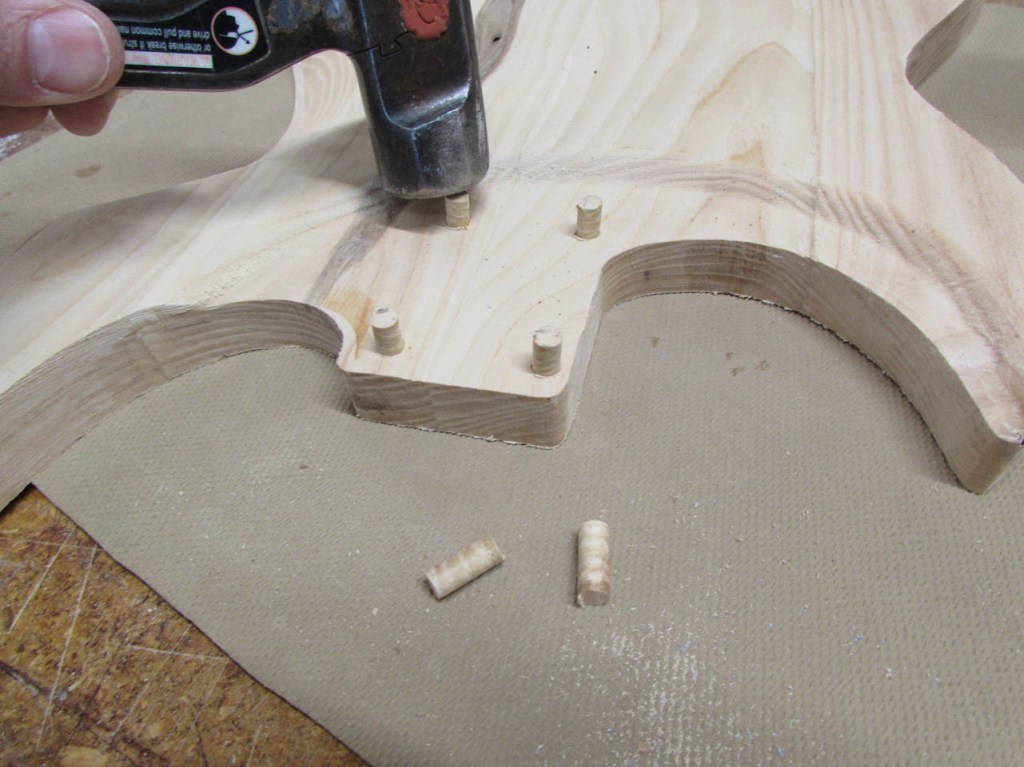
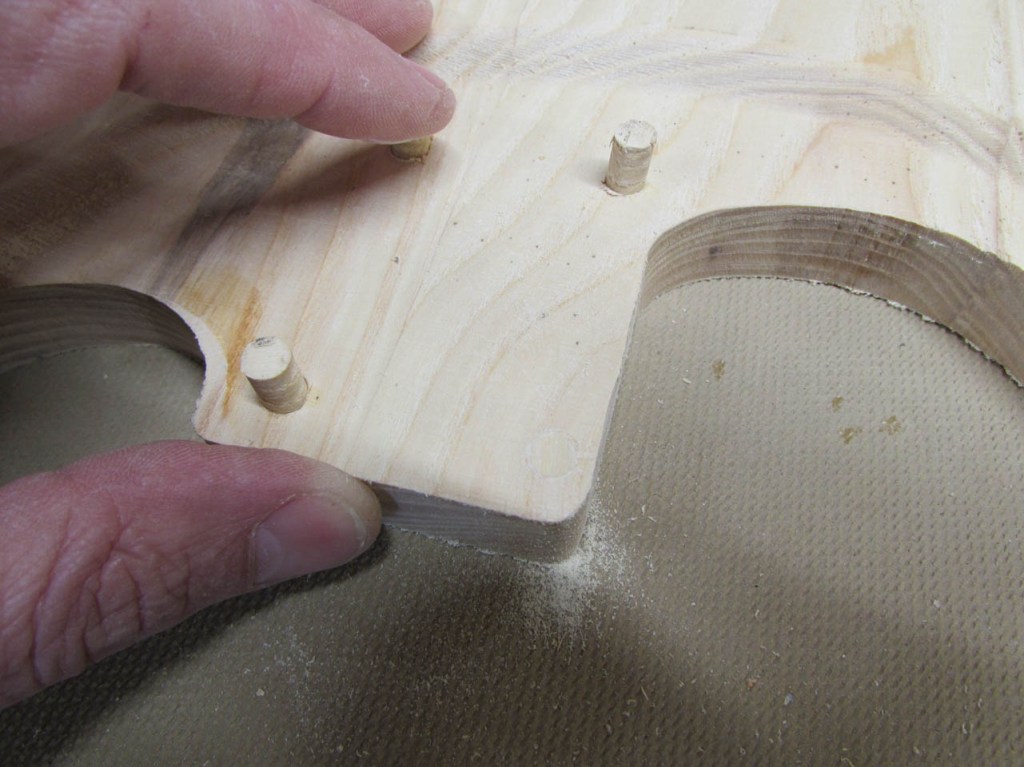
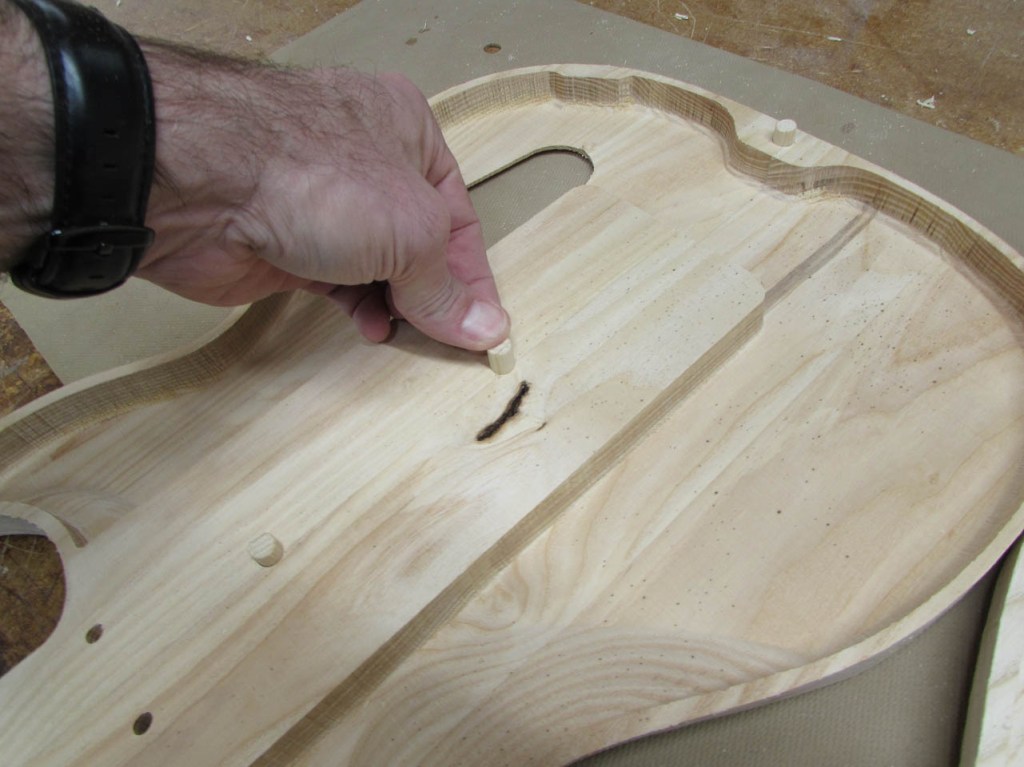
To align the two halves, I had matching holes carved into the front and back bodies, and made some dowels to glue into them.
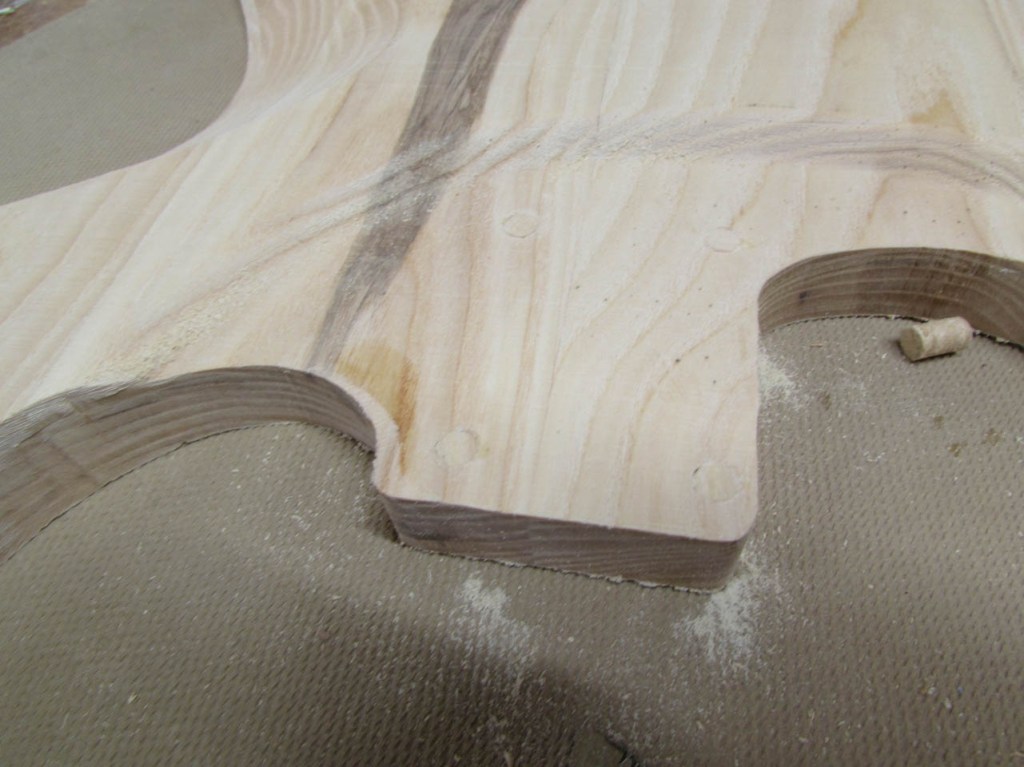
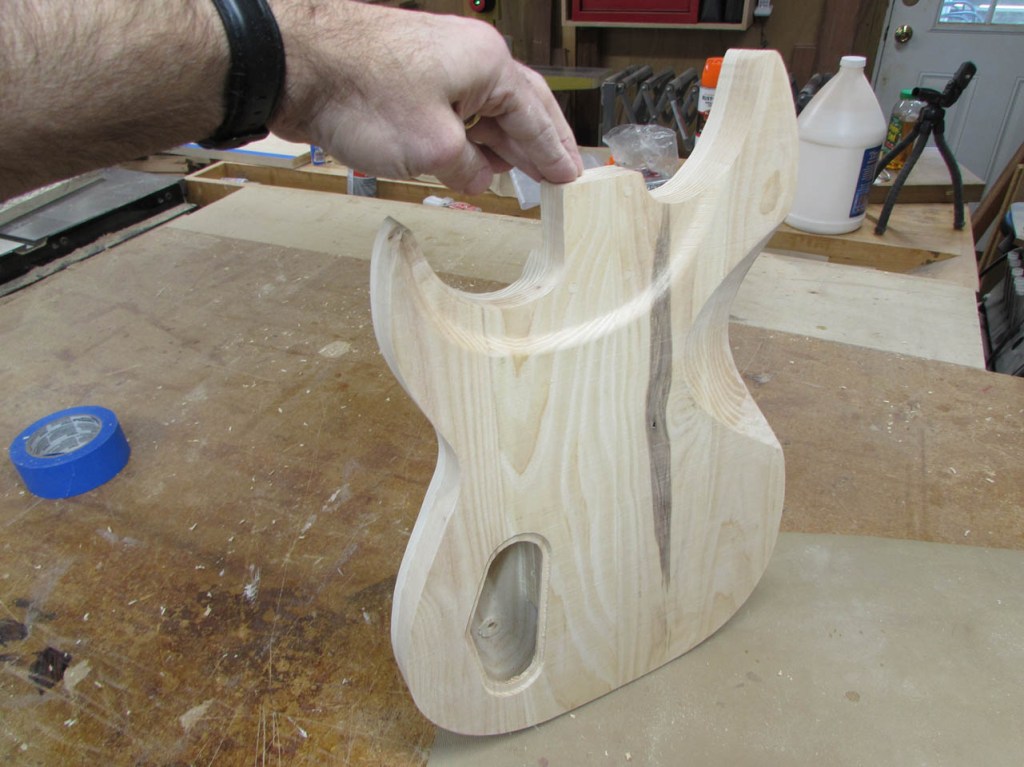
It pressed together nicely. I know it looks a little rough at the moment, but a little sanding will fix that.


The locating pins hold the two halves together well enough that I can sand both sections together which aligns the sides.
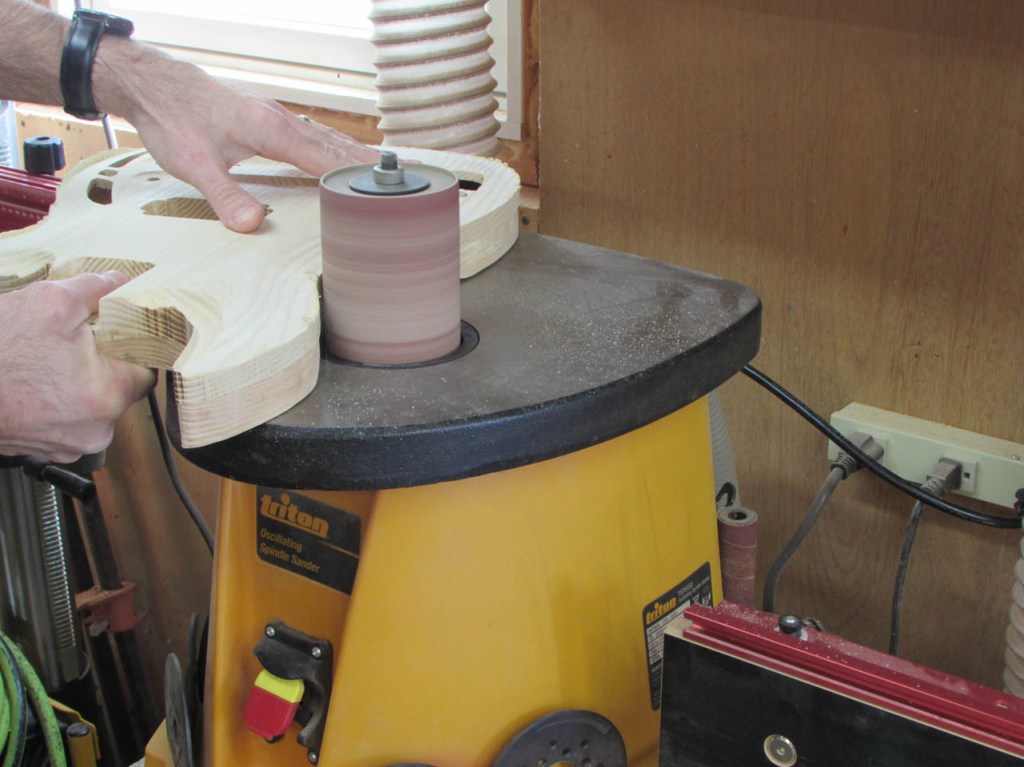
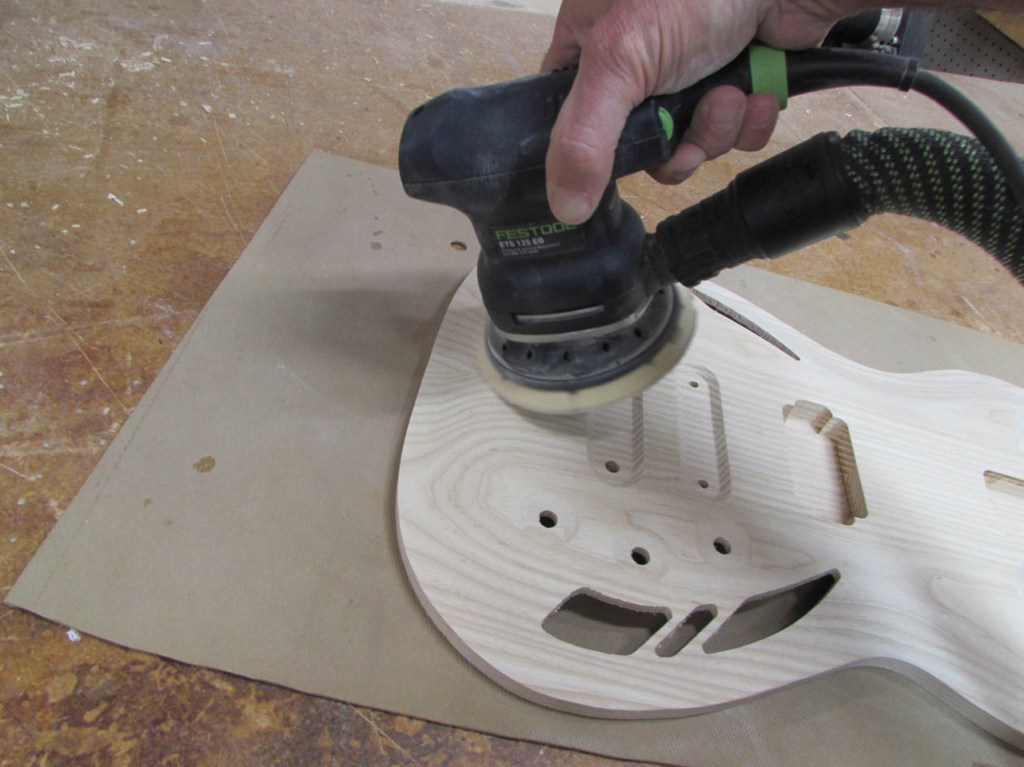
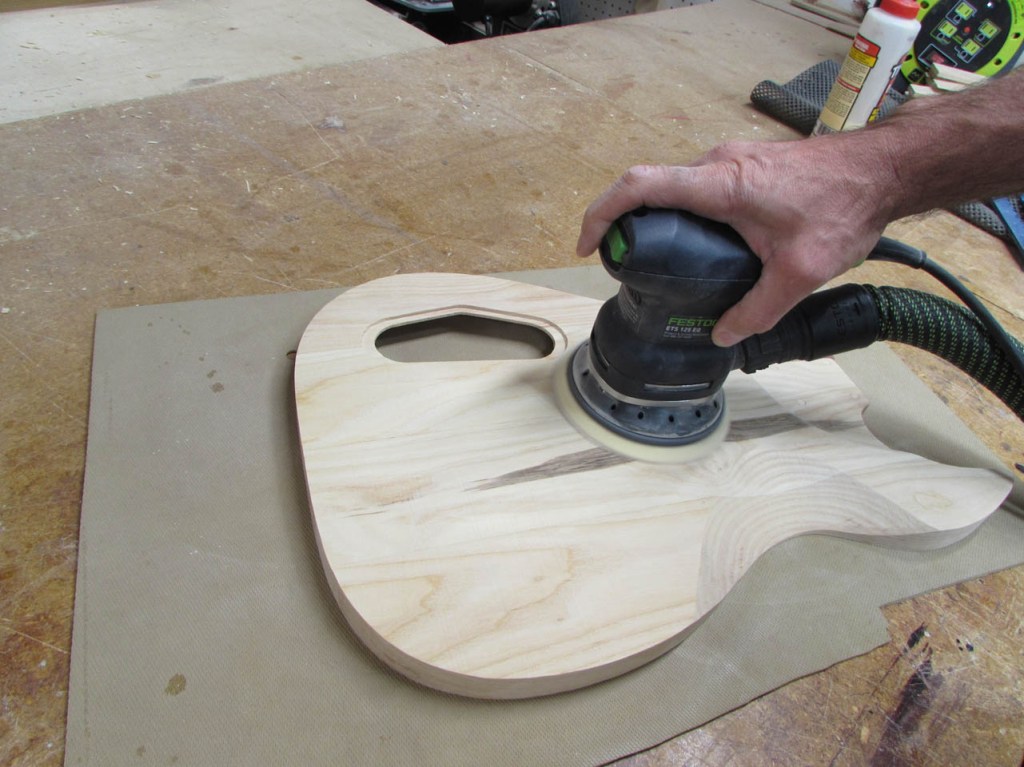
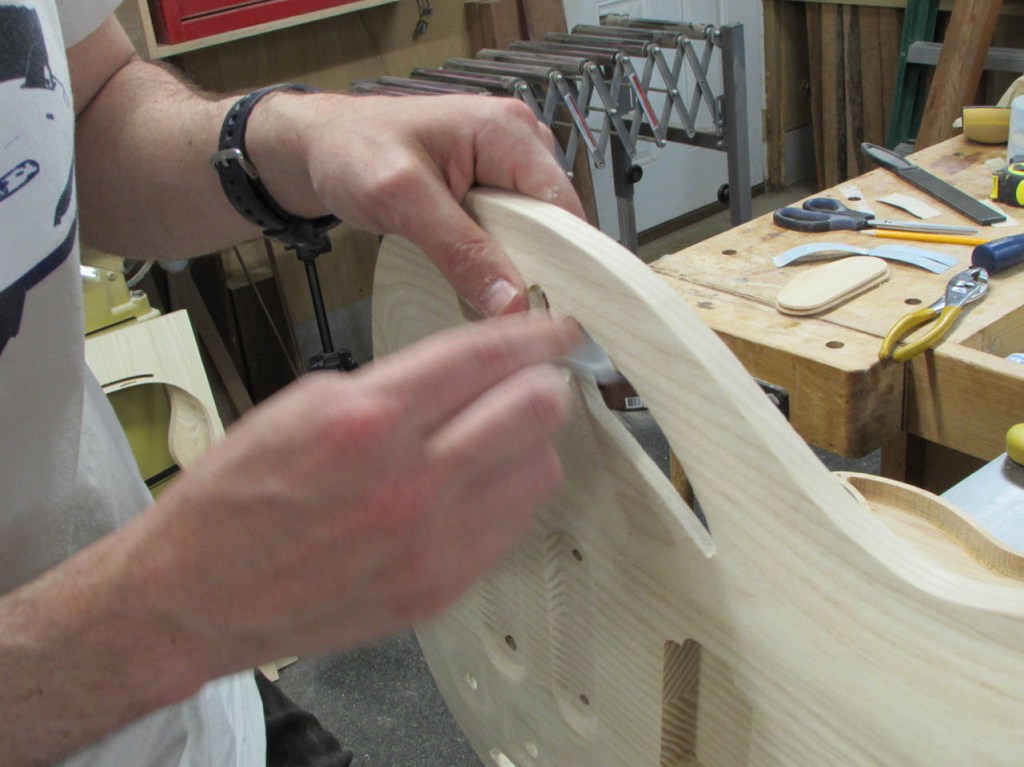
I have to use different diameter spindles on my spindle sander to get into the smaller curves.
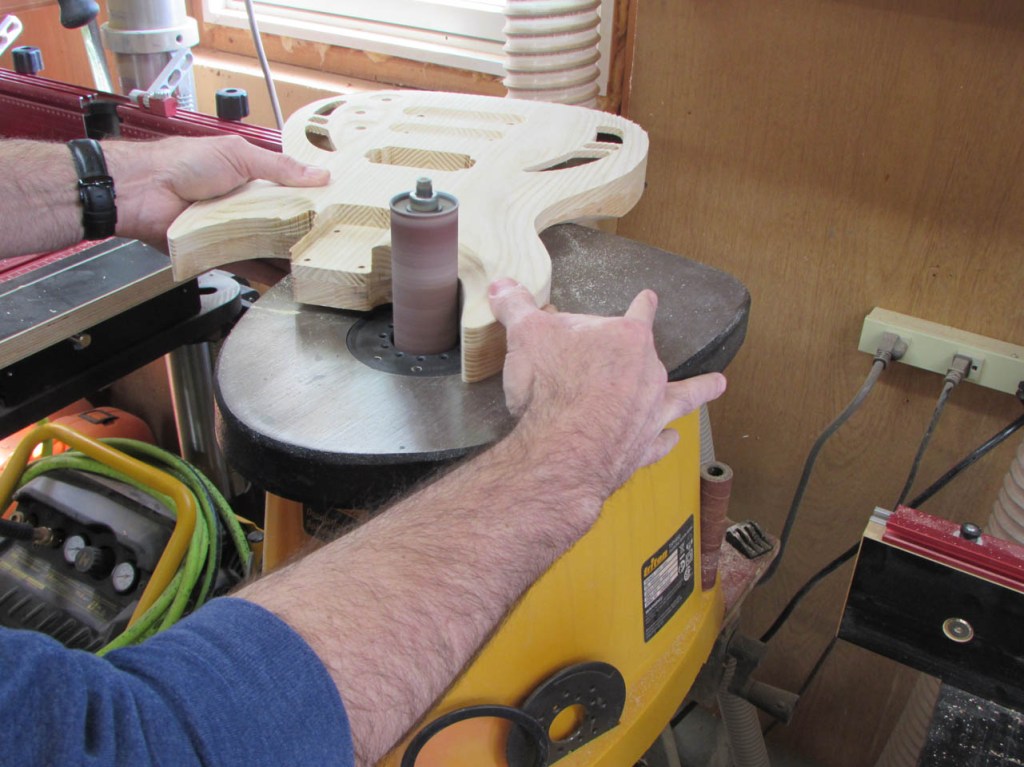
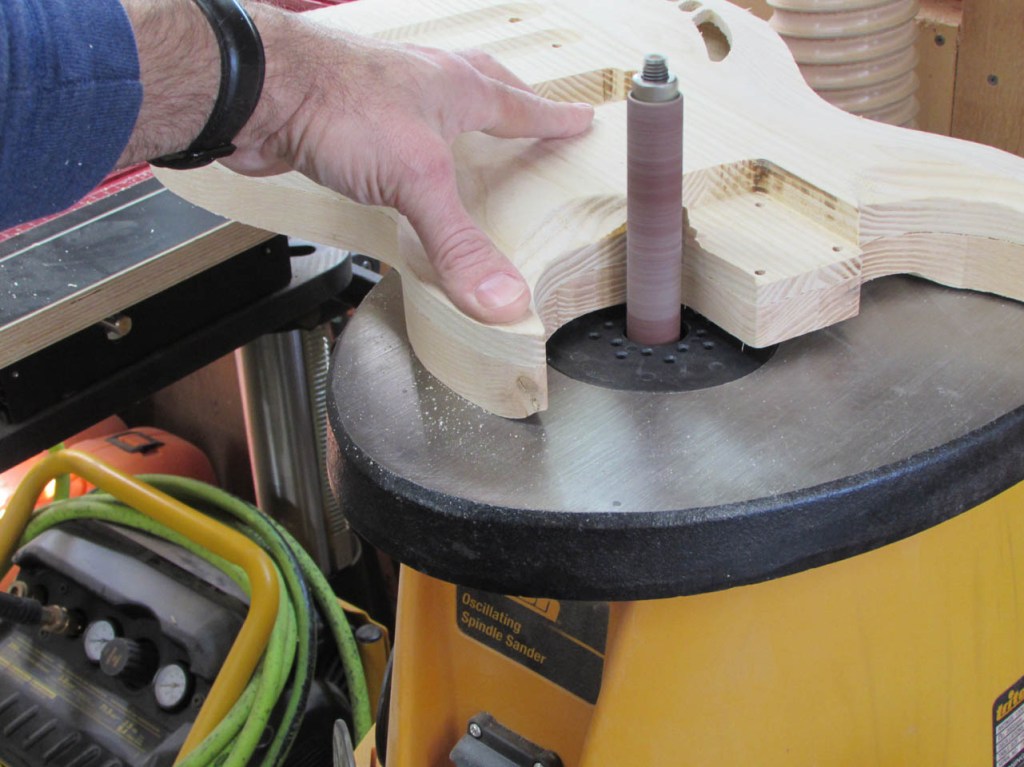
It is starting to look a lot better with the edges smoothed and flush.
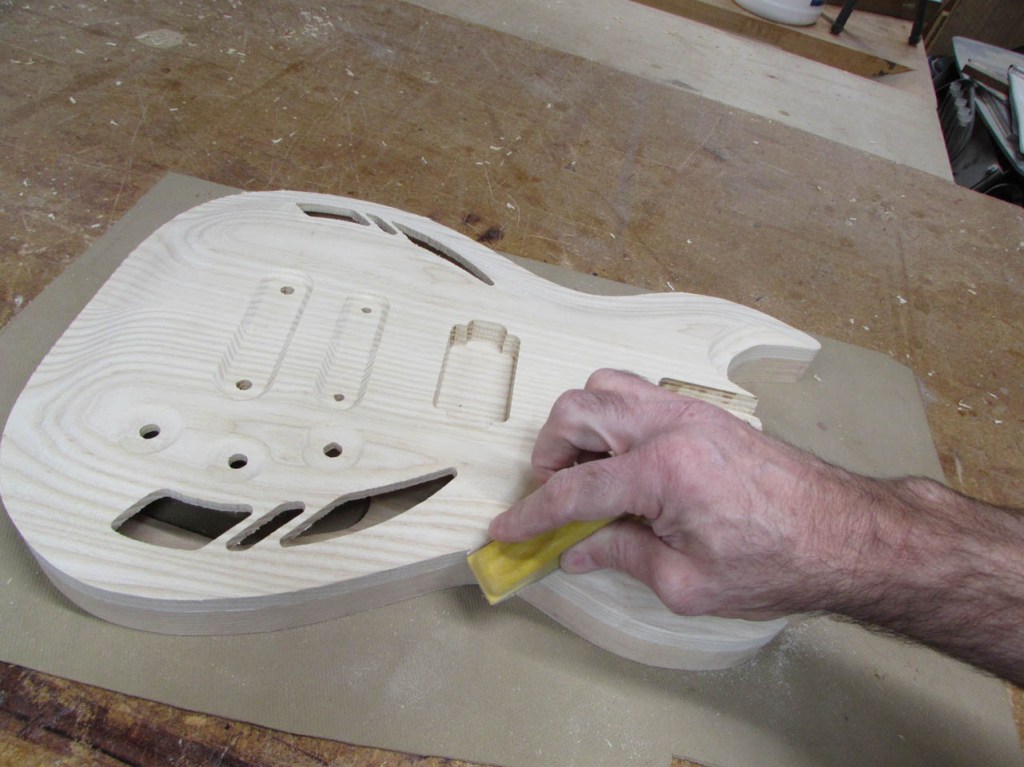
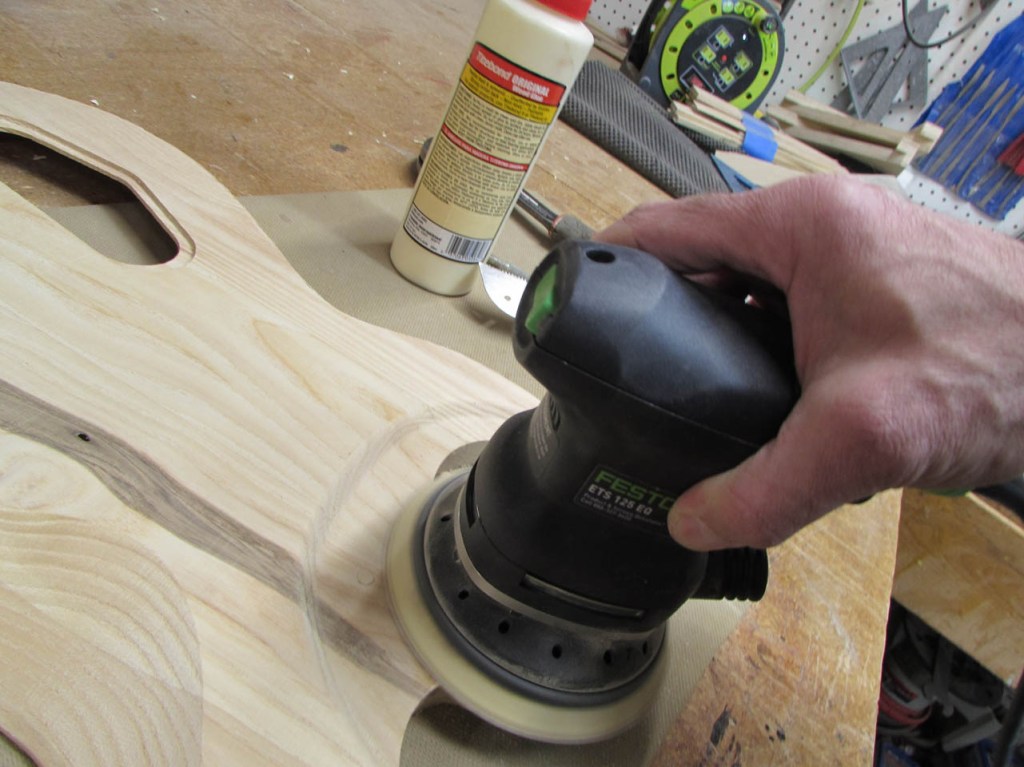
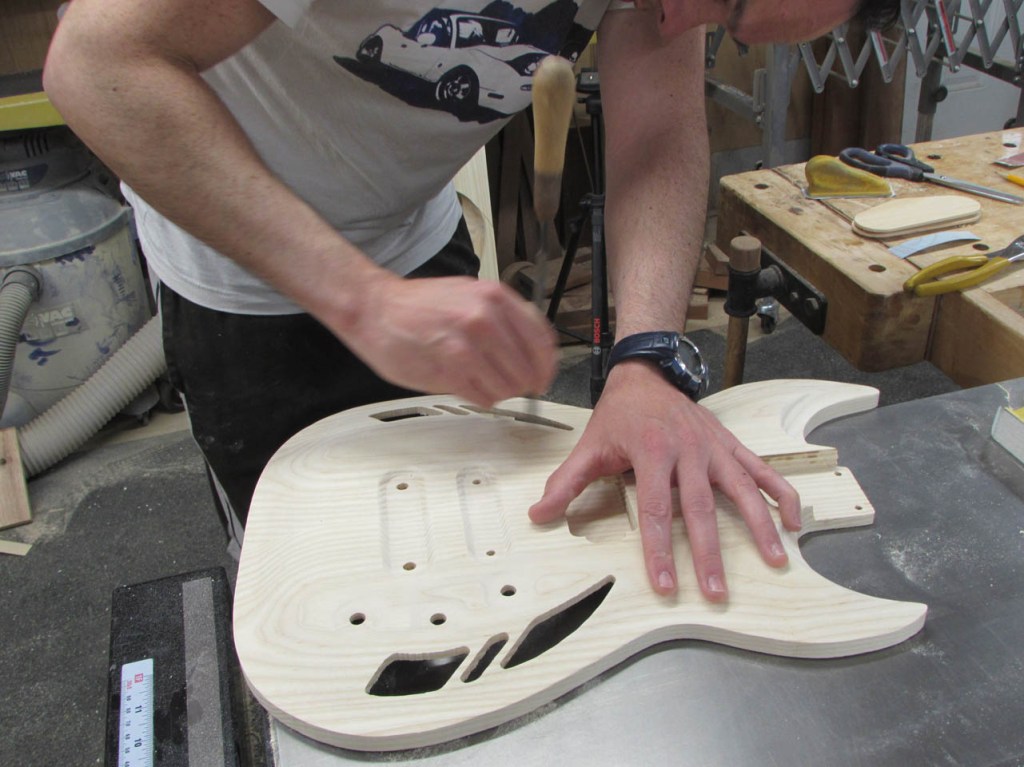
Steve gets to do all of the tedious finish sanding, but I wanted to smooth out as much of the rough CNC cuts as I could.

I think it turned out really nice looking.
I am running really low on pieces of ash so I started cutting down pieces of the failed body carves to get a thin piece for the control cover.
I re-sawed and planed several pieces to get one that might be a close grain match.
I can’t expect a perfect match, but it doesn’t hurt to try.

I need at least a 1/2″ thick piece to work under the rollers of my CNC so I have to attach the thinner piece of ash to another board. I use double-sided tape to hold it temporarily.
We came up with a design that will drop in but still be thick enough to not warp.
I think the grain match was pretty good, not perfect, but not bad either.
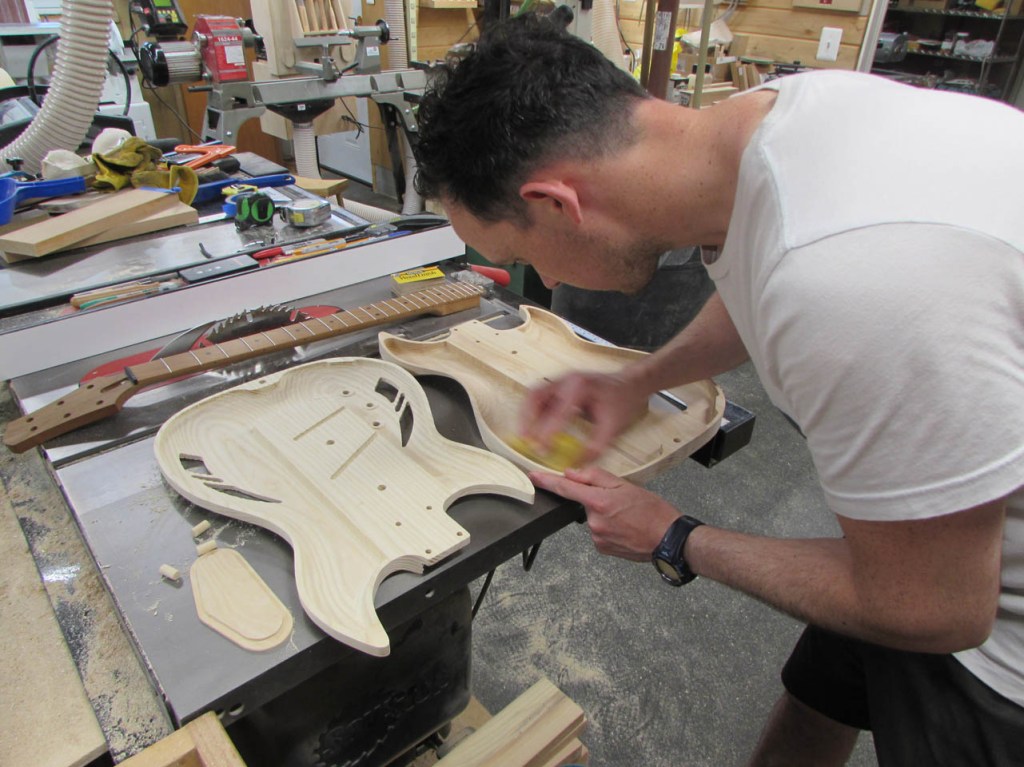
Then Steve got to work on the finish sanding.

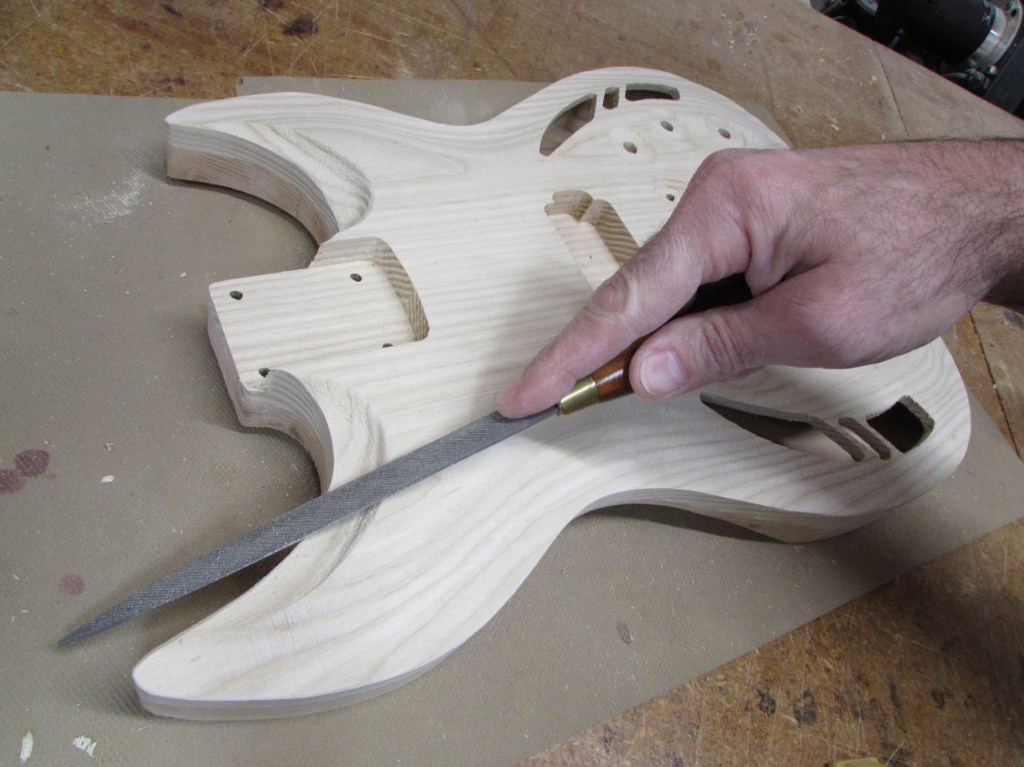
We used power tools where we could.
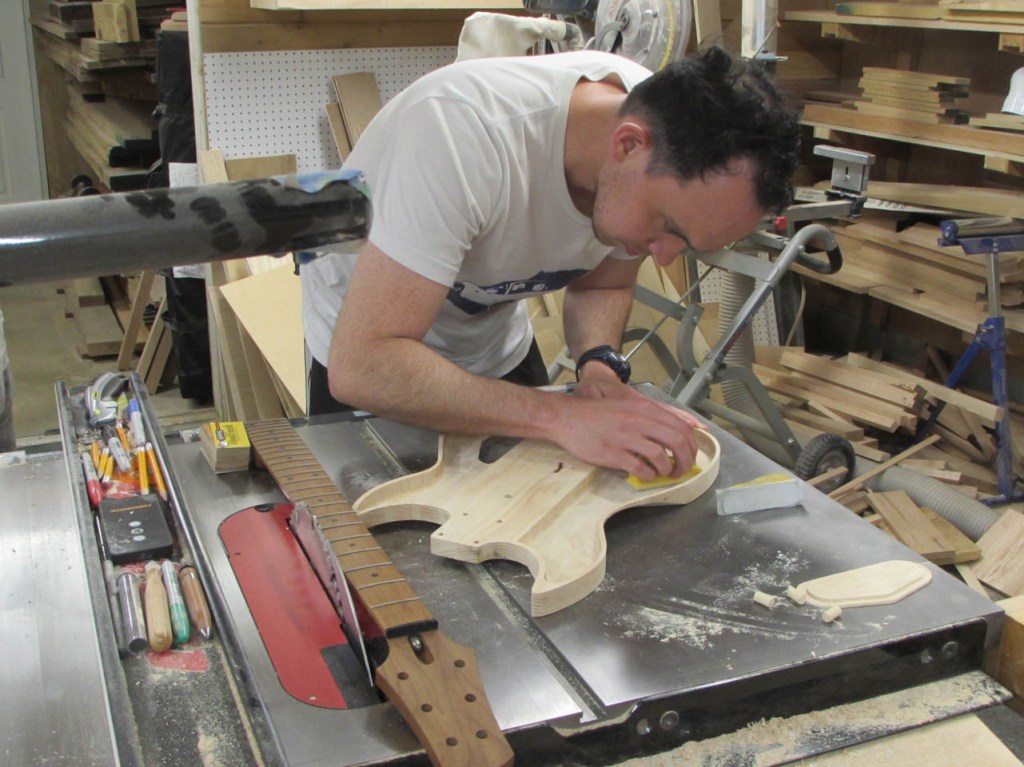
But hand tools were mainly used for the majority of the curves.

Even tiny files to get into the tight spots.
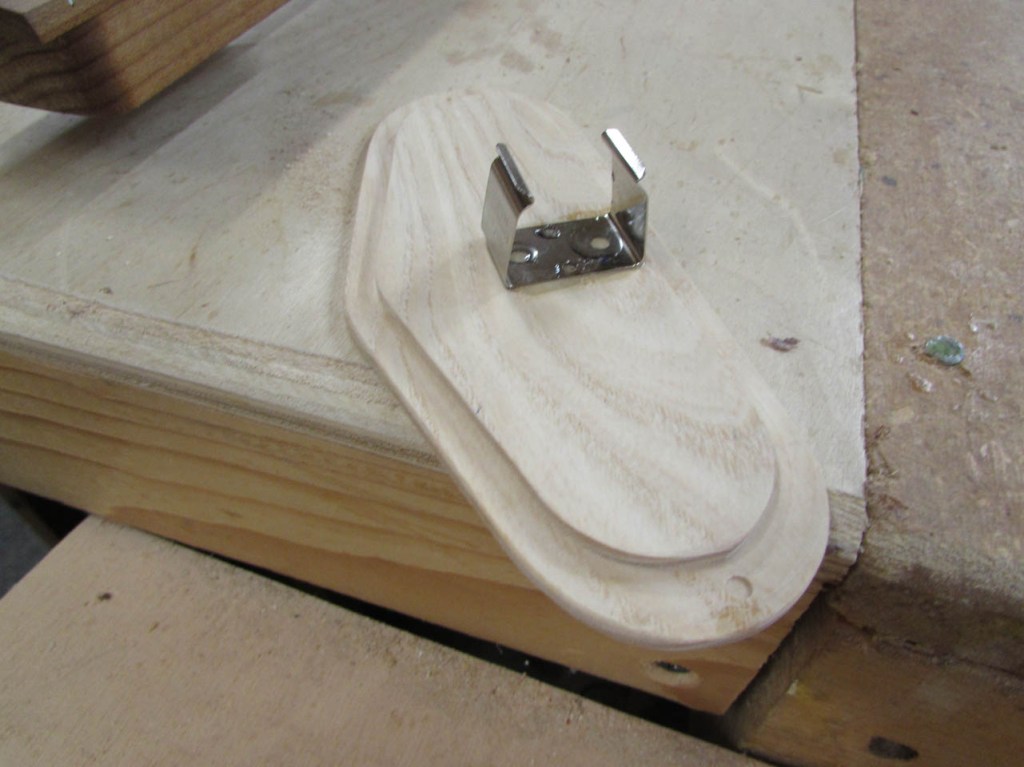
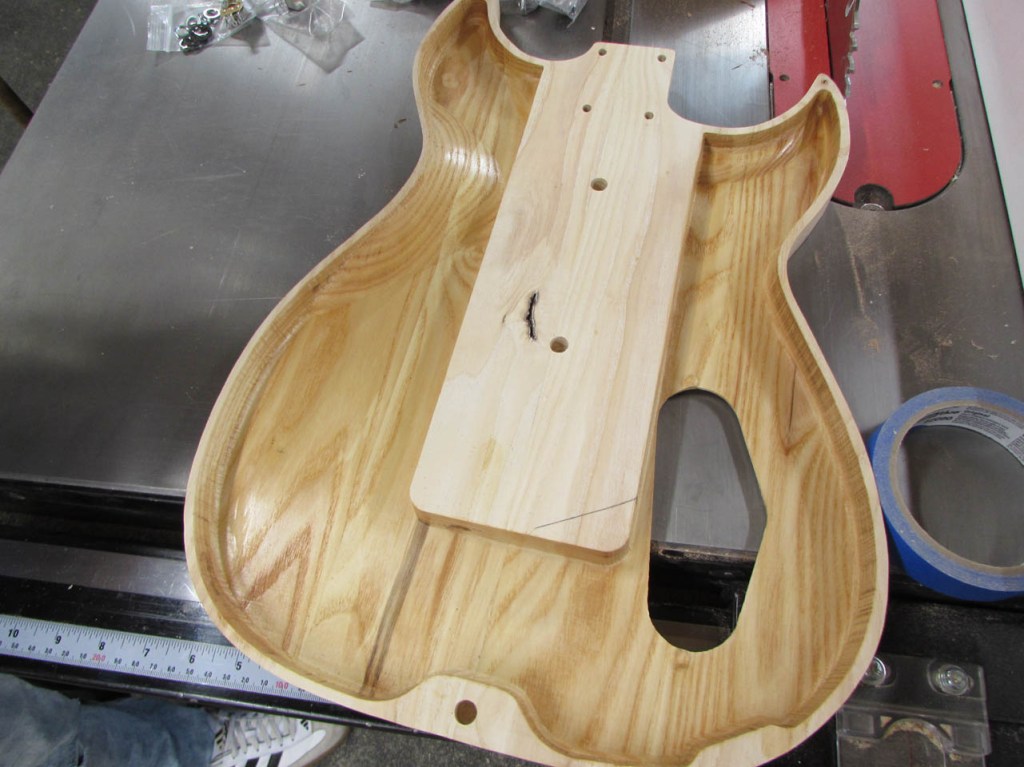
We were having a hard time finding an accessible pocket, in the body, to locate the battery for the “active” 9V PowerChip circuit/pot/knob so we wound up attaching the battery clip to the control panel itself.
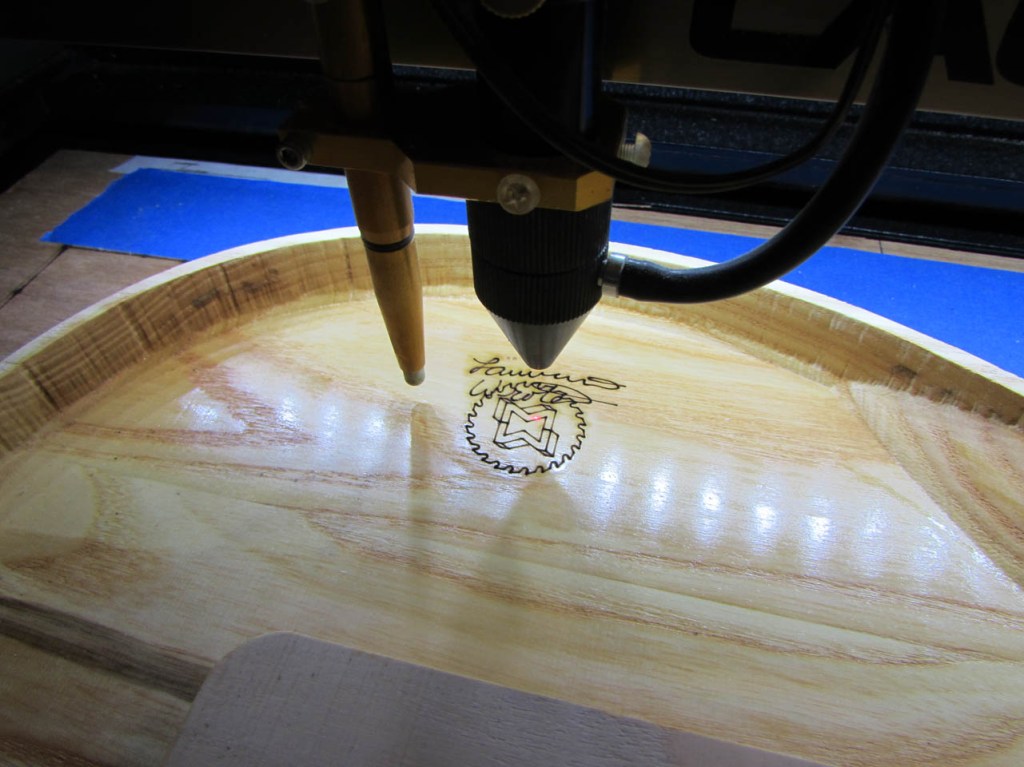
Steve wound up taking the guitar bodies home to finish sanding and experiment with stains and finishes. One benefit to having so many failed bodies and a prototype is lots of pieces to practice on… Before glueing the two halves of the body together, I had Steve finish the inside cavities that would be visible through the sound holes. Normally I paint that area black, but he wanted a natural look, and I think it was a good choice. He also asked me to sign the inside of the cavity below one of the sound holes so I did it with my laser.
It is kind of neat looking in the cavity but not too obvious looking at it from the outside.


Next step is to apply glue and attach the front to the back.
Lots of clamps were used to get a firm bond.
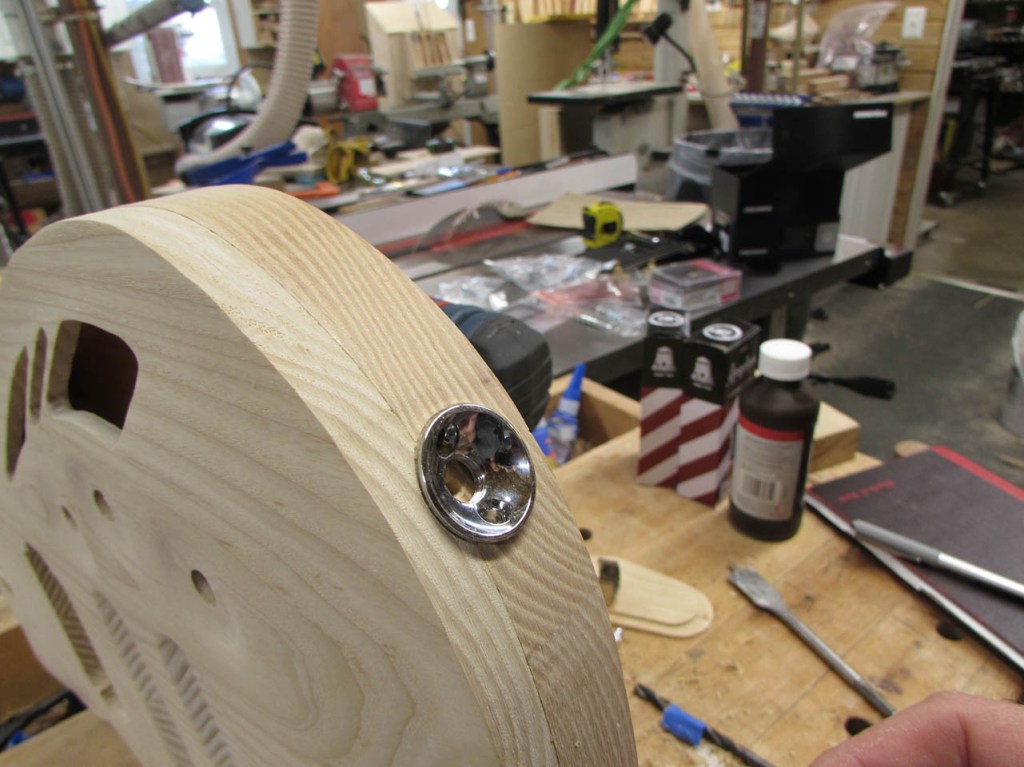
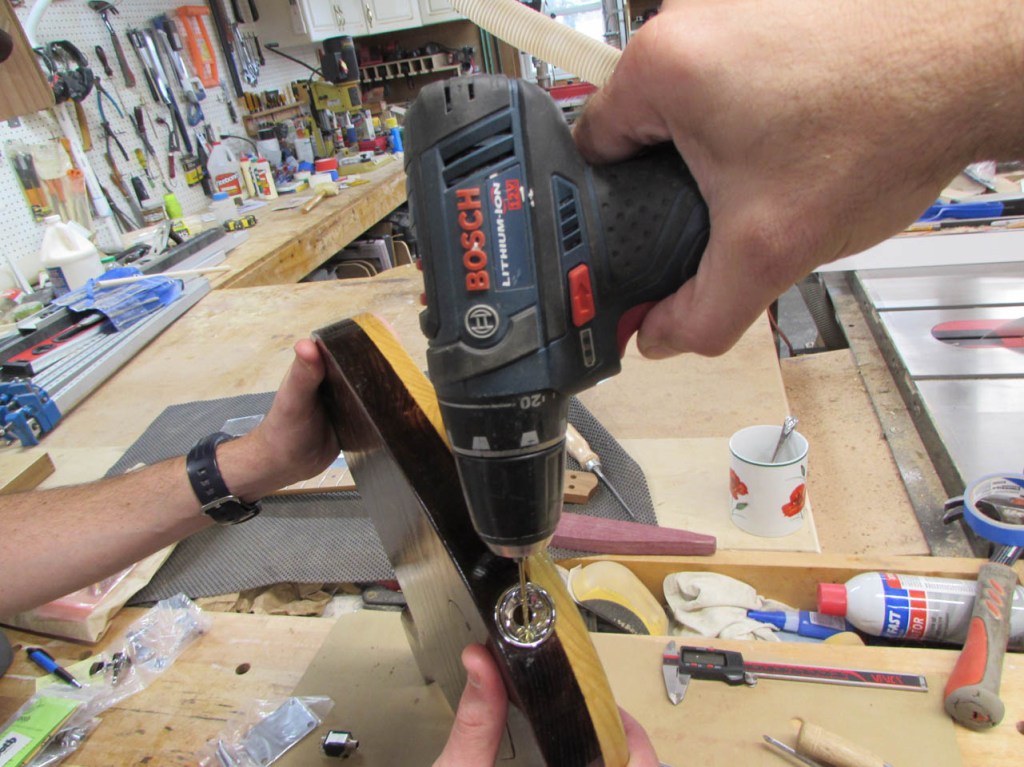
I made a small counterbore, then drilled a larger hole into the side of the body for the power input jack.
The test fit went well and we drilled it all the way through to the control cavity.
All ready for final finishing.
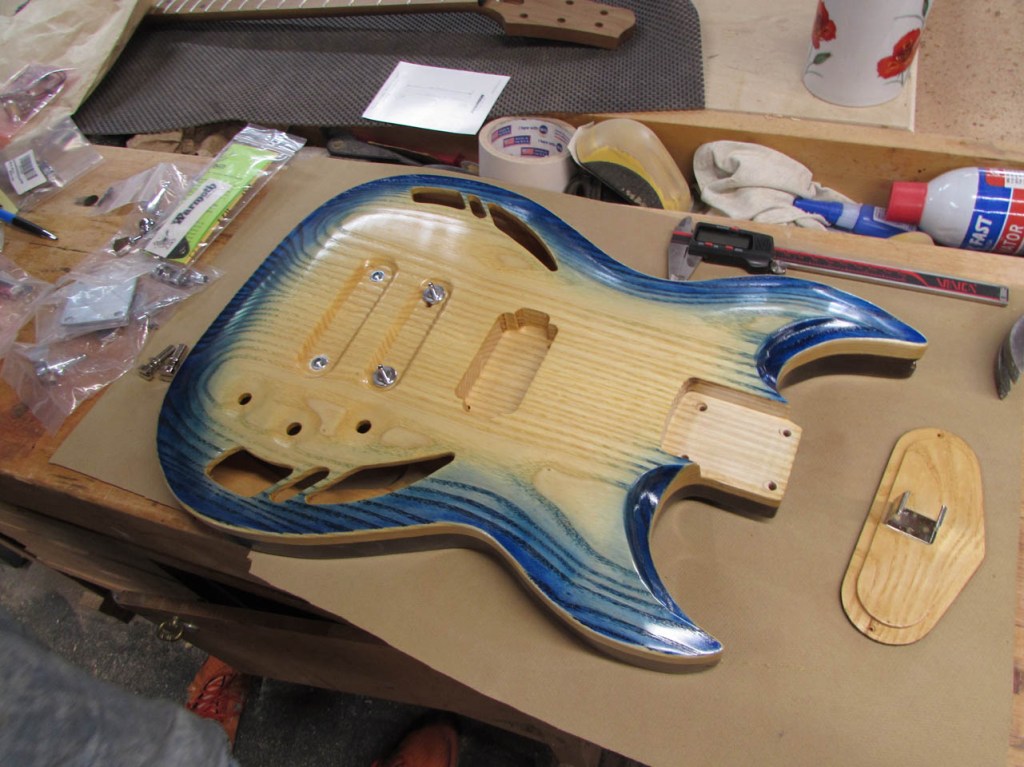
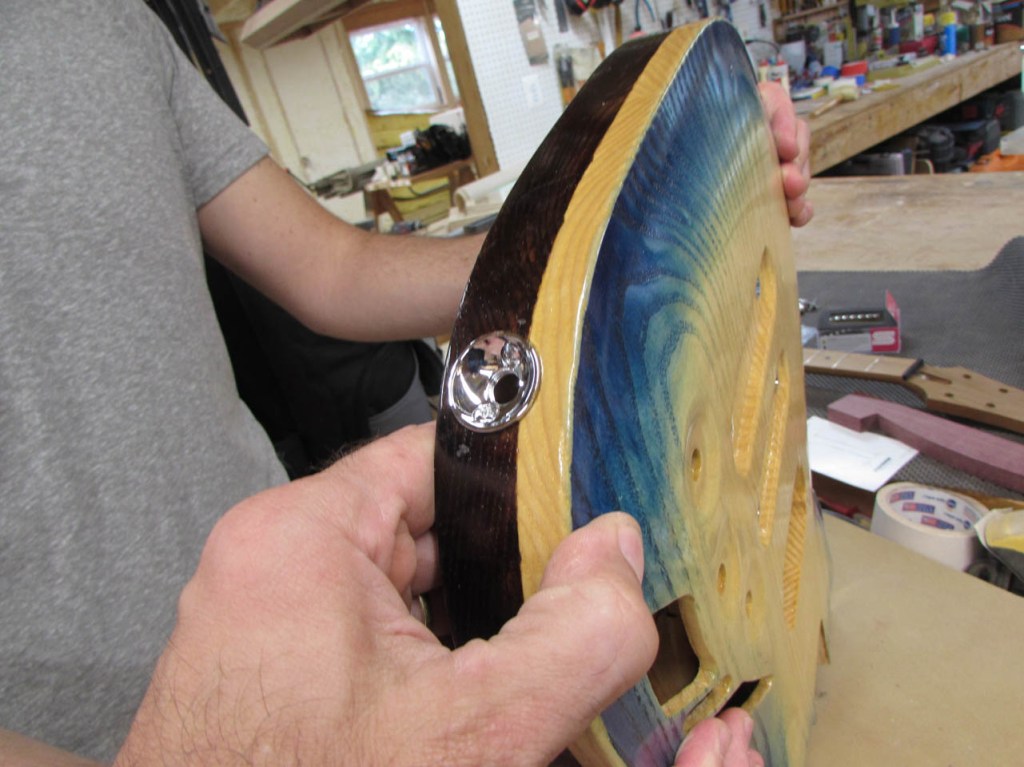
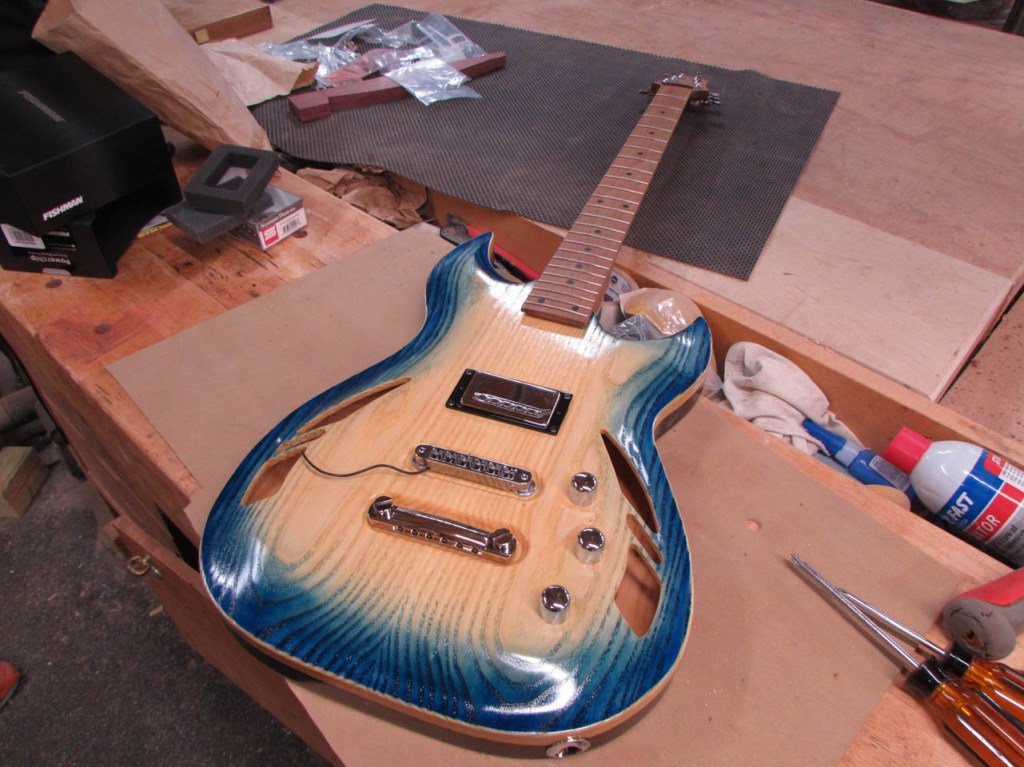
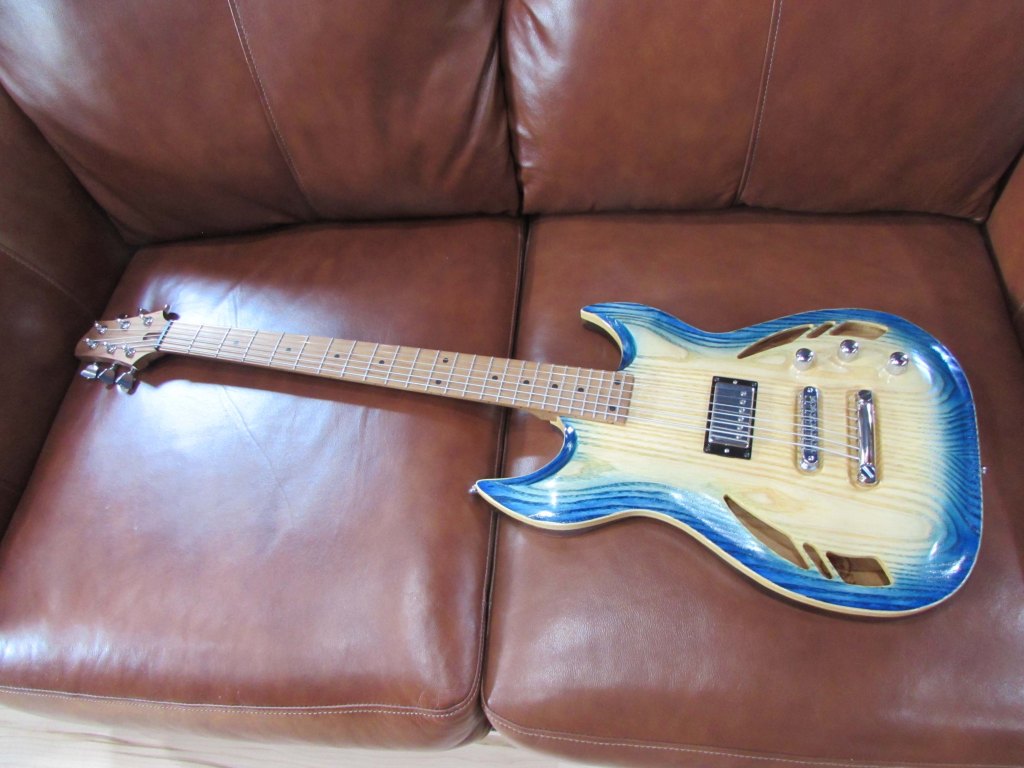
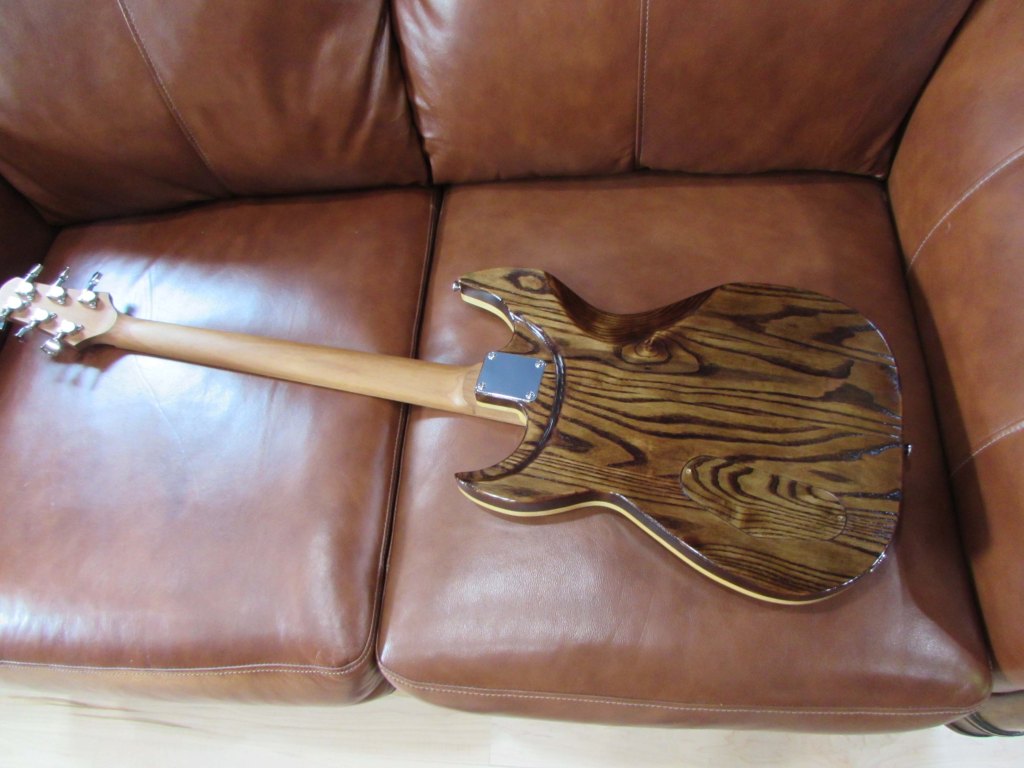
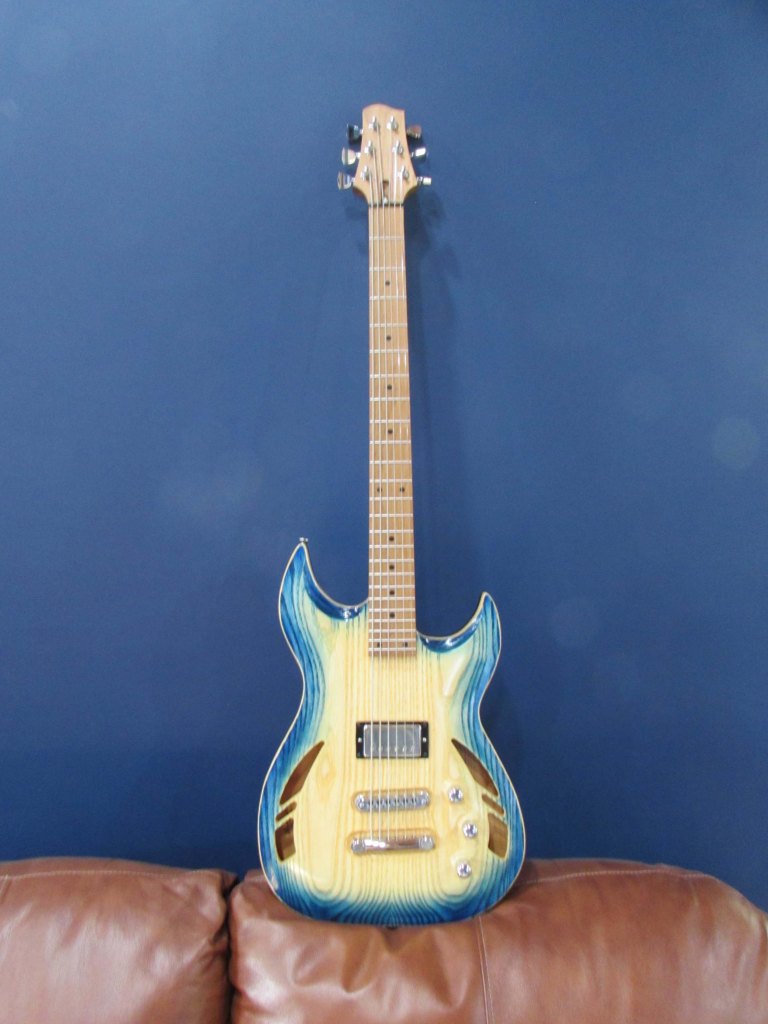
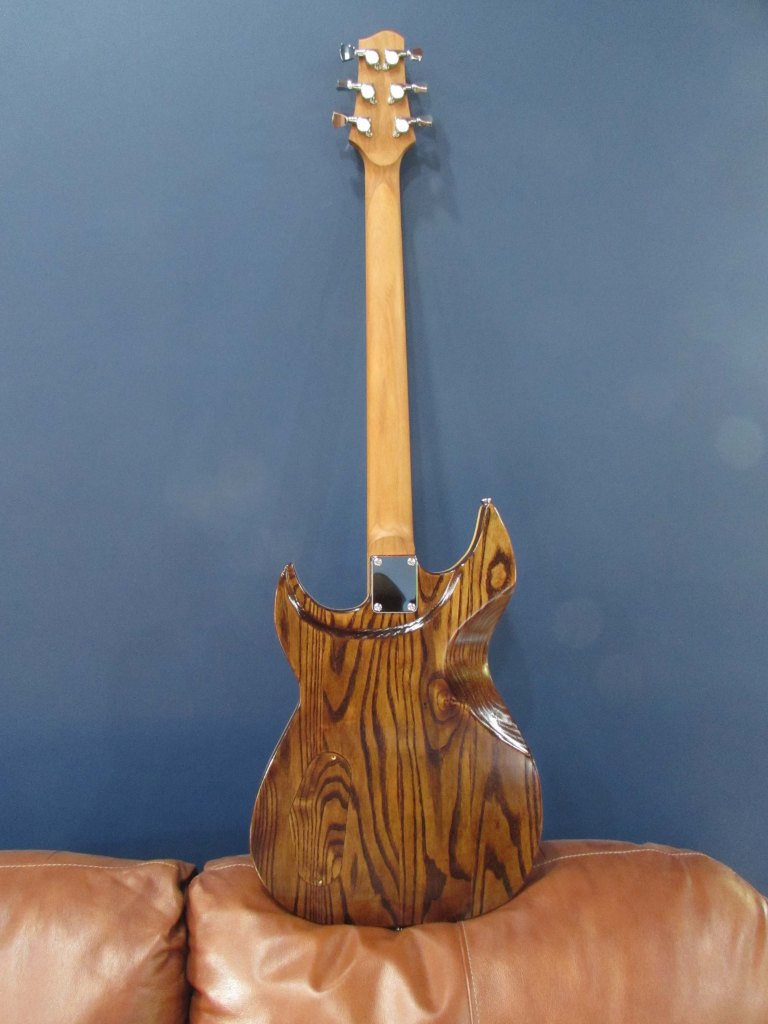
Steve took the parts home and did all of the final finishing, then brought it back for hardware assembly. The color was from Angelus leather dye. The back is “coffee”. The front is blue on the outside edge, then blended with yellow and clear to fade into the natural ash in the middle. The finish is roughly 20 layers of tru-oil.

We took our time fitting and installing the hardware.
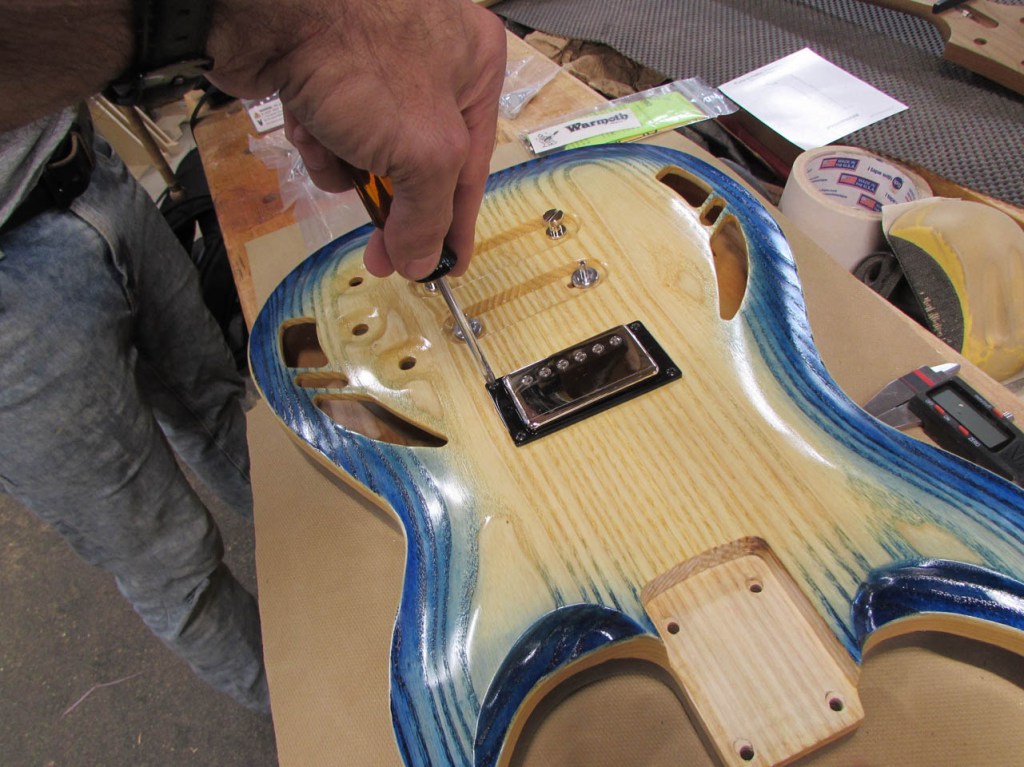
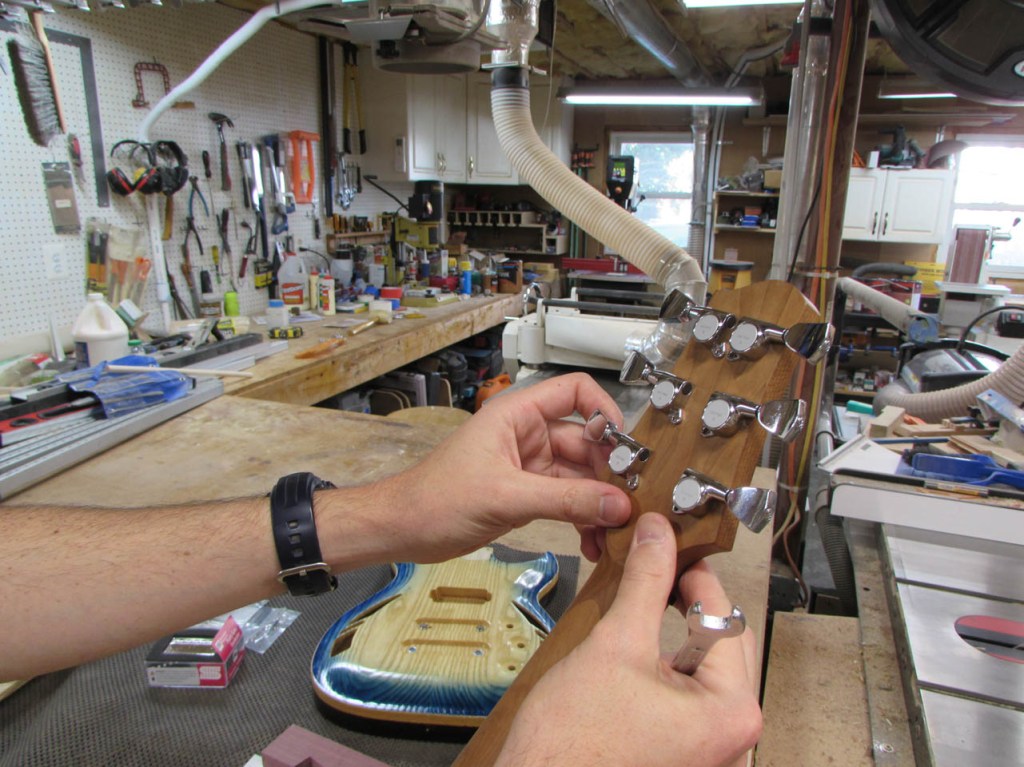
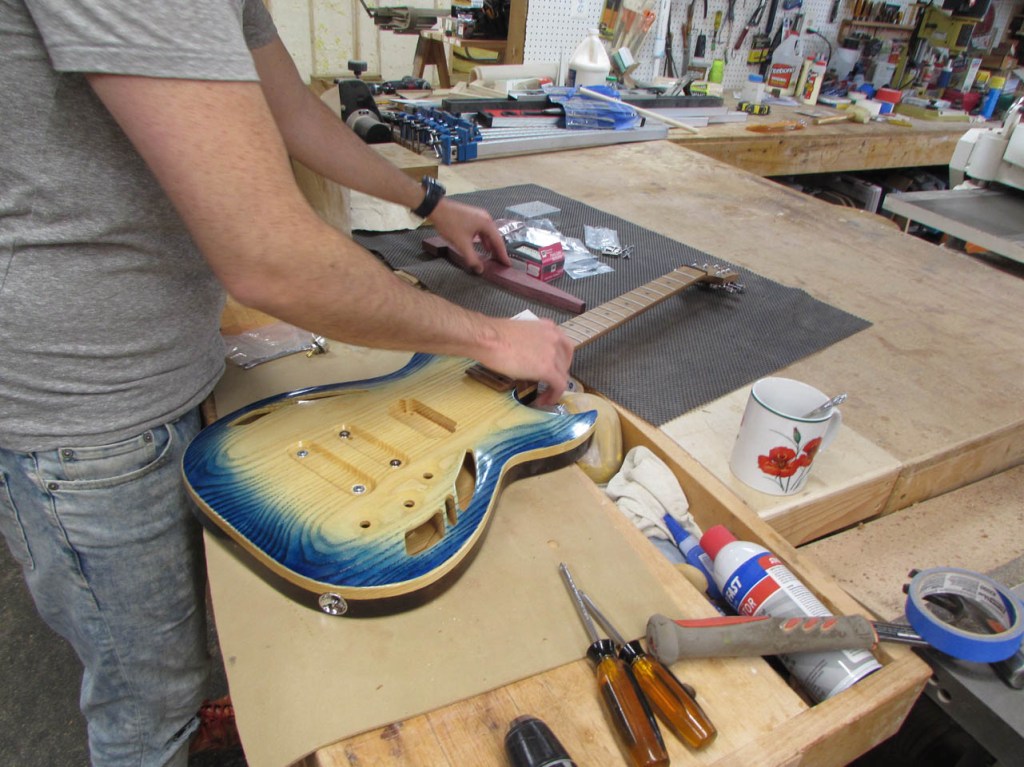
Semi-hollow body, “Pearly Gates” humbucker pickup from Seymour Duncan, the bridge is a Tune-o-matic Powerbridge from Fishman with a piezo pickup (this had to be recessed into the guitar body; normally these are installed on guitars with an angled neck pocket), there is an “active” 9V PowerChip circuit/pot/knob (also from Fishman) that blends the piezo signal with the magnetic pickup.
This was an interesting build. I learned a lot about the limitations of my CNC and I think Steve enjoyed the build even though we had several setbacks.

The guitar is beautiful and Steve loves playing it.


You nailed it on grain pattern placement/selection on the front face. Perfect for a guitar. Wow!