
Two-faced barn doors
This has been a pet project just for me, so of course, I haven’t had the time to work on it. My office addition was started about a year or so ago, and it is finished for the most part. The one thing missing is a door between the bedroom and the office. The big problem is aesthetic. All of the doors in my bedroom are oak, 6-panel. My office has maple floors with cherry walls. No oak at all, so I wanted doors that were oak on the bedroom side and cherry siding to match the walls on the office side. Not surprisingly, I couldn’t find them available anywhere. A couple of weeks ago, I decided to take a stab at building them. I had the wood and my schedule was clear so I thought I would make the attempt. Of course as soon as I started, the phone started ringing and everybody else needed something, right away…

But I started anyway. I knew once I started, I would be compelled to finish despite the other projects that had to be done right away.

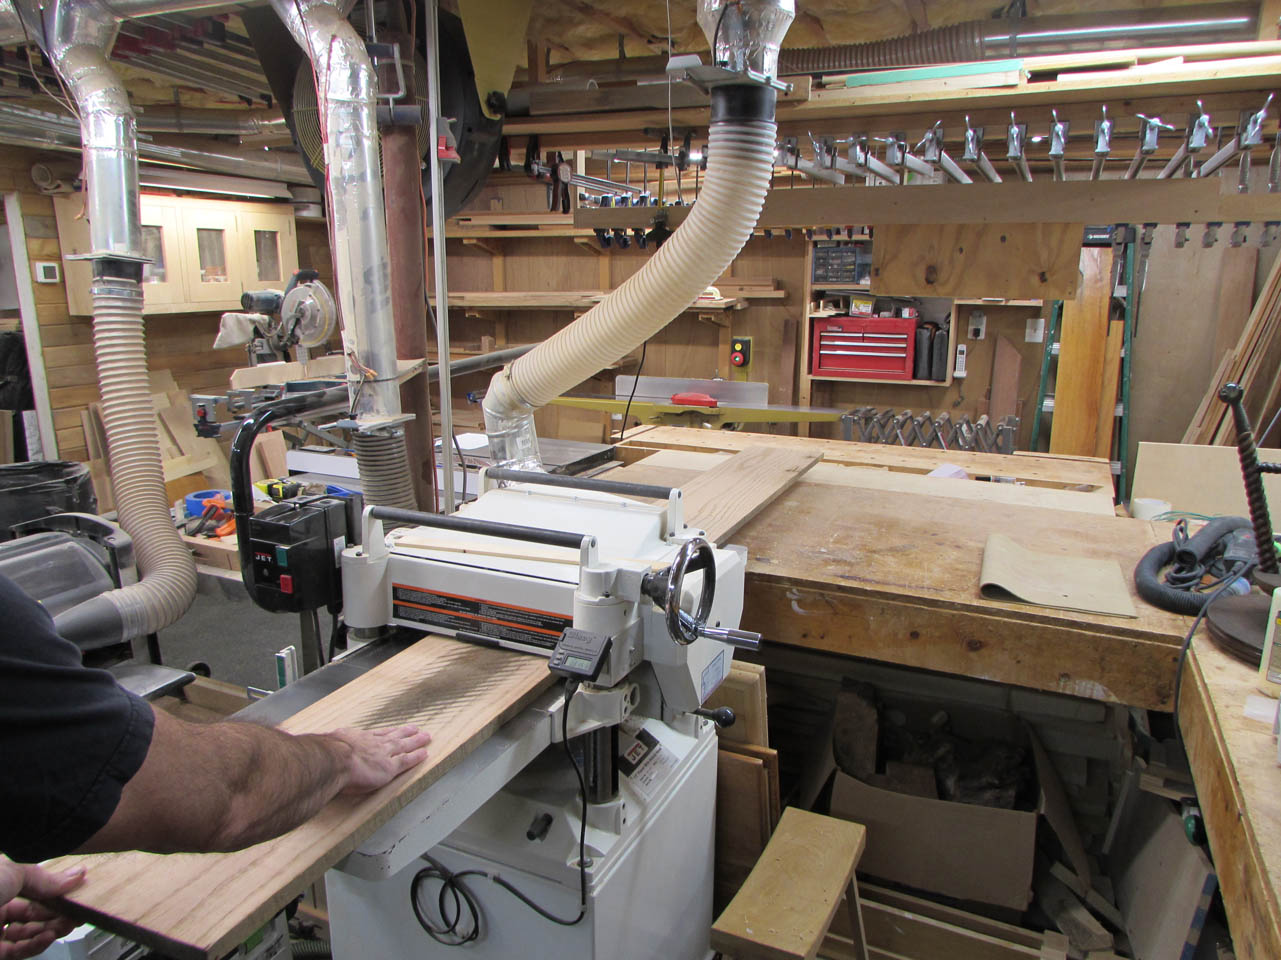
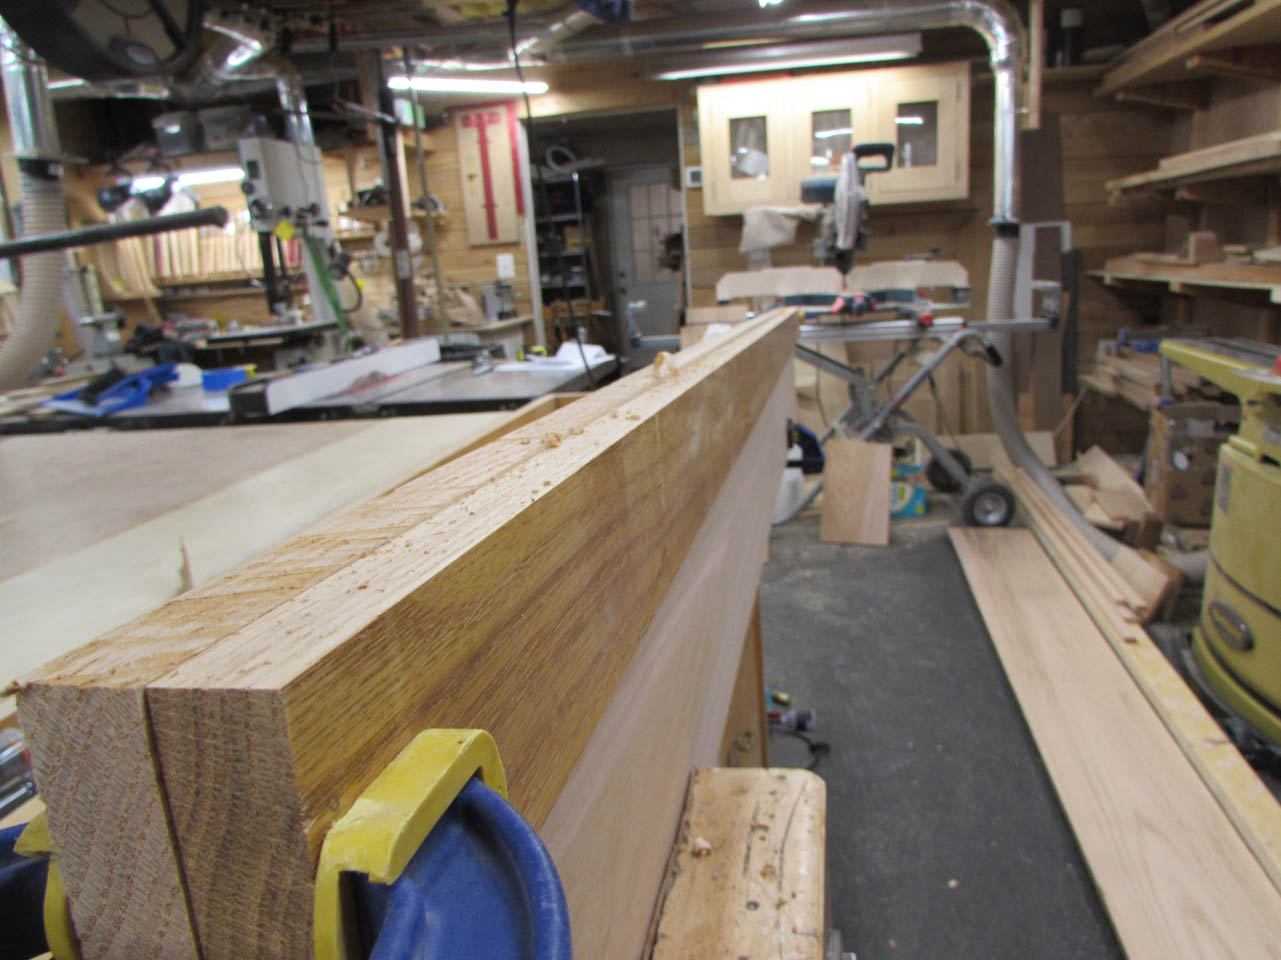
I started with the oak side of the door. I decided that it would have to be built like a cabinet door, 3/4″ thick with floating panels. For the back side, I have the left-over Tongue & Groove Cherry flooring that was used on my walls. It was also 3/4″ thick but the barn door hardware I have prefers a door 1-3/8″ thick. The plan is to keep the oak 3/4″ thick and plane the cherry down to 5/8″ thick and see what happens. I have some left-over kiln dried oak, but it was not enough so I picked up some air-dried stuff from my buddy Dave.
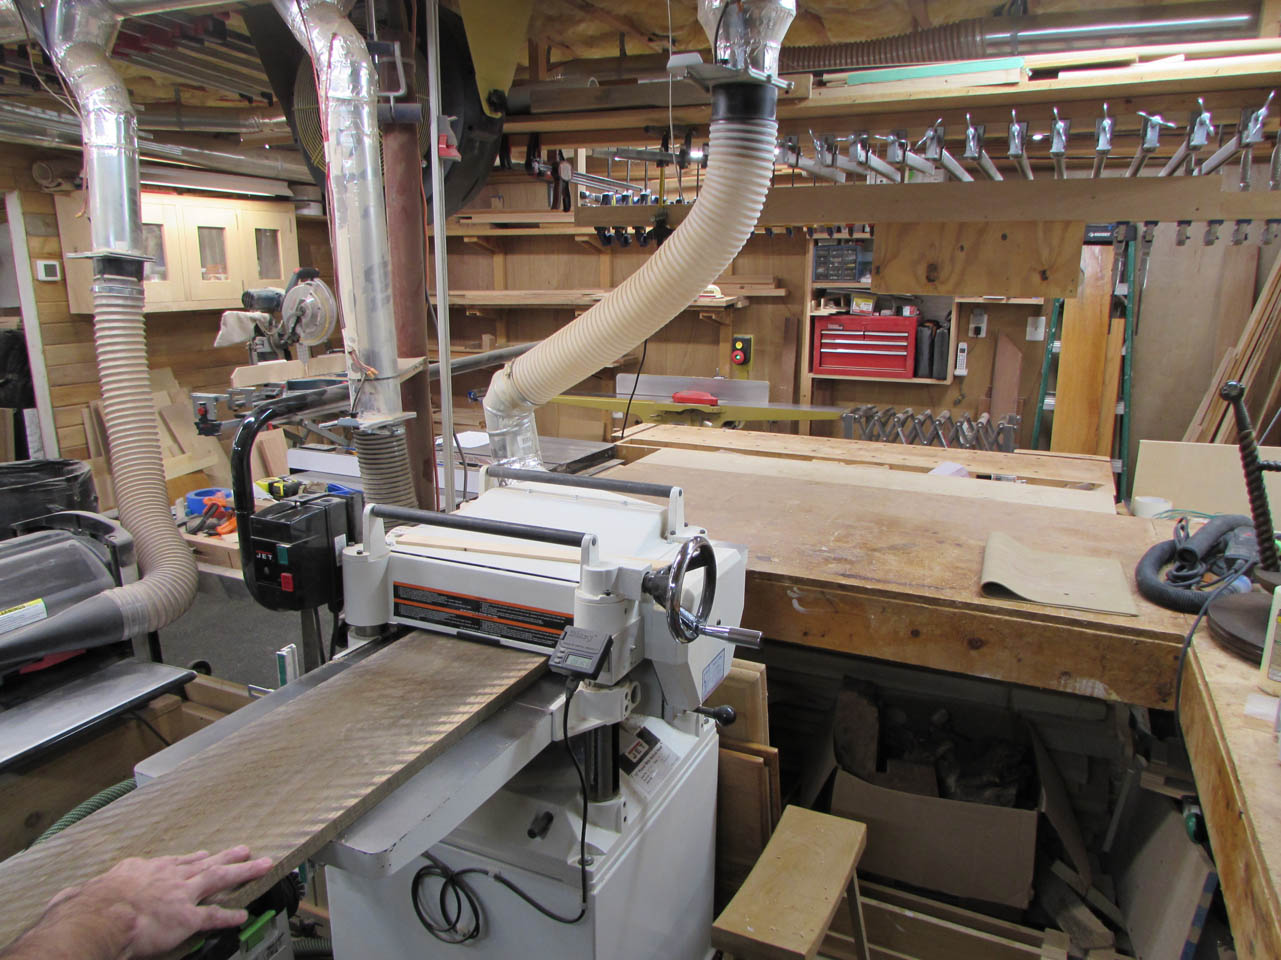
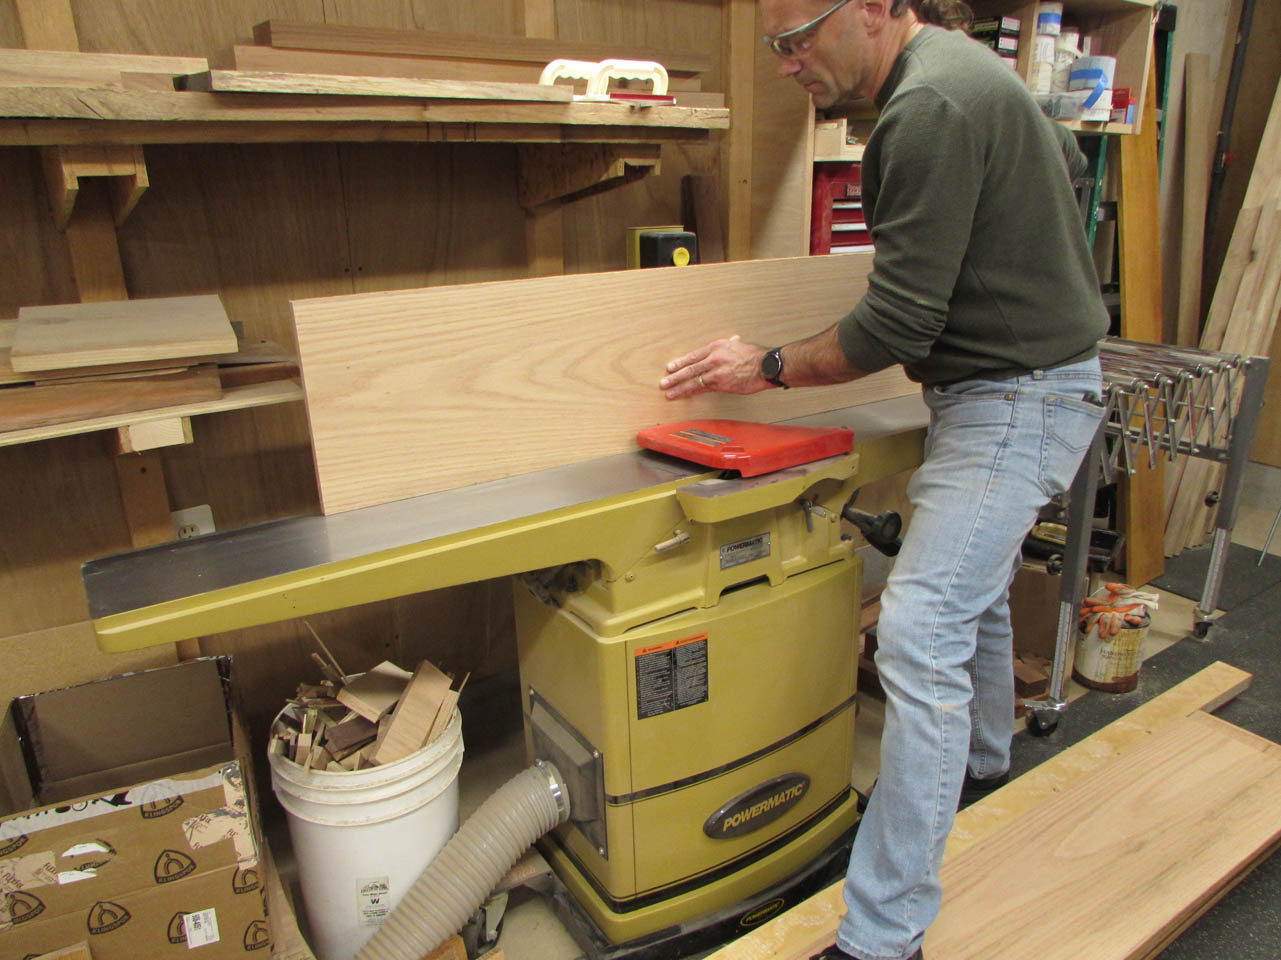
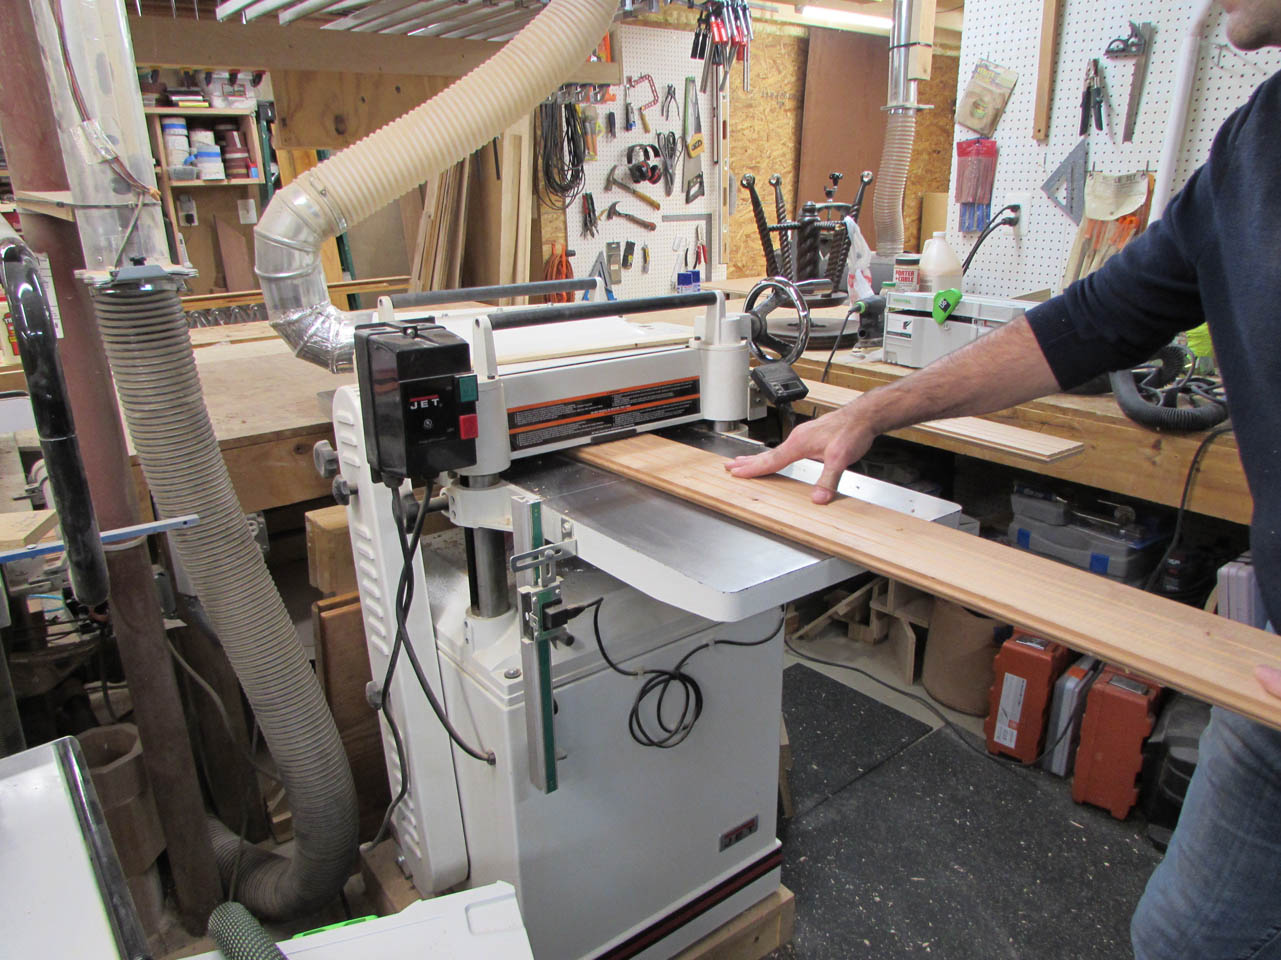
First step was to plane it all down to 3/4″ thick and remove all of the rough-sawn mill marks.
A few of the air-dried boards had some evidence of powder post beetles so I marked those areas to be cut around and disposed of later.
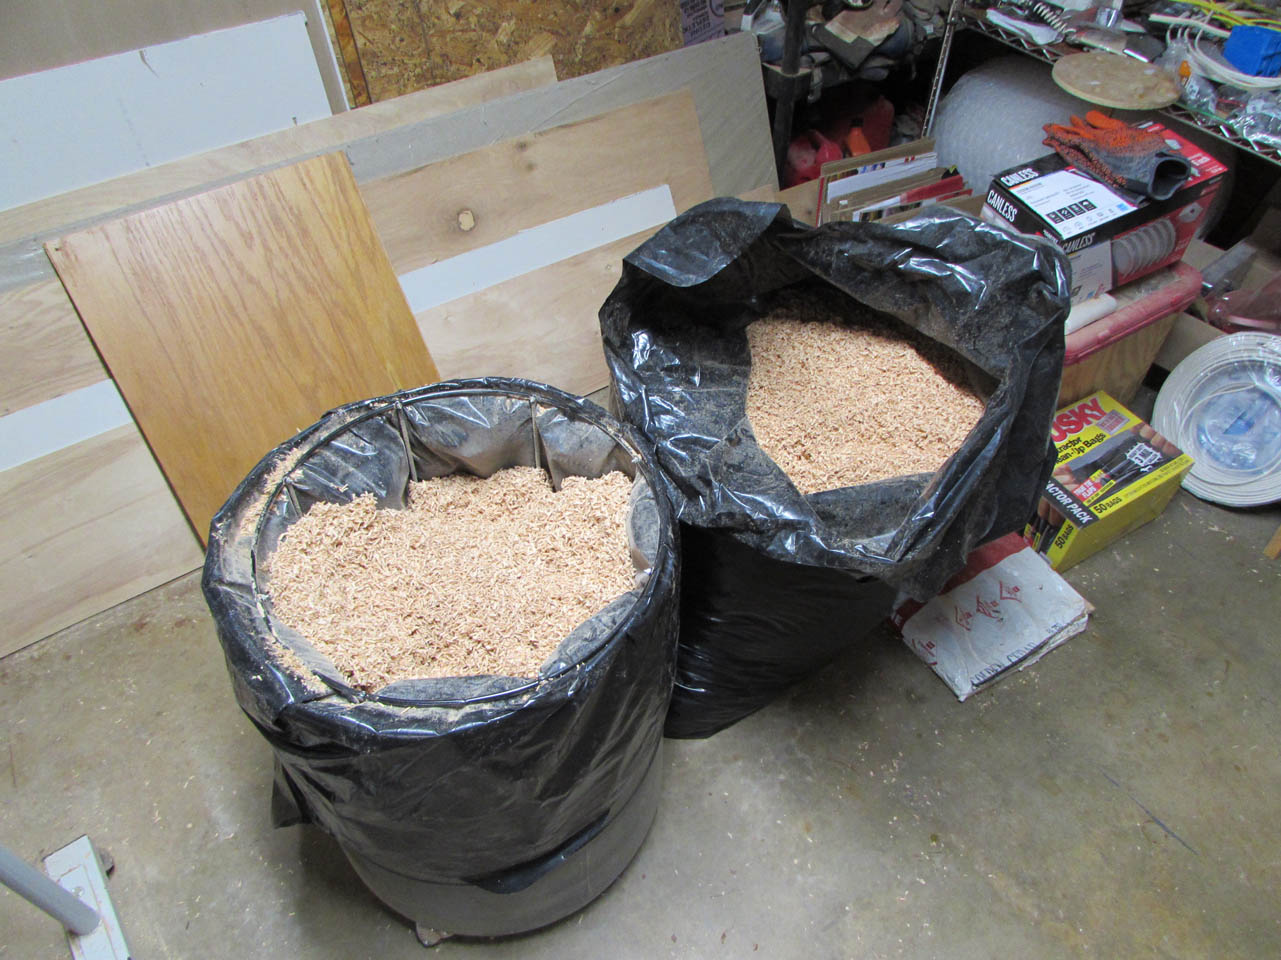
After planing just three boards, I filled the 30-gallon dust bin on my dust collector. By the end of this project, I had about six 40-gallon bags of sawdust. I have a few friends that use the sawdust for bedding for their chickens so I don’t have to worry about disposing of it…
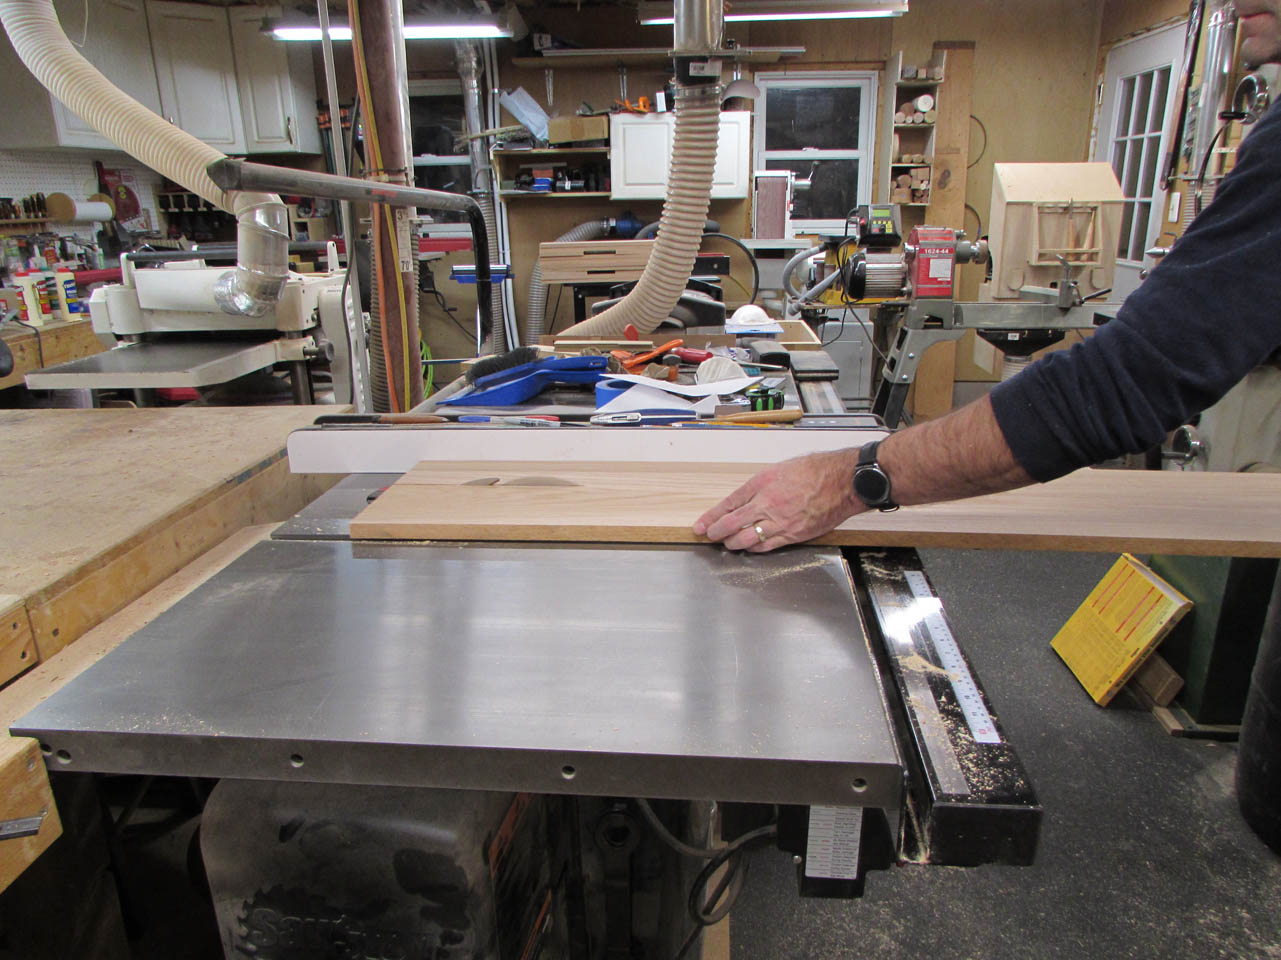
After planing the faces of the boards, I joint one side flat and cut the opposite side parallel on the table saw.
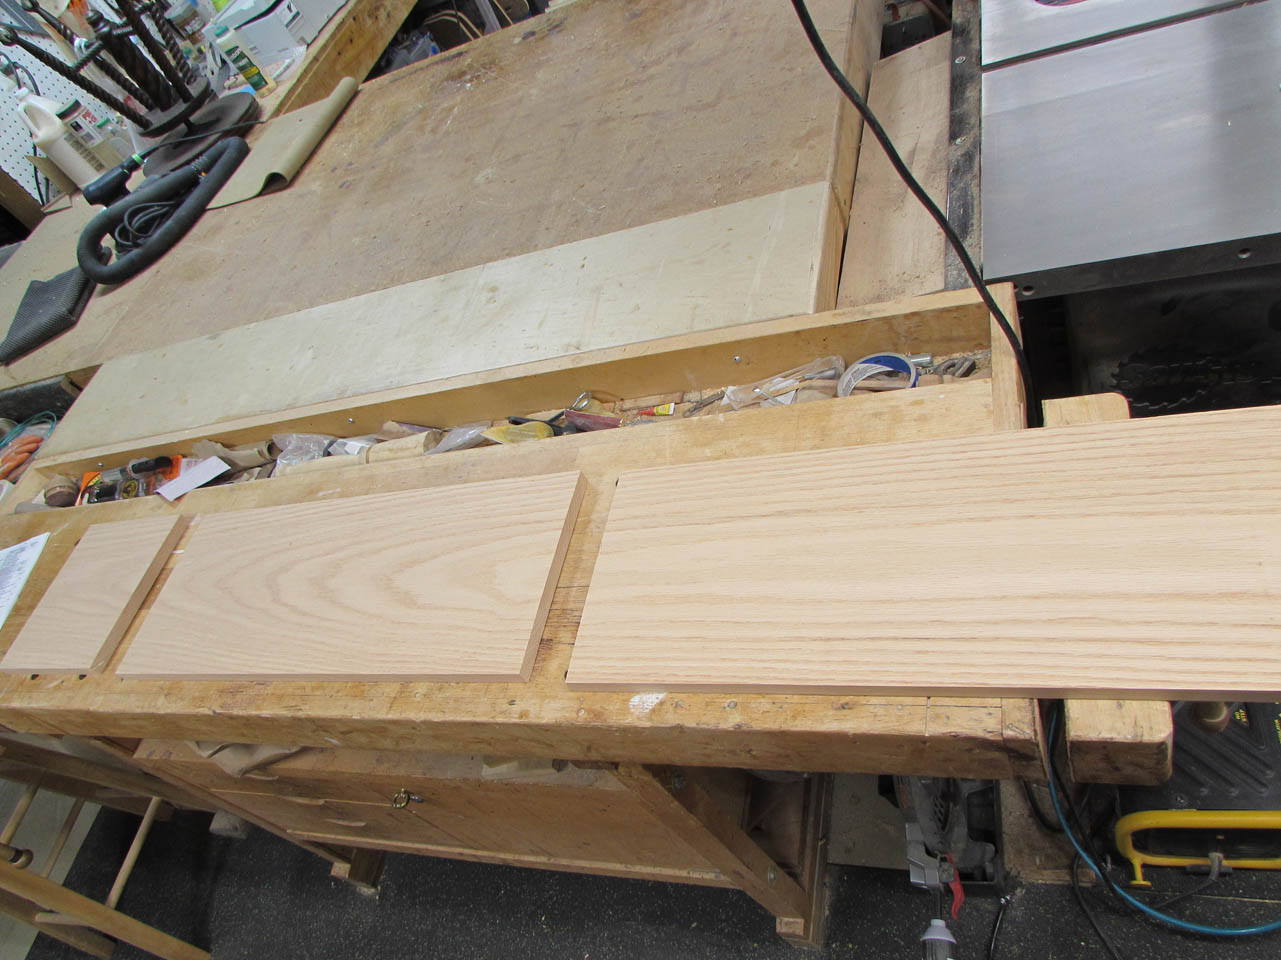
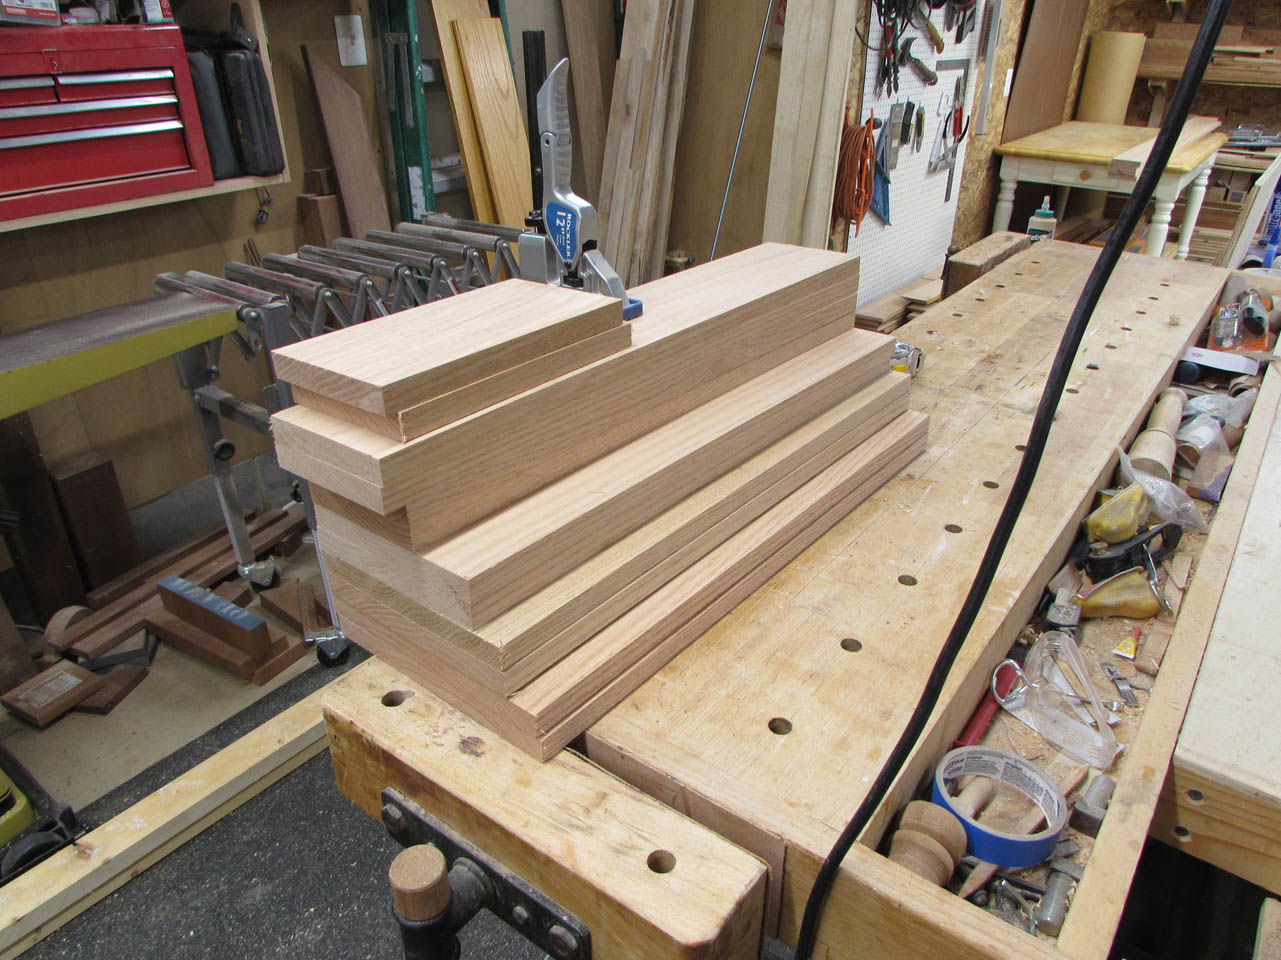
Then I started rough-cutting my rails, stiles, and panels to size.

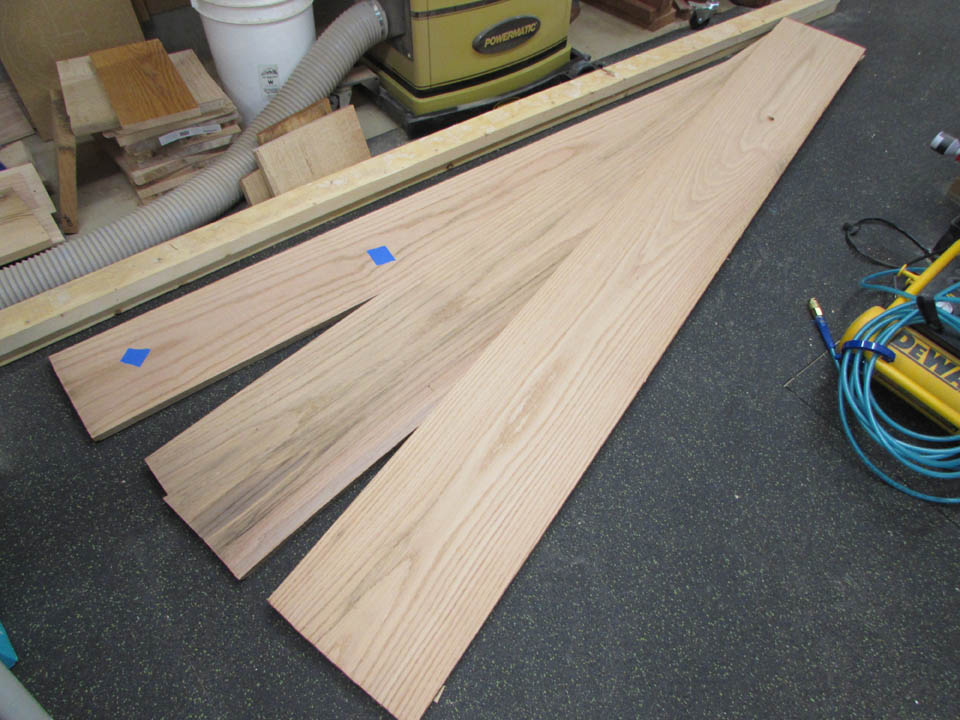
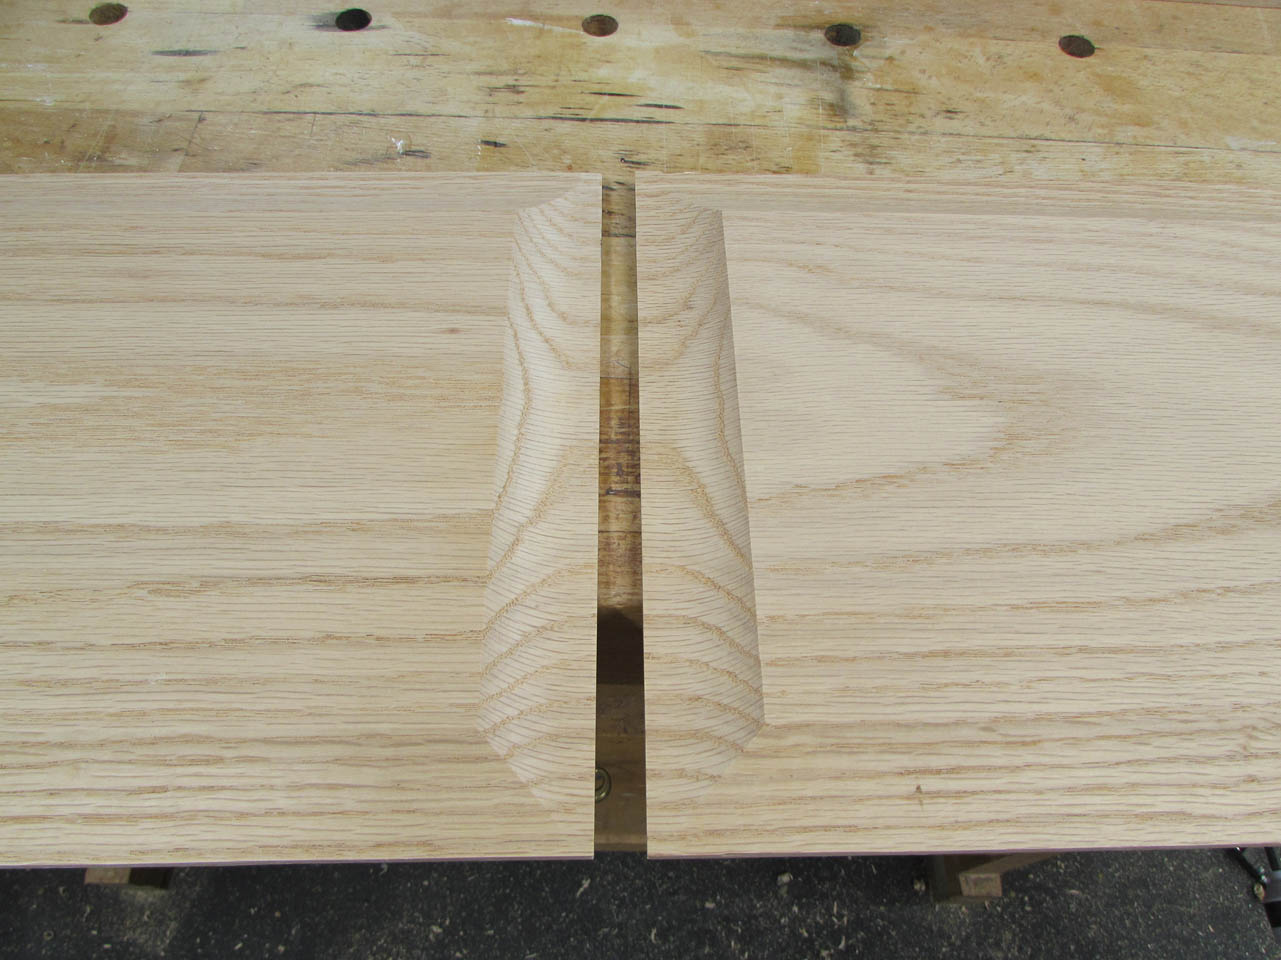
It probably won’t be noticeable to anyone else but I decided to make all of my floating panels have continuous grain flow in each vertical section.
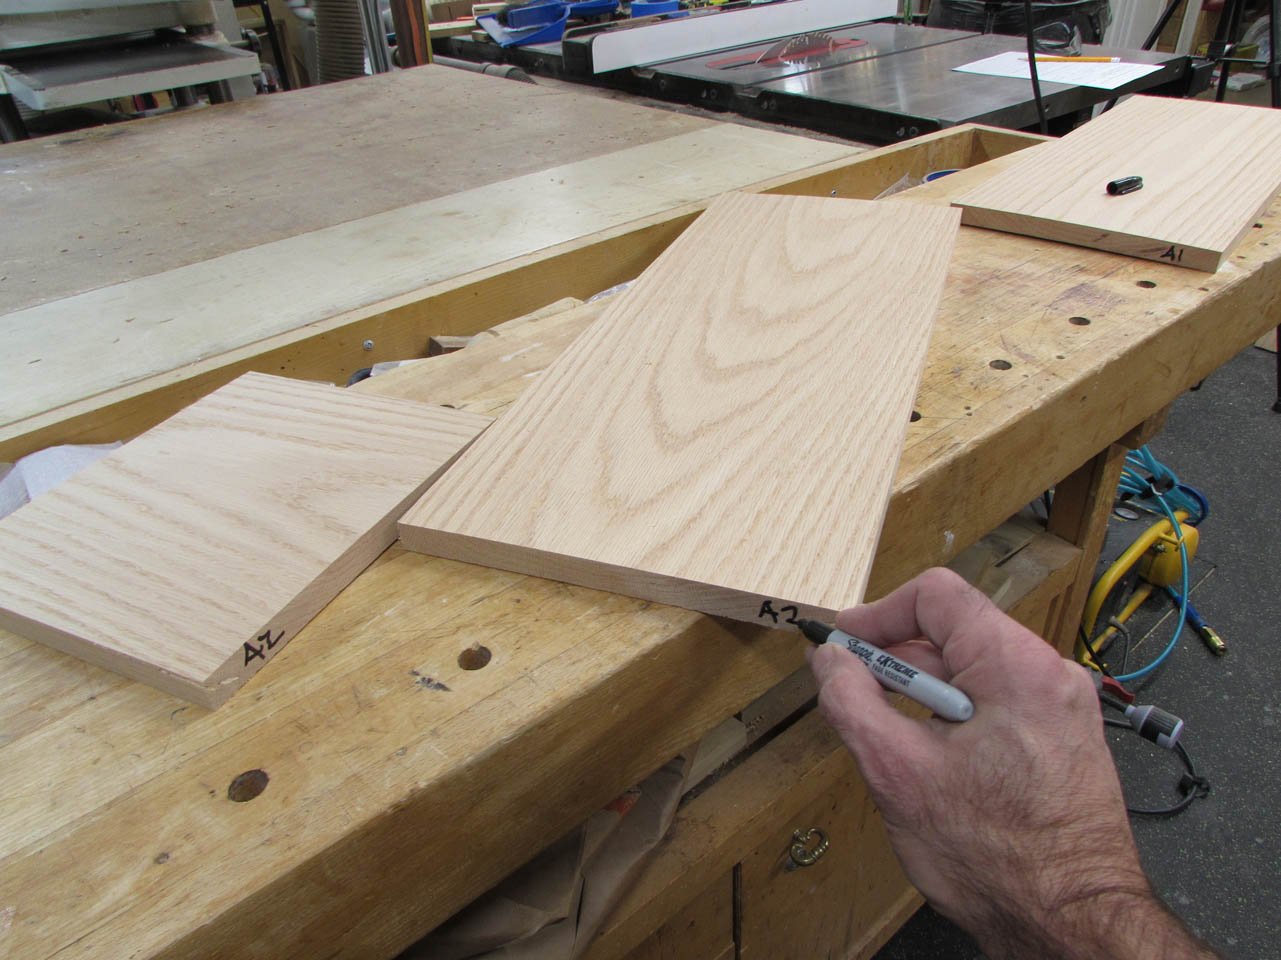
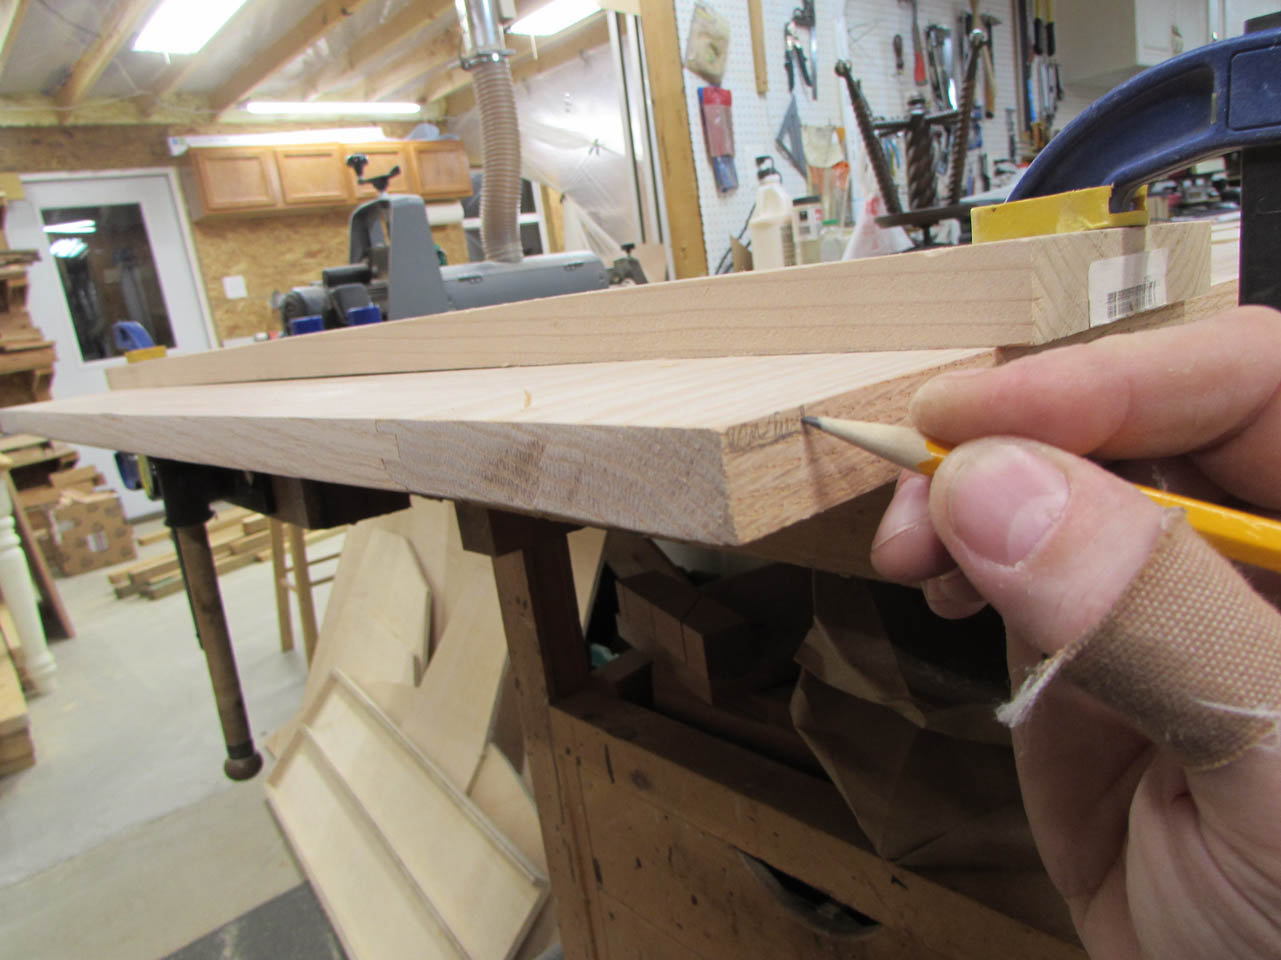
I marked the abutting ends so I could keep track of them as I go.

One of my longer boards was too curved for me to run easily through my jointer. The best way I have found to address this is to clamp a straight board along side to use as a guide, then take down the high spots with my hand planes, mainly my #7 jointer plane and my #5 low-angle jack plane.


I don’t typically resort to hand tools, but sometimes they are the safest and easiest option.
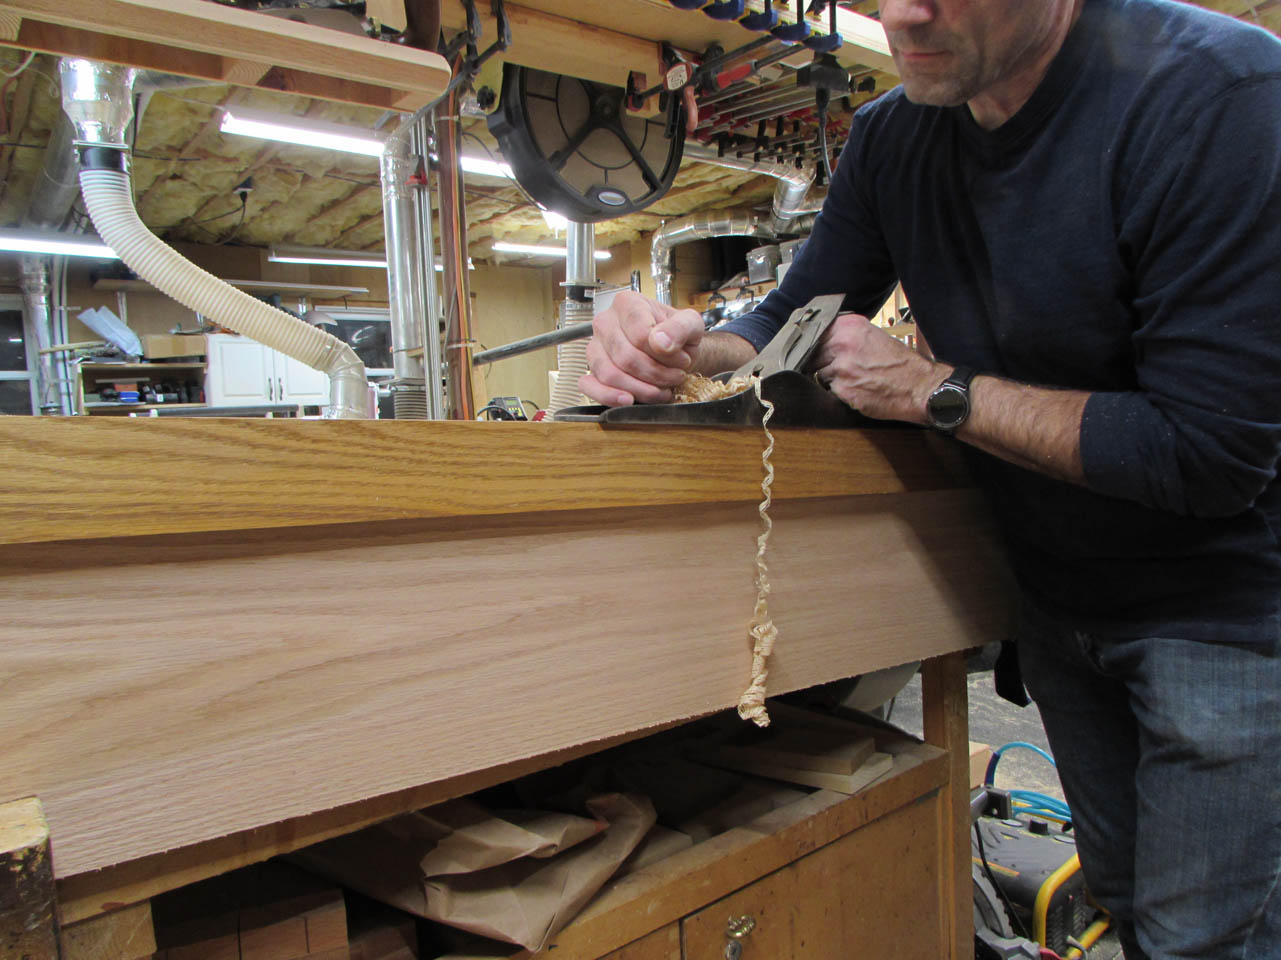

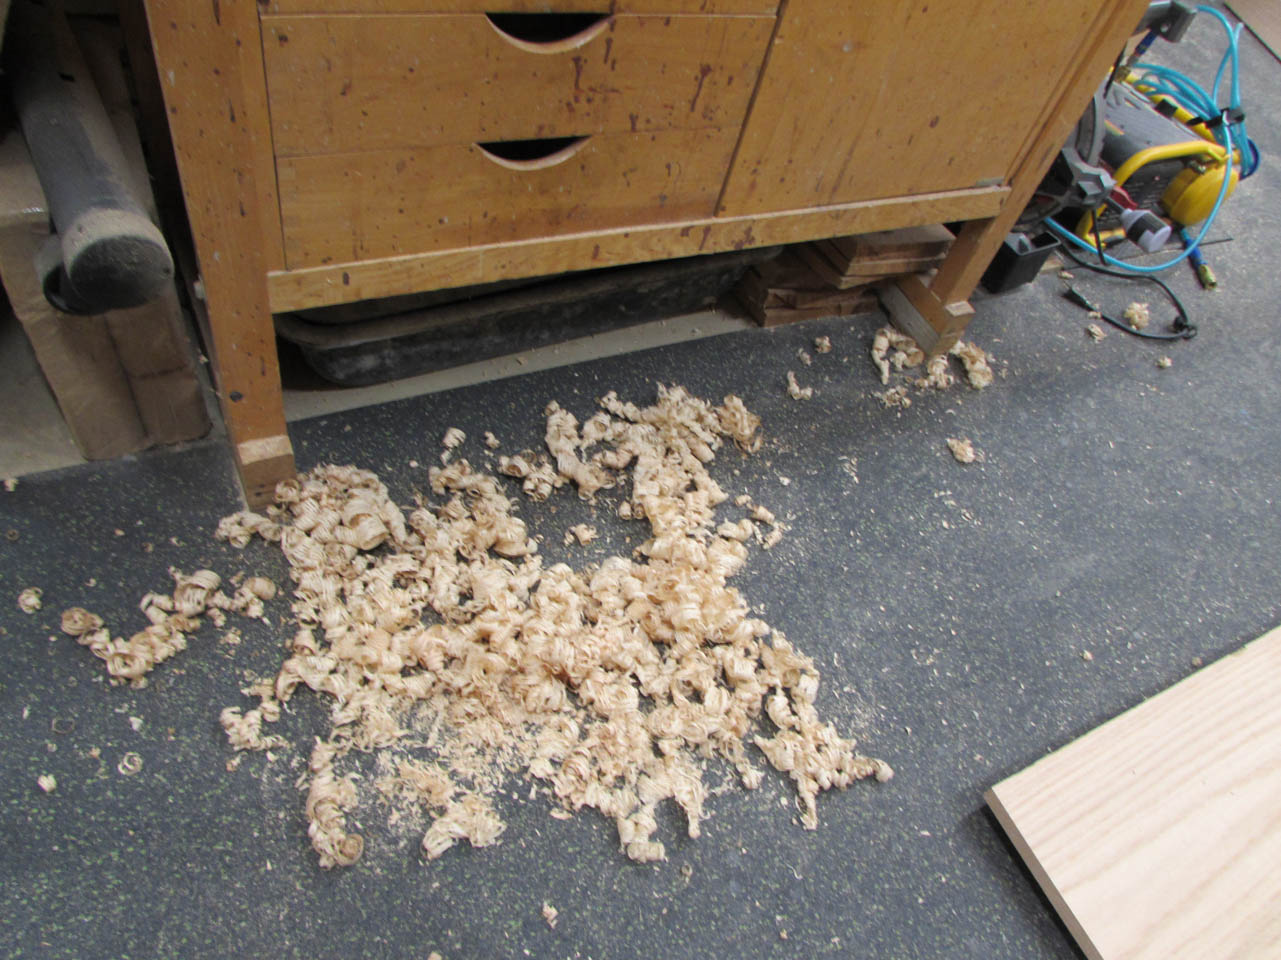
After a large pile of curly shavings were created, the edge was flat.
I made one pass along my jointer to clean up any part of the edge that I did not perfectly address.
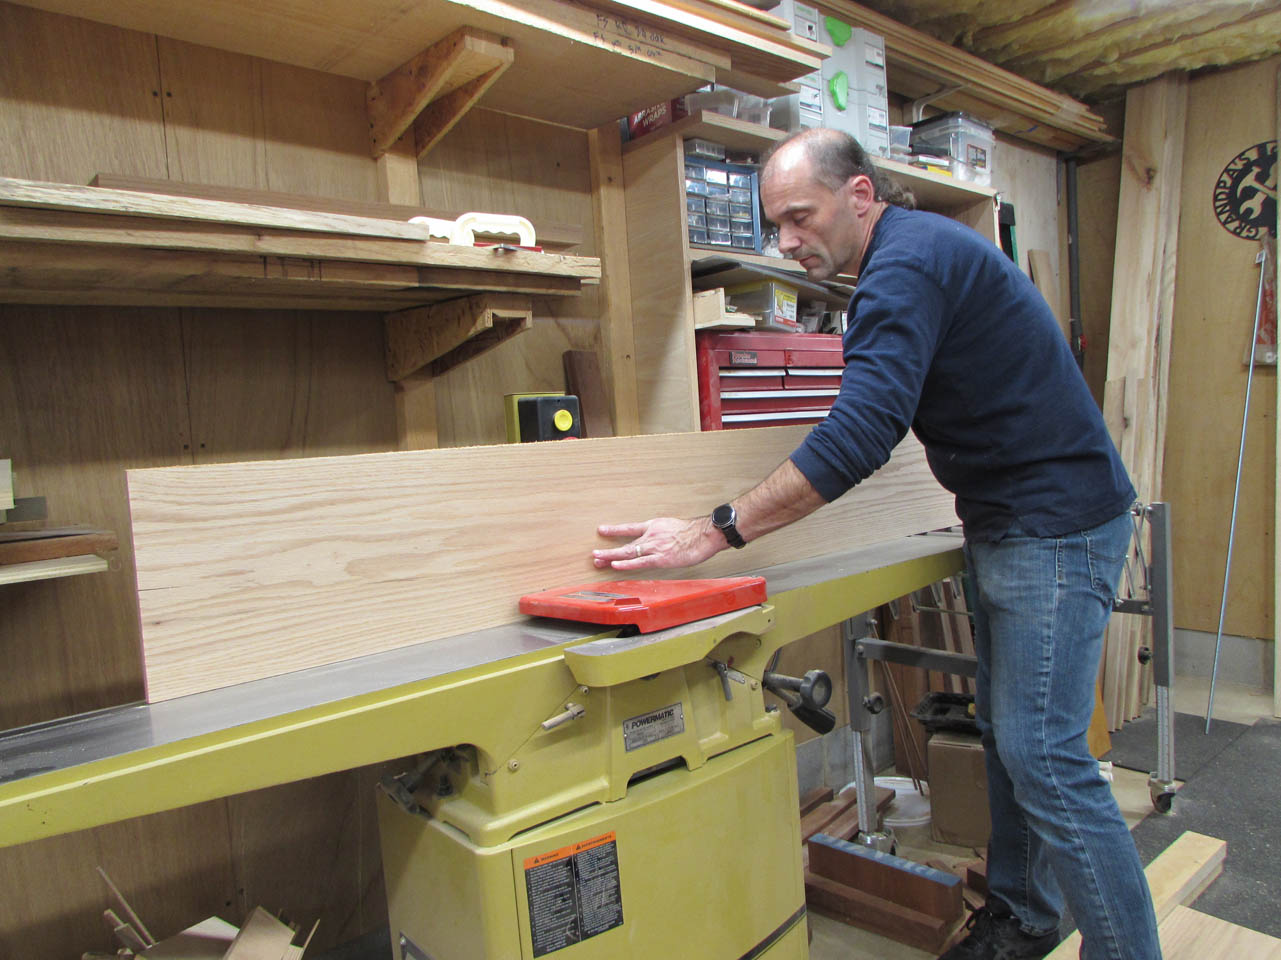
Then I could get back to cutting up parts.
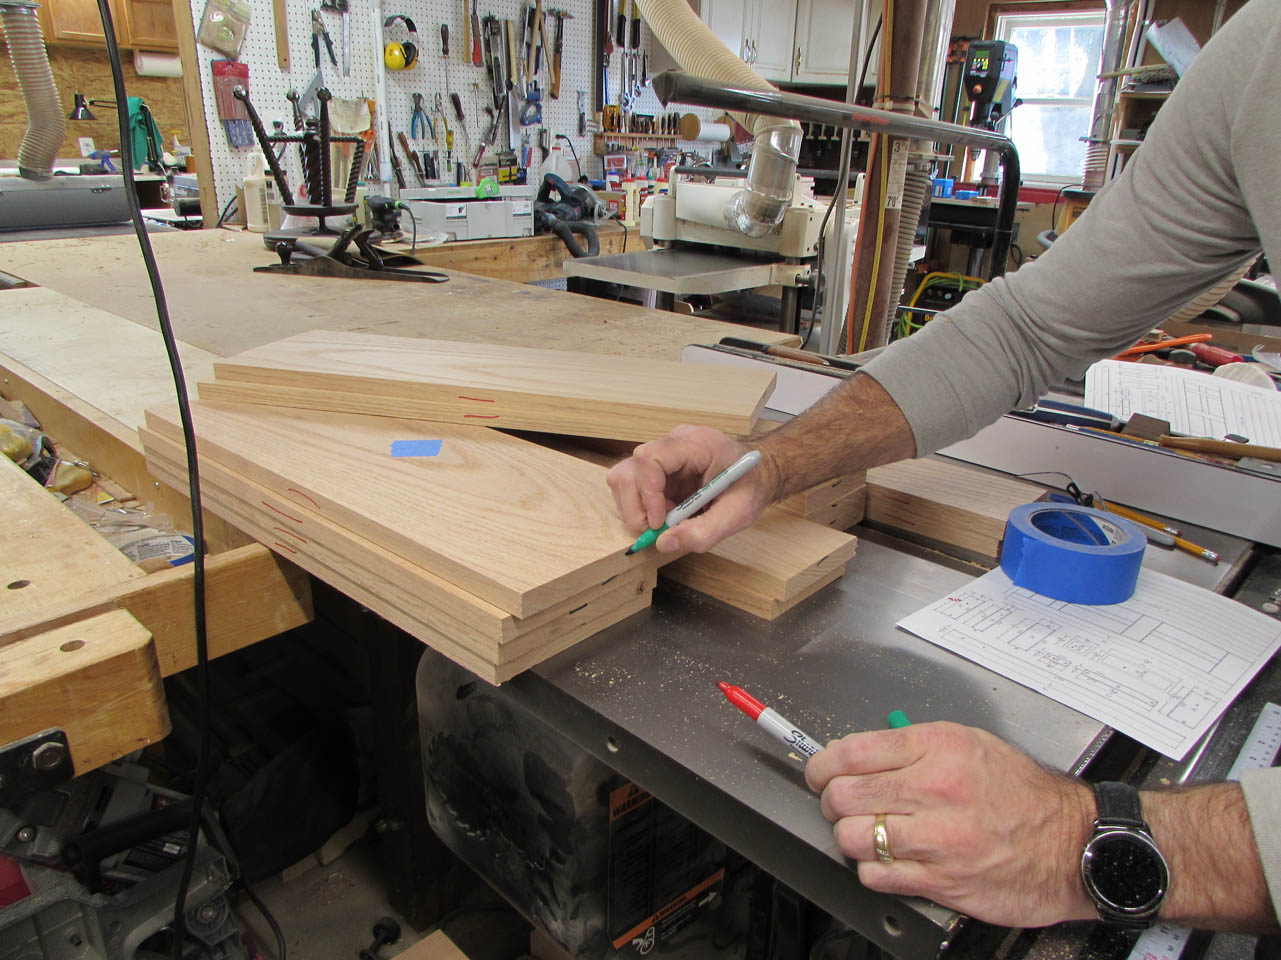
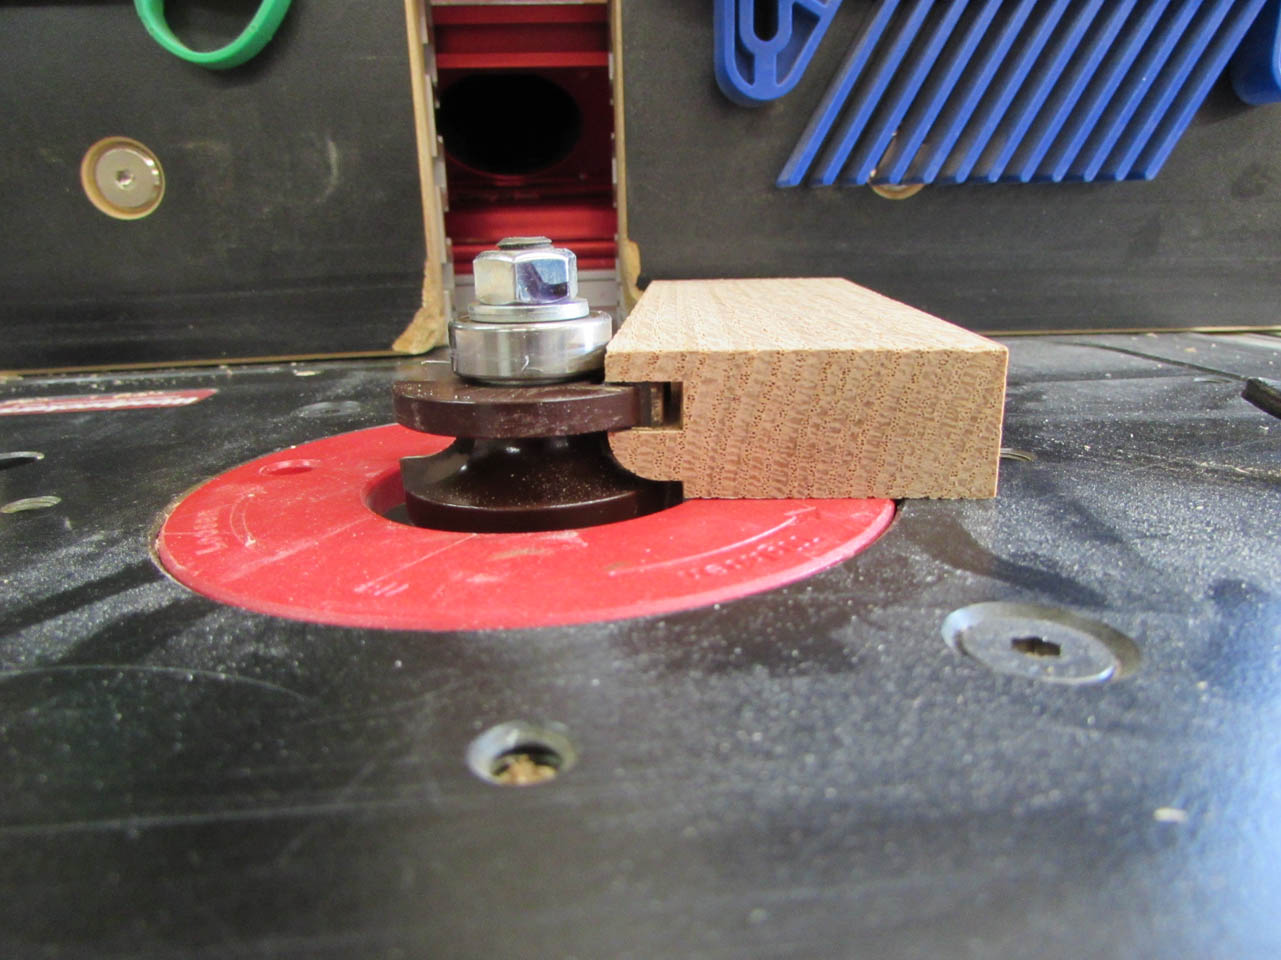
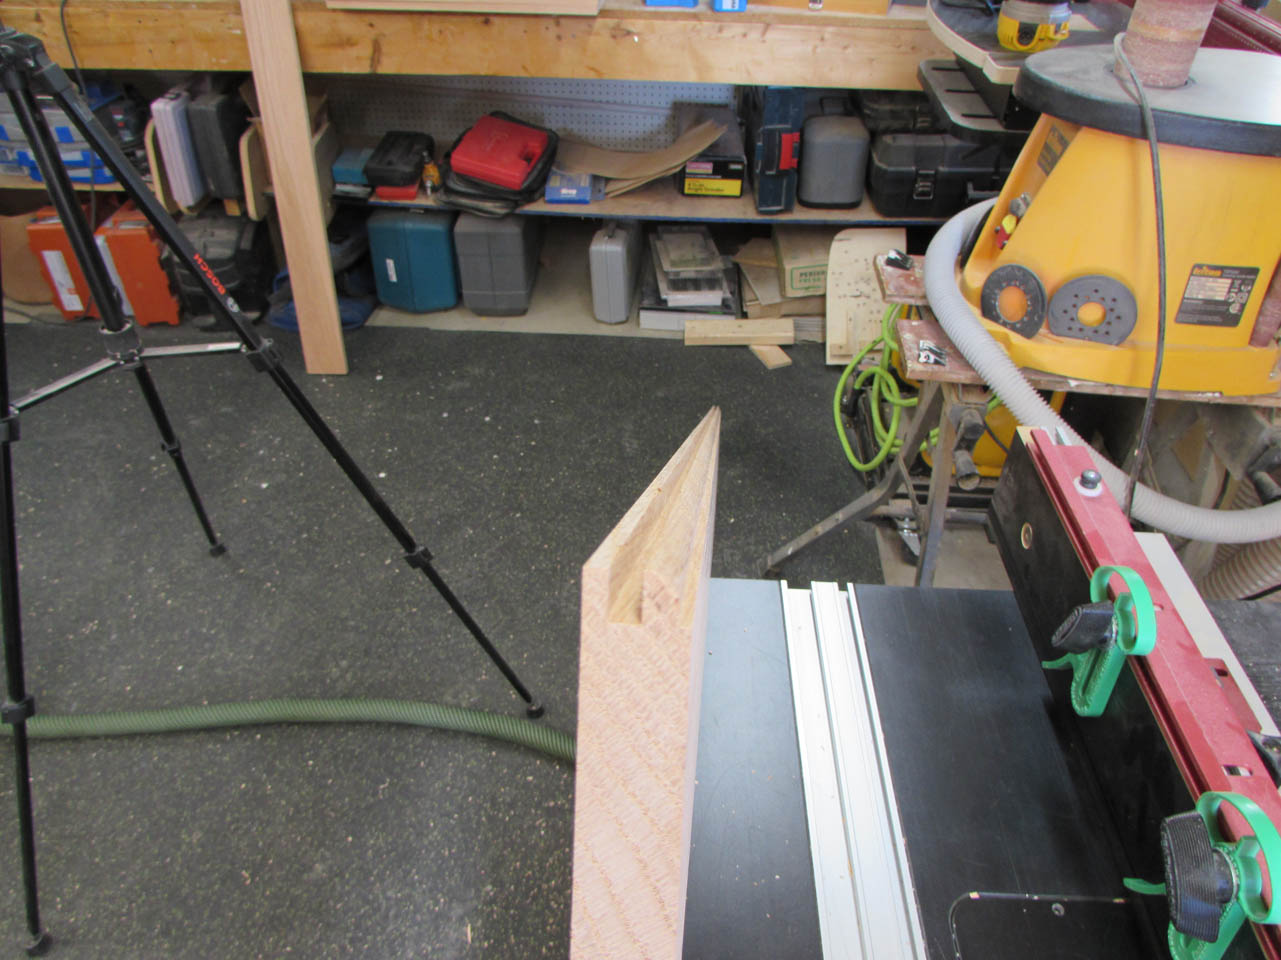
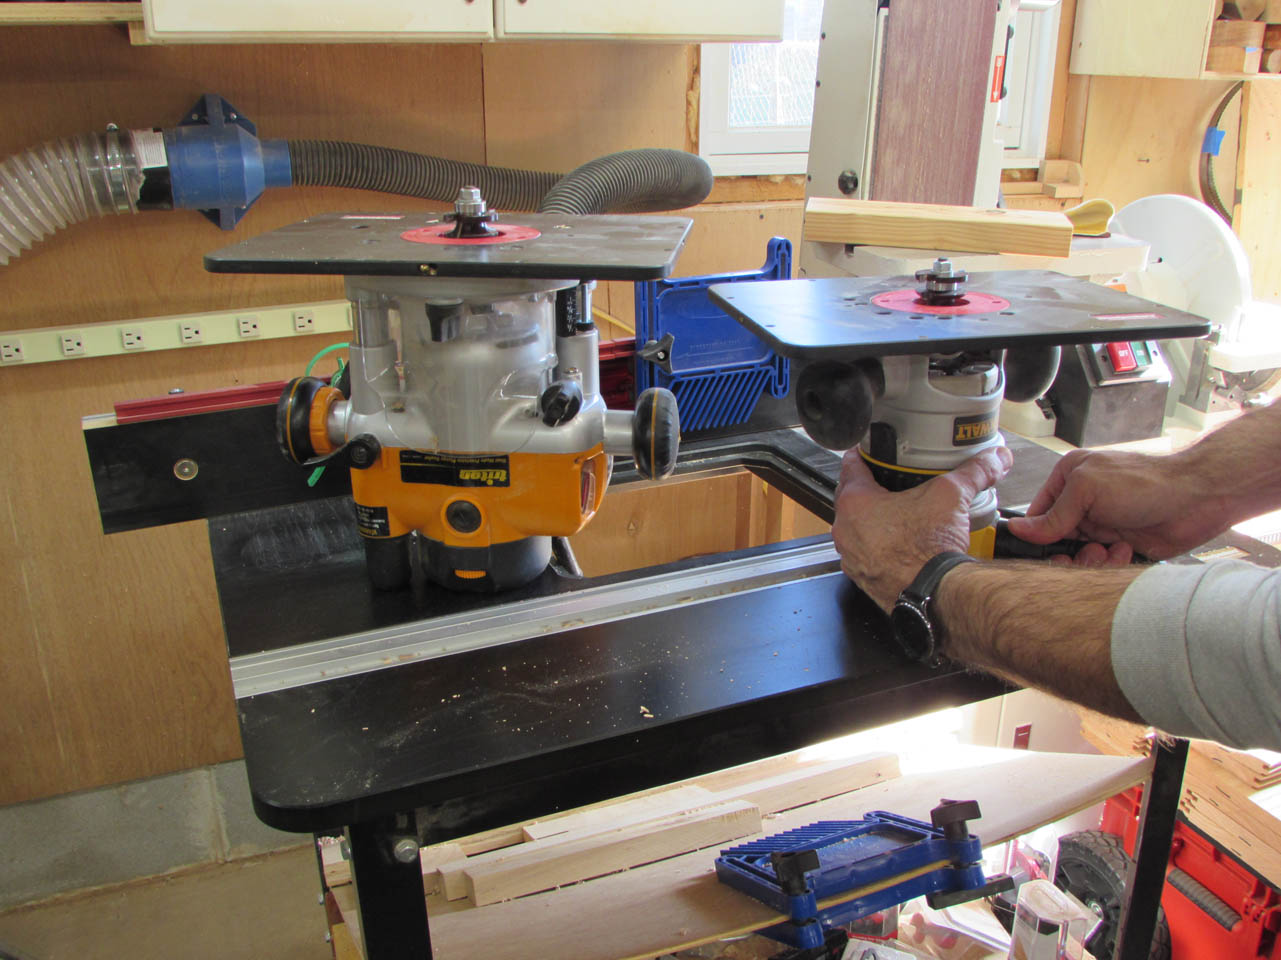
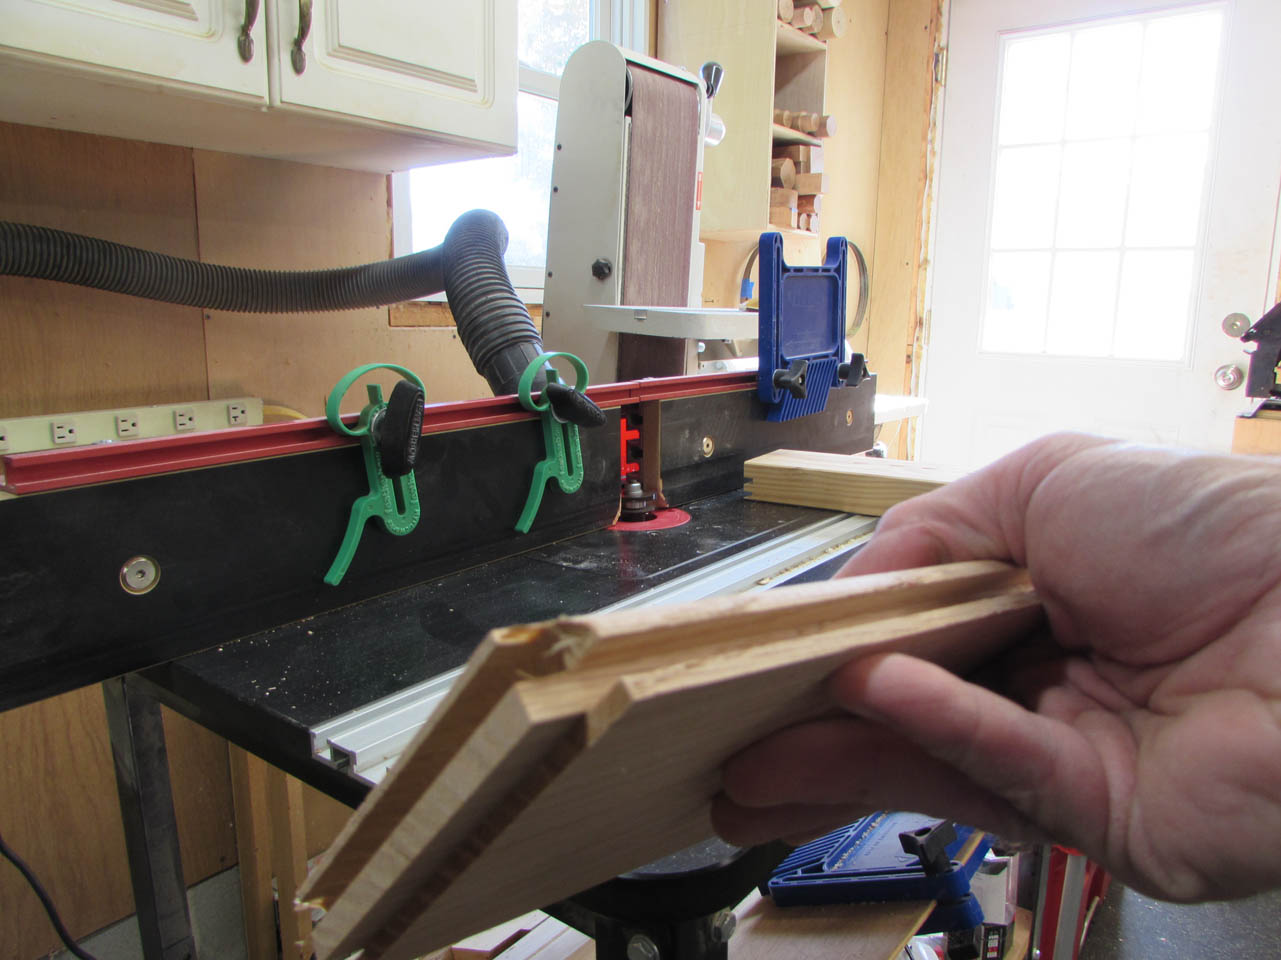
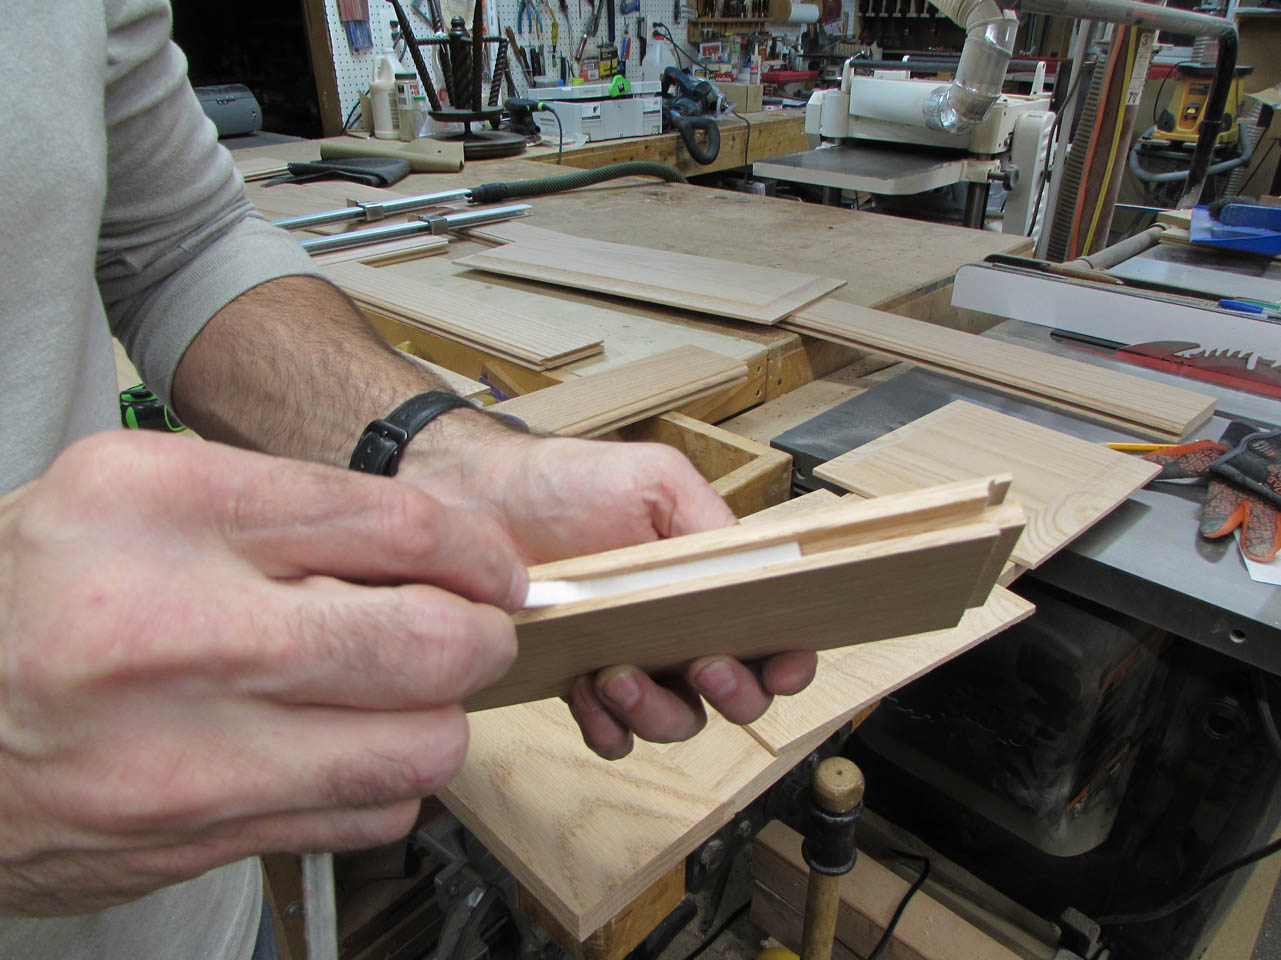
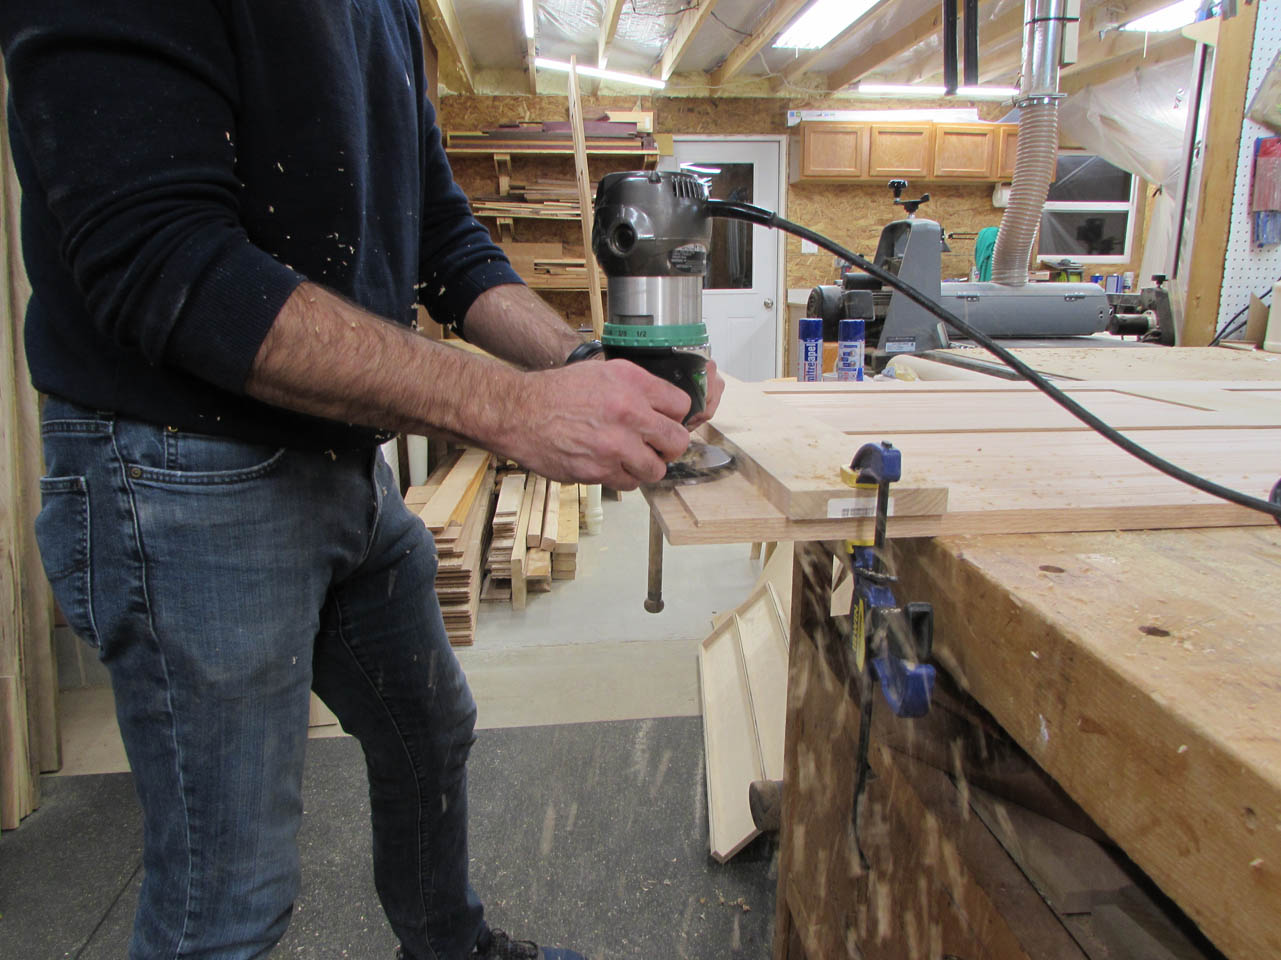
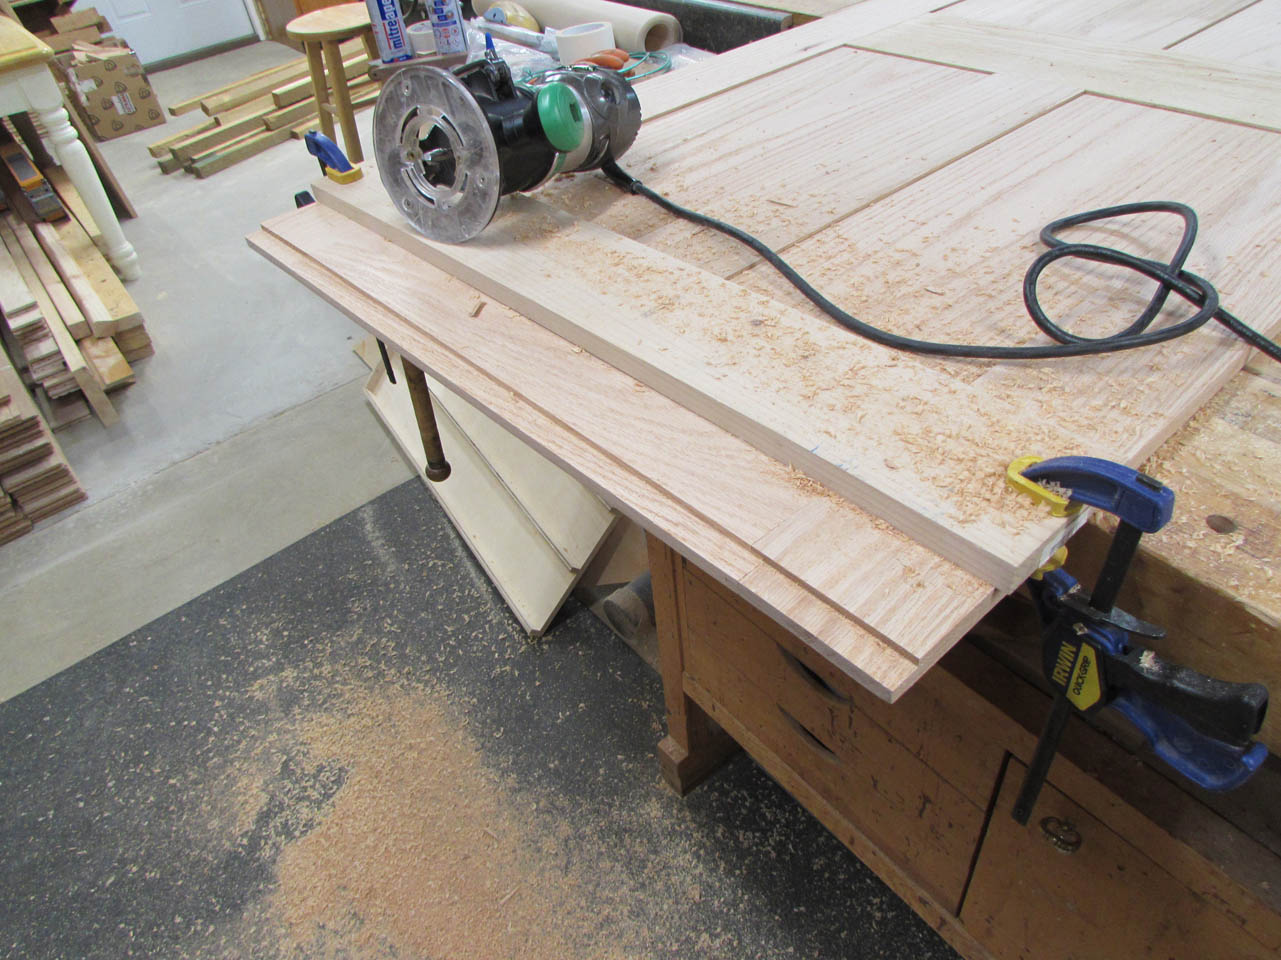
To cut the rails and stiles I use a matched set of router bits in two different routers. I very carefully marked the boards, with two different colors, so that I knew which edge got cut with which bit. The bits create a tongue and groove type of joint and it doesn’t go together very well if you use the wrong bit…
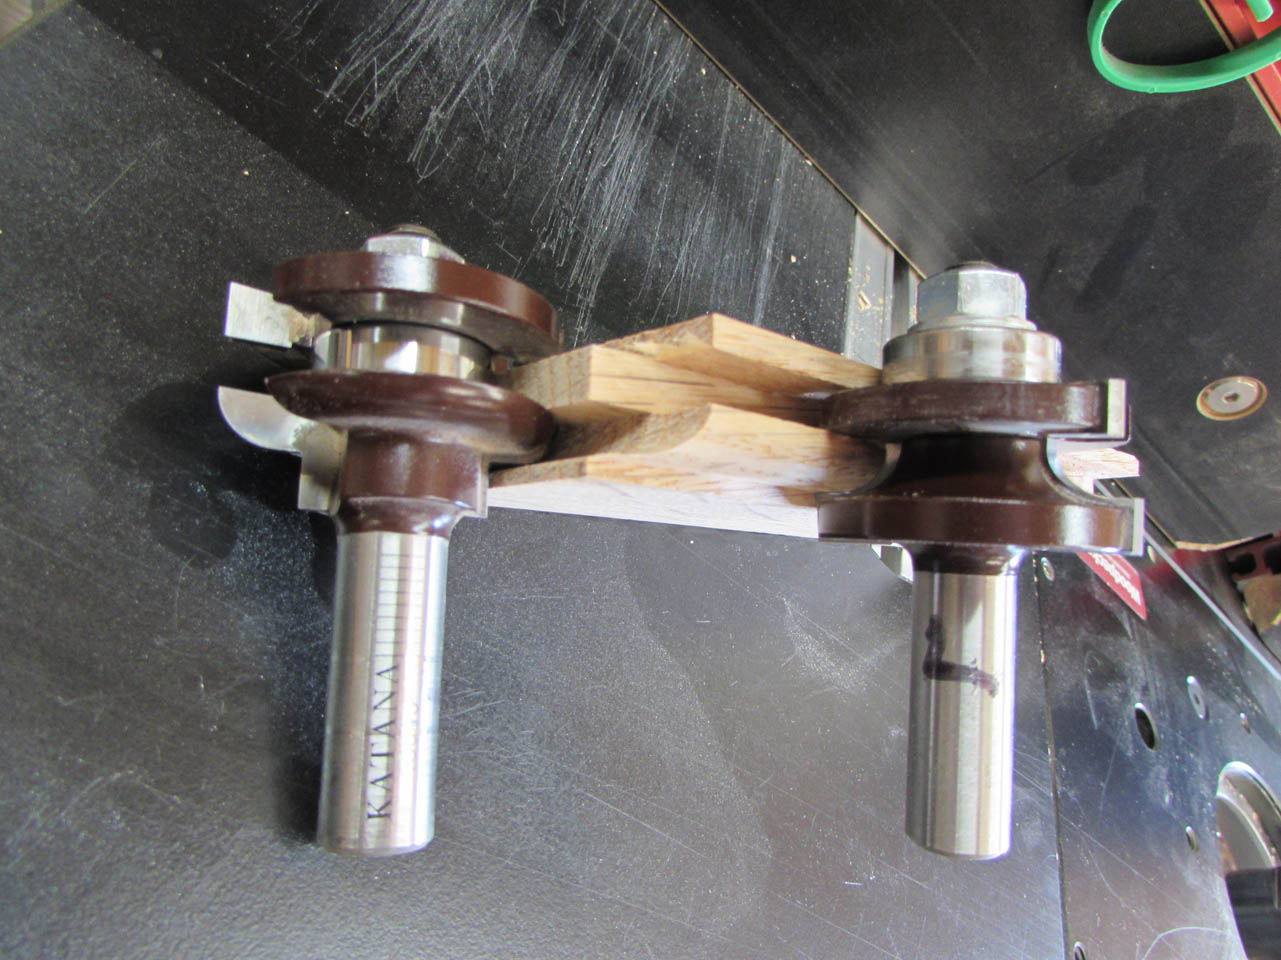
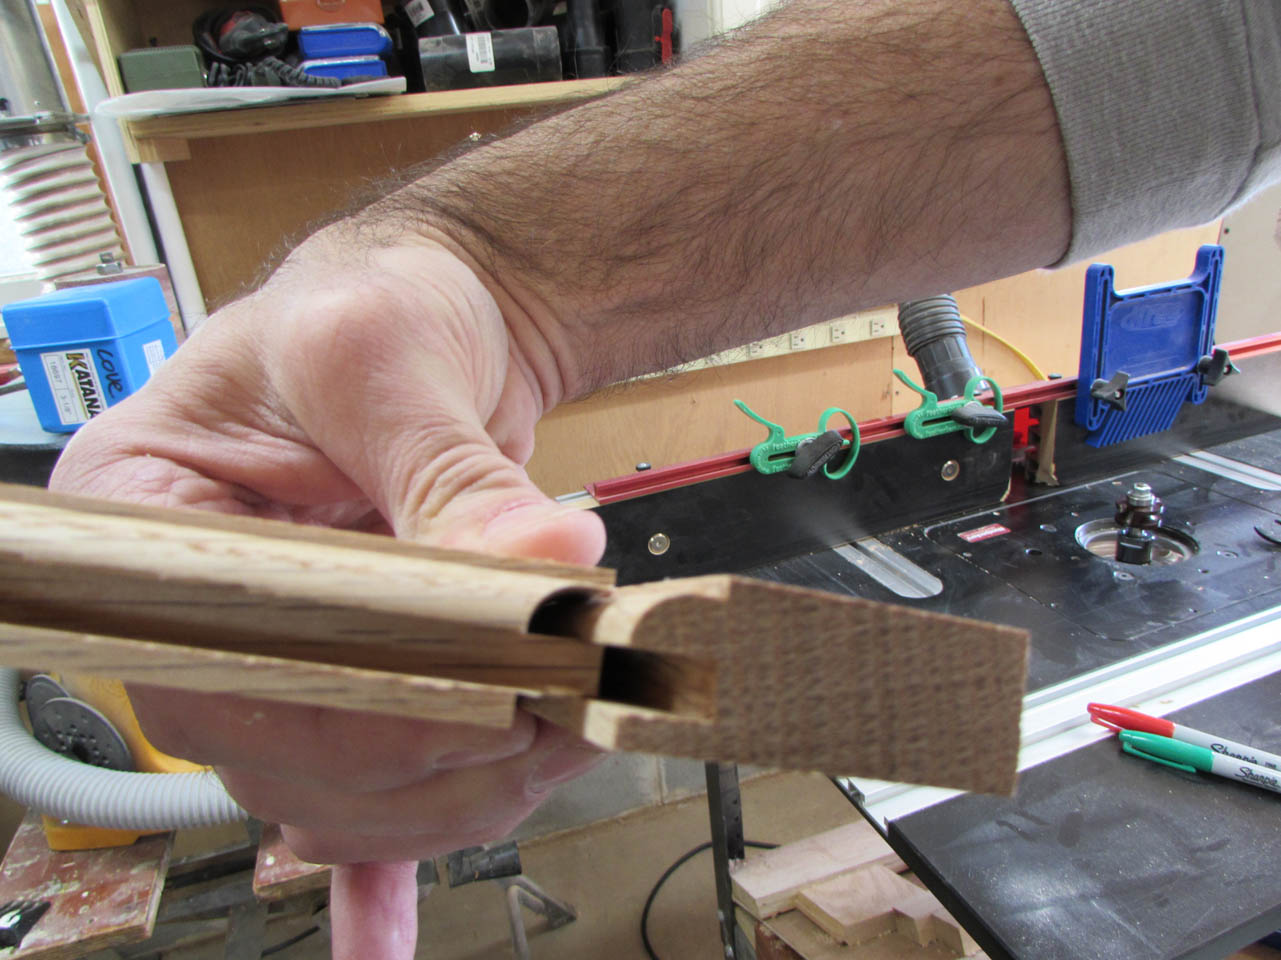
When properly set up, there is almost no clean-up required later.
The first time I used these bits I took a long time getting them adjusted correctly, then I saved a couple of off-cuts to use as setup blocks every time I use them.

This takes a lot of frustration out of the process and I waste a lot less wood.
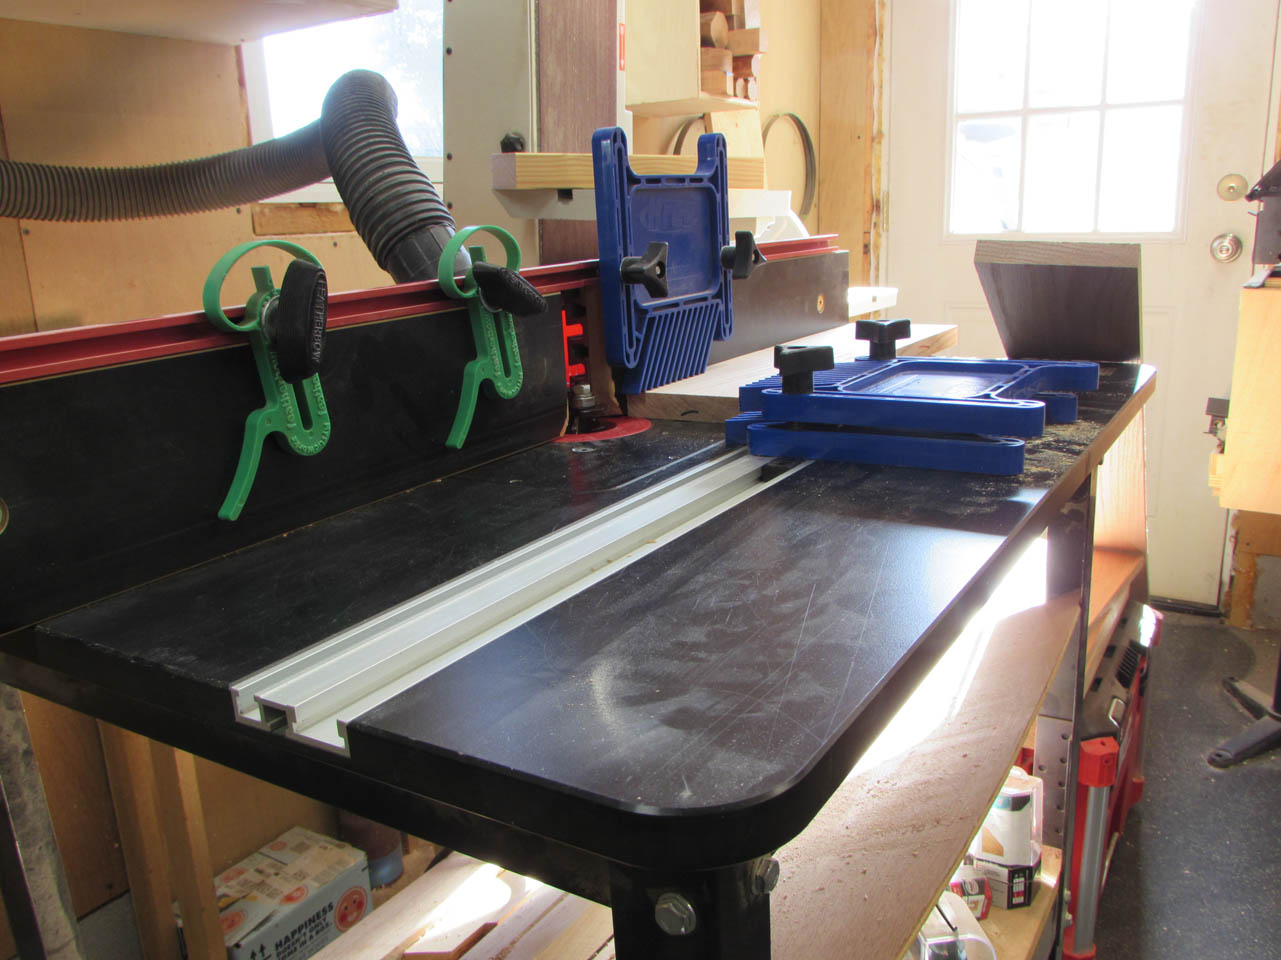
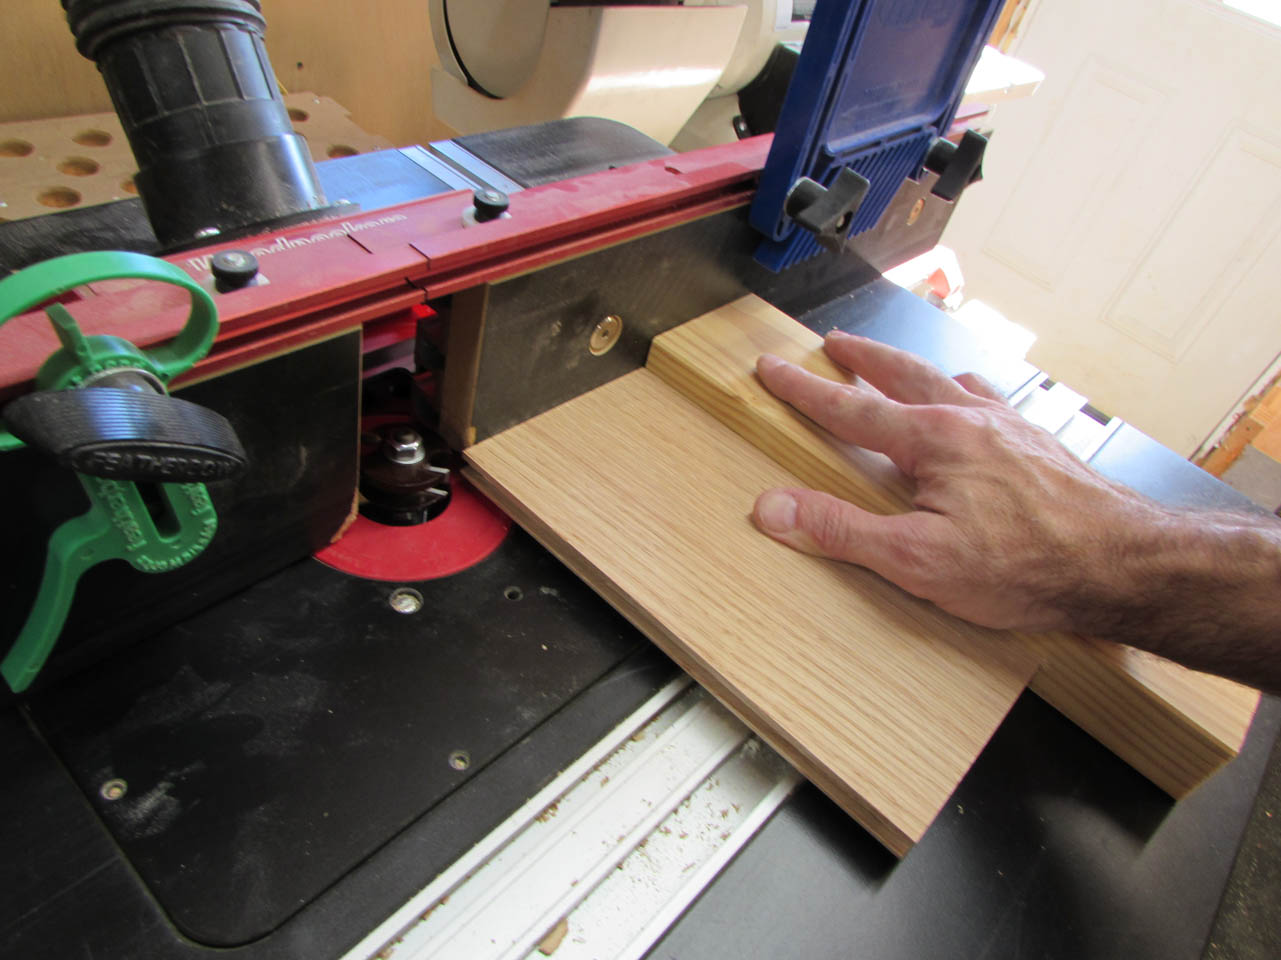
To keep everything firmly held in place, I set up a couple of feather boards.
The first couple of cuts look good so I cut the rest of the boards that need this profile.
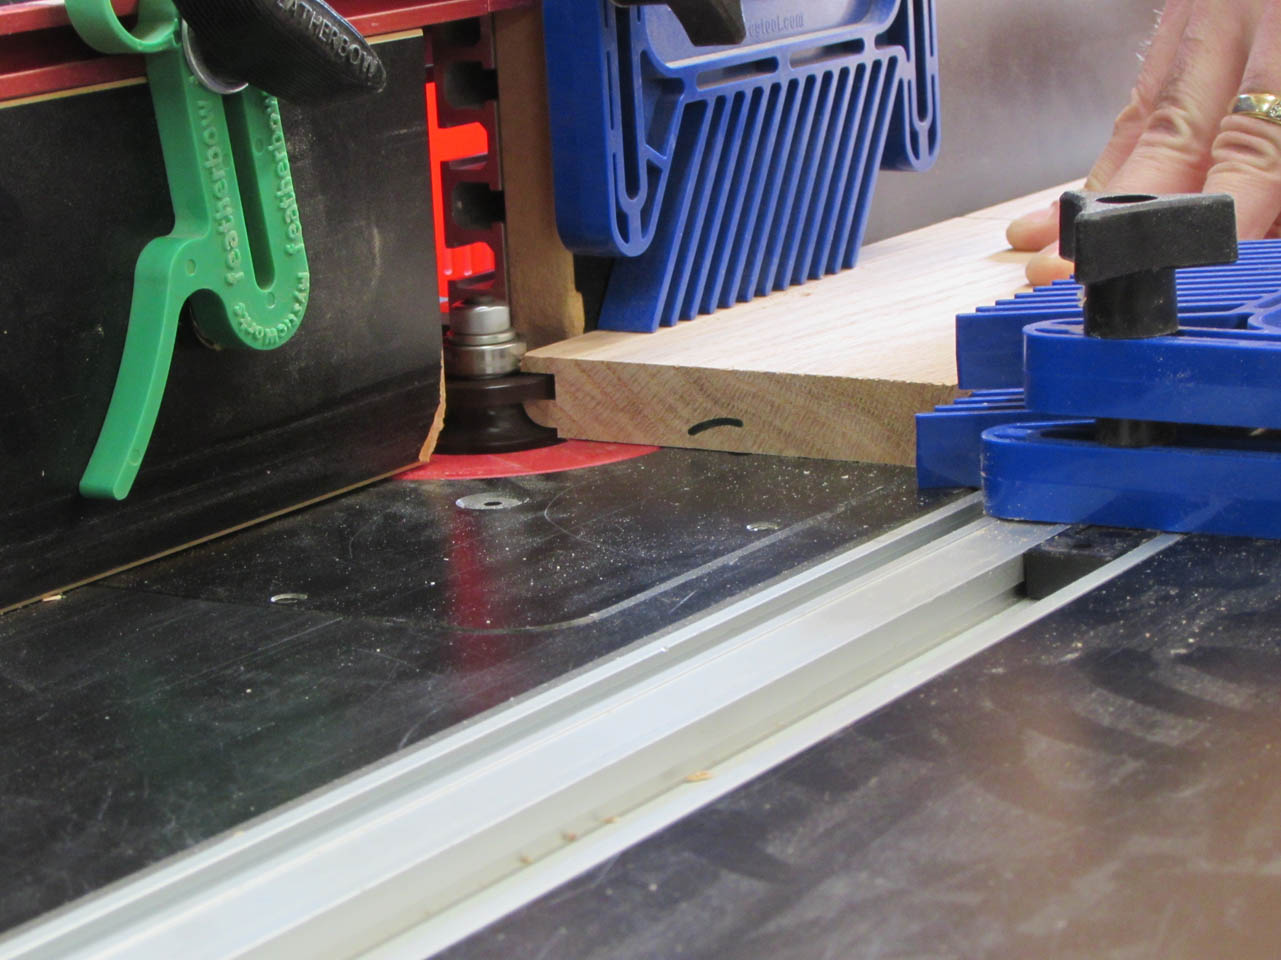
When that bit is done, I swap out the routers and start cutting the opposite profile.
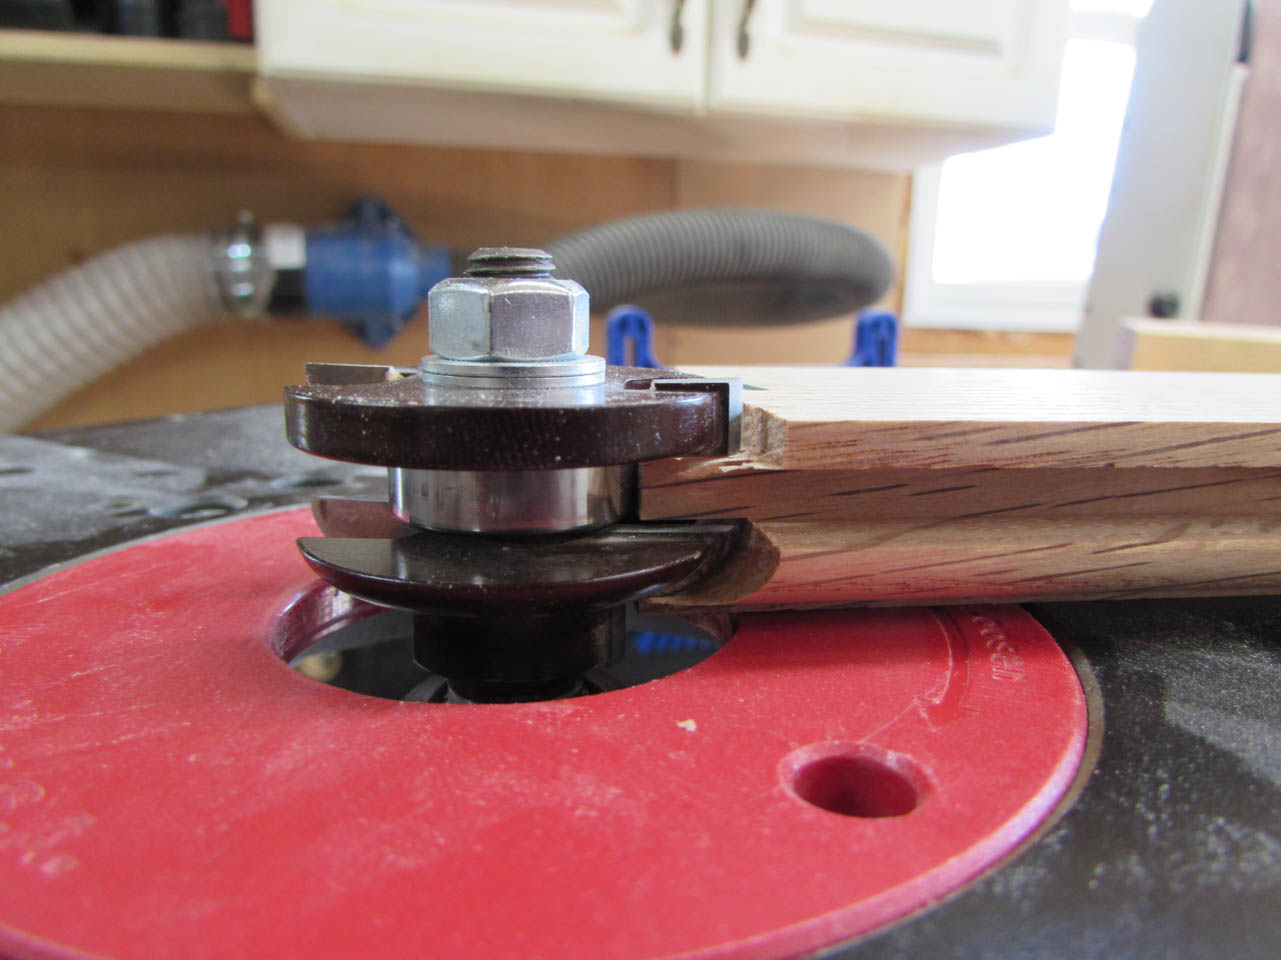
These are all end-grain cuts so to help keep the board square and prevent tear-out as the bit reaches the end of the board, I back it up with a chunk of a 2″x4″ .
By holding them together, I have a much wider surface to hold against the fence which makes my cut more stable.

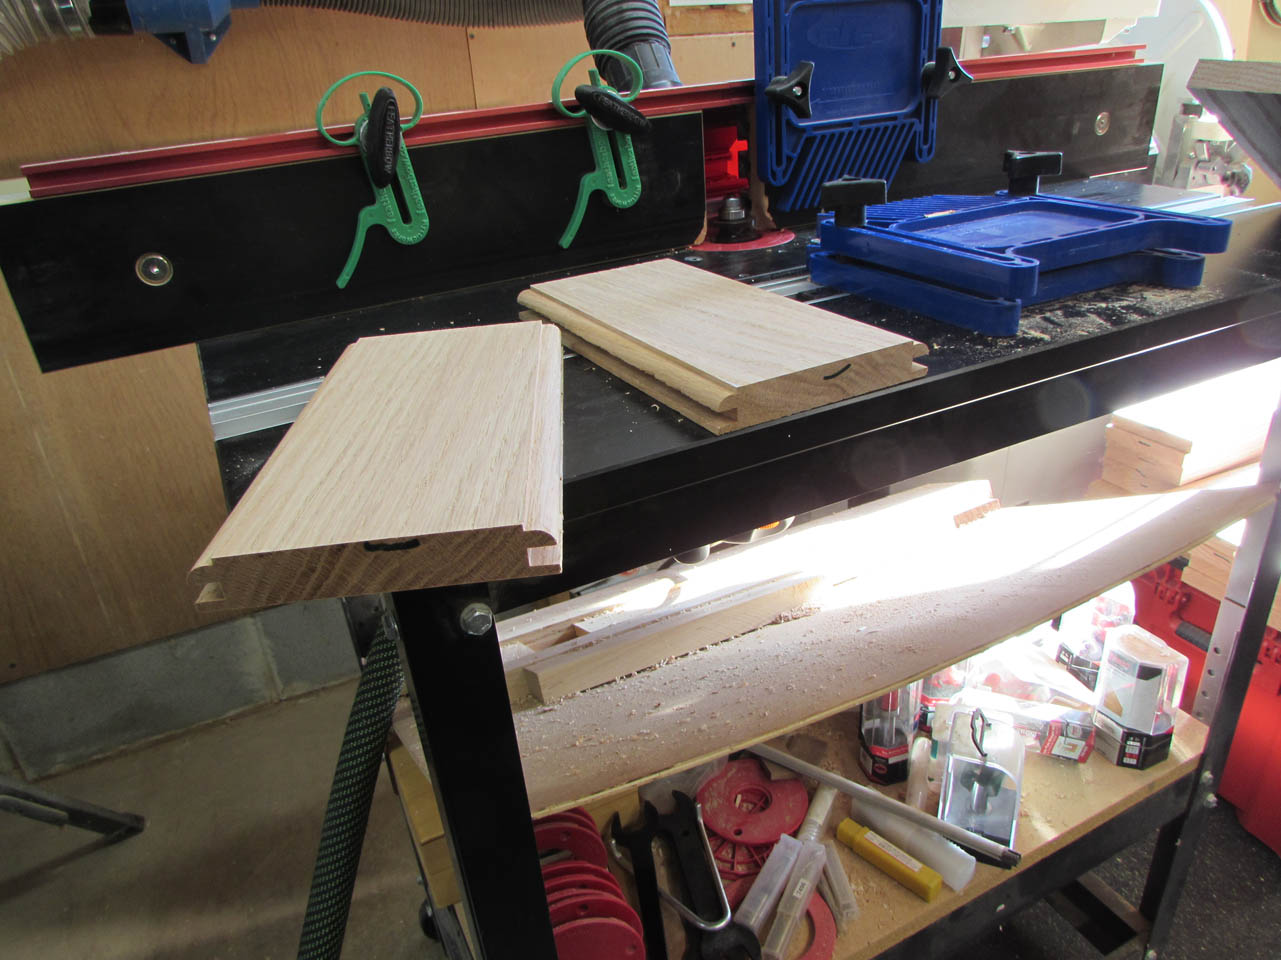
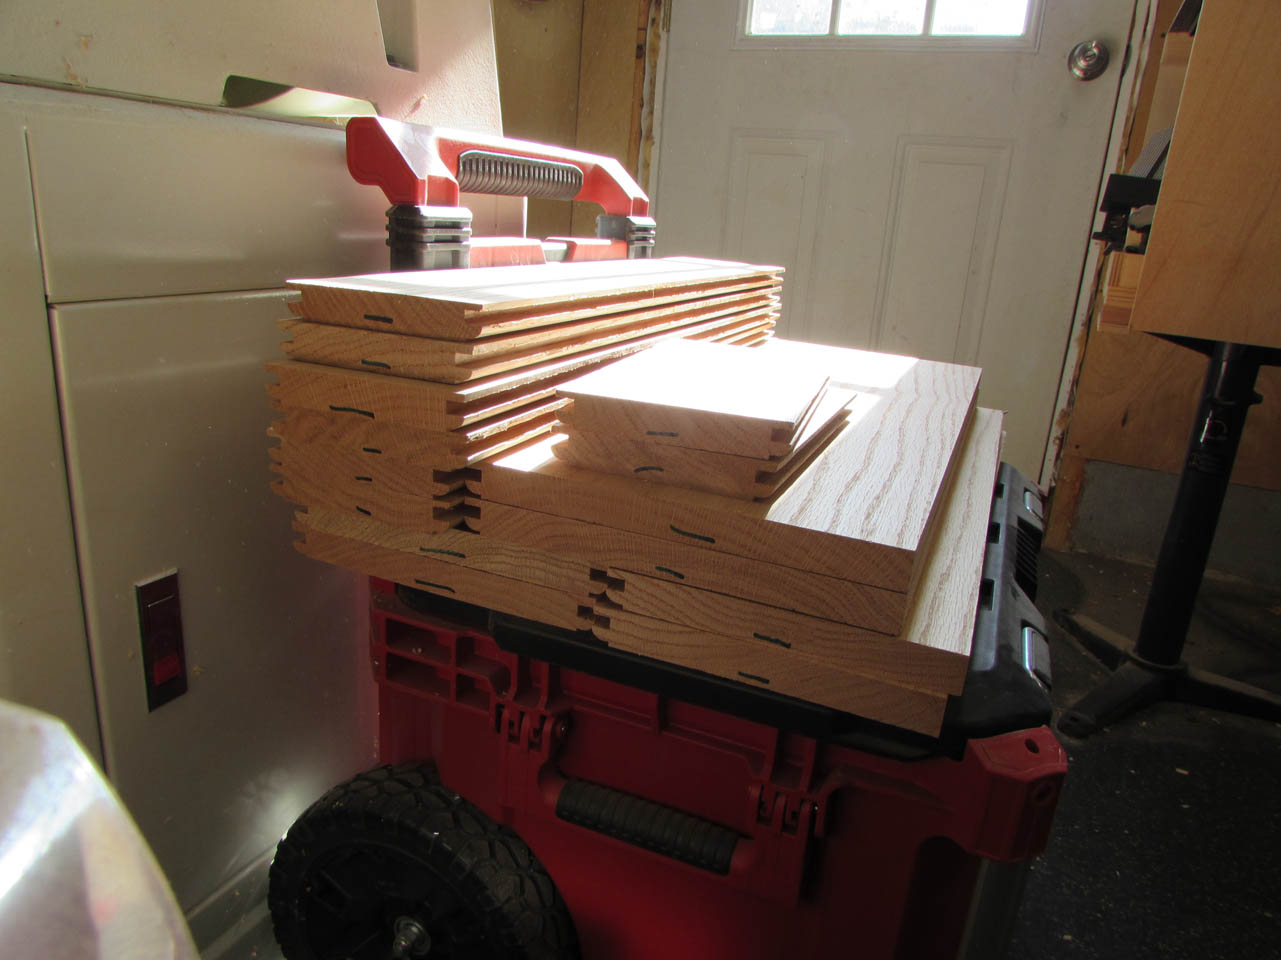
After a little while, all of my rails and stiles are cut.

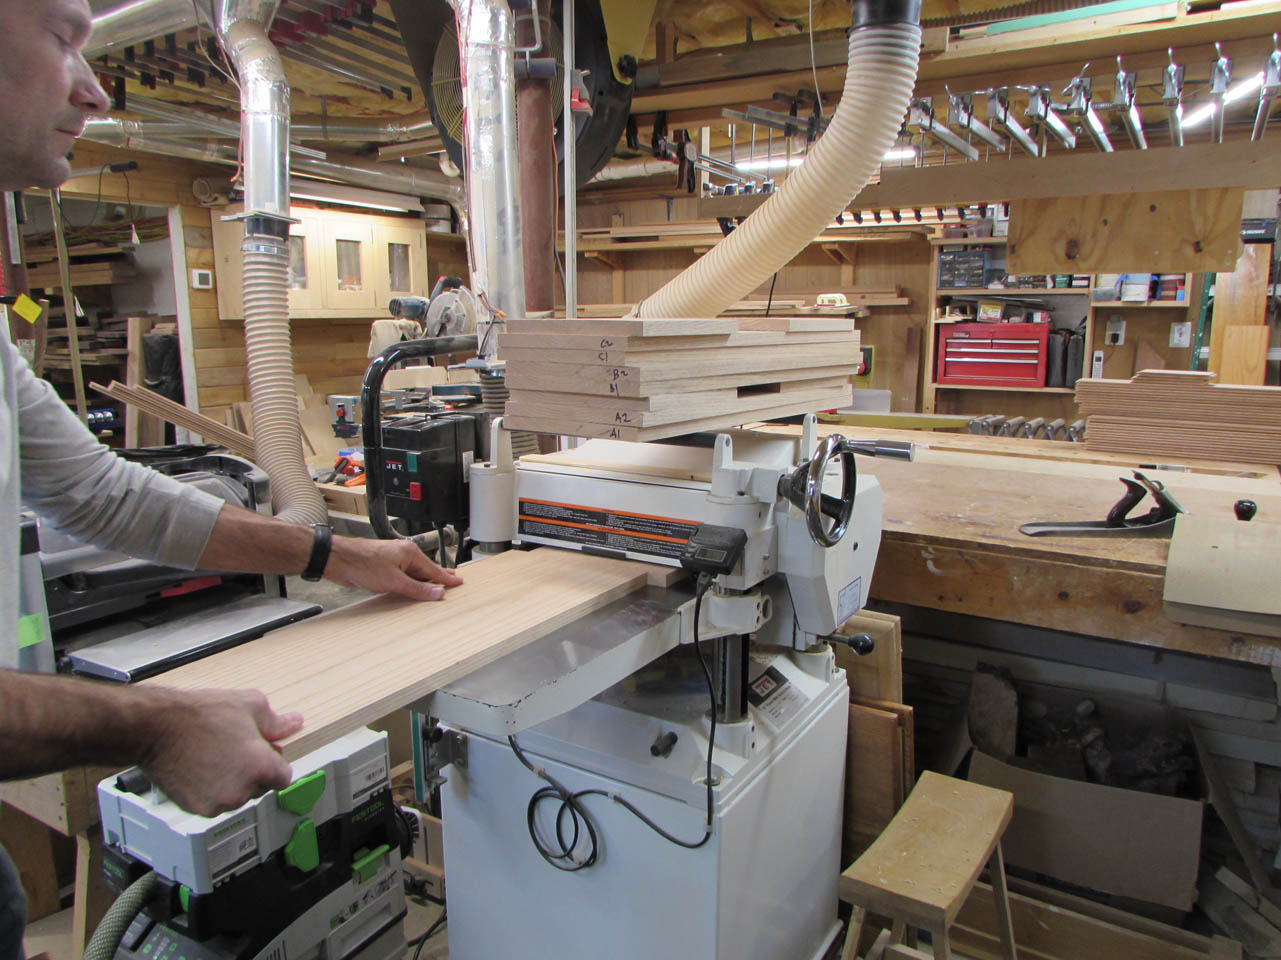
Now all I have left are the floating panels. Since I am putting cherry along the back of this door panel, I don’t want to under-cut the panel, I would prefer it be flat along the back so I ran my panels through the planer again to make them about 1/8″ thinner.

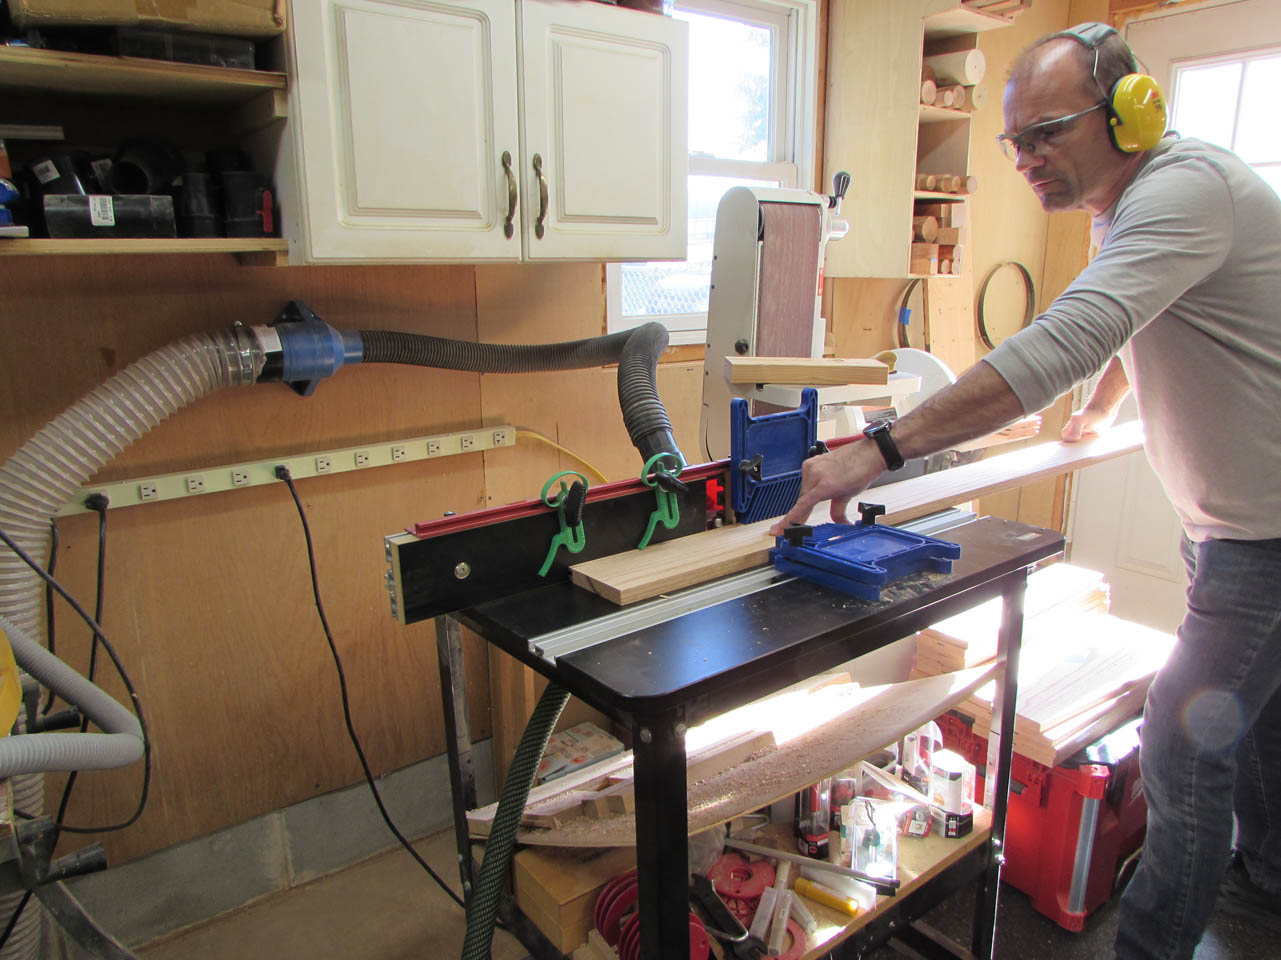
The big bit for the raised panels is a little scary when it gets spinning. It is about 3-1/2″ wide and sounds like a propeller when it gets spinning. I set up the fence to the full depth, then clamped down a board behind it to mark the location.

I then moved the fence forward so that I could take a shallower cut first. The blade is way to big to make the full cut all at once.

I ran all the boards through at this setting, then moved the fence back 1/4″ and repeated the process. After three passes, I stepped the fence back to the full cut.
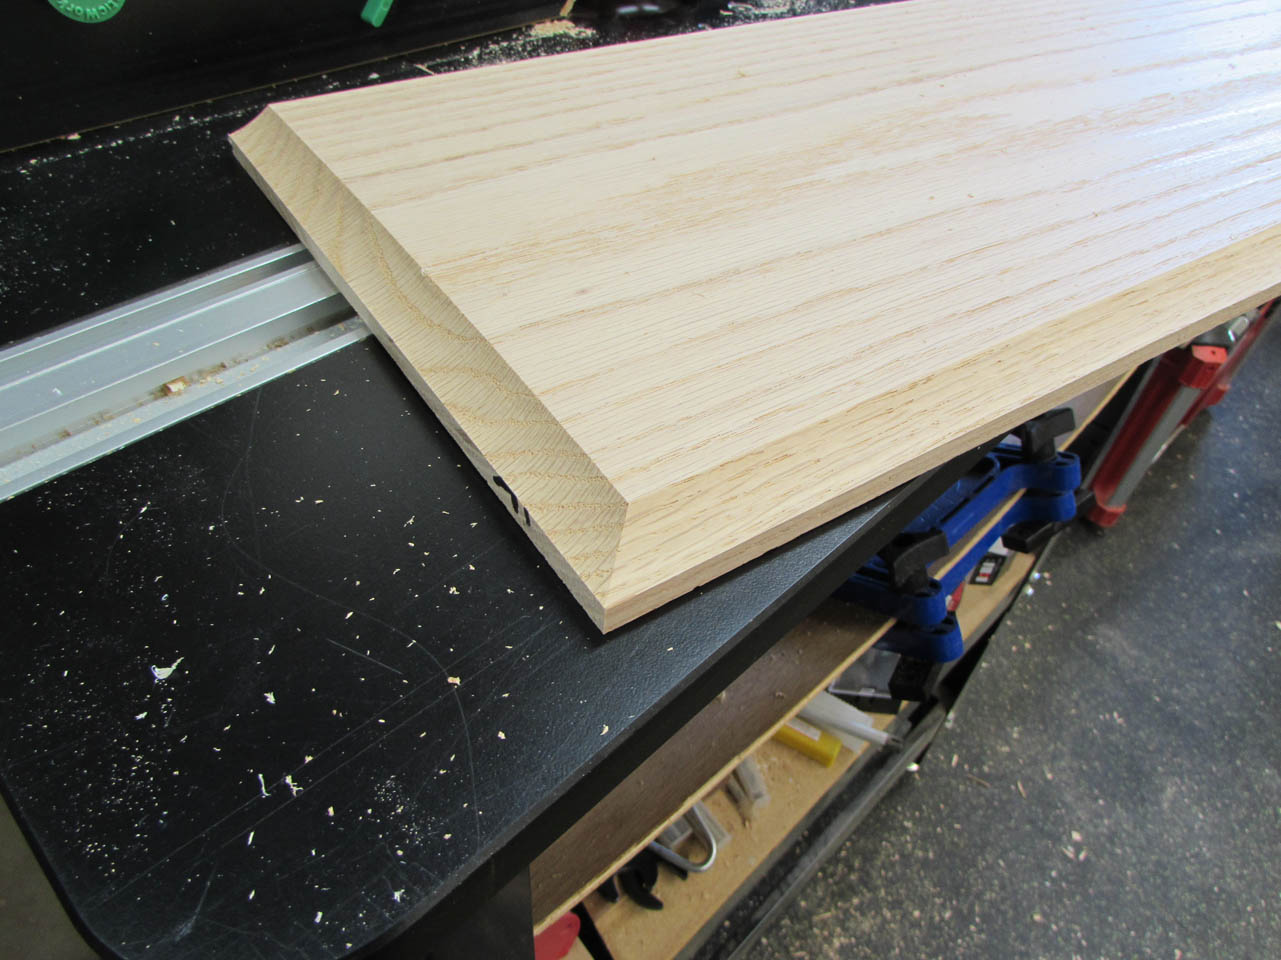

The boards all cut very well and the grain match looks really cool. It will probably not be too noticeable once the rail is in place, but I will know it flows…
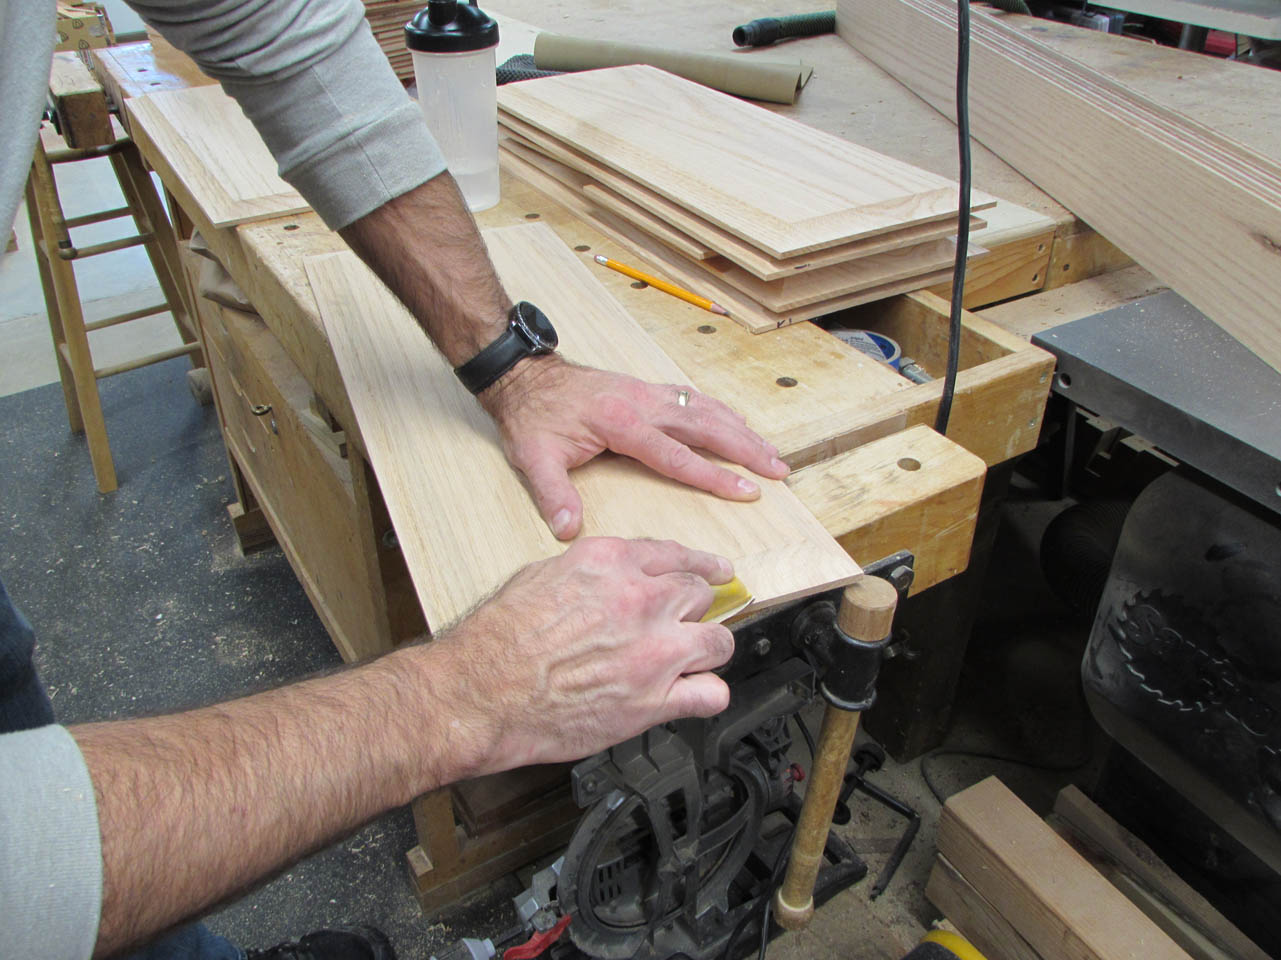
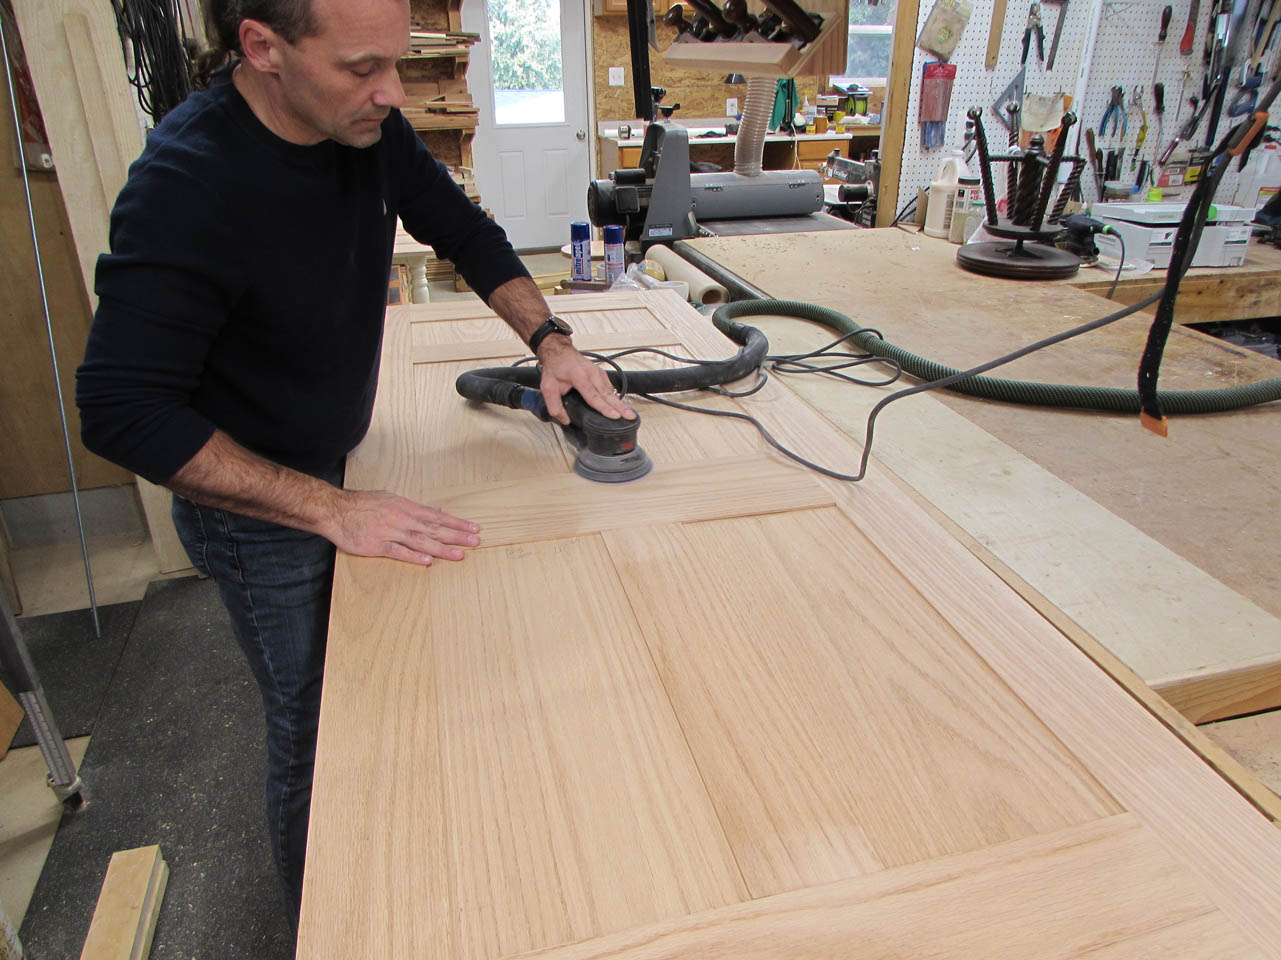
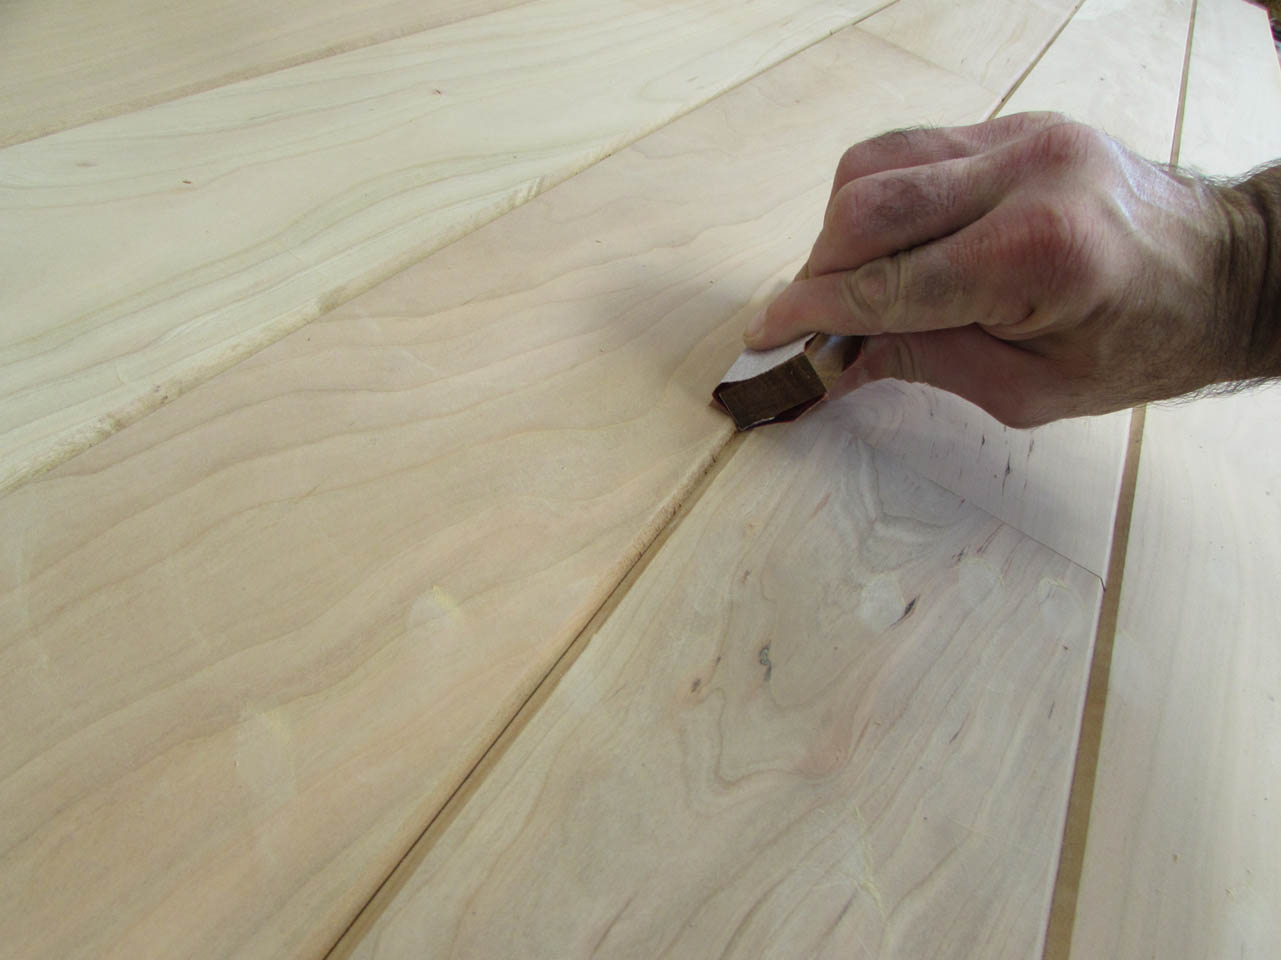
Now for the boring job of sanding everything…
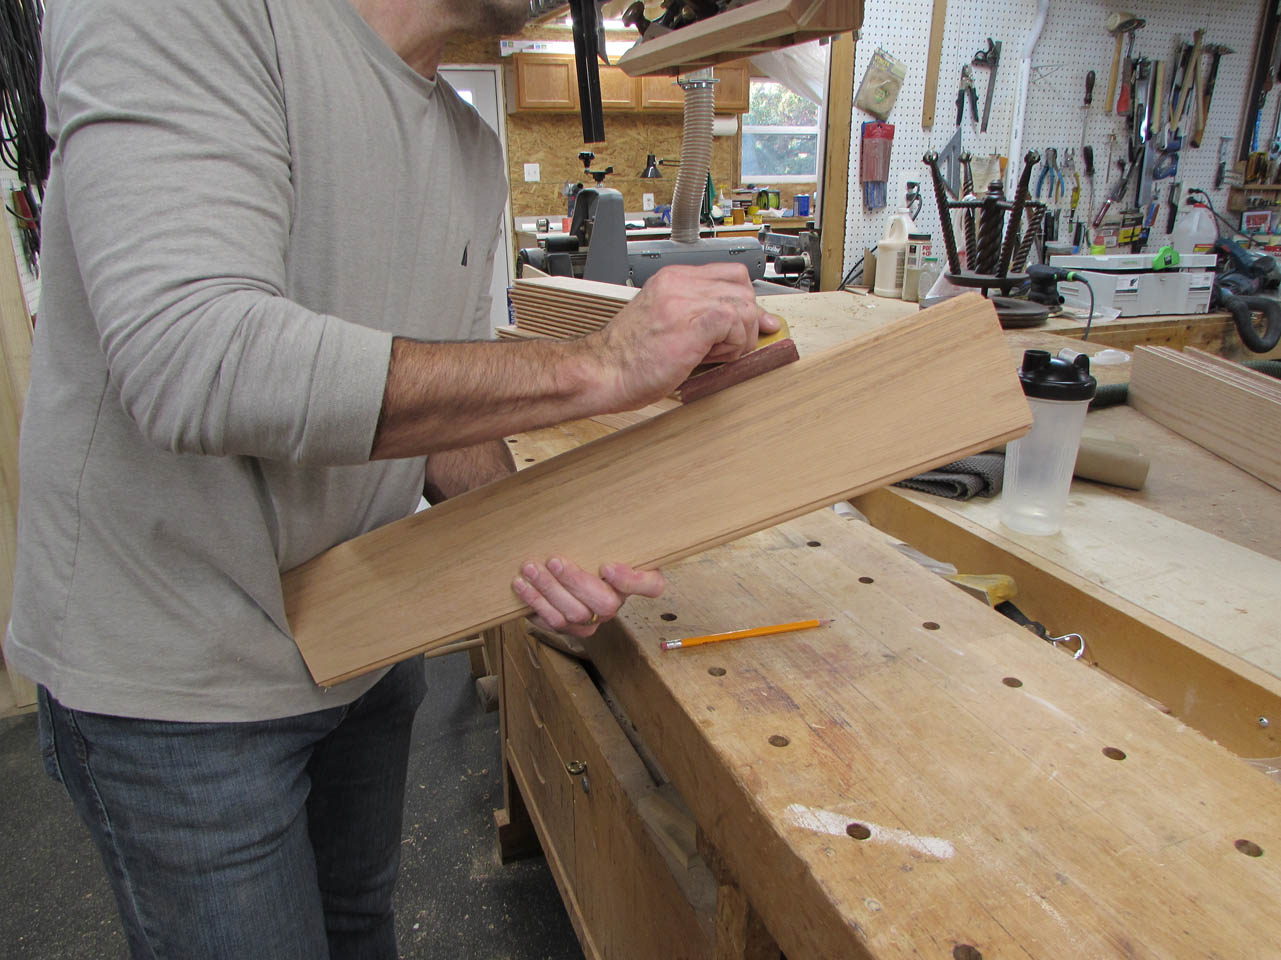
The planed and routed edges are incredibly sharp and after the second time that I slipped and cut my finger, I decided to wear gloves.

This prevented any future blood-letting.
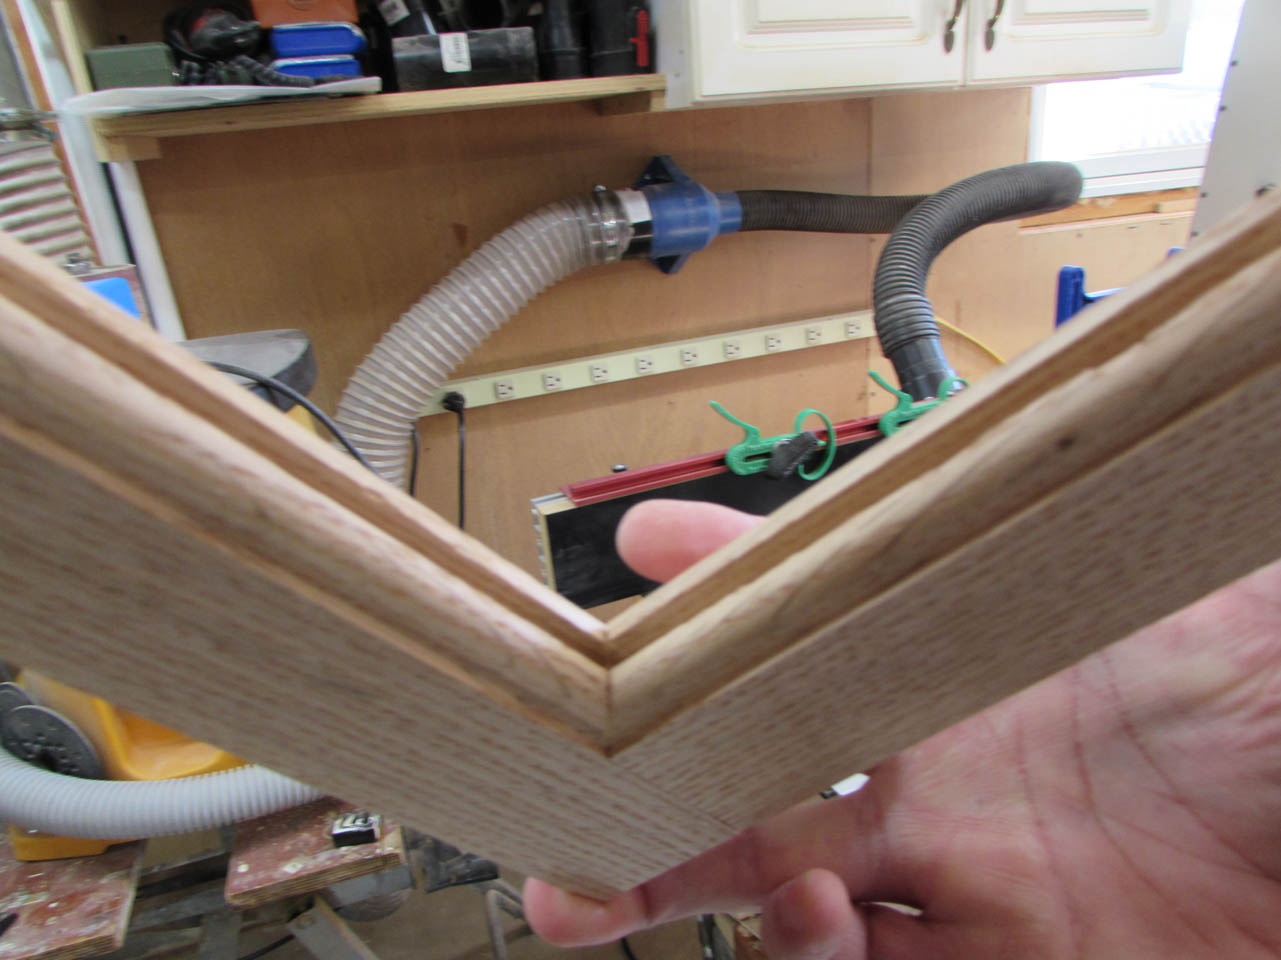
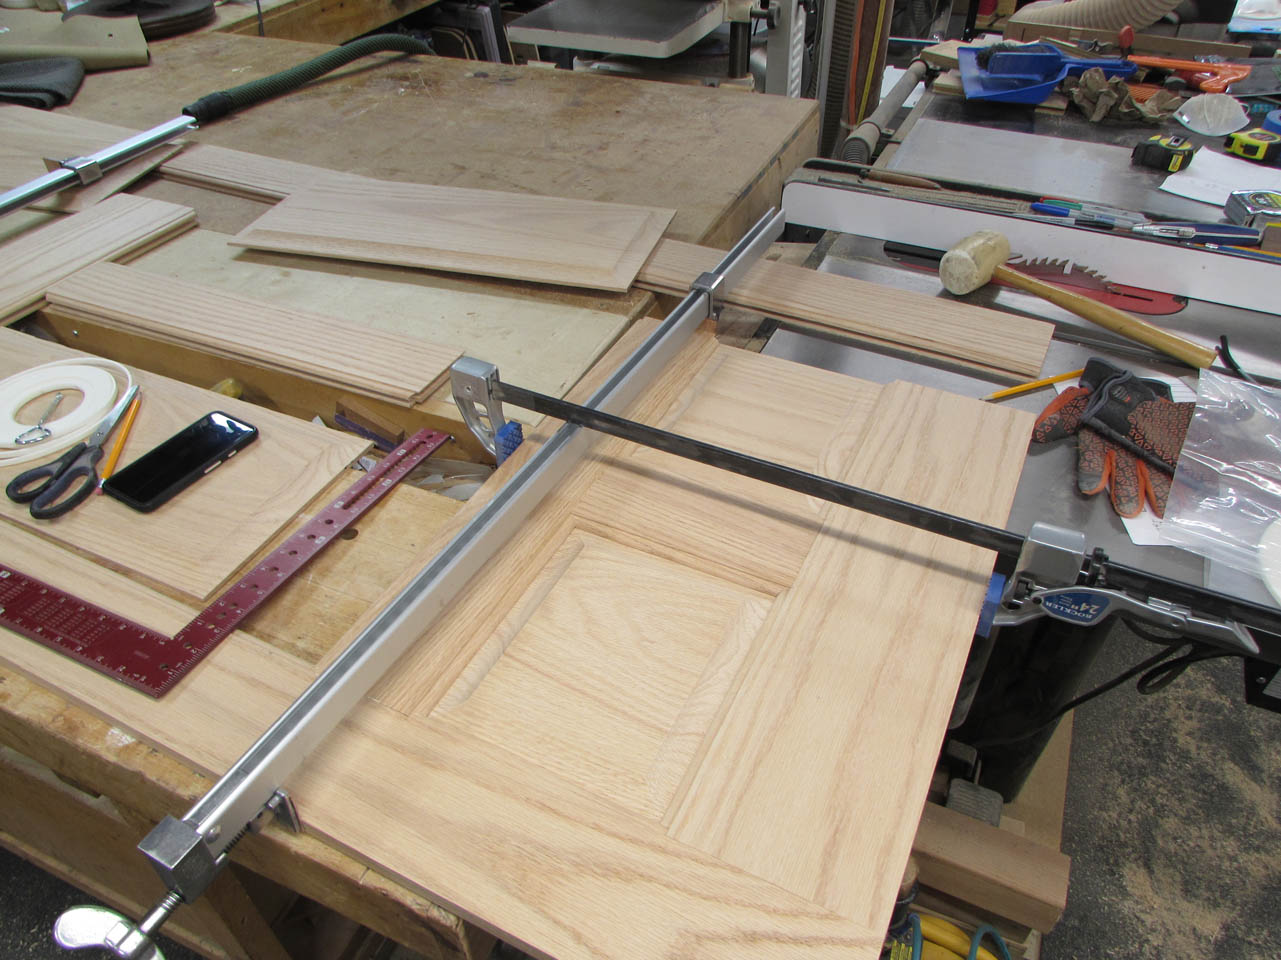
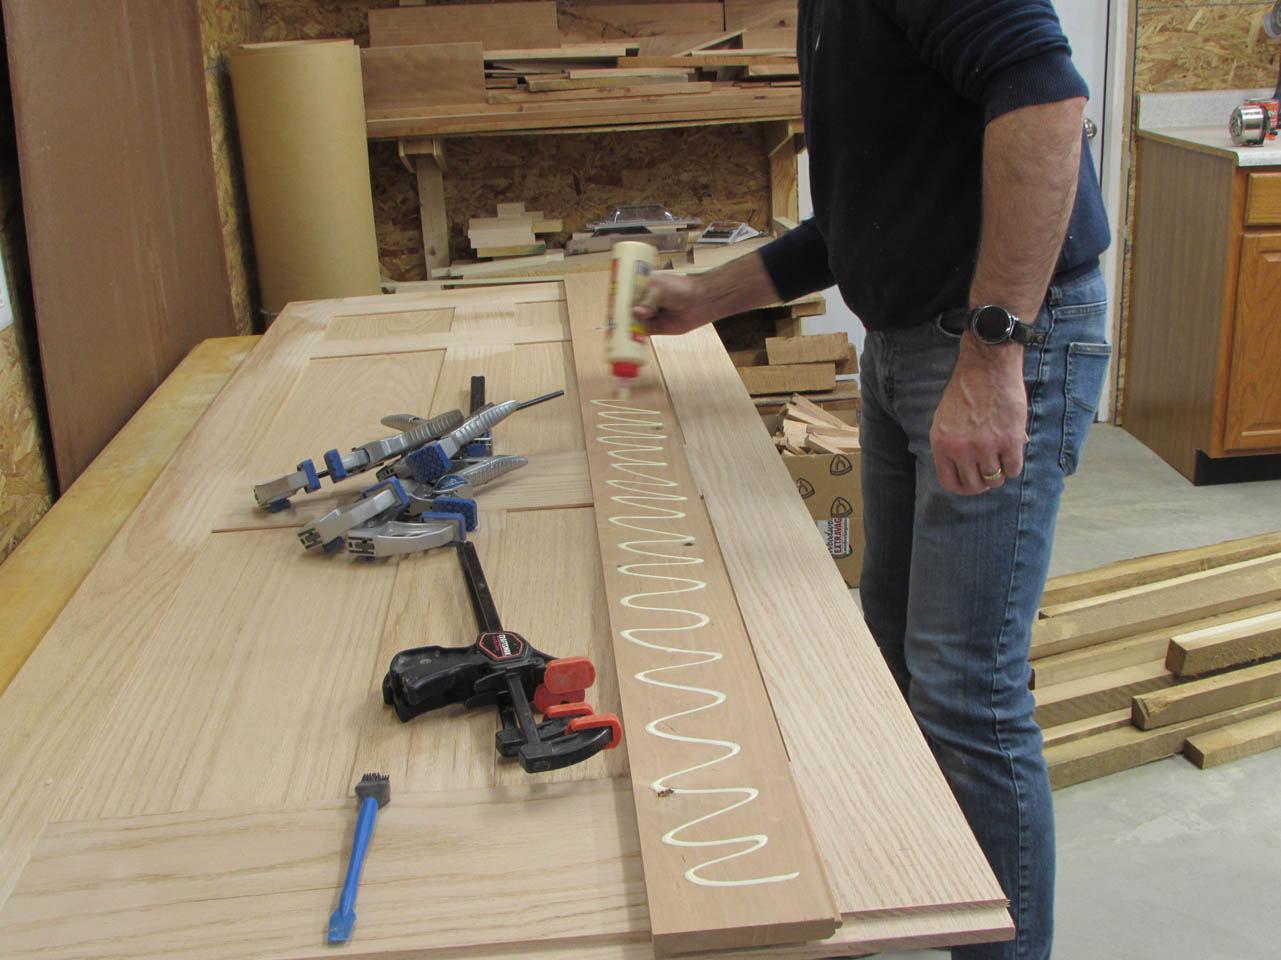
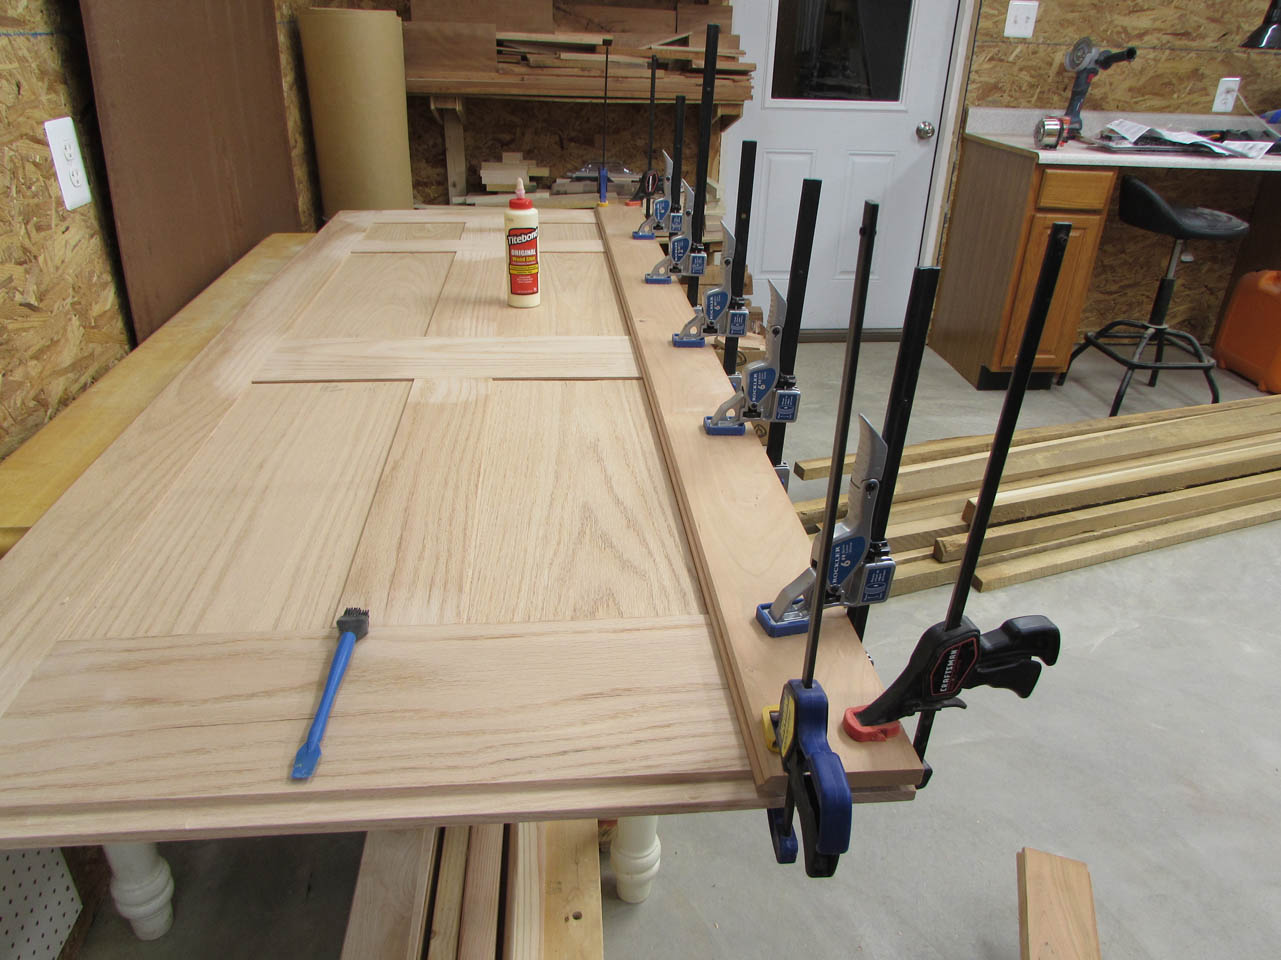
With all of my pieces cut and milled, it was time for a dry-fit. Everything looked good so now I had to figure out how to glue it up.
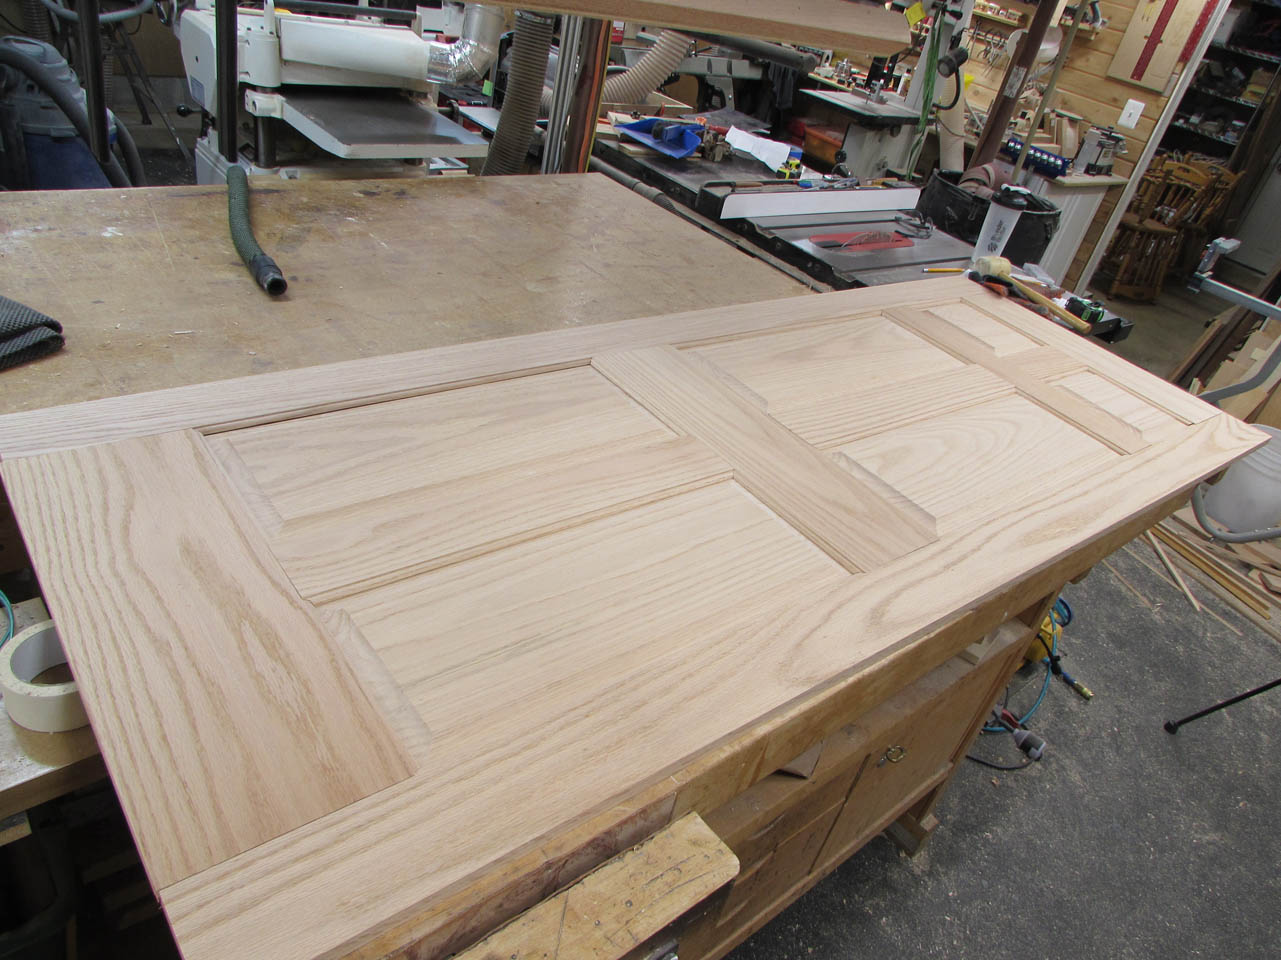

Best approach I could come up with was to start with a square corner so I grabbed my framing square and started at the top.

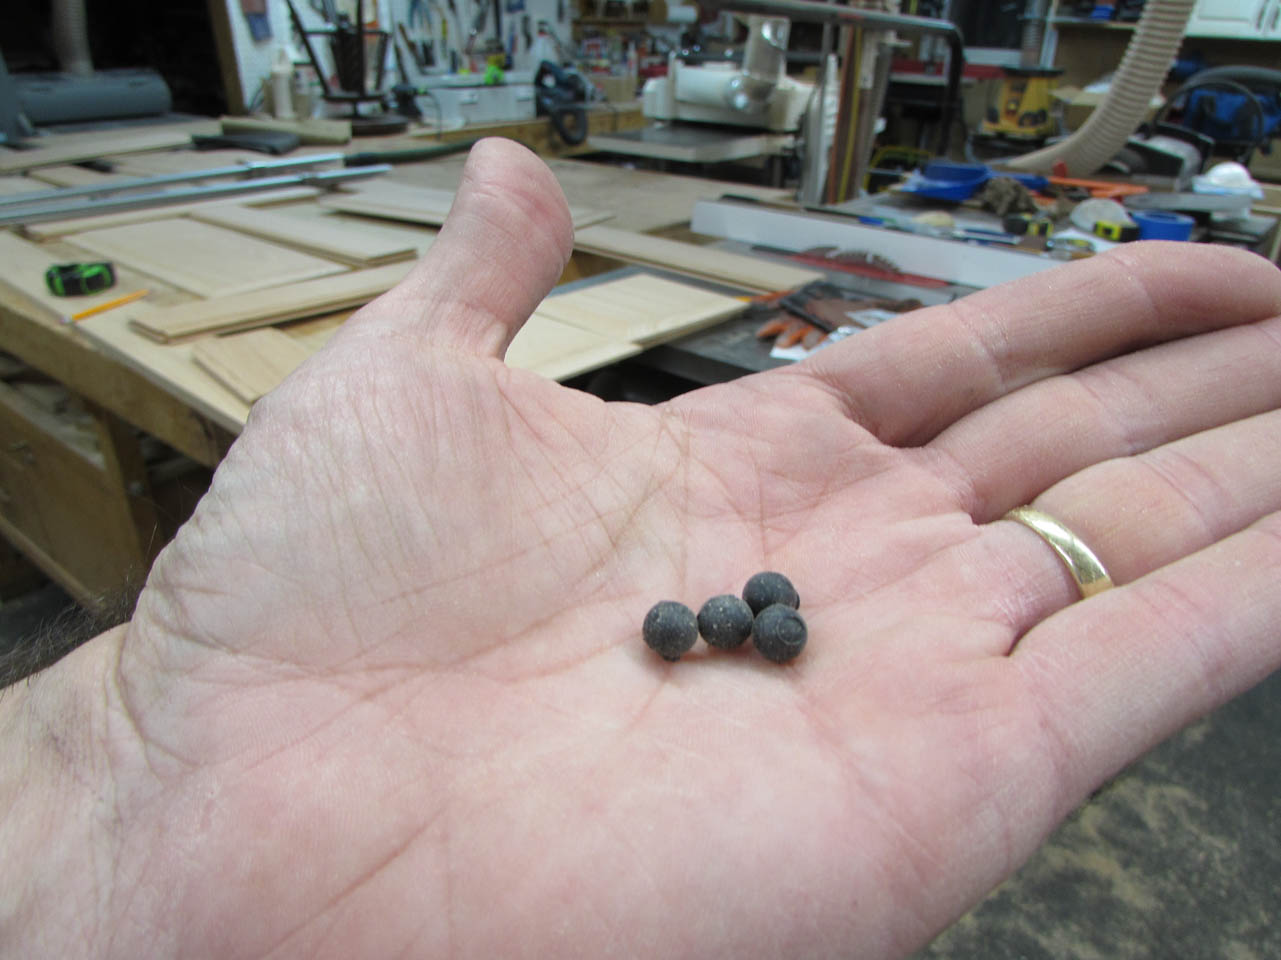
While that dries, I start prepping for the floating panels. Since the panels are larger, you have to allow for expansion and contraction. One method is to install little rubber balls in the grooves that are intended to prevent the door from rattling but compress when the panel expands.
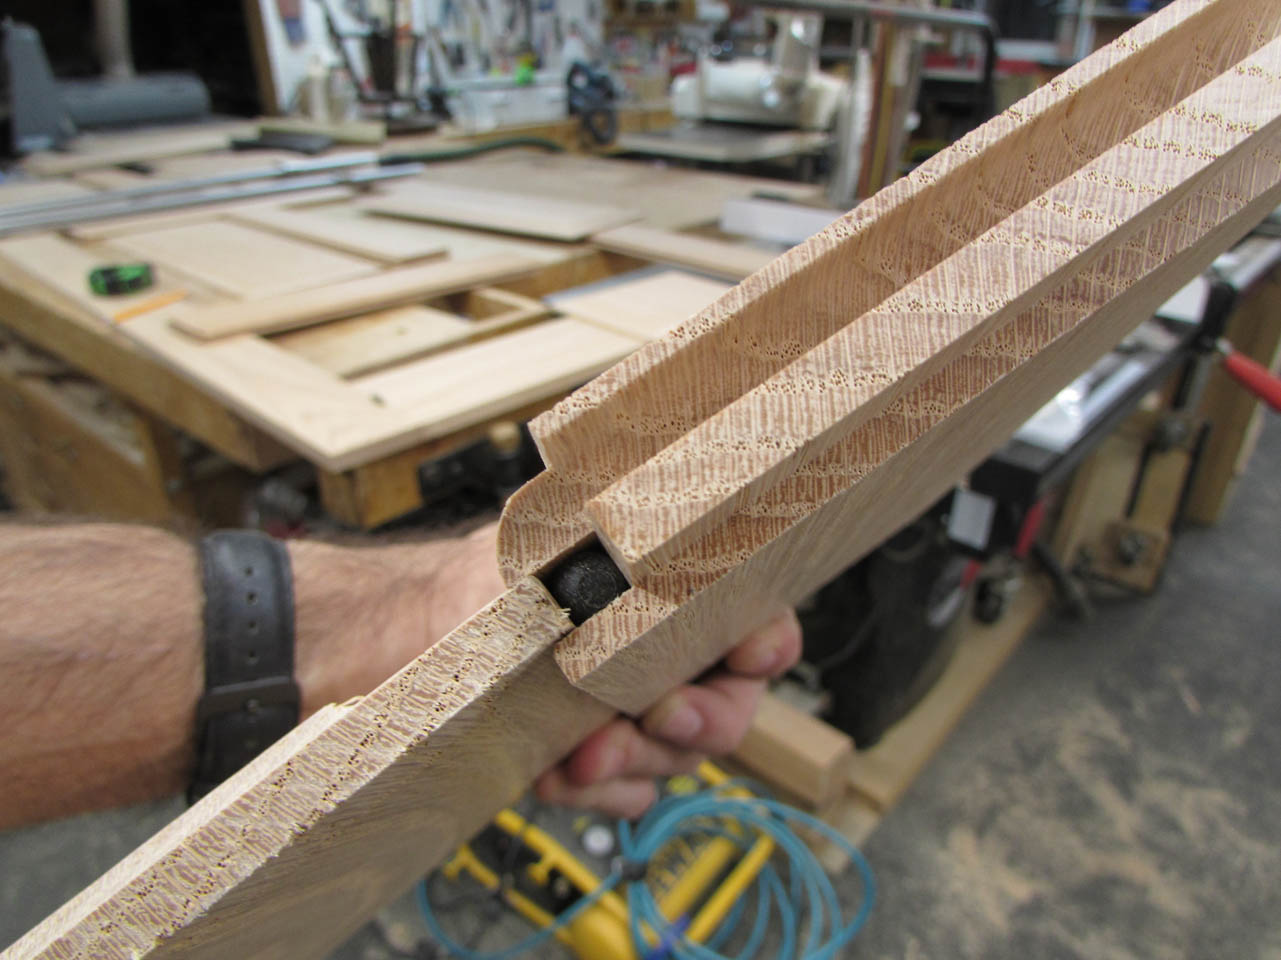
I actually don’t like using the little rubber balls (called space balls). I prefer this foam that I found at MLCS (called space foam). It is like weather stripping.
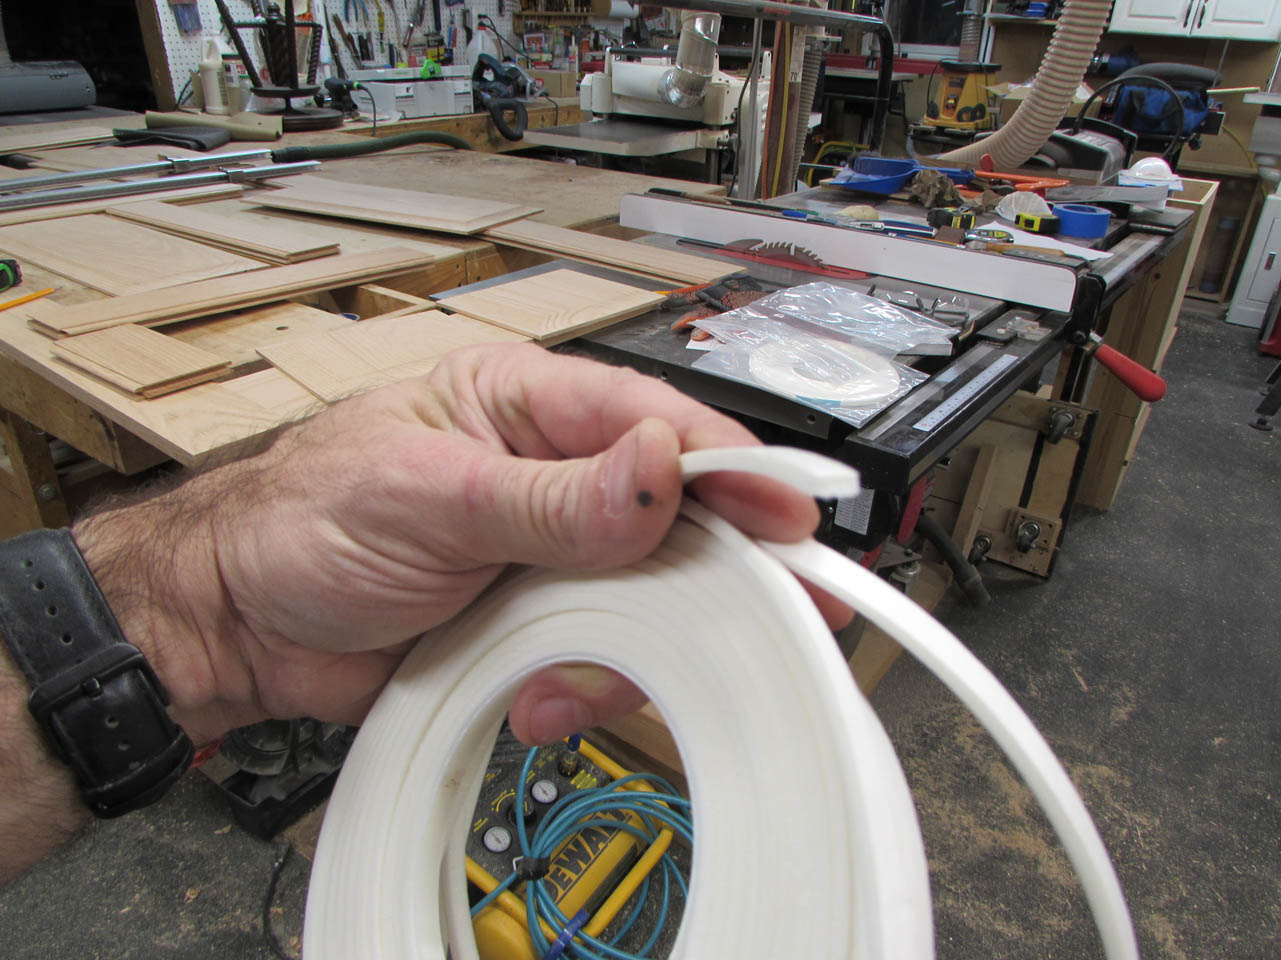

It has adhesive on one side and will stick in place in the groove your panel sits in.
After lining all the grooves as necessary, I start adding panels and rails.
I take my time allowing each section to dry before adding the next. Things could easily get out of square if I try to do too much at once.
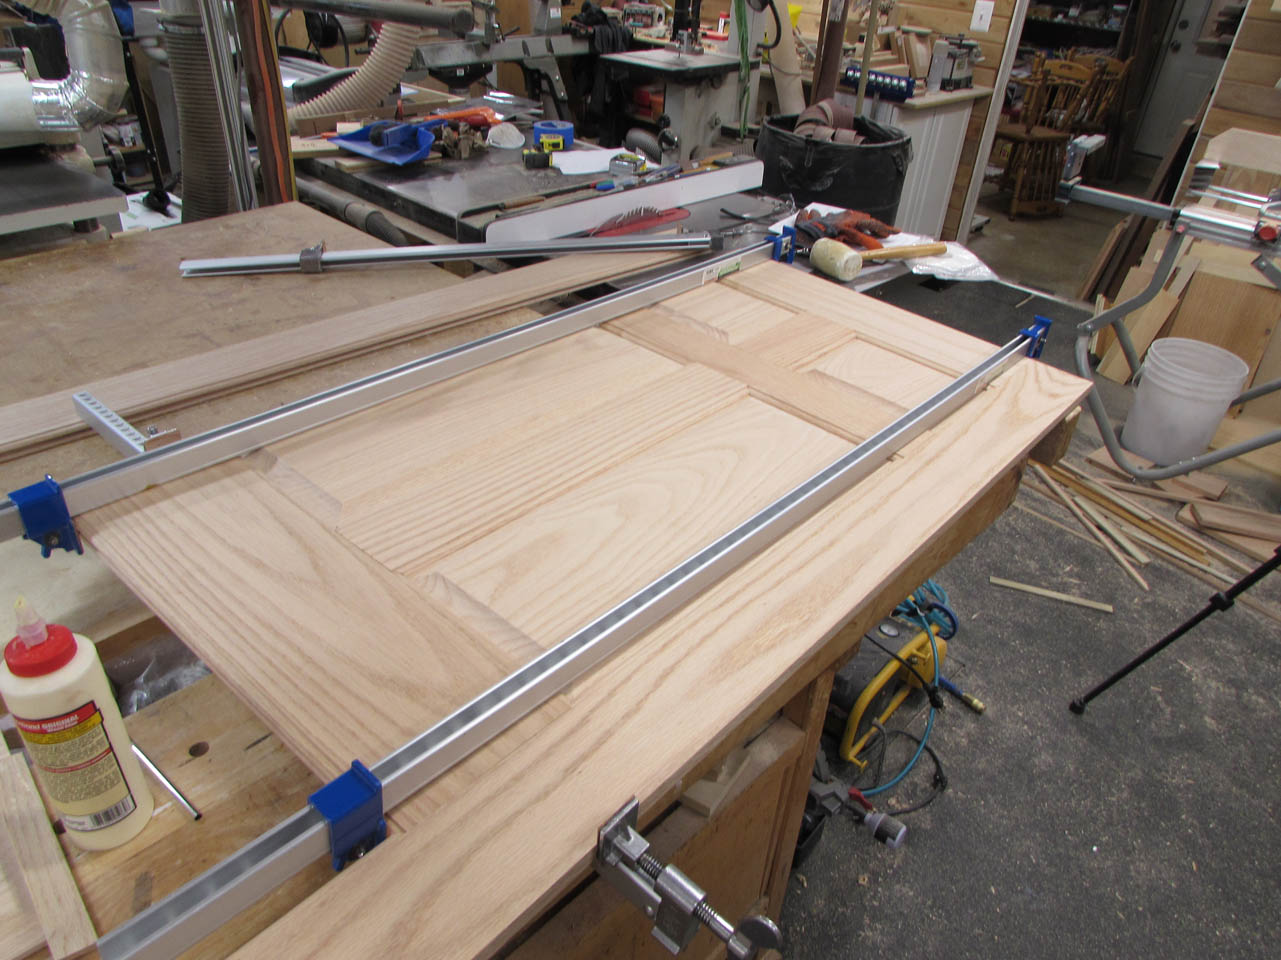
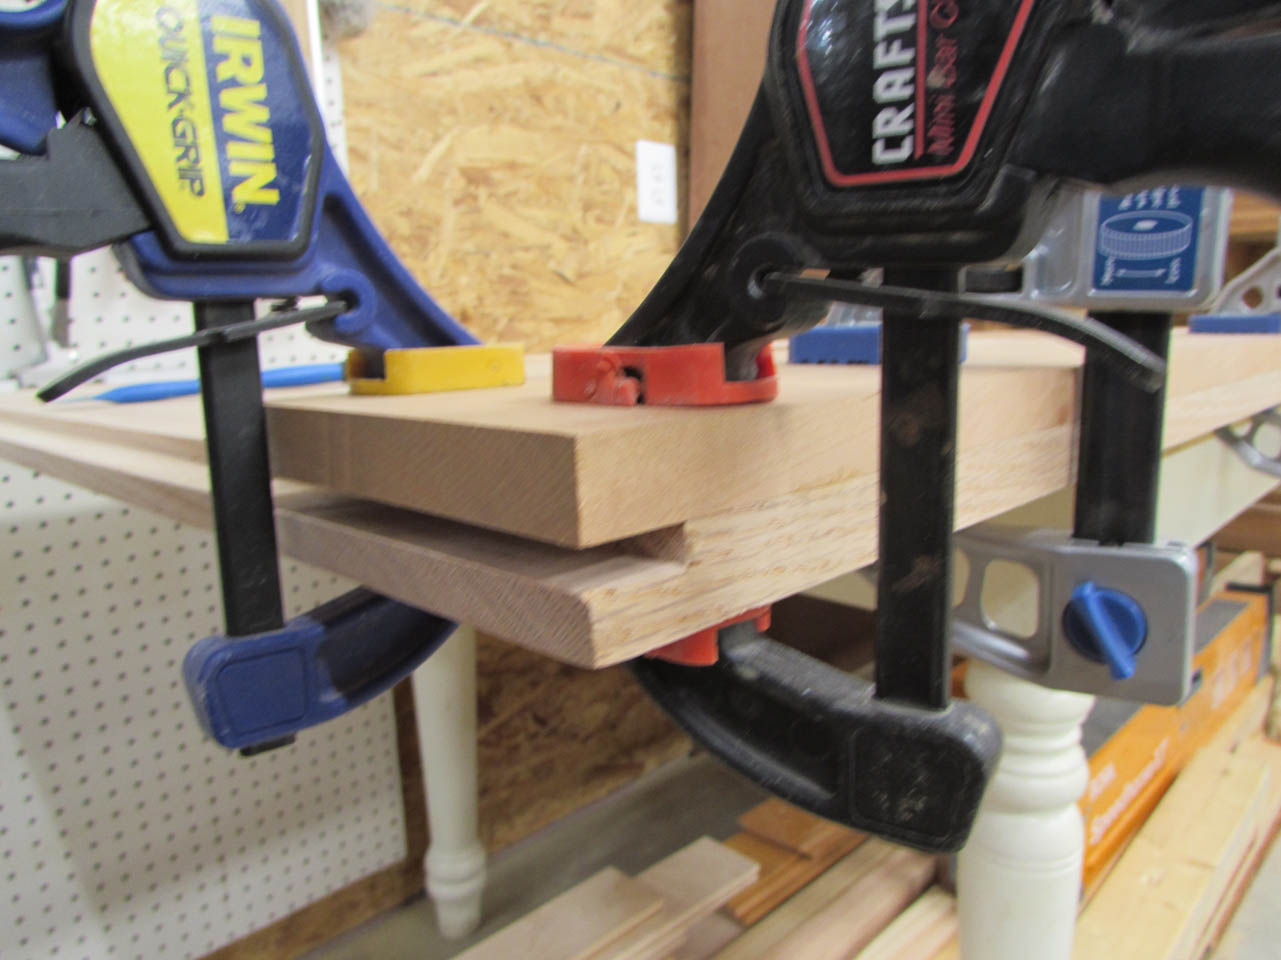
I don’t have 7′ long clamps so I have to get creative adding the last piece. I think I wound up clamping the bottom board to a clamp across the body of the door, but I didn’t get a picture of it…
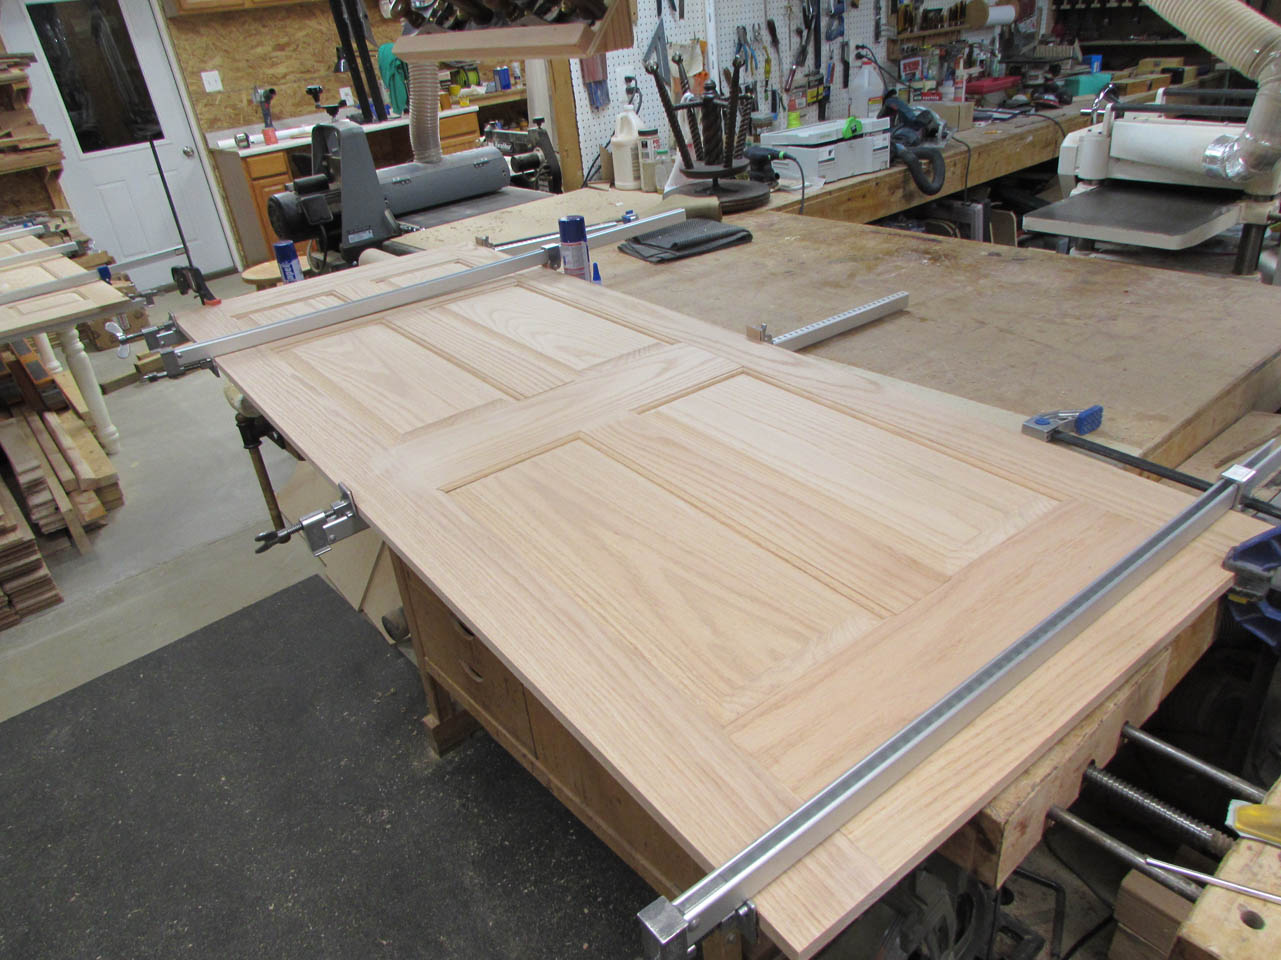

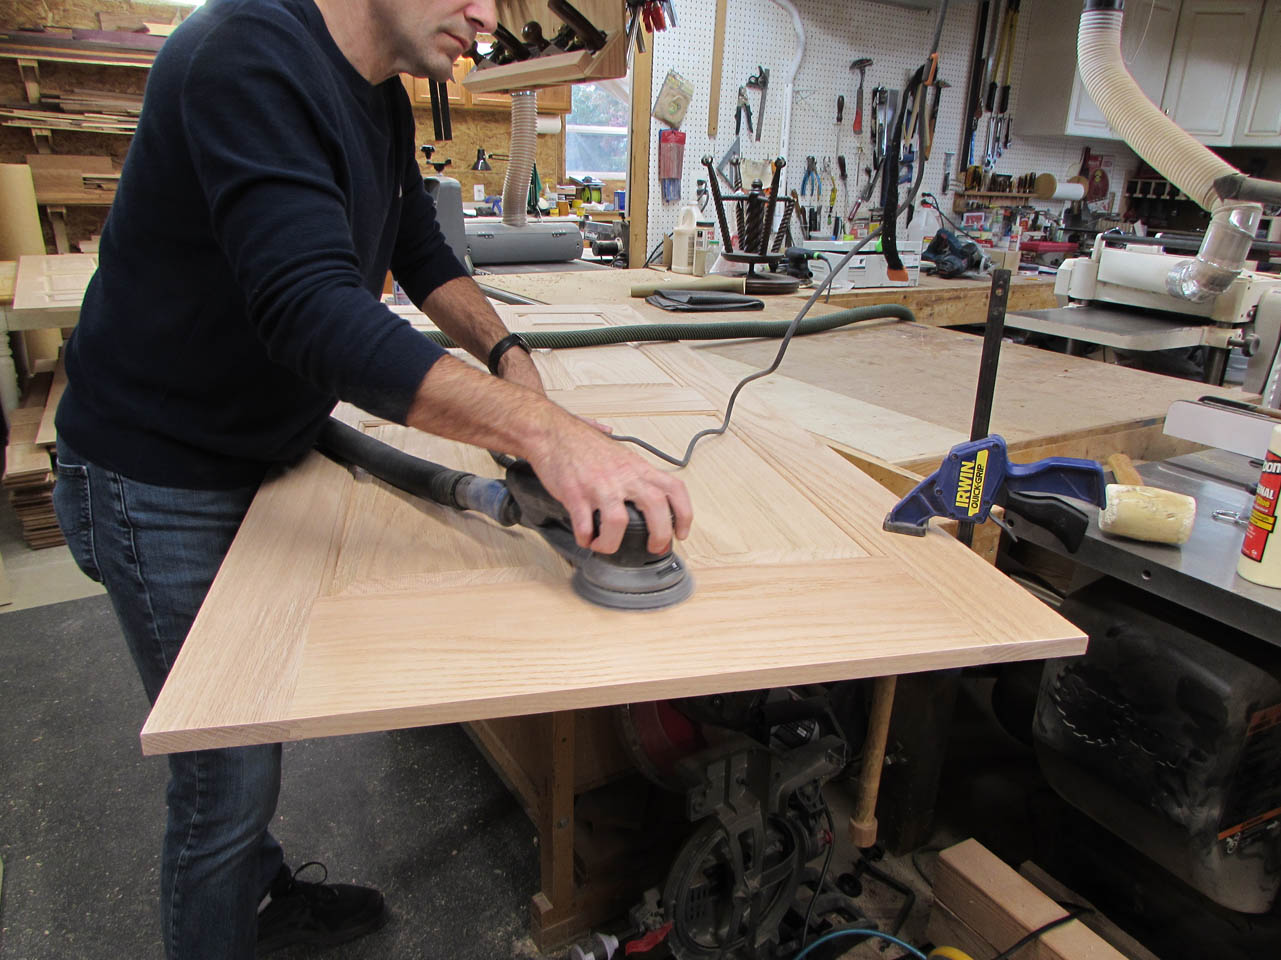
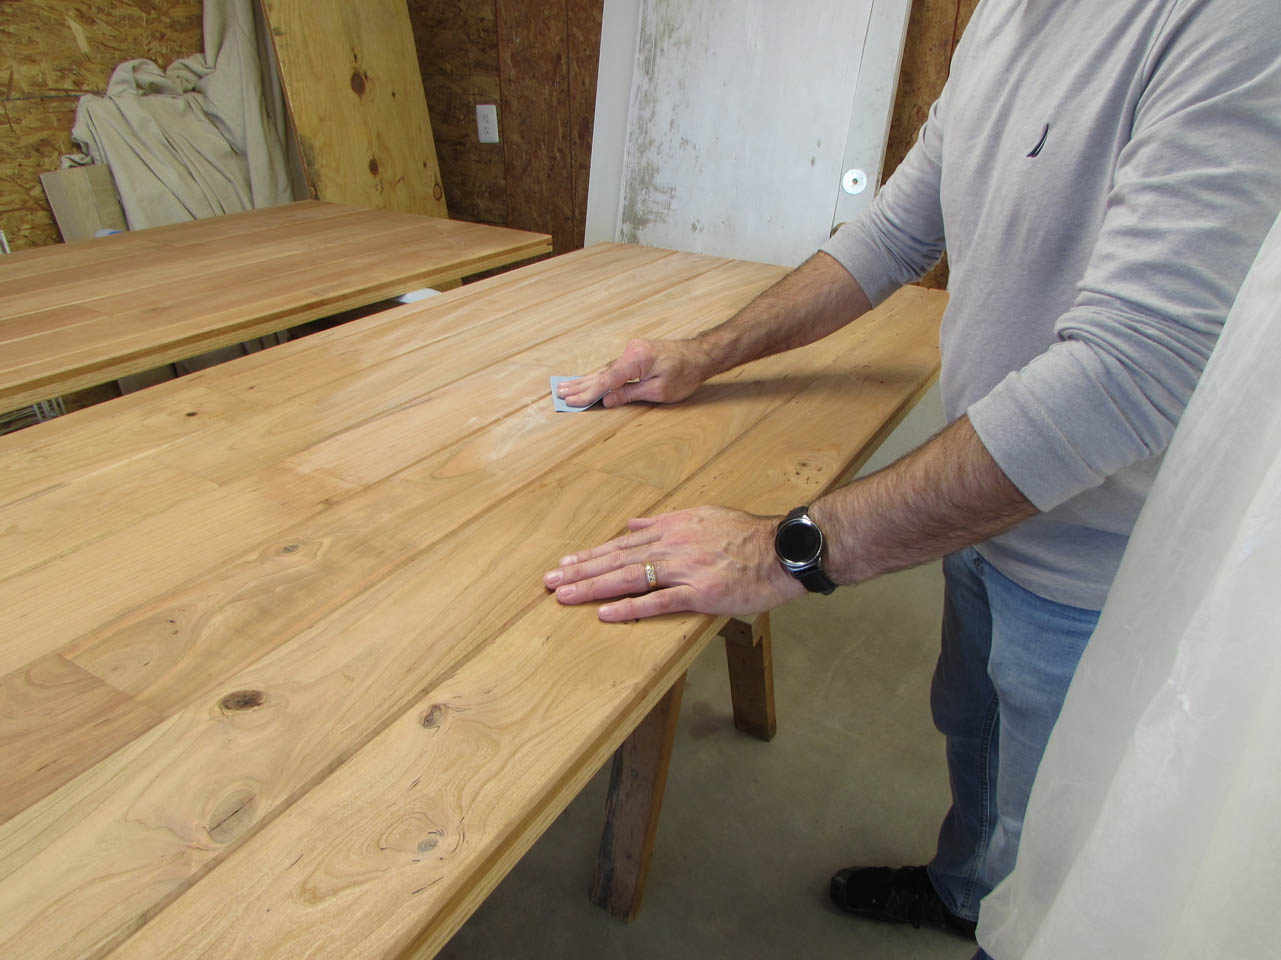
When everything was dry, It was time to sand all of the glue joints to flatten out any slight misalignments.
Surprisingly they turned out better than I expected. I am very happy with them. Can you see the grain flow across the floating panels?

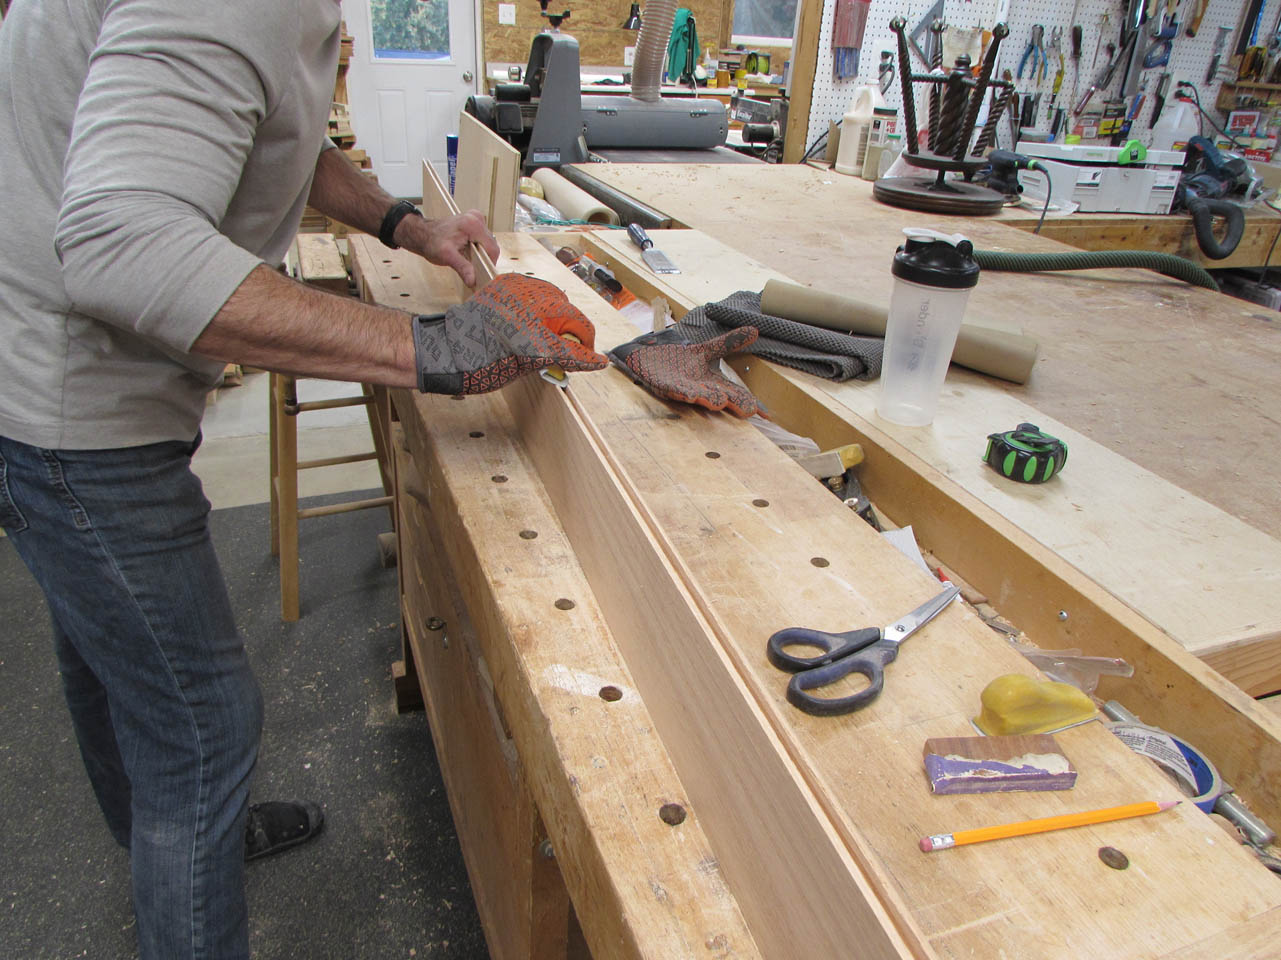
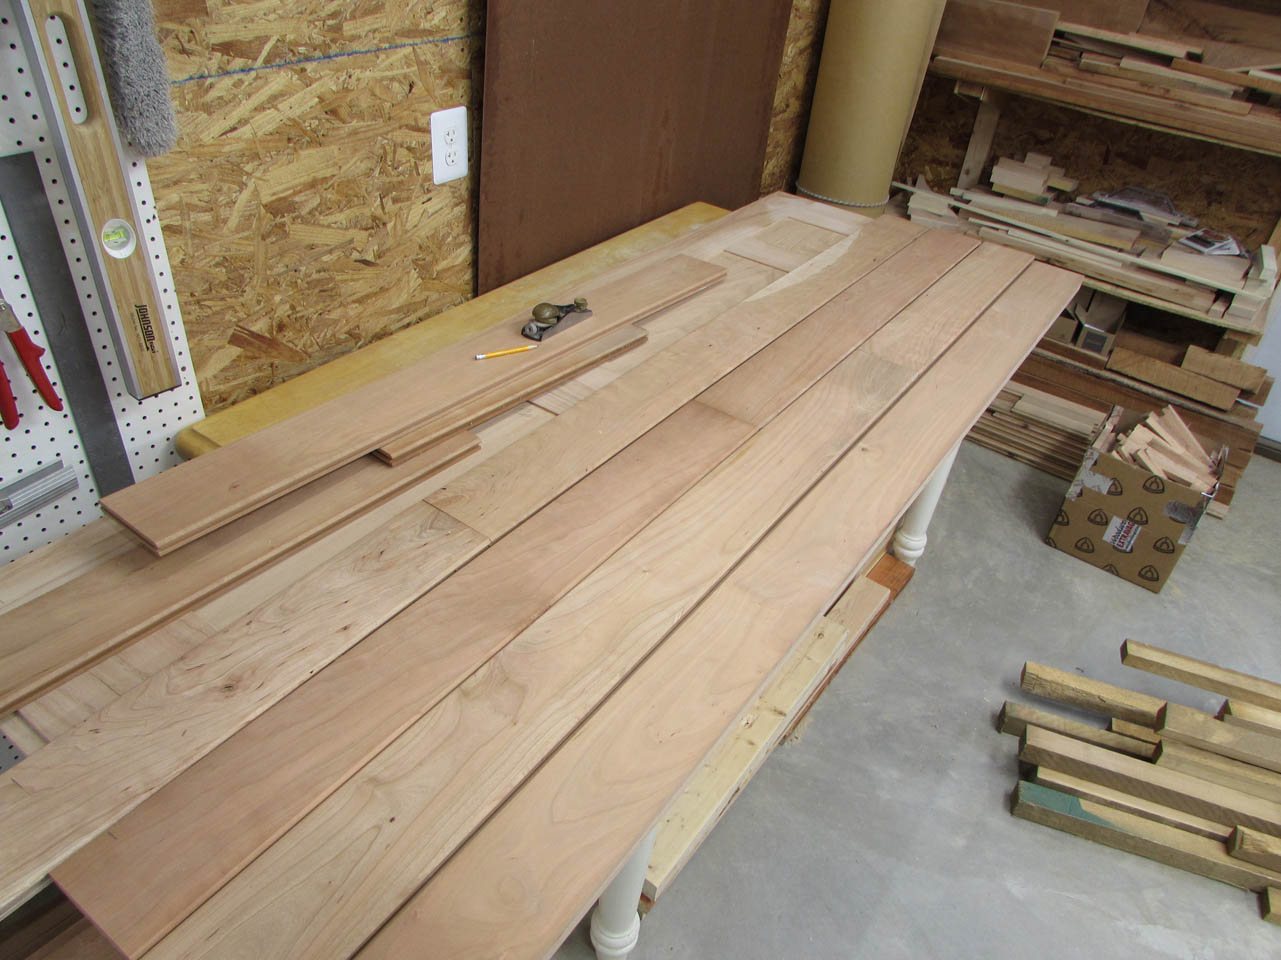
I will need to add a groove along the center of the door bottom, for a guide to keep the doors in line with the track. I figured now would be the best time to add the groove, before adding the cherry.
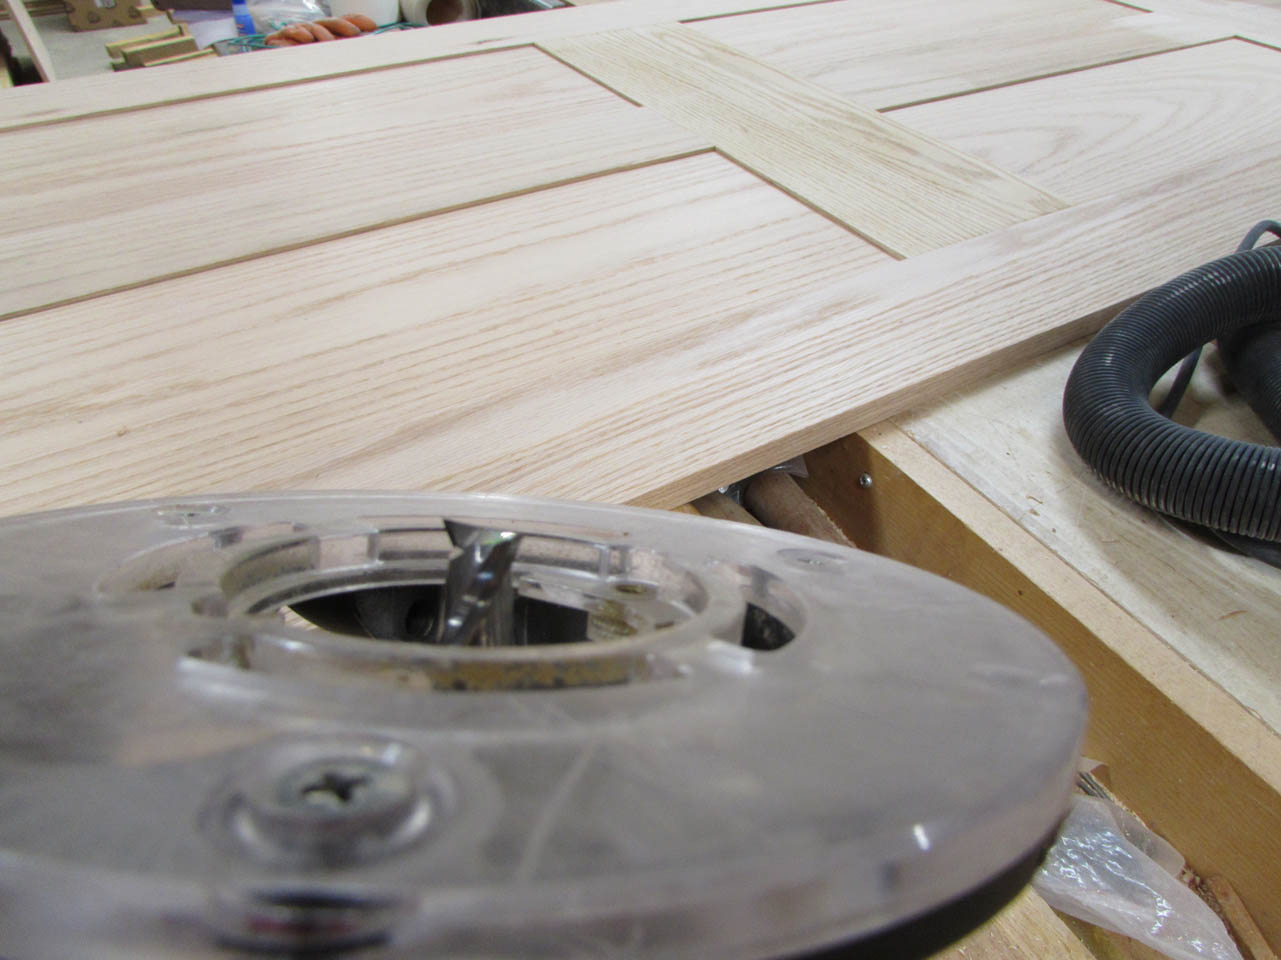
I set up a router bit, 1/4″ deep, in my router and clamped a board down as a guide.
Two passes was enough to remove the waste and create the clearance I need for the groove.

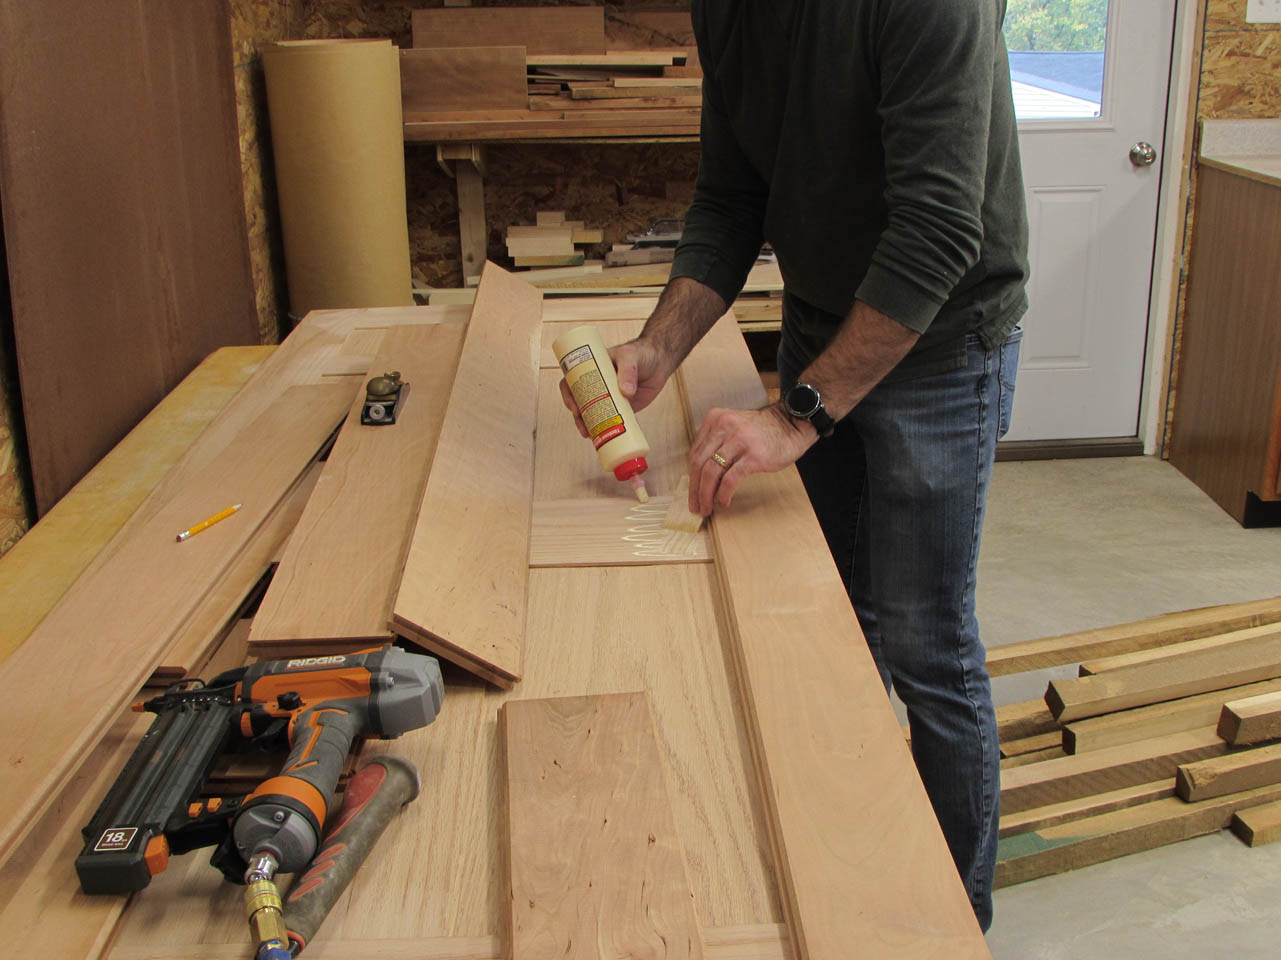
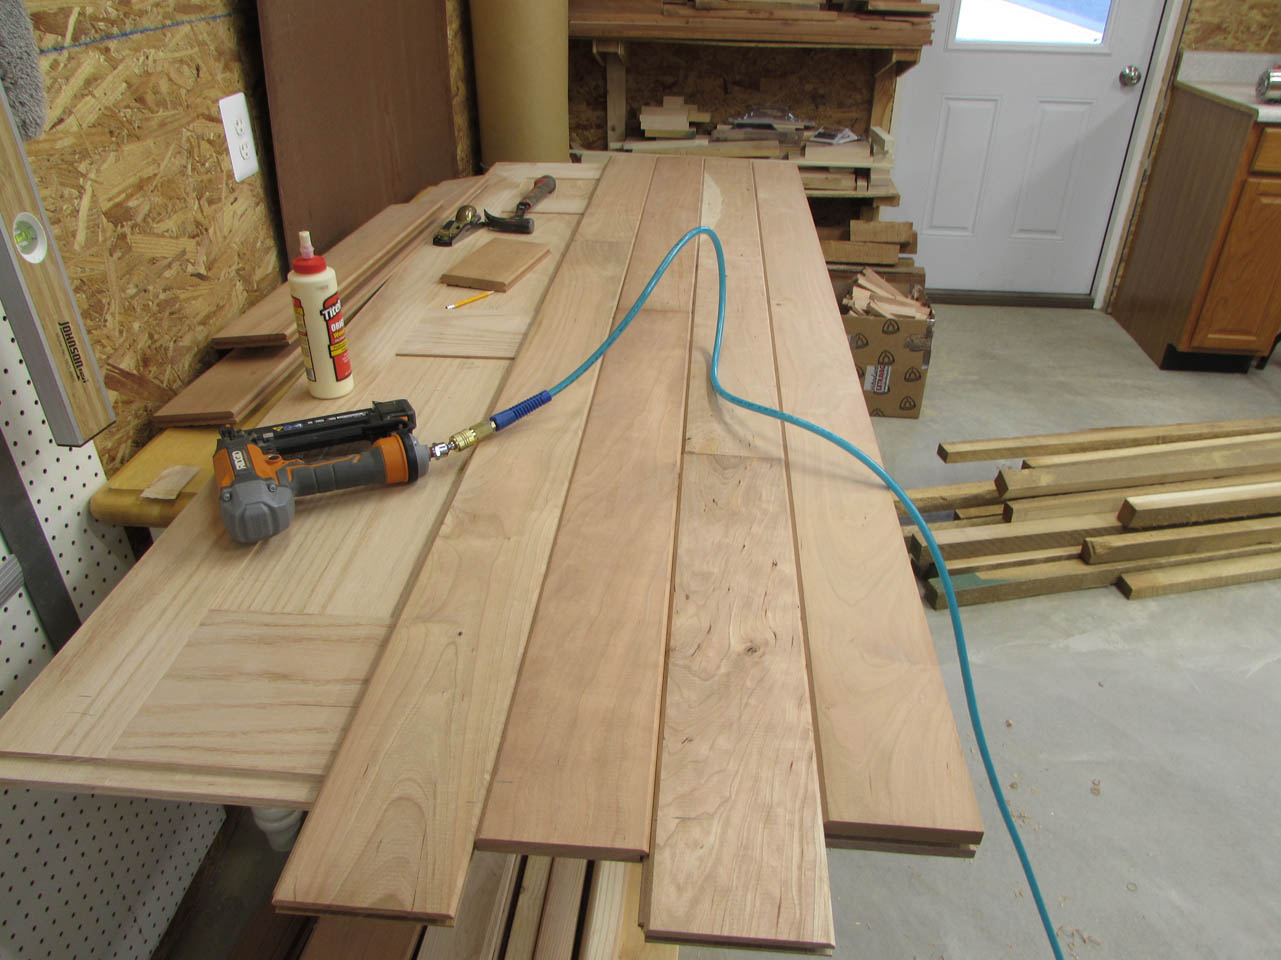
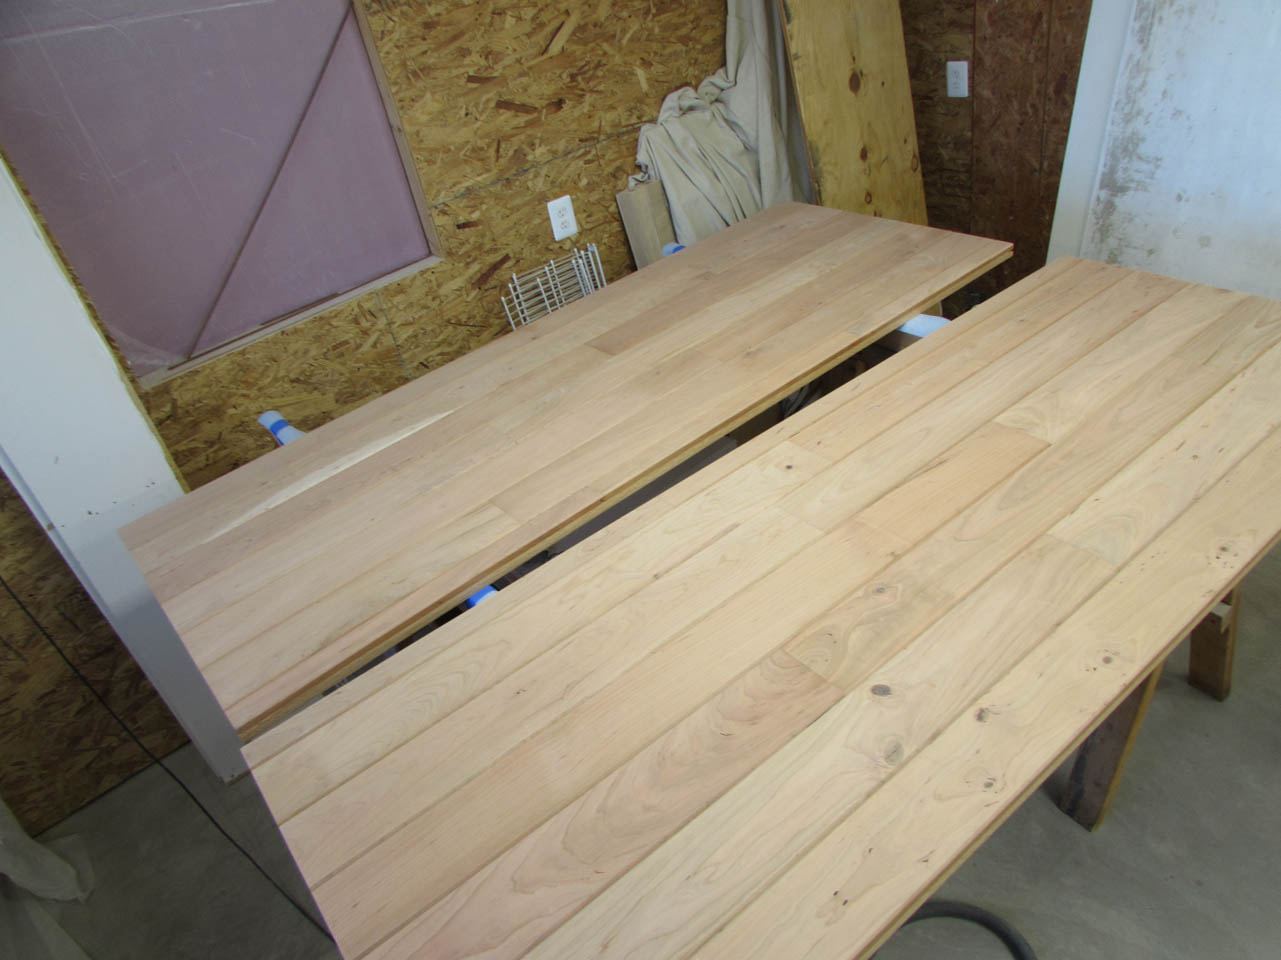
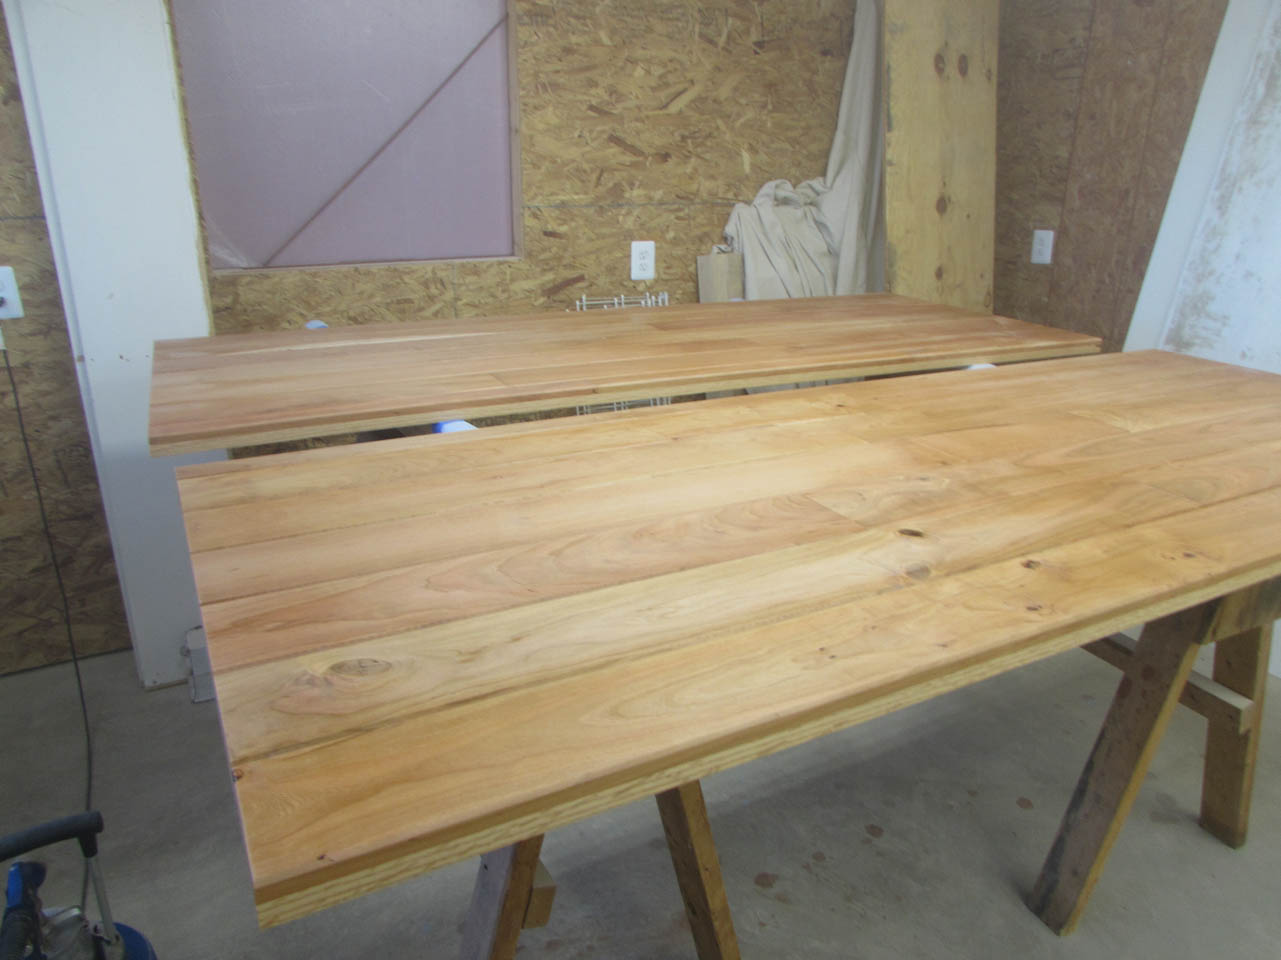
Next up, the cherry side. I pulled out my last three bundles of cherry flooring and selected the longest pieces. I found two pieces that were long enough to run full length so these will be my starting pieces. I ran them through the planer to plane 1/8″ off the back side. This thins the boards down enough that my final assembly will be 1-3/8″ thick.
I cut the groove off the boards and applied wood glue to the back face. I then clamped the board flush to the edge.
I held the bottom flush as well to see the groove that was created.
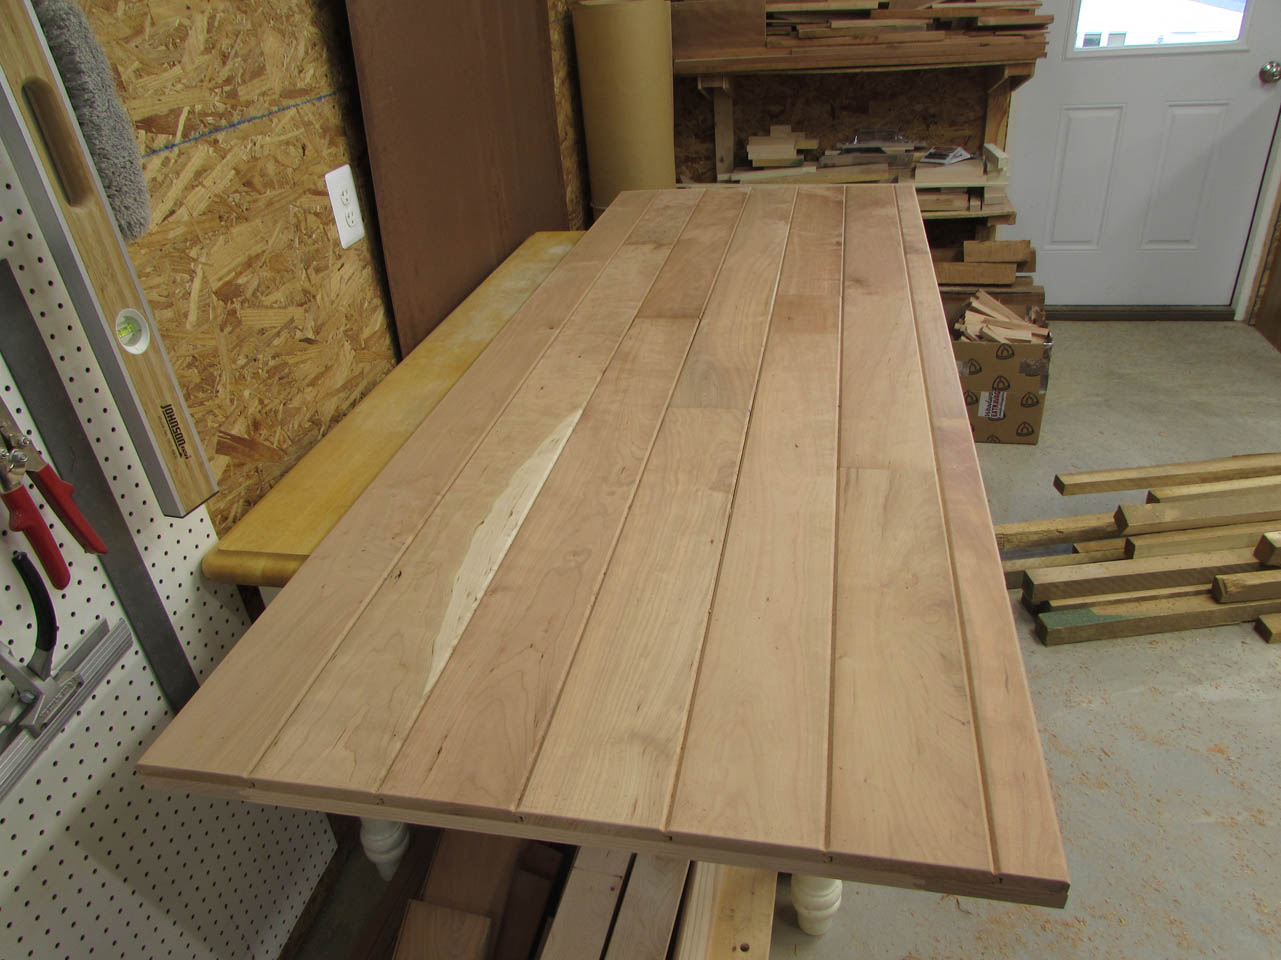
Like installing a hardwood floor, I sorted through the wood pile and layed out the next few rows.
I placed a little wood glue along the rails to help hold the boards in place since this will be mounted vertical and not laying on a floor.
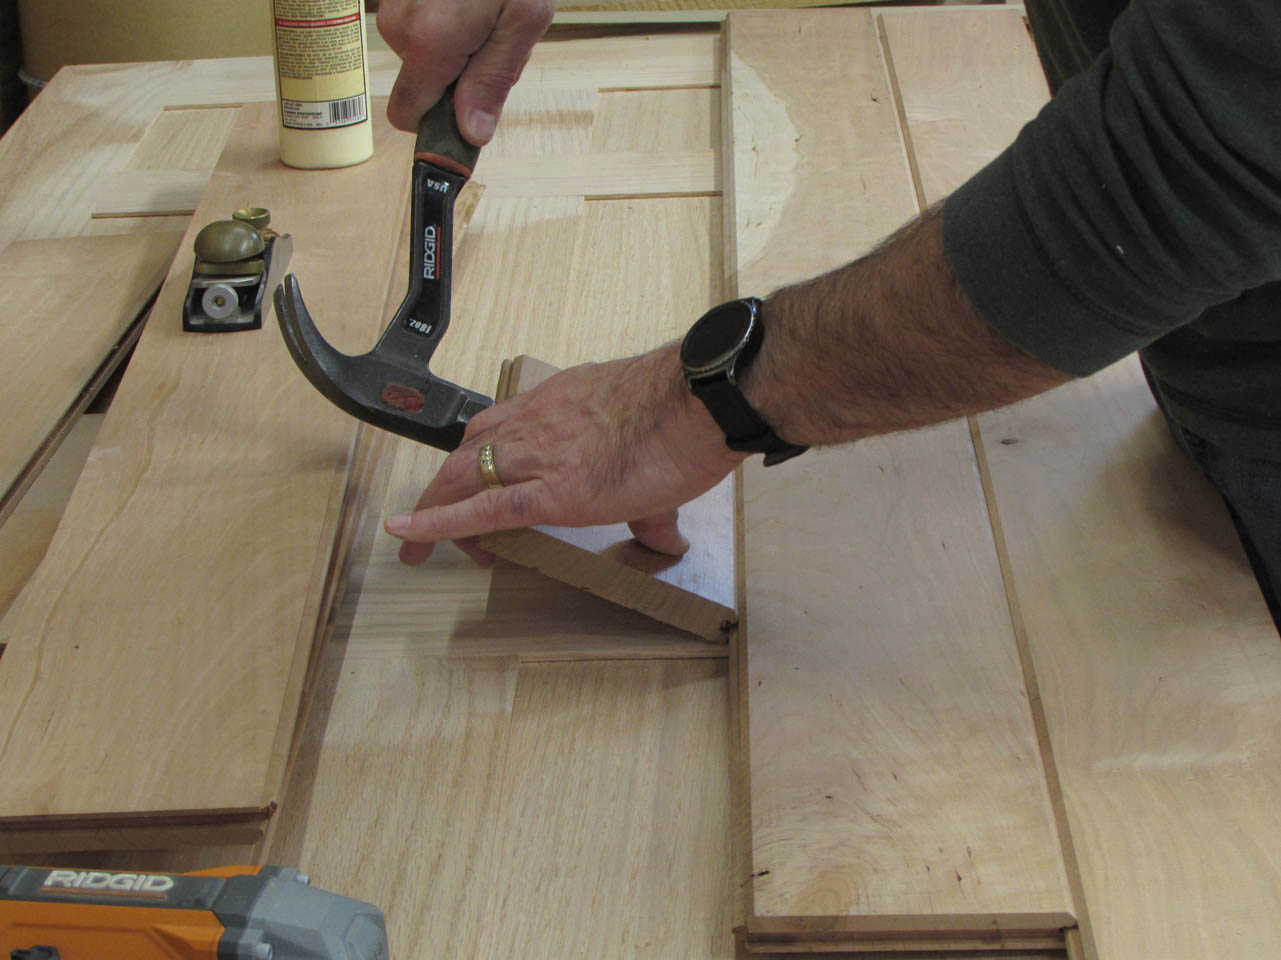
I used an off-cut to help drive the boards tightly in place without damaging the tongue, then I used a couple of brad nails to hold the board in place while the glue dried.
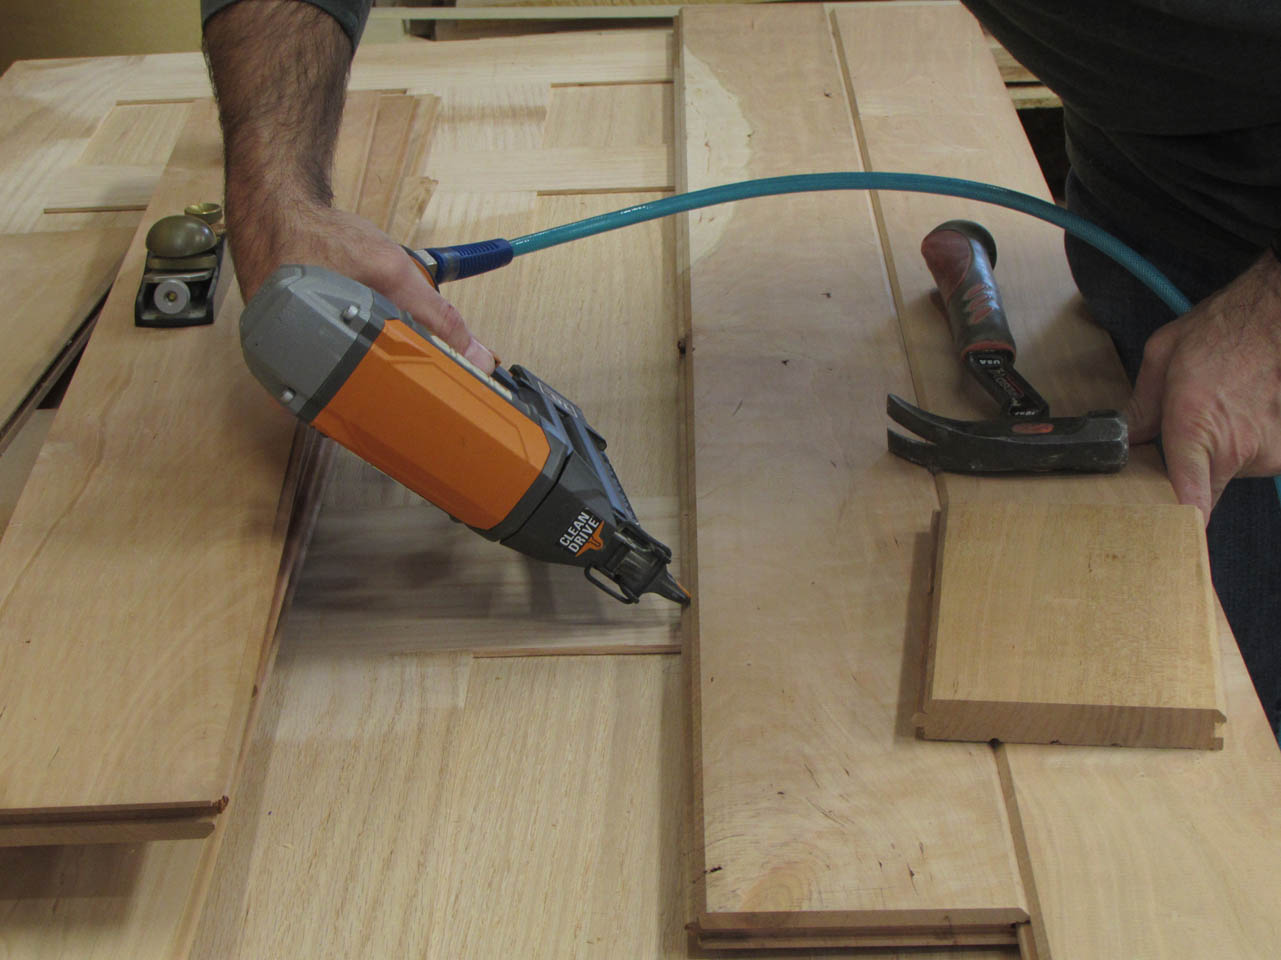
I continued this pattern until the last piece, then I flipped the door around.

I cut the last piece to size and glued it in place like the first piece. I didn’t want any nails visible.

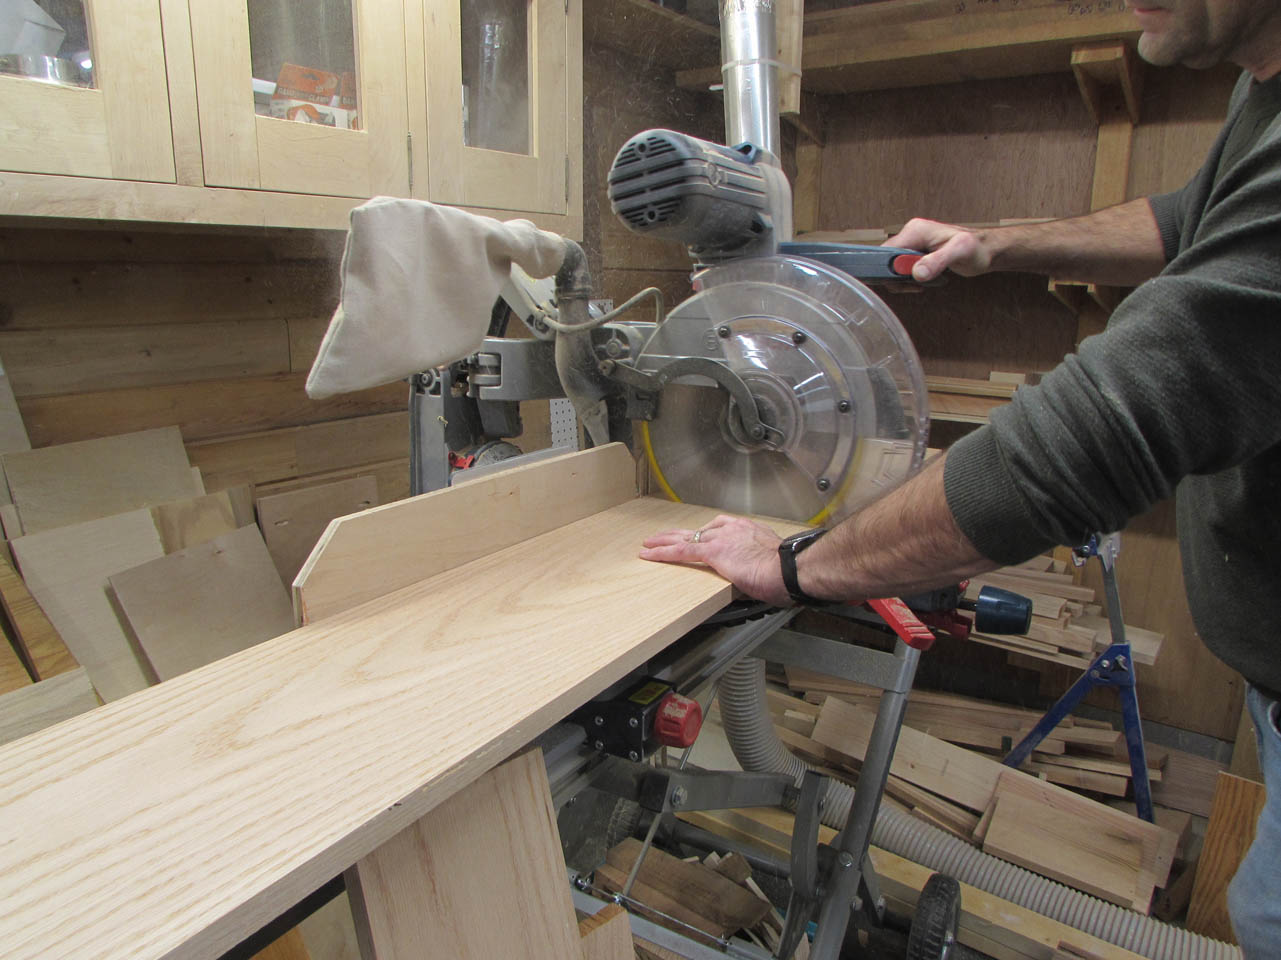
When it was dry, I set up the track saw and cut the ends flush.
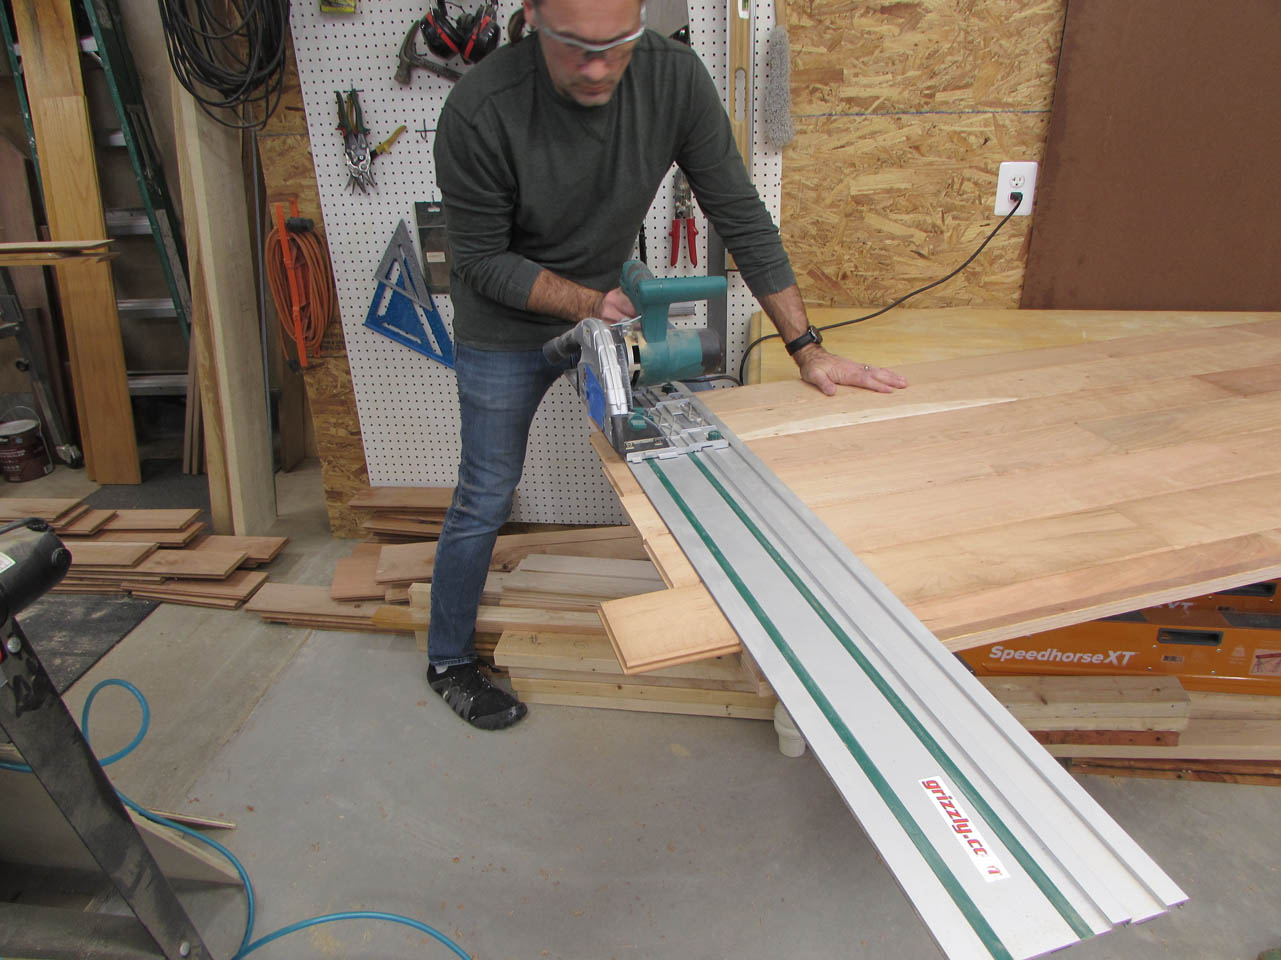

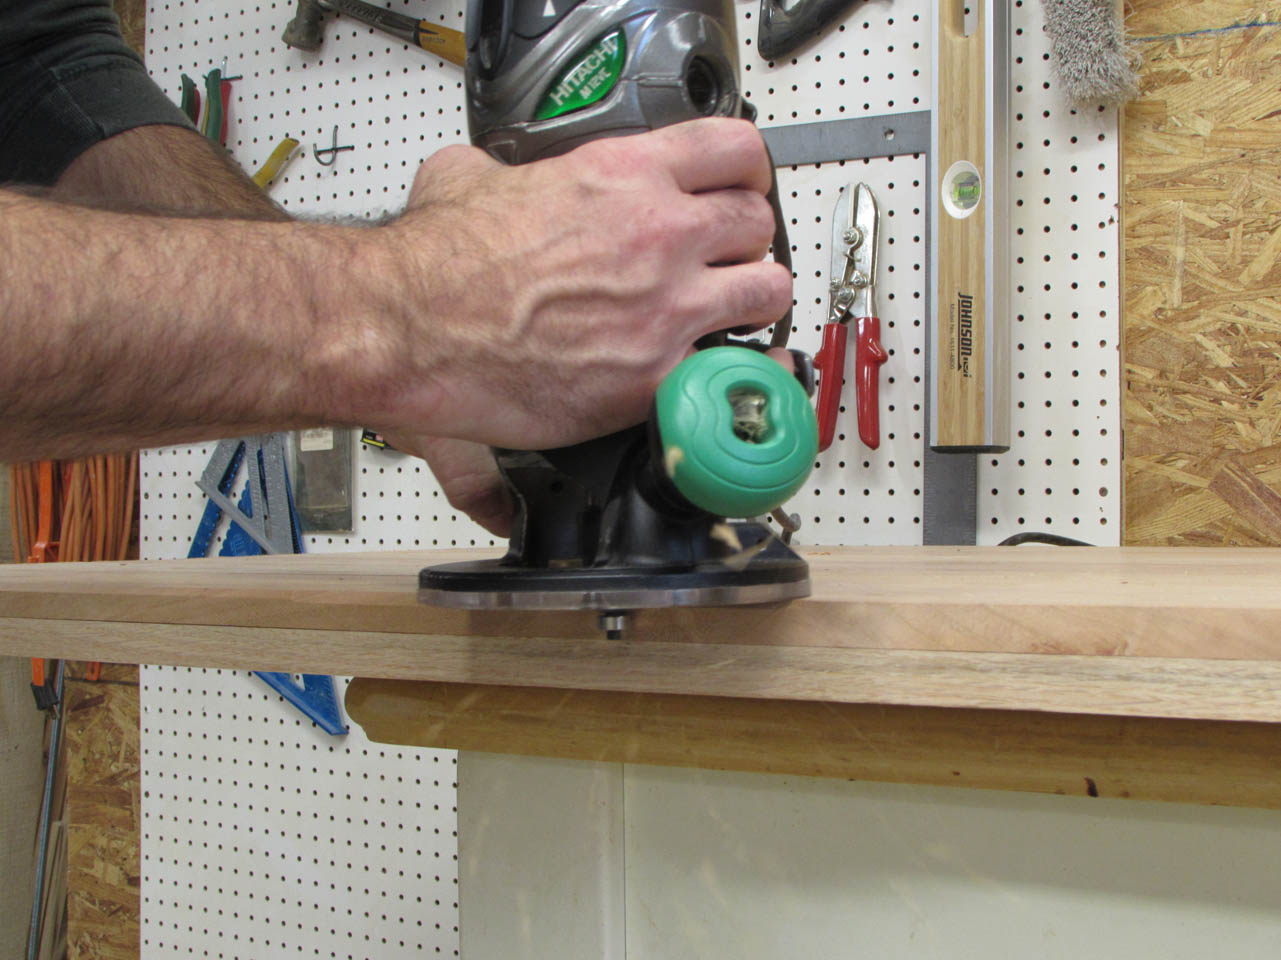
Both edges had to be cut to remove the tongue and groove so I have to chamfer the edges to match the v-grooves between each board so when the two doors are closed together, there will be a matching v-groove in the center.

I set my chamfer bit in the router and made a quick pass along the edge.
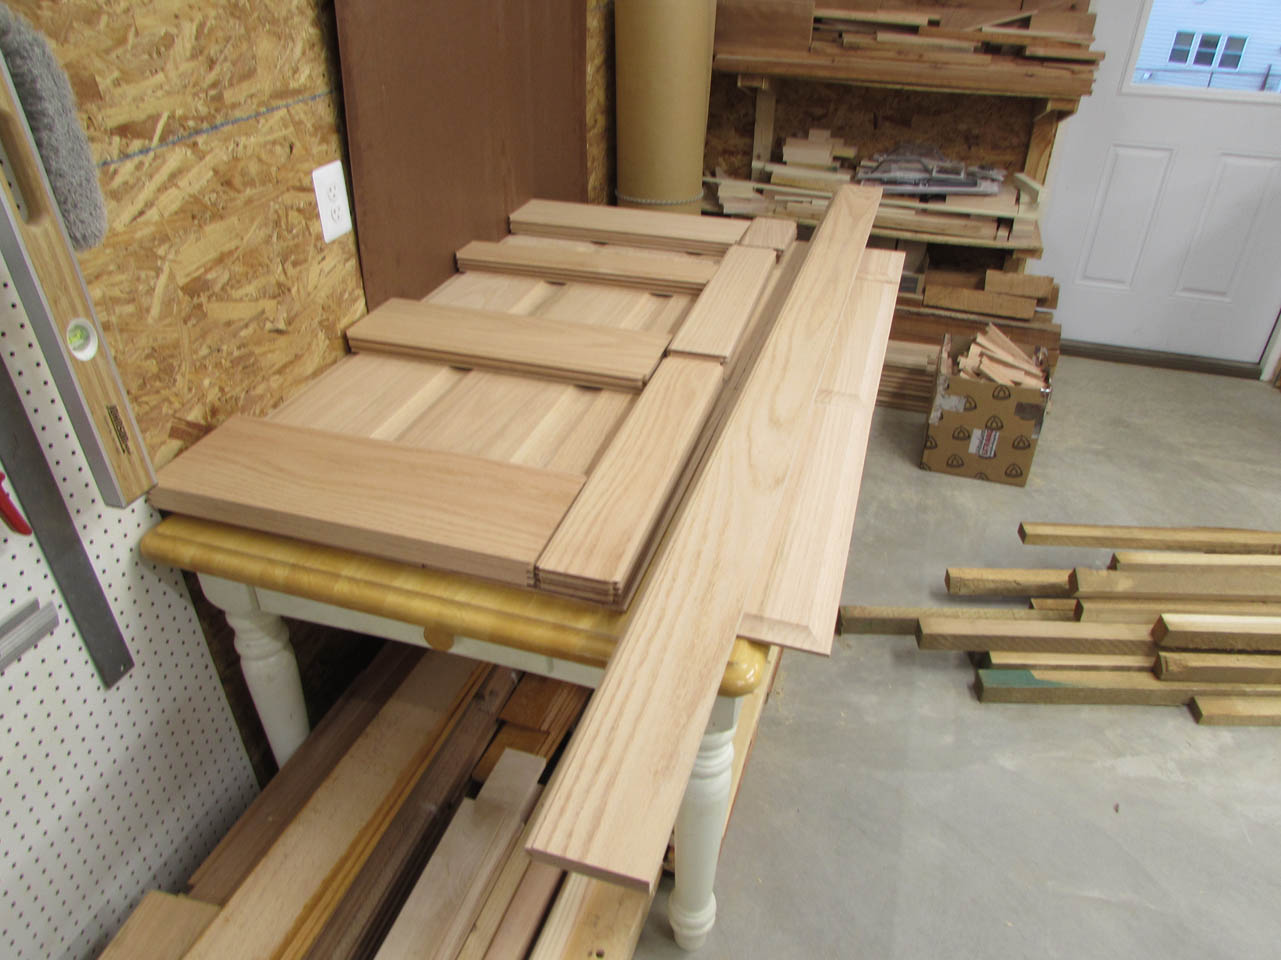
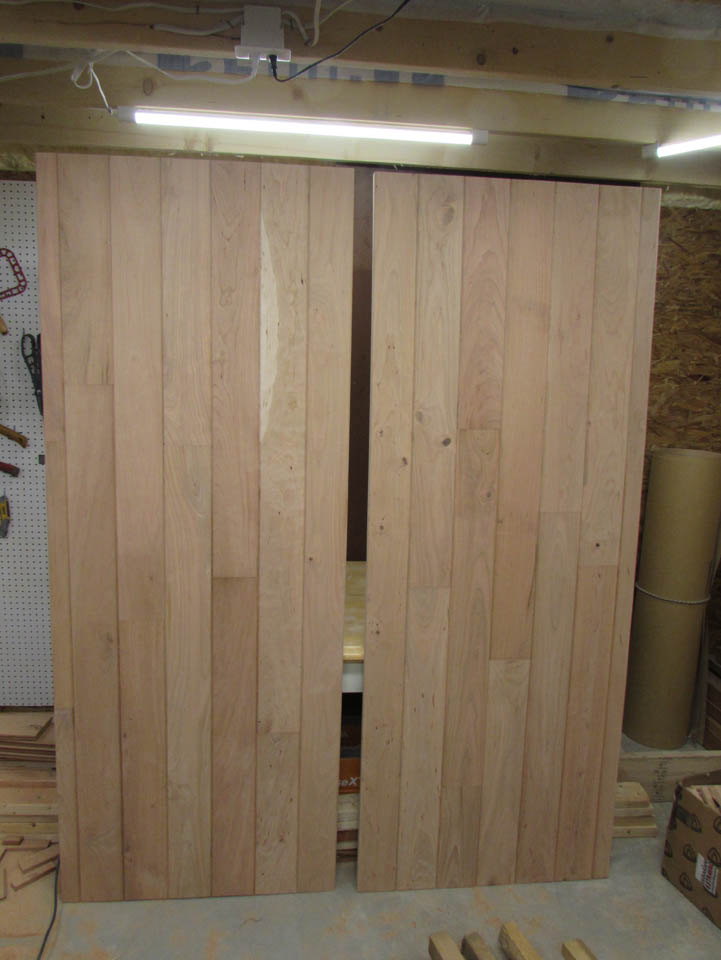
Assembly of the doors is now complete, just need to do more sanding.

They don’t look too bad at all. But man they are heavy. I weighed them at 84 pounds each. I need to make sure my door hardware is very secure to the wall before hanging them in place.
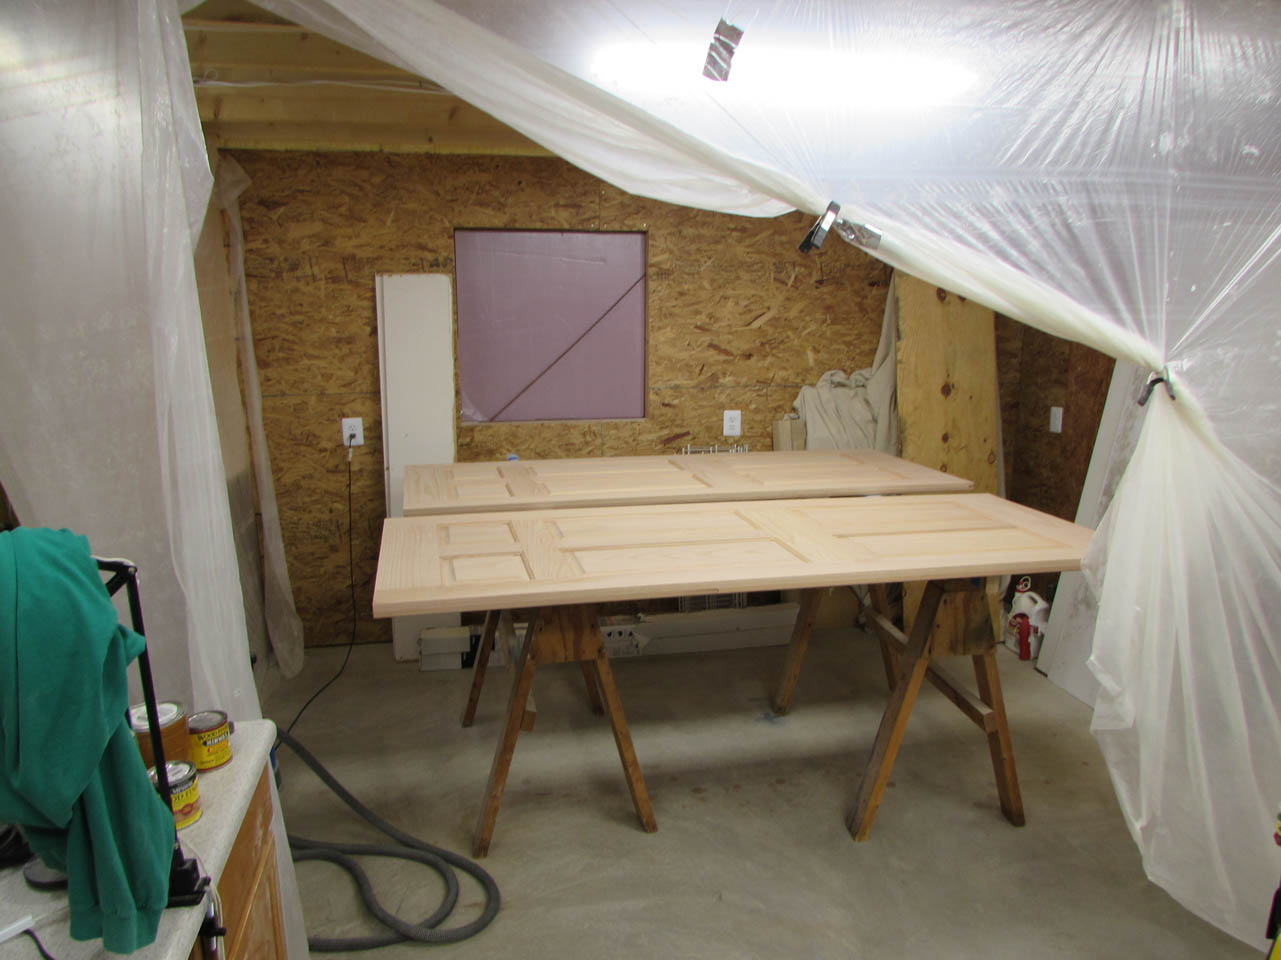
Time to get set up in the spray booth.
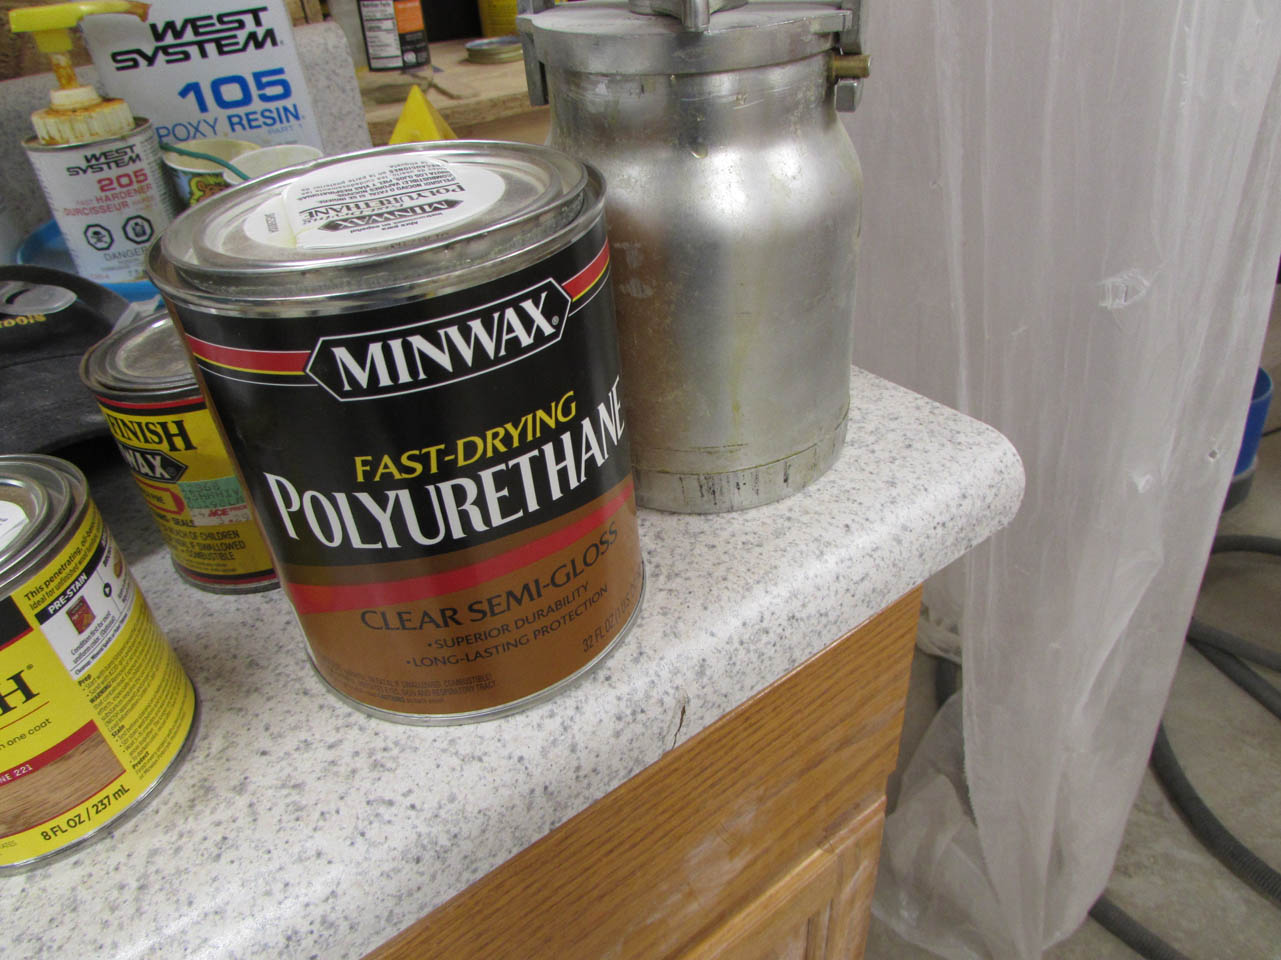
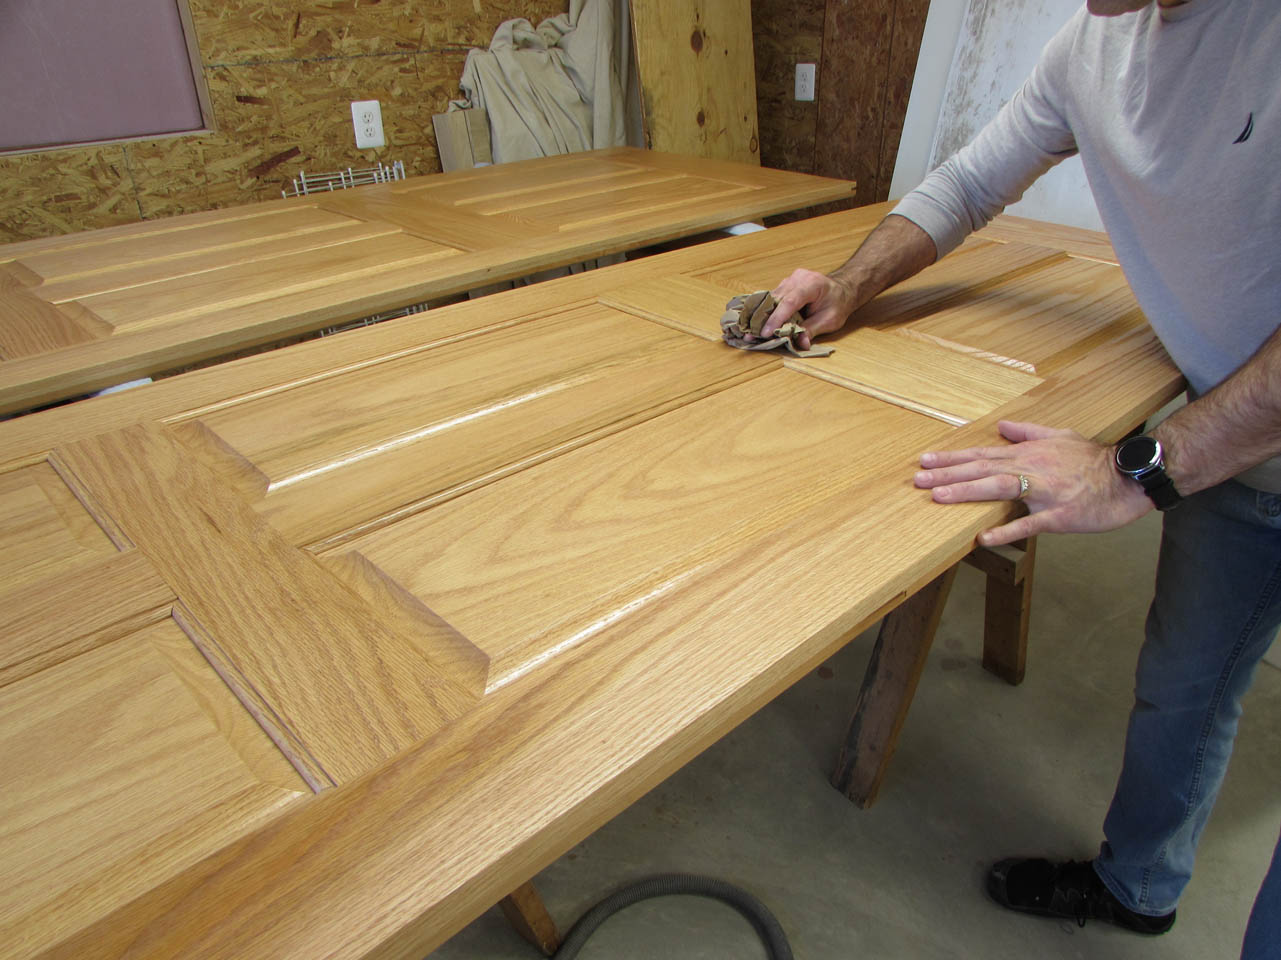
To match my bedroom doors, I am using two coats of oil-based polyurethane on the oak side.
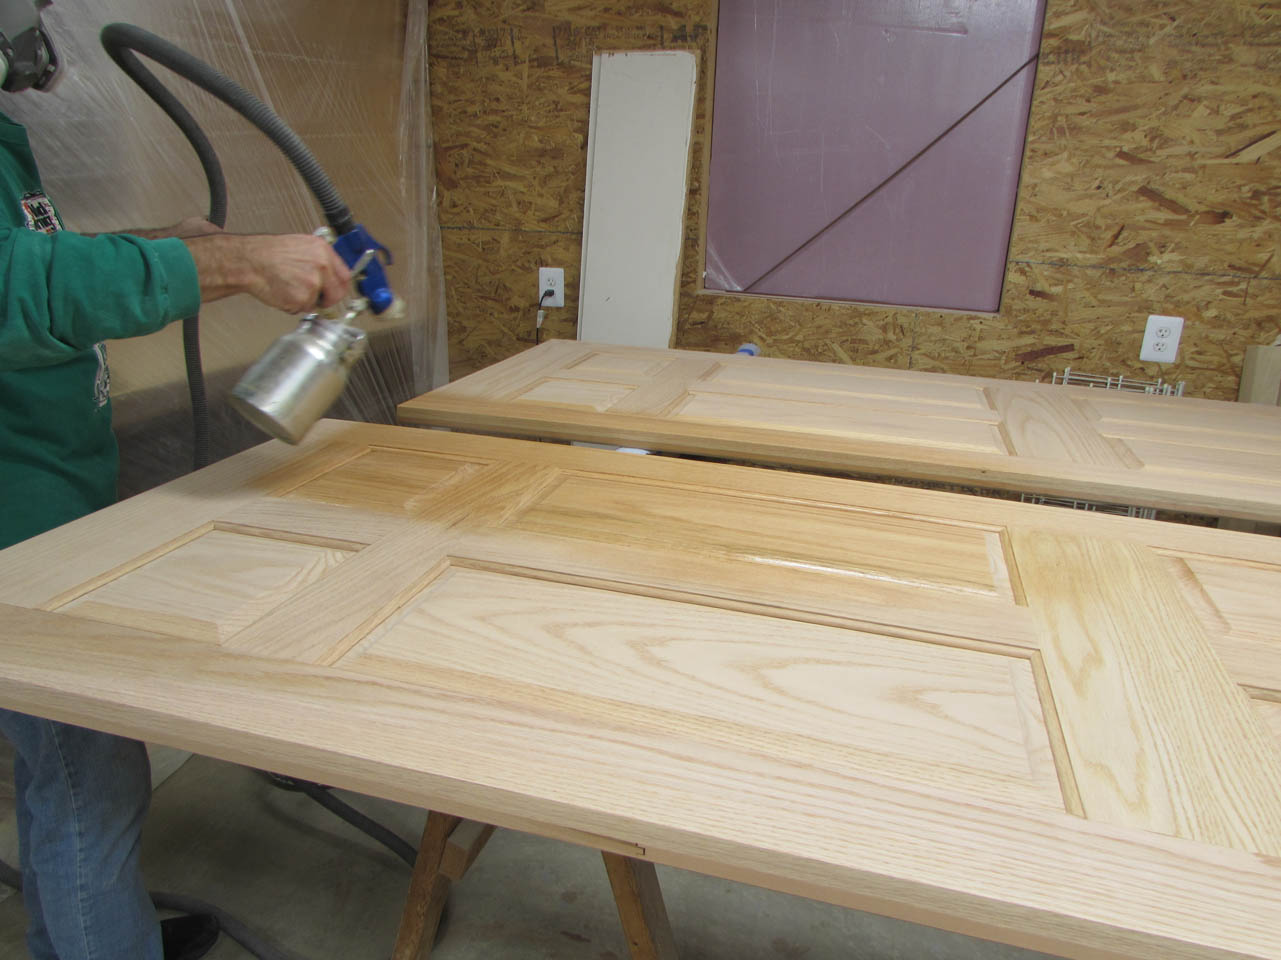
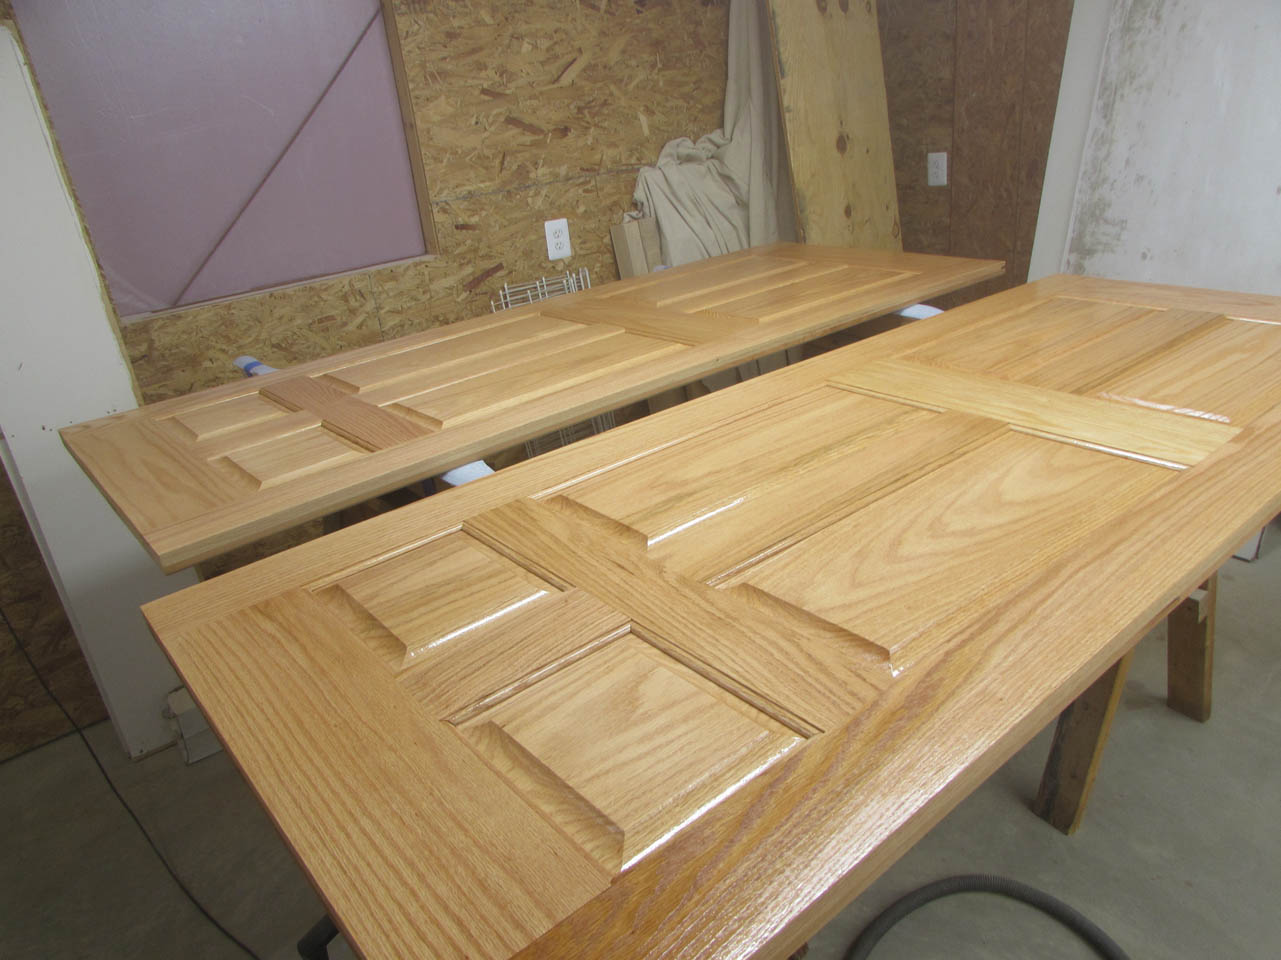
I sand with 400 grit paper between coats, then buff out the final coat with brown paper.
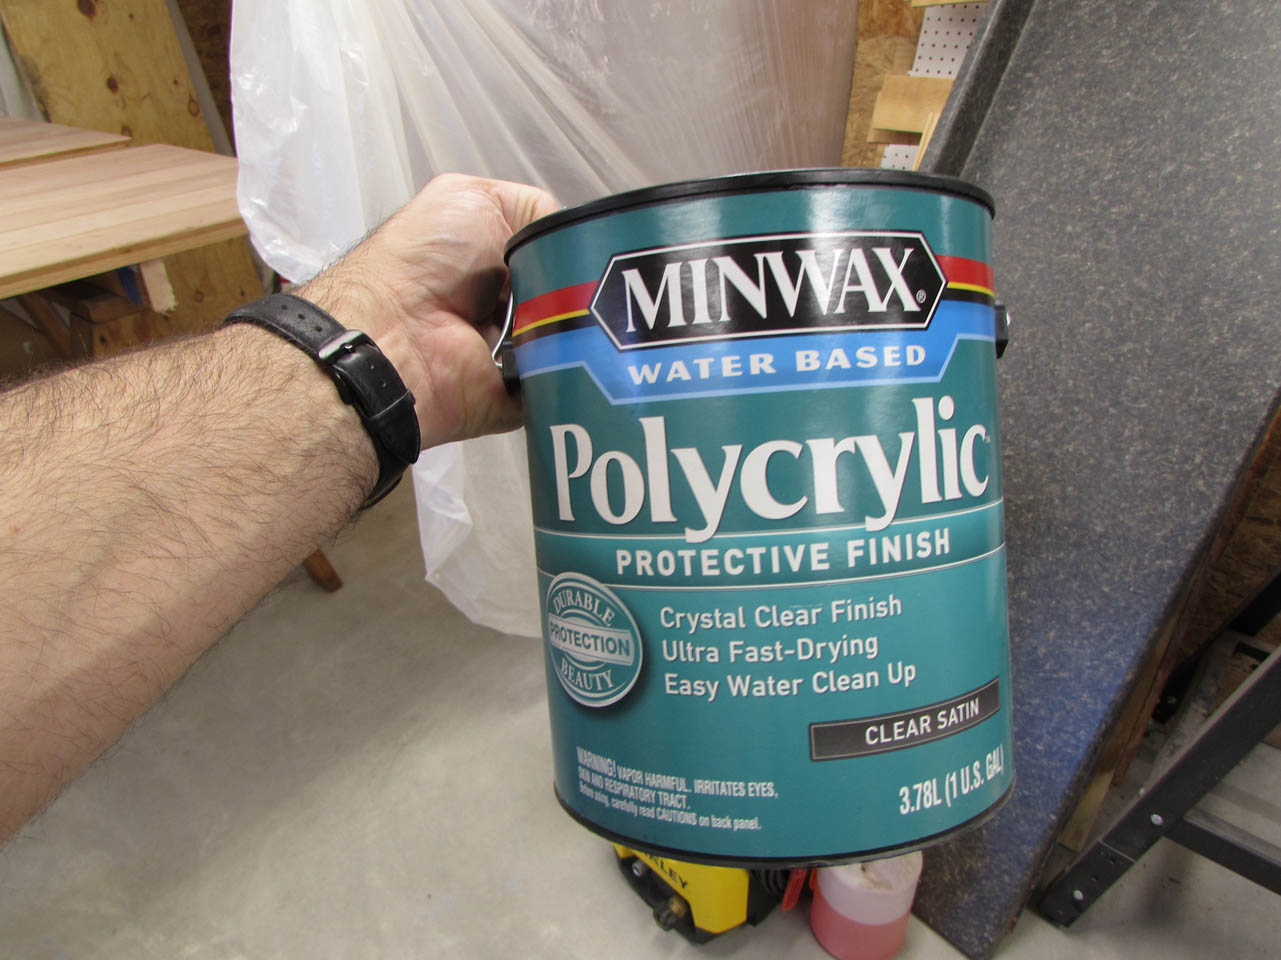
After the oak side is dry, I flip the doors over and get ready to apply three coats of water-based polyurethane.
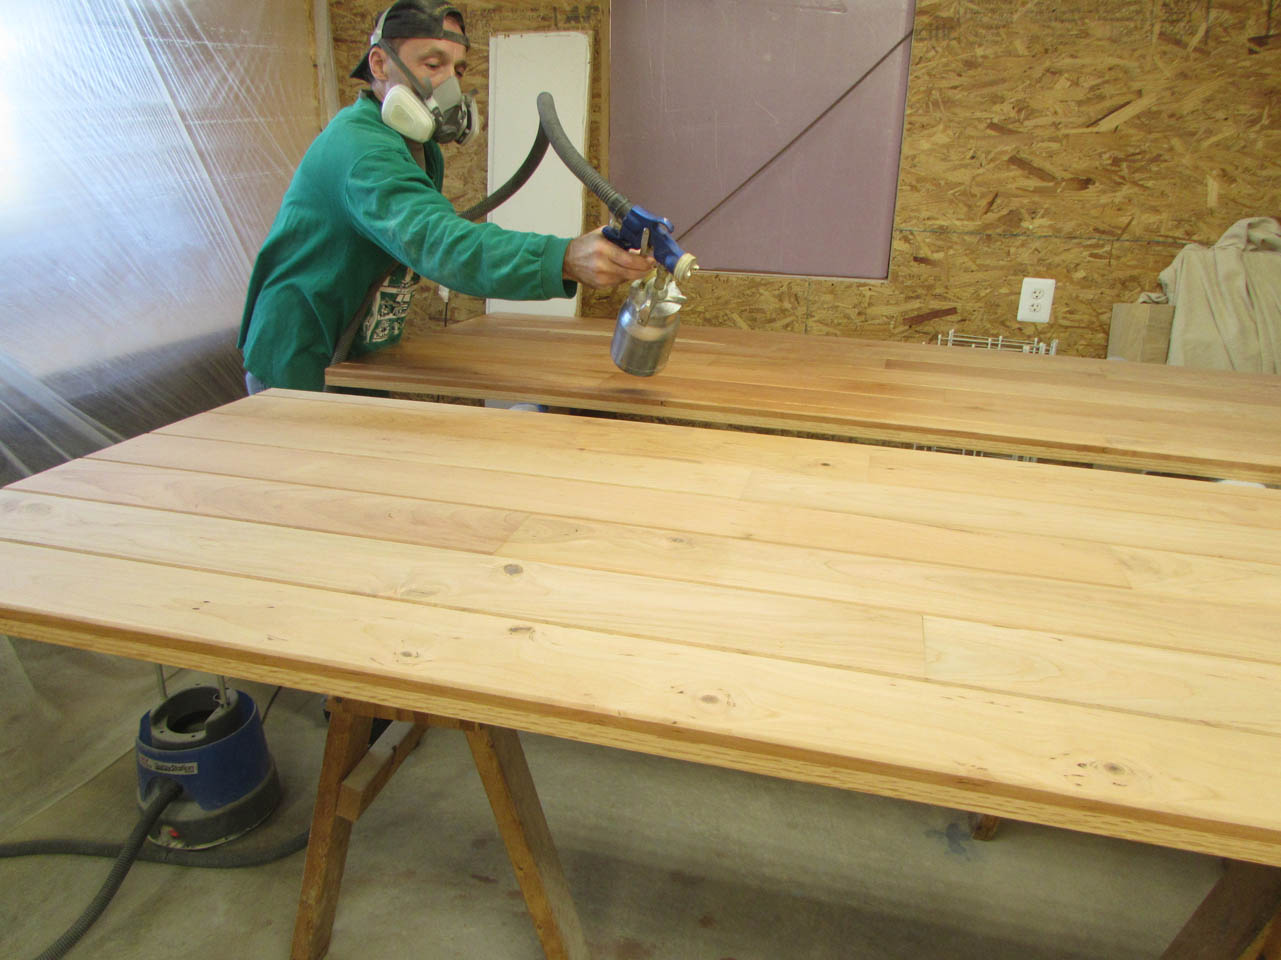
This also requires sanding with 400 grit between each coat.
I vacuum up the dust after each sanding to keep the dust out of the next coat.

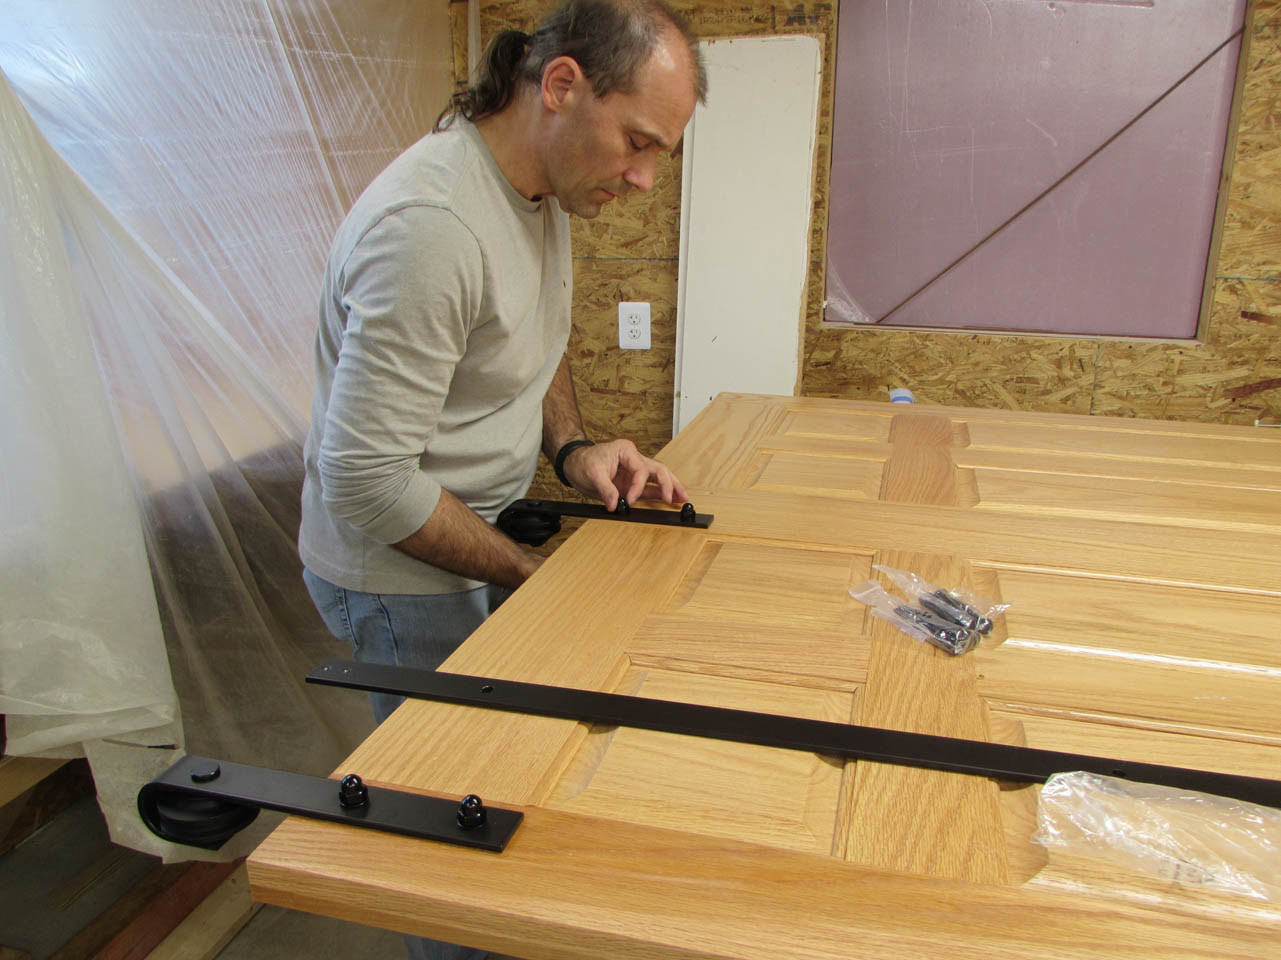
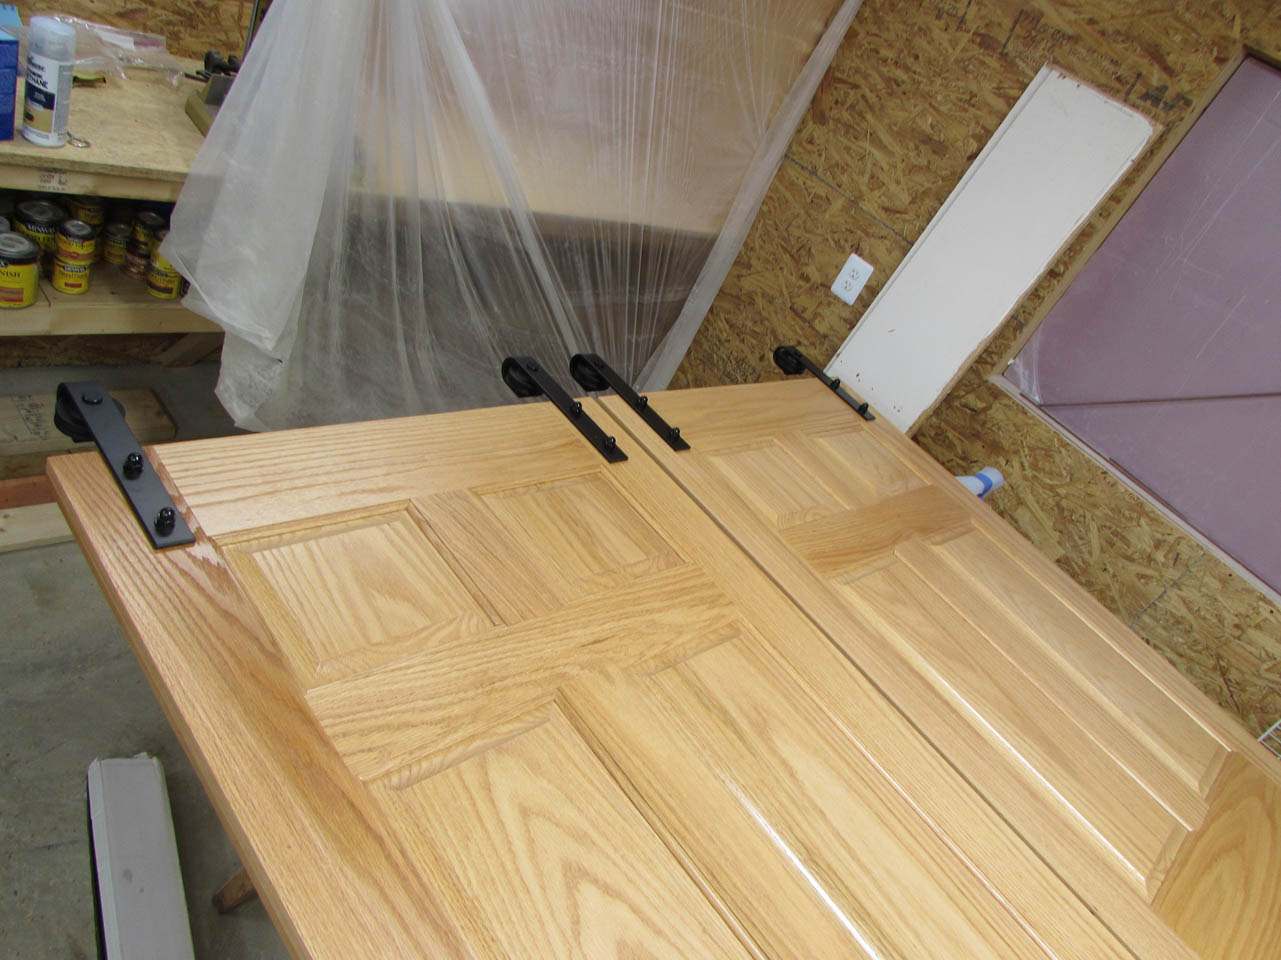
When the doors are dry, I add the rollers for the barn doors, then I have to wait for some extra muscle to move these heavy doors upstairs.
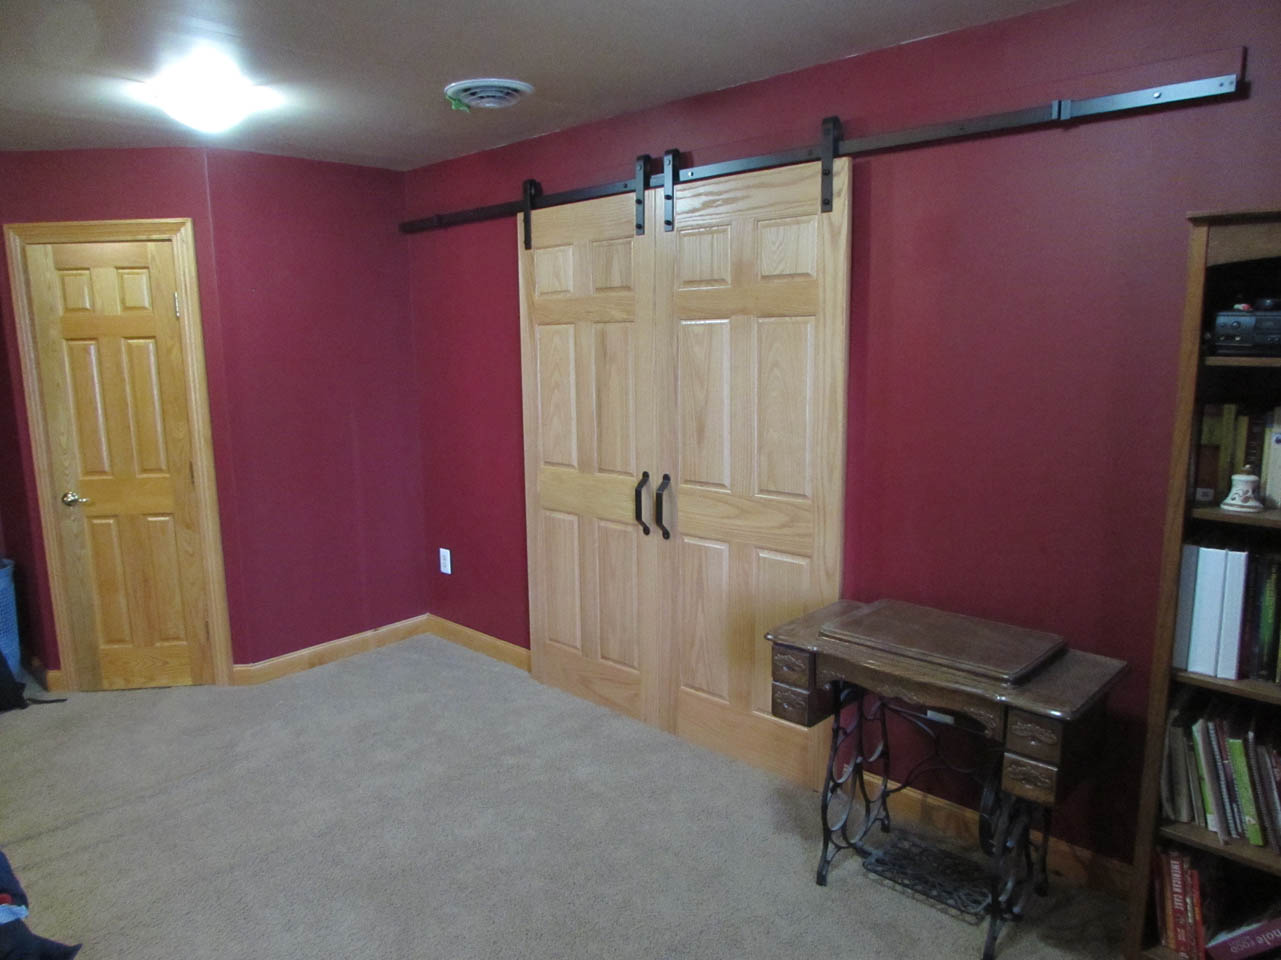
The door hardware comes with directions so I didn’t bother to document mounting it, but here are the installed doors. This is the oak, bedroom side.
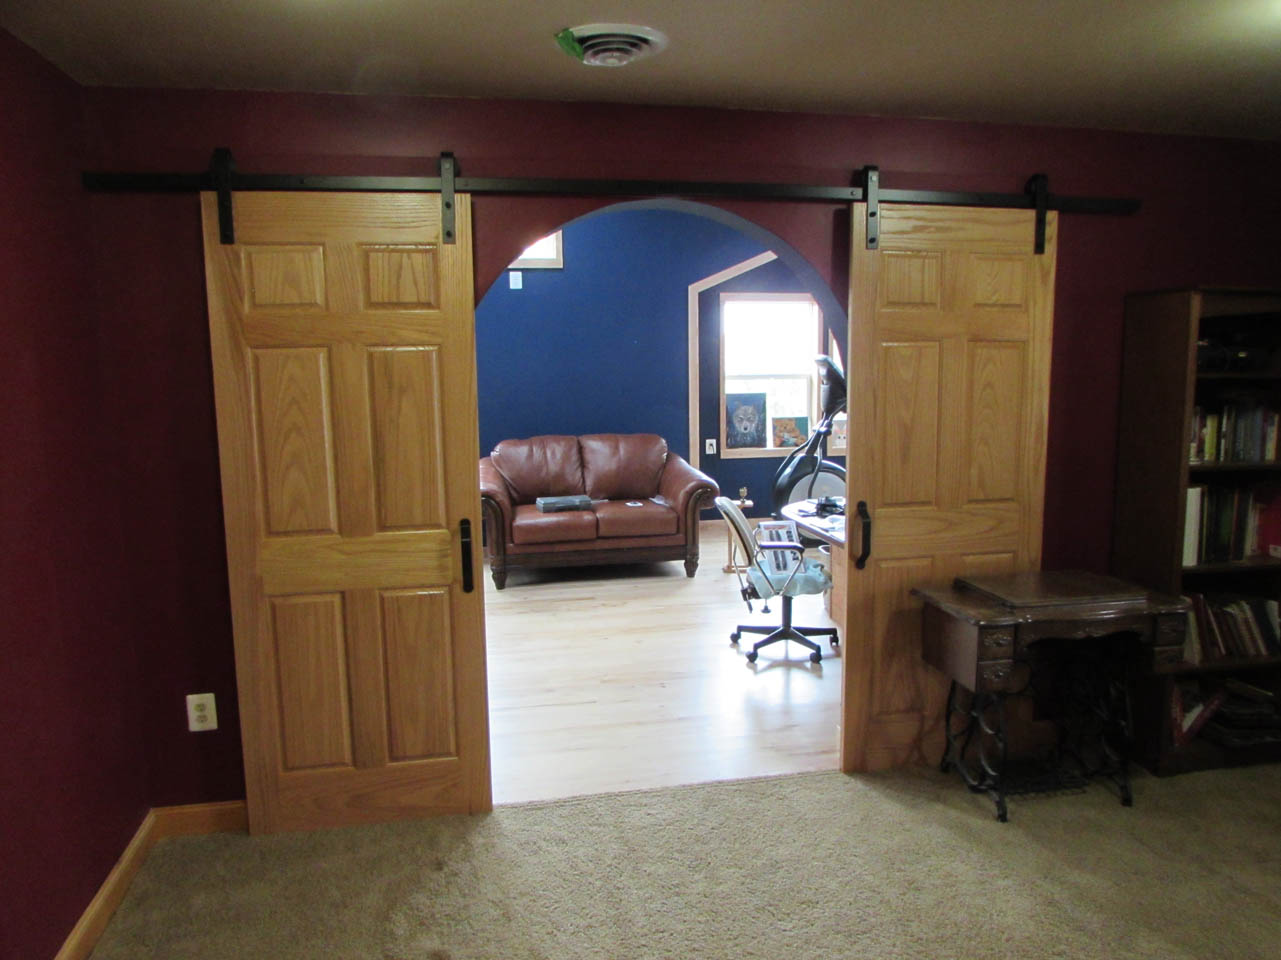
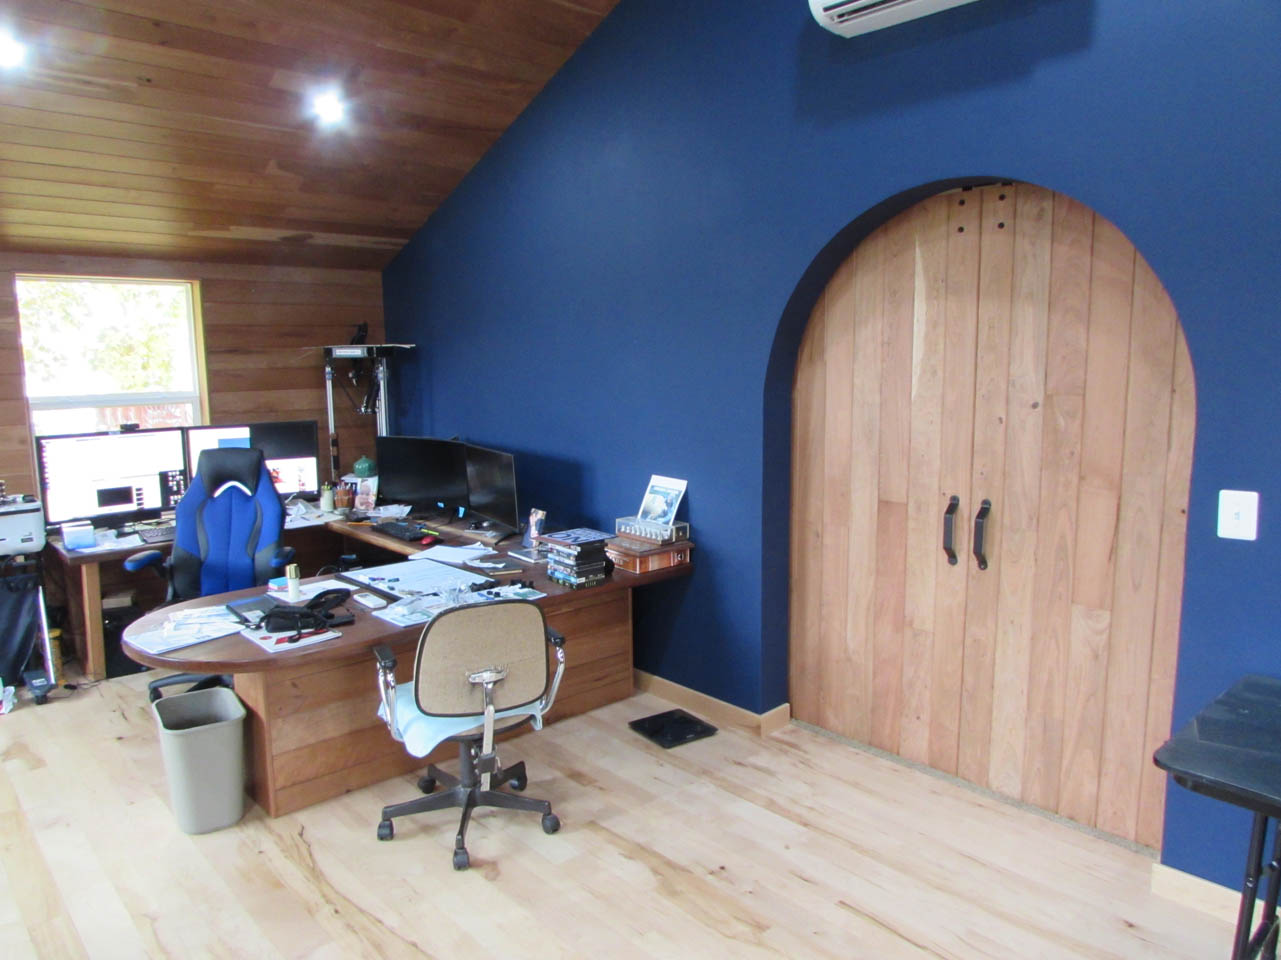
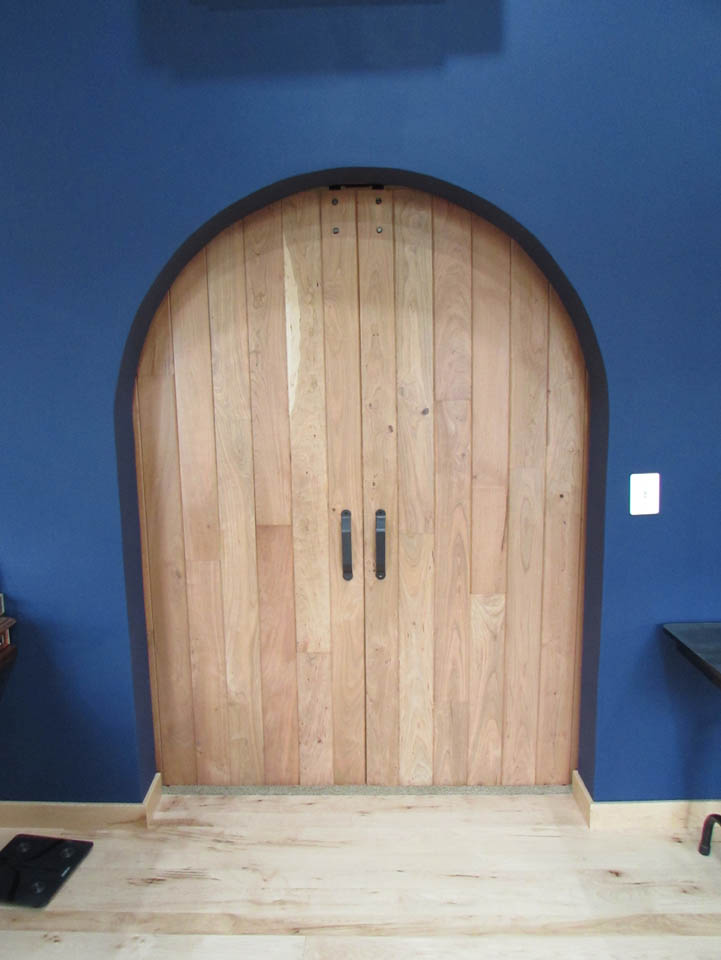
And this is the office cherry side. The cherry will darken over time to match the walls and desk. I am happy with the look. I actually wanted to add studs and straps to make it look a bit more medieval but I also really like the clean look. I may leave it this way for a while.
This was a challenging project but I am glad I tackled it. Hopefully, being in a conditioned space, there won’t be any problems with expansion and contraction of the two different woods, but we will see…
