
Jesse tree
A couple of months ago, well maybe 9 months ago, I was asked to make a Jesse tree by the Stacy, the Religious Education Coordinator at my church. Jesse Trees are Christmas tradition, so of course I put it off until the month before it was needed. They are used to help tell the story of the Bible from creation to the birth of Jesus. The request was for one that was about six feet tall but collapsible, easy to store, and easy to move around. Stacy sent me an image of one she liked:
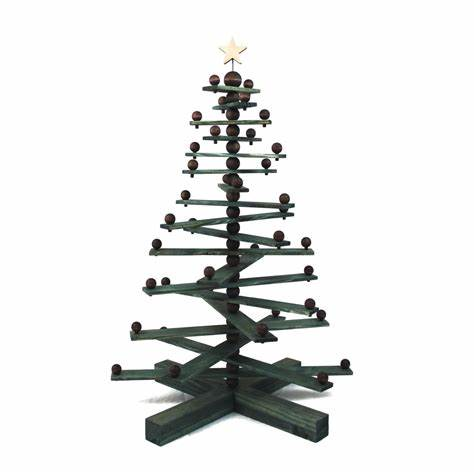
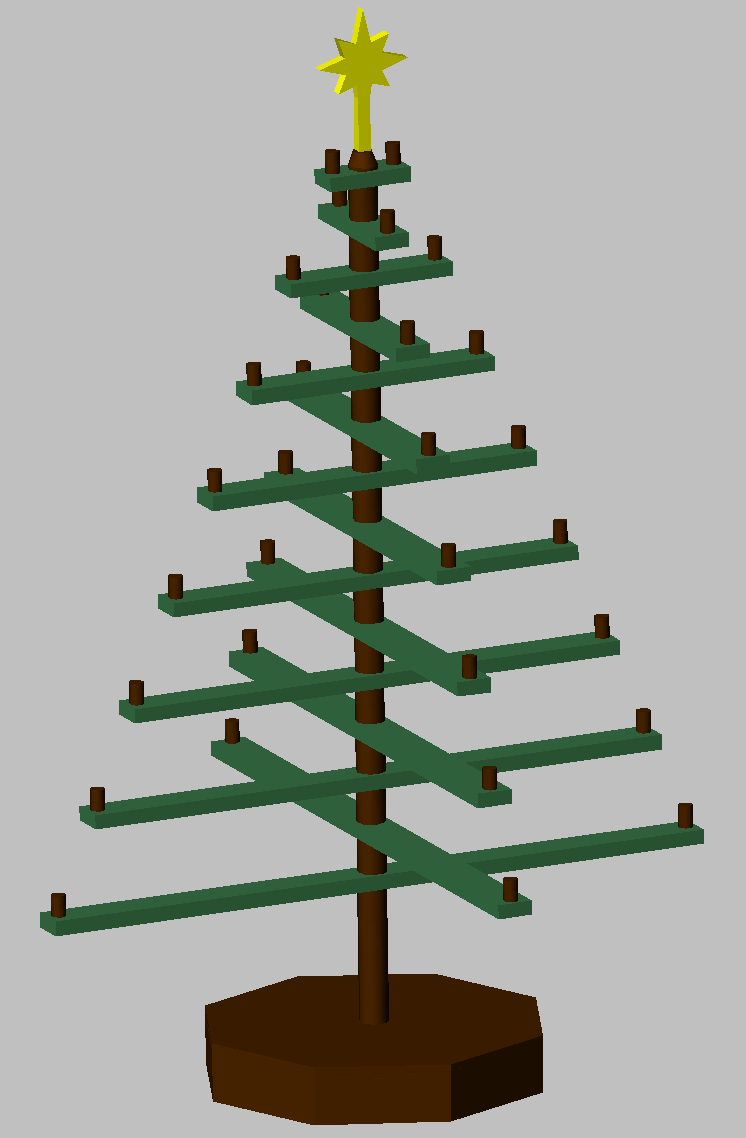
This one was only about 18″ tall so I had to scale up the design a bit:
My plan was to buy a 6′ long piece of 1/2″ all-thread for the center of the tree and have all of the separate sections of trunk thread down the center with a nut inside. The branches would have a larger through-hole so they could spin. The design of the base would be determined after the size and weight of the tree was established.
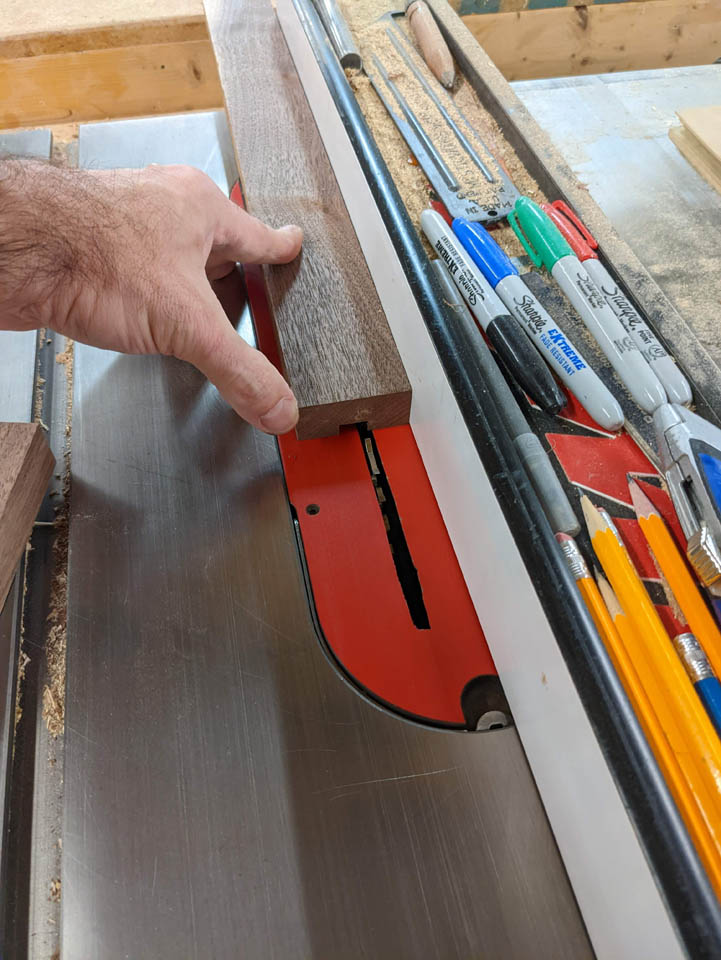
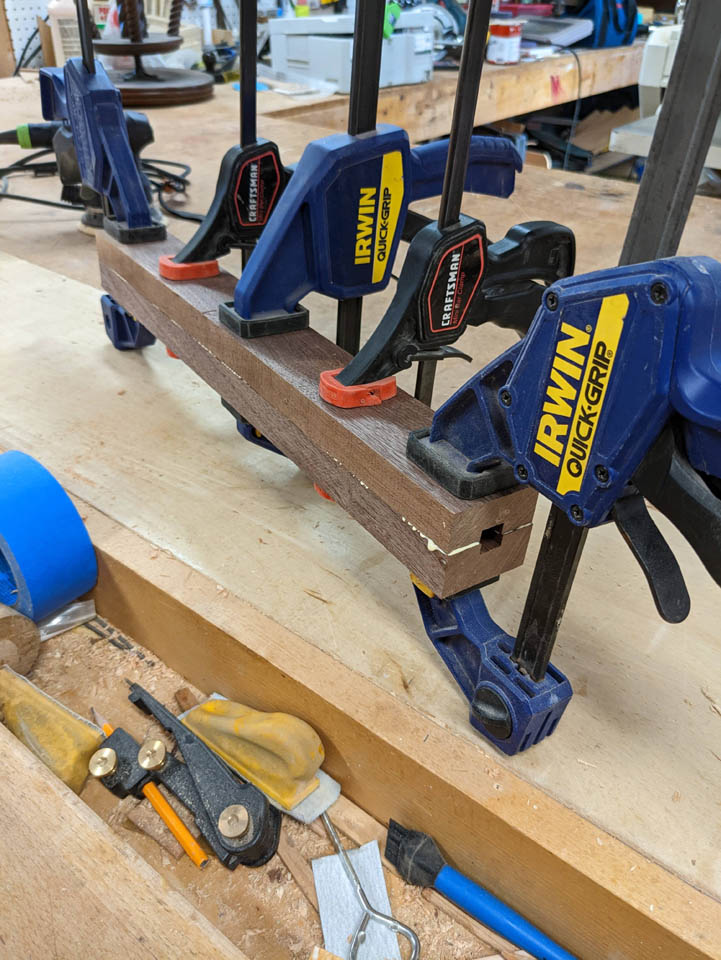
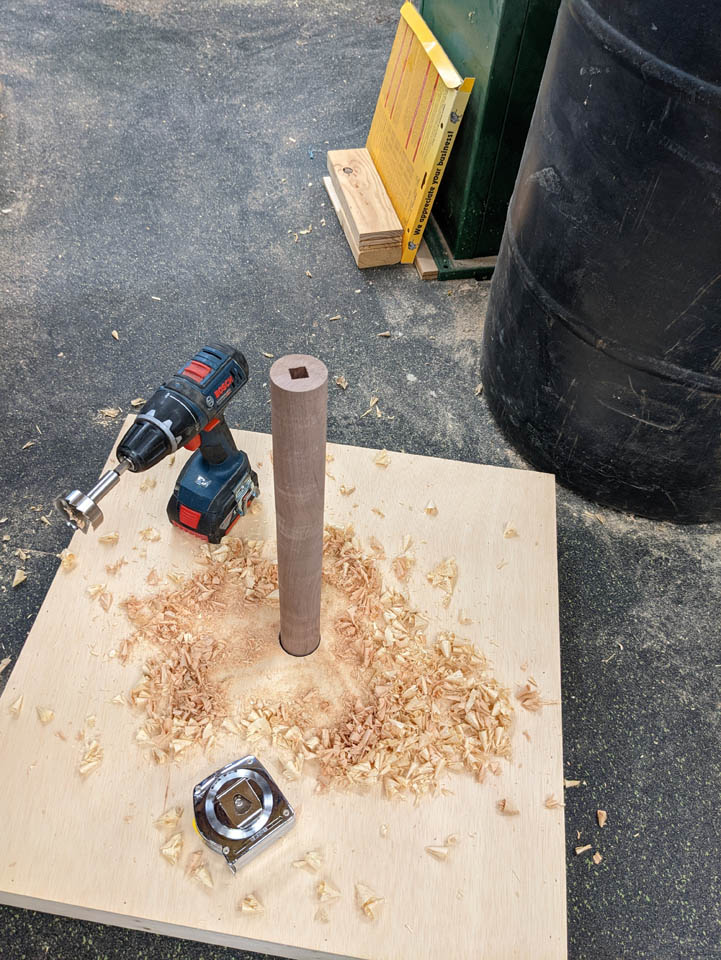
I assumed the trunk would be the most time-consuming part so I got started on that first. I want the trunk to be just under 2″ in diameter, slightly narrower than the branches. The chunks between the branches are about 2-1/2″ tall and can be easily drilled out but the base trunk was about 18″ long and I knew I wouldn’t be able to drill that. I decided to cut a couple of 2″ wide, by 1″ thick pieces, then cut a 1/2″ wide, by 1/4″ deep groove in the center of each.

When glued together, this would give me a 1/2″ hole that was perfectly centered.
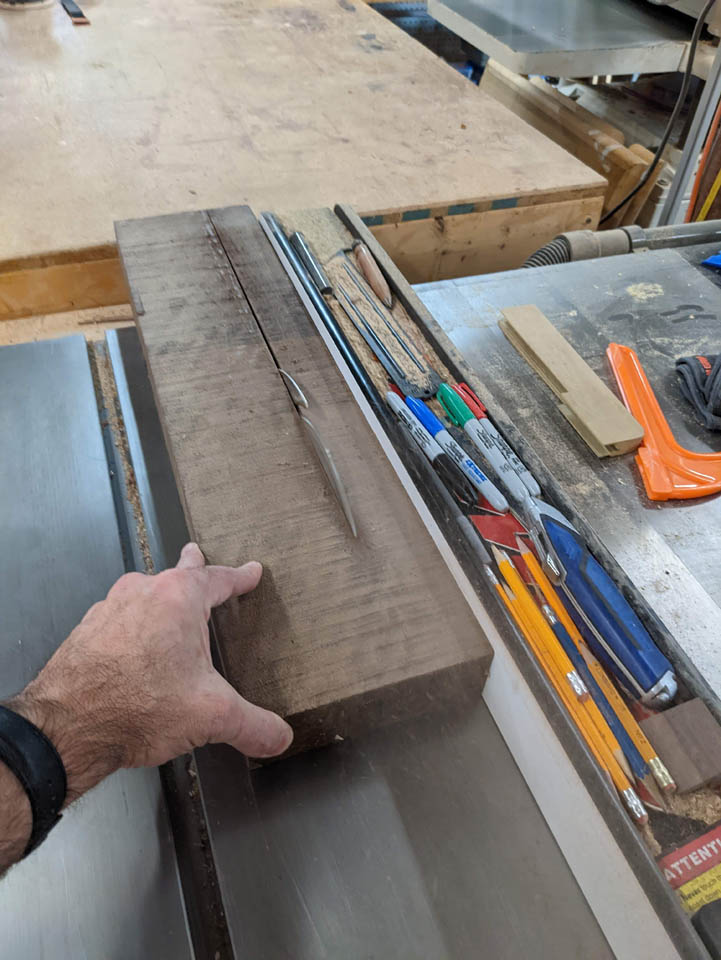
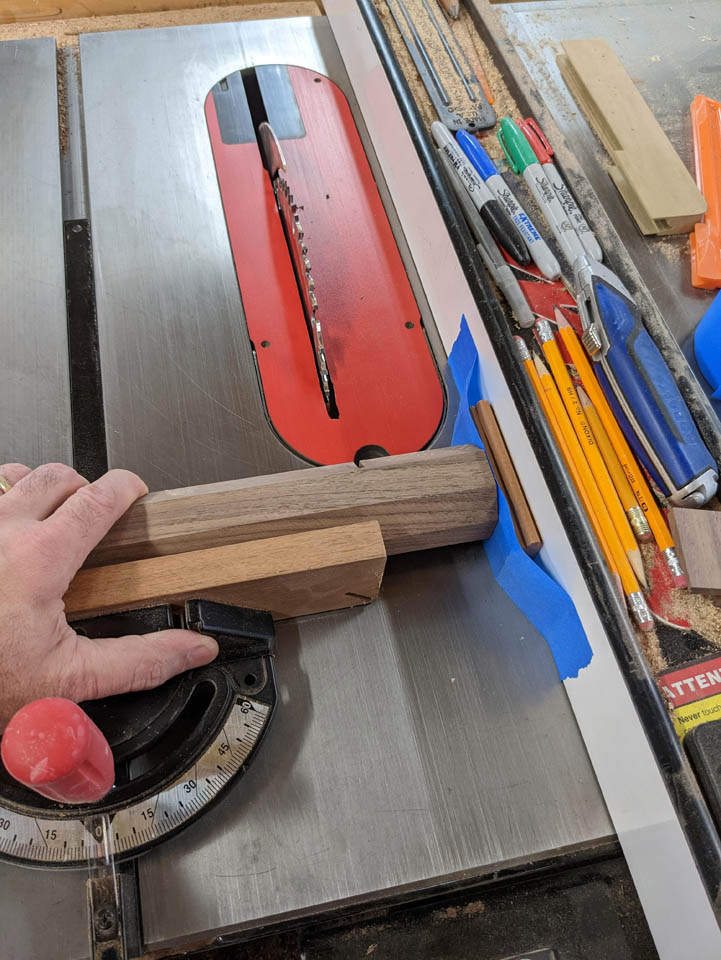
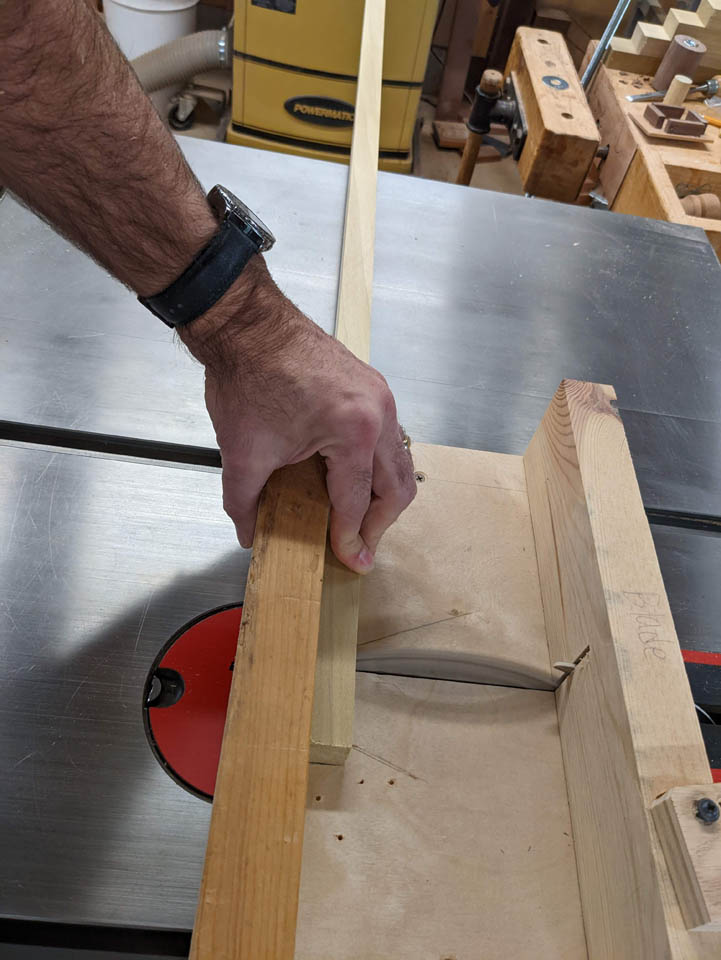
While that was drying, I cut several more 2″ square chunks of walnut for the rest of the trunk pieces.

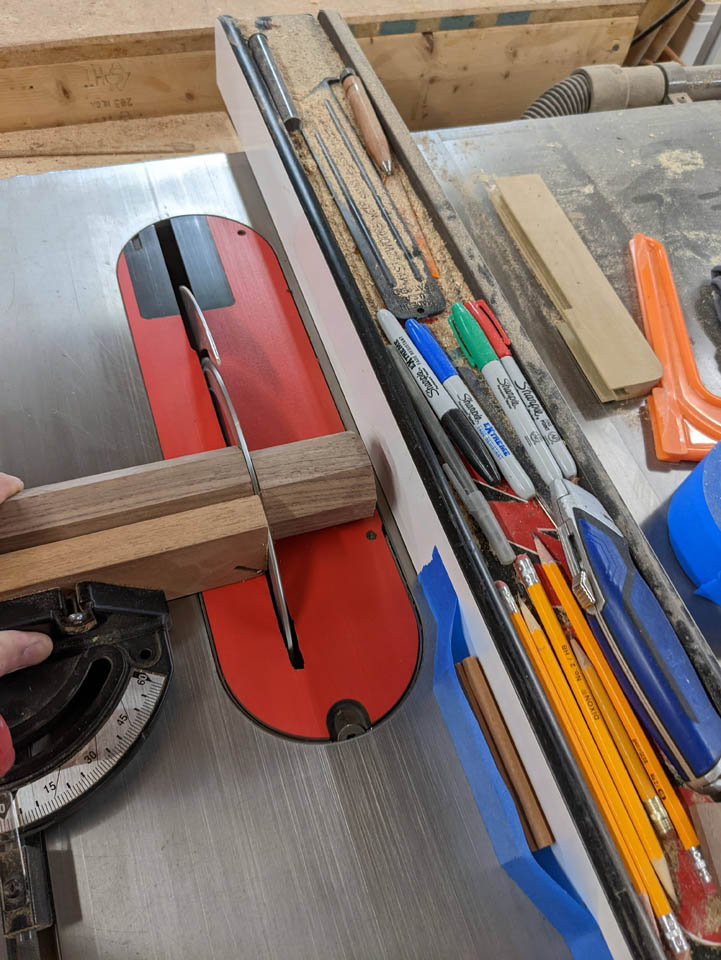
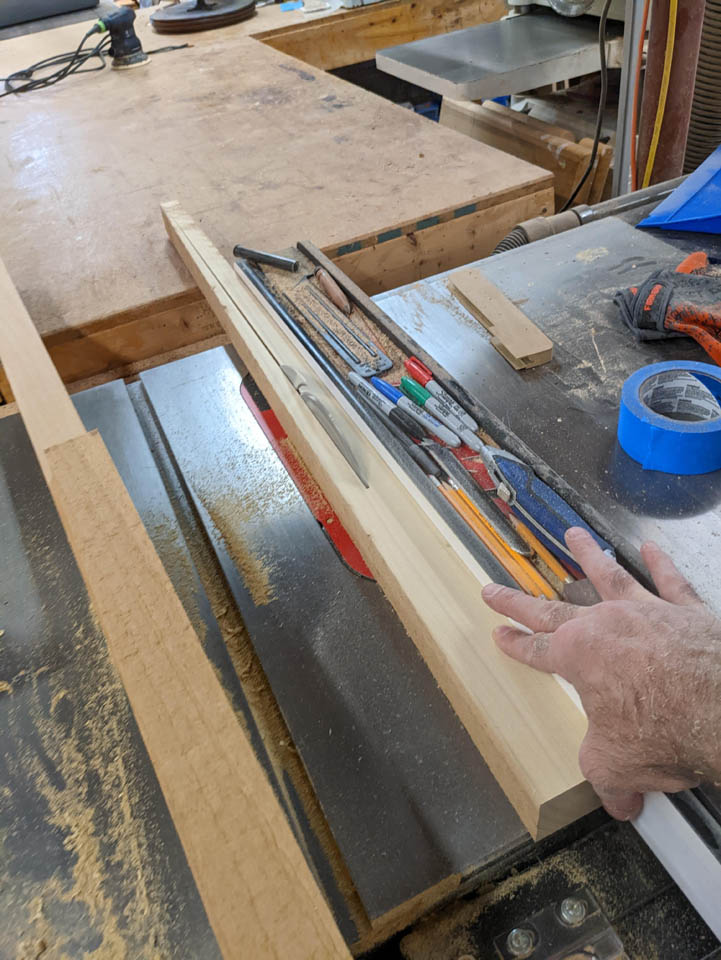
I angled the table saw blade to 45° to cut off the corners.
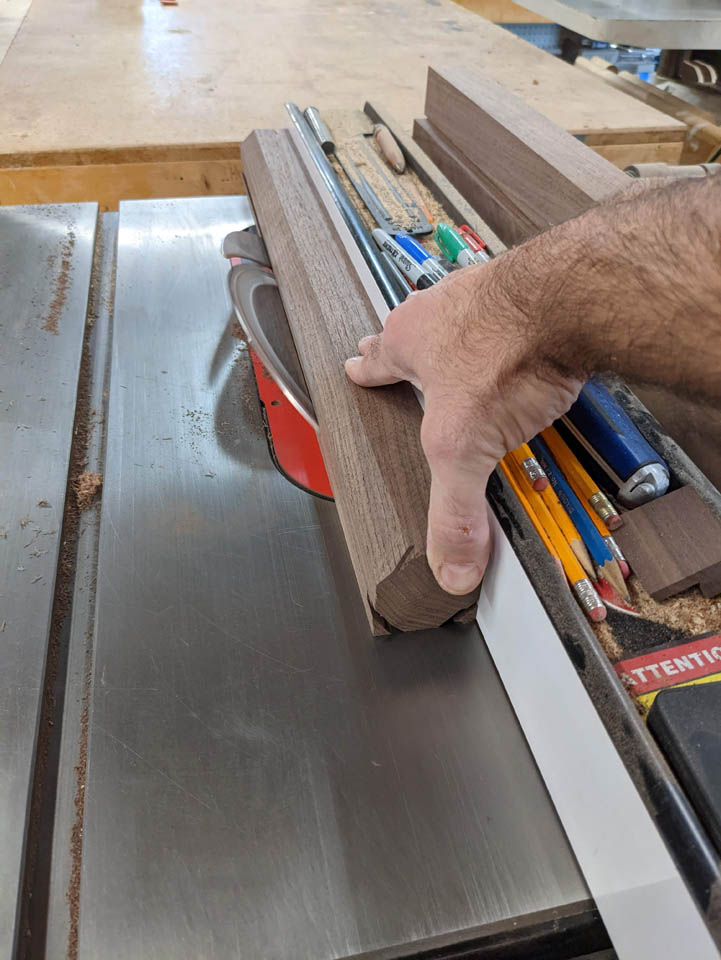
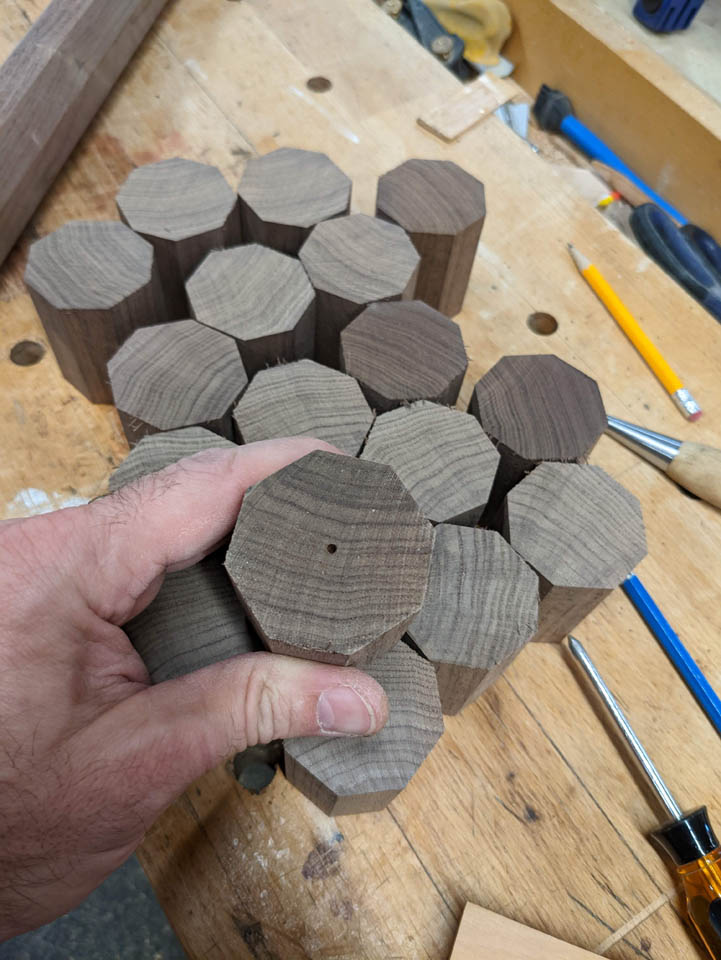
This gave me several octagons that would be easy to cut into cylinders on the lathe.
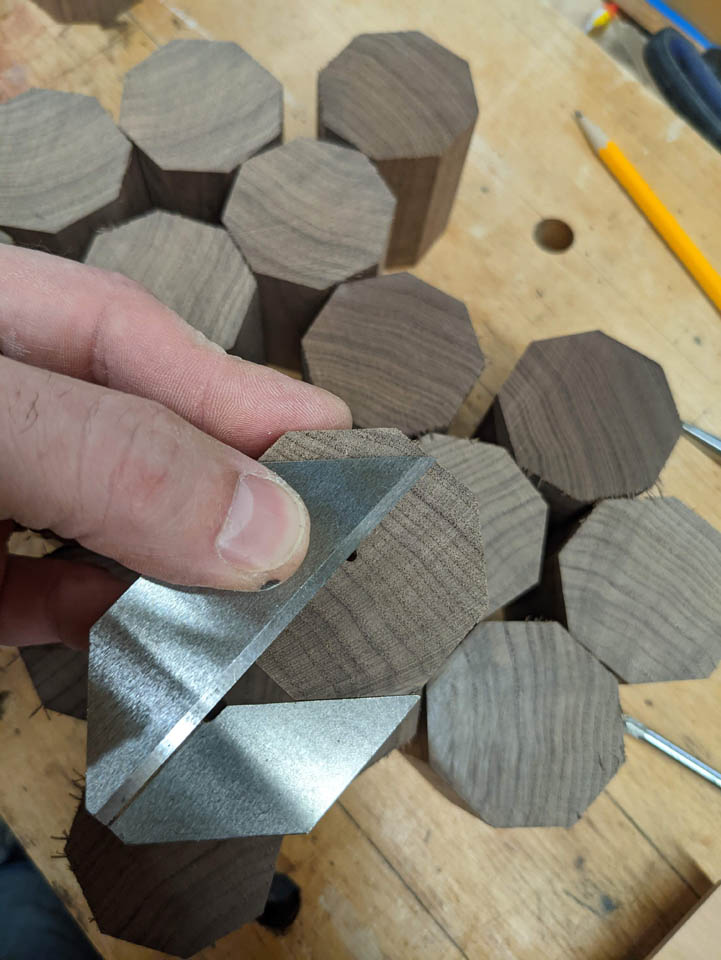
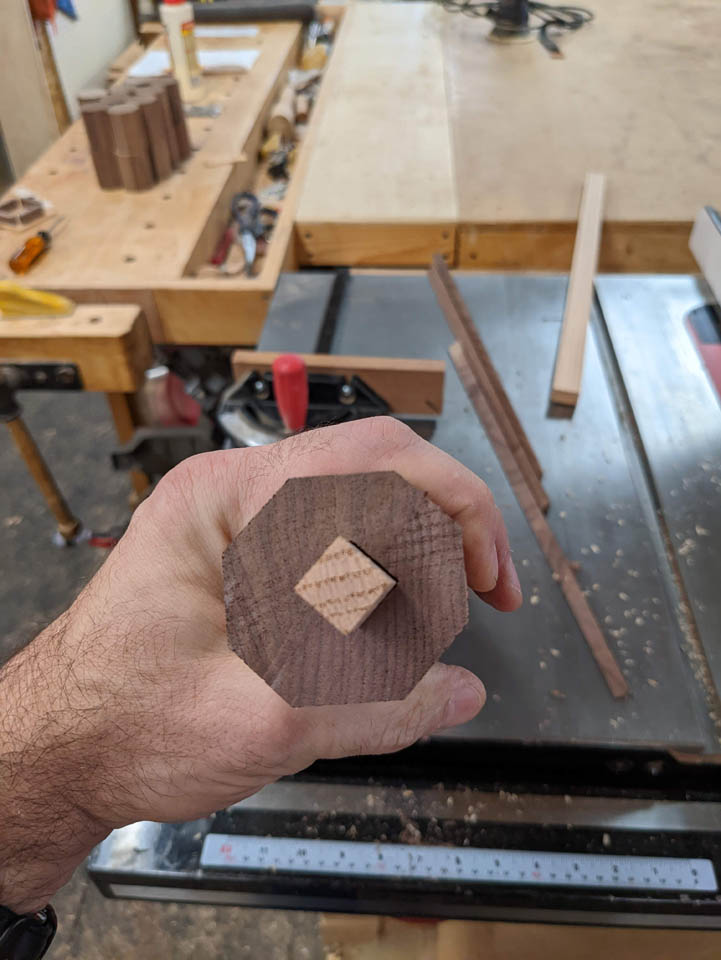
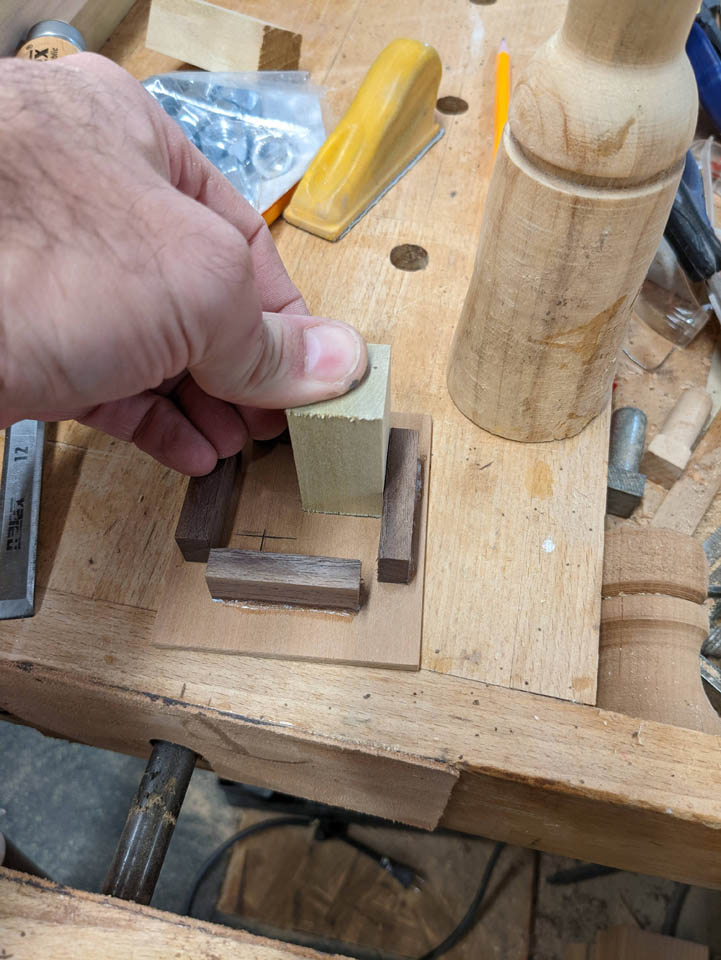
I wanted an easy way to find and mark the centers of each end so I grabbed a flat plate of cherry and drilled a small hole in the center. I marked the center of one end and ran a screw through the cherry into the center of the walnut.

After that was attached, I applied CA glue to four small blocks and CA glue activator to the cherry plate.
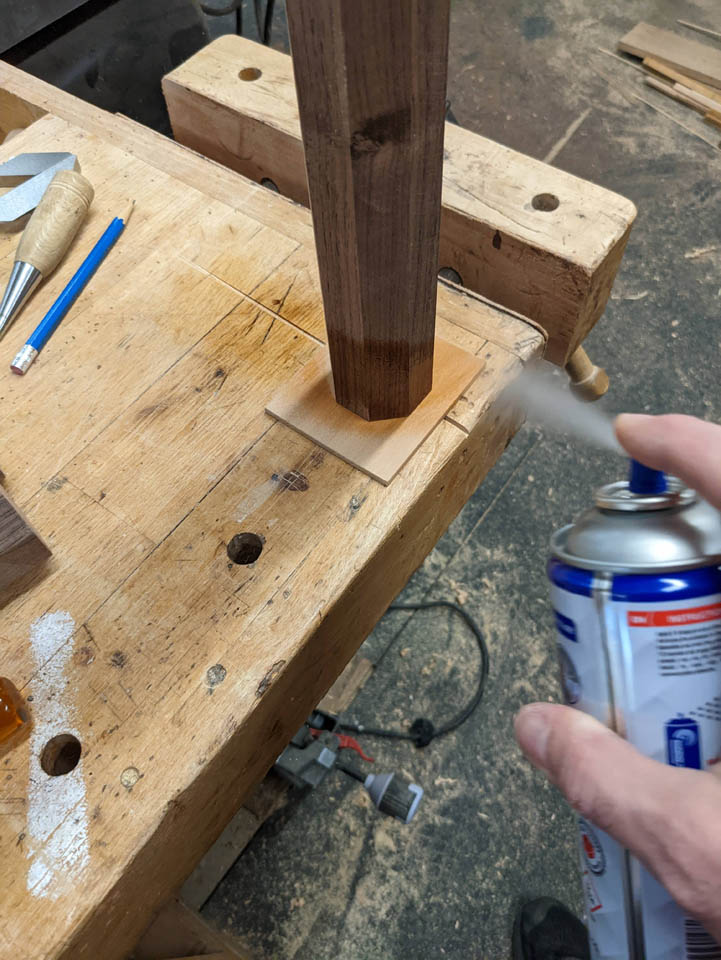
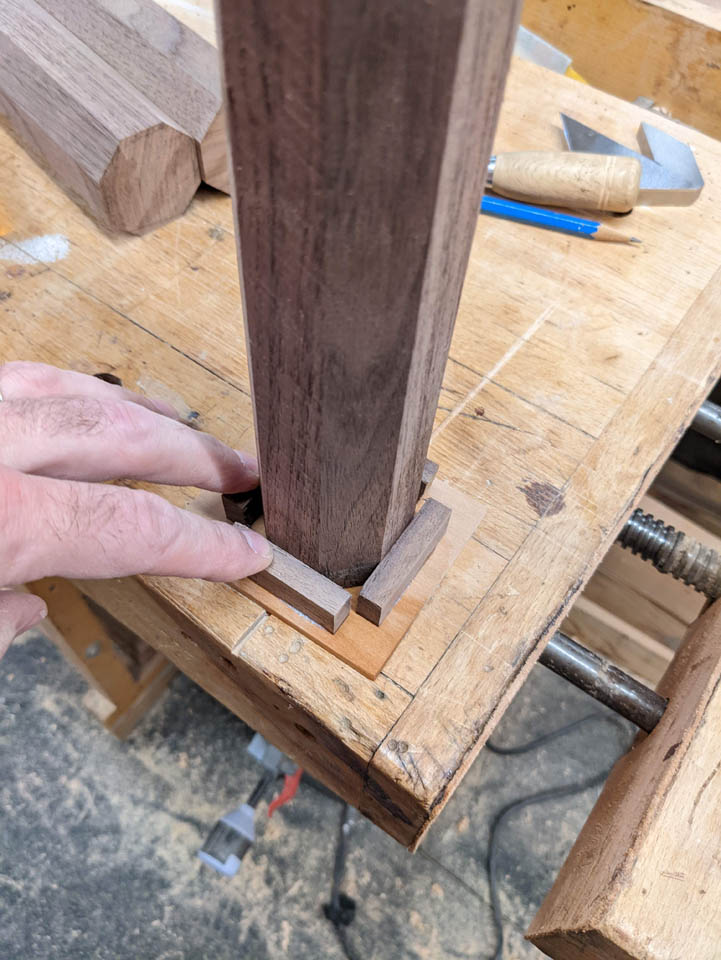
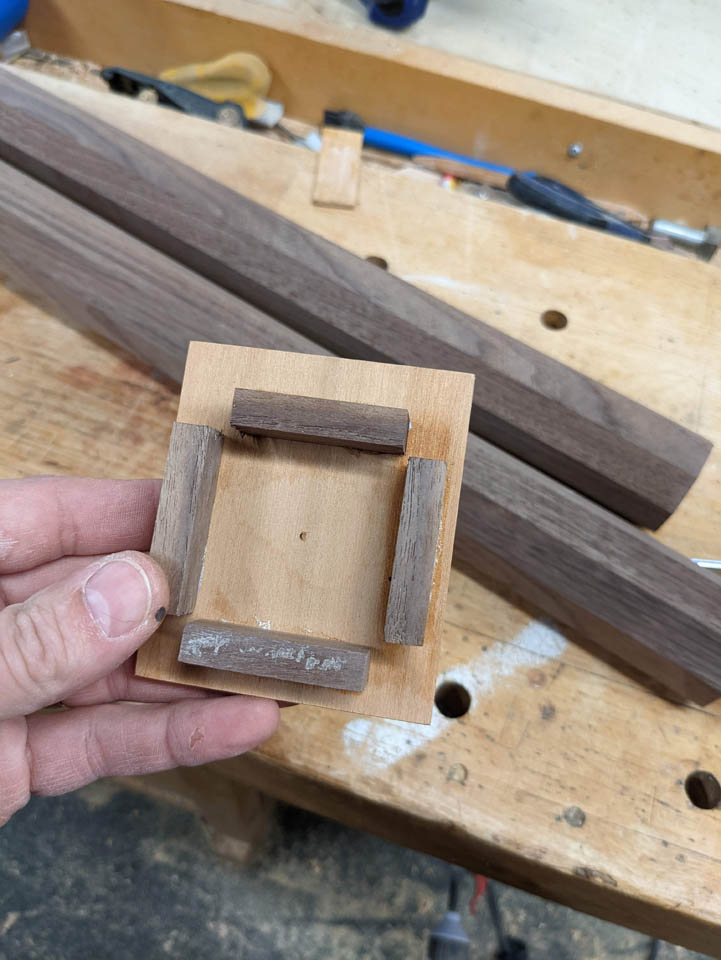
I pressed each of the blocks onto the cherry, firmly against the walnut and after a few seconds, I had a square that could now locate the center of the rest of the walnut blocks.
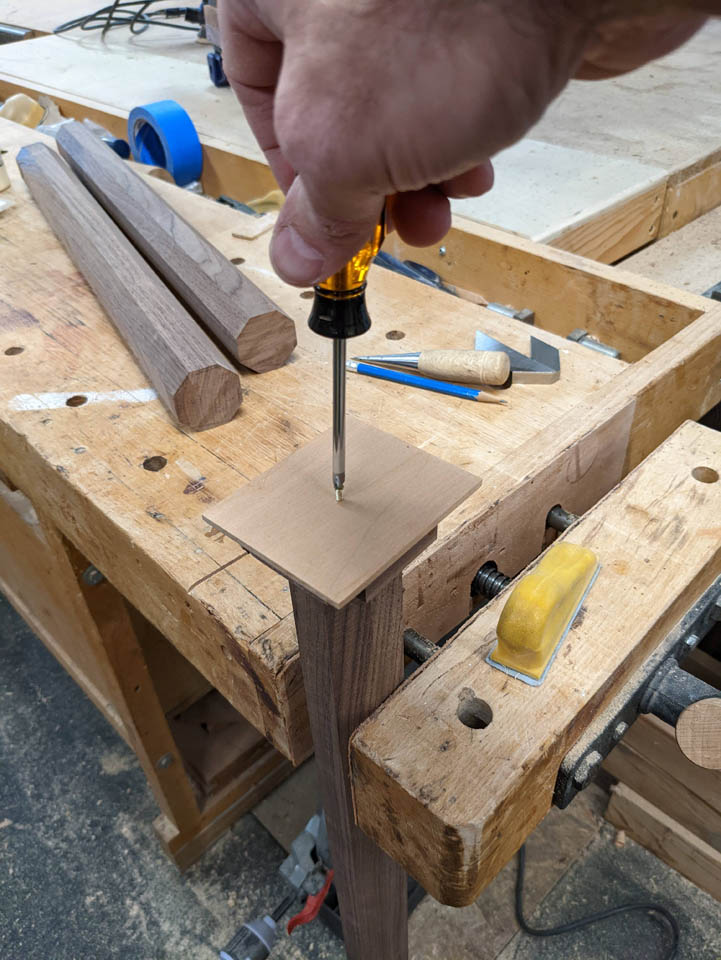
I slid the plate over the end of each and screwed the screw in part way to make a mark.

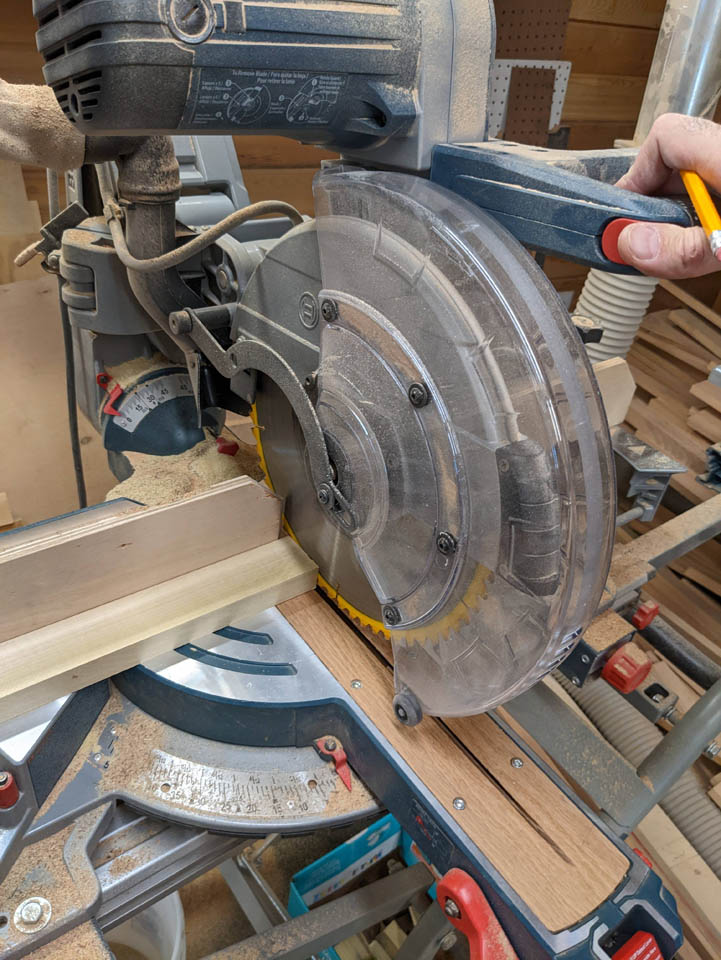
I went ahead and set up the table saw to cut 2-1/2″ chunks off of each of the walnut octagon pieces.
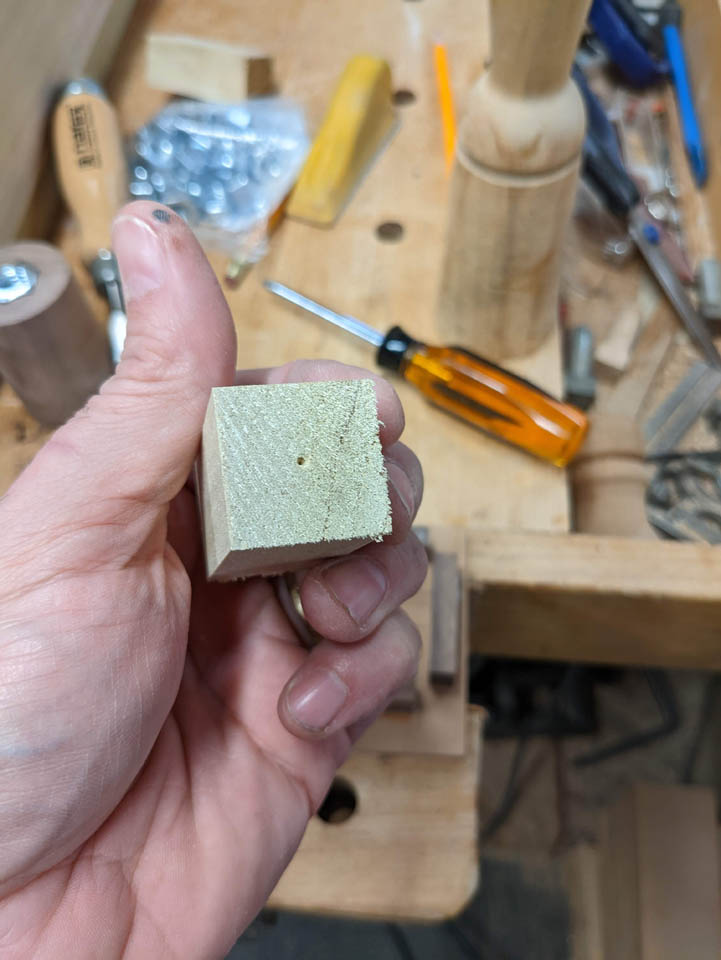
When they were all cut, I marked the center on each end, the same way.

I double-checked occasionally to make sure they were all dead center.
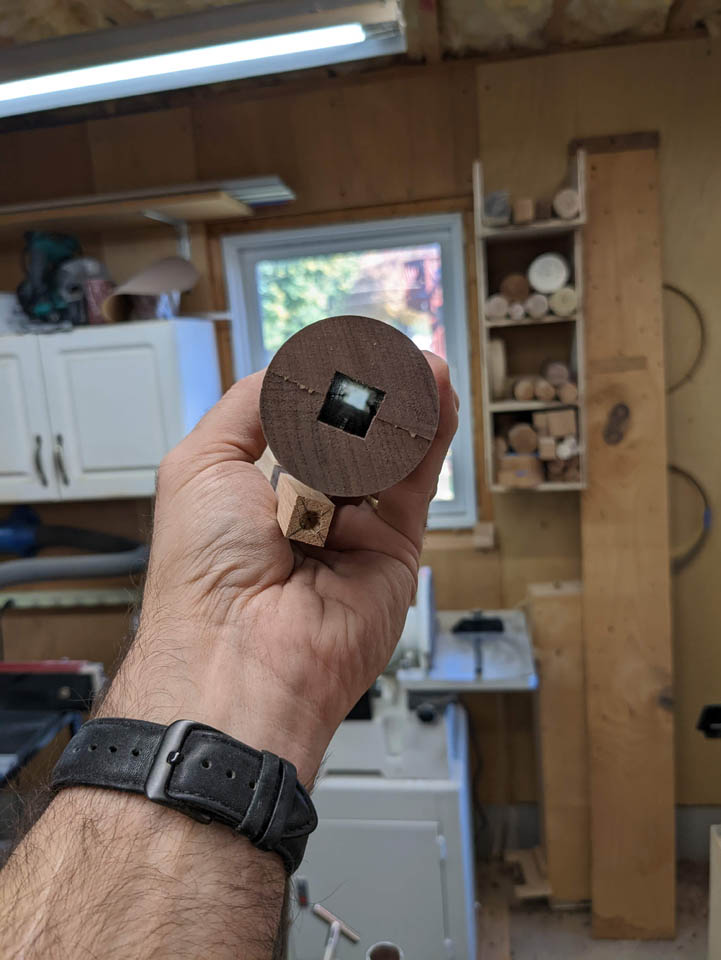
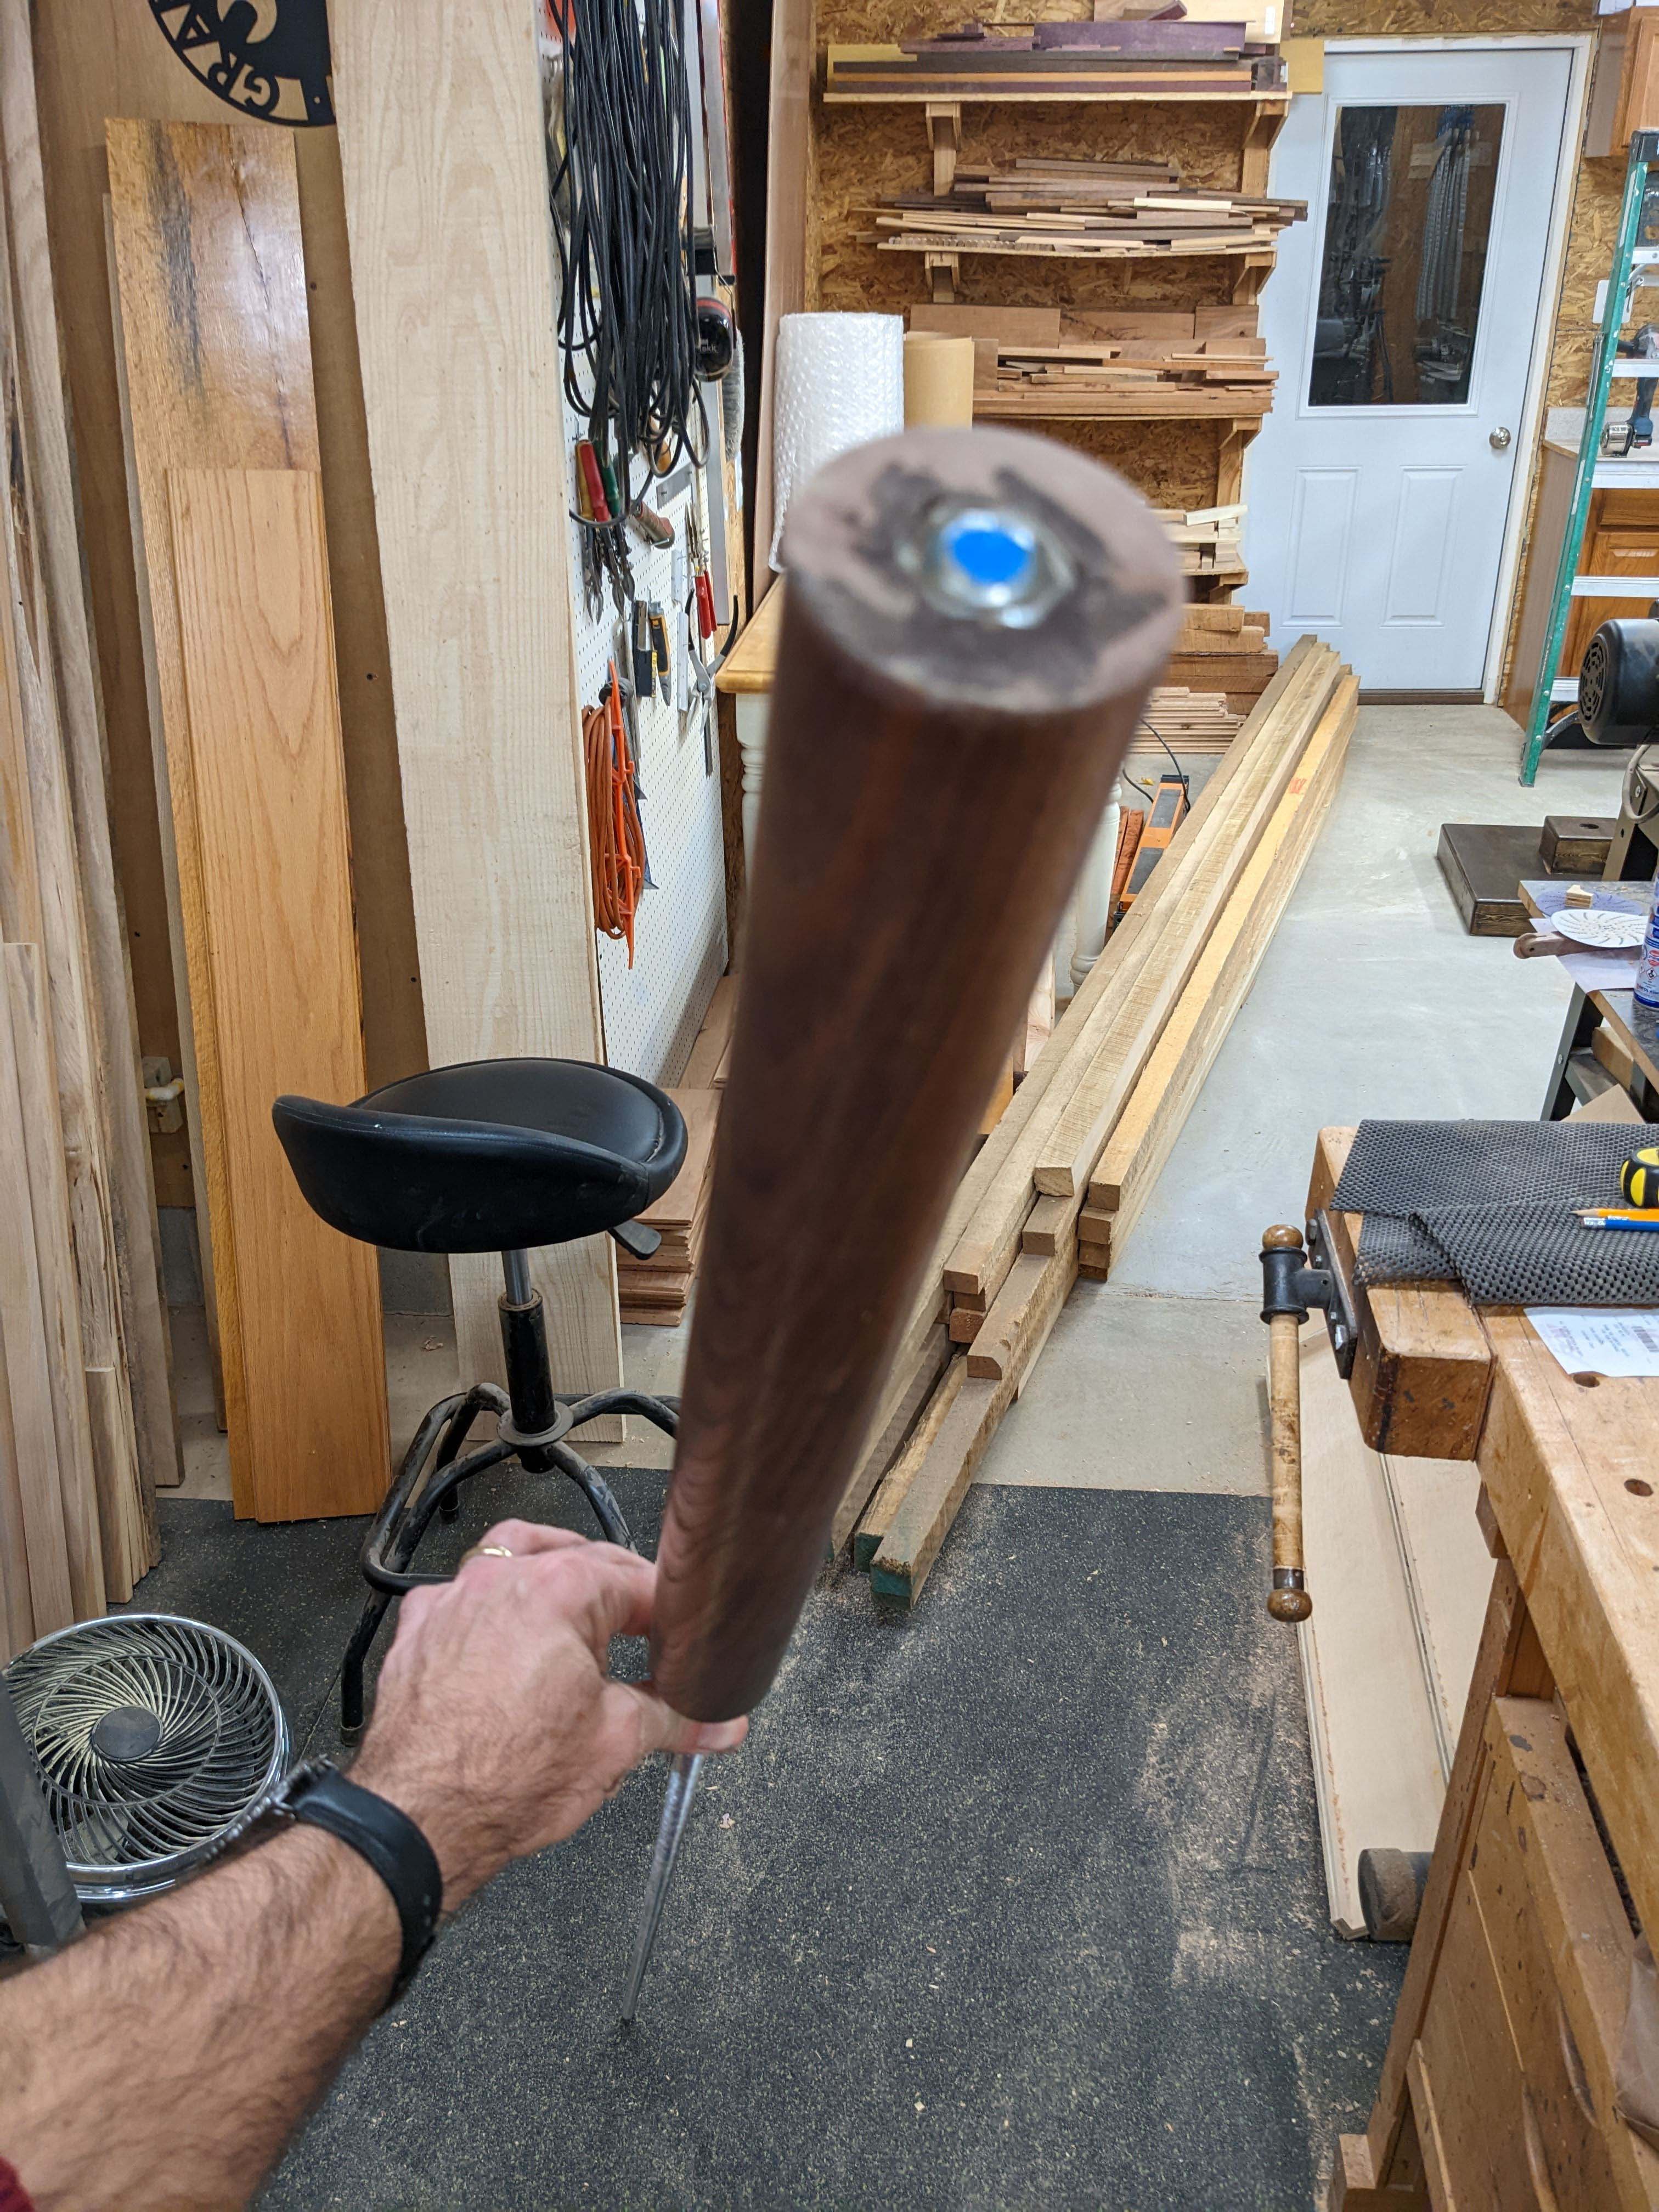
With those prepped, I went back to the longer, base piece. I needed to create a 1/2″ square insert to fill the hole, then marked the center on each end to locate it in the lathe.

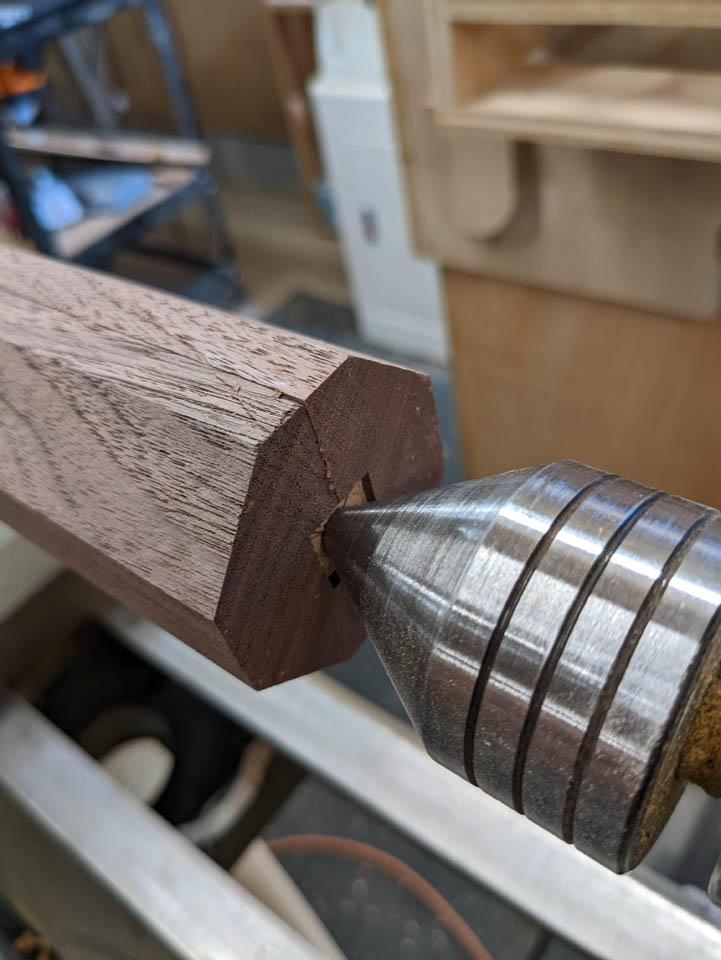
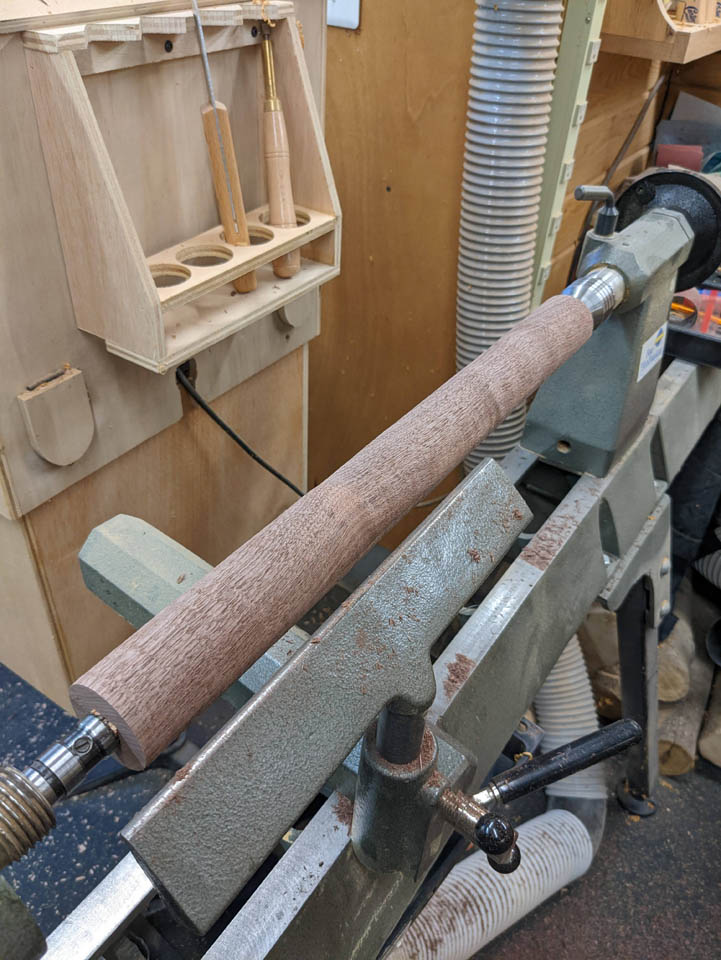
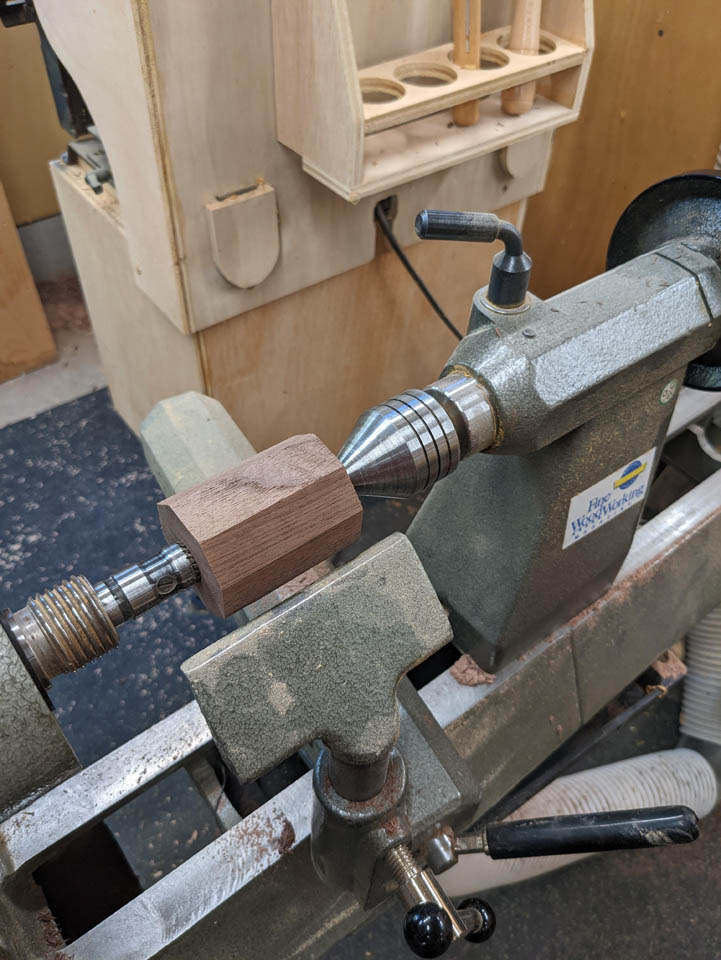
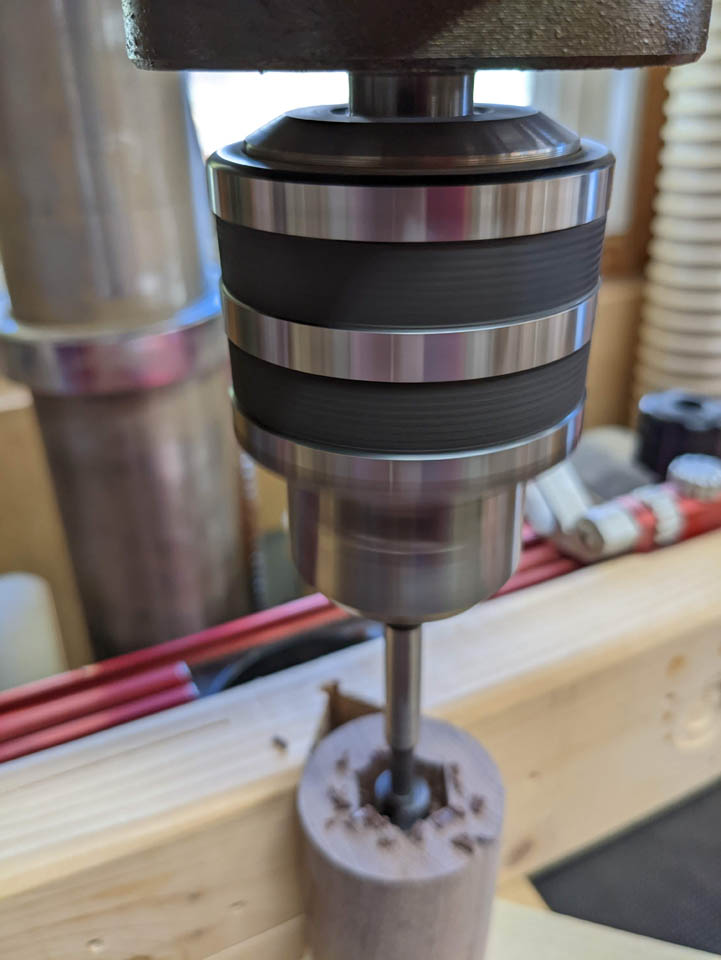
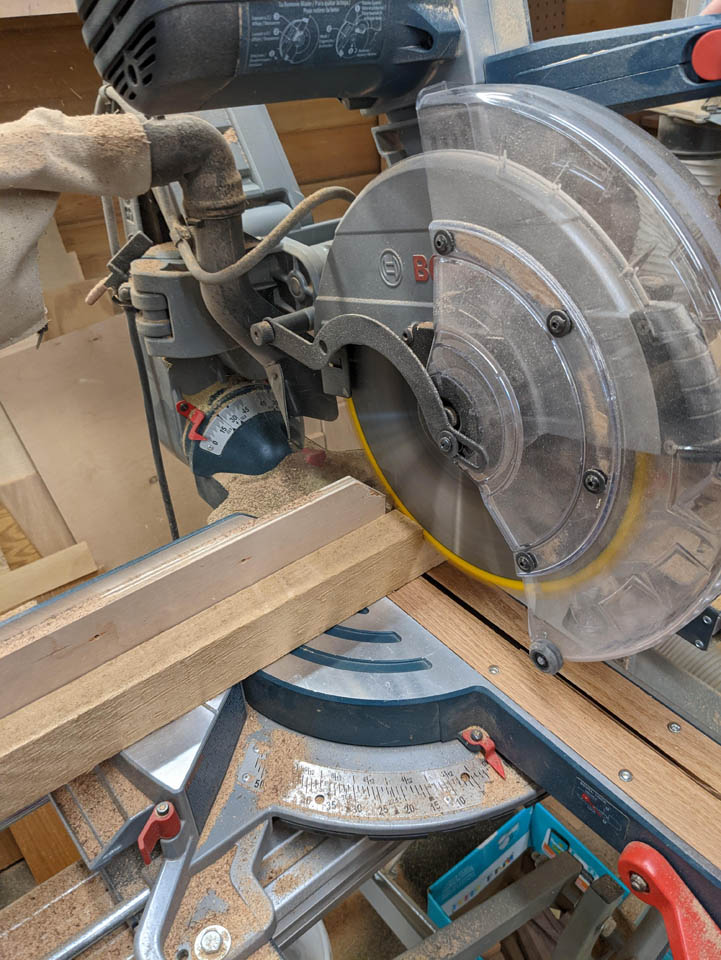
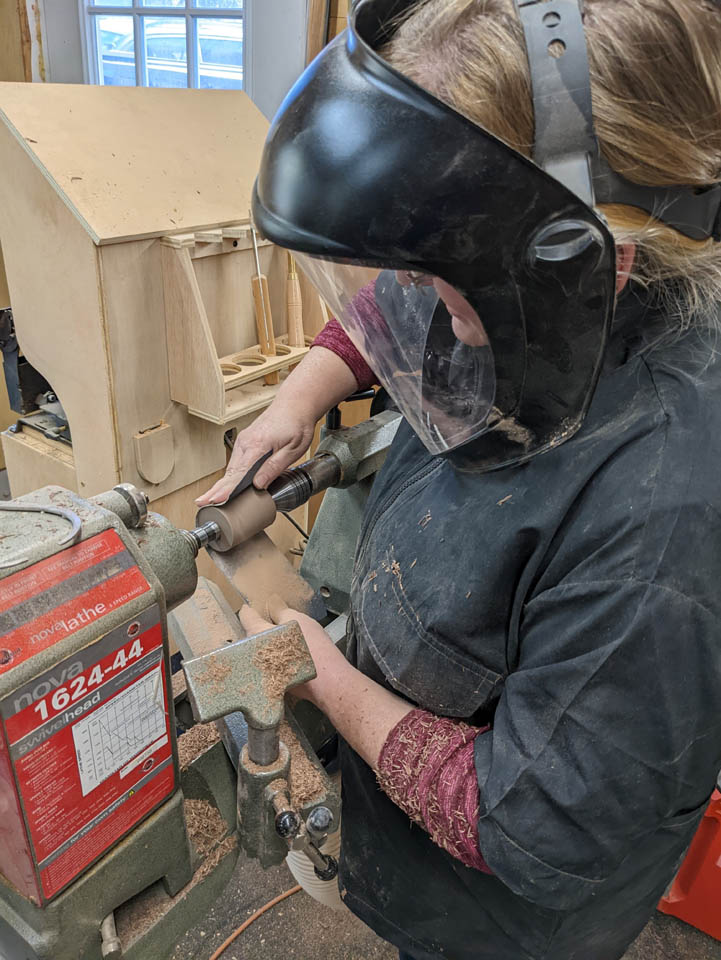
Each section is held between two centers, one end has a spur on it that presses into the wood to drive it as the lathe spins at about 2000 rpms.
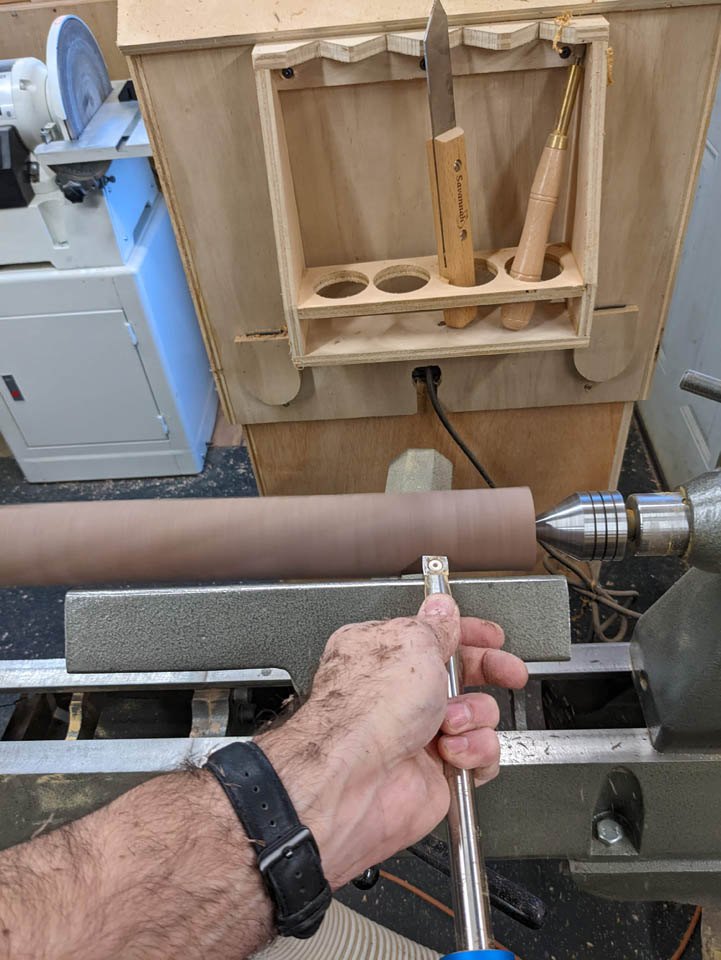
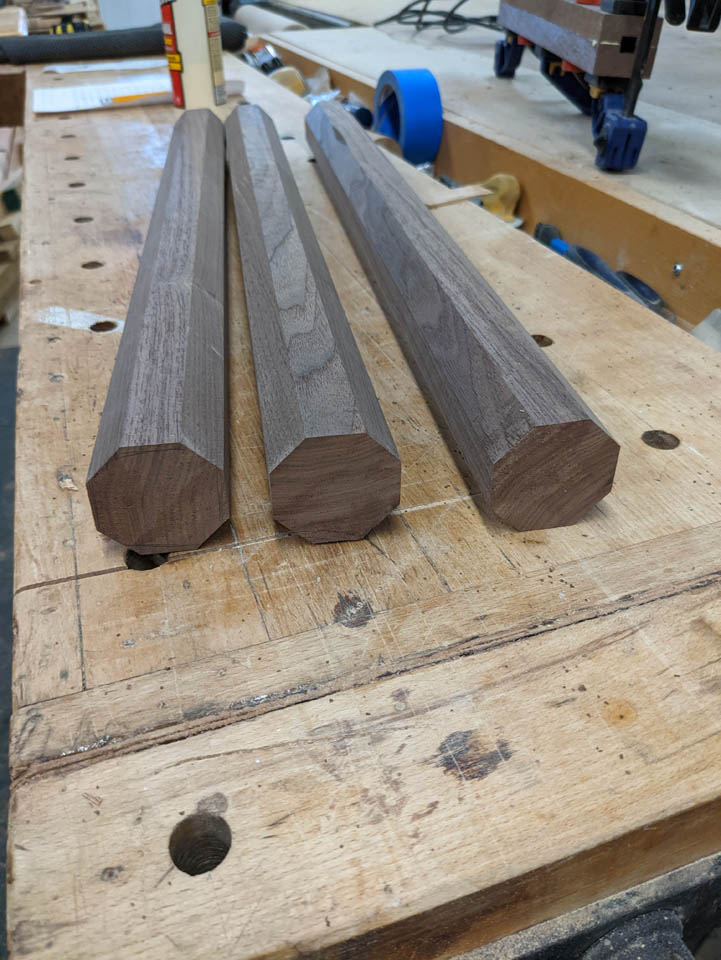
While it is spinning, I use a carbide lathe chisel to cut off the octagonal edges leaving a cylinder behind.
If I am careful, I can get it all the same diameter, all the way down.
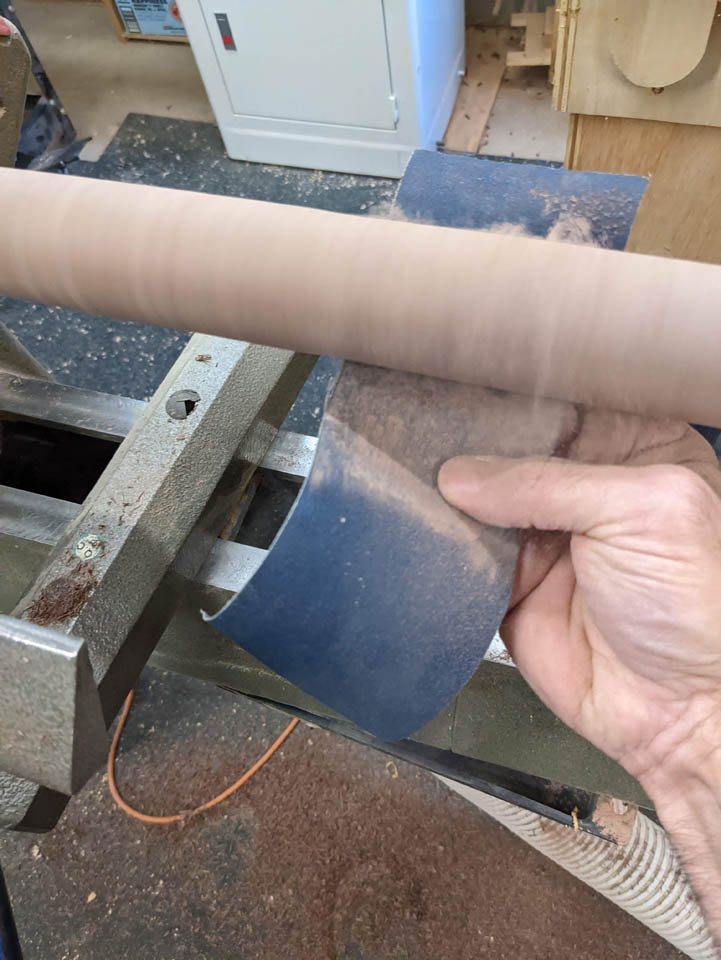
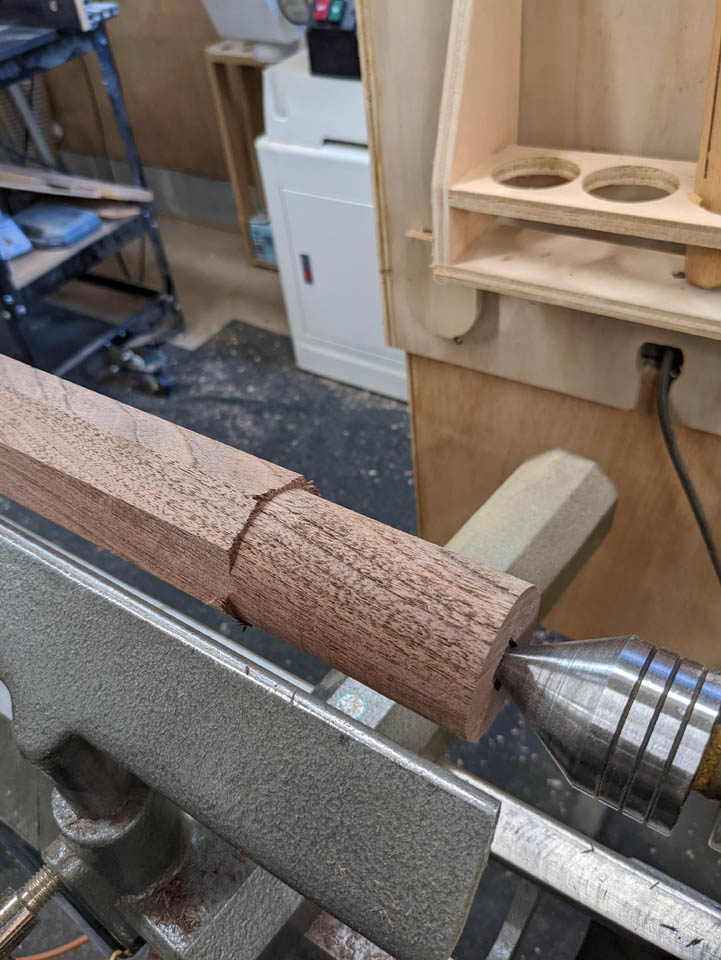
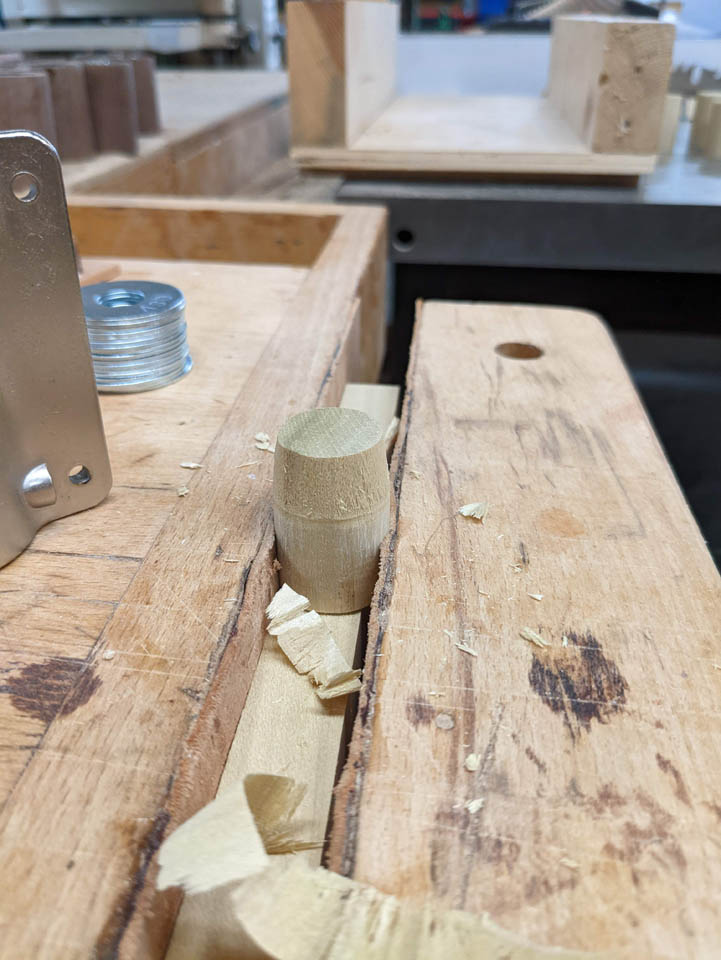
Then I slow down the speed and sand the surface smooth.

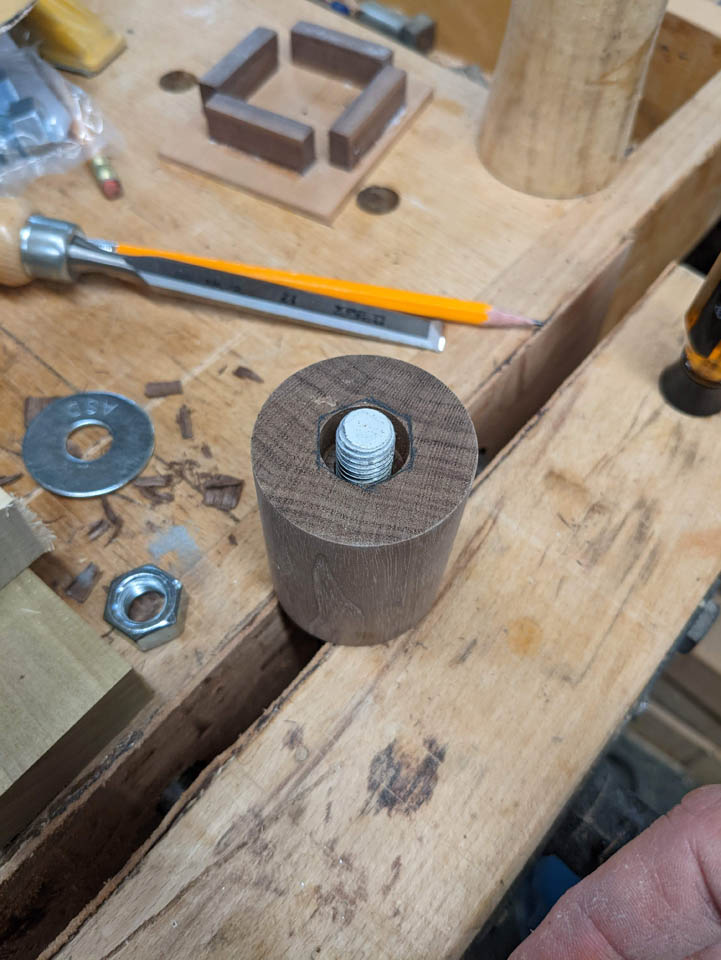
When I release it from the lathe, the oak spacer slides out and I have a cylinder with a 1/2″ hole, centered all the way through.
This will be the base piece on the all-thread center.
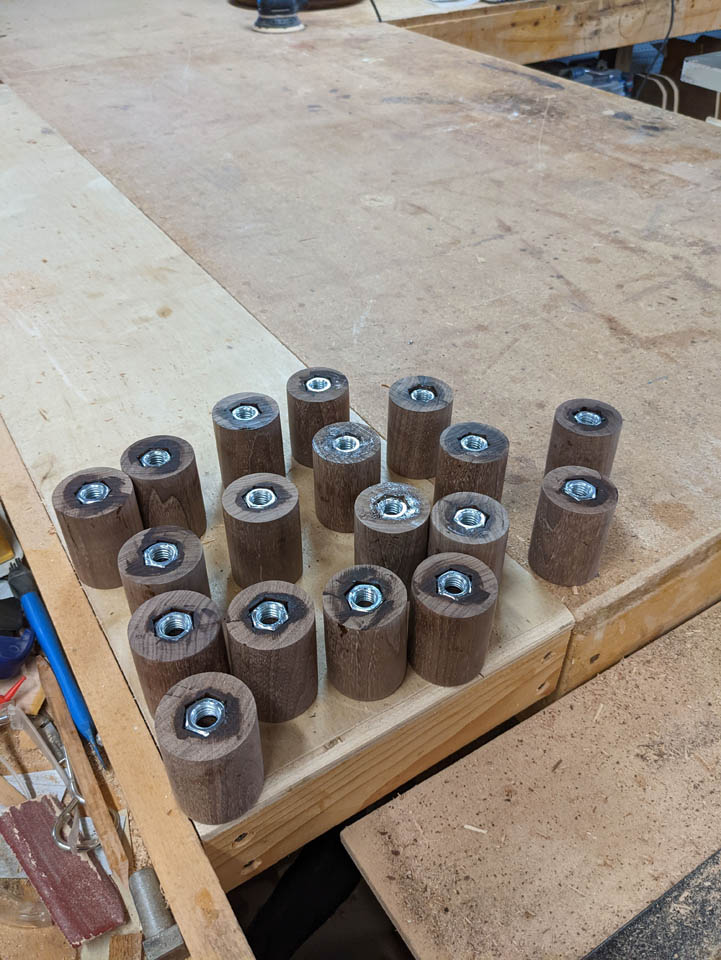
Now I have to do the same thing to each of the nineteen 2-1/2″ pieces. I only need fifteen, but I may need to experiment on a few.

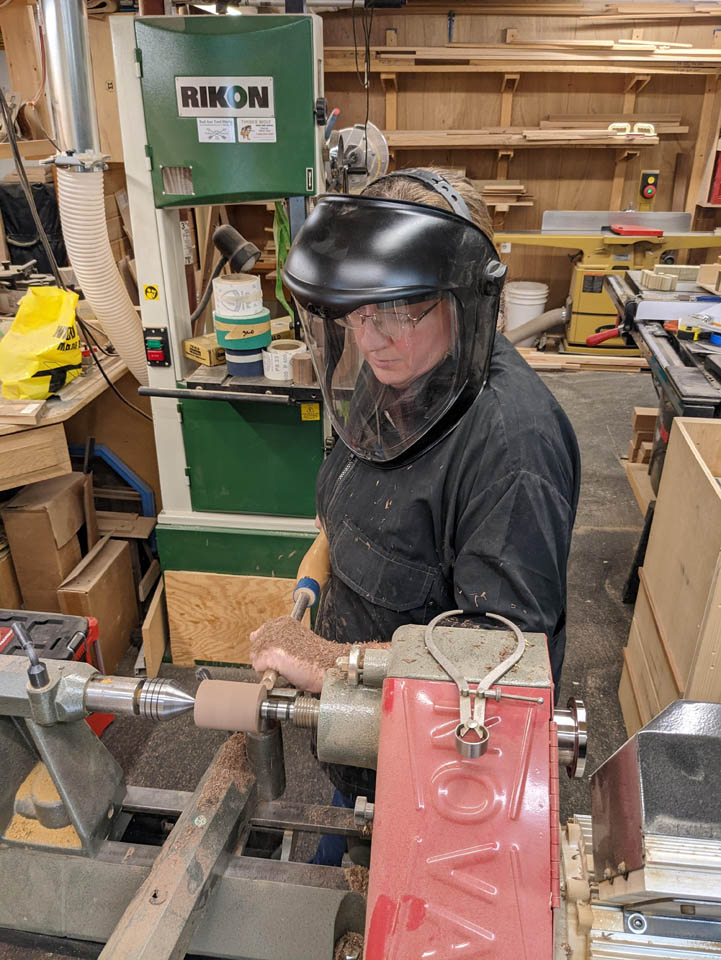
My wife offered to help, so I gave her the fun task of turning the rest while I worked out the next step.

Once sanded, each of these will need a 1/2″ nut embedded within one end.
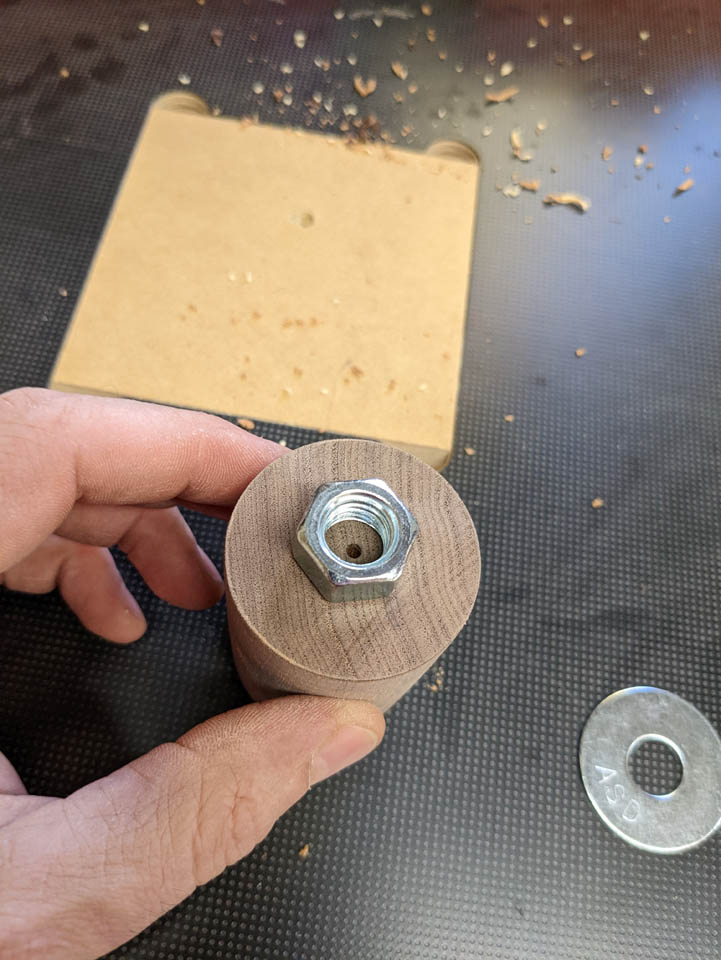

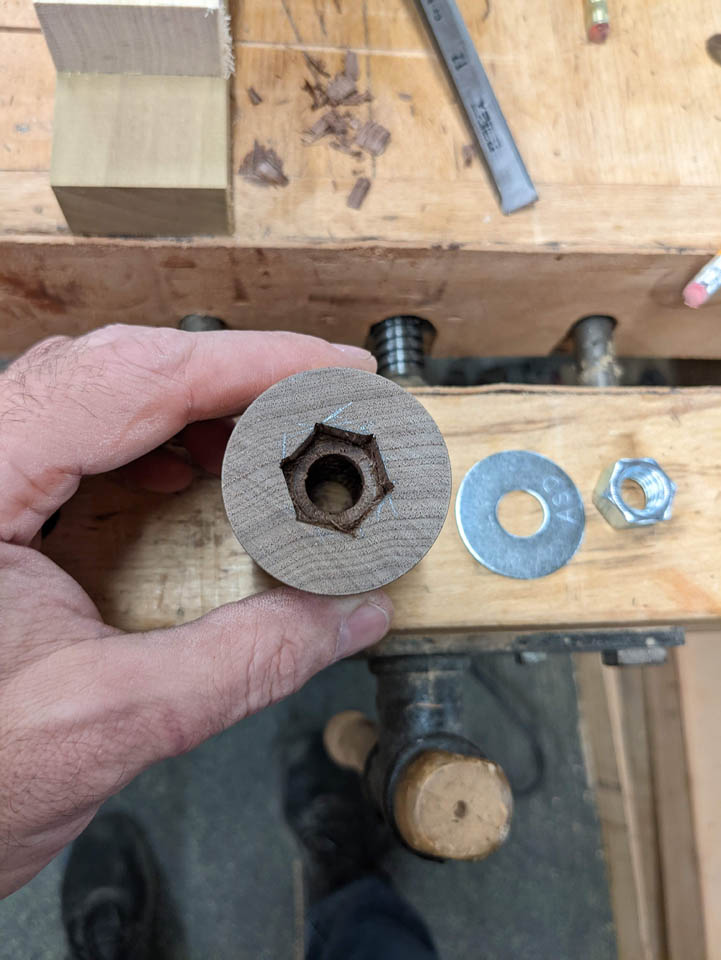
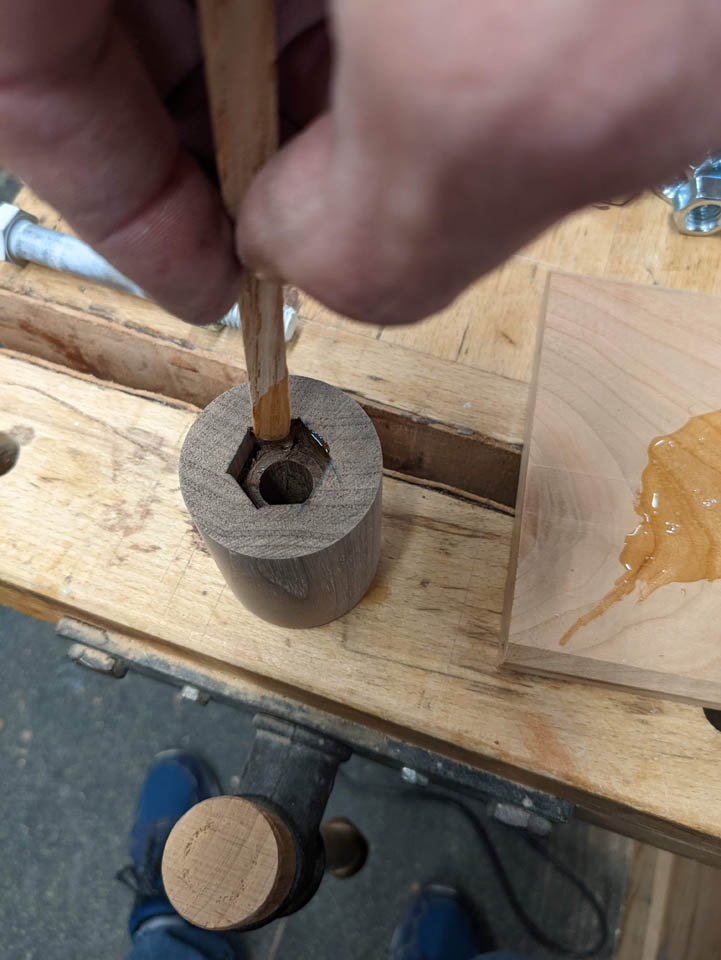
I found a drill bit that was about the same as the width across the flats of the nuts and used that to counter-bore one end, as deep as the nut.
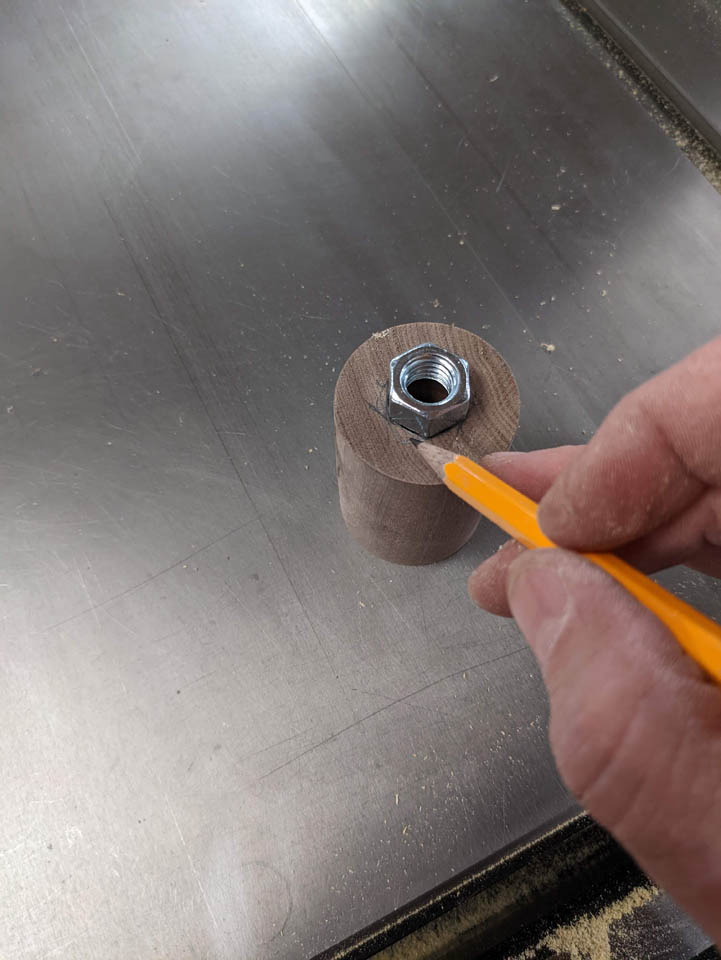
I centered the nut over this hole and traced the edges.
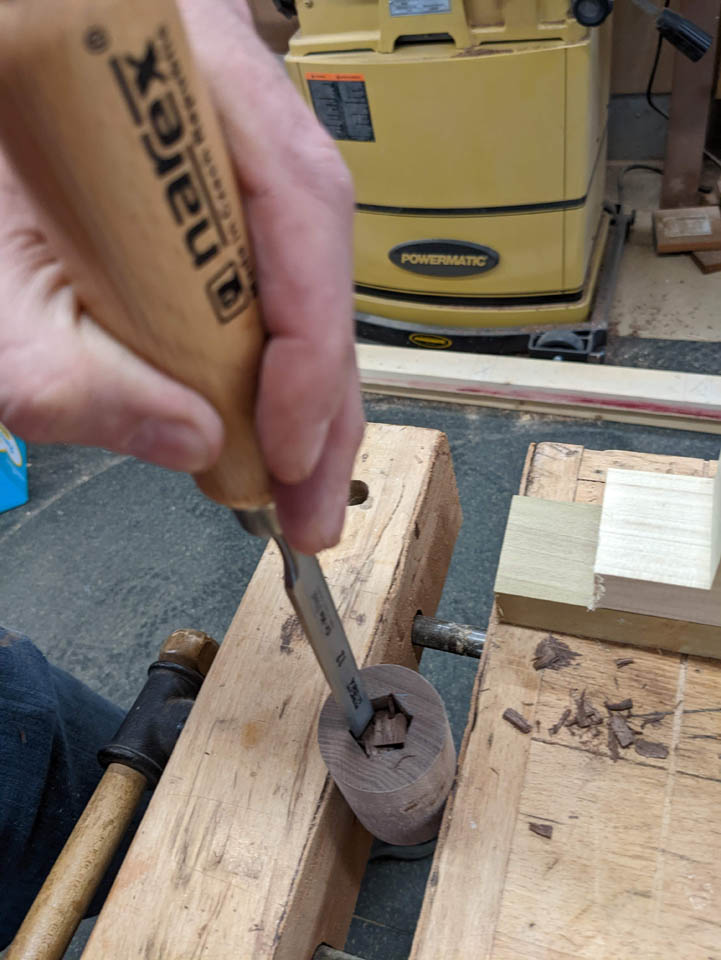
Using a chisel, I chopped out the flat sides along the pencil marks.

The nut fits fairly well so I went back to the drill press and drilled the 1/2″ through hole next.
That wasn’t too bad, I only need to do nineteen more… With the rest, I found it was easier to drill the through hole first and push a bolt through the center to attach the nut to. This held the nut centered while I traced it. With my wife still turning the rest, I got started on the branches.
My buddy Alex from Vintage Lumber offered to donate the wood for the tree so I discussed with him the need to keep this tree lightweight so it could be mobile. He recommended Poplar because it was lightweight but strong. Another added benefit is that it is green and will take stain nicely. He gave me a large pile of 2″x2″ off-cuts that would work perfectly.
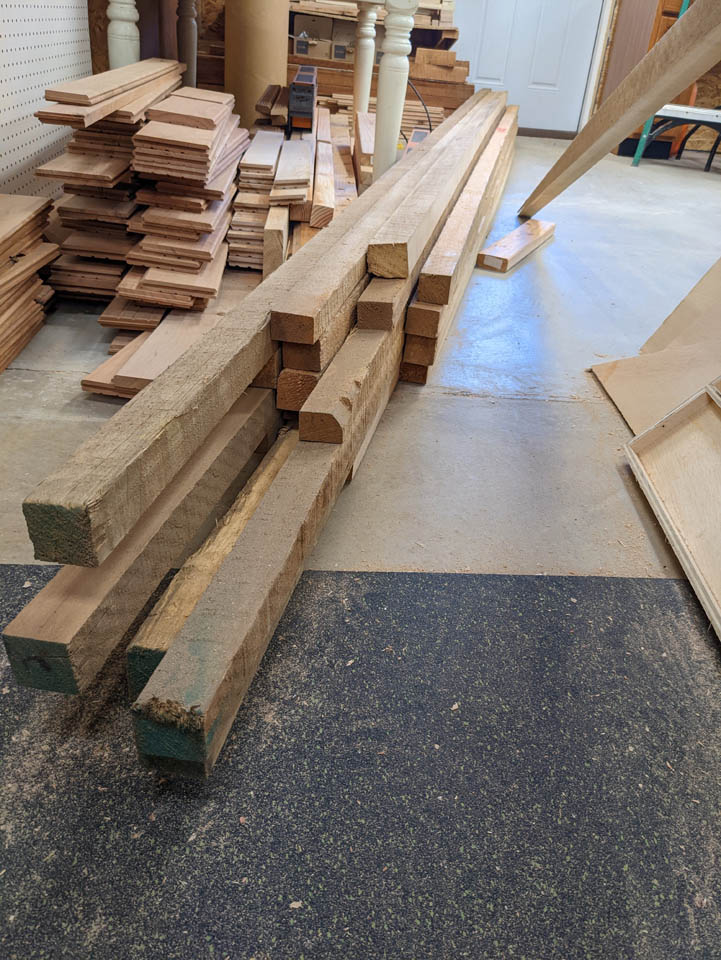
My bottom branch is going to be 48″ long and each branch above will be 3″ shorter than the one below it. I started by planing and jointing the boards flat and square, then cut them to approximate lengths.
Next, I ripped them all down to 1″ thick.
Then cut them all to their final lengths.
I made a pile and set them off to the side.

To hold the ornaments, I will be adding a peg to the end of each branch.

To make the pegs, I ripped a 1″ square block on the table saw. I put one on the lathe to create my first prototype, to experiment on.
I cut thirty of these for my wife to turn down, two for each branch.

I decided to reuse my center marking jig for these as well. I just located the center and ran the screw through so the point stuck out a bit.
Then I laid the jig flat, with the rest of the screw sticking down through a hole in my bench, and pressed the blocks down onto the screw point. Since the wood was soft, it made a nice mark.
My wife was still playing with the walnut so I put the poplar pegs in her que as well.

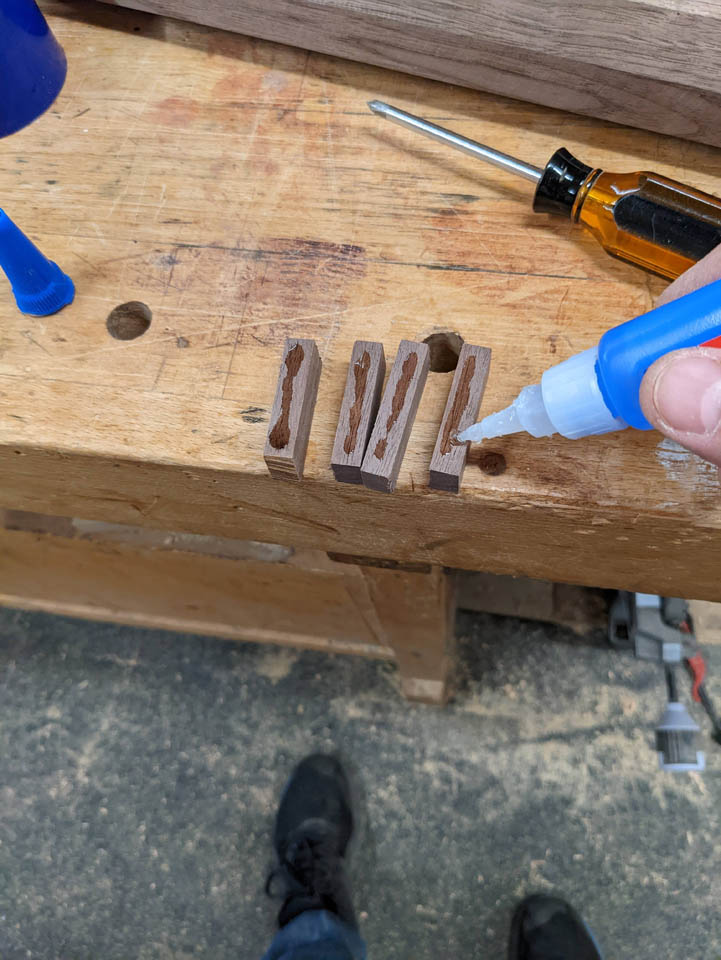
Jumping back to the walnut pieces, now that Tracie was finished with them, I finished marking and chopping out the socket for the nuts.
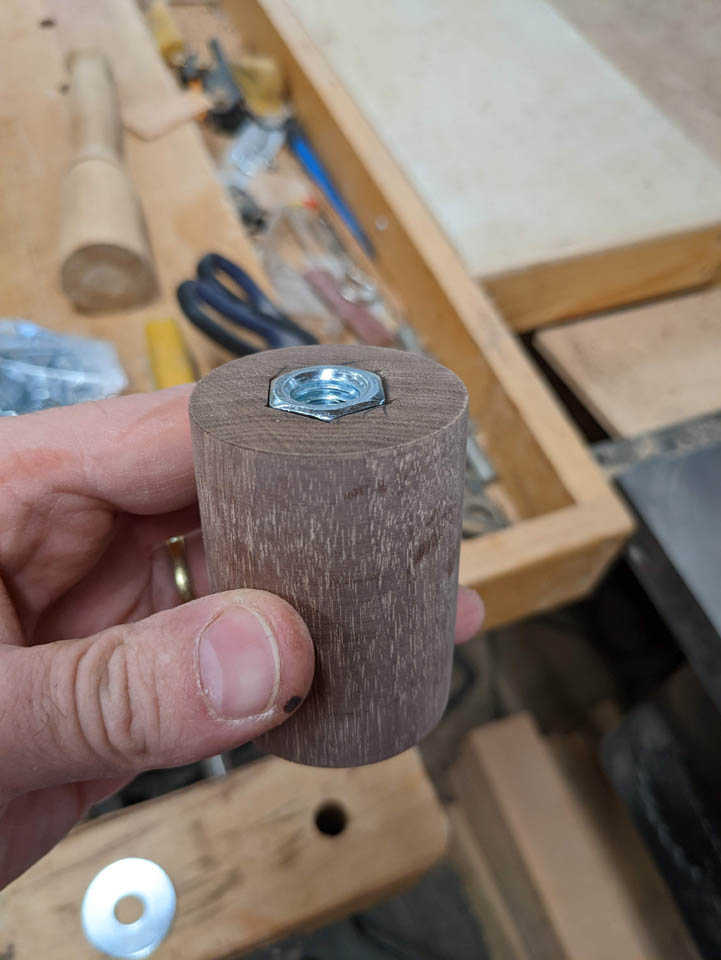
I mixed up some fast setting, 2-part epoxy to hold the nuts in place.
What I did next was the wrong way to do this. I will explain why later. Hindsight is always a better teacher…
I applied epoxy carefully to the flats of the sockets them placed the nut into it. I only had two bolts so I screwed them into the nuts to insert them. I did this for two reasons: 1- the bolt centered the nut over the hole. 2- the bolt prevented the epoxy from accidentally getting on any threads.
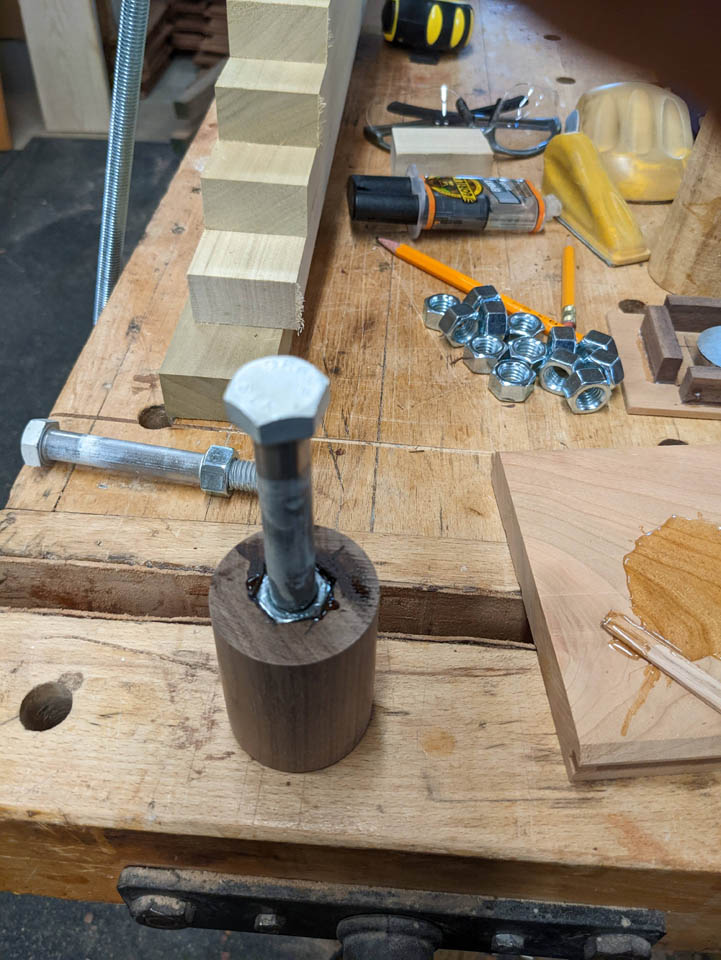
The problem with this method was that I had twenty to do and only two bolts. I left the bolt in for a minute or two, then gently removed it, assuming the epoxy had cured enough to hold the nut in place. This is where I was incorrect. Some of them floated up a bit and drifted a bit off plane or off center. I wound up having to open up the 1/2″ hole on the other side so that they could be threaded onto the rod later. What I should have done was get 30, 1/2″ bolts and ran the bolt through from the opposite side, then threaded them into the nuts to hold them in place until it was dry. Alternatively, I also determined that I probably didn’t even need to bother with epoxy at all except for the first and the last ones. All of the nuts in the middle would have been captive within all of the walnut sections anyway, so what was the point? To learn of course…
Either way, they are done and it is time to get back to the branches.

My dear wife has finished the monotonous task of turning all of my pegs, so I need to finish them up next.
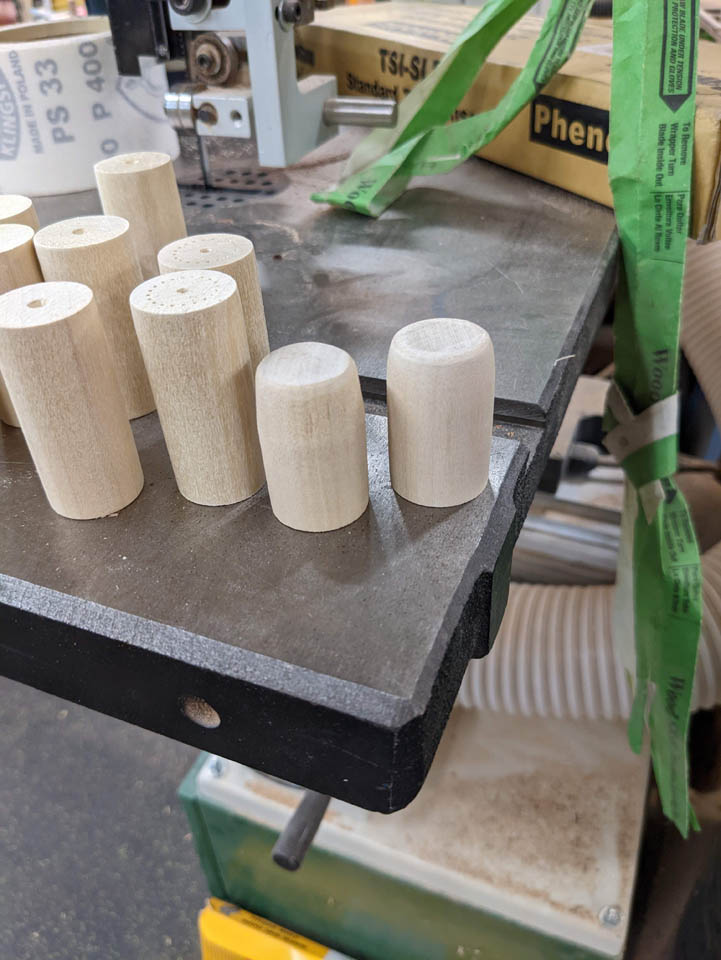
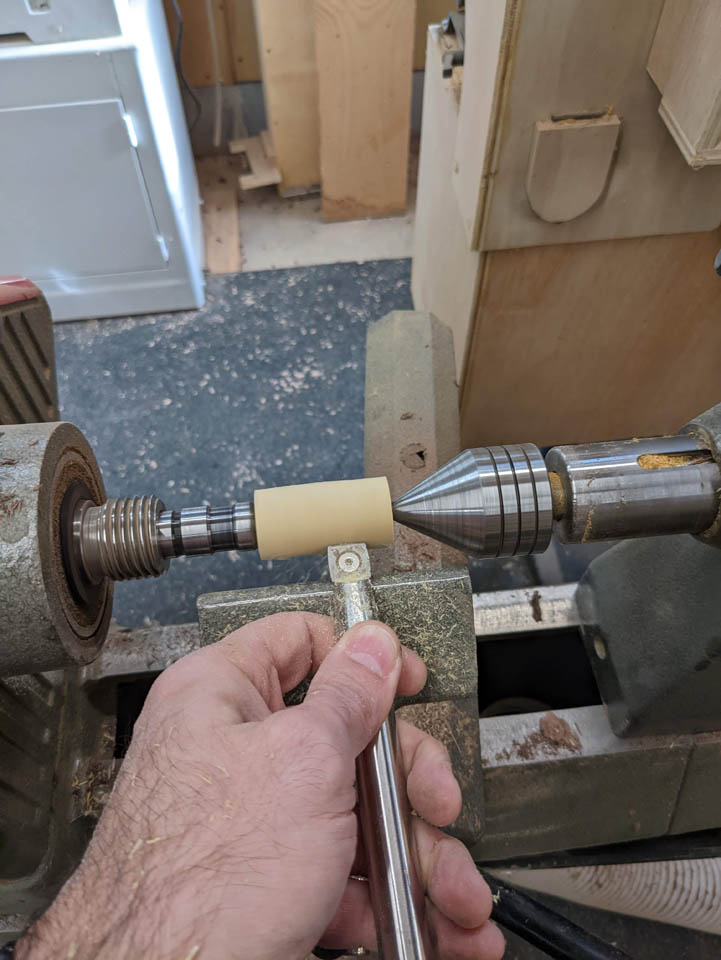
I ultimately want these to be 1/2″ shorter and slightly tapered on the ends, but I did not want the center point left visible so I cut all of them down to 1-1/2″ long.
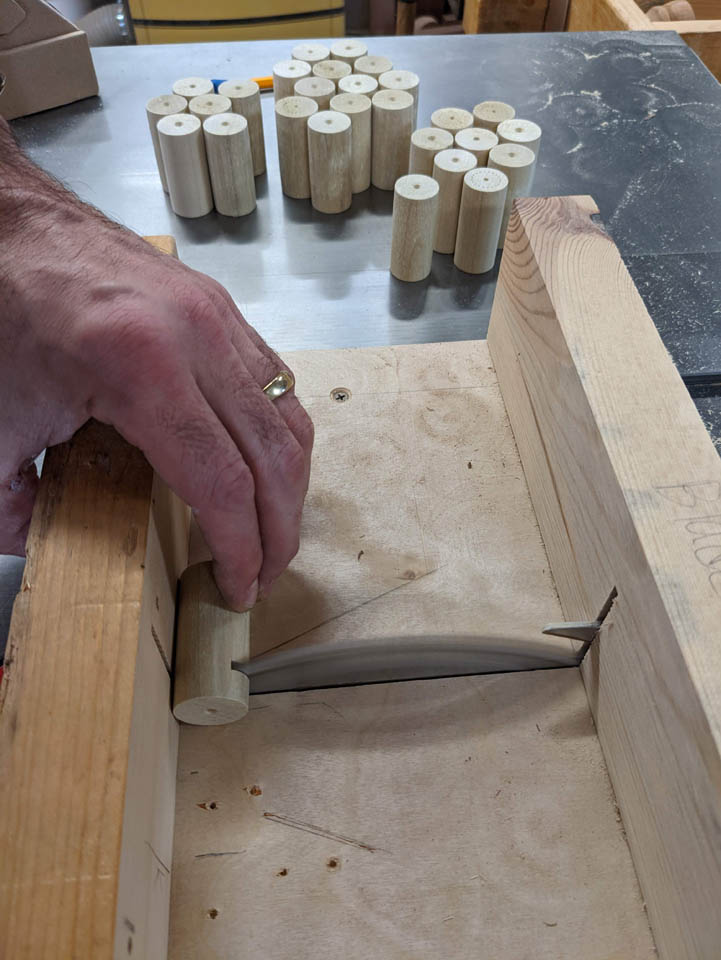
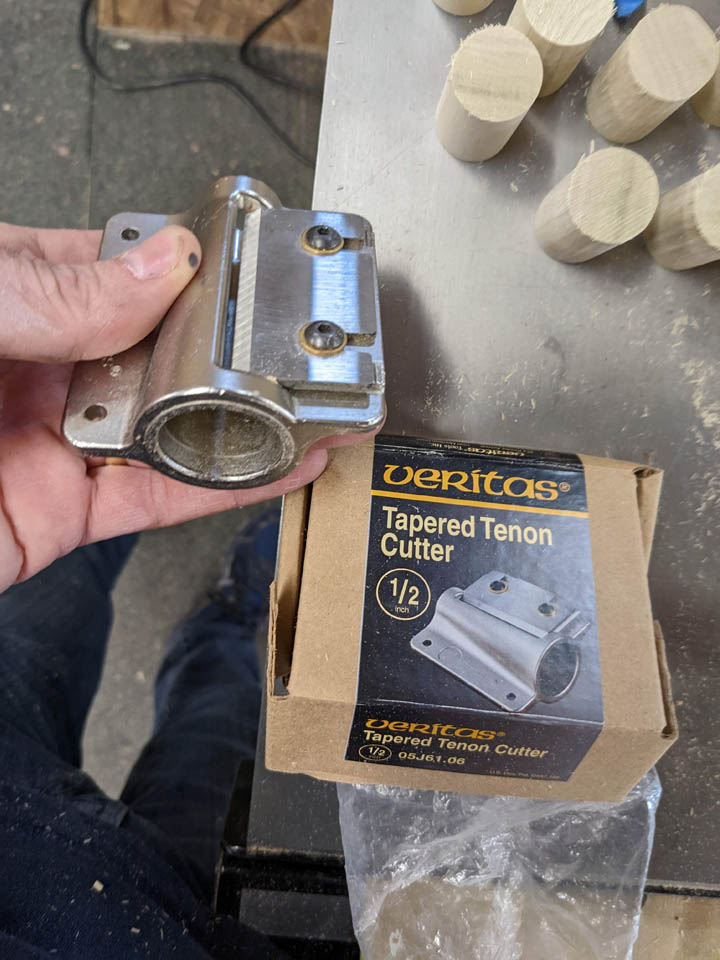
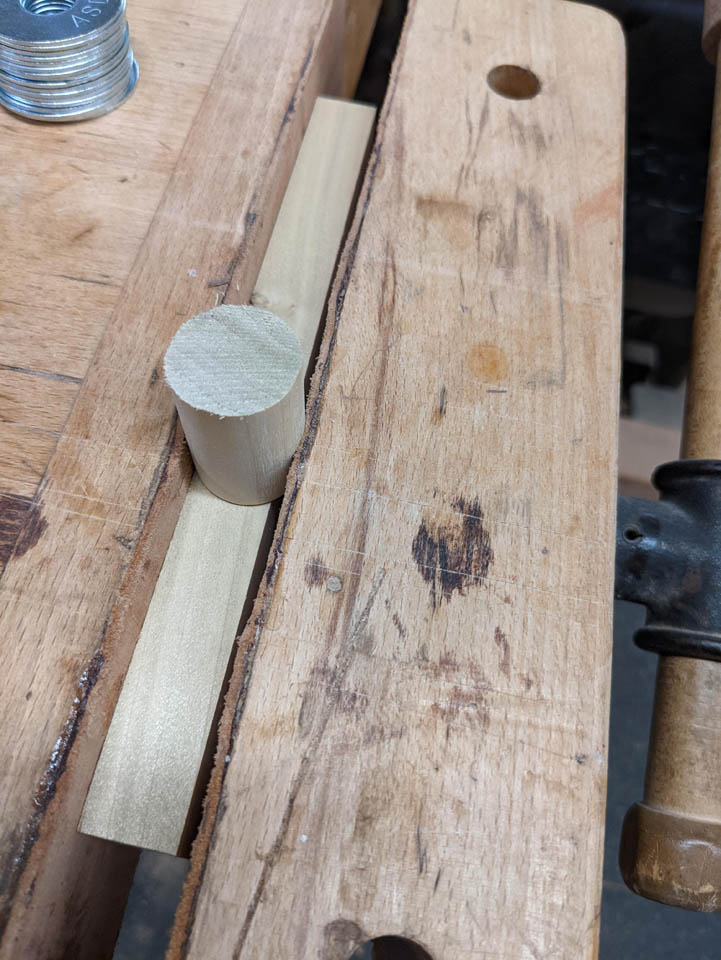
I happened to have a tapered tenon tool that works like a pencil sharpener so I set up a spacer in my vice to hold the pegs at the correct height and sharpened them all.
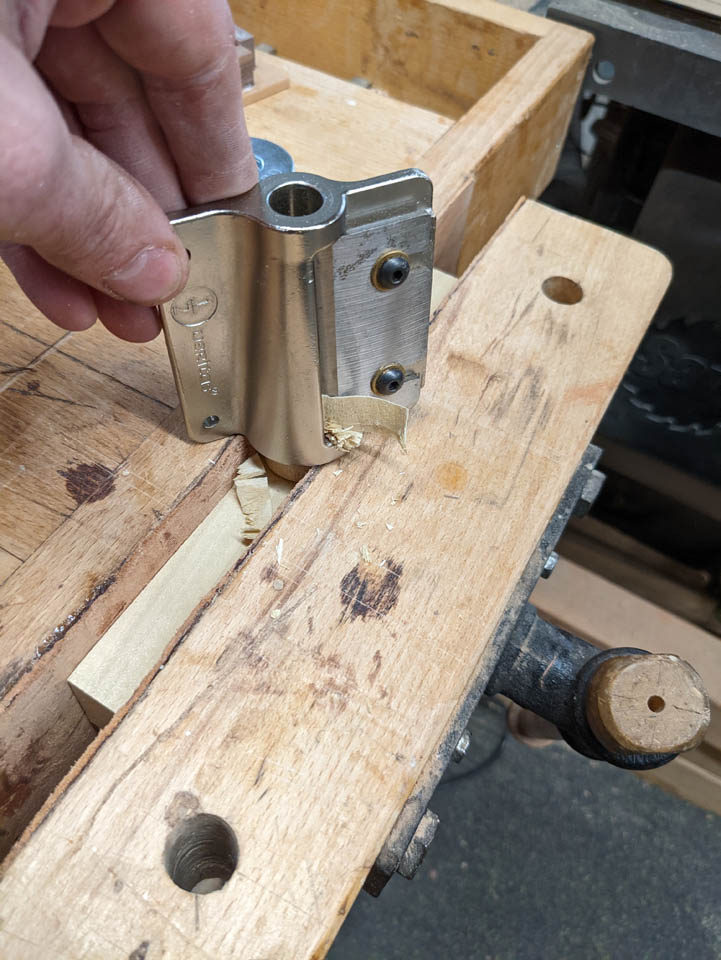
This left them with a small taper that just needs a bit of hand sanding to remove any sharp edges. Hind sight again, this operation could have been done more quickly on the lathe, but I am designing some of this on the fly, as well as working with someone else at the same time…
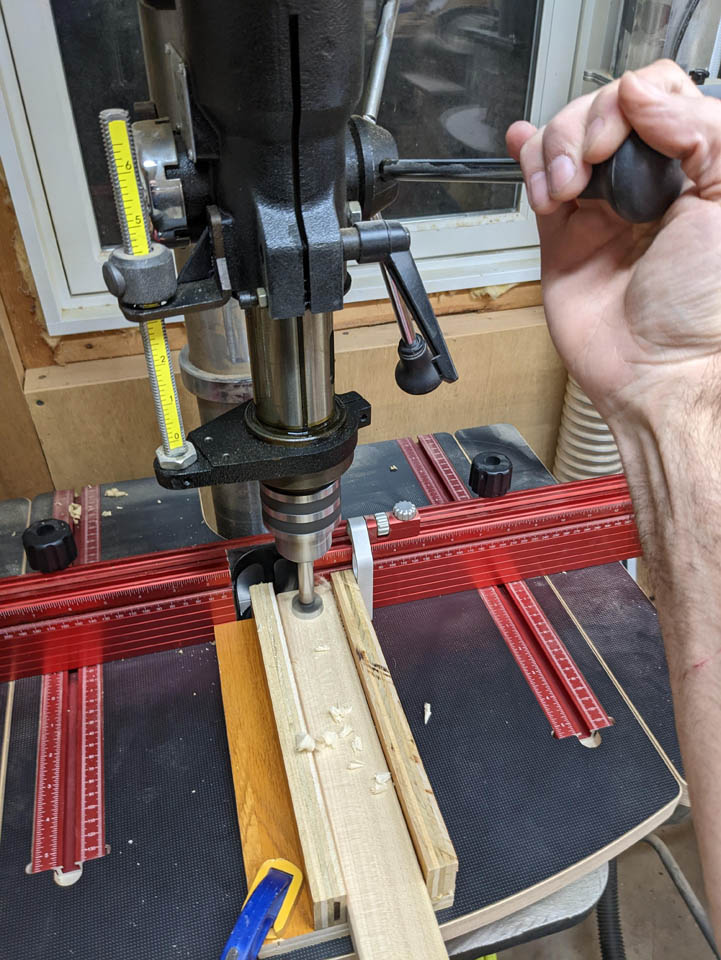
Switching back to the branches, I marked the center of each one and drilled a 1/2″ hole through each.

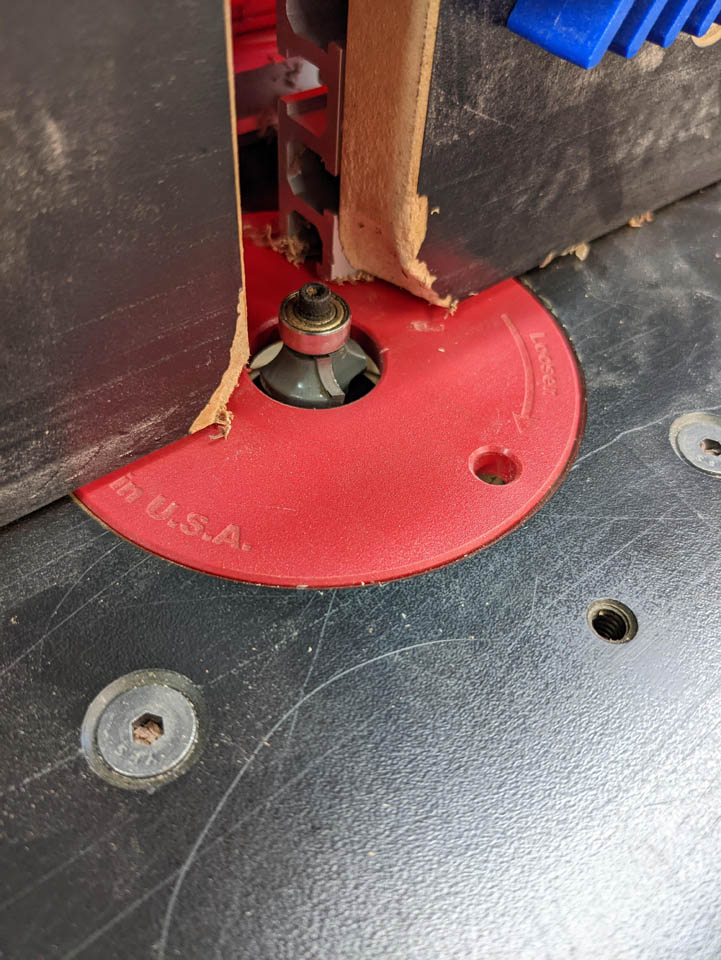
I also set up my 3/16″ round-over bit in the router table to round all of the edges of the branches.
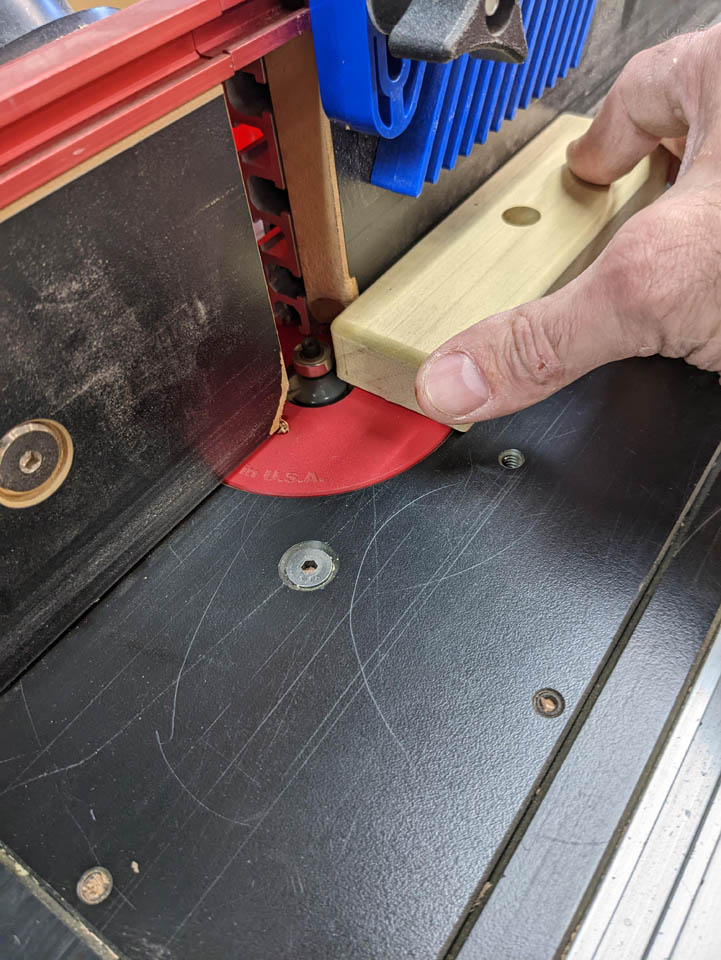
Children will be handling this tree so I didn’t want any sharp edges.

Next, I clamped a small jig in place to drill a 1″ pocket at the end of each branch to seat each of the tapered pegs.
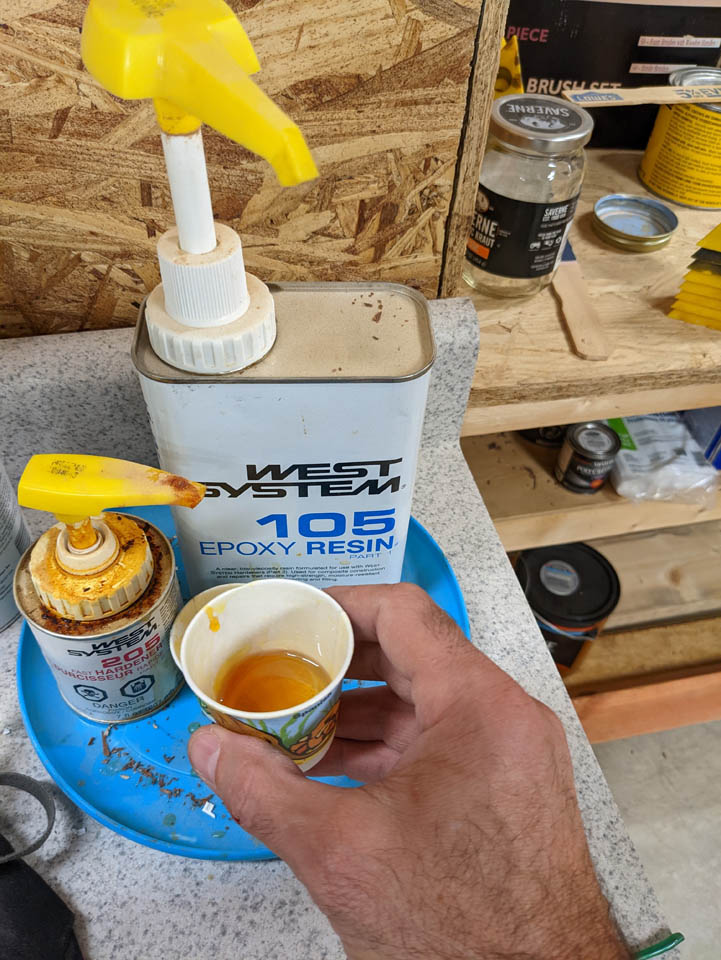
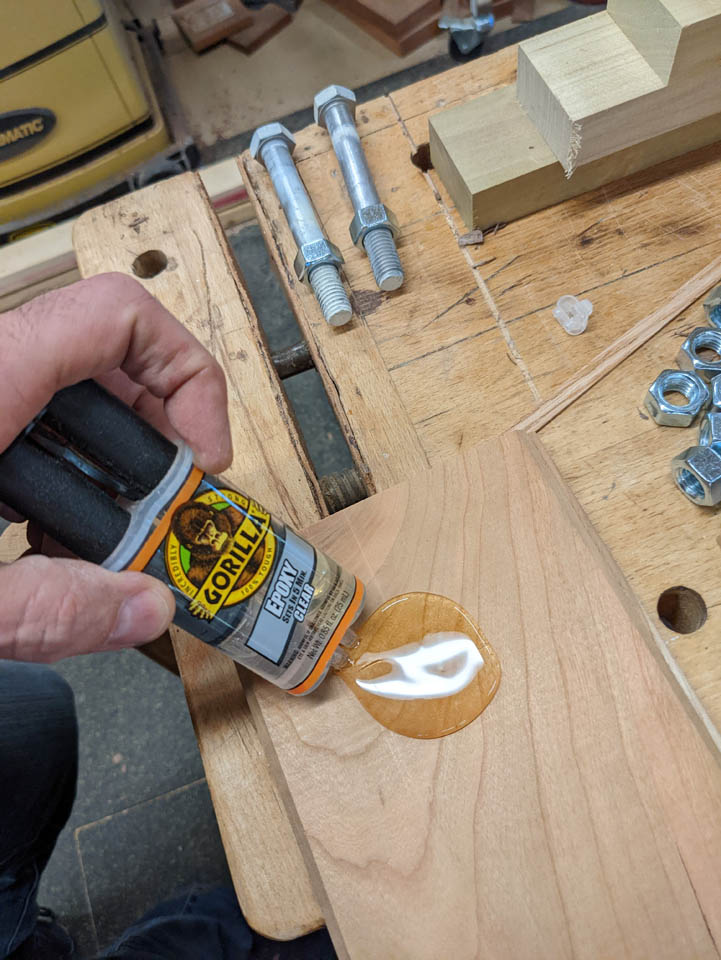
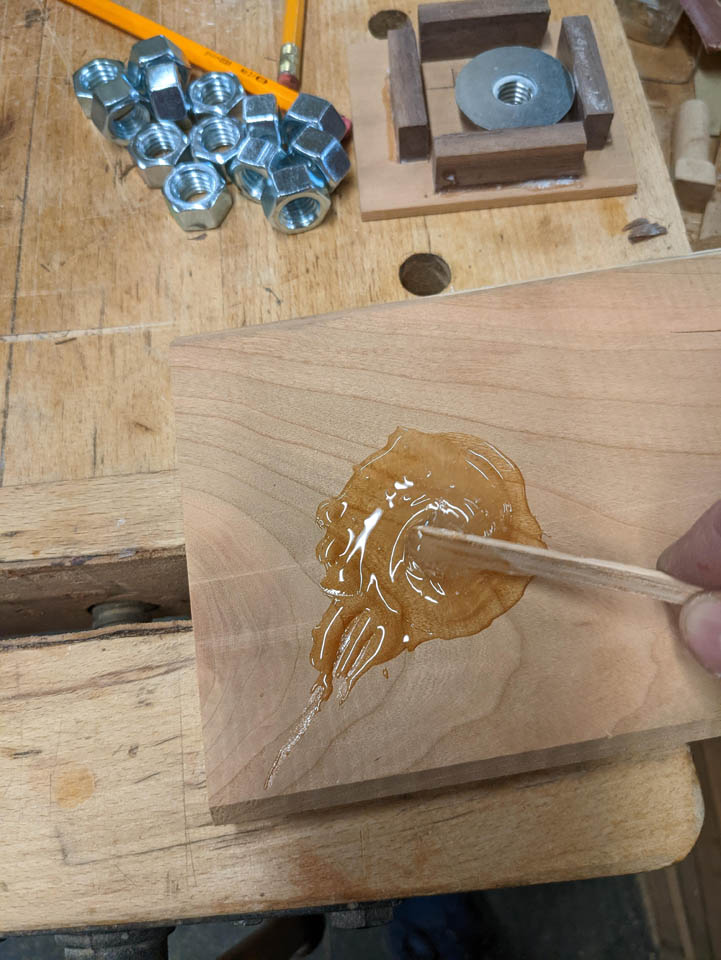
I mixed up some 2-part epoxy to put in the pocket.

Epoxy will adhere to the end grain of the pegs far better than regular wood glue.
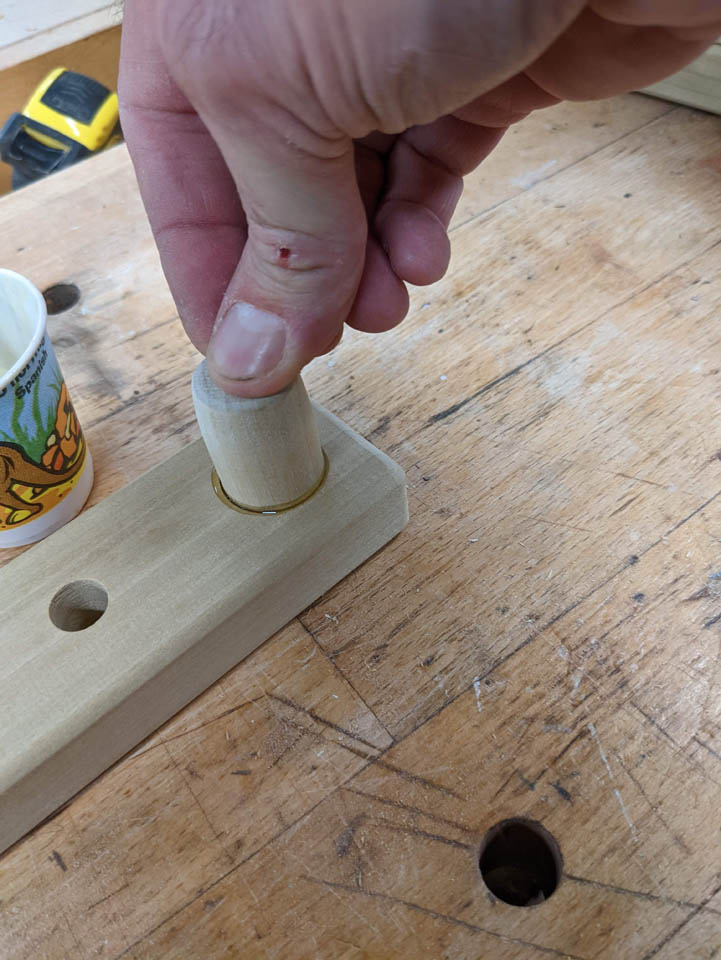
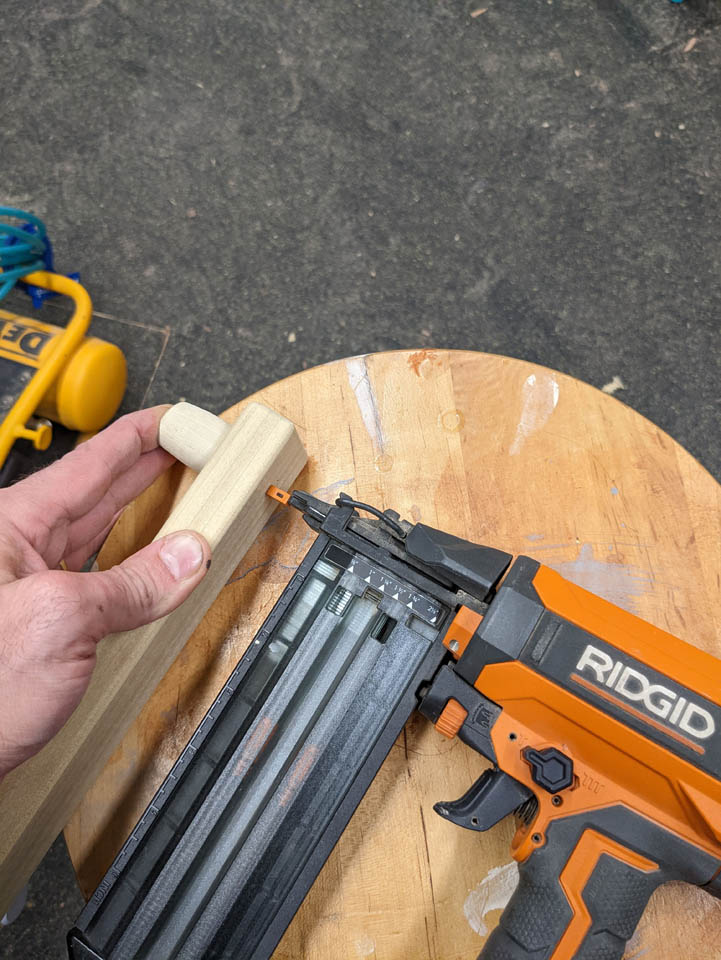
I also added a small 18 gauge brad nail to hold each peg in place while it dried.
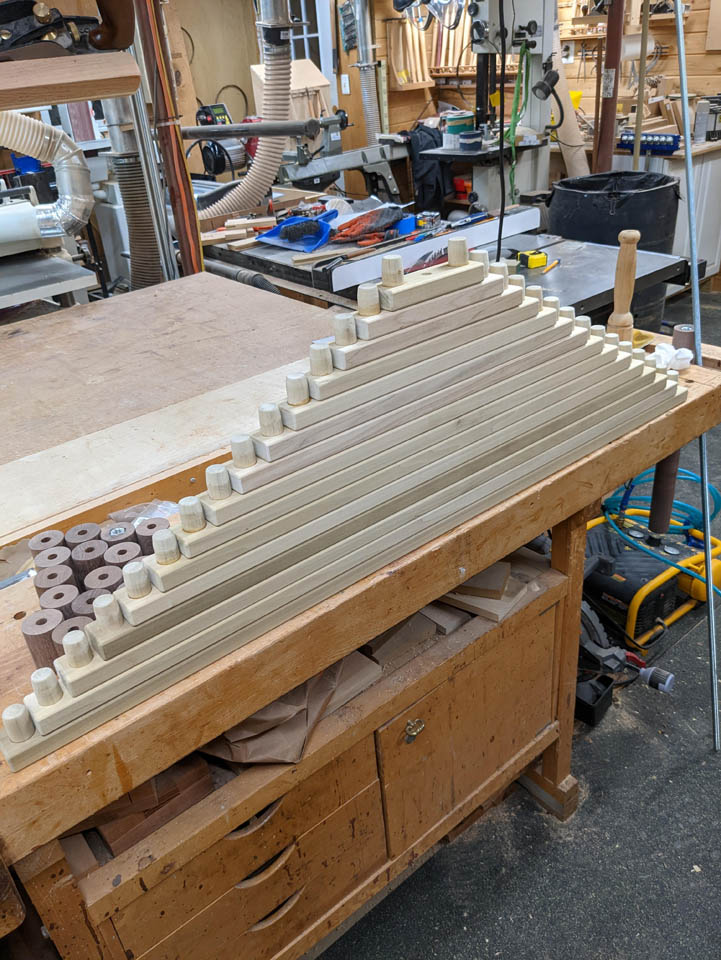
With the branches done, It was time to move on to the base.

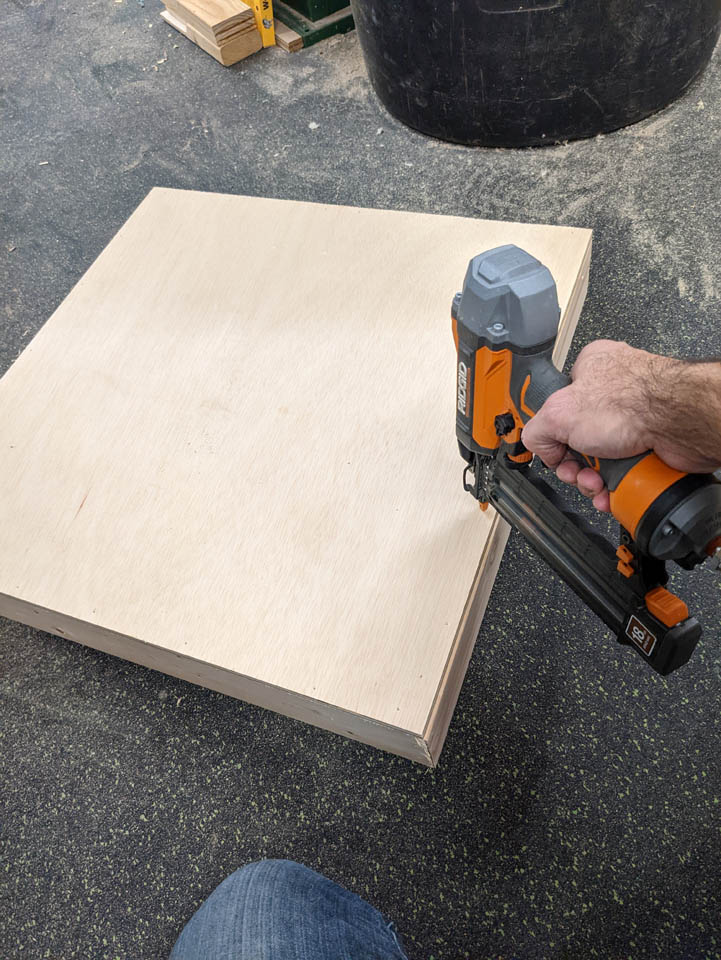
I am going to keep this simple. I started with a 2″x4″ frame, with mitered corners.

I glued and nailed them together, then added a 24″x24″ piece of 1/2″ plywood to the top.
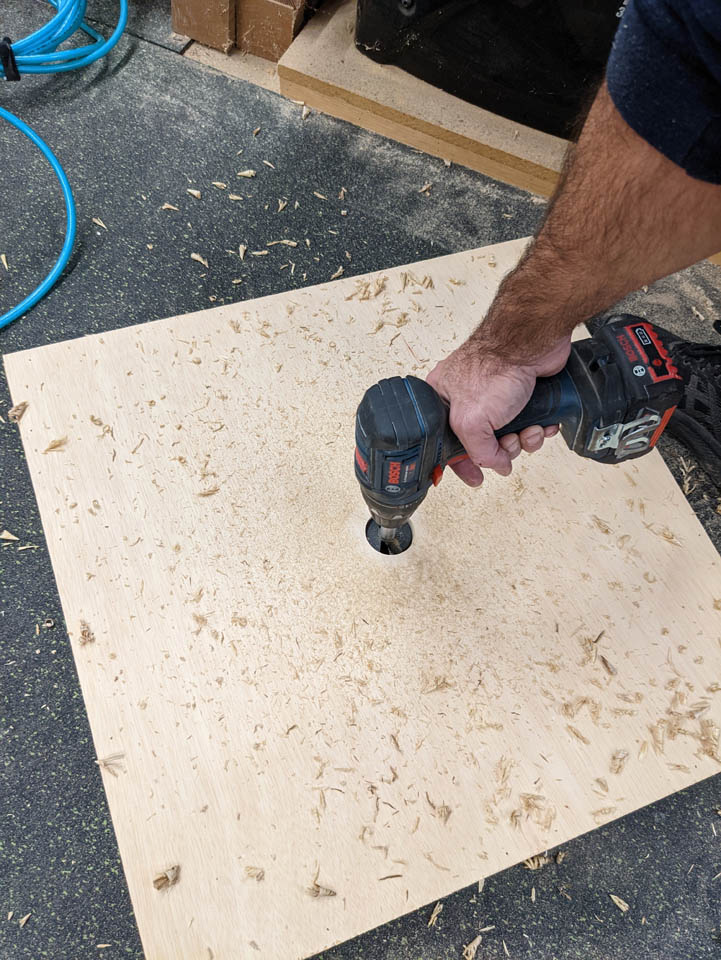
I drilled a 2″ diameter hole in the center, then added two more 2″x4″s to the bottom, centered below the hole.
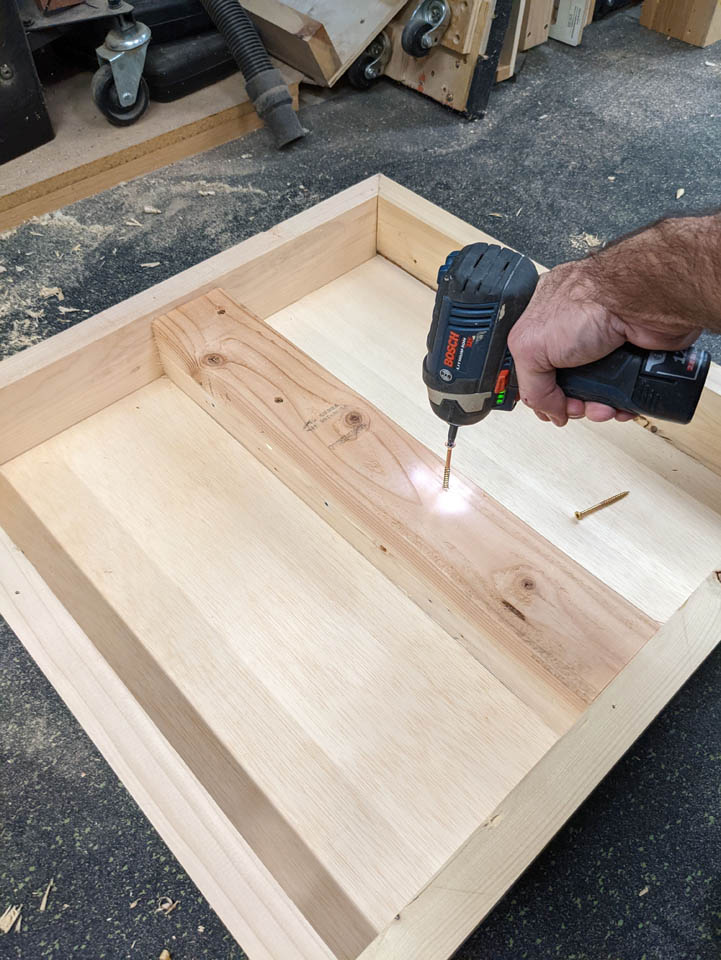
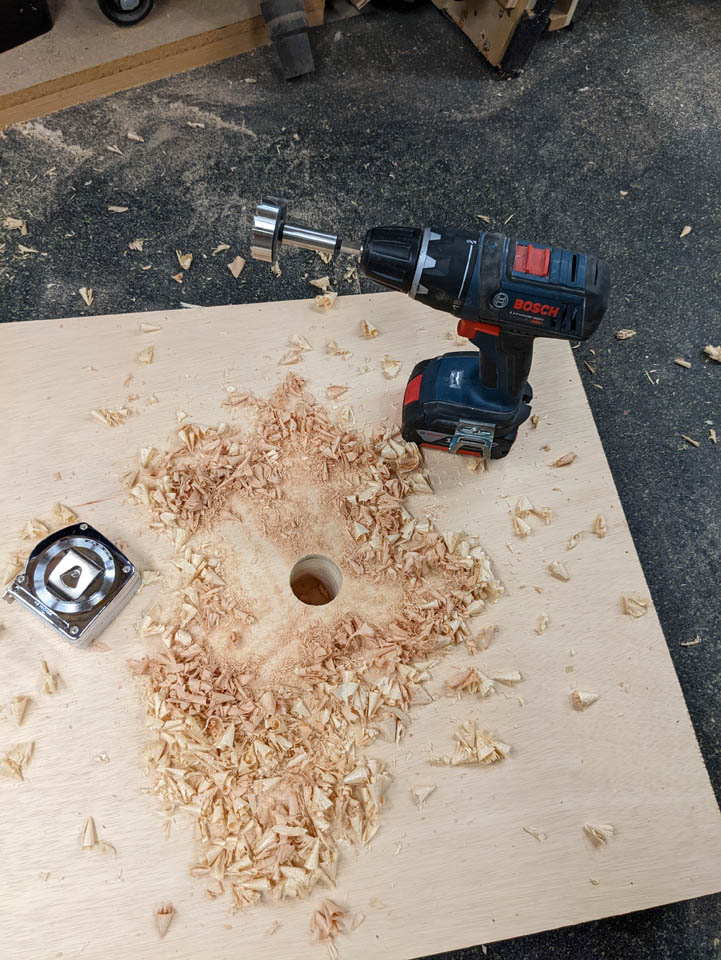
I drilled the 2″ hole deeper into the new blocking, stopping about 1/2″ from the bottom.
This didn’t seem like it was enough for support so I added another level about 8″x8″ and drilled a hole through that as well.
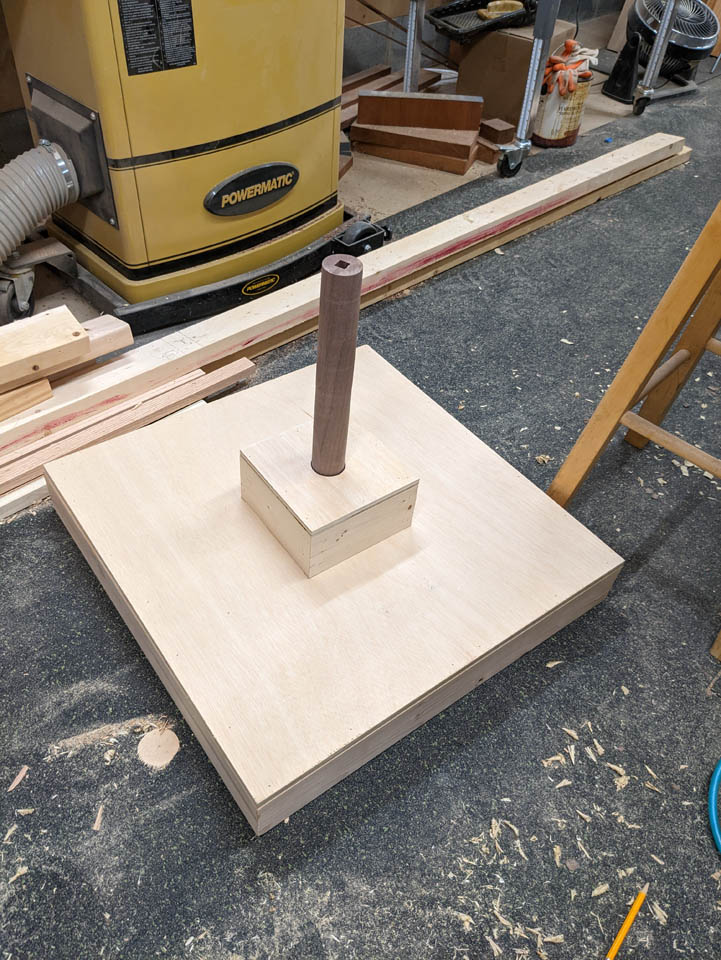
The post now sits very firmly centered. This should make a very stable base.
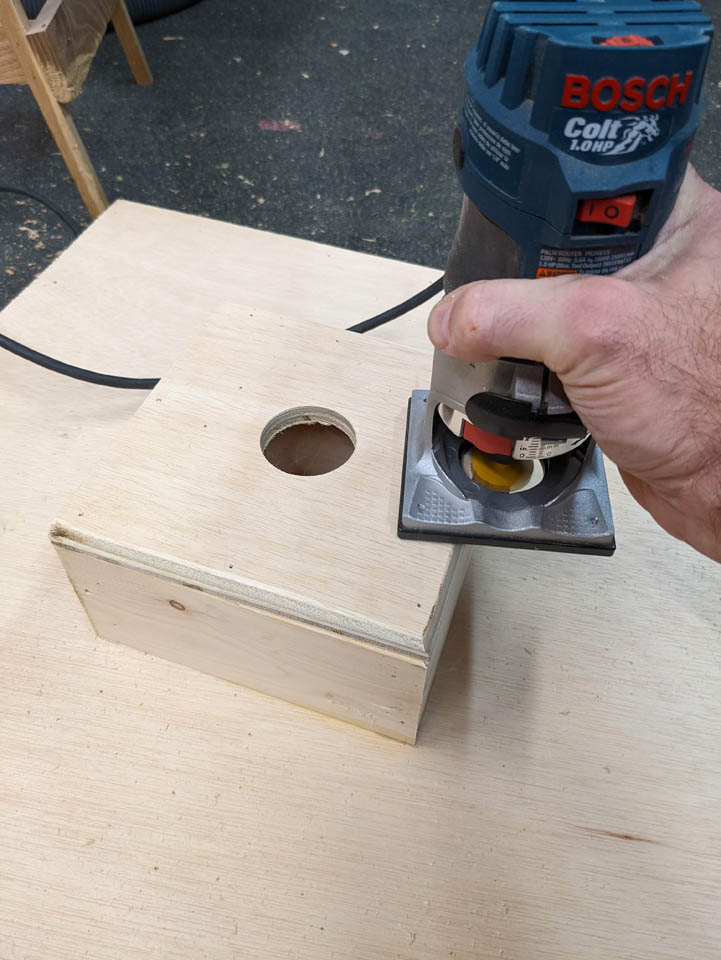
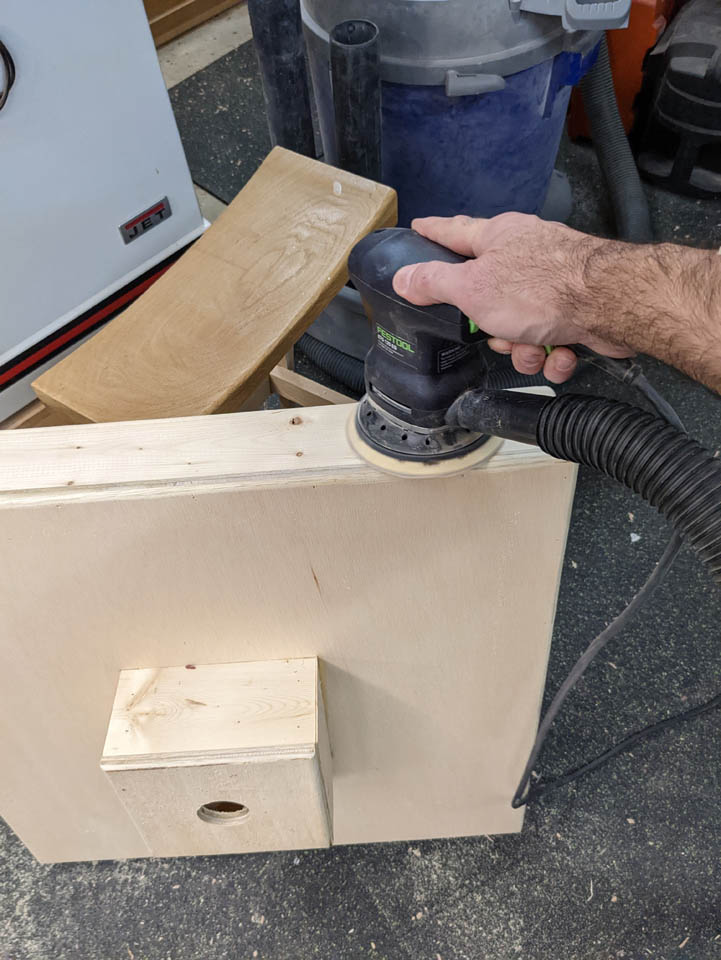
I used a 1/4″ round-over bit to ease all of the sharp edges, then sanded the whole thing.
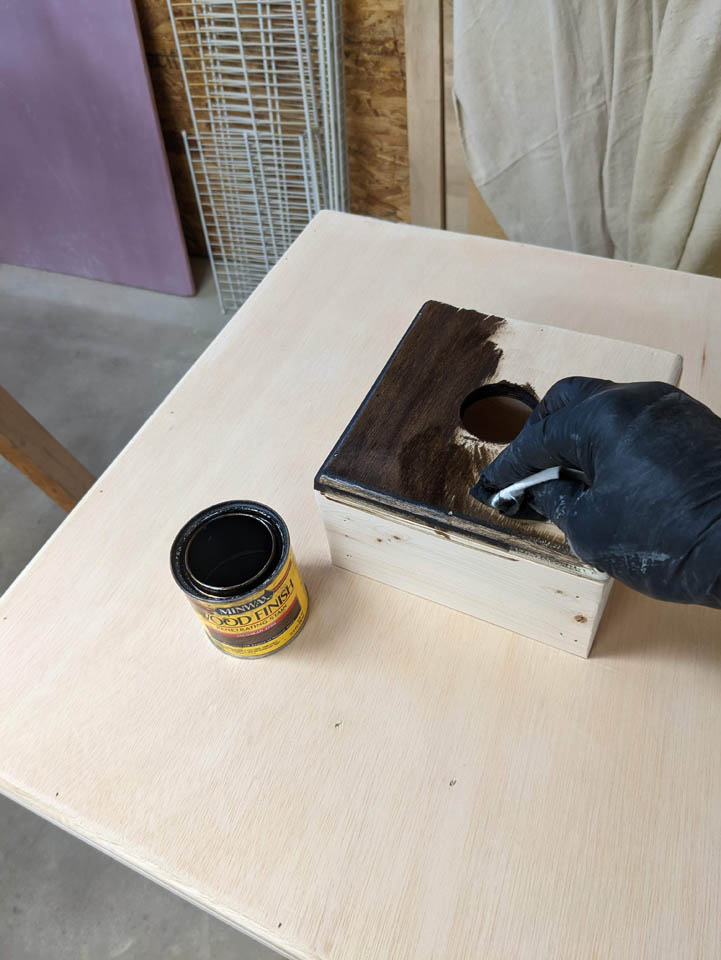
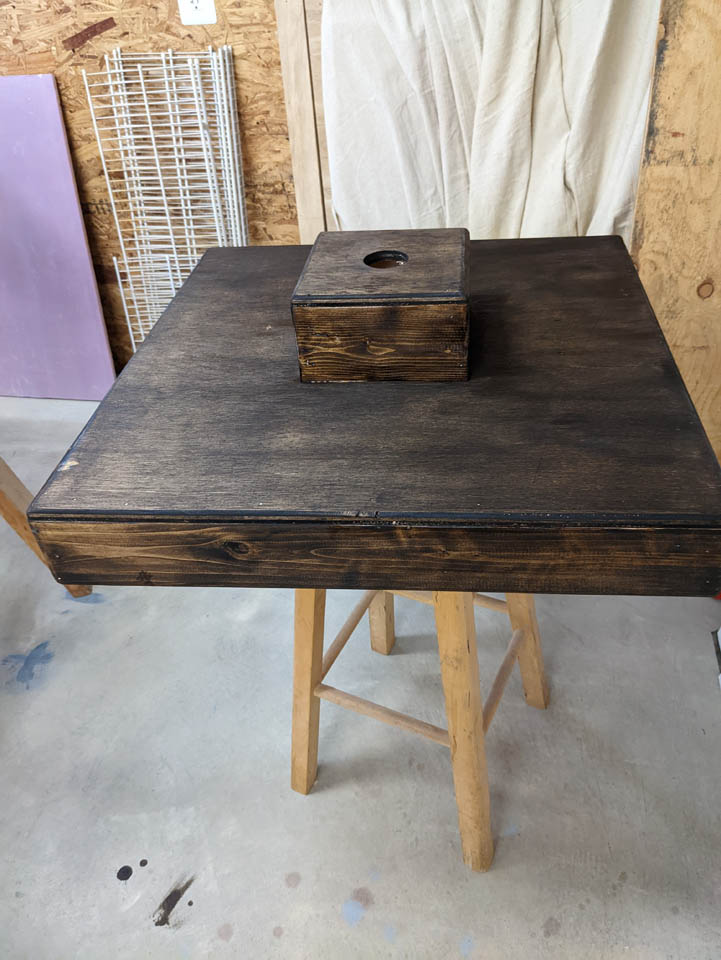
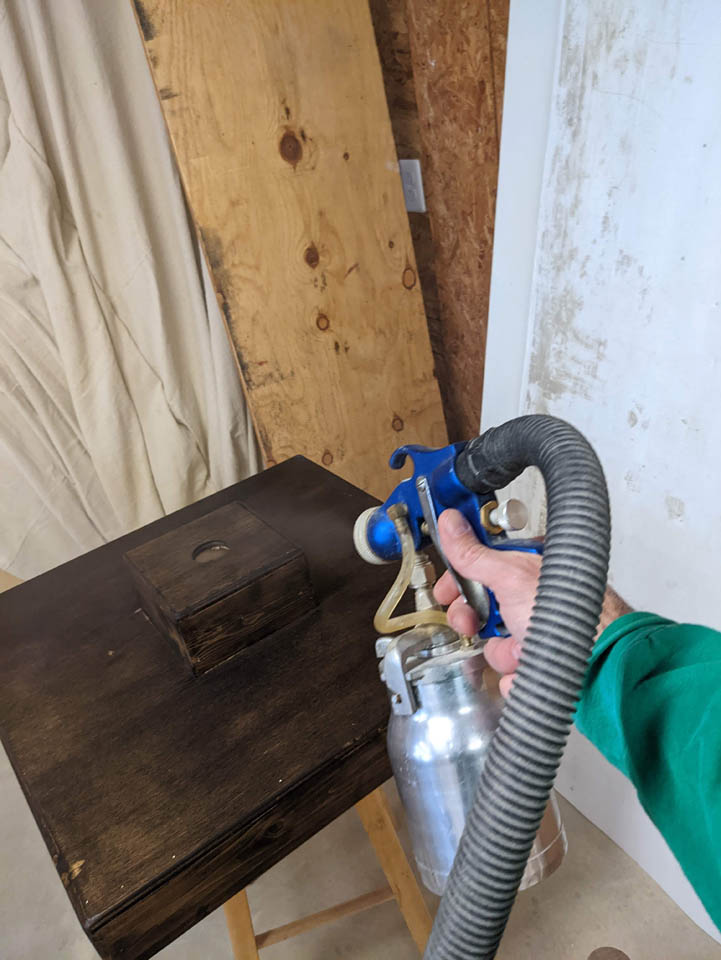
Time for finishing. The base was stained a very dark brown with an oil-based stain.
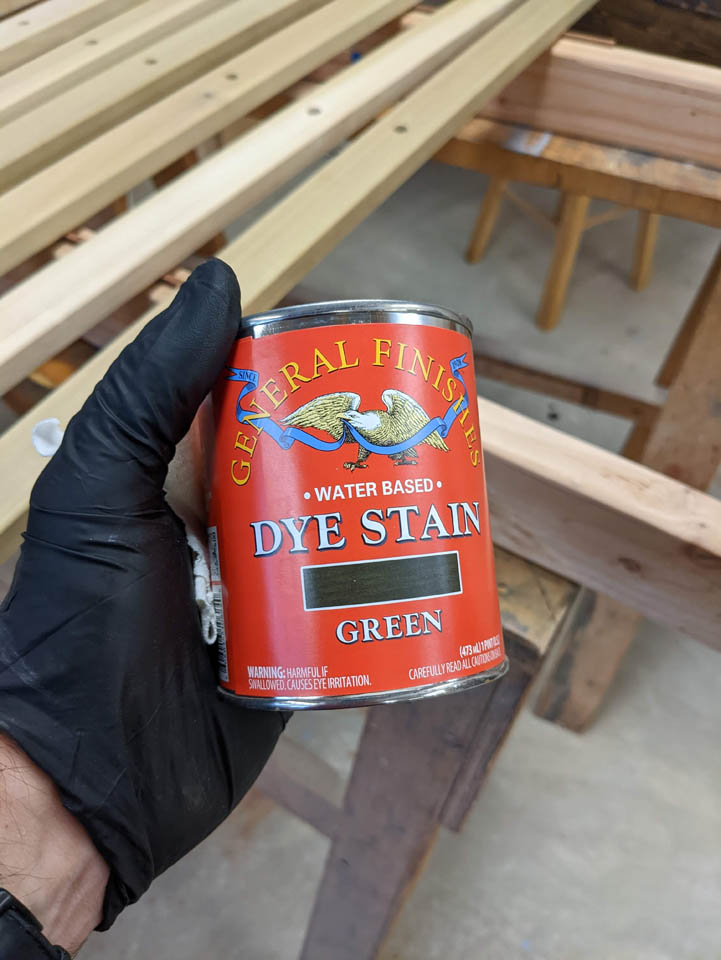
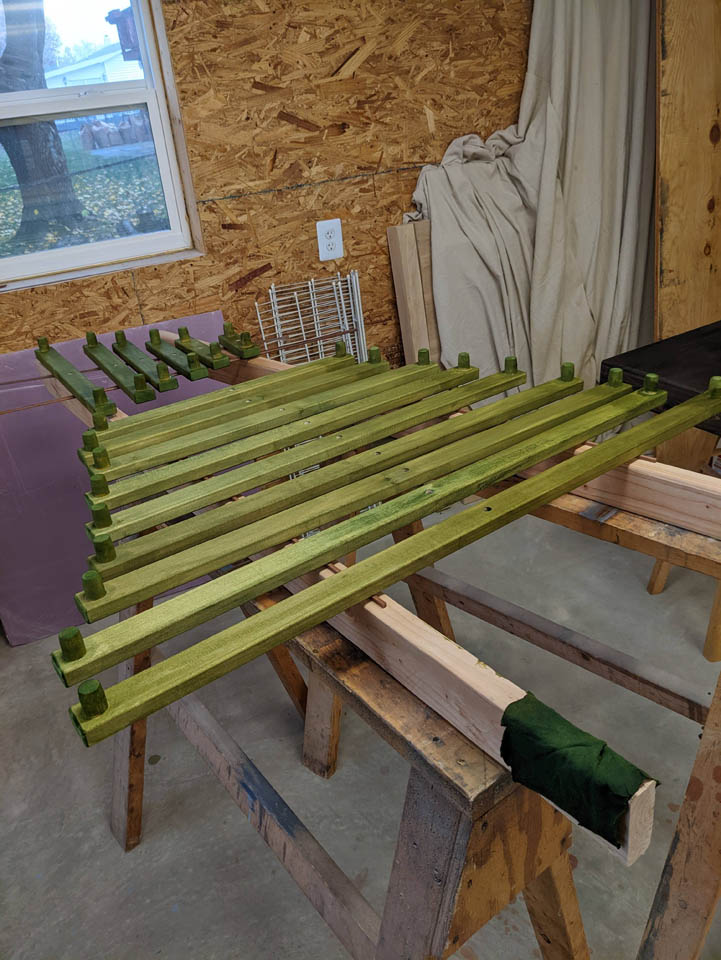
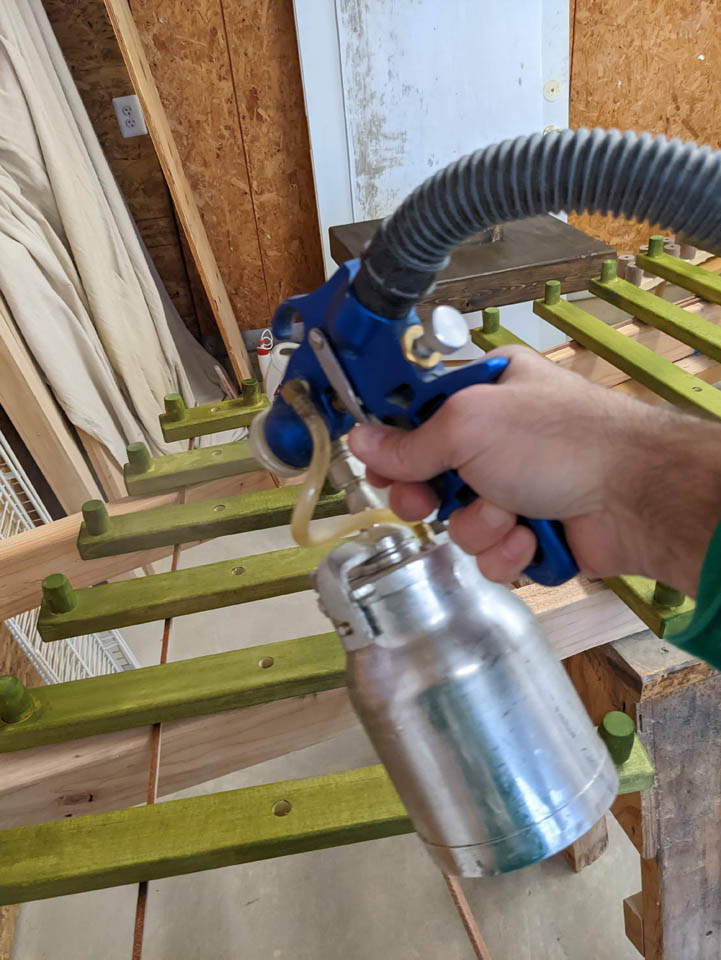
For the branches, I am using a green, water-based dye stain.

It highlights the shades and tones of the poplar while deepening it’s greenish color.
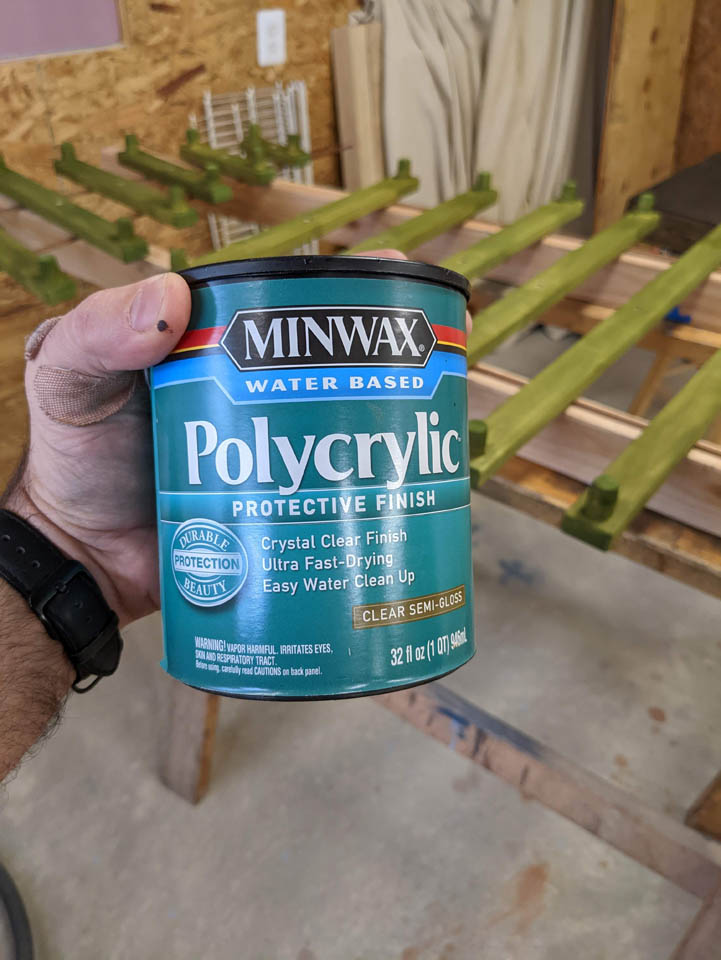
When the base and branches are dry, I gave everything three coats of water-based polyurethane.
For the trunk pieces, I place the nut side down so no poly gets into the threads.
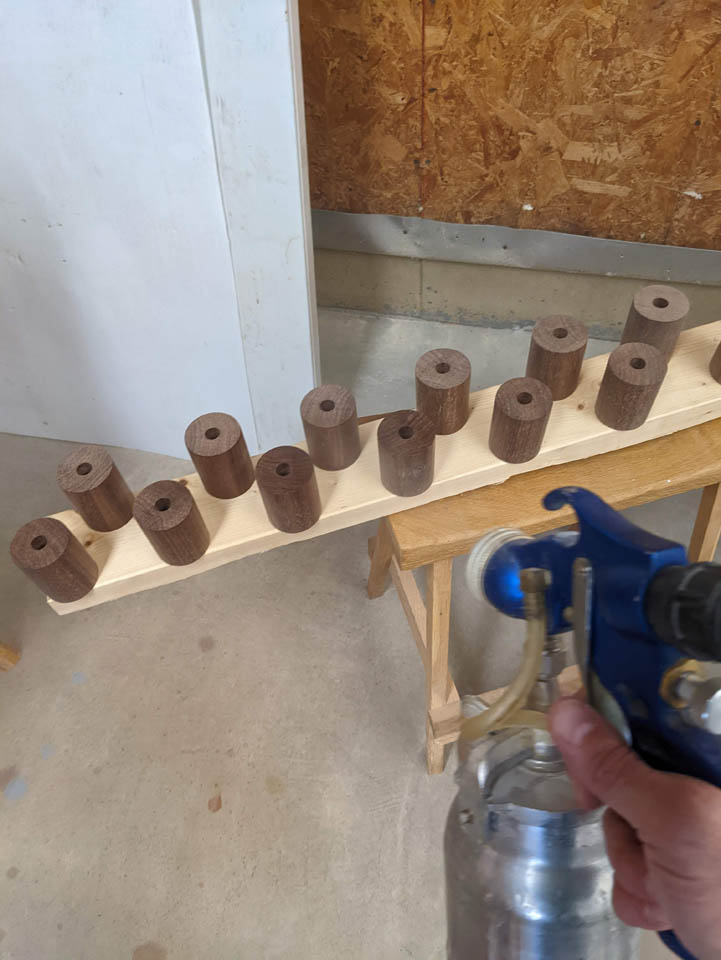
I sanded each piece with 400 grit paper between each coat.

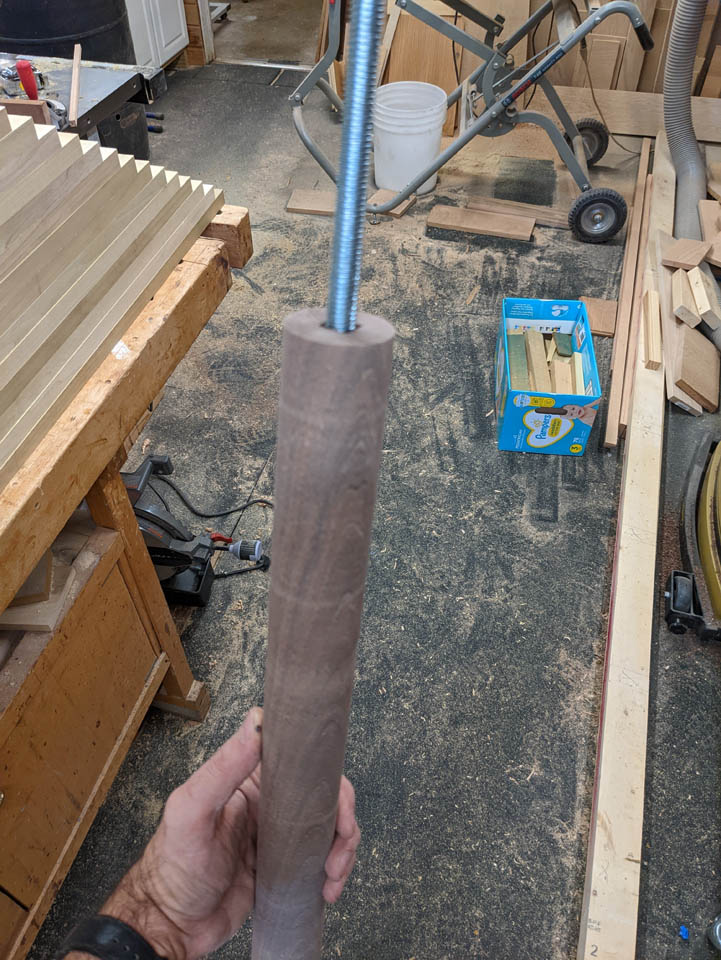
For assembly, I screwed the all-thread rod into the nut embedded in the base of the trunk. I added some CA glue to the threads to help prevent it from getting loose.
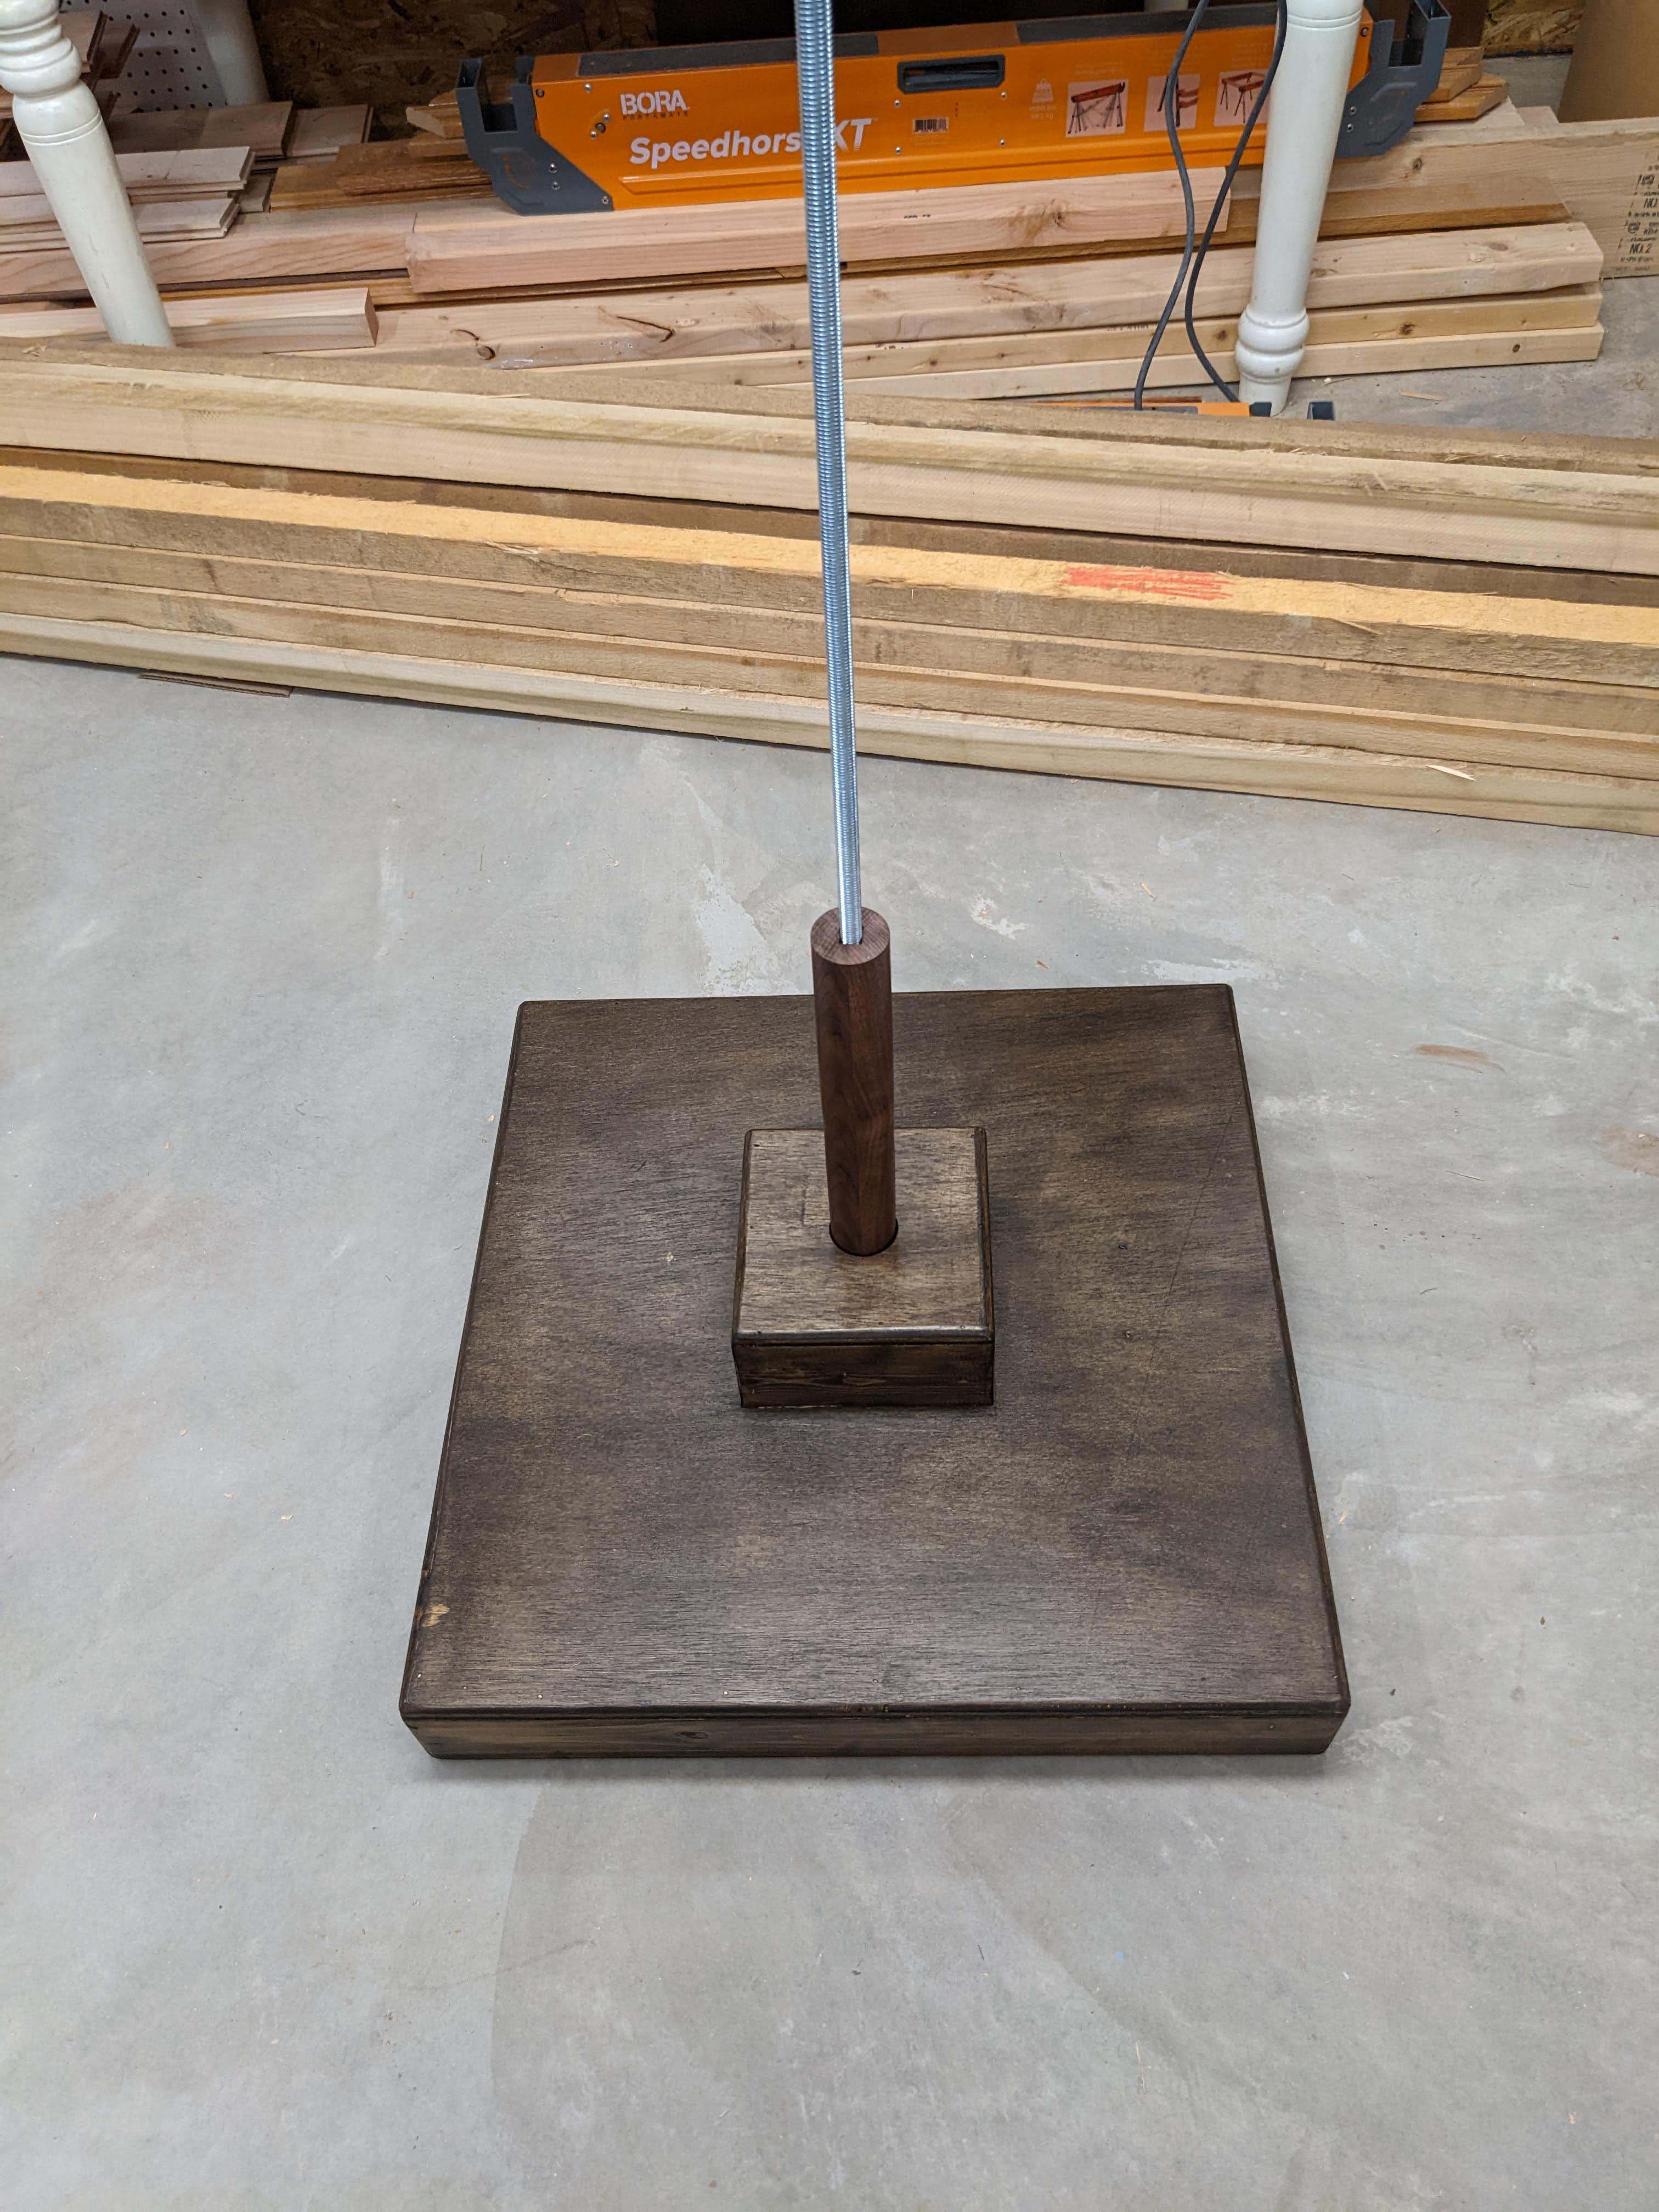
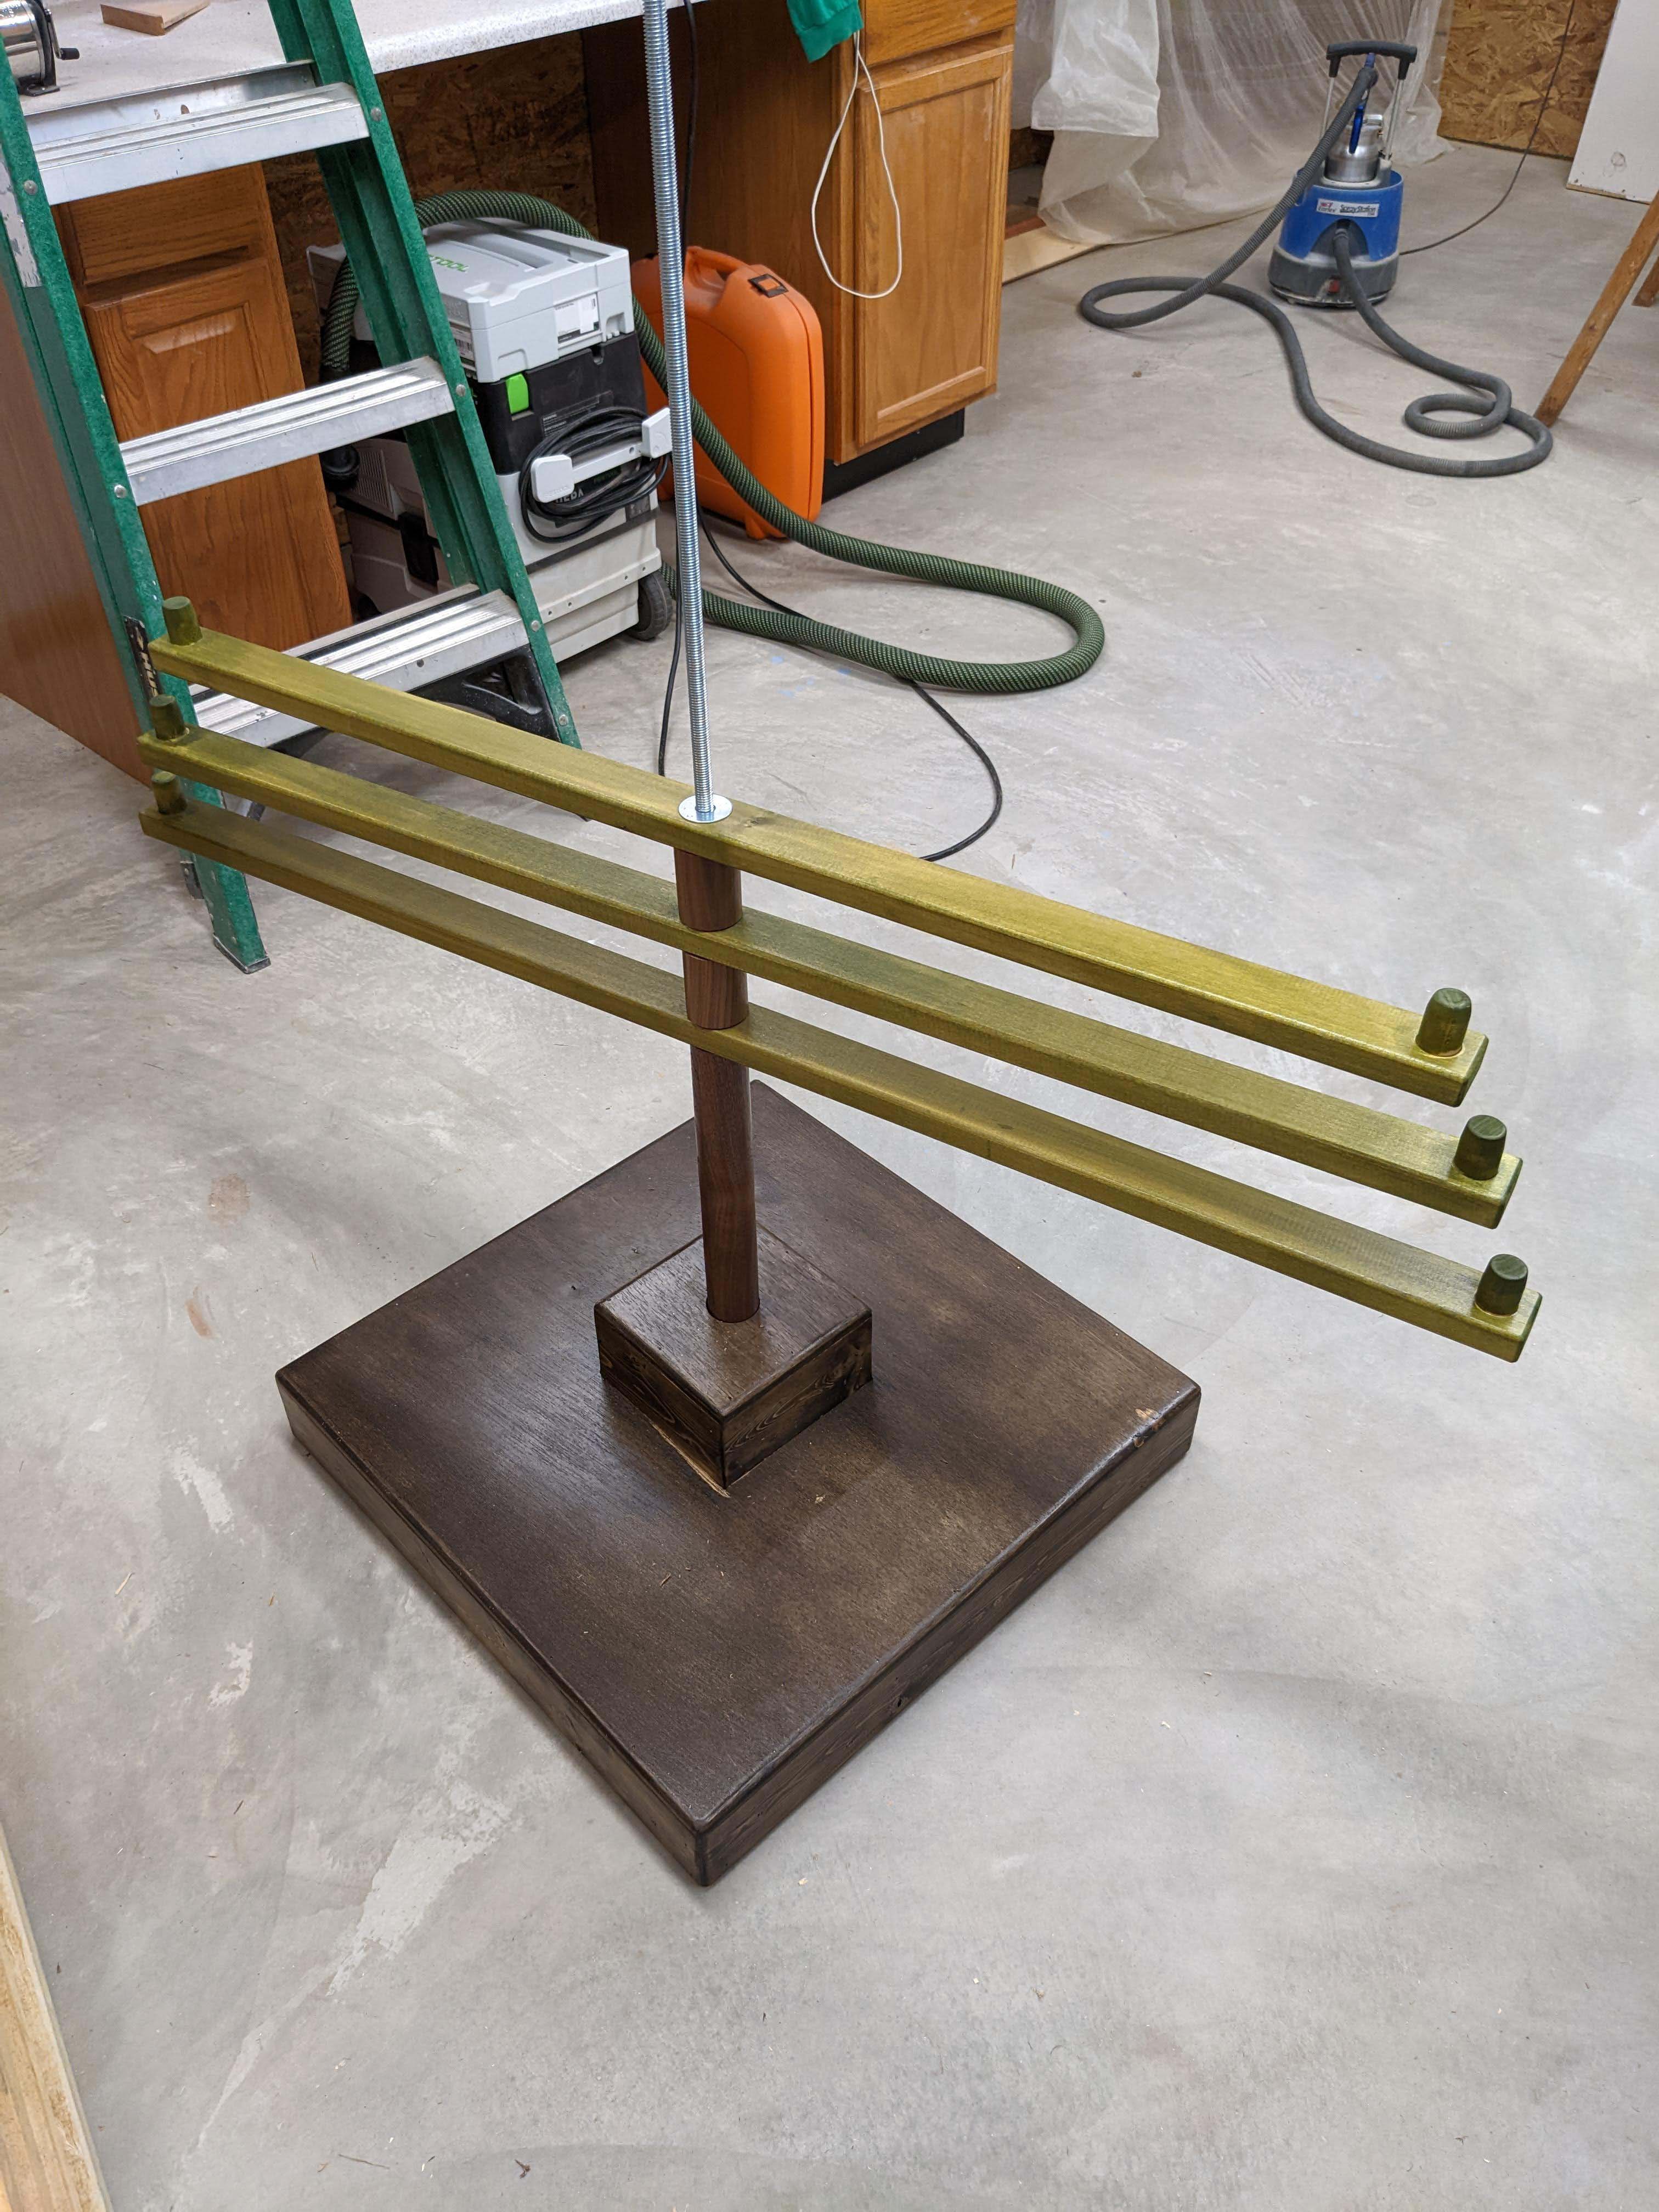
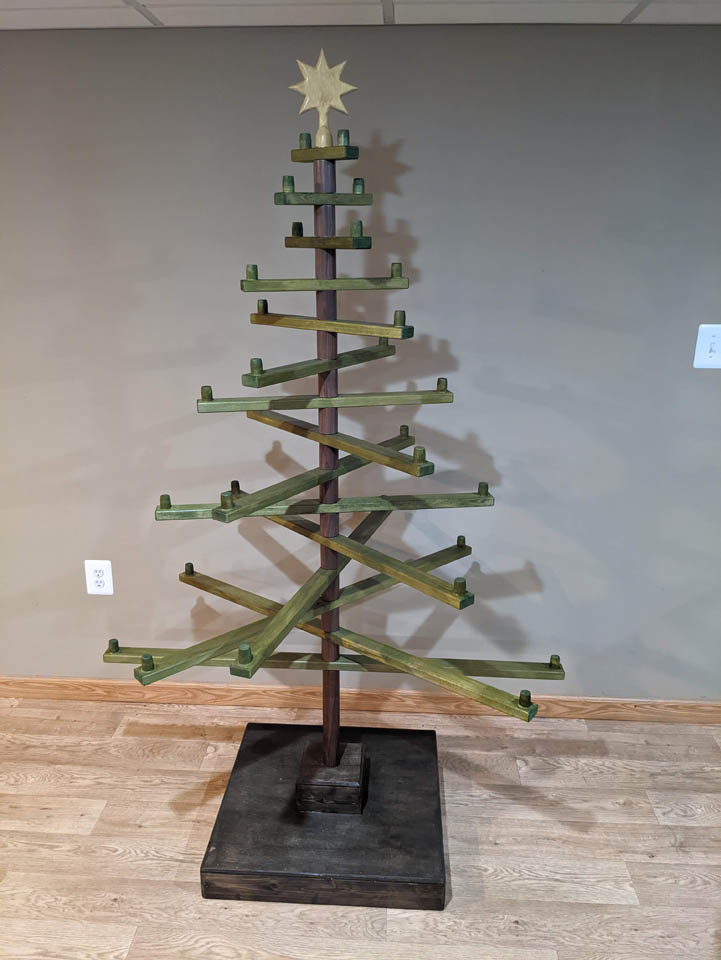
After the trunk was set in the base, I added a large fender washer, then the first branch. I started threading the shorter trunk pieces on next, followed by a branch, then another fender washer. The branches are meant to spin, the fender washer helps with that, I hope…
Some of the nuts did not stay perfectly centered, as I mentioned before, so I had to open the hole up in the drill press.

It took over an hour to thread all of the brown trunk pieces into place. You really don’t realize how boring that is. My wife graciously came down to help do that while I opened up the holes on the drill press.
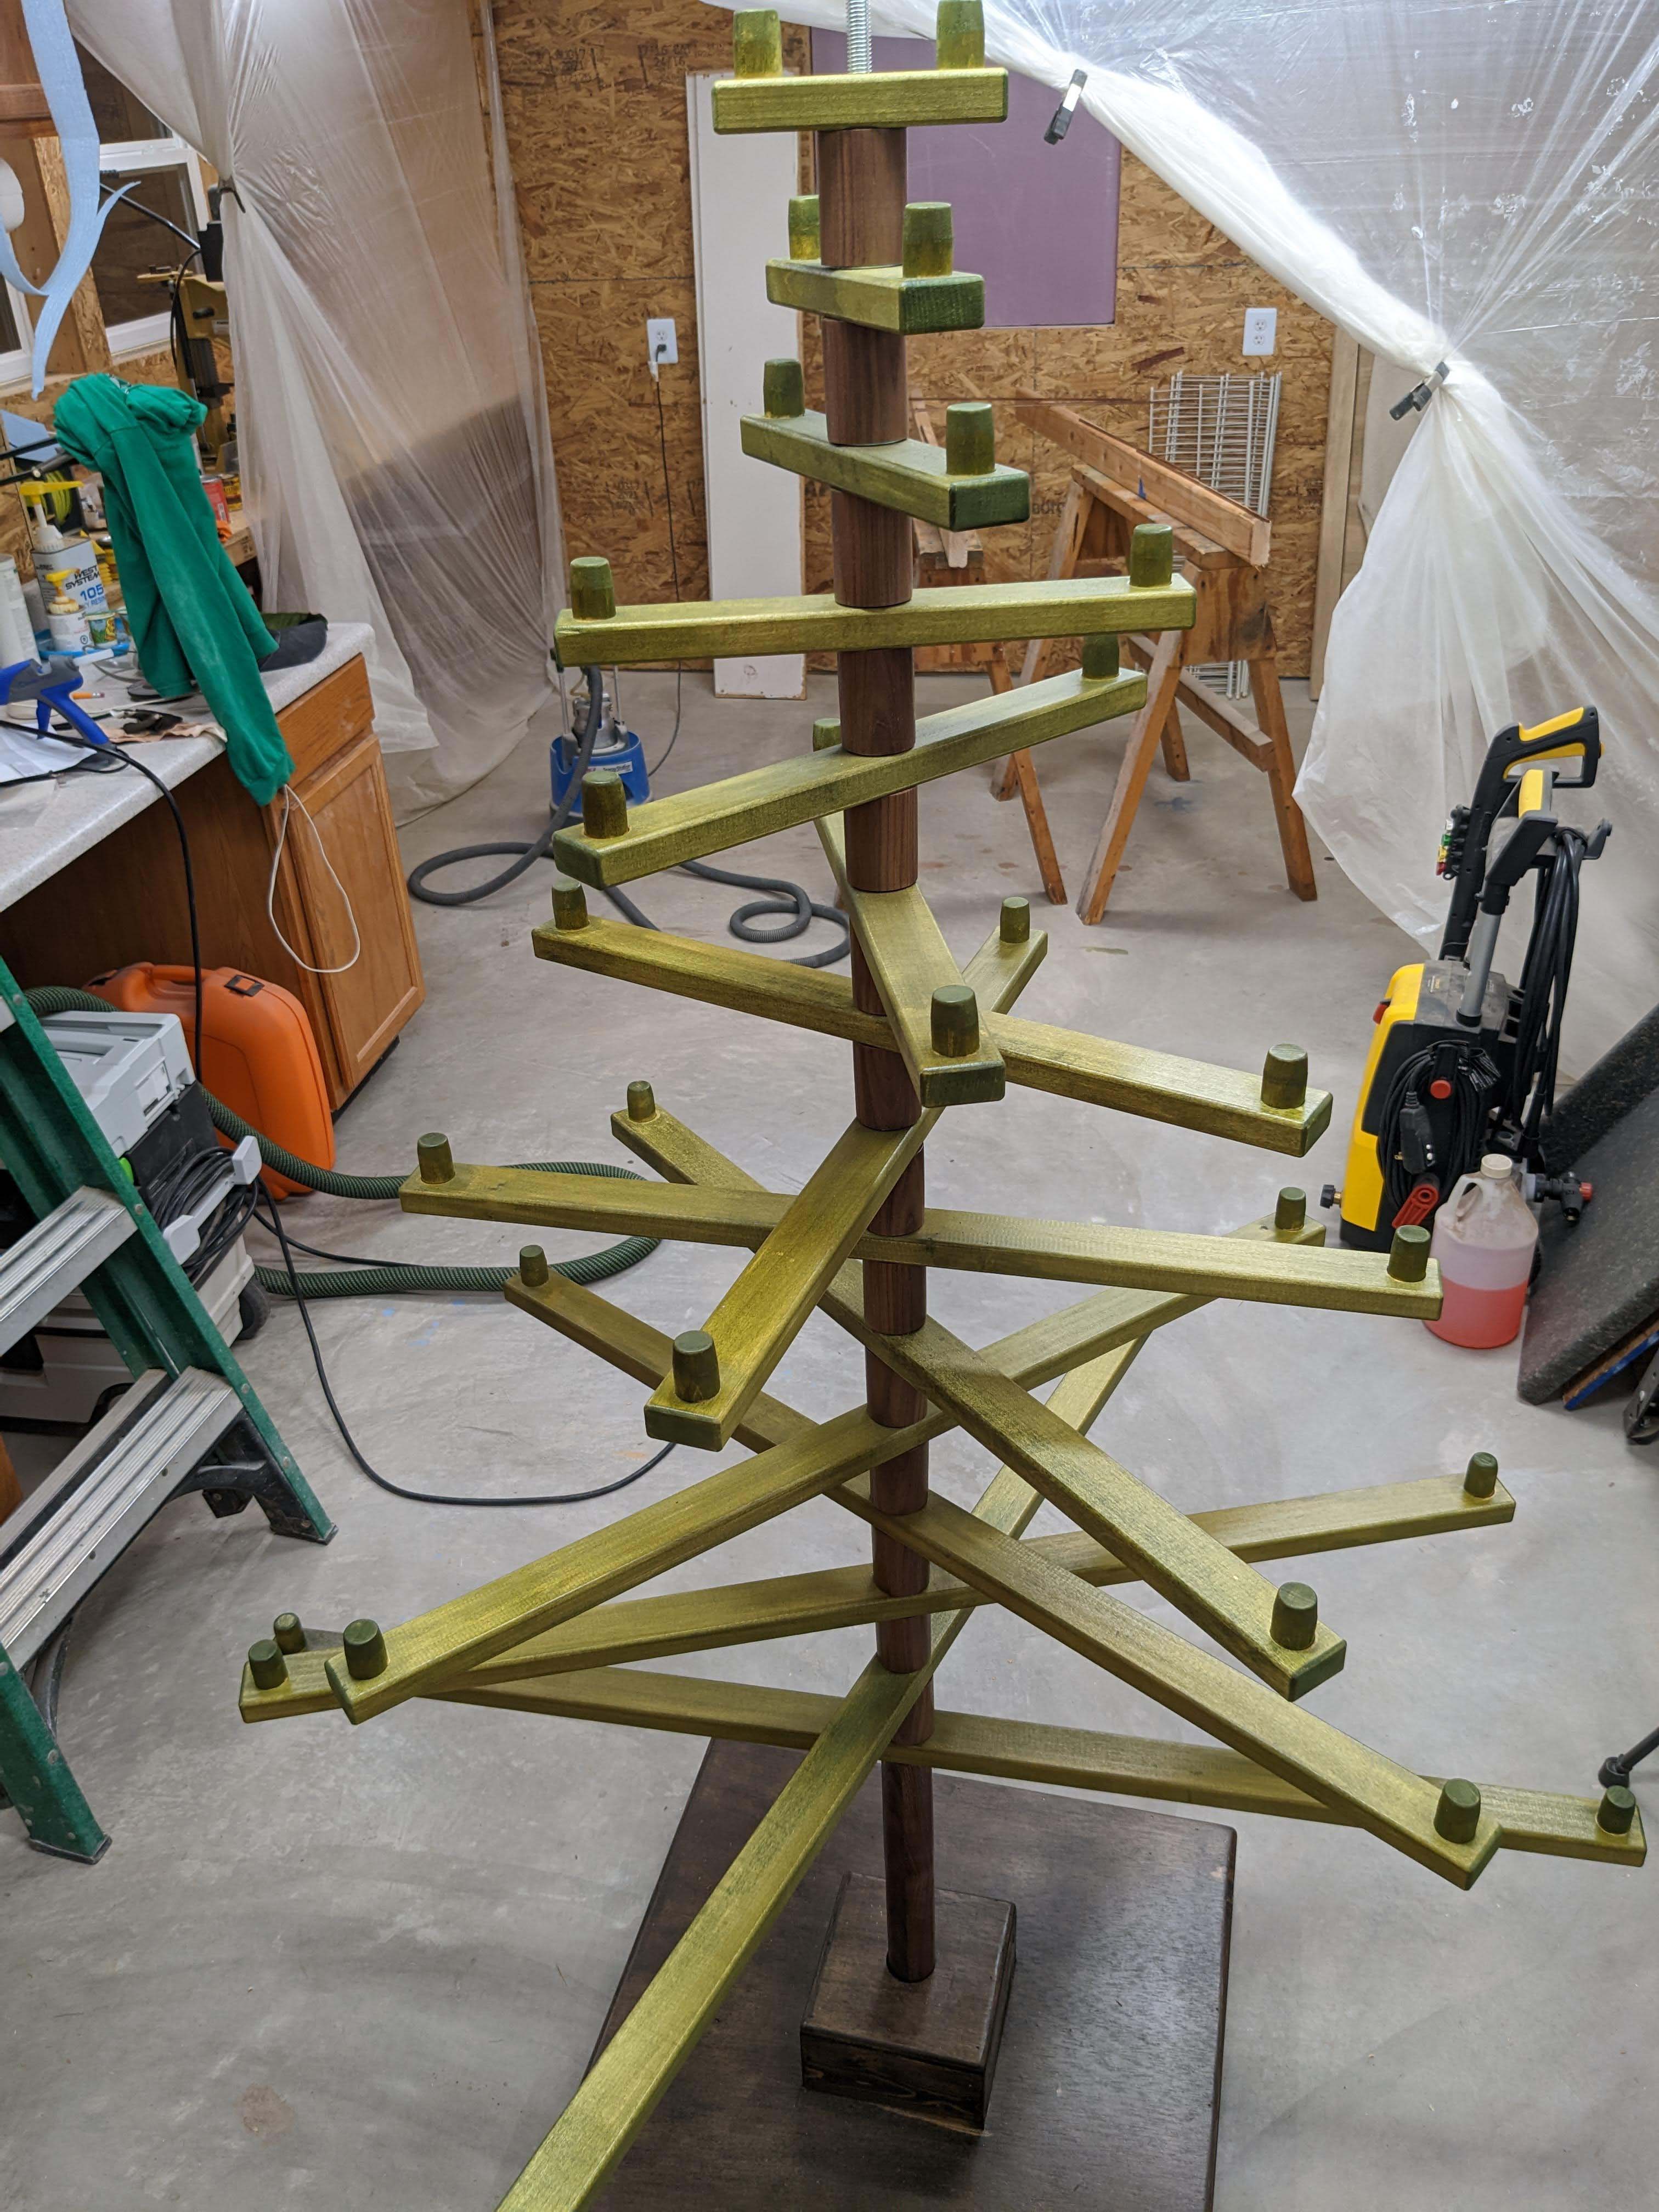
But, after all of that fun, we have a tree.

Next step is to come up with a star.

I had a piece of yellow-heart in my small pile of exotics, so I thought I would try that.
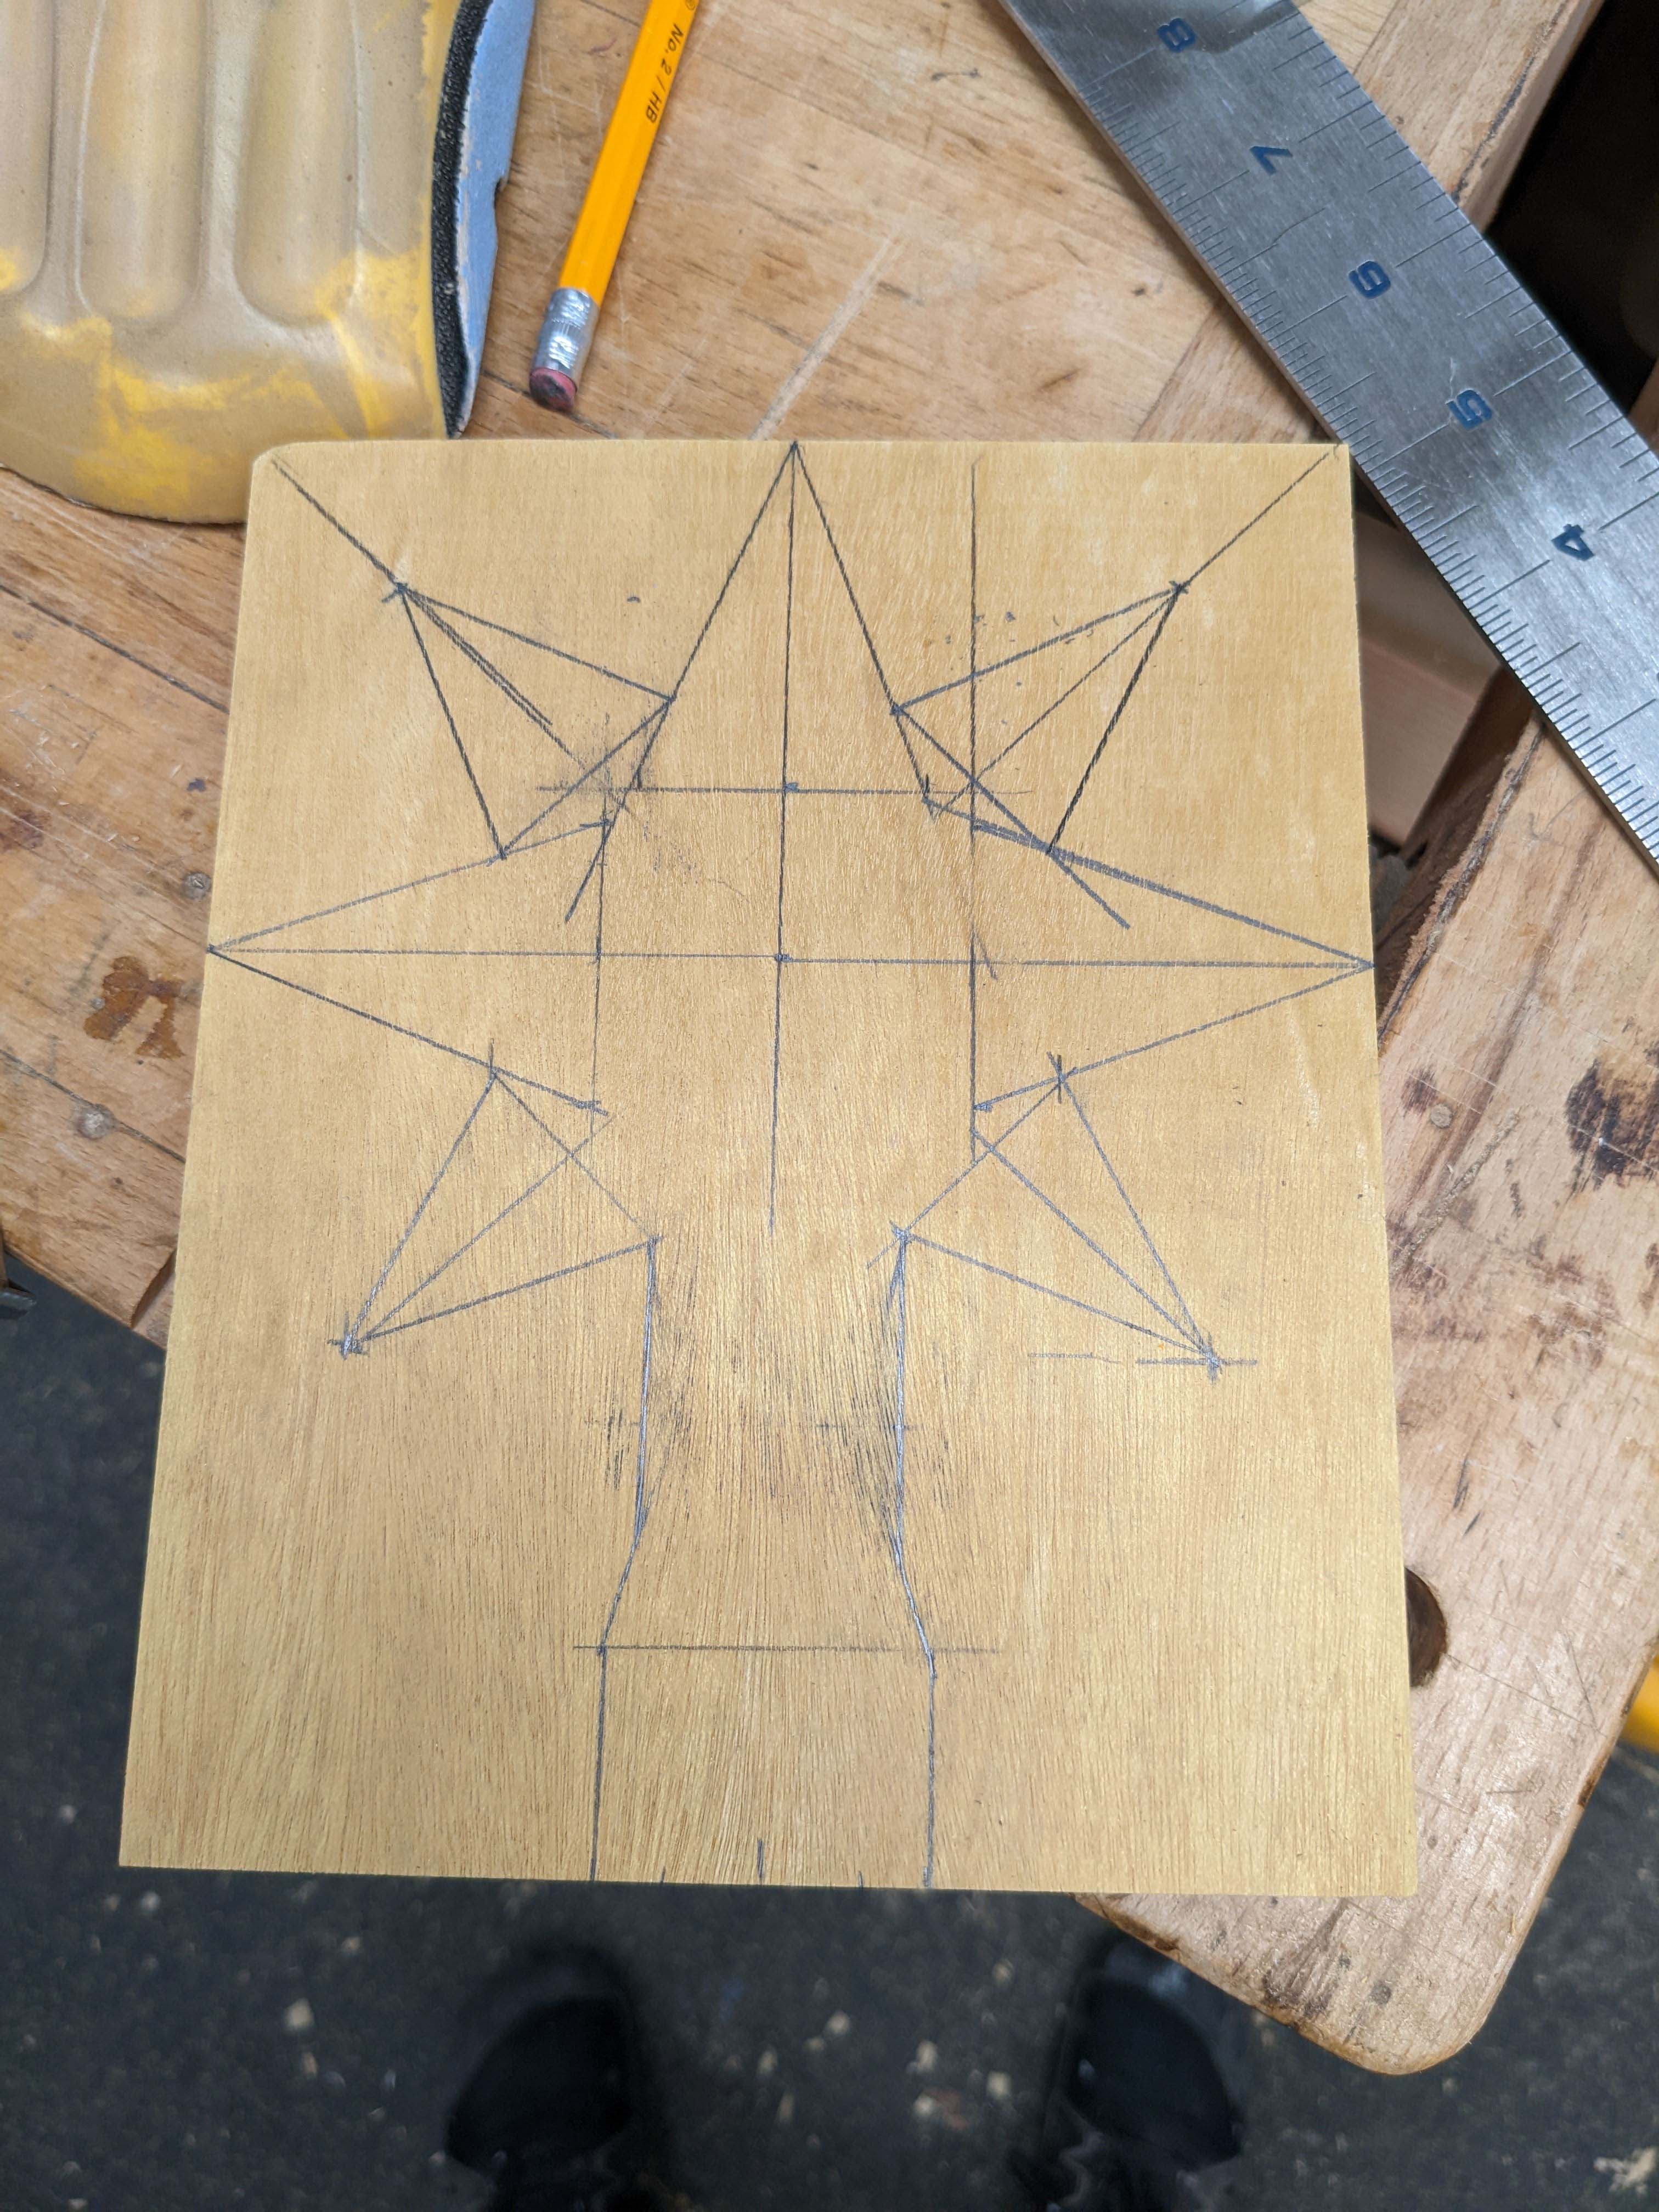
I cut off a section and laid out a star.
I cut a couple of chunks off the bottom first, then cut those chunks down so I could attach them to the base.
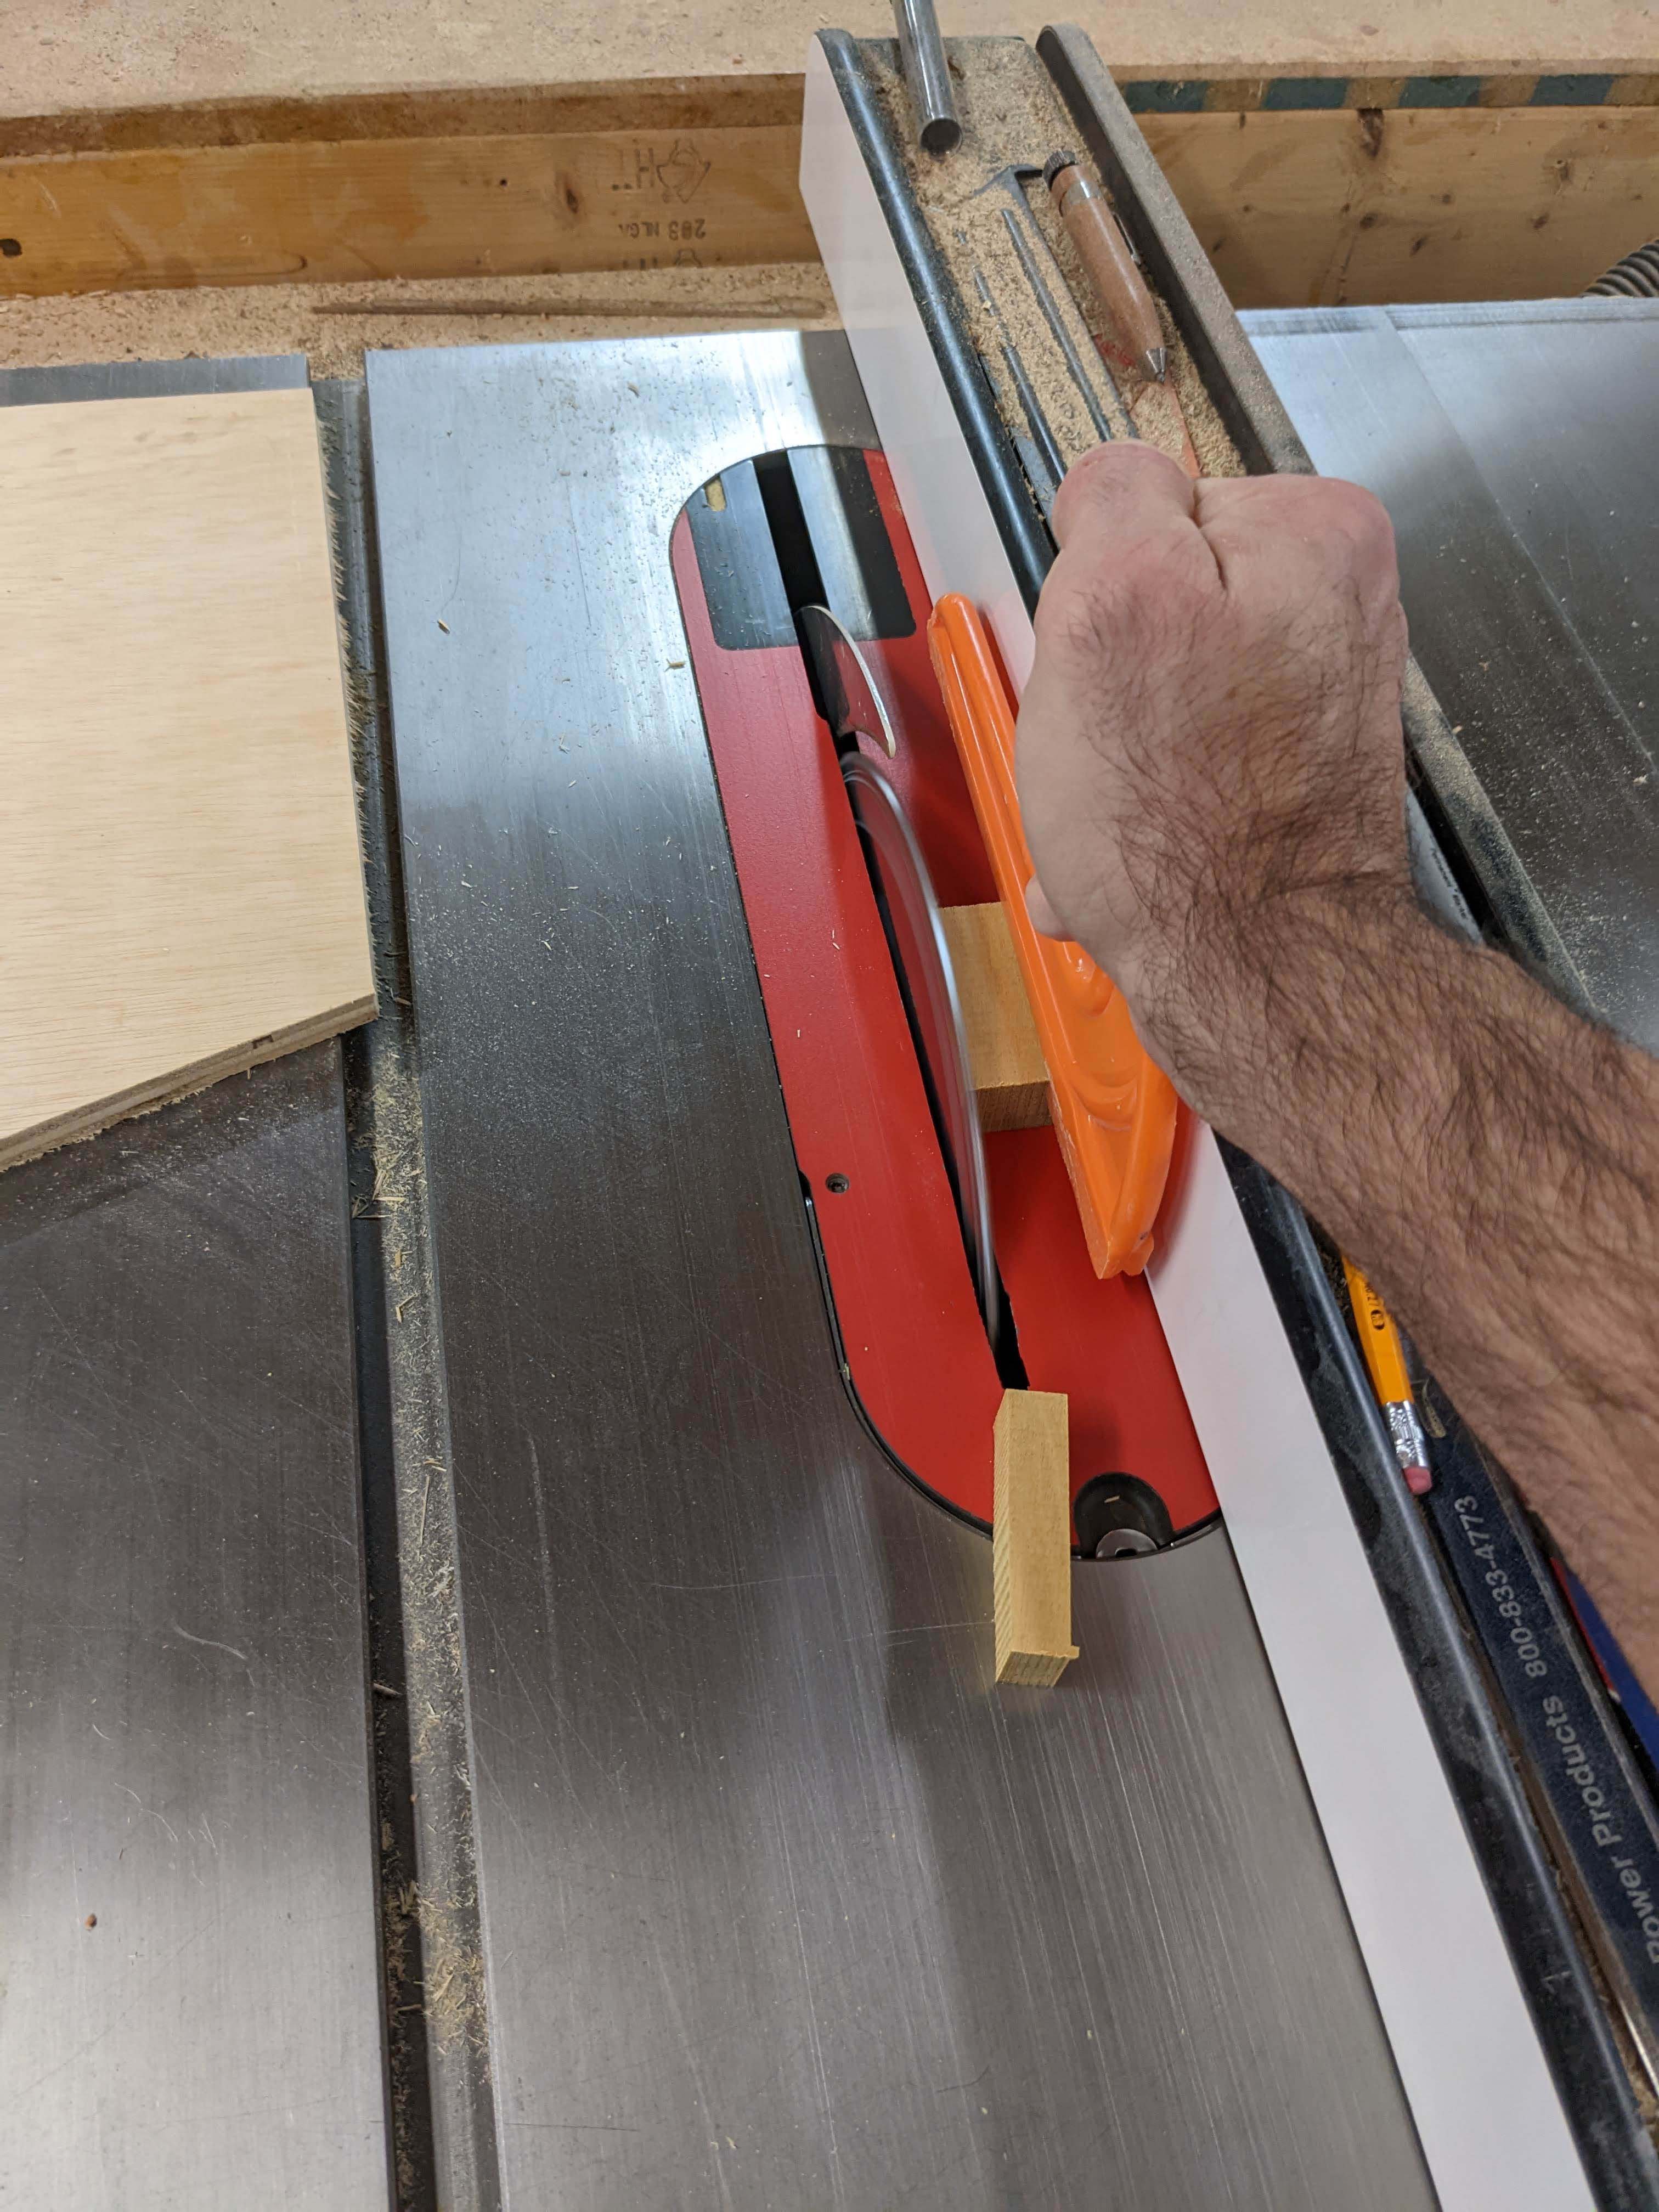
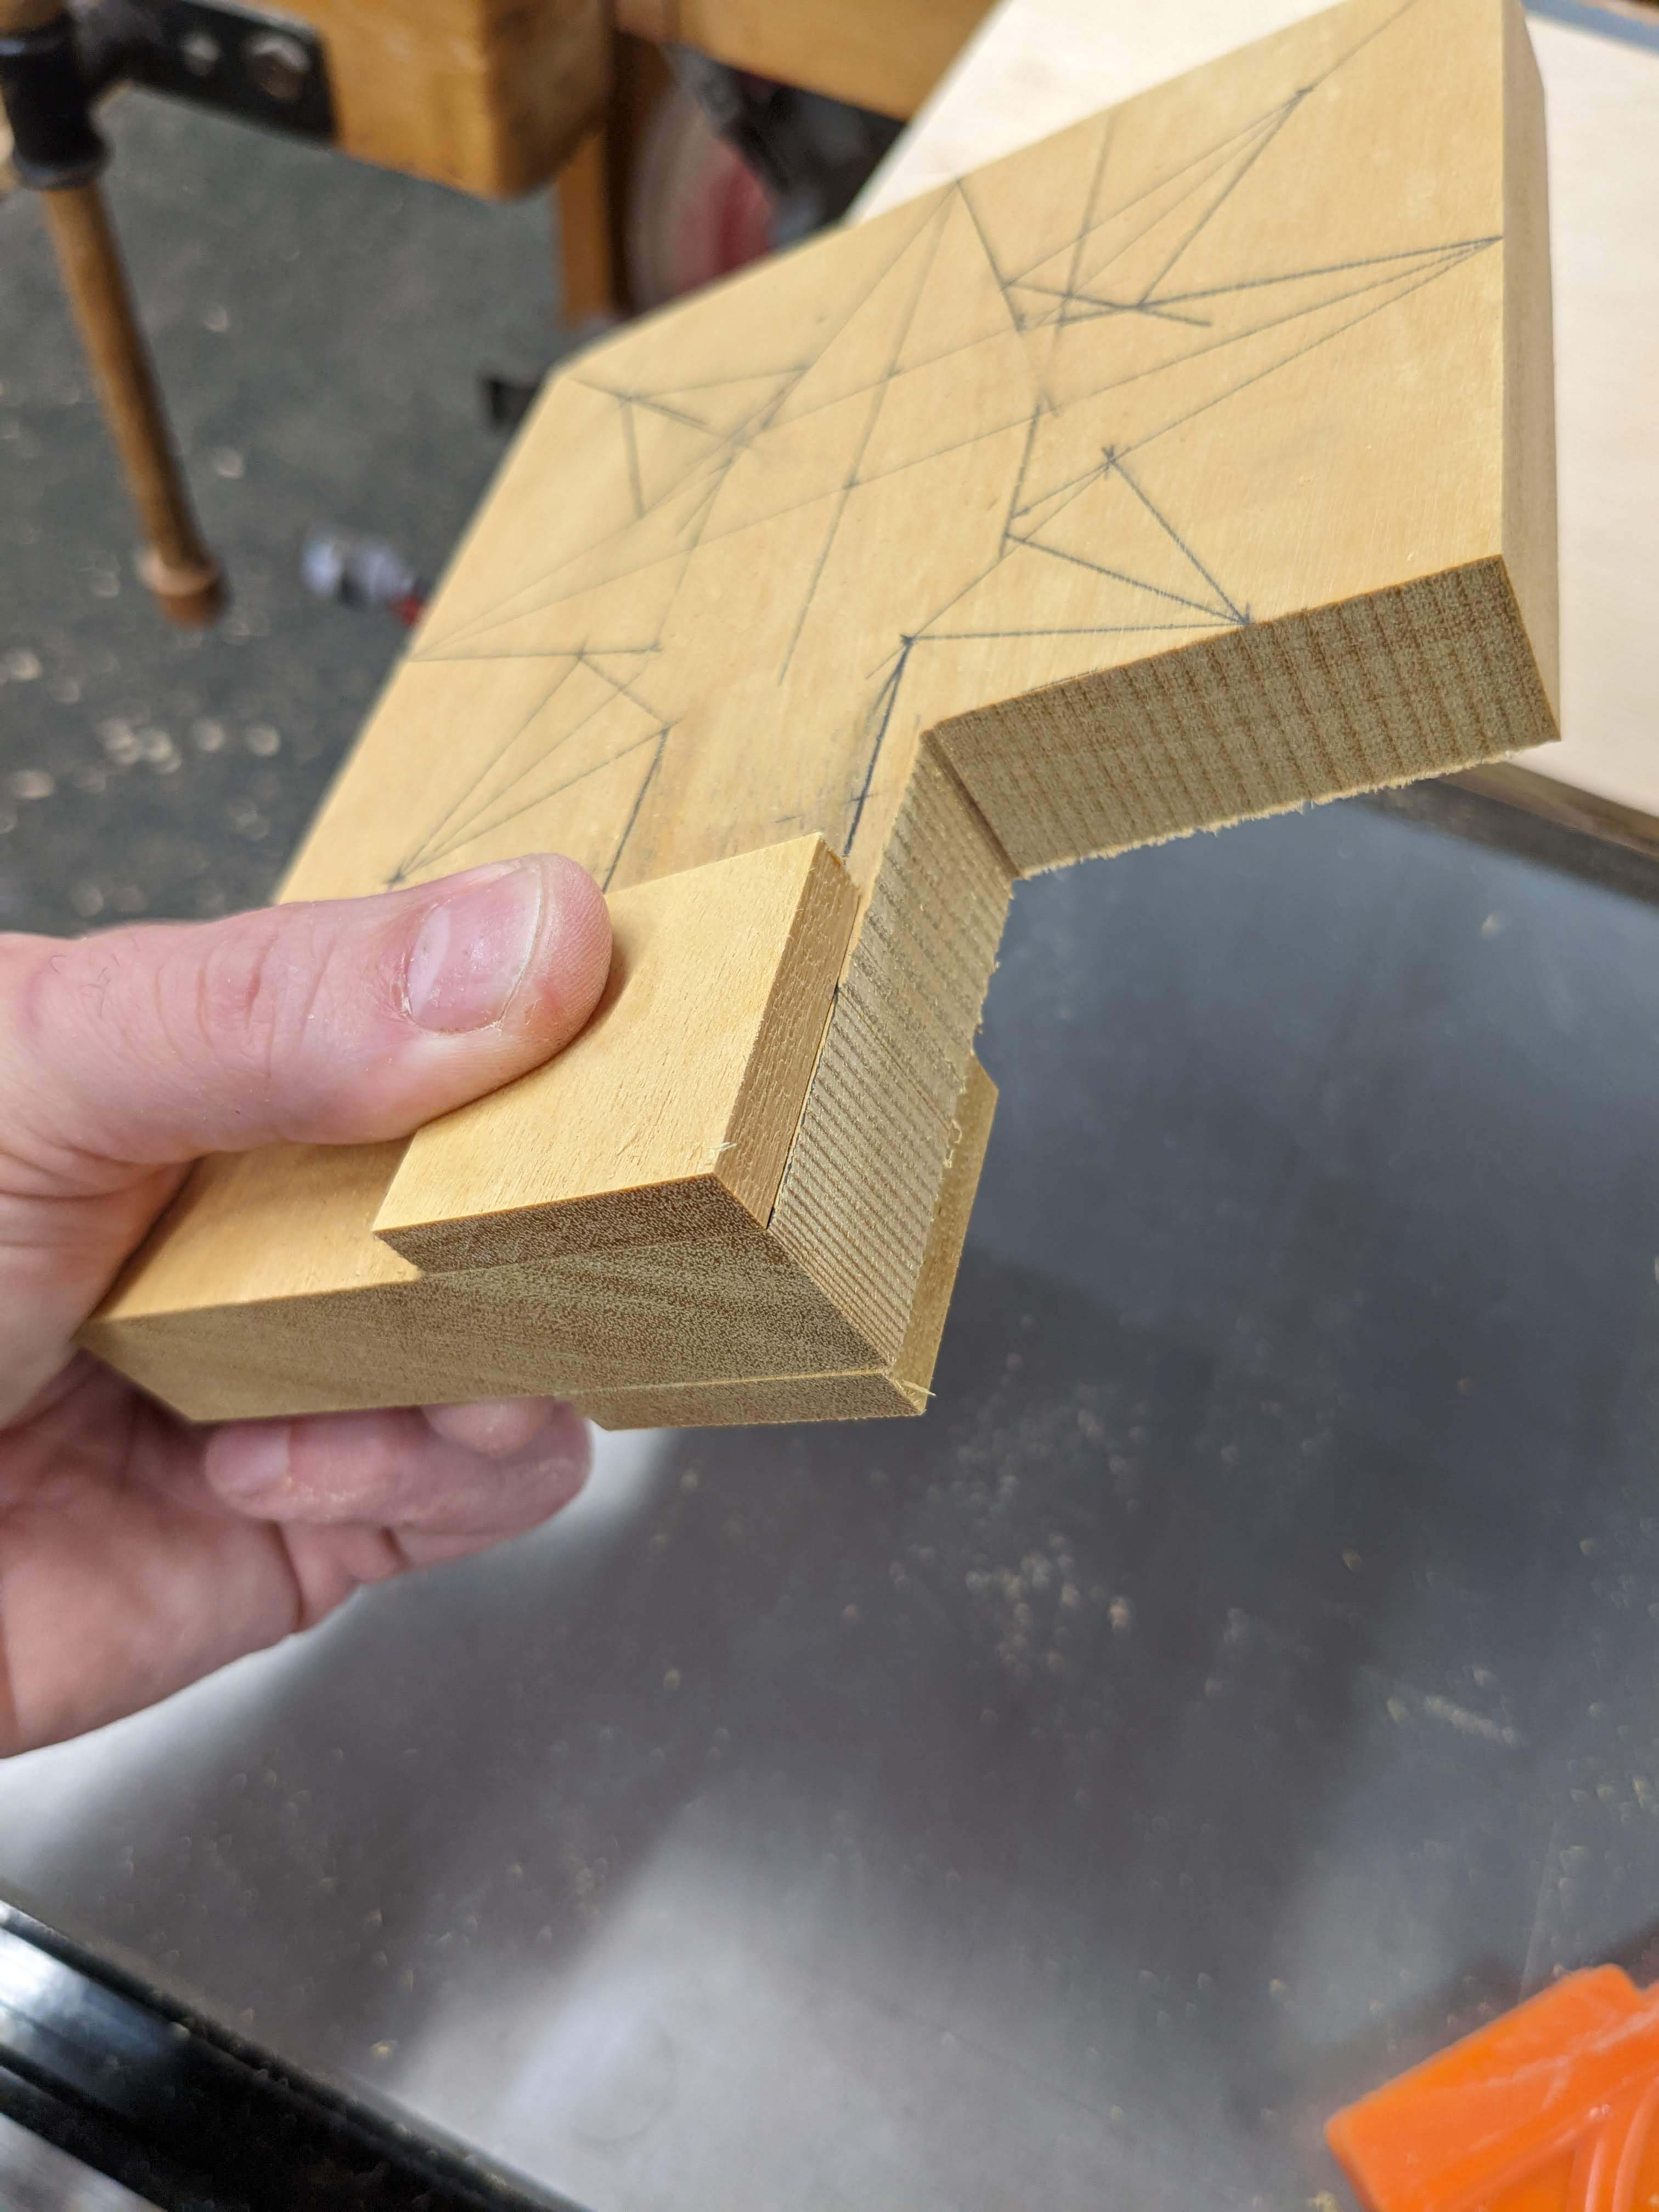
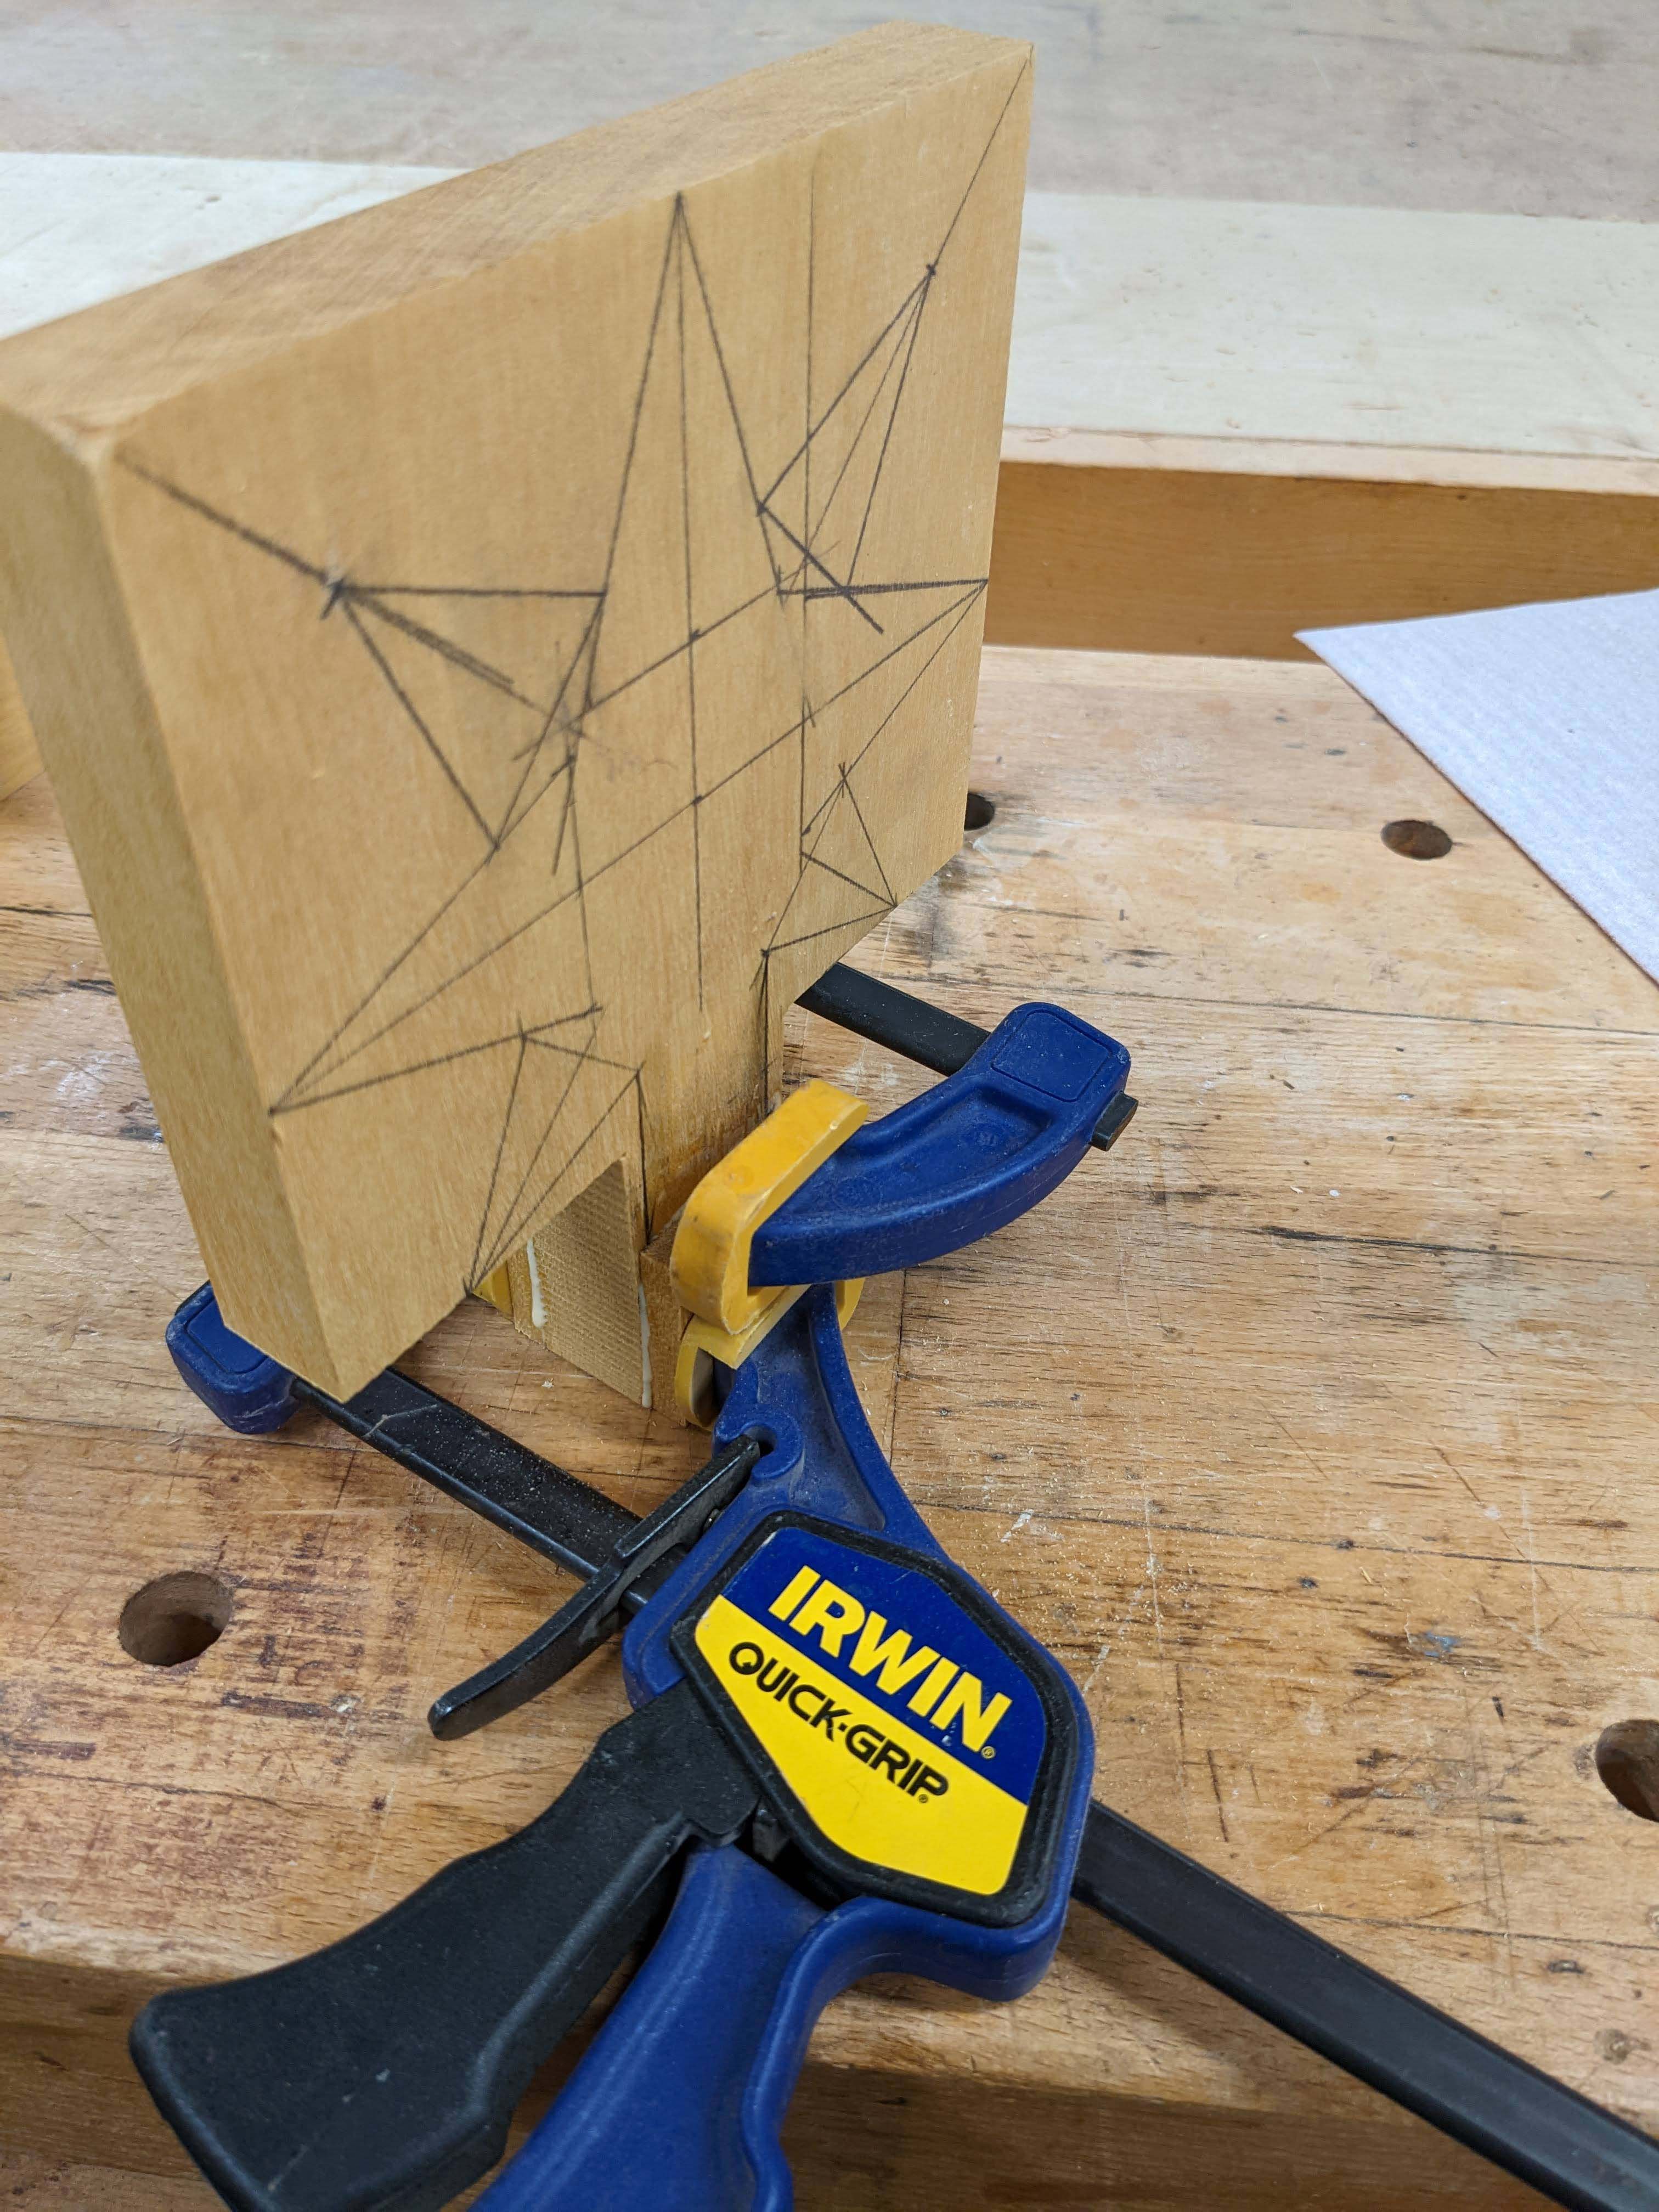
The base needs to be thicker to embed a nut, so I added 1/2″ to each side.
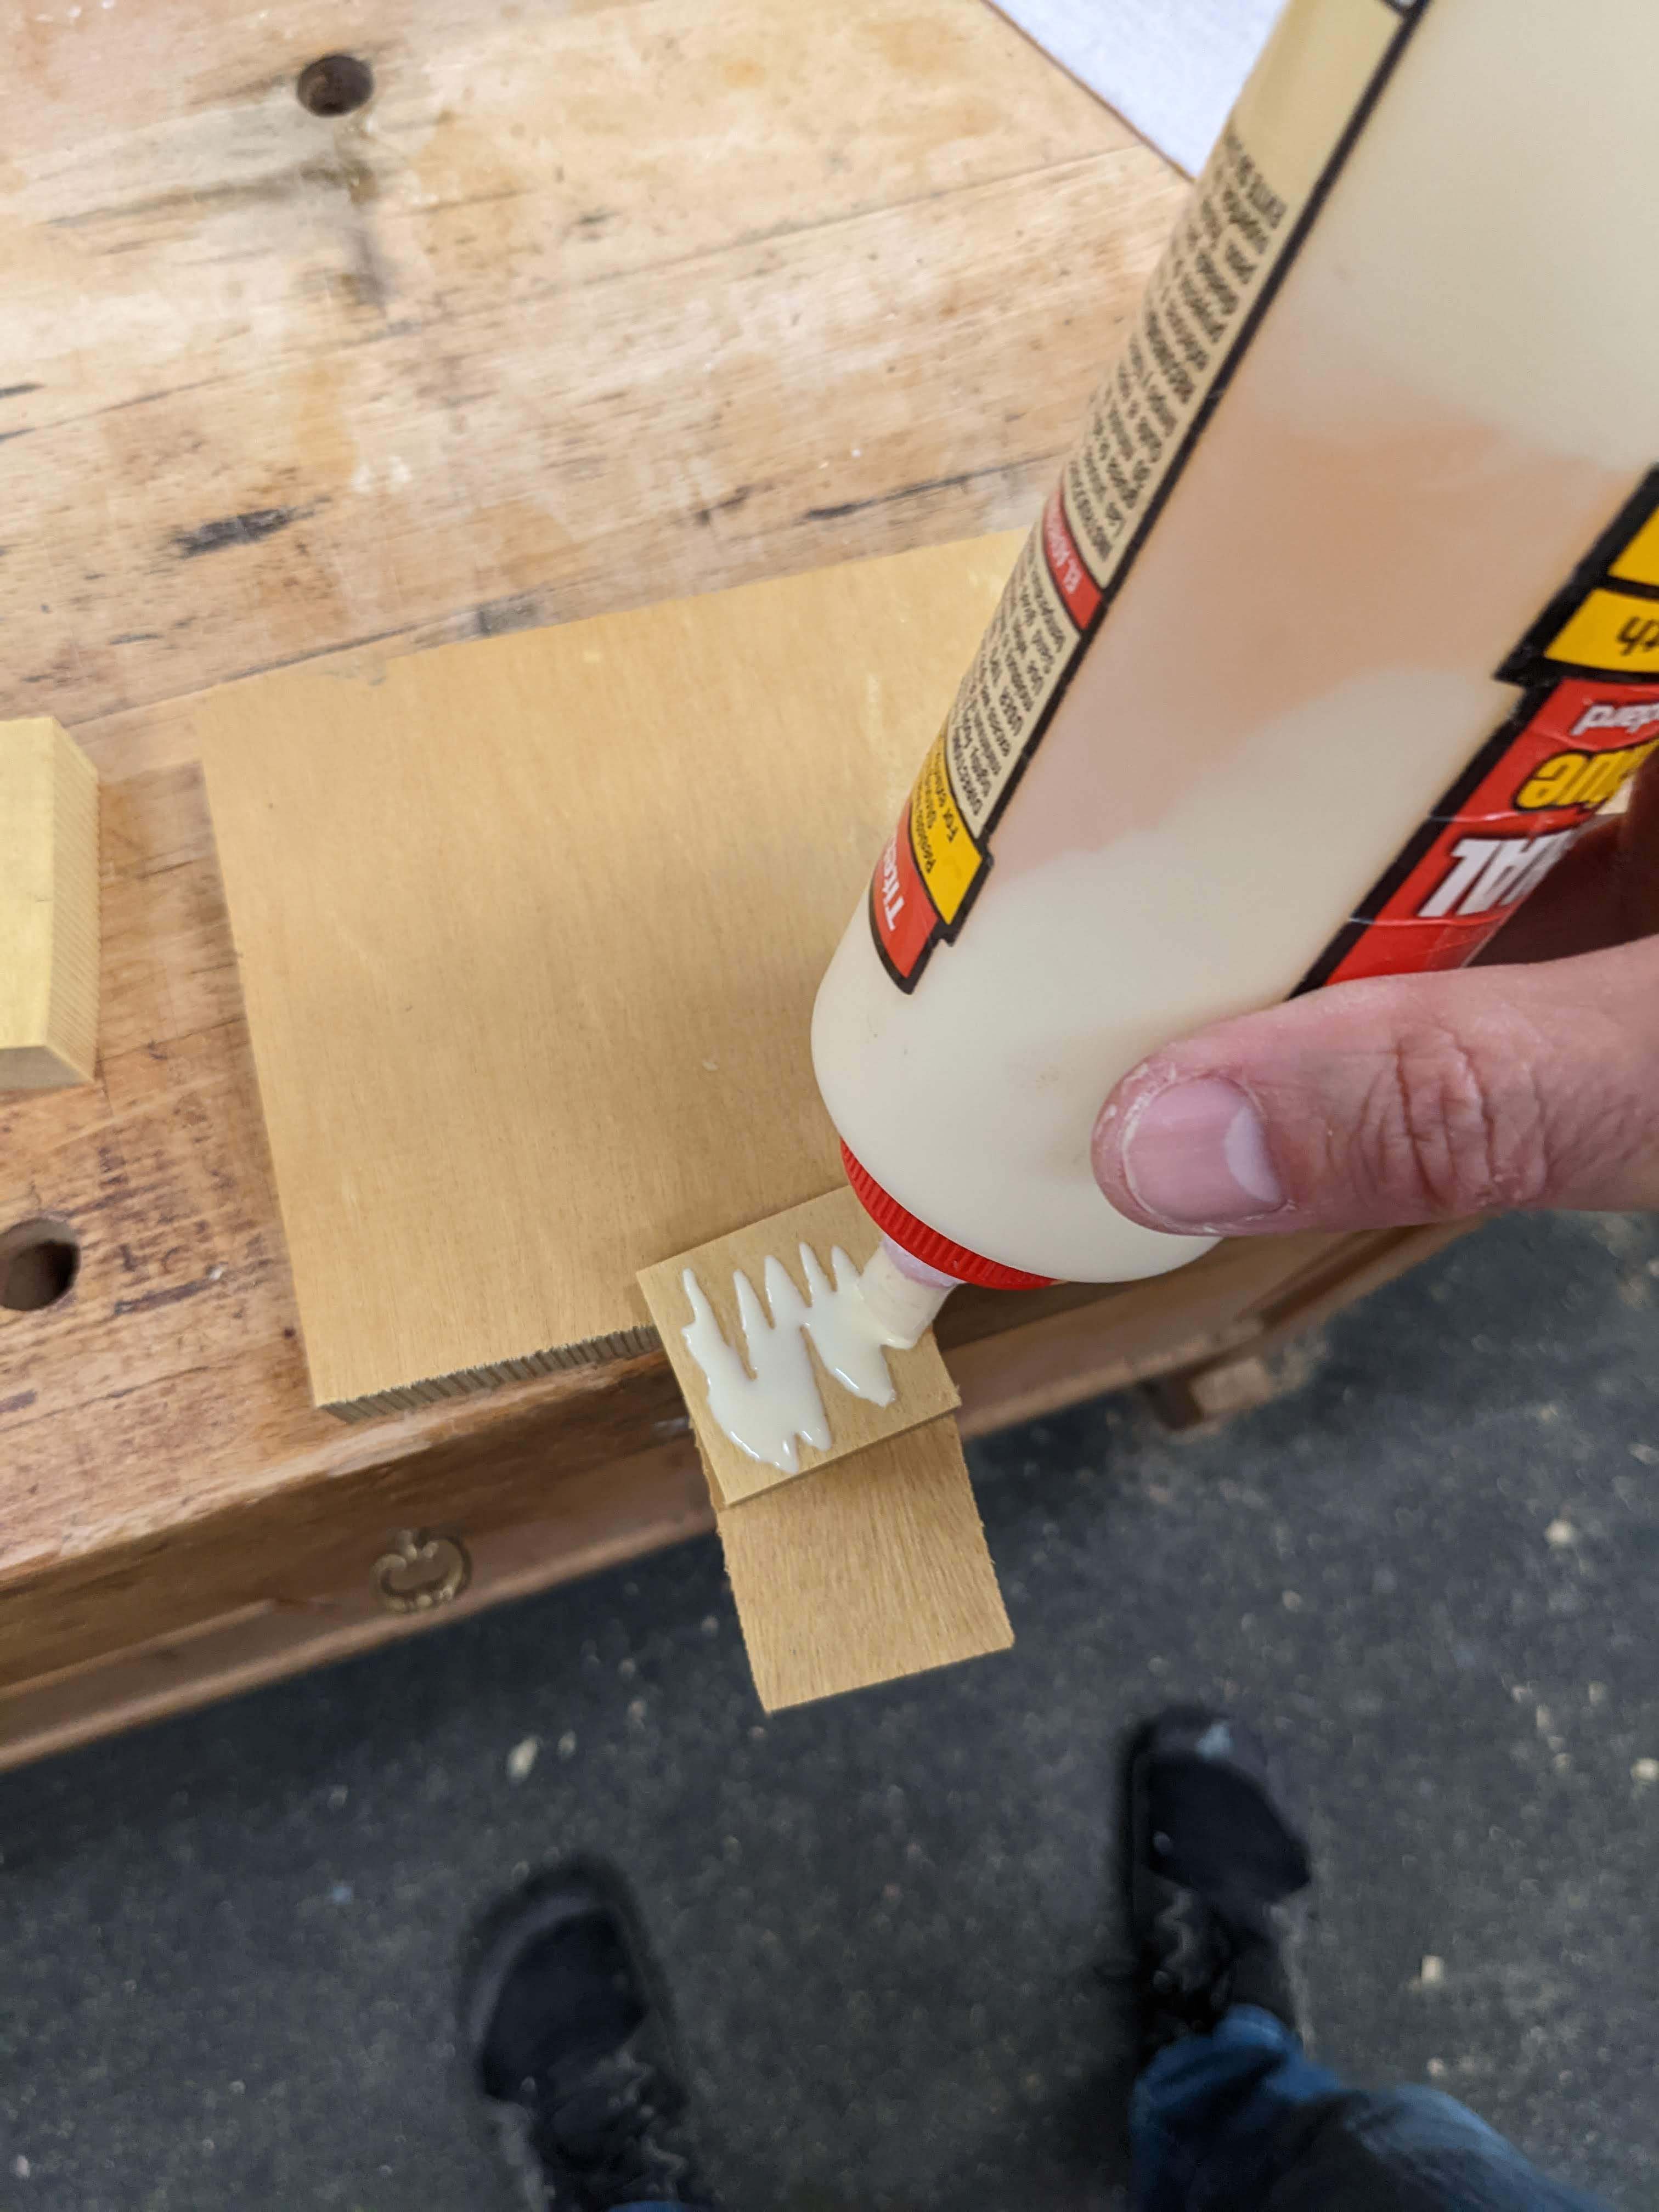
I used wood glue and a clamp to hold it in place.
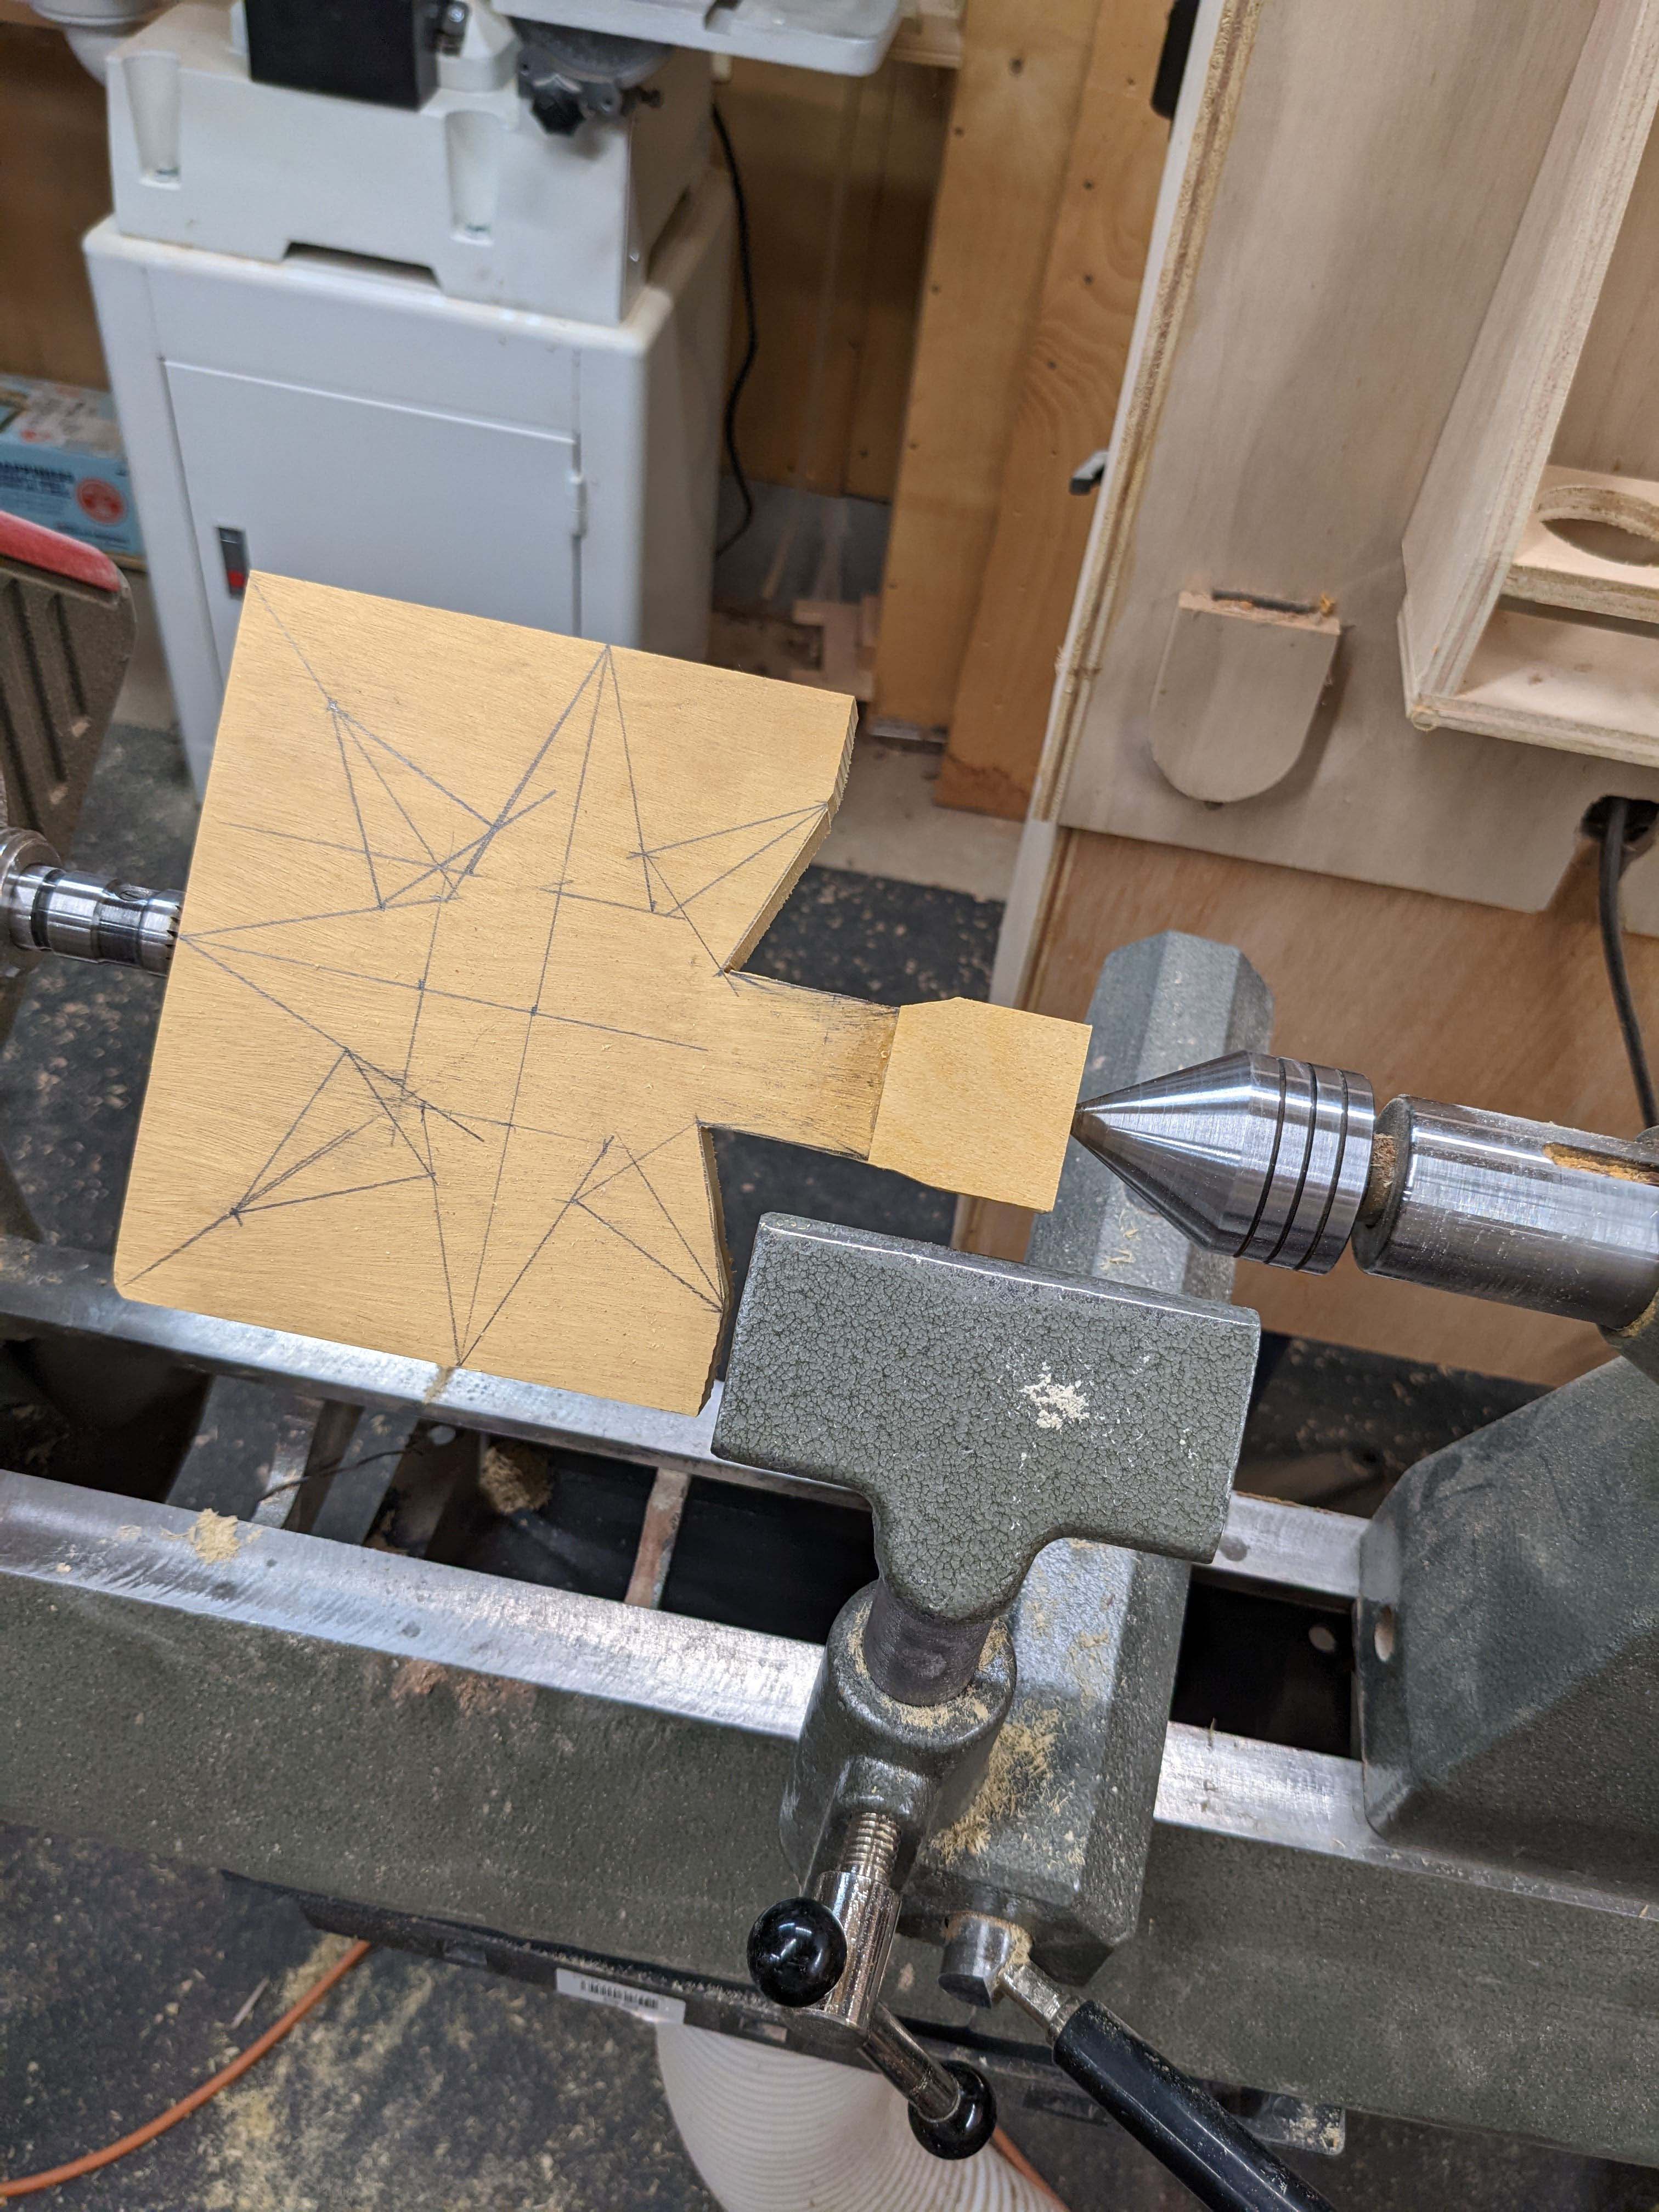
Once the glue had dried, I set it up in the lathe.

It was a little scary having the wide part spinning right next to my knuckles but I was careful as I trimmed the base down to a rounded section.
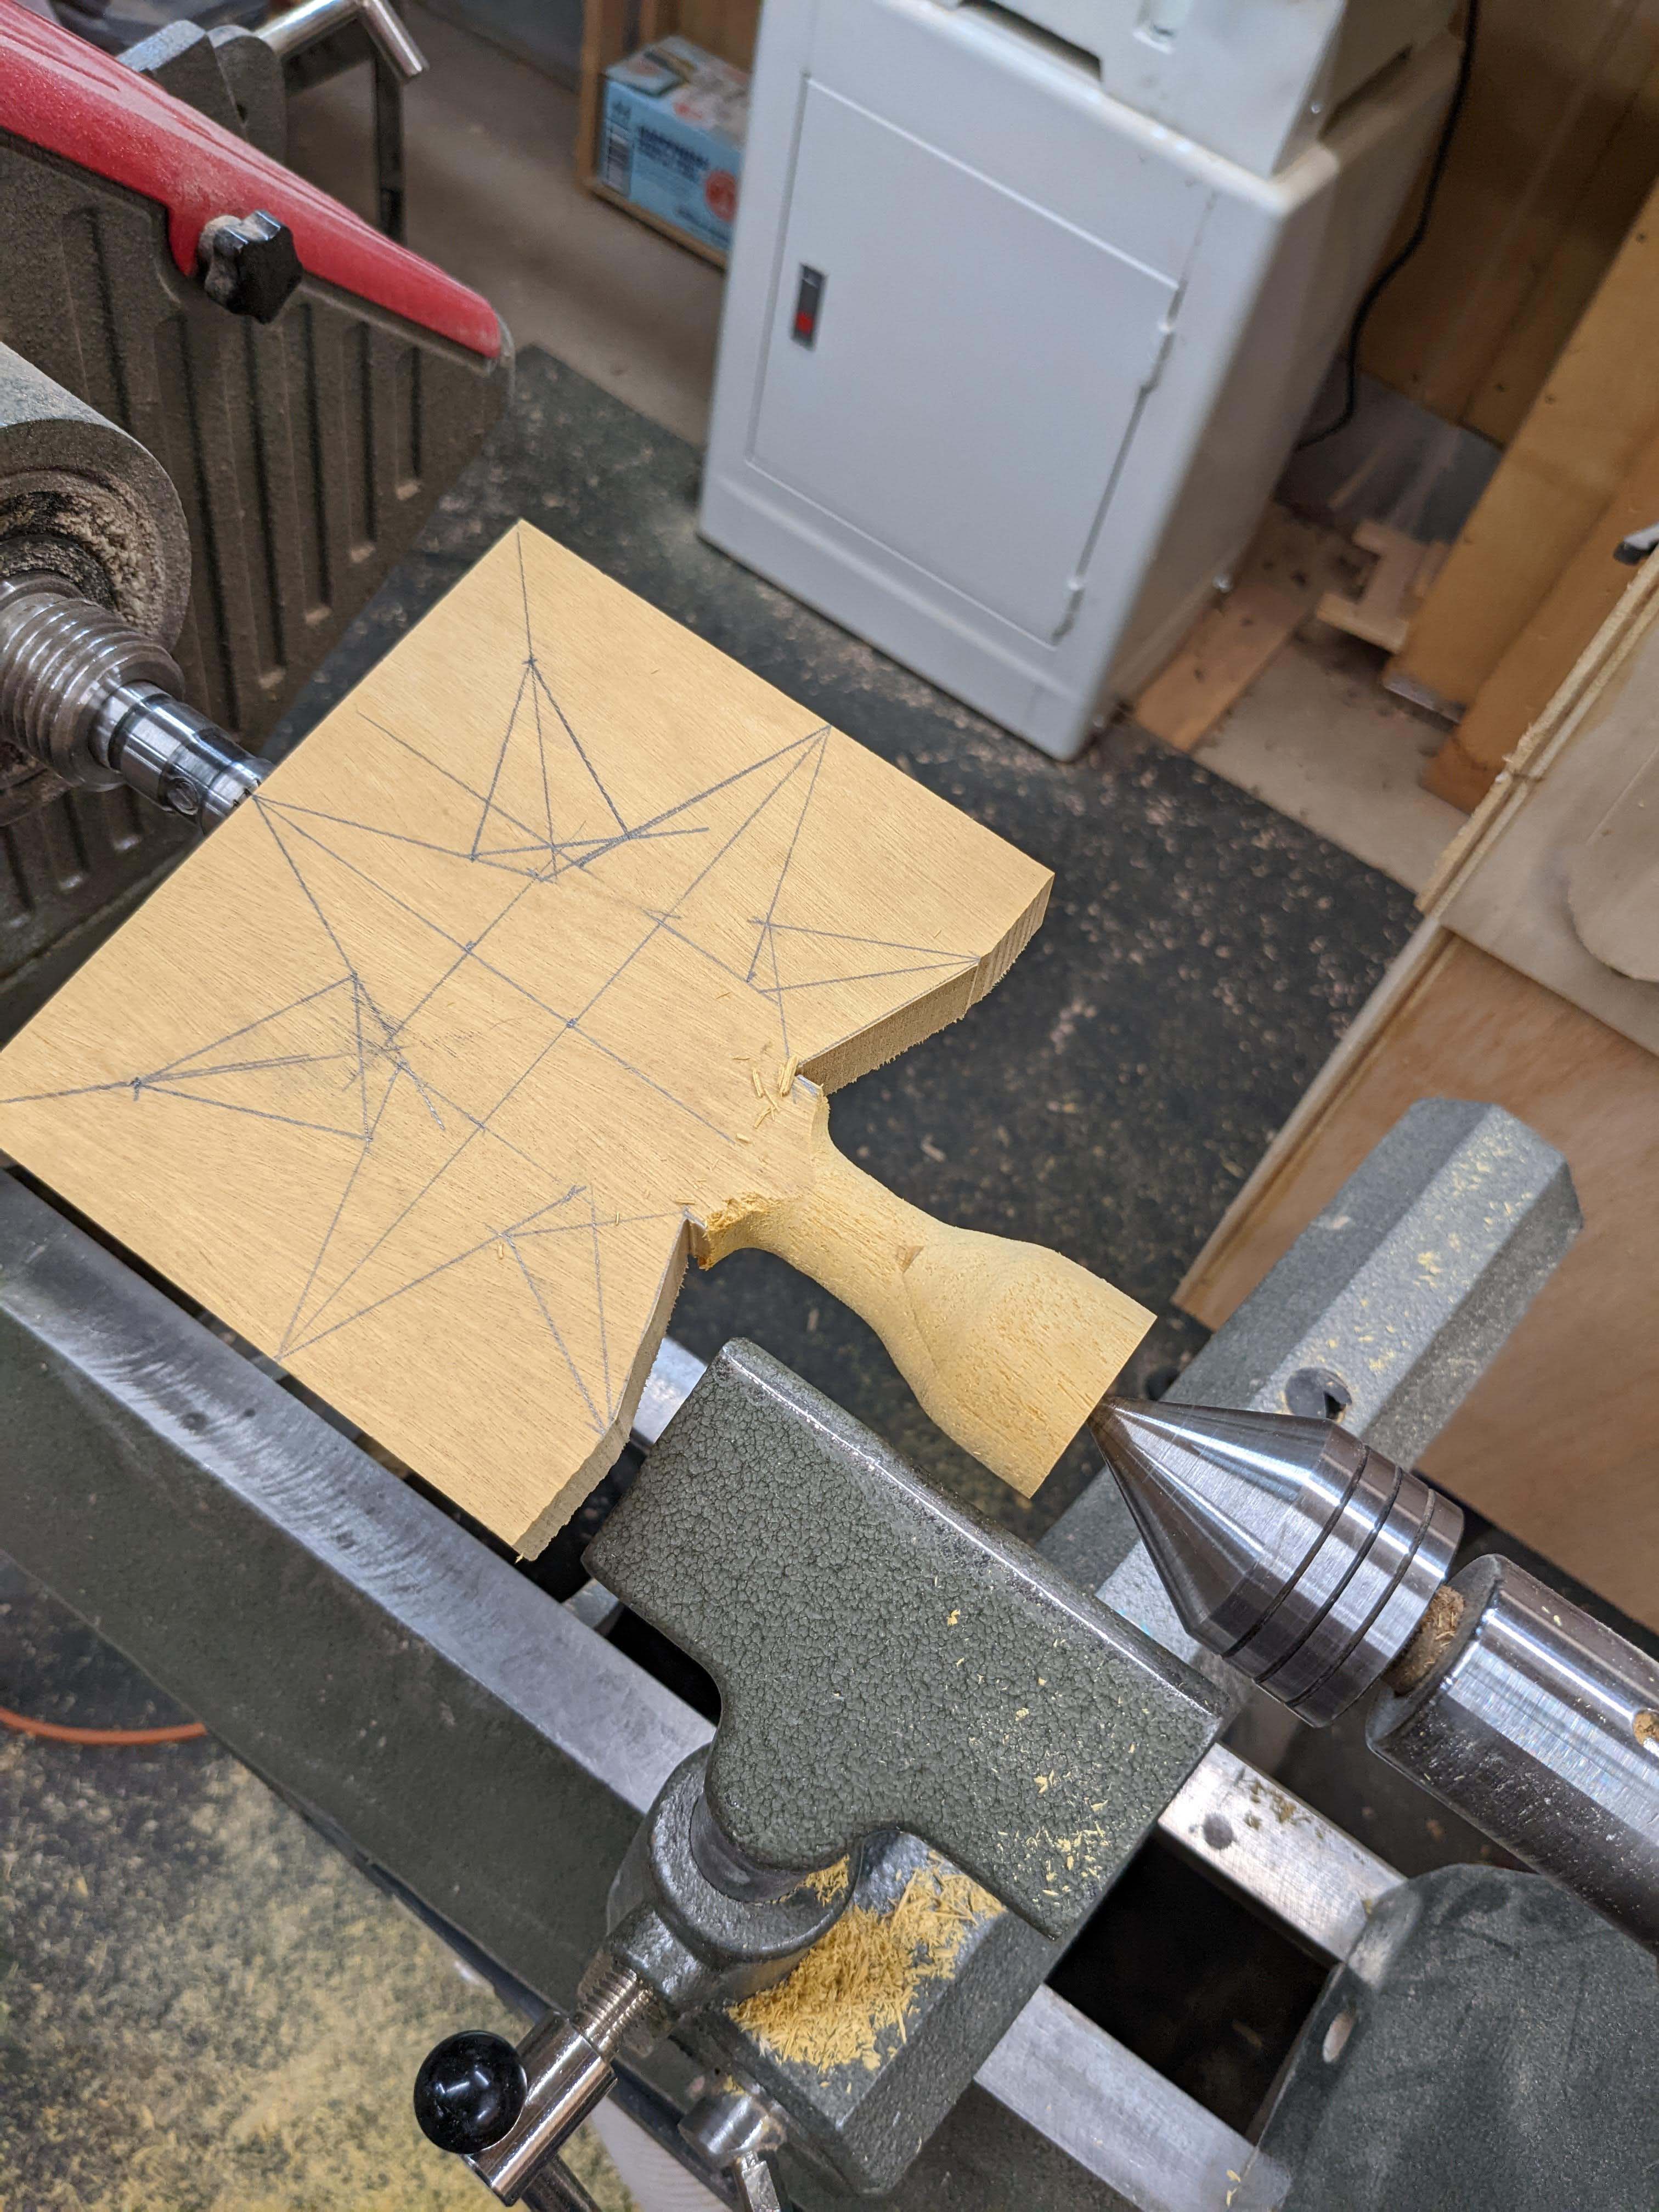
I intentionally left the rest of the star uncut so I had a square edge to clamp in the drill press.
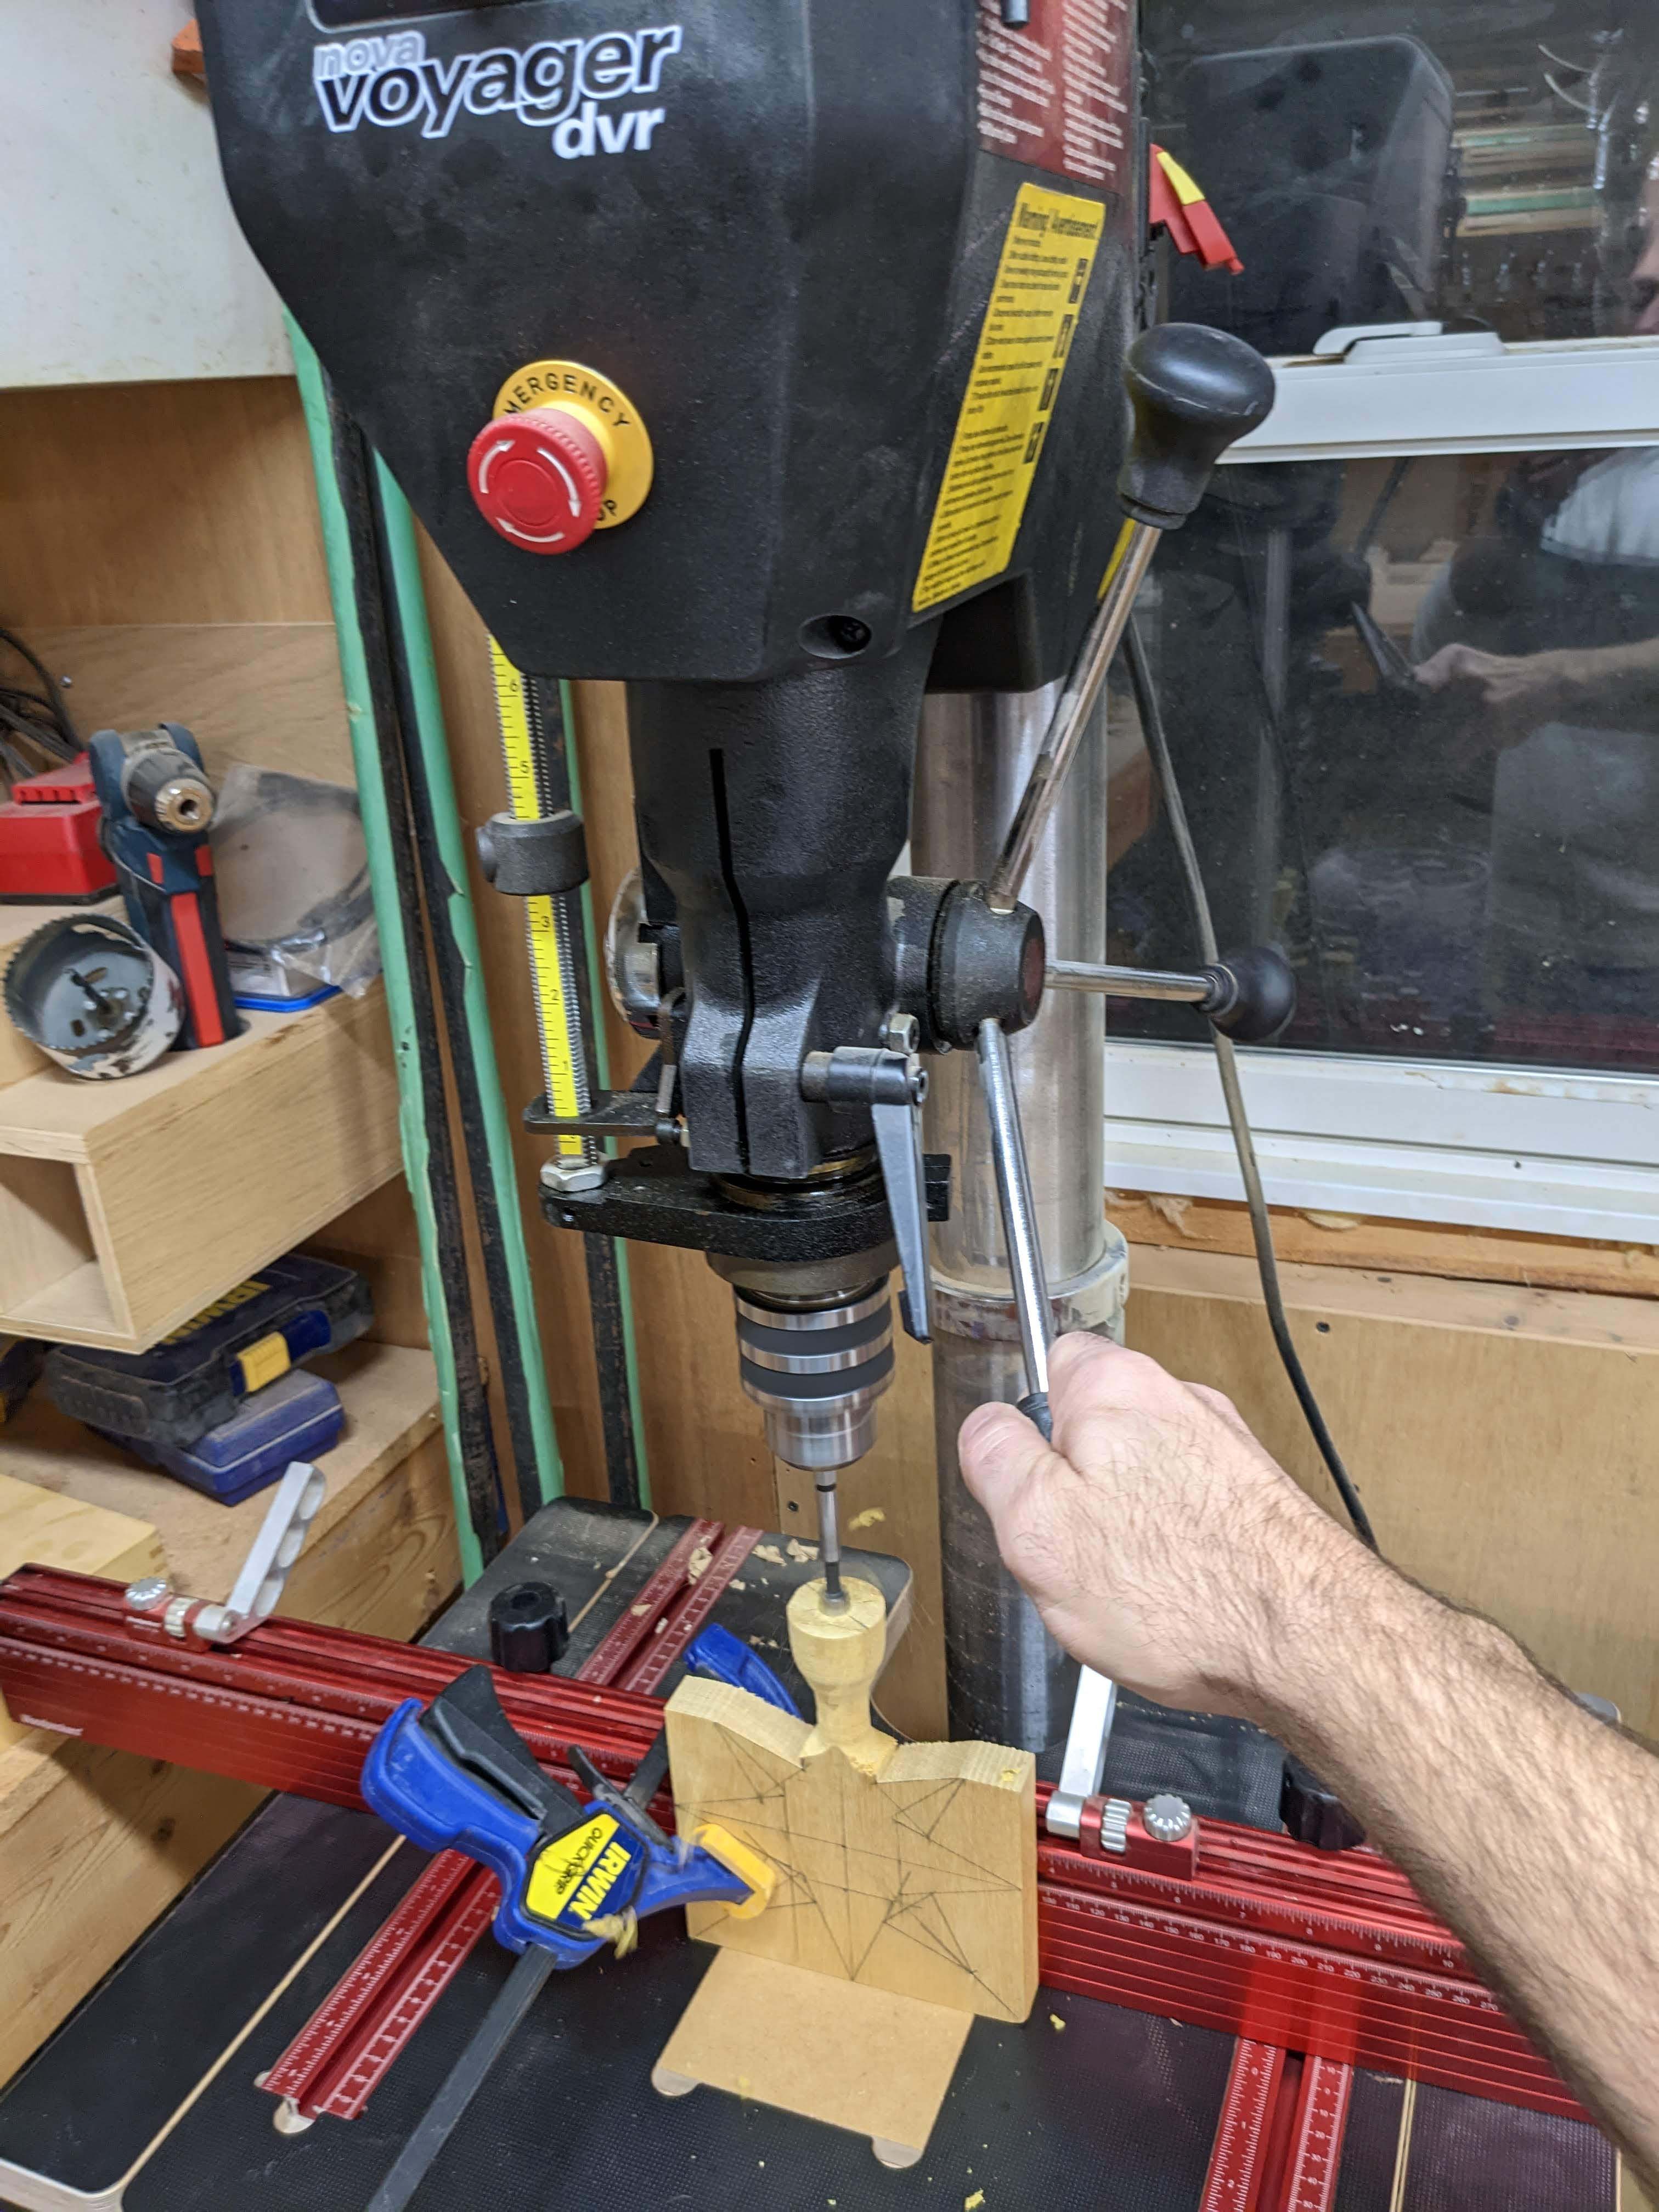
I drilled a 1/2″ hole, several inches deep and test fit it on the tree.
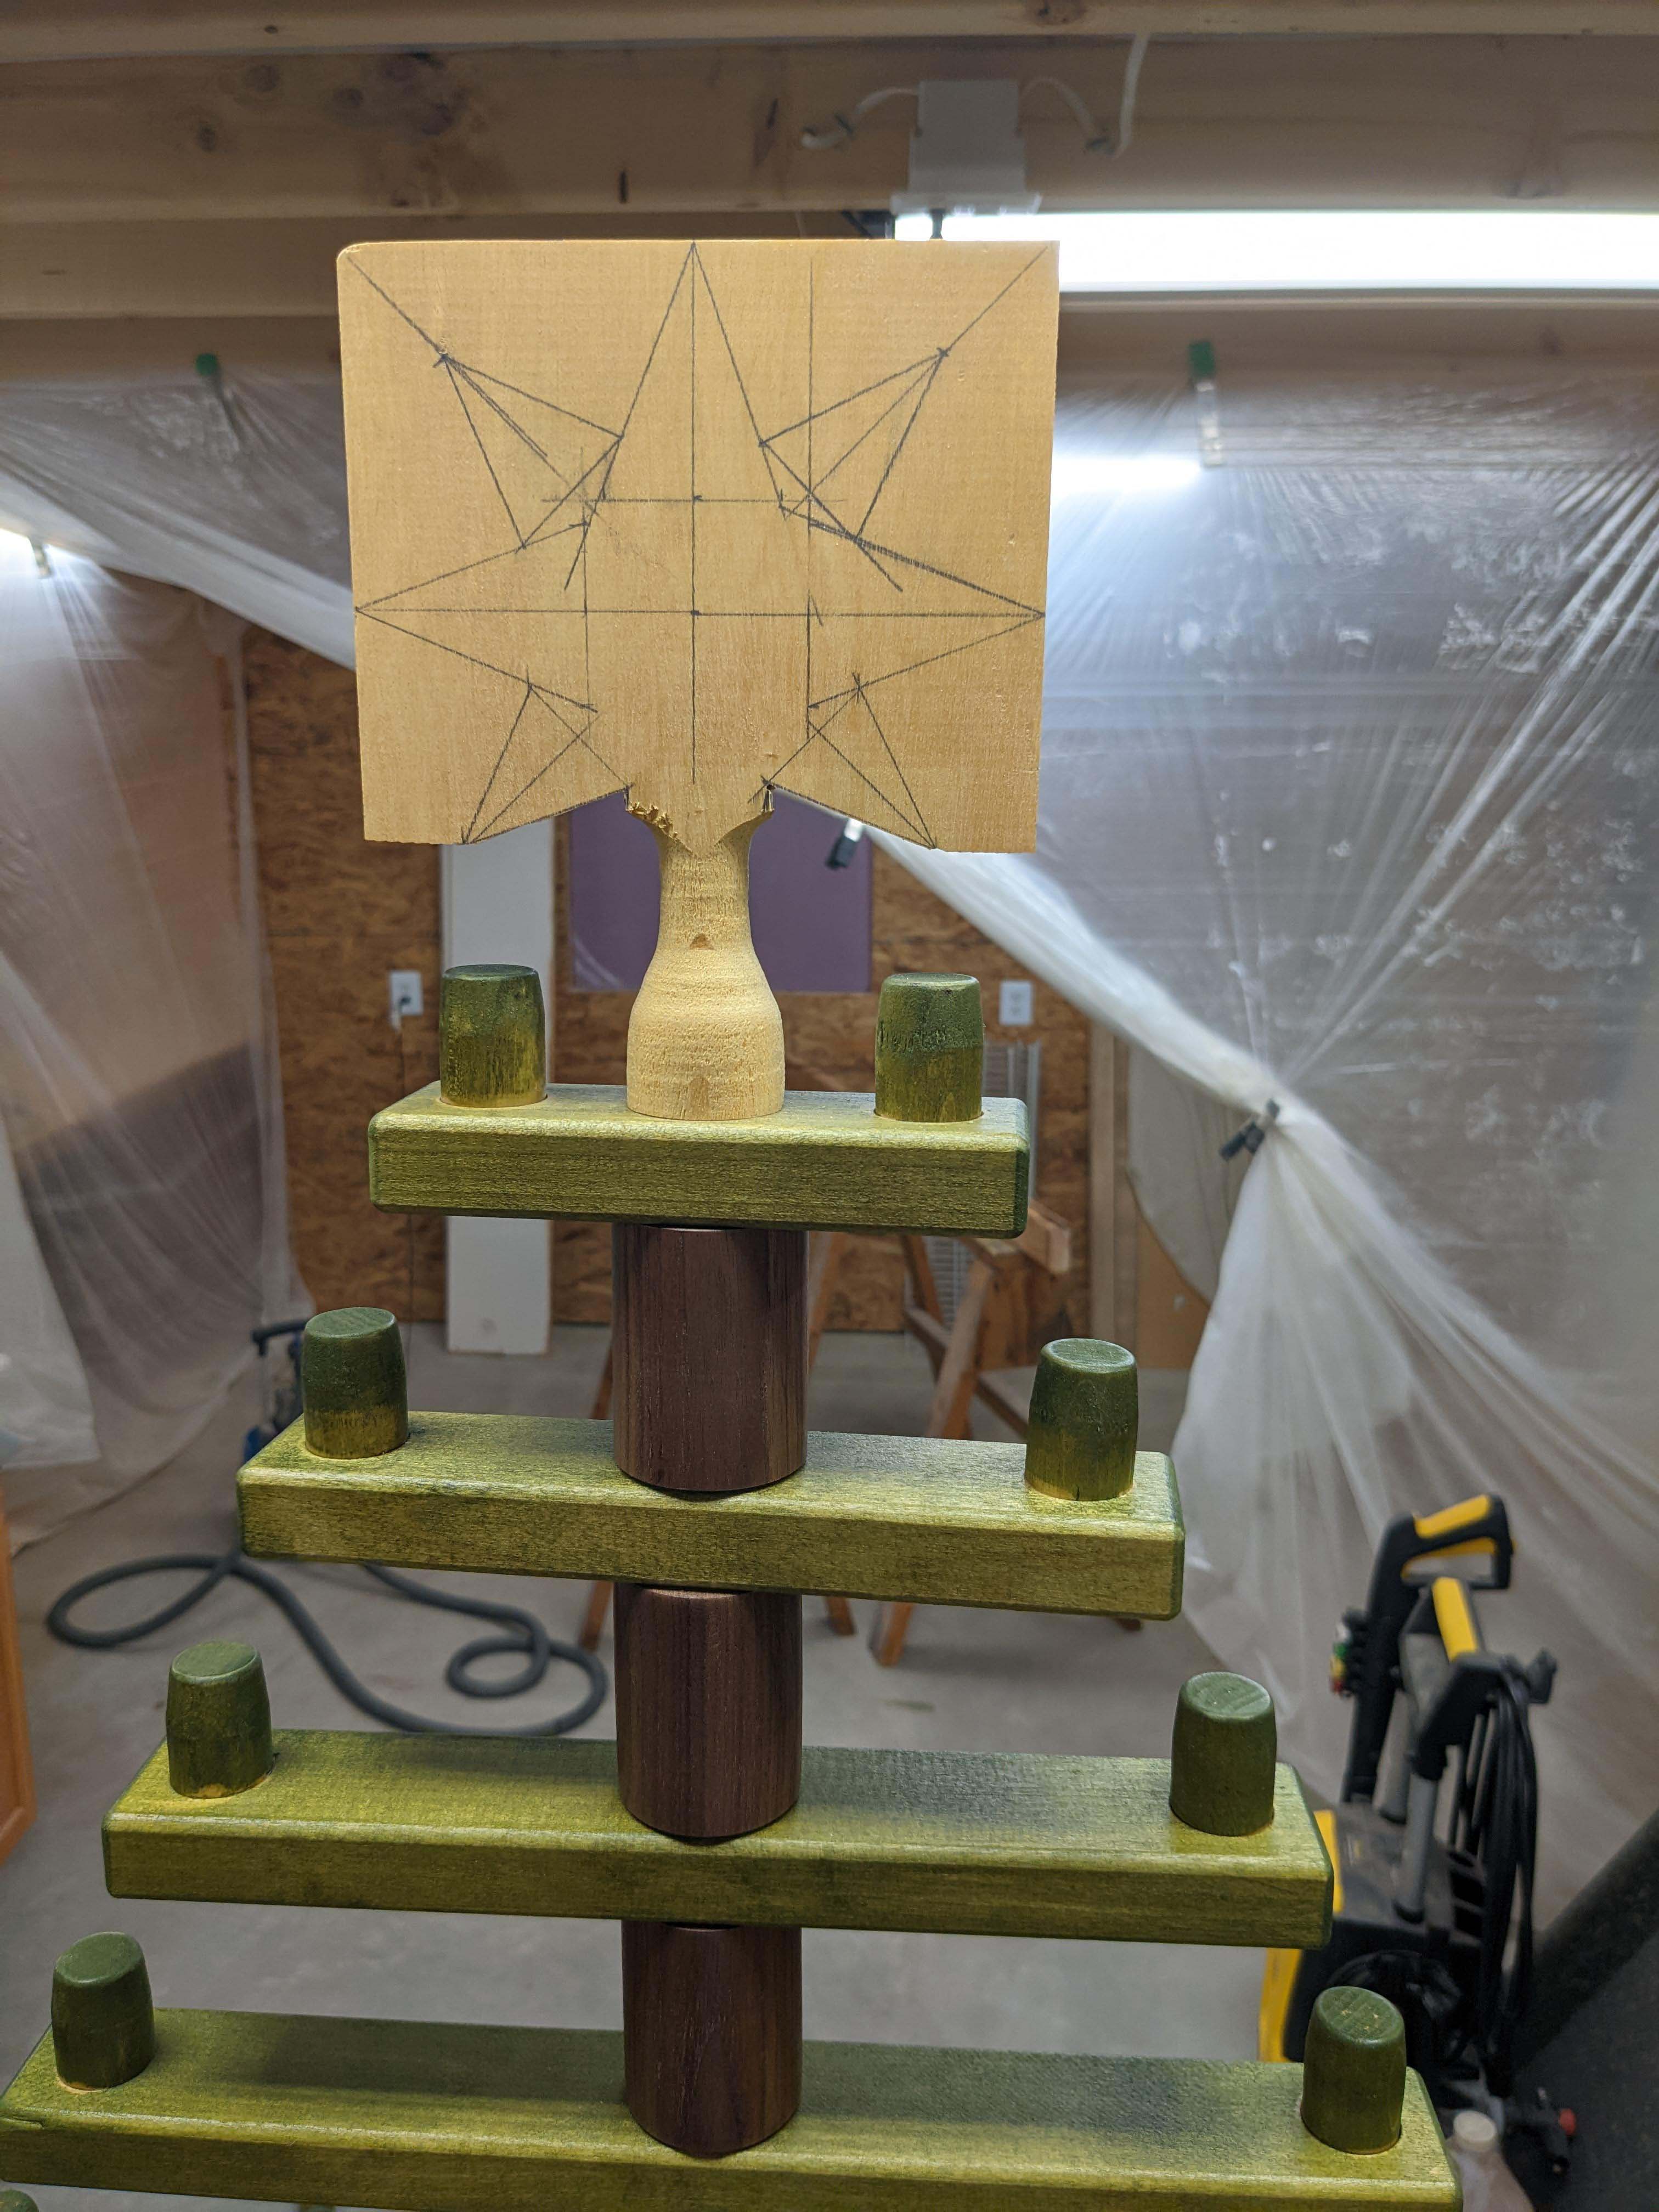
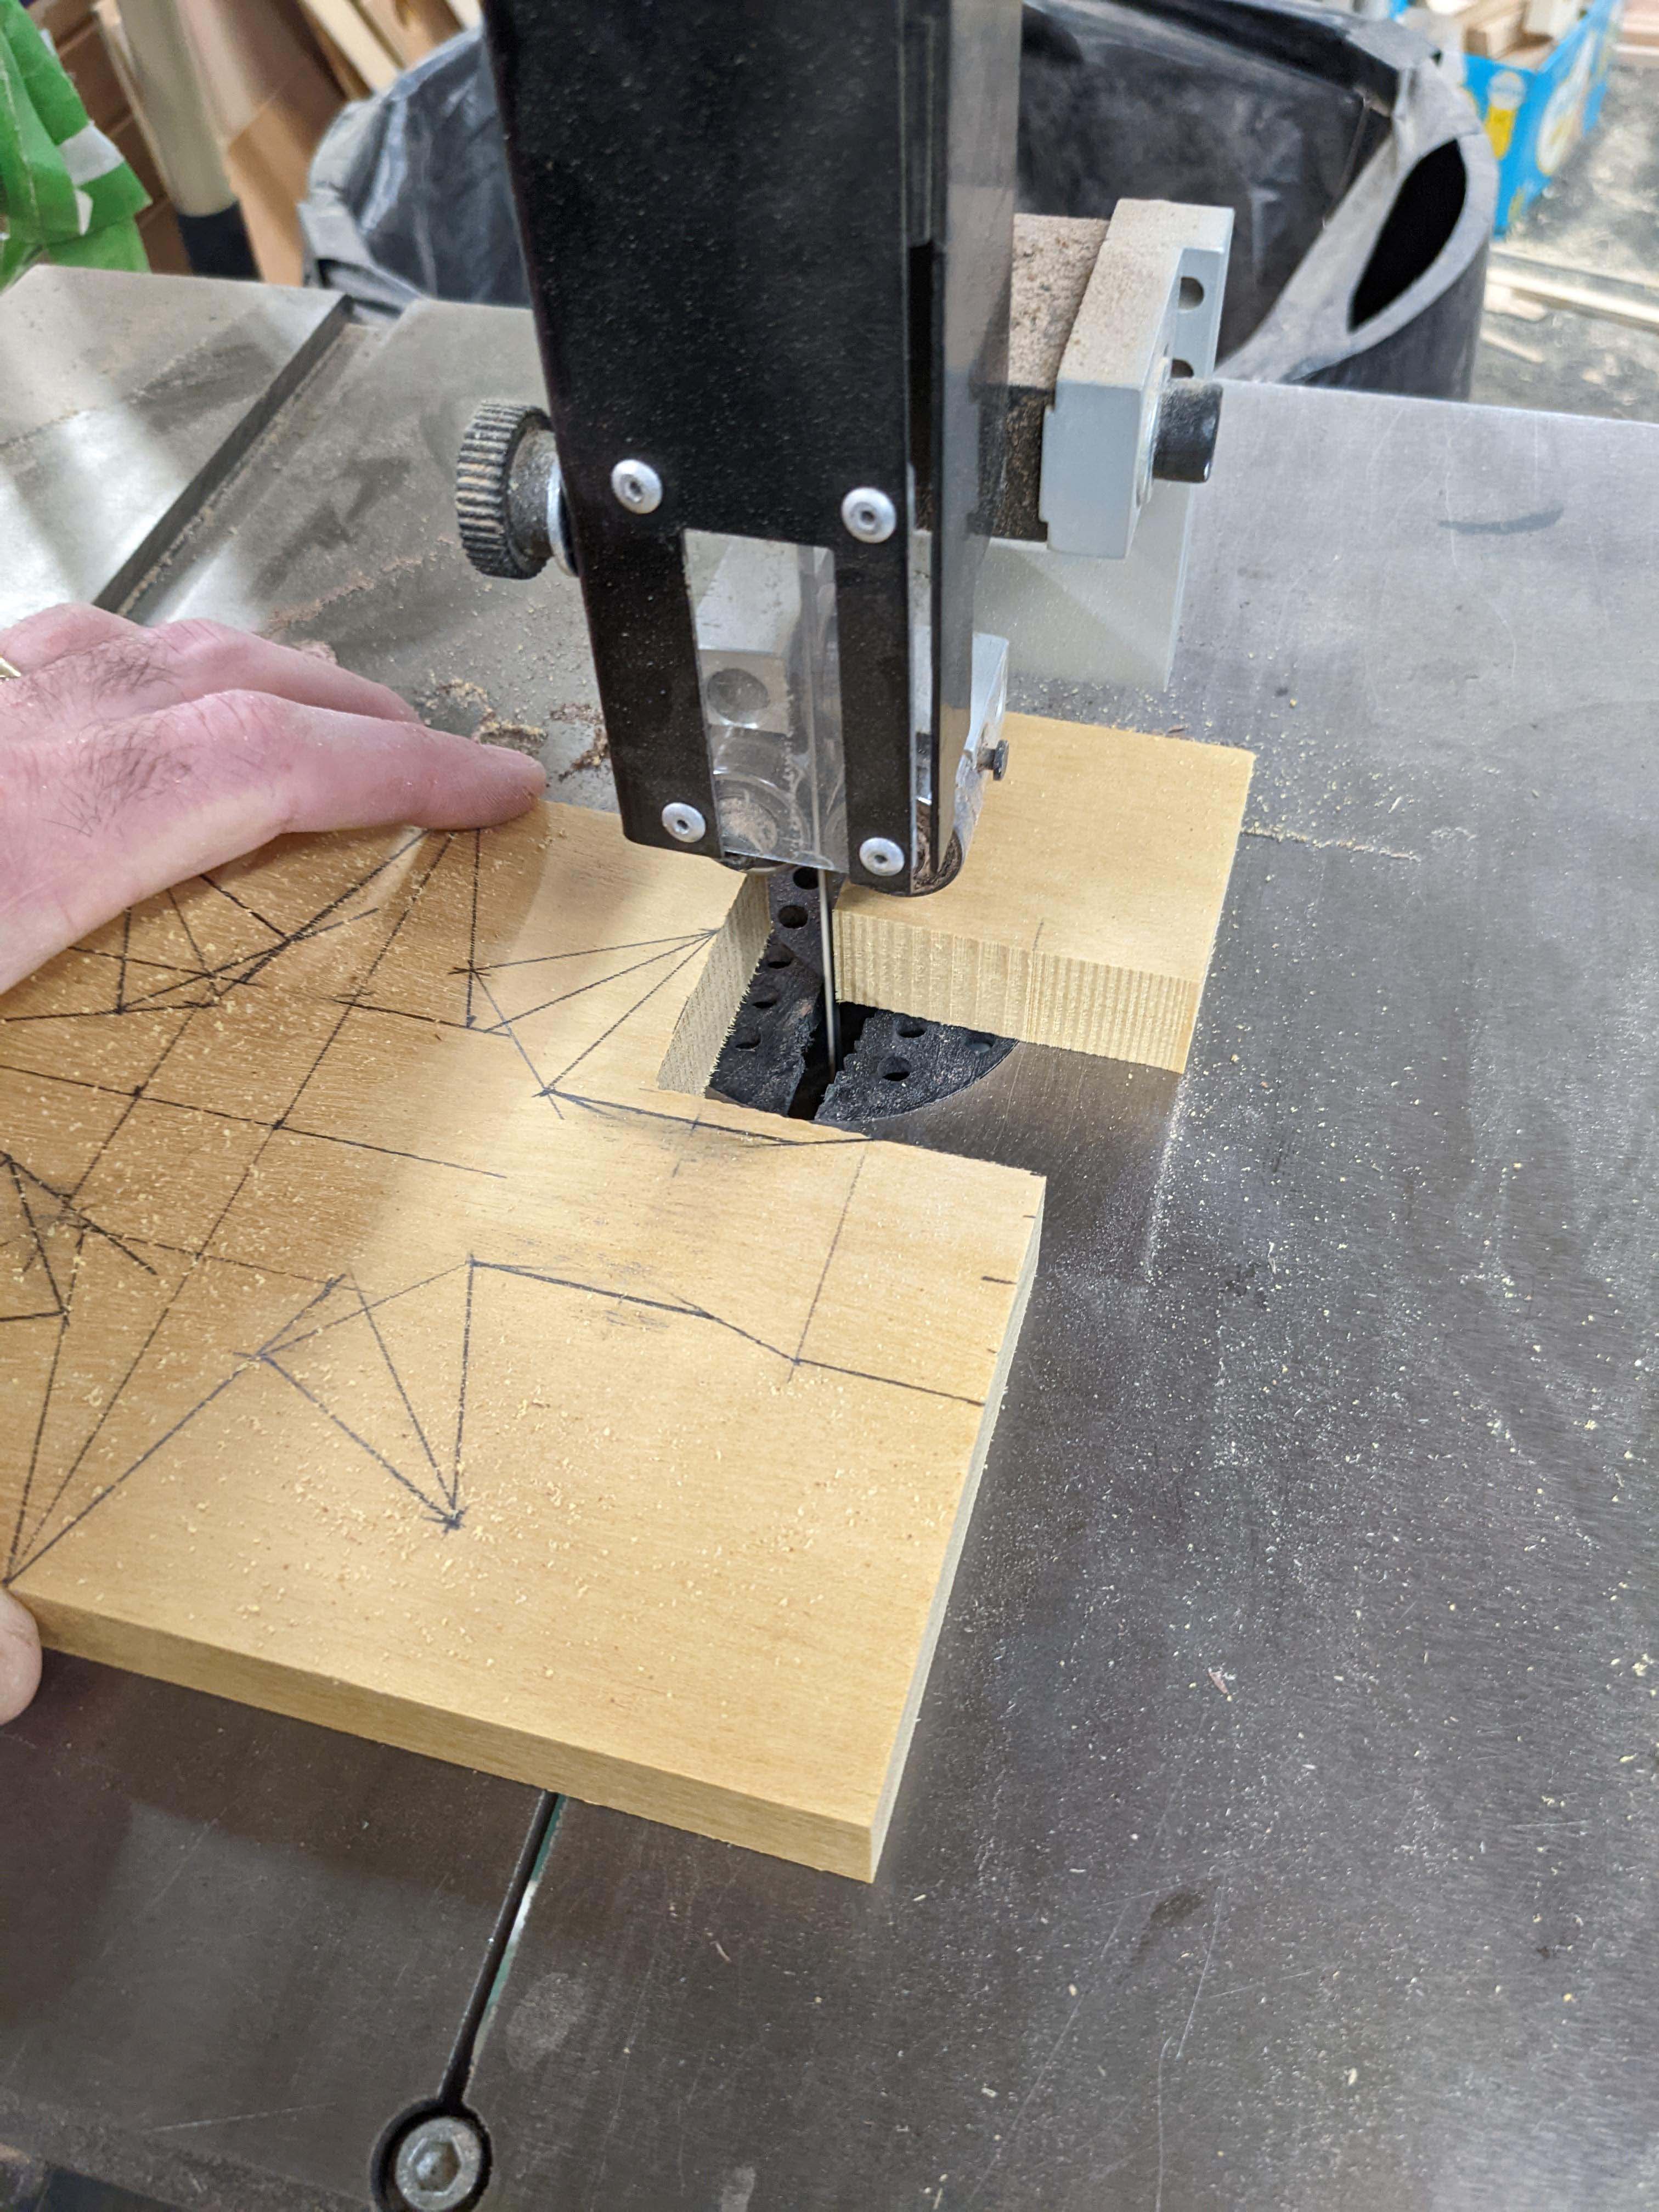
It was also a little sketchy trying to cut out the star on the bandsaw with the base thicker. I had to place the star section up on blocks and be careful to not let the blade tip over the star and get bound up.
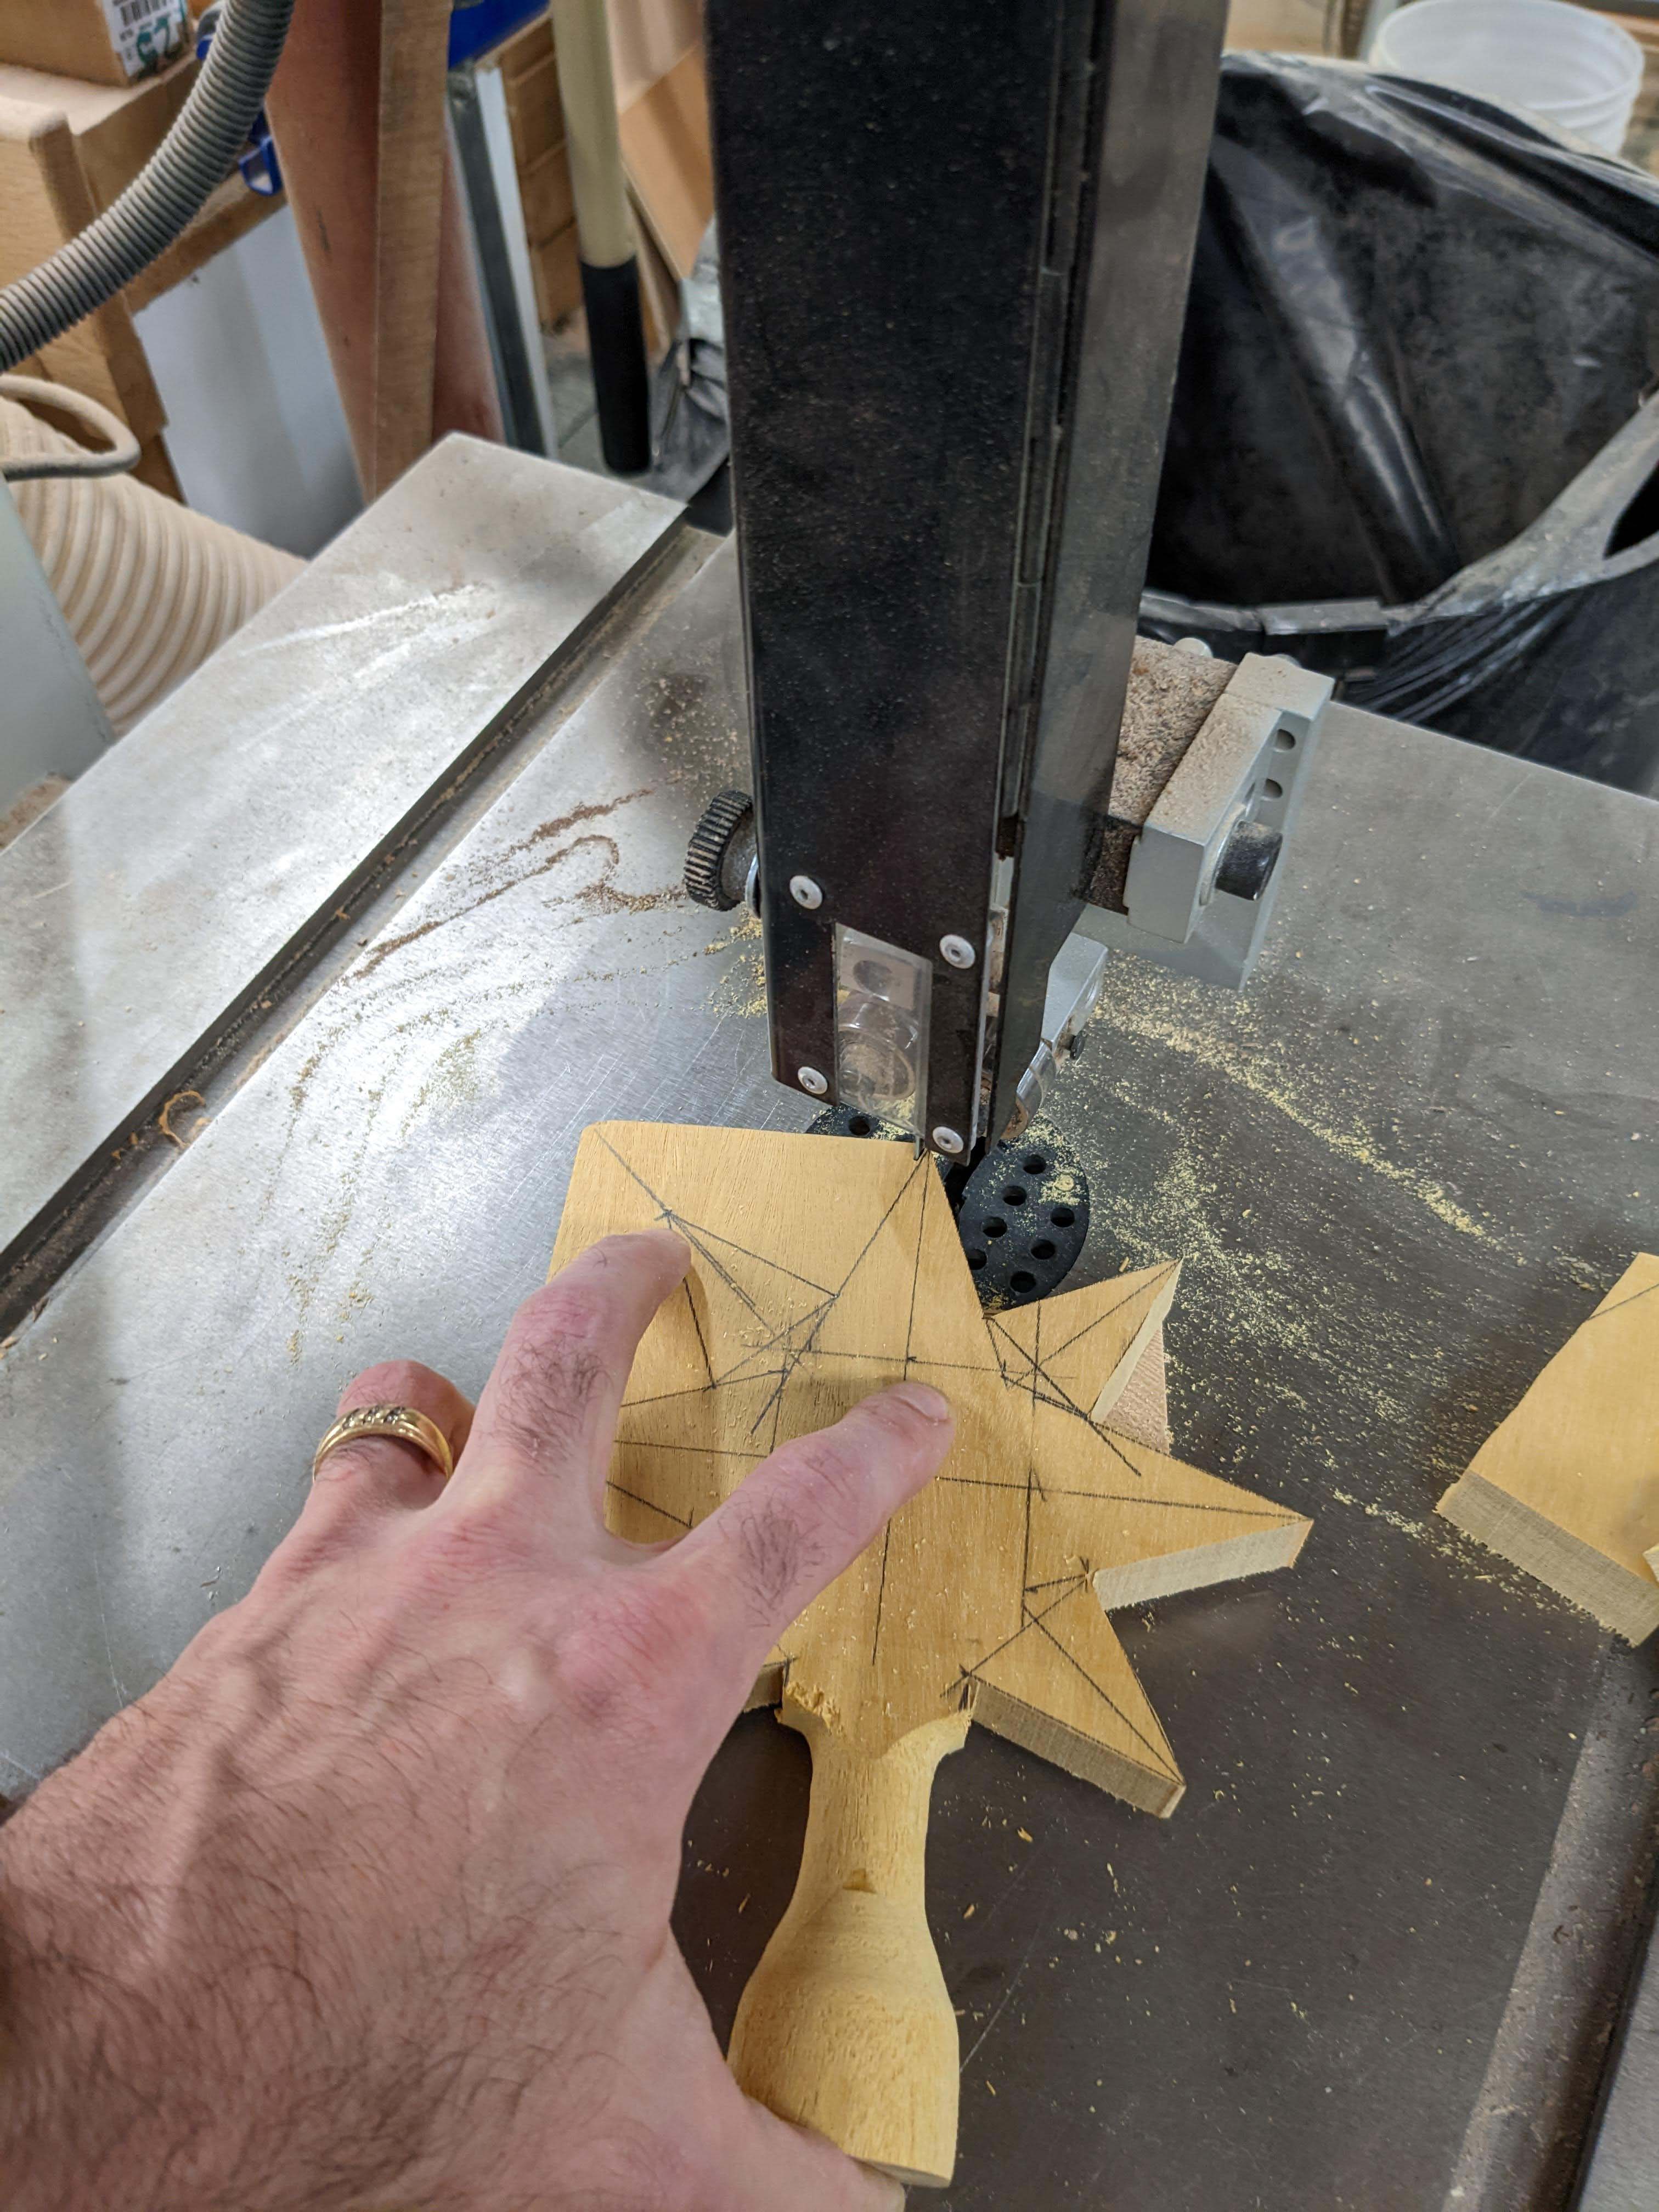

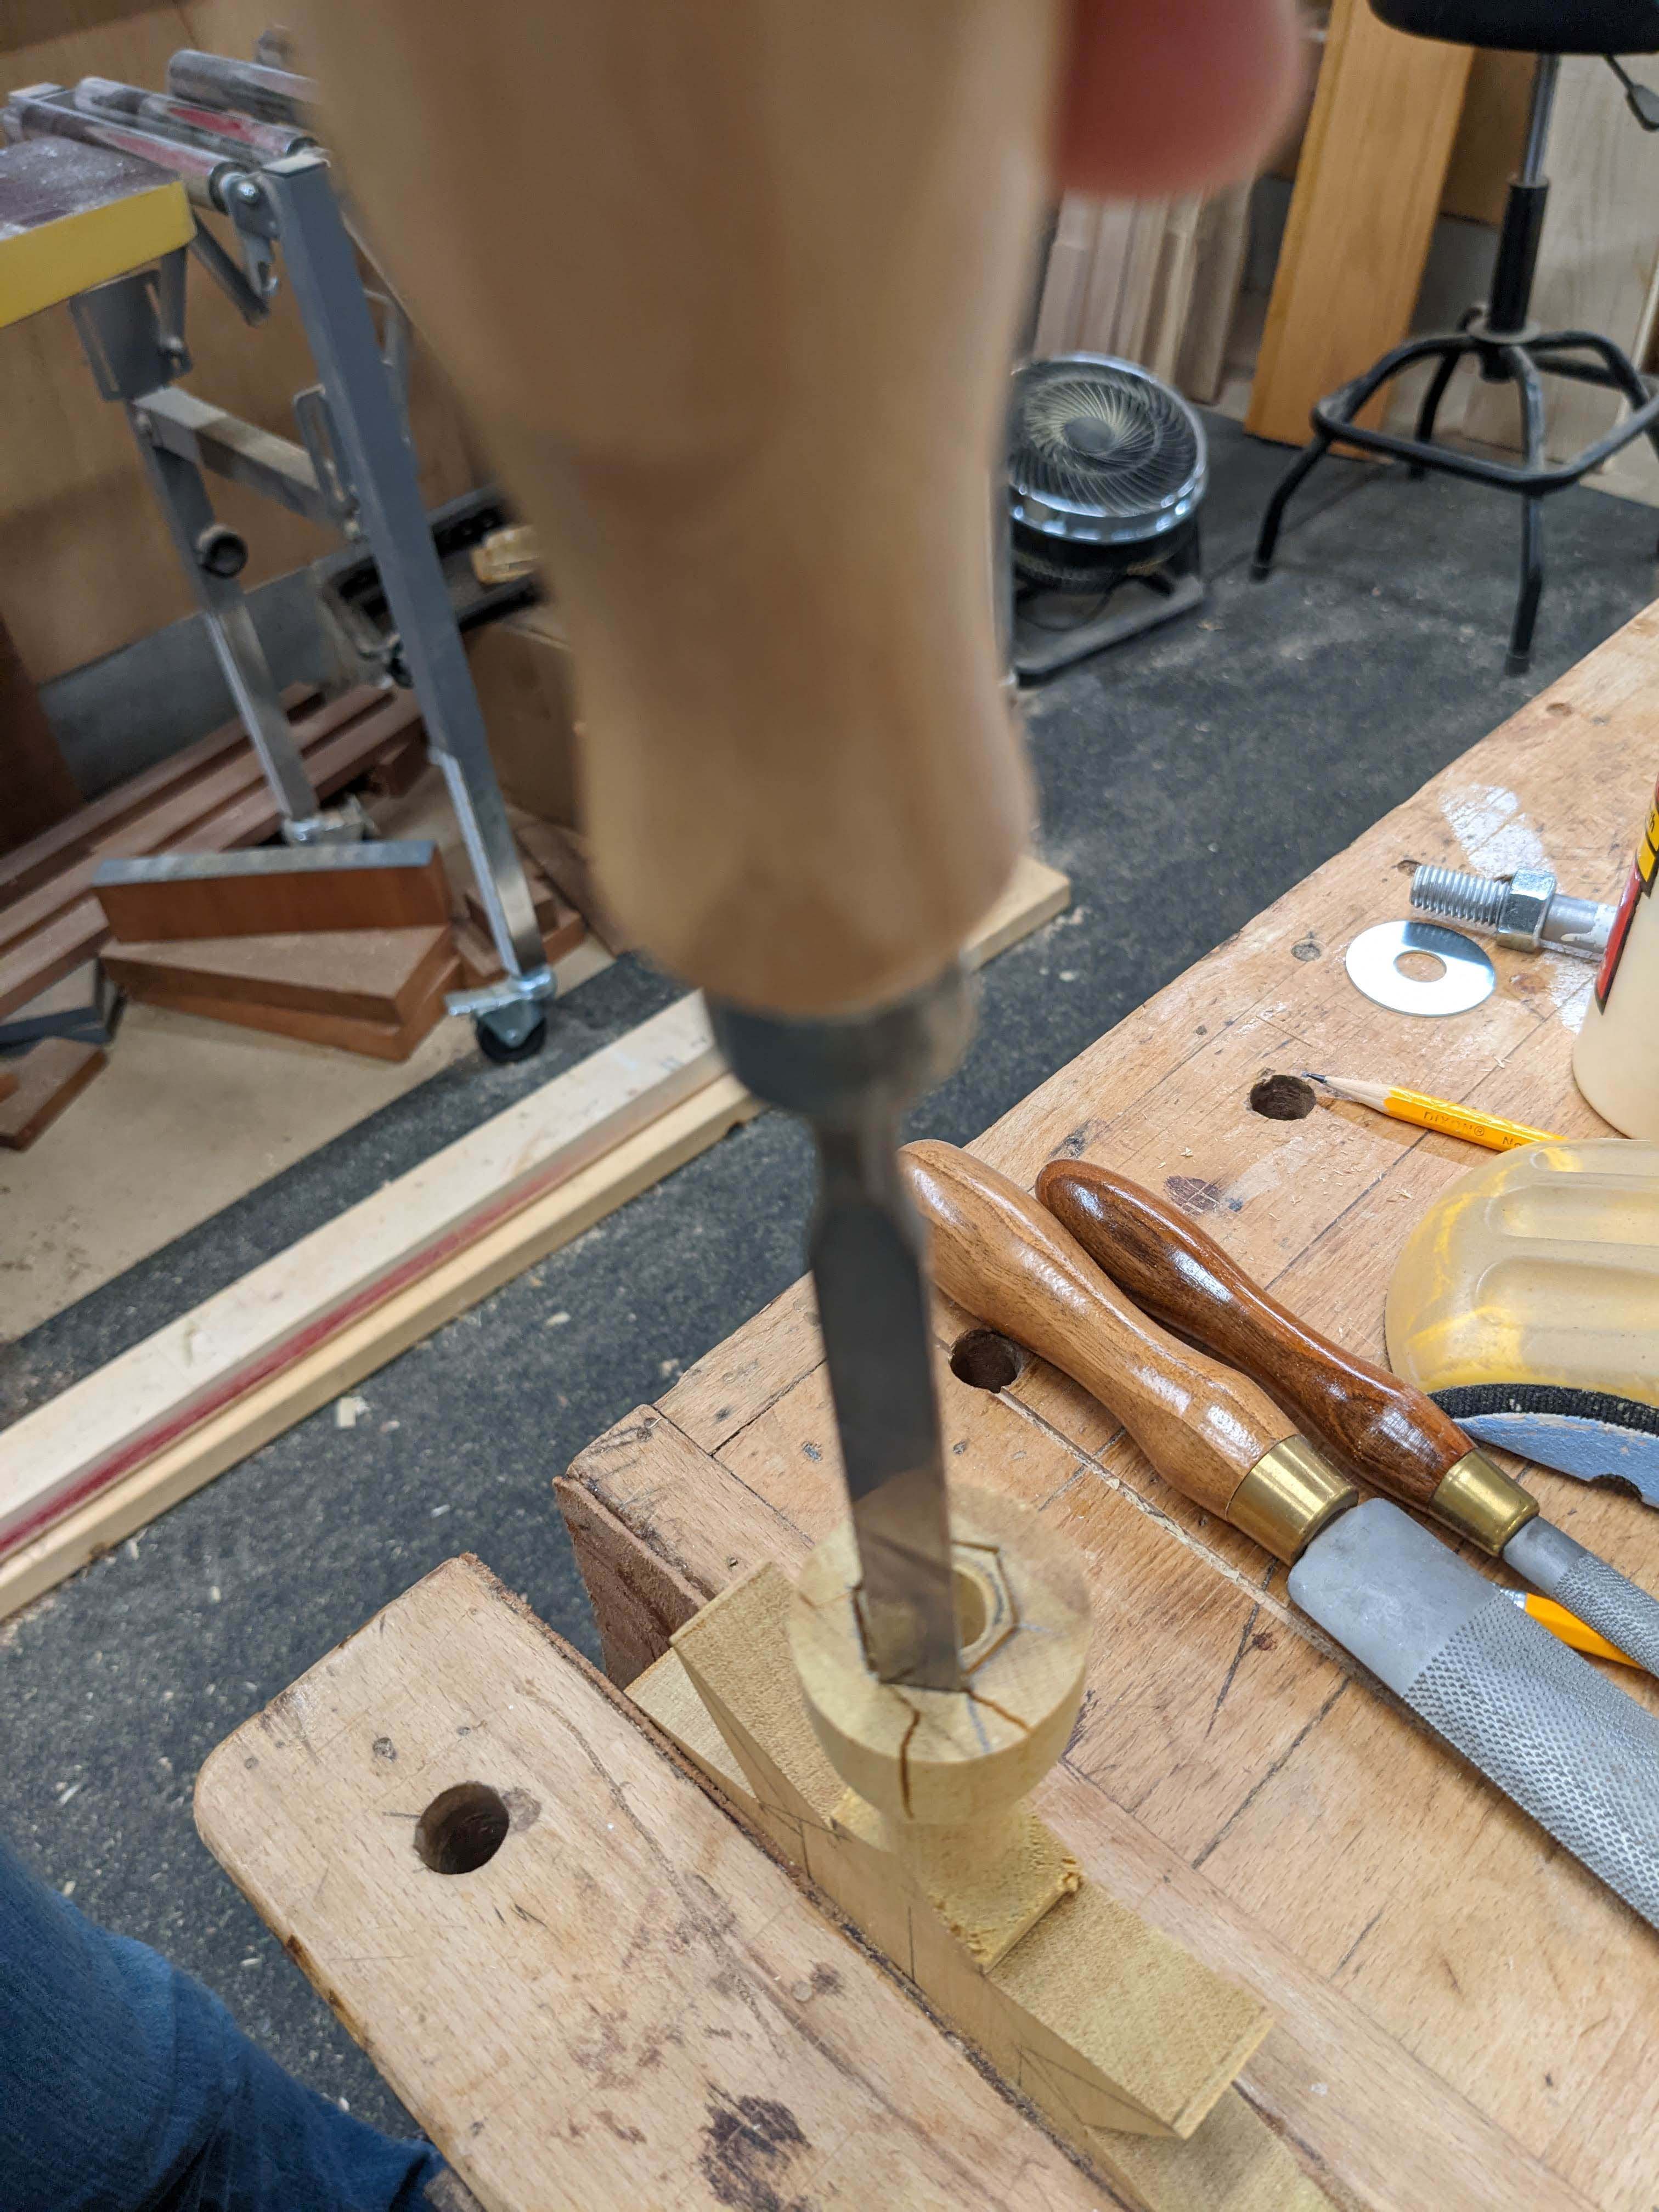
The star was successfully cut out and I laid out the nut’s location to be chopped out with a chisel.
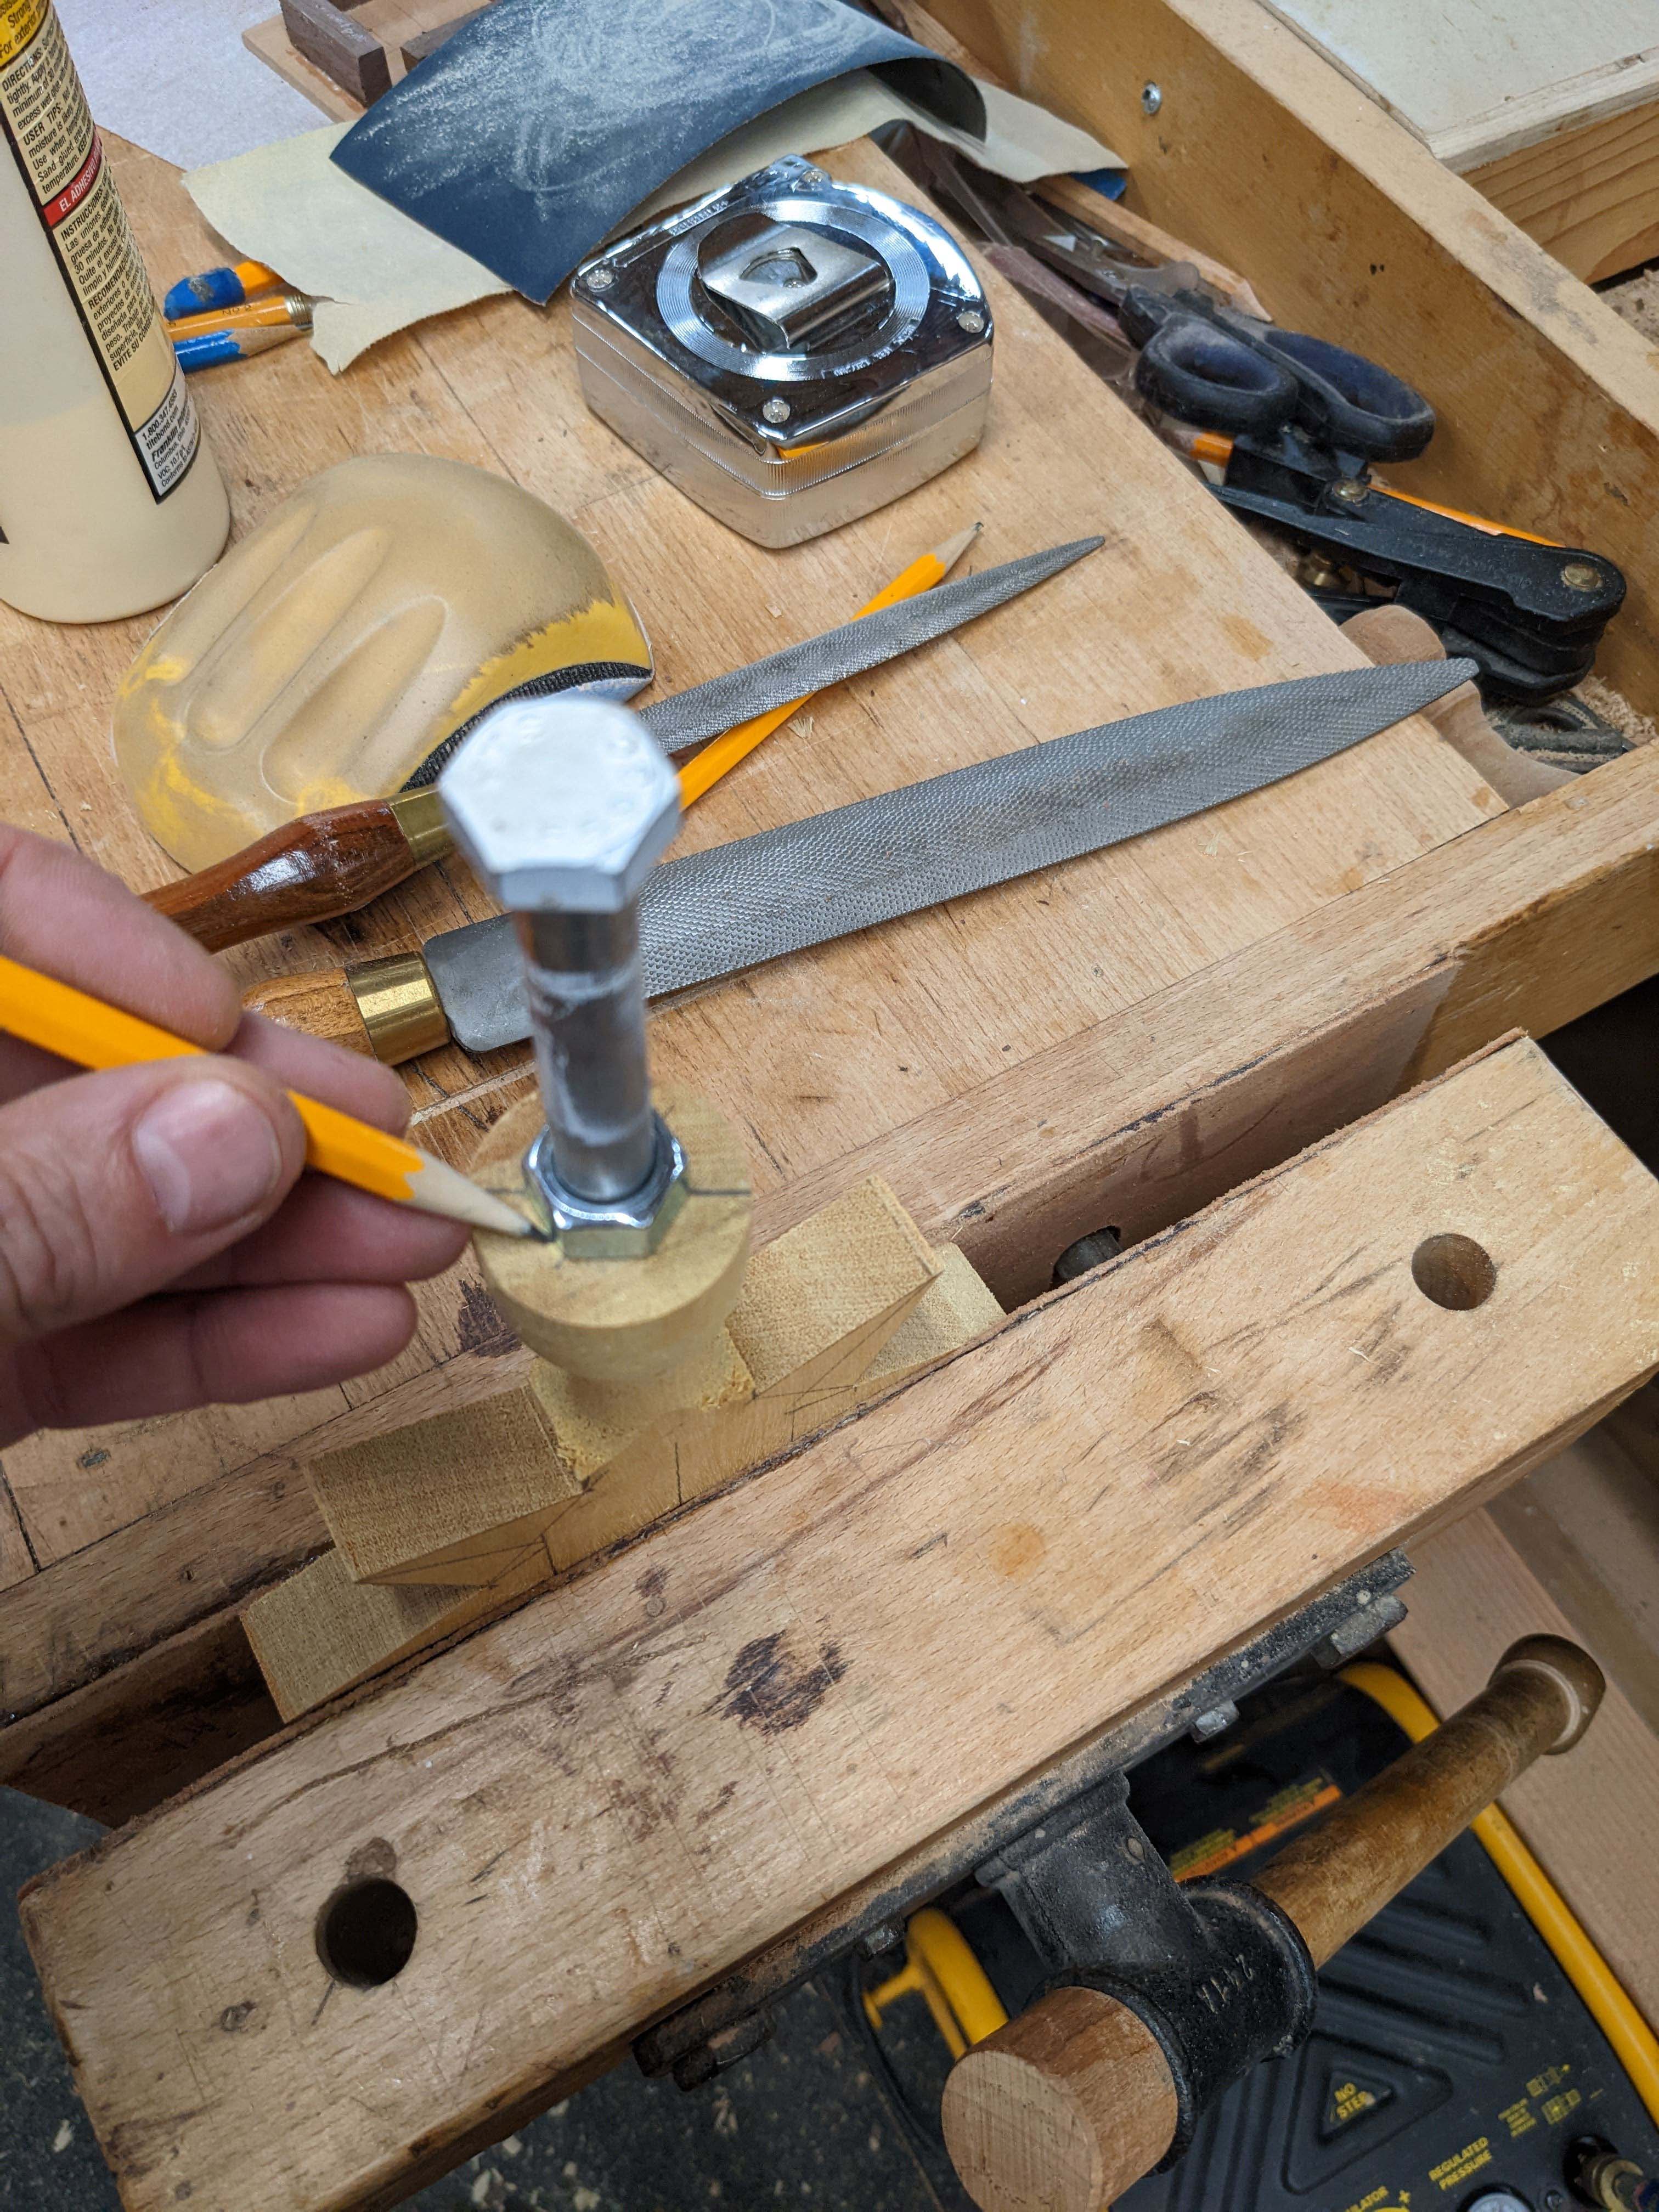
I forgot to drill the counterbore and the first plunge of the chisel split my base in several places. I did manage to glue it back together with epoxy and finish the cutting, but I wasn’t happy with the mistake.

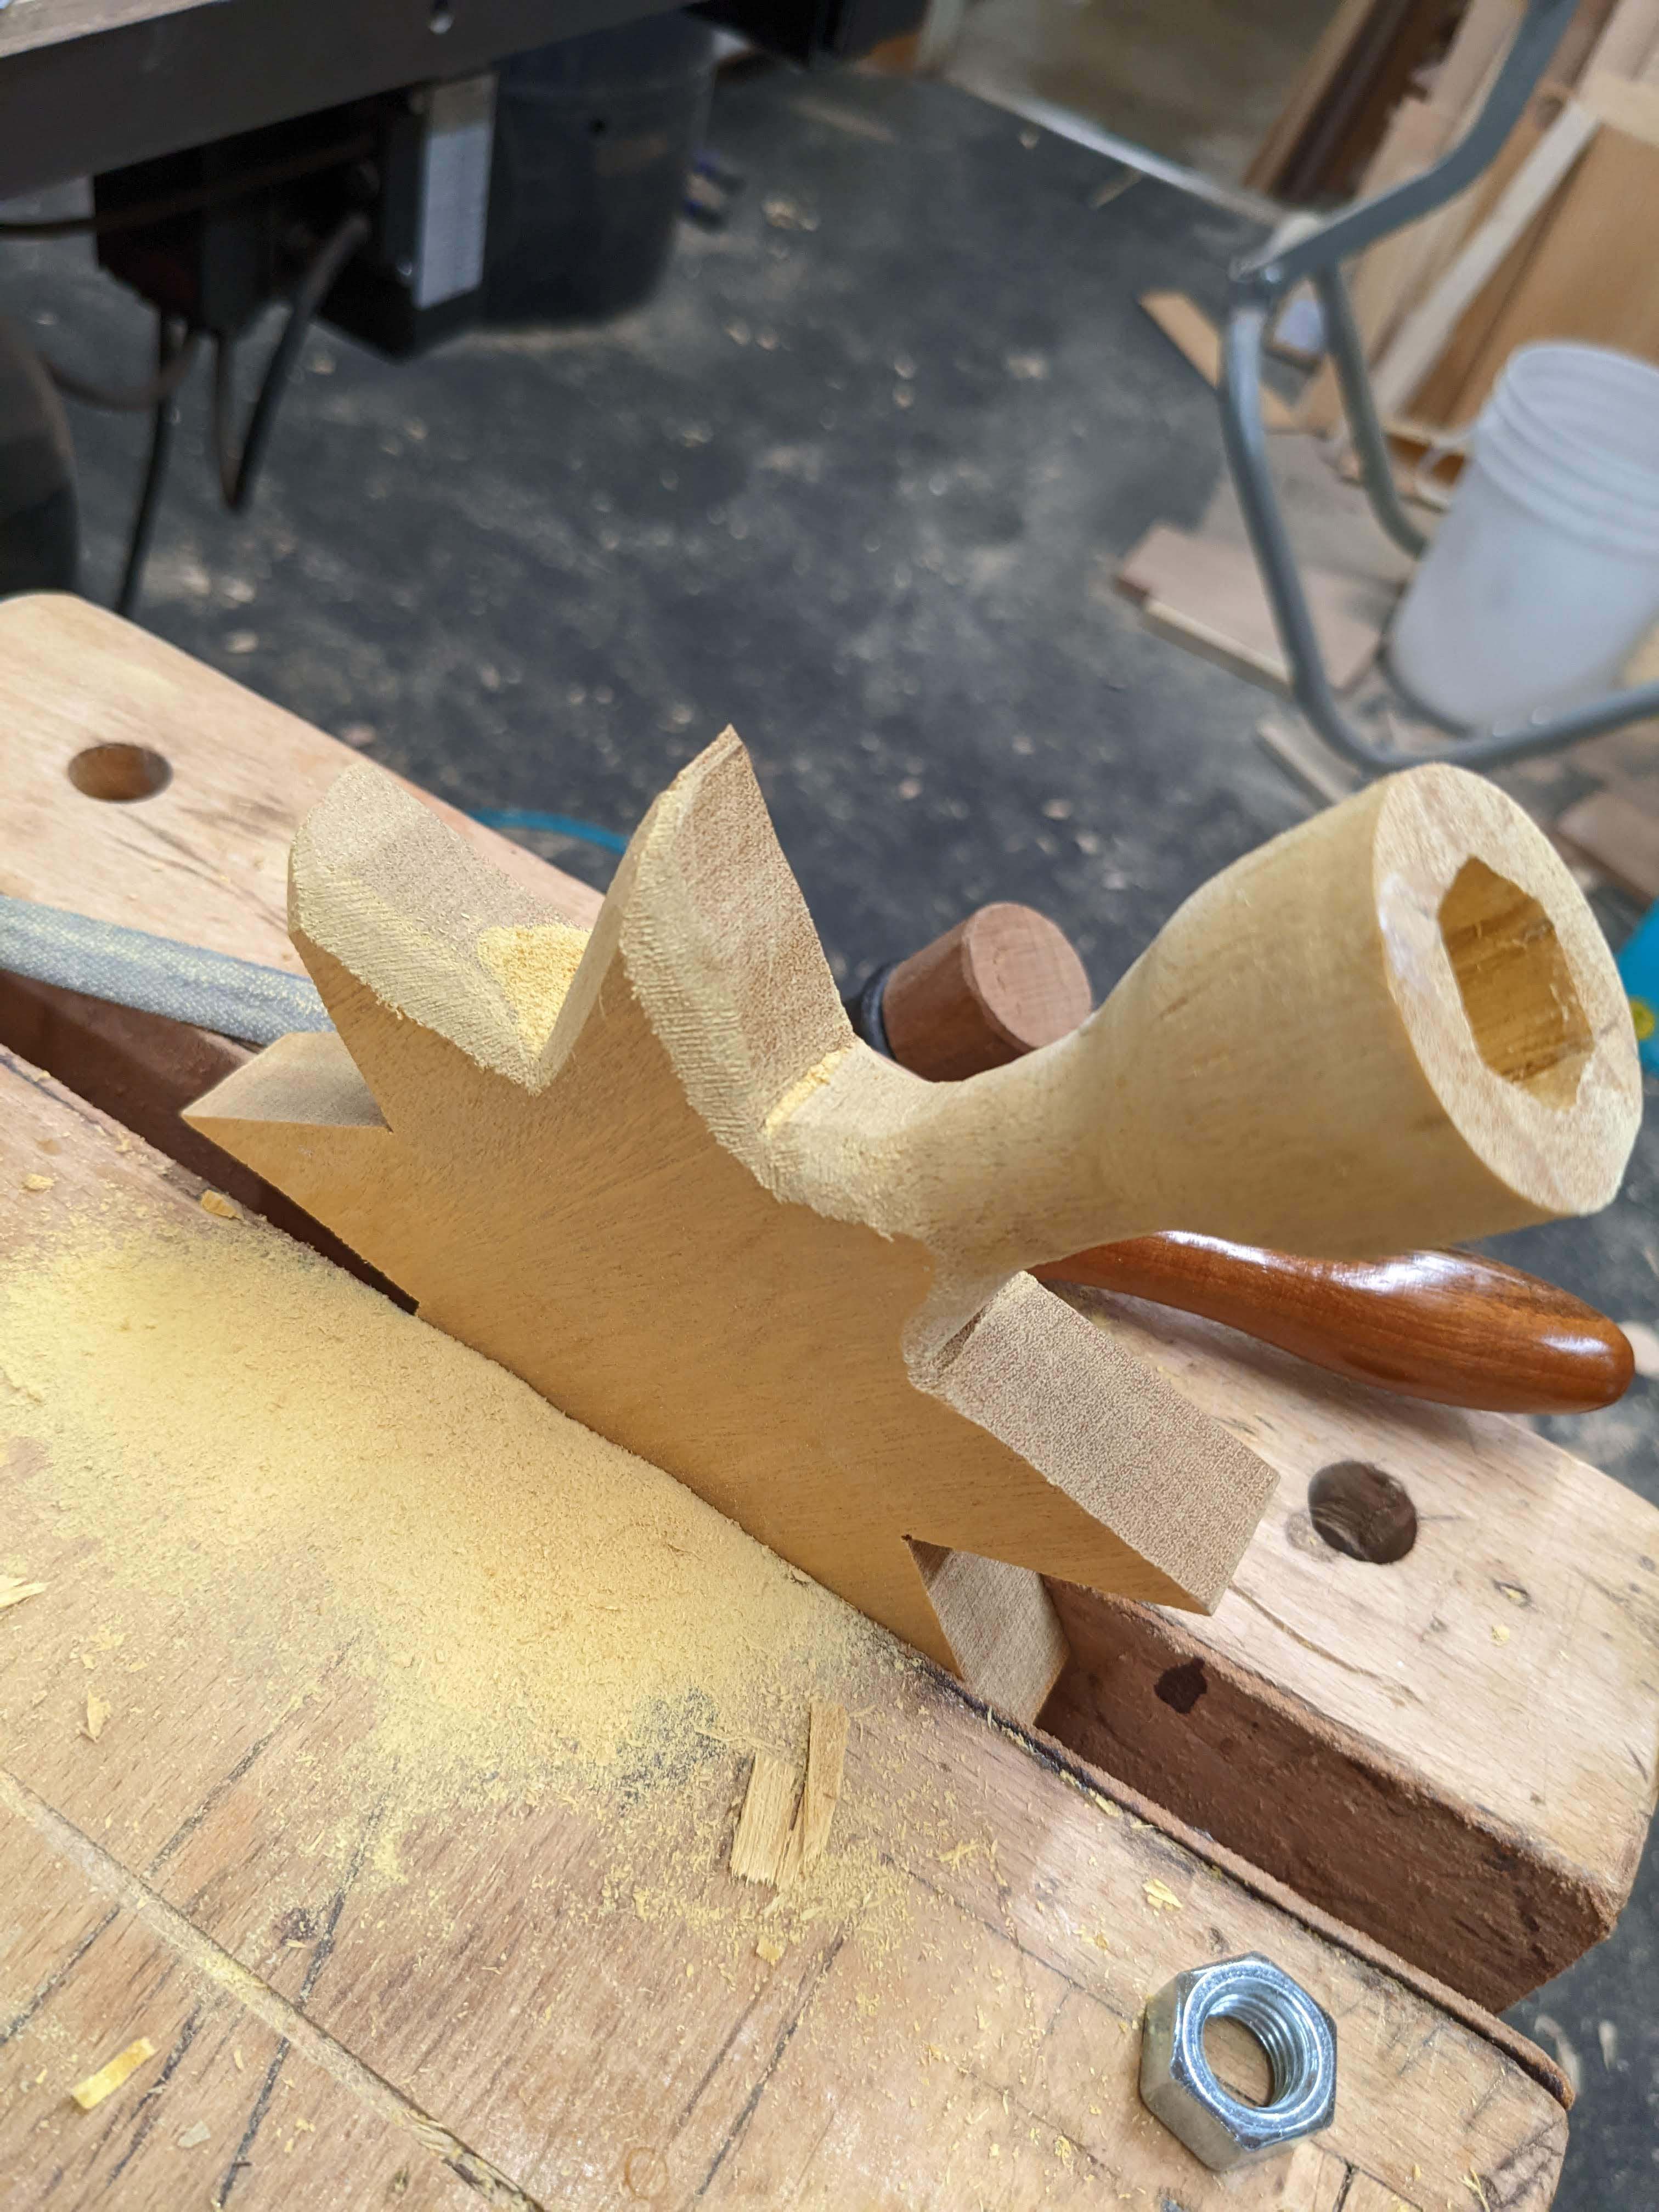
I had one section that I couldn’t reach on the lathe so I used a rasp to clean up the shoulders.

Then I decided to round over all of the face edges with the rasp as well.
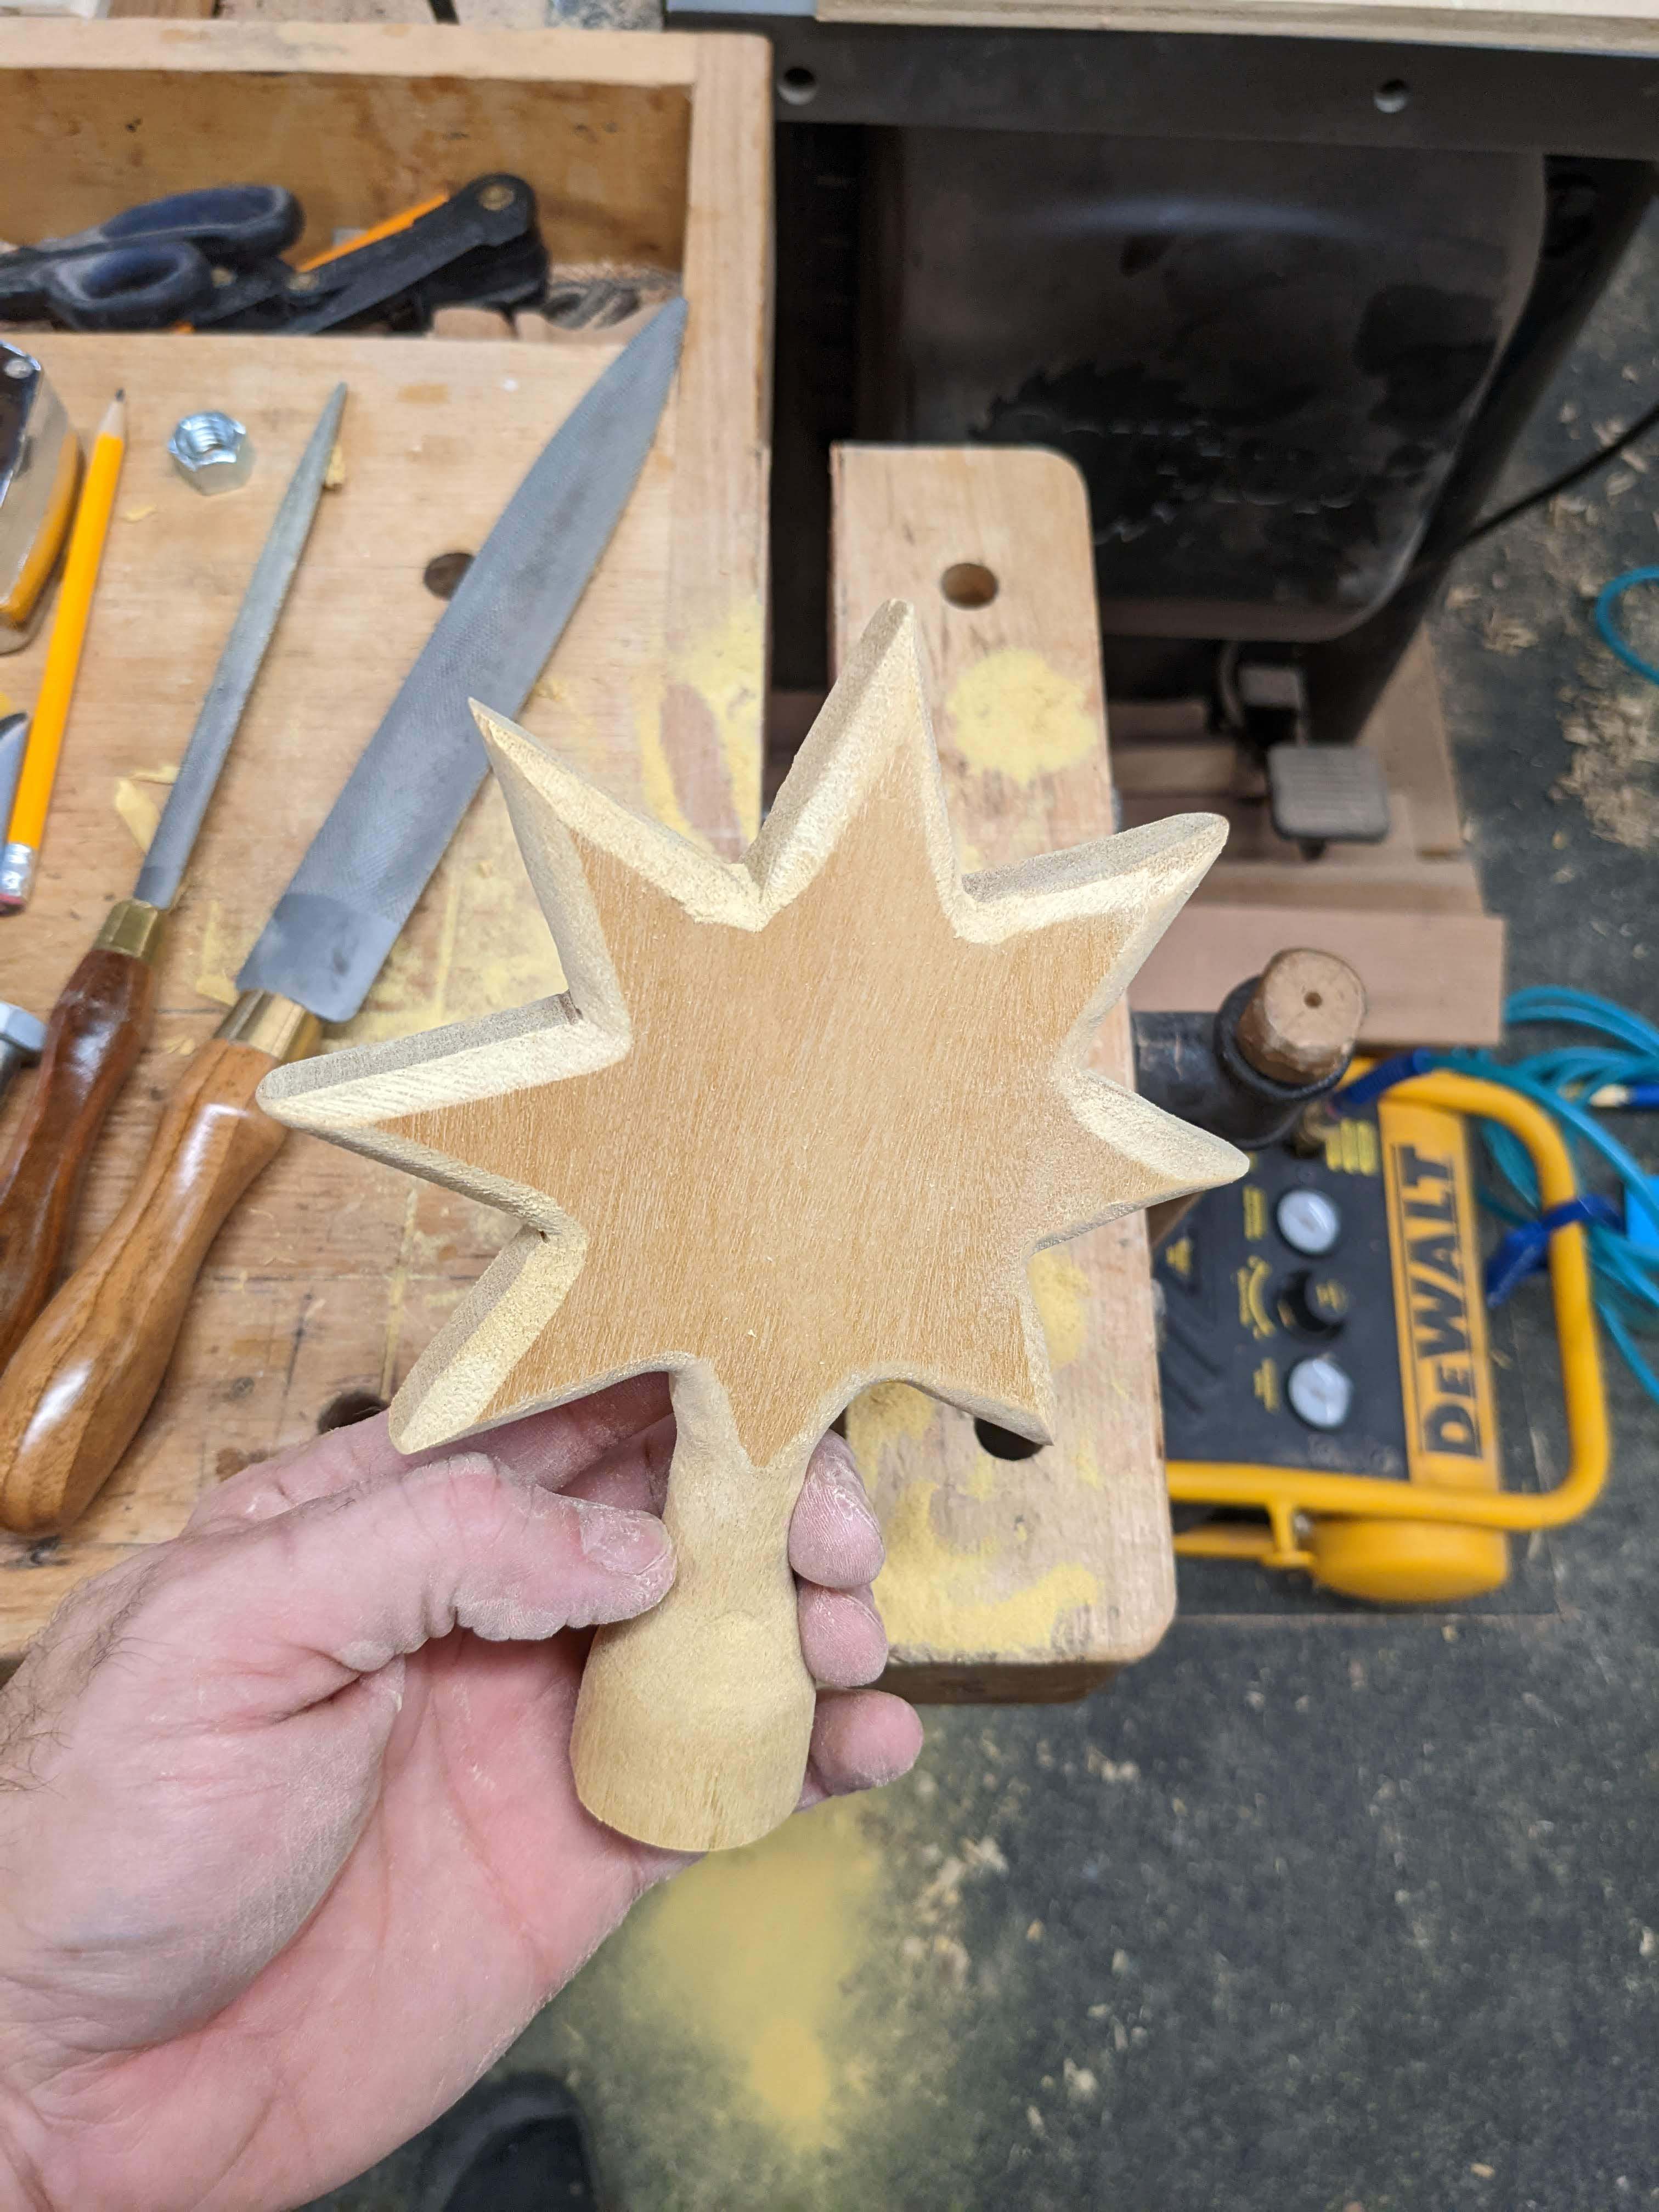
I used a mop sander to clean up all of the rasp marks afterwards.
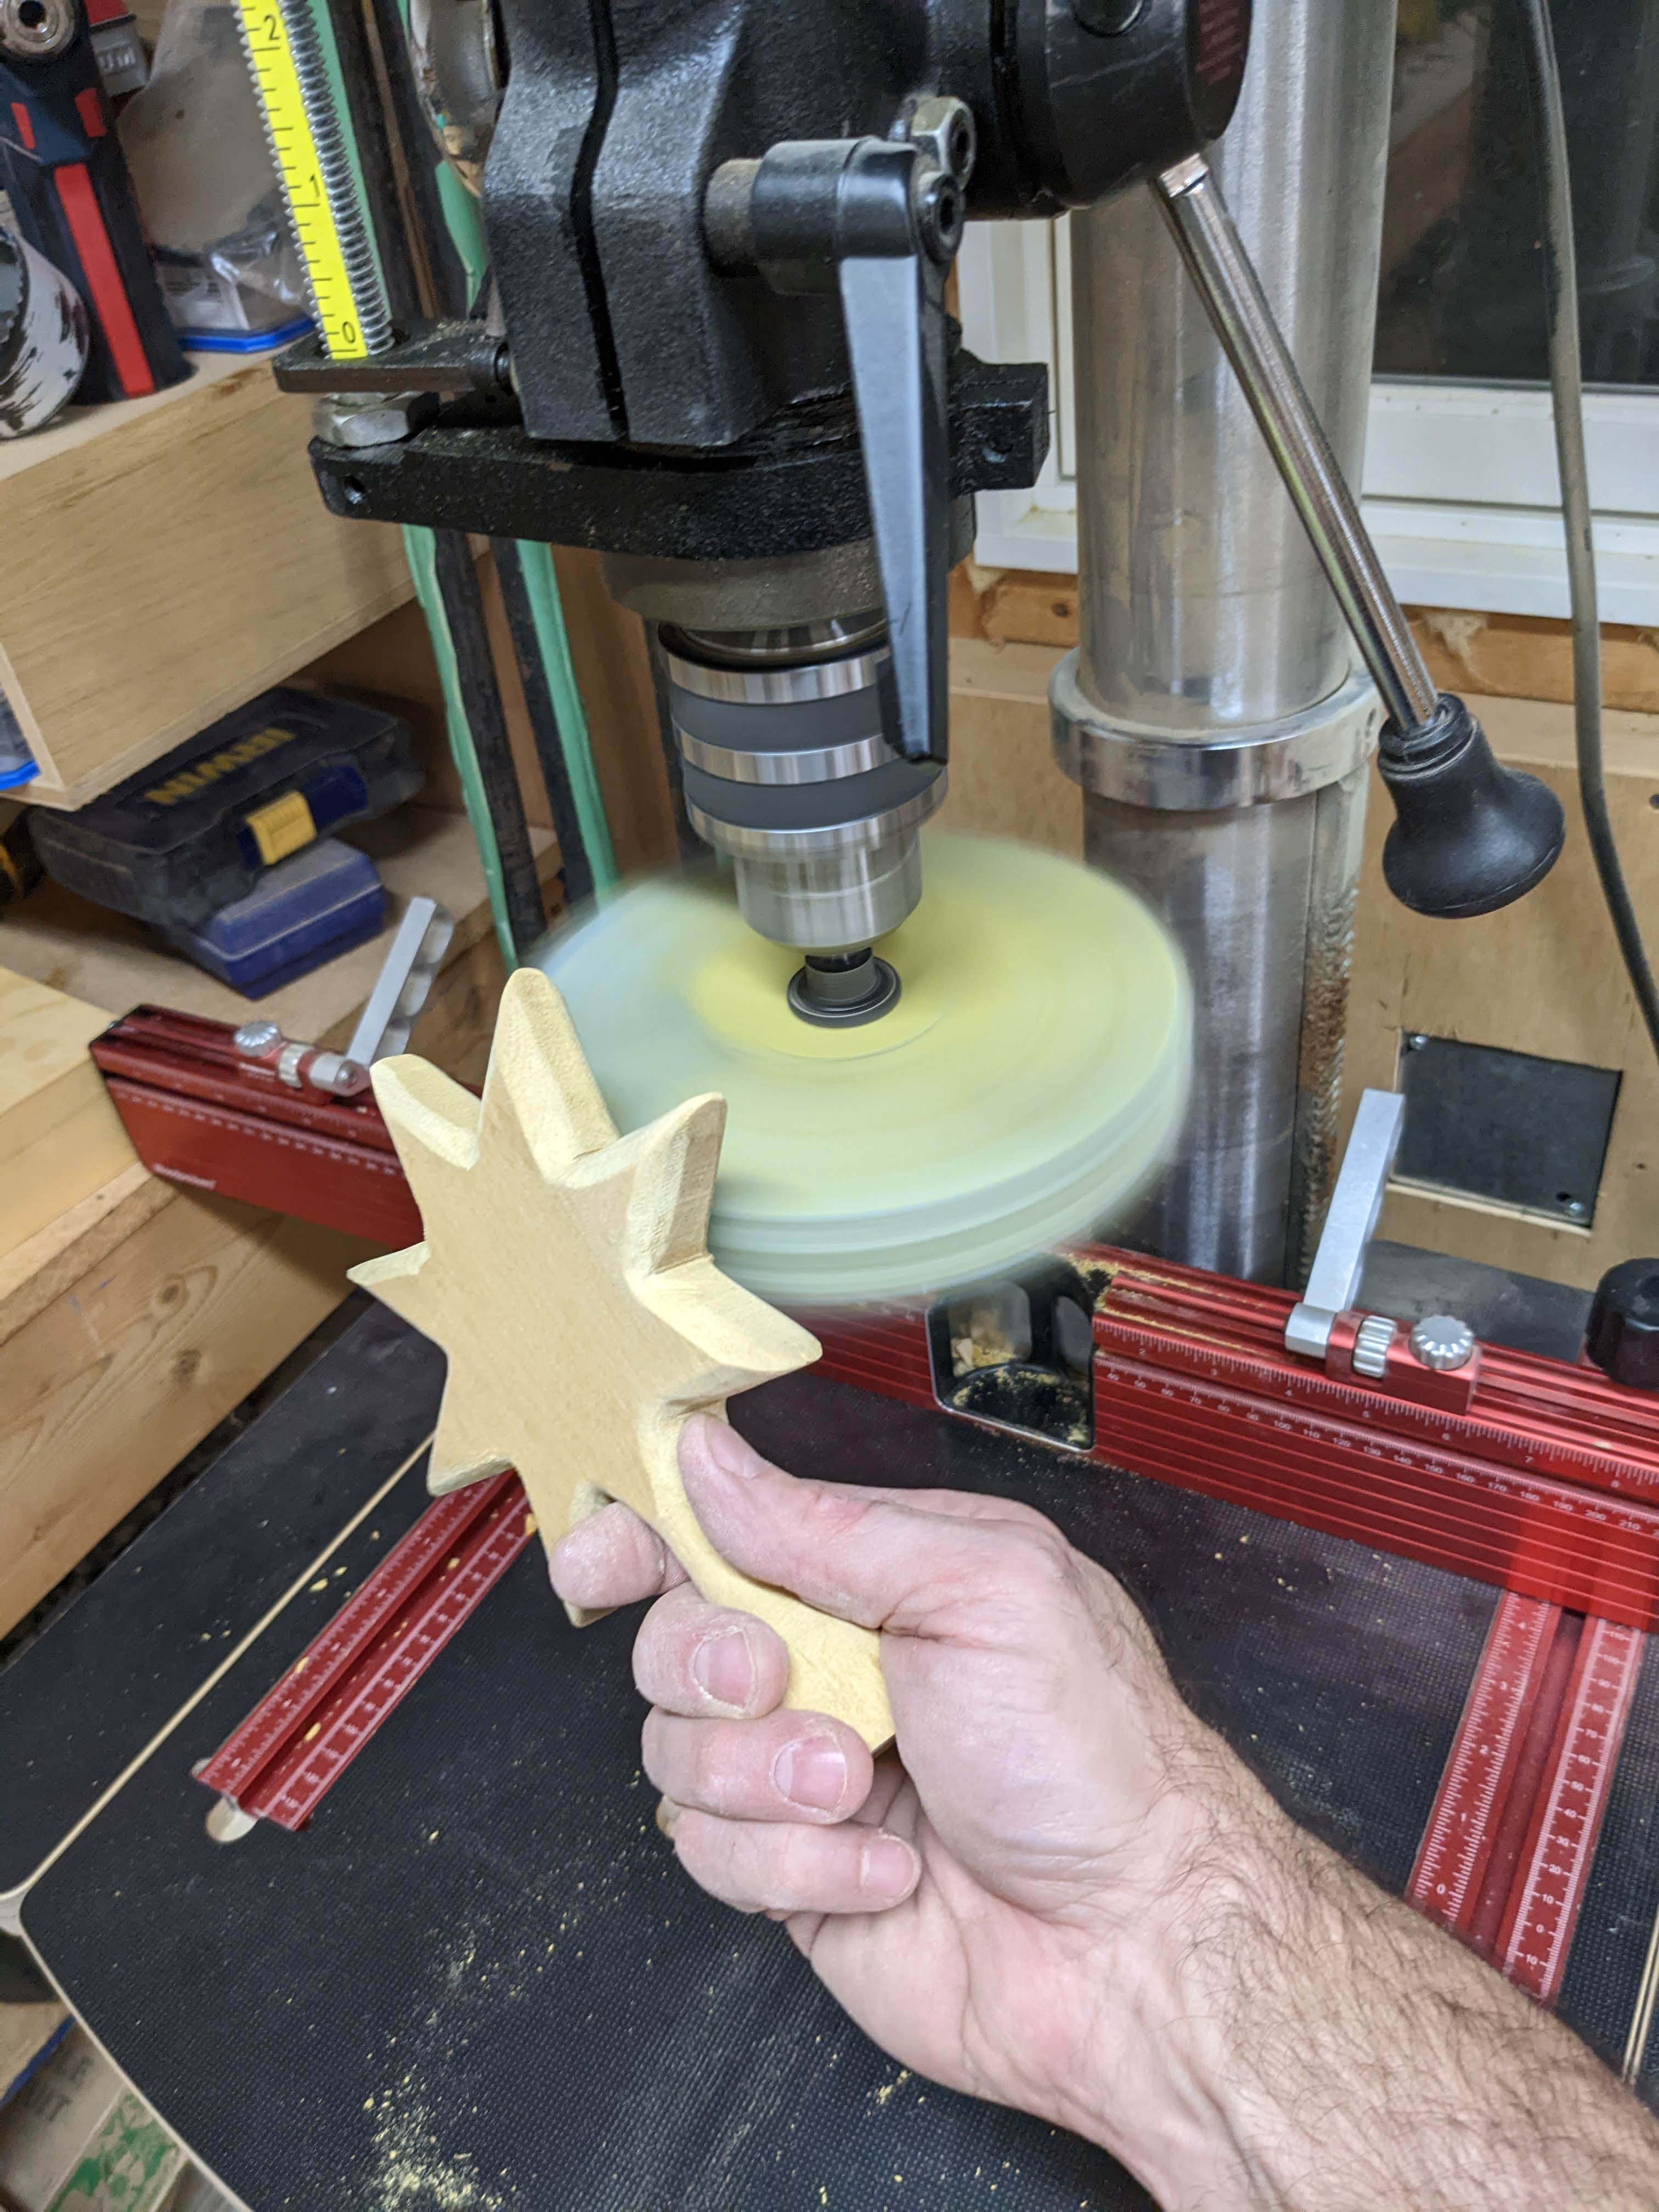
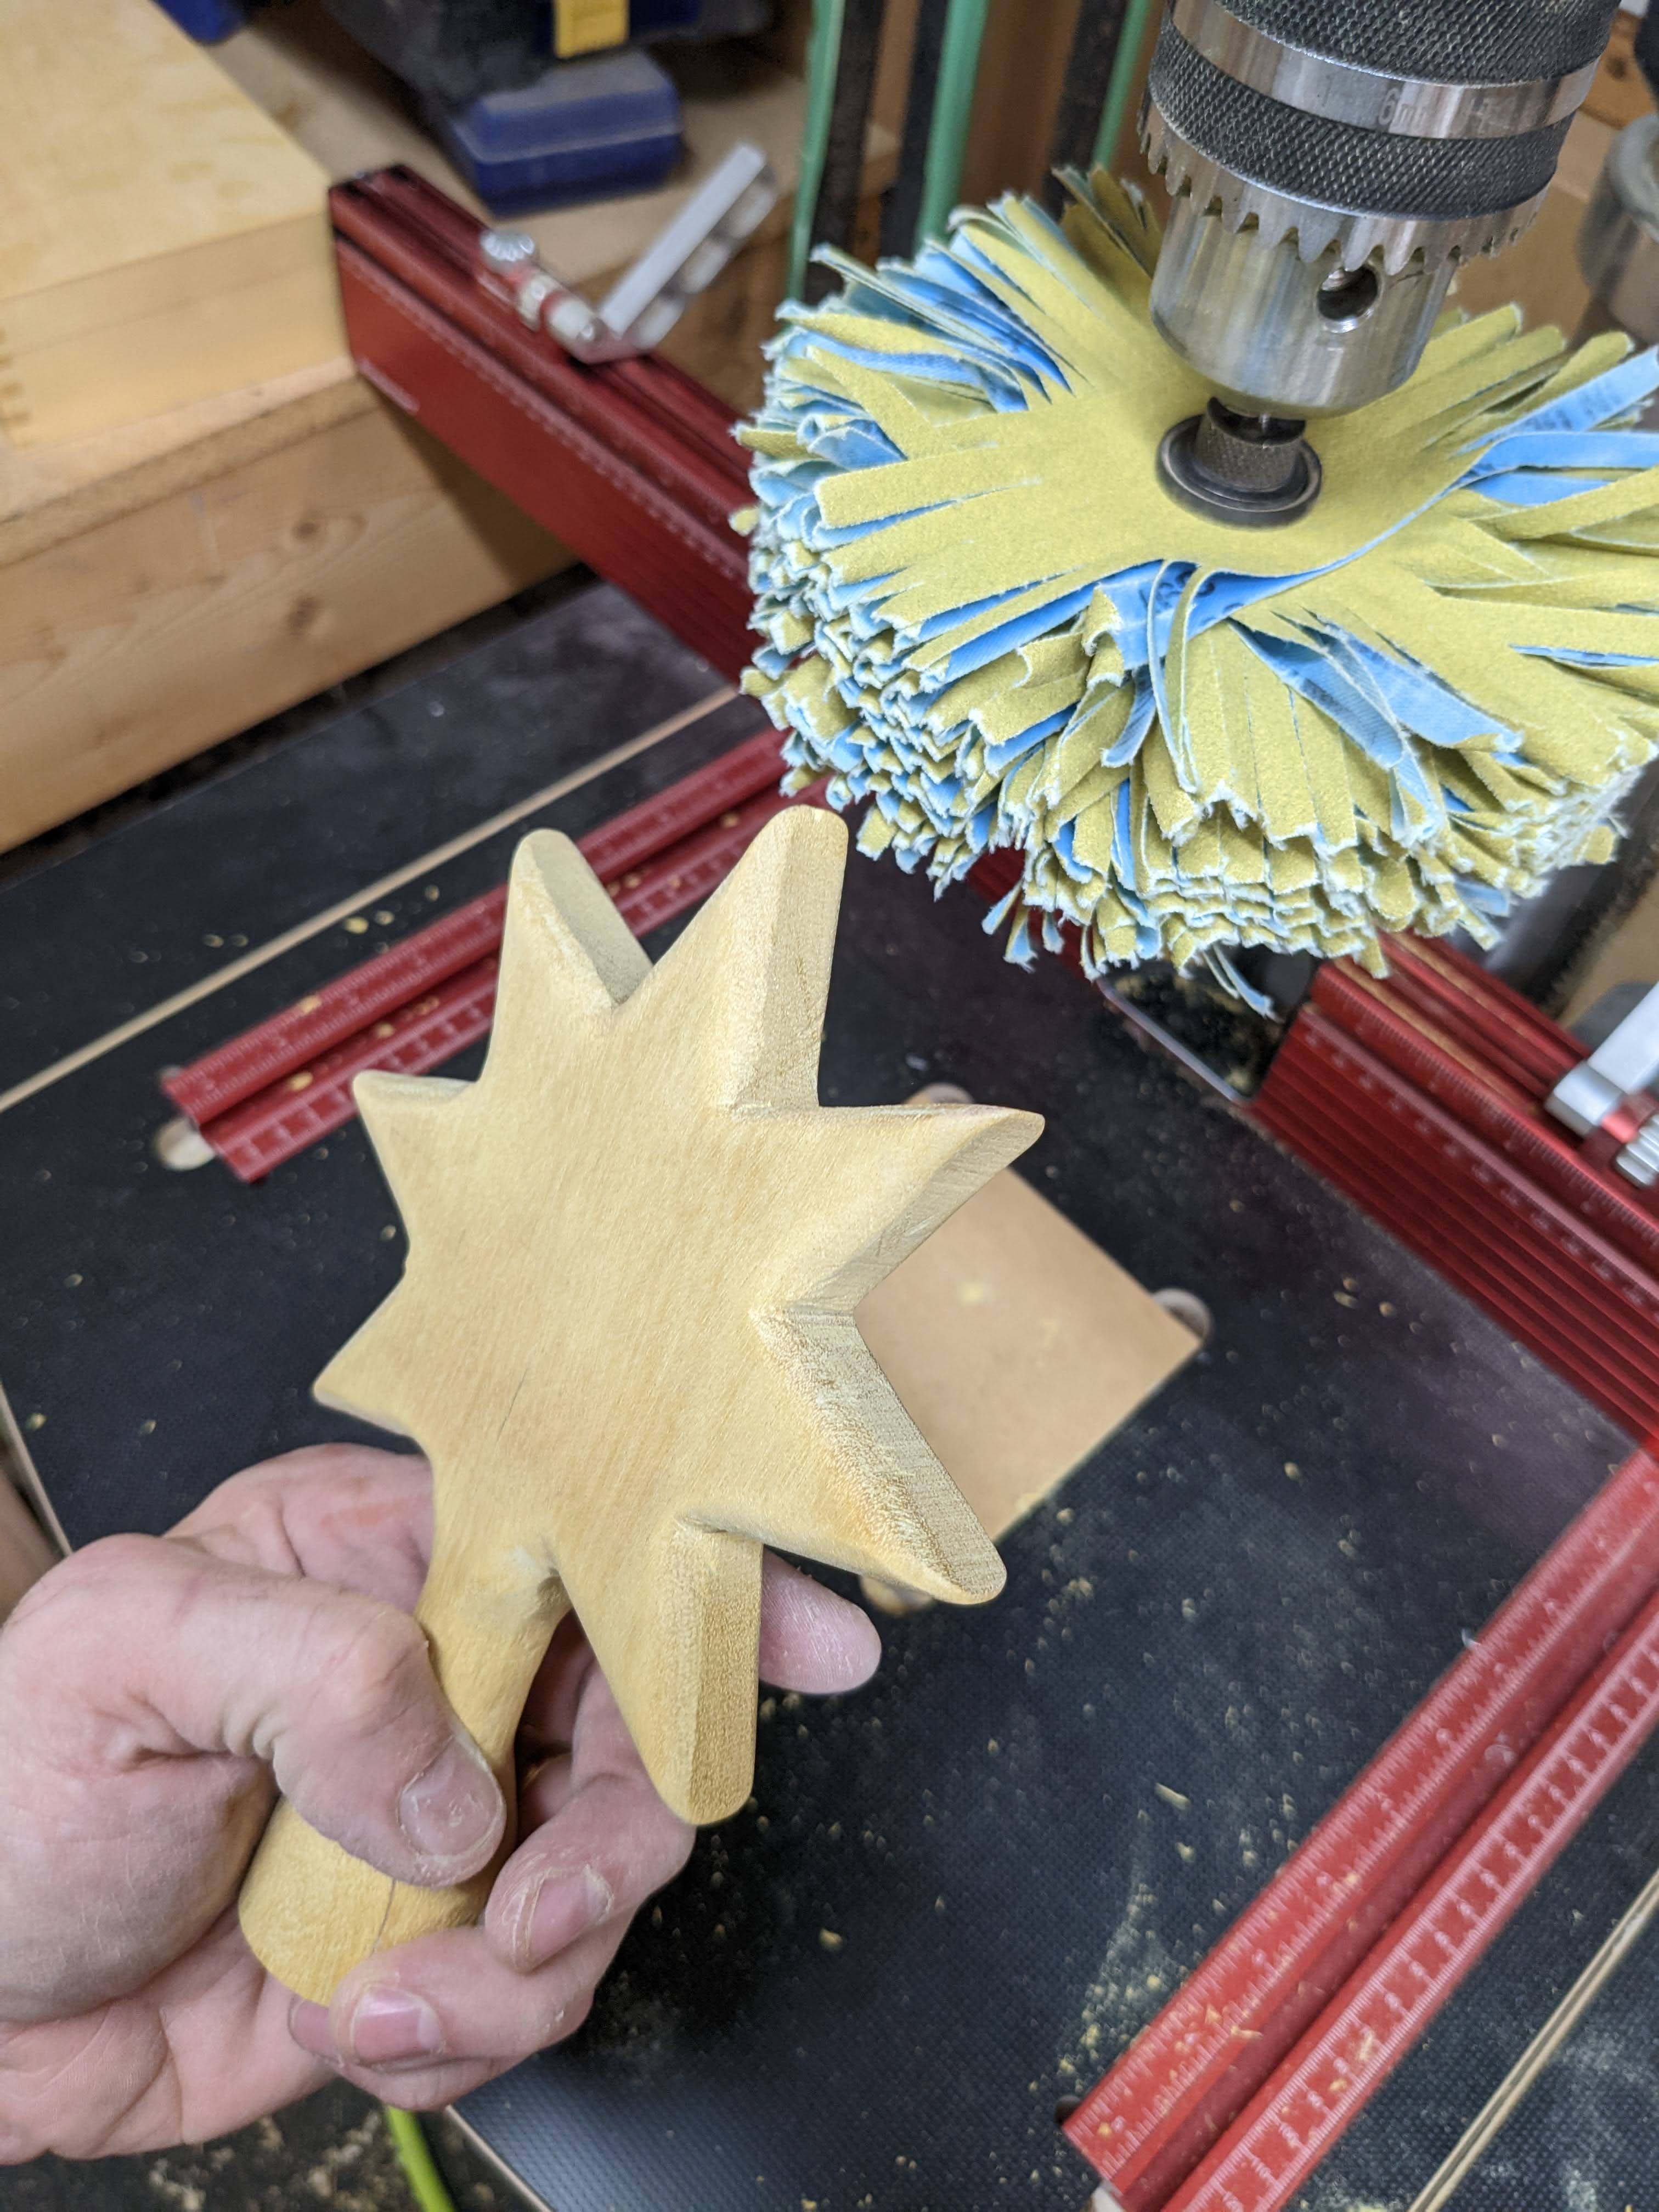
Turned out pretty nice.
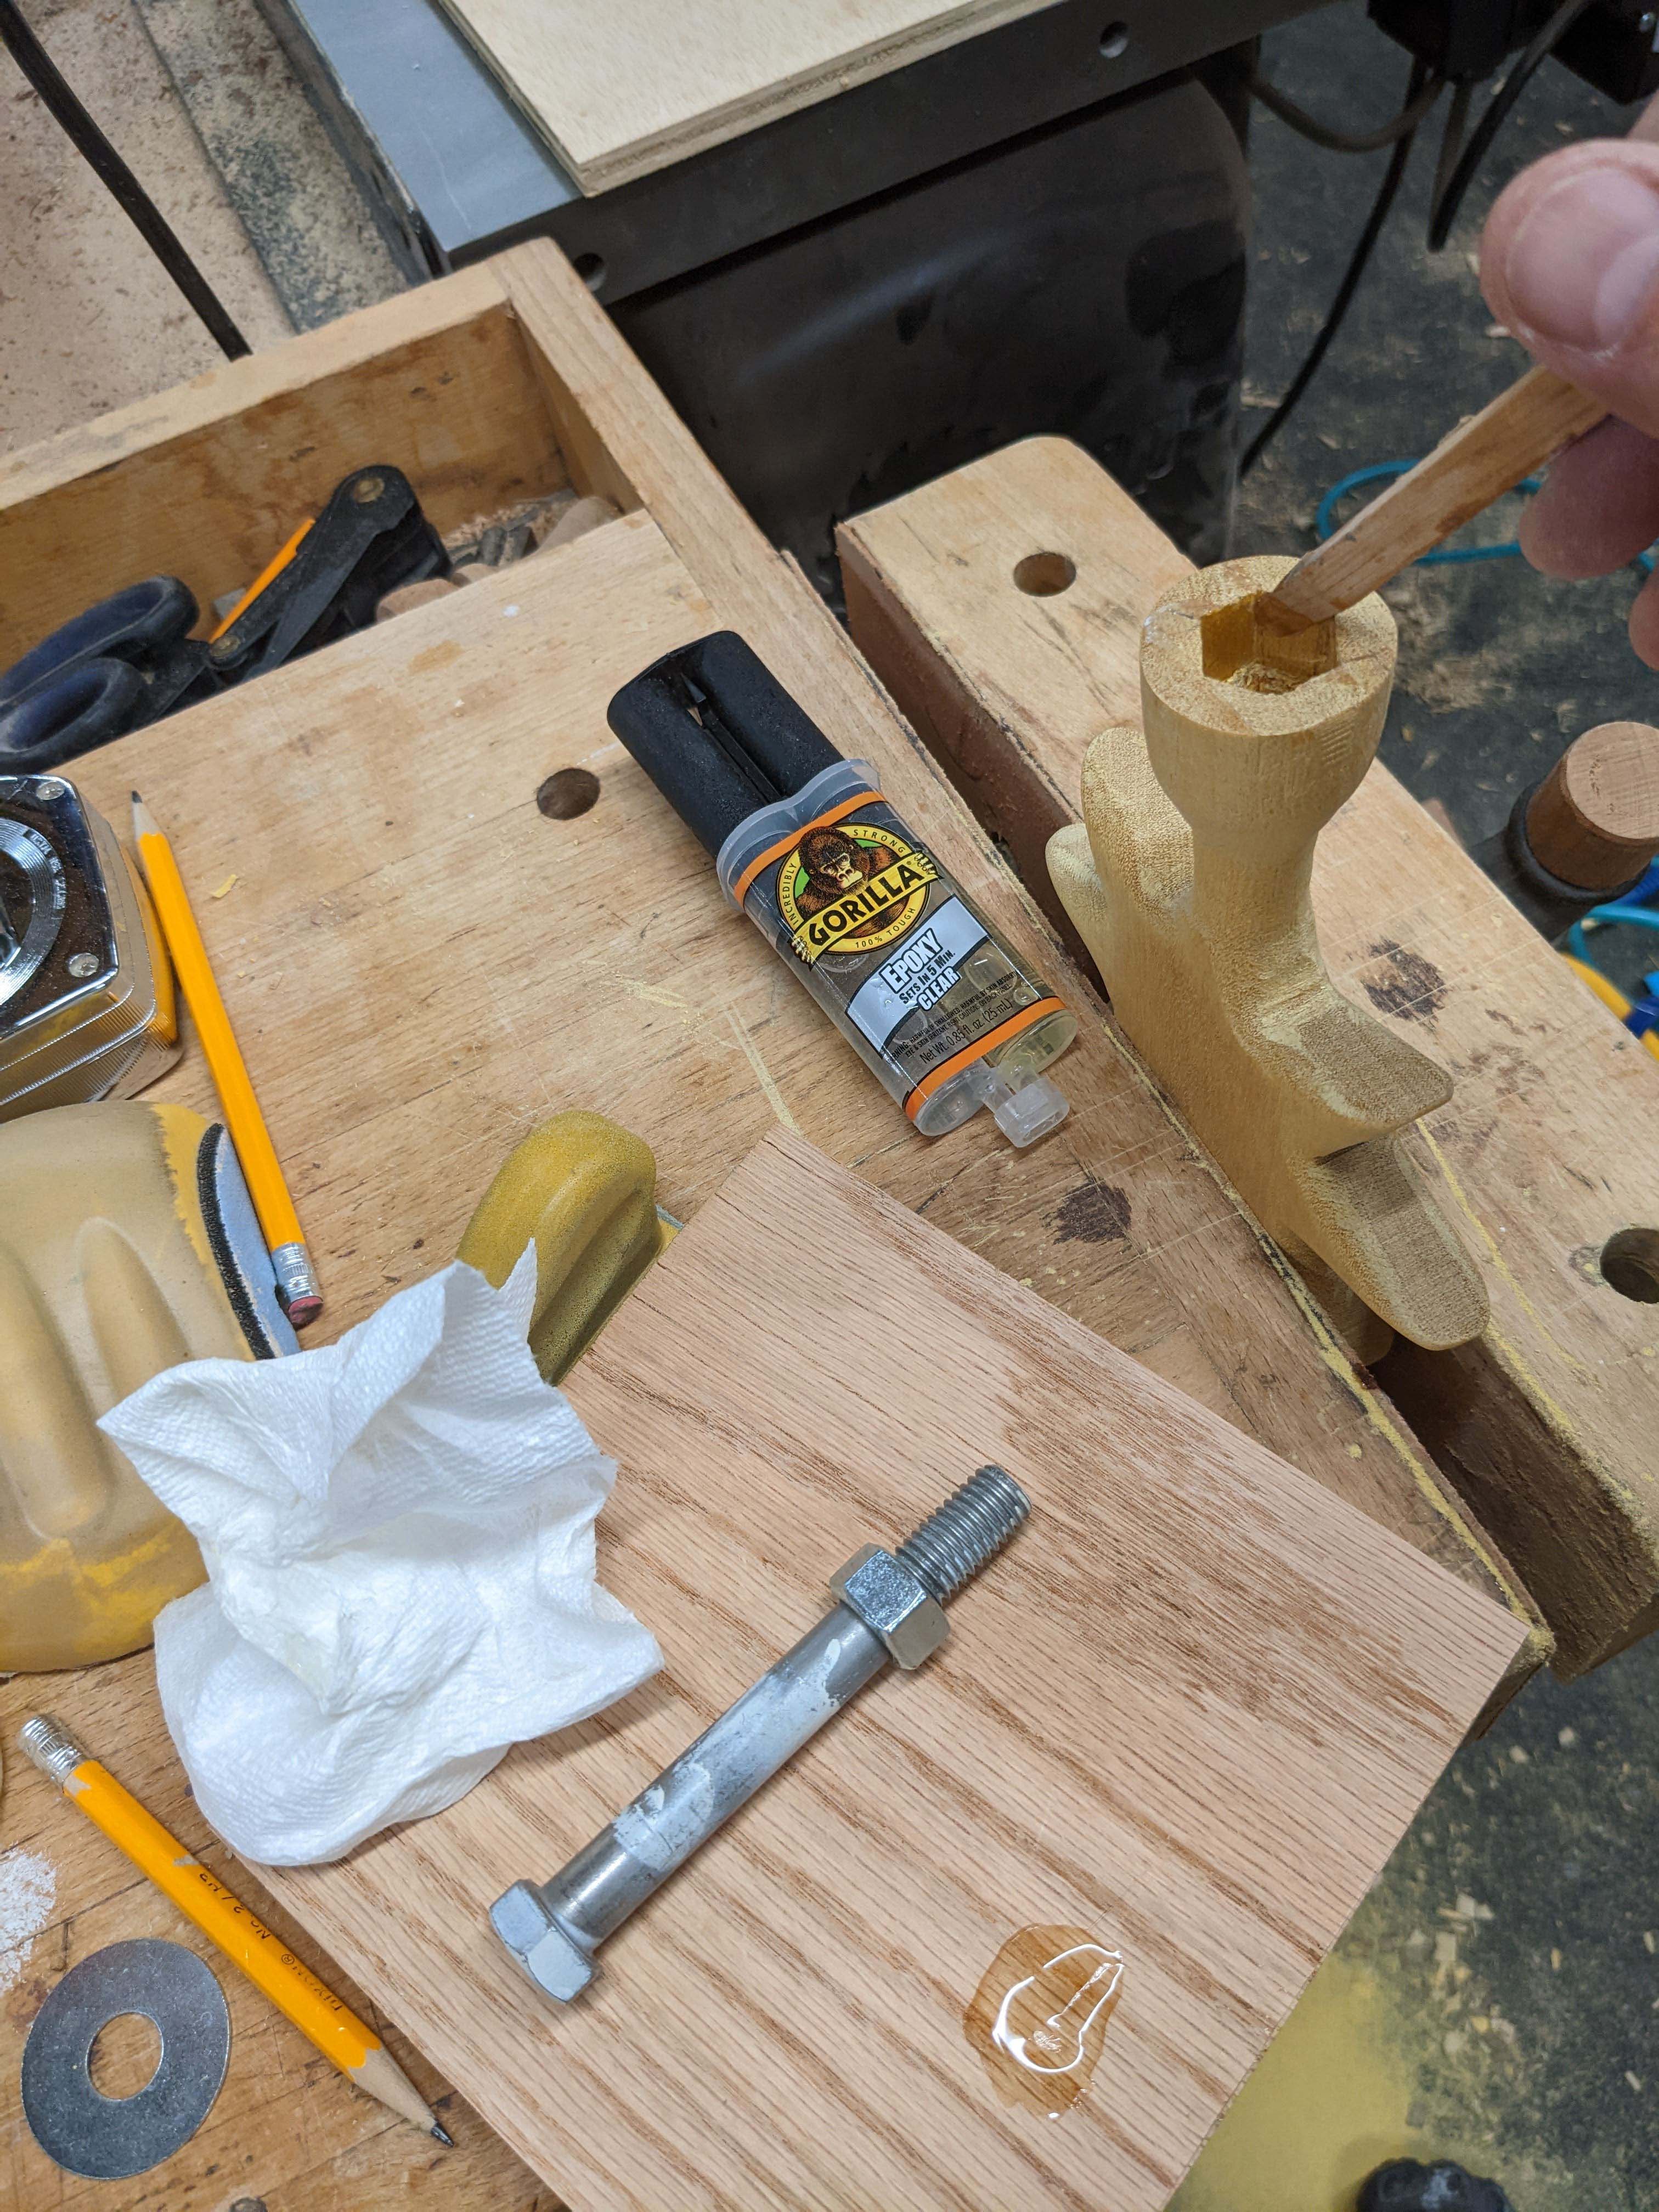
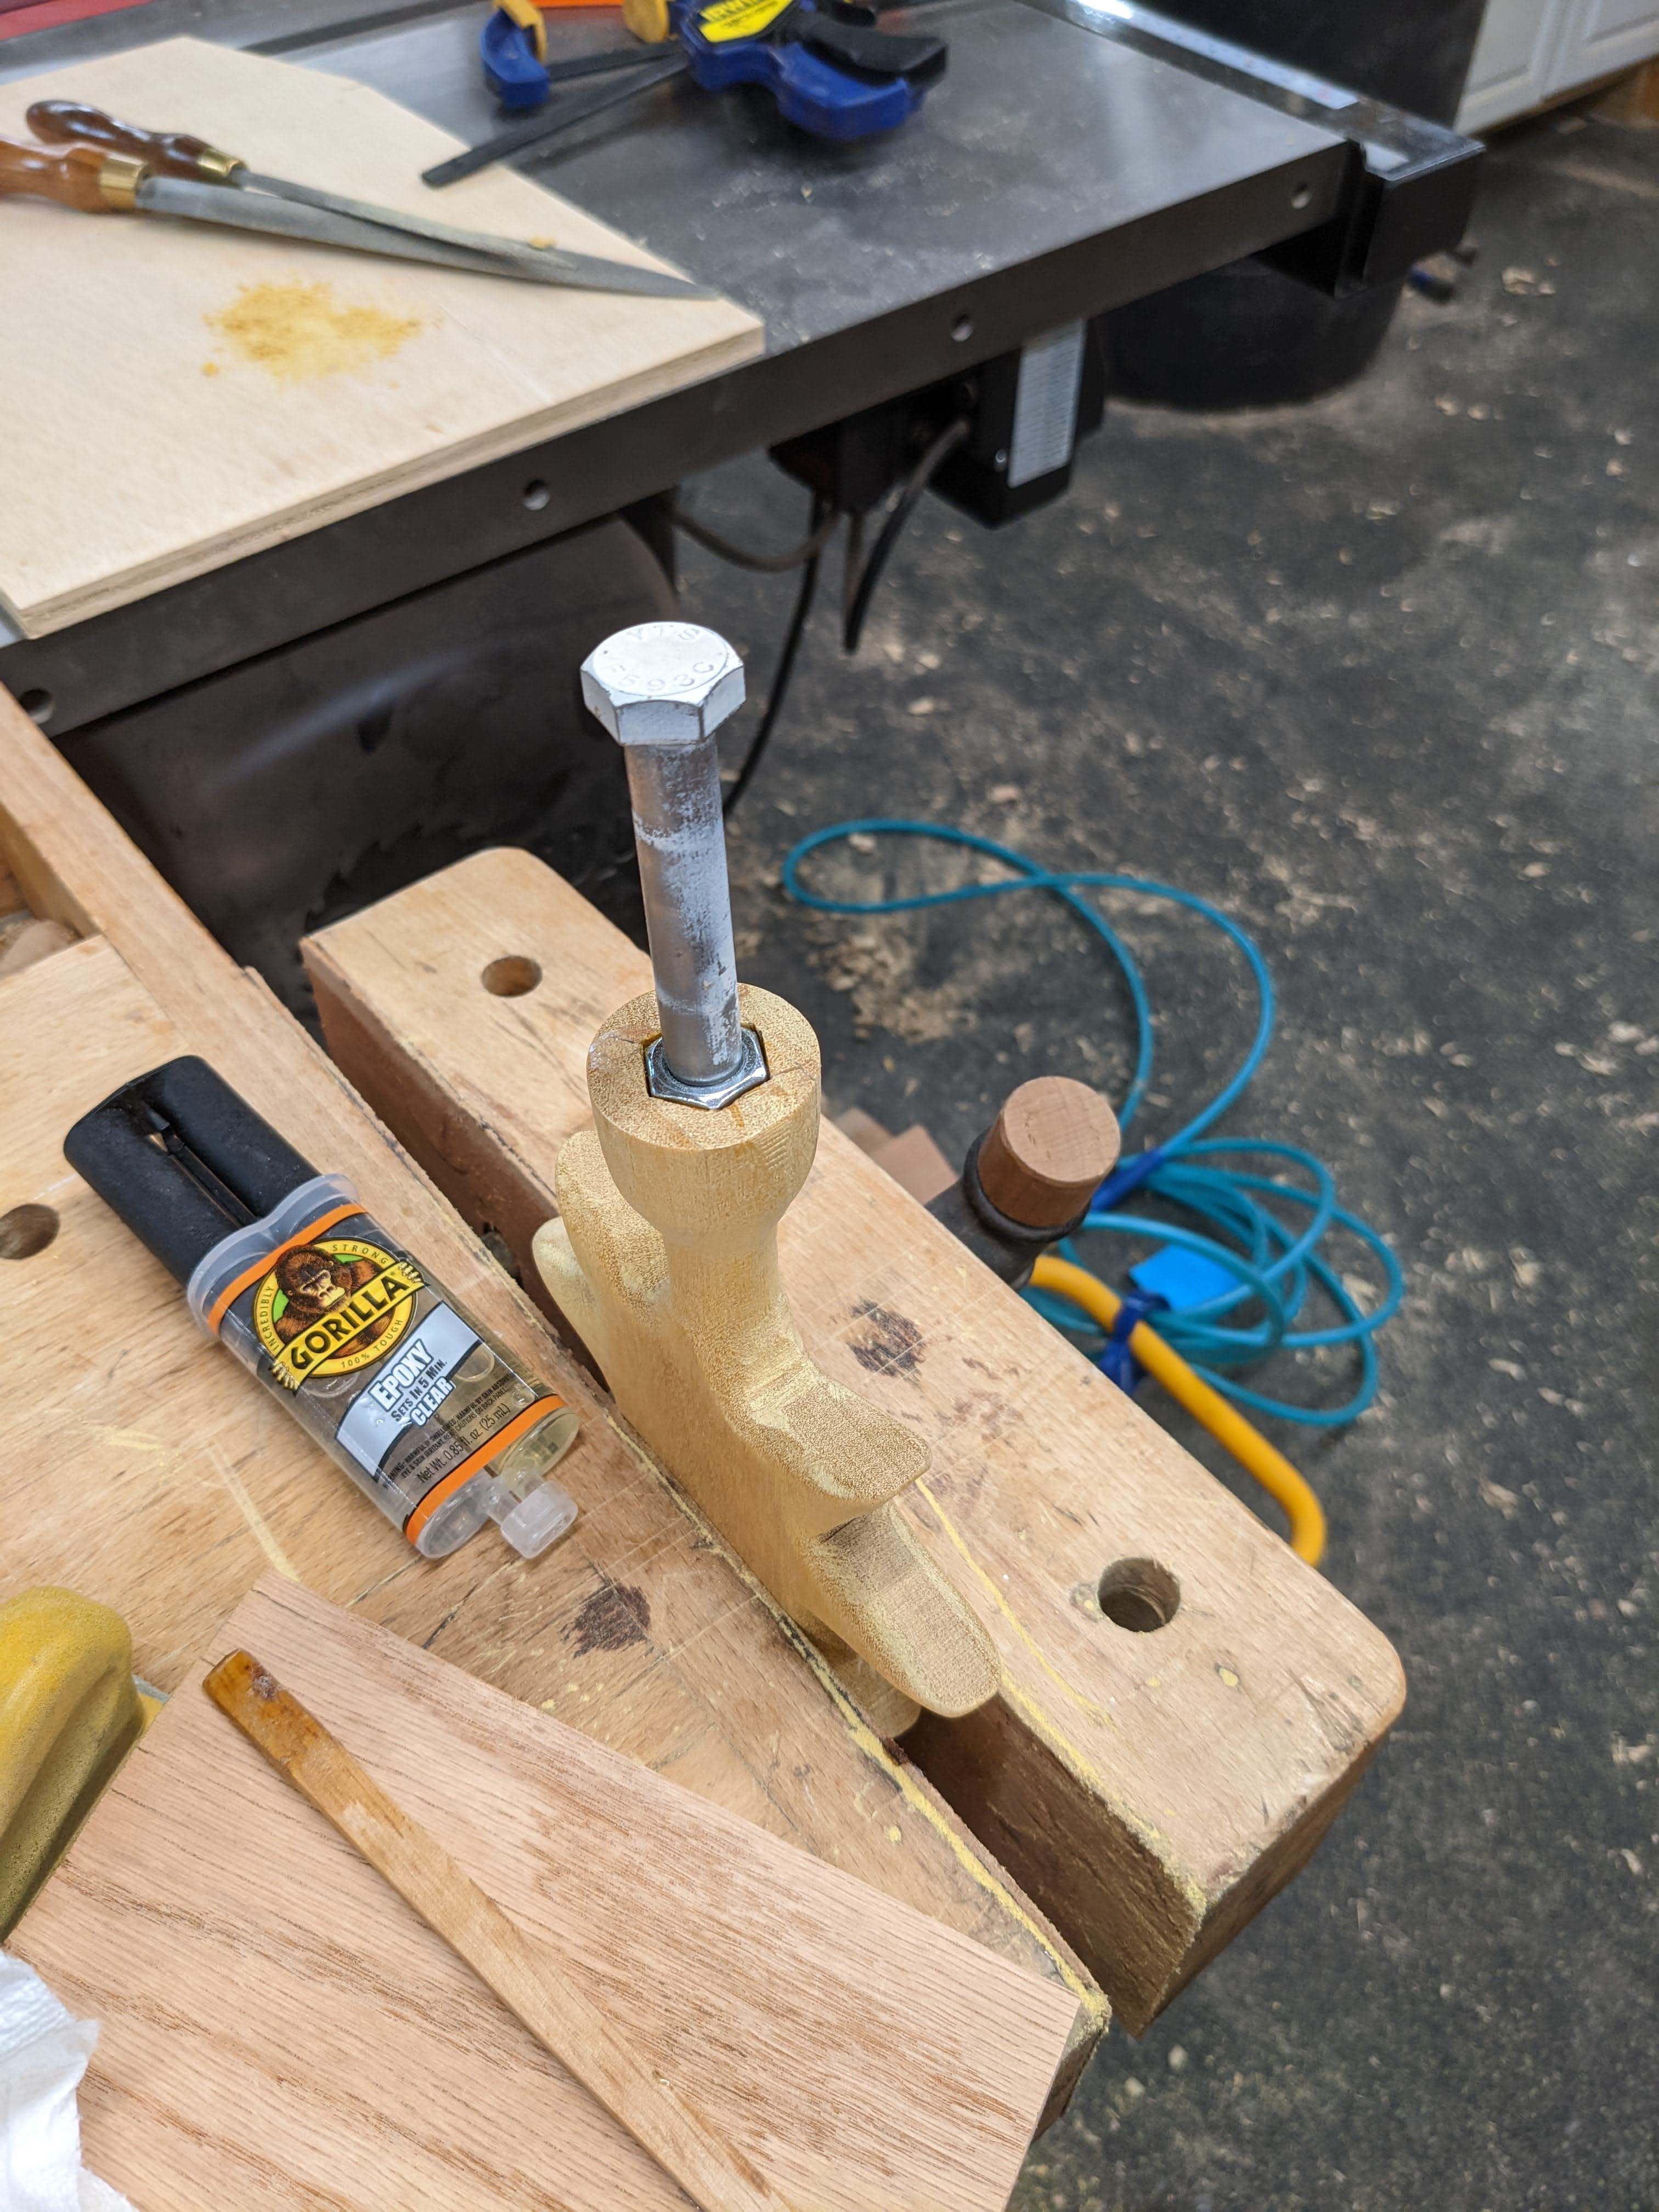
I mixed up a little more epoxy and set the last nut in place to dry. I made sure I threaded the bolt in as far as I could to ensure the nut was centered and perpendicular to the hole. I won’t be able to open this one up later if the nut moves.
Three coats of water-based poly later and all of my pieces were done.
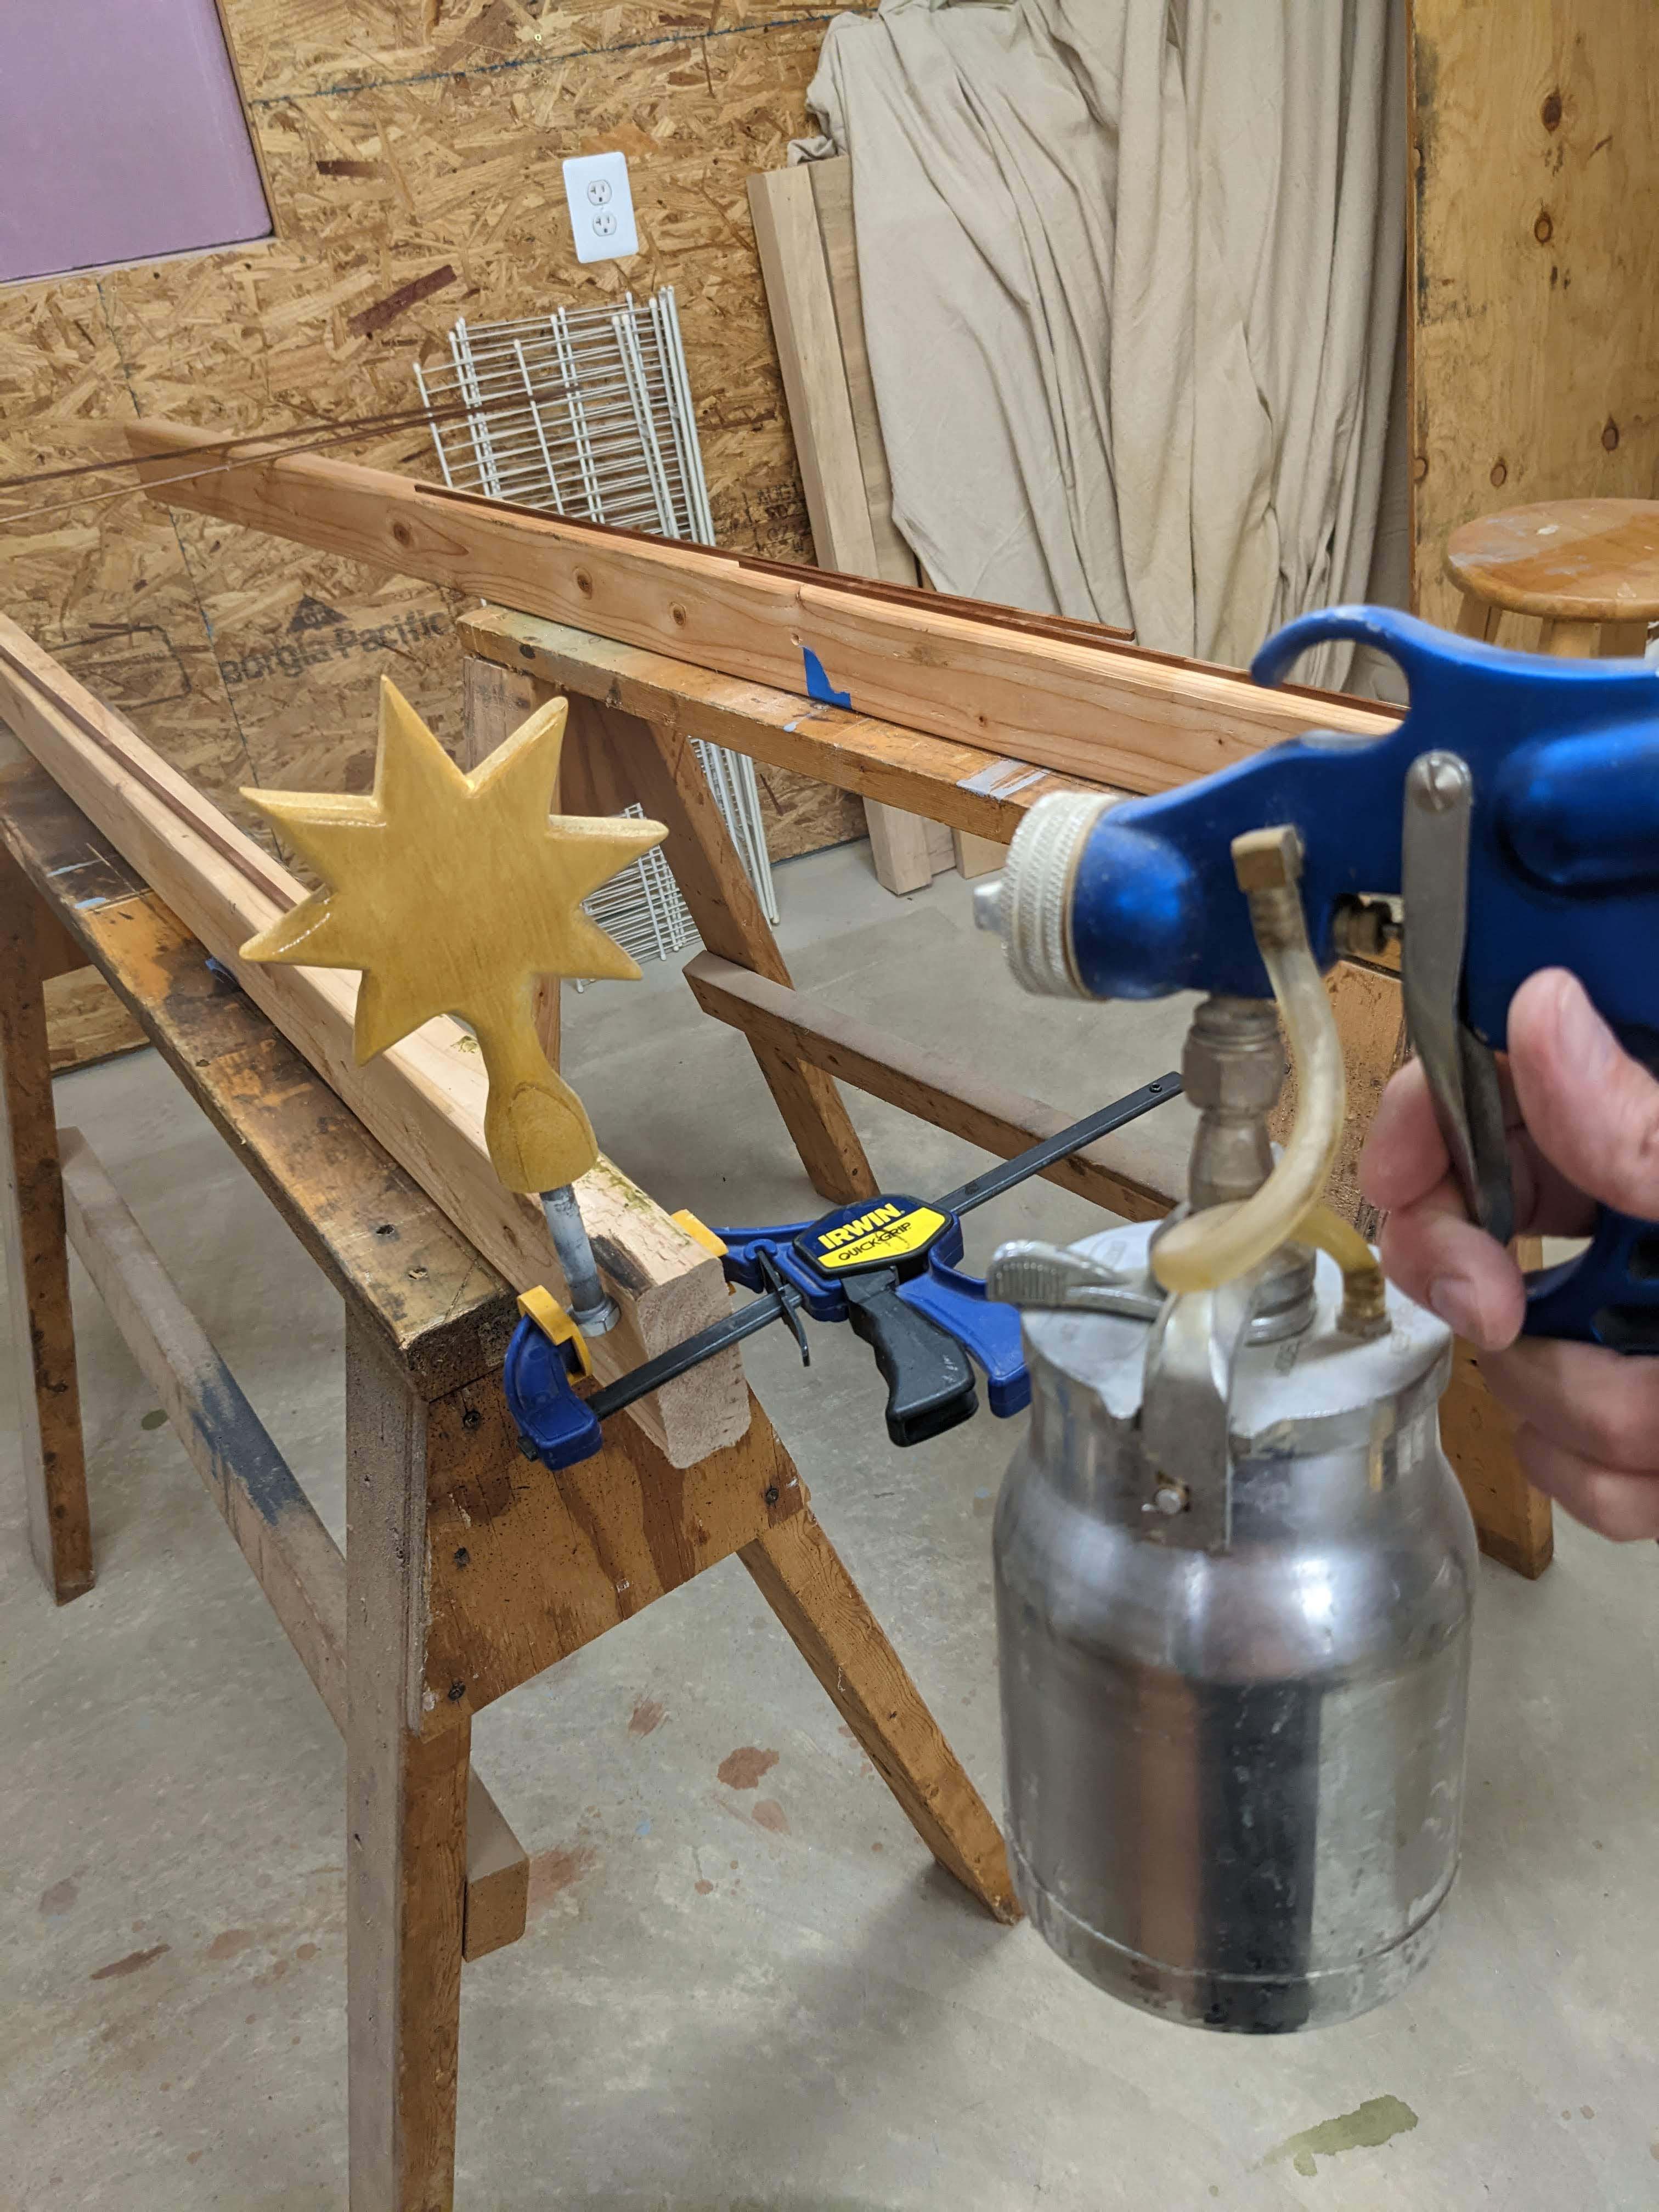
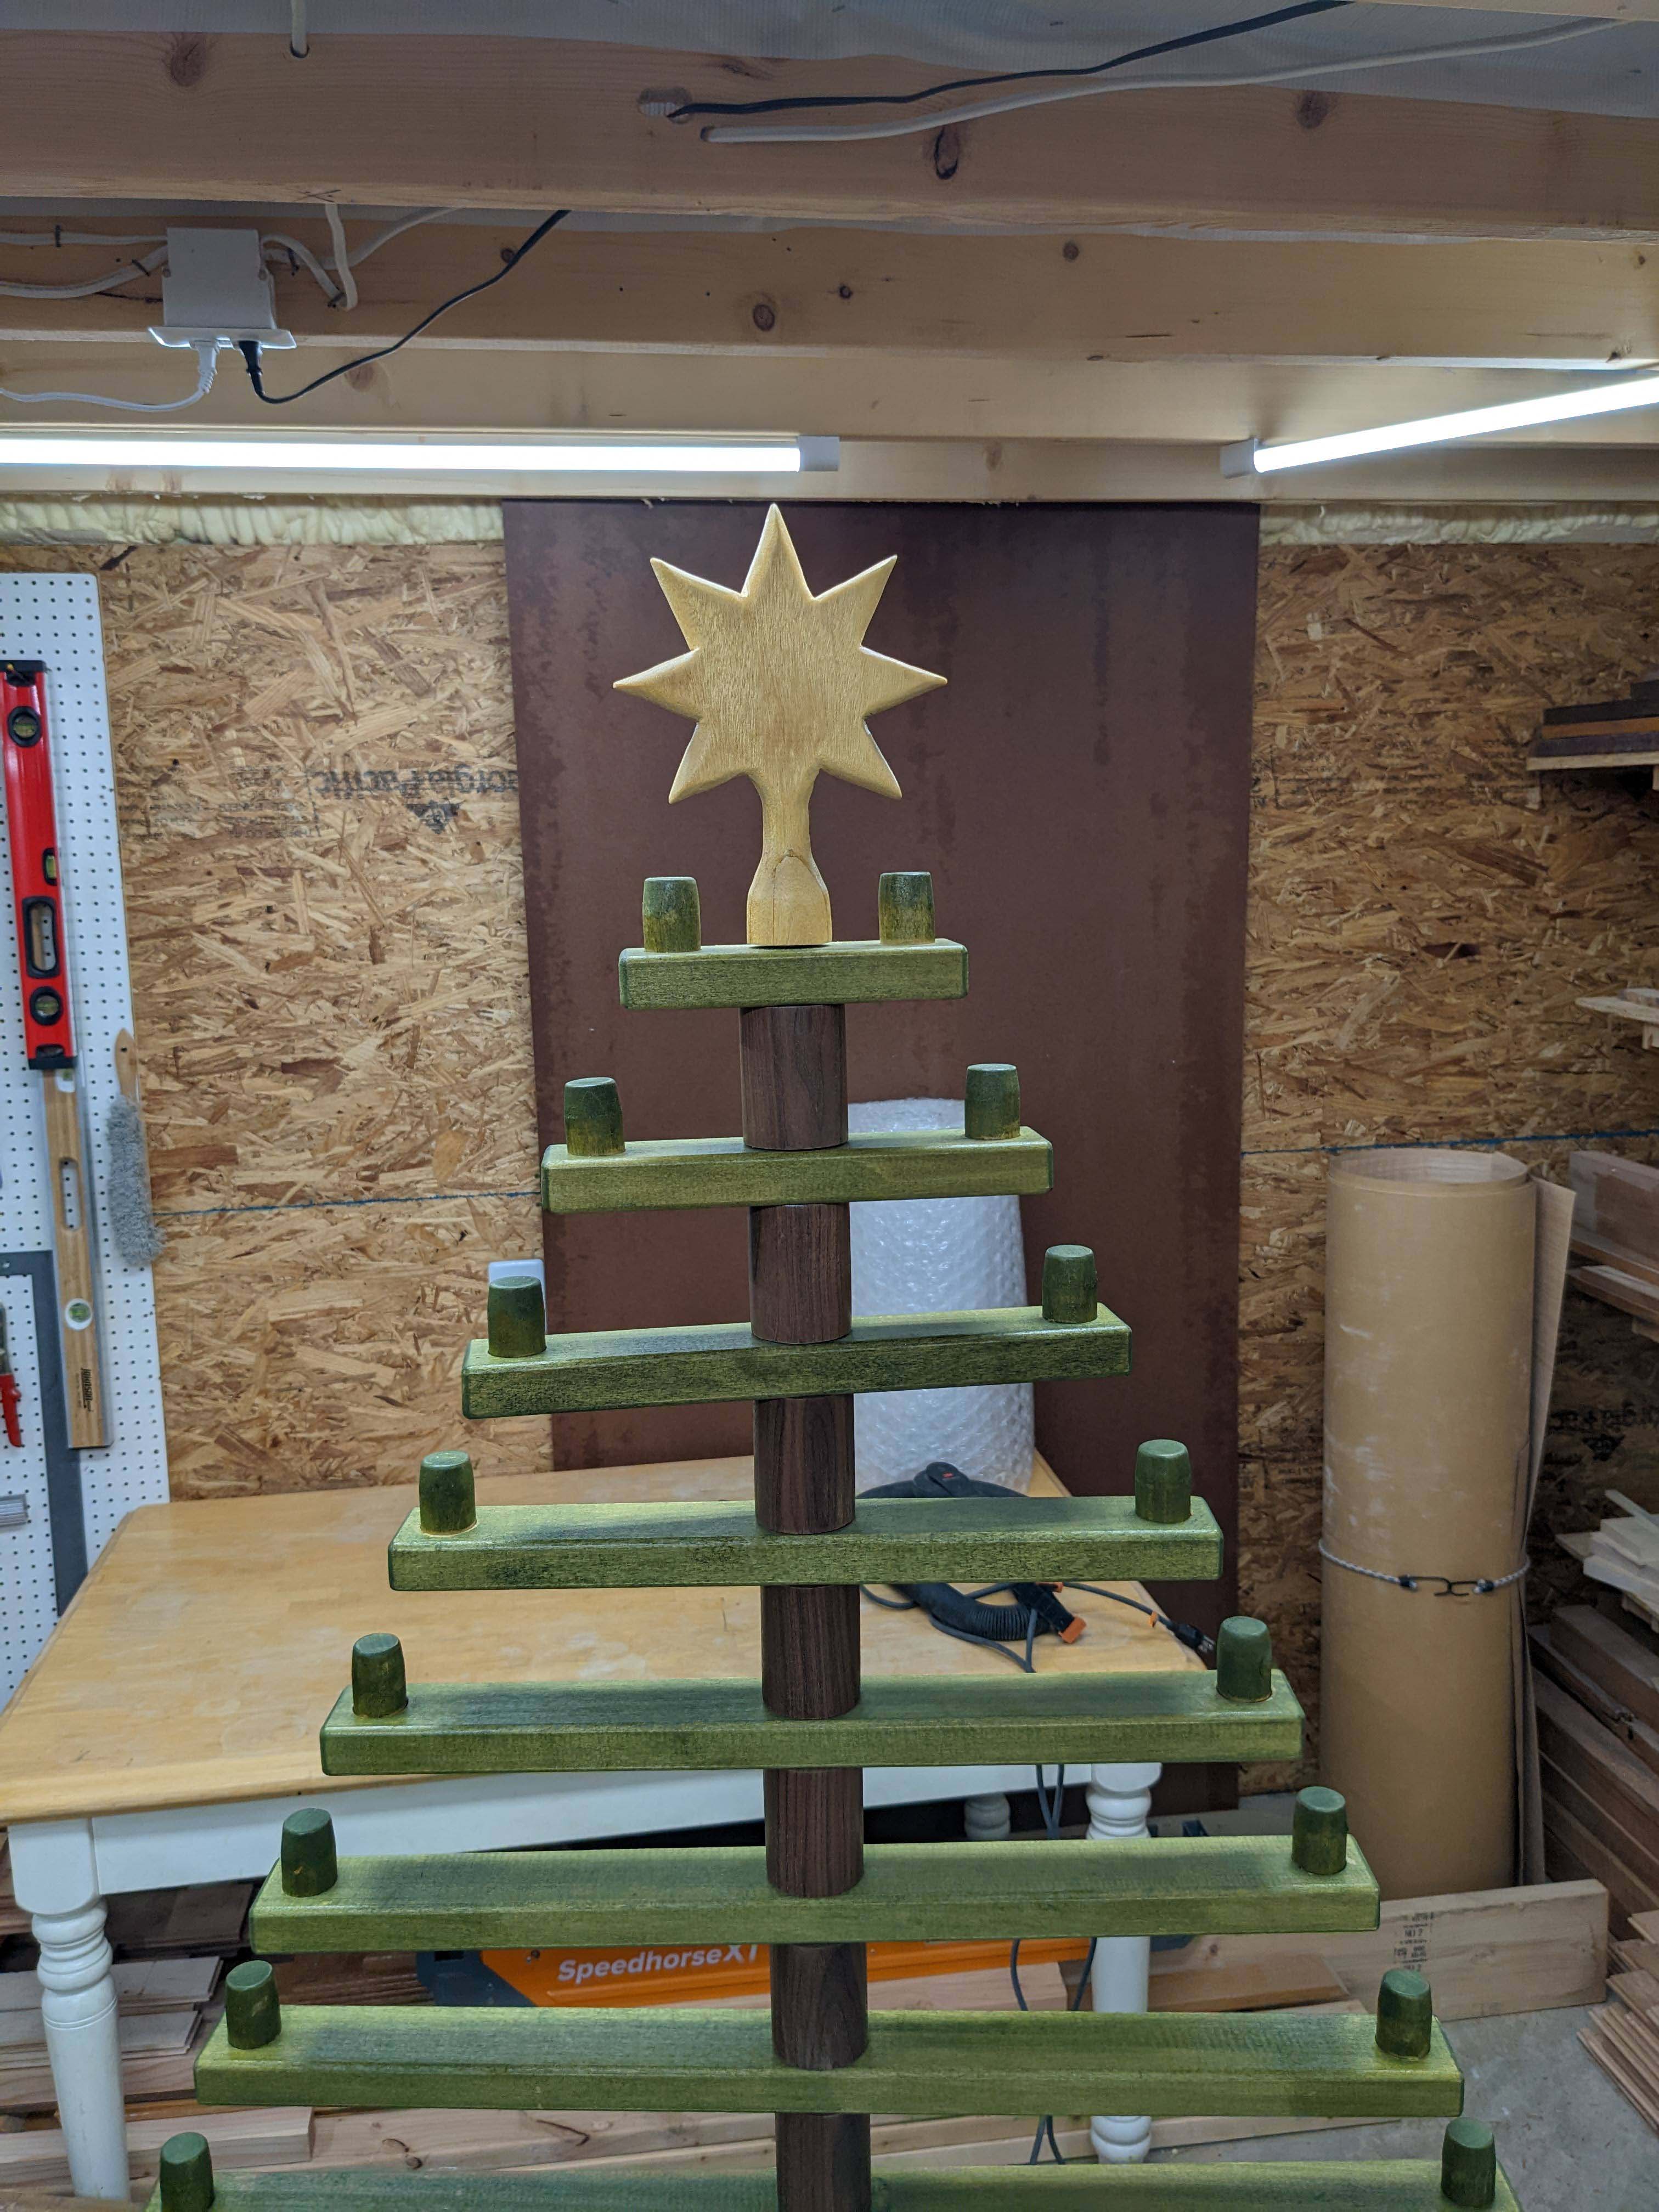
The star looks pretty good.
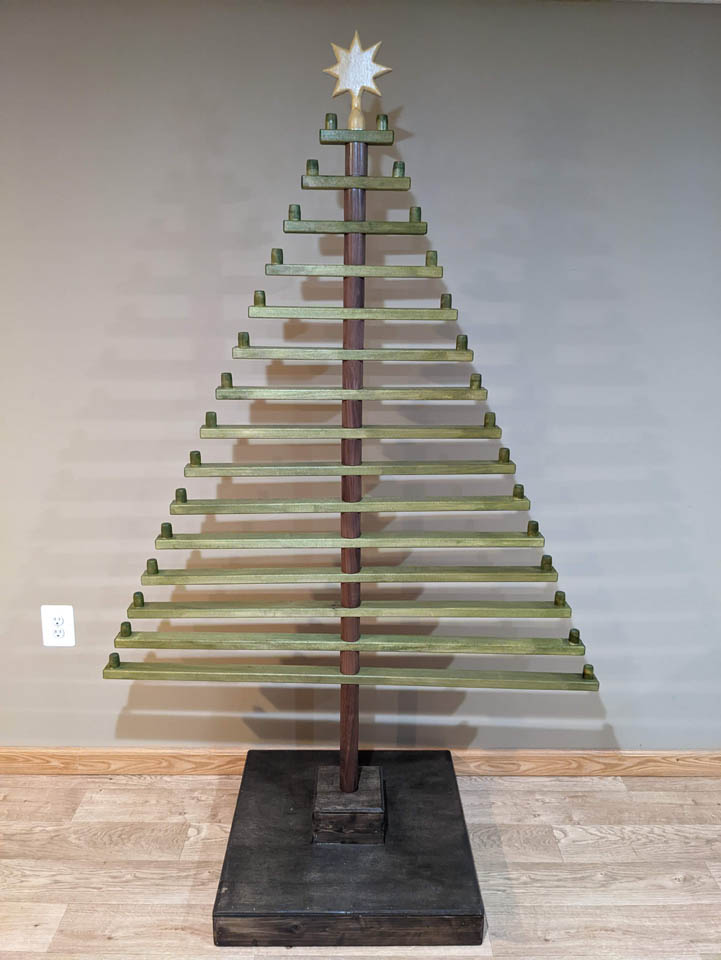

Everything works as intended and the base is sturdy enough for the weight of the tree. I wish I could have found nylon or Teflon fender washers to help the branches spin more easily, but the metal ones will work. They can always be changed out later if someone has a couple of hours to take it all apart and reassemble… The tree also easily separates from the base for transport and storage.
Stacy was happy with her new Jesse tree. Hopefully I will get a few pictures of it fully decorated, next month once the kids are finished decorating it…
