
Piggy ornaments
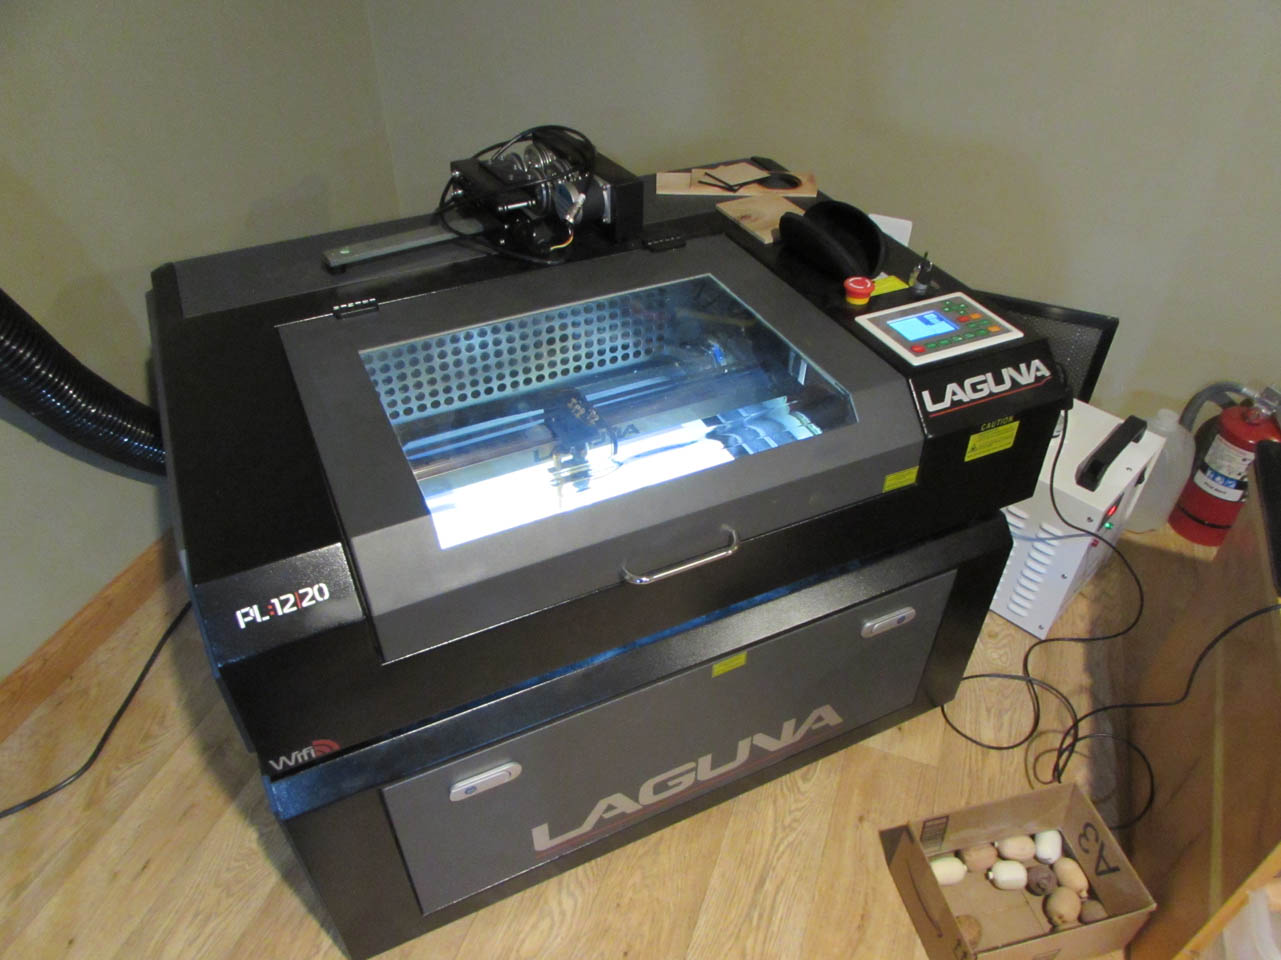
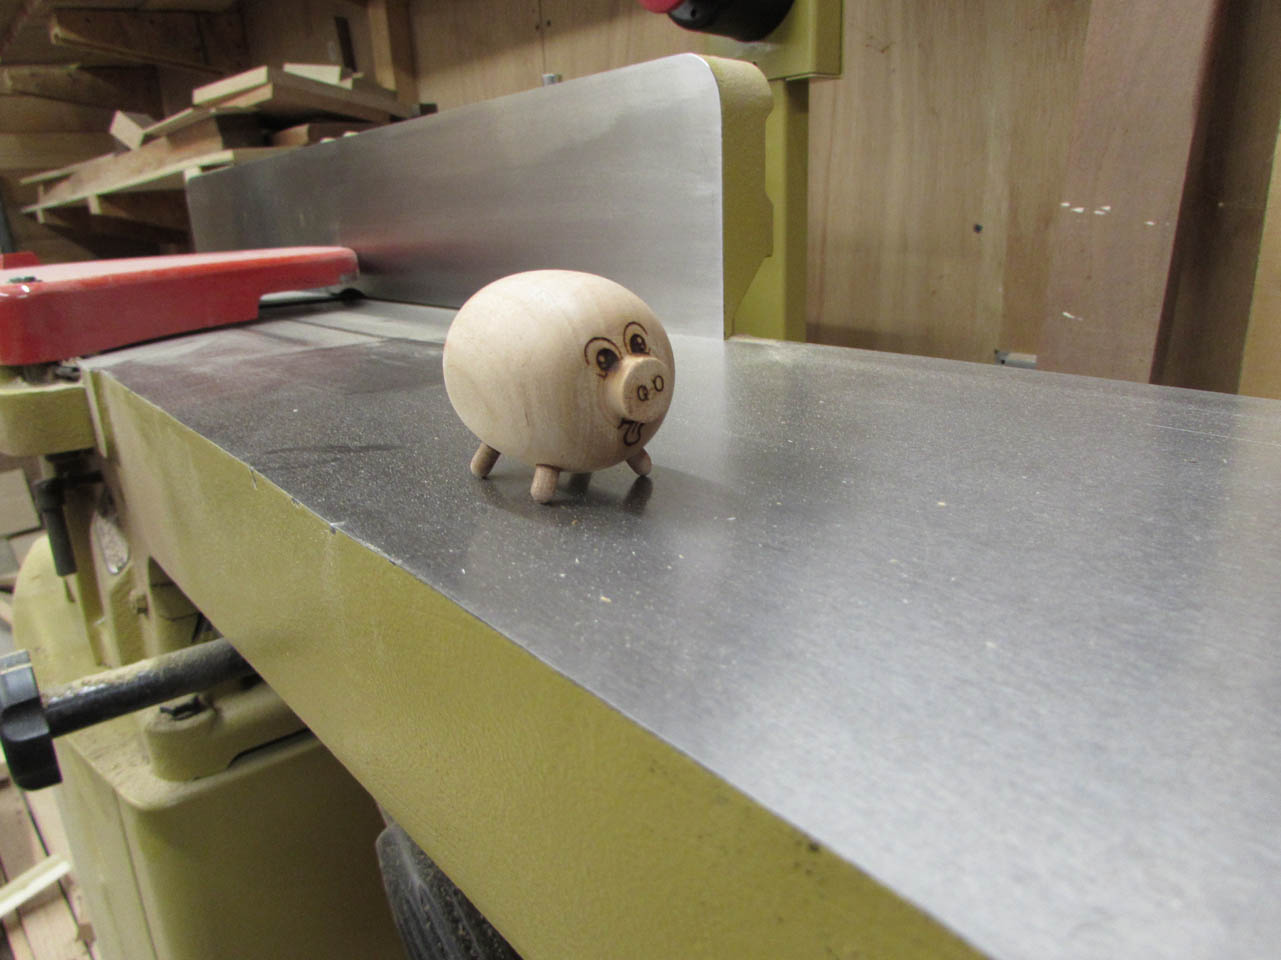
Last year I was playing with my laser and made up some Christmas ornaments for our favorite local Barbecue restaurant. This is a picture of an unfinished prototype. Everybody there seemed to really like the piggys so I decided to try to come up with a different one this year. The only real problem is that I need to make about 35 of them so nobody feels left out…

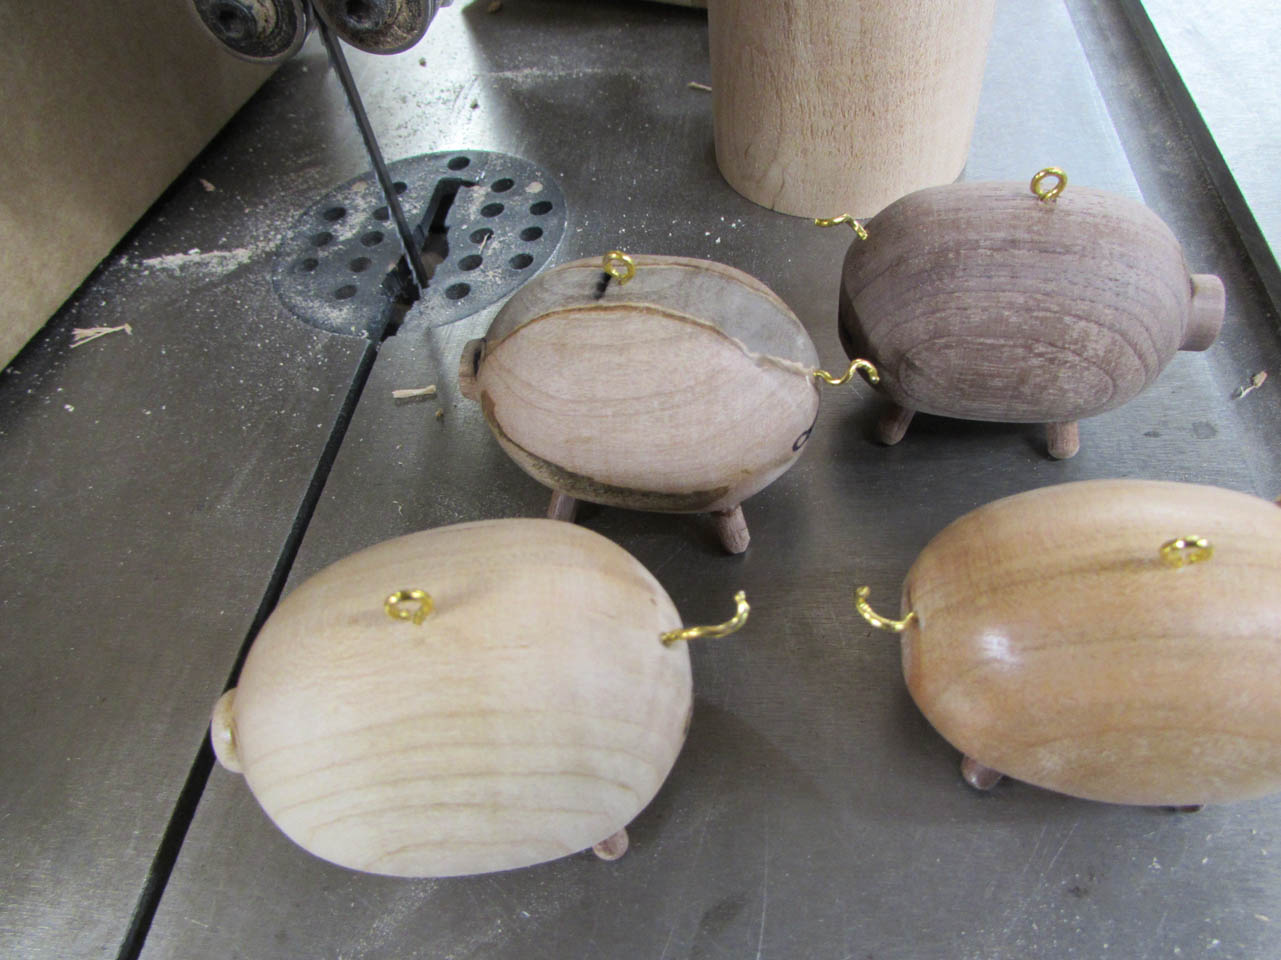
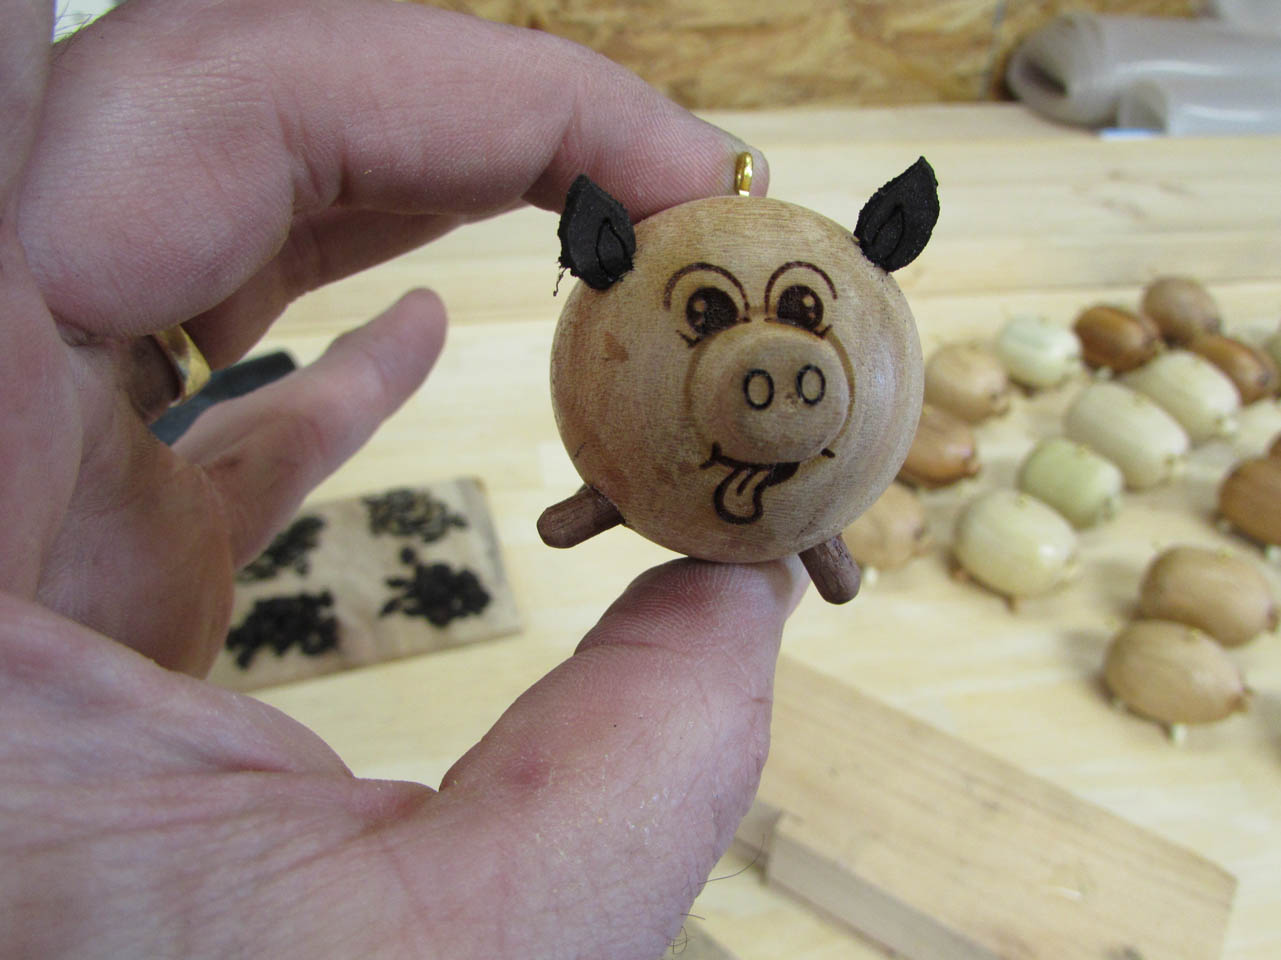
My wife wanted to help and her main tool, in my shop, is the lathe. So we went down to the shop and started playing around. This is the prototype pig that we came up with.

Initially the eyes and nose holes were small holes followed up with black magic marker. The ears were cut from some scrap leather and the legs were also turned on the lathe, then rounded, sanded, then cut. He was cute, but took about an hour to make.

I need to make at least 3 dozen of these so I started thinking of ways to speed things up, then, of course, I thought of more things to add which put me right back to about an hour a piece…

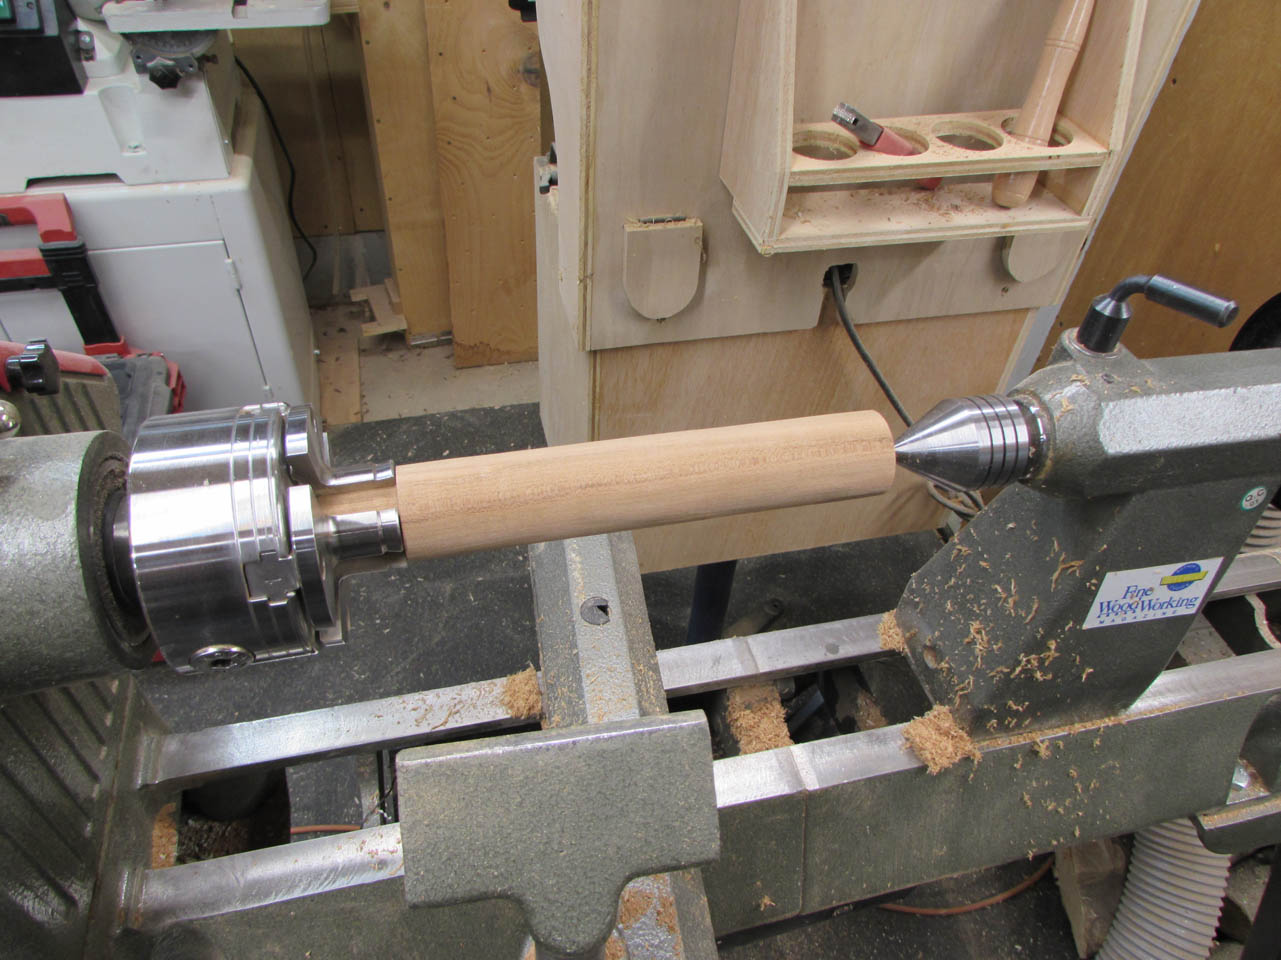
The first step was to figure out the best method of work holding for pieces in the lathe. I grabbed several different species of wood to play with, holly, ambrosia maple, oak, black cherry, poplar, soft maple, and mahogany. After making the stock round and stepping down one end, we fit them in a chuck and my wife started cranking out pigs.
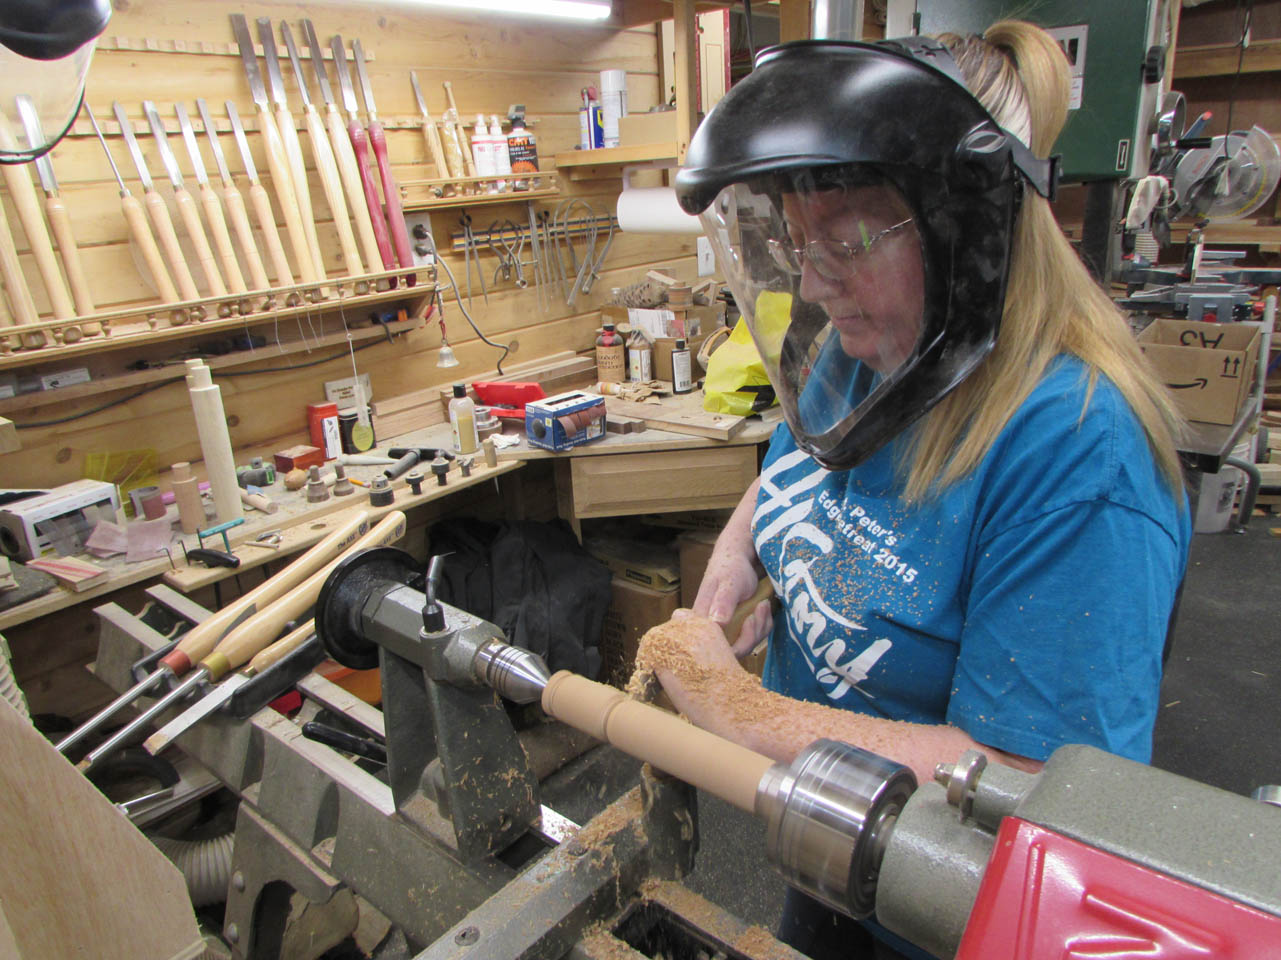
She did most of the shaping with some scrapers, then sanded the pig body down to 400 grit.
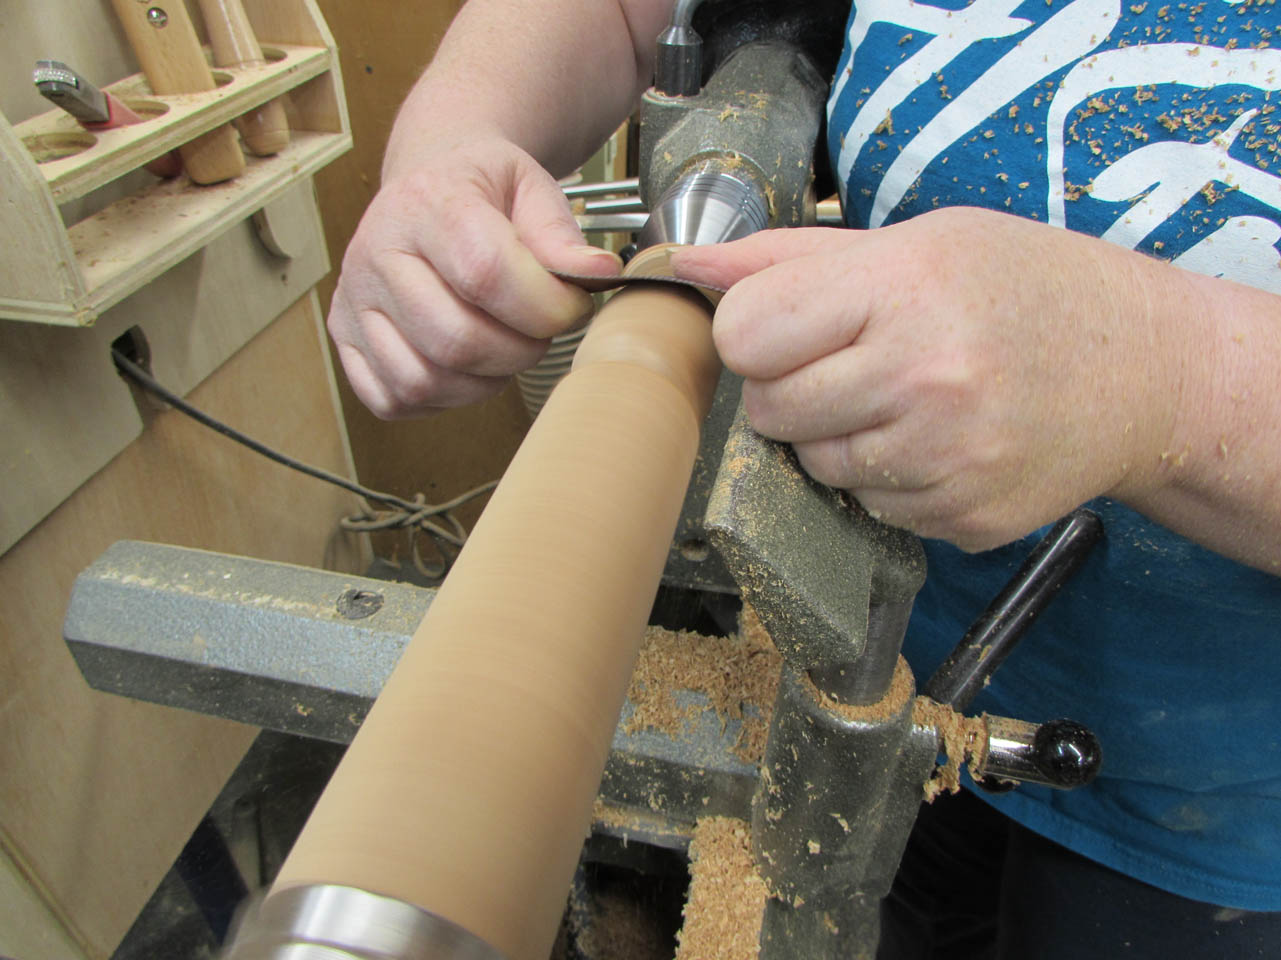
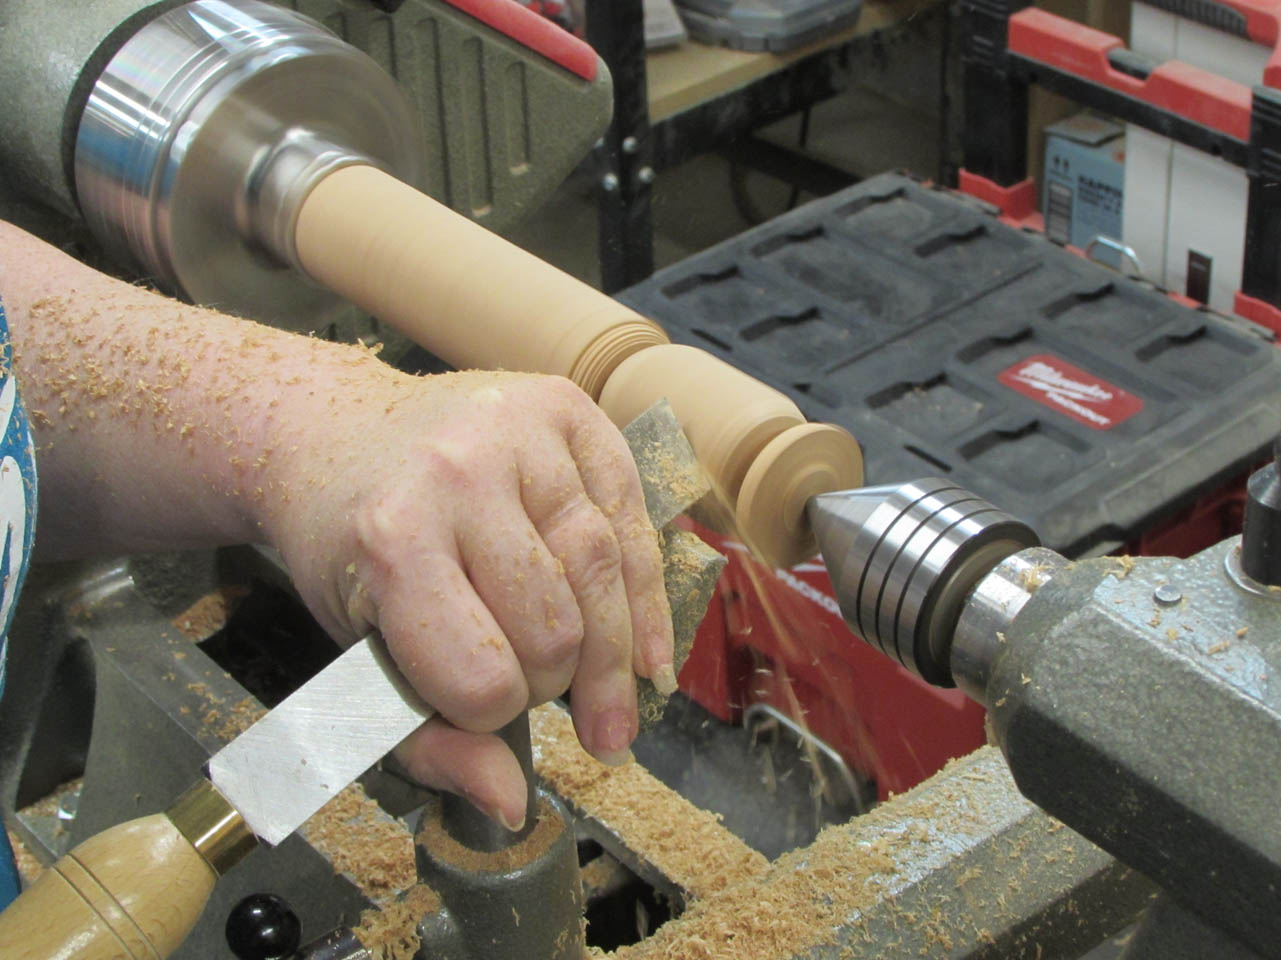
She left the tail stock in place through the heavy turning, then removed it to part off the end.


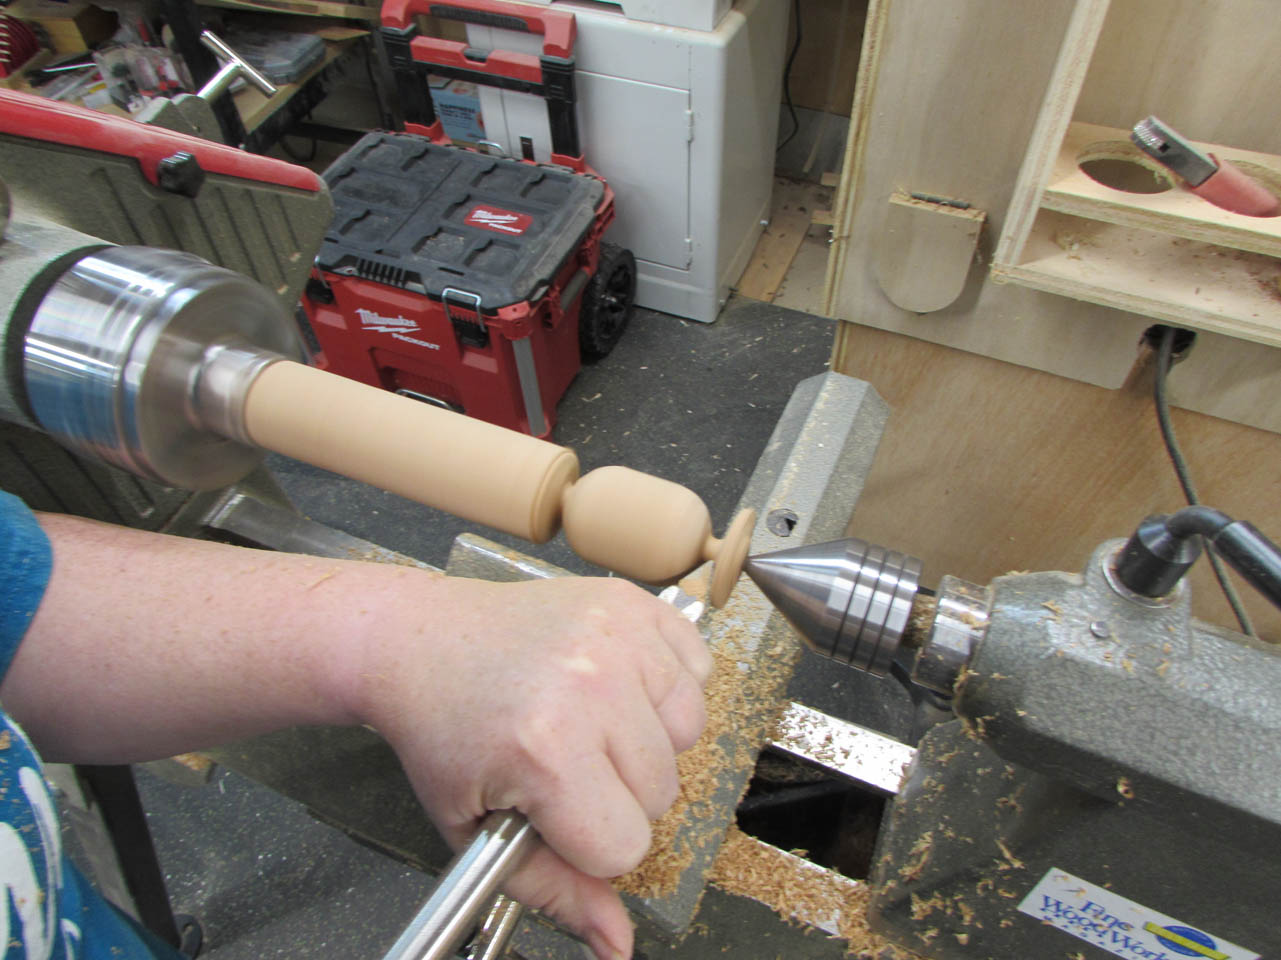
She then cleaned up the nose with the detailing tool.

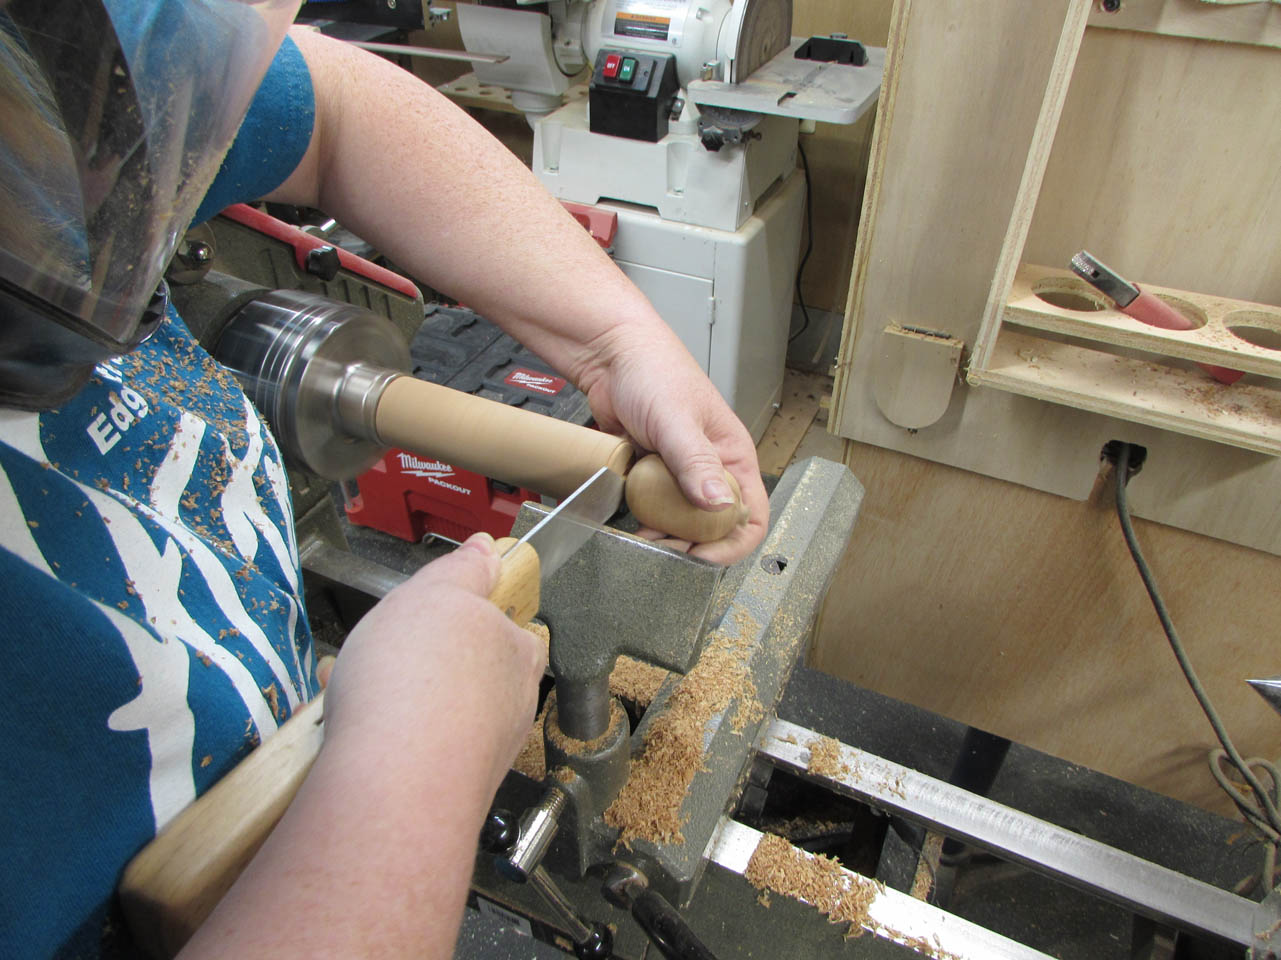
Then used a parting tool to remove that pig and handed it to me to finish cleaning up while she started the next one.

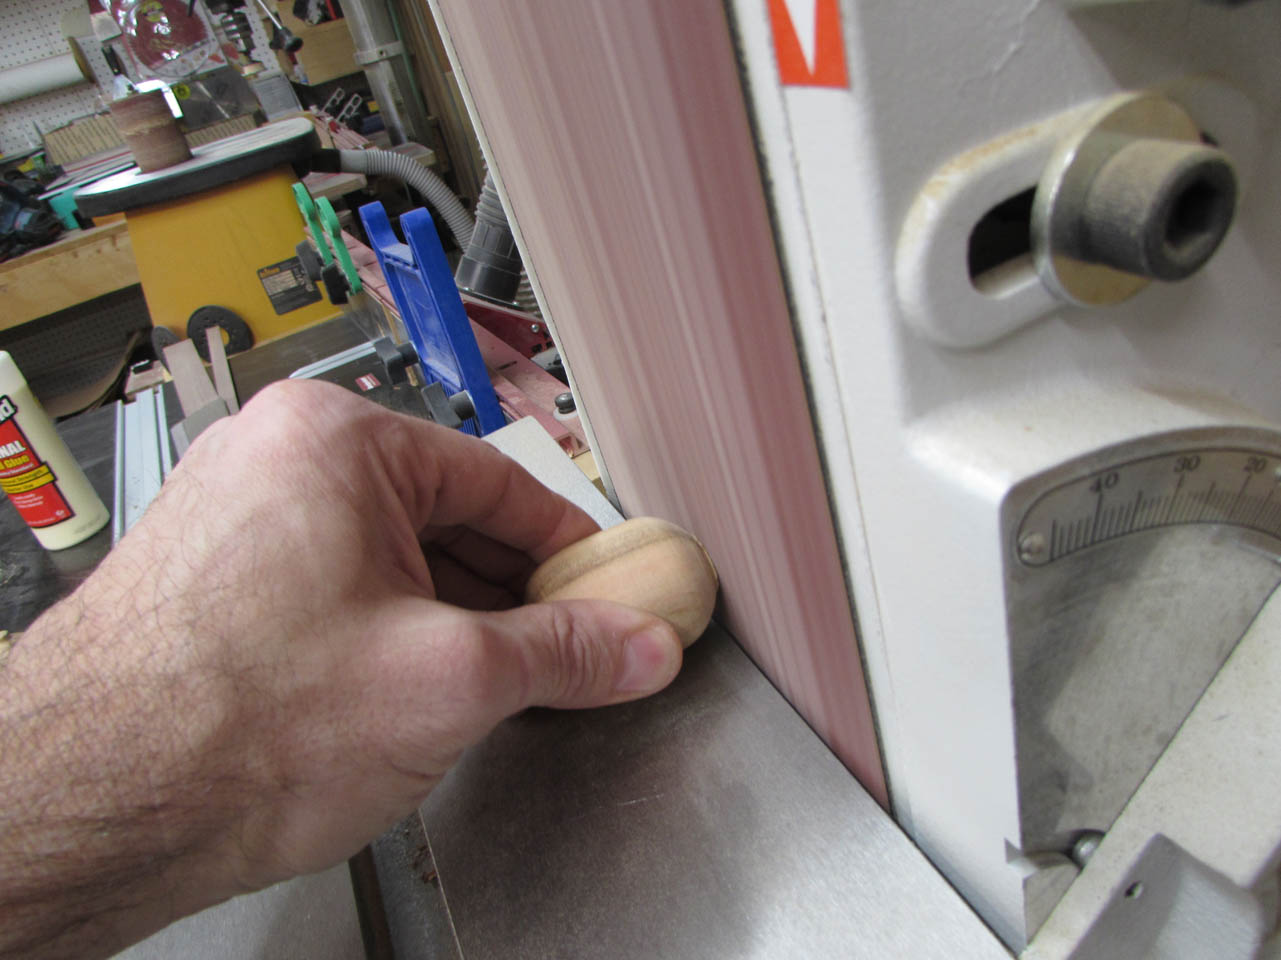
I held the pigs bottom up to my belt sander to get it smoothed down.

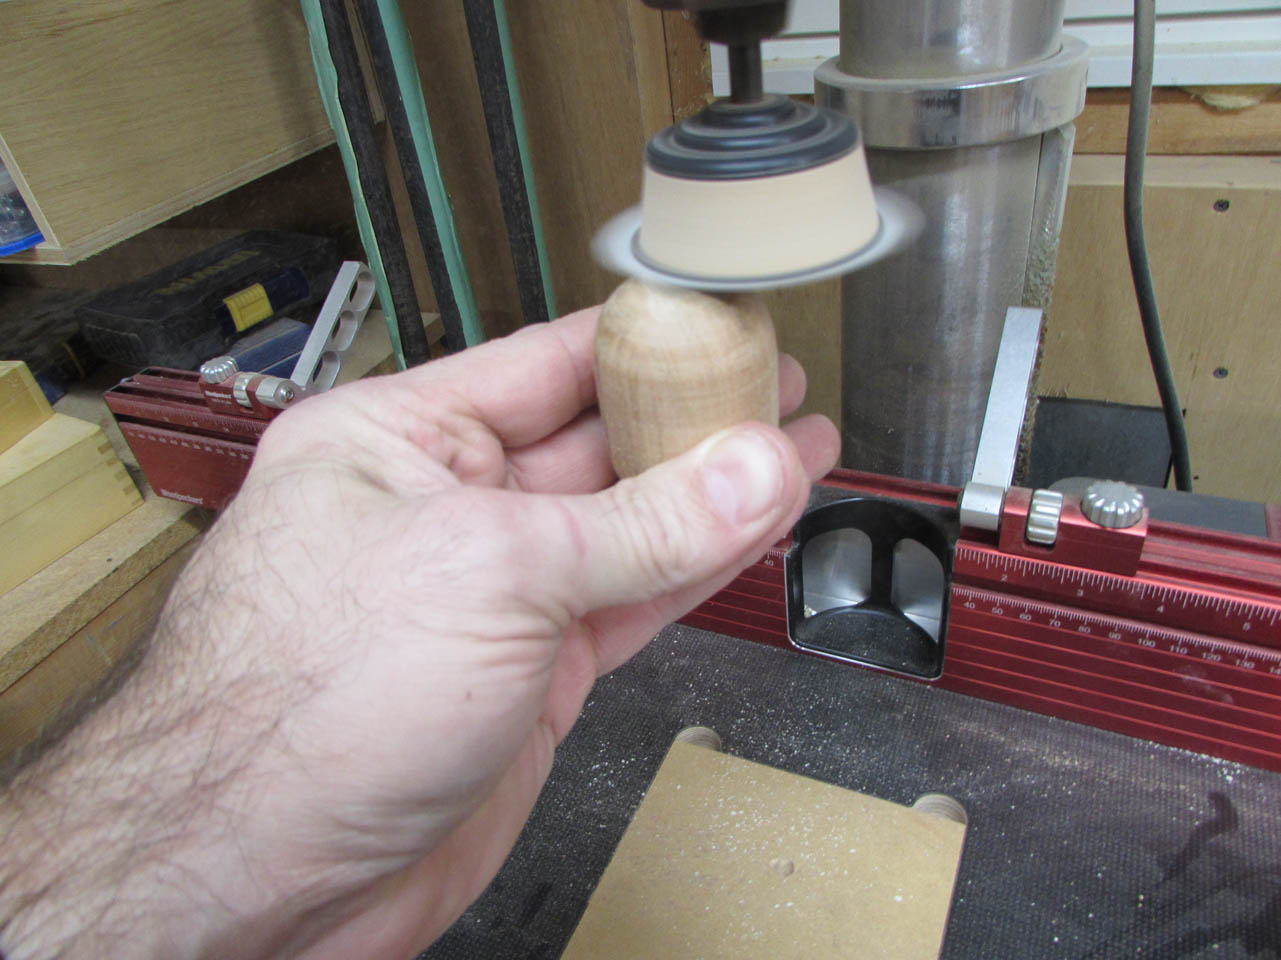
Then I polished up the bottoms on the drill press, sanding up to 400 grit.

This is where I added some additional work. I decided to experiment with my laser a bit.
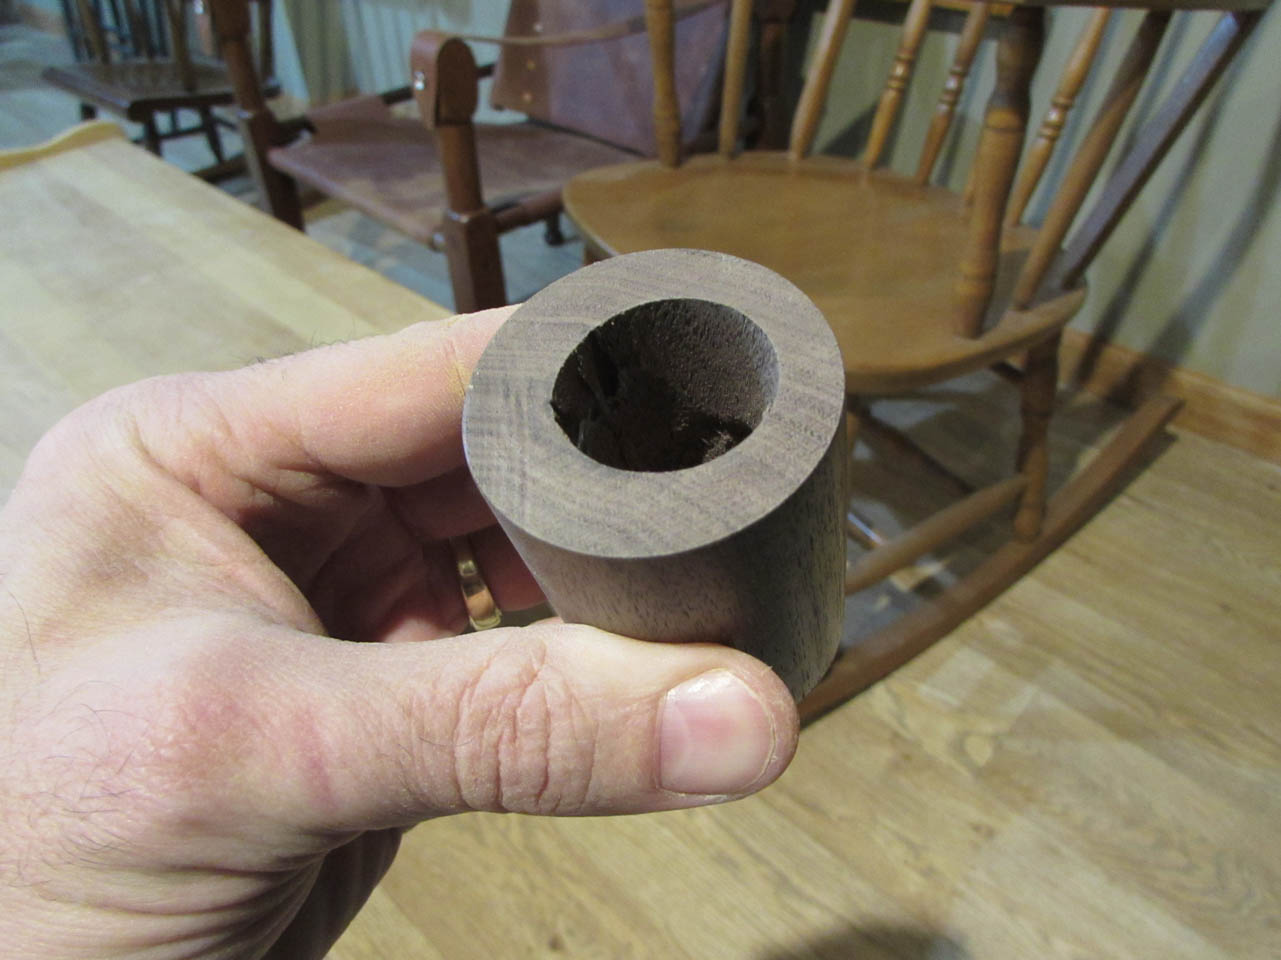
I made a cup that I could place the pigs in to engrave their faces and bottoms.

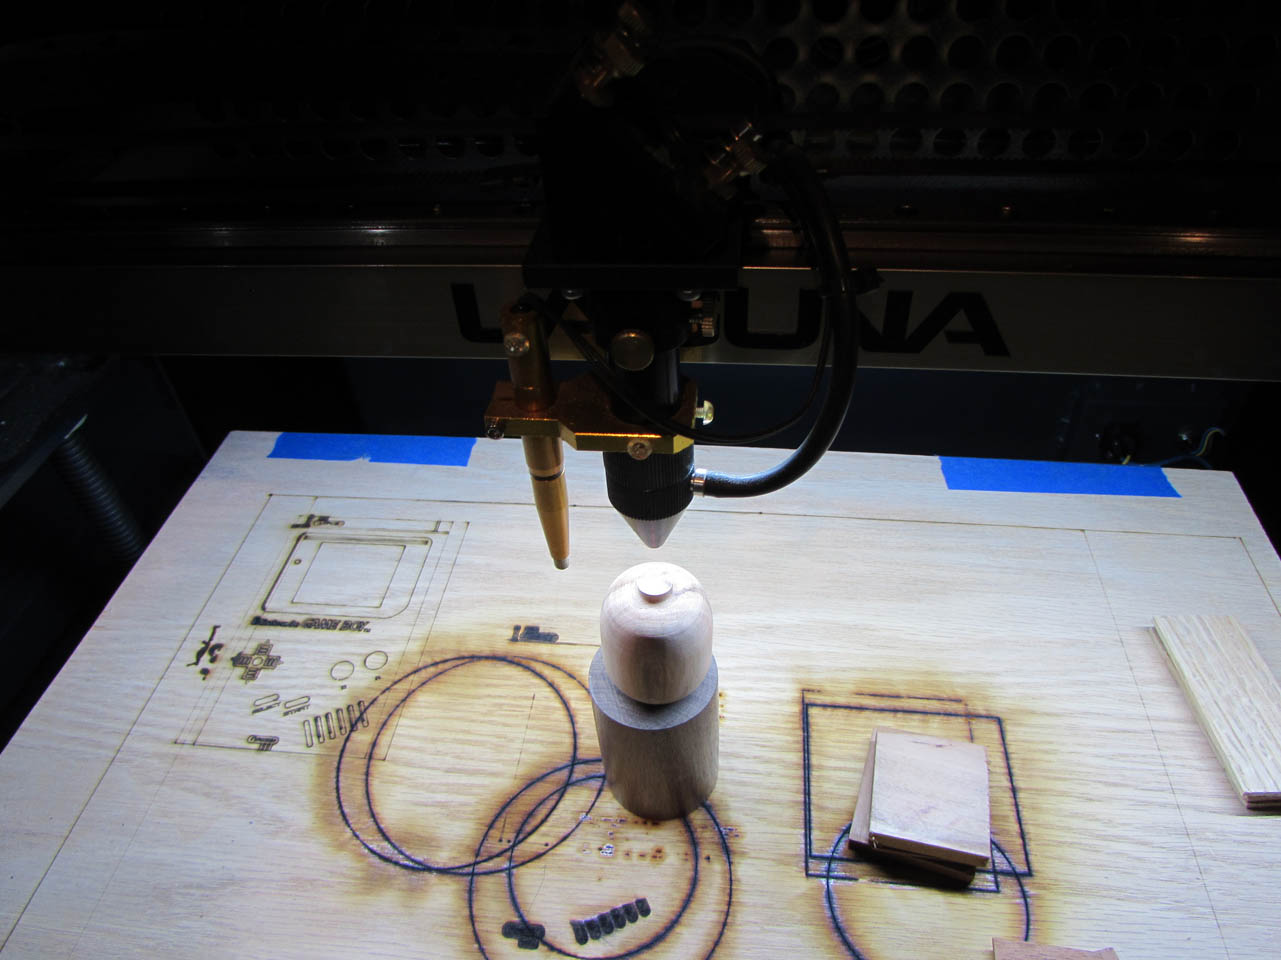
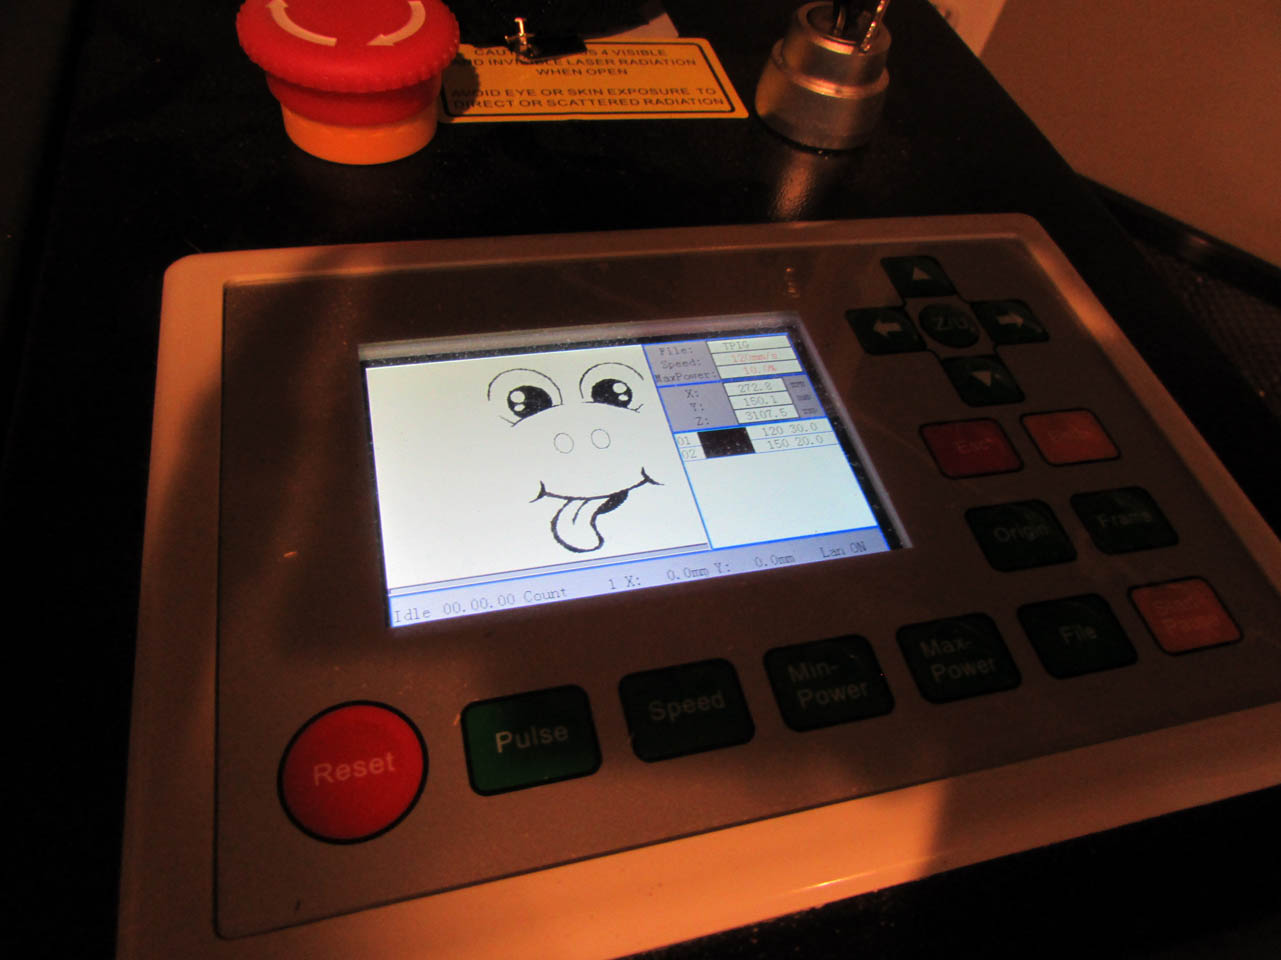
I created a goofy face for them and fired up the laser.
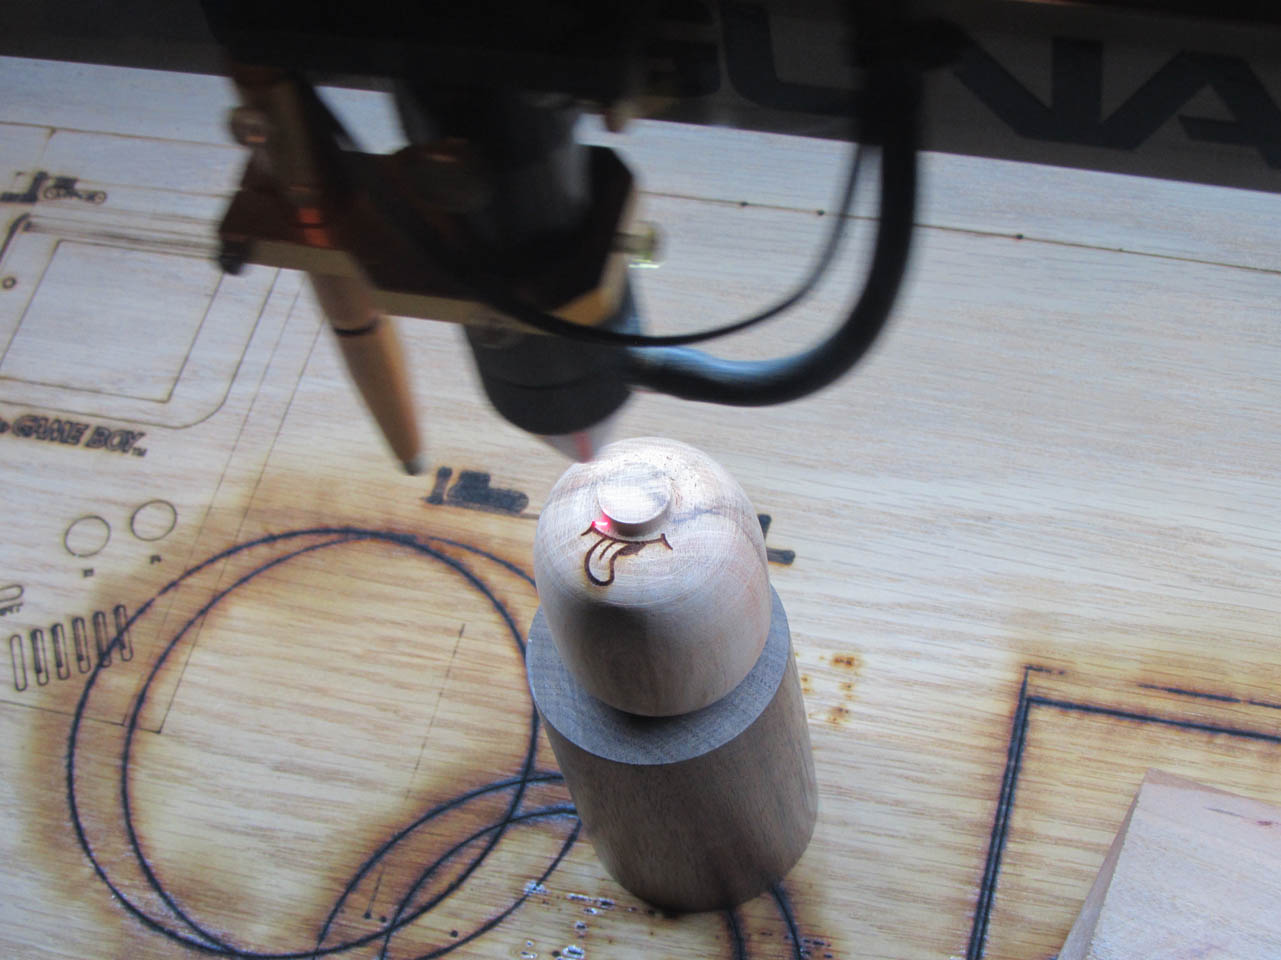
It worked surprisingly well, given the different depths of cut.


Next, I flipped them over and lasered the name and date on the bottom.
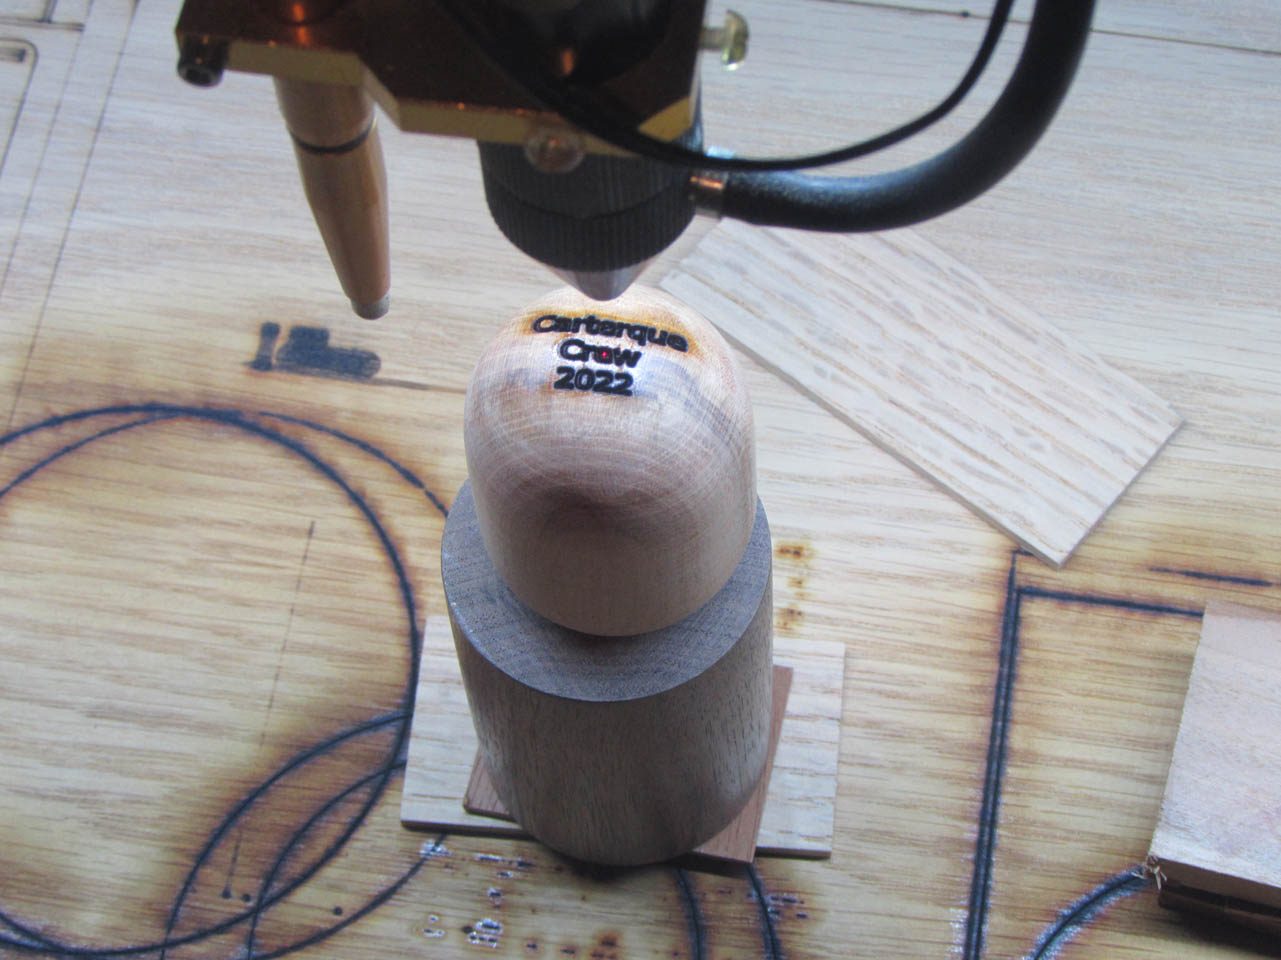
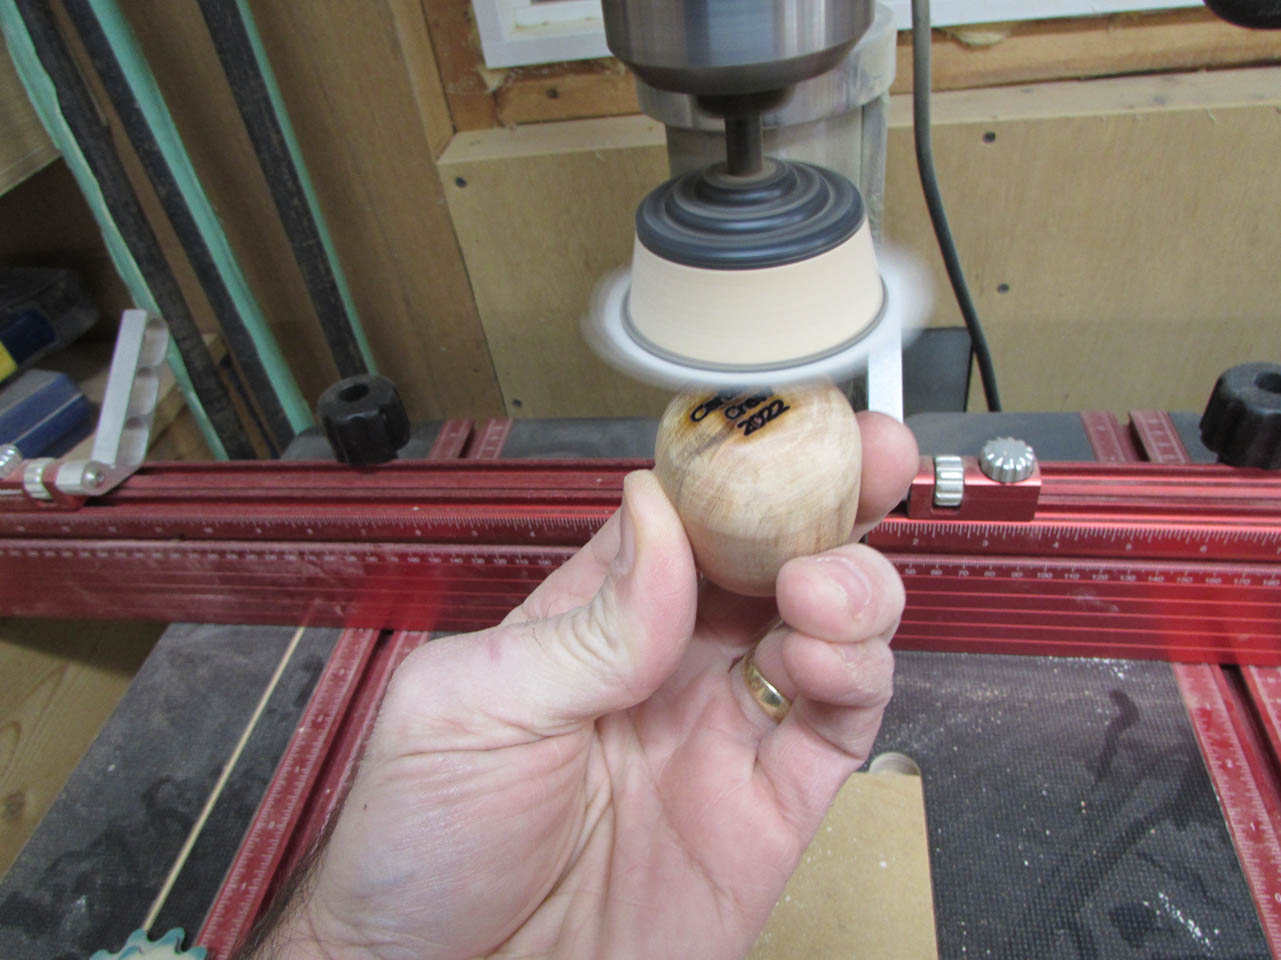
I had to go back to the drill press and sand off the smoke residue.
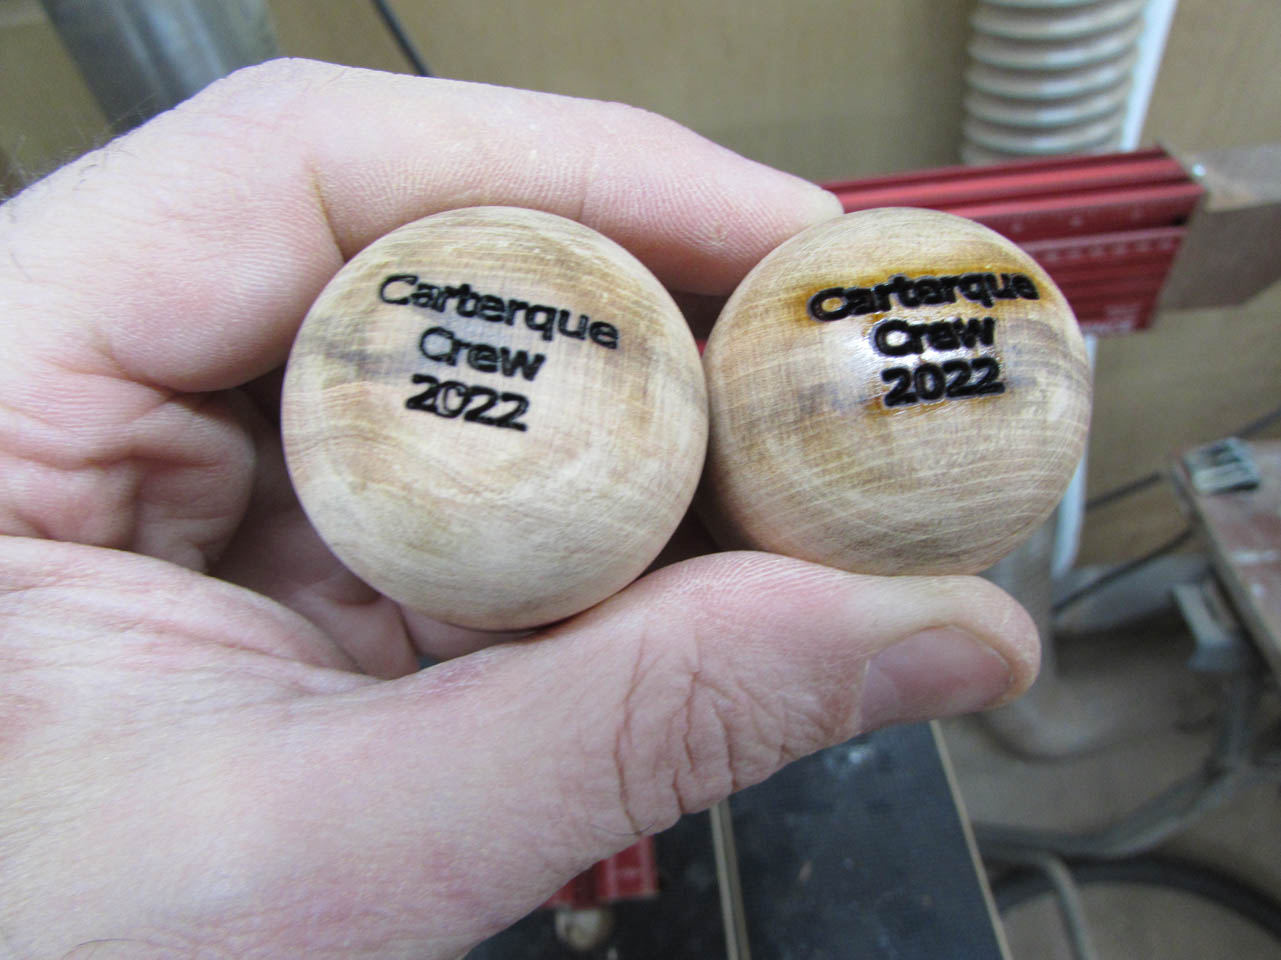
But they looked good, so I started cranking them out.


To mass produce the legs accurately, I bought a doweling plate.
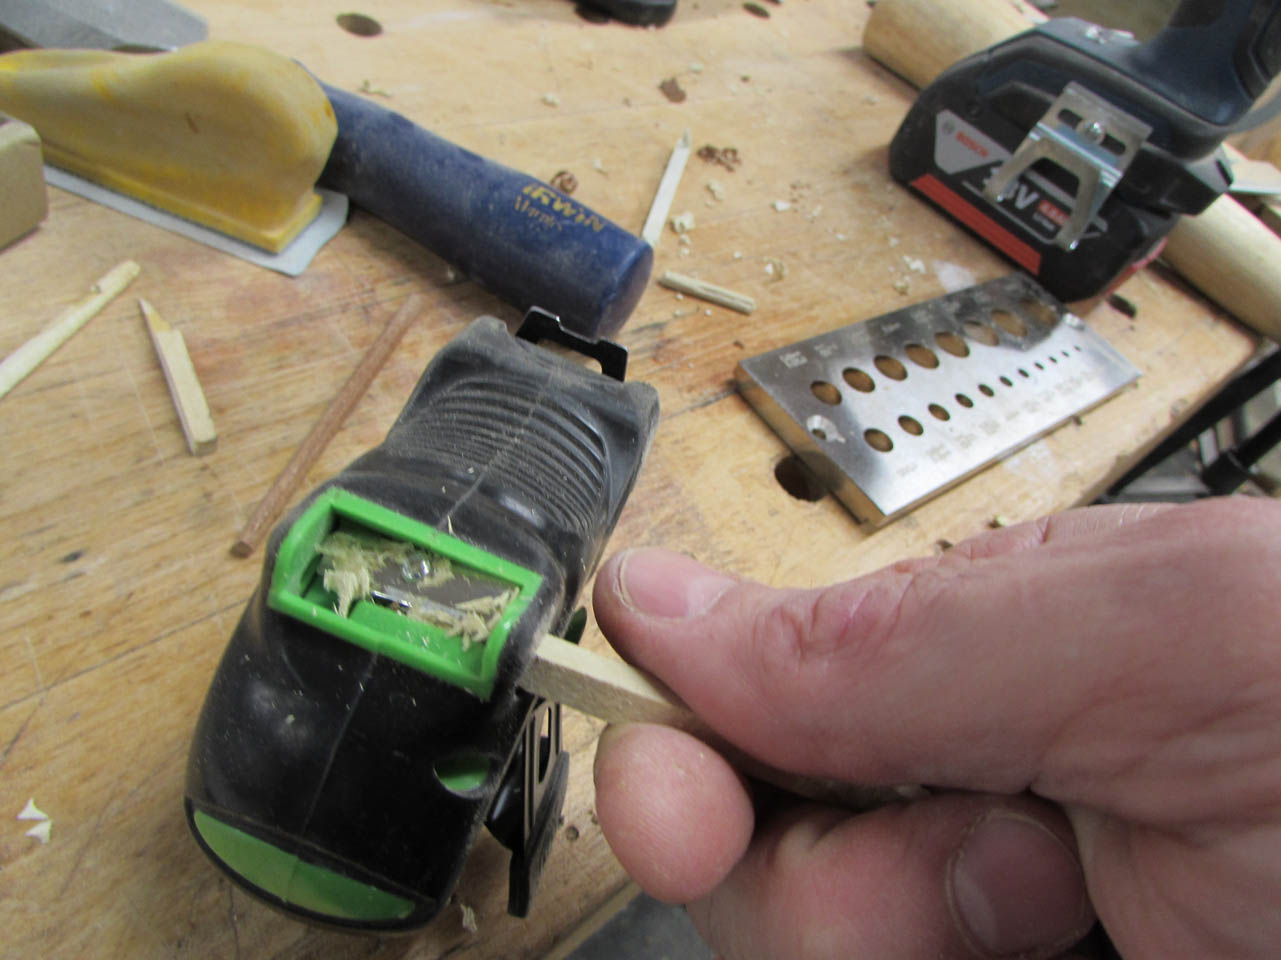
I want a 3/16″ diameter dowel so you start by cutting a square 3/16″ stick, then drive it through the hole in the plate, I sharpened the tip to start it.

I tried driving it through with a mallet, but broke a lot of sticks, then I saw a video of someone using a drill, and gave that a try with much more success.

While the dowel was still in the drill I sanded the tip.


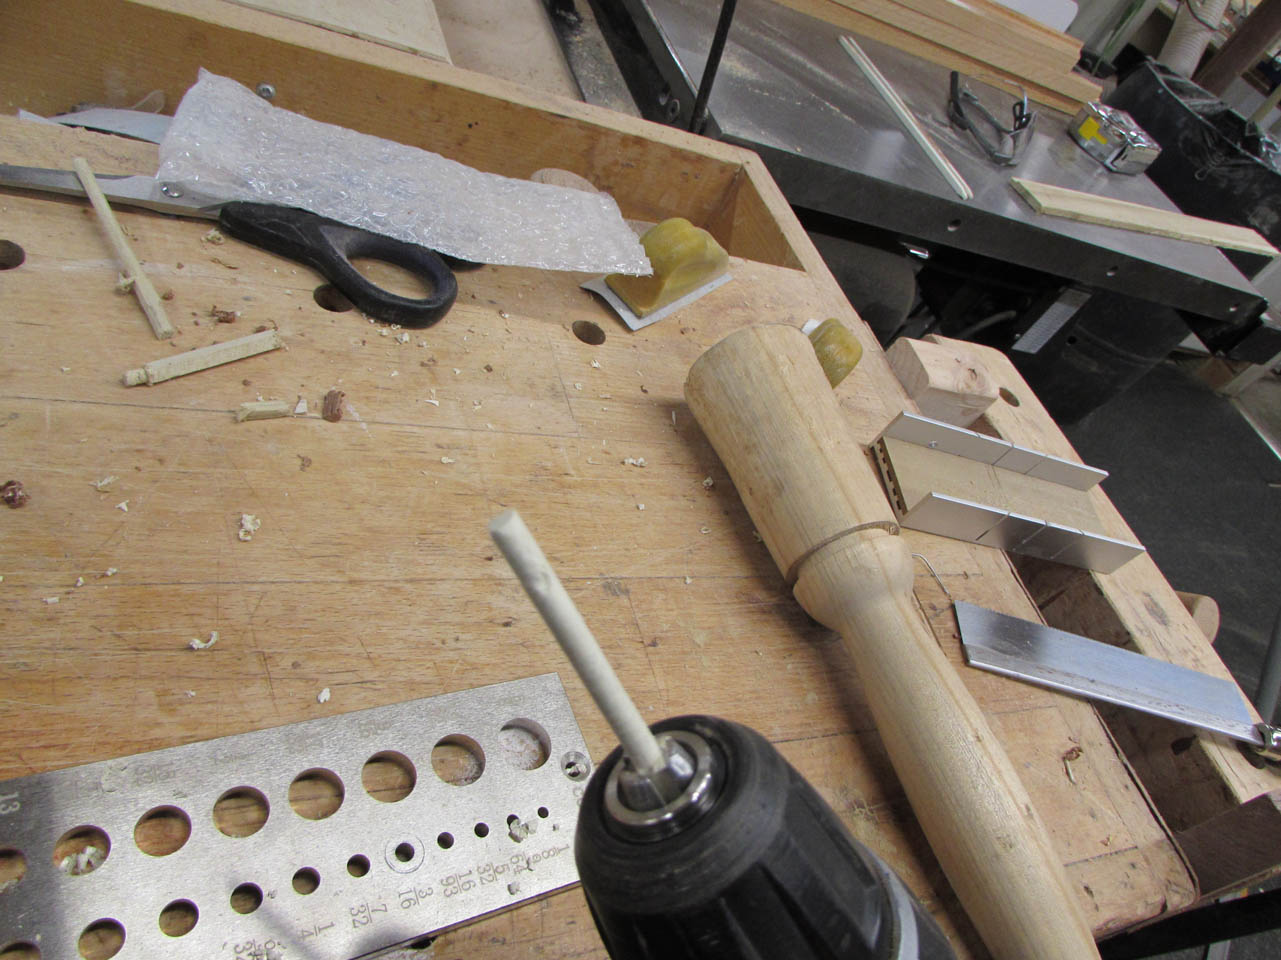
Then I put a block in my vice with a 3/8″ deep hole in it. I also drilled a tiny pilot hole all the way through.

I inserted the dowel into the hole and flush cut it off at the wood.

Next, I pushed a paperclip through the pilot hole and knocked out the dowel.

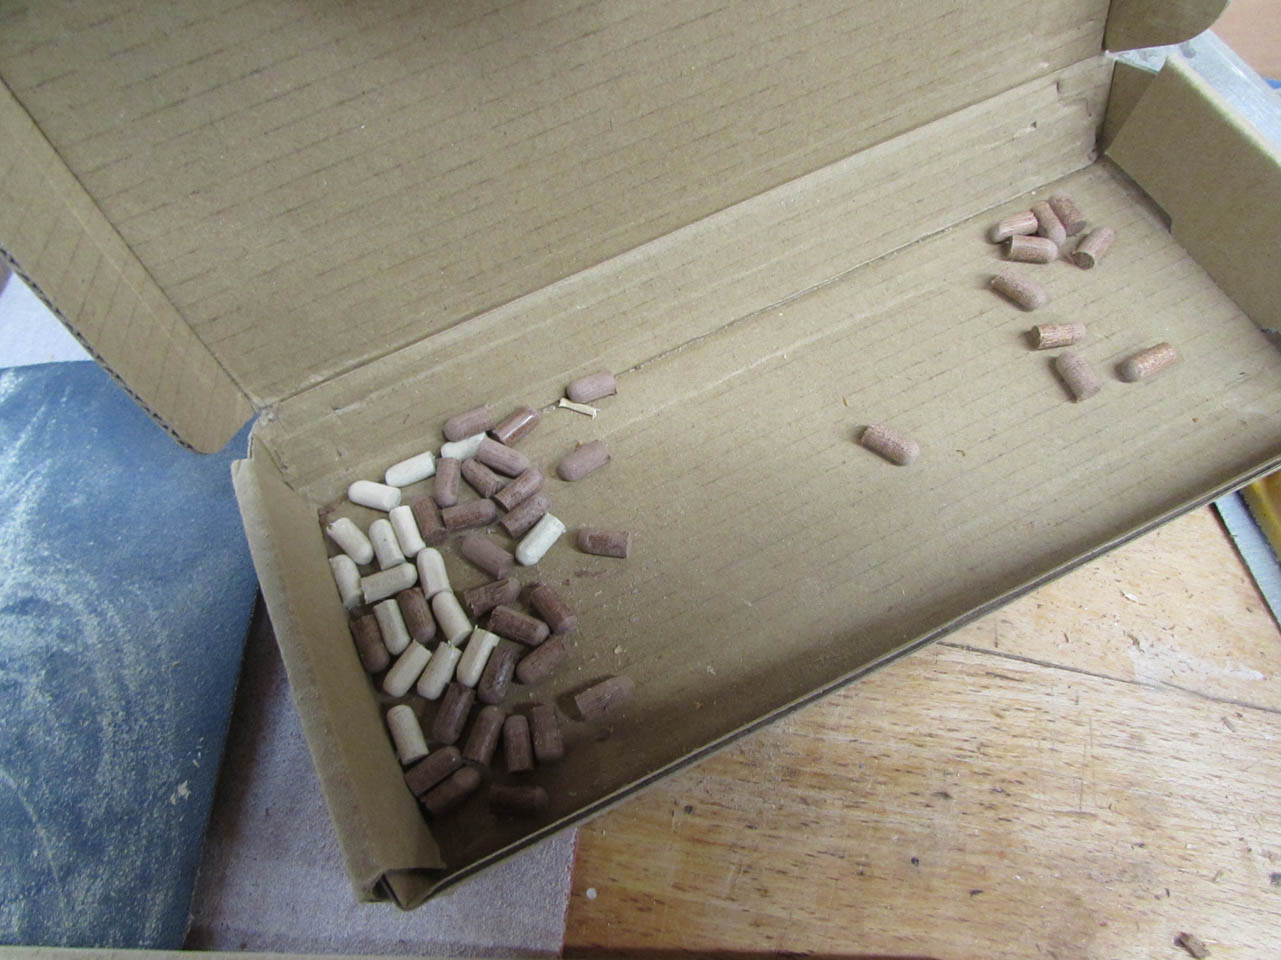
One down, 144 to go. I made little feet out of five different kinds of wood to mix and match with the colors of the pigs.
My wife suggested that I put my blog address on the pigs so that folks could see how their pigs were made, so I lasered that on the bellies before adding the legs.

It is tiny but readable.


To add the legs, I drilled some 1/8″ deep holes with a 3/16″ drill bit, then placed a drop of CA glue in each hole.
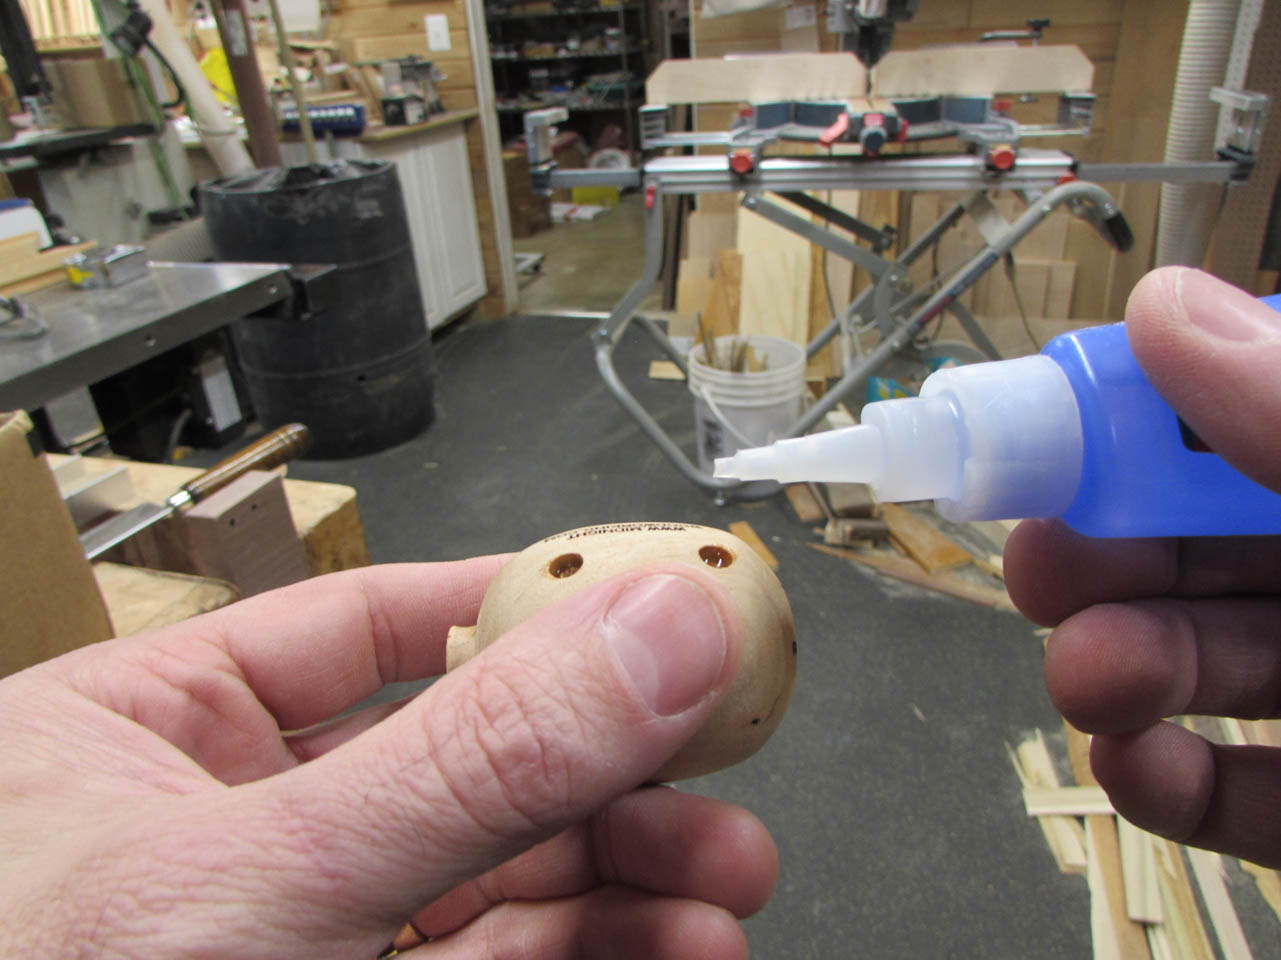

After pressing the legs in place and letting them dry, my pigs could stand on their own.
One down, 35 to go…
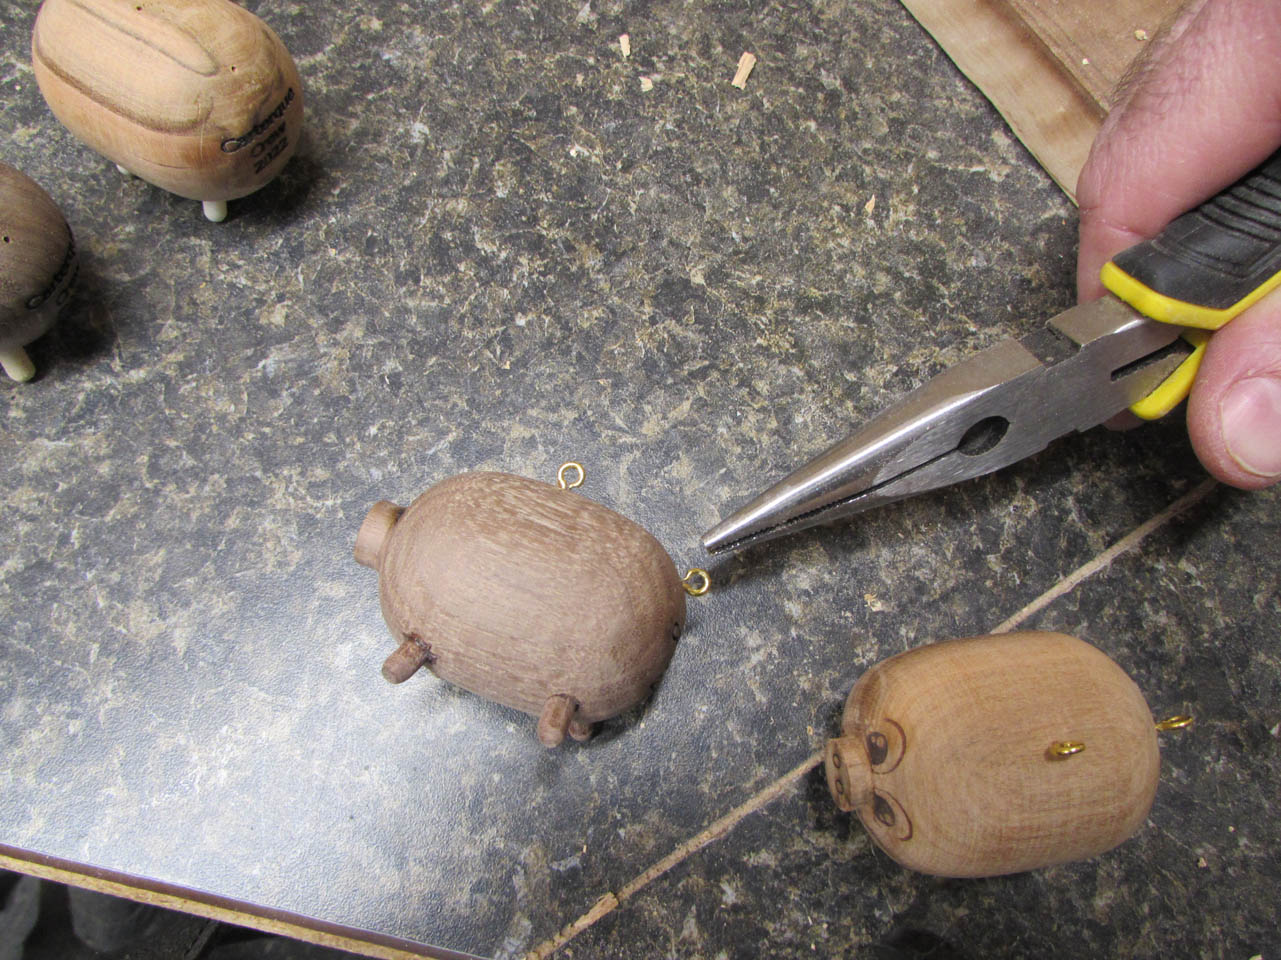
Next step was to add a hook to hang it on a tree, and a tail.
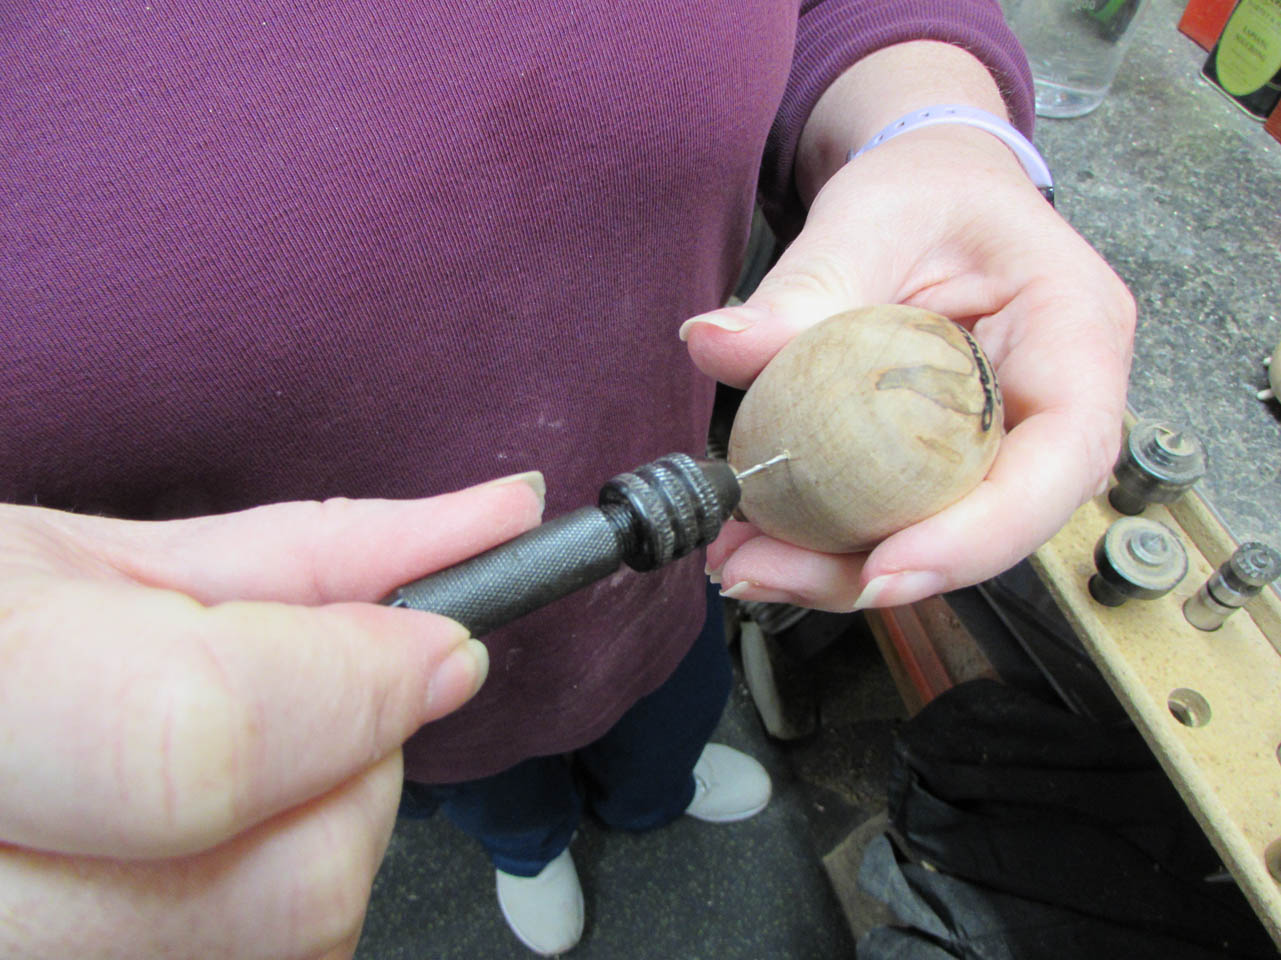
My wife pre-drilled all the holes with a tiny drill bit, then we inserted tiny hook eyes with pliers.
I used the pliers to uncoil the tail.

They look really good. I love the tails.
Three dozen pigs, ready for finish.

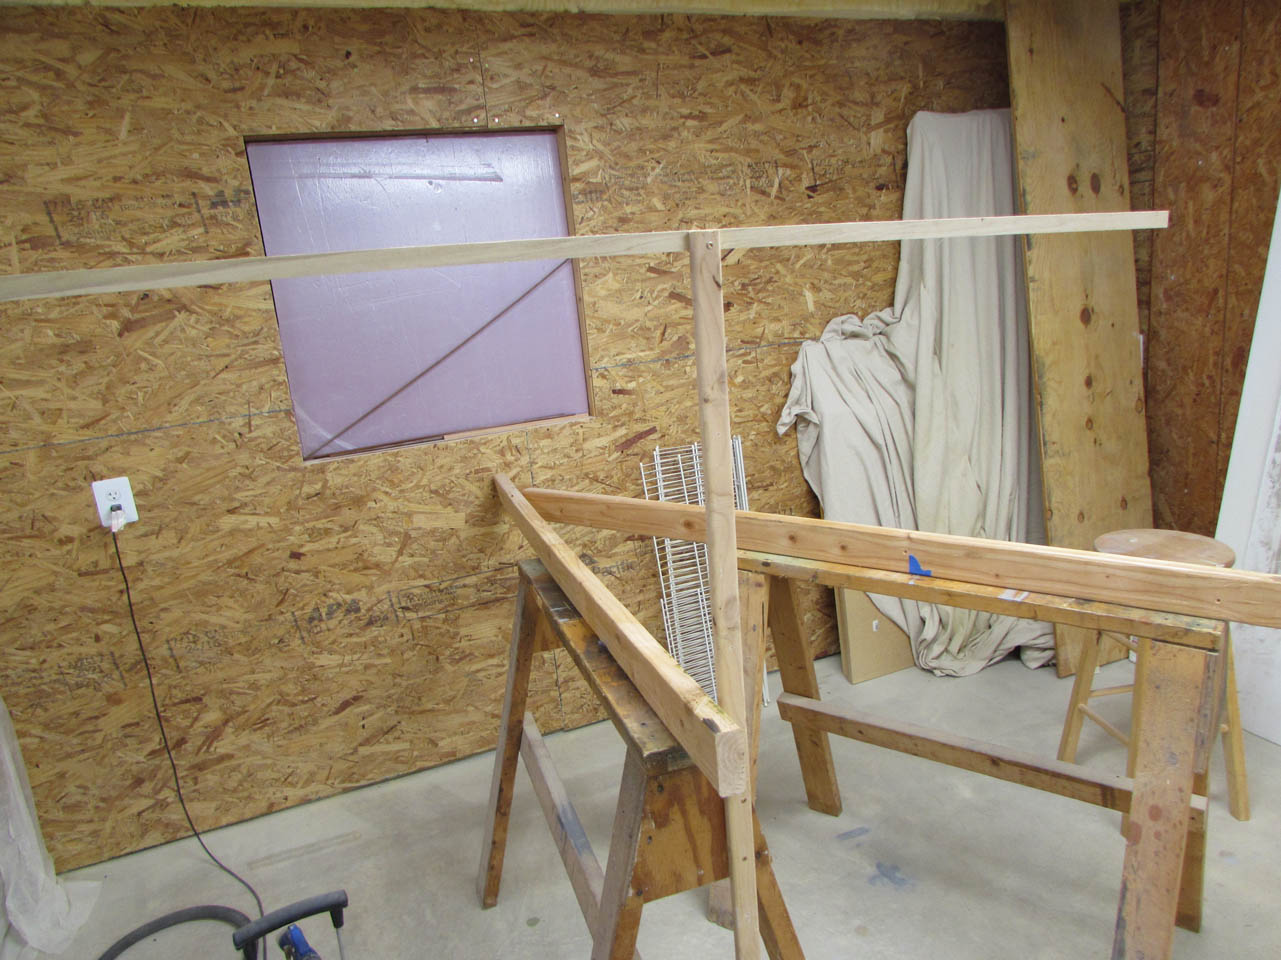
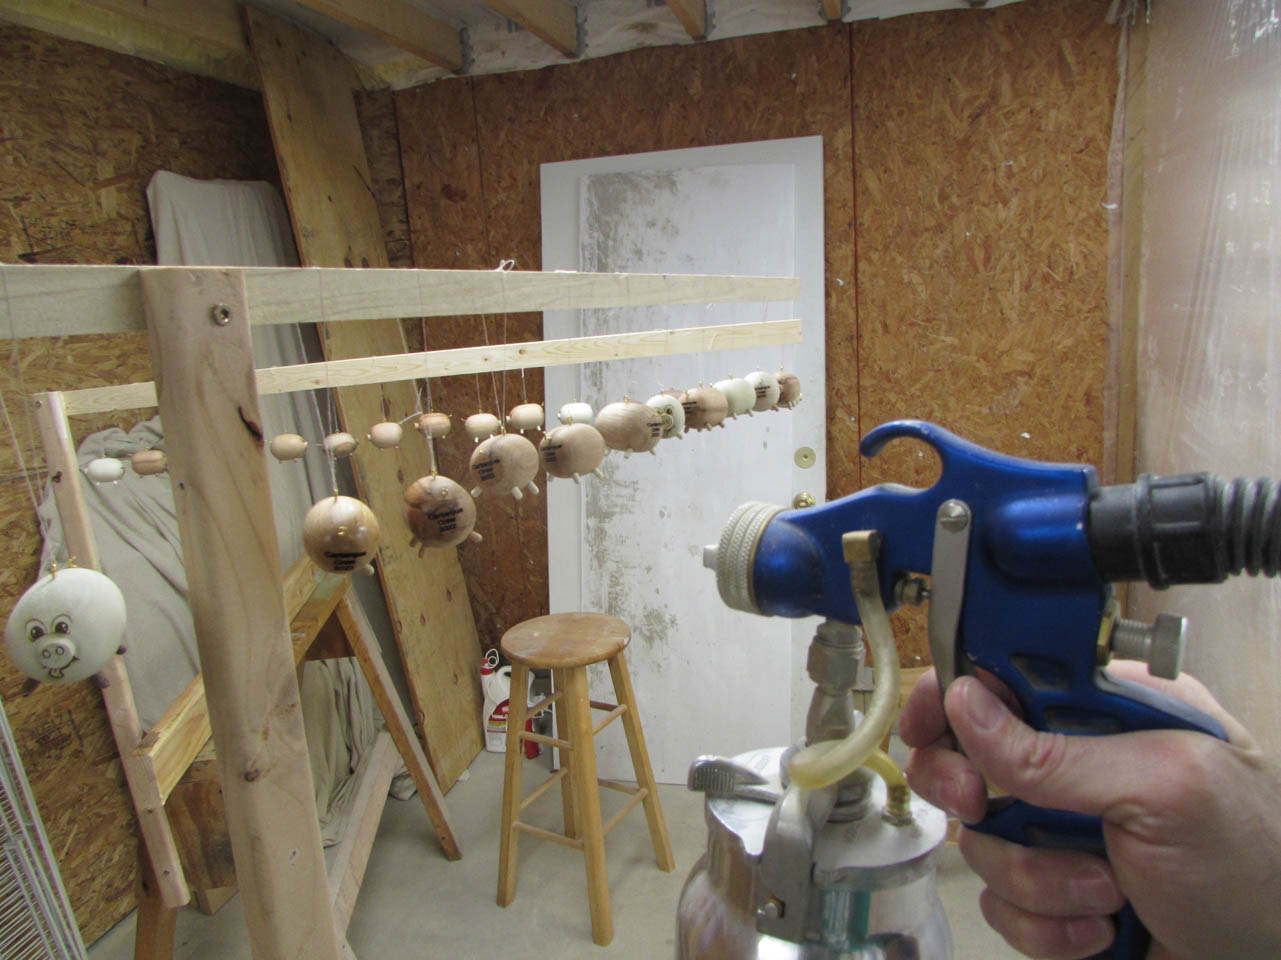
I had this idea that I could save time by hanging them all and spraying them with polyurethane.

My wife tied a thread loop onto each one while I made up hanging frames.

I hung all the piggys nose to tail.
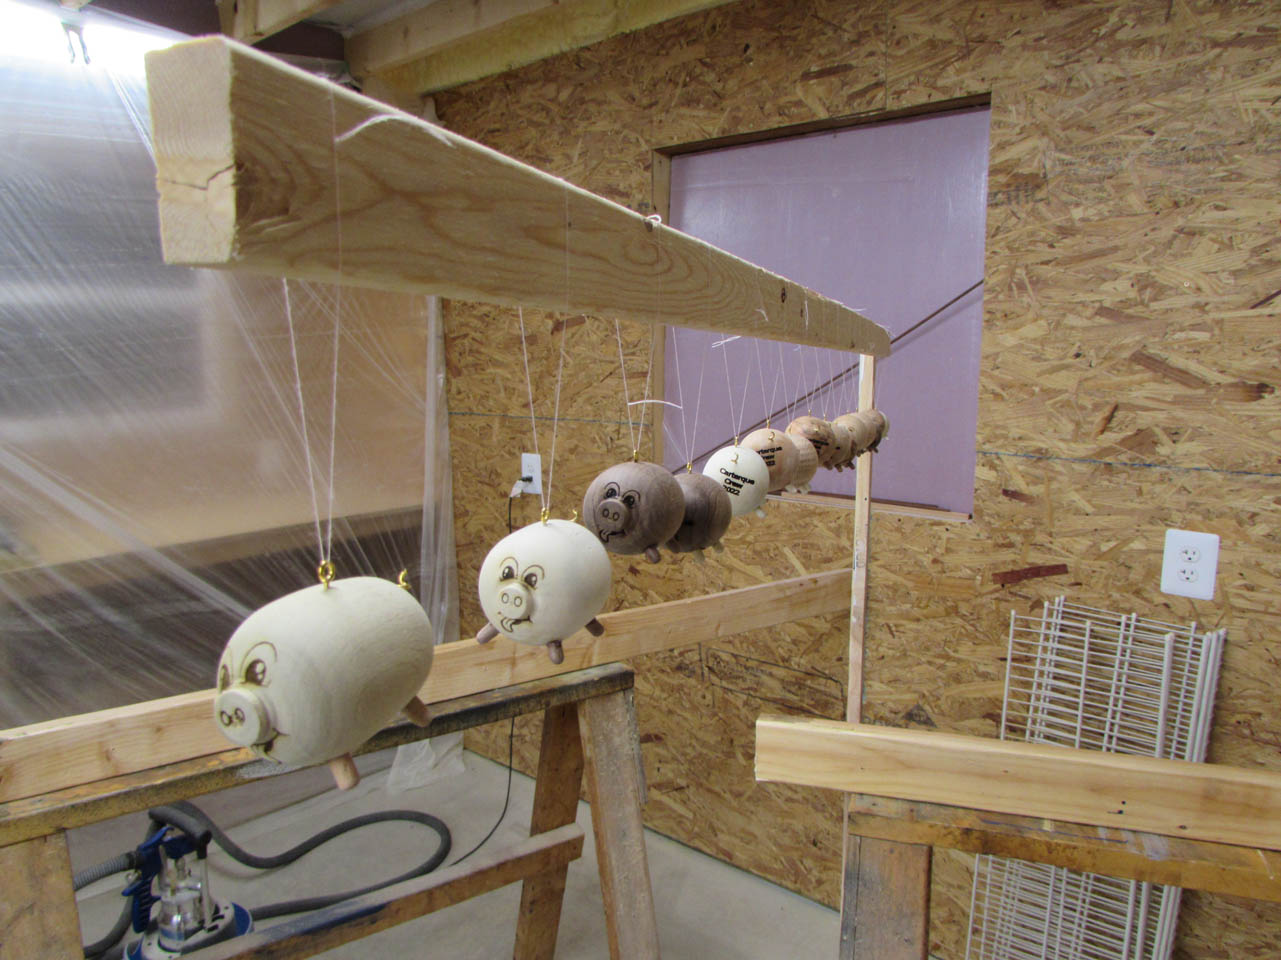
Then I started spraying and they bounced all over the place. Dumb idea… I wound up holding each one still to spray it all over. That lead to a hand covered in poly. A glove would have been a good idea…
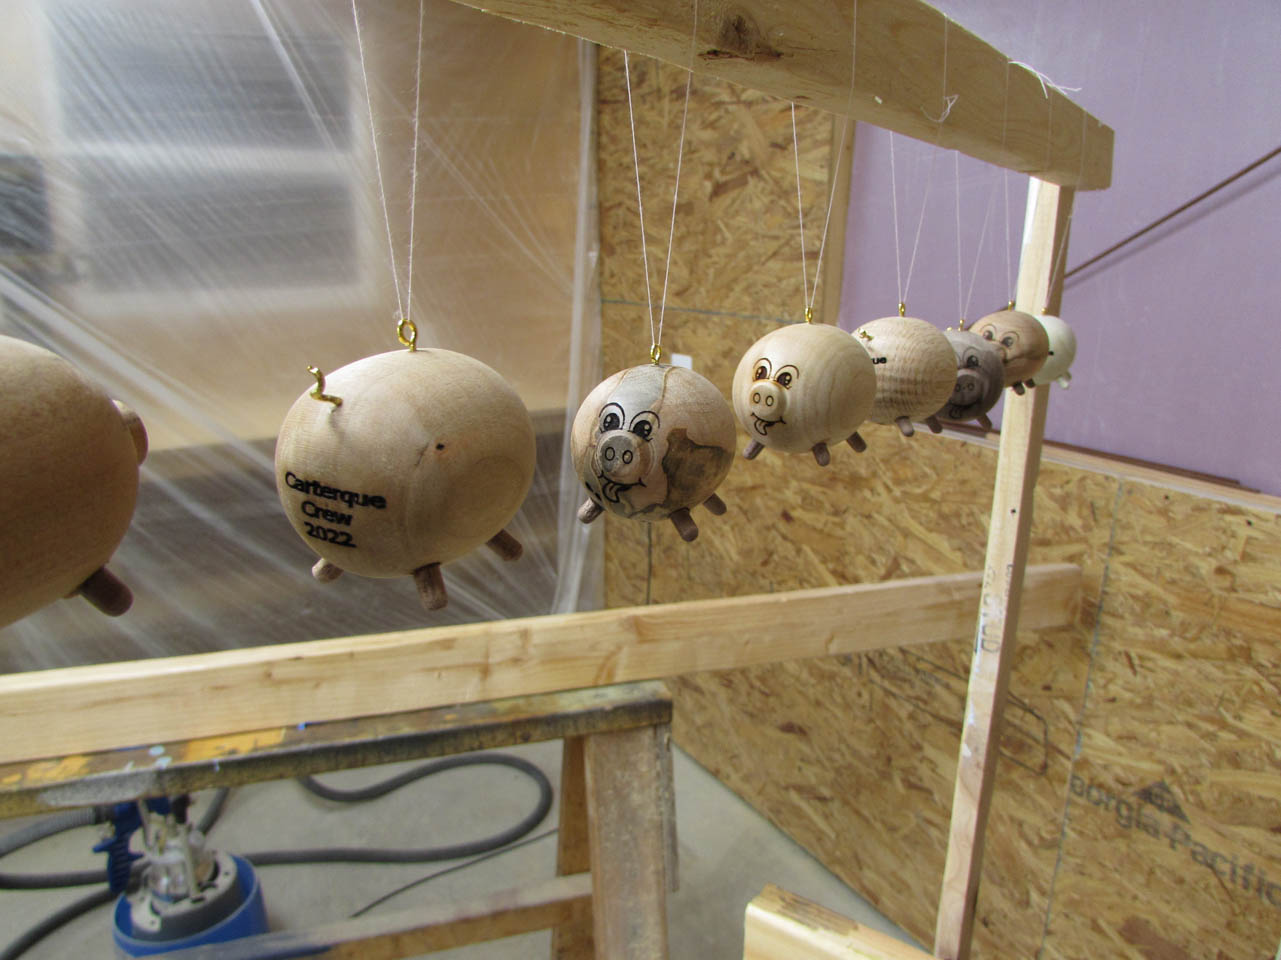
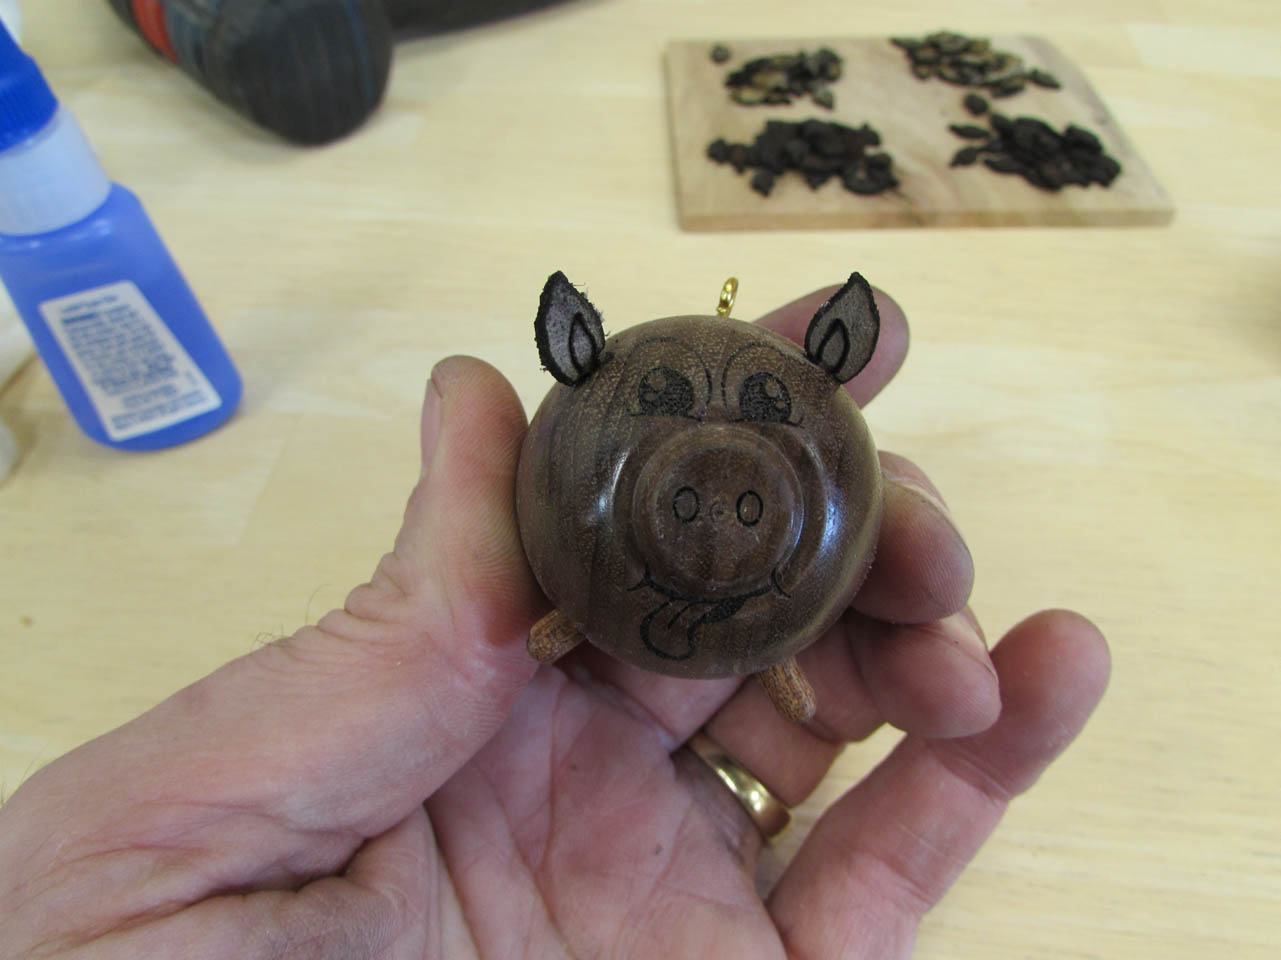
Flash forward to the next day and they were dry. They didn’t even need a second coat since the first went on so heavy. Their grain really popped, they look great.

All I did was buff them up a bit with some brown paper.

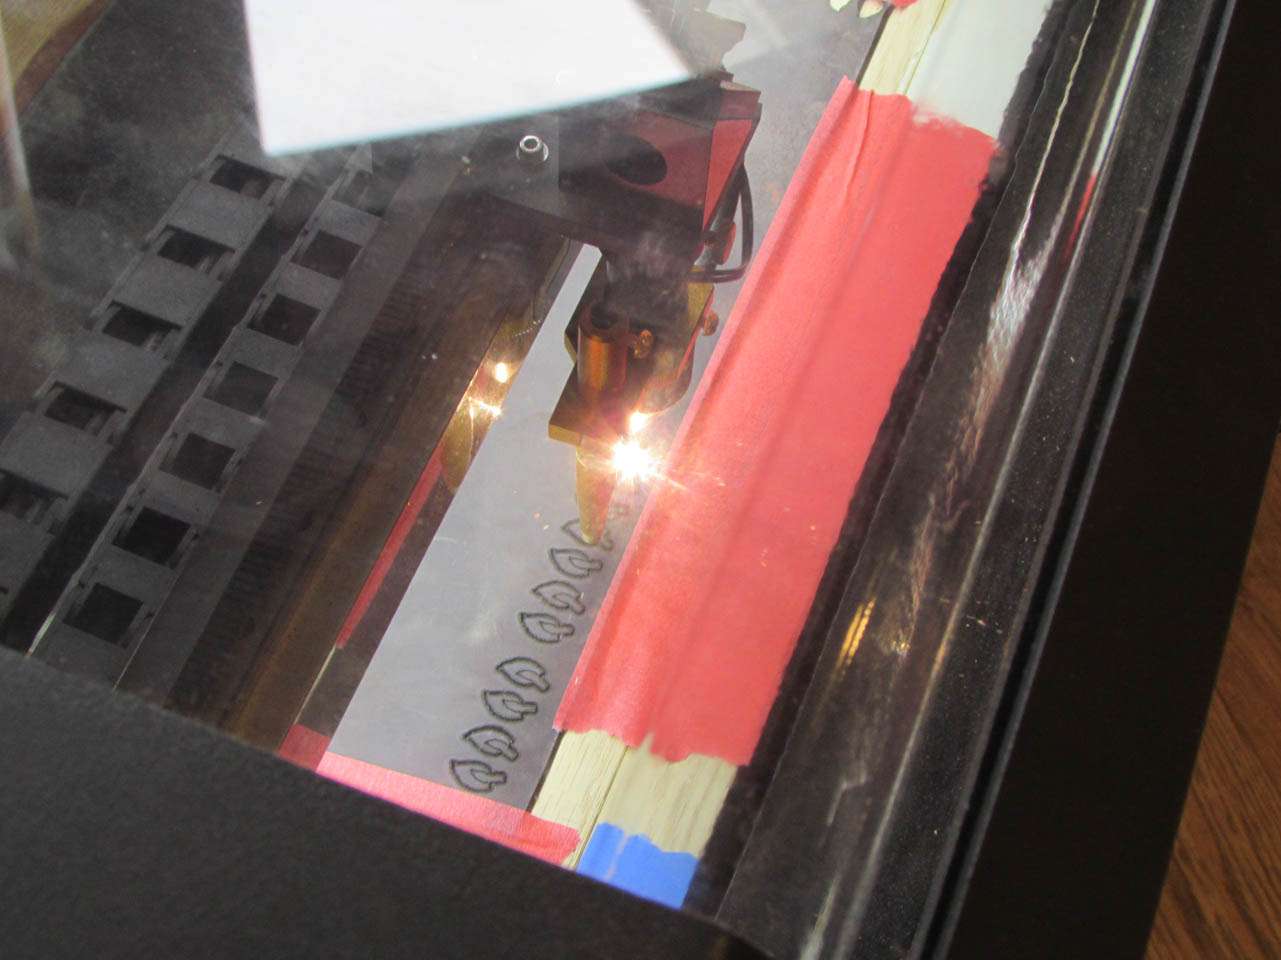
The last piece to be added will be the ears. I hand cut the original, but it occurred to me that I would have to make 72 more ears, I decided to buy some nicer leather and try the laser.

This is my first attempt laser engraving leather. I burned up a dozen or so ears before I found the right speed and power settings. Also, I had to laser through from the thicker finished side. When I cut from the back, it needed more power to get through the thicker opposite side and it charred them too badly.

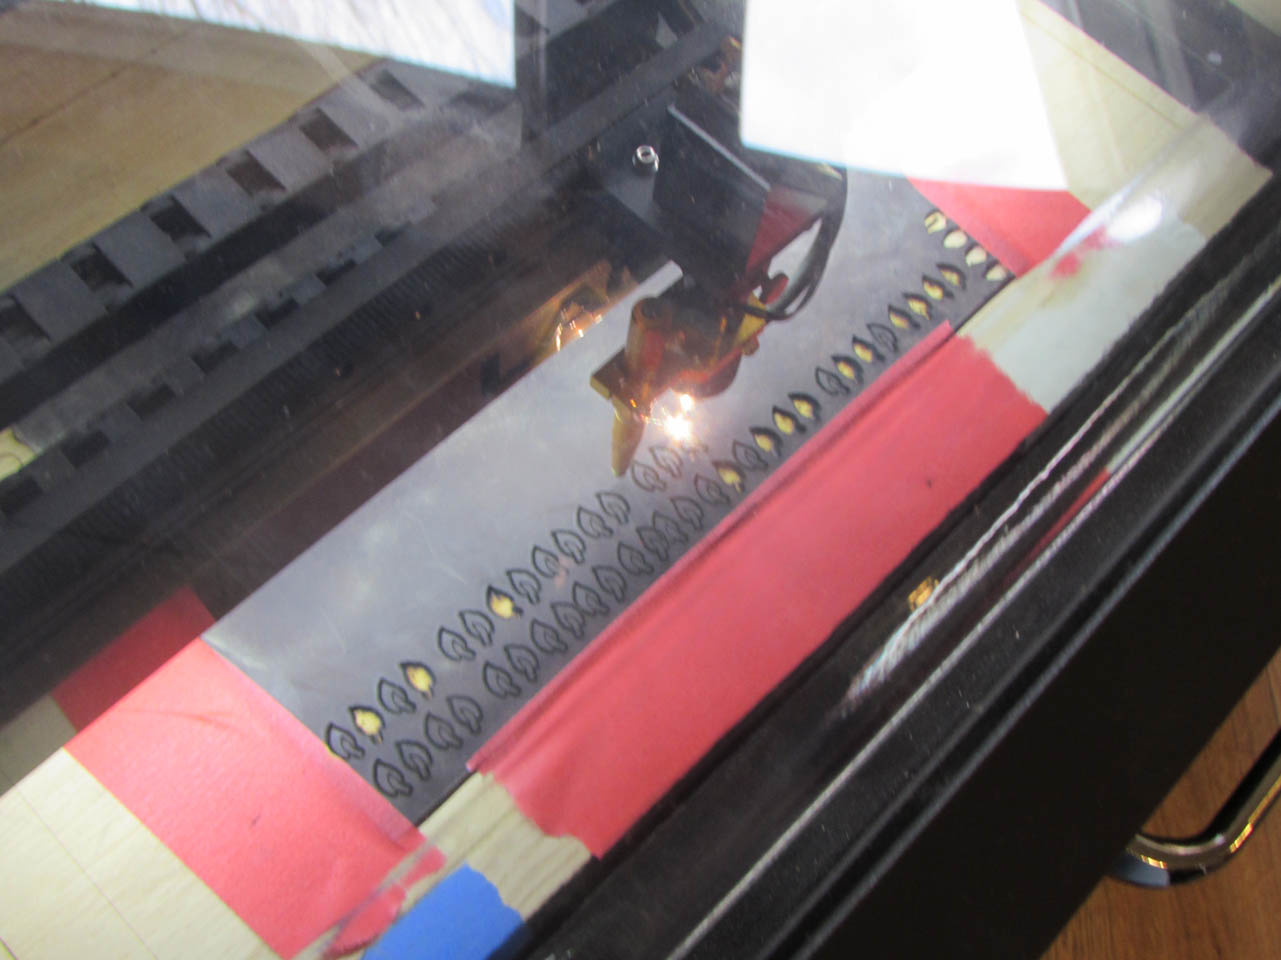
I got grey and brown leather so I made several dozed of each.


To install the ears, I used an awl to create the starting point for the tiny drill bit. If I don’t, the bit wanders along the curved surface.

I left a tiny tail at the bottom of each ear that will be installed into these holes.

I placed a blob of CA glue on a plate and ran the tail through it.

Then I inserted the ear into the hole and let it sit until the glue dried.

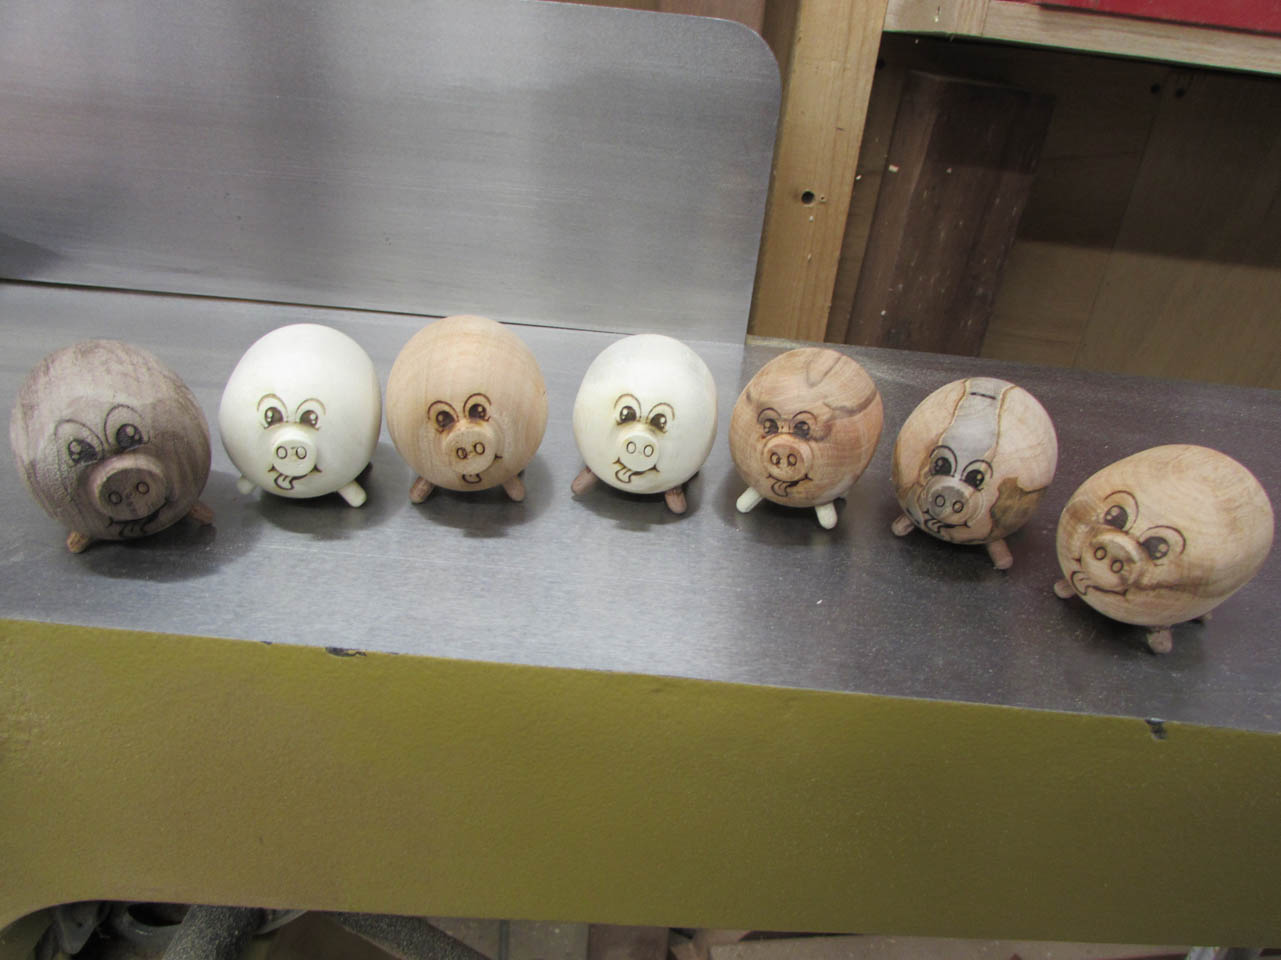
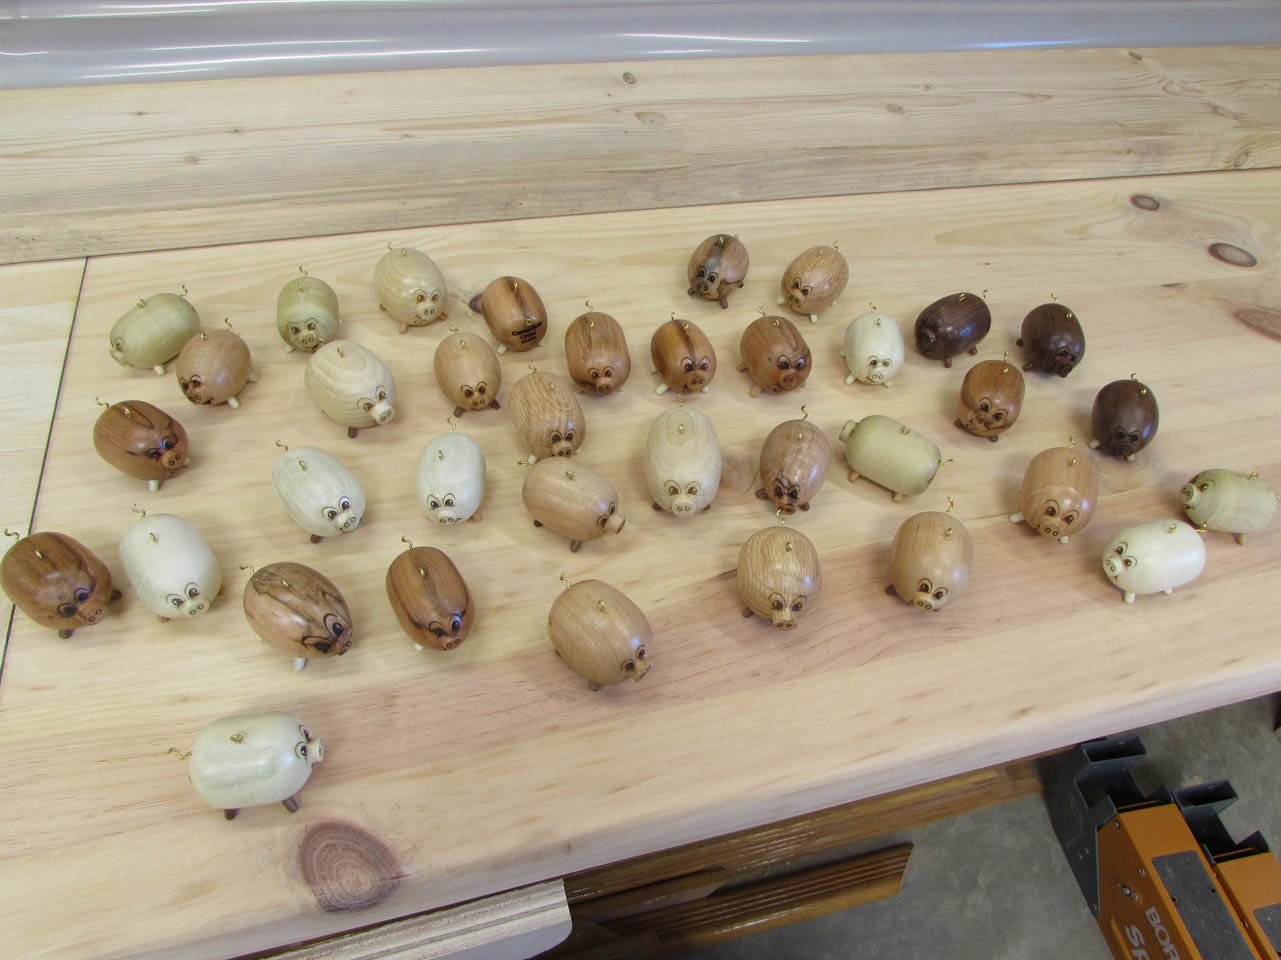
All of my piggys are now complete.
A little hard to see the detail on the walnut one, but I am sure someone will like the chocolate pigs.

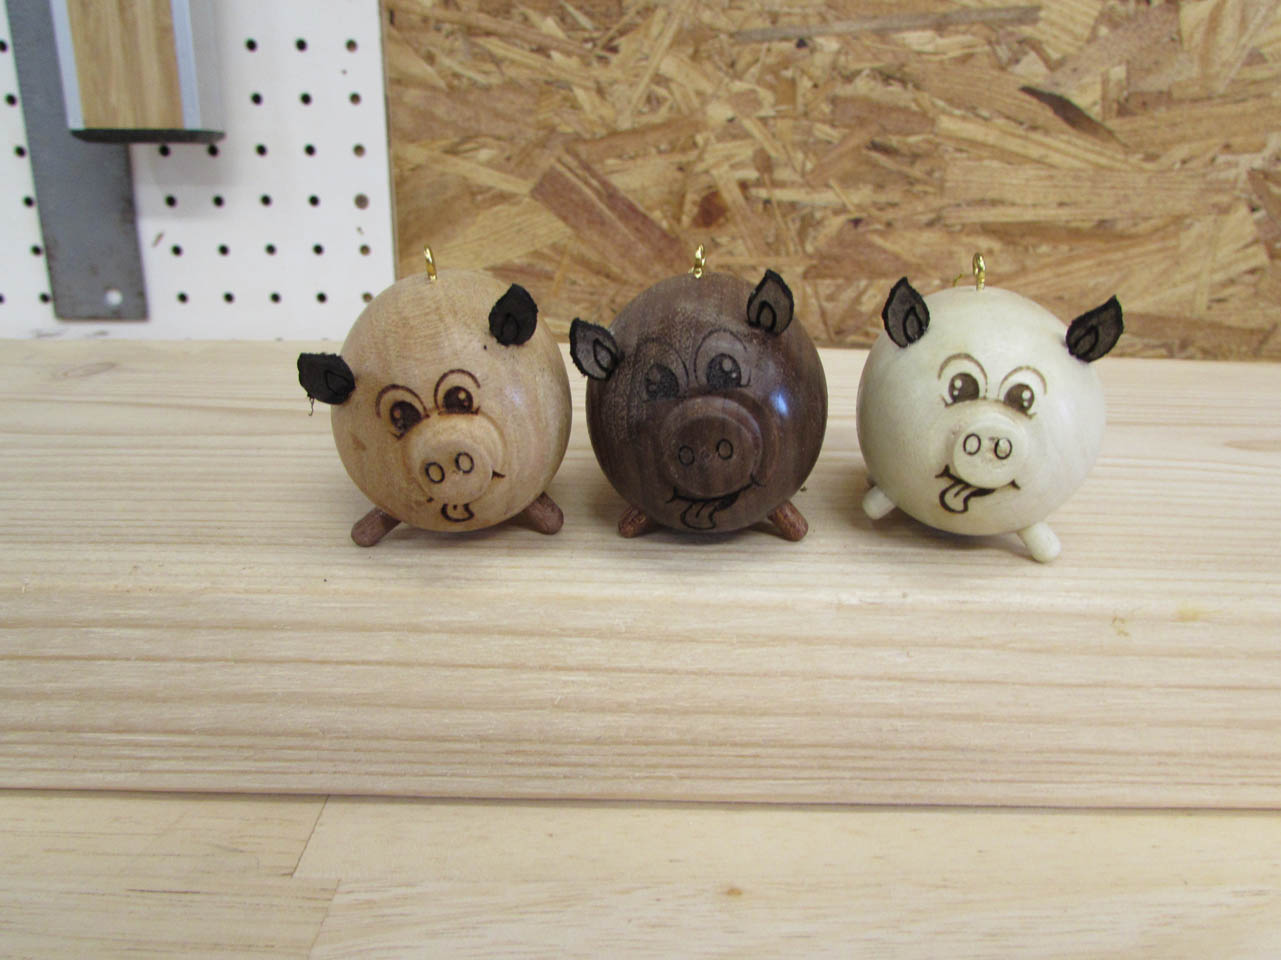
This is the whole heard:

They all seem happy enough. I hope they enjoy hanging in Christmas trees.

