
Adding a new skin to my desk
After Teleworking full time for 2-1/2 years, I am finally back to the office. In that time, I have gotten used to my home office and my new walnut desk.
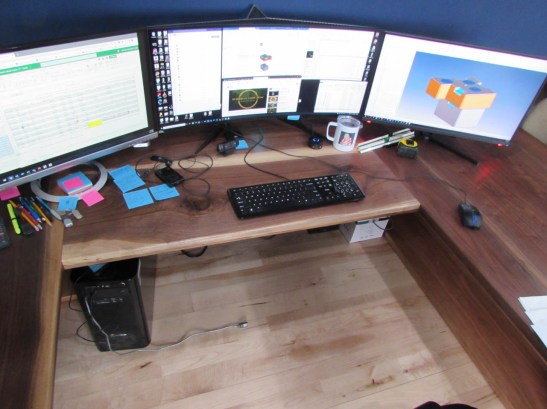
Just imagine how excited I was to get back to my old desk… I barely have enough room for a keyboard and a mouse, in front of my monitors, and that is because I added a piece of wood. To the left I have enough room for a notepad and a few other work-related things. I decided to make a slight upgrade while I was home this past weekend.

I want to make a skin for my desk that mimics my desk at home and increases my desktop. Looking through my stock of wood, I opted to use walnut.
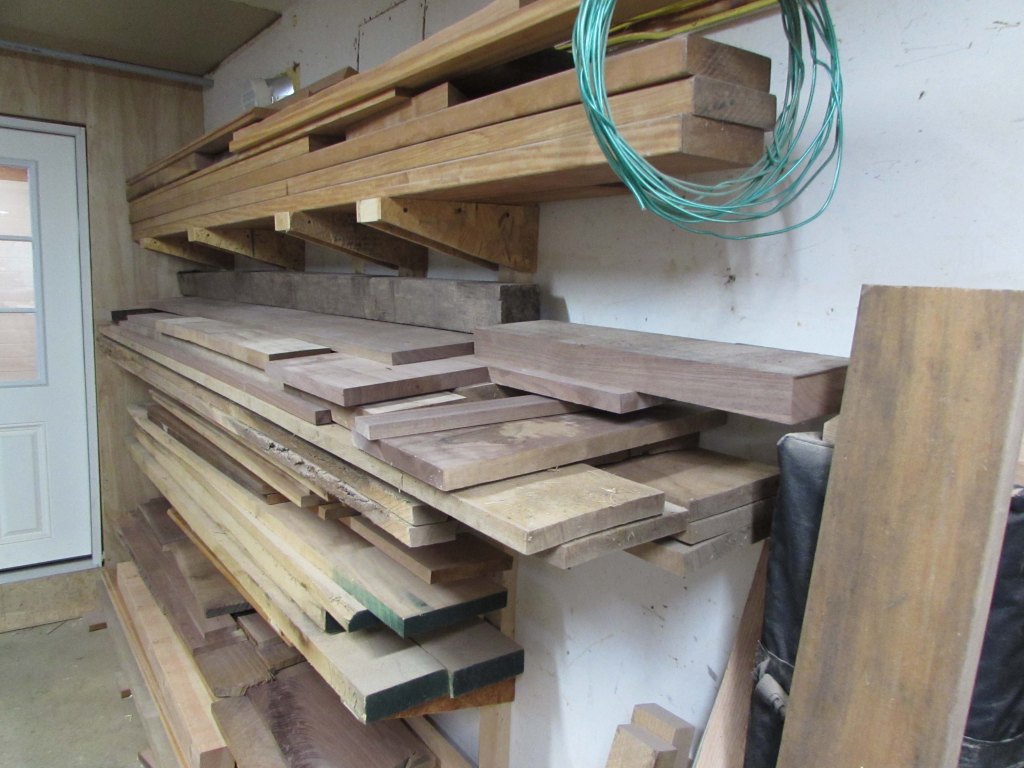
I have several boards that were cut decades ago by an old farmer and improperly dried in his barn.
This left a lot of cracks and twists in the wood. Most of the boards are 10′ long, 8″ wide and 1″ thick, but the twists and cupping make the boards unusable for any large projects.

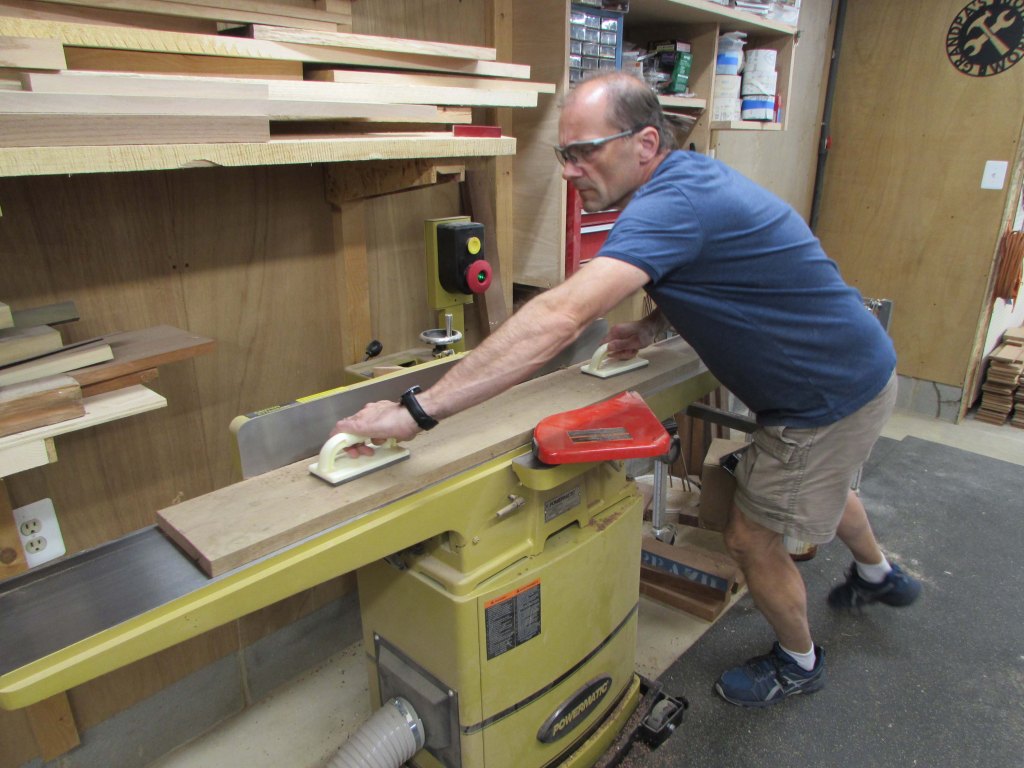
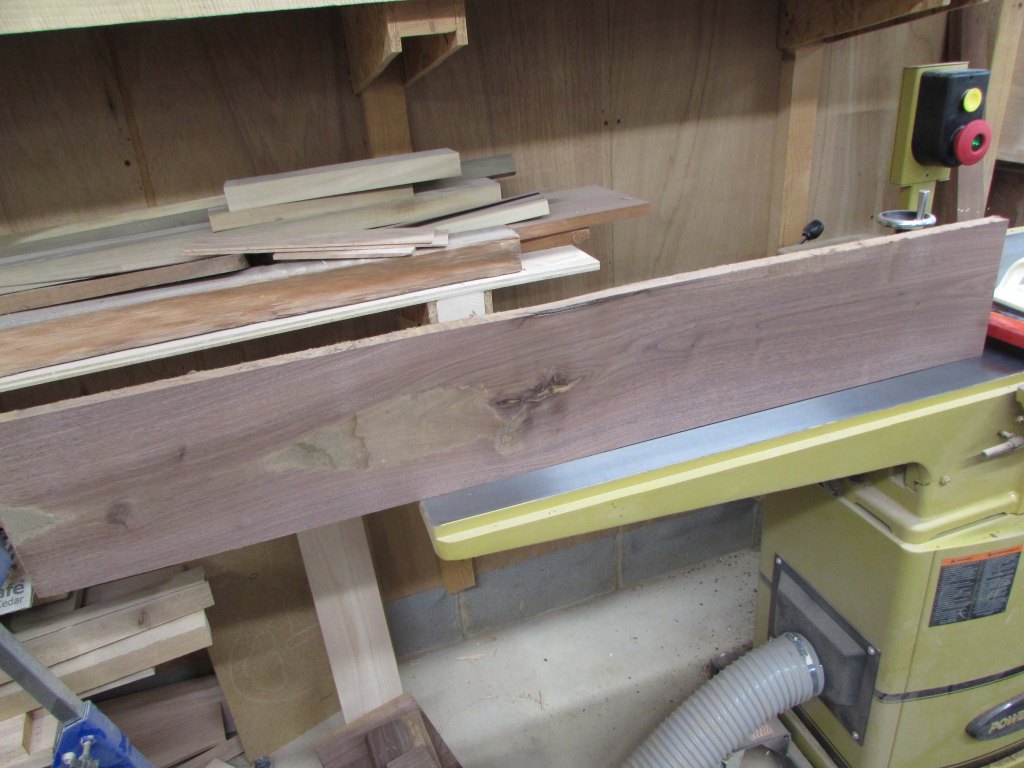
I need to make two 1/2″ thick panels to create my new desk skin. I started by cutting my boards roughly to length.
It took about six or seven passes to flatten one side of each board.
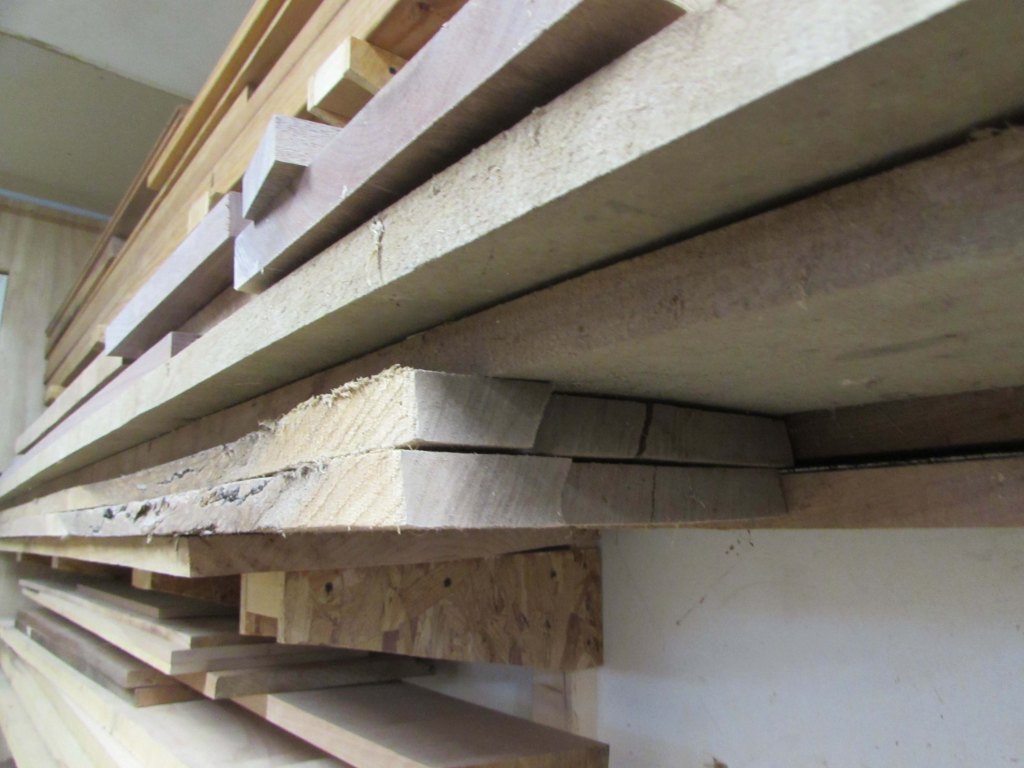
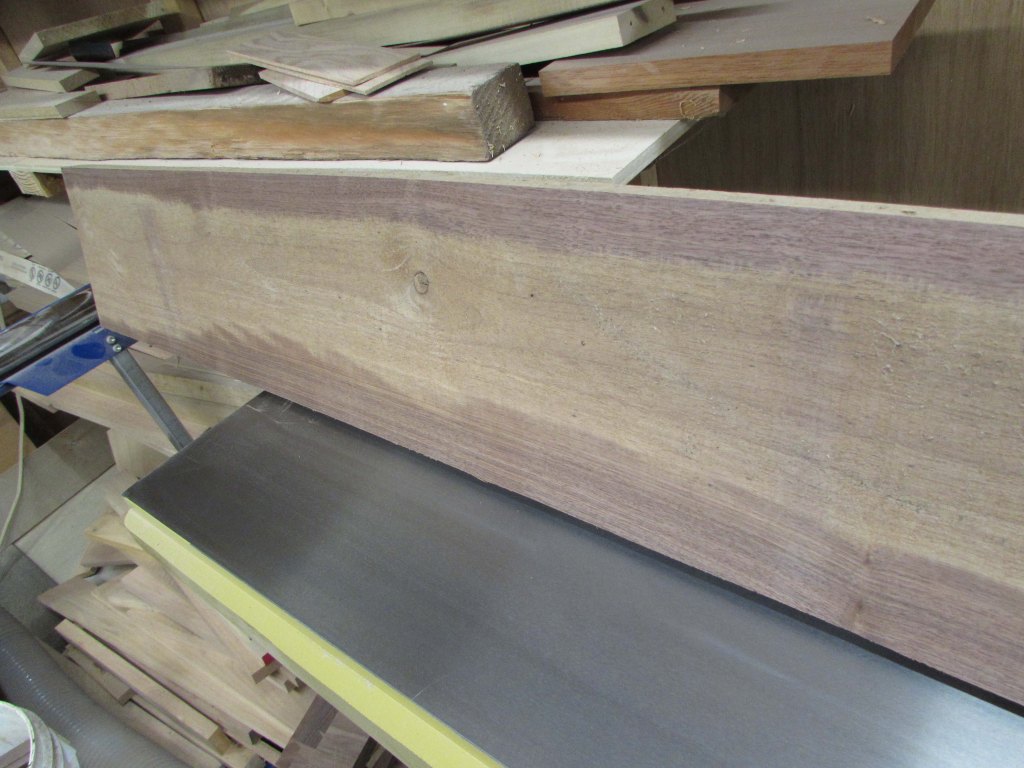
This picture shows the cupping in the board, still visible after four passes on the jointer.
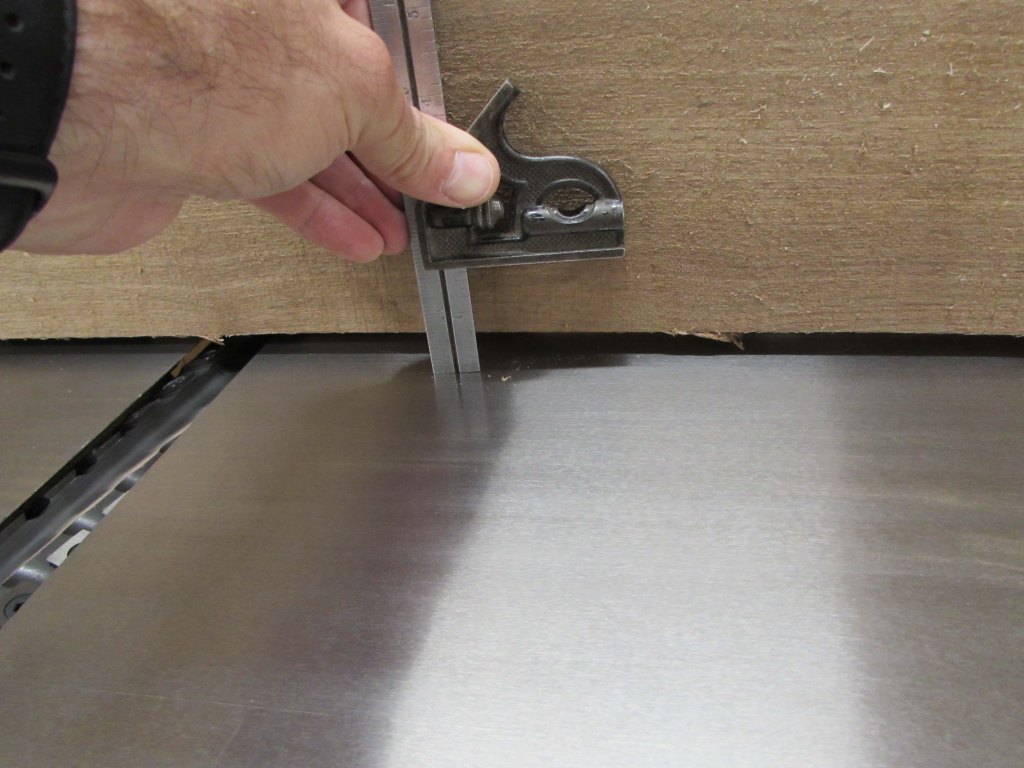
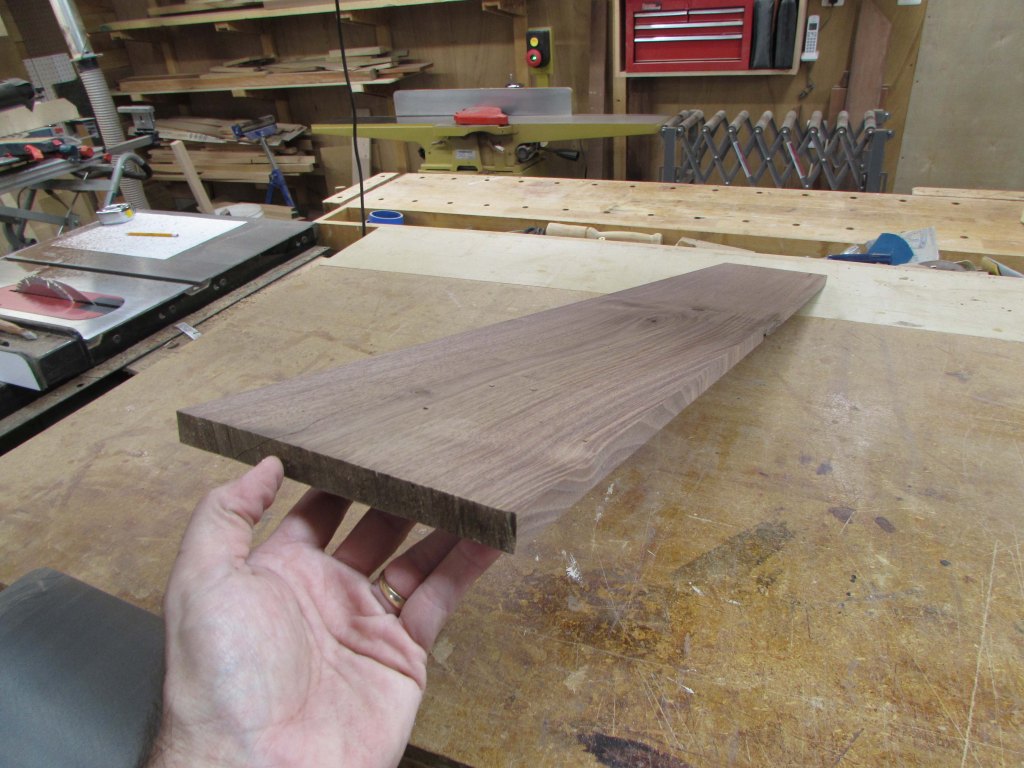
This first board is about 4′ long and it has a 1/4″ bow in it that also has to be run through the jointer several times in order to straighten it as well.
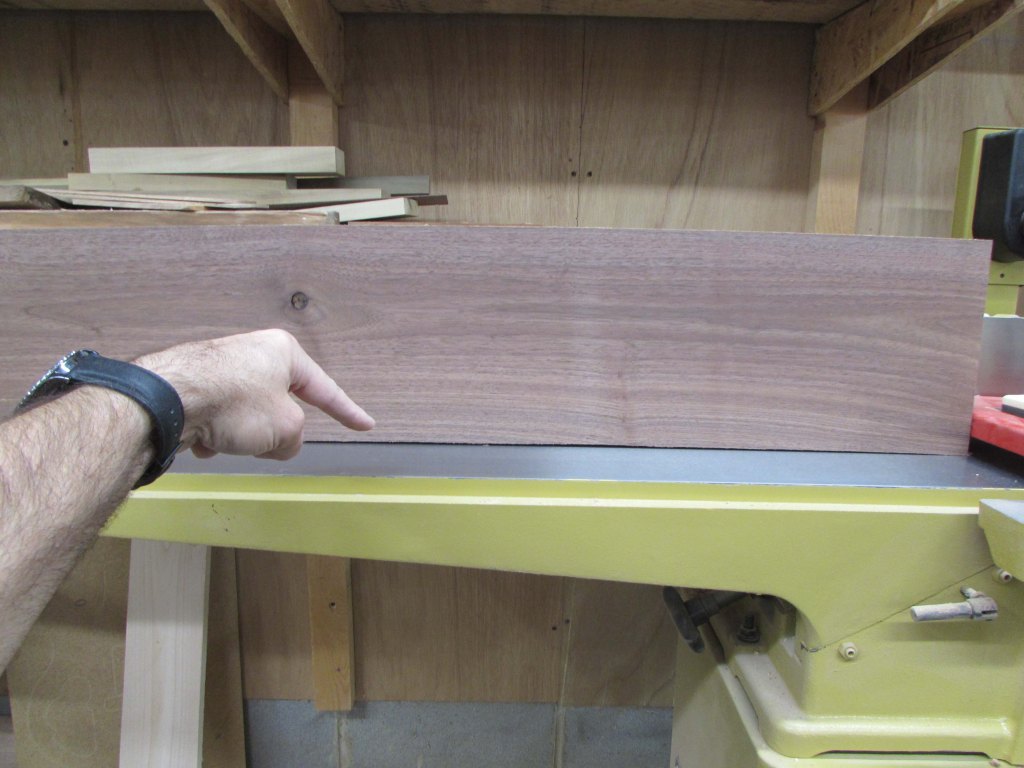
Some of the 5′ long boards have up to 1/2″ of bow in them.
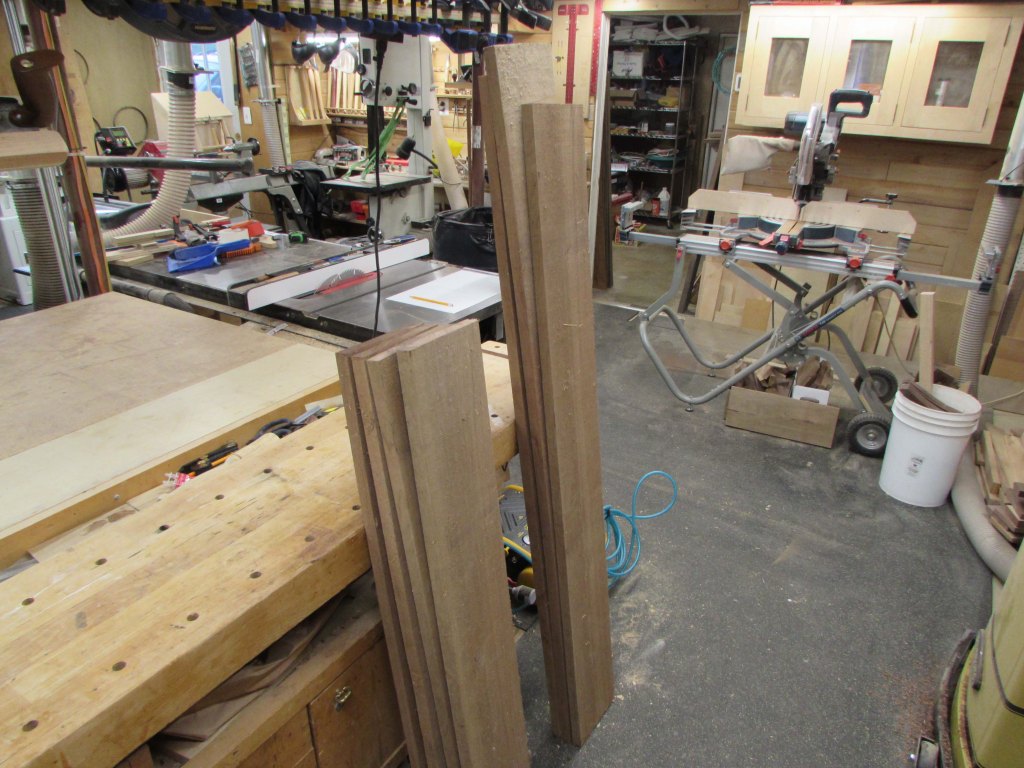
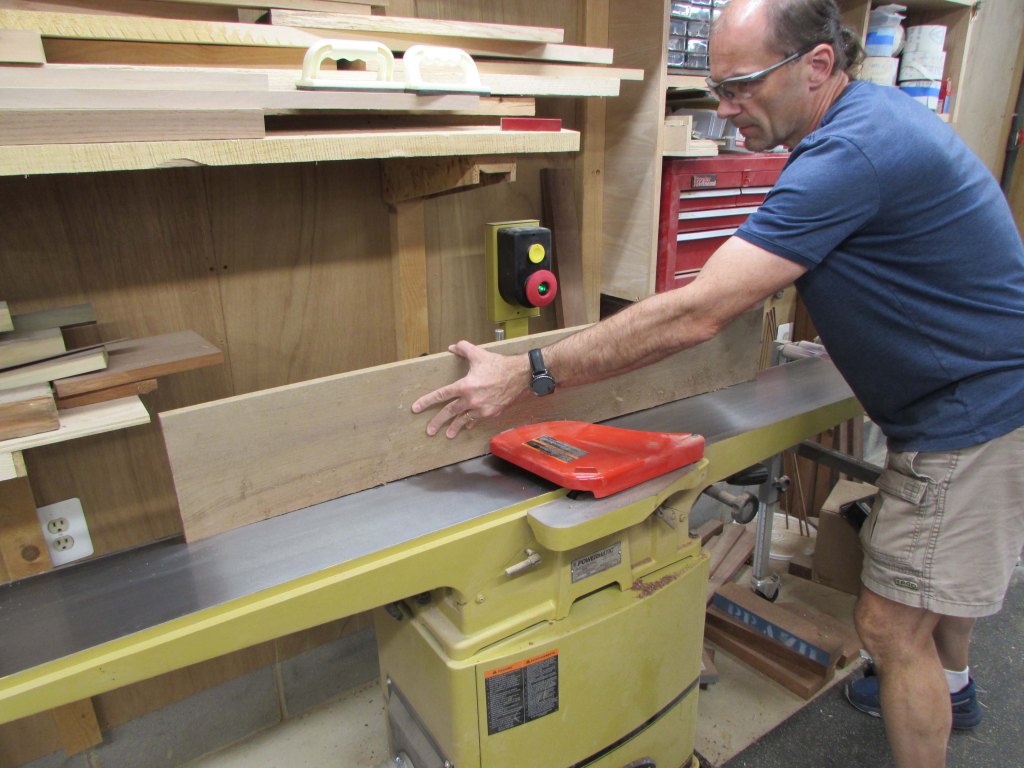
After about a half hour of jointing, I had one flat face and one flat edge to each of my boards.
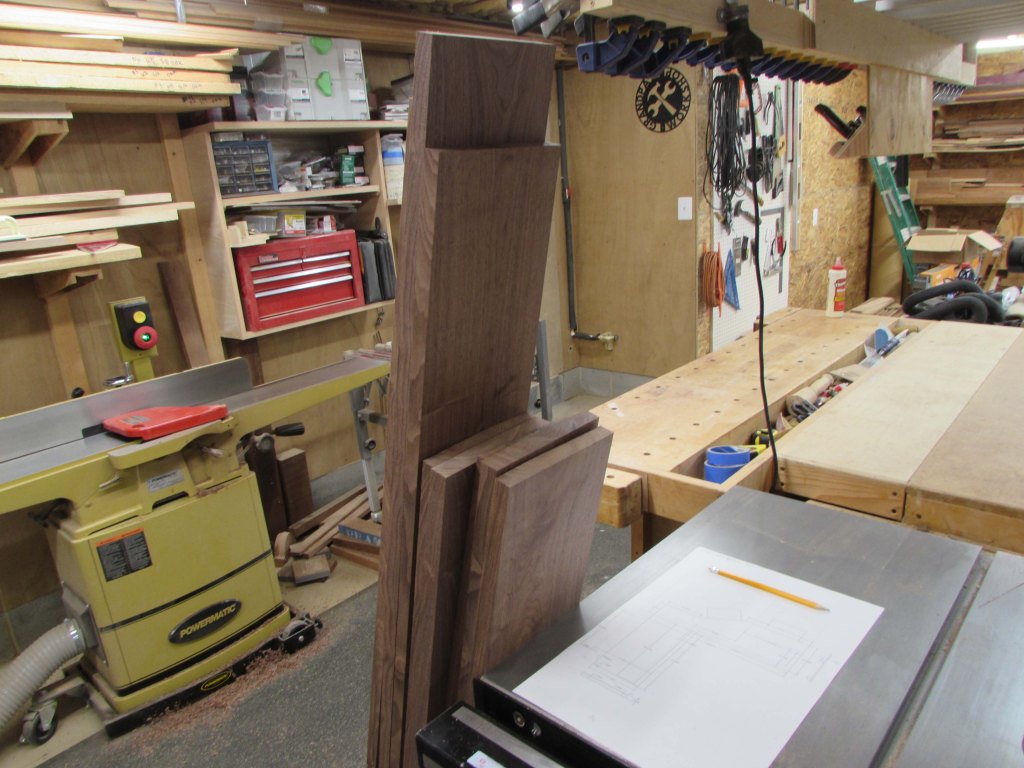

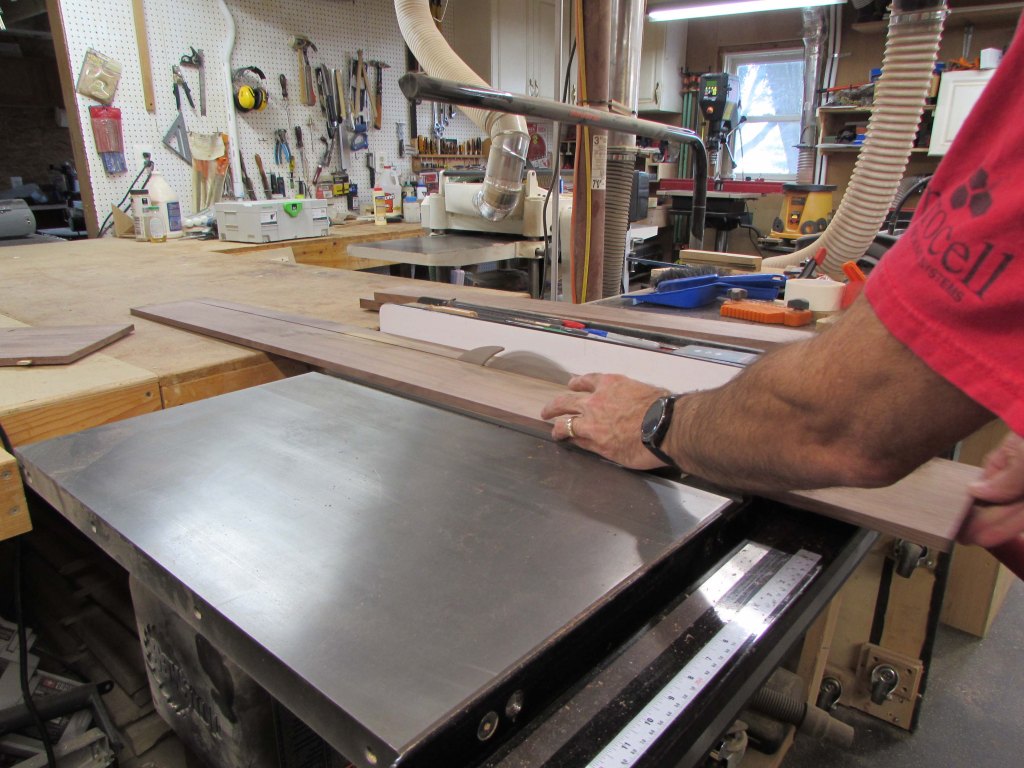
Time to cut the opposite edge parallel on the table saw and plane the opposite face down on the planer.
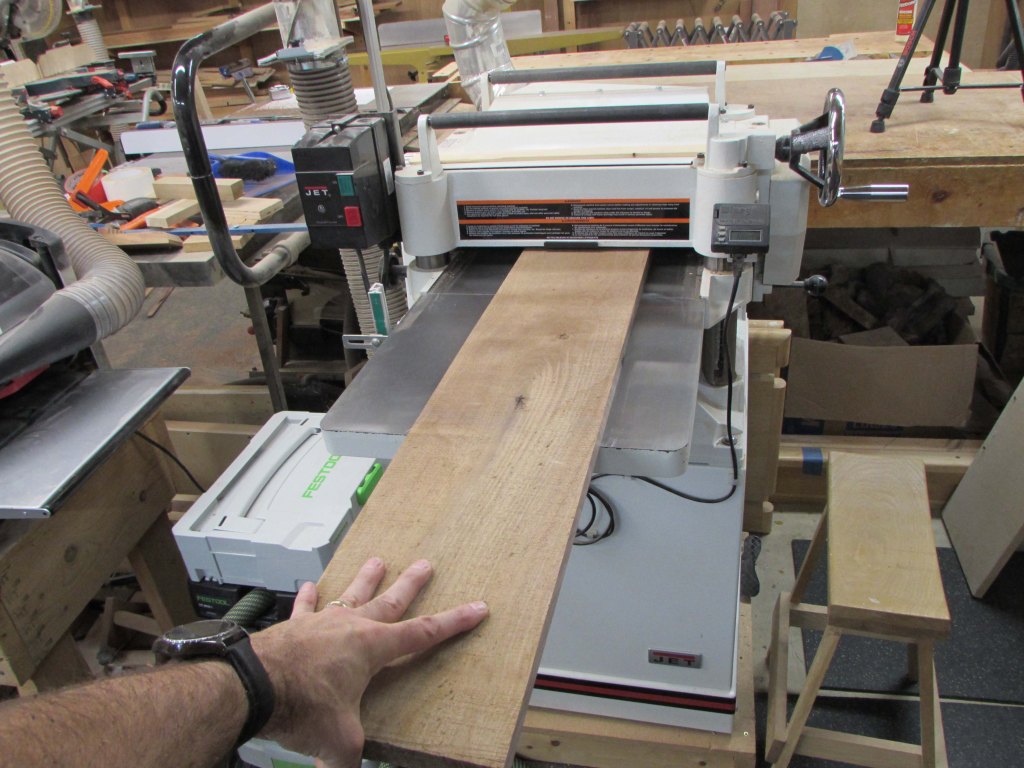
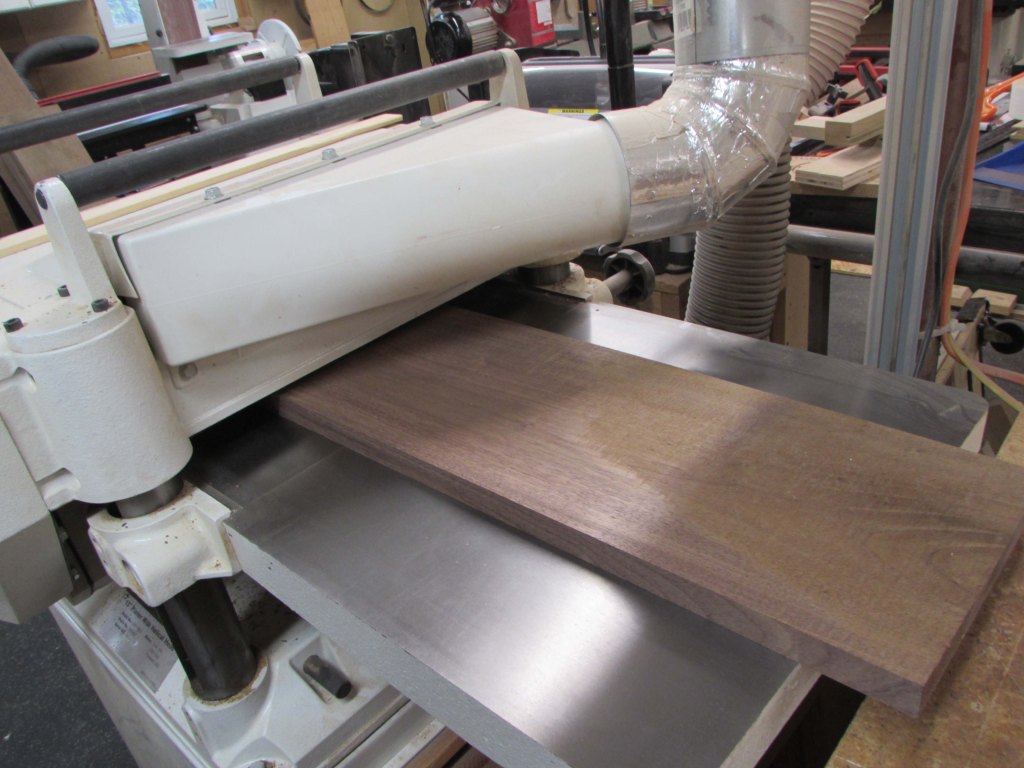
You can see how much wood still needs to be removed to flatten the opposite sides as well. By the time I get both sides flat, my boards are almost down to 1/2″ thick.

I decided to plane them all down to 1/2″ for my desk top skins. That should be thin enough to not raise my desk height to an uncomfortable level and thick enough that it will stay flat on the desk.
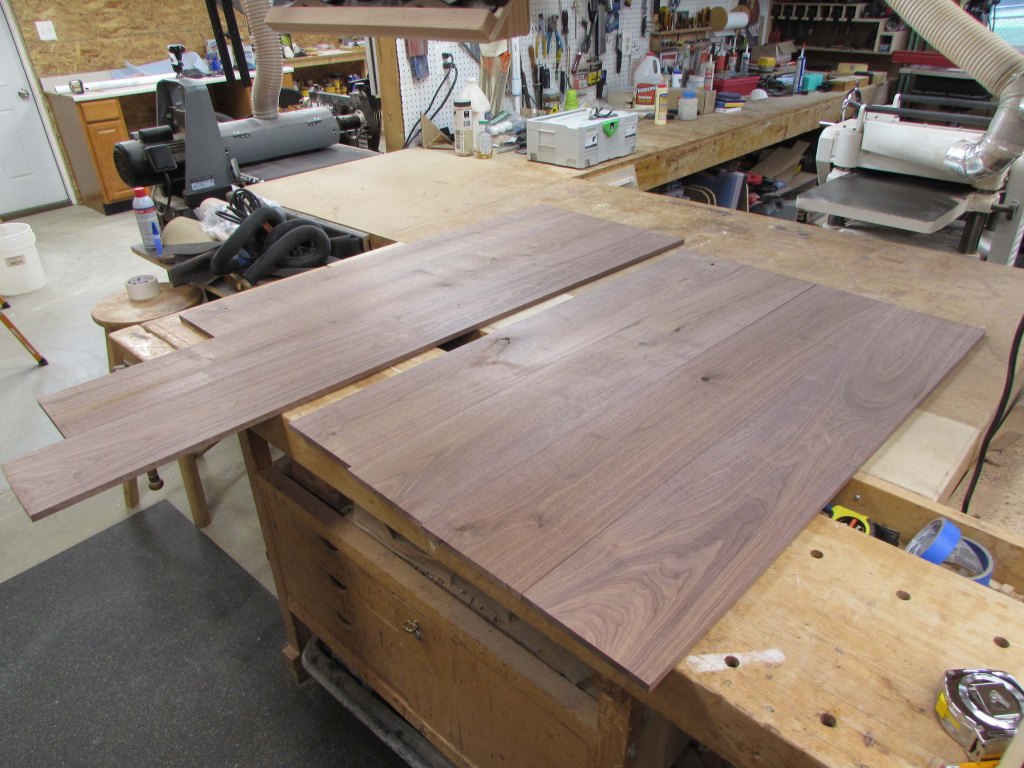
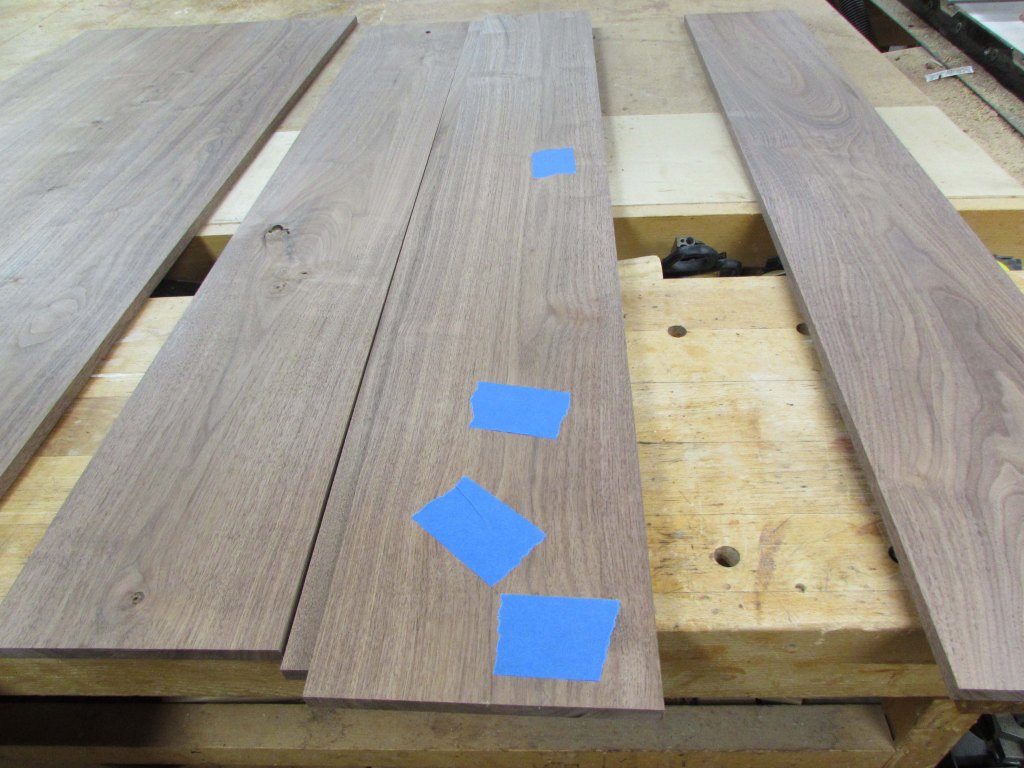
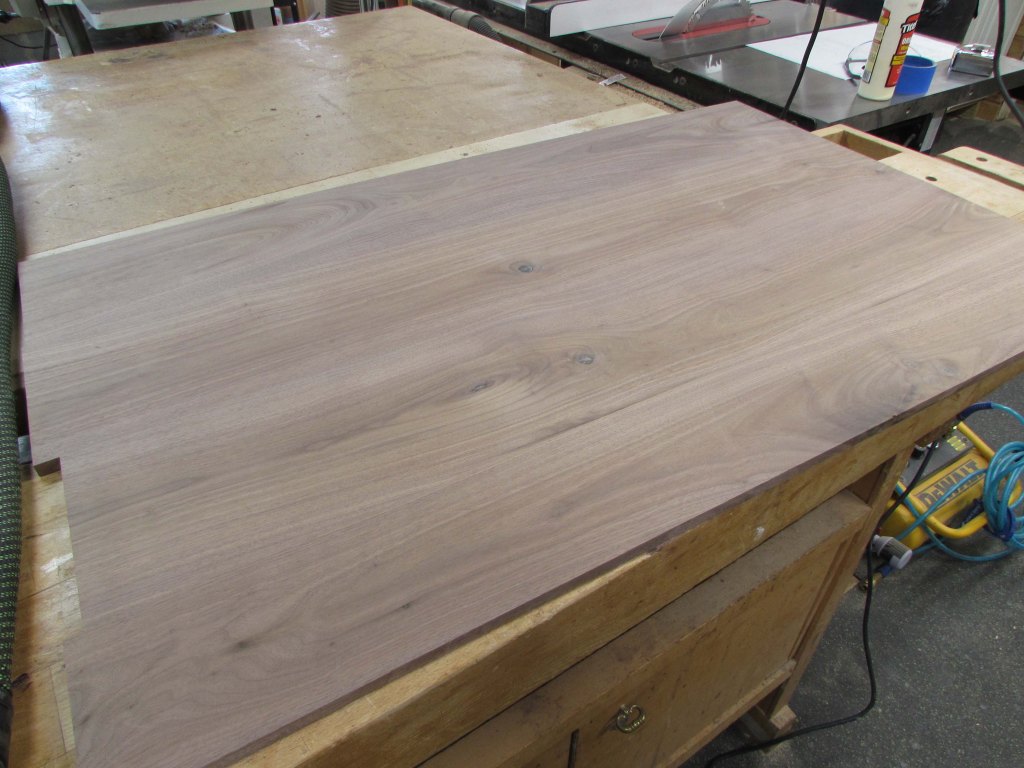
I laid out the two panels to get the best grain match and least amount of knots on the top.
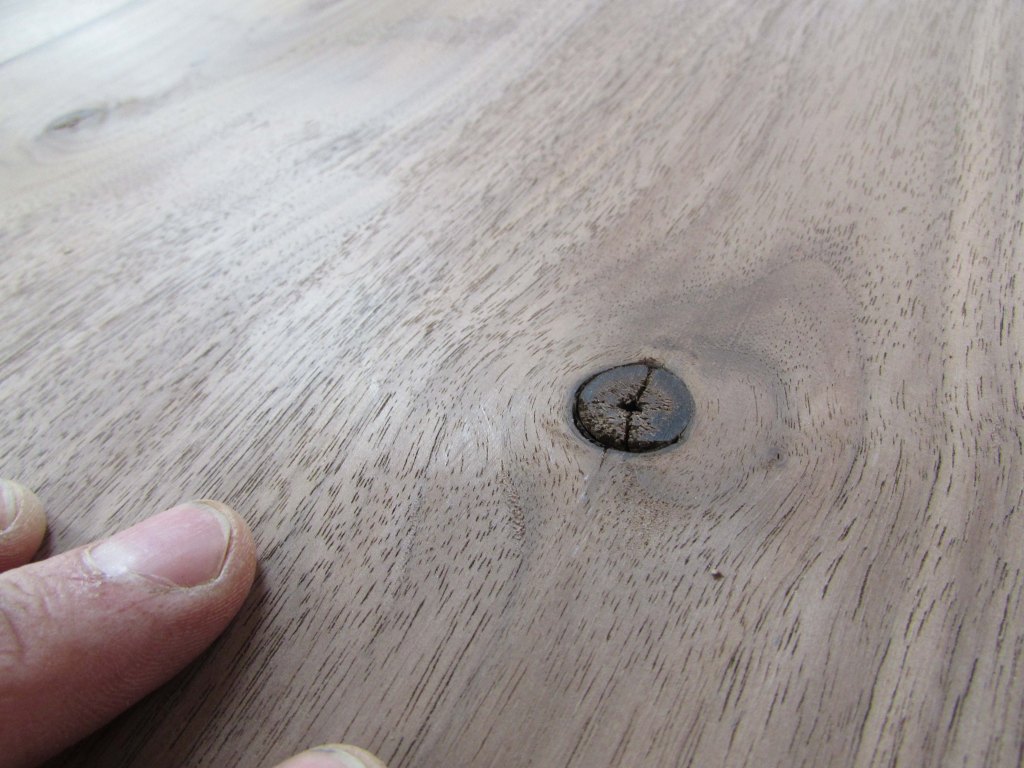
All of the knots will have to be filled with epoxy so that the surface will be smooth for writing on.
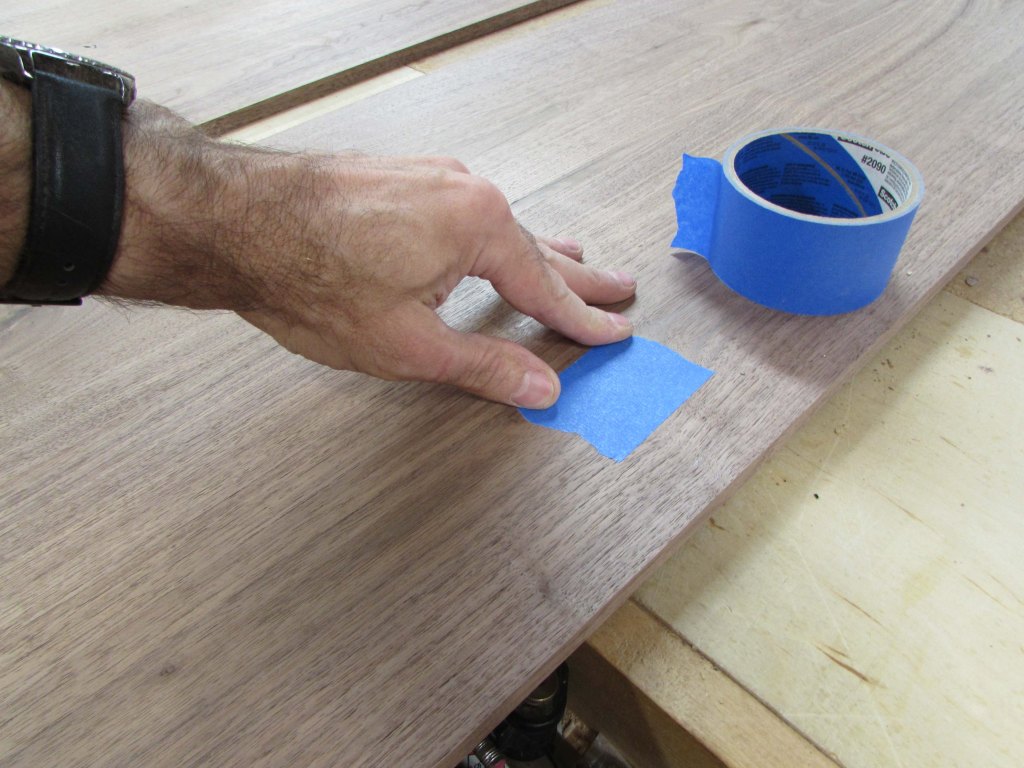
I flipped the boards over and taped up all of the knots so that the epoxy would not run out the back.
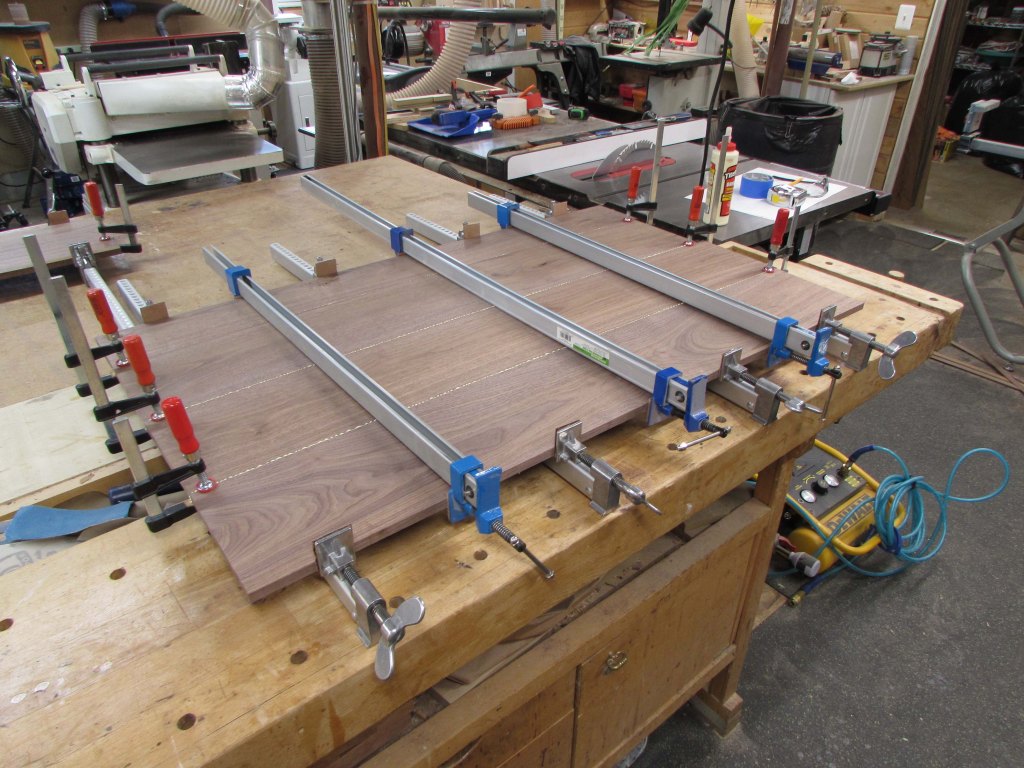
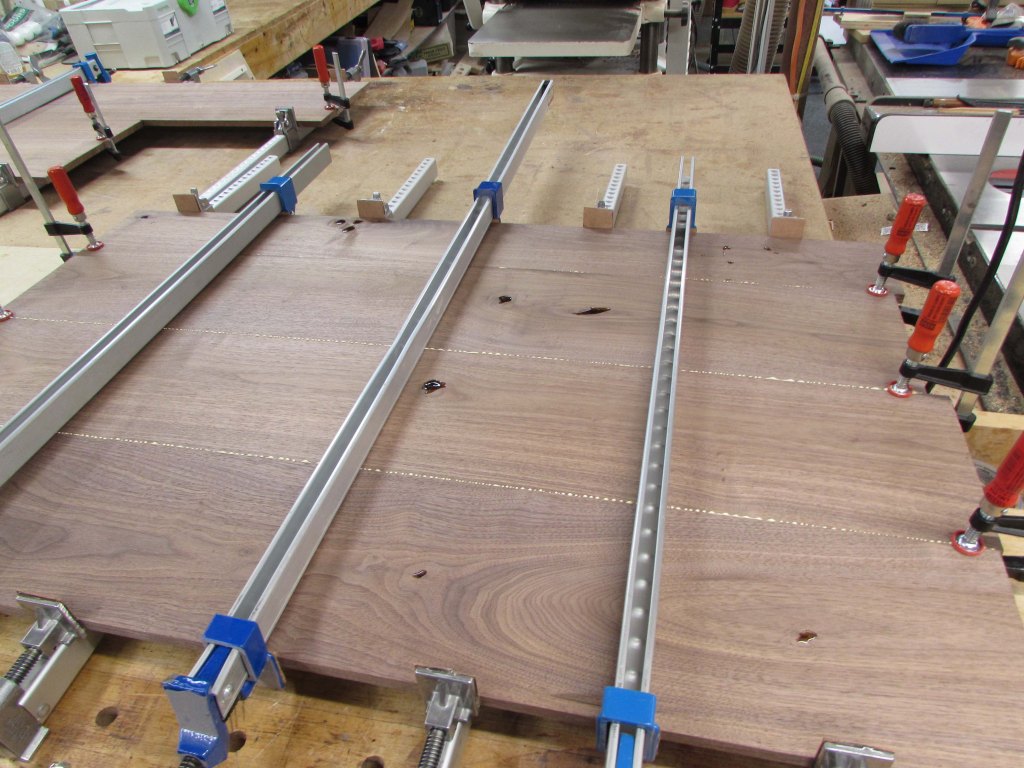
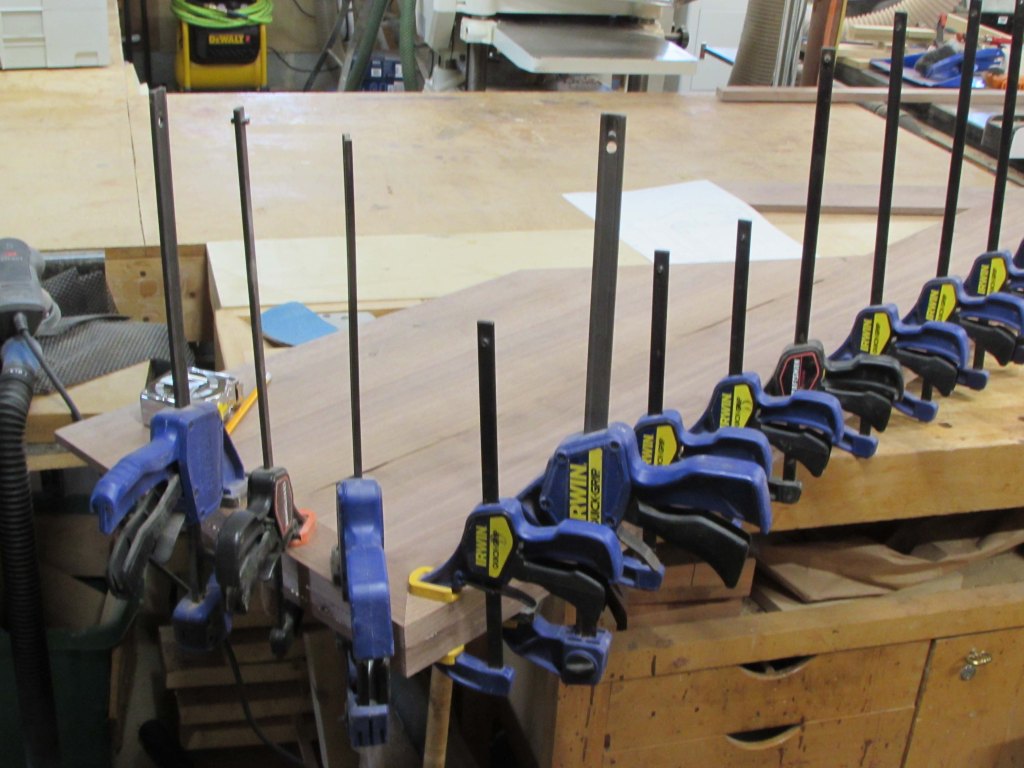
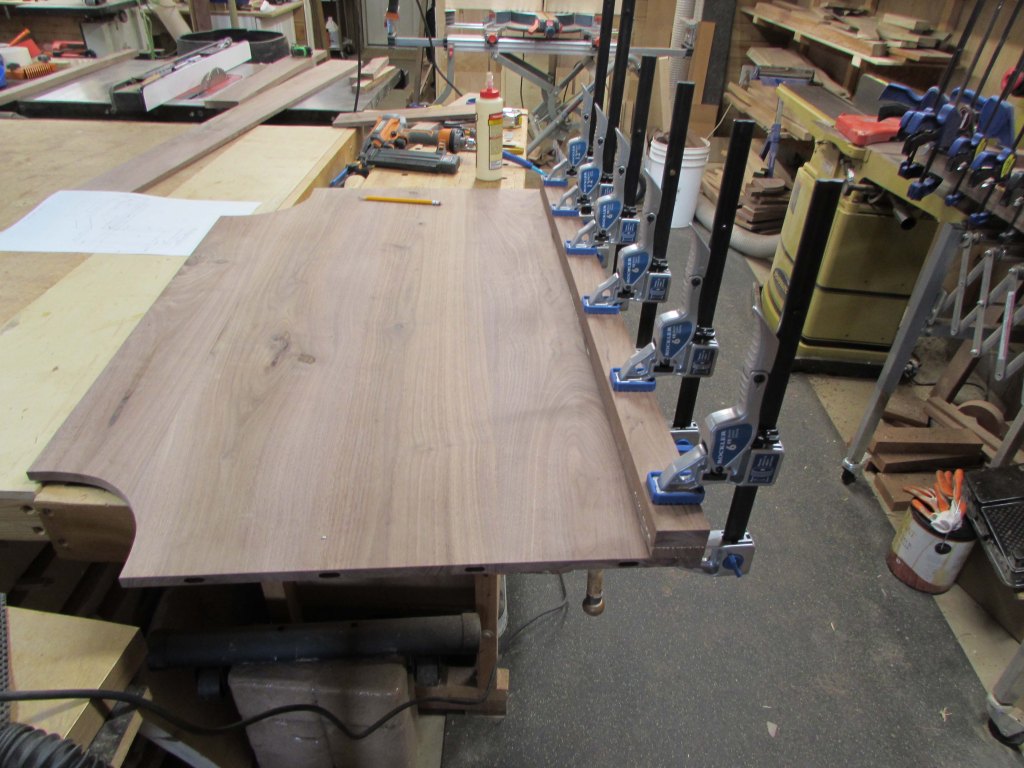
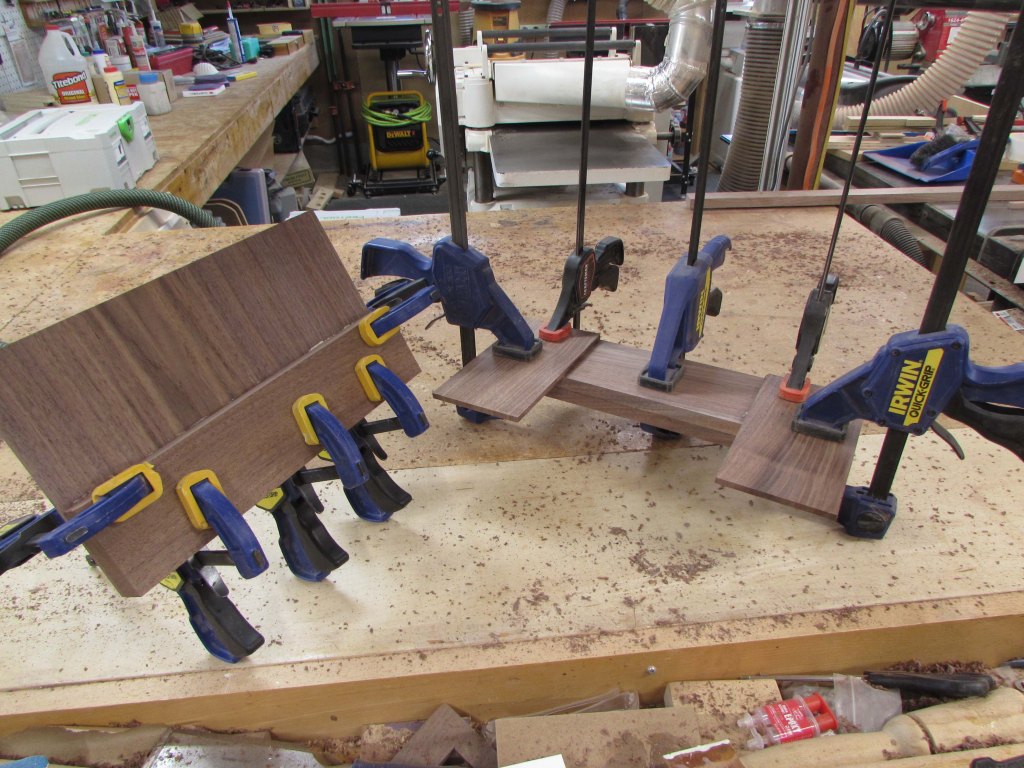
Since I will have to let the epoxy cure over night, I decided to glue up the panels first.
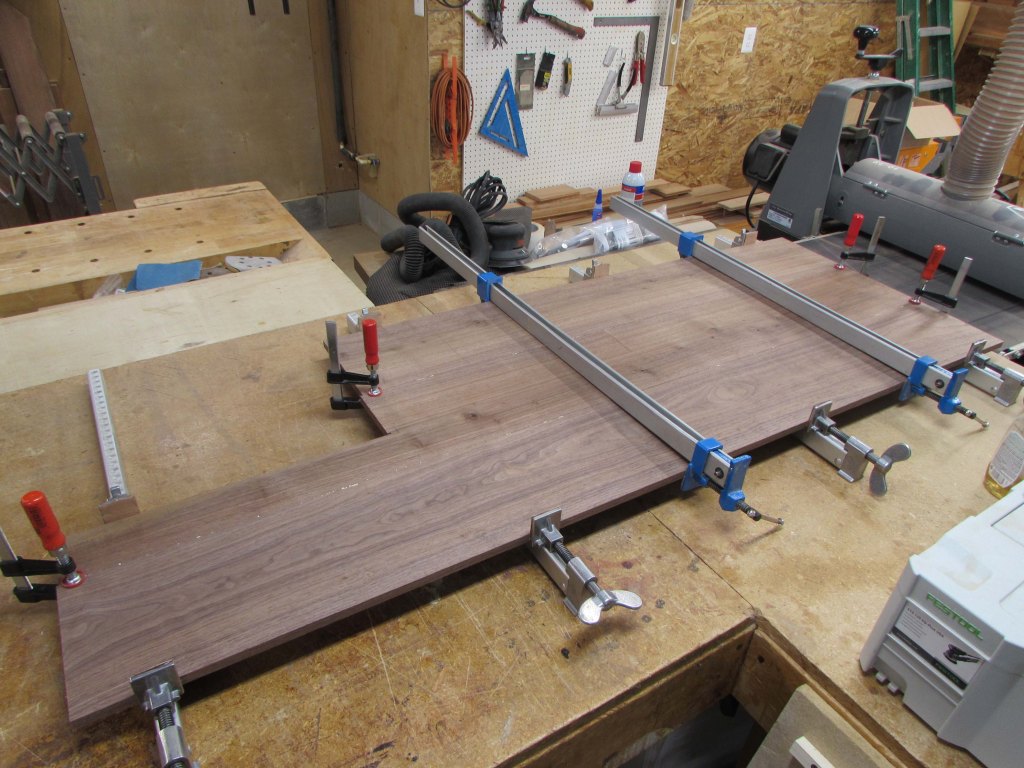
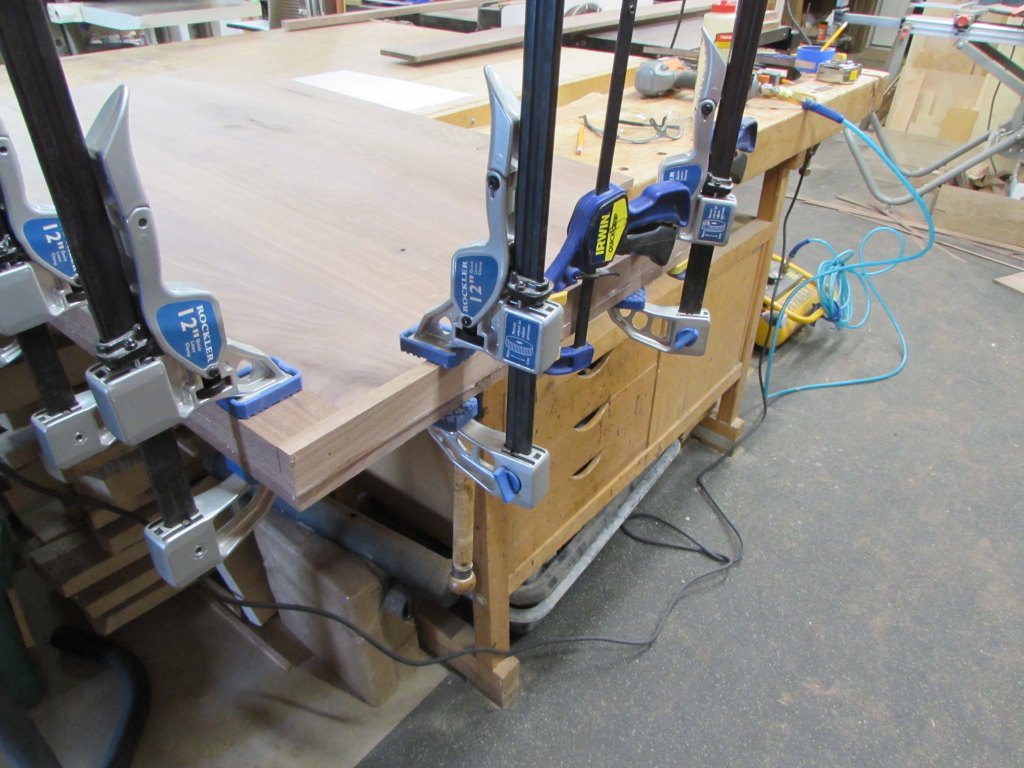
I carefully aligned the surfaces and clamped from the top and the bottom so the panels would dry flat.
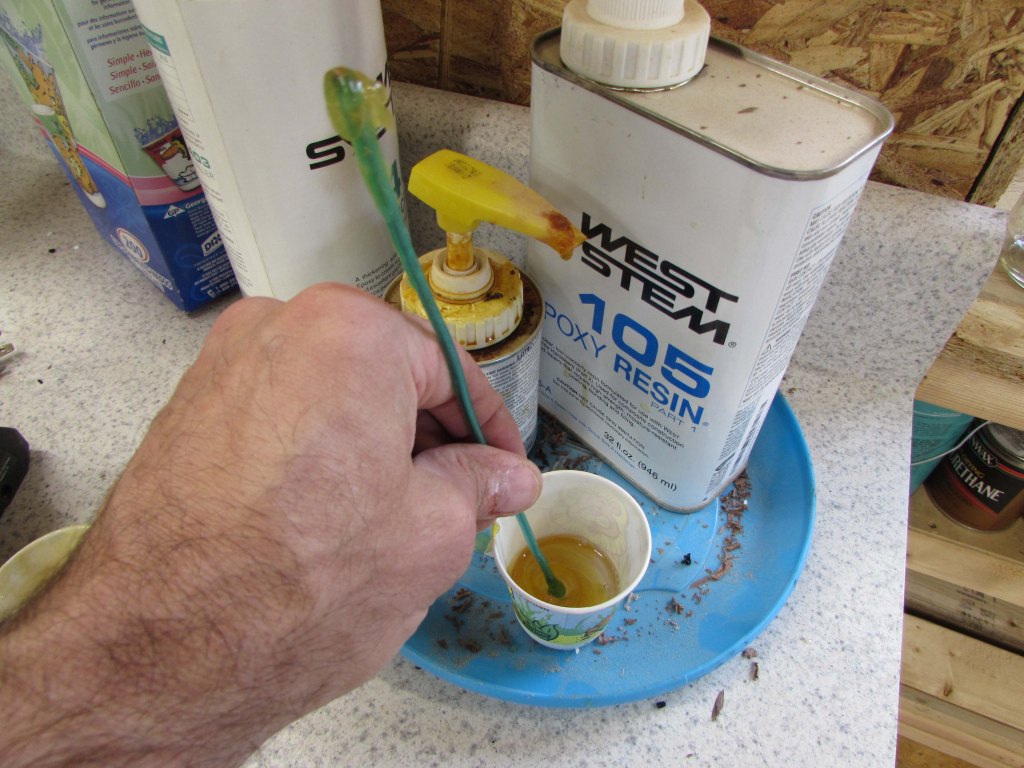
Then I mixed up some epoxy and started filling holes.
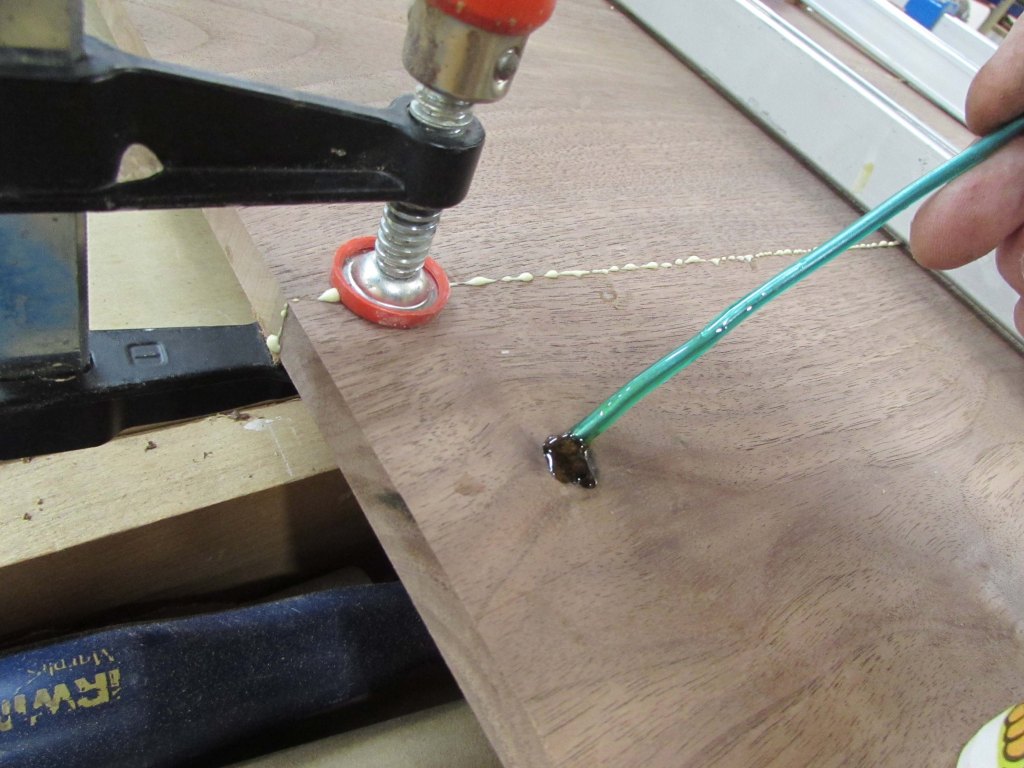
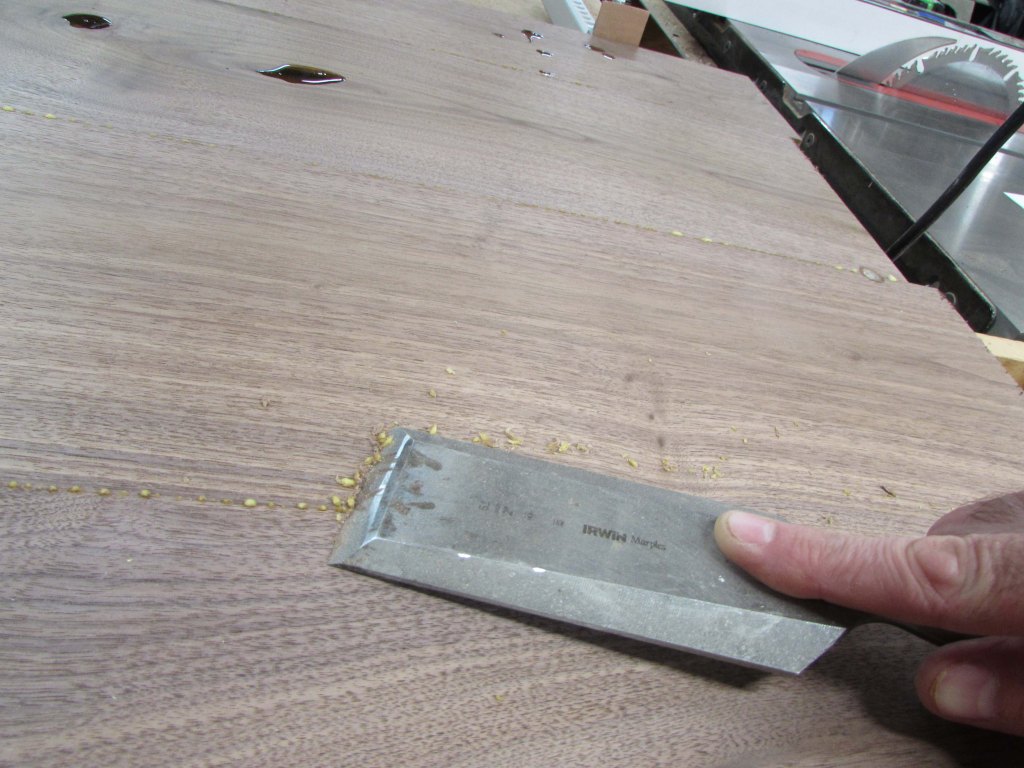
After an hour or so, the glue was set and the epoxy stable enough, so I pulled the clamps and scraped away the excess glue while it was still soft and easy to remove.
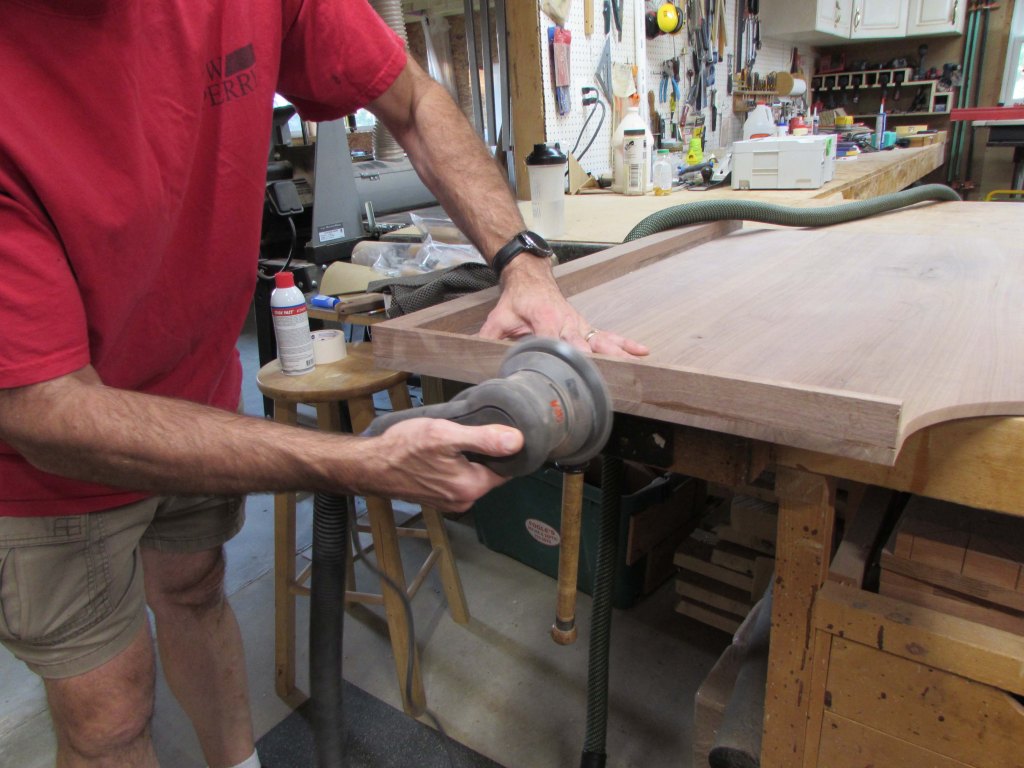
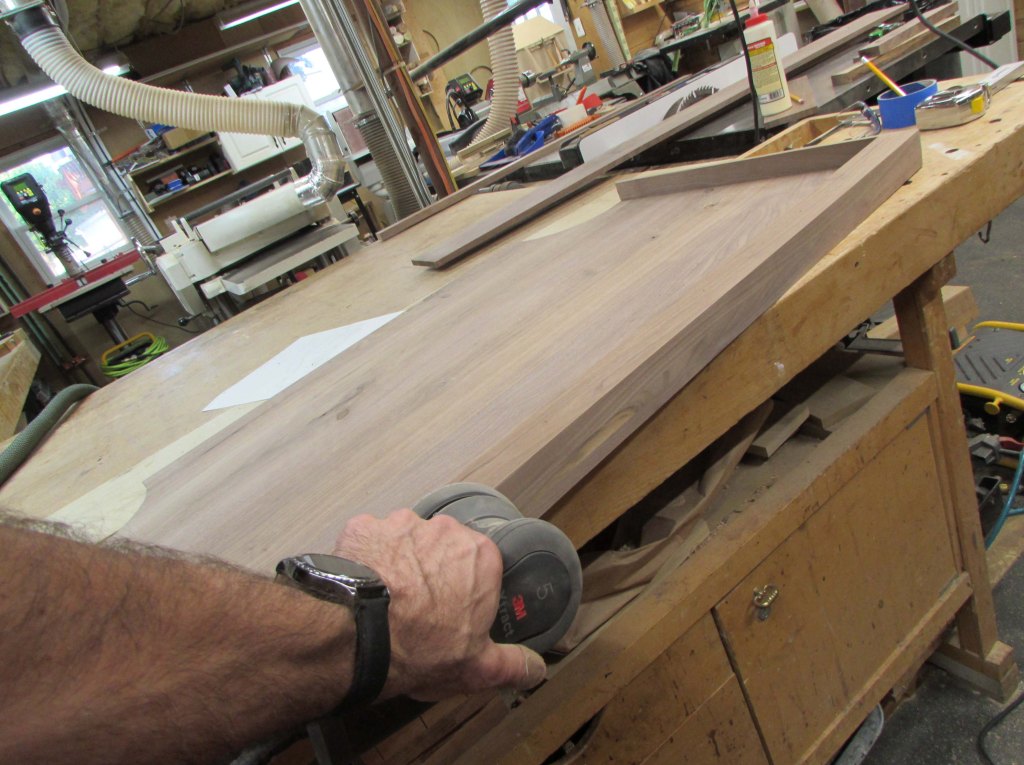
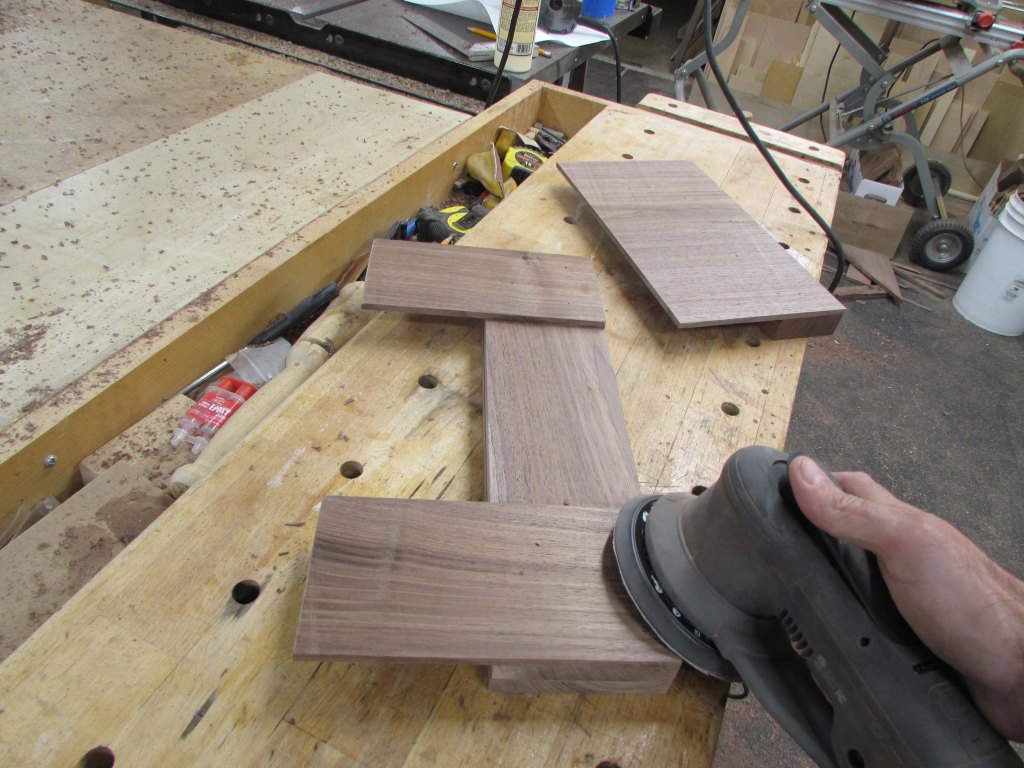
By the next morning, everything was dry and ready for sanding.
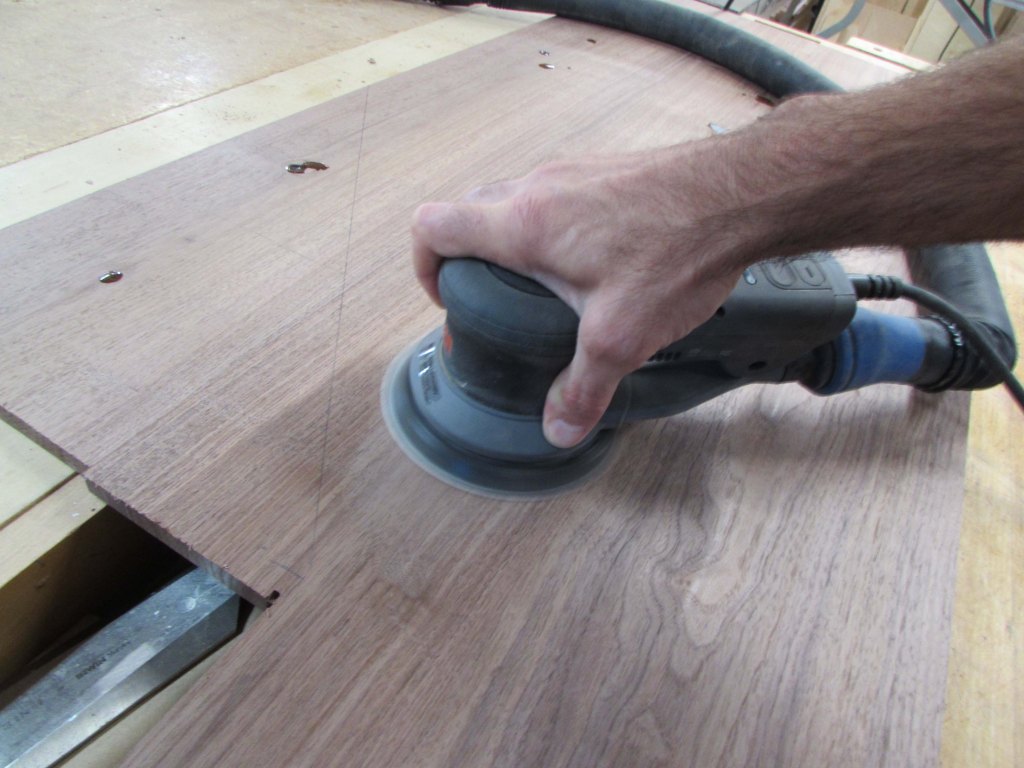
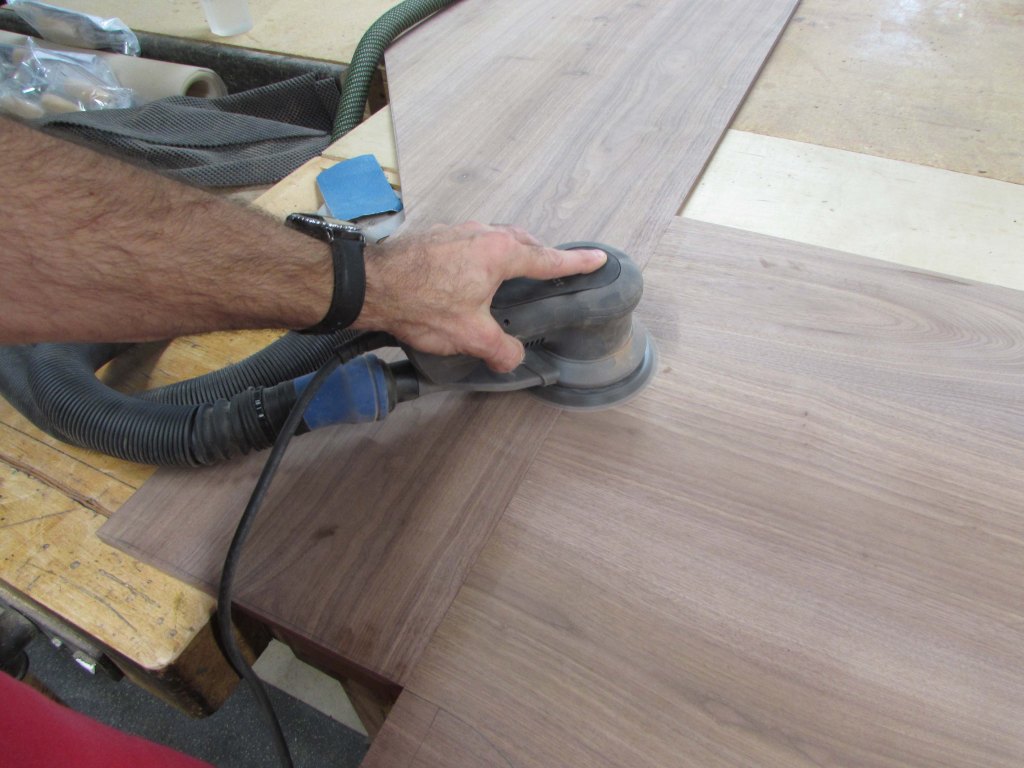
Since I have burned up all three of my Rigid orbital sanders in the past year, I decided to upgrade to a new orbital sander by 3M. This is my first project using the 3M Xtract orbital sander. I bought the one with an aggressive 3/16″ orbit pattern and I was not disappointed in how fast it sanded down the epoxy as well as the wood.
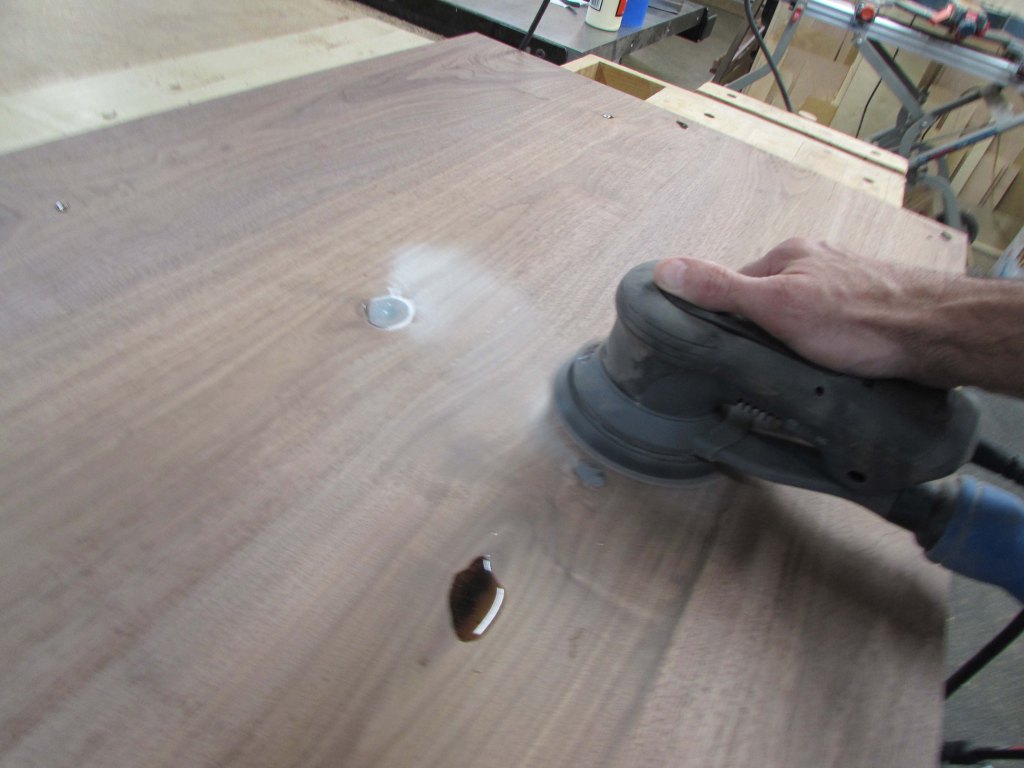
The grip and paddle switch will take some getting used to but it does a fantastic job on large flat surfaces.
I also bought a sample pack of the new 3M Cubitron sanding disks to try. They are supposed to last about 3X longer. We will see…

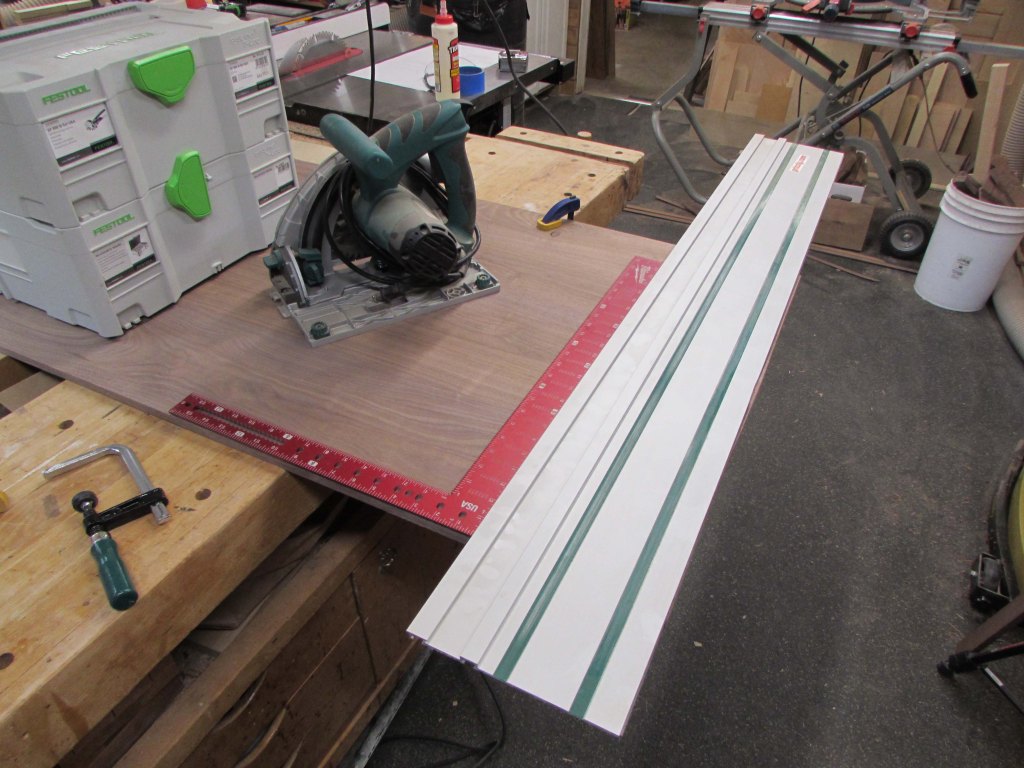
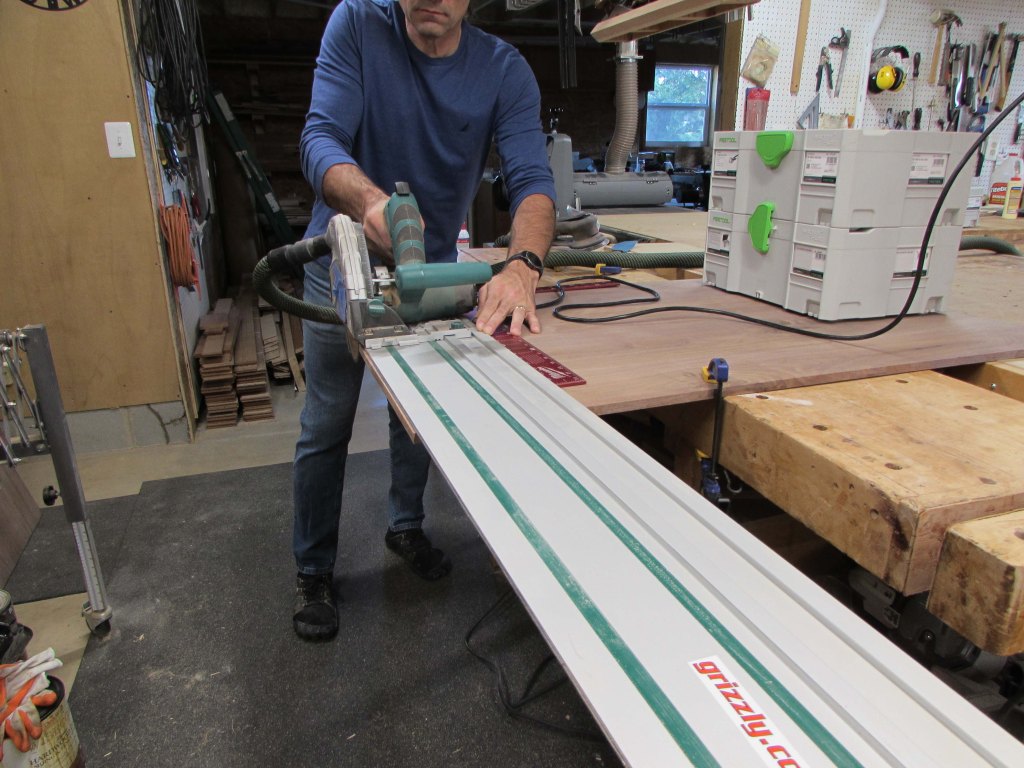
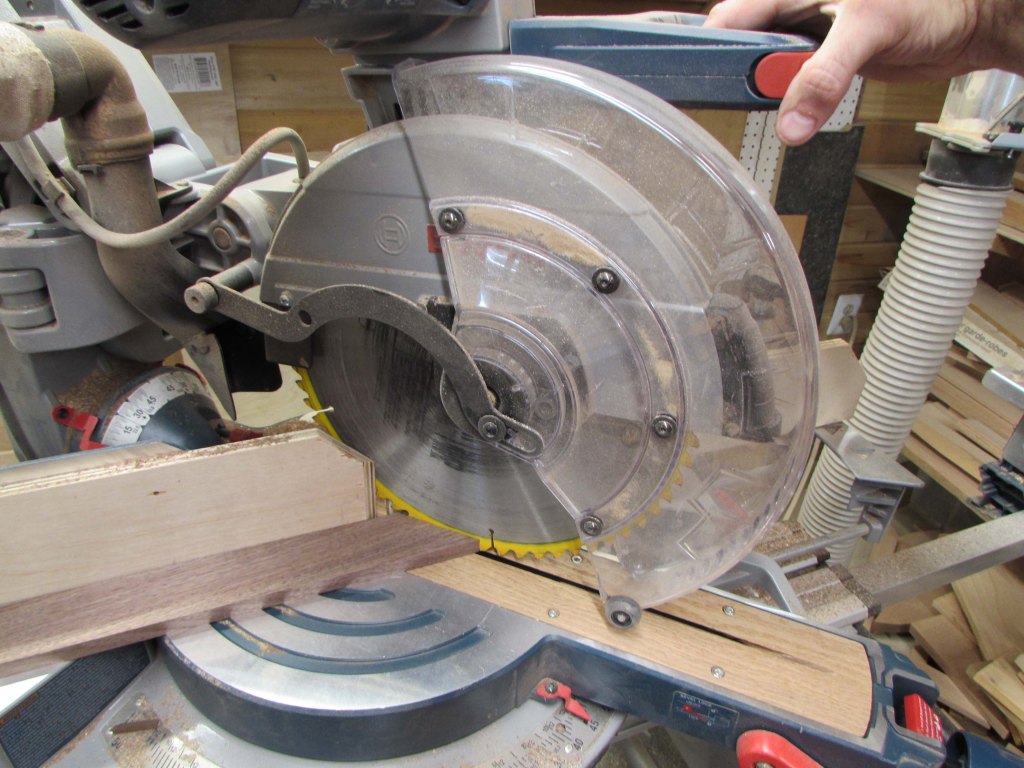
After sanding, I got out the track saw to square up the ends of the panels.
As well as cutting the angle on the one section.
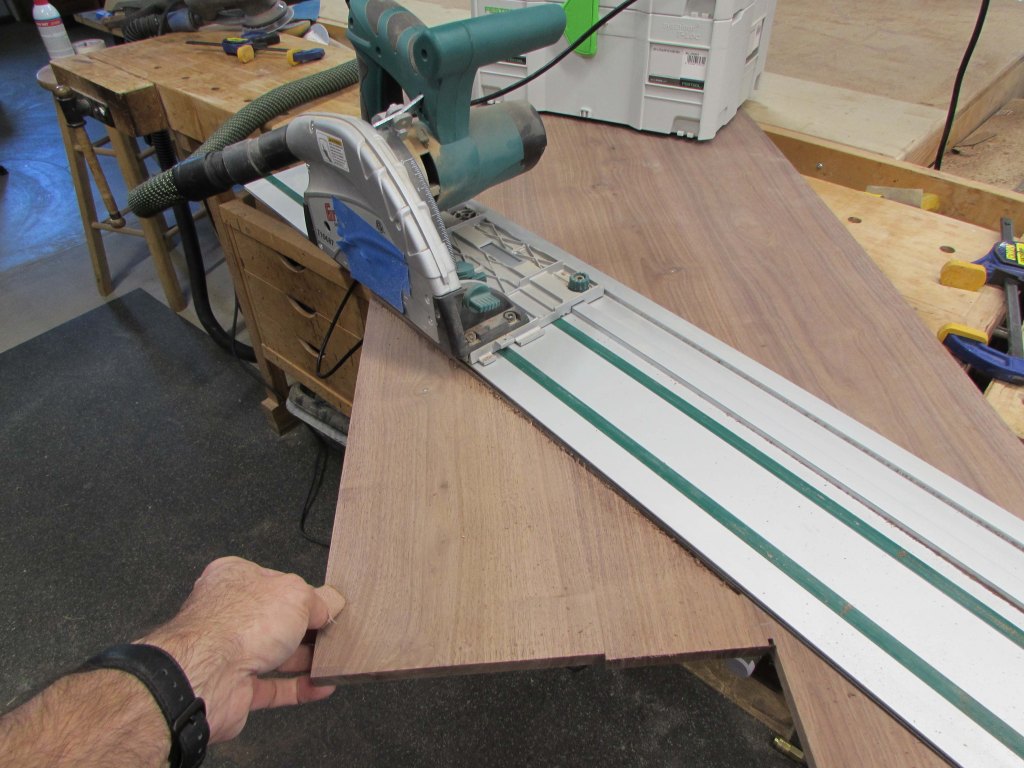
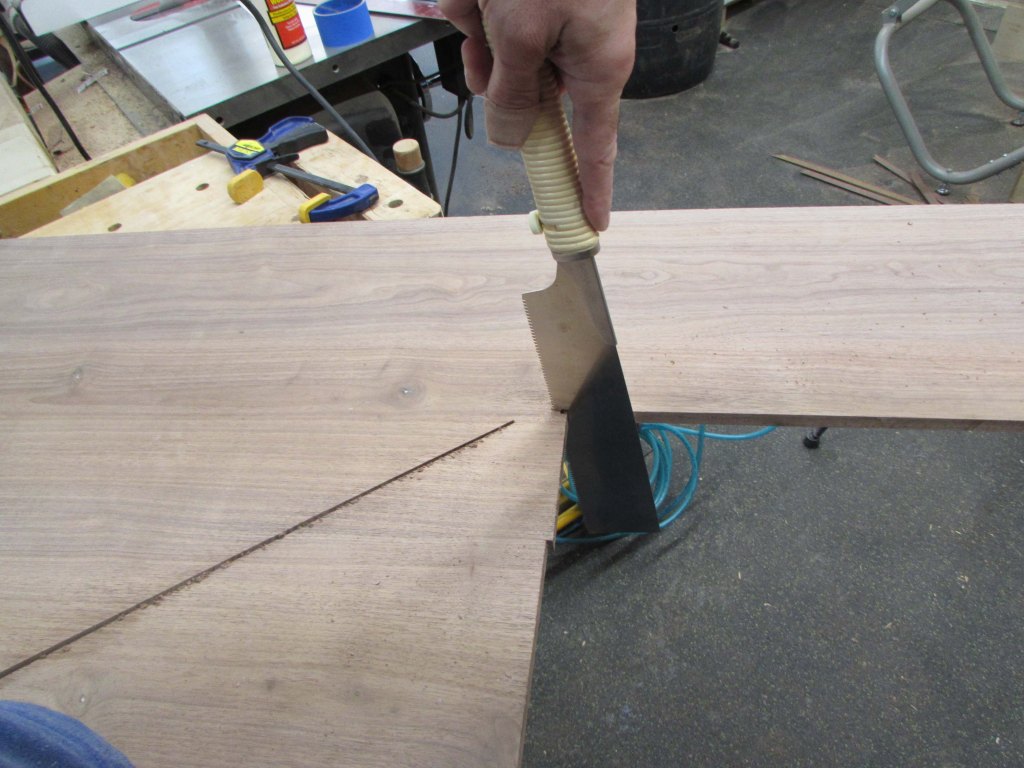
I finished up the cut with my razor saw and sanded the inside corner.
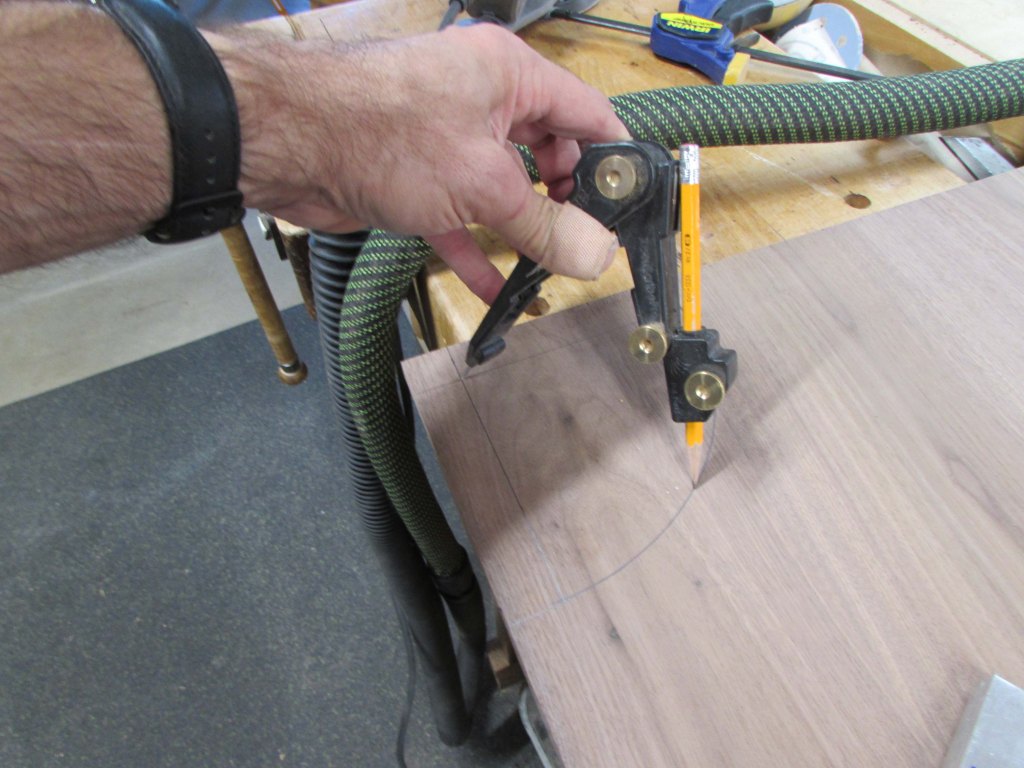
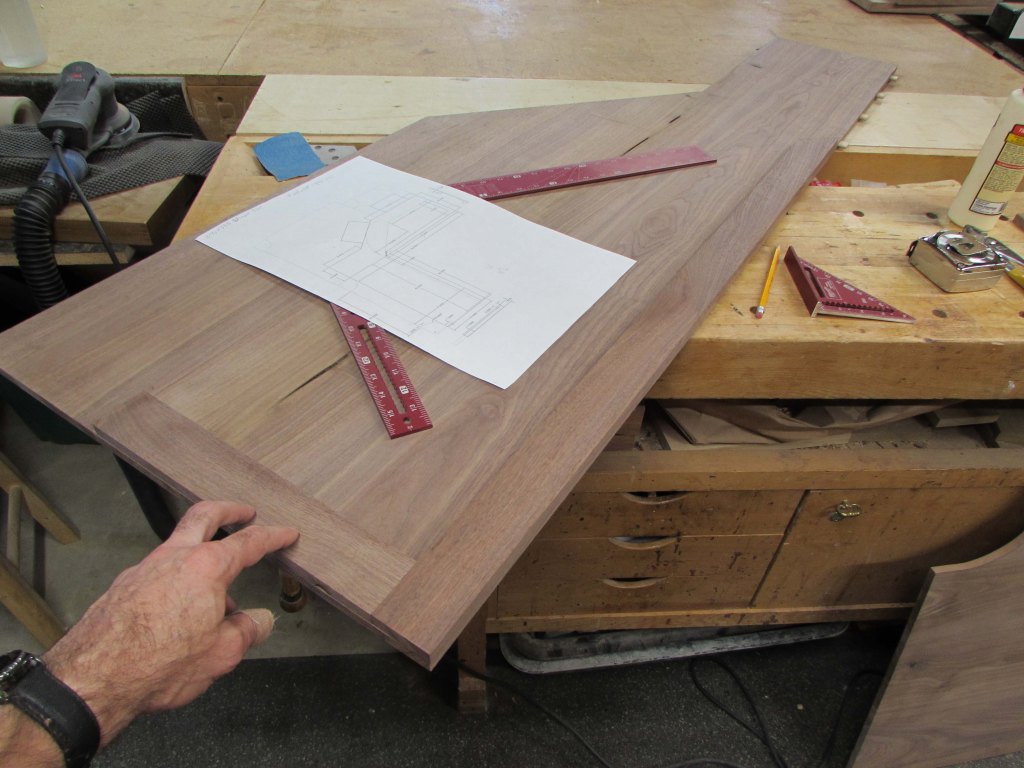
I also laid out the corners on the deeper panel, that will have to be cut to go around some columns on my desk.
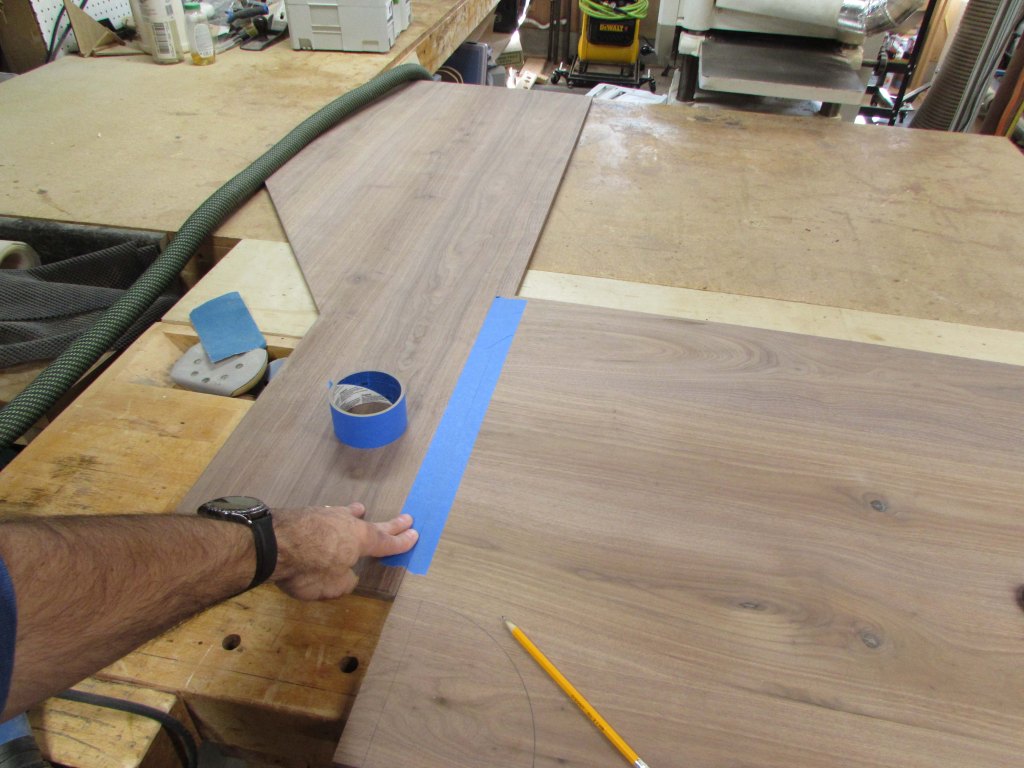
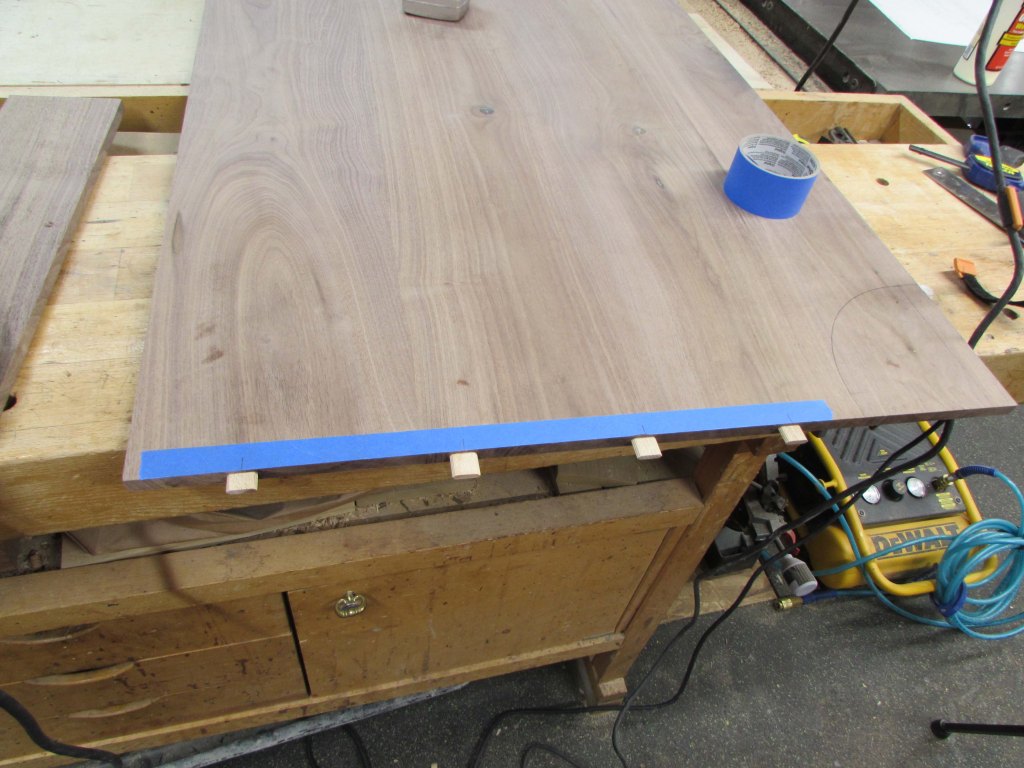
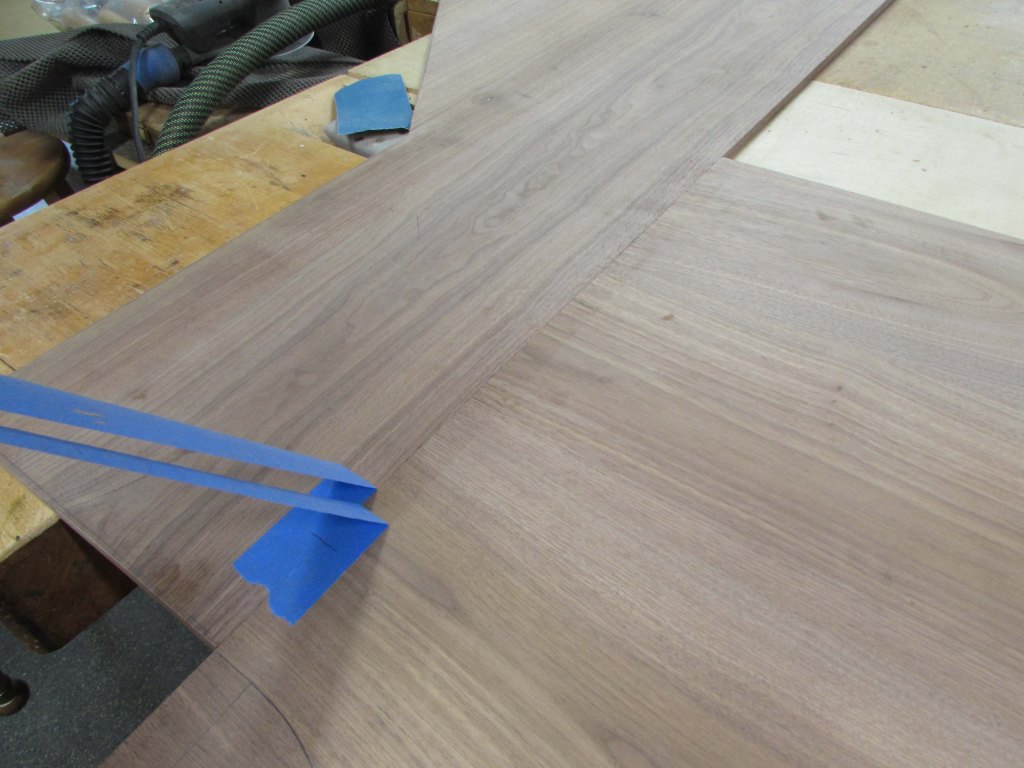
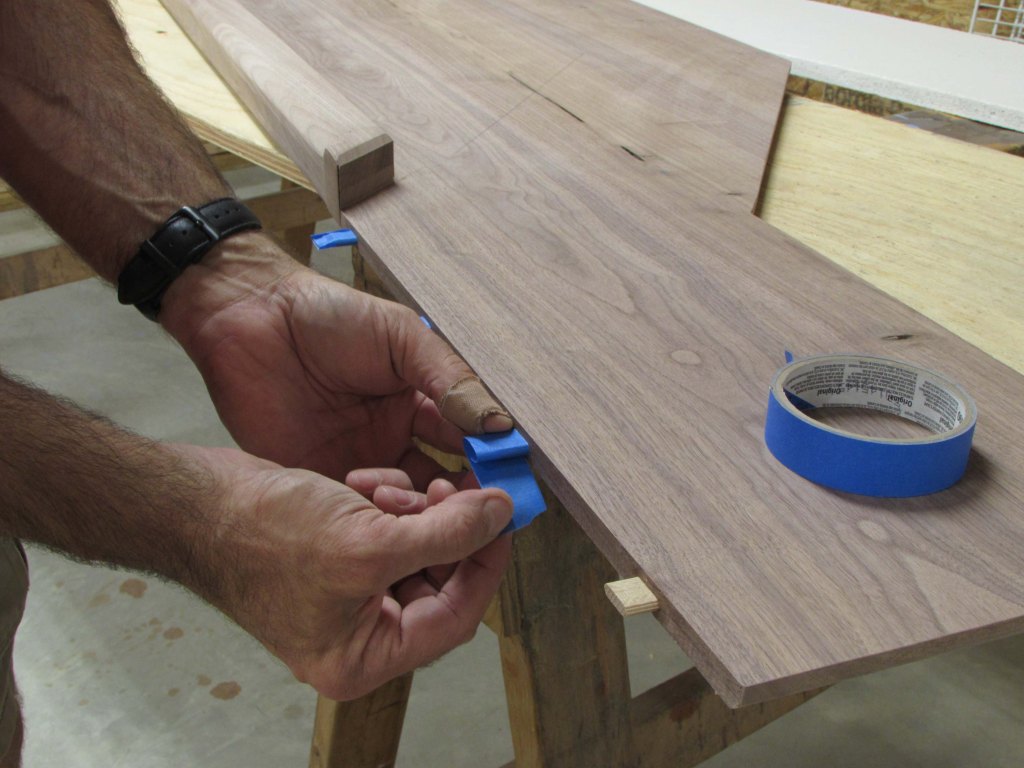
The two panels will butt together on my desk so I will install a few tenons to keep the joint flat.

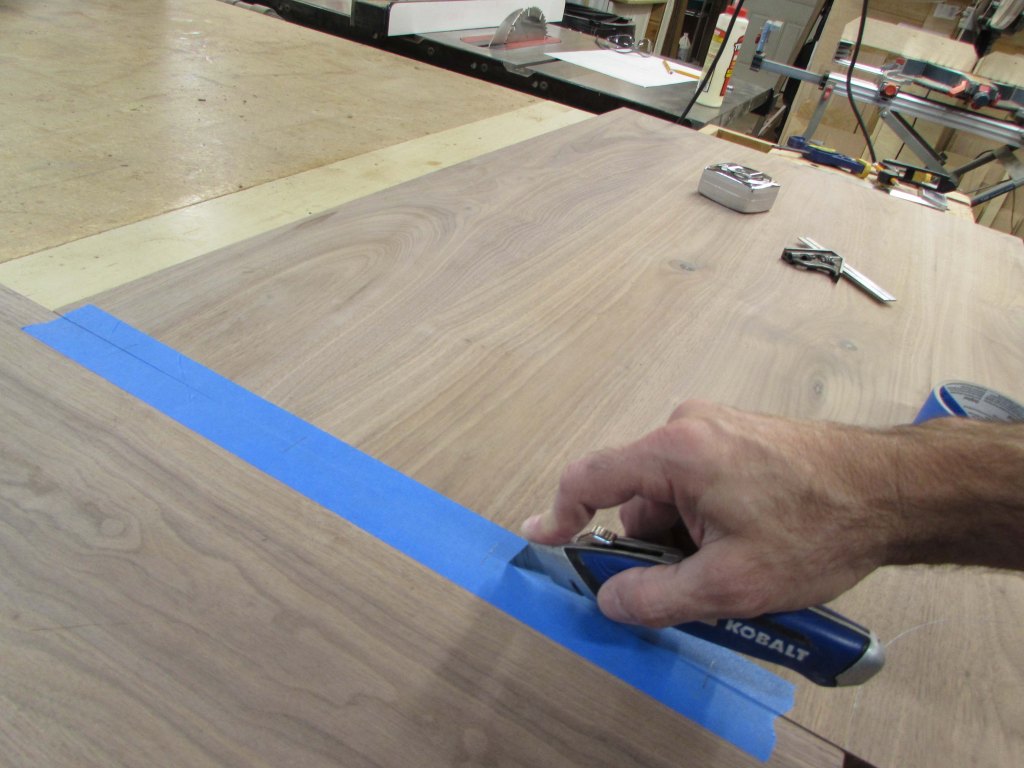
I tape the joint to keep it locked together while marking and to make my marks stand out on the dark wood. When I am done marking, I cut the tape at the seam.
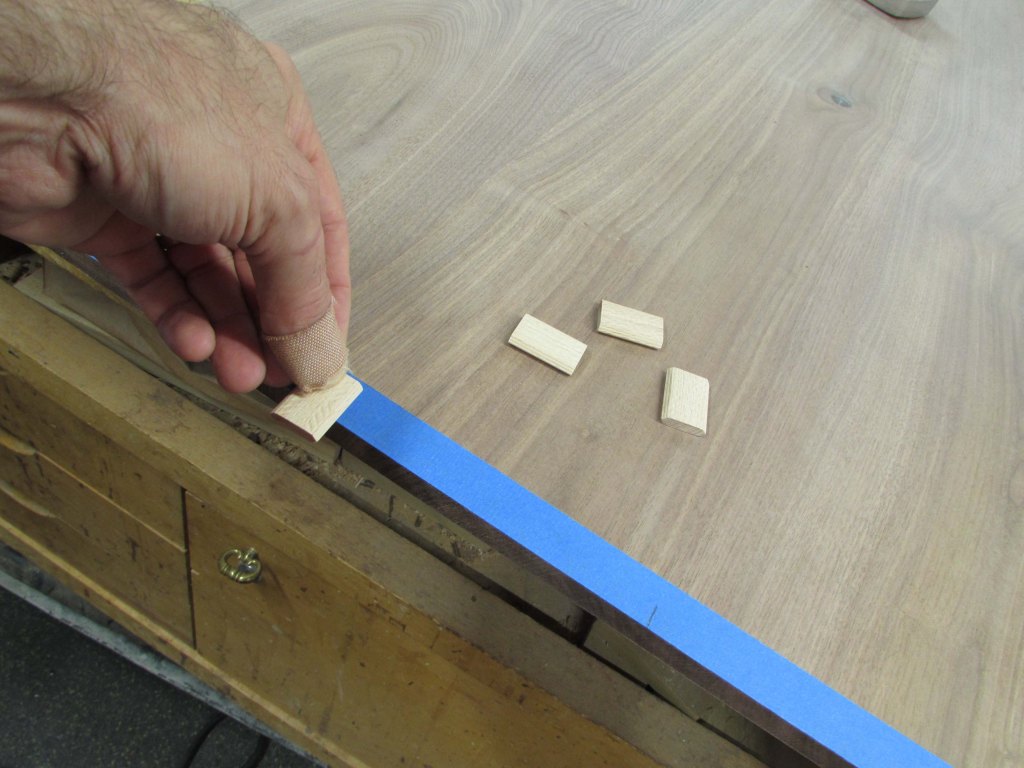
I used my Festool Domino to cut the mortises at each of my marks.

The Tenons press in tightly so they can align the joint with no movement.
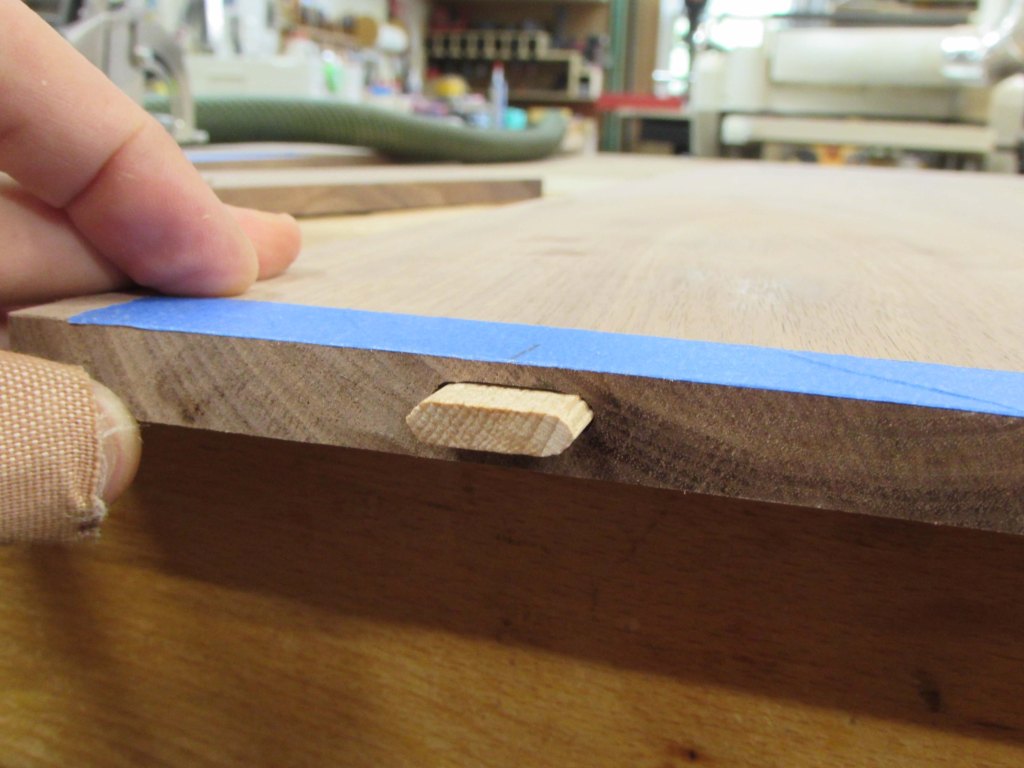
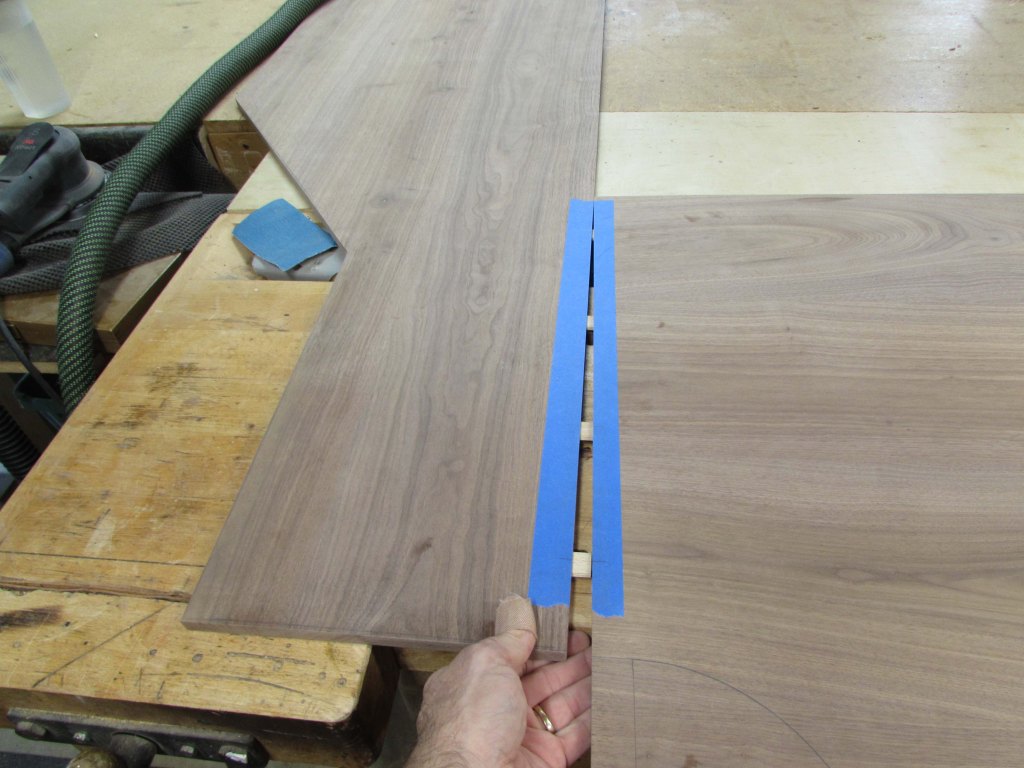
I did a dry-fit, then removed the tape.
While the joint was held in place by the tenons, I sanded the area around the joint so that it was perfectly flush.
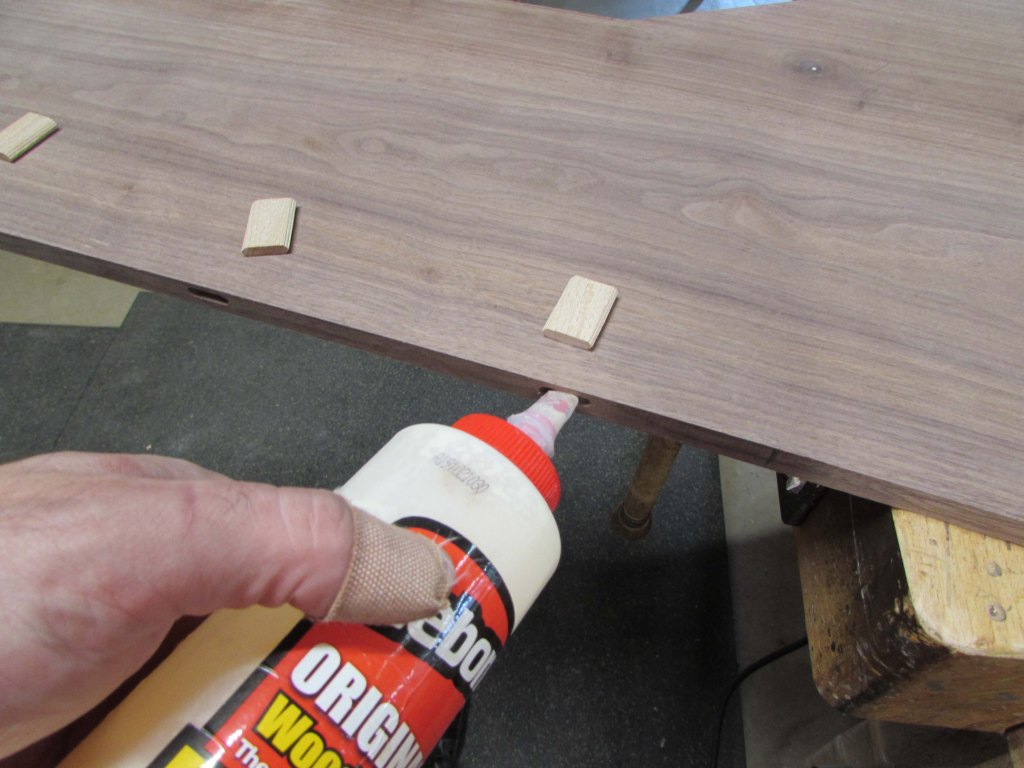
Then I put a drop of glue into each mortise on one of the panels, and inserted the tenons so that they are permanently attached to one side.
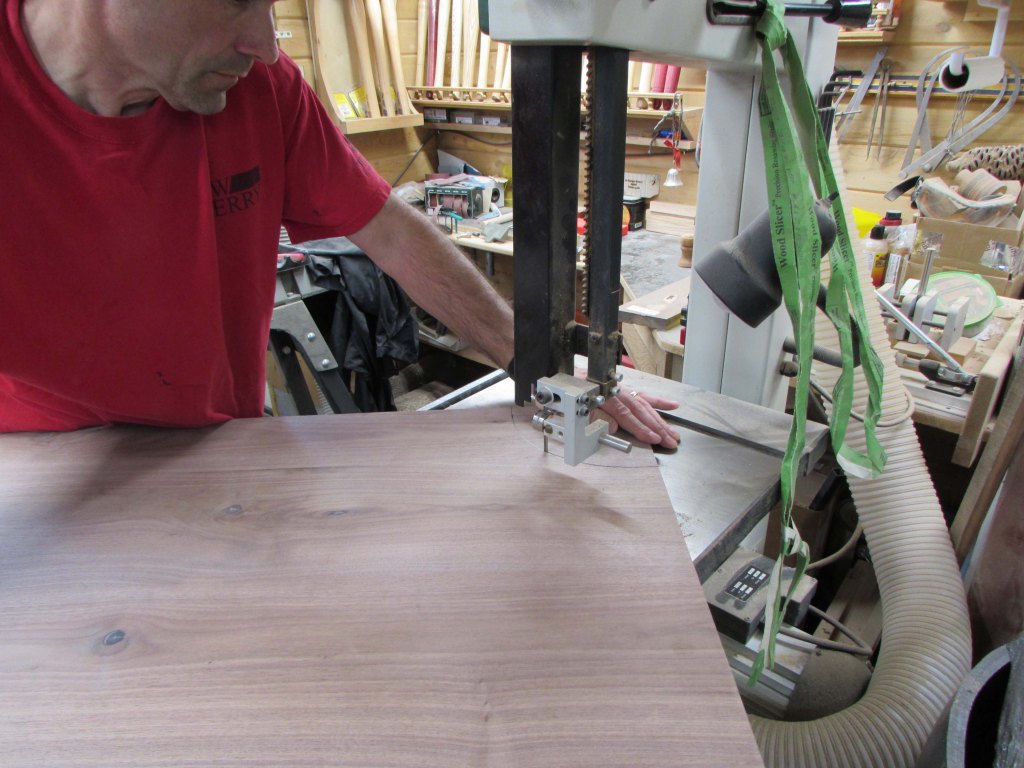
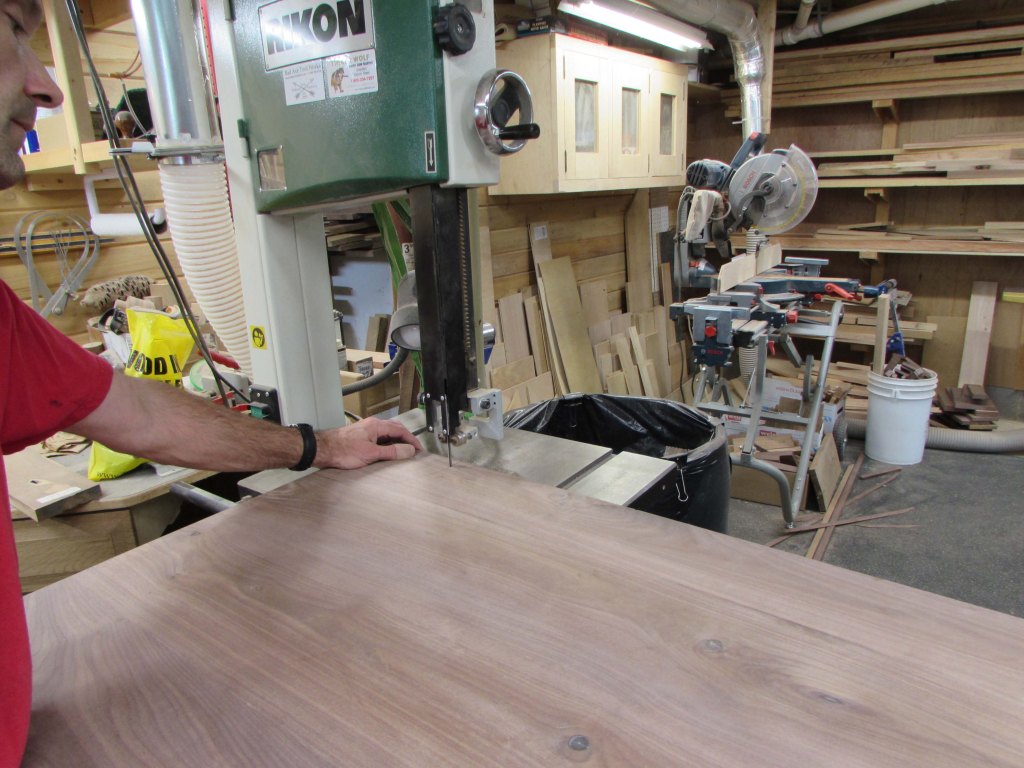
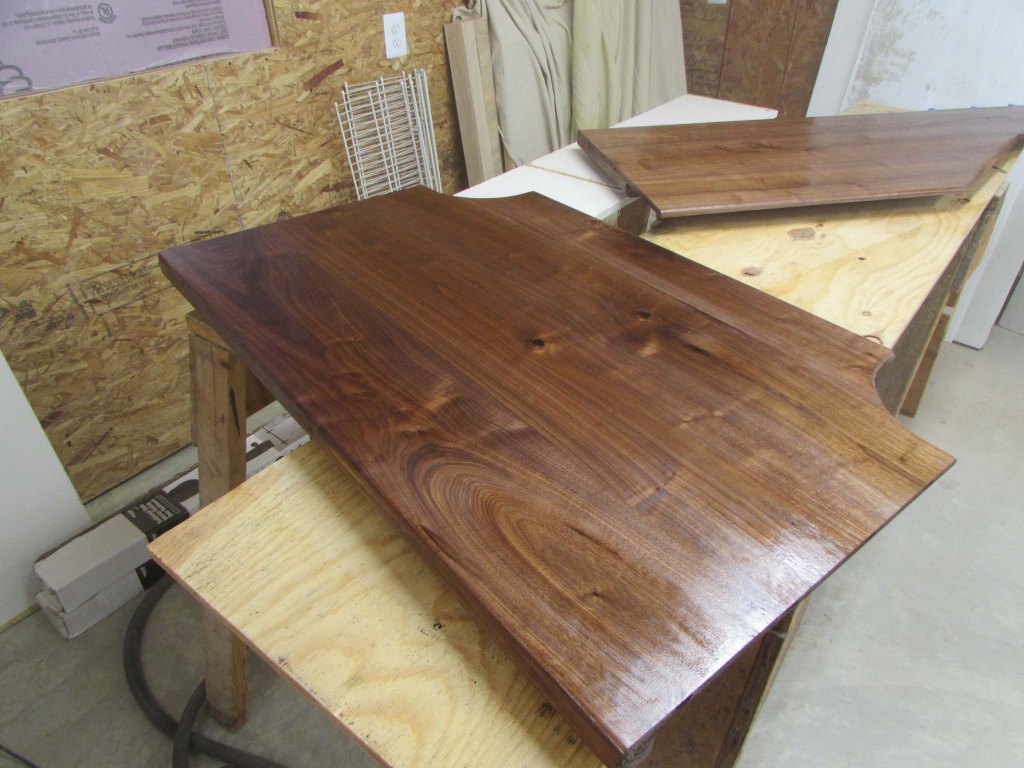
While that dries, I take the deeper panel to the bandsaw and cut out the curved corners.
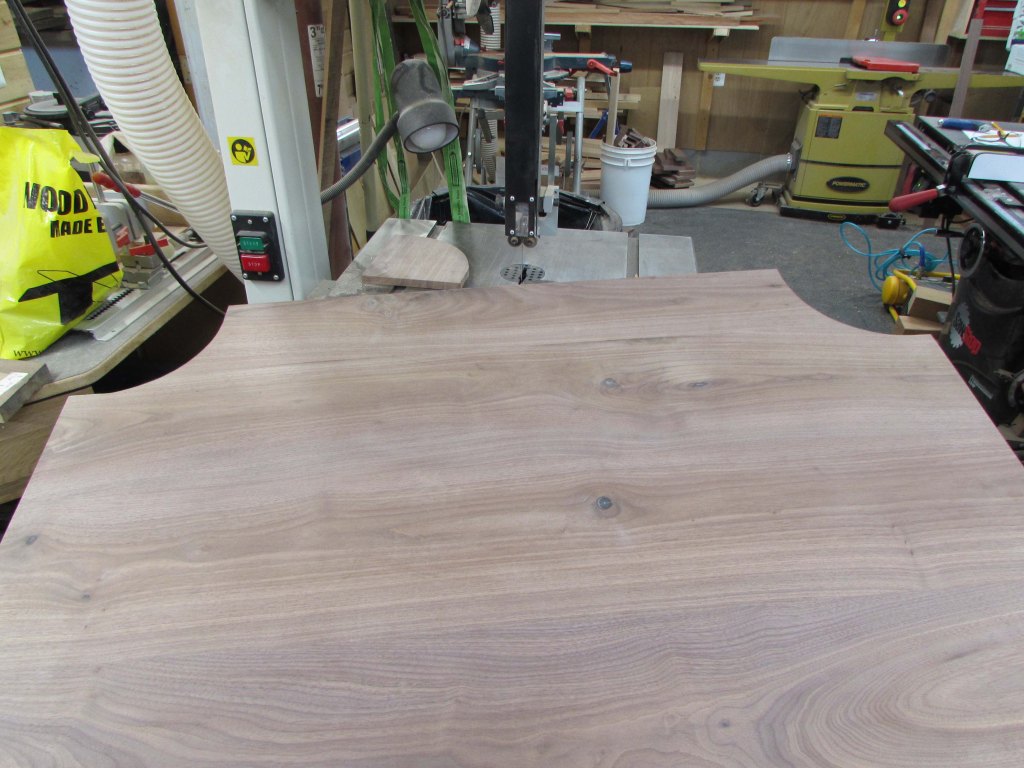
After they are cut, I clean them up on the spindle sander.

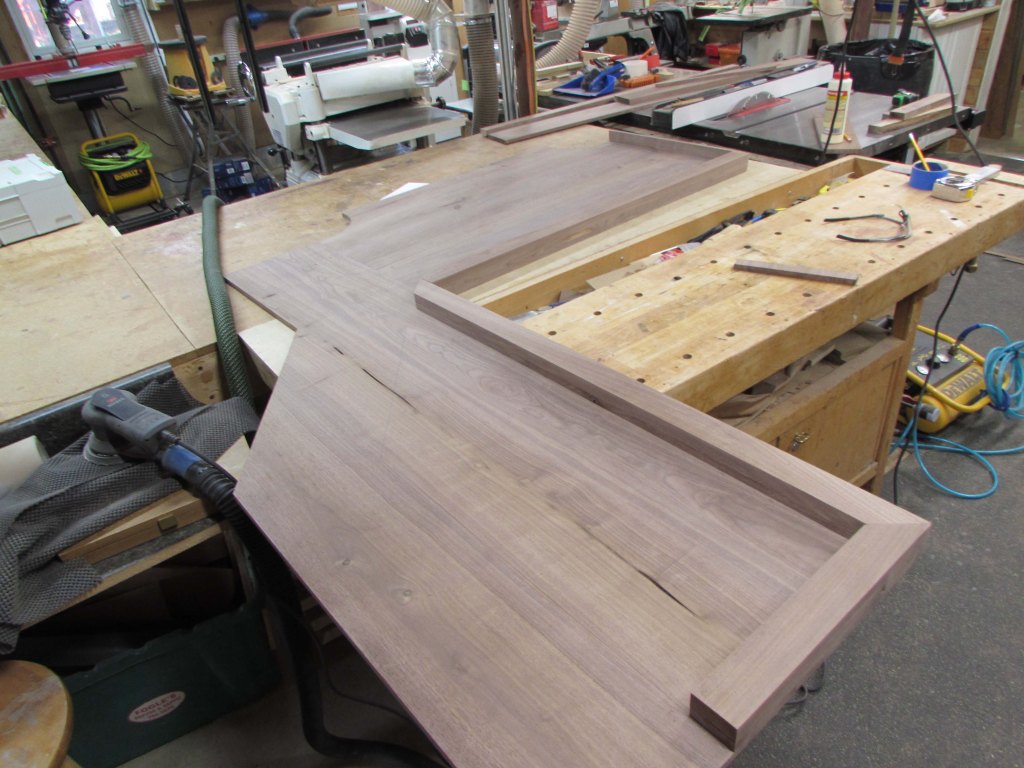
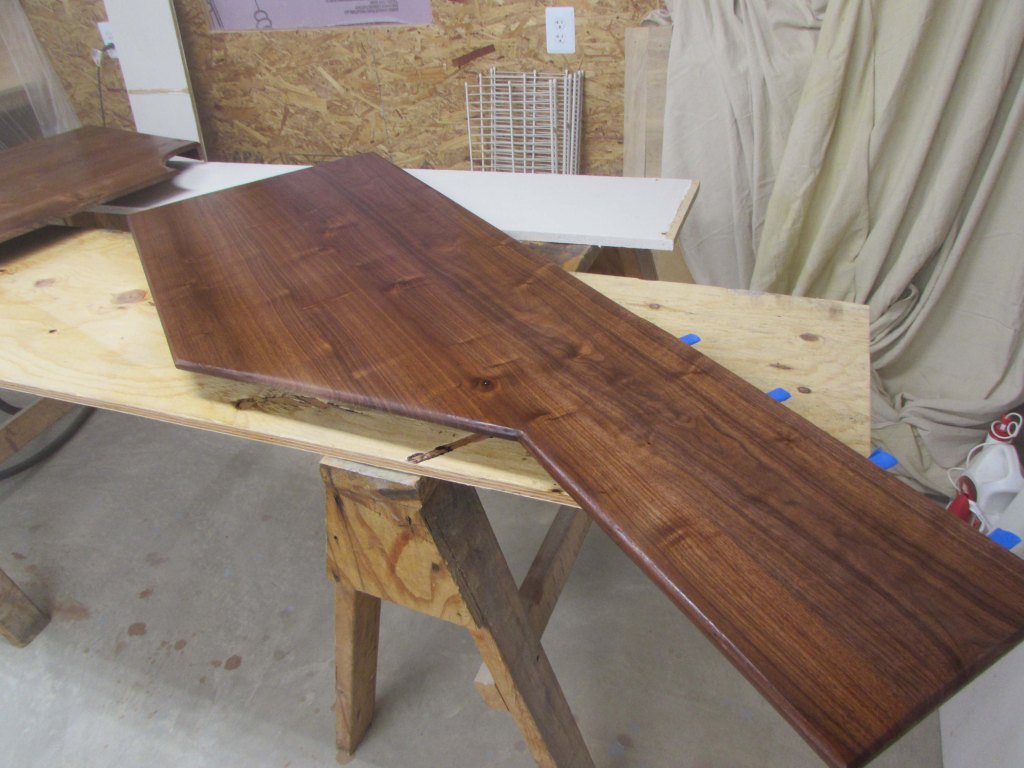
The panels are done, so now it is time to start making the 2″ thick edge around the desk.
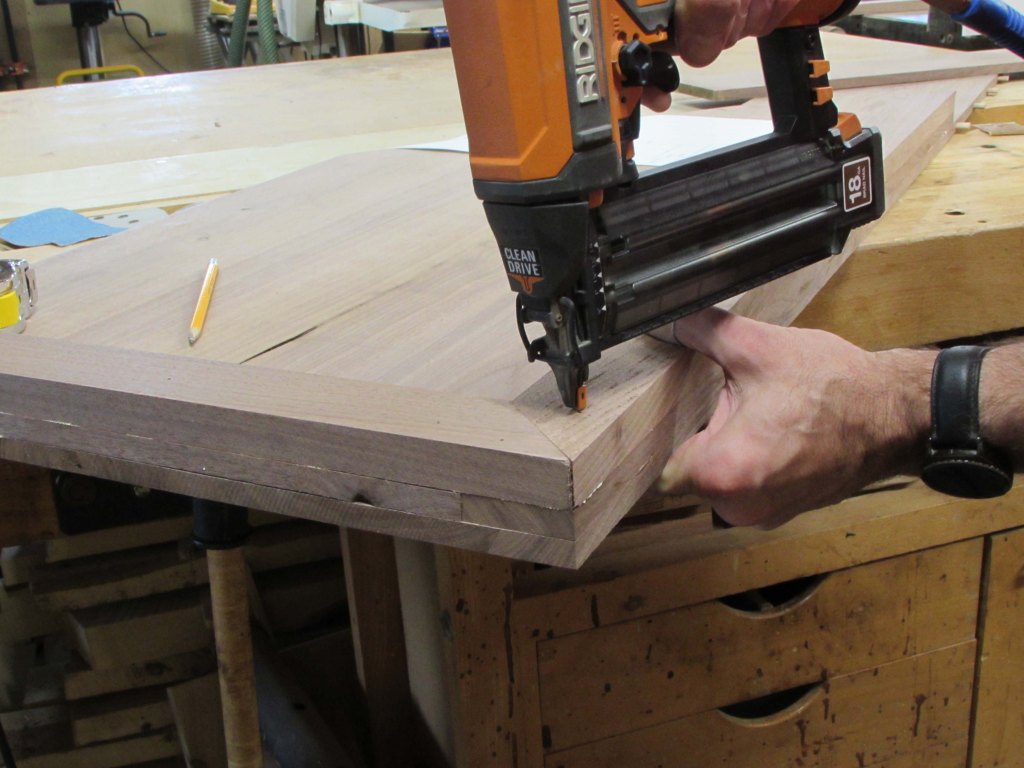
I first cut some of my 1/2″ scraps to line the edges.
Then some 1″ thick ones, all about 2″ wide.
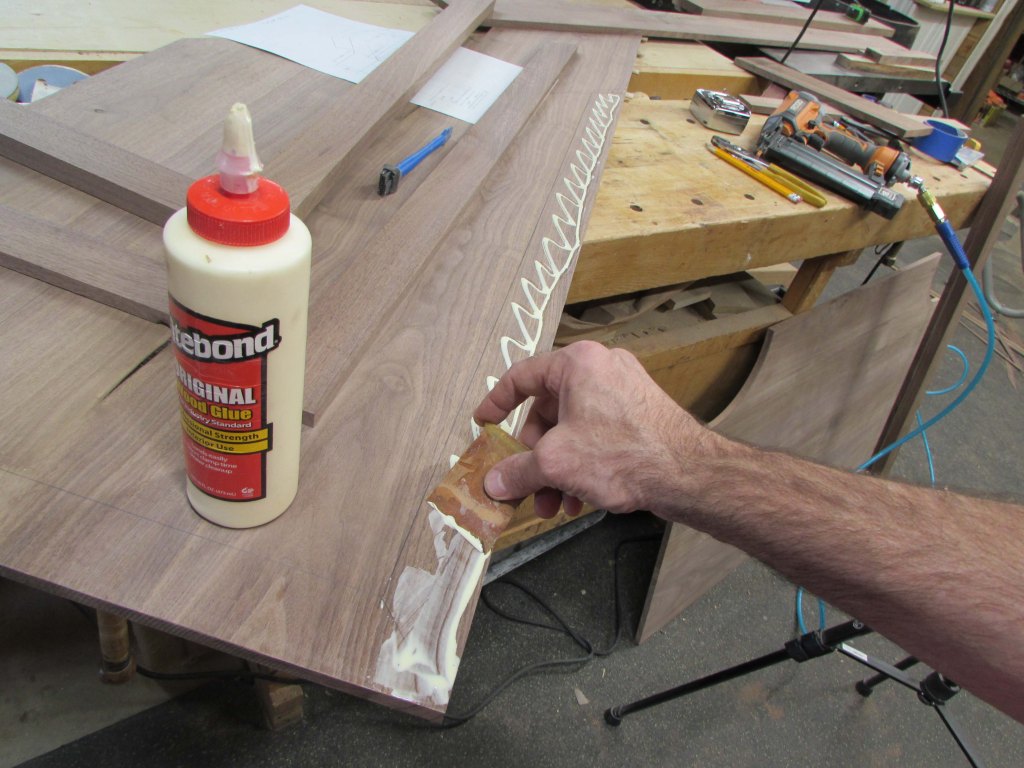
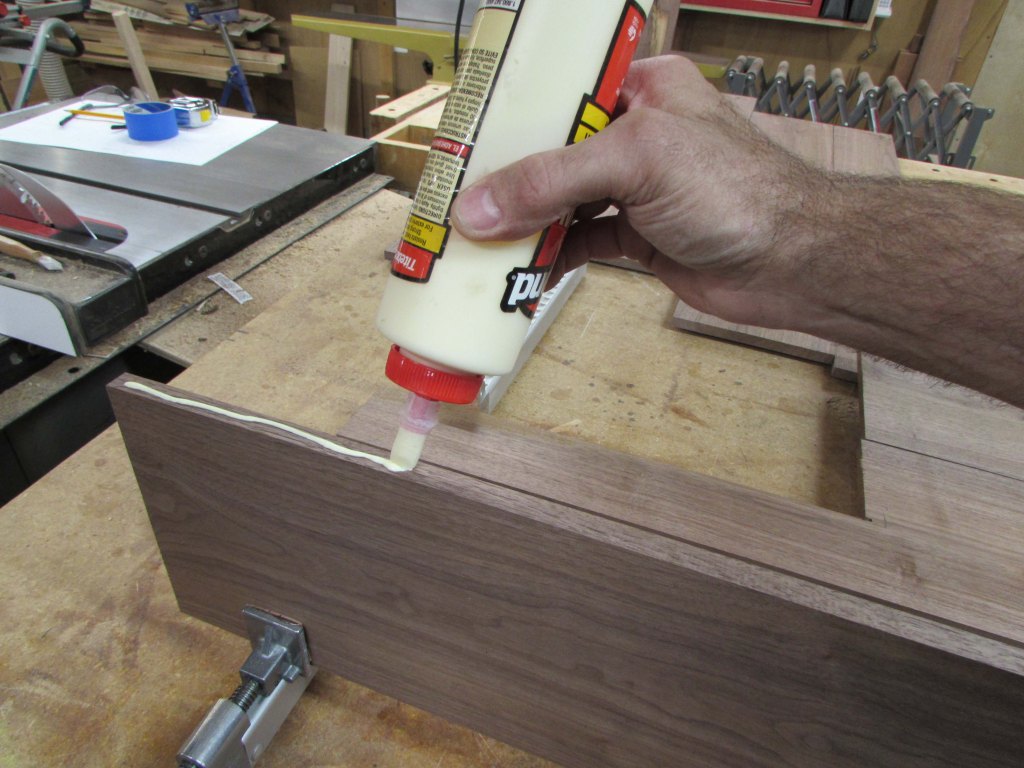
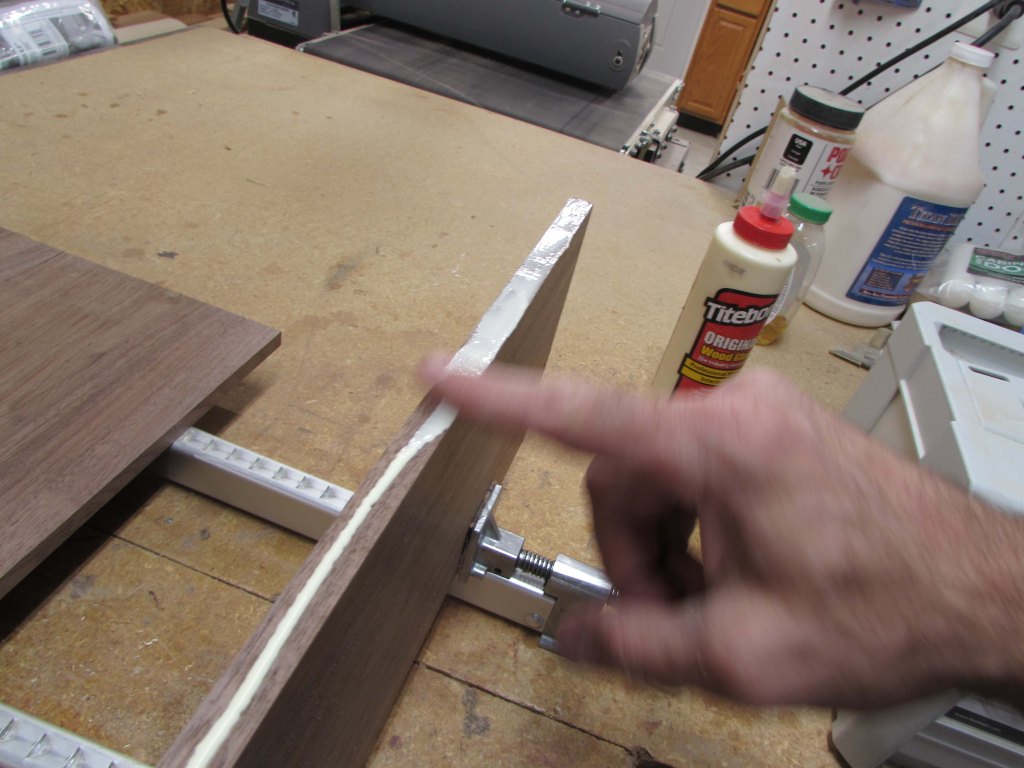
Then it is time for gluing and nailing.
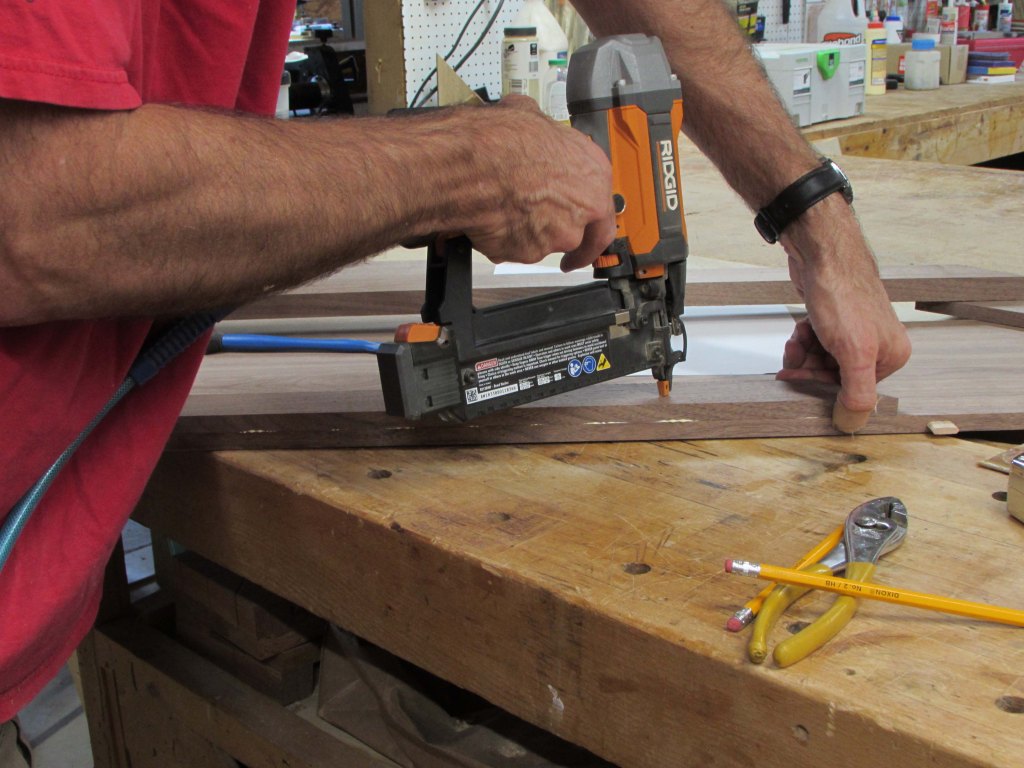
I only use a few brad nails to keep the boards from sliding around when clamped.
Then I clamped every surface I could to try to avoid having any gaps.
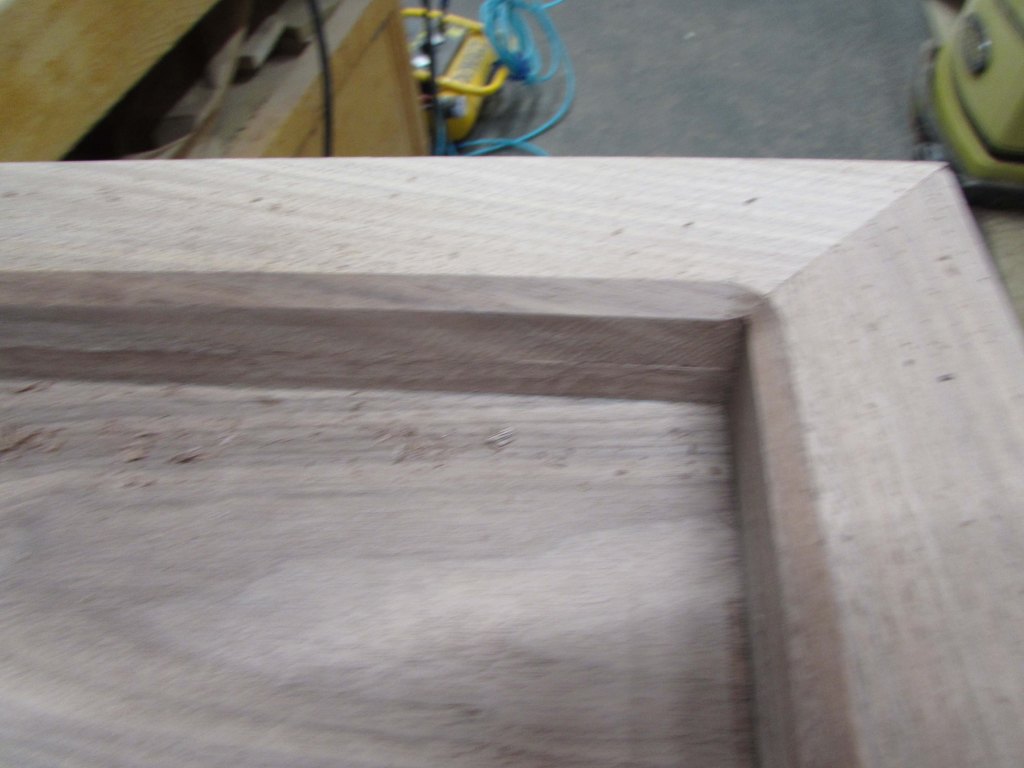
I attached a 1/2″ thick strip on the outside edge of the desk as well.
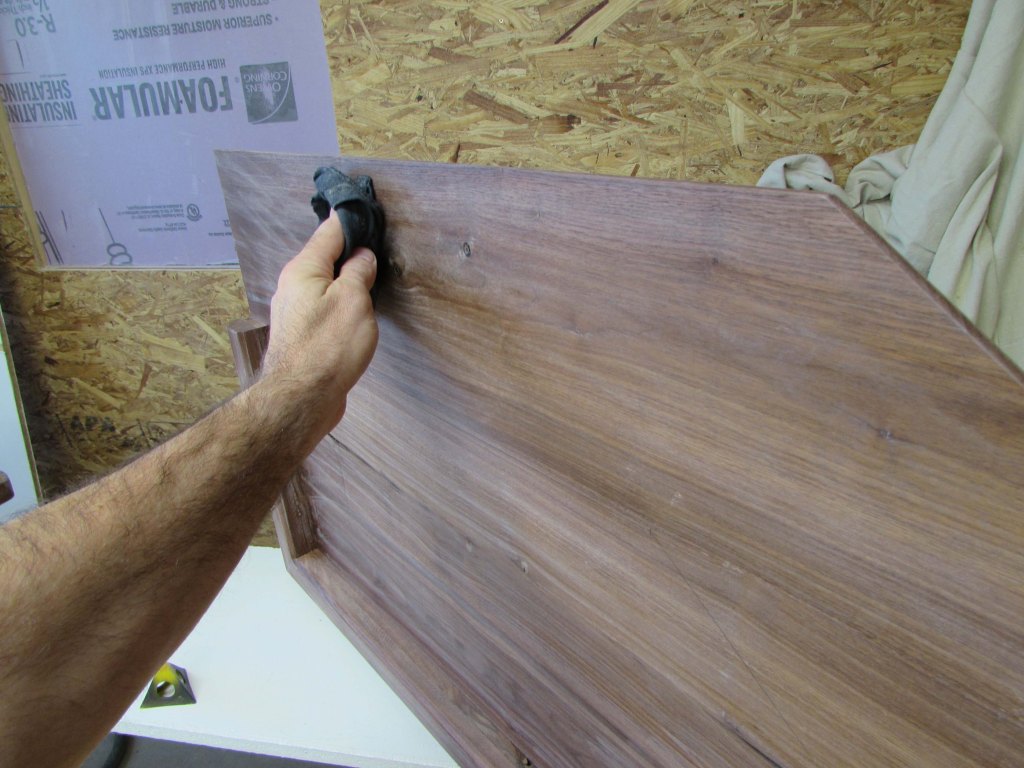
When the clamps were pulled, I sanded all of the edges. The new sander worked really well cleaning up the edges.
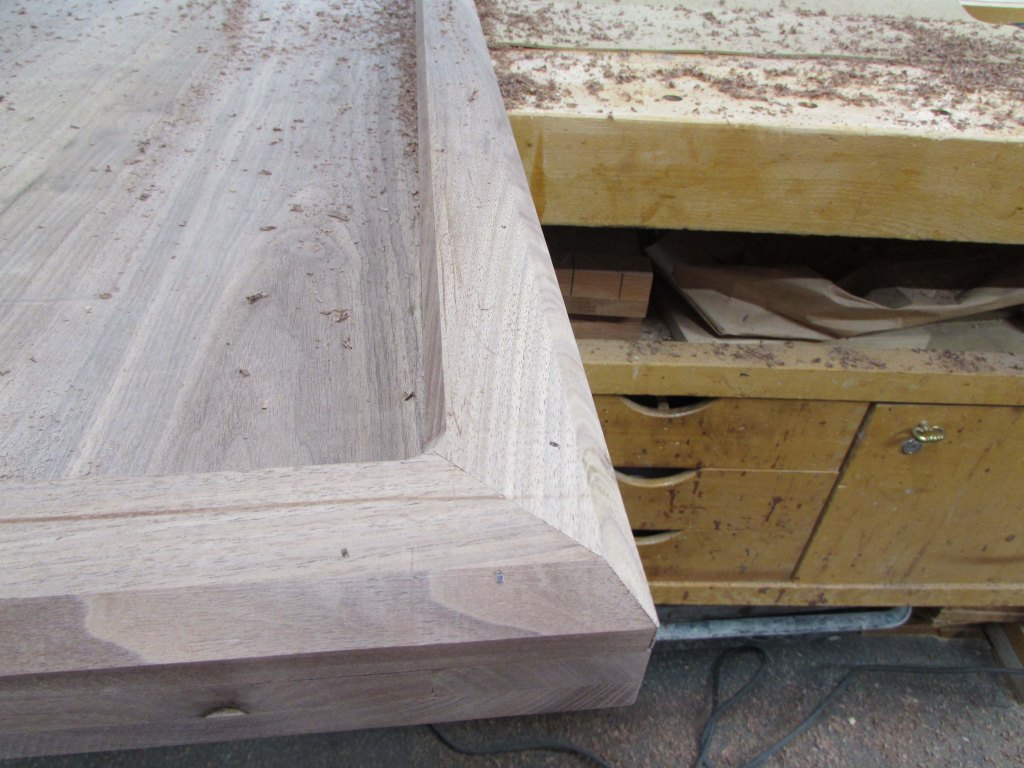
With the banding in place, I can now route the edges.

The inside edge gets a 1/4″ chamfer and the outside, bottom gets a 3/4″ chamfer.
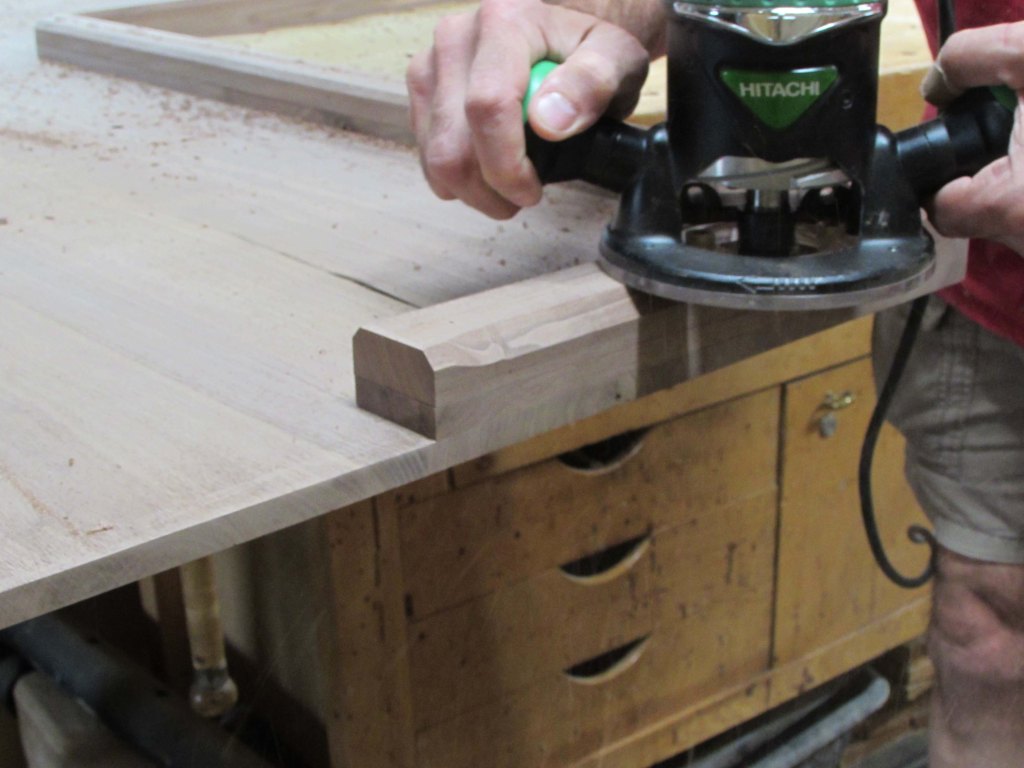
This gives me a nice graspable edge as well as removing any sharp edges you could bang a leg into.

After thoroughly sanding all the sharp edges away, I flip everything and add a 5/16″ radius to the top to ease the edge.
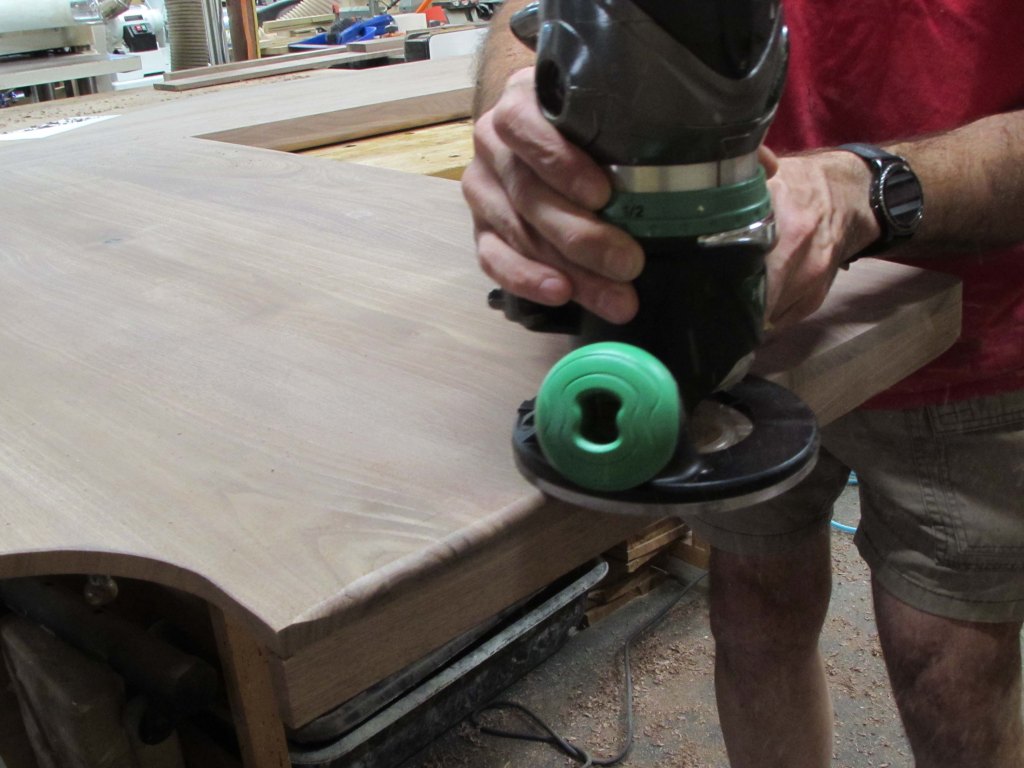
I used the sander to round the corner of the desk as well.
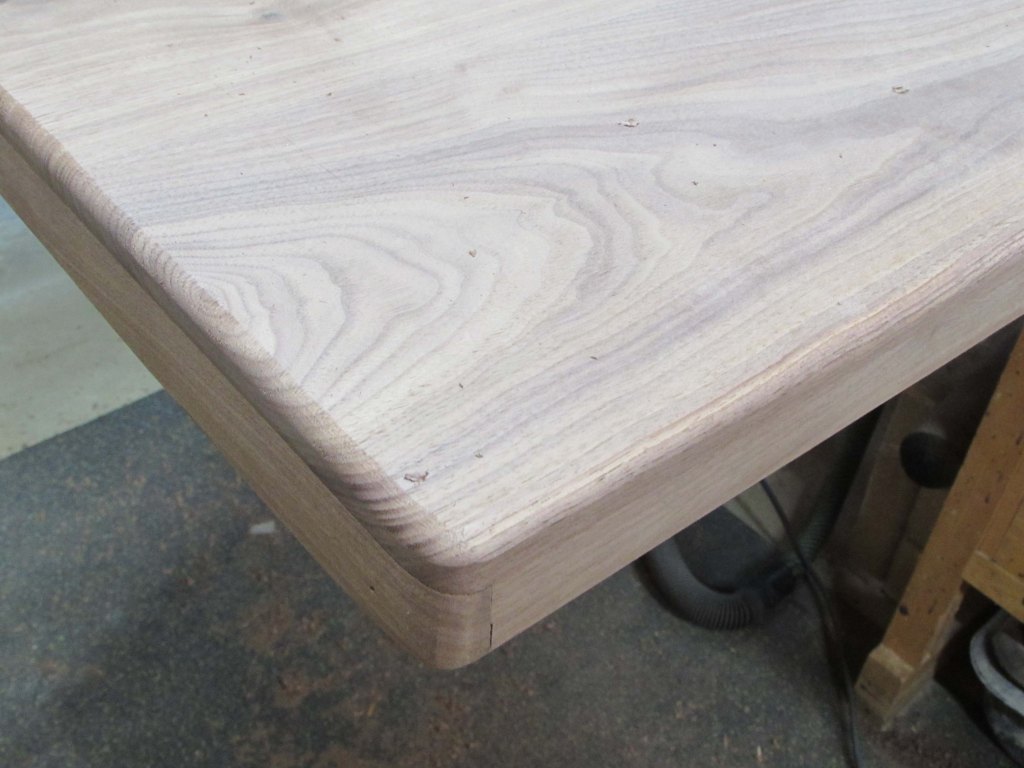
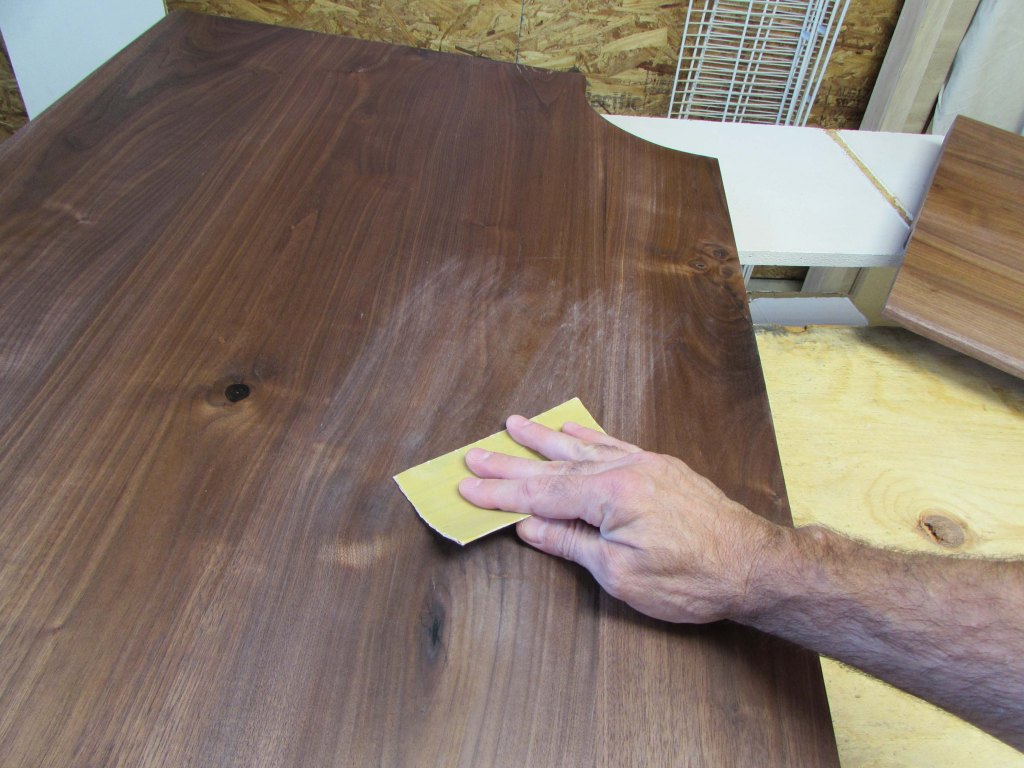
I did a little hand sanding on the radius and sanded all the surfaces down to 220 grit.
Since the tenons are a press fit, I wrap them in tape before applying finish.
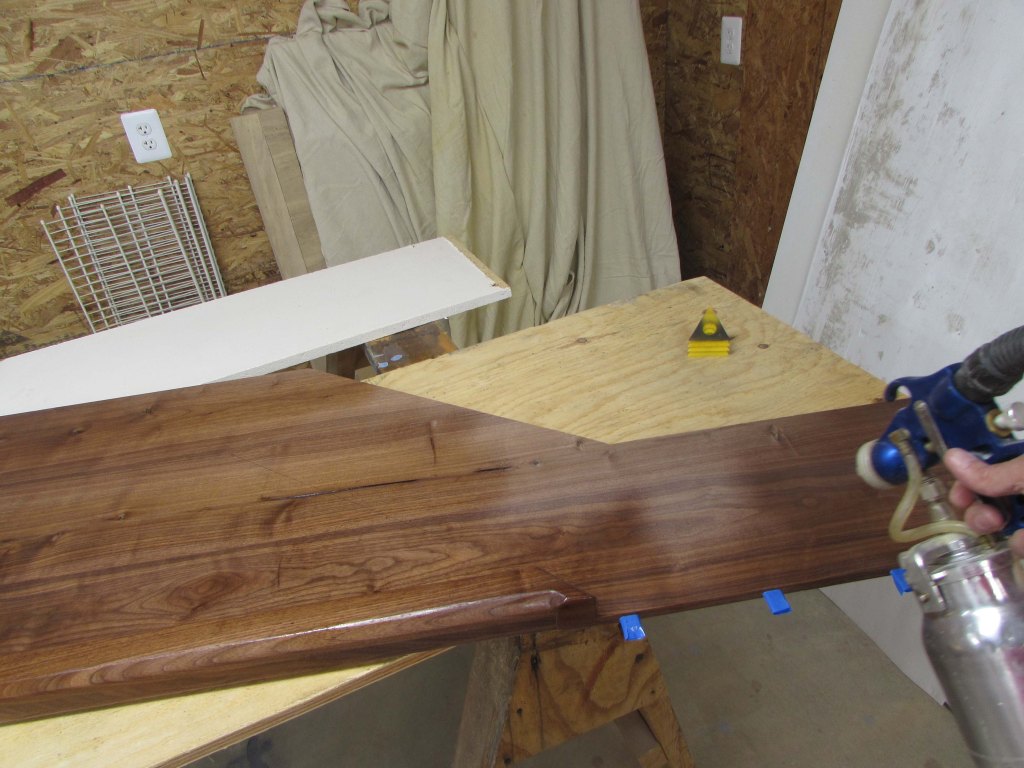
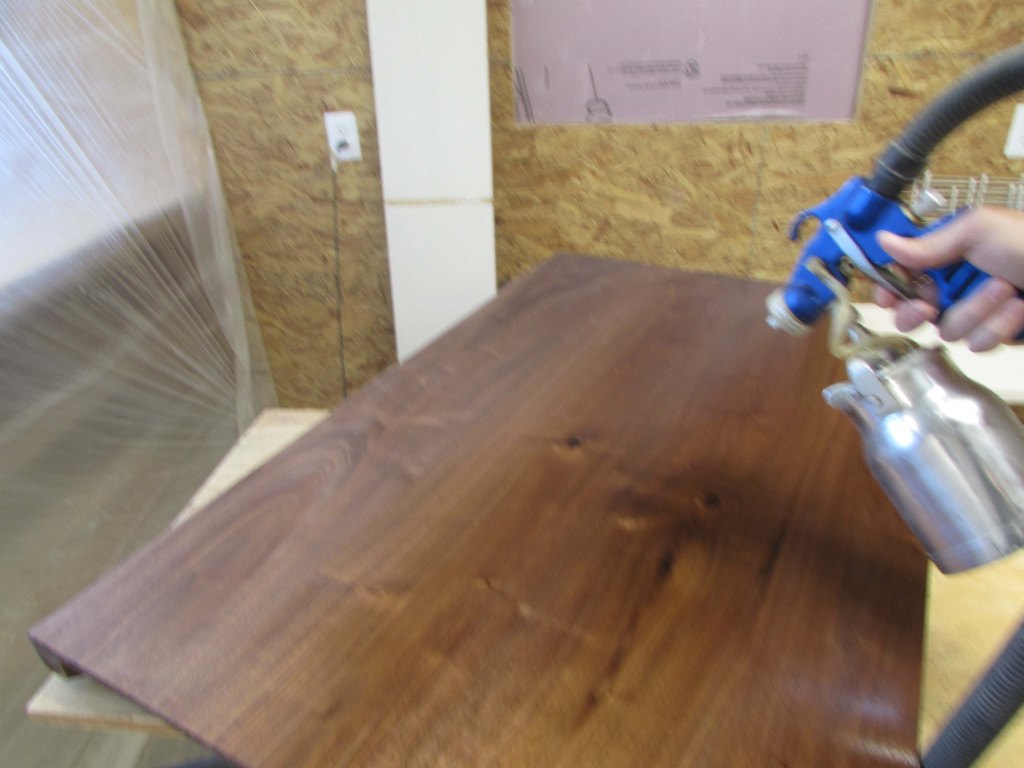
Then it is time to start spraying. I spray the bottom first, then flip each panel over onto painter’s pyramids and spray the top.
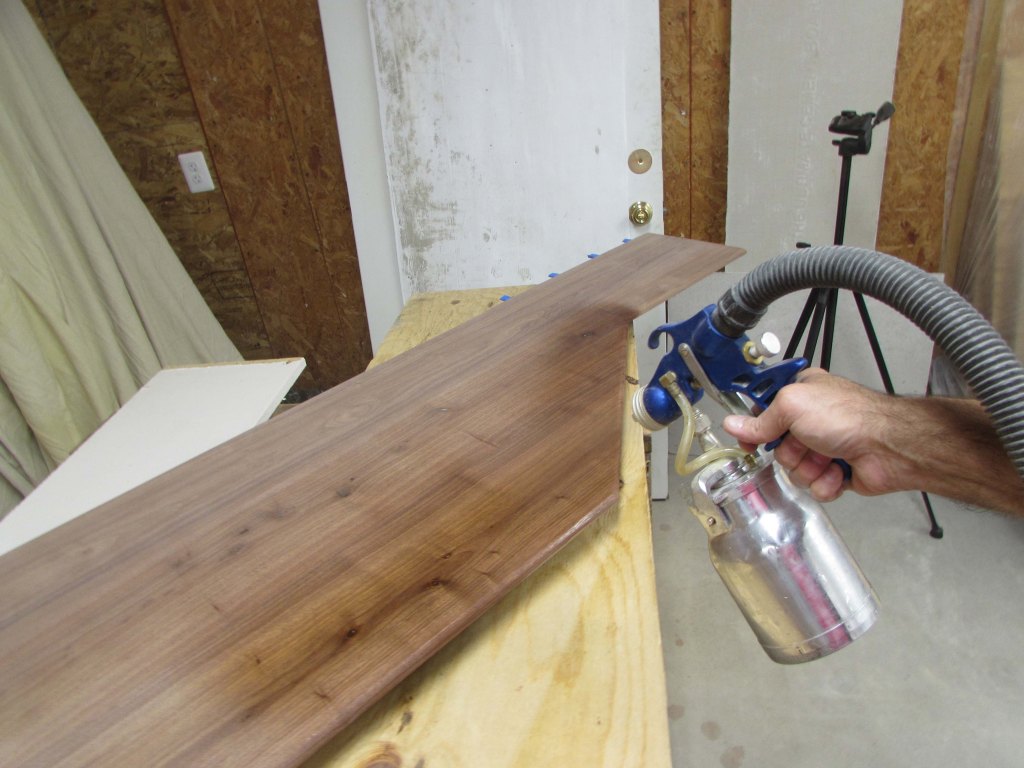
My finish for this desk is an oil-based, warm satin polyurethane. I applied three coats, sanding with 400 grit paper between each coat.
I wipe off the dust before applying the next coat.
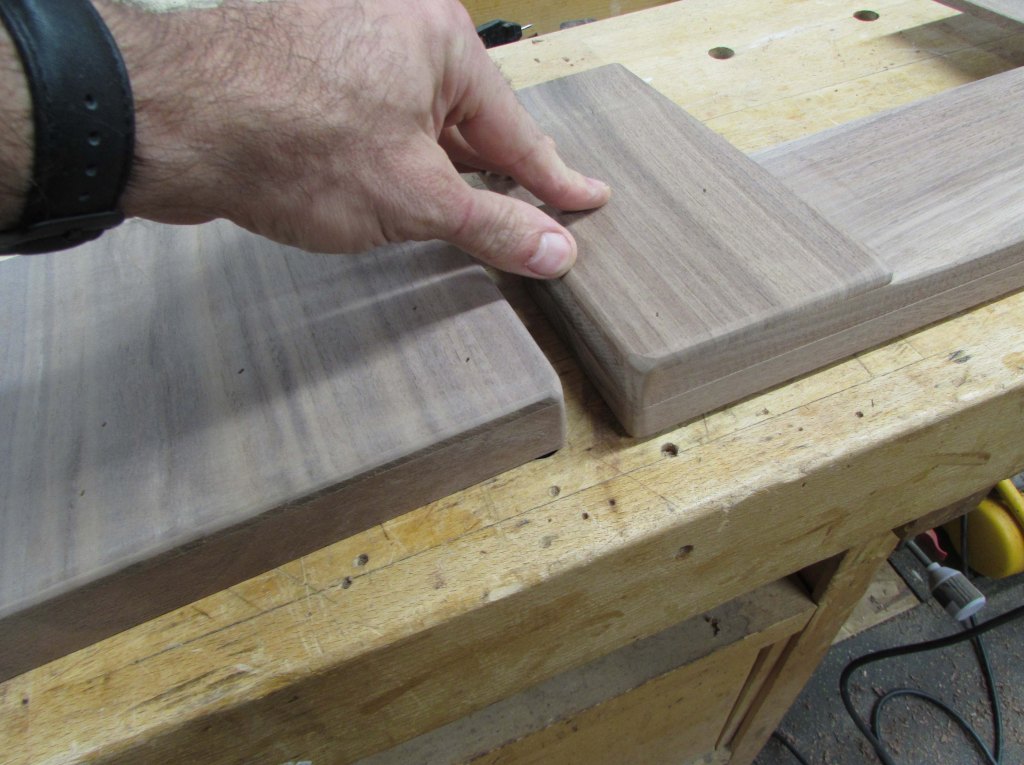
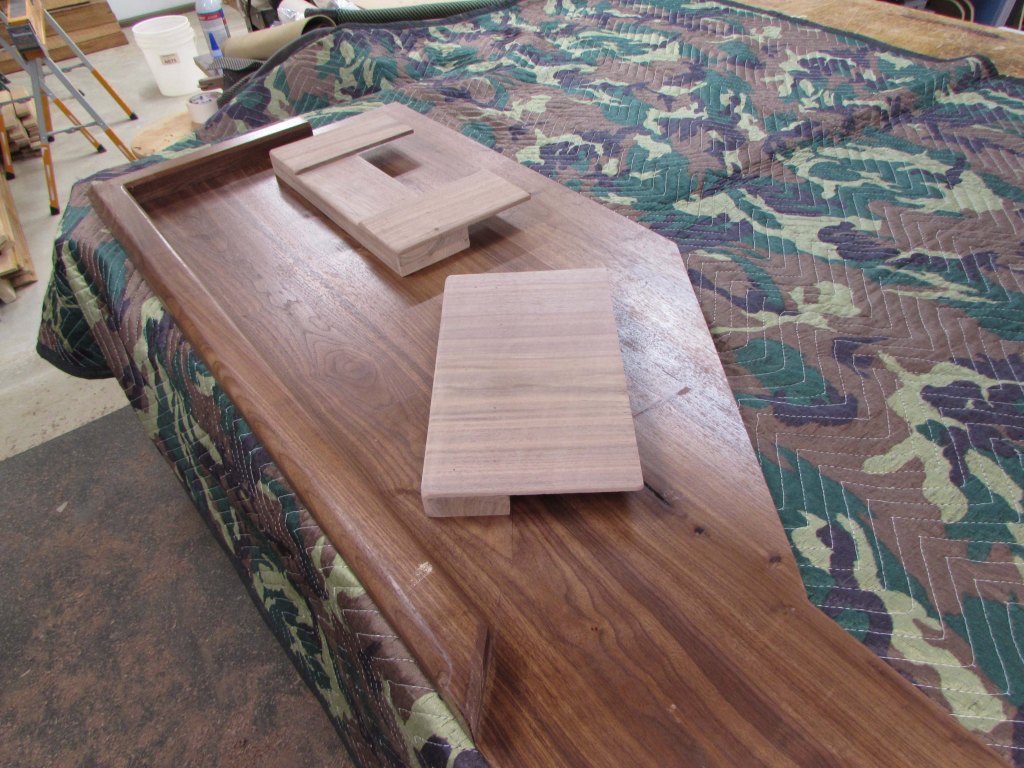
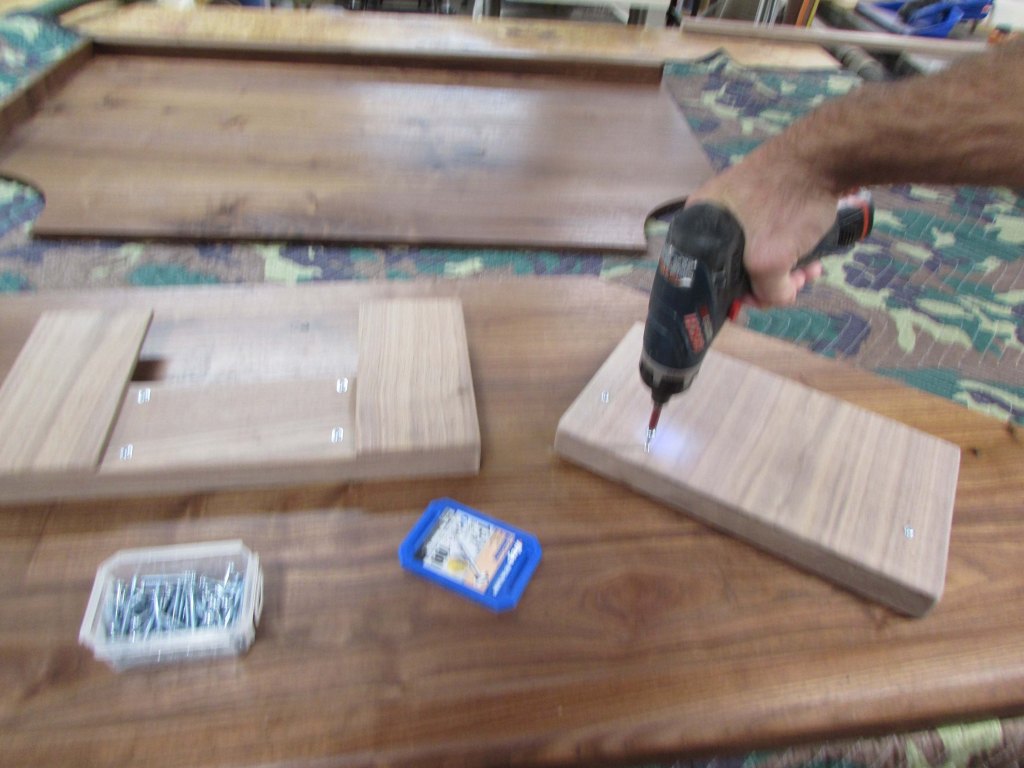
While the finish dries, I made up a few attachment brackets, designed to match the thickness of my desktop at work. With these, I can slide the long section into place and attach it with a few screws from below.
After the glue dried on the brackets, I sanded all the corners and edges, just in case I bang into them from below, by accident.

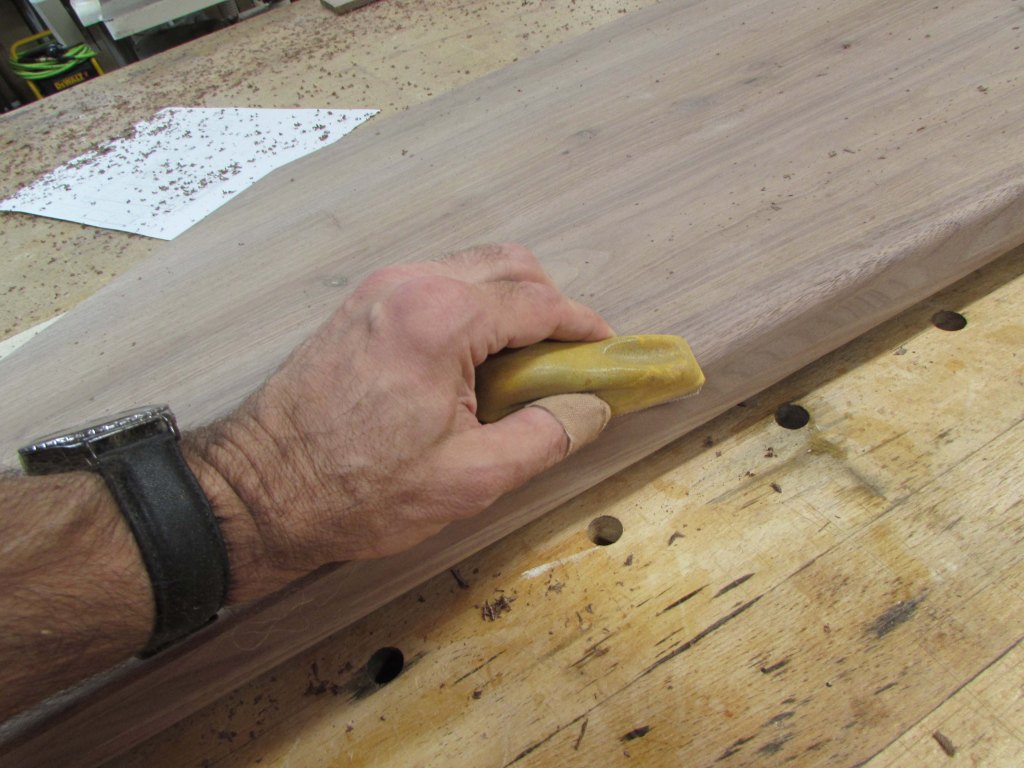
When the finish is dry, I apply a coating of paste wax to the surface and rub it in, then remove the excess. This gives the surface a soft soapy feel that I really like.
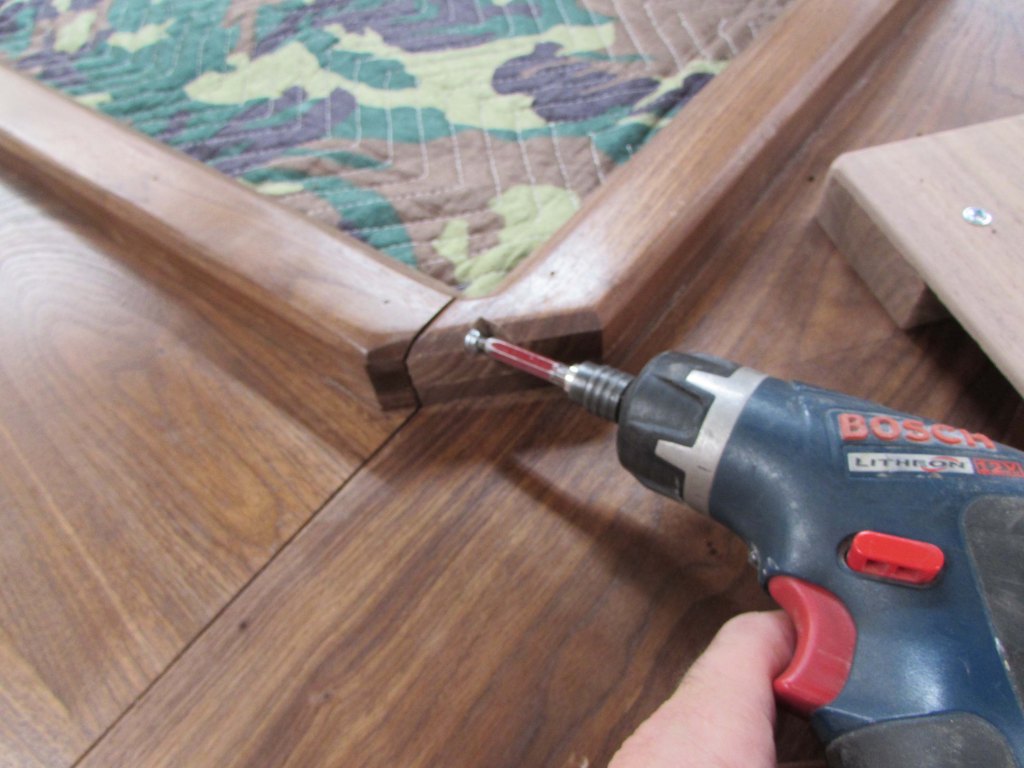
Next, I align the mounting brackets and screw them down. I am not gluing them on because I may need adjustability at work when installing.
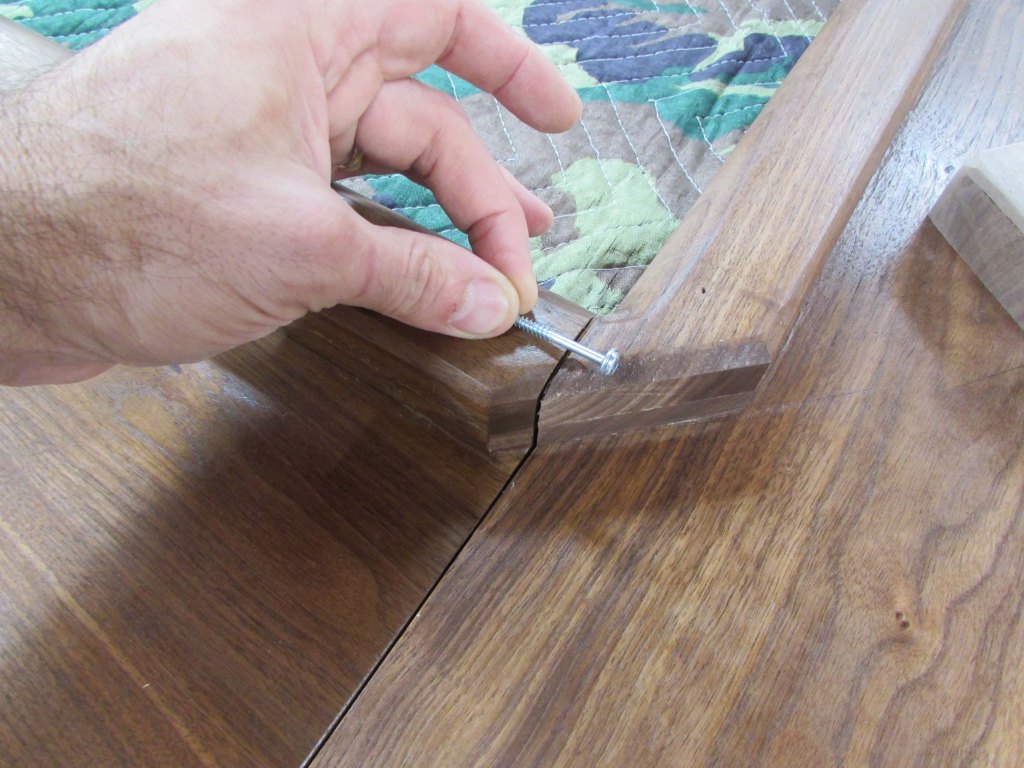
The last thing I want to add is a screw to attach the two panels together once installed. It won’t be much, but it will keep the joint from separating.
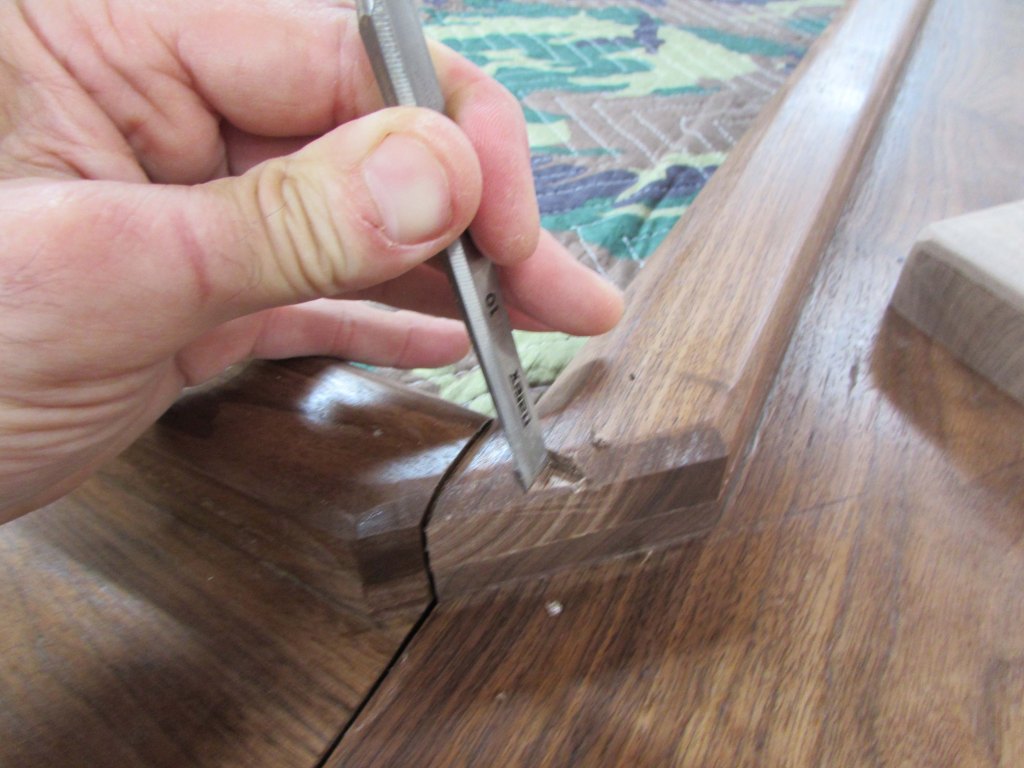
I will have limited access so it needs to go near the top but be recessed. I used my chisel to notch out the corner where it will go.
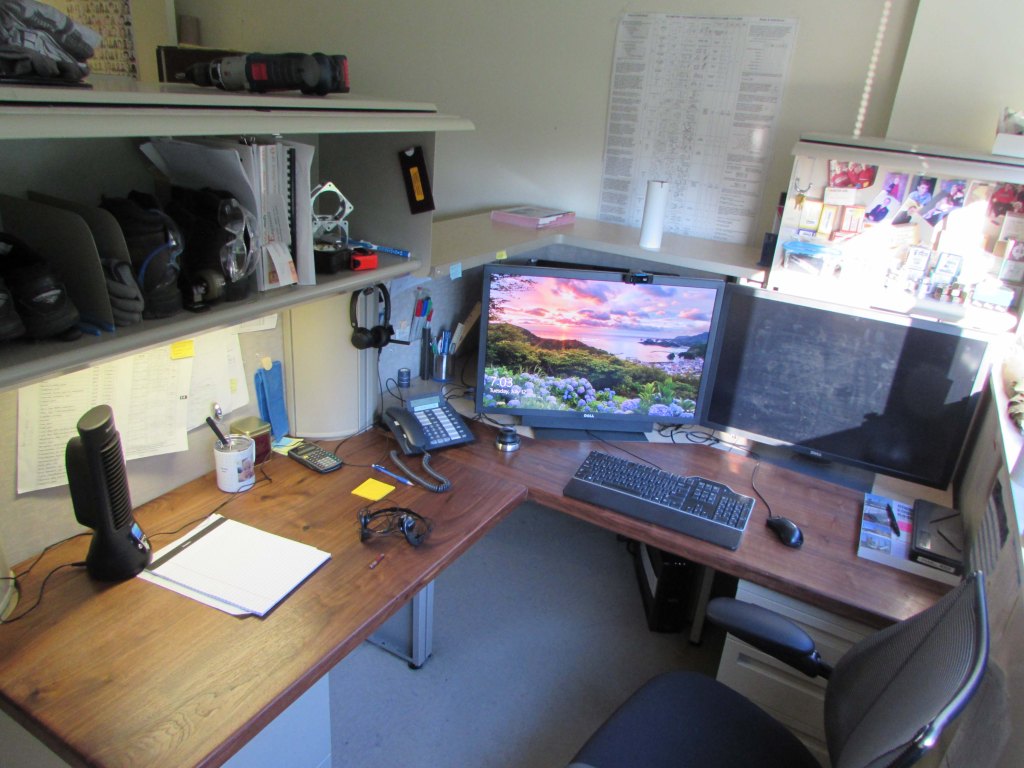
So, remember my small desk?
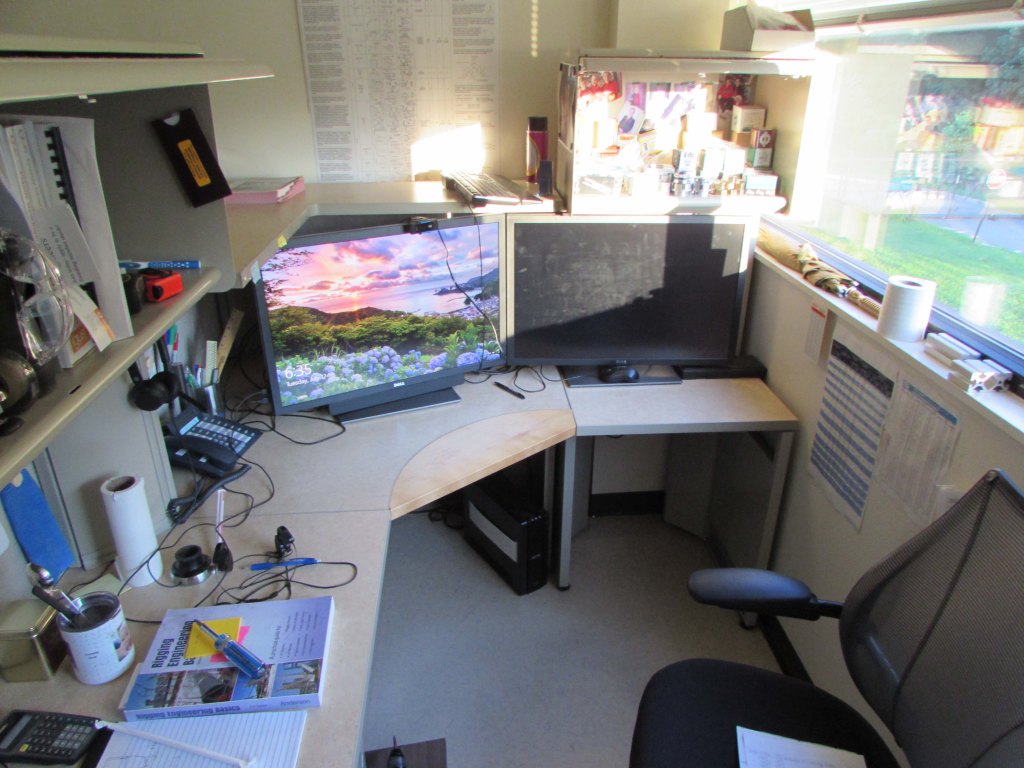
It may be hard to tell from this perspective, but the monitor on the right had 7″ of desk in front of it before, now it has 21″ of space. The section on the left is now only 3″ deeper but add that to the 14″ deeper on the right and that is a lot of added space. The soft, rounded edges also feel a lot better on my arms. The added depth also allows me to move a file cabinet from the left to the right side and shove it back out of the way of my knees, this gives me a lot more leg room as well.
I may have to add more walnut to the top shelf above the monitors so that I can add a third monitor, but that will be another project.

That looks really nice. You have a new problem though, your desk is nicer then the boss’, he’ll kick you out and take the spot.