
Large walnut & cherry desk part 3
To support the left side of my desk, I need a small shelf to sit in the front corner and blend in with the wall. At the other end, I want a strong set of legs that look nice but stay out of the way. I am going to build the shelf first.

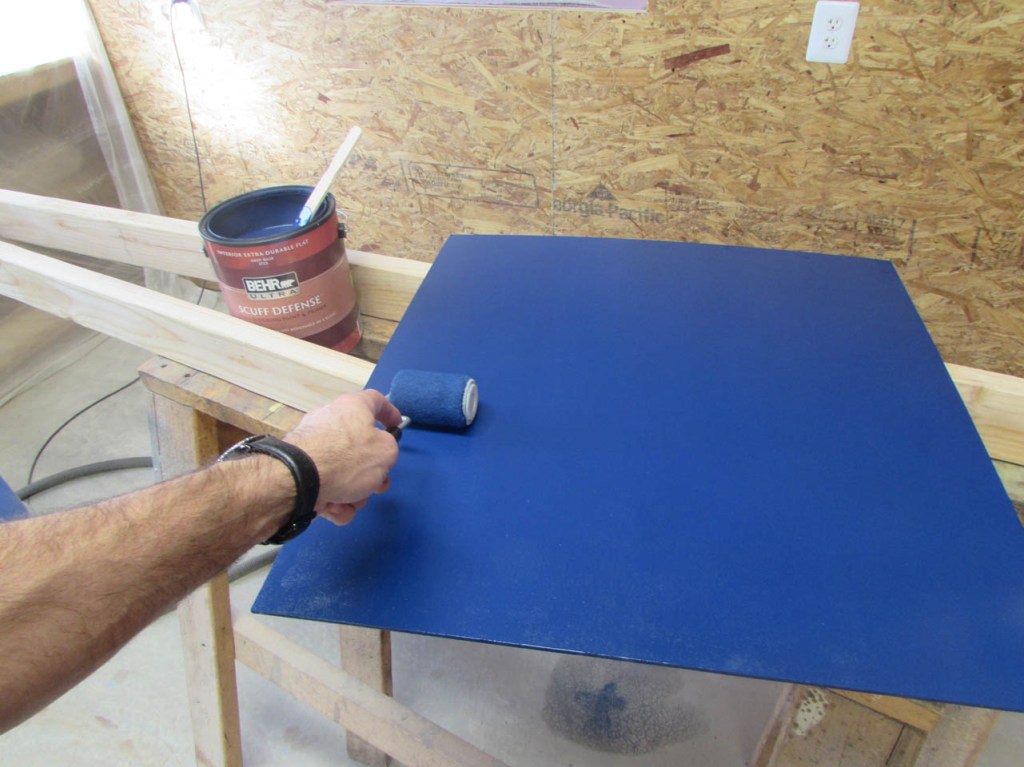
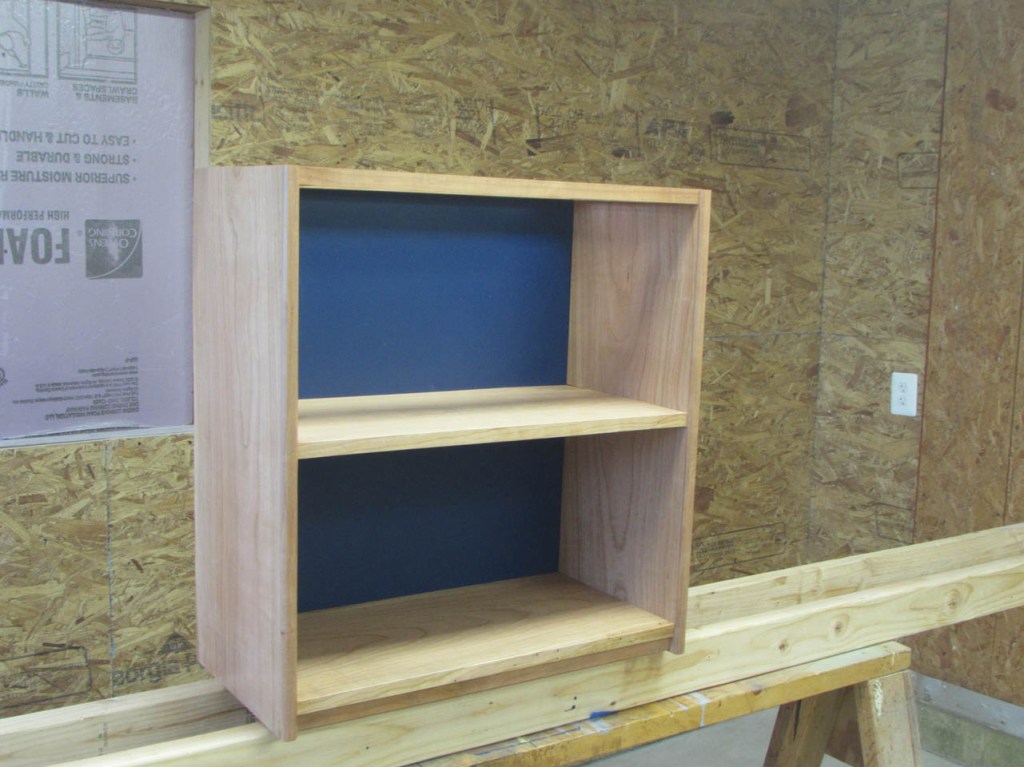
To make it blend in with the wall, I cut the back panel from 1/4″ plywood and paint it a matte blue to match the wall. I used a small roller so I had less to clean up.

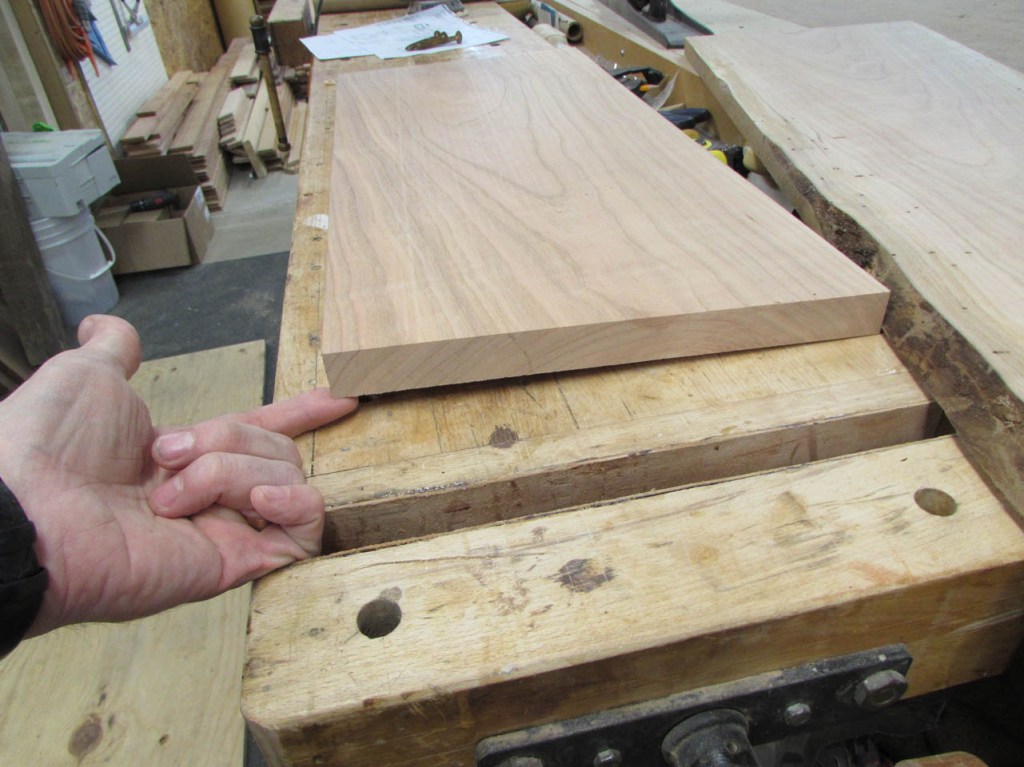
I set the back panel aside to dry and started going through my short pieces of cherry. It appears that the remaining 1″ thick boards have all developed a rather significant twist.

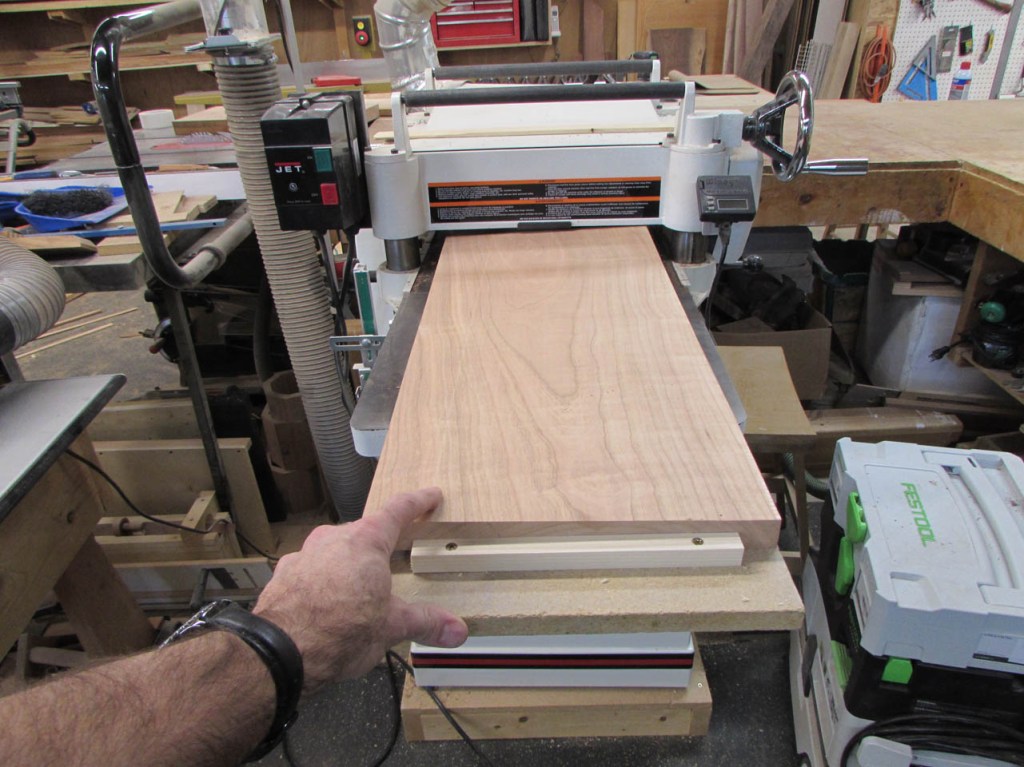
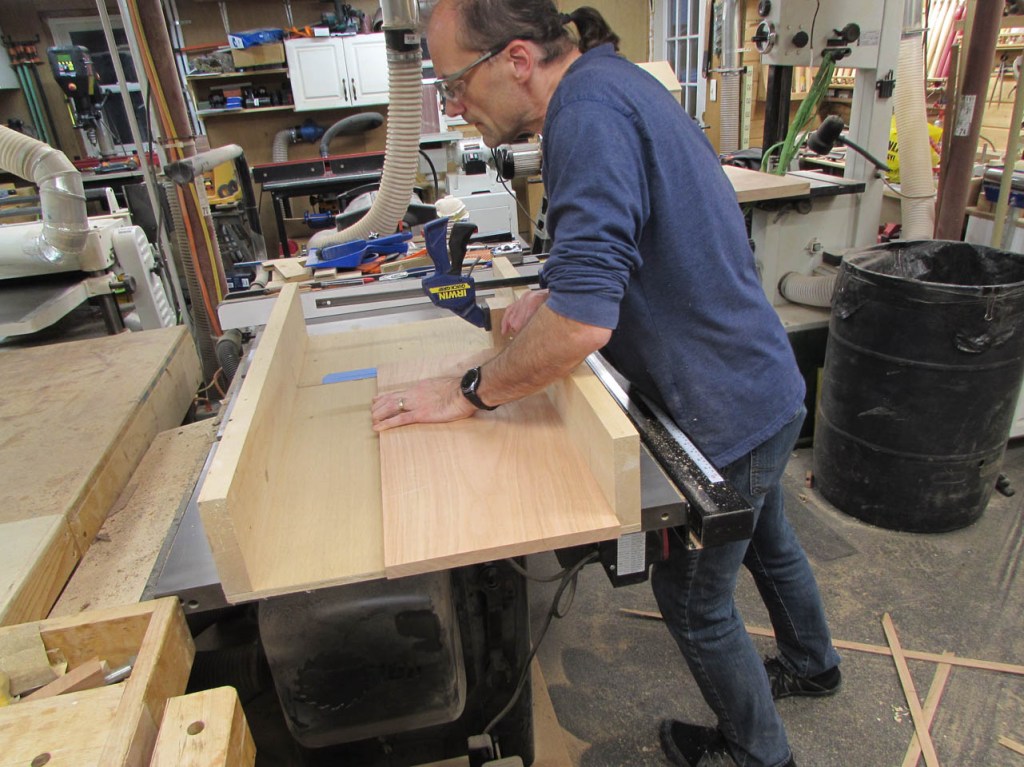
To remove this twist, I am making up a quick planing sled. I attach a 1/2″ thick stop at one end for the boards to push against, when being planed. Then I figure out the height of the twist (3/8″) and divide it by 2 and cut two blocks that thick.

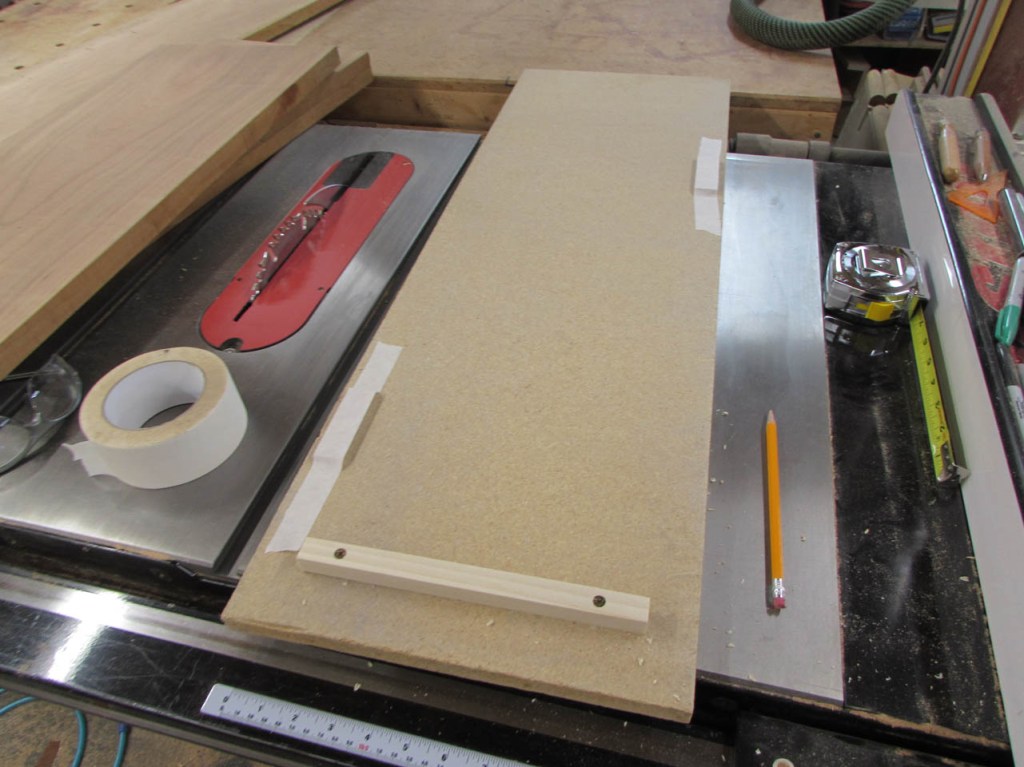
I attach these to the sled with tape and rest the twisted board on them to see if it rocks.
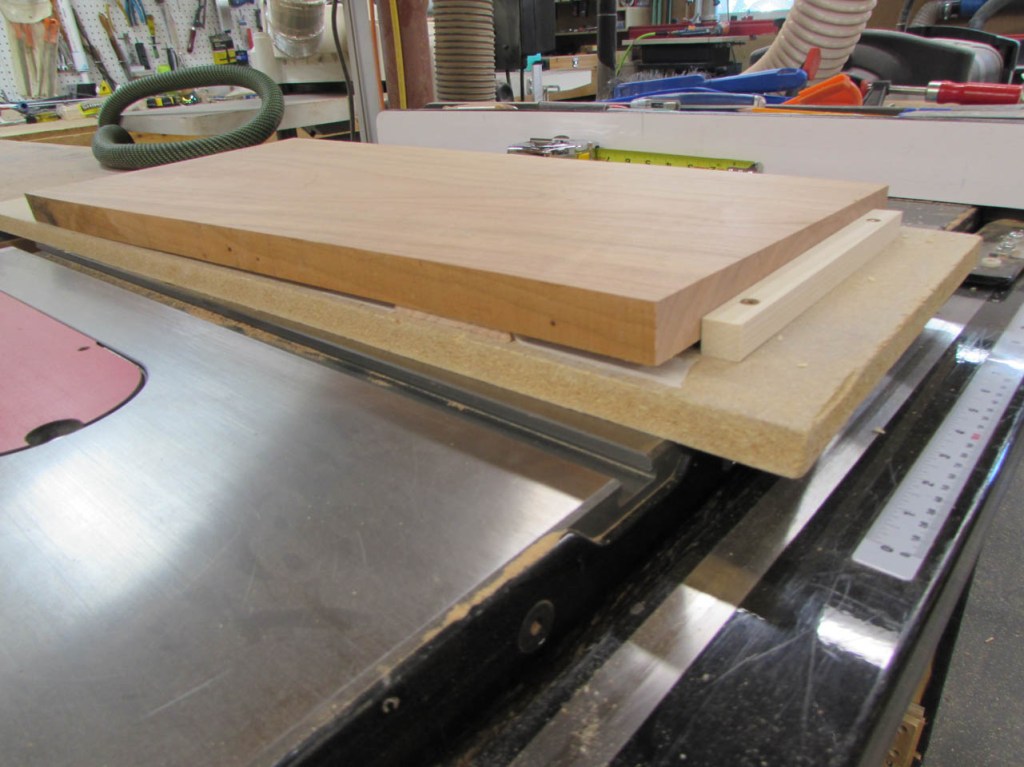
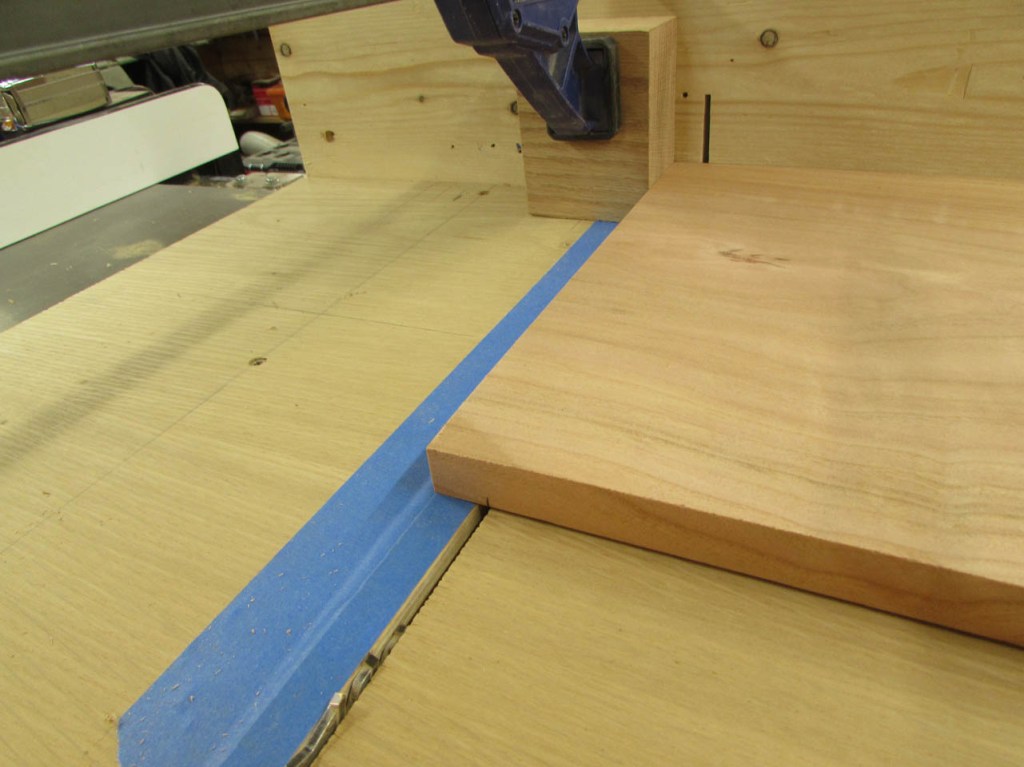
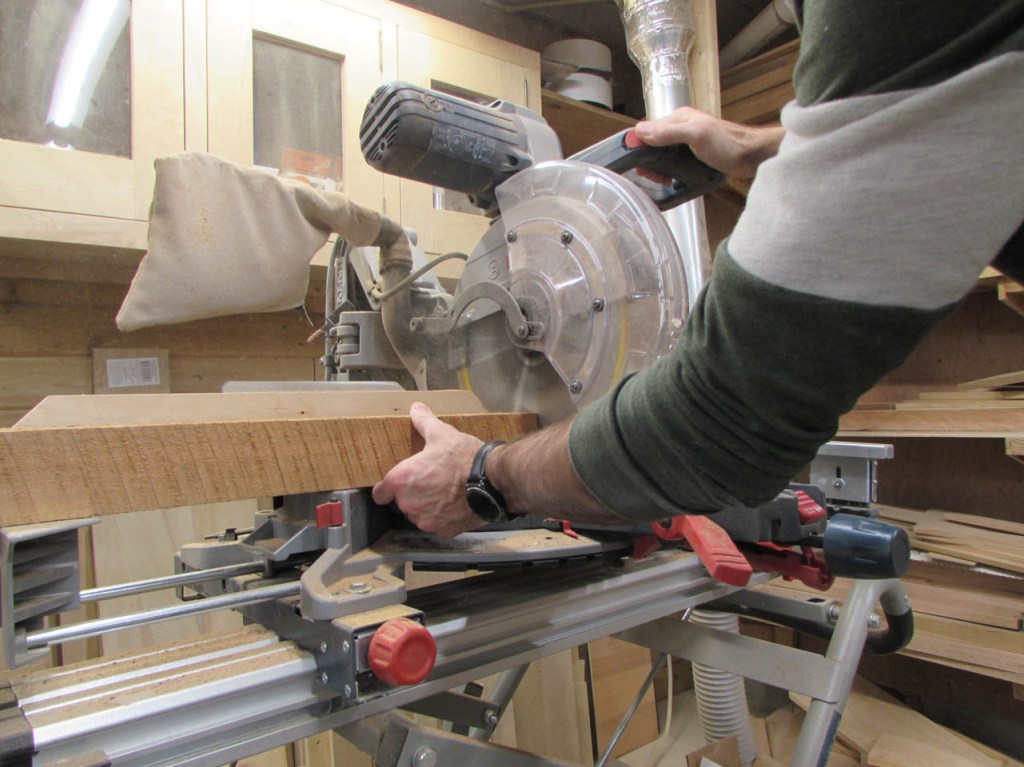
When it is stable, I run it through the sled to take down the high points.
Look closely at the image below and you will see where it is taking off the higher corners.
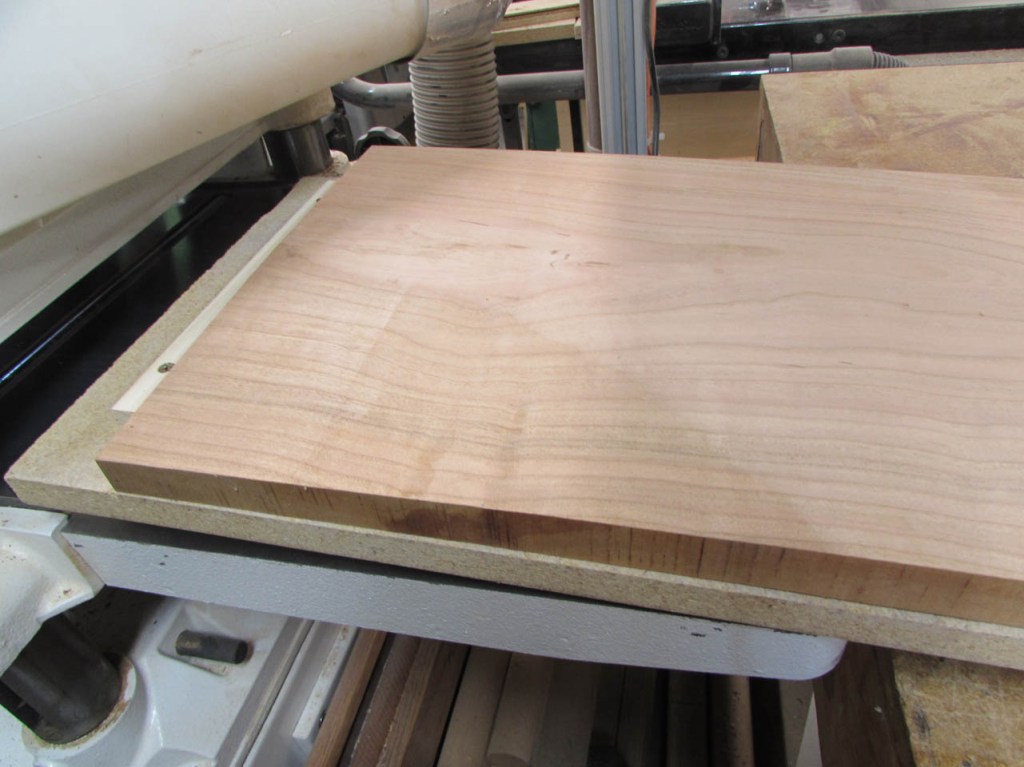

The two blocks were not quite located at all the needed spots so I removed the blocks and used screws instead, that could be adjusted to hit the board. The more screws you add the less the board will bend under pressure from the planer’s rollers. Once that side is flattened, the sled is removed and the board flipped over and run through the planer to remove the high points on the opposite side.
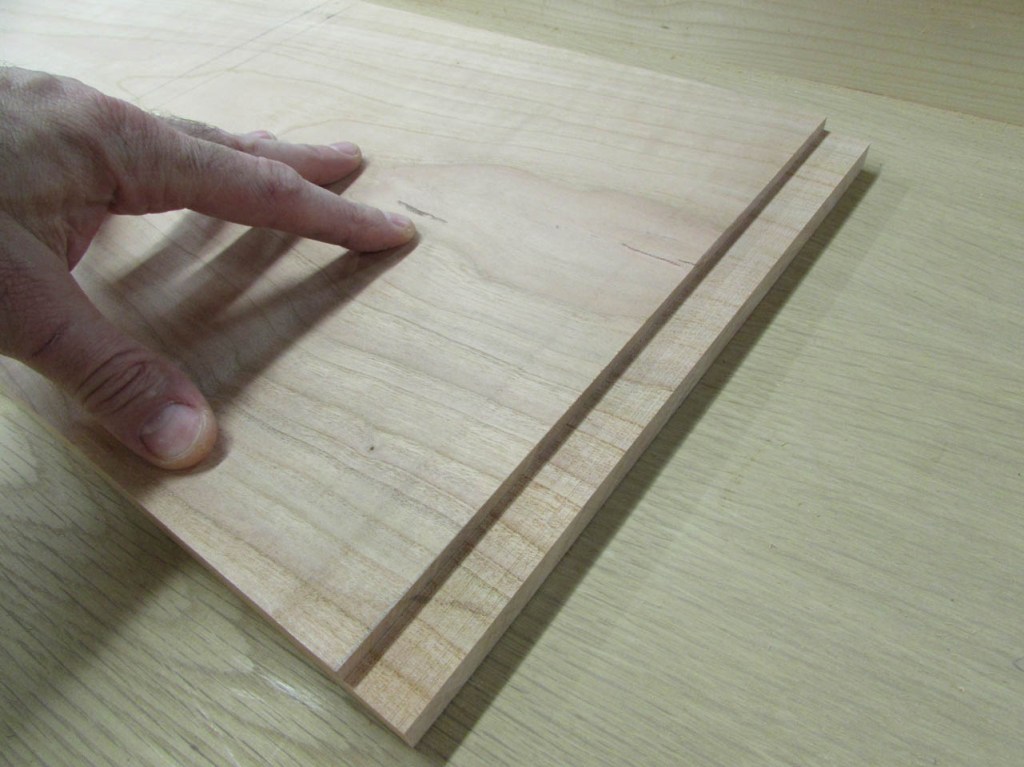
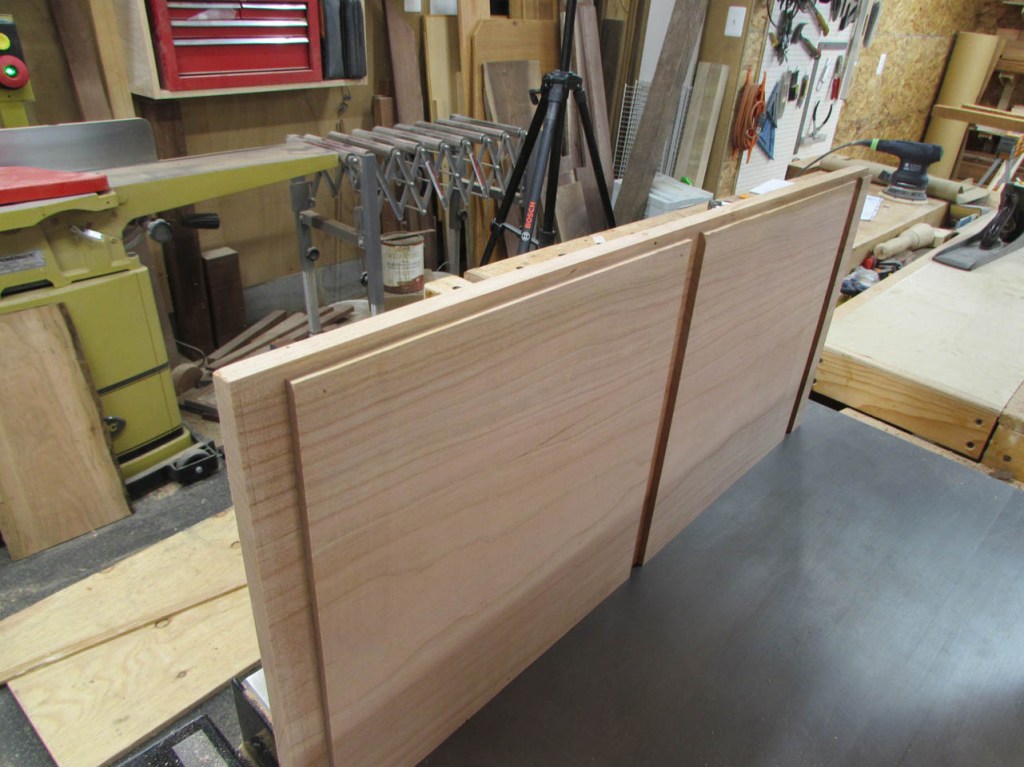
In the end, I wound up with four boards just under 3/4″ thick. This matches the thickness of my window trim so I am happy with that. Now I need to get these boards assembled before they twist again…

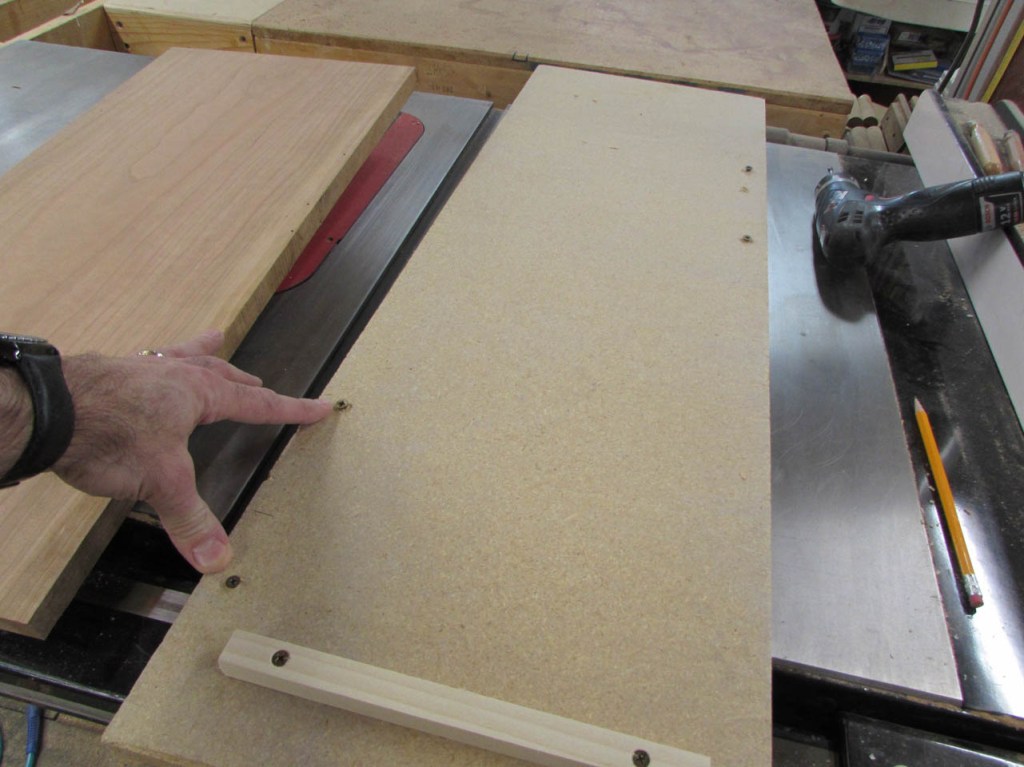
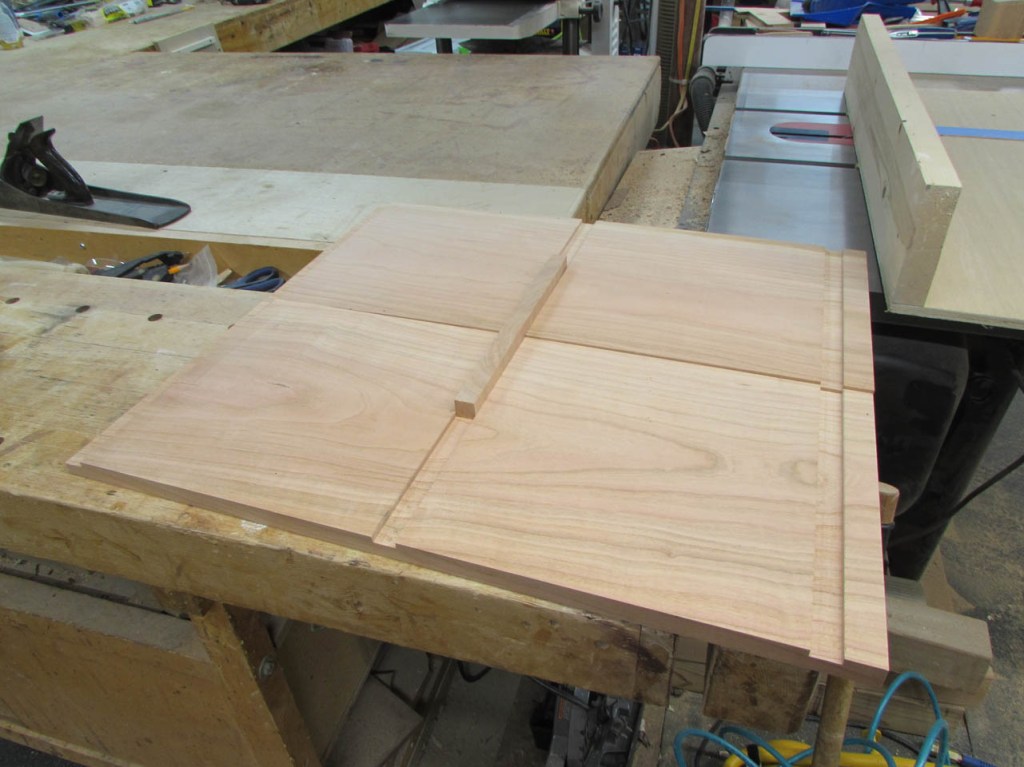
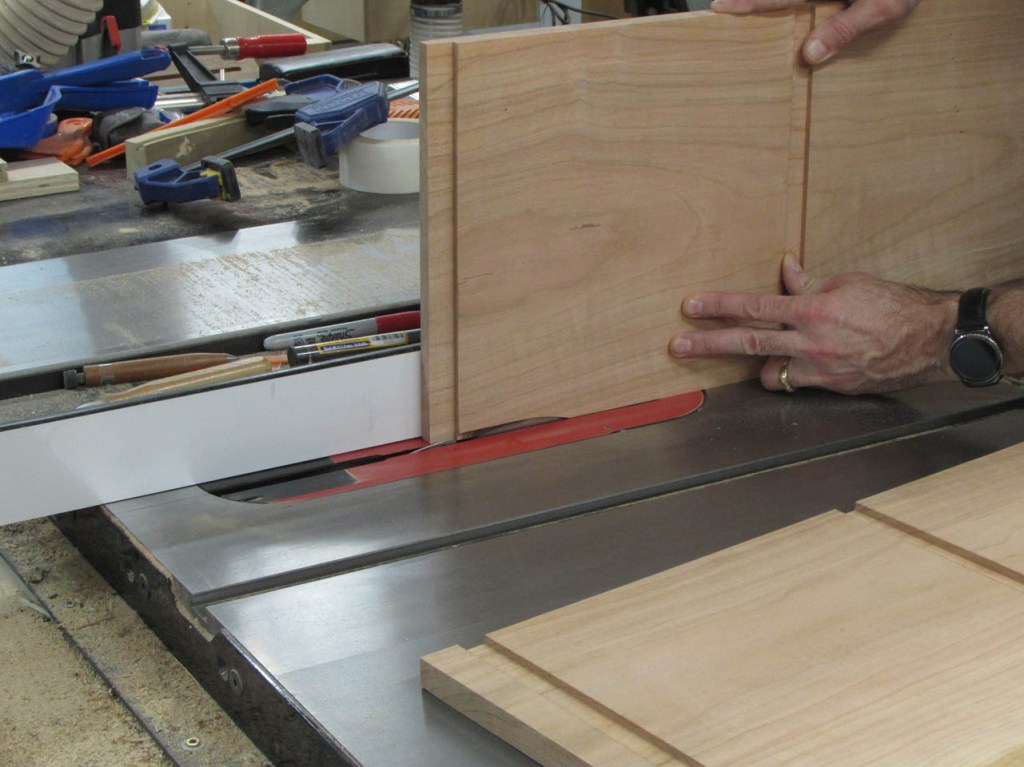
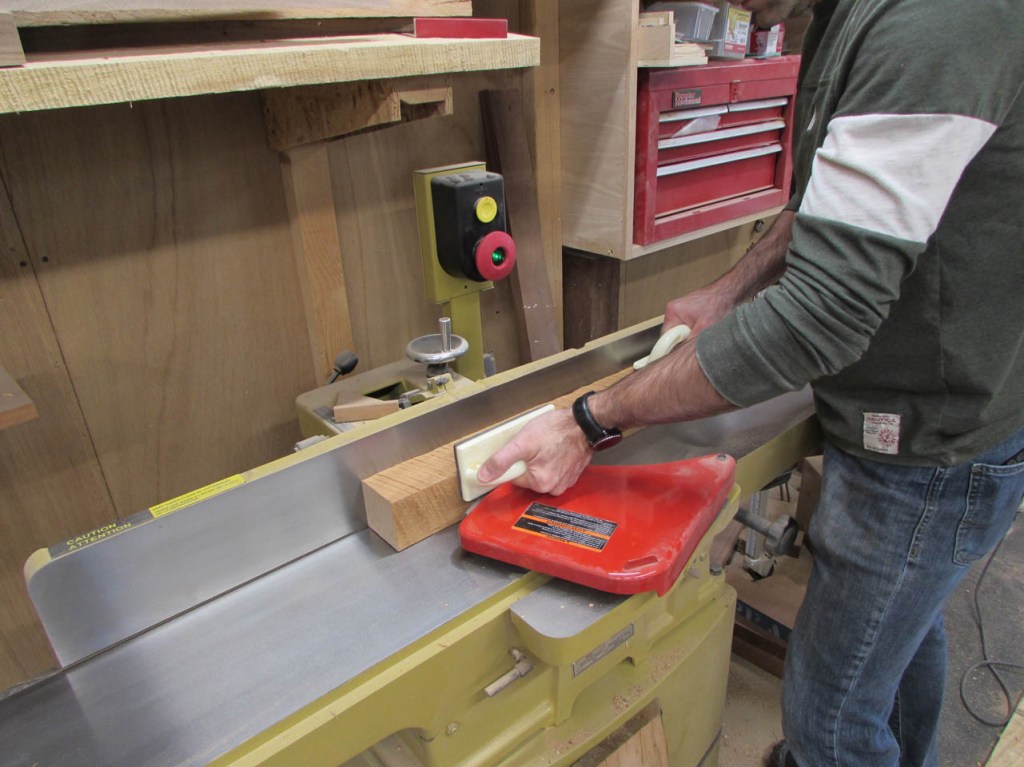
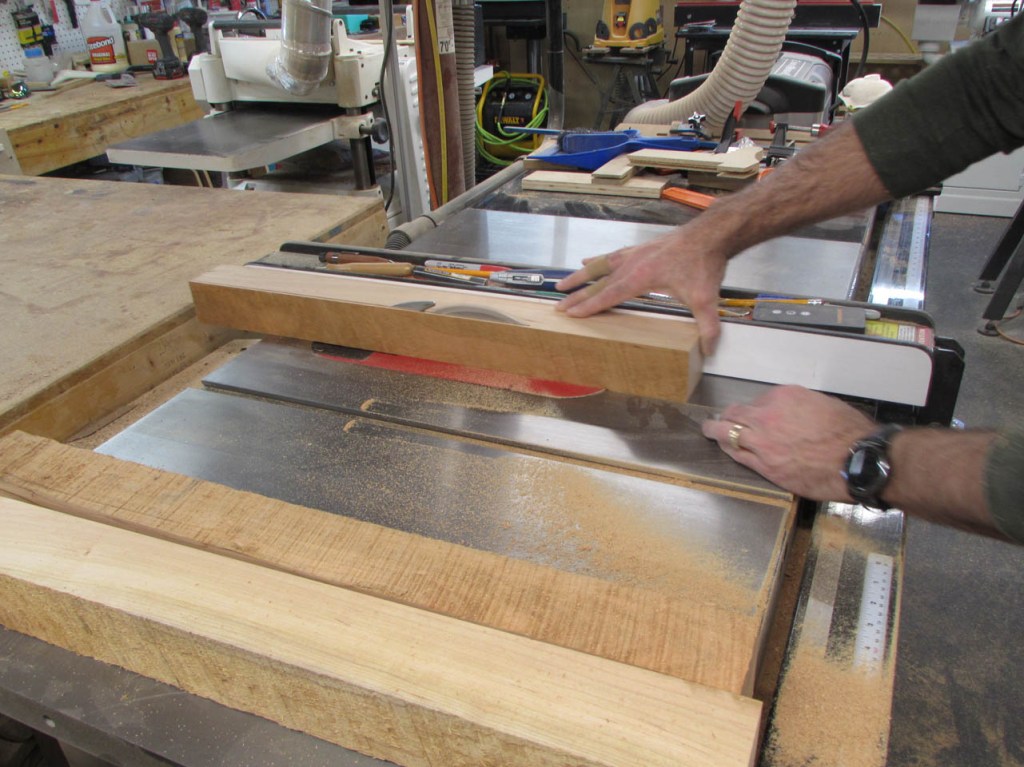
I use the jointer to get one edge straight and square to the face, then cut the opposite side parallel on the table saw.


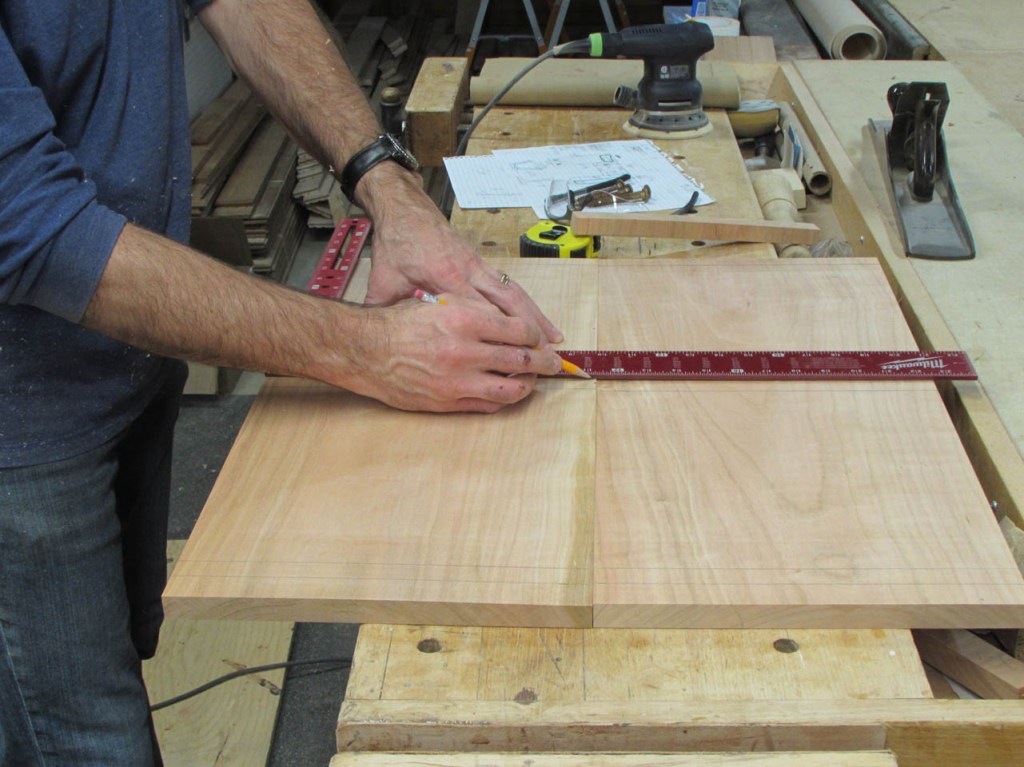
When all four boards are cut to size, I start laying out the shelf dados on the two sides.
To cut these dados, I am using my crosscut sled again. Unlike the stopped dados I cut on the last shelf, I decided to cut the dados all the way through to make my life easier.
I take my time and cut each dado to size, checking with a small off-cut for a tight fit.
Flipping the side boards onto their back, I cut a small rabbet on the back, inside edge, to receive the back panel.
Now that the shelves and dados are cut, I can cut the back panel to it’s final size as well.

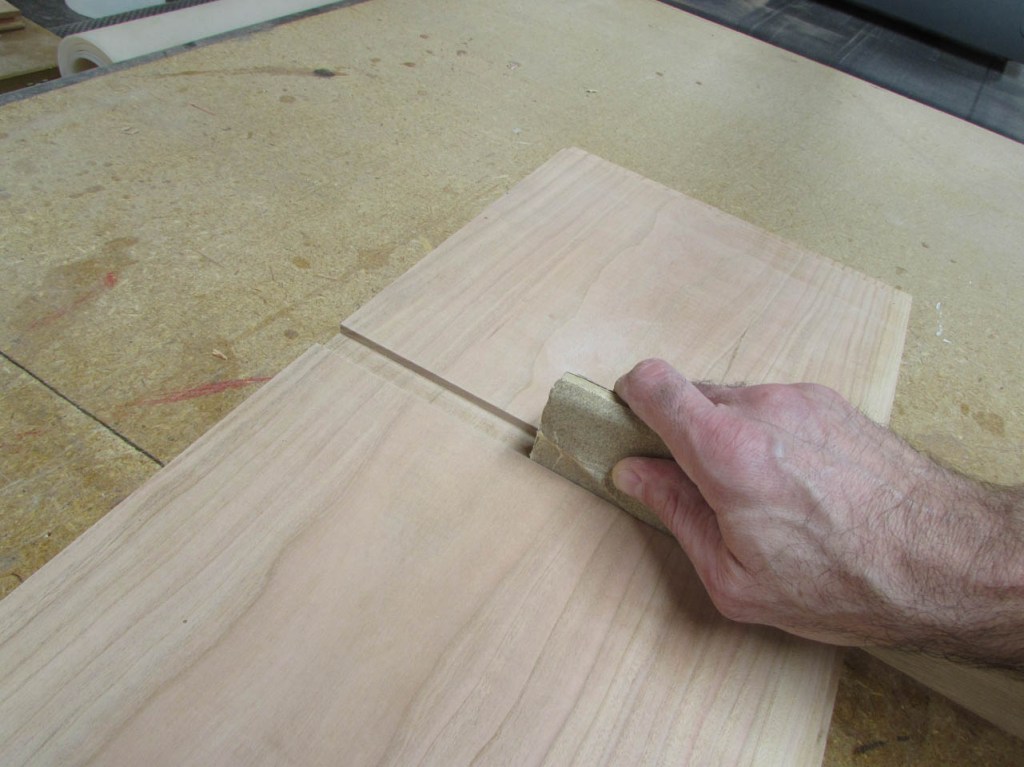
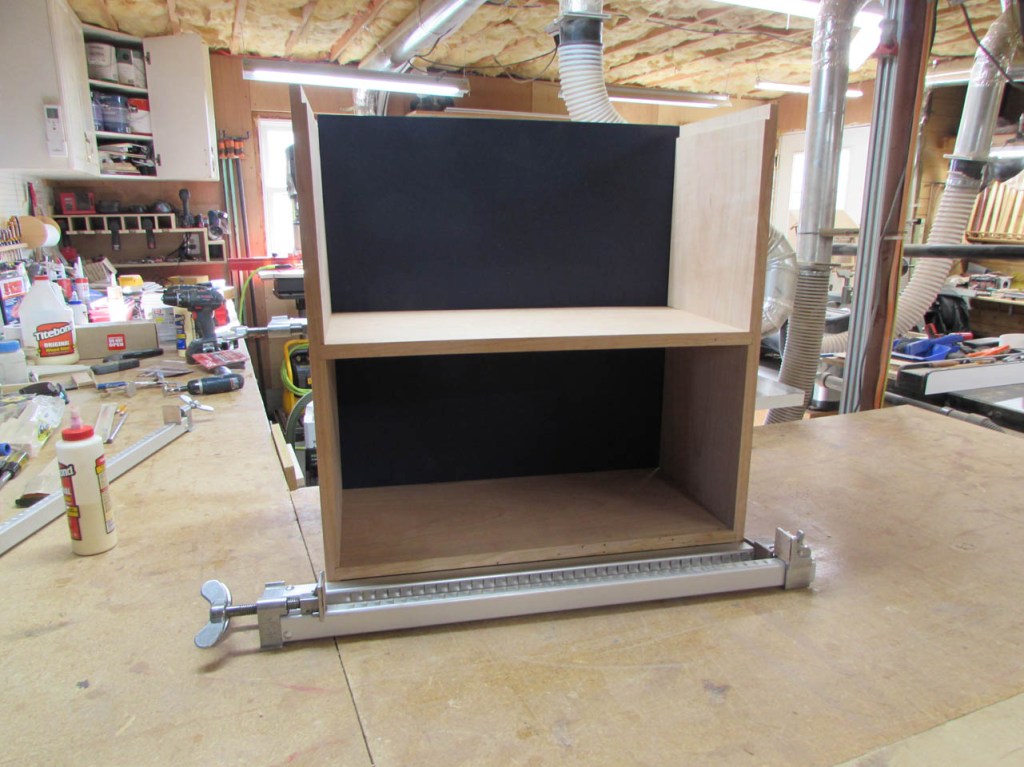
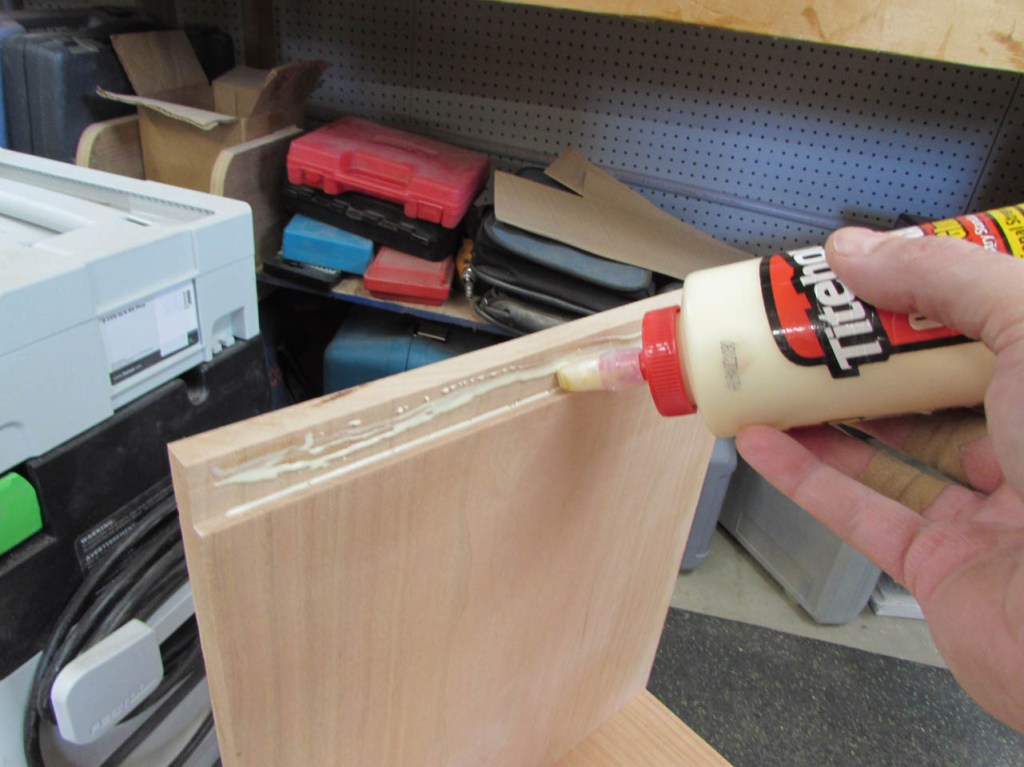
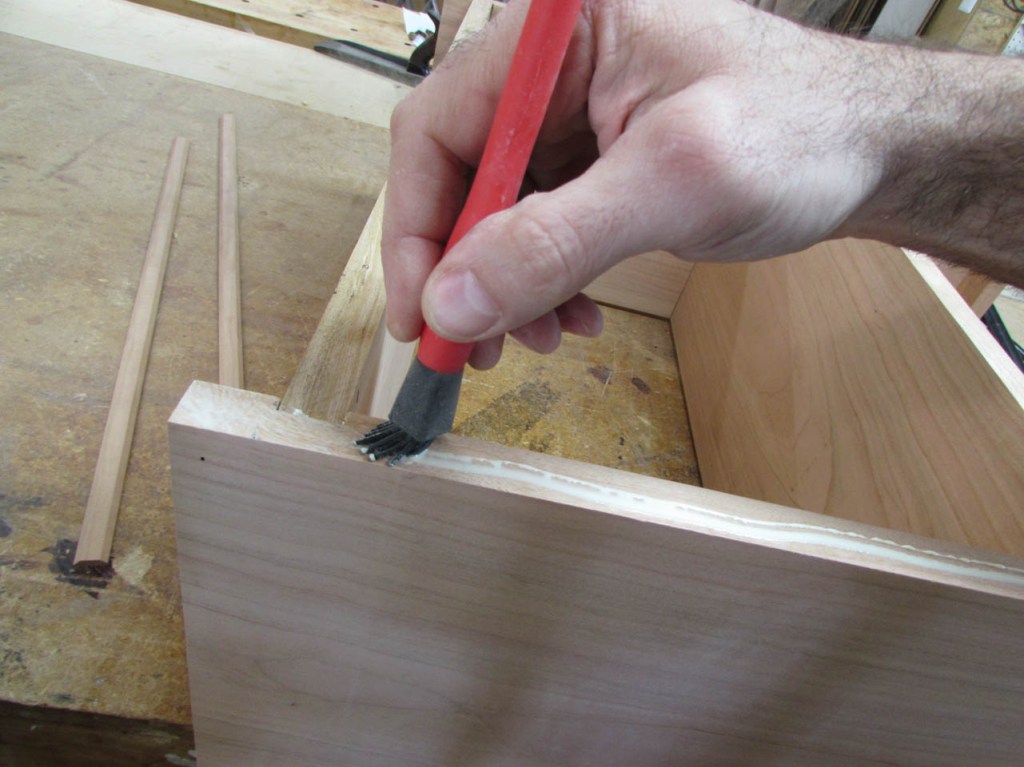
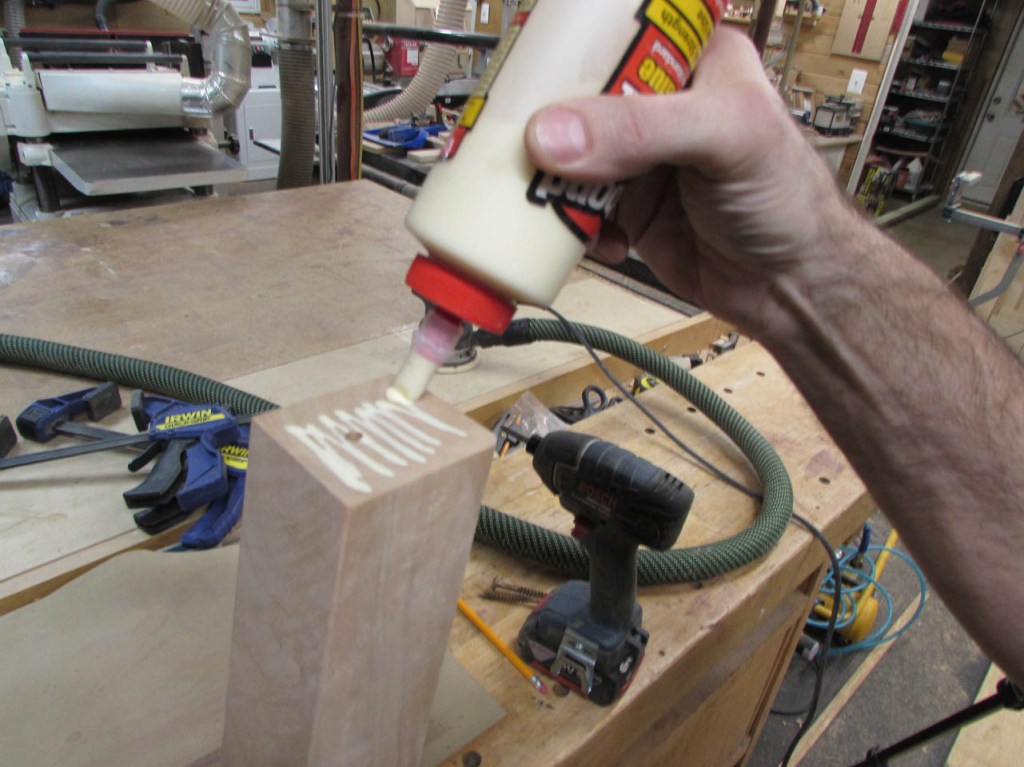
I clean up the bottom of the dados with a sanding block and add glue to each for assembling the shelves.


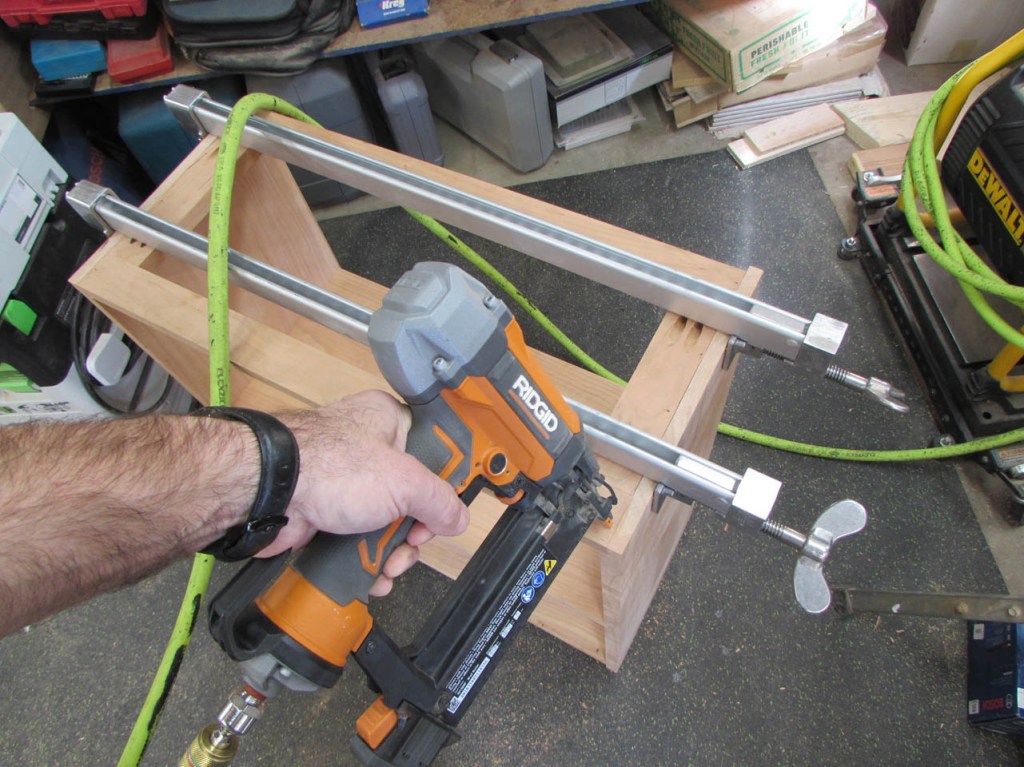
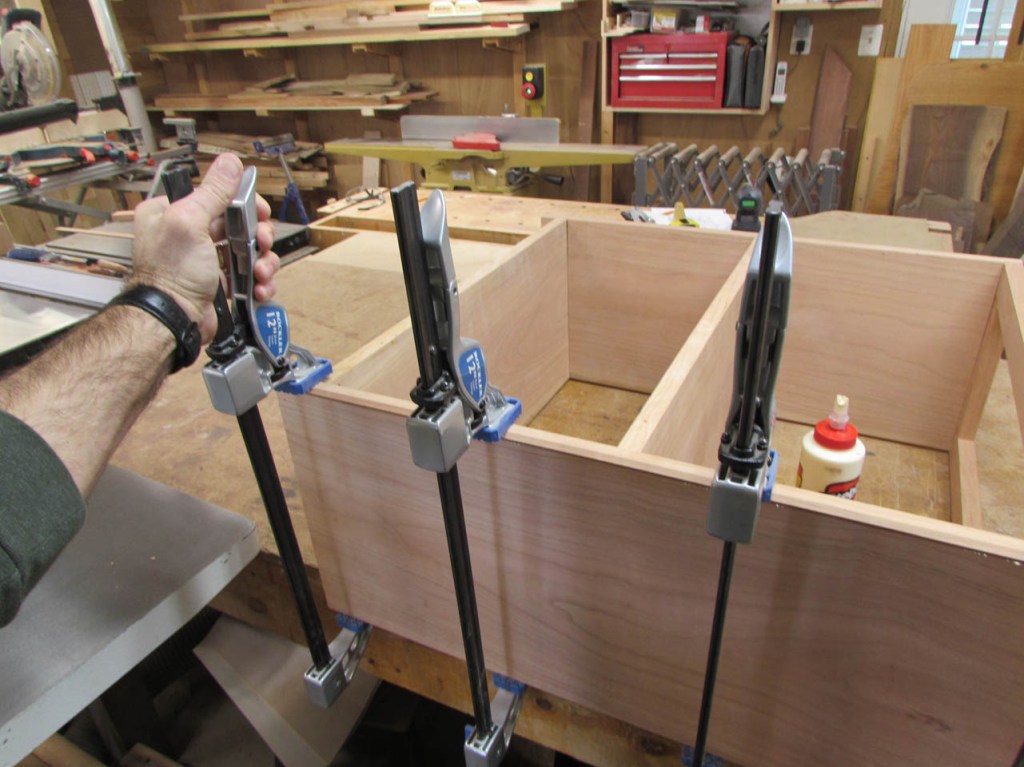
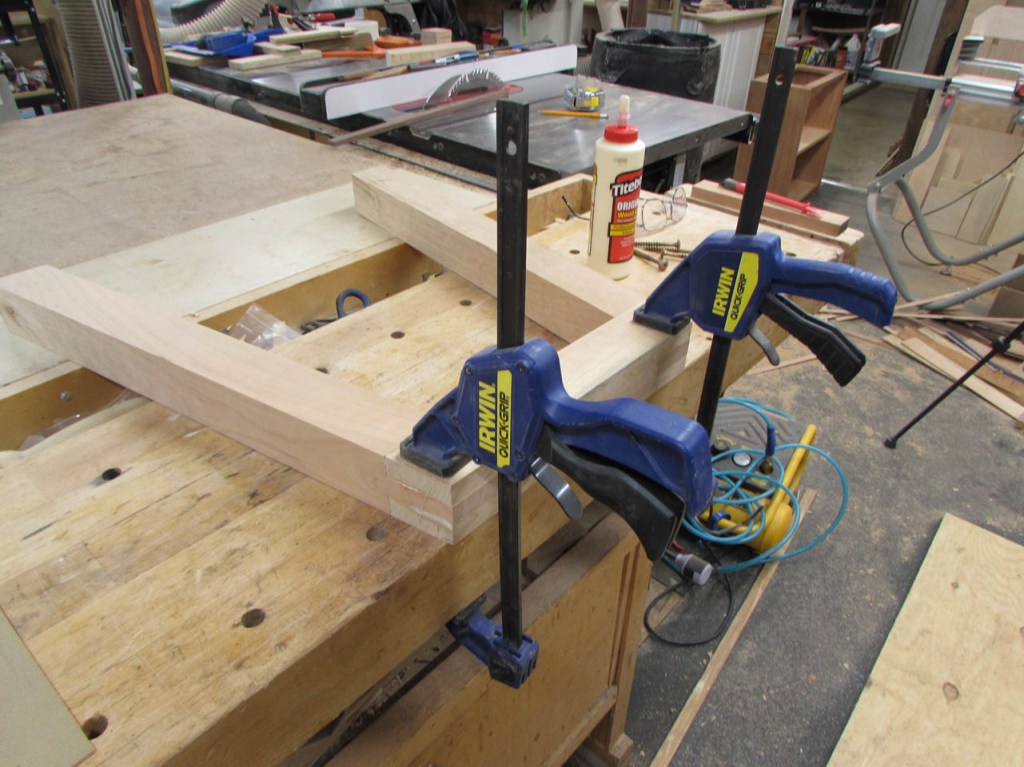
I attach clamps to the front side first, then lay the shelf down onto the clamps to do the back.
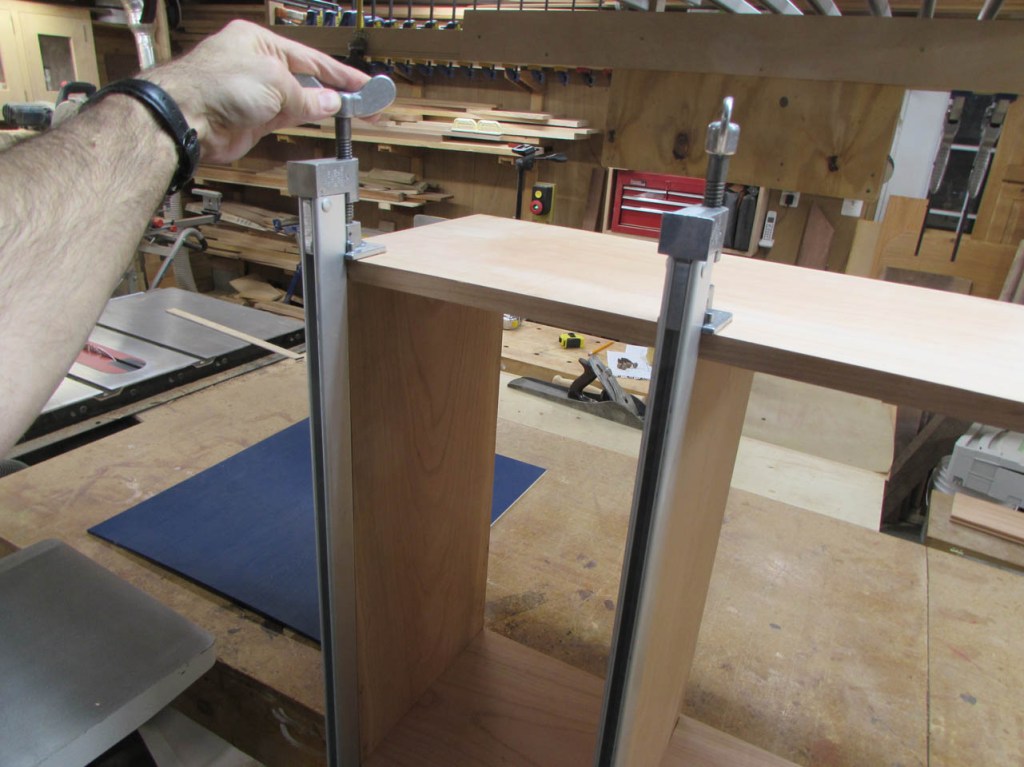
I lay the back panel in to square up the shelf before clamping the back together as well.

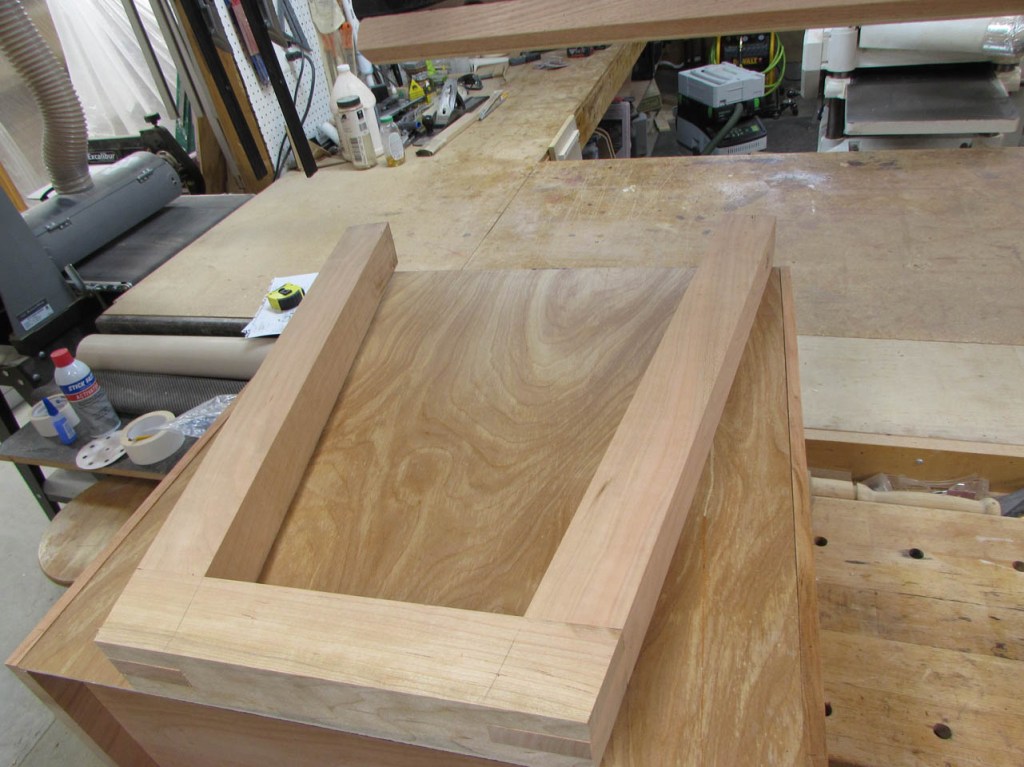
While the glue was drying, I cut out the pieces for the bottom skirt and the top, mounting frame.


I also cut a 3/4″ square piece and chamfered the edges. I cut a 1/4″ strip off each side to create front caps.

These caps will be attached to the front sides. They will conceal the joint where the shelves meet the sides. Basically replacing all the work I put into the stopped dados on the last shelf.


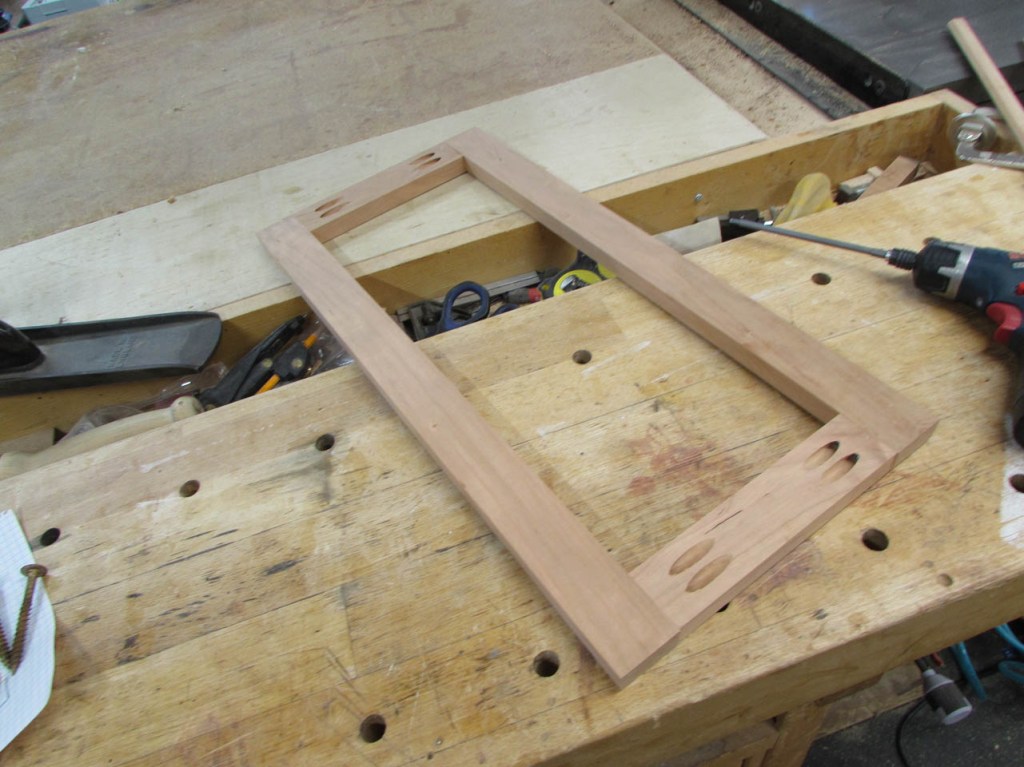
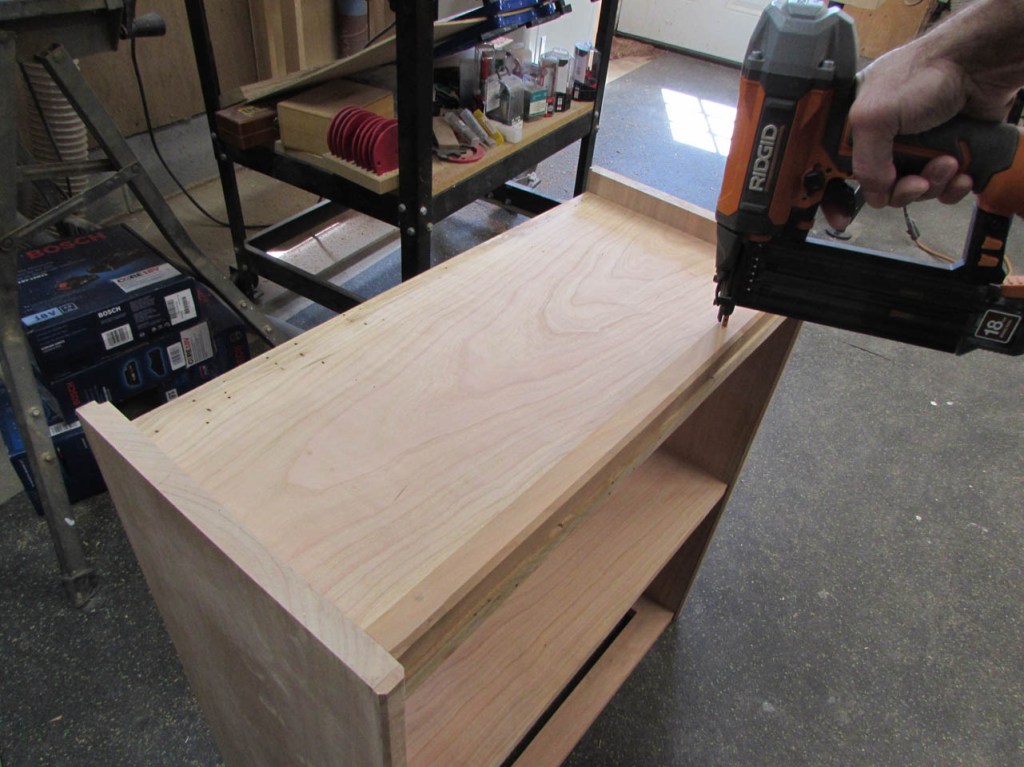
I drilled pocket holes into the short pieces of the top frame, then assembled the frame with glue and pocket screws.
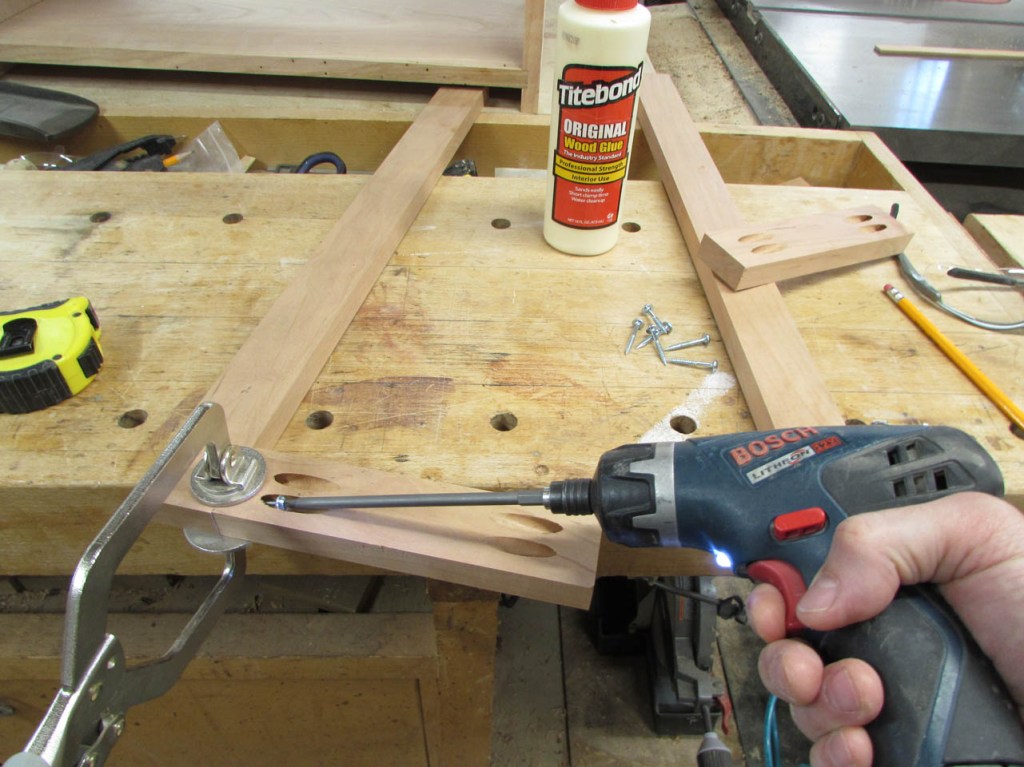
The frame was then glued and clamped into place.

I also threw in a few brad nails so I could pull the clamps and keep working.
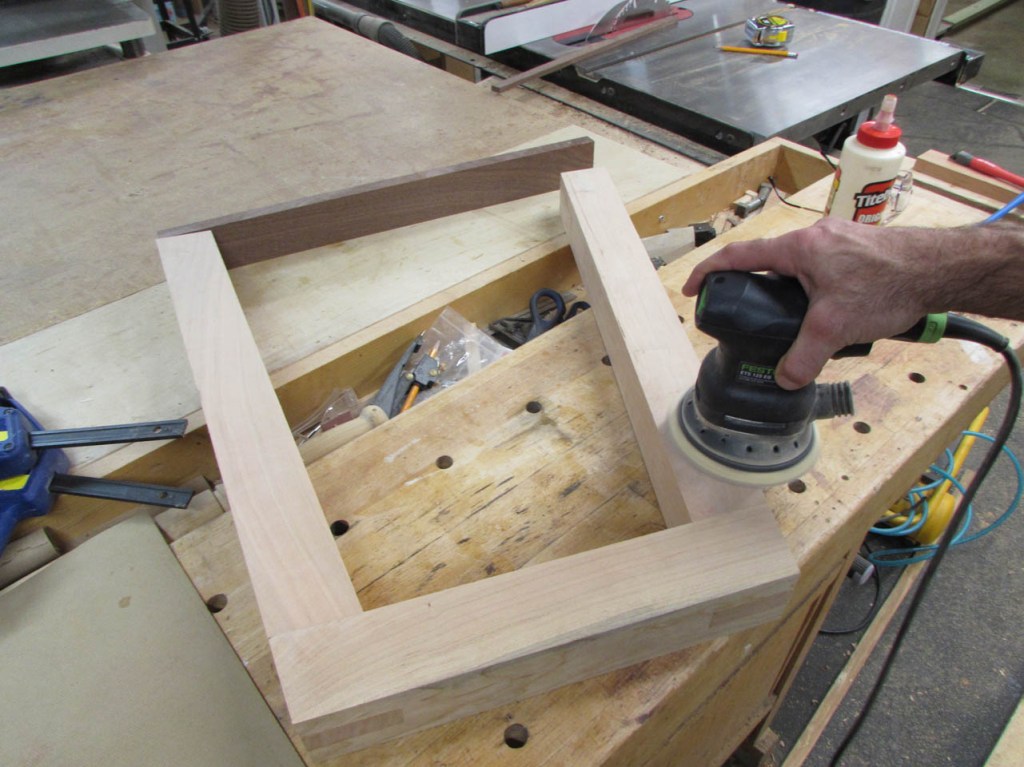
The front caps were glued and clamped on to dry. A little bit of sanding later and they will blend right in with the sides.
And, before I forget, I glued and brad nailed on the small bottom skirt piece.

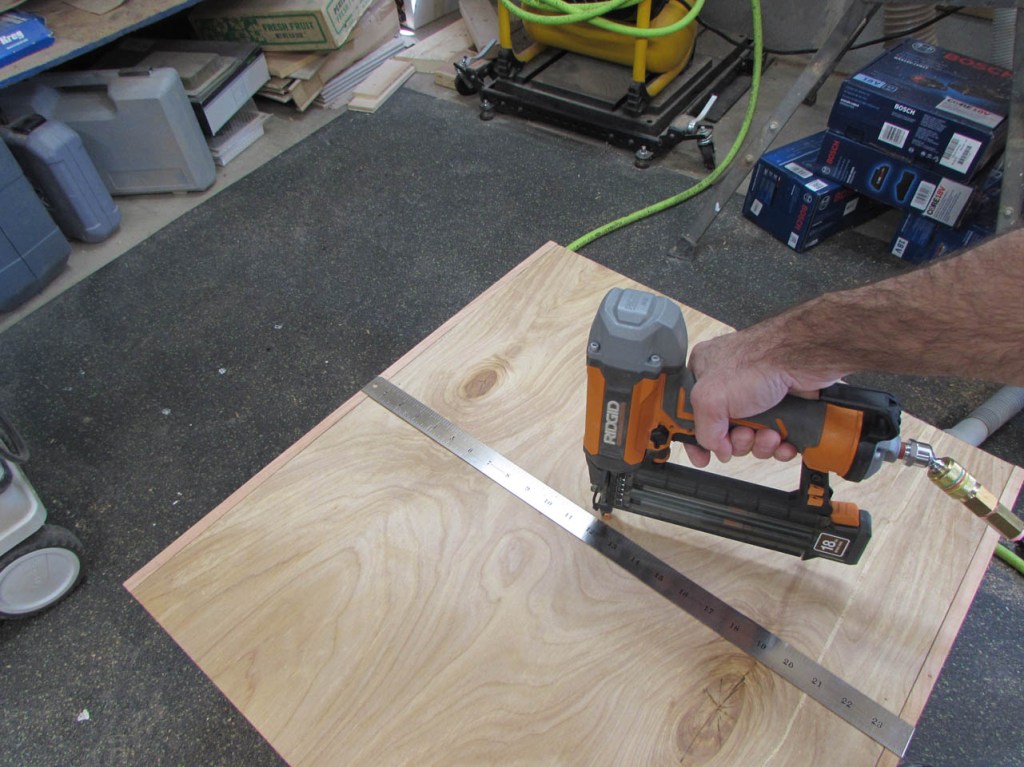
The last step is to attach the blue back panel. I marked the center of each shelf on both sides and laid the panel in place.

After tacking each side down at each shelf, I laid a straight edge just above the center of each shelf and placed a brad nail every 4″ along the straight edge. I didn’t bother with glue since it won’t stick well to paint.
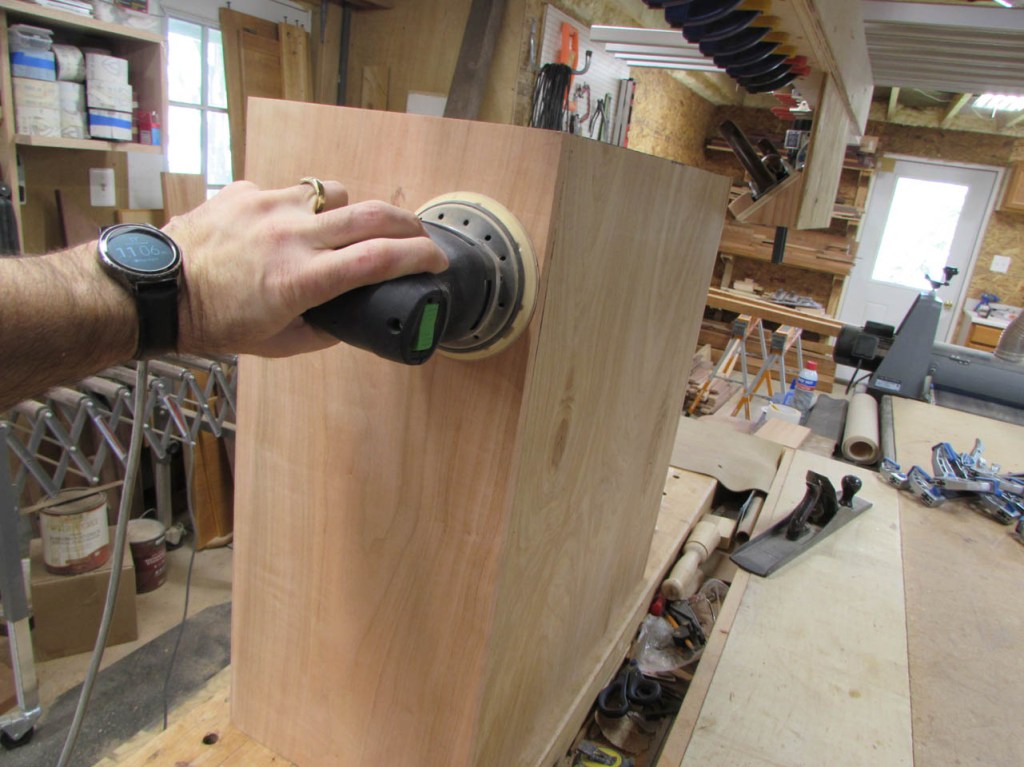
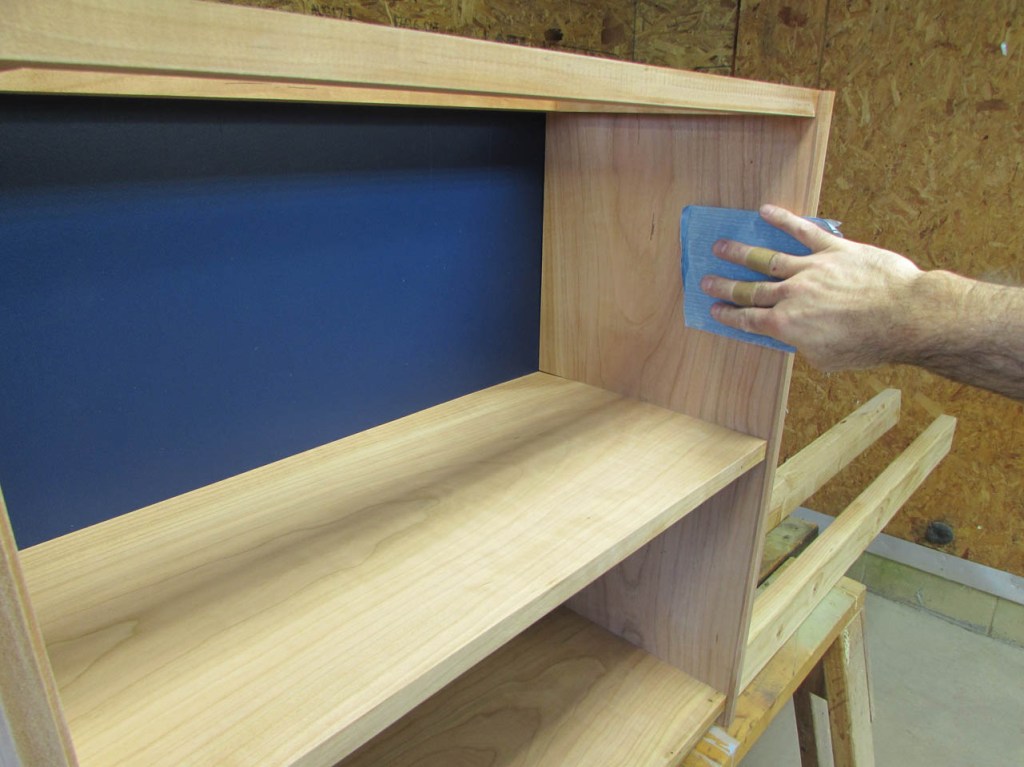
Than, after a final sanding, it was ready for finish.
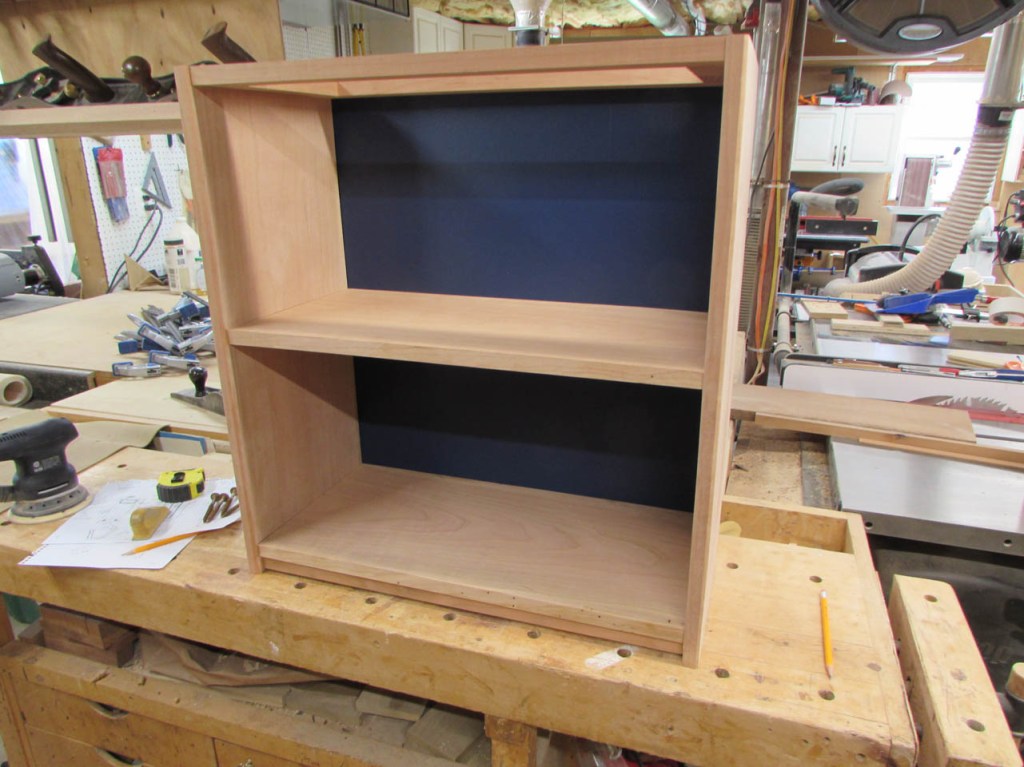

Three coats of the same, satin, water-based polyurethane as the last shelf, sanding with 400 grit paper between each coat.
With the shelf drying, I can figure out what to do with the legs.
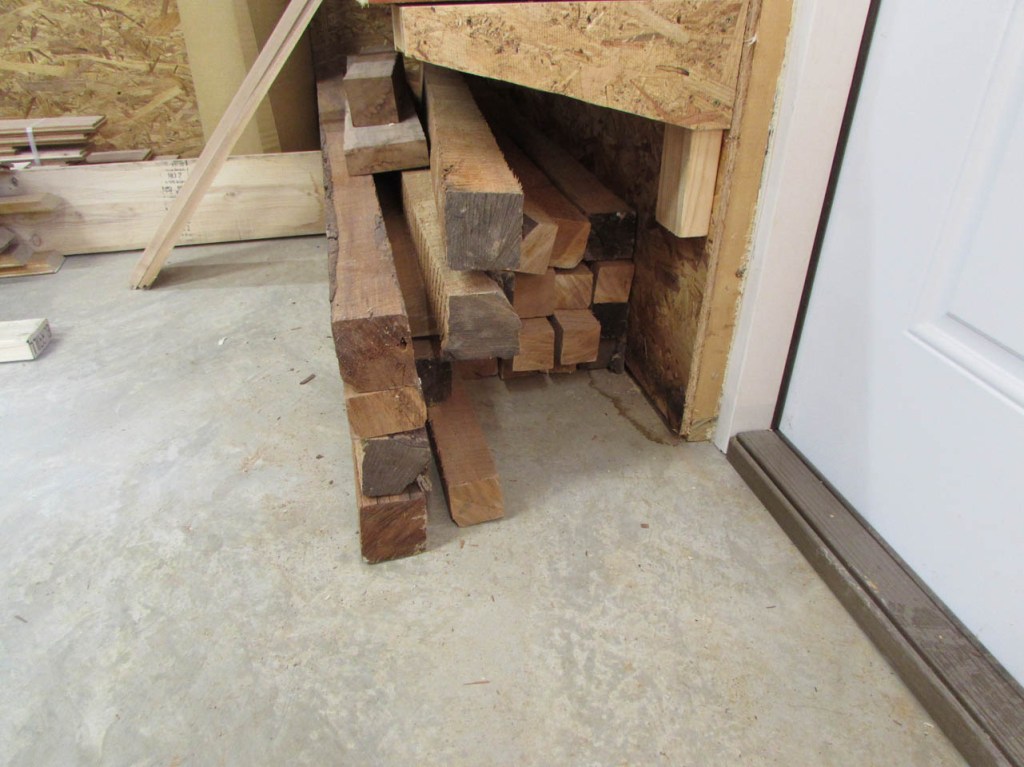
Several years ago, my buddy Dave cut me a bunch of green cherry turning blanks. I had asked for a handful for my wife to practice with and he cut me half of a truck load. Needless to say, what remains has long since dried to a useable moisture level. All of the boards were rough-cut to 3″ square and are 4′-5′ long. Since they were all wet when I got them, not all of them dried straight. I grabbed a couple of boards to start making the legs.
The longer one is fairly straight and I will cut it in half for the two legs. The other piece is slightly curved and cracked at two knots.

I cut that one down to the section between the two knots for a shorter straight piece.
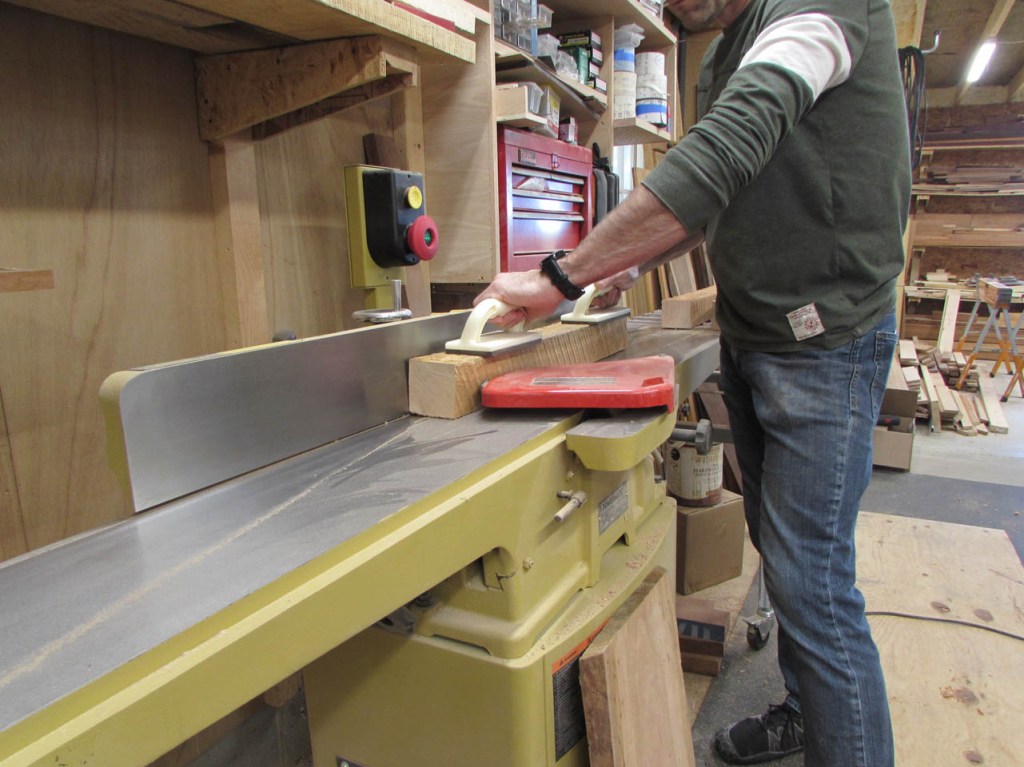
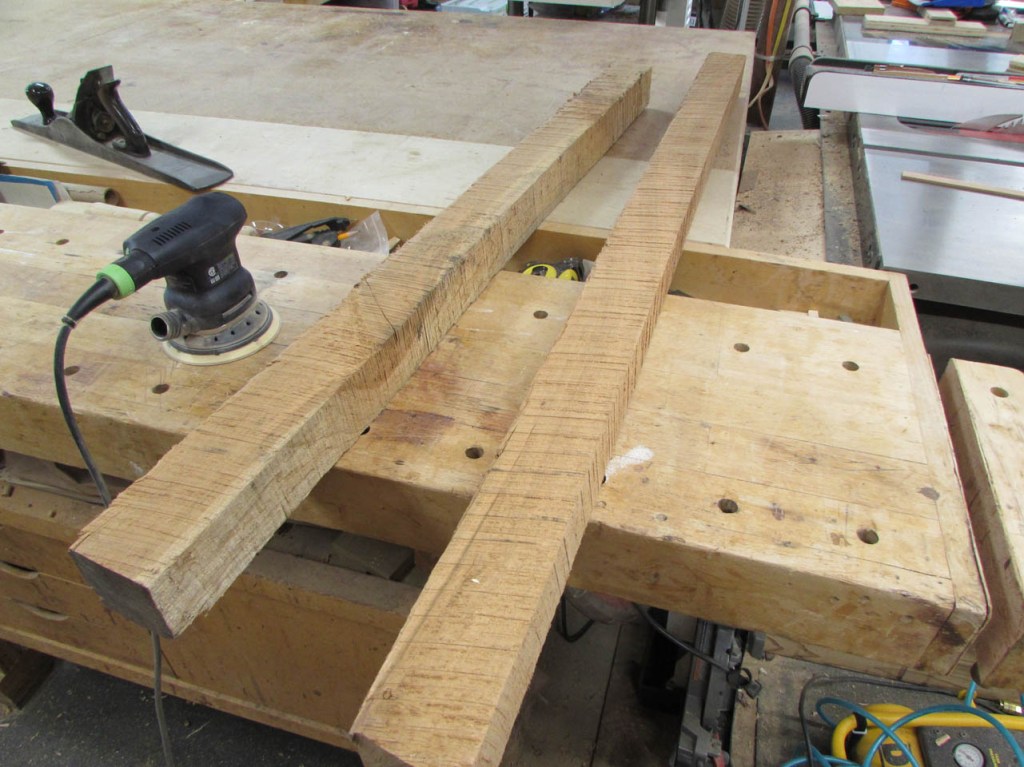
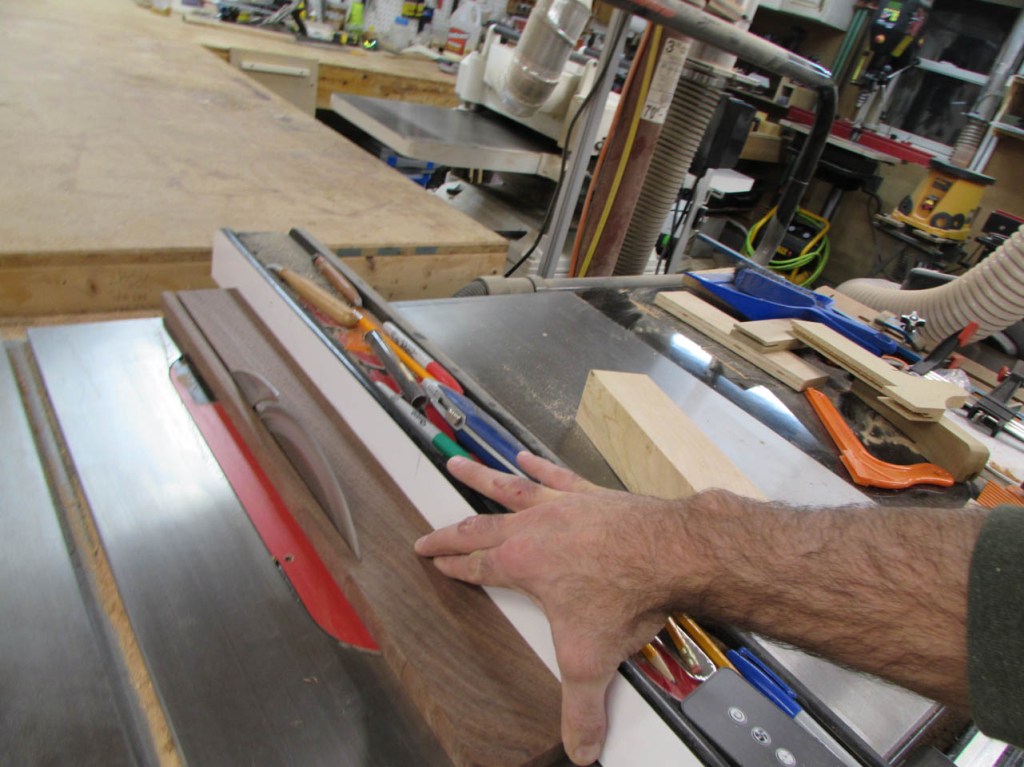
I used the jointer to flatten one face, then, turning the blank 90° and holding it to the fence, I cut a second face square to the first.

Now I can cut the opposite two sides on the table saw so that I am left with three blanks that are 2-1/2″ square.
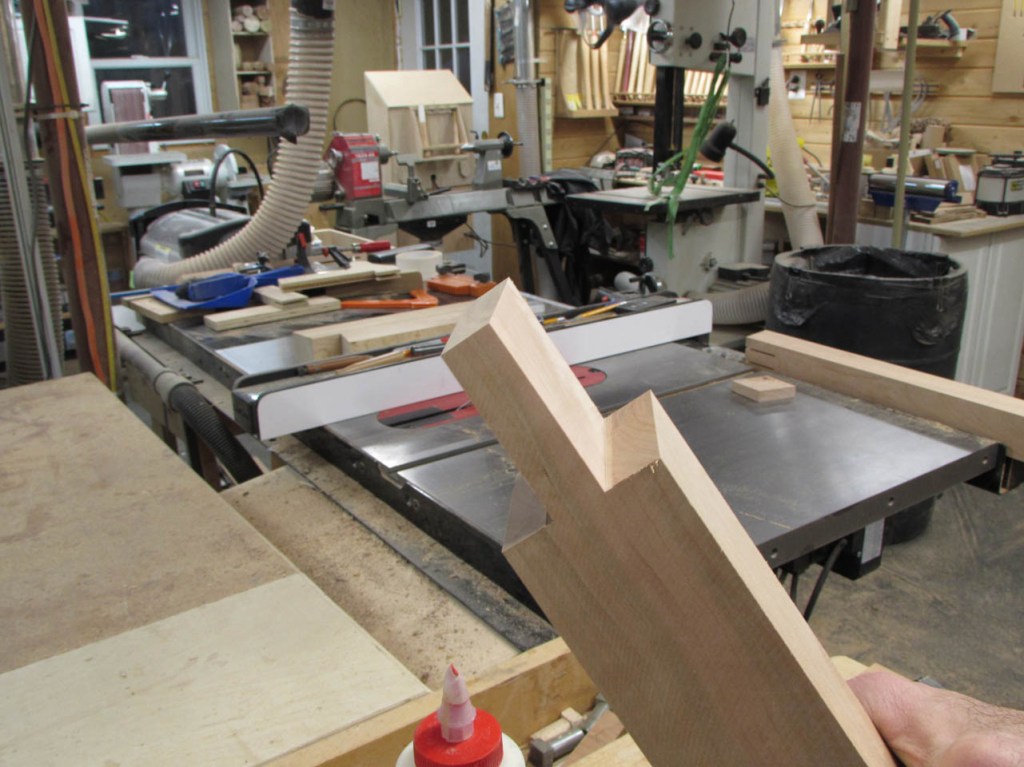
I decided that I want angled legs so that they pull back, out of the way. I decided on 10° and cut that onto the ends of the two longer pieces.


I squared the angled ends to the edge of my table saw and separated the legs until I had about 23″ at the top. Next, I laid the short piece on top of the bottoms and traced the angle on the outside and inside edges. Since the miter saw was still set at 10°, I cut the two outside angles to create the bottom stretcher for my legs.


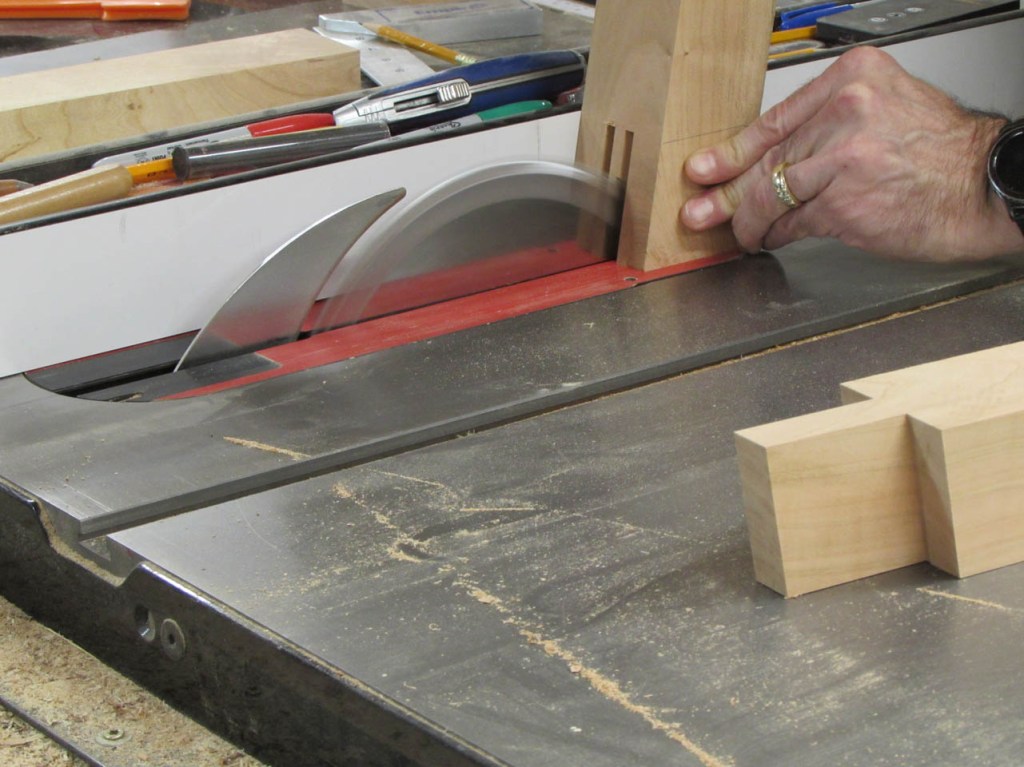
I decided to create a bridal joint at the bottom so I divided the leg width by 3 and set the fence to cut 1/3 off of each side of the legs.

This would be a lot safer to cut with a tenoning jig but I don’t have one and I didn’t feel like making one. The square blocks are fairly stable so I take my time and keep my fingers away from the blade…


After cutting away the cheeks, I have the sides done.
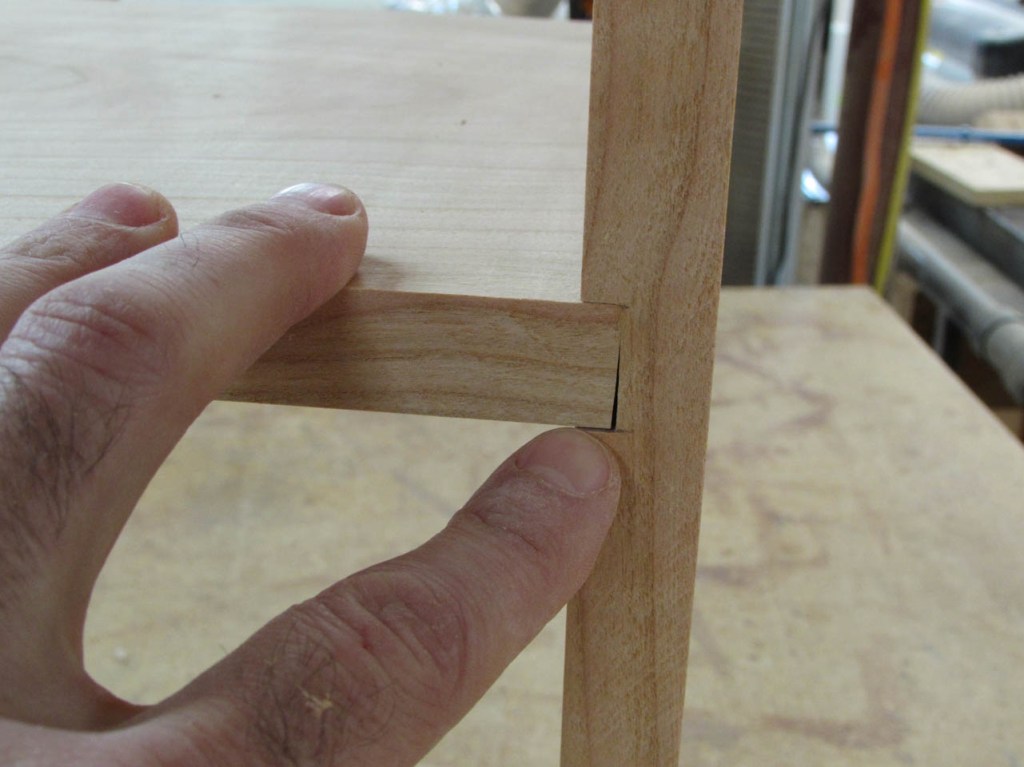
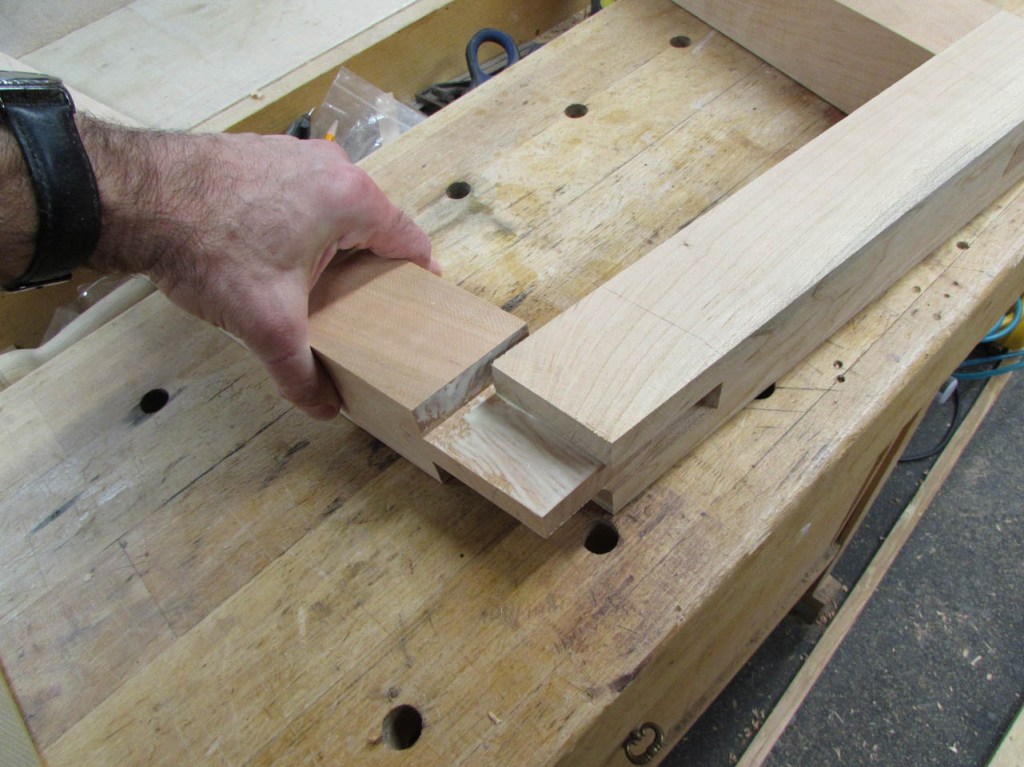
Next, I slowly whittle away the dado in the center to create the slot on either end of the stretcher.

My blade depth was off slightly, but that is an easy fix, I just cut off about 1/16″ from each end on the miter saw until they were close enough to sand smooth.
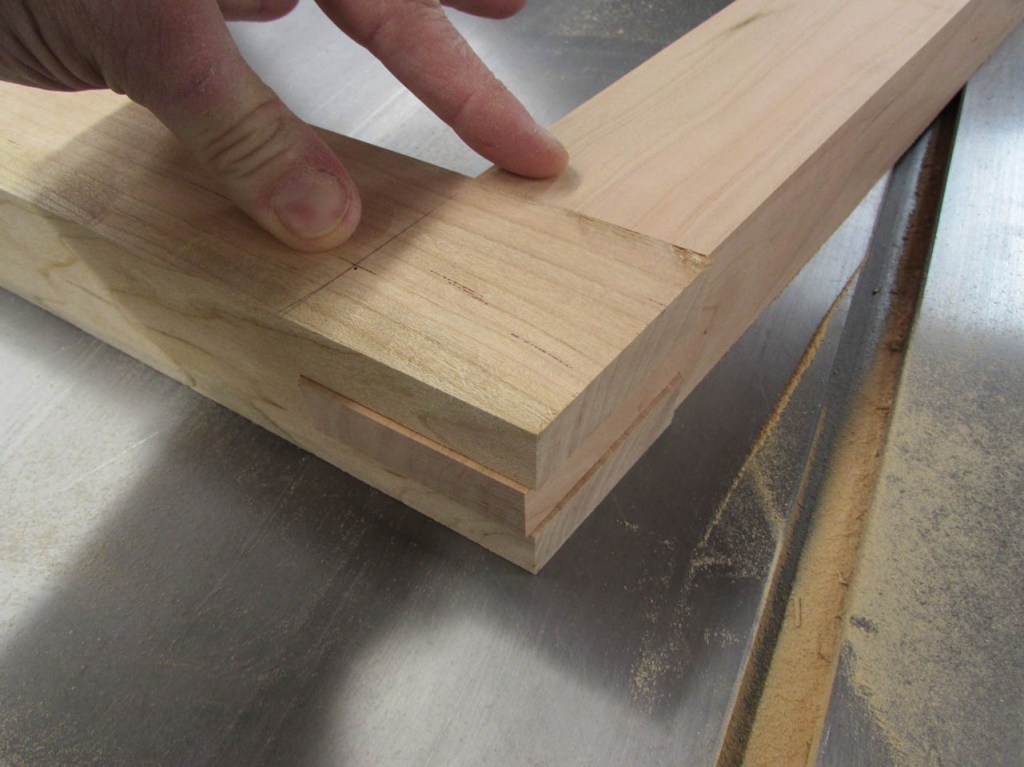

I am happy with that look.
To get the height to match the shelf, I lay the assembly on the back of the shelf and hold the bottom flush, then mark the tops of the legs.
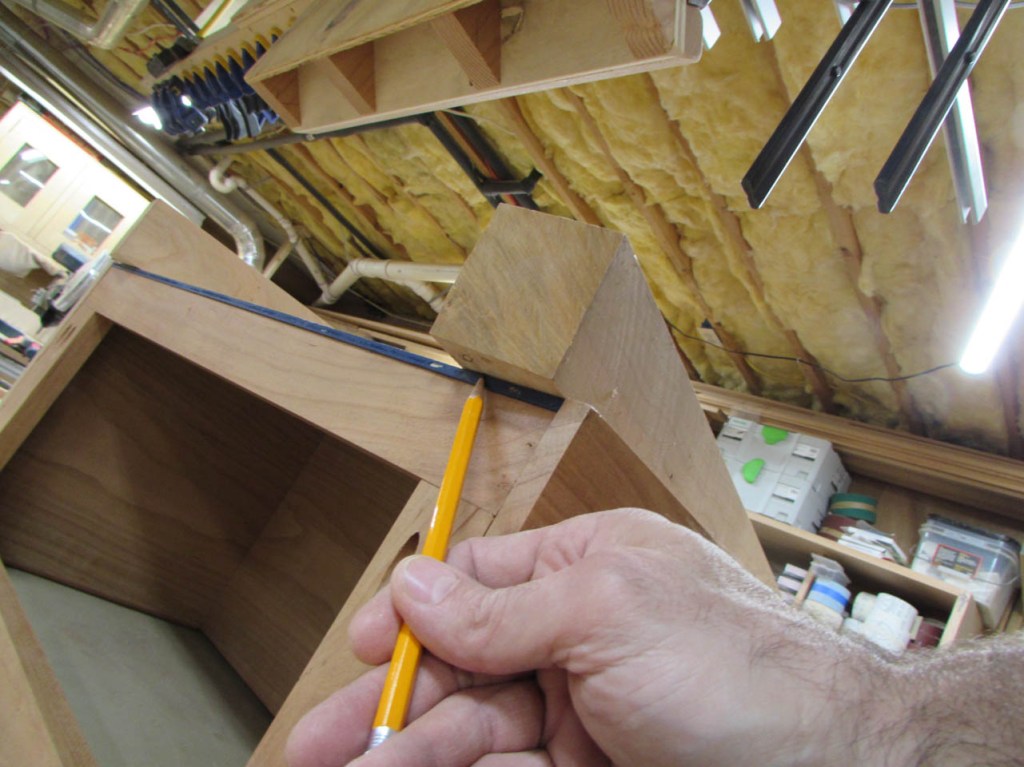

Before cutting them, I grabbed a scrap of walnut and laid it against that mark and marked the bottom side to be my cut line. Once cut, I can add the walnut to the top of the legs to have a mounting plate to attach to the desk top.
After cutting the walnut plate to size, I laid out hole locations for the lag screws I plan on attaching it with.


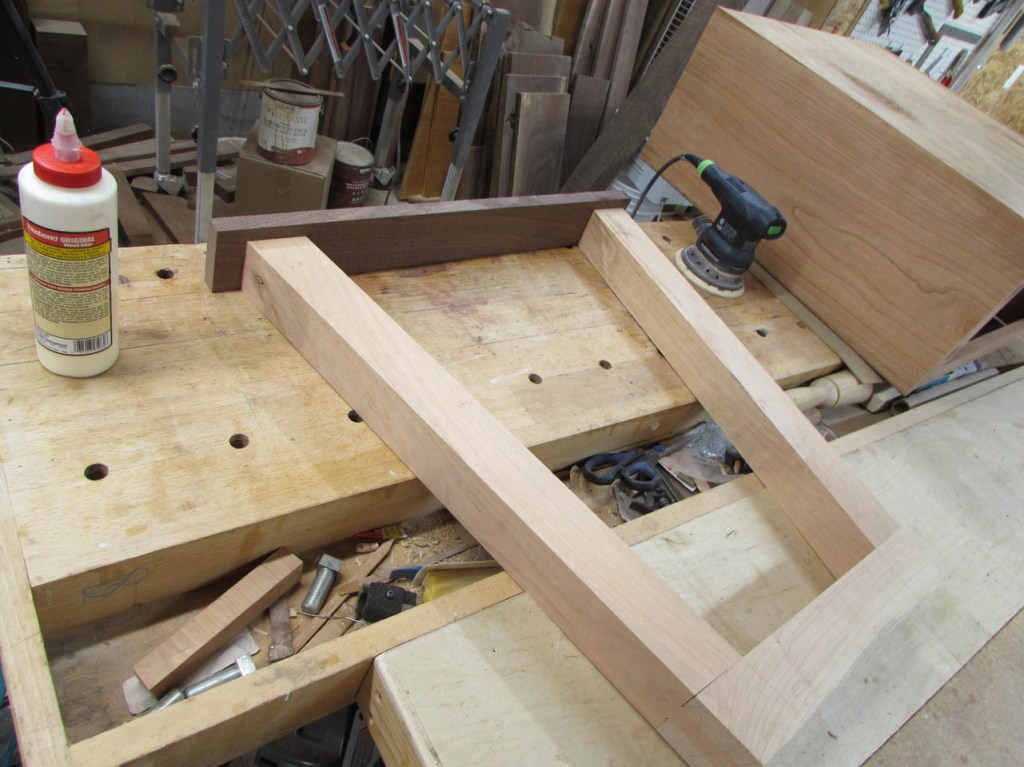
I applied glue to the tenon on the legs and attached them to the stretcher.
I clamped the whole assembly flat to the table to dry. Not sure if it was necessary to clamp it that way, but it worked, everything stayed aligned and I could sand it all perfectly smooth when it had dried.
To avoid banging my knees into a very sharp corner, I decided to put a 3/16″ chamfer on the four outside edges.

After a little sanding, It looks just like what I imagined.

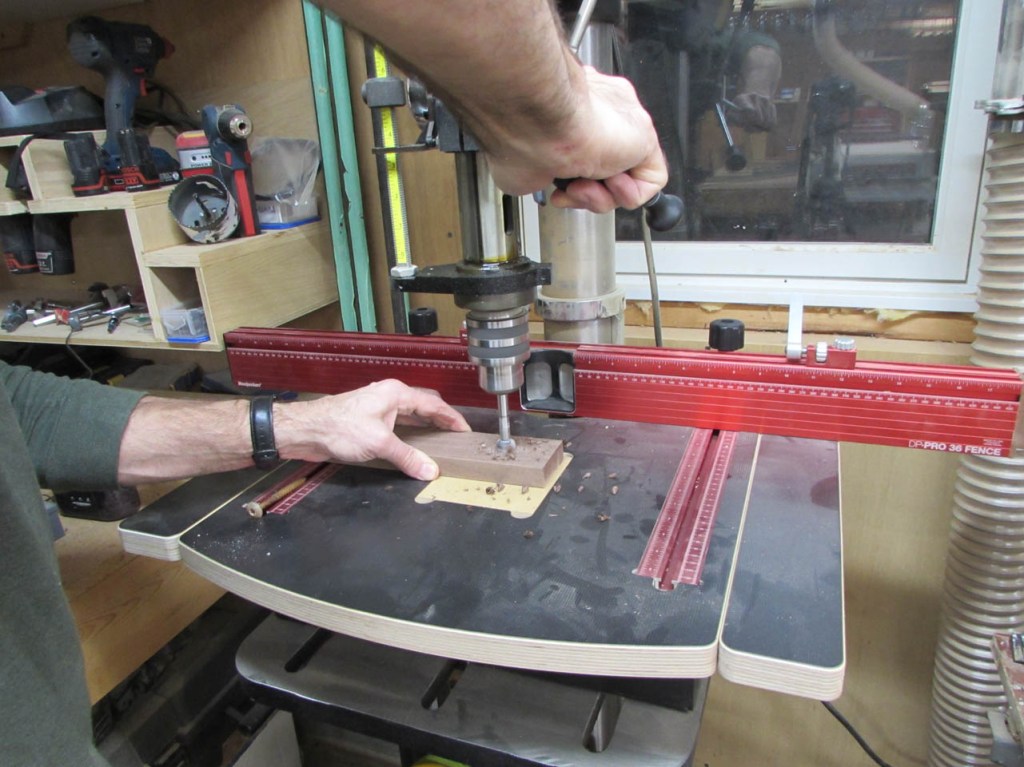
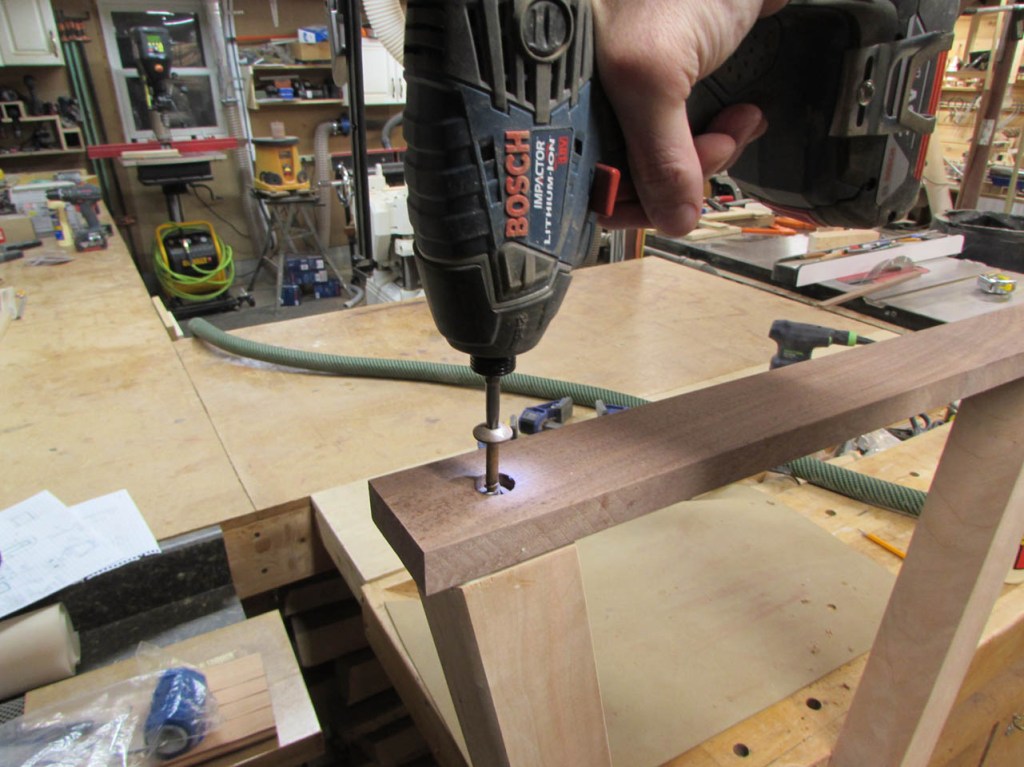
Time to pre-drill the walnut mounting plate.

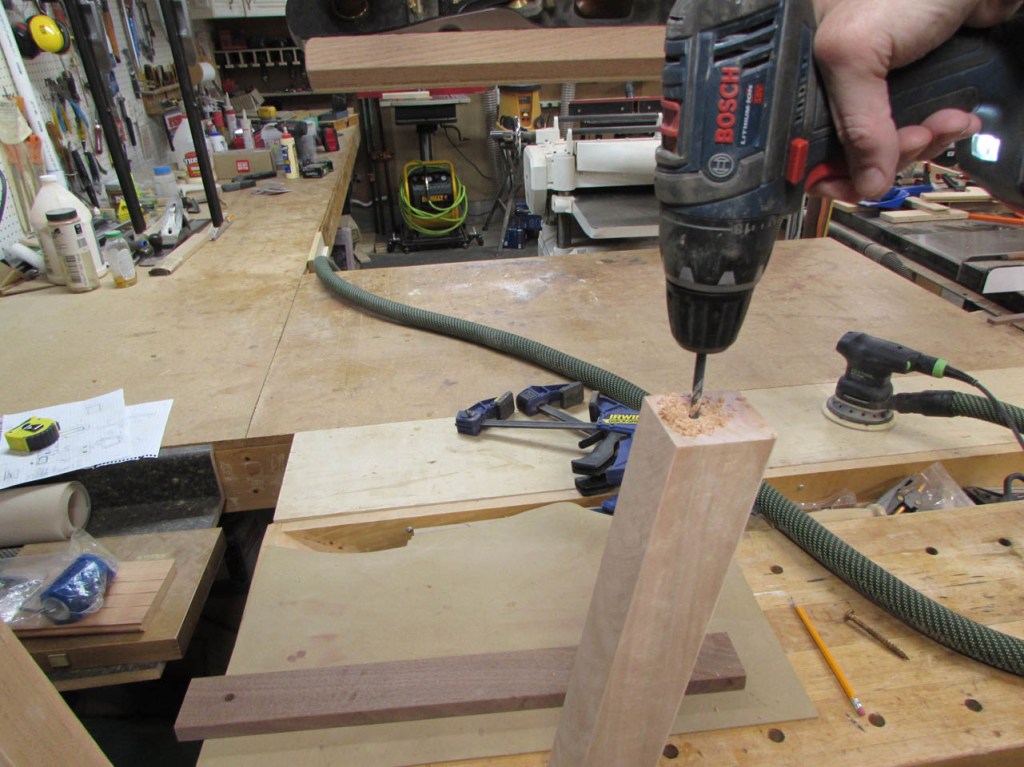
I located the plate and marked the holes for the lags, then pre-drilled them and added glue.
I screwed down the two monster lags with an impact driver. Hopefully they will be strong enough to prevent anyone from pushing the leg sideways by accident.

Then, just a bit more spraying and sanding.

And spraying…

And the last piece is done.

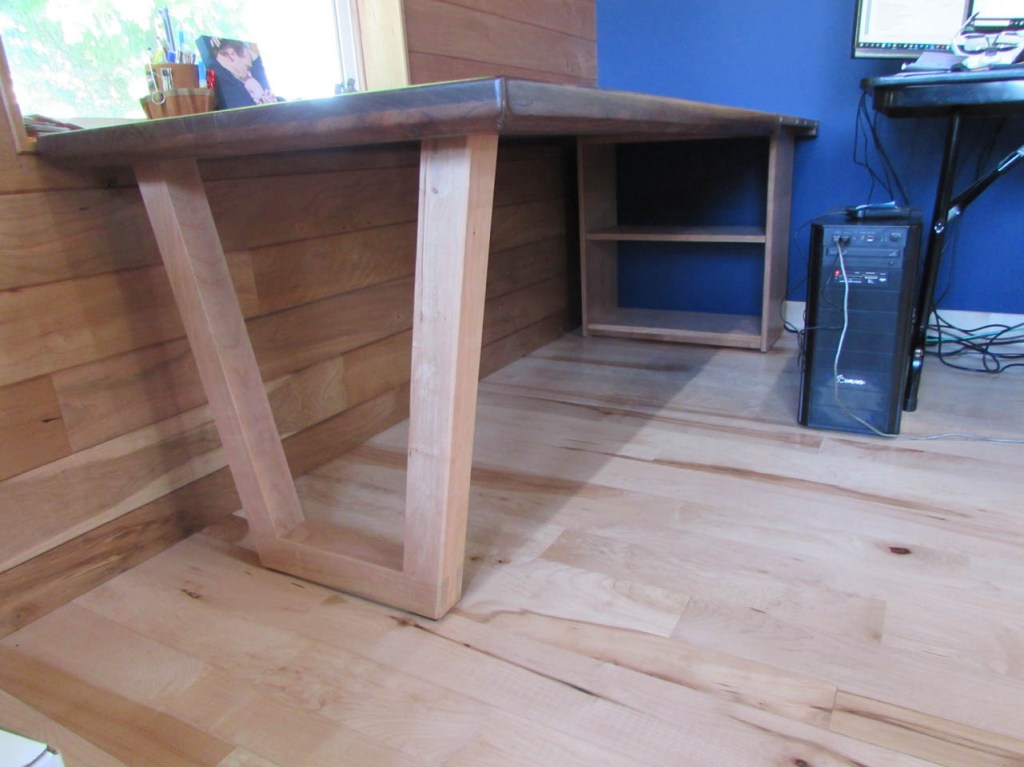
I was rather eager to get this desk put together. I started attaching the legs before the finish had fully cured…

I staggered four 1-1/2″ screws with washer heads to the walnut plate. It seemed to be very stable.

I also used four screws to attach the shelf to the opposite end.
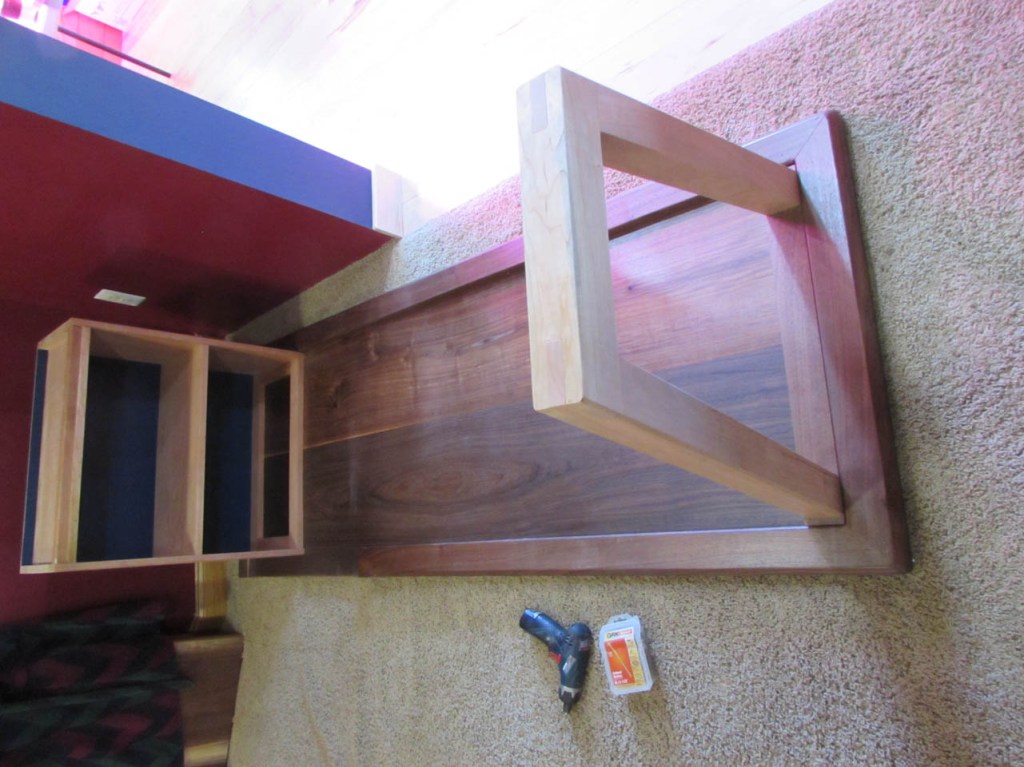
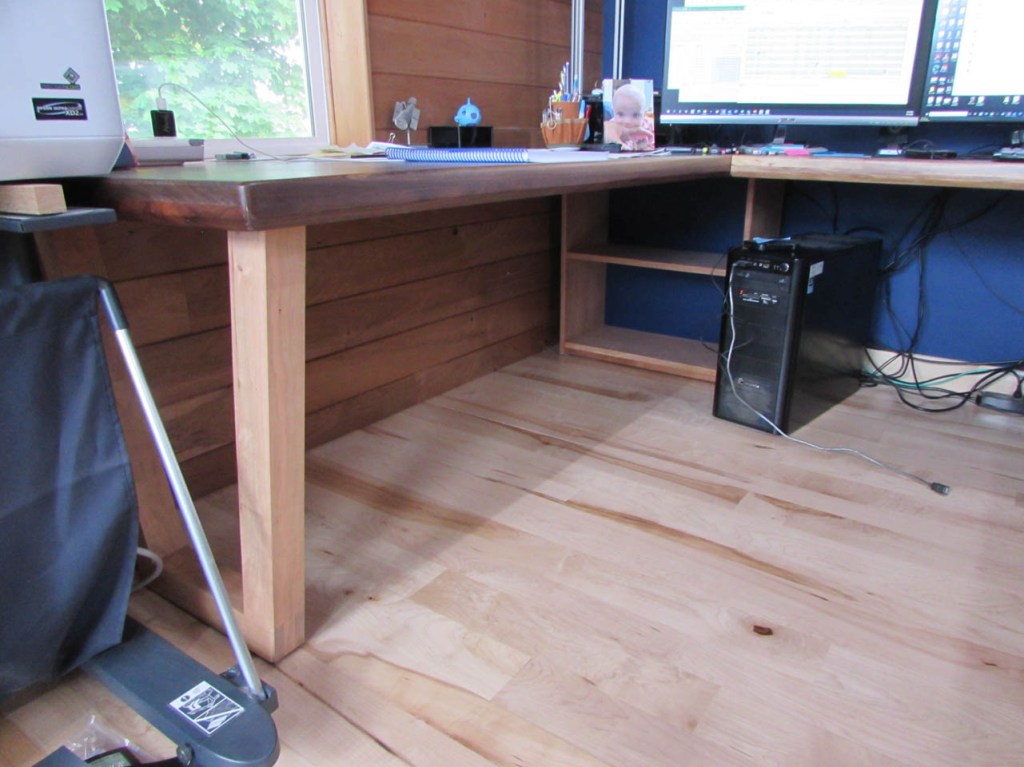
I added some non-skid rubber feet to the bottom as well. Then, while I was on lunch brake, I moved my monitors to folding table number one and removed folding table number 2 and replaced it with the new left side.

The cherry shelf and leg match the cherry wall to the left and the blue back to the shelf matches the wall behind it as well.

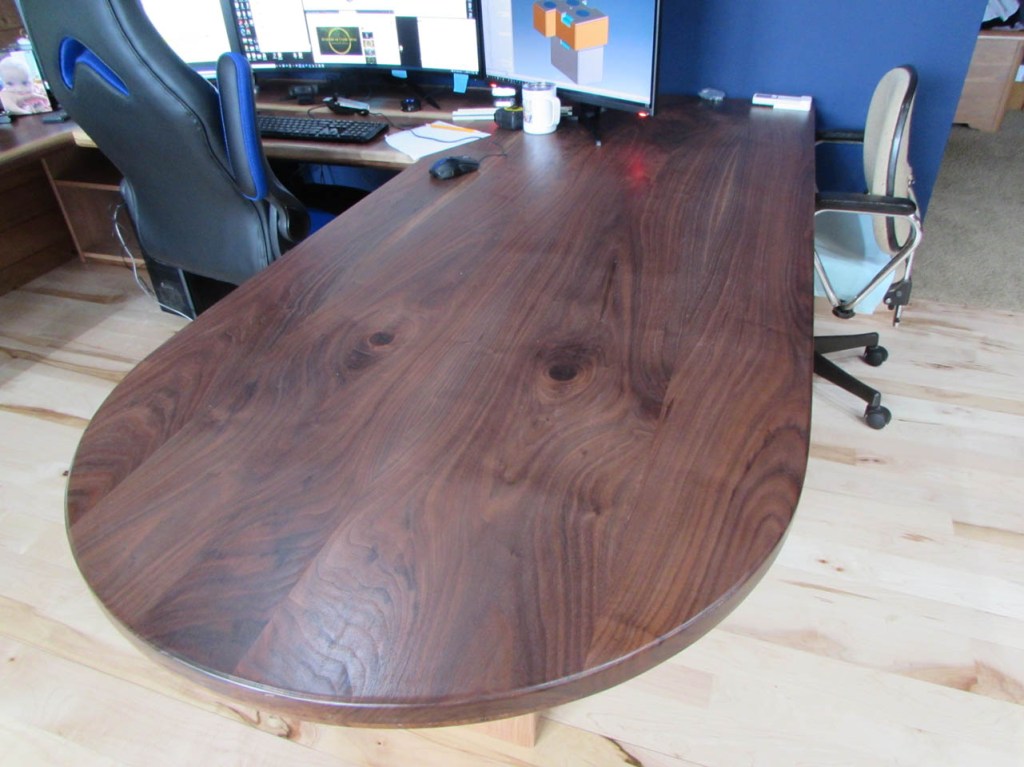
Then, I crammed all of my monitors to the left and brought in the rest of the desk. I centered the peninsula on the long shelf and attached it with six more screws, from below. I carefully aligned the Domino tenons on the center section with the two sides and pressed it all together.
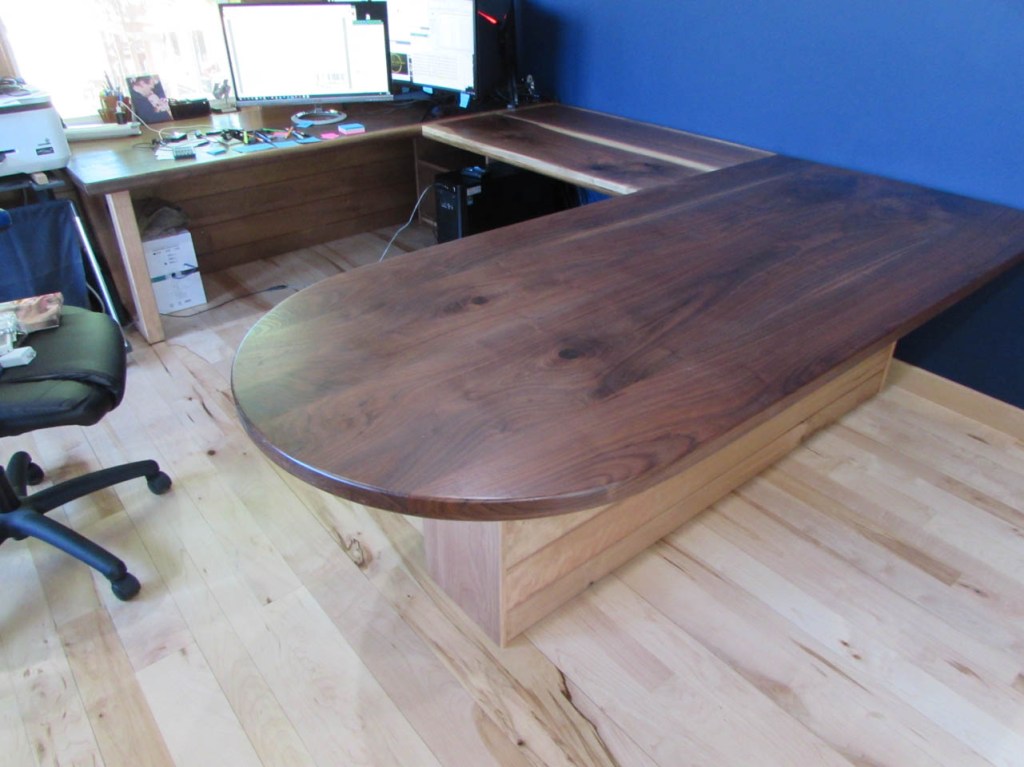
I am happy to say that the flooring on the back of the long shelf blends nicely with the cherry walls. This should hide a very large amount of my stuff nicely.
Then my lunch brake was over so I moved the monitors back to the center and got back to work.

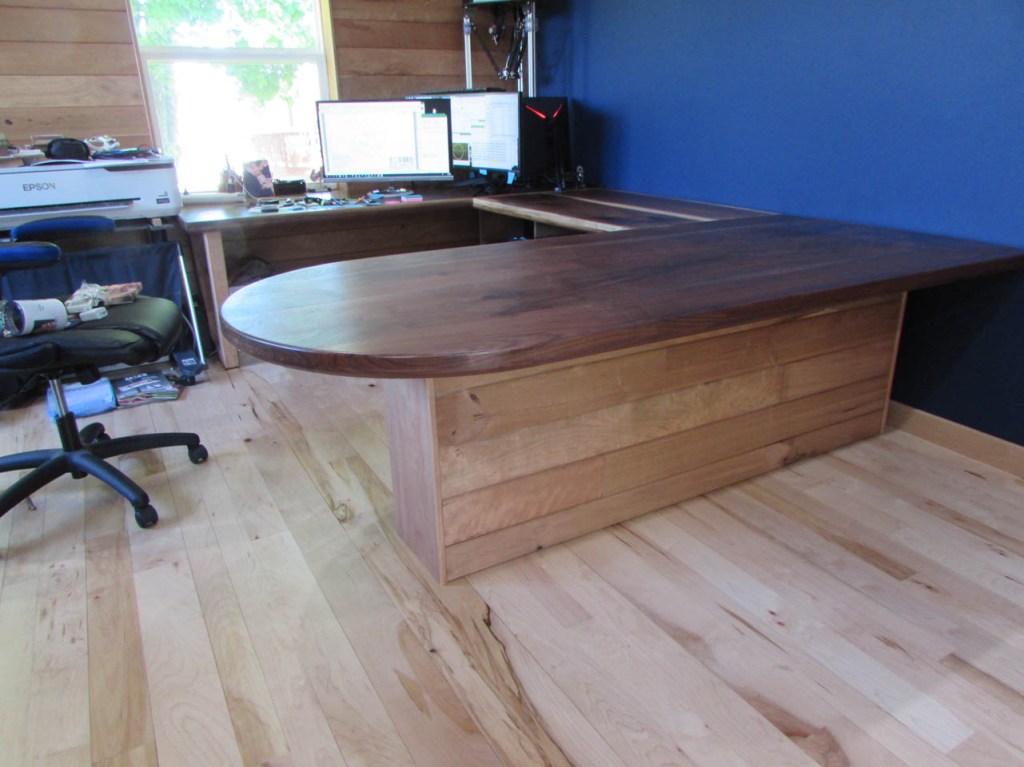
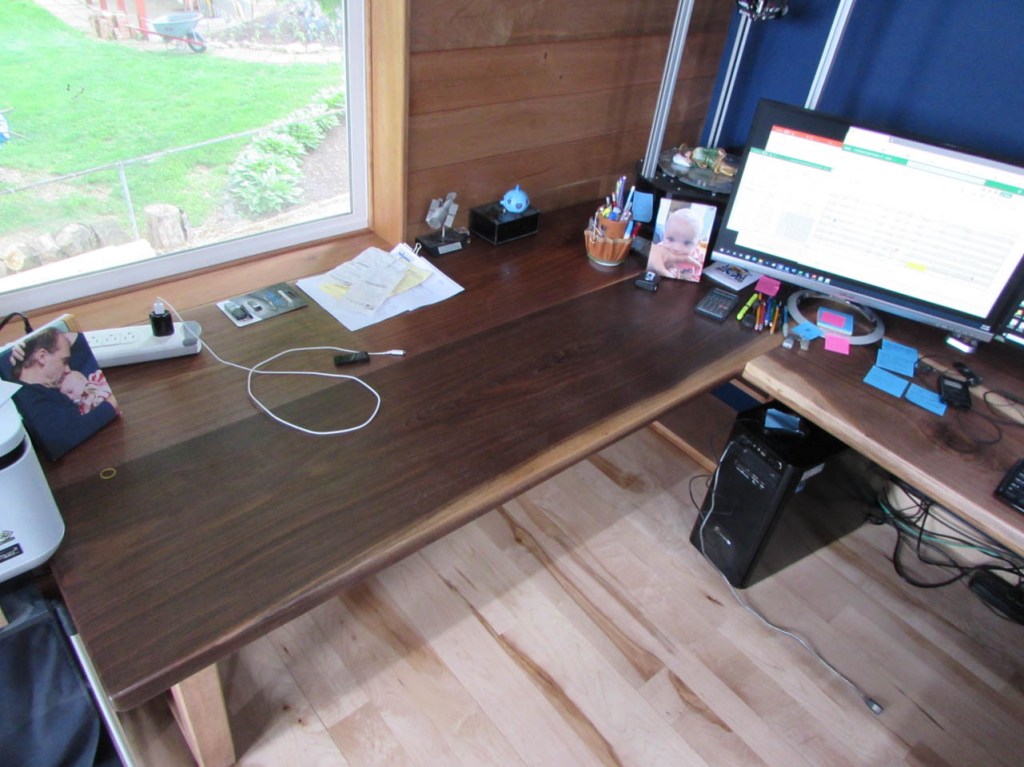
Take a long look. this is probably the cleanest my desk will ever be again… Next week I will be adding another computer and two more 34″ monitors. I guess I won’t be using that window on the left anymore…

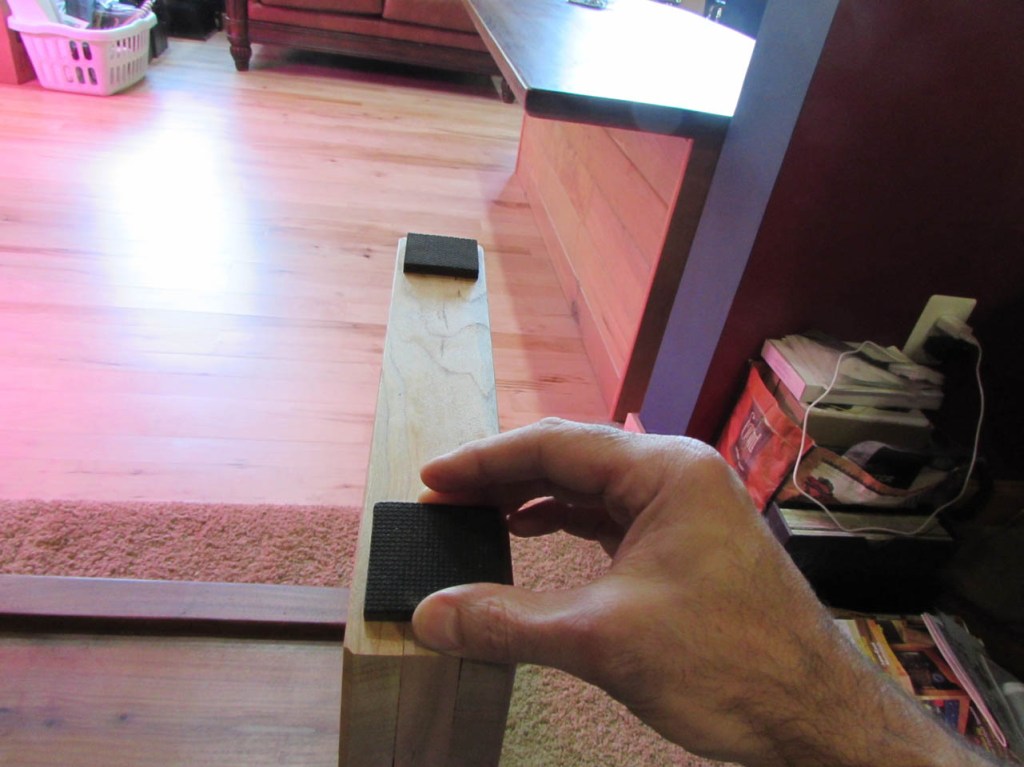
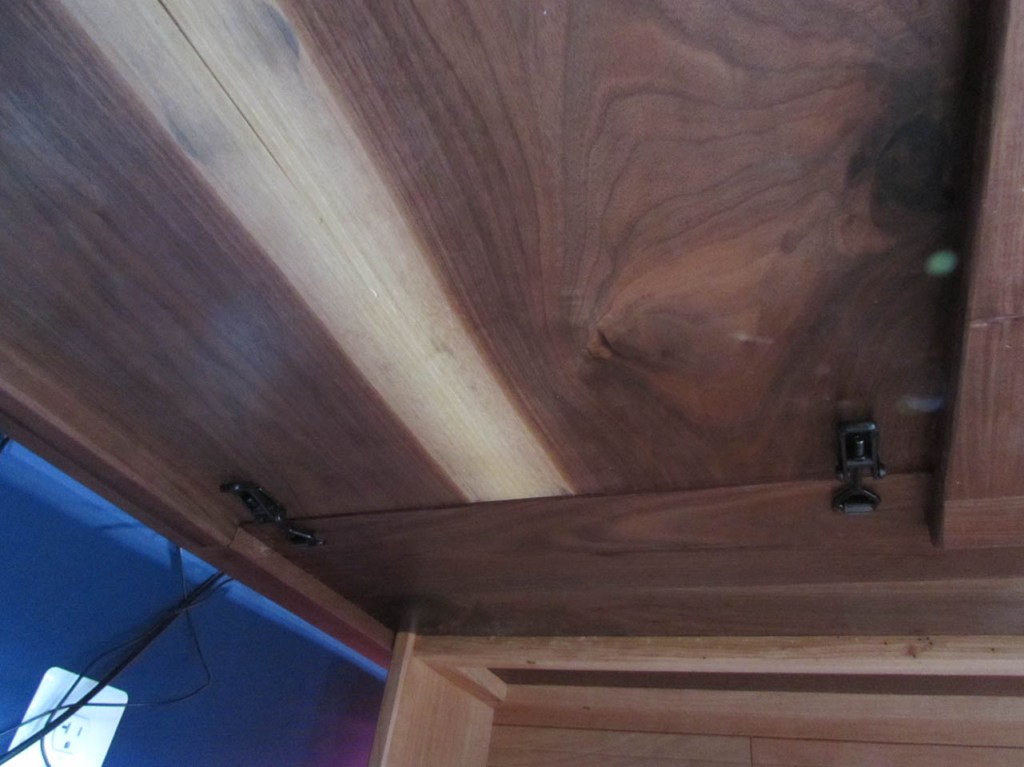
The three sections of the desk are very tightly fit together and I dread having to get them apart again, but to insure they stay aligned perfectly, I picked up a few latches.


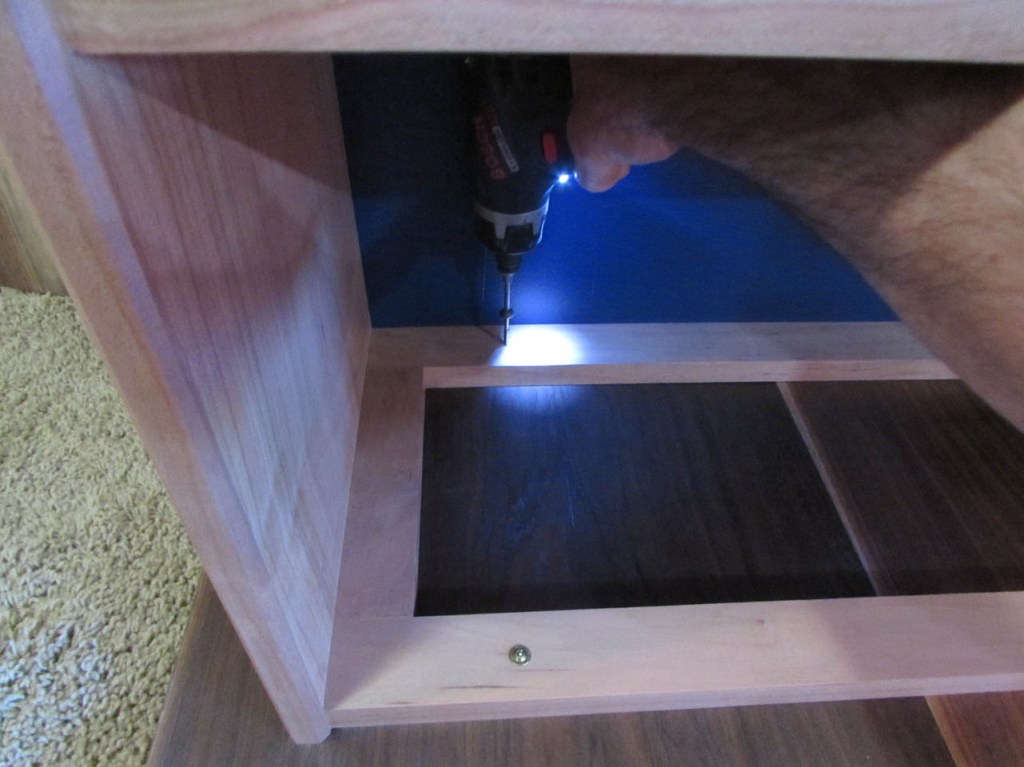
(sorry about the lighting) Since these are adjustable, I picked a random location and pre-drilled the first screw hole. I attached a stop to my bit so that I did not accidentally drill through the top of my desk.
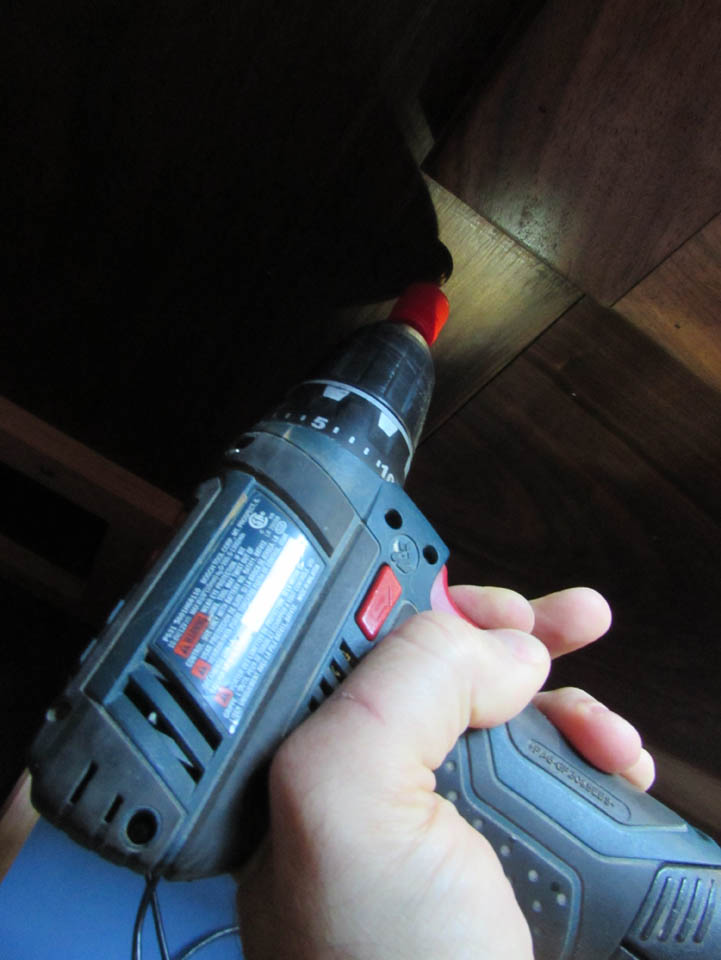
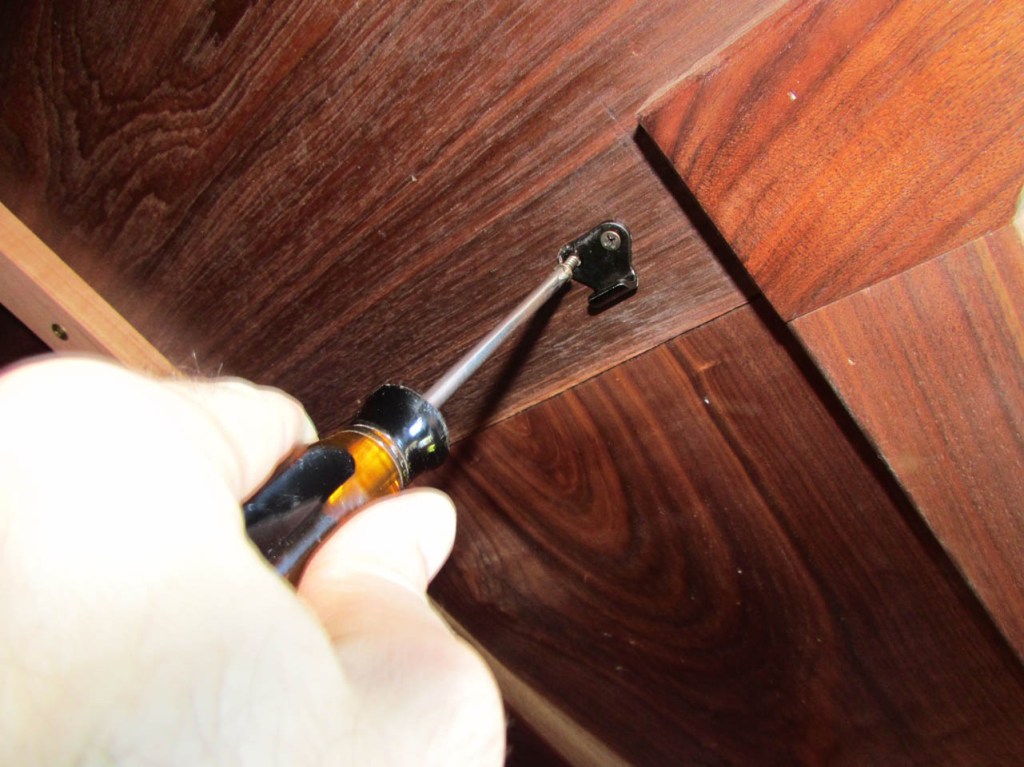
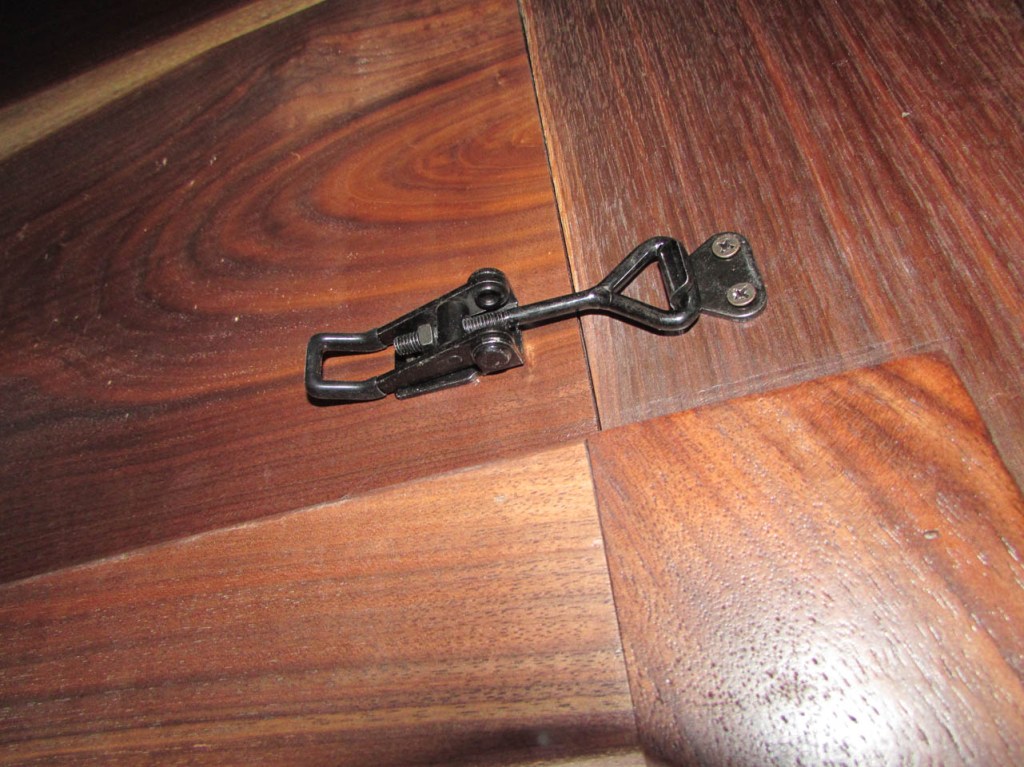
Then after attaching the first screw, I drilled and added the second. I repeated this process for each side of the latch then adjusted the center screw until the latch pulled tightly against the opposite side.
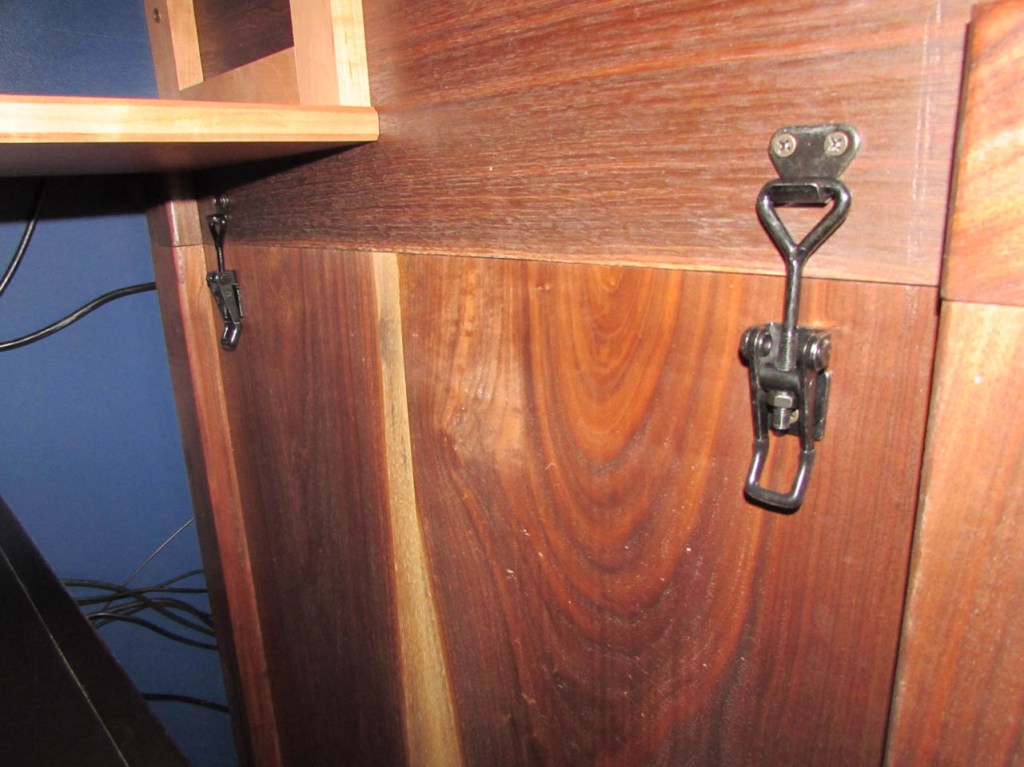
I went with this type of latch instead of the kind you usually find on an expandable table because the peninsula was 3/16″ thicker and these latches did not mind the step down.

All in all, I am very happy with this desk.
I think I will eventually add a small tray, under the center section for power strips and cable management, but I was impatient to start using it. We will see how much of my junk I can cram onto these shelves in the future…


I will probably also add a cherry and walnut shelf to hold the plotter (between the windows) but that will be another day.

I even lowered the desk height to match the window sill.
This was a fun project, but the top took a lot more effort than I thought it would. It was extremely heavy and required a lot of attention to filling knots and cracks with epoxy so that the entire surface was smooth. A lot of space was required in my shop to work with the top assembled. I don’t think it would have been possible before I added on. I probably spent two weeks on the tops. Surprisingly, I only spent two days on the shelves and leg assembly. I was very happy about that because once the top was done, I was very impatient to get everything set up.
