
Large walnut & cherry desk part 2
My plan for holding up this desk is a combination of shelves and legs. My goal is to have some storage that keeps my mess out of sight. Today I am going to make the long shelf that will sit under the peninsula of my desk’s three sections. To match the walls of my office, the shelf will be made from cherry.
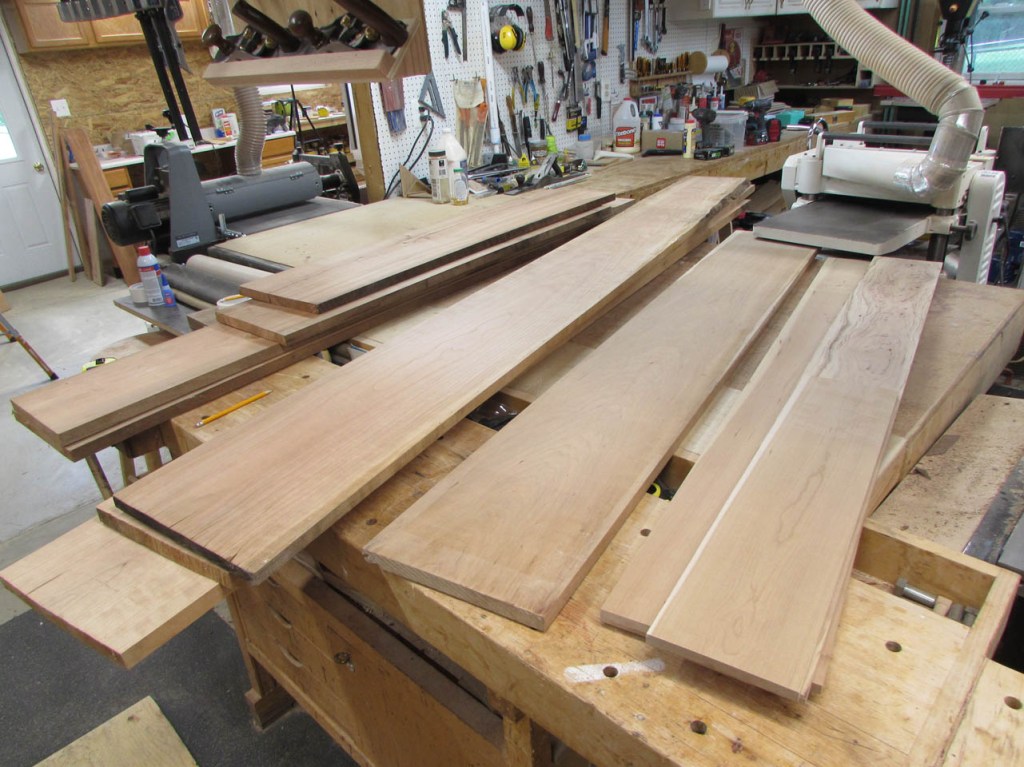
I have accumulated a few cherry boards from various sources. I have to pick boards for this shelf that will match. I have 5′ long boards that have cracks running down the center so they are only going to be useful for narrower pieces.

I have three 8′ long boards recently purchased from a neighbor who cut them from trees on his farm and milled them down on a bandsaw mill. They have been air-drying for two years, outside, with a piece of metal to keep rain off the top of the boards. They are pretty but they have had some powder-post beetle damage, and they have developed a twist. Since there are potentially live beetles still active in the boards, I took them to my buddy Dave and had him place them in a vacuum bag and hold them under vacuum for over 24 hours. That should effectively kill anything alive in the boards.
I also have some thinner stock that has a lot of distinctive grain. I think I will start with the three that were cut locally and see how they work.


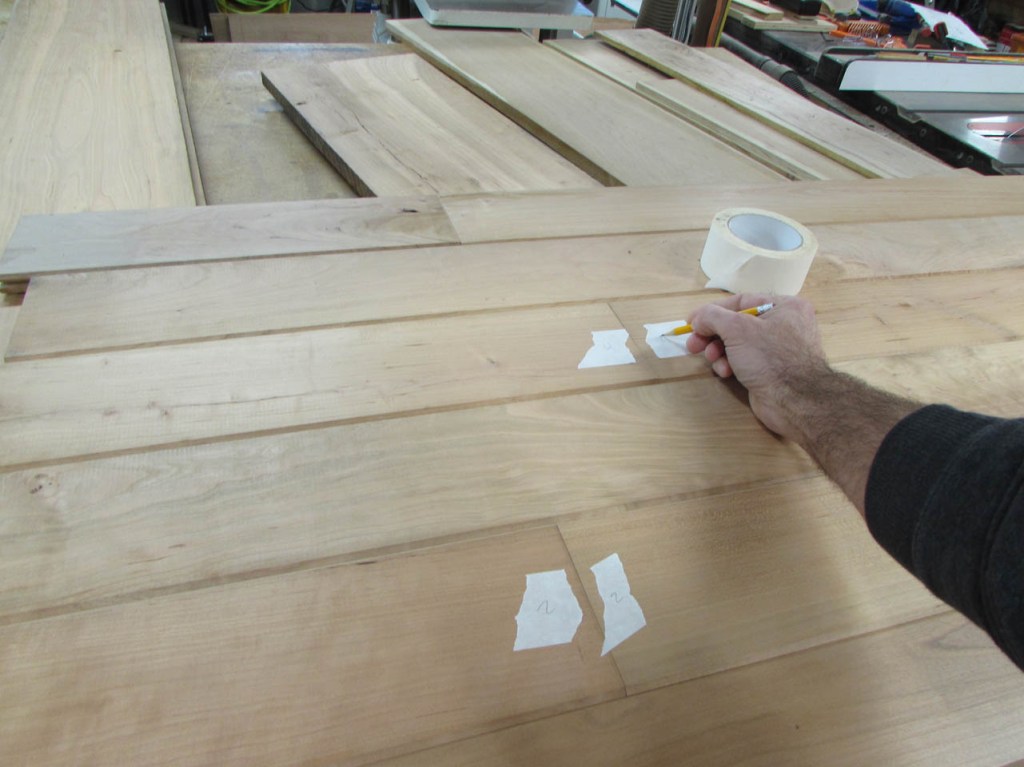
To match the walls of my office, the back of the shelf will be made from the same cherry flooring, left-over from my walls. I culled through my pile of scrap and found enough boards to cover the area. I even did a little grain\color matching and marked the location of the boards for later use.
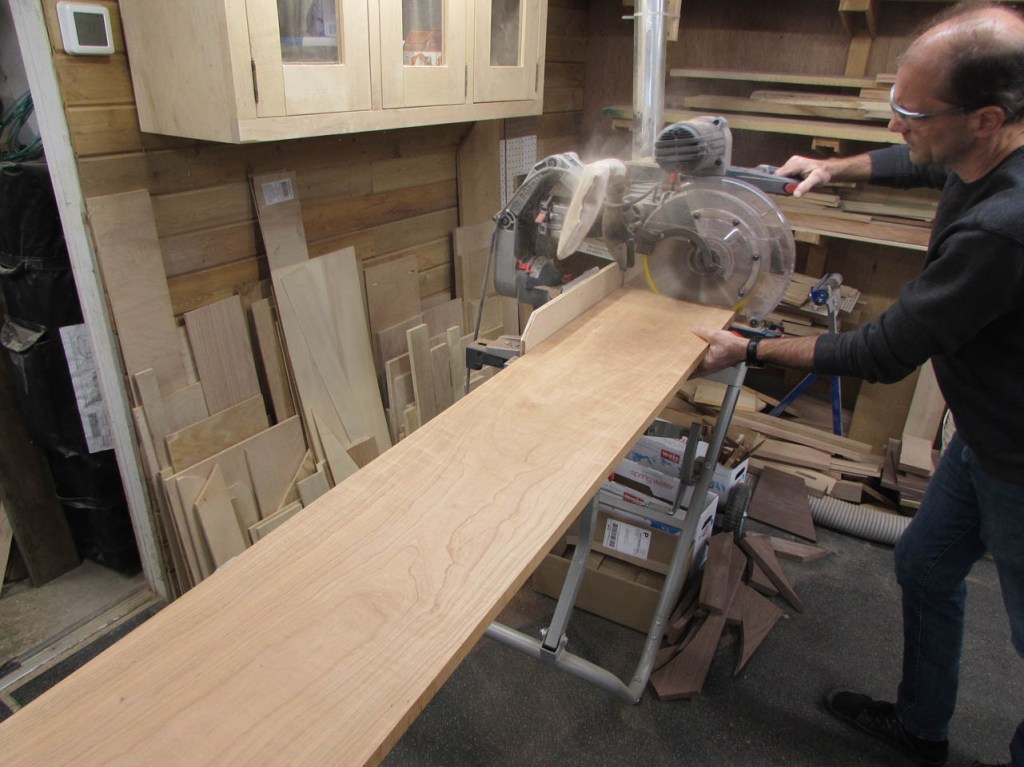
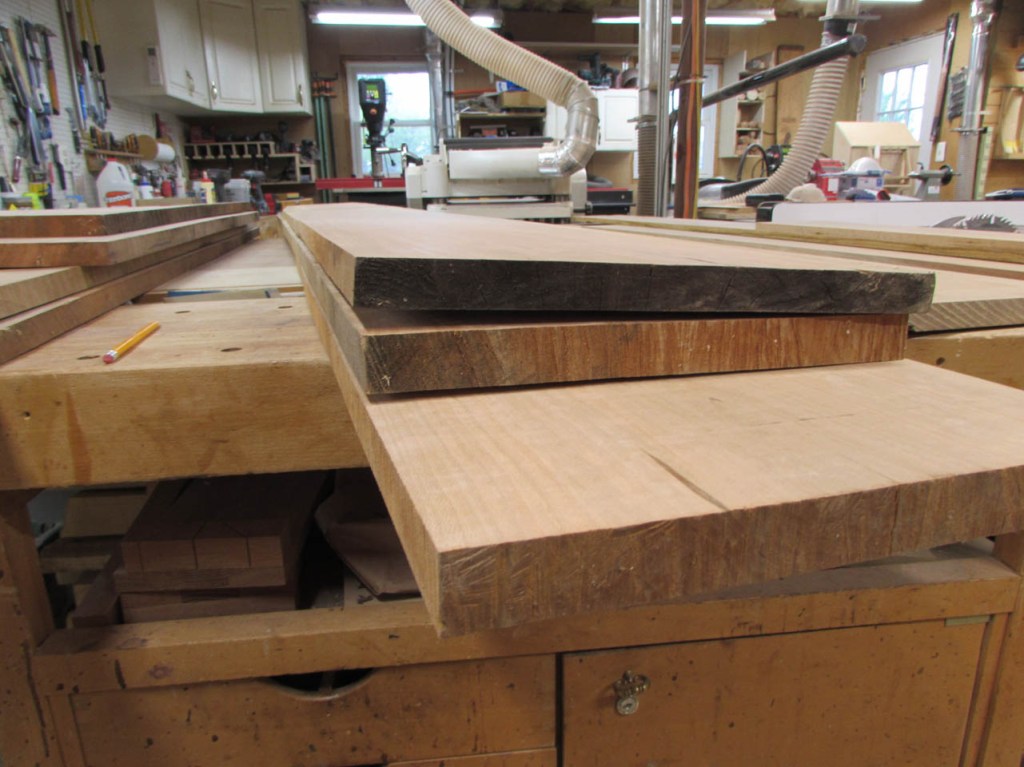
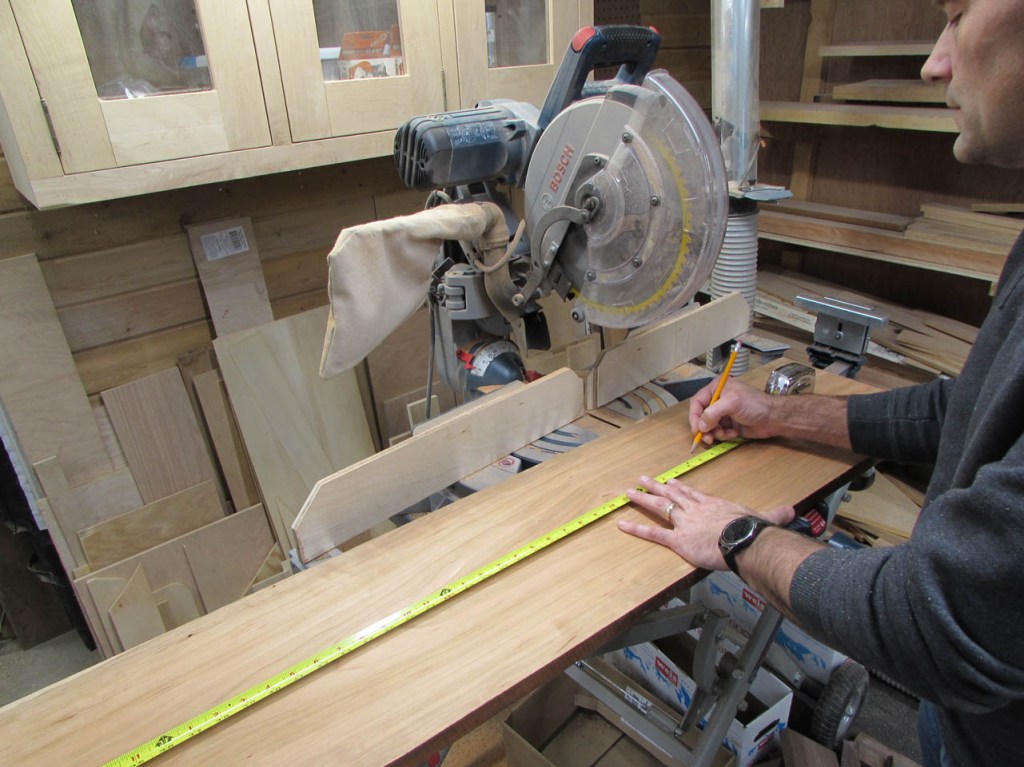
I will start on the shelves by cutting into one of the 100″ long boards and checking the moisture content with a moisture meter.

The center of the boards read around 10.7% and the sides around 6.9%. Since the moisture level is fairly low, I think they will be fine. These boards were drying outside but they have been sitting in my shop for several weeks, acclimating.


The shelves will be 25.5″ tall so I am hoping to lose a lot of the twist in the one board by cutting shorter sections from it. The first two I cut were flat enough, but one of them was still way twisted. I will save that board for another time.
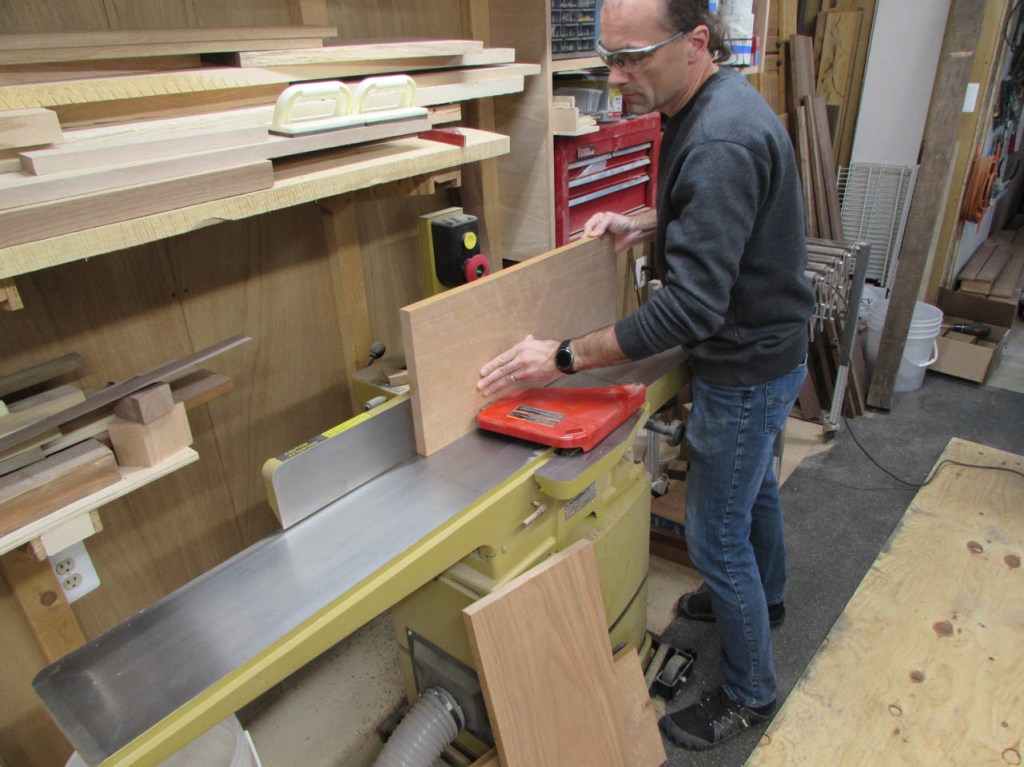
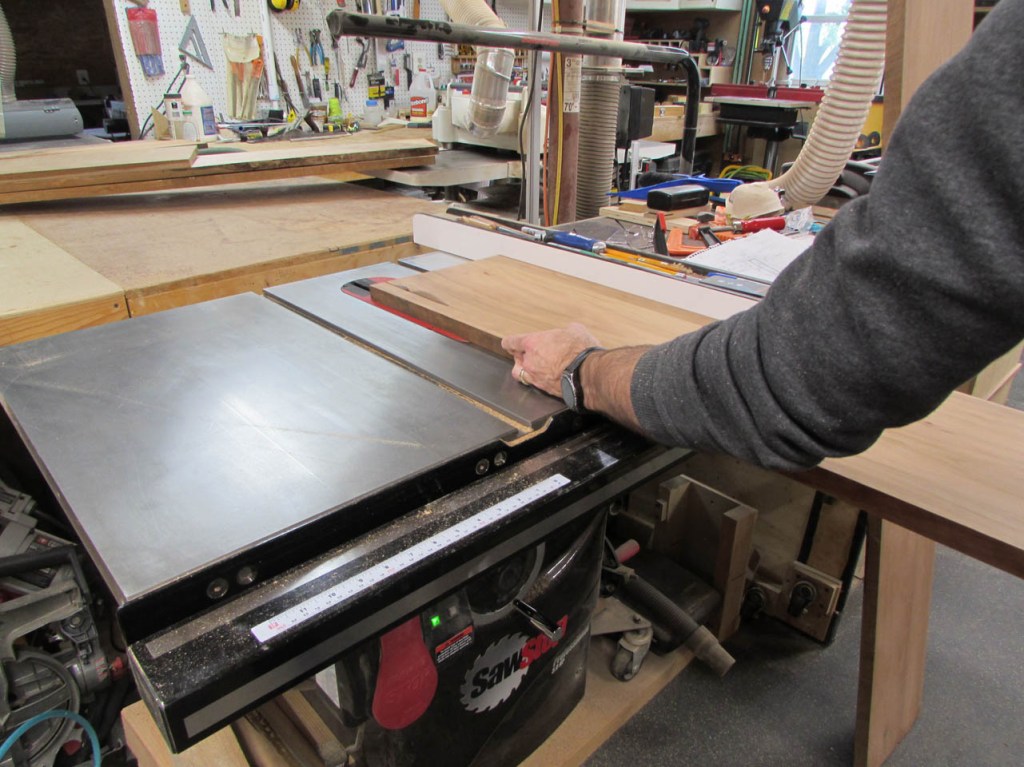
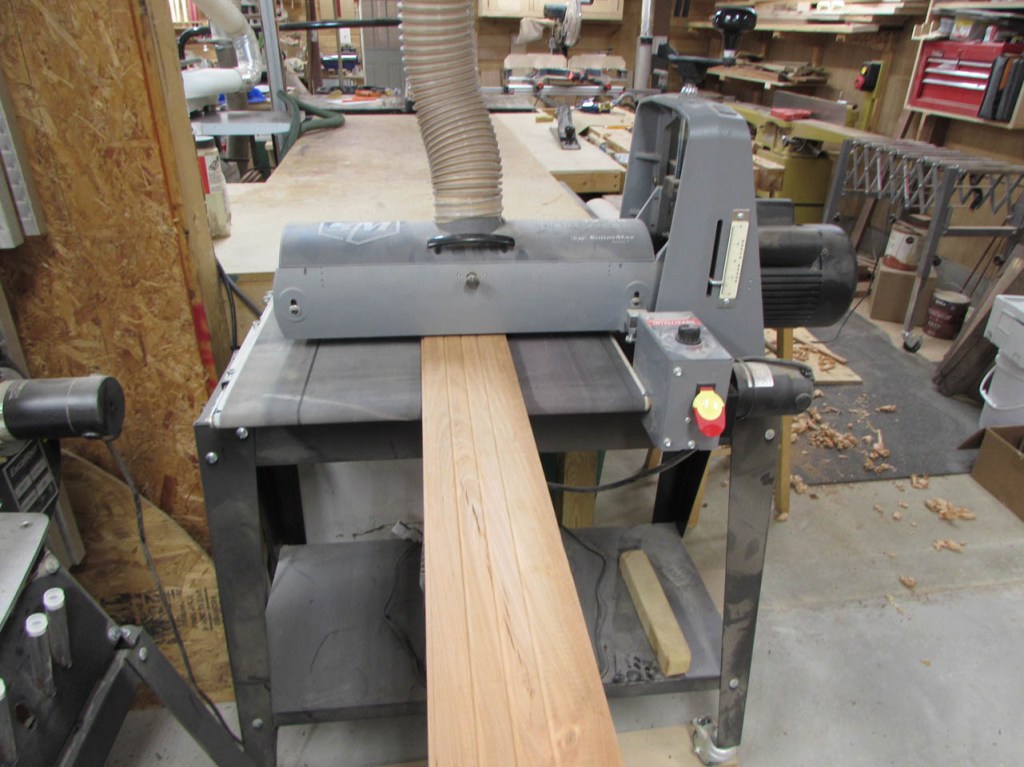
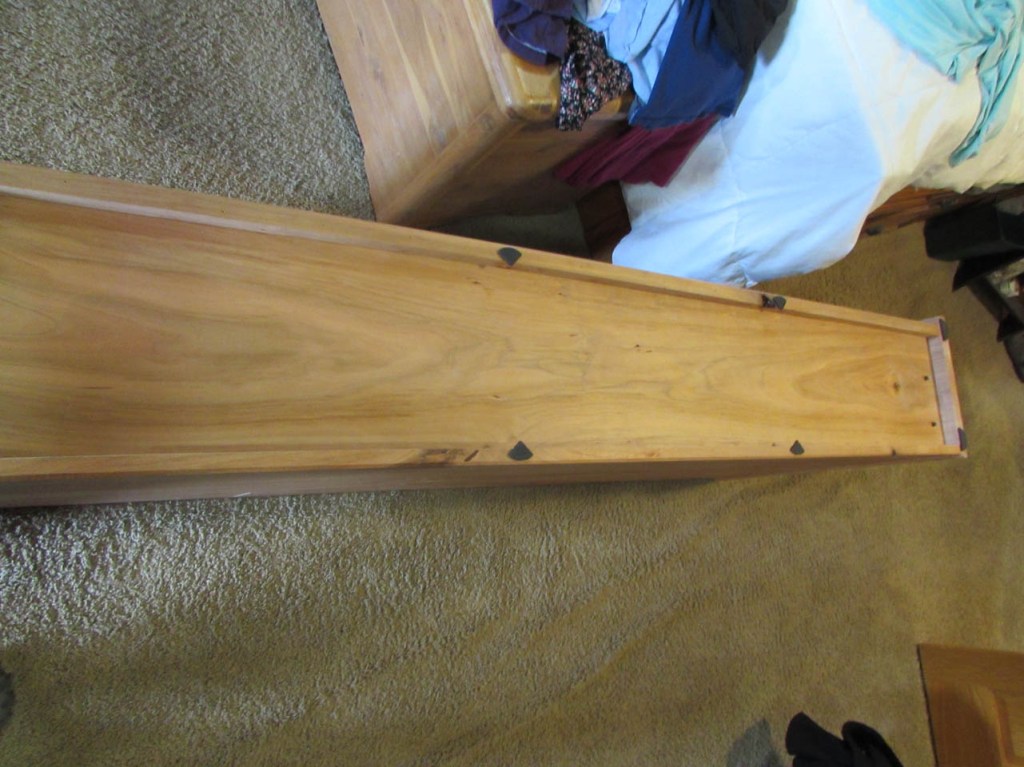
I had previously planed the boards down to 1″ thick when I first acquired them. I wanted to see what they looked like with all of the rough saw marks and weather staining removed. Since they are already planed, I started by jointing one edge and cutting the opposite side parallel on the table saw. Final size is 11.5″ wide.

To create a notch on the back of the shelves to receive the cherry flooring, I cut a 1″ wide x 1/4″ deep rabbet on the table saw. This will give me enough depth to chamfer the end and match the window trim in the office.

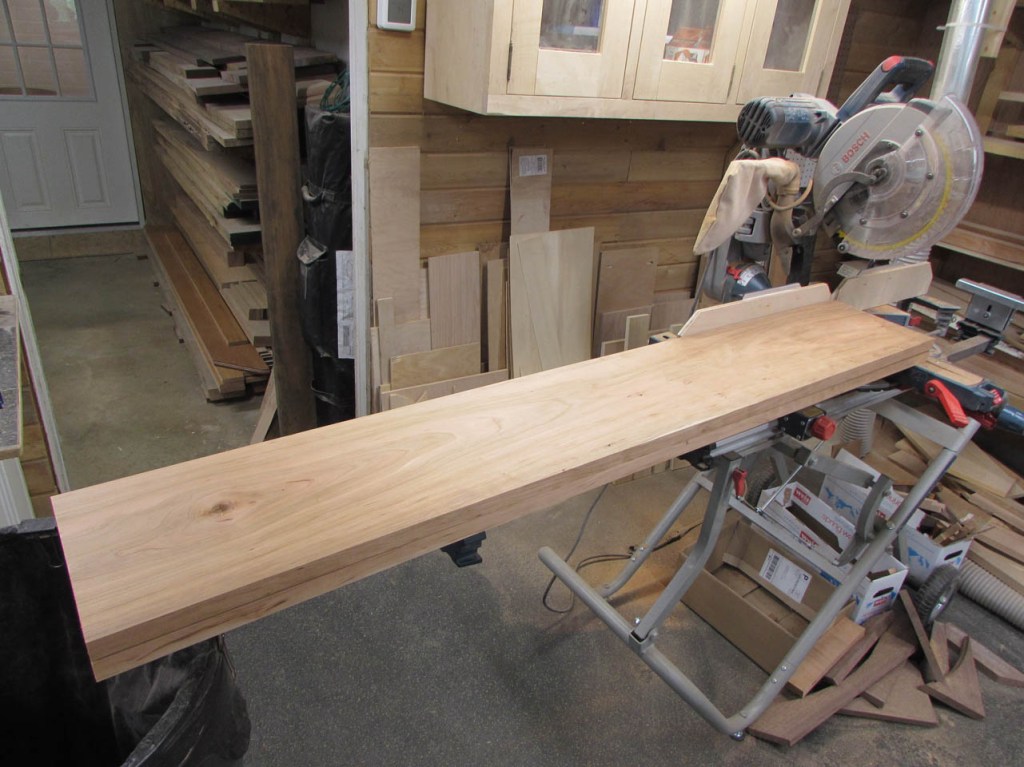
For the shelves, I found the straightest sections that I cut and jointed down to 10″ wide x 64″ long.

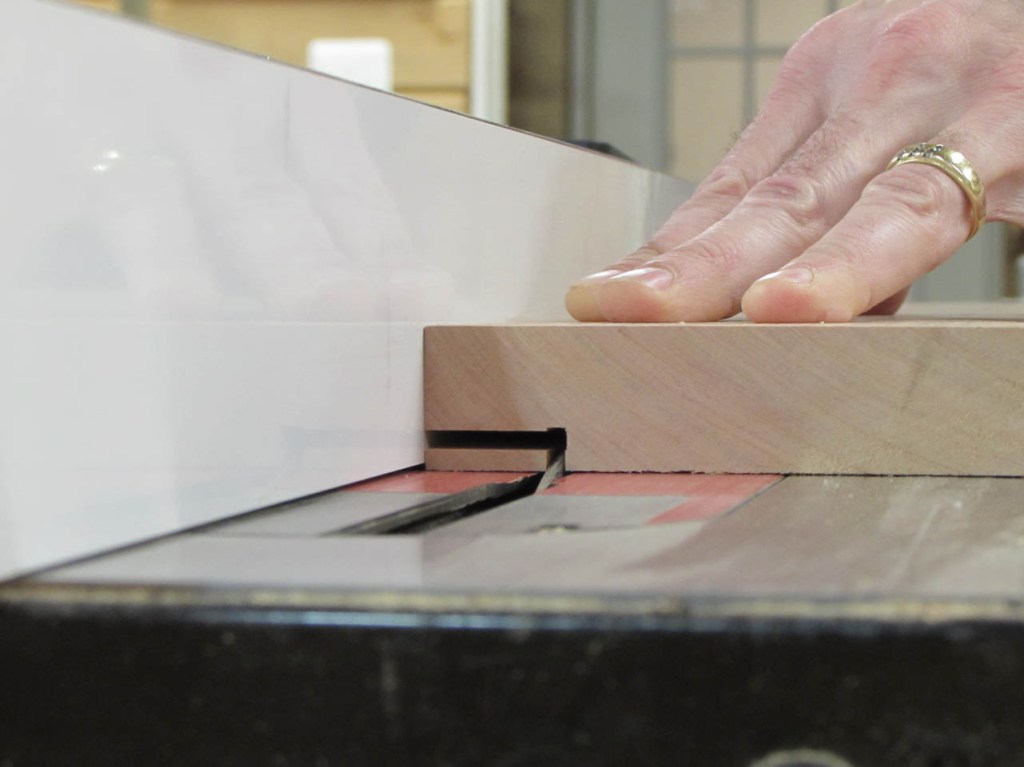
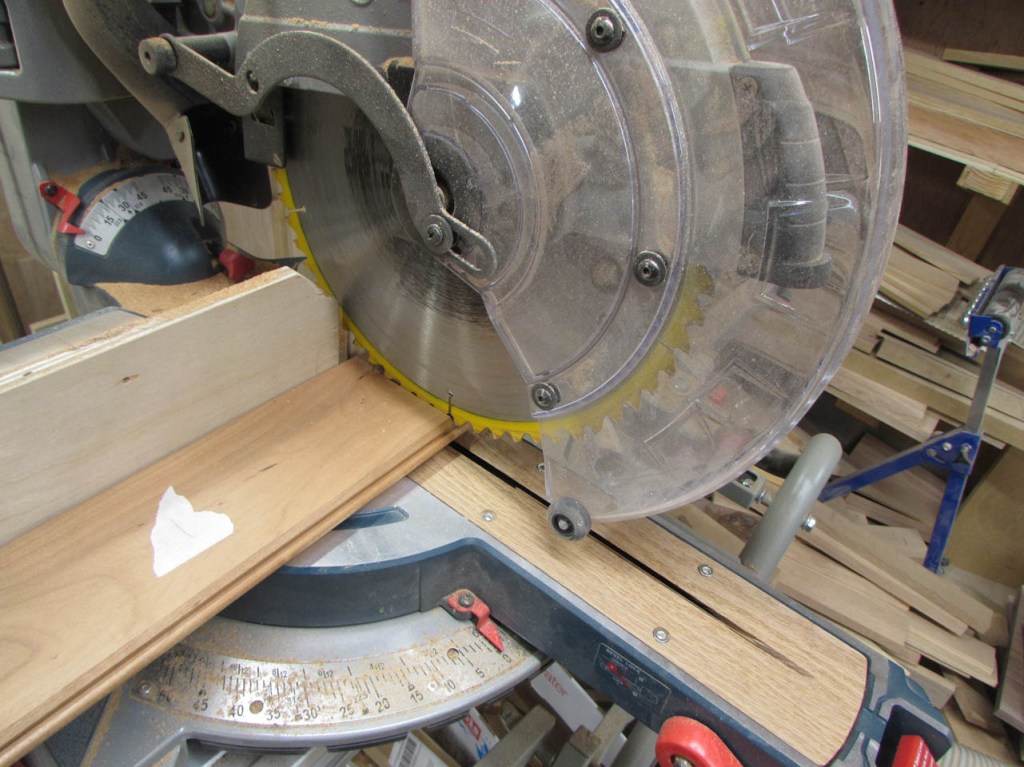
I held them together to cut them to final length to insure they were exactly the same.

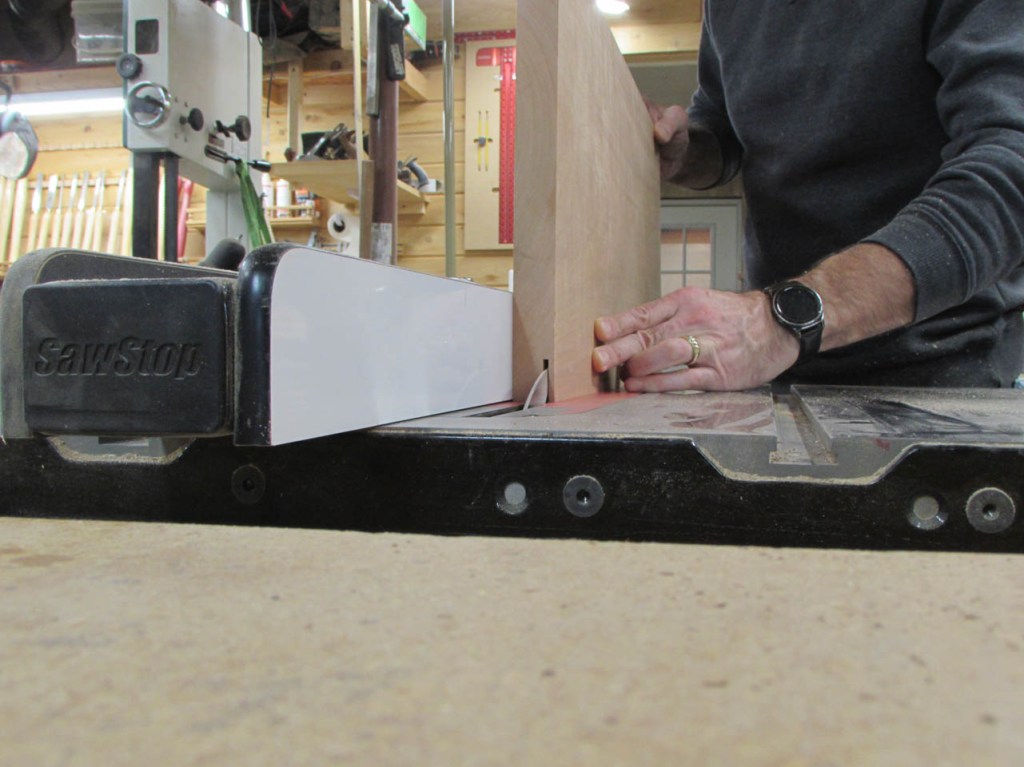
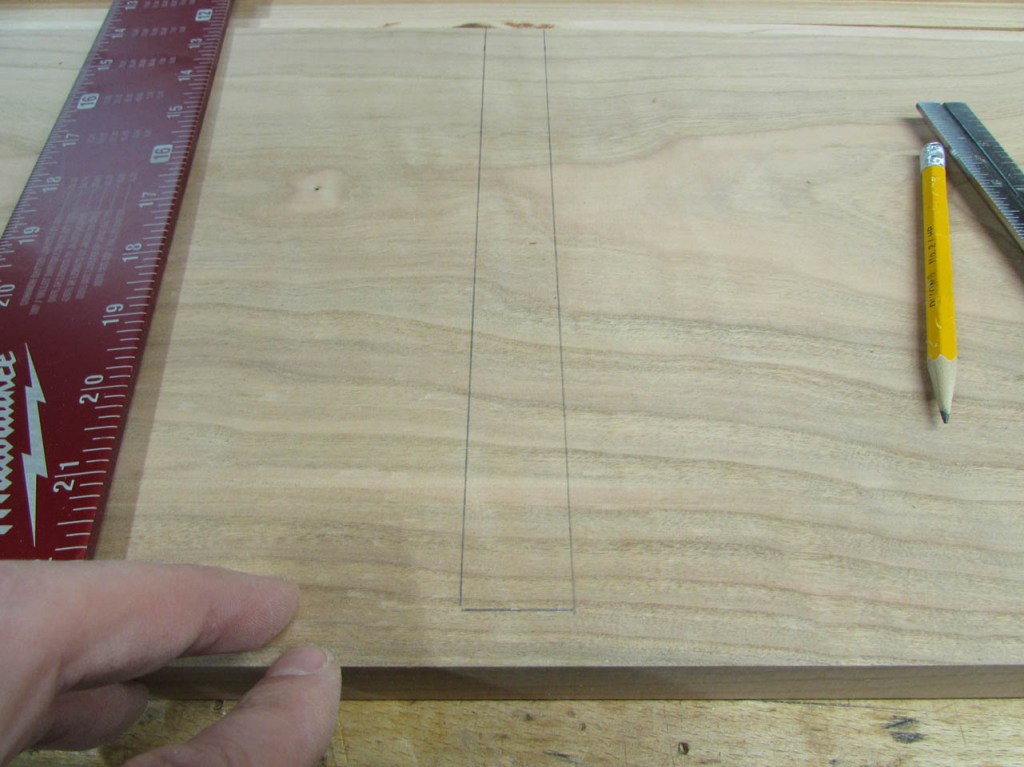
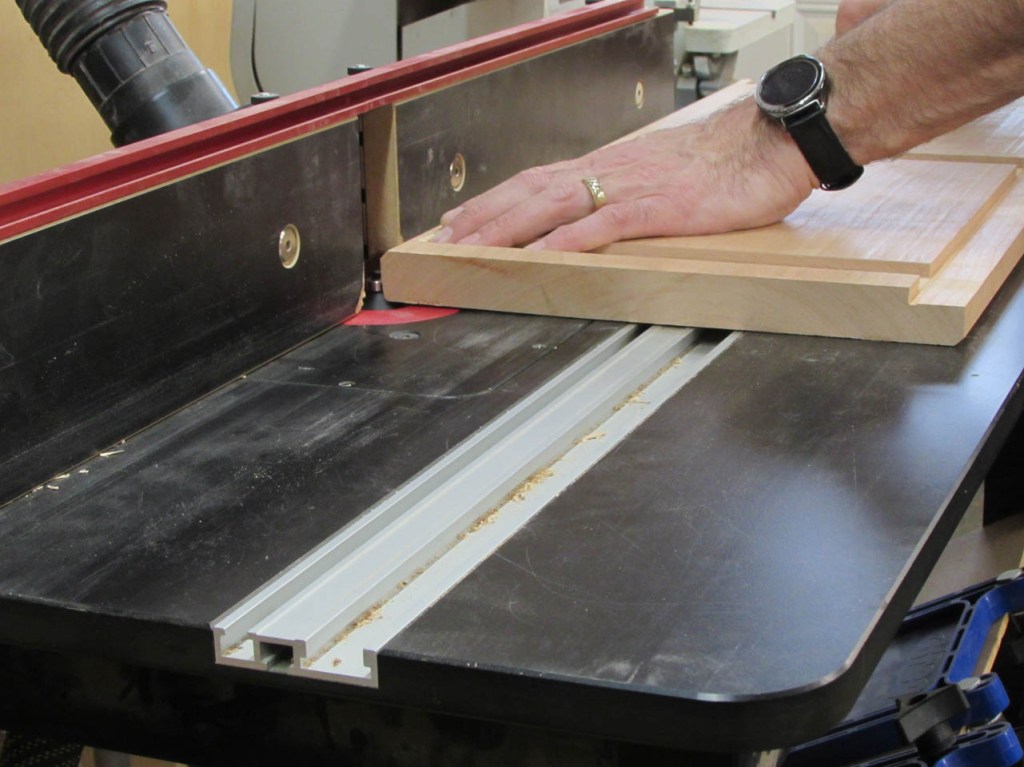
I started laying out the shelf locations on the sides. I was going to cut the dados all the way through but I decided to make things harder on myself and stop the dados 1/4″ from the face so that I could have a chamfered edge on the front to match the back.
This will require my cross-cut sled, on my table saw, with a stop block set on the fence to prevent the blade from cutting all the way through.


I set the blade to cut 1/4″ deep and do a test cut. The stop seems to be set right so I make several more passes to complete the dado.

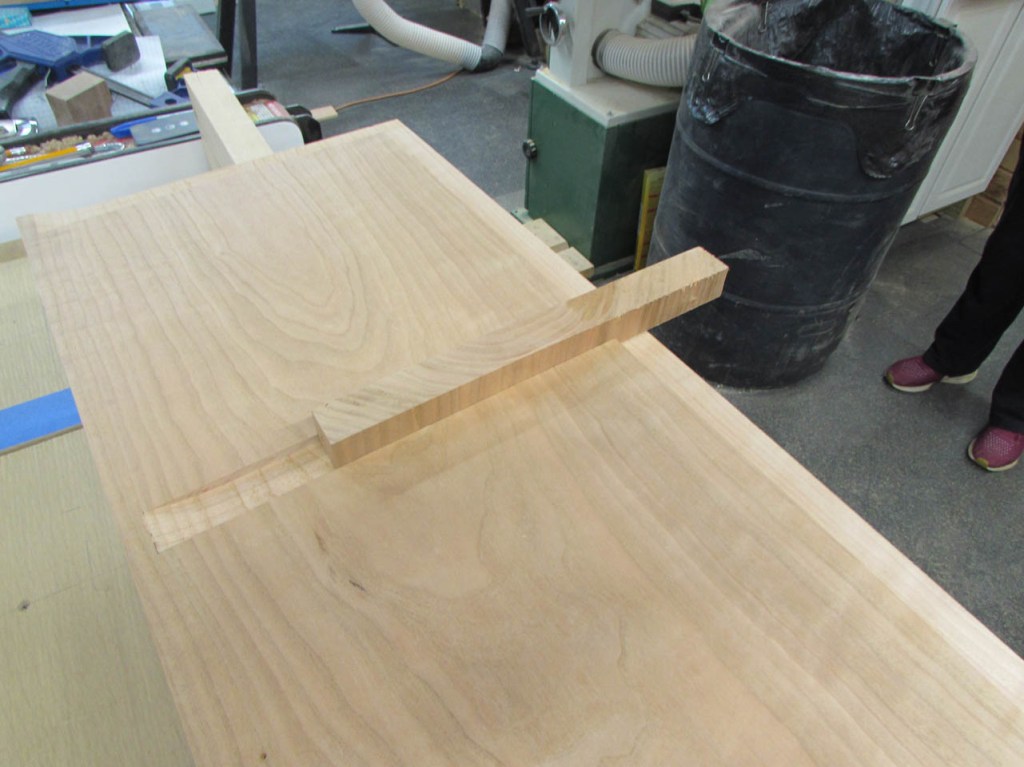
Next, I cut the remaining dados with the same depth stop and used an off-cut from the shelf to verify the dado sizes.
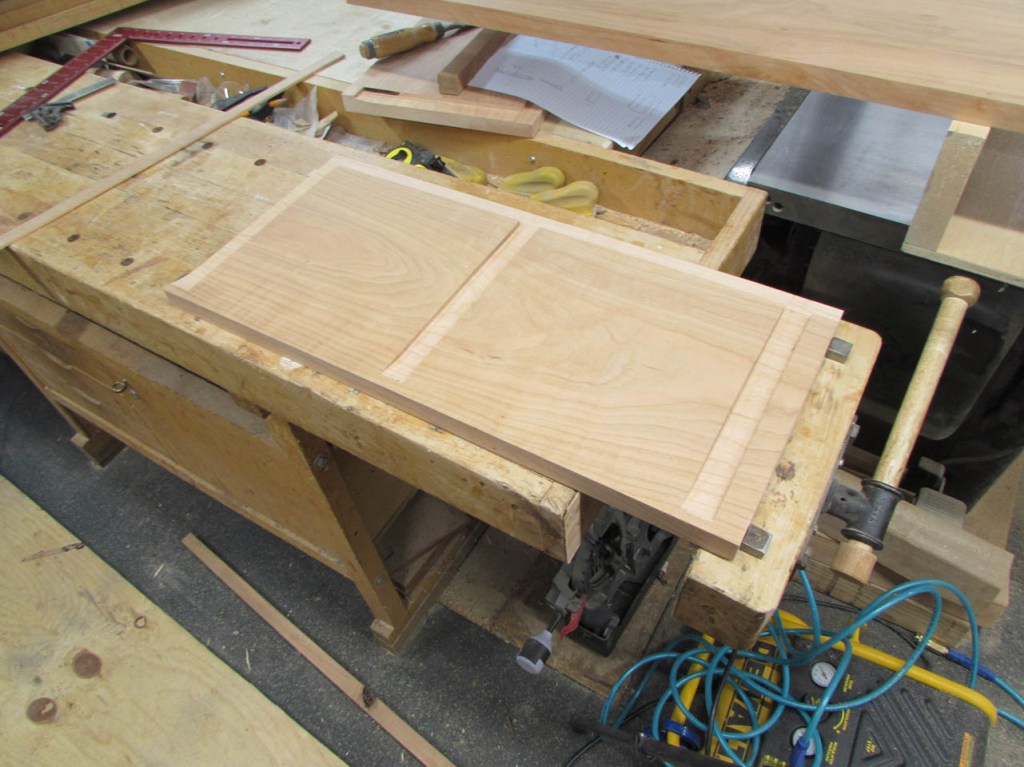

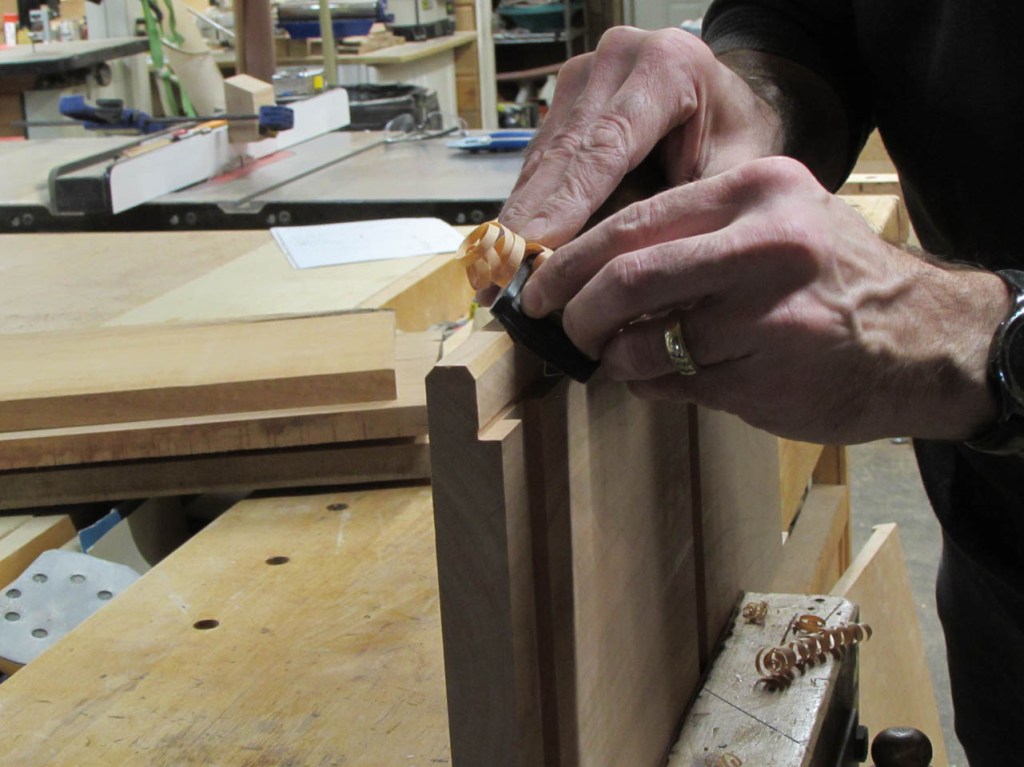
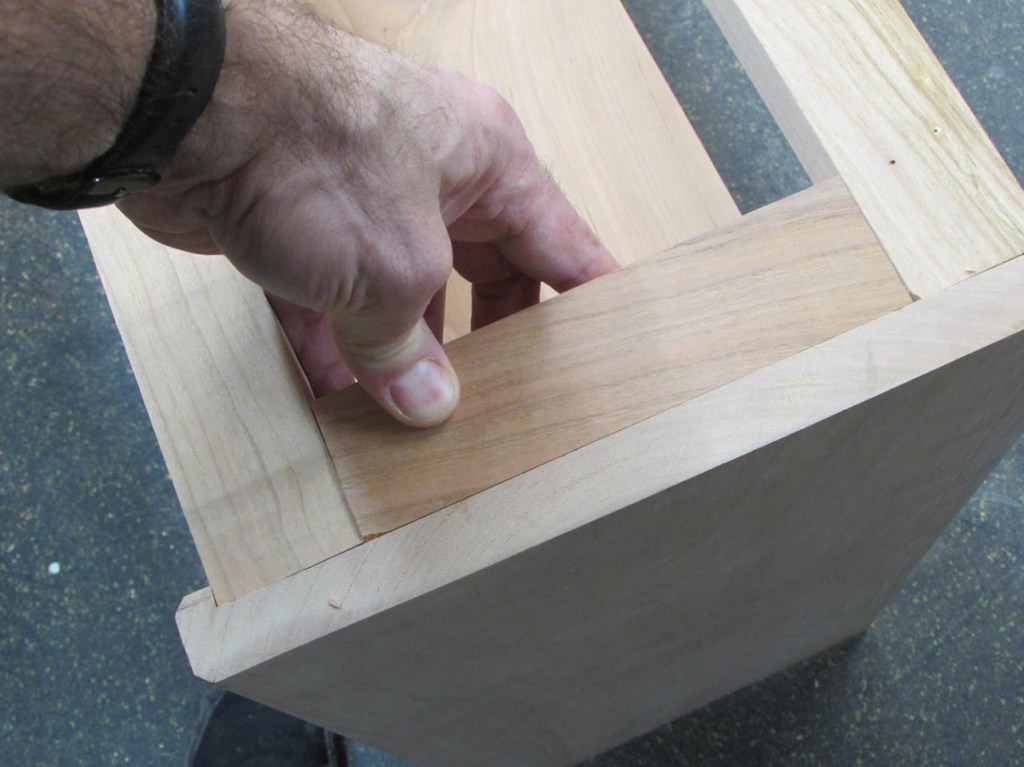
I use a shelf board to mark the end of the dado, then start chopping out the rest of the dado by hand with a chisel and mallet.
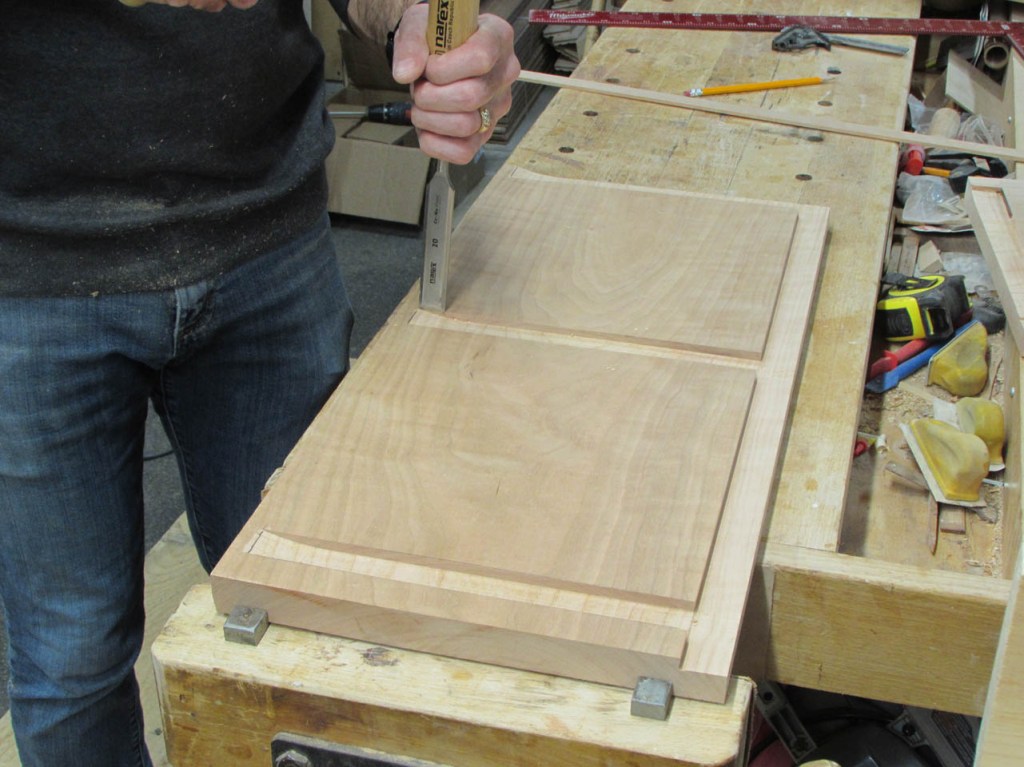

Just takes a little patience and I have a good, clean fit.

My wife got me a corner cutting chisel for my birthday. So, once I established the first 1/6″ of the dado, I could use that to cut the rest of the corners of the dados. This was helpful because it was less likely to split along the grain.

I used my chisel and a sanding block to clean up the face of the dados.
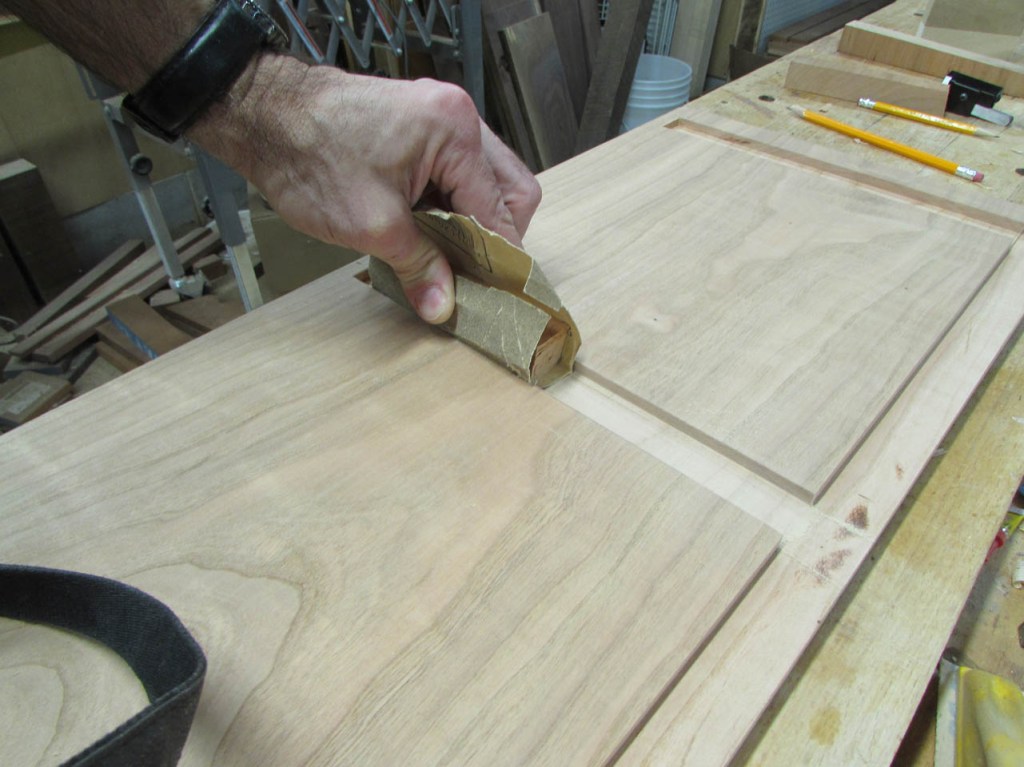

On the edges, I want to cut a chamfer that matches the chamfer on the flooring. I used a scrap piece to set the depth on my router bit.

Then I cut the three outside corners on the shelf sides.
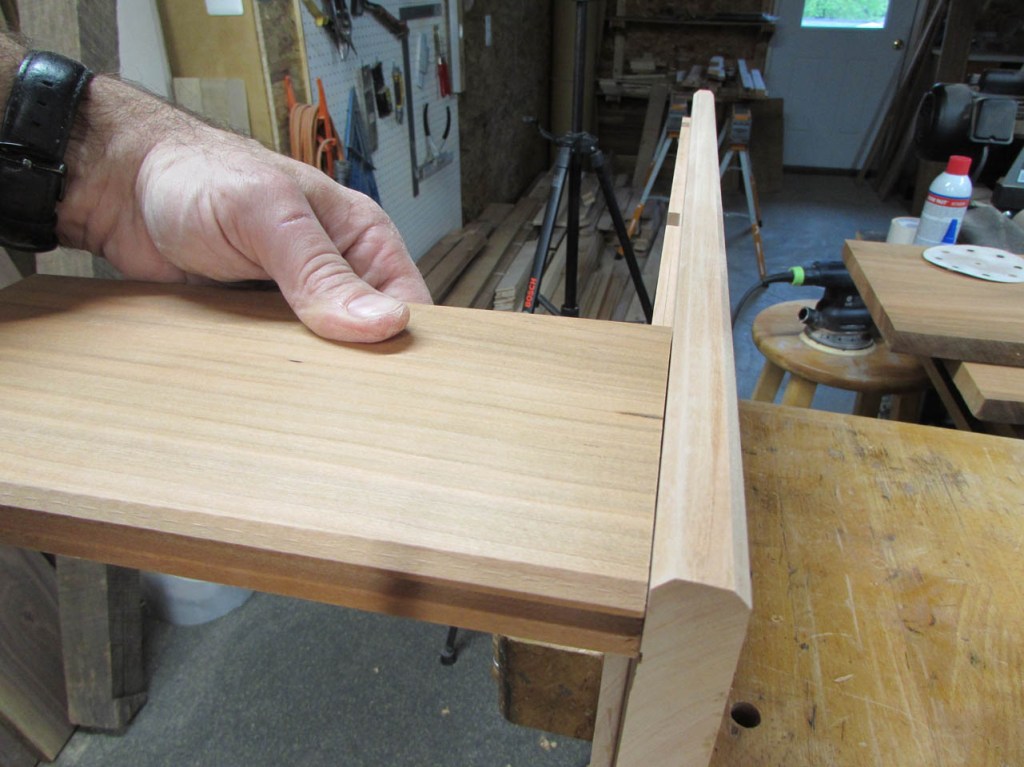
The fourth corner was in the notch so I used my block plane, held at an angle to match the other three chamfers.
Now the chamfer stands proud of the flooring. It will match my window casings perfectly.
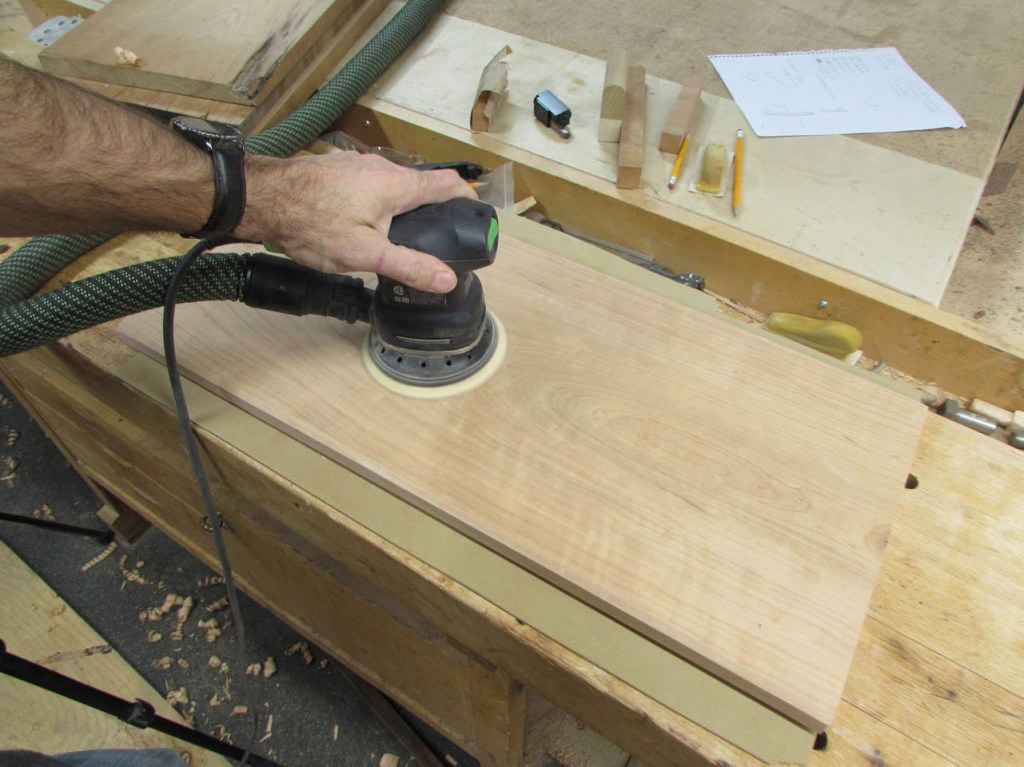
I give all of my boards a good sanding before assembly.
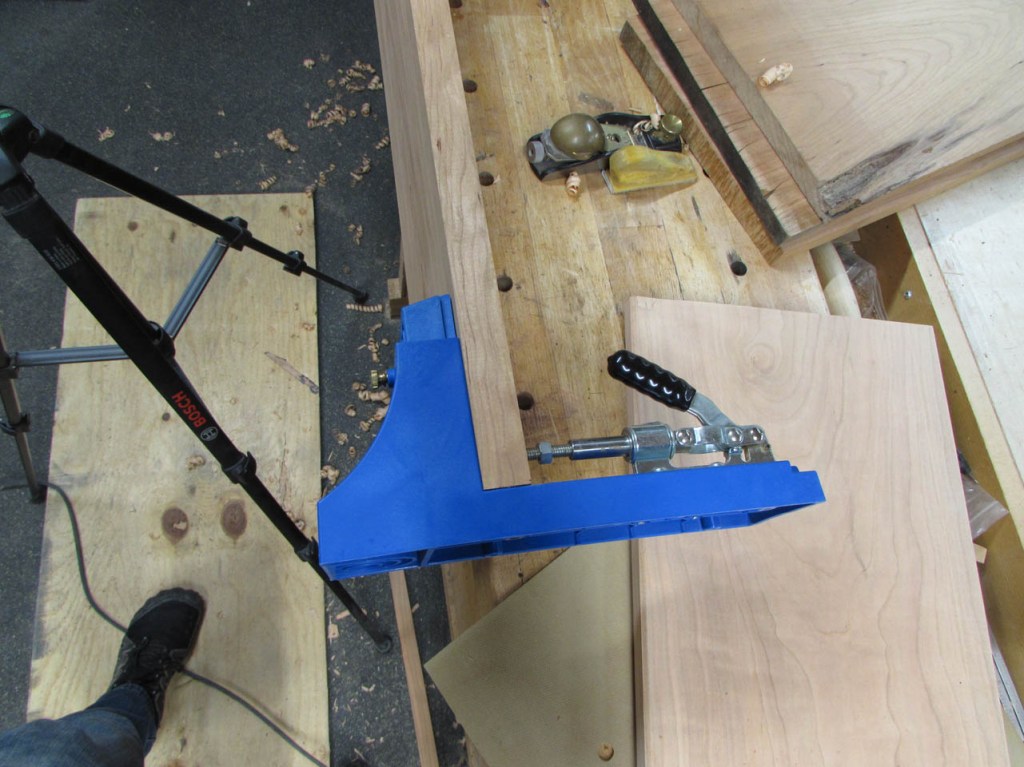
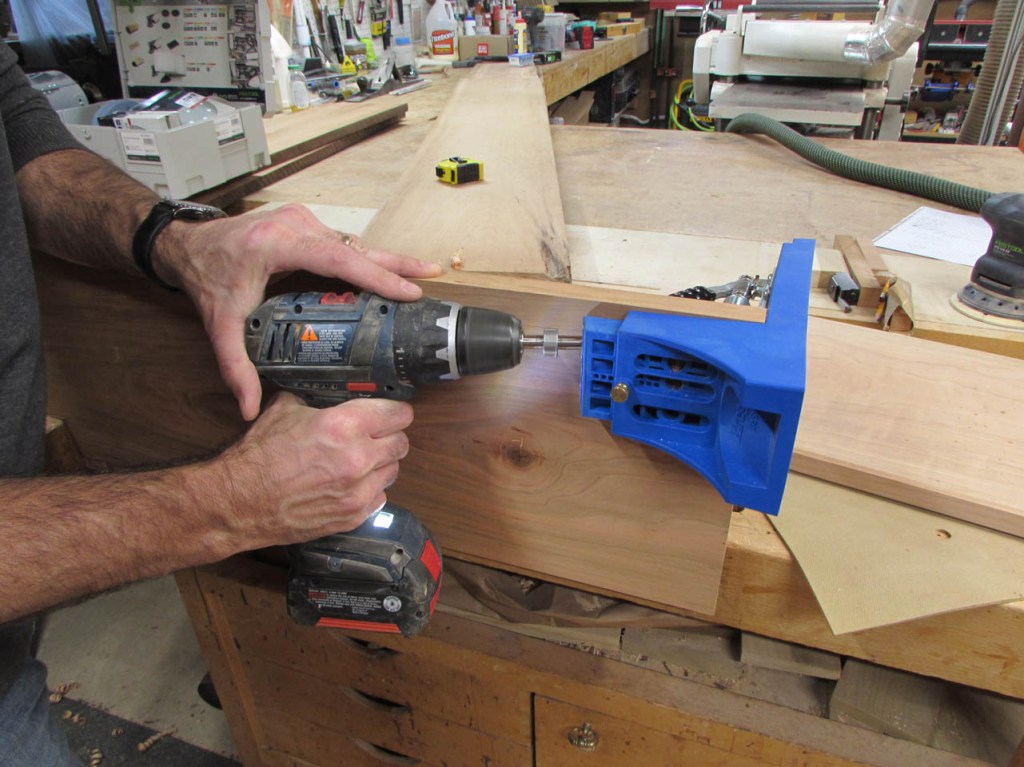
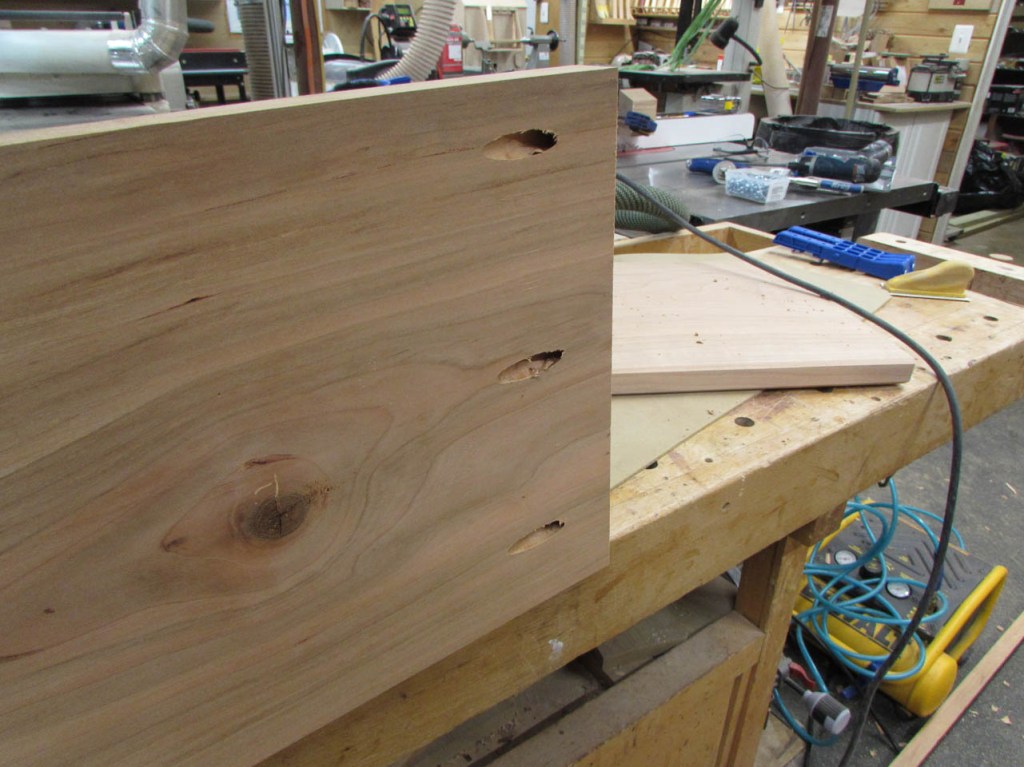
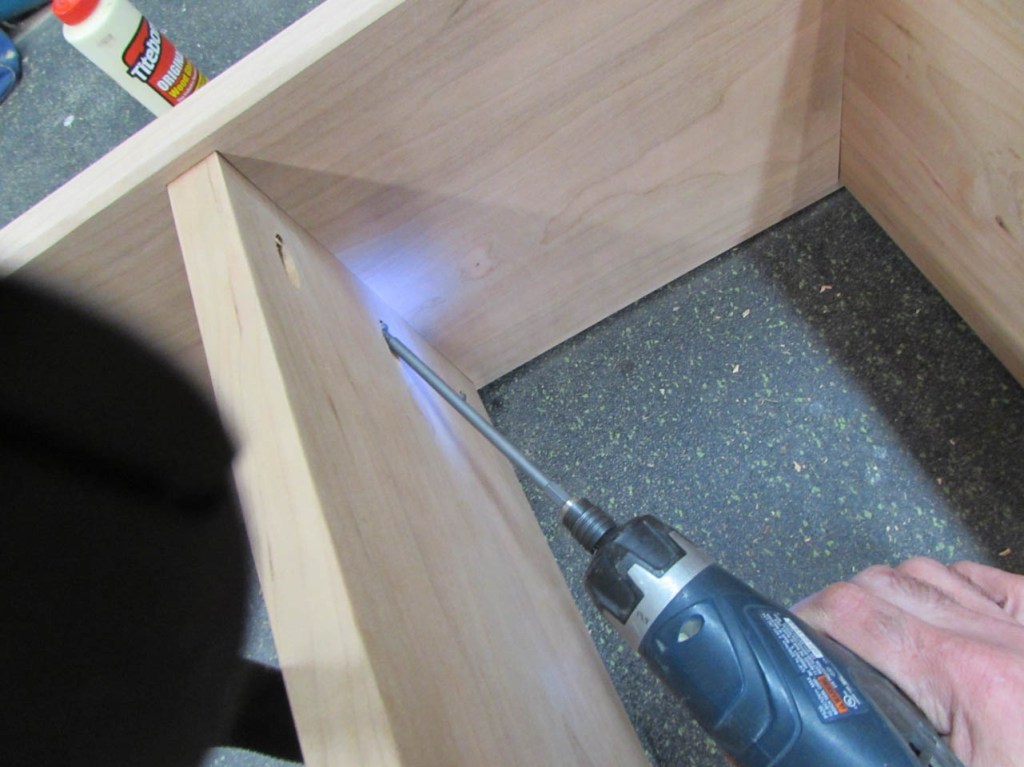
For added strength, I am drilling pocket holes in the bottom of my shelves. You will have to lay on the floor, under my desk to even see them, so I don’t mind using them here.
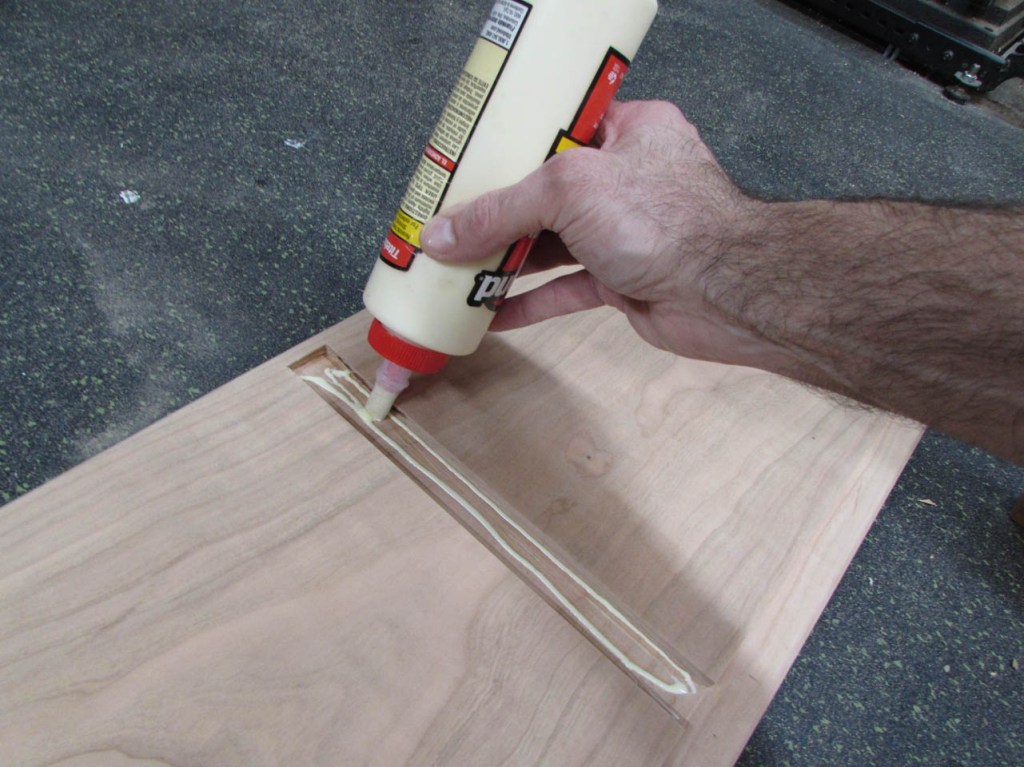
I add some glue to the dados, prior to attaching the shelves. It will mainly bond to the end grain of the shelves, but every little bit helps.
Then I draw it all together tightly with the pocket screws.

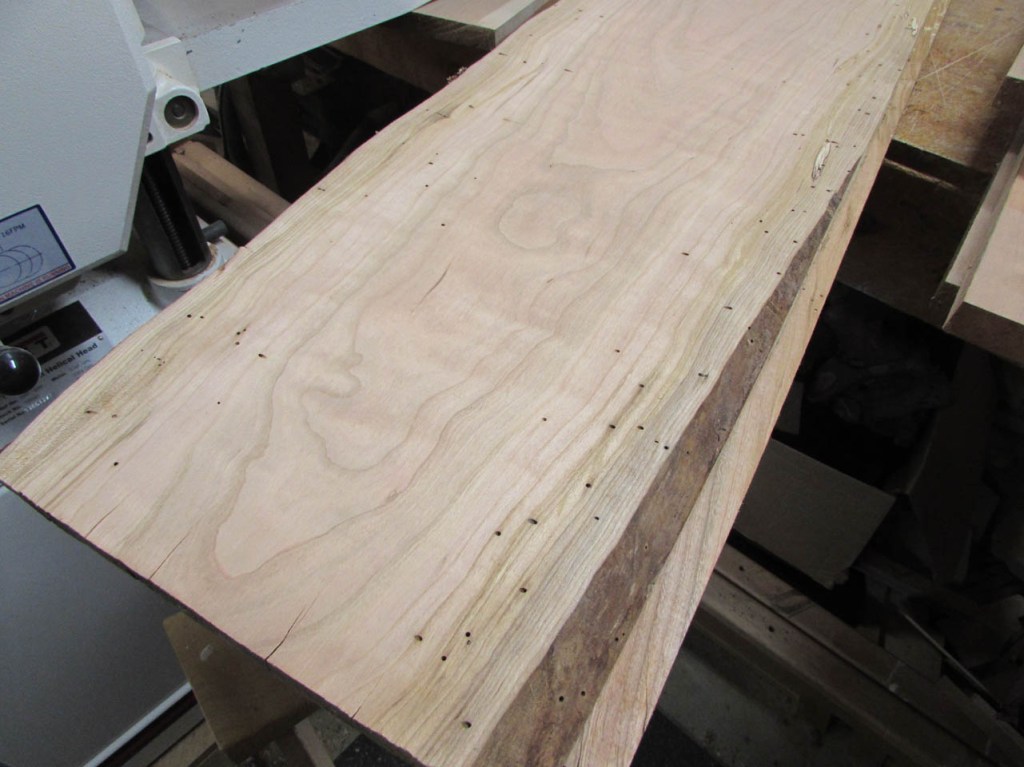
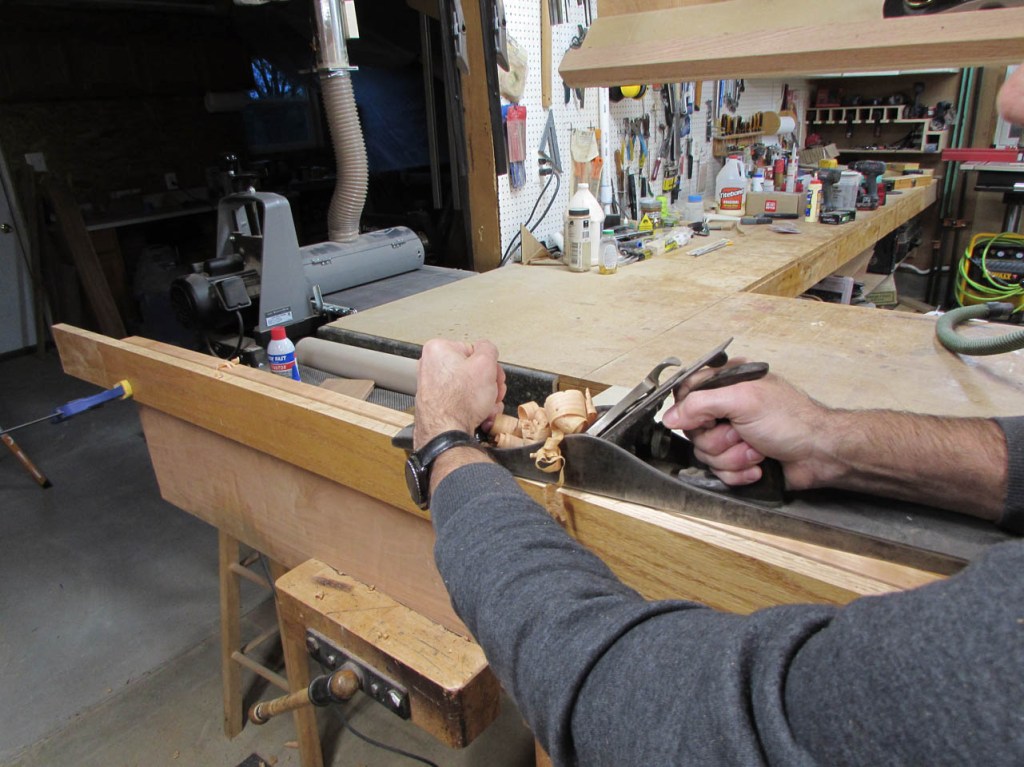
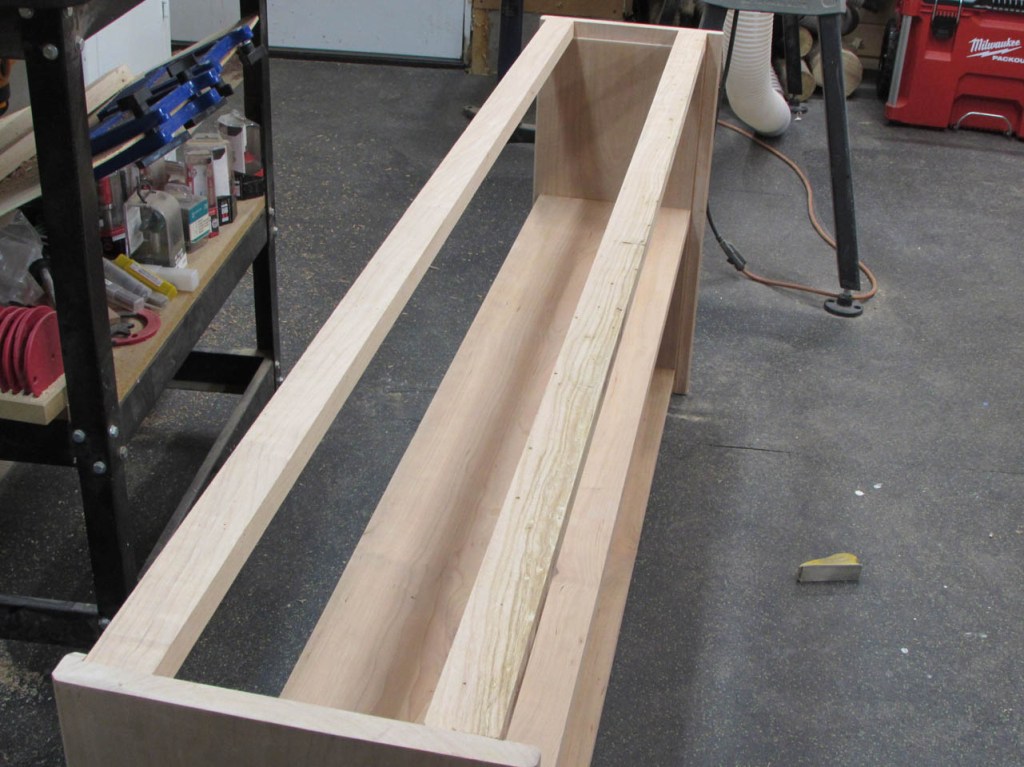
With the shelf attached, I need a couple of long strips to add to the top of the shelf for attachment to the walnut desktop. This doesn’t have to be a full shelf so I grabbed a board with a lot of beetle damage on the sides. I will cut away the outside edges for my mounting strips, leaving the clean middle of the board for a later project. Being at the top of the shelf, under my desk, the beetle holes will not be seen by anyone. This board is too long to run through my jointer so I am repeating the trick I used on one of my walnut boards from part 1 of this build. I clamped a long piece of oak to the edge, so that I could see the high spots.

Then I started planing down to the piece of oak with my No.8 jointer plane and my jack plane.

It only took a few minutes with a sharp plane. I think it took longer to clean up the mess…

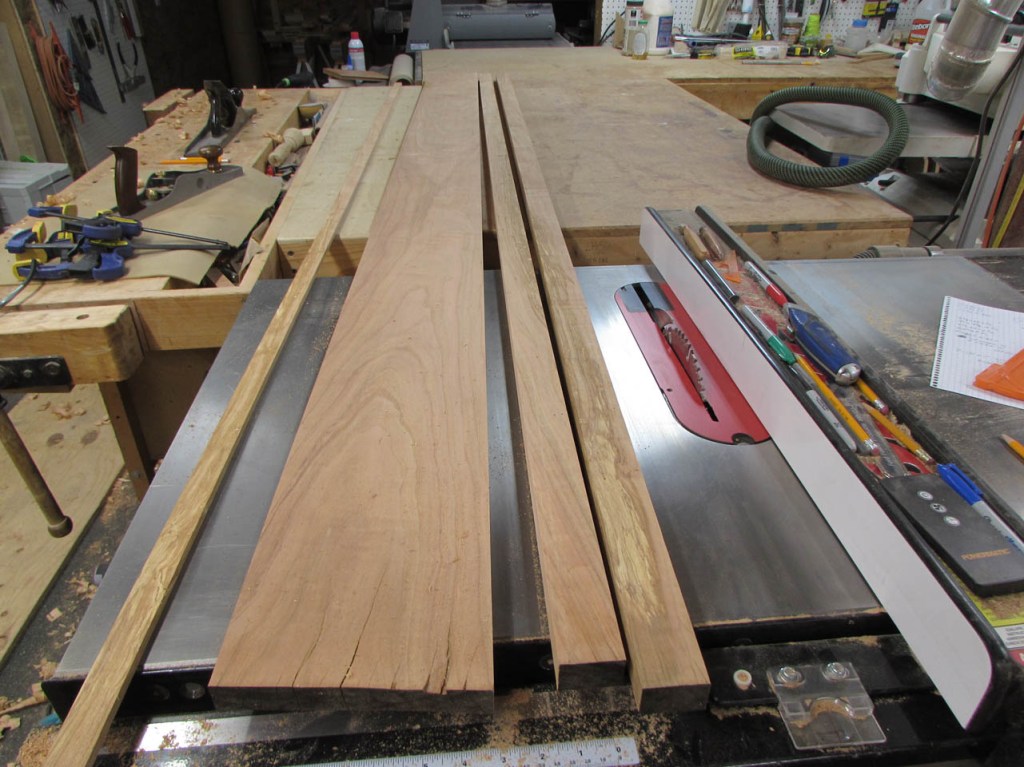
After one edge was jointed, I could rip a couple of strips away from the longer board, leaving the clear center for later use.
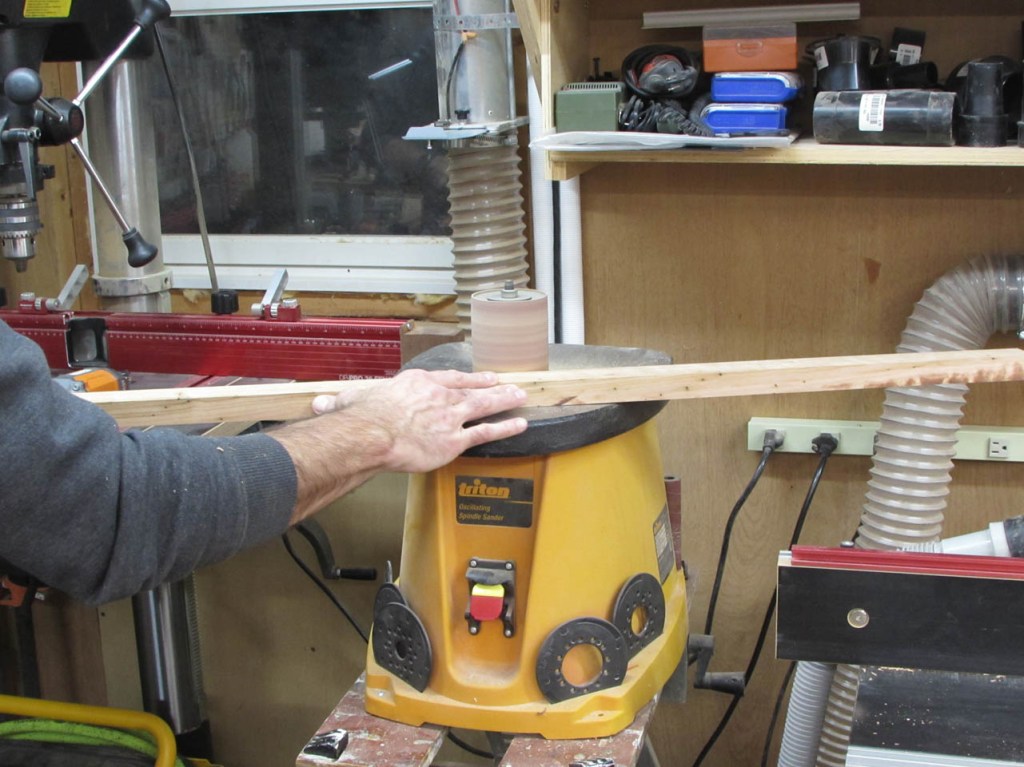
I cleaned up any burn marks on my spindle sander and test fit the strips.
From the scraps, I cut a couple of blocks for the sides. I used a few pocket holes in these to attach the front and back strips.


A little glue and some brad nails will hold this frame to the top of the shelf. This will give me a place to attach screws to the table above.

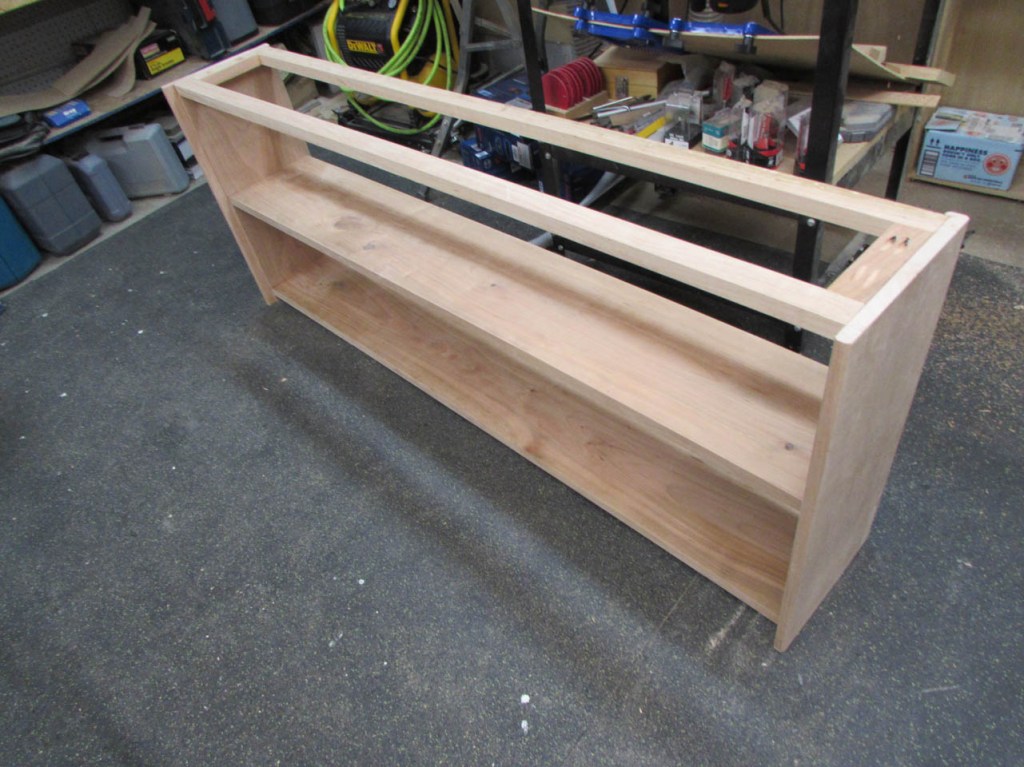
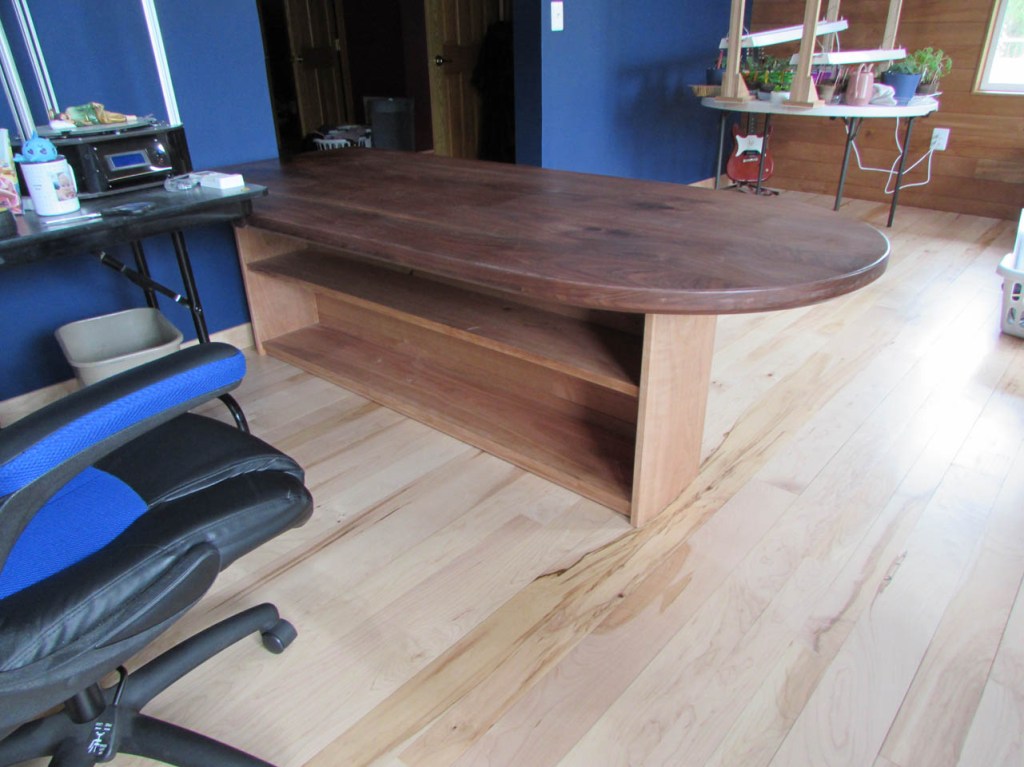
The carcass is complete. Now it is time to add the flooring on the back.
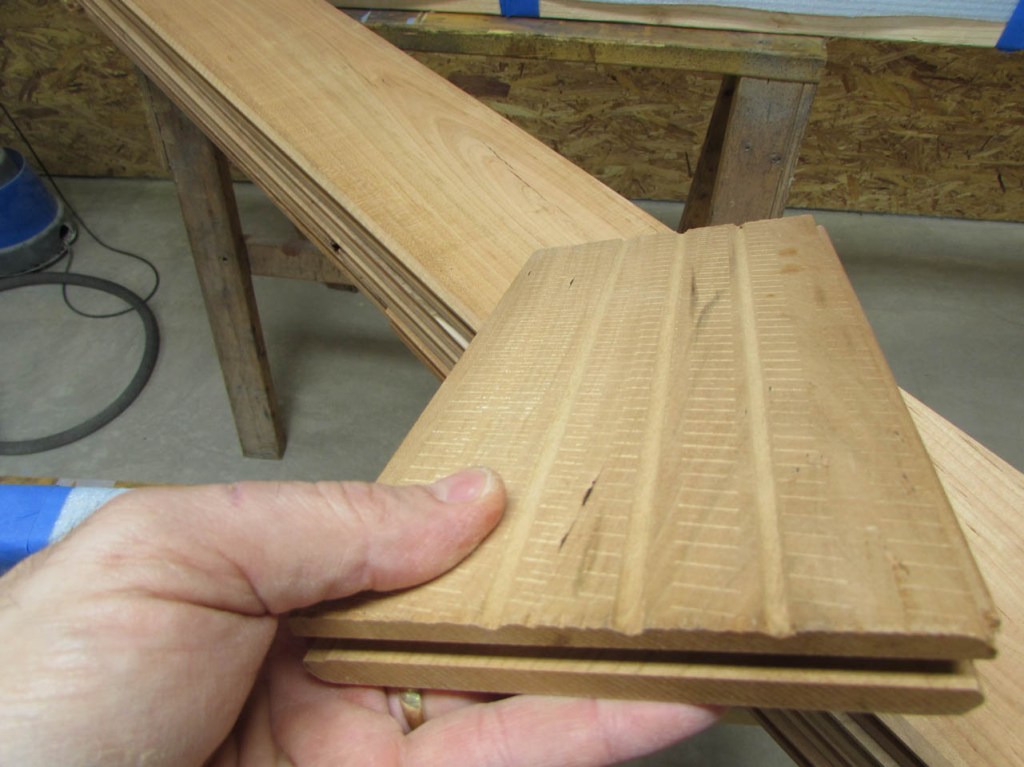
Since the bottom side of hardwood flooring is never intended to be seen, I will have to clean my pieces up a bit.
Two passes through the drum sander and all the feed marks are removed from the bottom of the flooring. I decided to leave the grooves. I think they will look nice on the inside of the shelves, when it is all assembled.
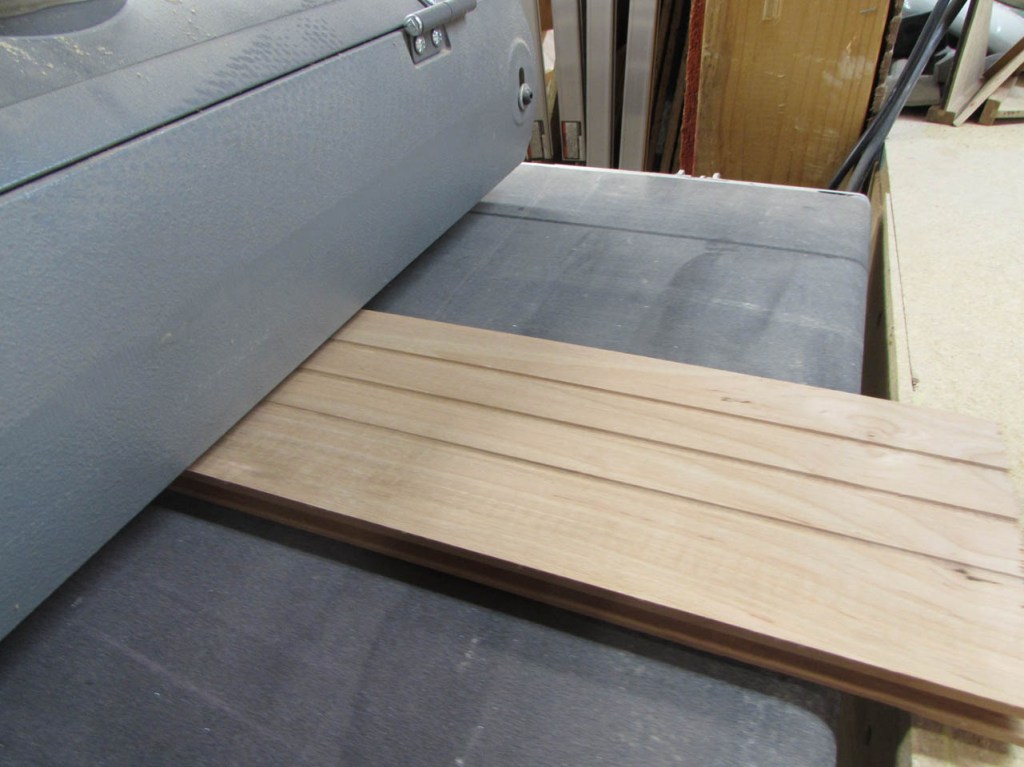
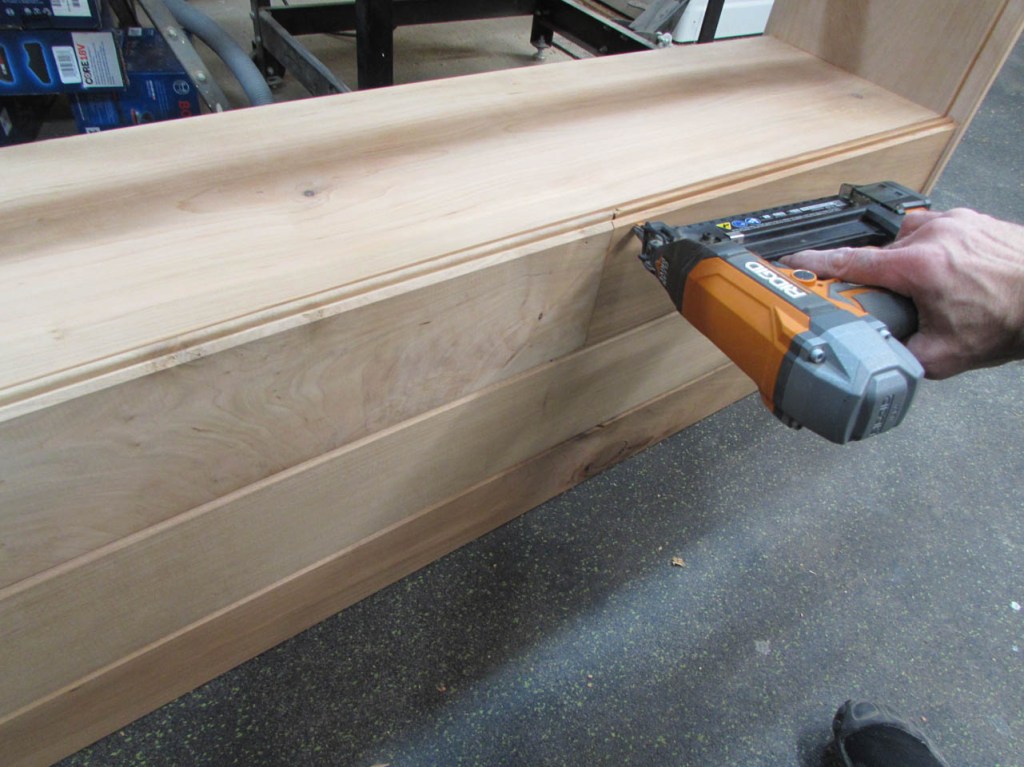
I cut all of the flooring down to the final 64″ width of the back of the shelf and started installing it.

Any strips that run along a shelf gets attached to the shelf with a brad nail every foot or so. Every other row misses a shelf, so they get a single brad, angled into the side.

The tongue and groove of the flooring is enough to hold the middle boards in place.
I think it looks pretty nice and it will match my office wall perfectly.

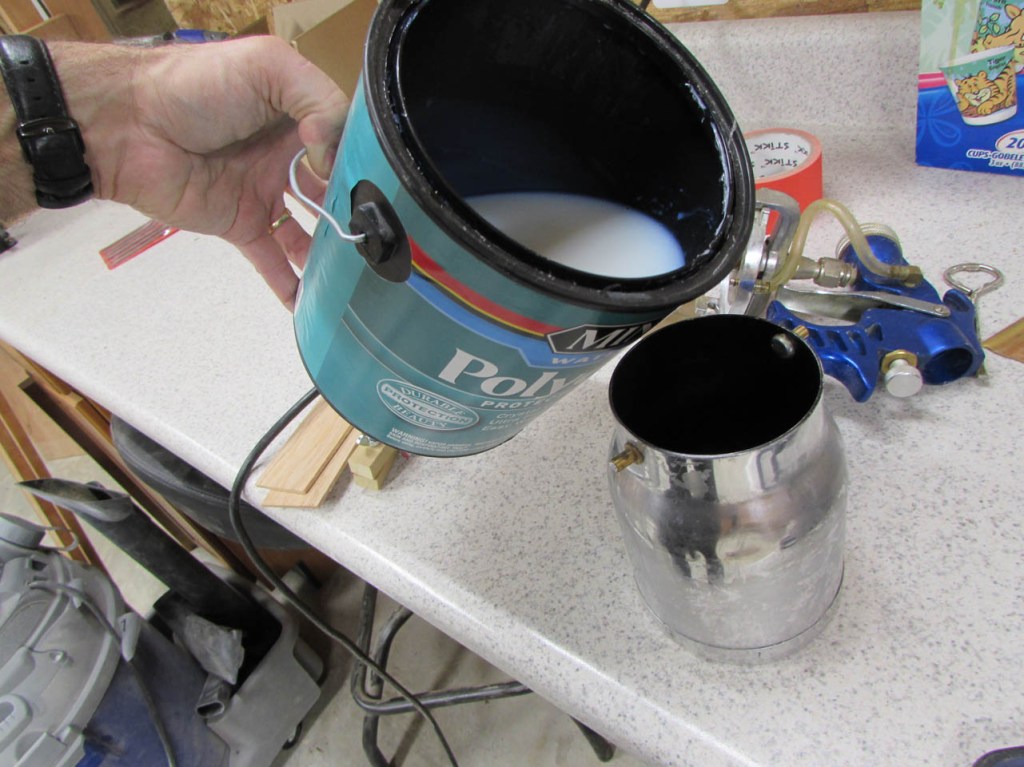

Time to set the spray booth back up and start spraying. I am using water based polyurethane for the cherry.

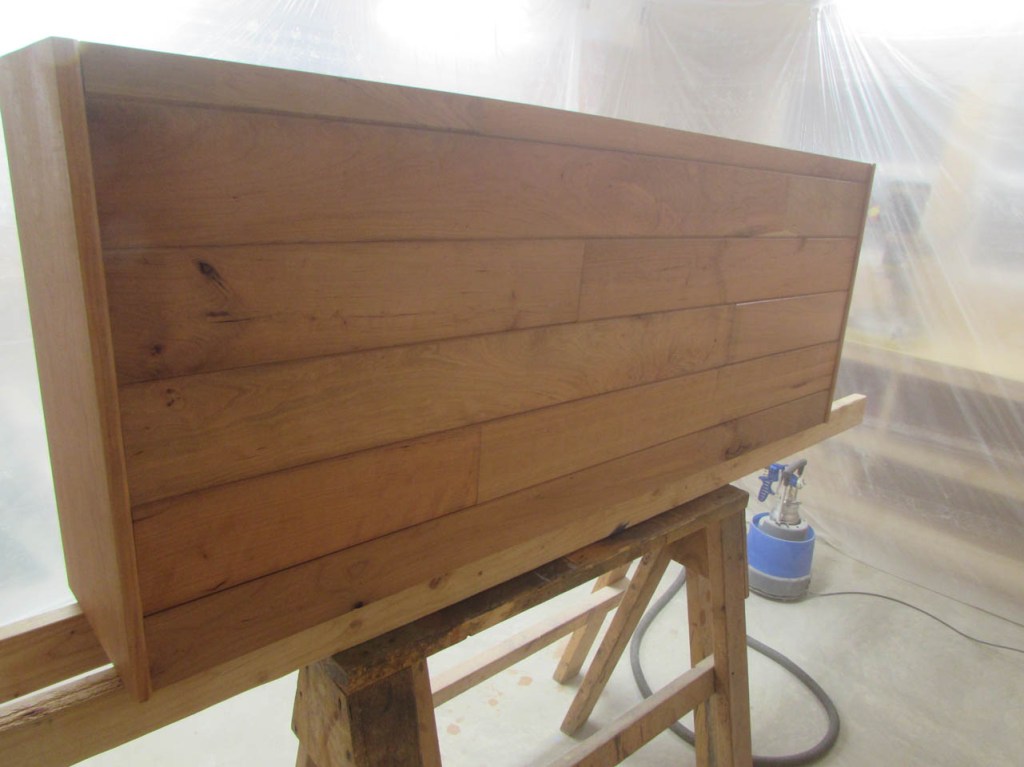
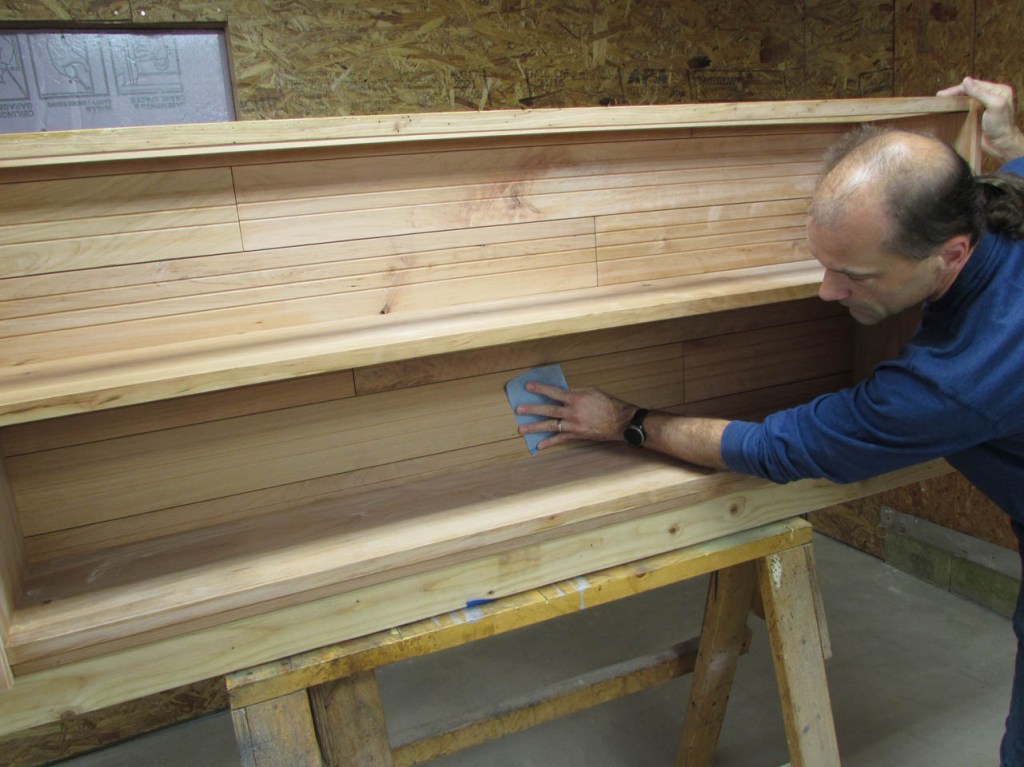
After it dries, I sand all the surfaces with 400 grit paper and then clean away the dust.

After the third coat is applied, I give the shelf a rub down with some crumpled brown paper to smooth out the dust nibs on the surface.


Since this will be sitting on a hardwood floor, I am adding some thin, non-skid foot pads. I only have round, so I cut them down and stick them to the bottom.

I even put a few pieces in the center section as well.
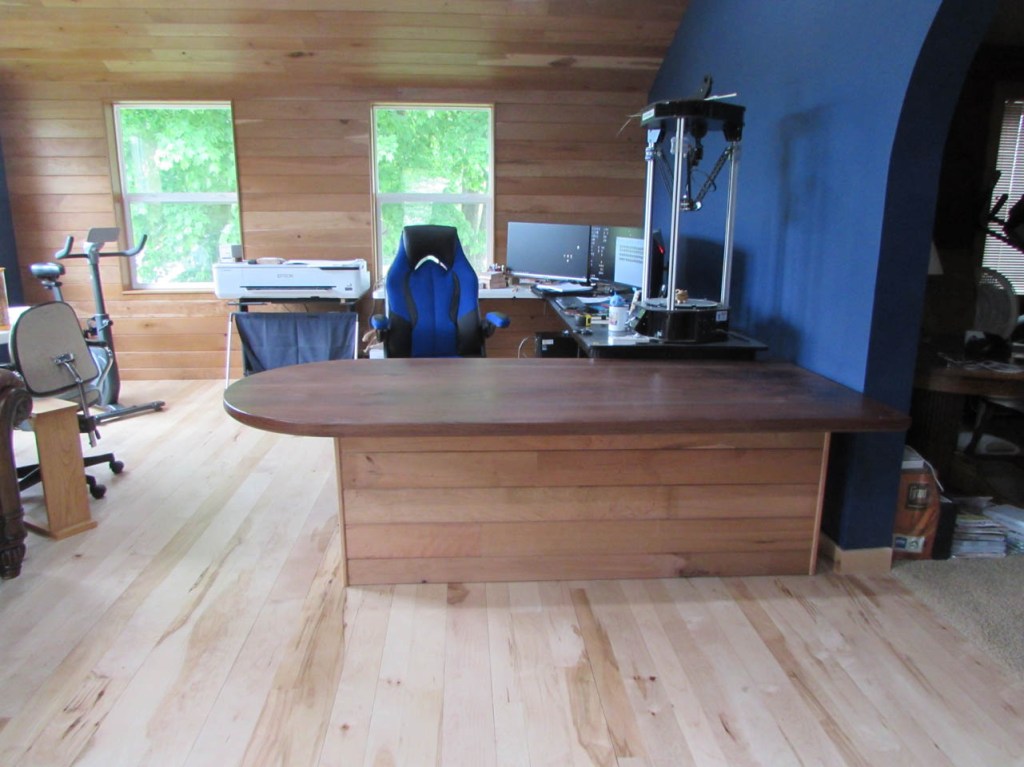
Being impatient, I lugged the heavy shelf upstairs and set it roughly where it will go when the rest of the desk is complete. I think it looks great.


The cherry will darken with time, giving me a bit more contrast with the floor, but it will match the walls perfectly.
Next up will be the smaller shelf for the other side table and a set of legs.
