
St. Kilian chapel – 911 memorial
This project has been in the works for a full year. I usually prefer to get a project designed and completed fairly quickly but this one was unique. Saint Kilian parish in New York lost 12 parishioners in the attack on the Twin Towers, on September 11, 2001. Monsignor Rowan requested that a plaque be made to honor them. Normally I would try to use my CNC to make the plaque but there was going to be a lot of text and fine detail. I decided to invest in a laser engraver to make this memorial. It is sometimes difficult to come up with the right design. This one took several months of design ideas and discussion. I also had to learn the abilities of the laser. When we finally worked out the size and design concept, I had to do some experimentation with new materials and ways to make this large plaque on smaller equipment.

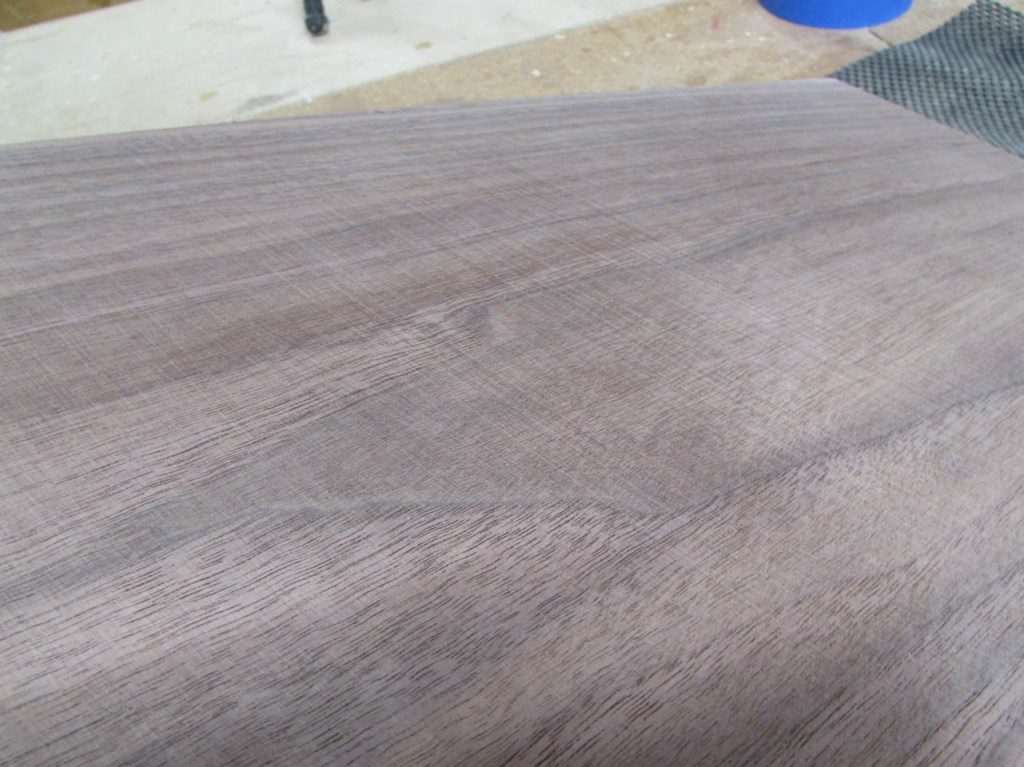
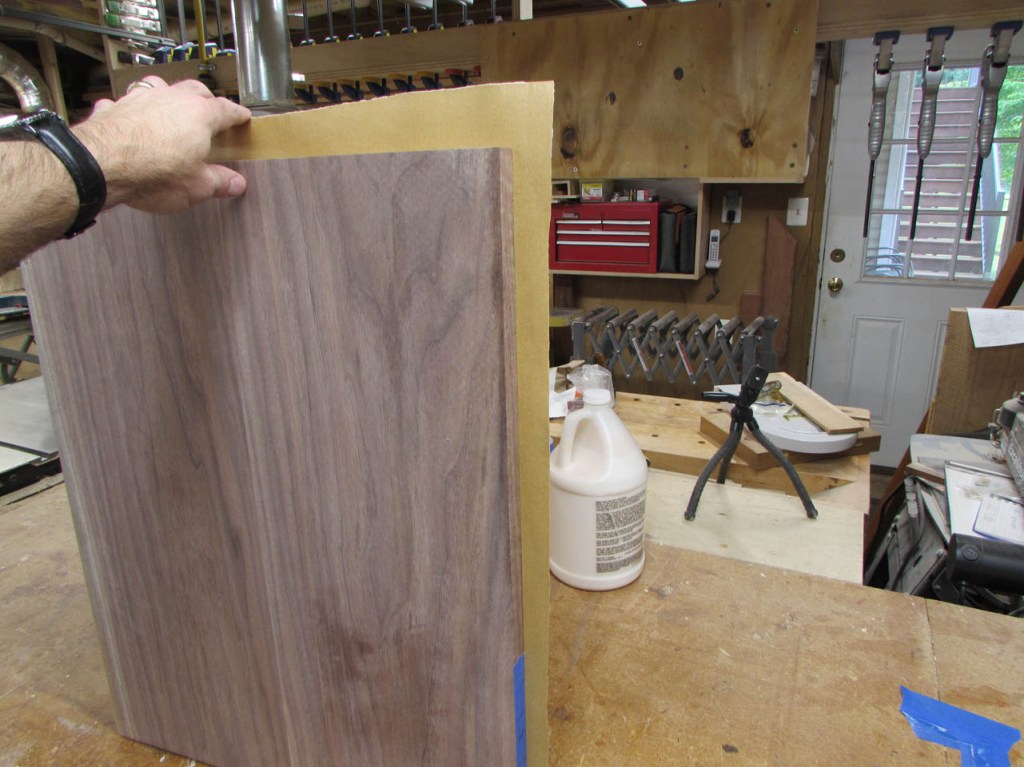
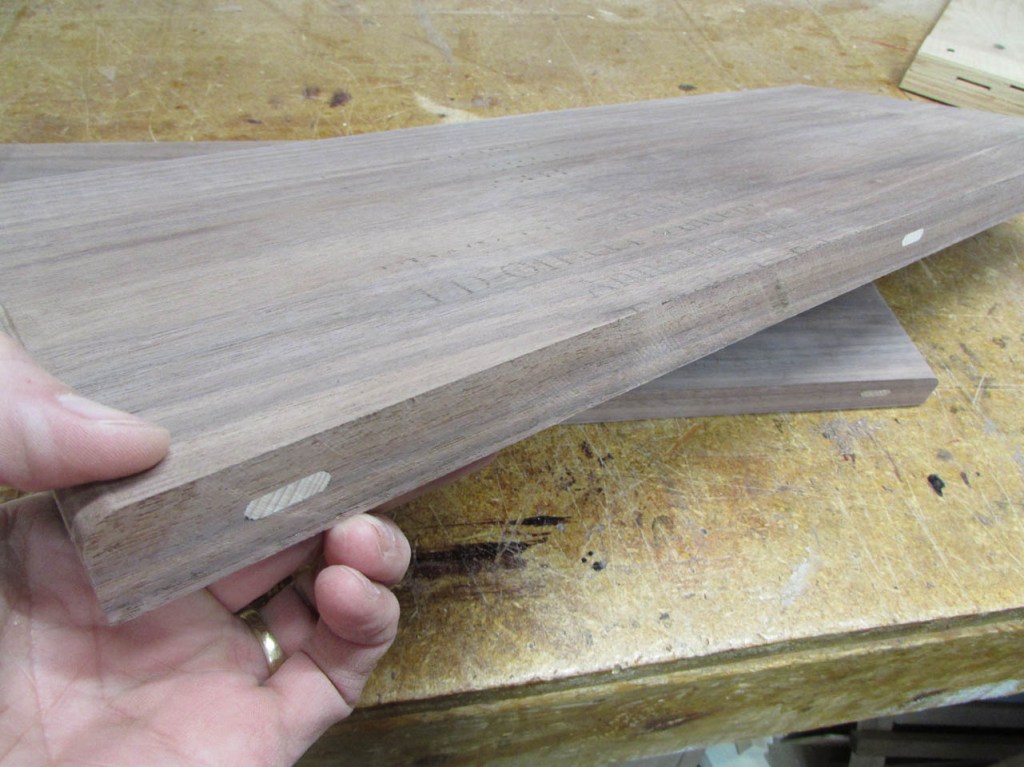
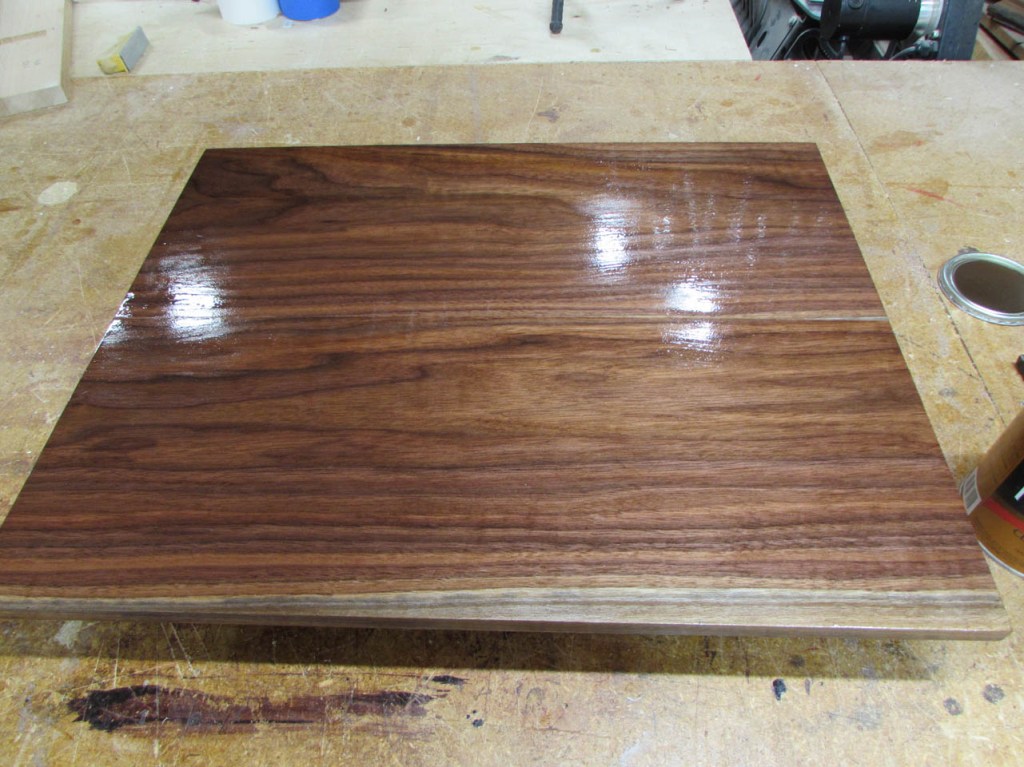
The first challenge was to match the rest of the chapel furniture. The other furniture was stained red oak, trimmed with walnut. I am starting with walnut to make the back of the plaque. I probably could have used plywood and trimmed it with walnut, but I wanted to use this beautiful piece even though most of it will be covered with an oak veneer. I like the idea of there being something beautiful on the inside to represent those lost to us.


I planed the board down to 1″ thick. I want a little extra thickness because I will be carving into it later.


After jointing the edges, I roughly cut two pieces to the approximate length needed.

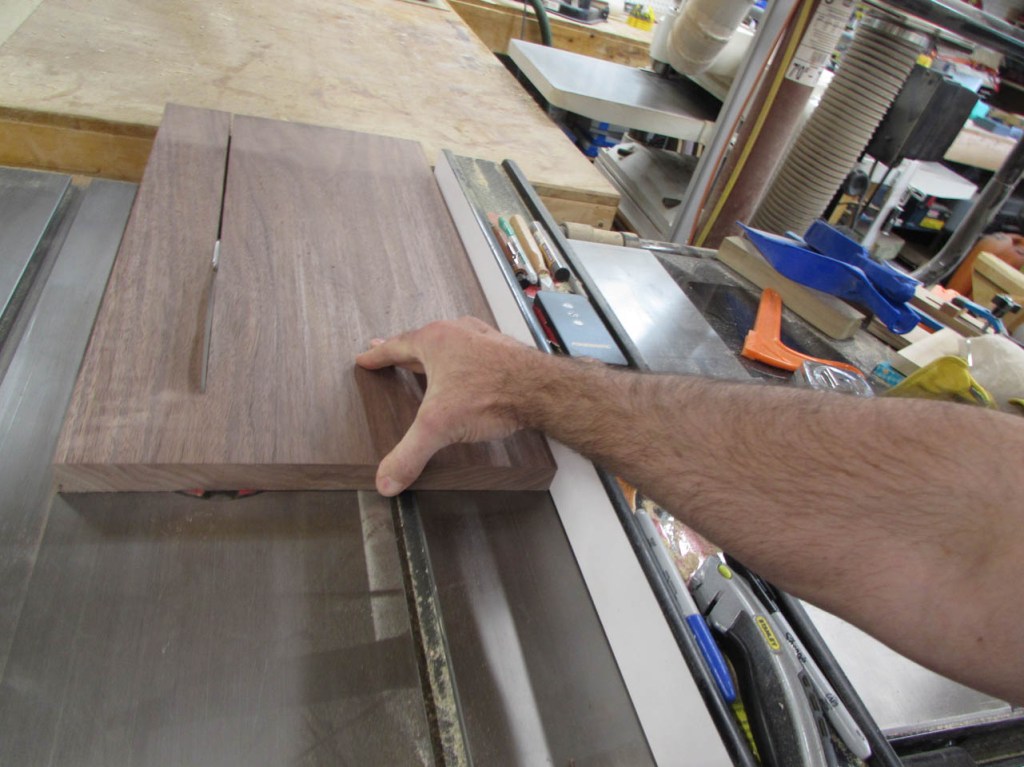
The finished size of this plaque will be 20″ tall x 25″ wide, but I cannot fit something that wide through my CNC so I ripped each piece to half that height, 10″.

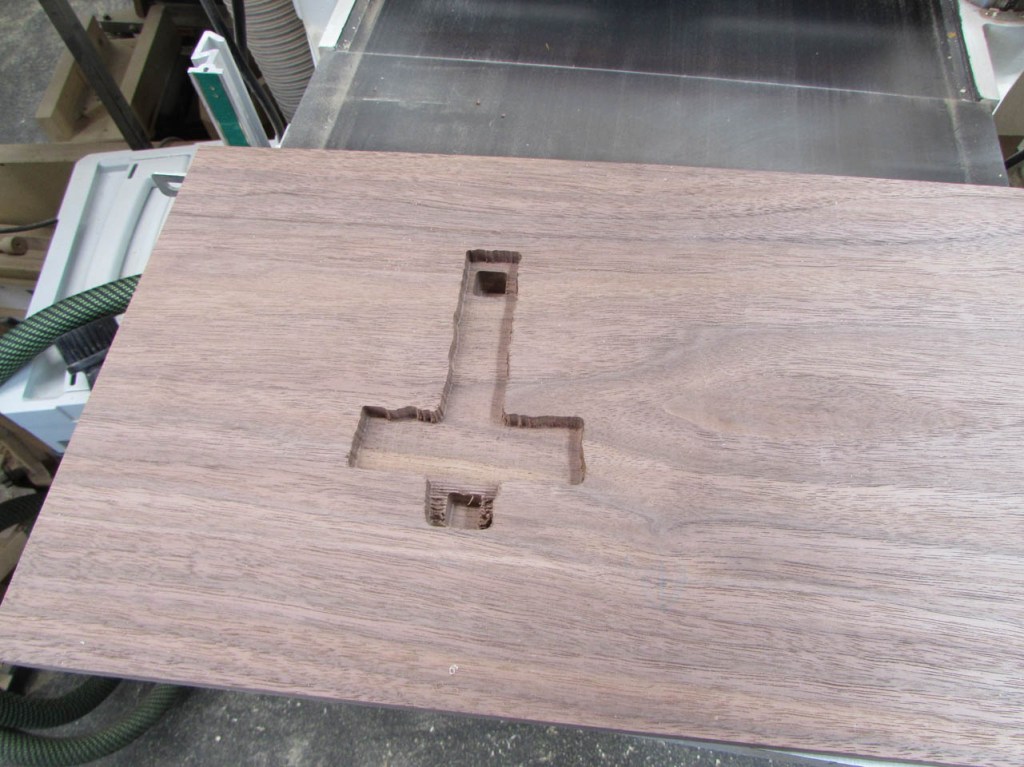
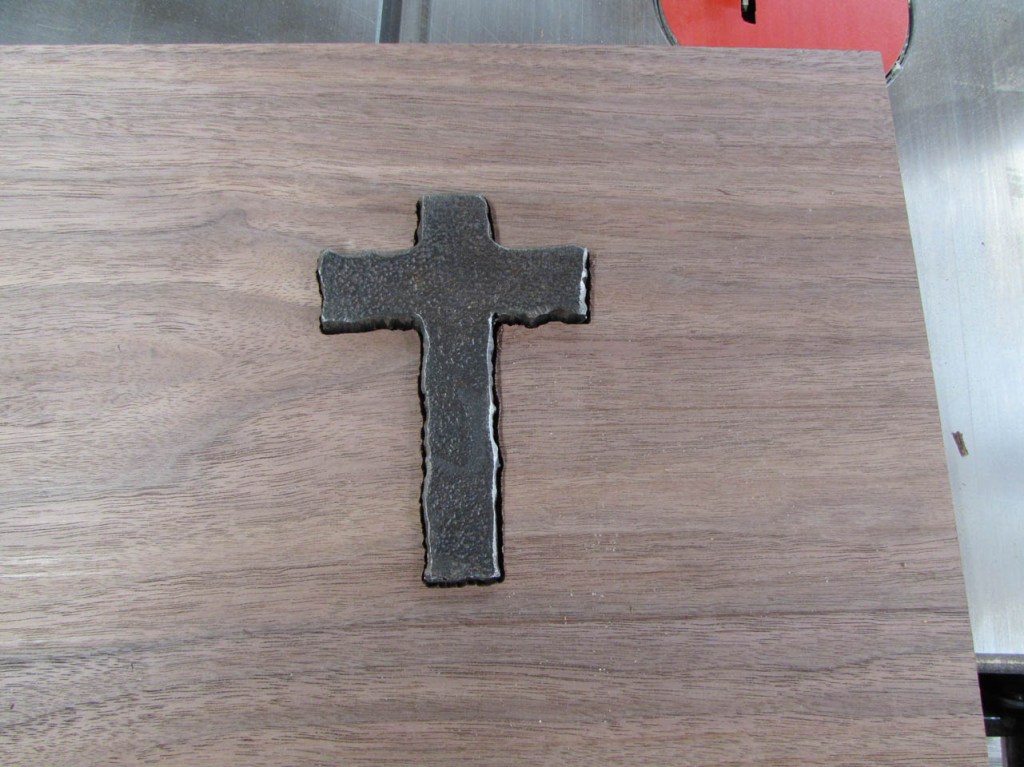
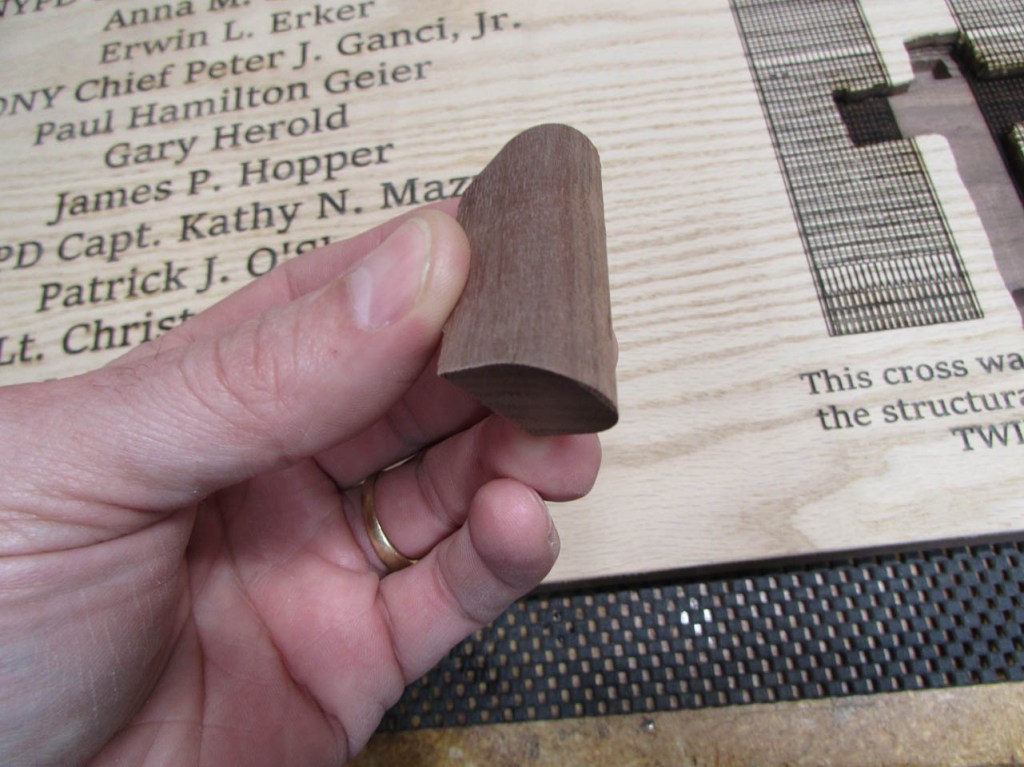
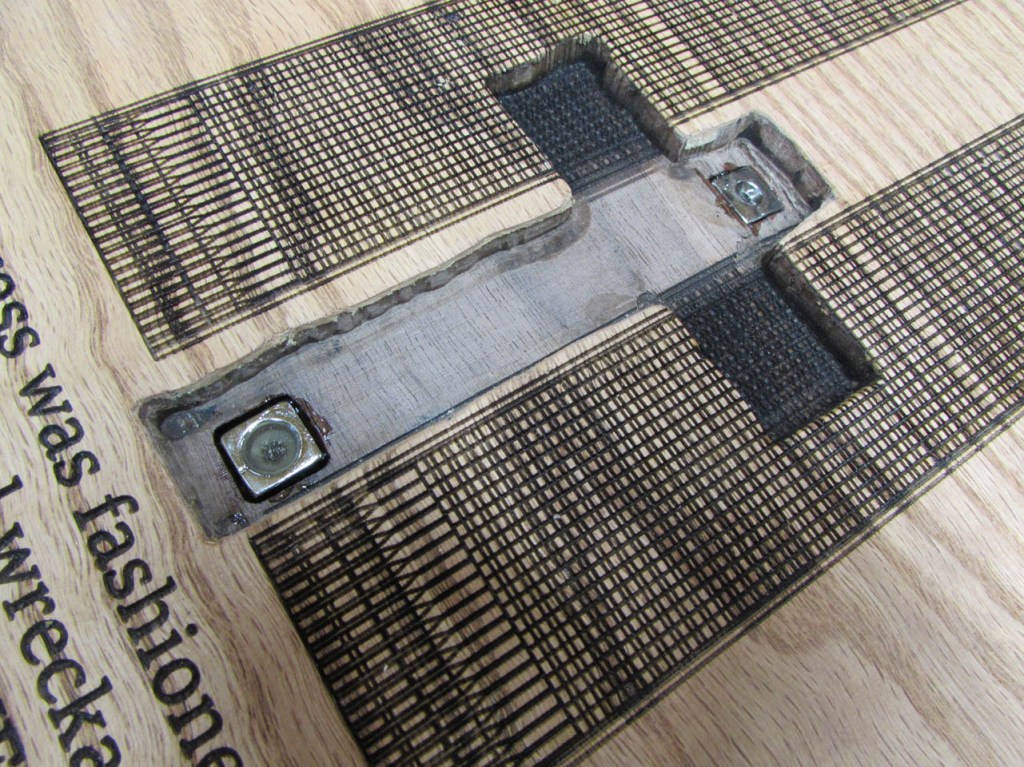
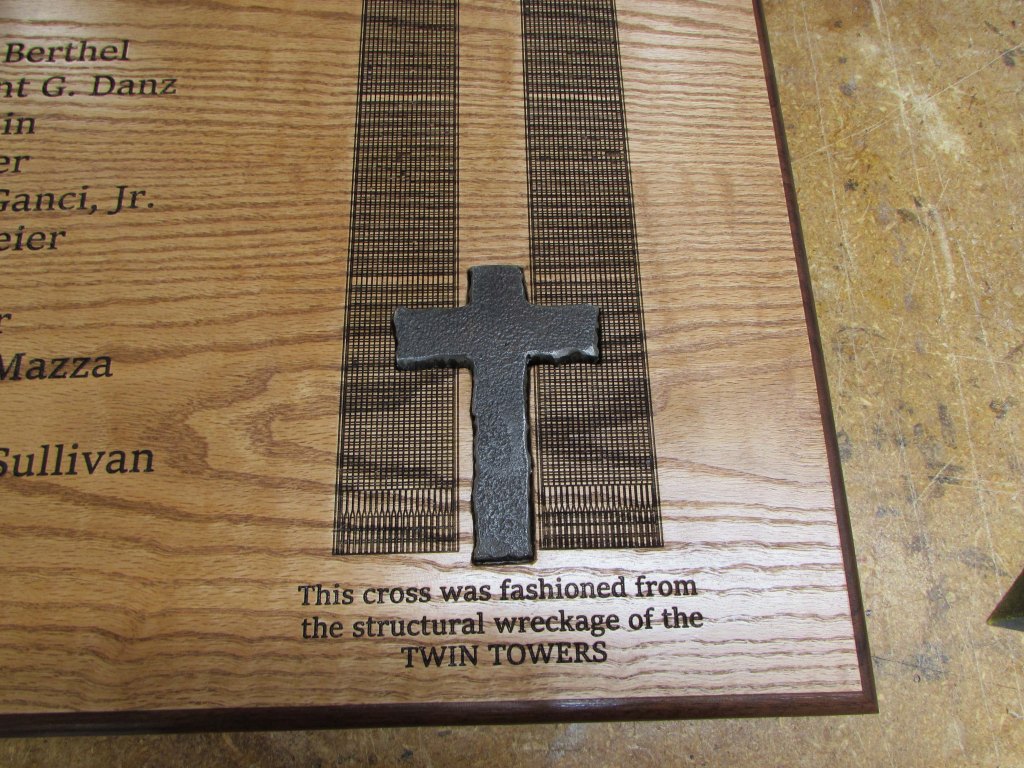
Monsignor received a steel cross, cut from the wreckage of the Twin Towers and he sent it to me, to incorporate into the plaque. I scanned it and carefully traced it with my CAD software and created a pattern to carve with my CNC to inlay the cross. Since it was cut with a torch or plasma cutter, it had very rough edges but I wanted the inlay to be as tight as possible so I had several attempts before achieving the exact size and shape. I also want the cross to be removable so I am using a couple of very strong magnets to hold it in place.
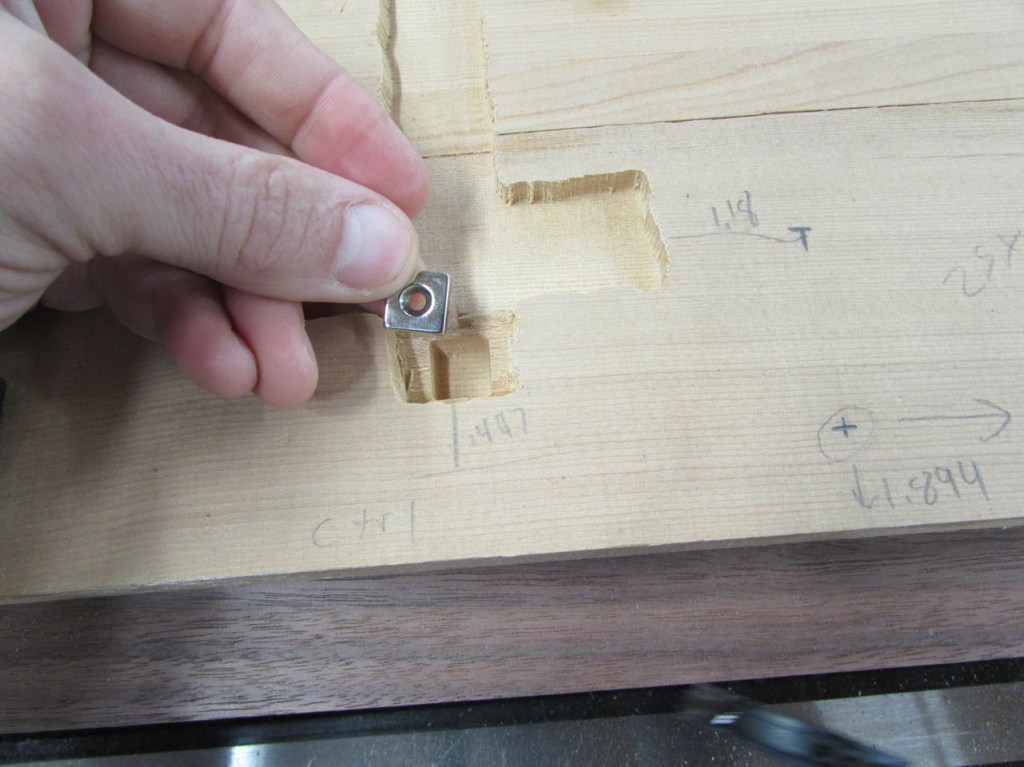


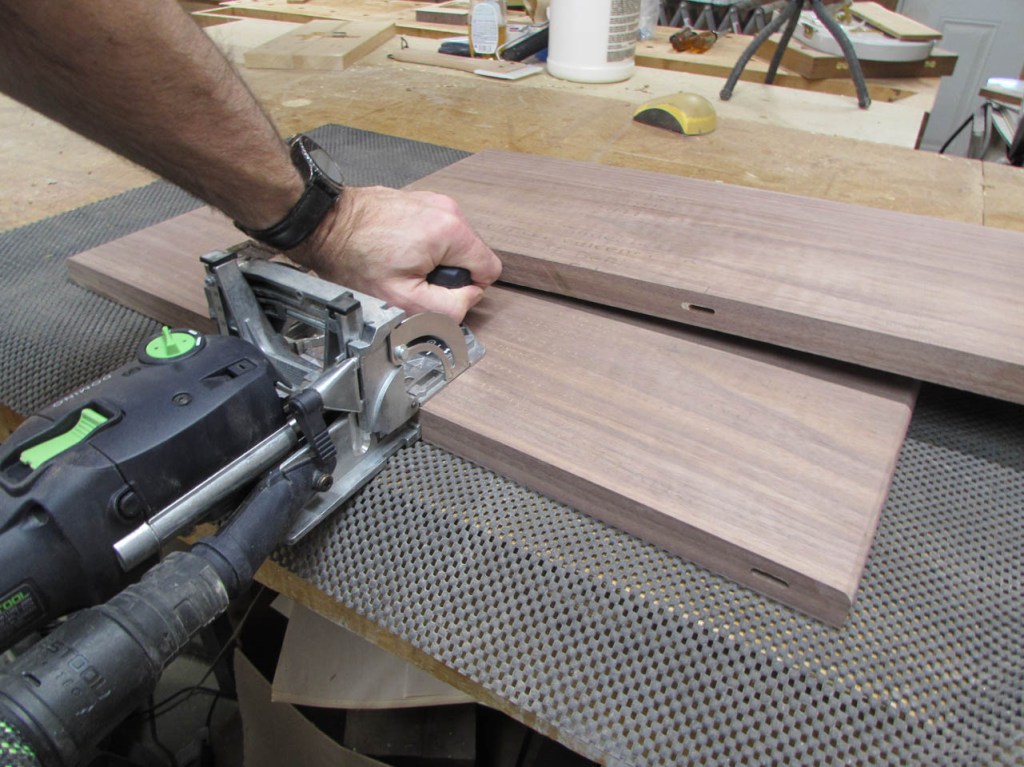
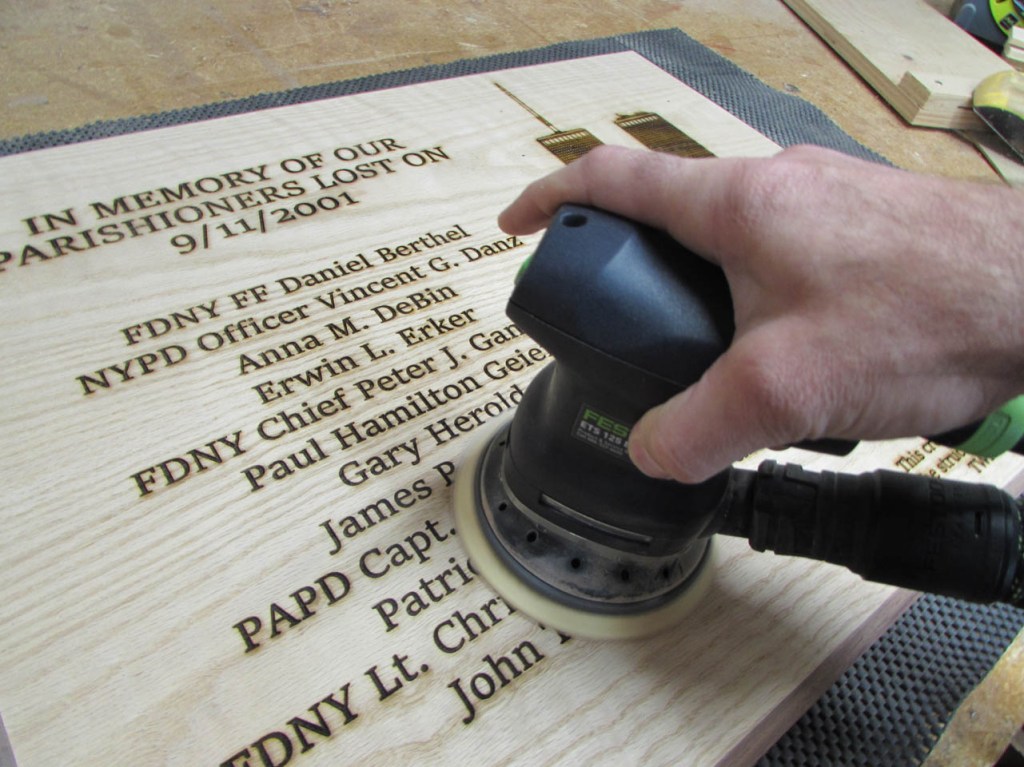
This is what I ultimately wound up with. I also had to do a lot of calculations for location of the carve since I have to carve the cross first then assemble the panel and laser an image over it. That is what all those numbers are from on the board.

After a lot of iterations, I am carving the pocket into the walnut for the plaque. I am carving with a tapered bit, hoping the cross will wedge tightly in place when pressed in.
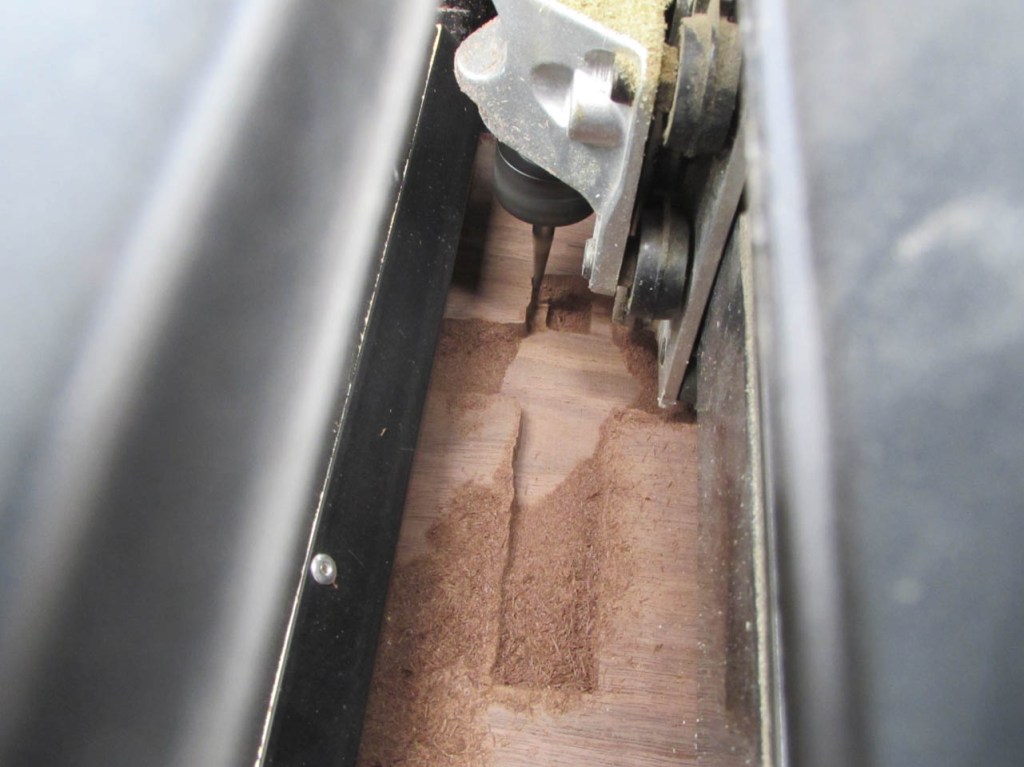
So far things are working well.

Next step is to cut the walnut to the final size and prep for gluing up the full panel.
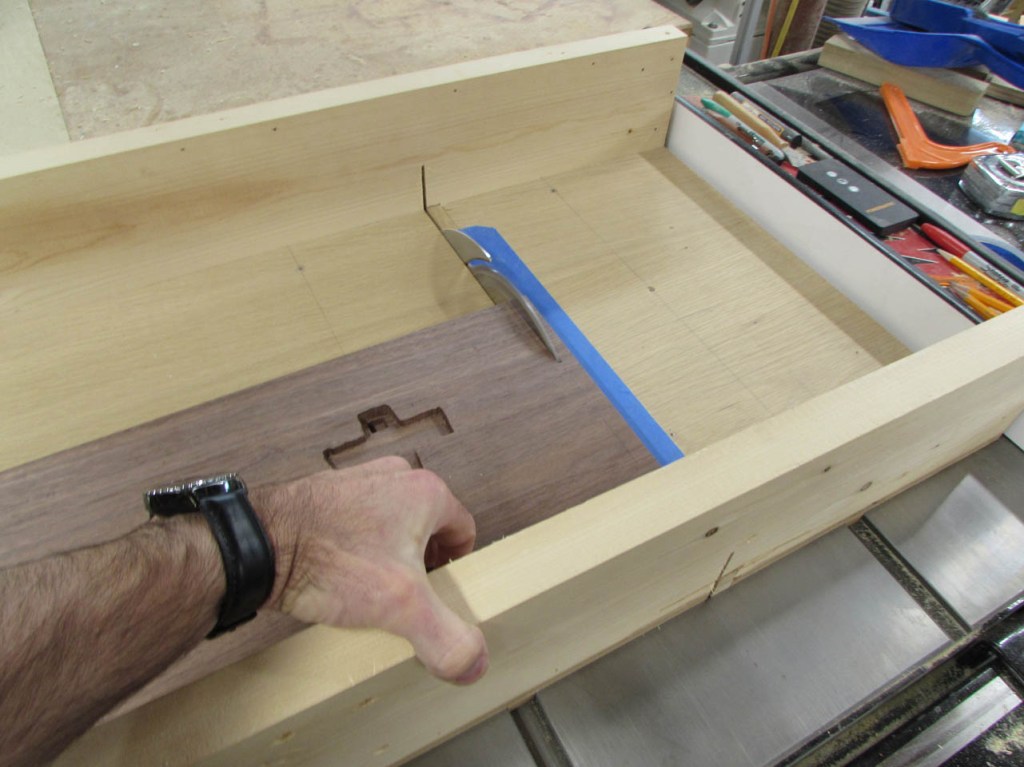

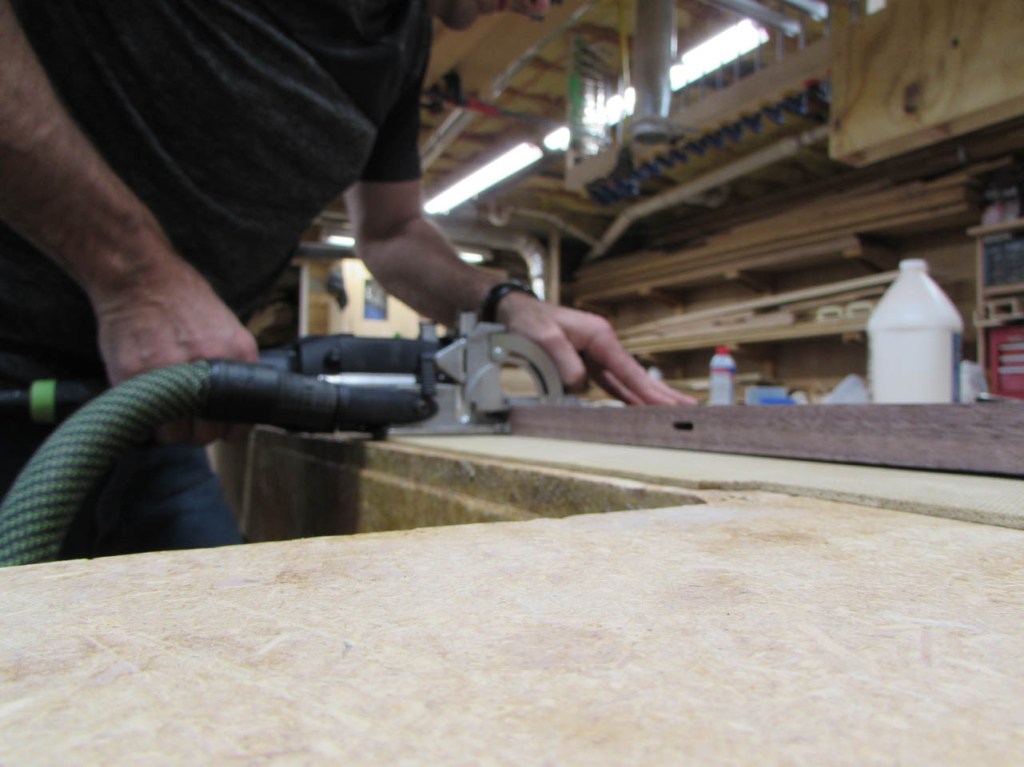
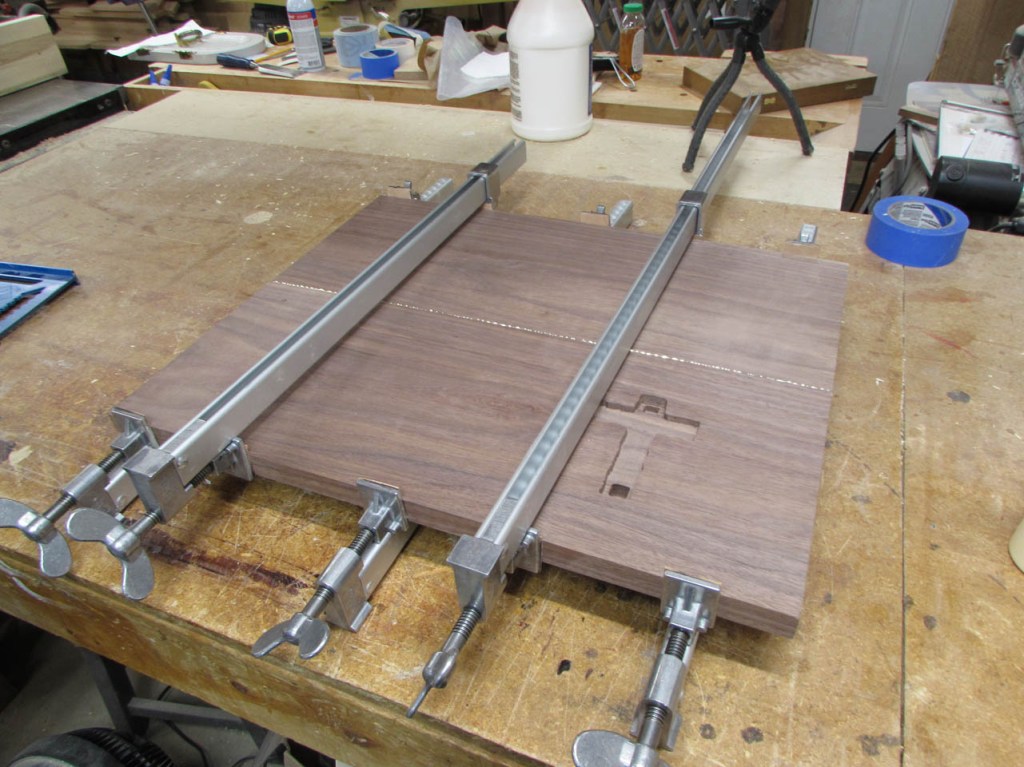
To give me good alignment for glue-up, I am using my Festool Domino to add some tenons.


After a good dry-fit, it was time for glue.
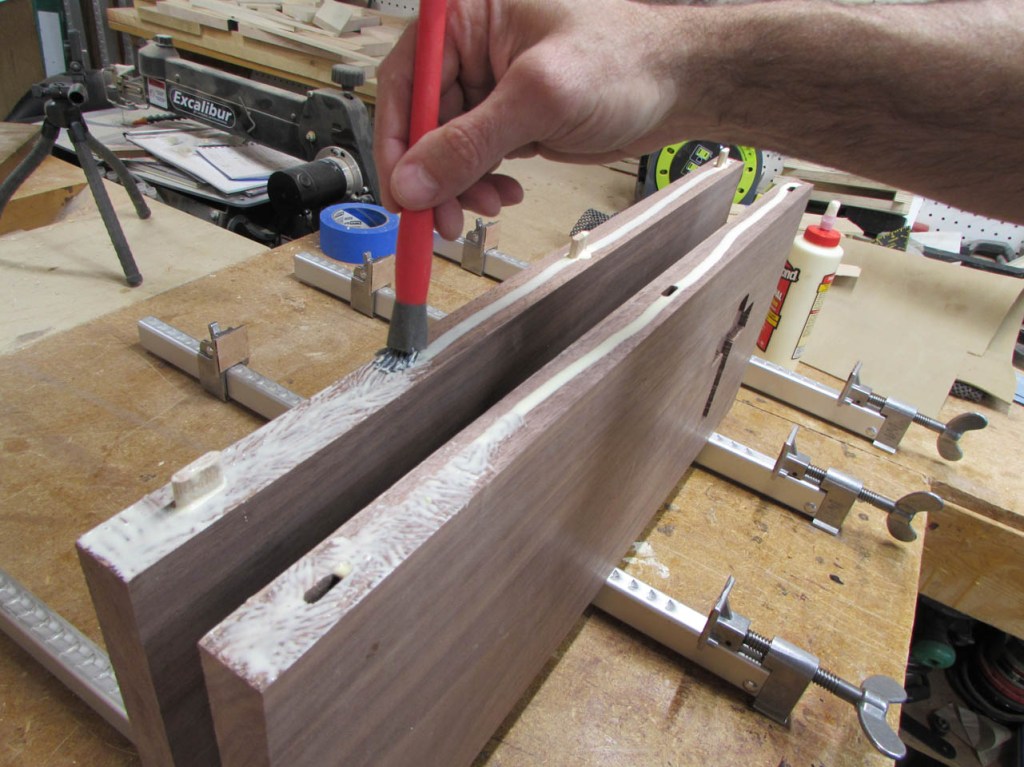
I used a wet paper towel to wipe away all of the glue squeeze-out. I will be veneering over the front surface so I am not too worried about glue getting into the pores of the wood.

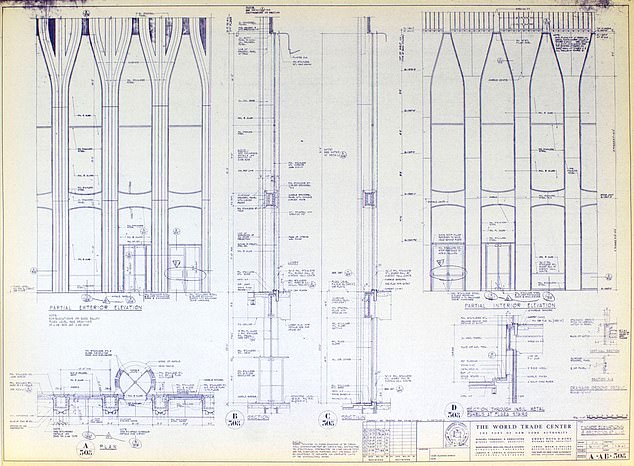
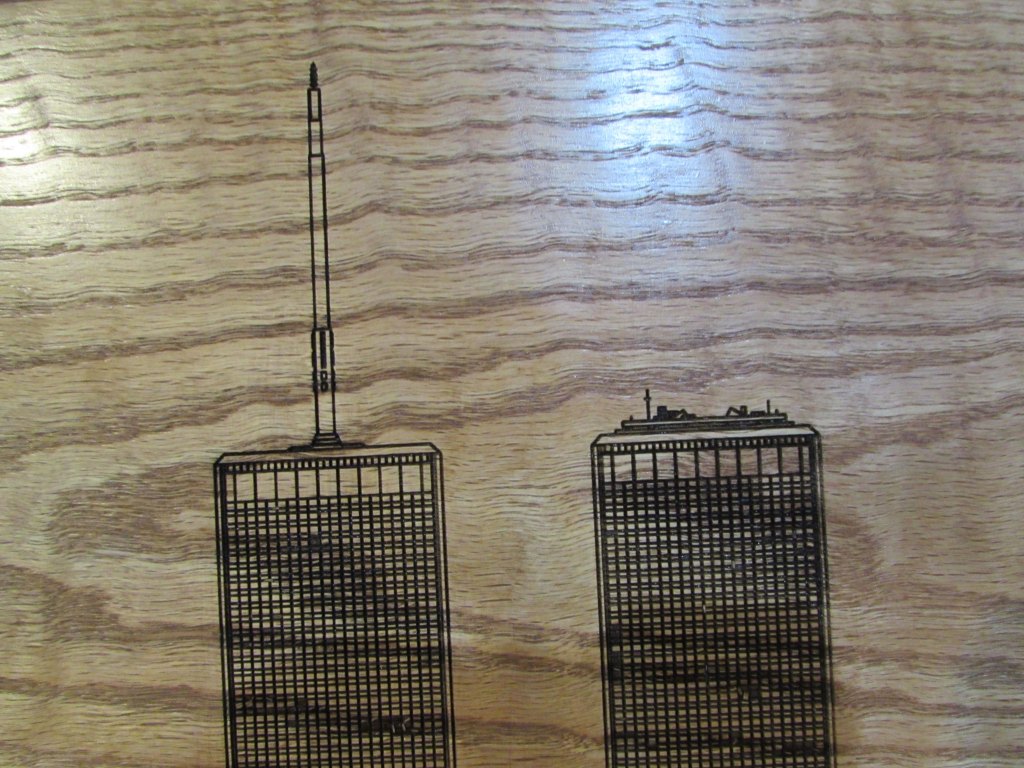
Monsignor and I went through a lot of different concepts for the image on the plaque and we settled on a clean image of the Twin Towers. Of course I couldn’t find exactly what I wanted. That would be too easy… I did stumble across some of the original blue prints of the towers which gave me useful details and exact proportions.
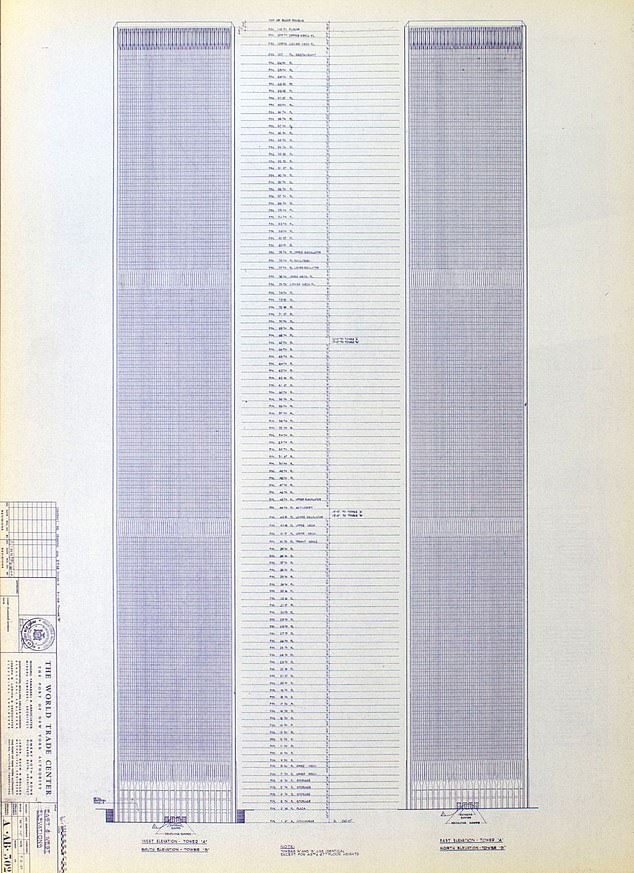


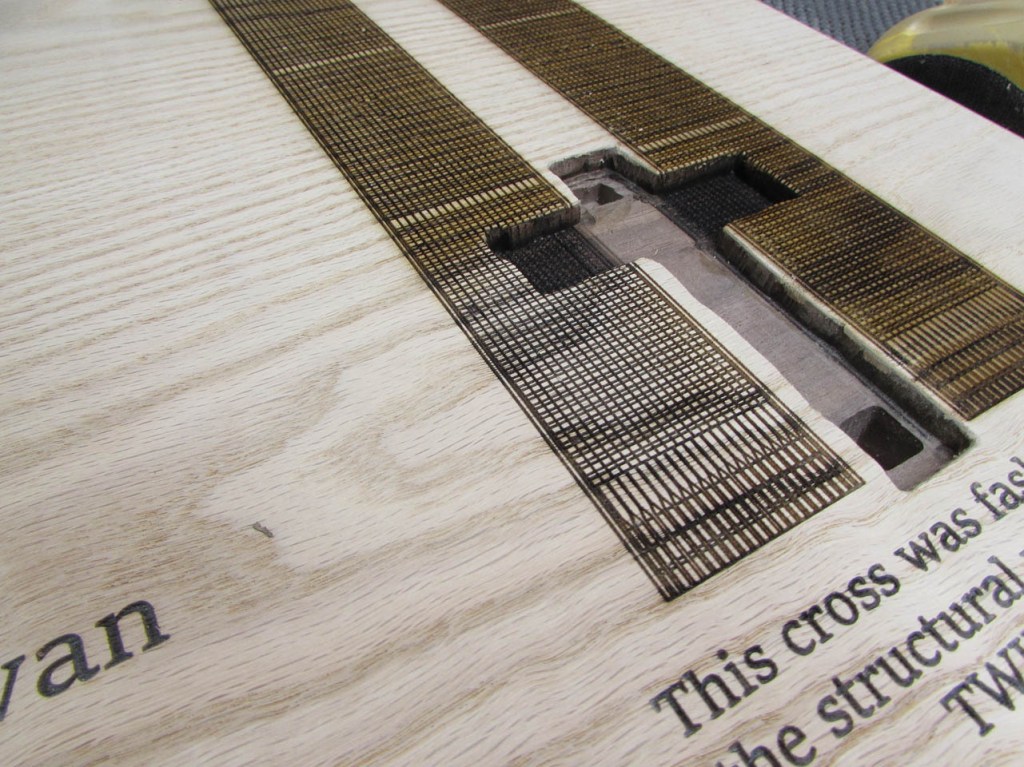
After several hours of redrawing the towers exactly and doing some tests on the laser, I wound up having to remove every-other vertical line, and ended up with a crisp detailed image.

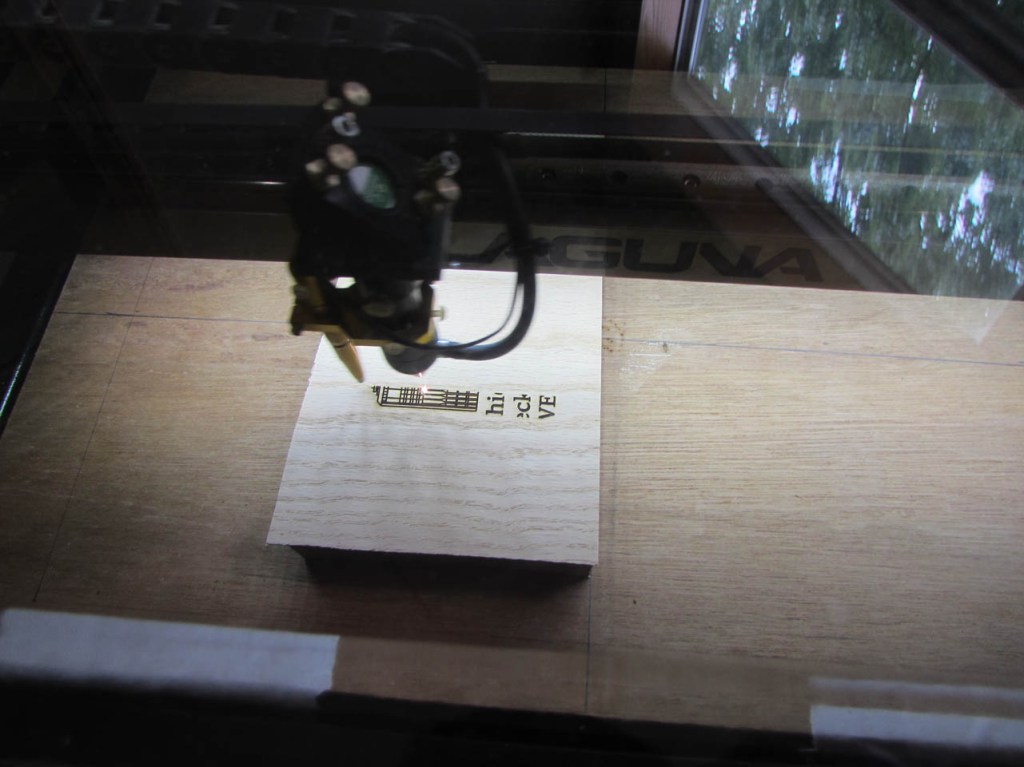
I also had been experimenting with paper-backed veneer. My goal was to engrave through the oak veneer to the walnut beyond to create the text and image. I created a sample of the text sizes and a part of the building to see what would happen and get the correct power\speed settings for the laser.

With my sample complete and approved, I pulled the clamps from the panel so I could get started on the veneer.

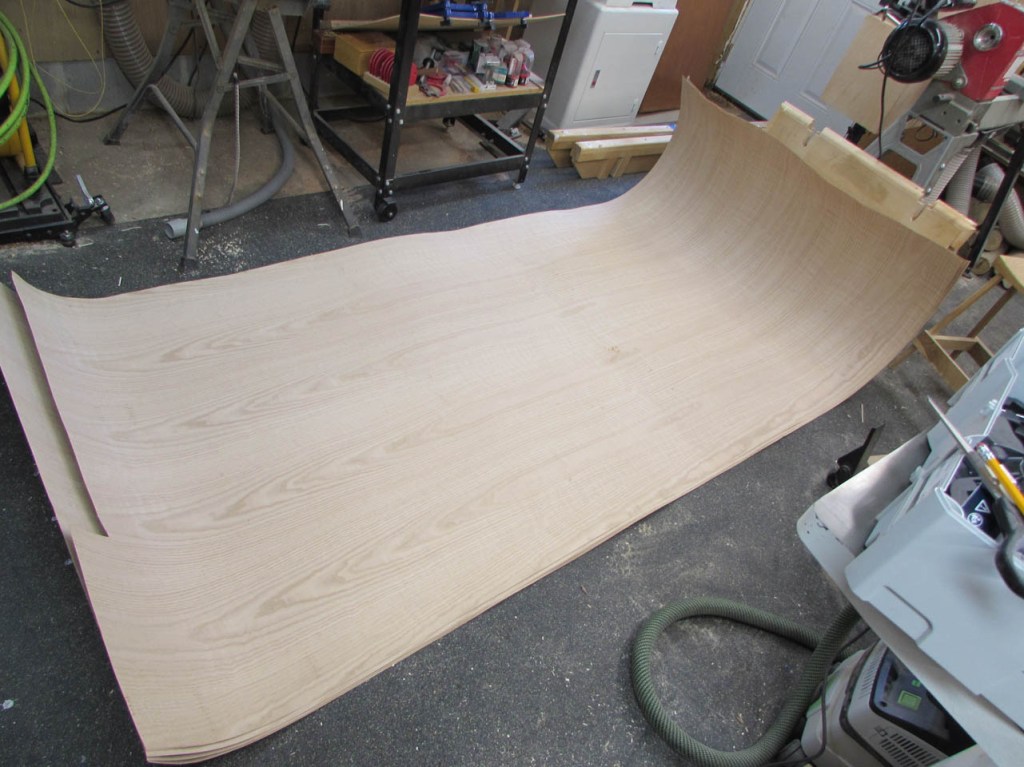
Here is the large roll of paper-backed, red oak veneer that I have to play with. Each sheet is 4’x8′. Not all of it is for this project, but I have plenty to experiment with.

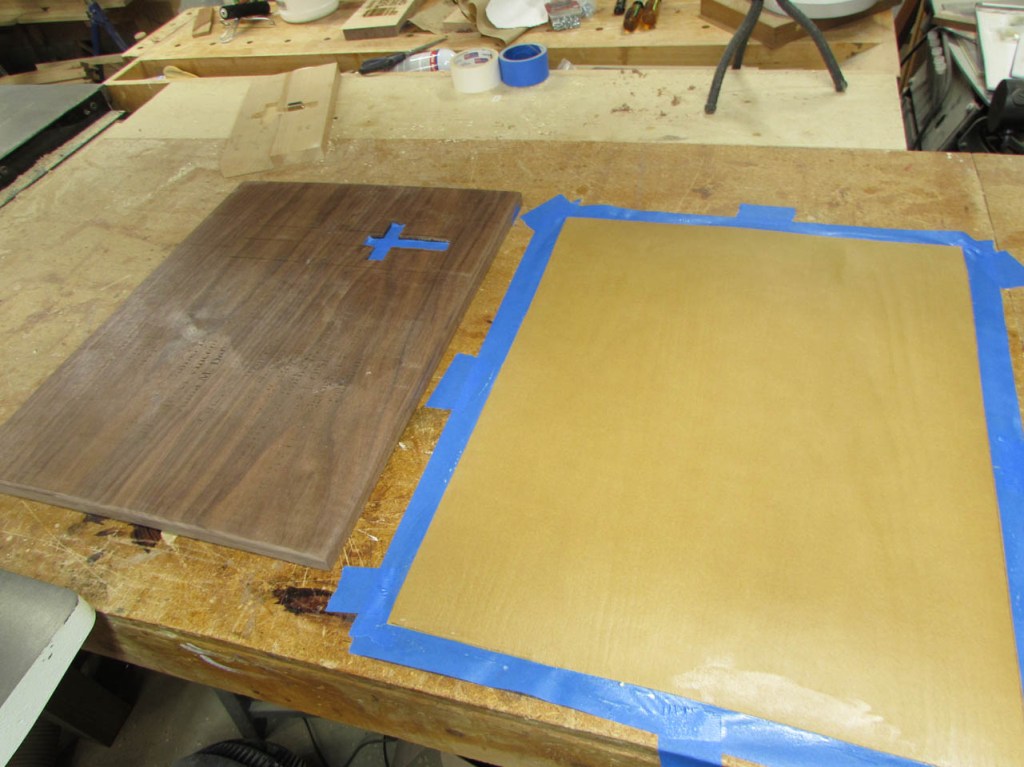
First step is to mask off the cross so I don’t get glue in the inlay cavity.


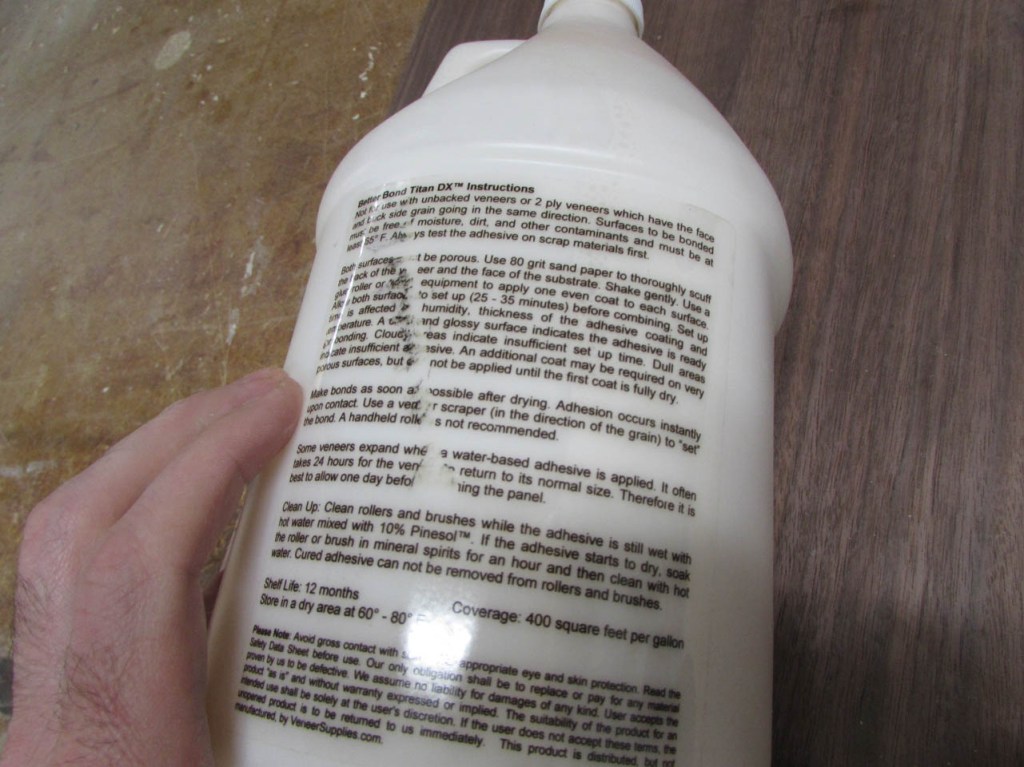
Then I have to read the directions on the glue and get everything prepared before I start.

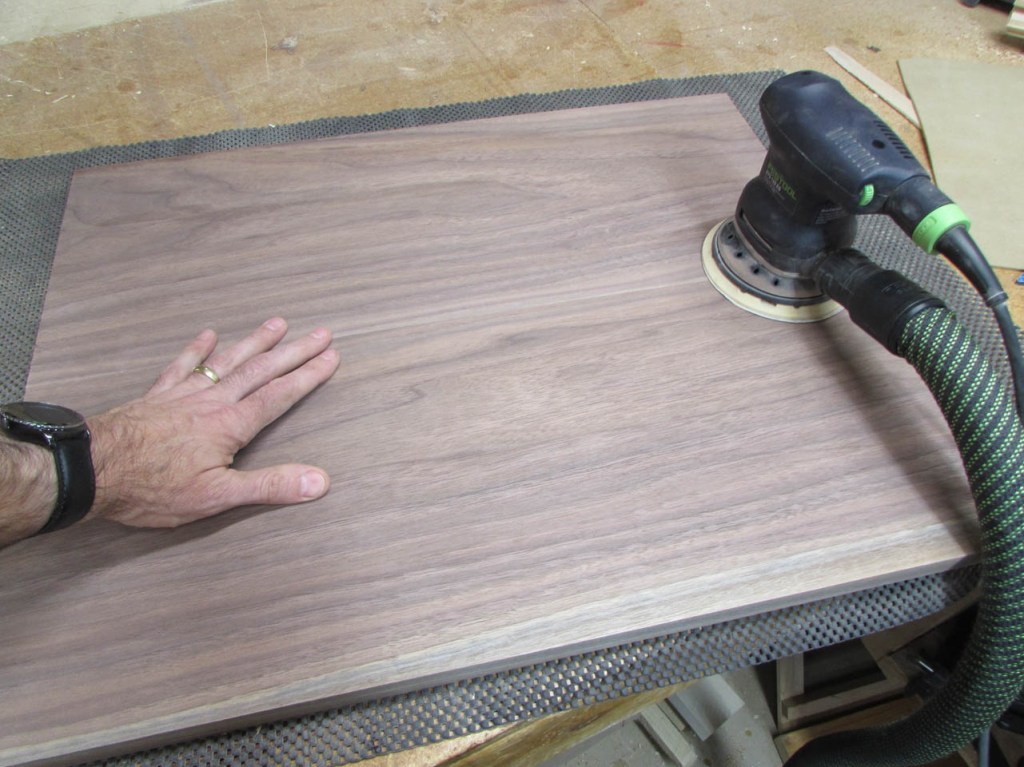
I make sure all of my surfaces are clean and sanded smooth.
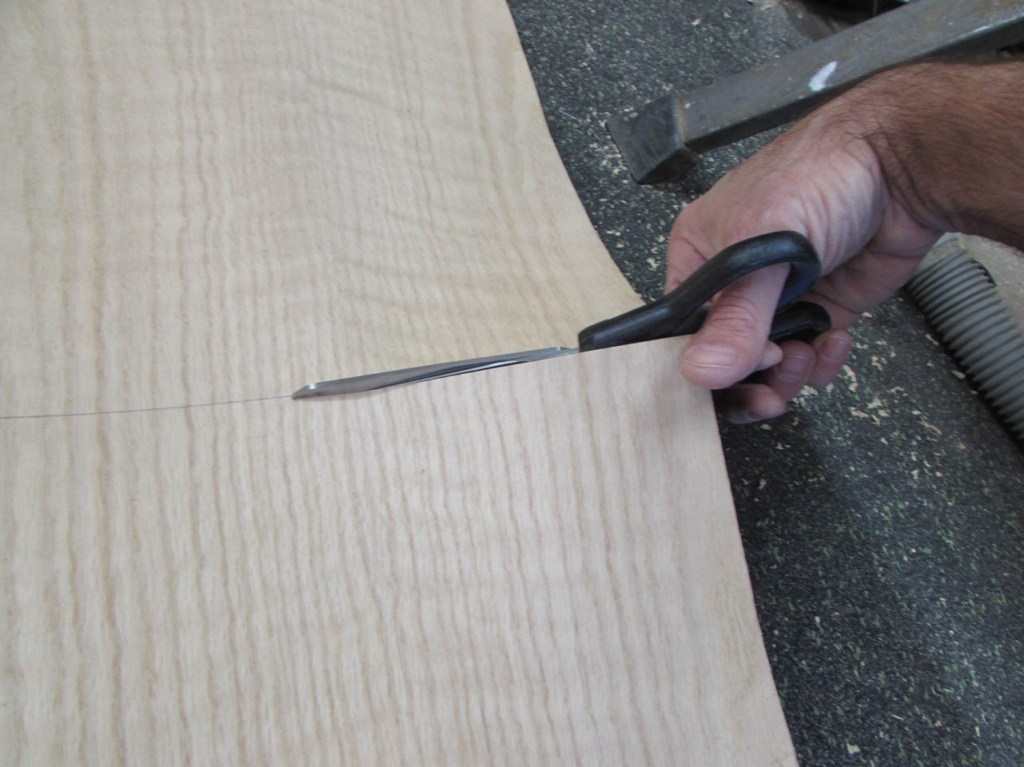
Then I unrolled my veneer and traced out an over-sized section to cut off.

I just used scissors. They worked really well for cutting the thick veneer.

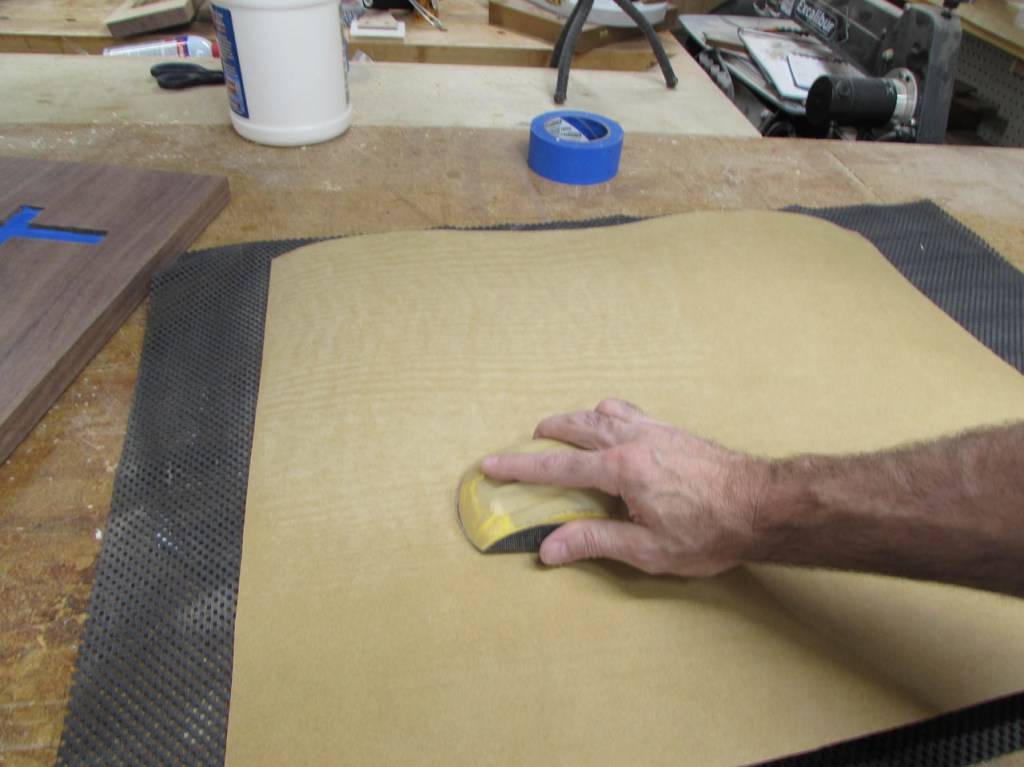
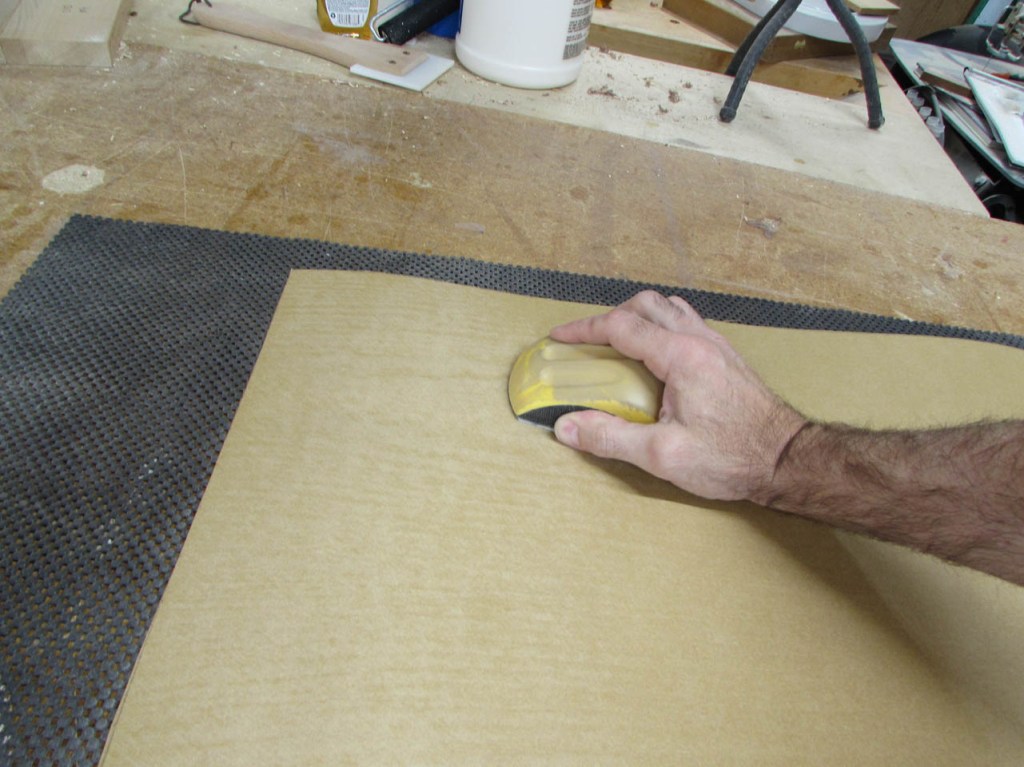
Instructions say to sand both of the glue surfaces with 80-grit paper to give the contact cement something to grip.

Looks rough enough to me. I also vacuumed away all of the dust.
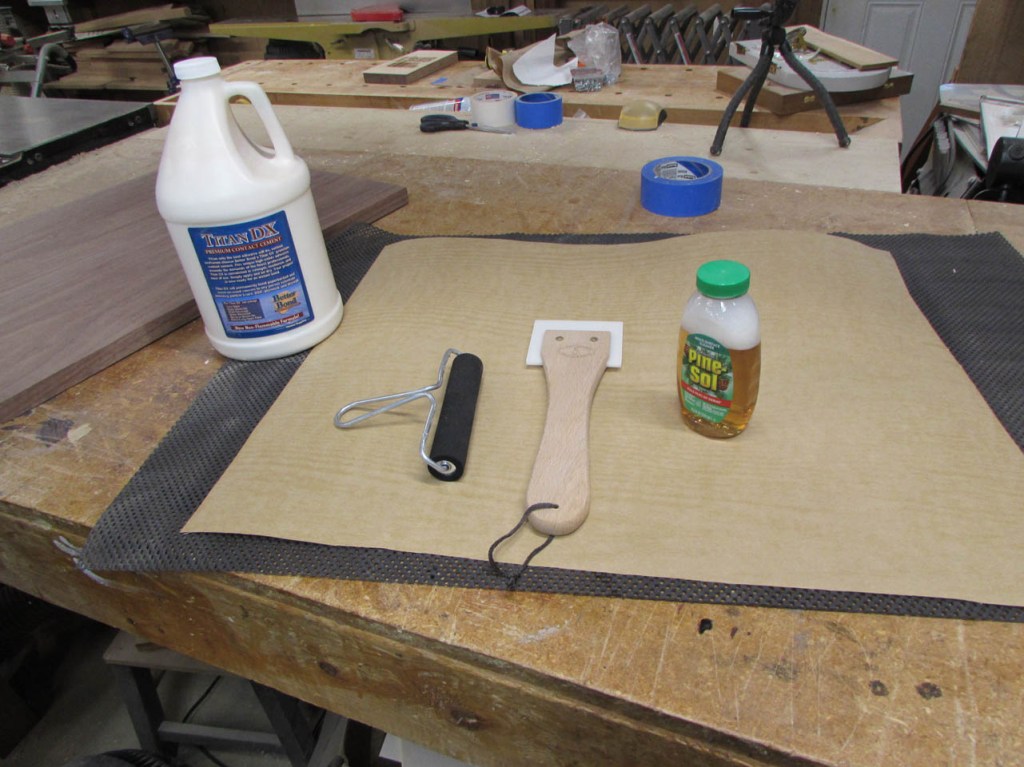
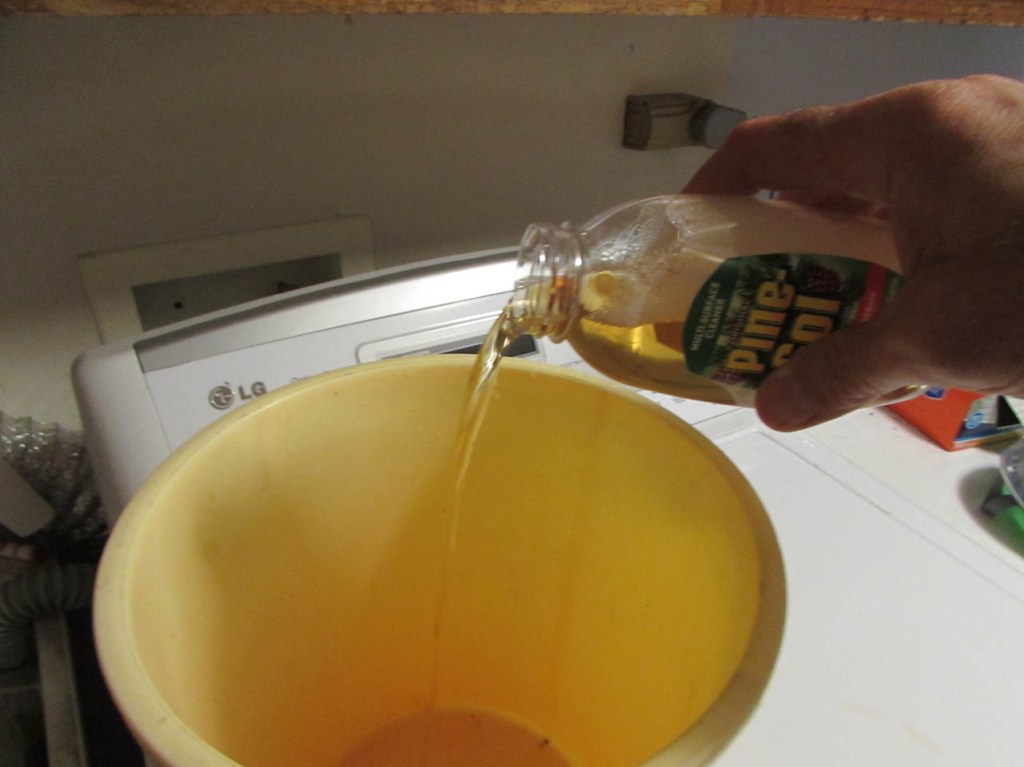
I have all the tools ready, but I will need to clean the glue off the roller immediately. The instructions say to use PineSol in hot water so I prepped a bucket for clean-up.

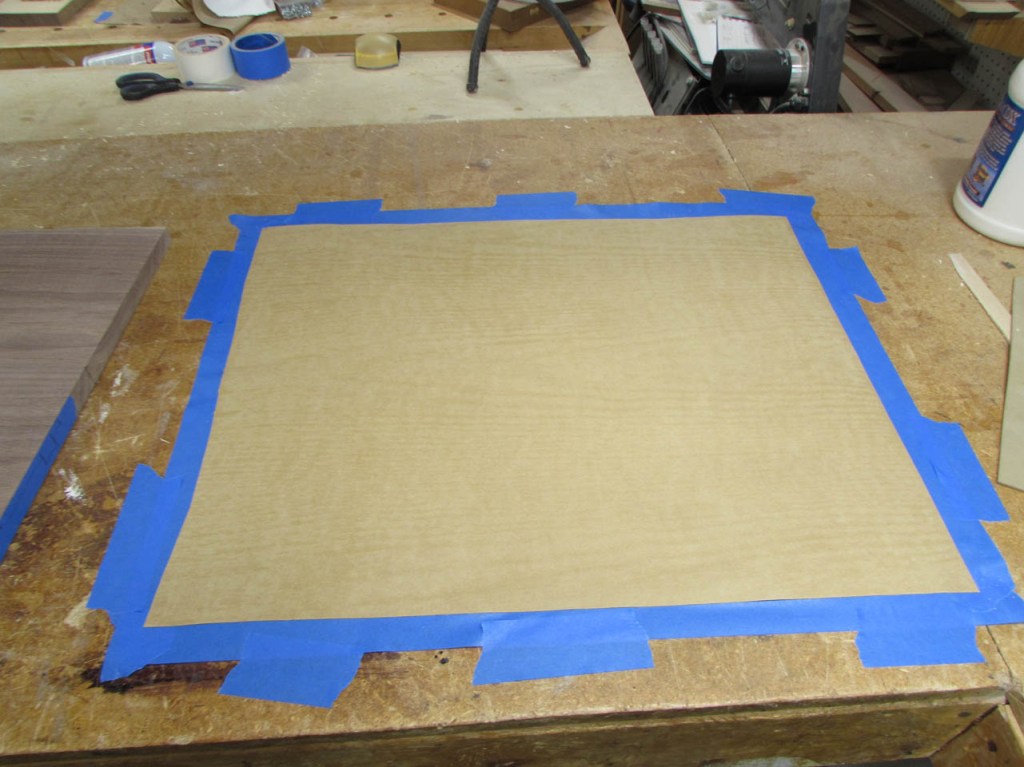
I also put tape around the edge of the veneer to keep the glue off my bench and prevent any from rolling over the edge onto the front.

Apparently a little goes a long way with this glue. Just pour out and roll smooth.

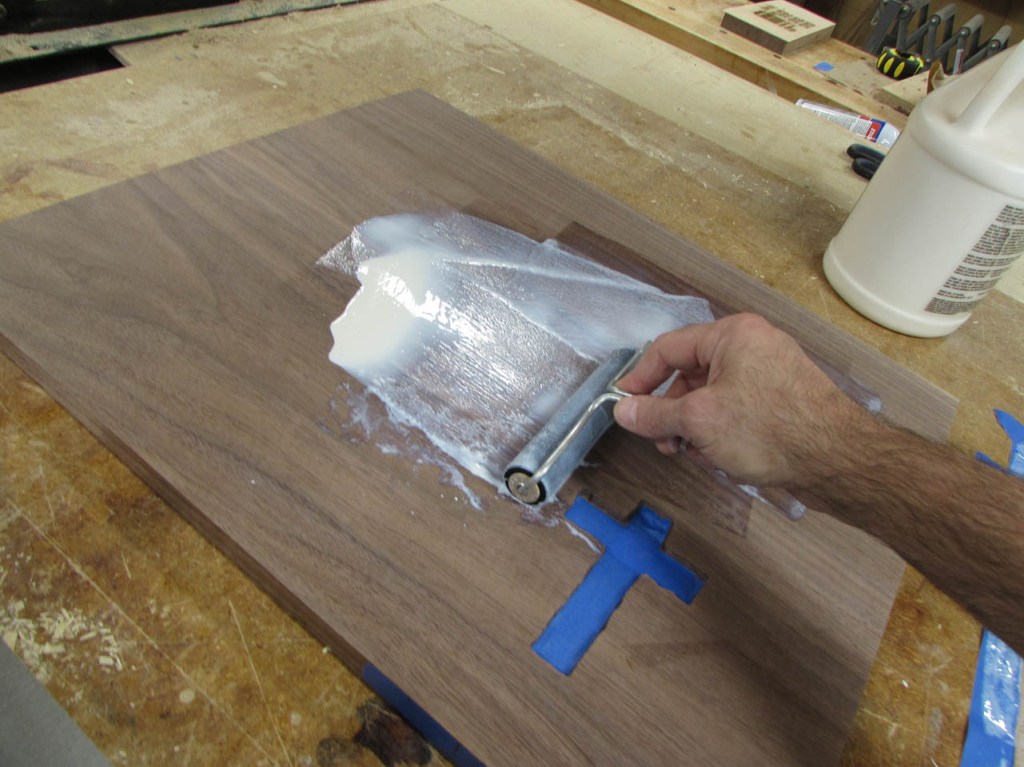
You have to roll it out evenly, then let it dry for about 30 minutes.

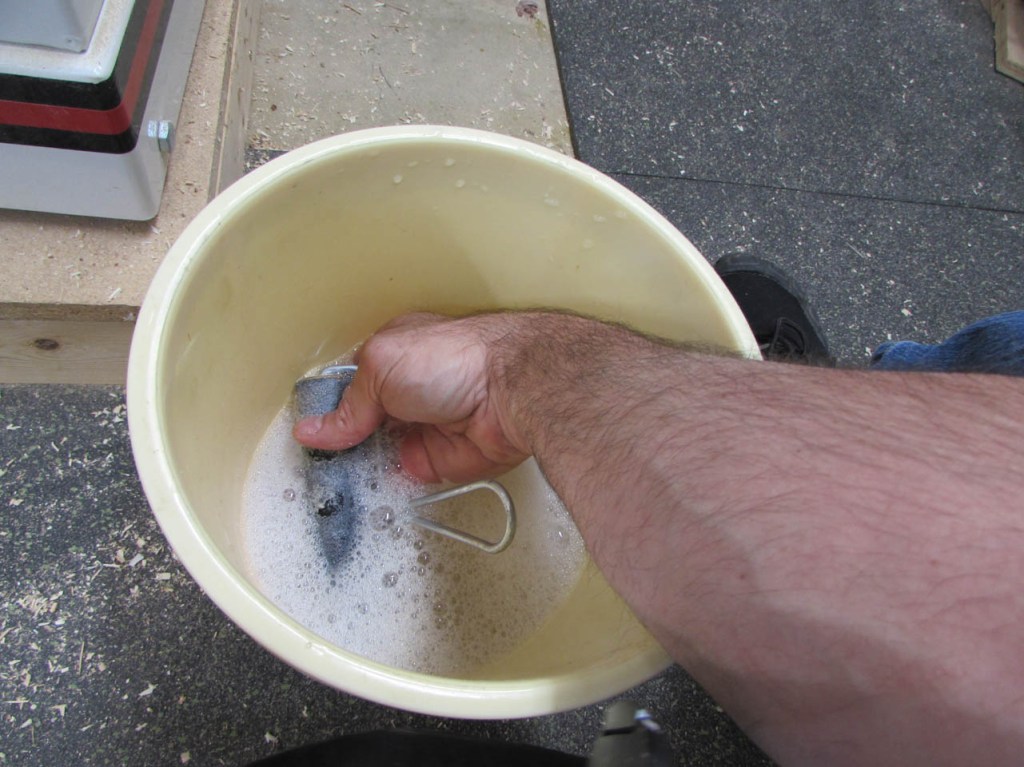
That is good since it took 15 minutes of scrubbing to get the glue off of the roller…

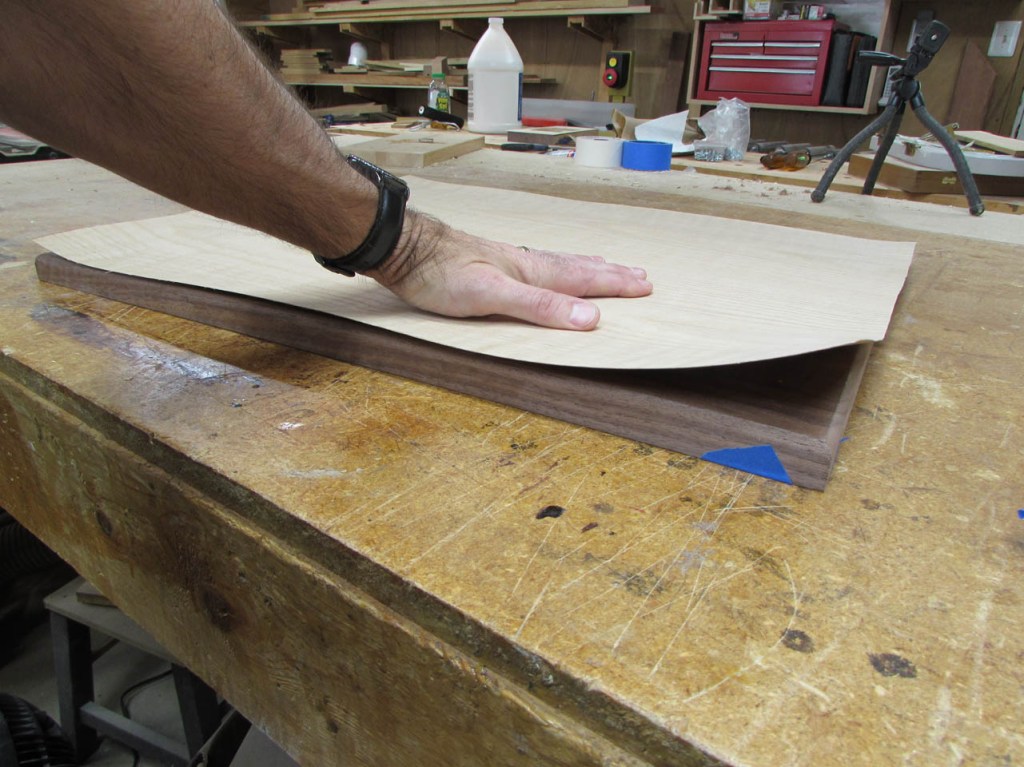
When dry, I pulled off the masking tape and laid the veneer in place, working from one side to the other, trying to avoid creating bubbles.
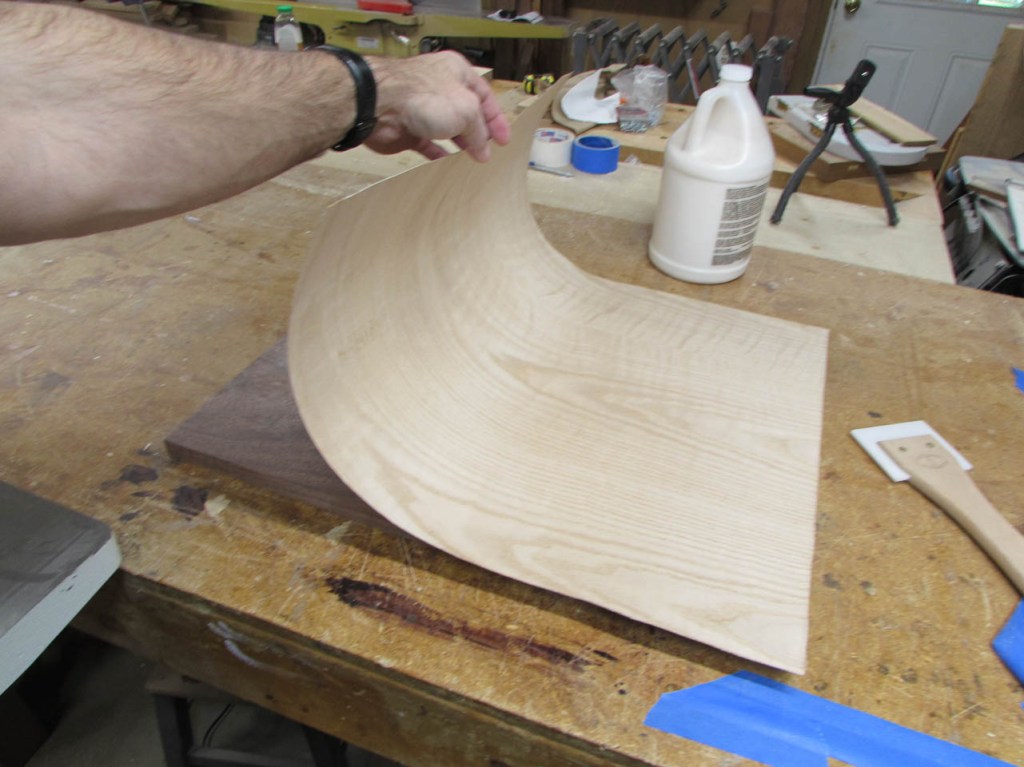
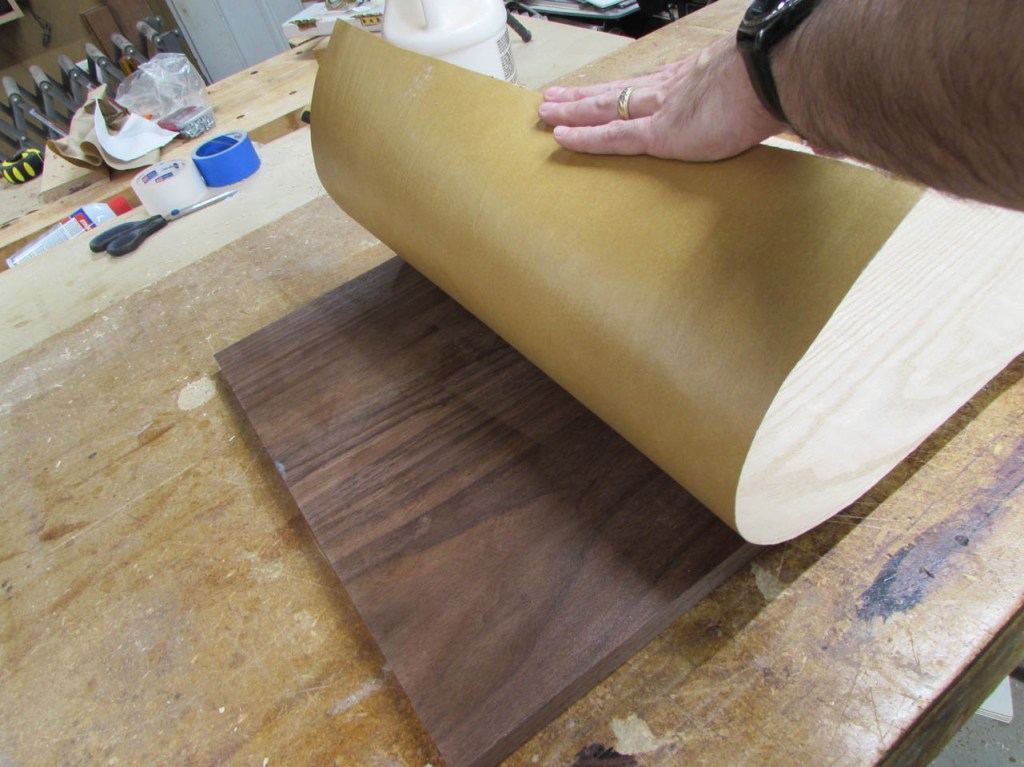
Once the glue makes contact it is pretty much permanently in place so get it lined up right before you start.
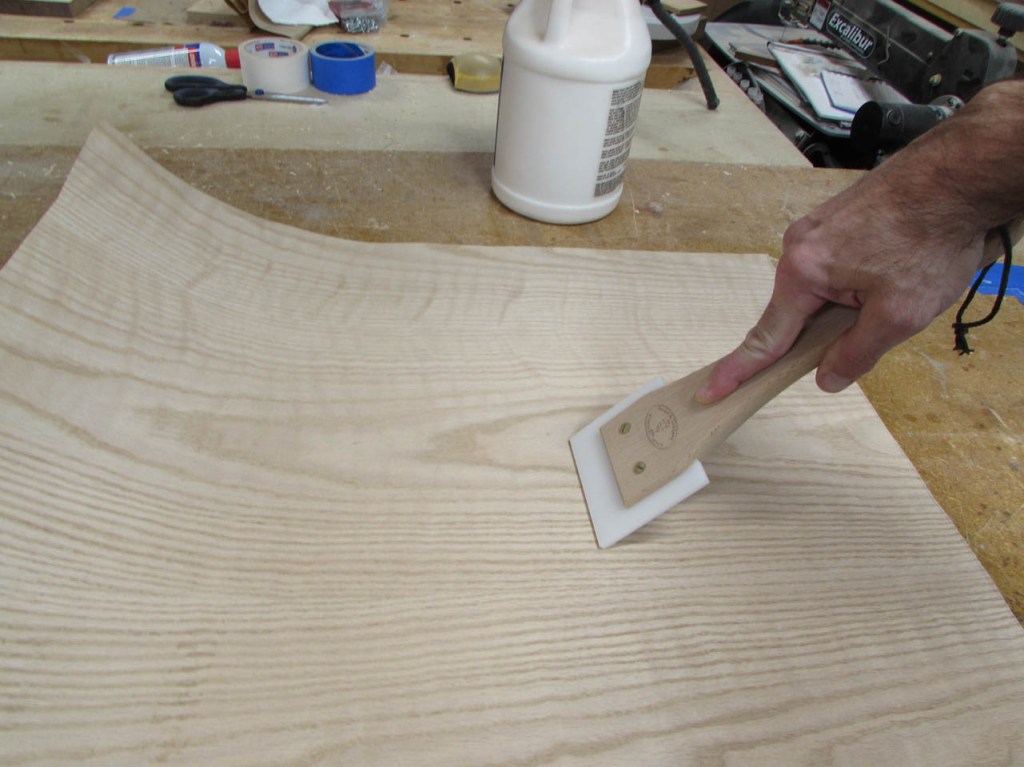
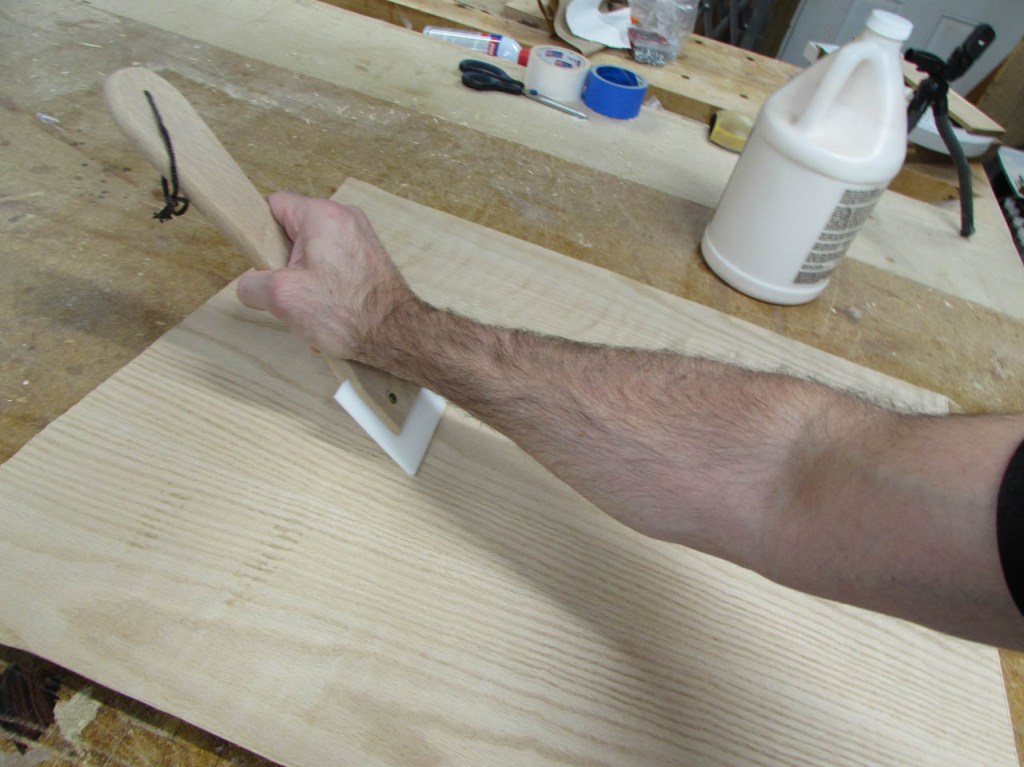
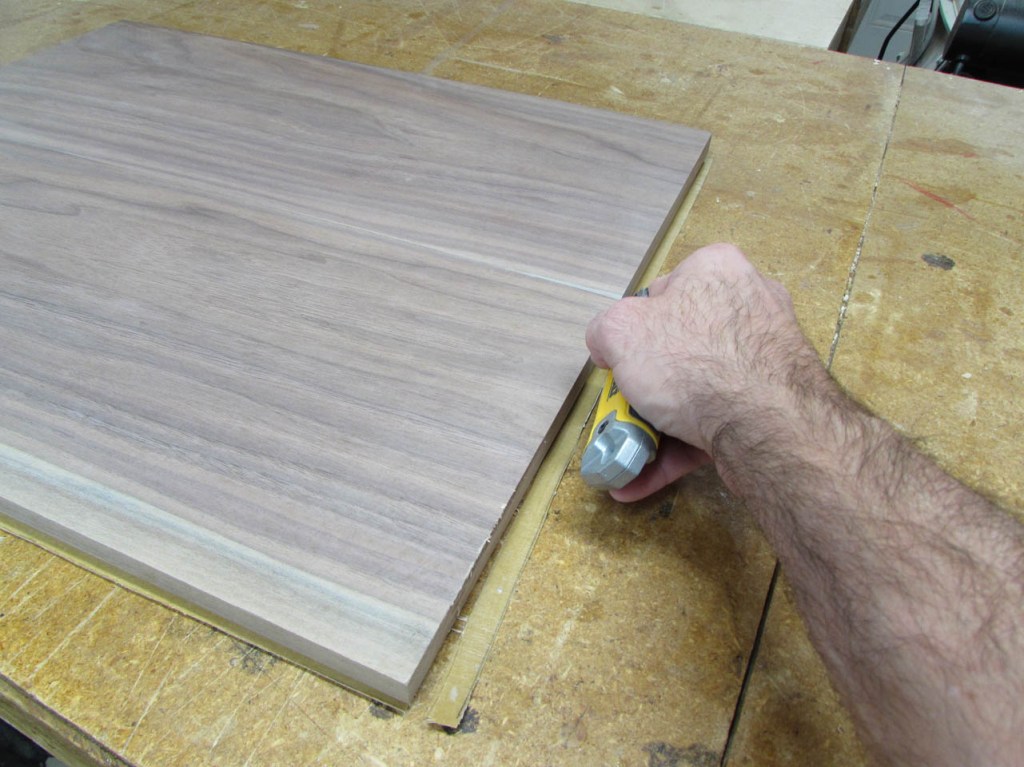
Once applied, I used my veneer scraper to apply pressure, pulling from the center out. I scraped down the entire surface a couple of times to make sure it was well bonded.
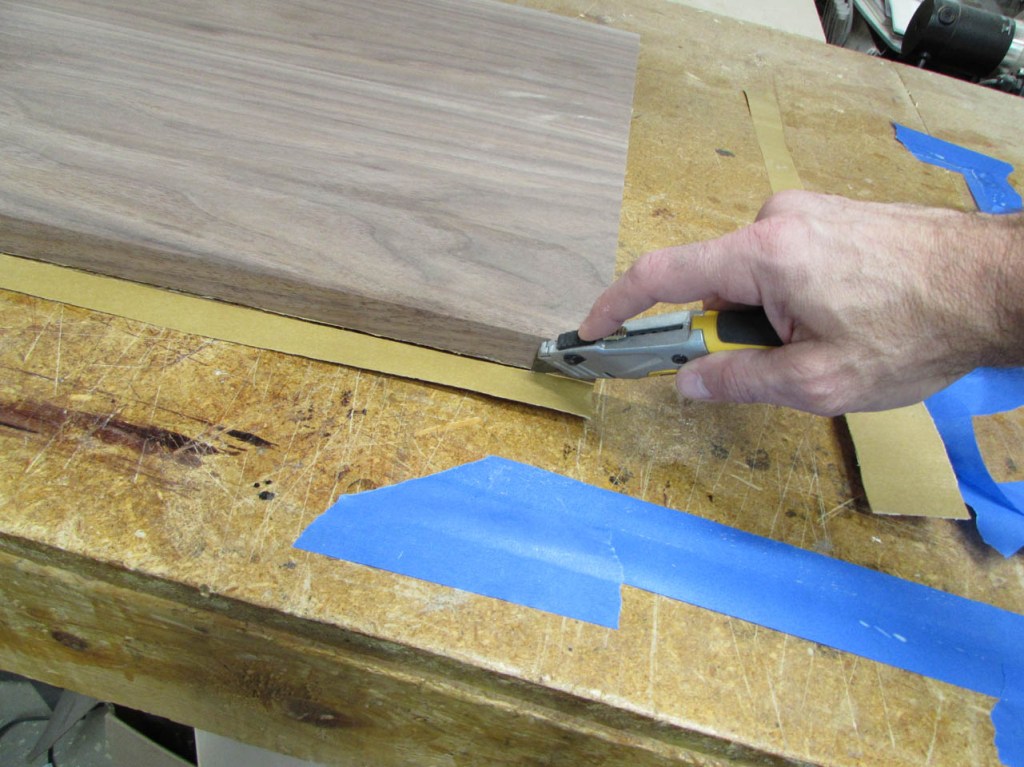
I used a utility knife to cut off the excess.
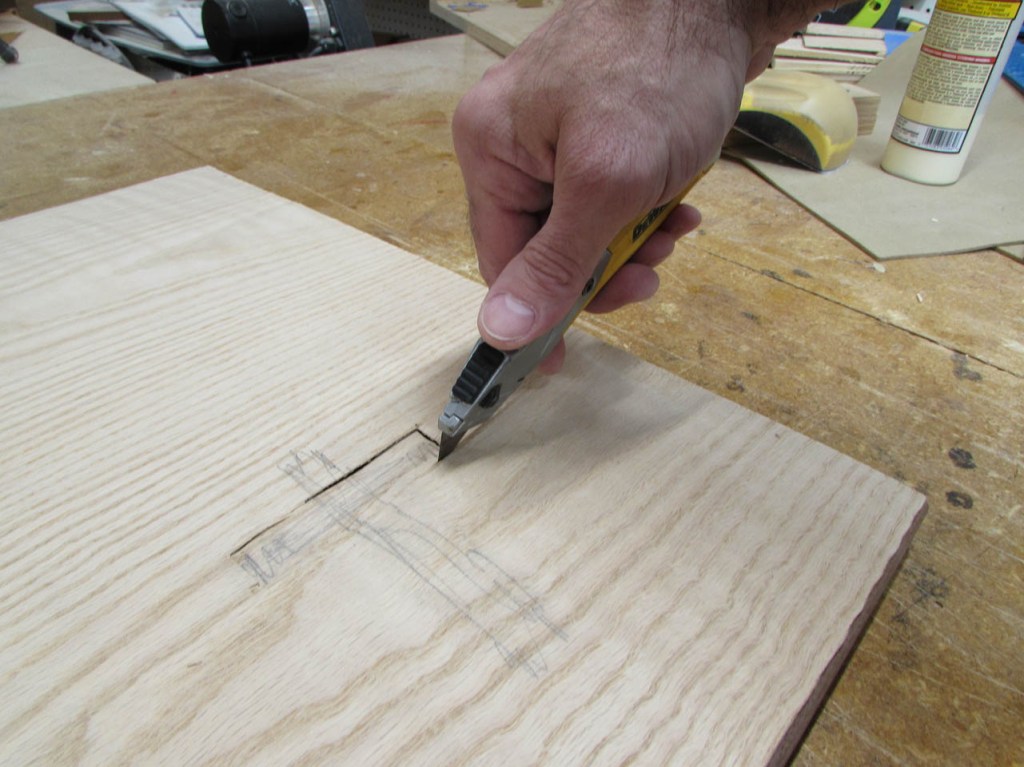
I placed tape on the edge to locate the cross, but I shouldn’t have bothered. I could feel a depression where the cavity was and marked it with a pencil so I could cut away most of the veneer above, with the knife.


It is a little rough so I started looking around for something to flush-cut it with.

I knew my normal flush trim bit wouldn’t work. The bearing was too tall and the diameter was too large, but I do have a small 1/8″ round-over bit with a small, brass end that might work.
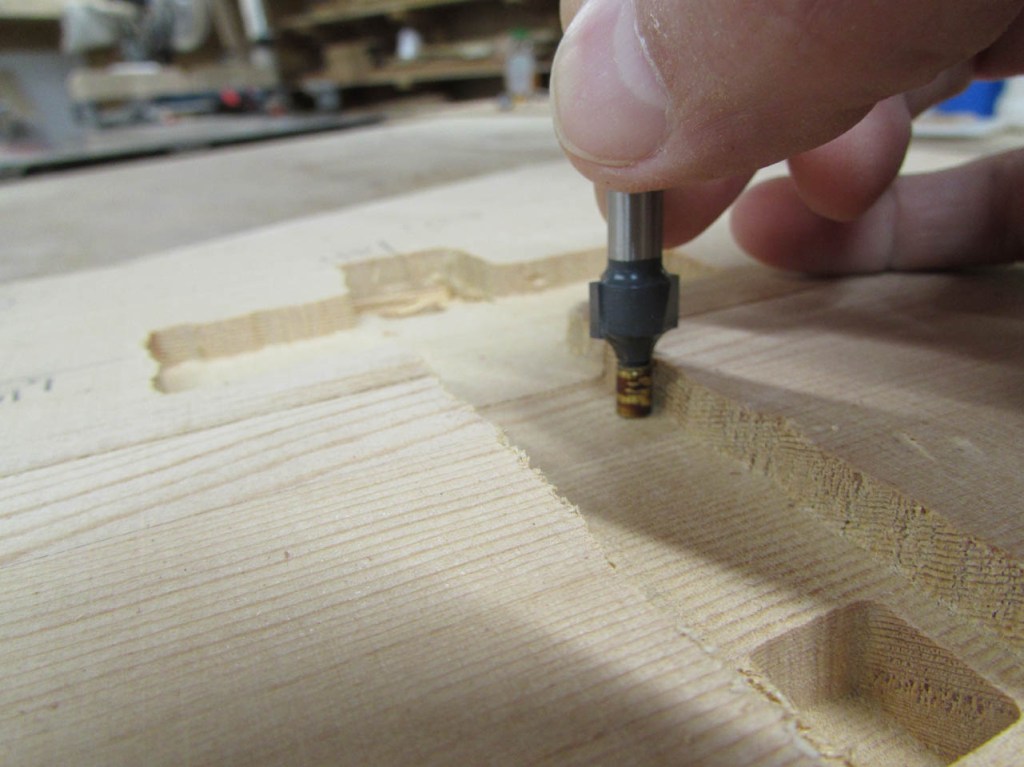

I put it in my trim router, with just enough blade sticking out, to trim the veneer.

It worked perfectly, following the edge of the cavity all the way around.


Perfect fit! I just needed to do a bit of sanding.


Now for the scary part. I did a lot of calculations to tell me where to put the cross so that it falls between the two towers. Hopefully I got it right.

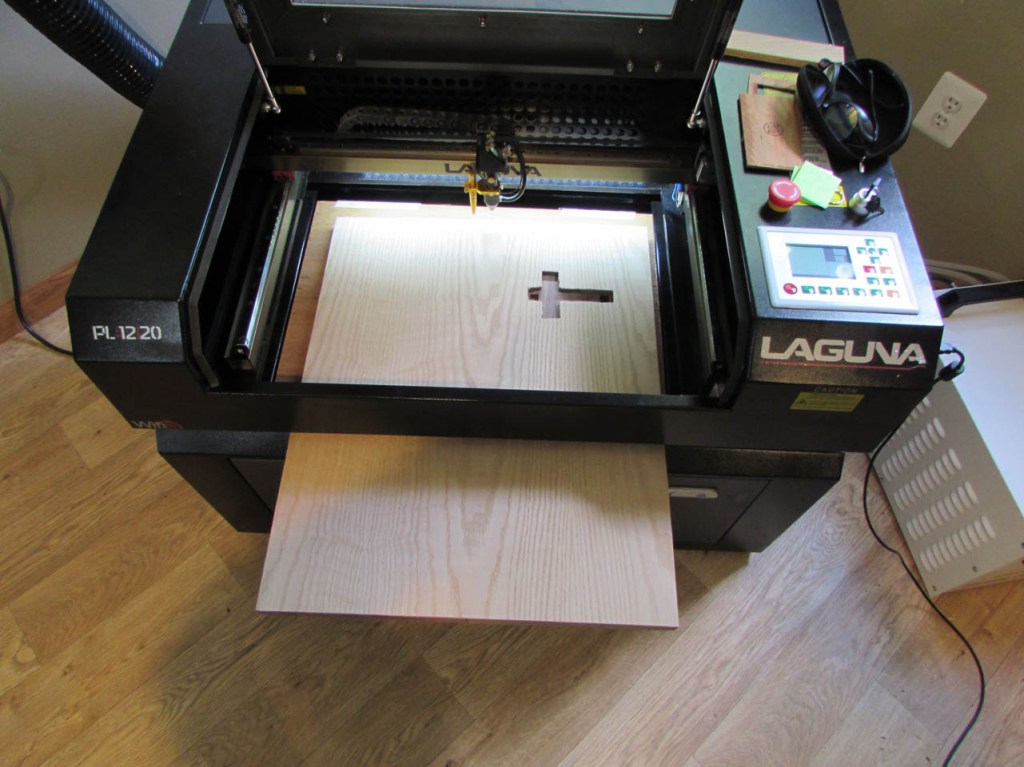
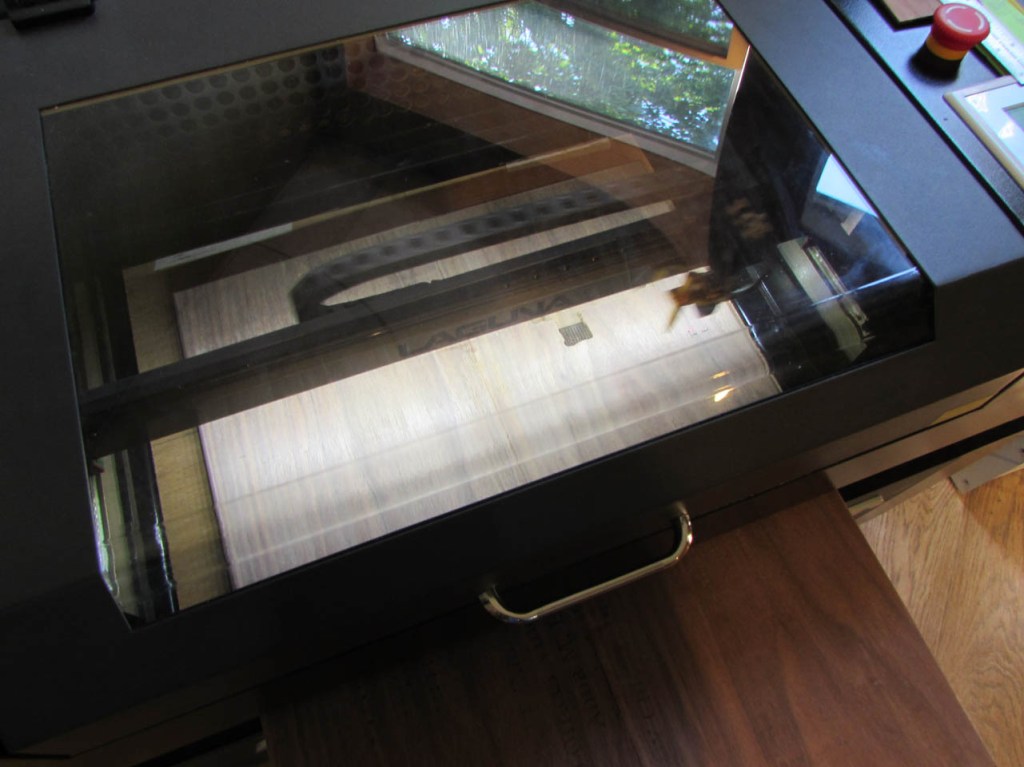
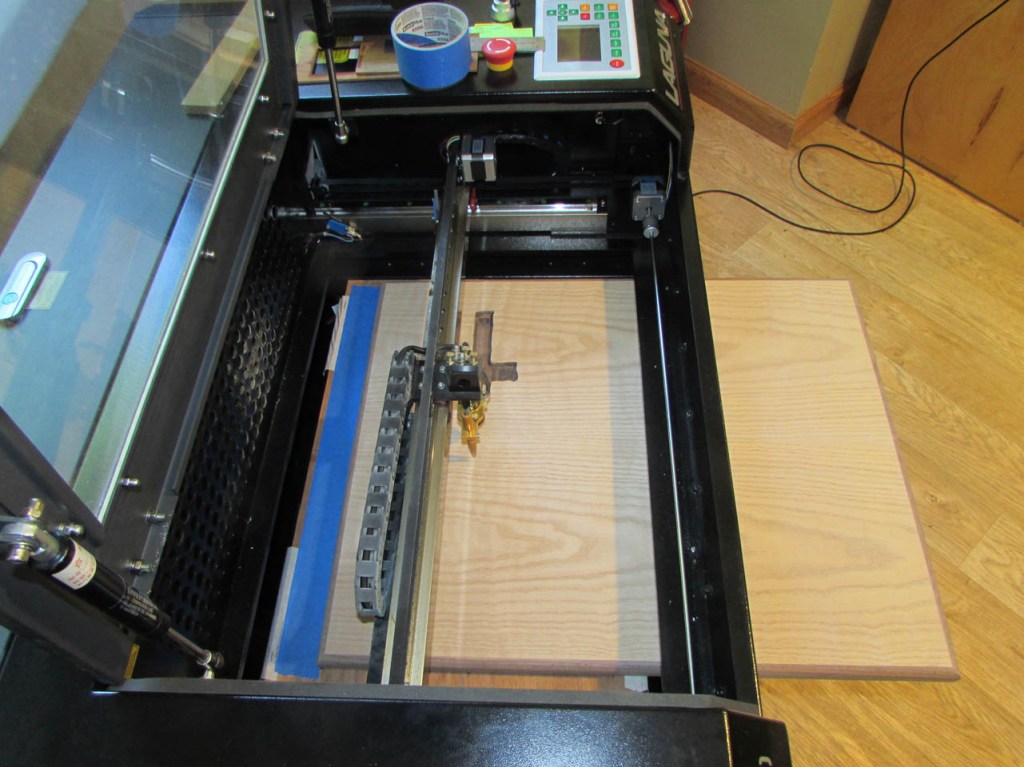
Next challenge, the plaque is 20″x25″ and my engraving area is 12″x20″. I have to raise up the laser and place the larger board below. Without the ability to auto-focus the laser I had to determine the exact focal length and raise the laser just high enough that the laser would cut in-focus. I cut four cherry blocks and placed them under the feet. Not as easy as it looks since the laser weighs about 200 pounds.


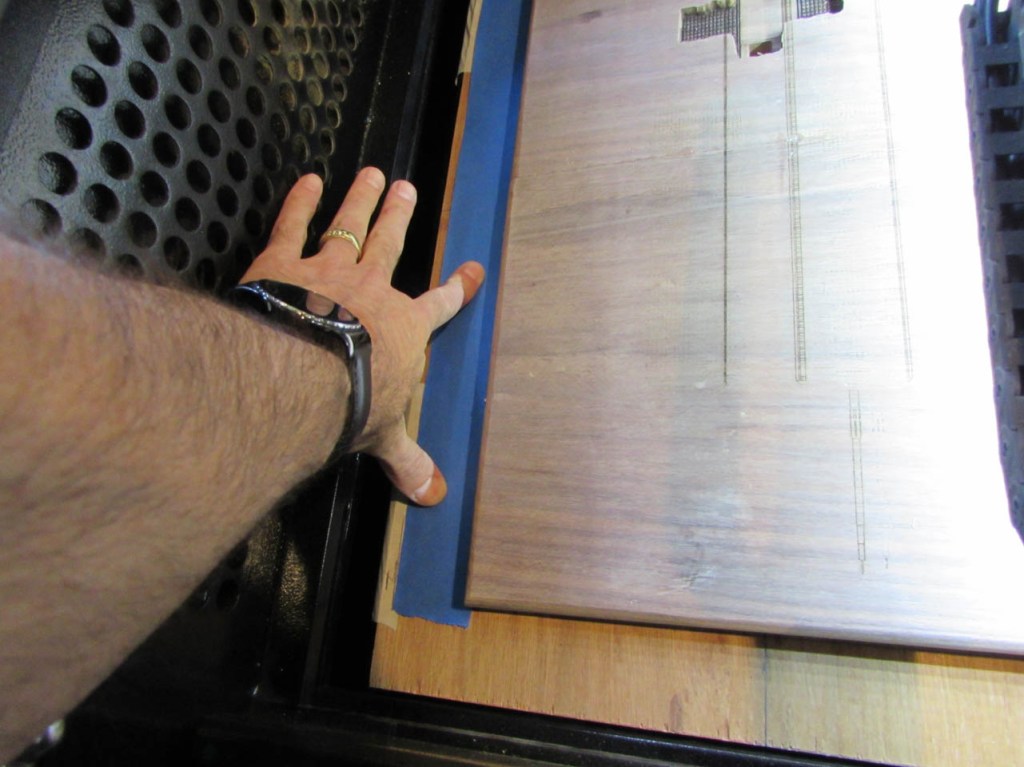
Once I determined the exact height, I burned a line into my sacrificial board below to show the extents of the laser’s reach.

I lined my plaque up to the line and fired it up.

It started out well and the detail of the building looked great.

But, when I came back two hours later, I found that I miscalculated… The cross was off by about 1/4″.

I went ahead and flipped the board to carve the other half to see how it all turned out.

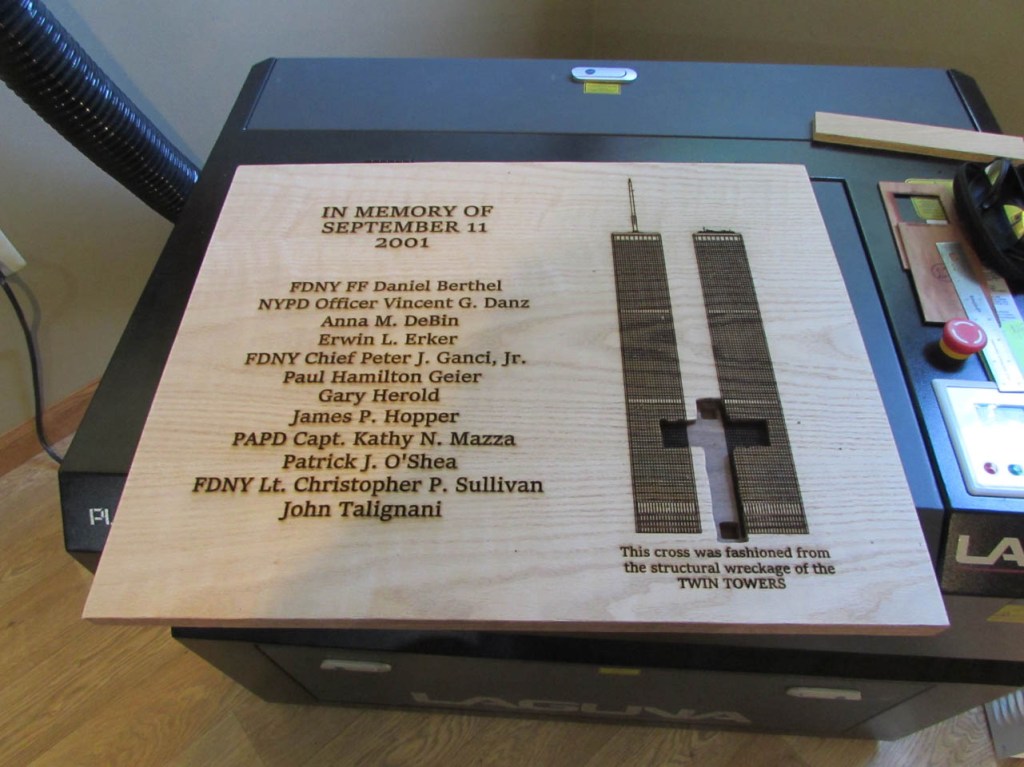
It looked really good except the cross was not where I planned. I fired a picture off to Monsignor anyway to see what he thought.

While awaiting a response, I sanded away the smoke haze to see how it looked.
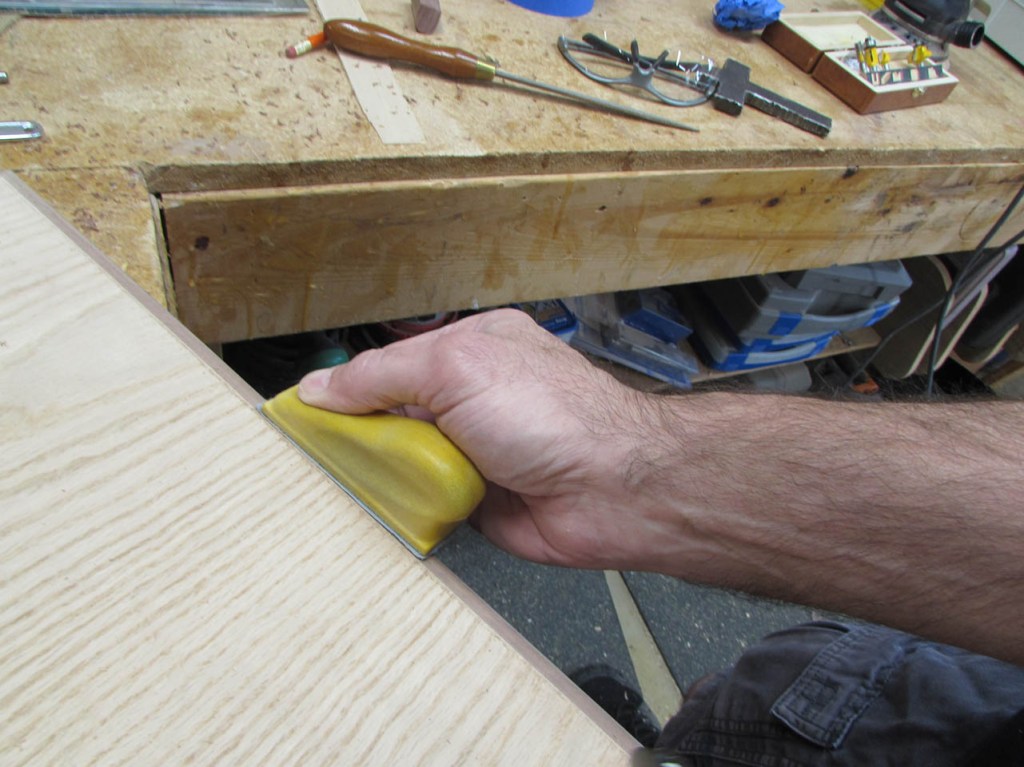
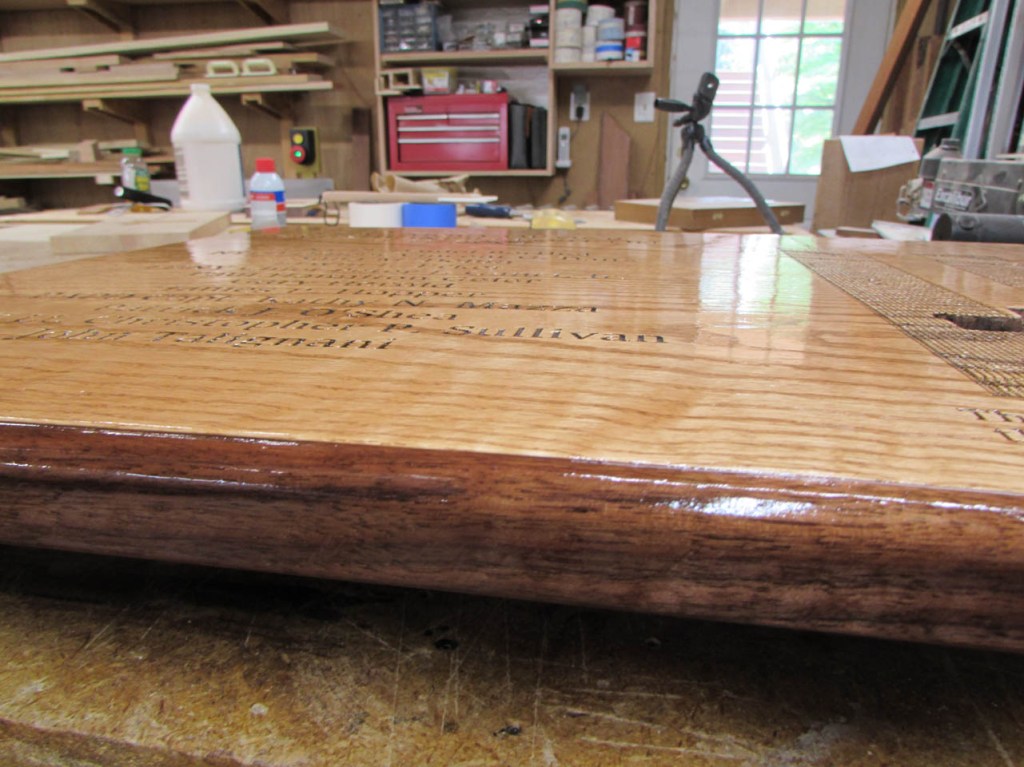
To match the trim on the chapel furniture, I need to round over the outside edge.

I set up a 3/8″ round-over bit, in the router table, and routed the front face.


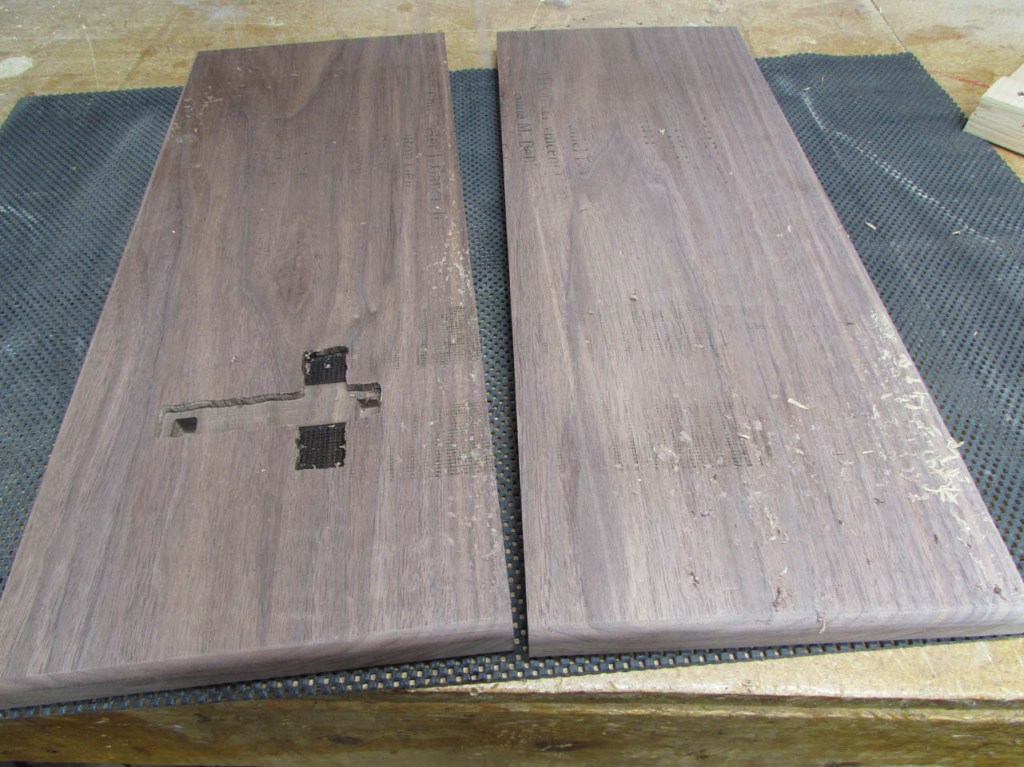
That looks pretty good. Unfortunately, Monsignor agreed with my opinion that the cross should be centered more. He also asked for a revision to the text on the left, so it is just as well. We will call this a practice run.

I considered several approaches to redo the plaque, but the simplest seems to be planing off the veneer and trying again. So, I cut the panel in half and tried that.


Bye-bye first attempt…


There was some residue of the glue left behind because I didn’t want to plane more than the veneer.

Sanding was not too successful at removing it.


So I tried the card scraper with better results.
Then it was time to re-cut the tenons.

After the panel was glued up again, I decided to do a practice run, on the laser, before veneering this time.
I made a quick outline version to laser that gave me the location of the buildings.

When I was happier with the outcome, I marked the edge of the board with tape and went back to the shop to veneer the face again.
I sanded down my seam and cut a new piece of veneer, paying more attention to the grain location this time. I shifted the cathedrals in the grain so that they fell across the top and bottom of the towers as opposed to the middle like the last version.


After more sanding, glueing, and cleaning, I was ready to try again.

With the board planed slightly thinner, I am worried that my flush trim bit will be too tall to work.


It was close, I had to follow it up with a rasp and sand paper.

But, the end result was good.


I want to try using the trim router to round over the edges this time. I set it to cut just below the veneer to leave a crisp edge. The router follows the surface to the board better than the router table when you have long surfaces that are not dead flat.


I think it looks really good.
Just a little sanding and we are ready to get back on the laser.

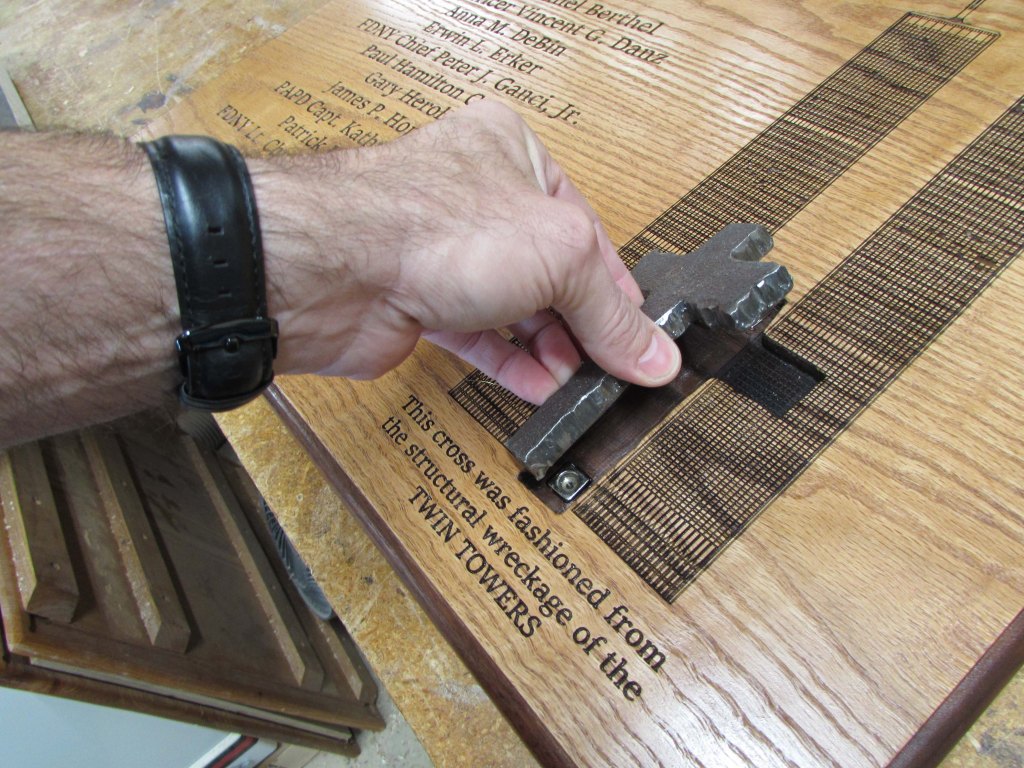
This time things lined up much better. Not perfectly centered, but it will work.

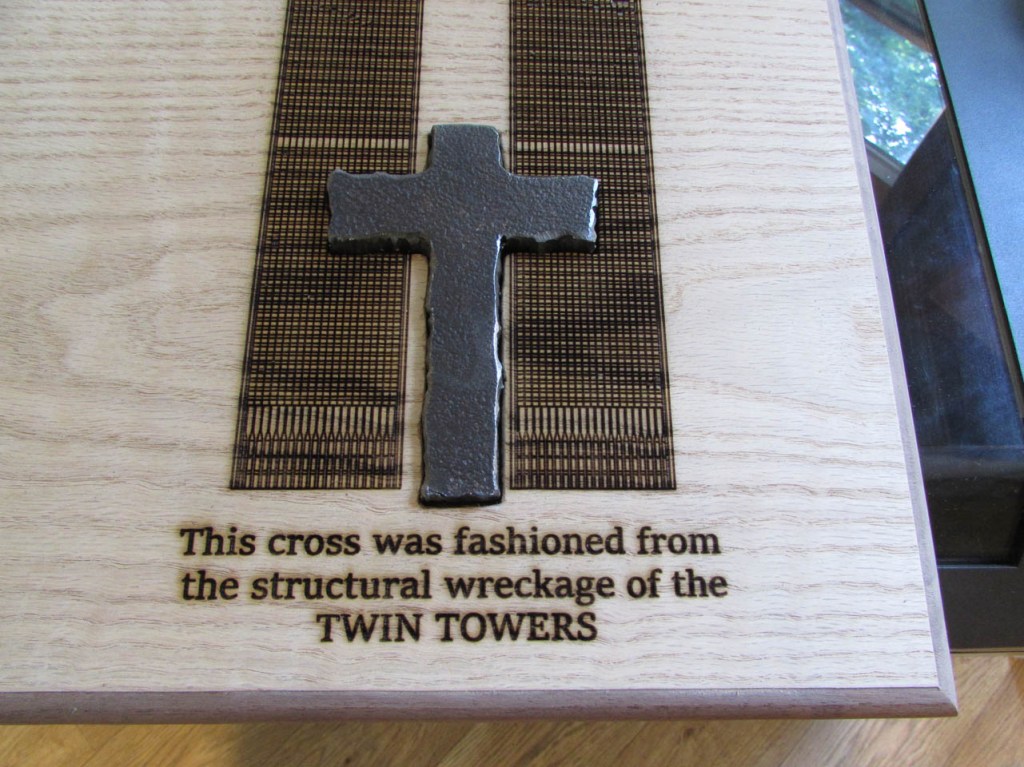
I really like the look with the cross in place.

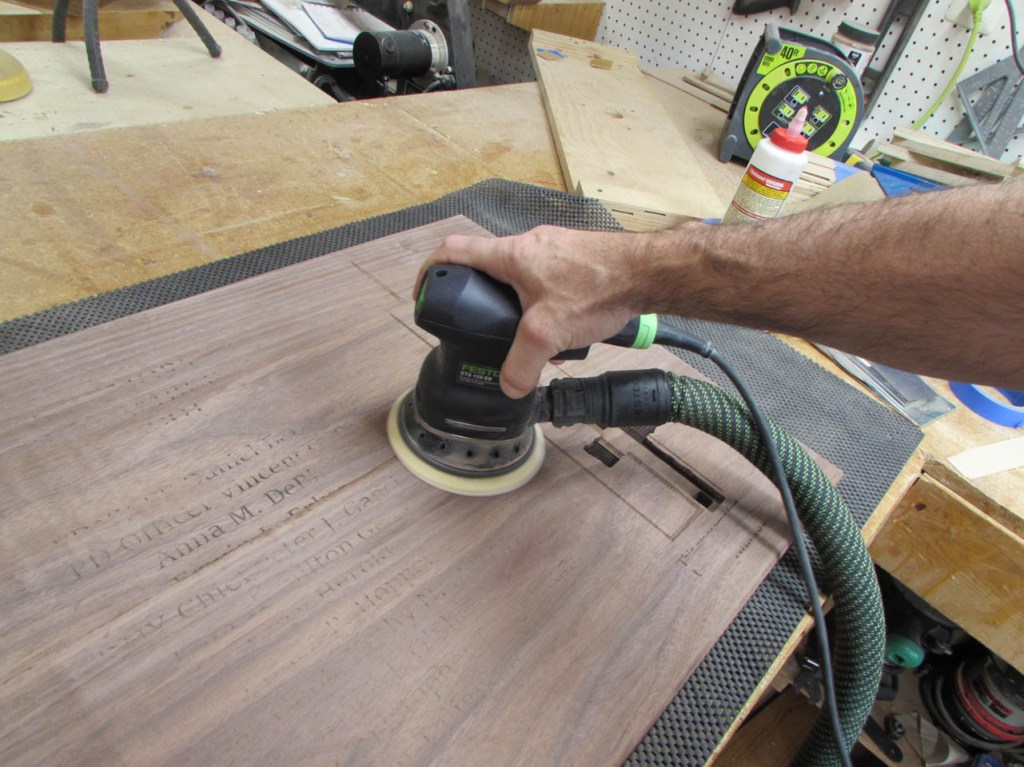
After flipping the board around, I engraved the rest of the text.

I used the orbital sander to clean up any of the smoke haze around the letters.

There was a lot more, from the laser cutting wood and glue, around the buildings. I decided to hand sand this area to prevent as much damage to the tiny windows as possible.

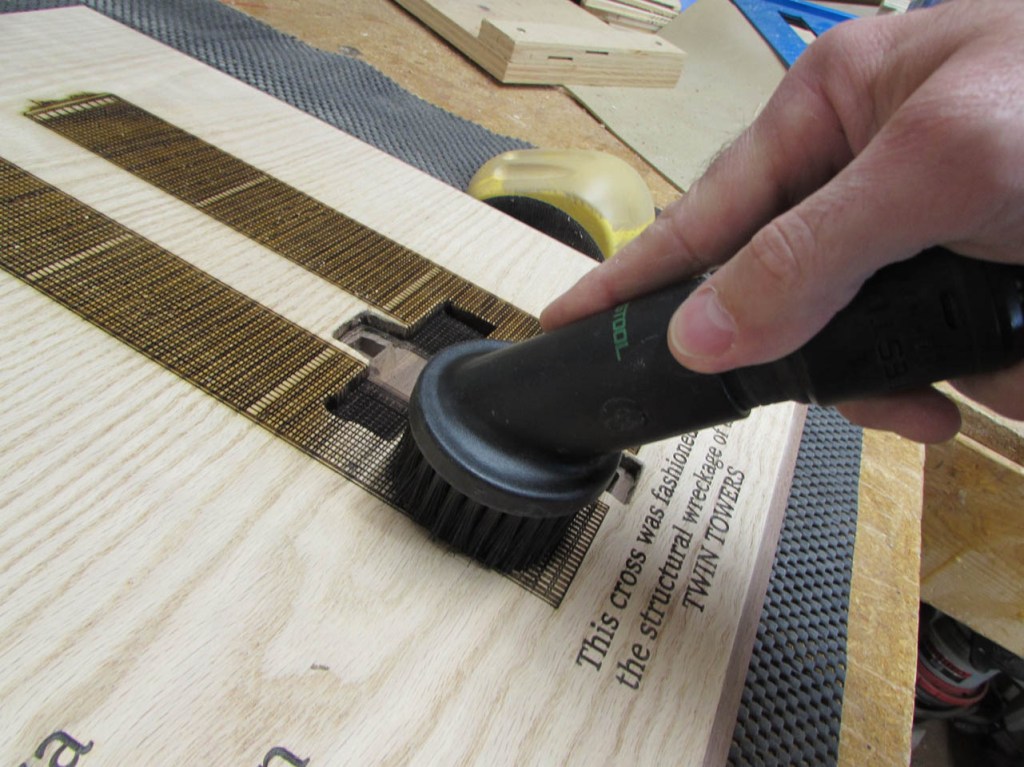
A little sanding and vacuuming and they clean up nicely.

After all the sanding was done, it was time to apply some Cherry stain.

While the stain was drying, I used my chisel to open up the square holes in the cross so the magnets would fit nicely.
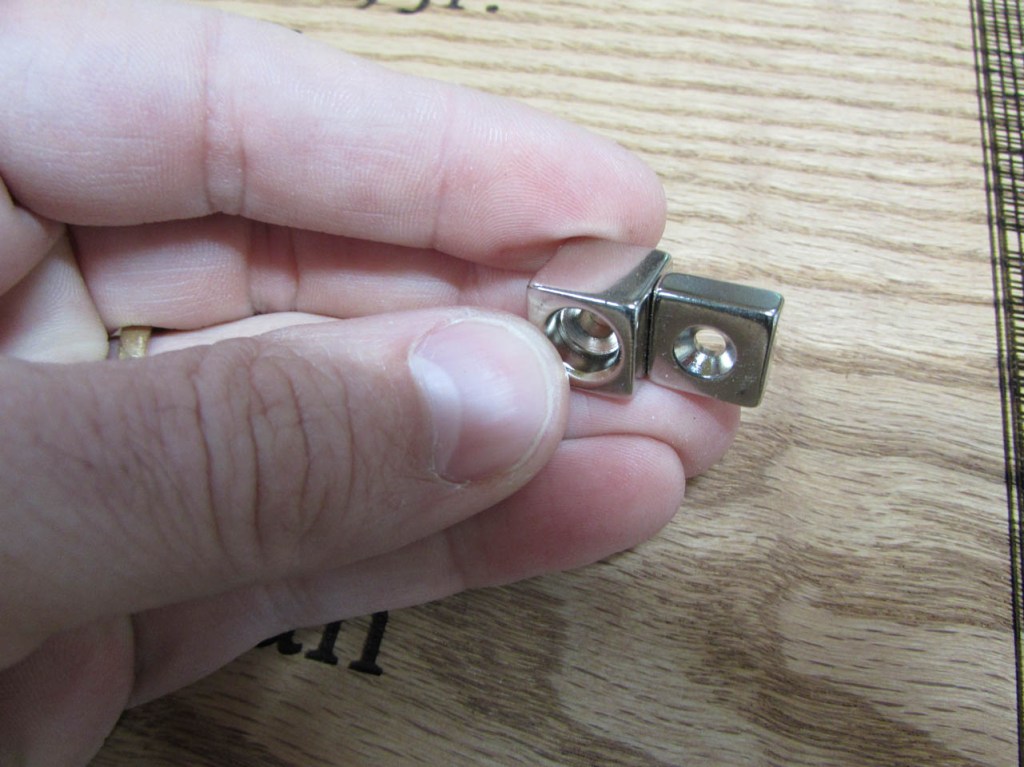
The thinner magnet is about a 10 pound magnet and the thicker one is 20 pound. These will hold the cross firmly in place.


I mixed up a 2-part epoxy to hold the magnets in place.

I let that cure while the stain was drying.

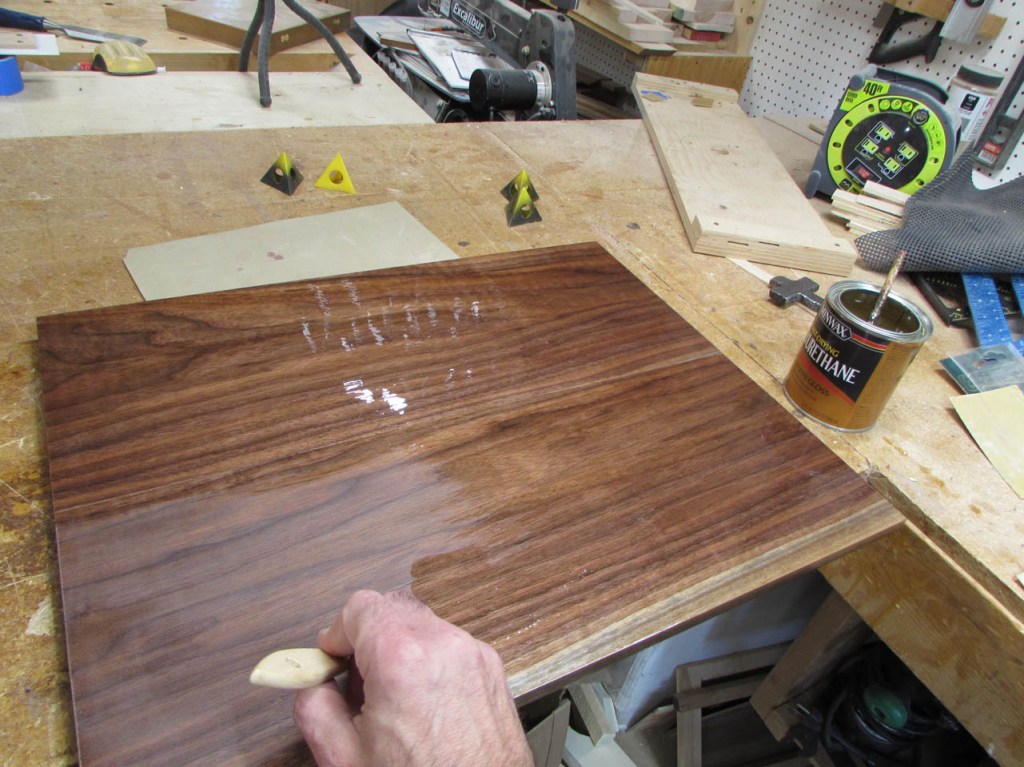
I waited 24 hours for the stain to cure then started applying the semi-gloss polyurethane. I left the back of the board unstained so the beauty of the walnut would show. It will probably always be against a wall, but it will still be pretty…

After the poly dried, I came back the next day and sanded back the surface with 400 grit paper to prep for the second coat.


When I use a brush, I always have to check the surface from several angles to make sure bristles did not break off and get stuck in the finish. There is nothing more annoying than finding a hair dried into the finish.

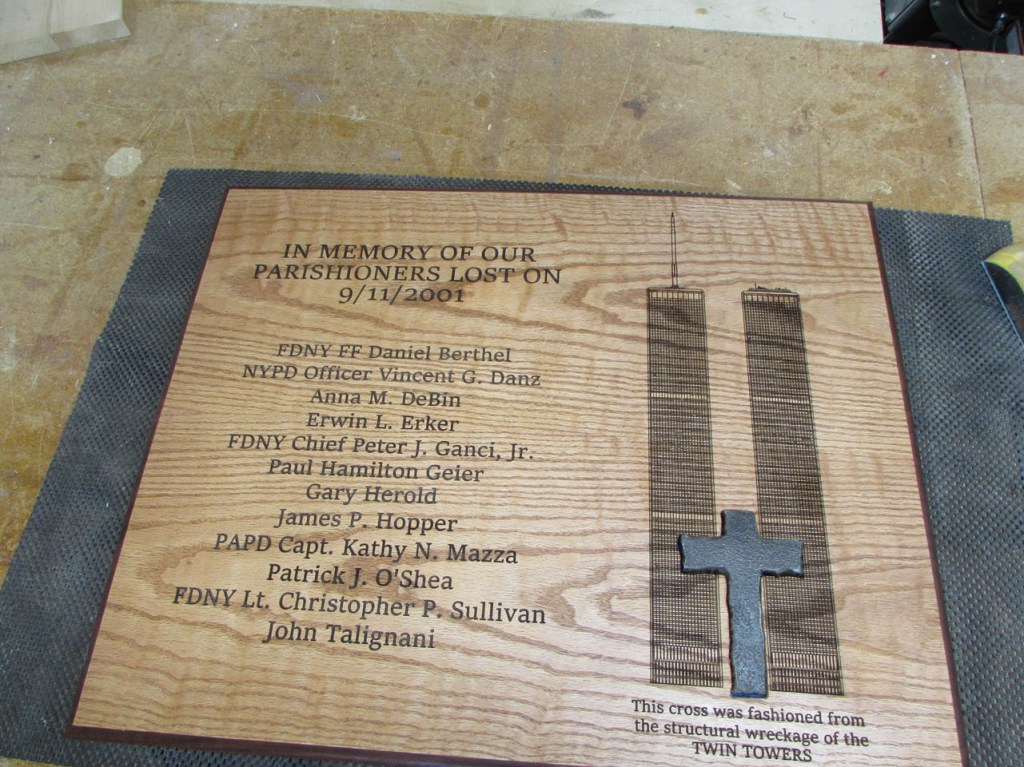
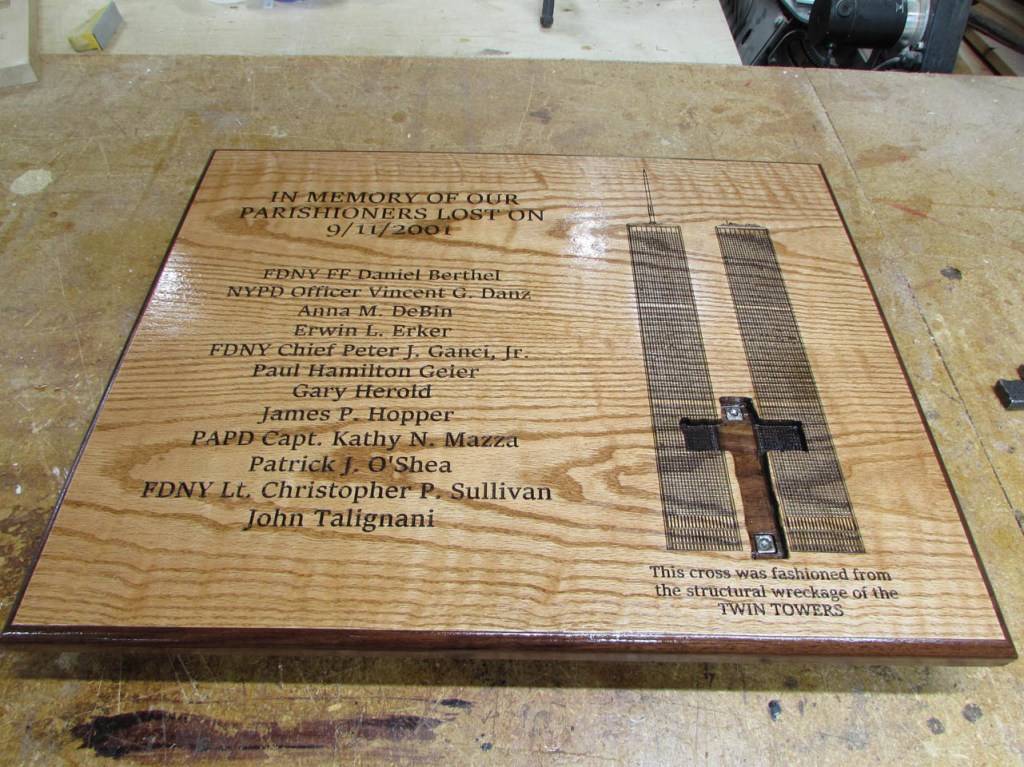
When it was all dry, I rubbed the entire surface down with brown paper to buff it smooth, and inserted the cross.
I think it looks really good. My photos do not do it justice. I always seem to get glare across the surface.

The details really show up well on the buildings.
It took a long time to pull this project together but we wanted to do it right.

