
DP Pro adapter for Festool vacuum hose

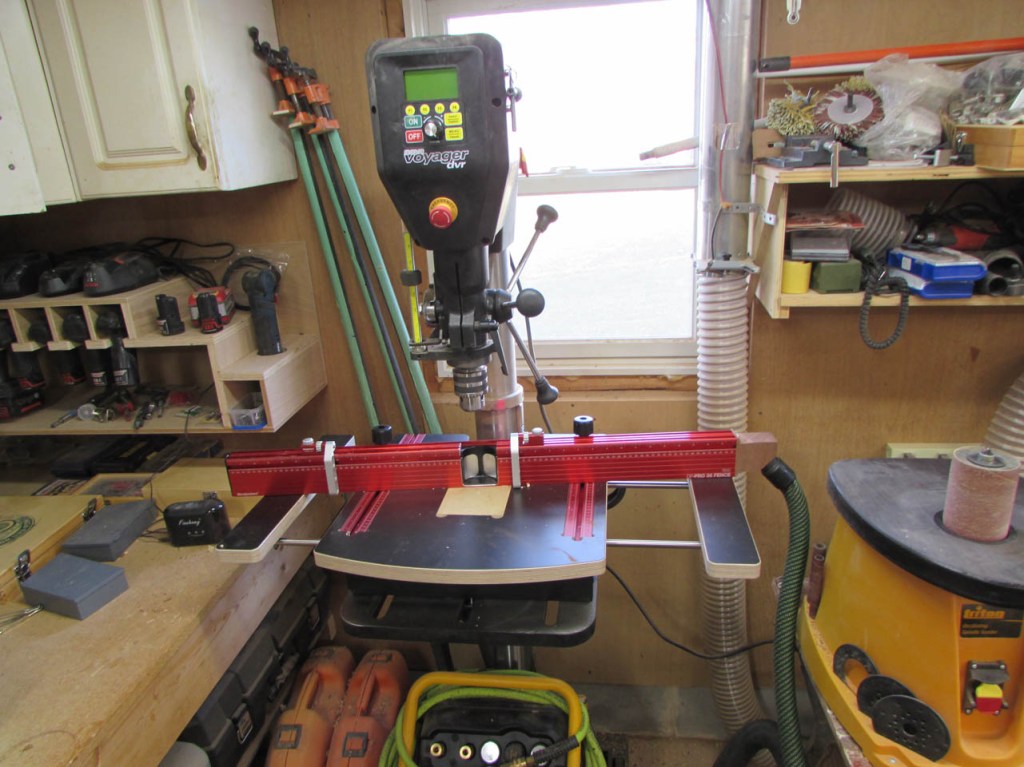
When I ordered my DP Pro drill press table, I made the mistake of seeing a green hose in the pictures and assuming that it would accommodate a Festool vacuum hose (27mm/32mm dia.). Had I read the specifications, I would have seen that it had a 2-1/4″ port for a standard Shop-vac hose. I am reasonably certain that this is because larger chips, like that produced by larger forstner bits would clog the smaller hose. As you can see in the picture above, the larger hose is directed to the back. My larger hoses are stiff and have a large bend radius that requires me to move my drill press forward. The hose also seems to put a good bit of weight on the plastic port. As long as I am aware of the larger chip problem, I should be able to design an adapter to work with my Festool hose. This is what I came up with:
I had a scrap block of mahogany laying around so that is what I grabbed to try out my idea.
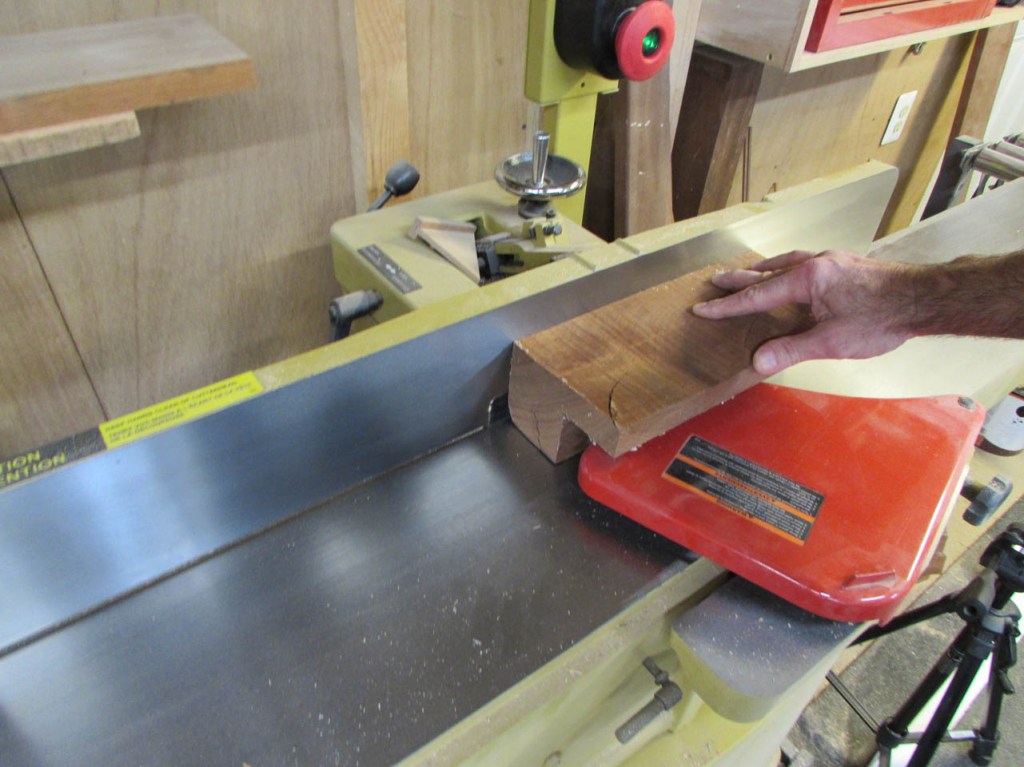
I jointed two faces, then cut a block to the overall dimensions of my concept port.
Once I had the right size blank, I laid out the outline and the center points on my holes.

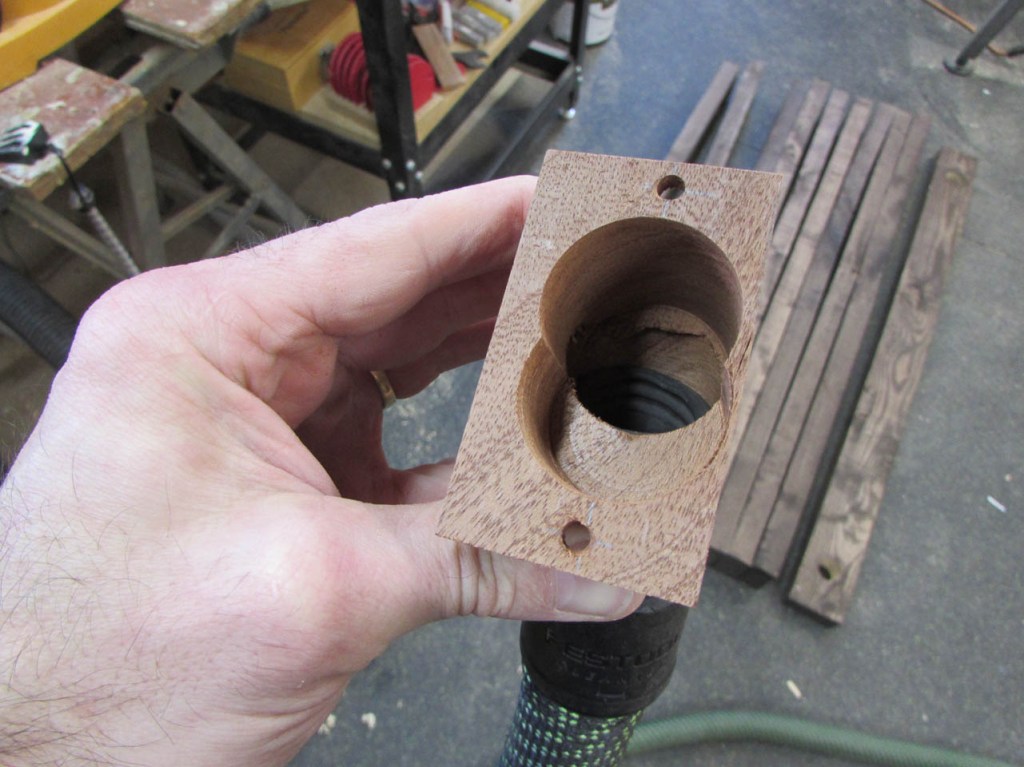
The double hole on the fence side is stepped and drilled larger to allow more airflow. This may need to be adjusted if the shoulder seems to block chips from being smoothly sucked down. This is a proto-type, I am sure better ideas will present themselves as I run into additional problems…


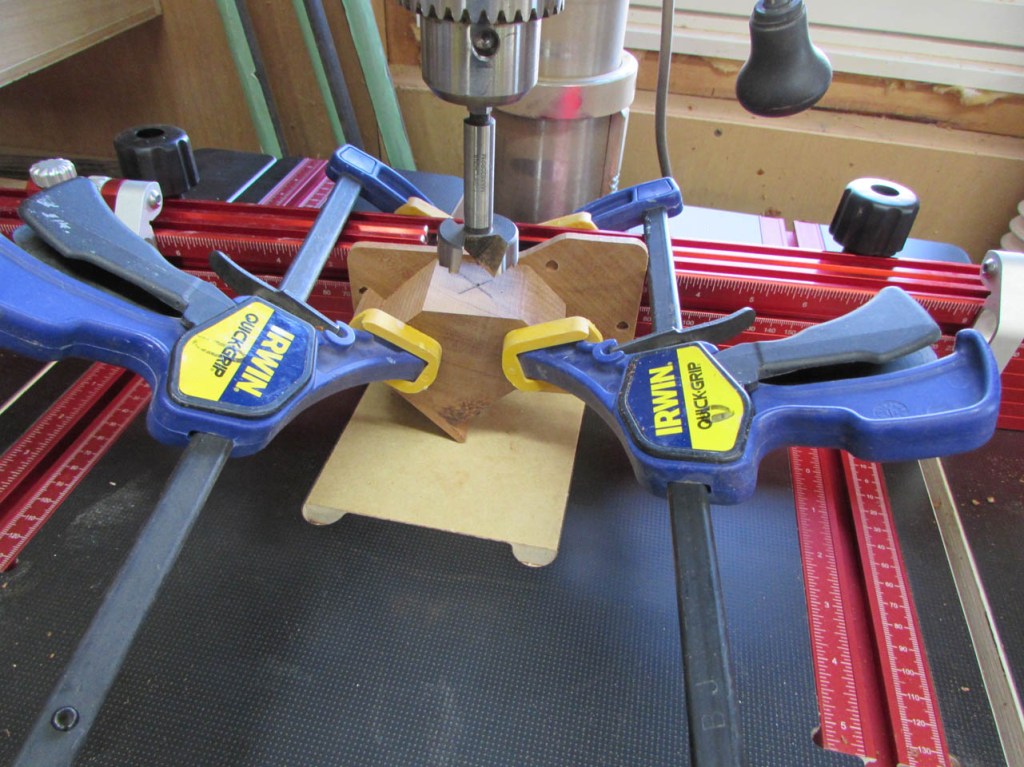
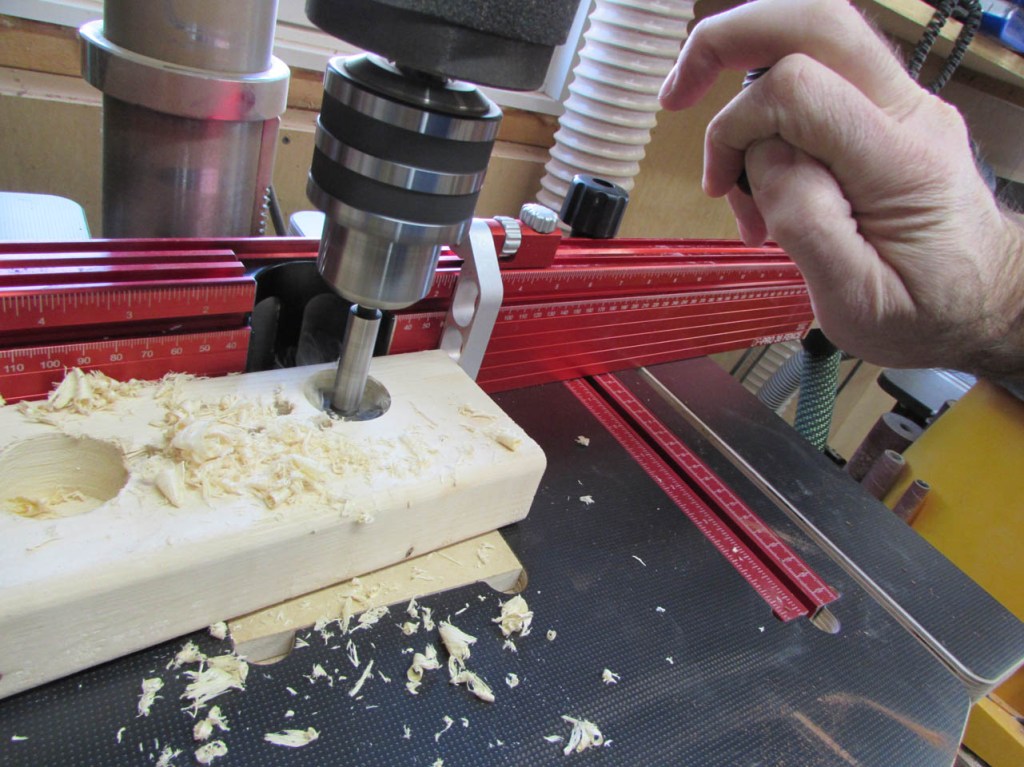
I start at the drill press, drilling first the larger bore, then the smaller one.

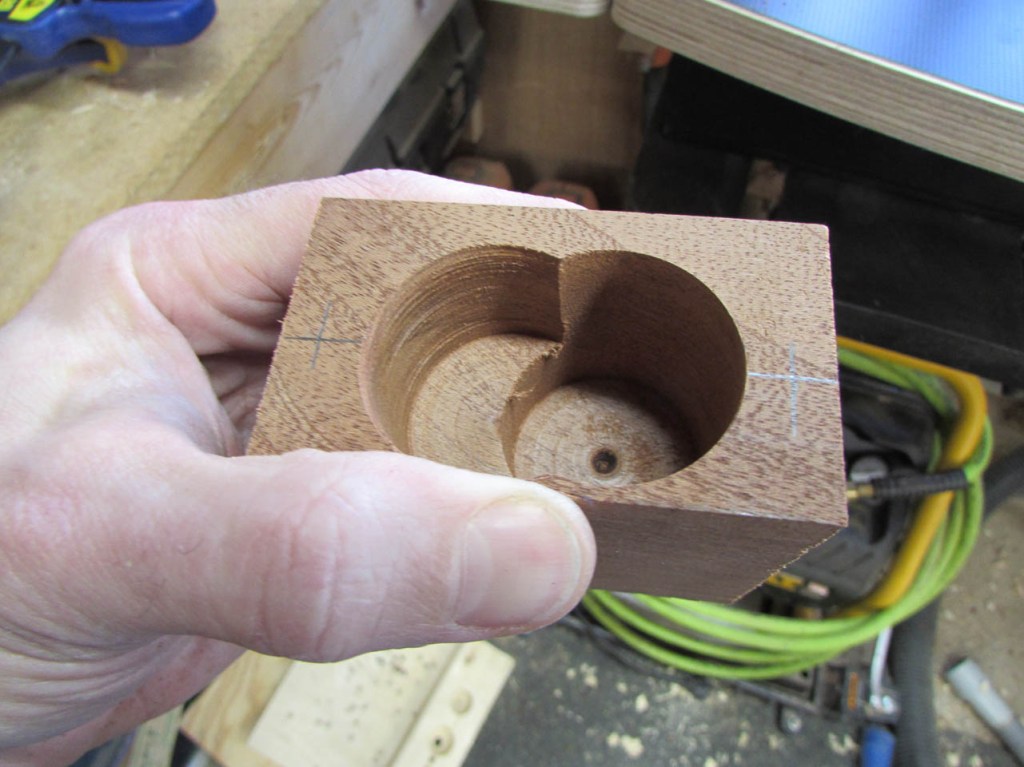
It would appear that I drilled a bit off-center, but that shouldn’t matter much as long as I don’t break through the outer wall. Next, I drill the mounting holes on the inlet flange.

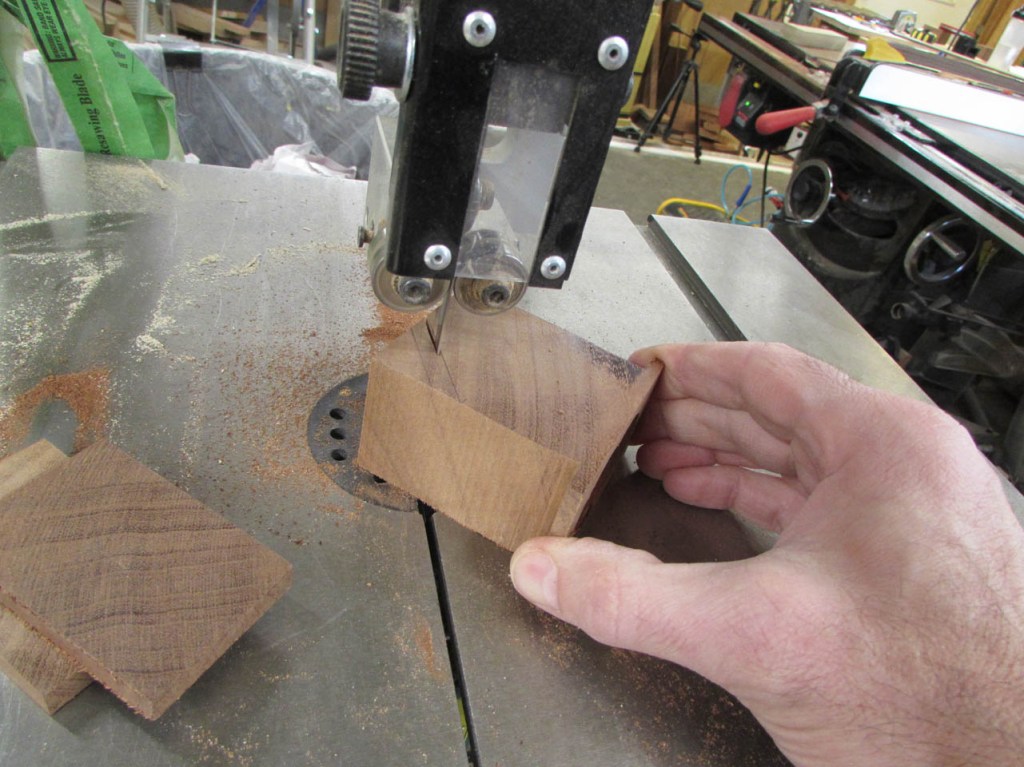
I drilled those holes first before cutting out the flange and the angles face so that I had a stable base for the drilling. Now that those holes are in, I can cut away the rest of the block on the bandsaw.
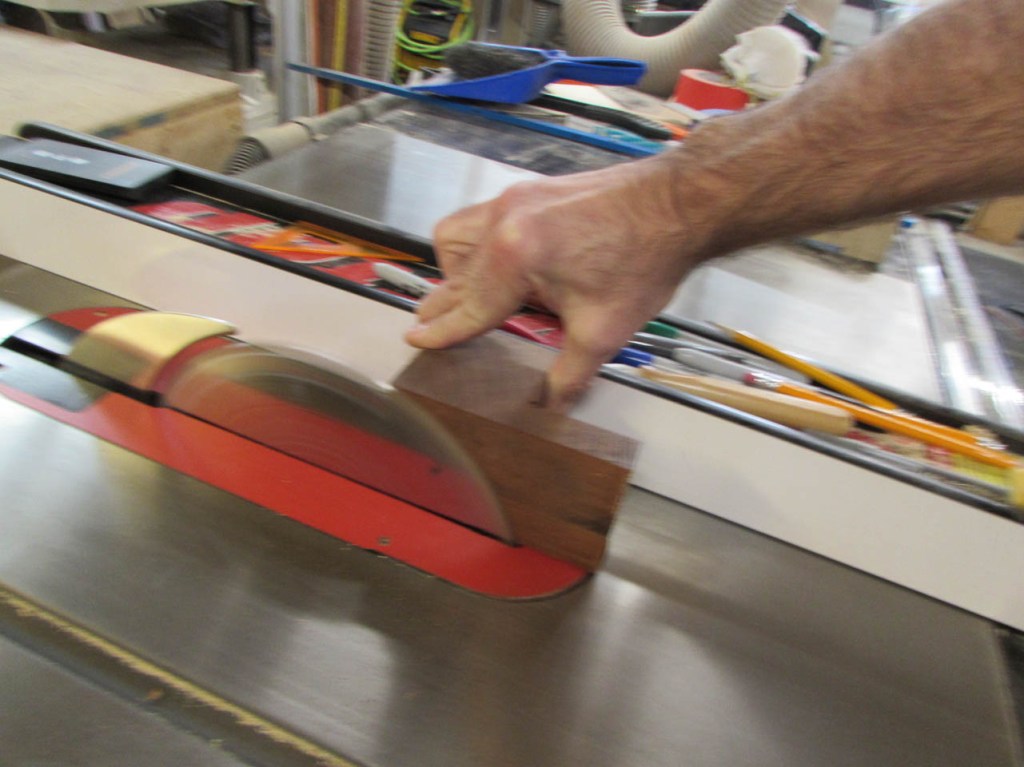
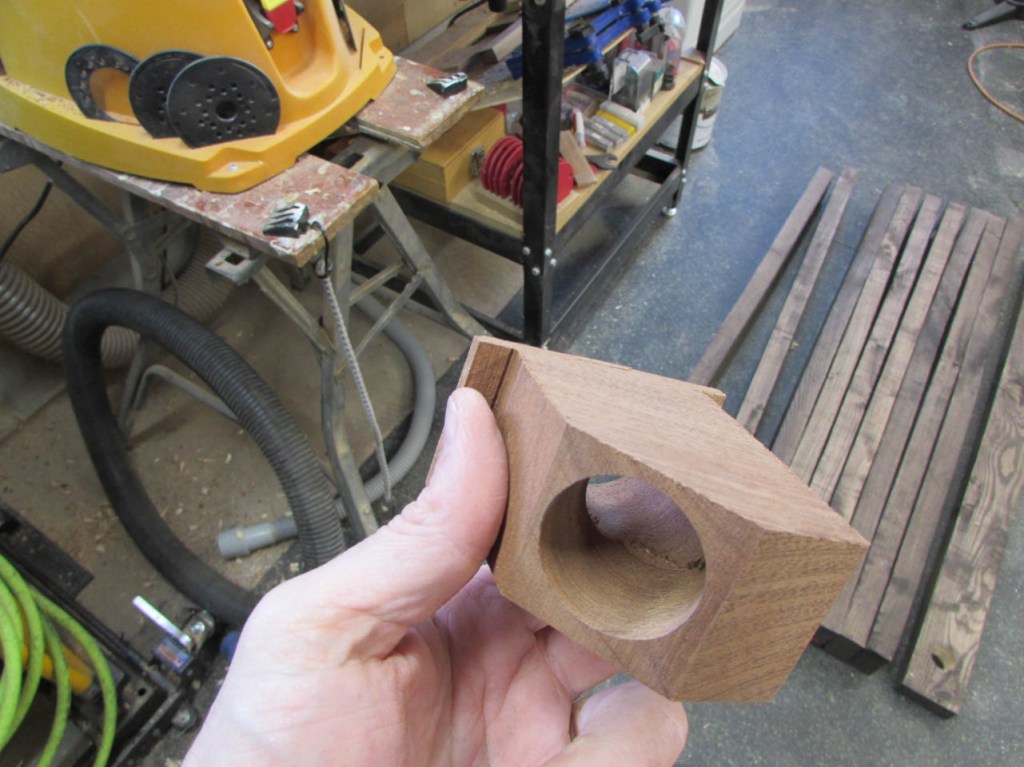
I then clamp the port at a 45° angle so that I can bore the hole to mount the hose. I don’t have any large metric bits so I used the best English equivalent. I tested the fit on a scrap block first.
After drilling the final hole, I can see that it is broken through. I will probably ease the flow by using a rasp to smooth out the sharp edge between the bores but I will leave it for now, just to see how it works.
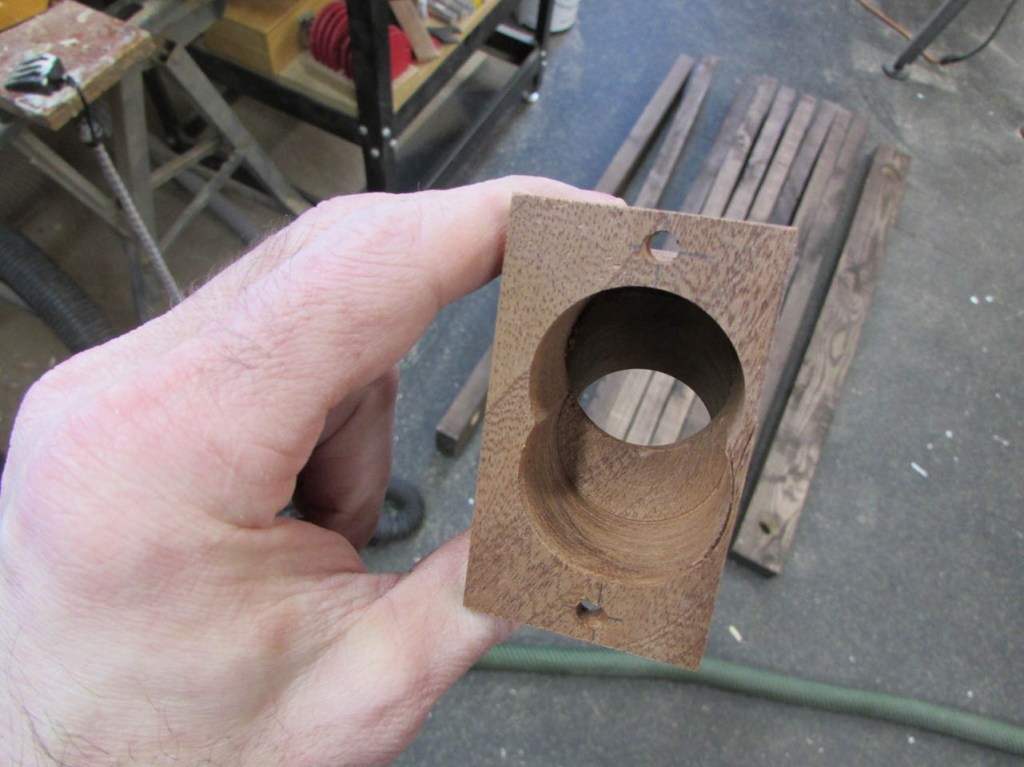
Looks pretty good and the hose fits tightly.


I used the screws that came with the other dust port to attach this one. You should be able to make several variations on this theme to accommodate different hose sizes and outlet angles. I won’t guarantee that they will draw as much air as the original, but you don’t know until you try. One thing to remember is that the front has to remain flush to the face of the fence so that it doesn’t interfere with drilling longer stock.

After installation, I did some testing. Dust collection isn’t 100% but it wasn’t with the original dust port either… The cool thing is that you can easily brush your waste to the fence when you are done and it sucks it up easily. I did get some jamming up with larger chips from the forstner bit as I expected. That is just a fact when using the smaller hose though.

I think the port can use some refinement but all in all it works well and the hose hangs at a better angle than the original, for my uses. At some point I will take a rasp to this one and round over all of the sharp edges to improve air flow as well as the blocky look…
Hopefully this will help inspire other ideas for how to adapt other hose sizes to this fence. It is a really cool fence but it cost more than most standard shop-vacs so I didn’t want to buy a vacuum just to accommodate it. If you come up with something better, shoot me a picture and let me know how it works for you. I am always looking to improve.
