
Converting a dresser to a changing table
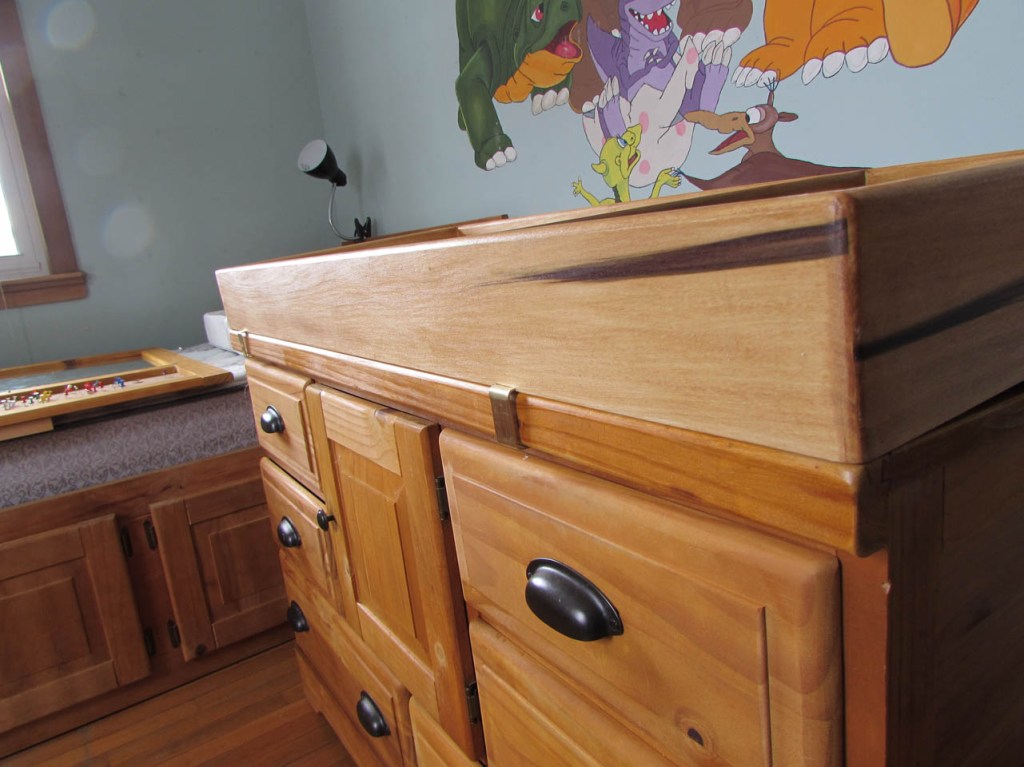
I remember twenty-something years ago when my wife and I had our first child. We were still renting but looking to buy a home and on top of that we had to acquire a few essential pieces of furniture for the baby. Cradle, crib, swing, changing table, etc. On top of that we had to find a place for it all. Then once you have everything, things change again and your child has grown out of all of those things. But do you get rid of them or are you having more kids? My boys are now men and all starting to figure out their own lives. I already have two married and one grandchild so far. I was thinking about the problem of baby furniture and had an idea for one of my boys. His old bedroom furniture was left behind because it doesn’t match the furniture in his new bedroom. Looking at the dresser, I thought it would make a perfect changing table with plenty of room to store diapers and clothes. Of course there are no safety features to prevent things from falling off the top, including the baby. But, it wouldn’t be that hard to make a removable frame that could safely function in that capacity.

The existing dresser seems to be made from pine or poplar so I got a poplar board and started milling a couple of boards down to size. My overall design is simple. I bought a changing table cushion that fits within the width of the top (16″x33″x4″ tall). I will build a frame to sit on top of the dresser that boxes in the cushion. If I shift it to one side, I will have a small section on the left for creams, powders, Q-tips, and such, then a wider section on the right for diapers and wipes. The goal will be to make it attach firmly to the top of the dresser, but be easily removable and small enough to store for a second child.

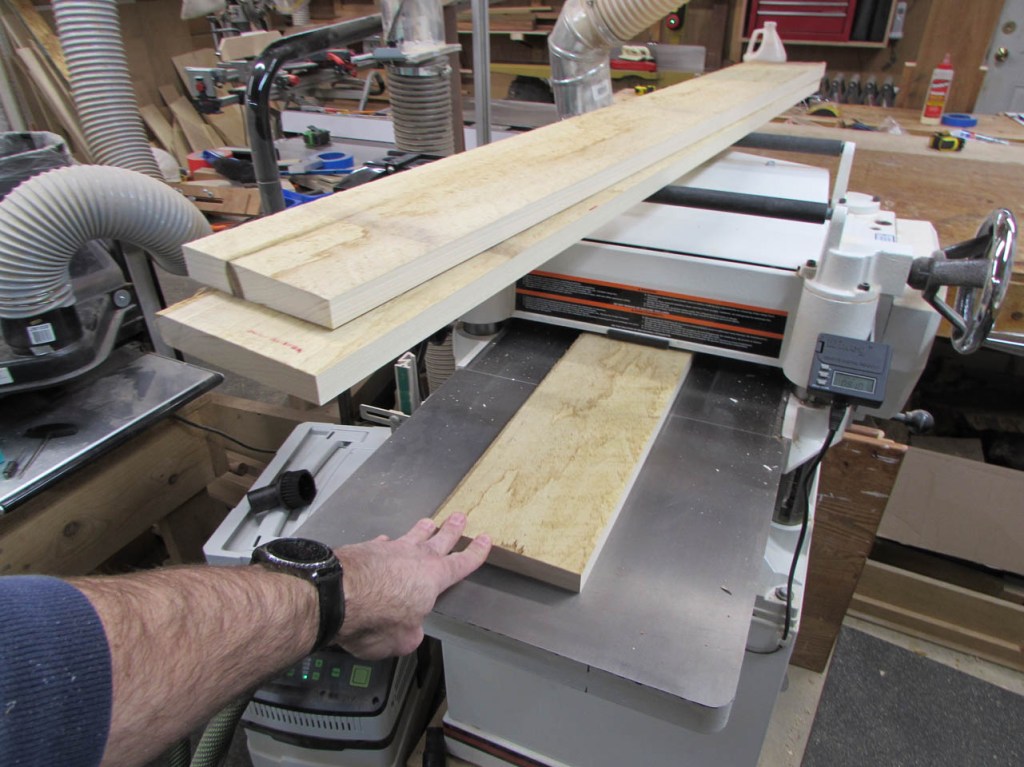
After jointing one face and one edge, I ran the boards through the planer to make them 3/4″ thick.

On the table saw, I cut three of the boards to 4-1/4″ wide and one of them to 5-1/4″ wide.
Two of the boards were clamped together to cut down to the longer length of 48″ and the other two were clamped together to be cut for the sides, about 17″ long. I will eventually cut some thinner boards to make the dividers as well but I don’t have a length for them yet.


To glue together the frame, I decided to use a lock-miter joint. I don’t see it get used much, because it can be difficult to set up, but I like the increased surface area I get in the mitered corned for glueing. I find that the lock-miter works better on thicker boards so I put two pieces together and use double-sided tape to attach a second block to the ends.

This is the lock miter bit. If you cut one board across it vertically and one horizontally, you get an inter-locking corner that joins at a perfect 90°.


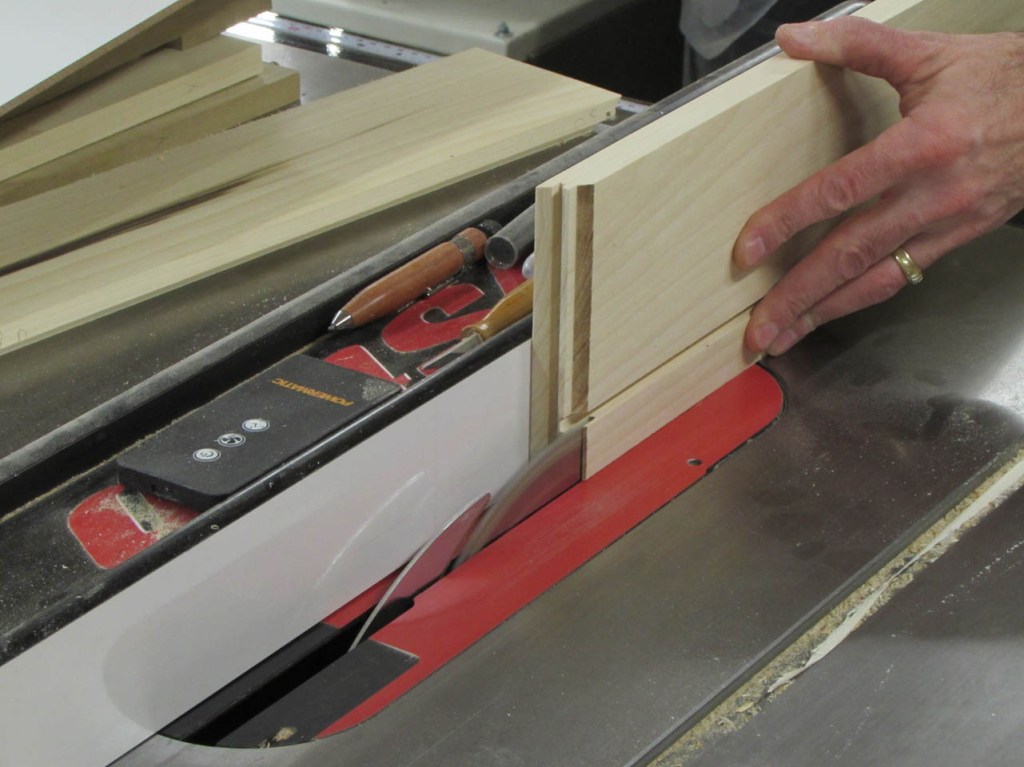
I run the shorter boards in the vertical orientation since the longer boards would hit my ceiling…

As you can see the second block is there to run along the table or fence after the entire end is cut away by the bit. Without a second board, you can easily slip and push further into the bit. I should have also attached a sacrificial board to each side to prevent tear-out, but I forgot. Luckily I only had a little and it will wind up on the bottom.


The longer boards were run flat on the table to create the opposing side of the joint. They turned out nicer.
I did a dry-fit to make sure everything came out correctly and joined up squarely. Note the locking joint in the picture below. A lot of glue surface is created in this joint so I don’t have the end-grain glue-up I would have with a butt joint or a miter. This is a lot stronger.

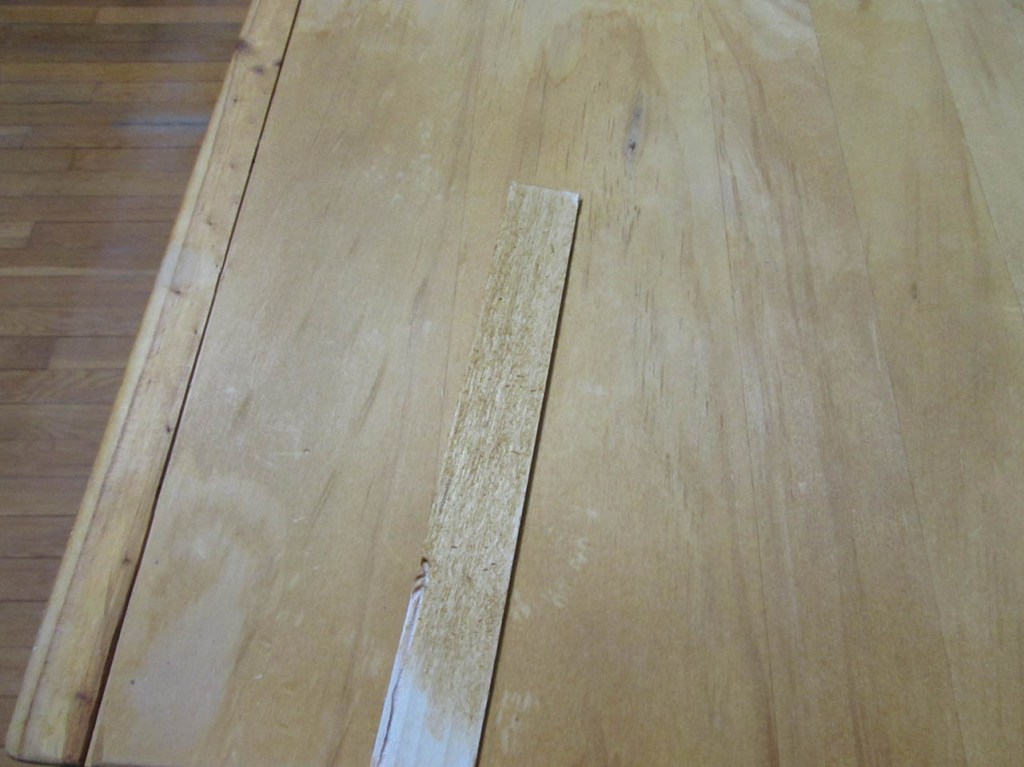
I did have some tear-out from an unseen crack in the wood.

Luckily it wasn’t deep so I can repair it with a patch.
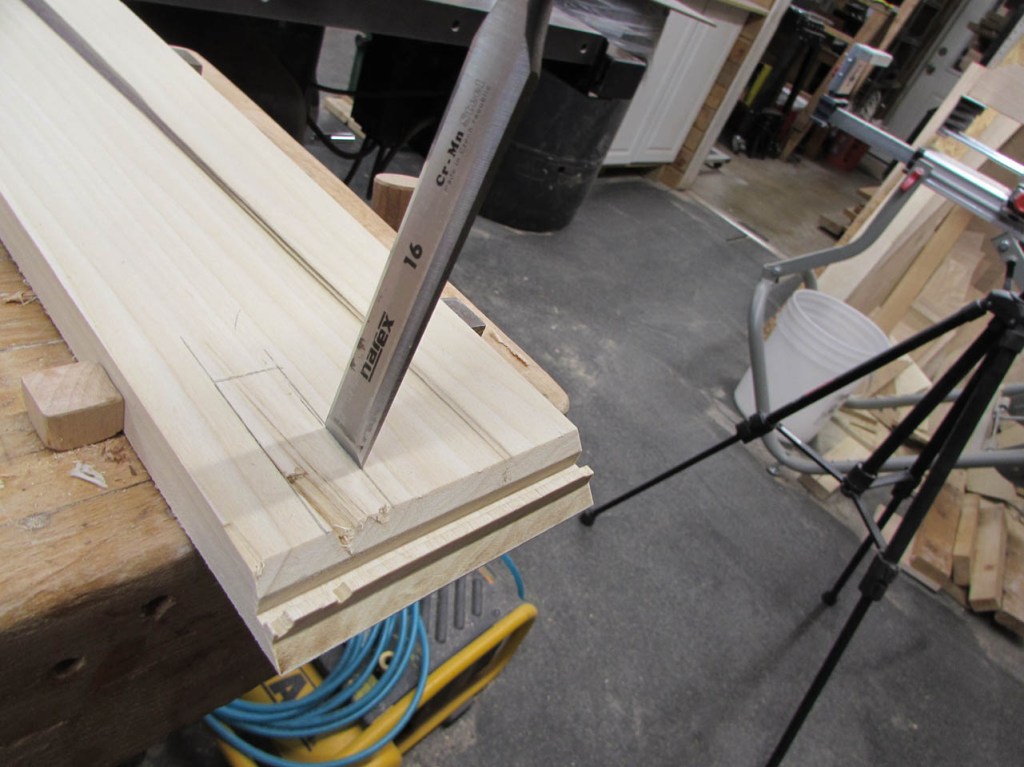
To do this, I marked out an area and started removing the damaged section with a chisel.

Once cleaned up, I cut a block to the exact width, then pressed it in place and marked the depth and angle on the end.


Once I trimmed the plug down to just a bit thicker than needed, I glued and clamped it in place.

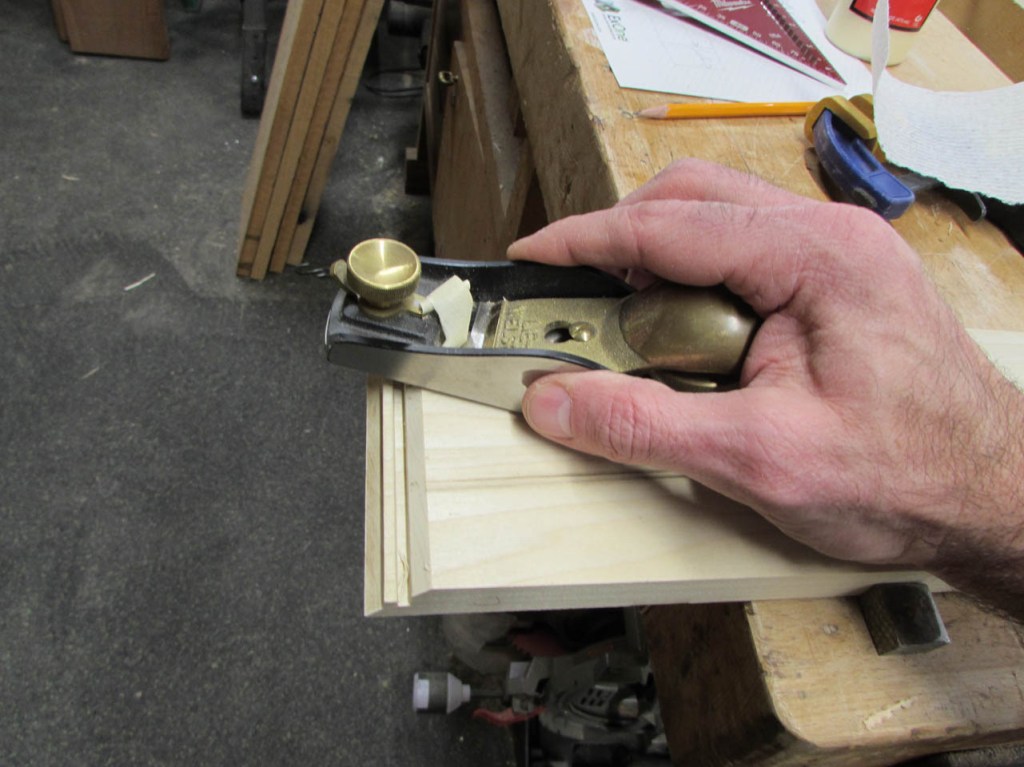
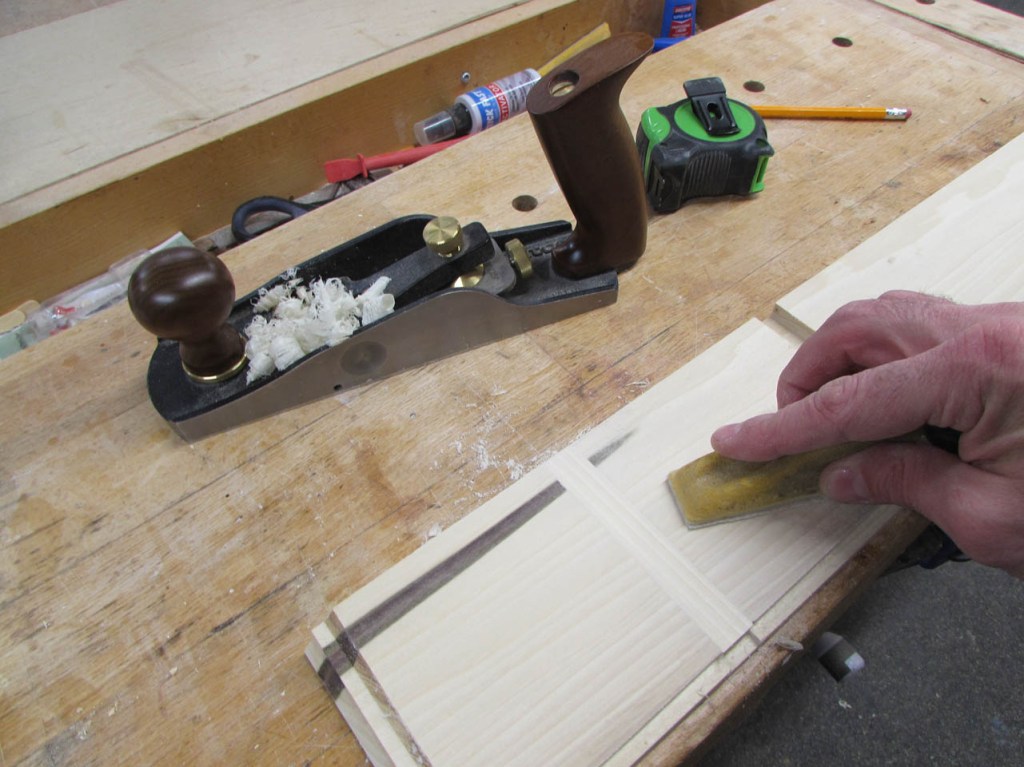
With the block plane and the sander, I took the plug down the rest of the way until it was flush with the rest of the board. The grain matches fairly well.
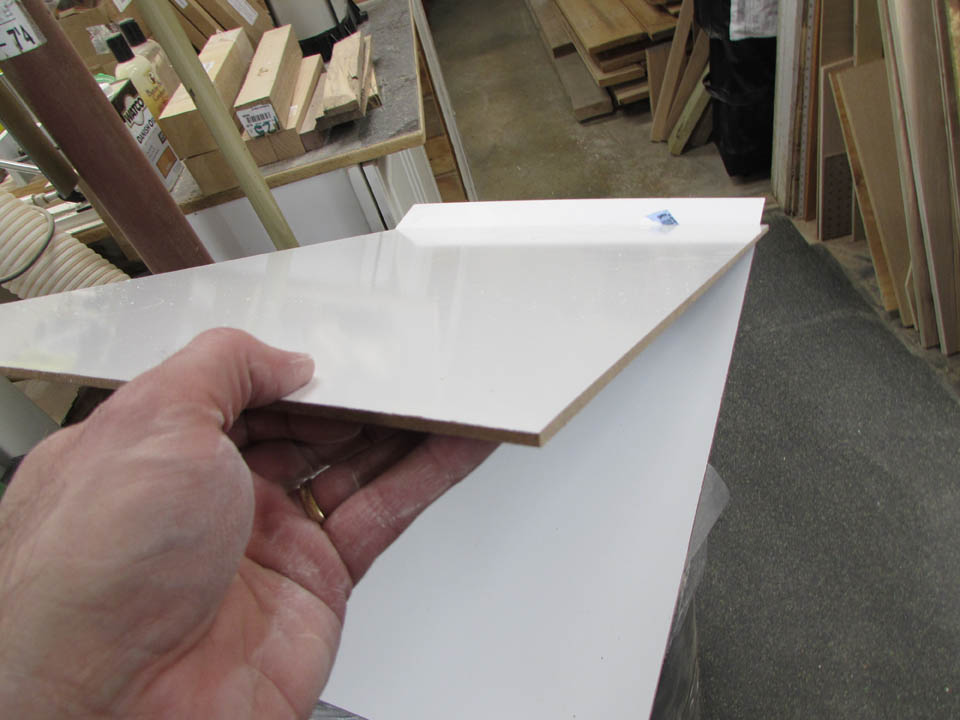
I bought a 24″x36″ sheet of white board from the local lumber store and cut it in half to create a bottom for the frame that will be easy to clean.

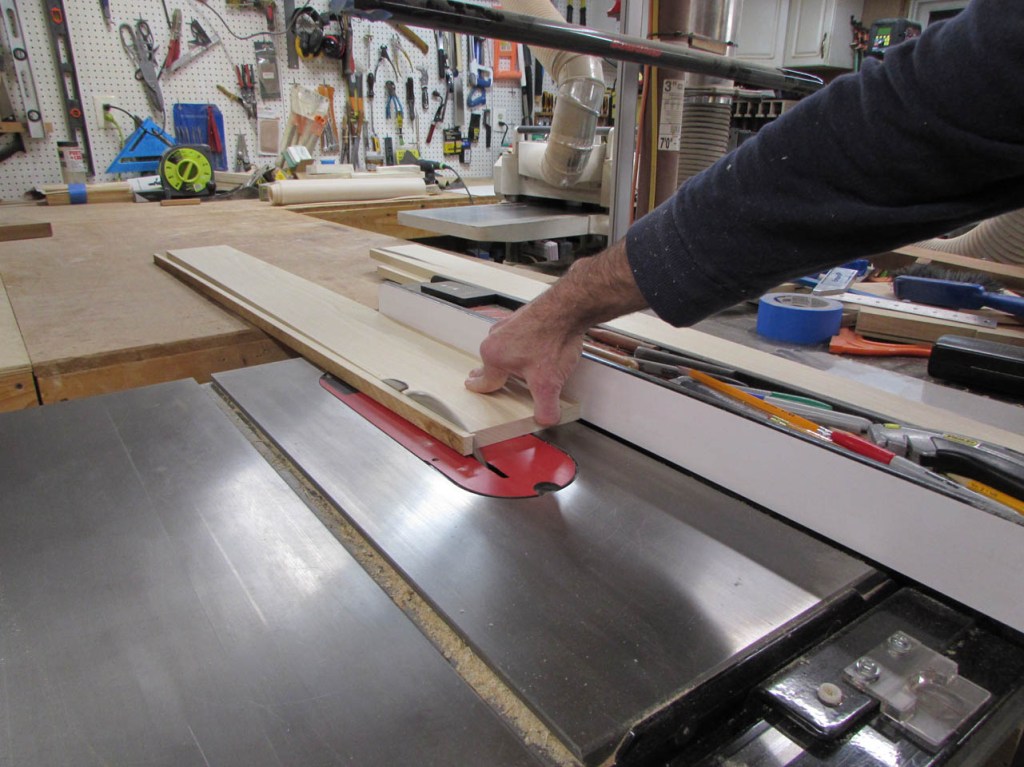
I used the table saw to cut a 1/4″ deep rabbet around the bottom of the outer frame.

For my one long board, the rabbet had to be deeper. You will see the purpose for the longer flange in a bit.

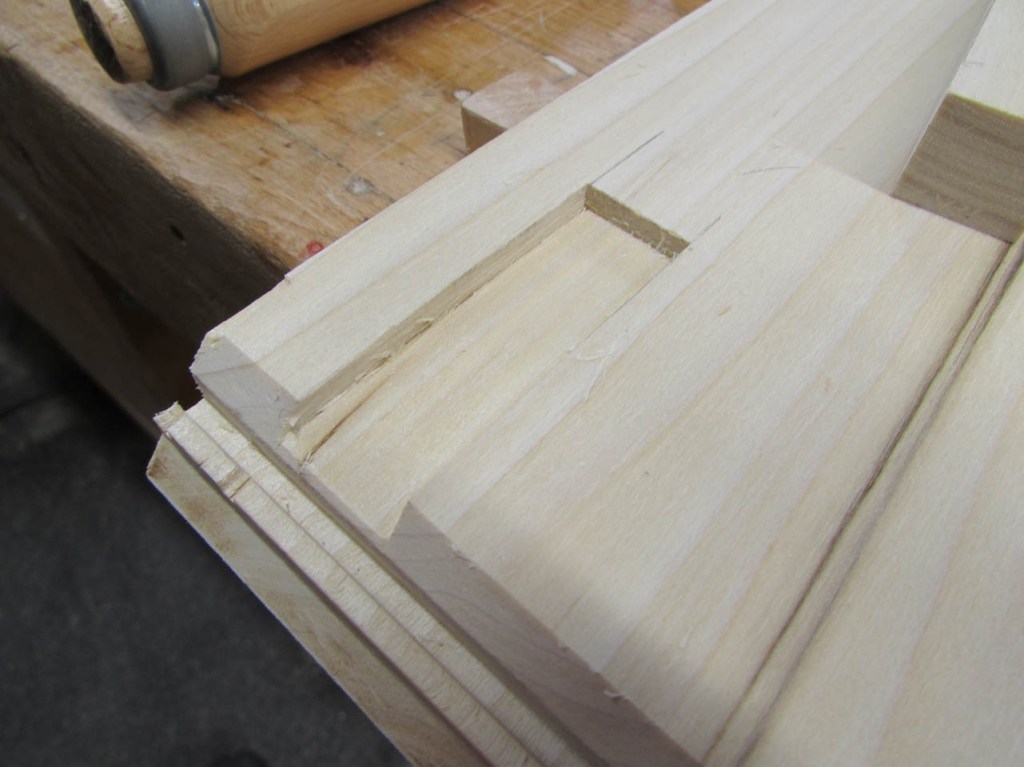
I measured off 4″ for the divided section on the left, then 33″ from that for the section on the right. I used my cross-cut sled to create dados for these dividers.
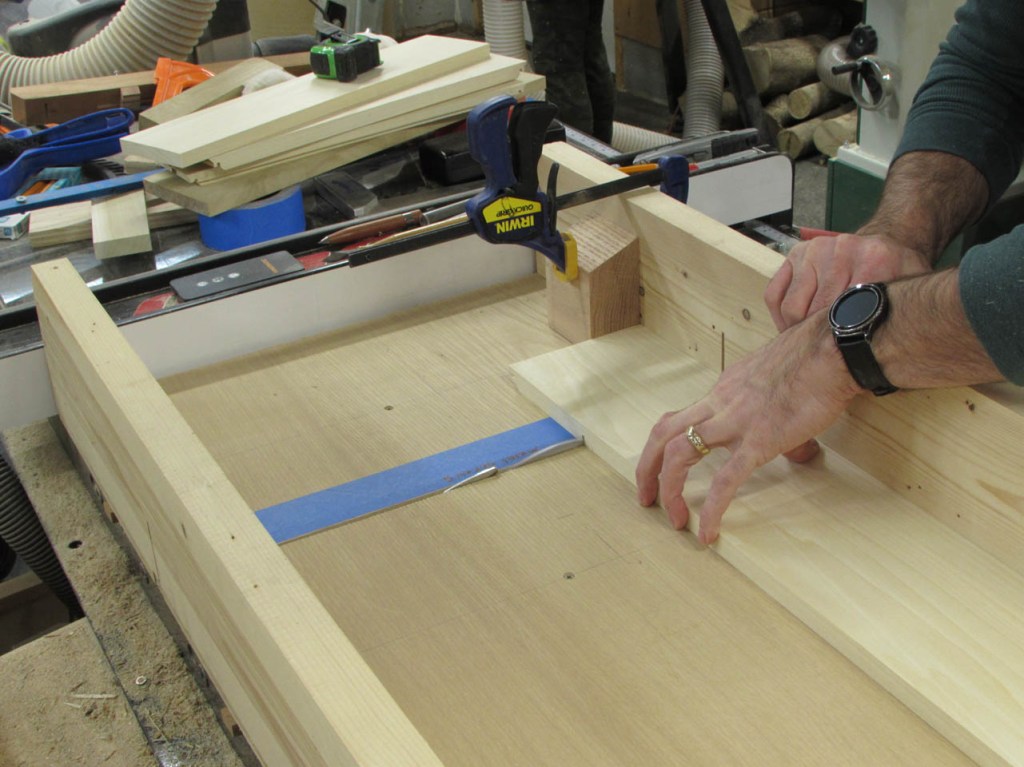
I used a stop block to cut both sides in the exact same spot.
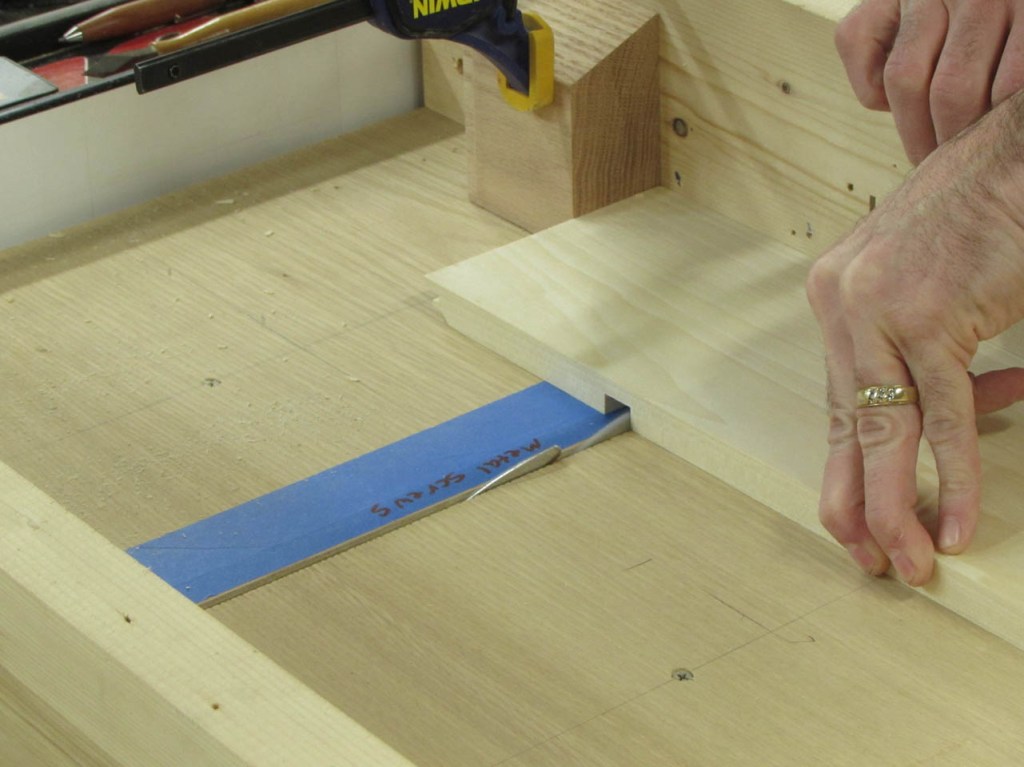
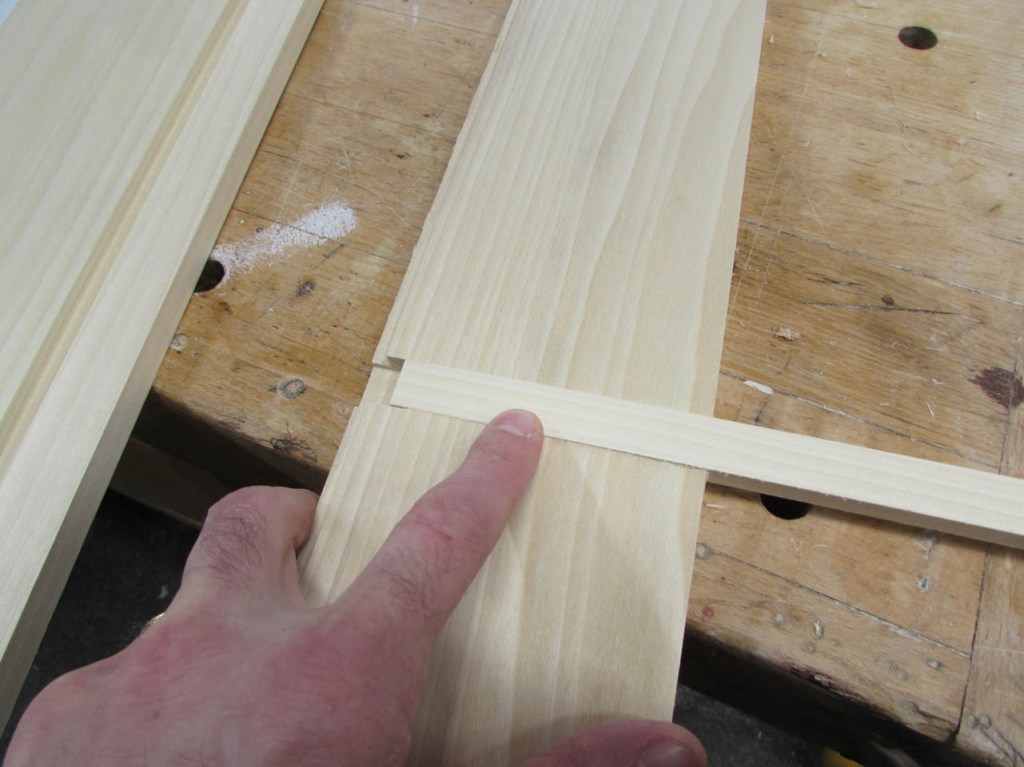
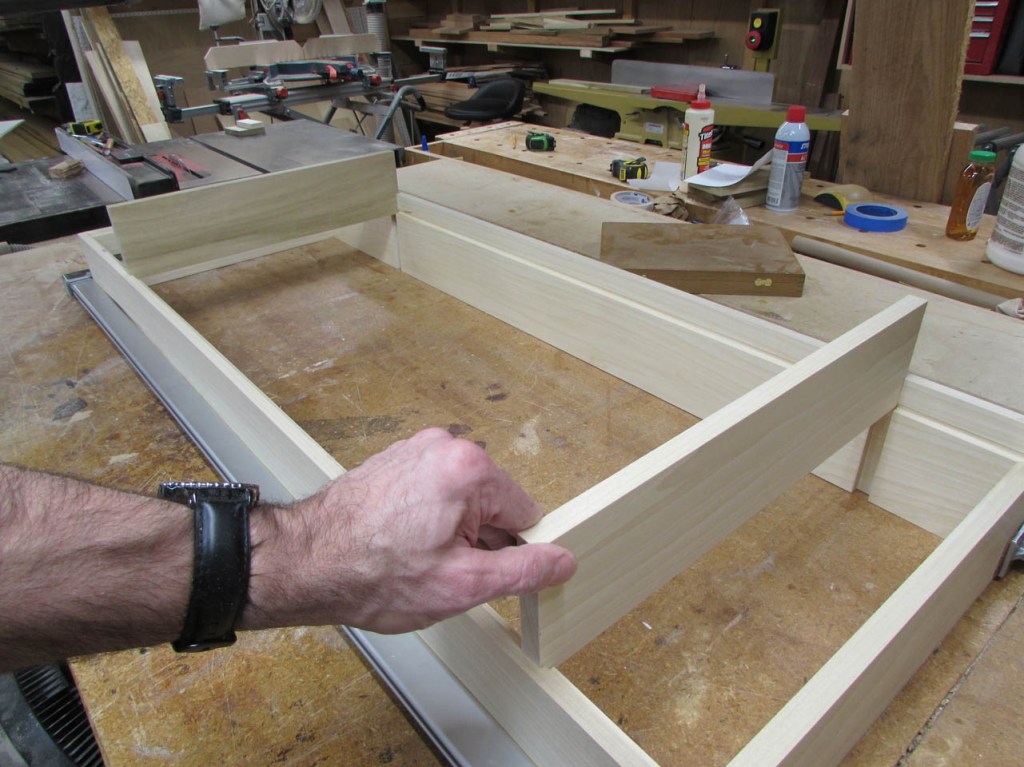
The divider fits perfectly.

Of course, that means something else must have gone wrong… I marked the wrong side of the front piece so that the dados do not line up.
So I get to create another plug and fill those two grooves back in and re-cut them correctly.
This plug will be on the inside of the frame and, not terribly visible so I did not bother trying to match the grain. This is a diaper changing station after all not an heirloom piece of furniture…

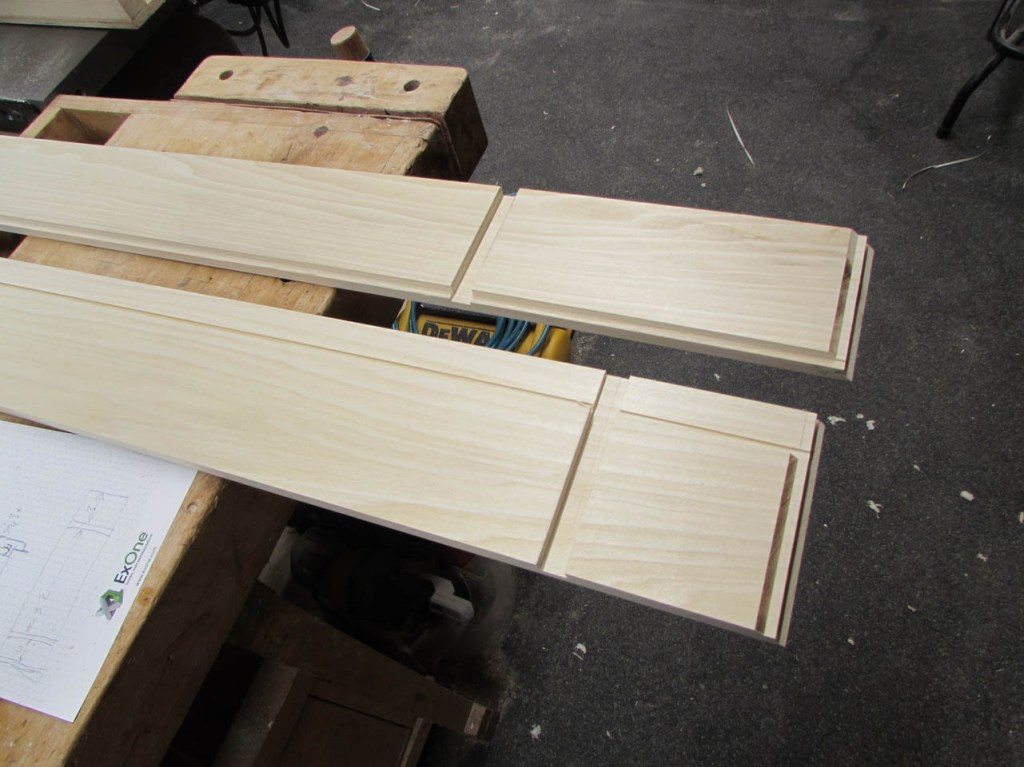
Once dry, the plugs were planed and sanded. I also re-cut the dados in the correct locations this time.
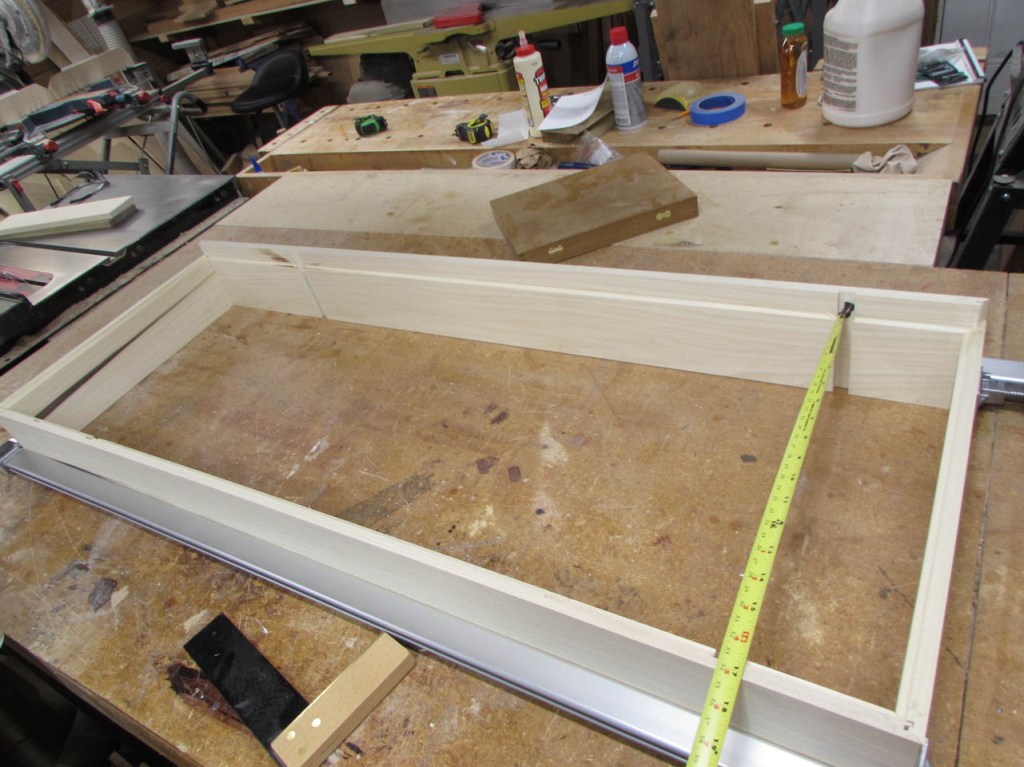
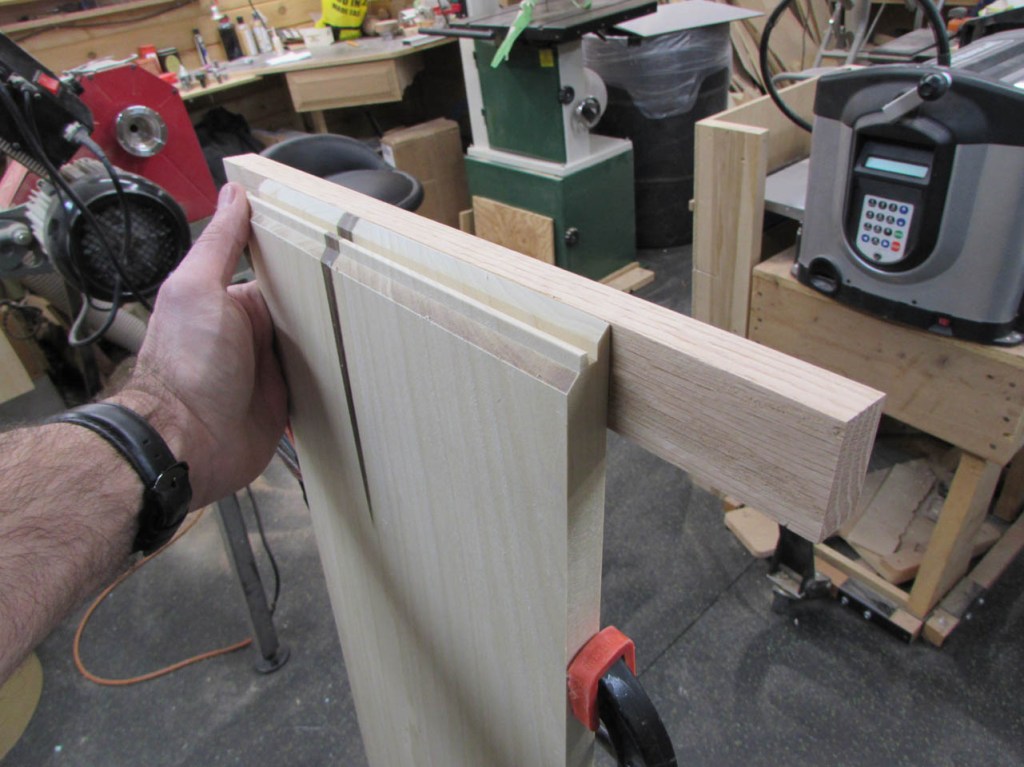
With the frame clamped up squarely, I could measure and cut the dividers.

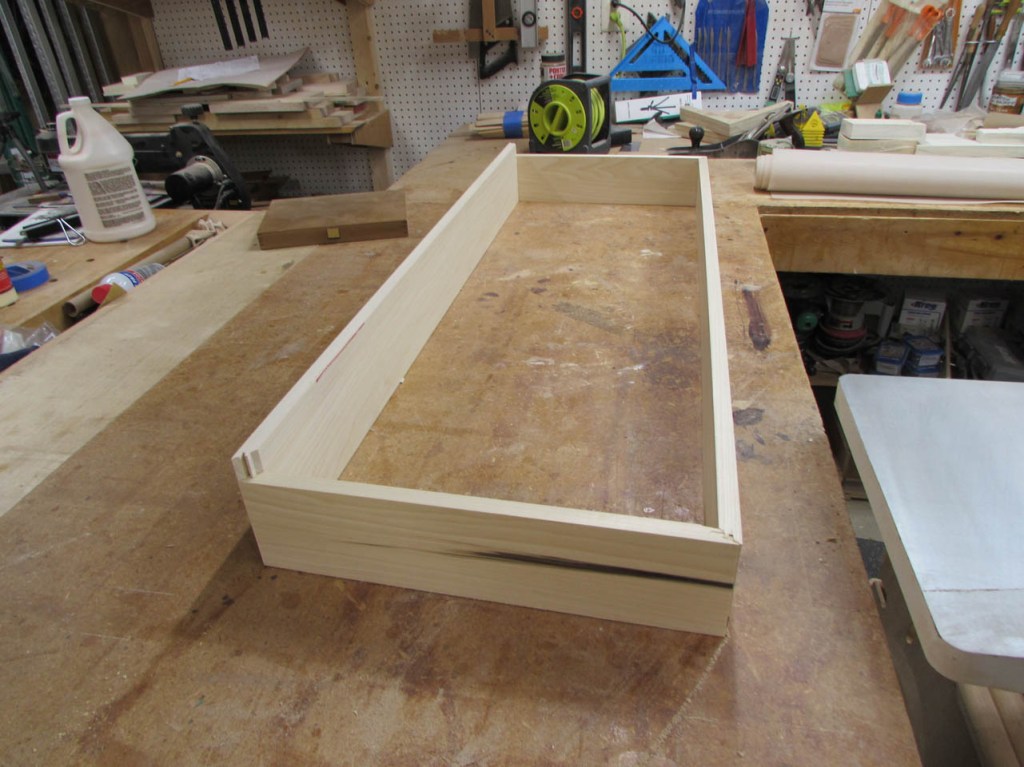
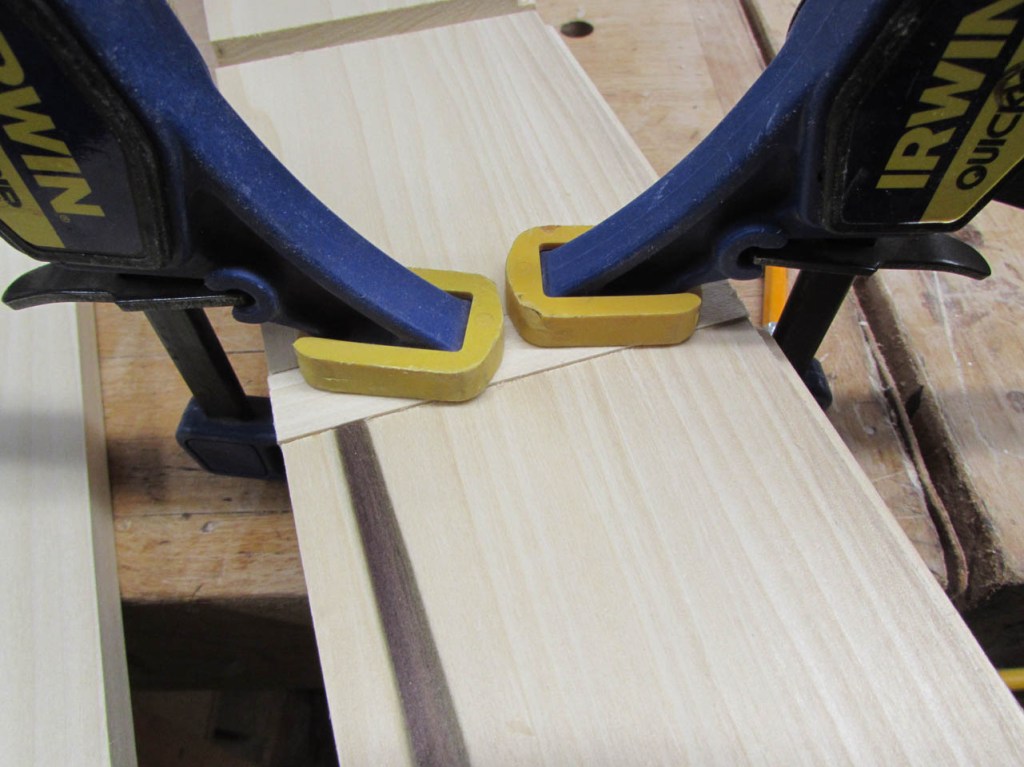
Then it was time to glue it all up.
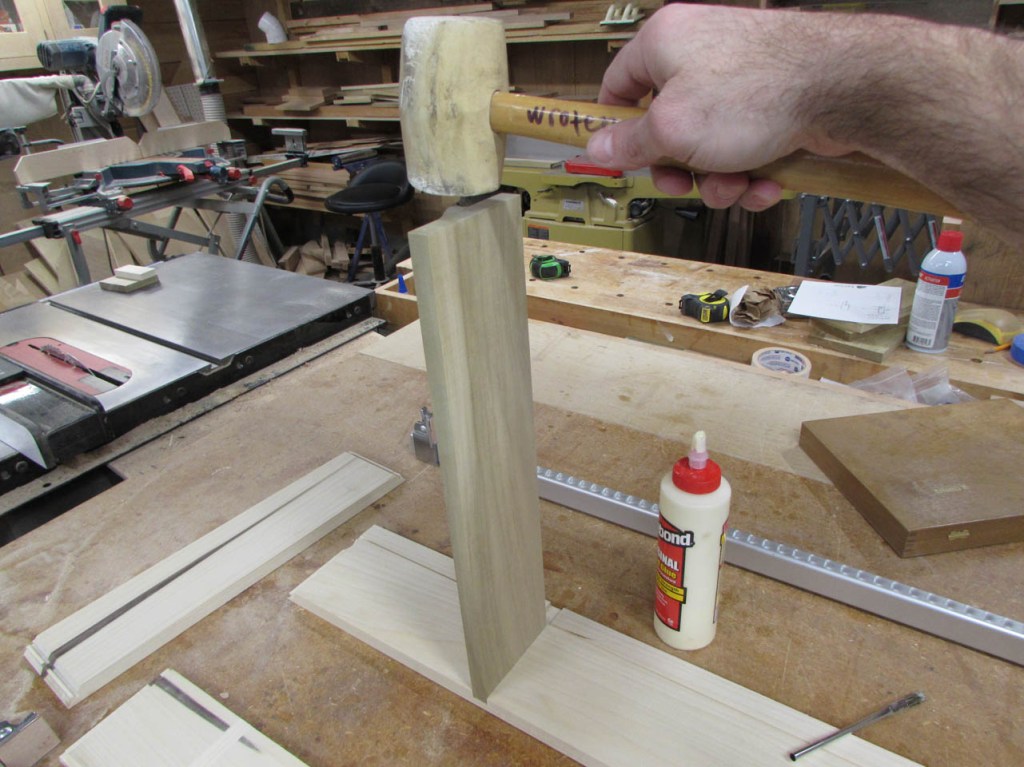

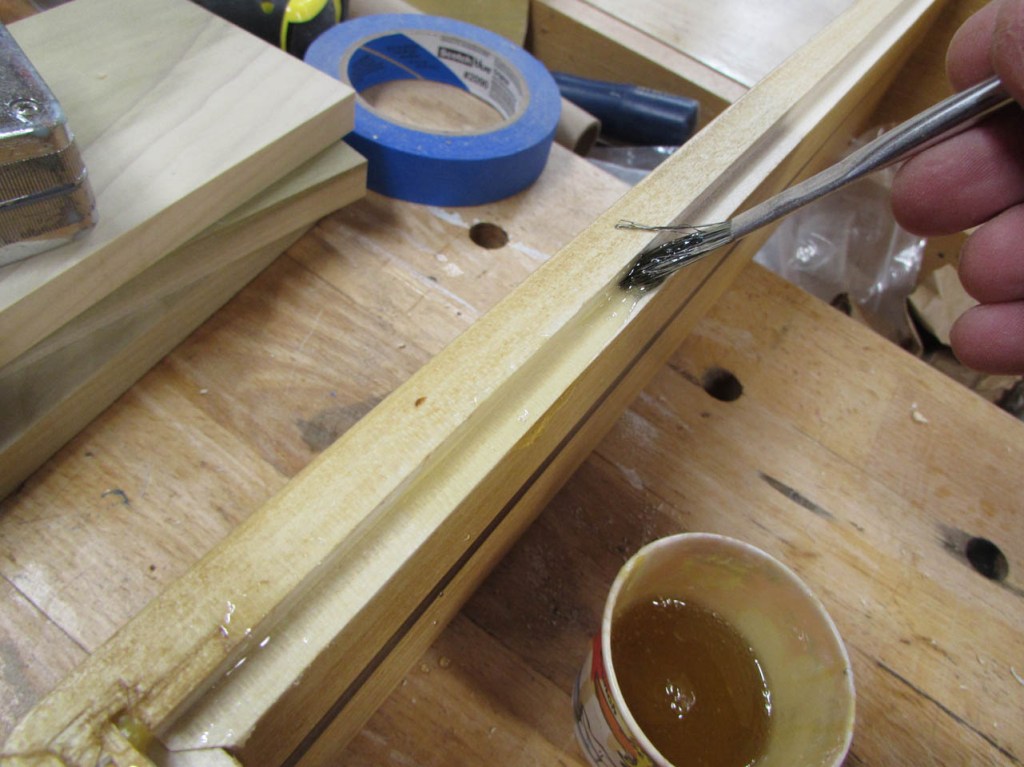
I brushed glue onto all of the surfaces of the lock-miter joints to give me a good, strong bond.
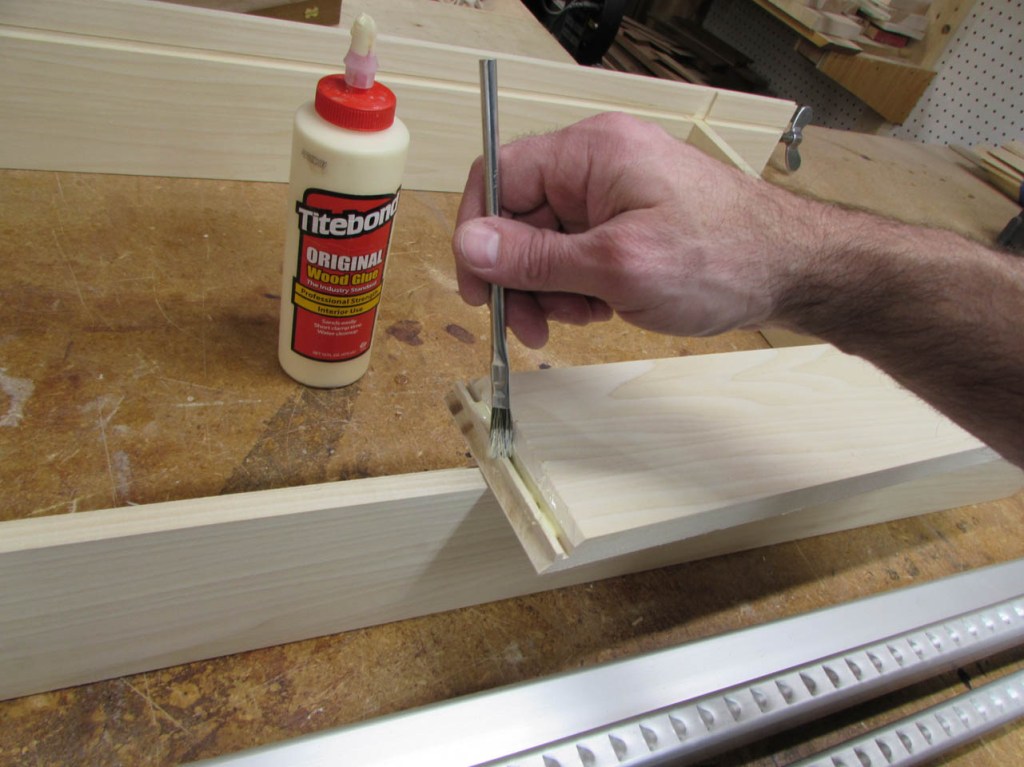

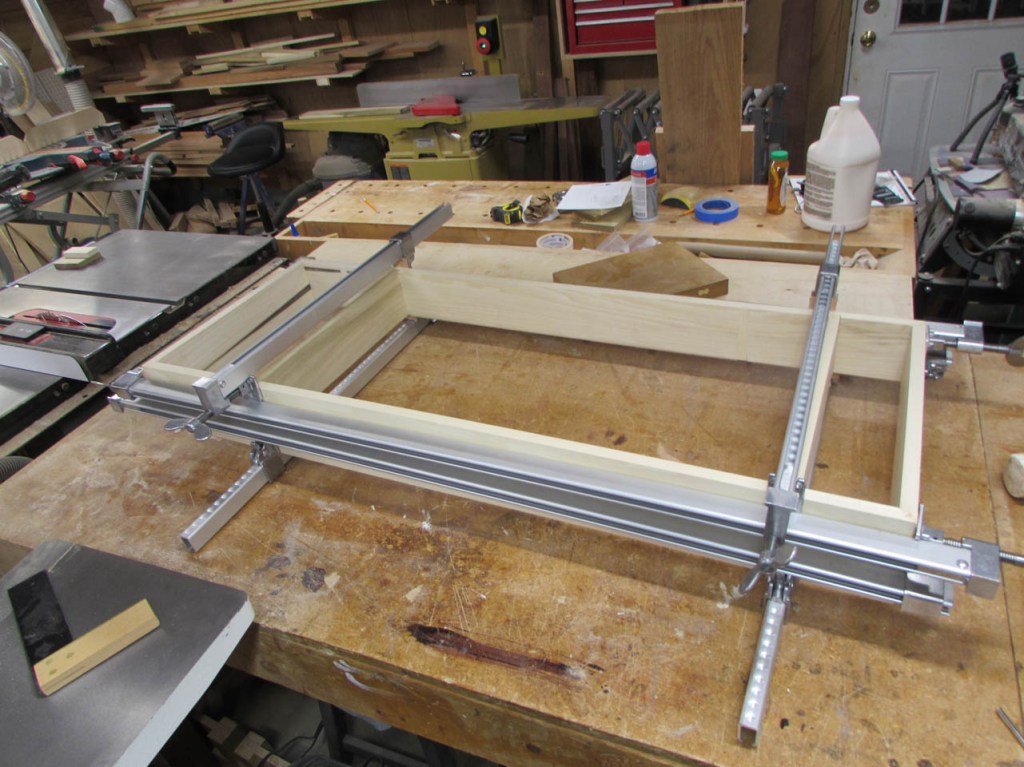
After I clamped it up, I double-checked for square. It was good because the lock-miters pull all the corners together at a perfect 90° if they are made correctly.

While that was drying, I cut the white board to fit tightly in the bottom rabbet.

This is how it will fit. I didn’t want to cut a slot for it because I wanted it to sit flat on the dresser, not float above it and then bow down when any weight (like a baby) was applied.
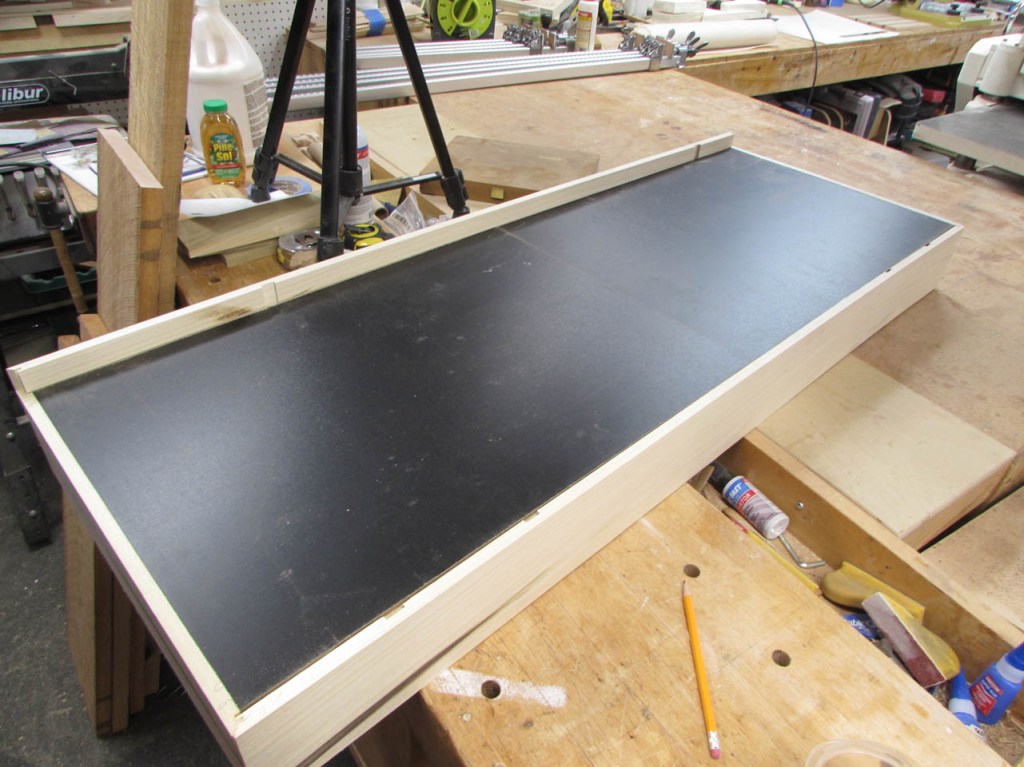
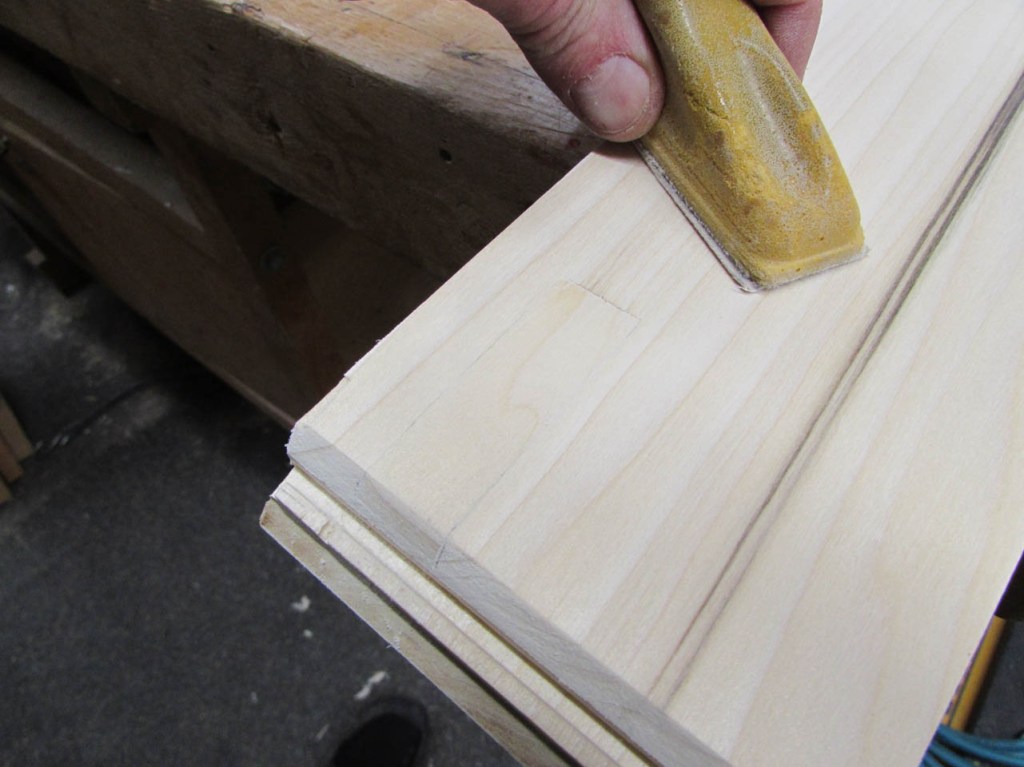
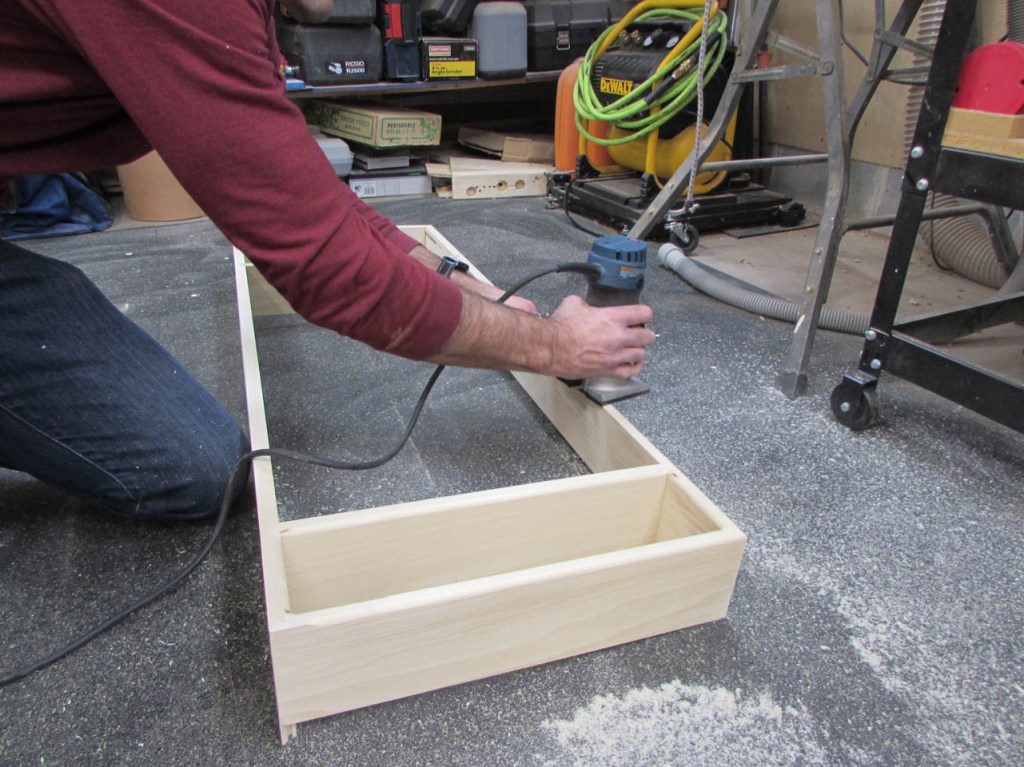
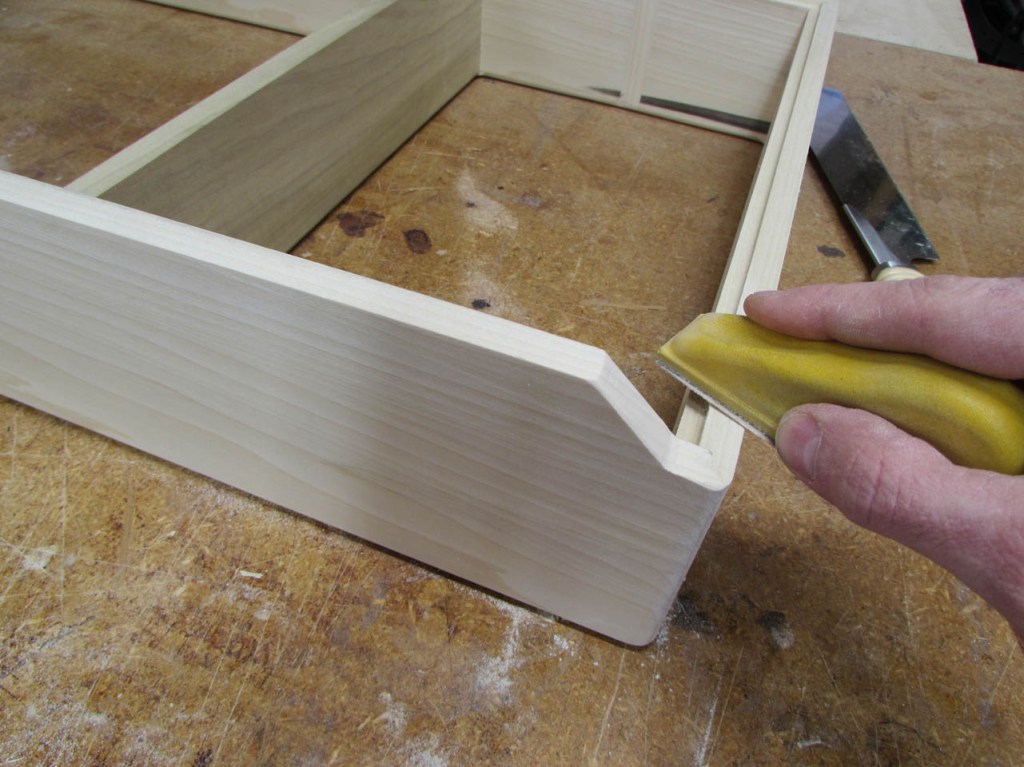
Test fit looked good so I set the white boards aside and put a 1/4″ round-over bit in the trim router.

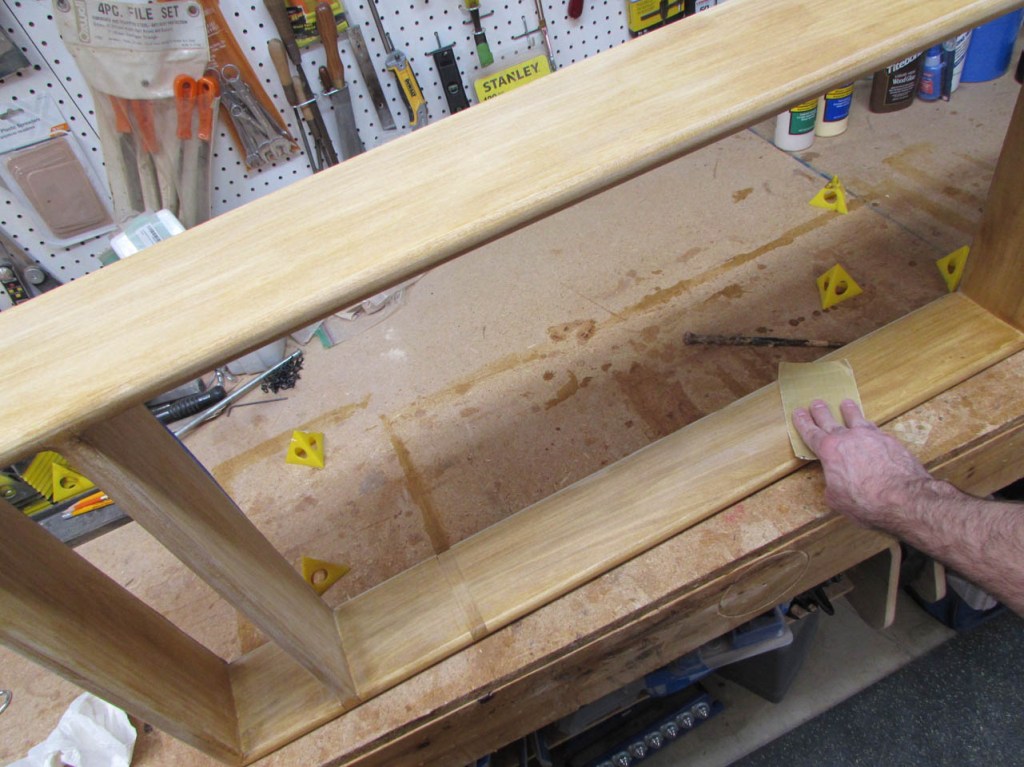
I put a radius on all of the top and outer corners.
Then I sanded everything smooth.
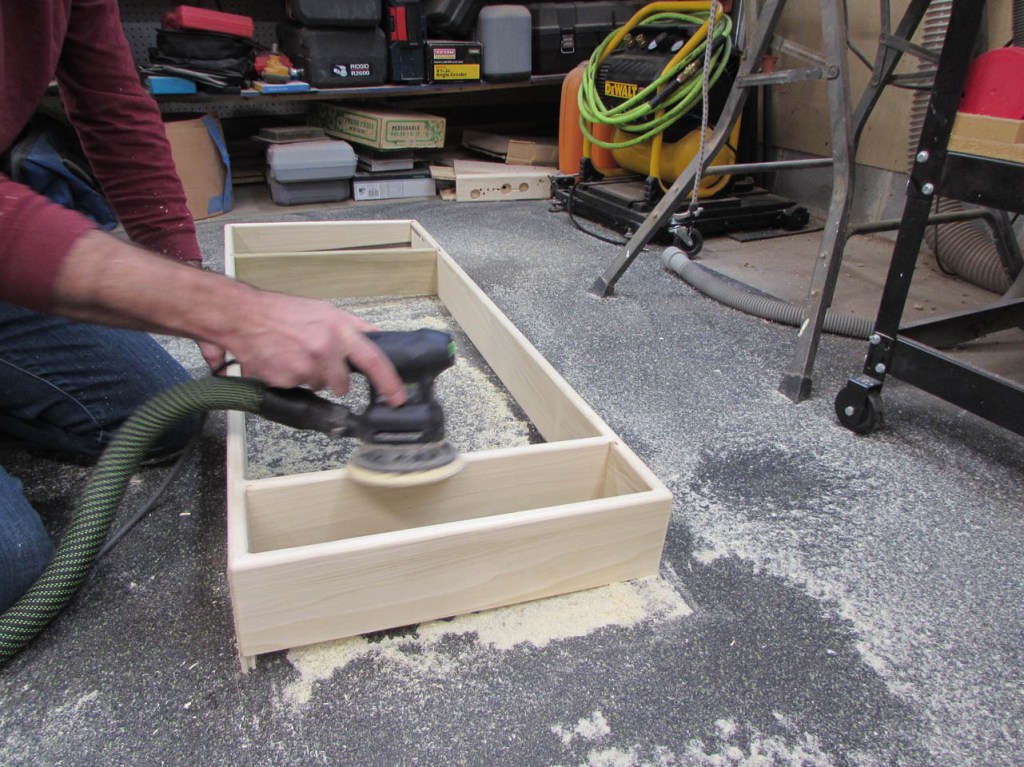
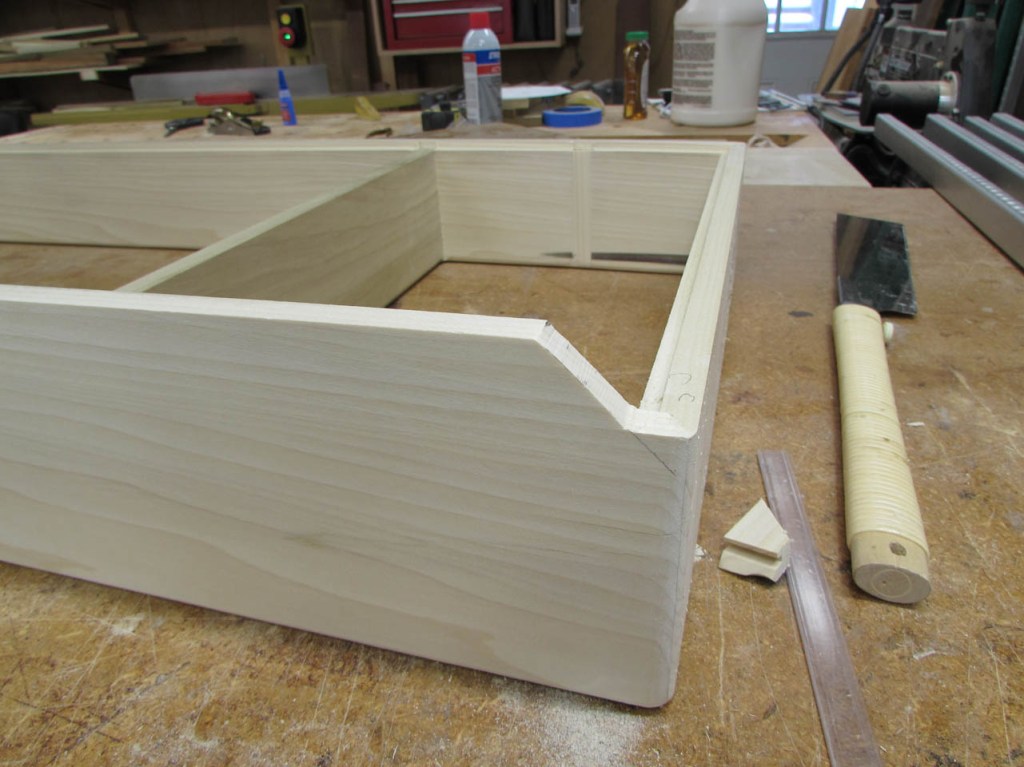
Now, there are no sharp edges for you to lean on when changing the baby.
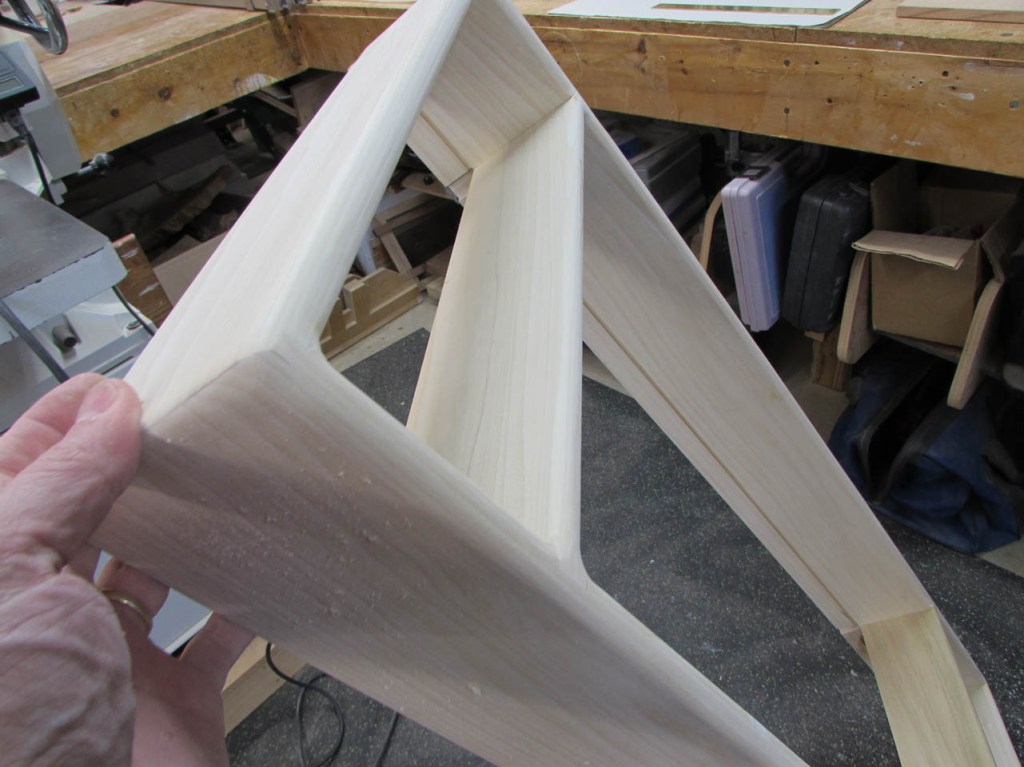

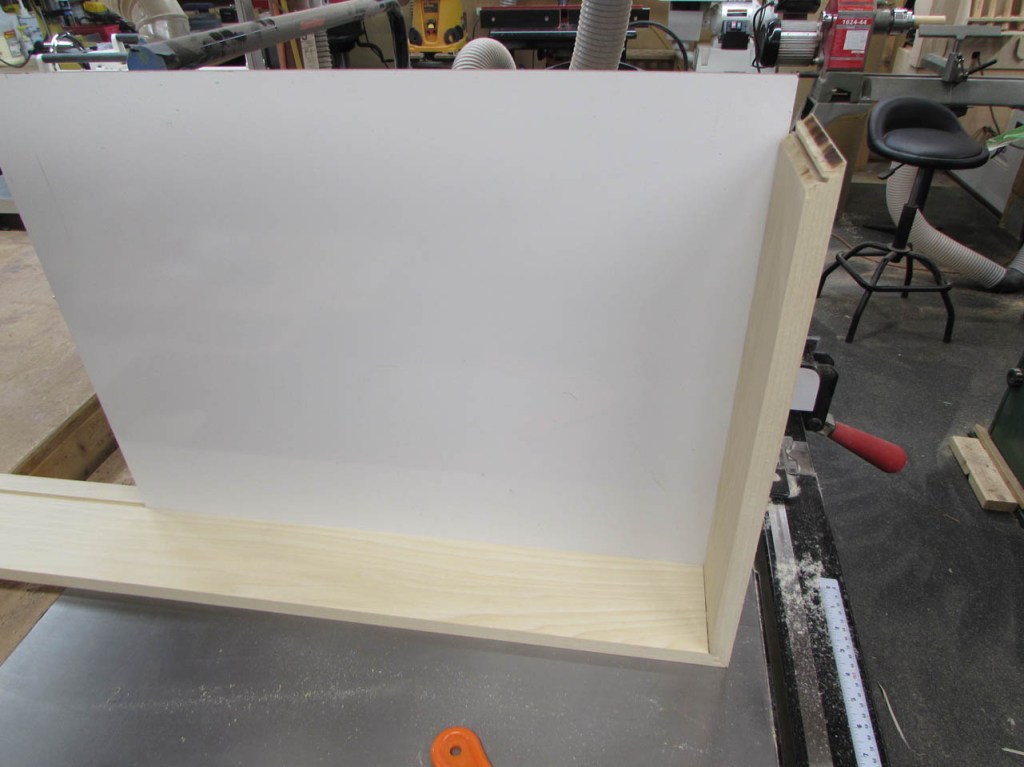
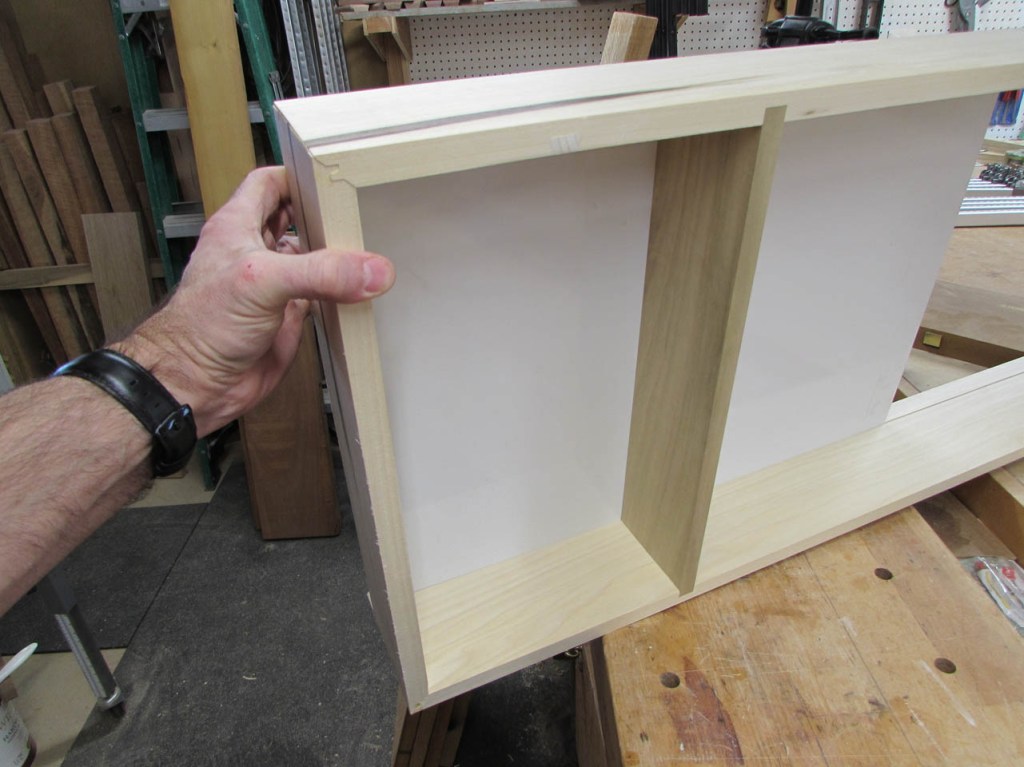
The one long side is the back. It will extend down past the top of the dresser to be screwed to the back and hold the changing station in place. Since the lock-miter joint is exposed and sharp, I used my pull saw to cut a small 45° angle on each side.

This will be behind the dresser and not visible, but I didn’t want any exposed sharp edges.
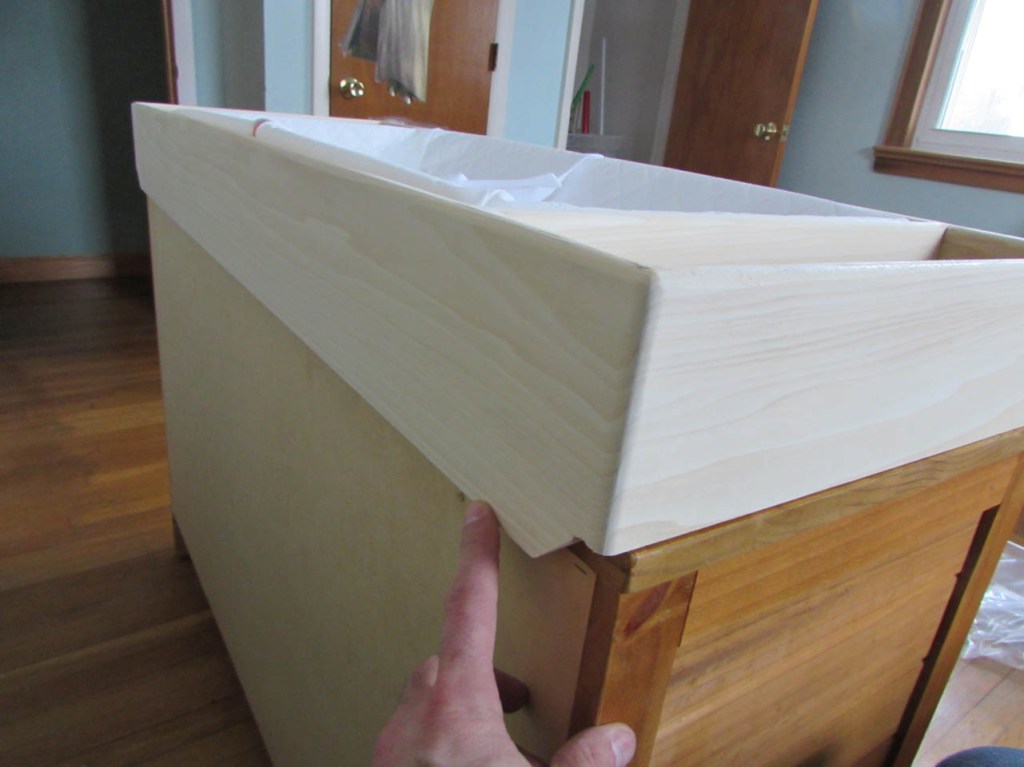
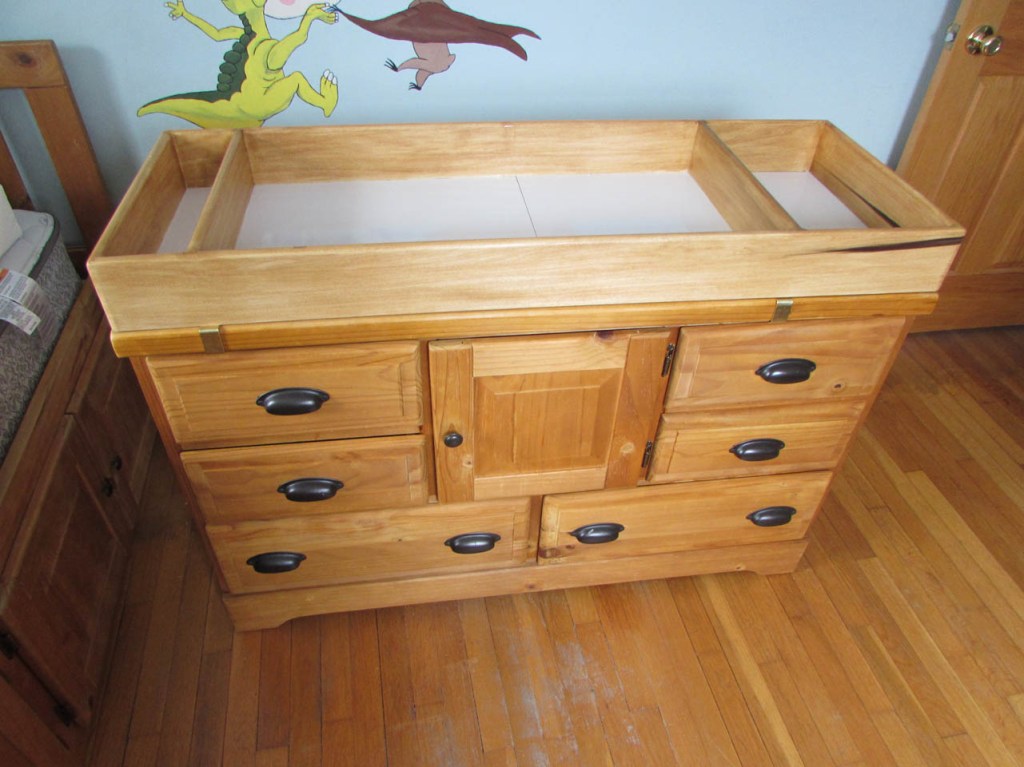
After a final sanding, I took it upstairs for a test fit.

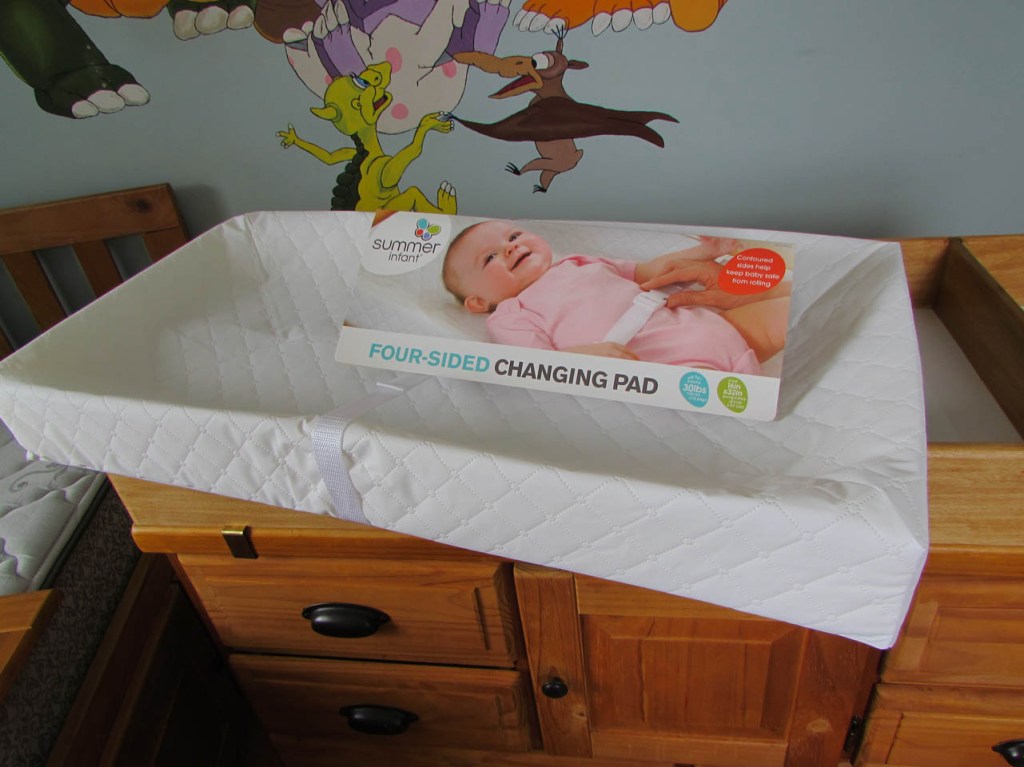
I removed the mirror from the rear of the dresser and laid it out of the way, then I opened the new changing pad.

The frame and pad fit perfectly.

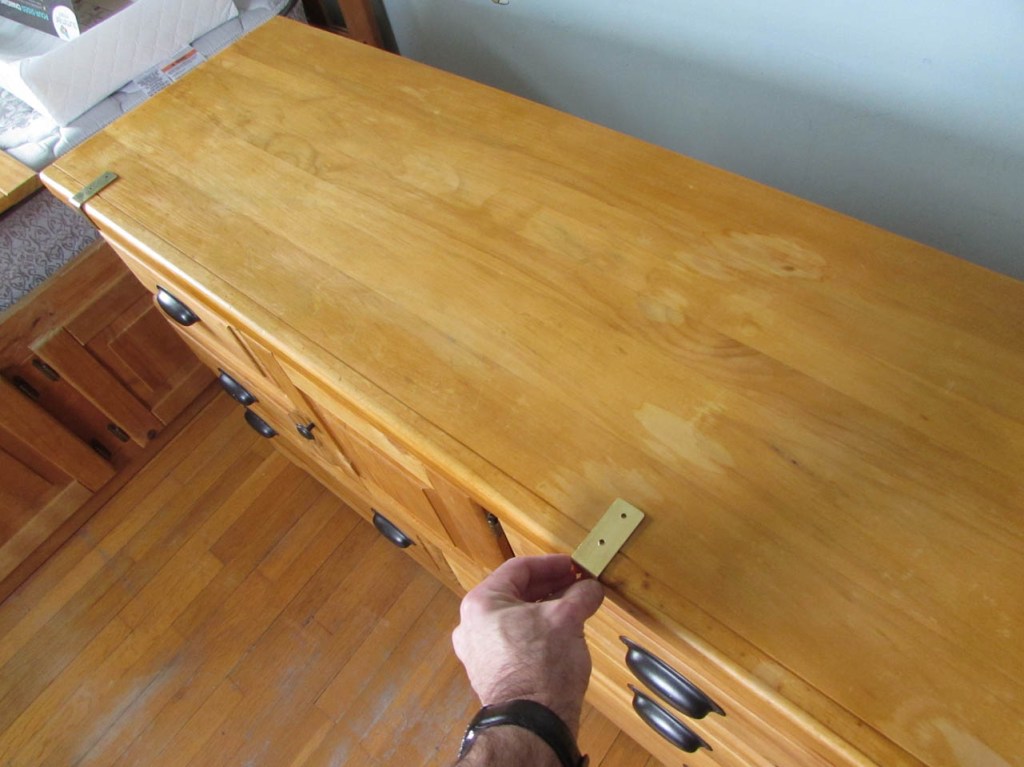
You can see below, where the flange will attach.
I know what you are thinking. “Will the front lift up by accident and crack the back flange?” I already thought of that. I want this to be removable so that the dresser can become a dresser again one day so I am going to make hooks to hold down the front. I measured the front trim piece and went back down to the shop.

I bought a piece of 1″ wide x 1/16″ thick brass for the hooks.
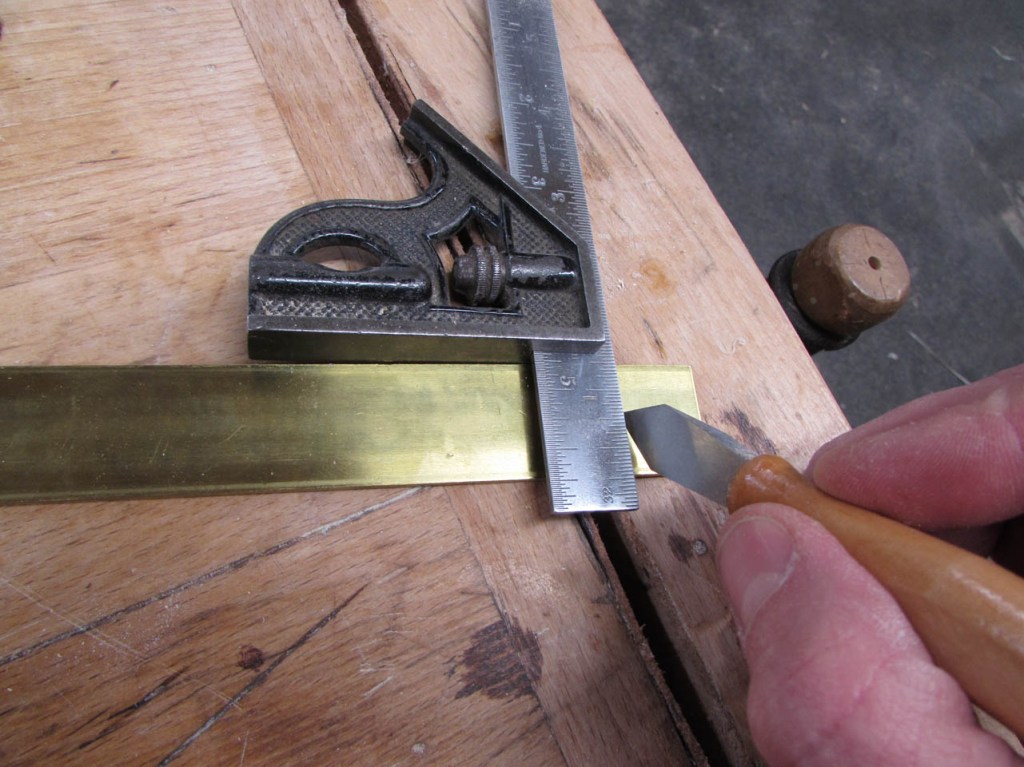
To bend it, I scribed my first bend point 3/4″ from the end and clamped the metal against a piece of oak, right at the mark and squared it up.

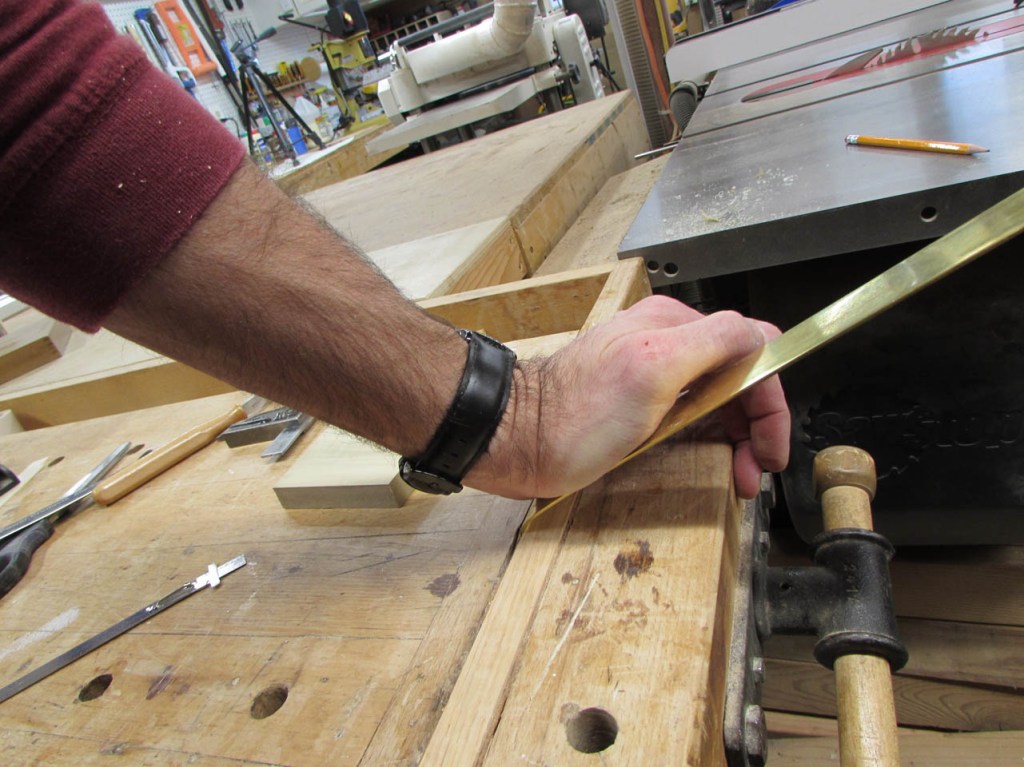
I bent the brass as far as I could by hand, then used a hammer to make it a sharp bend.
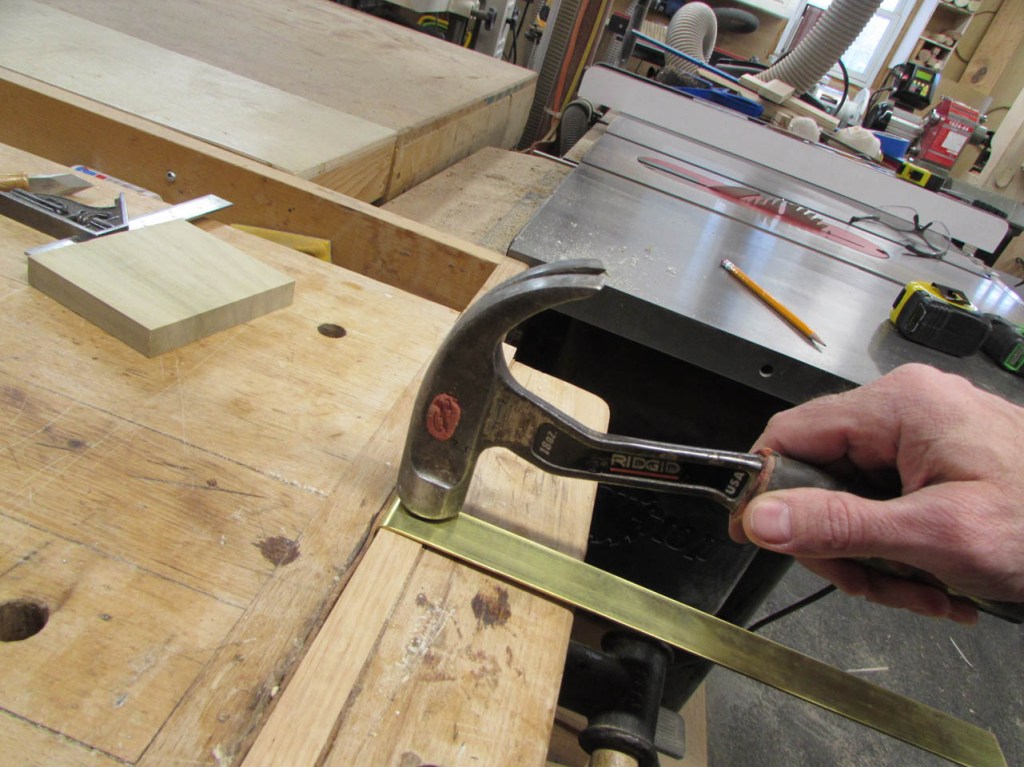
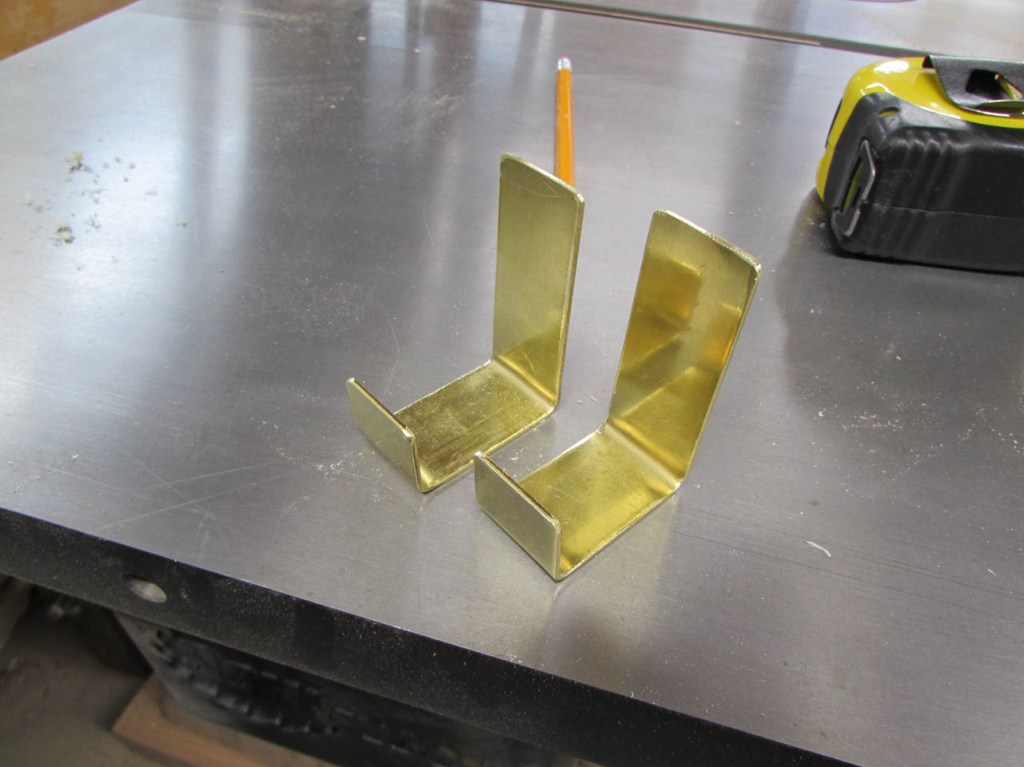
I cut my oak to be the same width as the trim piece on the dresser and made a second bend around it as well.
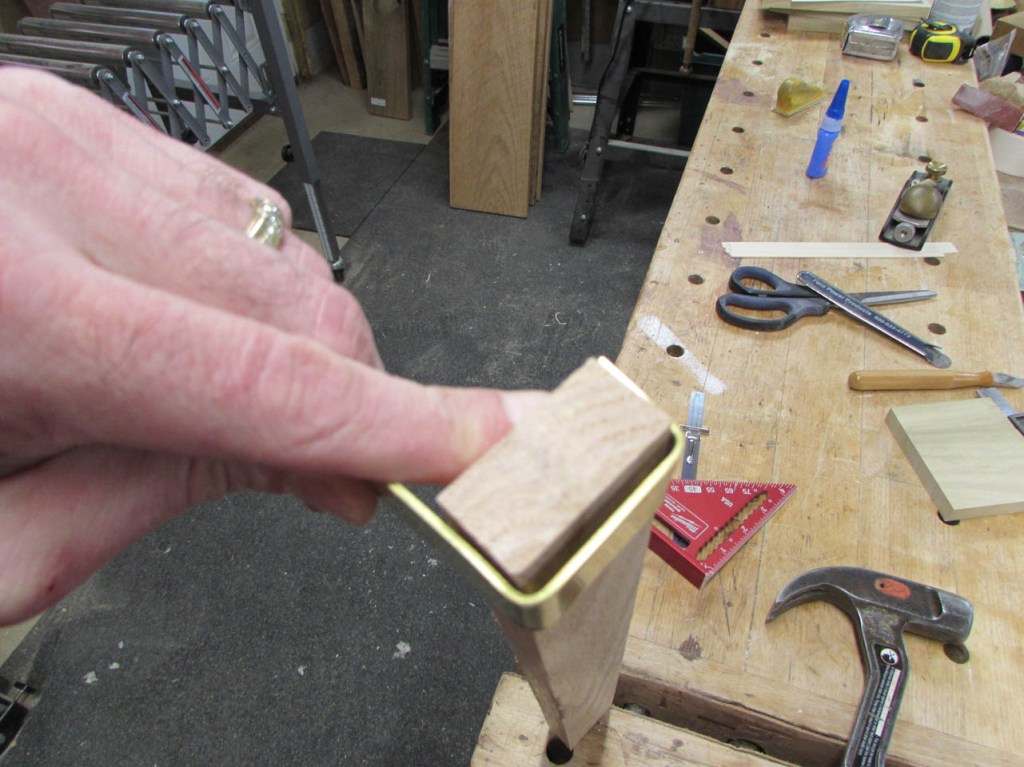

I did a test fit before bending the second one.

I will locate one under each divider so that I have something to screw it into. The brass should be flexible enough to allow me to hook onto the front then slip the back flange behind the dresser and screw it into place.


After bending a second hook, I marked and cut the brass on my band saw.
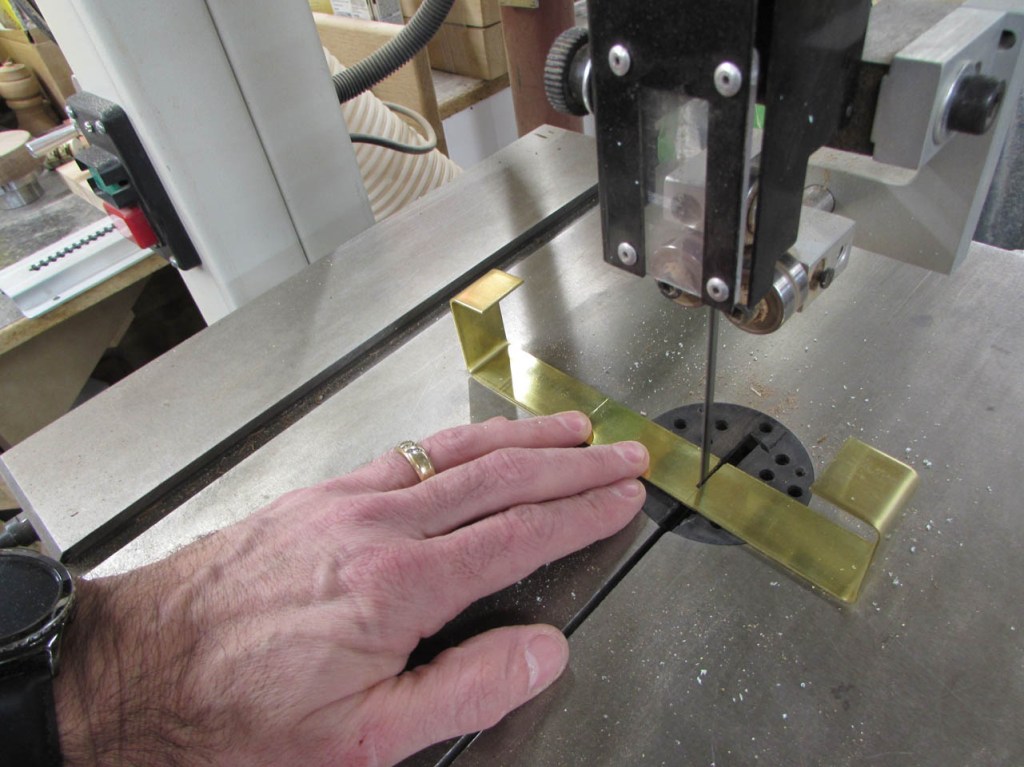
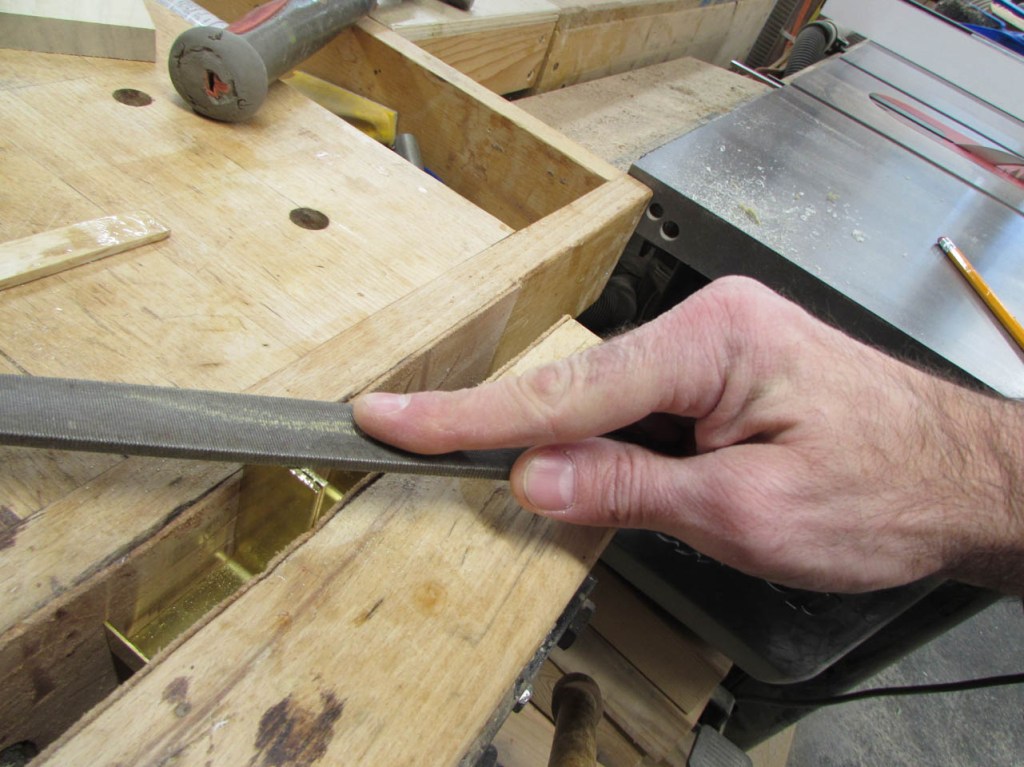
This left a rough edge so I filed it flat and rounded all of the corners.
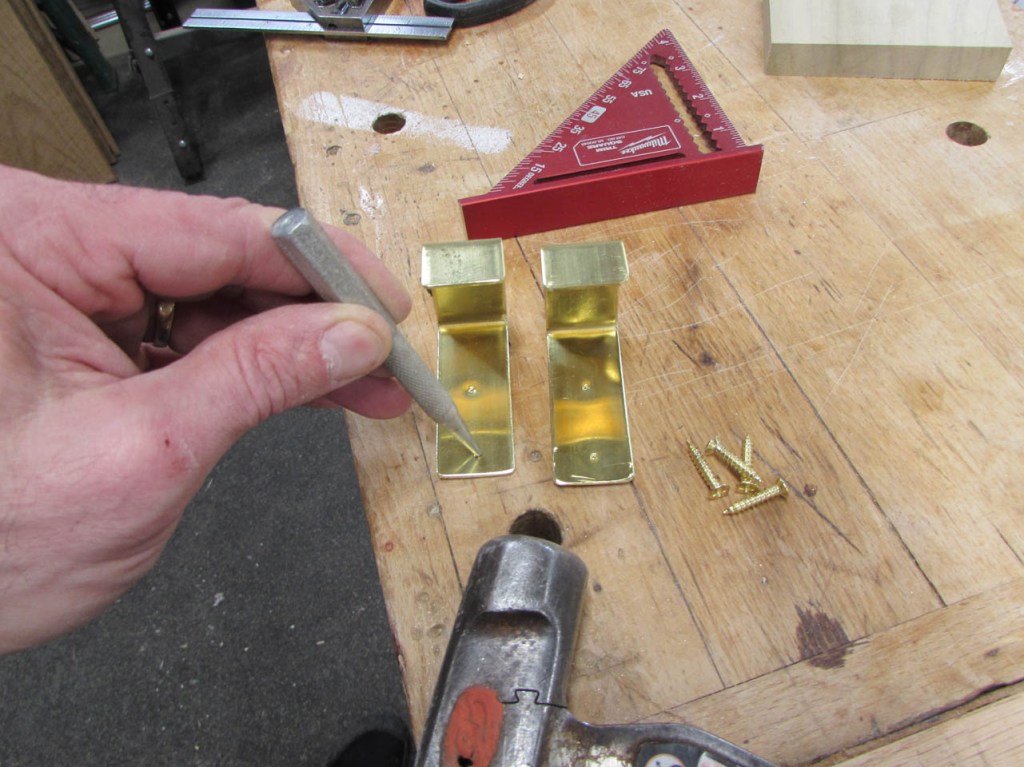
I punched a few center marks and drilled some mounting holes.
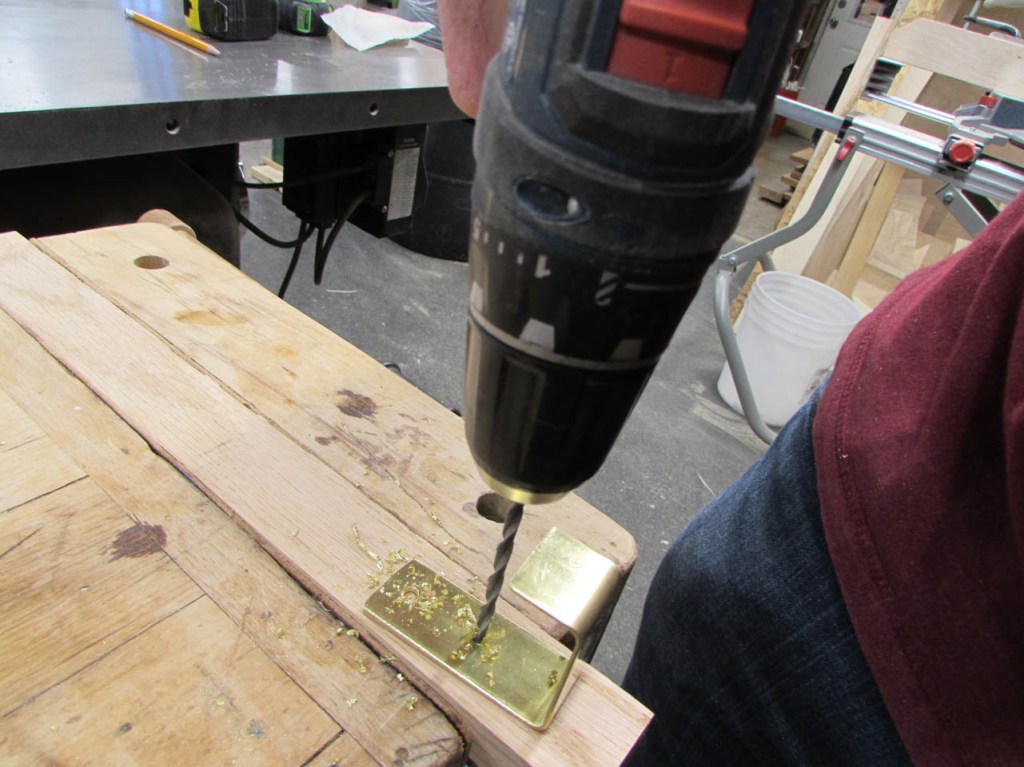

I counter-sunk the holes as well so that the screws would sit flush.

Before attaching the bottom and the hardware, I want to pre-finish the poplar.

I found all of my lighter stains and made samples to test. Of course, none of them matched… Although looking at the surface of the dresser, I saw several areas where my son spilled something on the surface. It appears that this furniture was stained but never finished with any polyurethane or lacquer. The stains were probably caused by spilled cologne (alcohol based) meaning the stain was probably a water-based dye.

That conclusion reminded me that I had some water-based amber dye in the shop.

I filled a jar halfway full of water and kept adding dye until I had something close.

Before staining the wood, I masked off the rabbet so that I could stick glue to it later.

I used a cloth to apply the amber dye-stain to the wood frame.

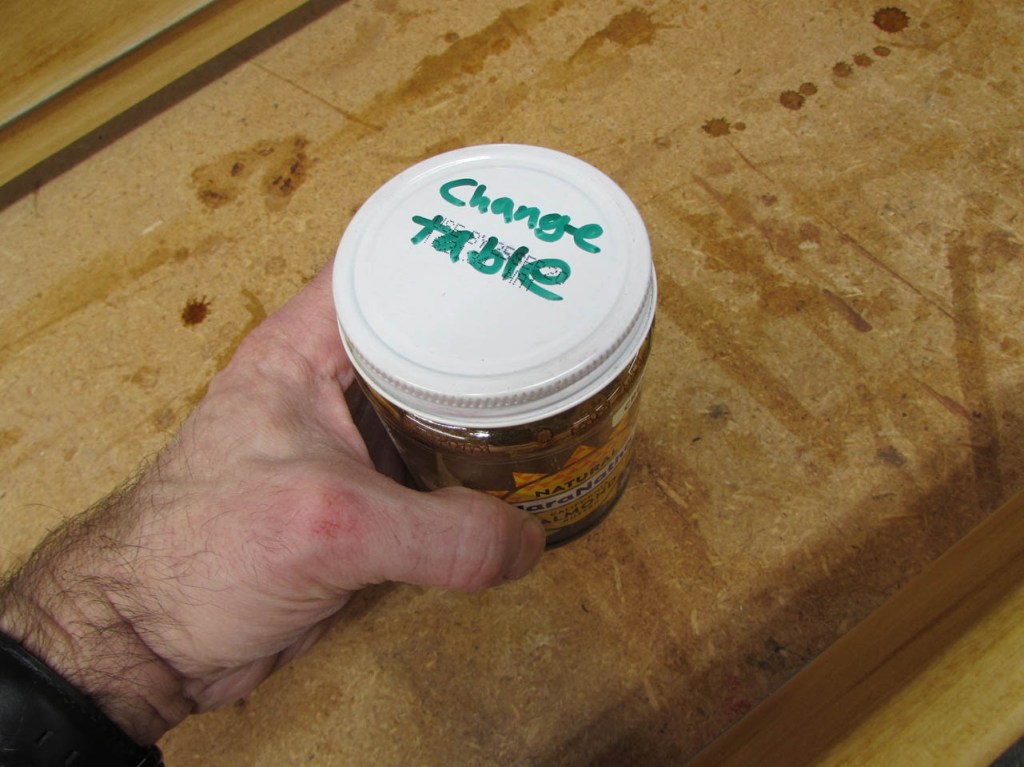
While it was drying, I marked the lid so that I could match the color if I had to build anything else to match later.
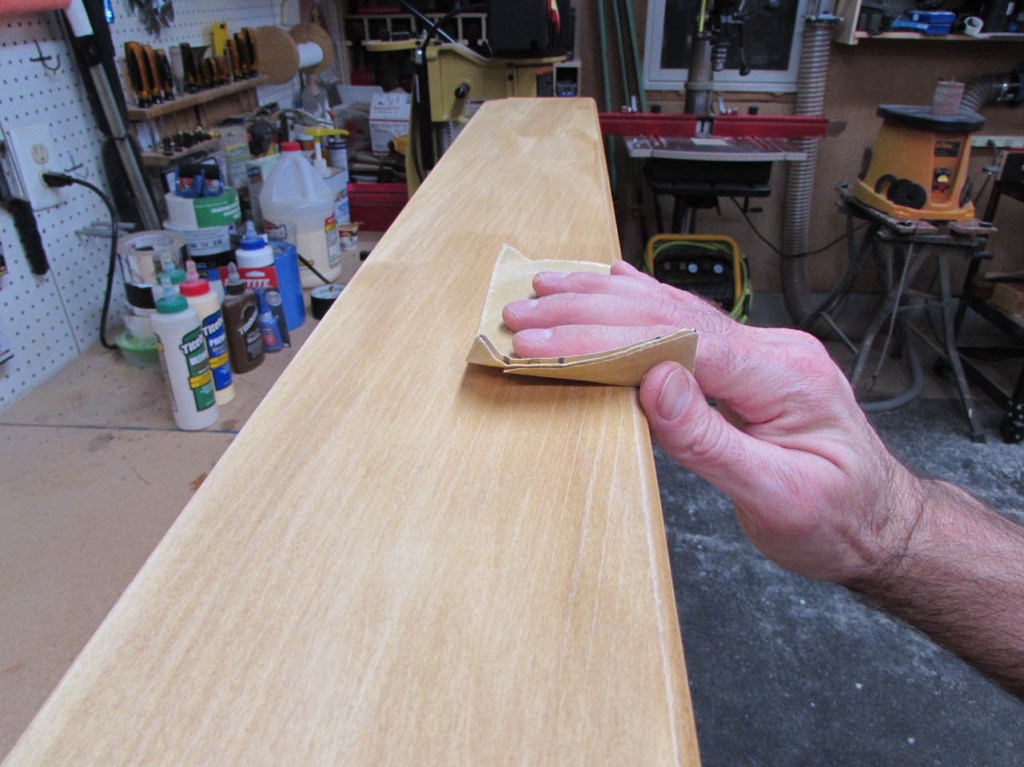
Since water swells the grain of the wood, I have to sand the fibers smooth before applying finish. I used 400 grit paper to do this so that it would not take off much material and sand below the stain.

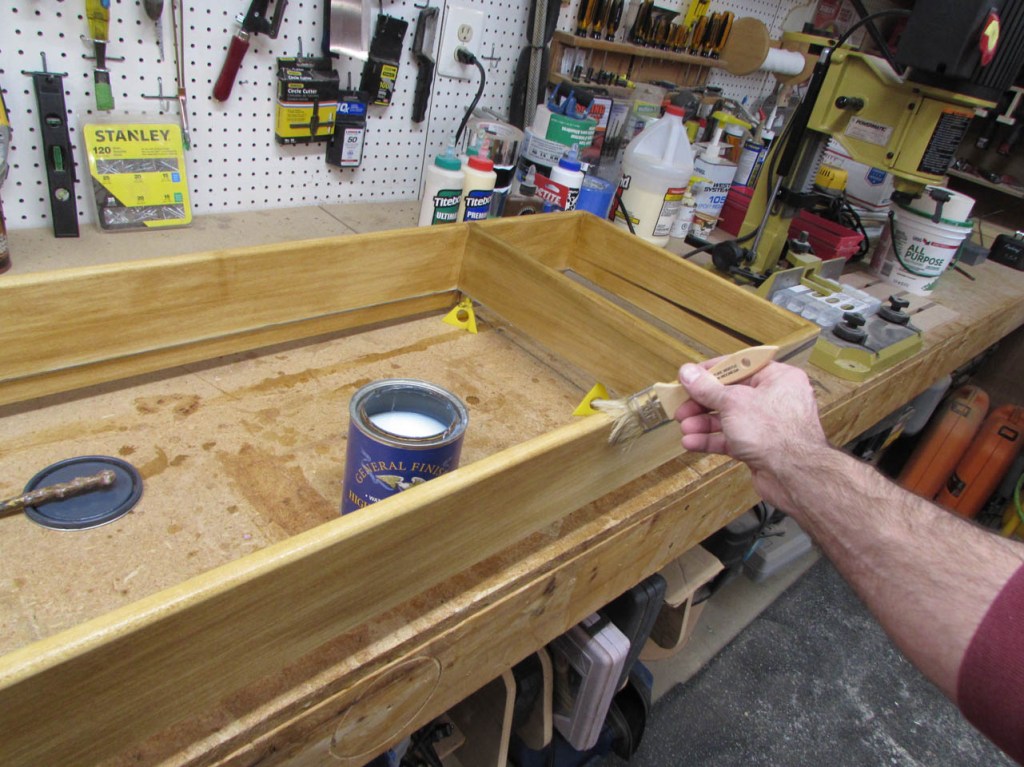
I am using a satin, water-based polyurethane. This is a small project so I apply it quickly with a brush.

The good thing about water based finishes is that you can apply the next coat about half an hour after the first.
After the first coat was dry, I sanded the surface again and applied the second coat.
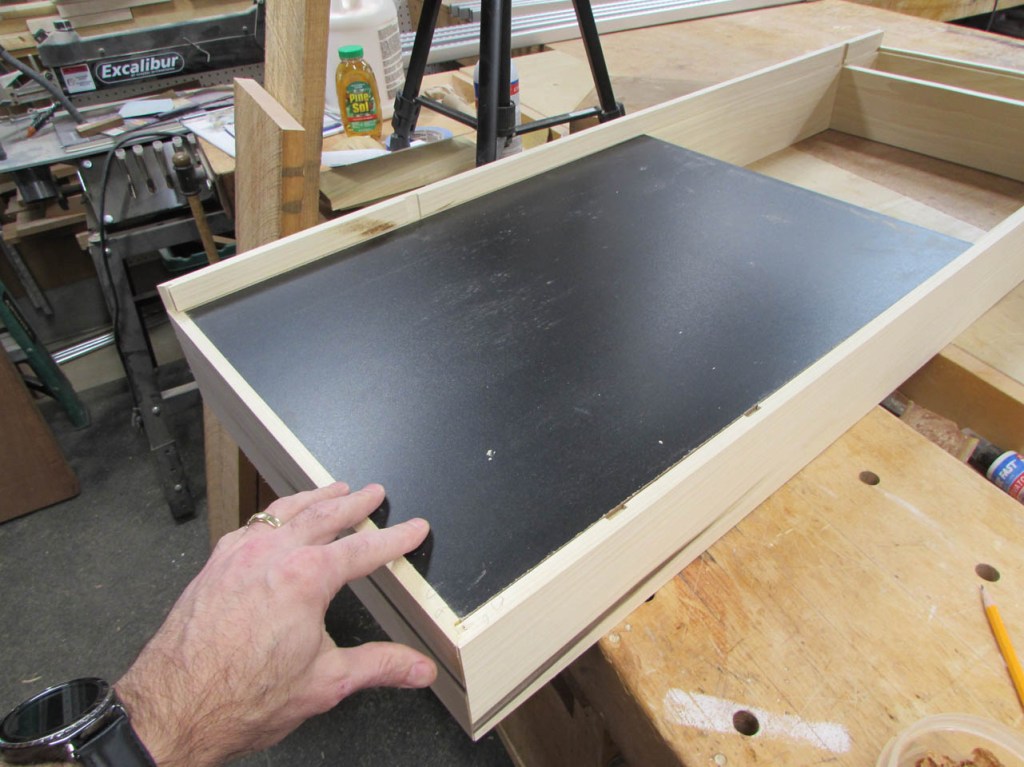
When that was dry, I pulled off all of the masking tape so that I could attach the bottom.

Since the white board has a smooth, shiny surface, I am going to use a 2-part epoxy instead of wood glue.

I brush the epoxy on quickly since I have about five minutes before it starts to set. Then I angle some 3/4″ brad nails to hold it in place while the epoxy dries.

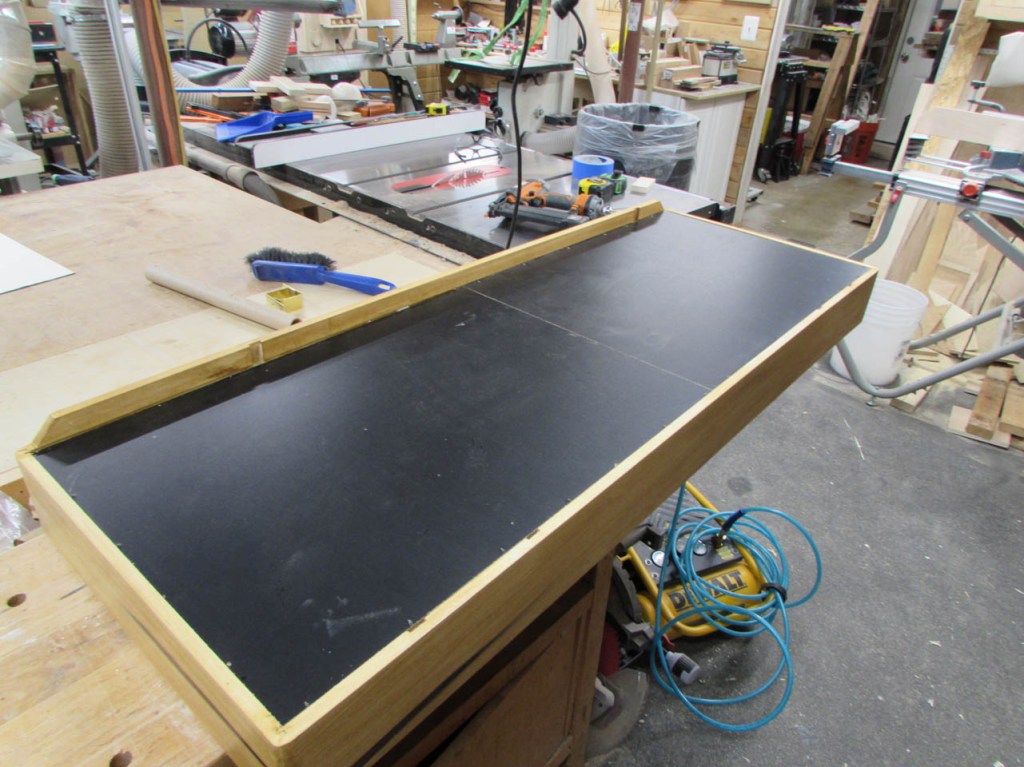
There is a seam in the center but it is under the cushion so it shouldn’t be a problem.

Time to locate the hooks.
I set the hooks in place, under the dividers. The brass color blends in with the wood fairly well.
After moving the changing station in place, I pulled the hooks out about 1/16″ and placed a piece of tape along the top of the hook where the wood lays.

When I take it all back to the shop and flip it over, I can line the edge of the tape back up with the wood and the divider to mark the location of the hook.


I use a chisel to cut a notch out of the poplar as well as the white board.


This will allow the hook to sit below the surface of the wood so that it does not rub the dresser below.

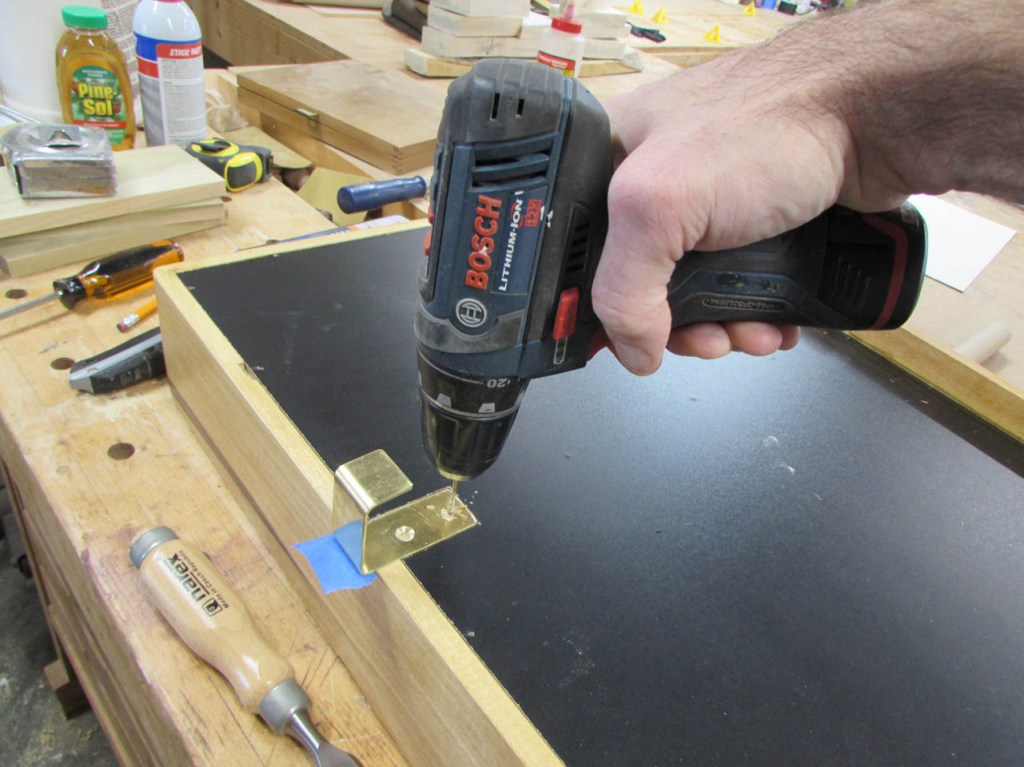
I pre-drilled a few pilot holes and started attaching the hooks with 3/4″ long wood screws.

And of course, the last one stripped out…
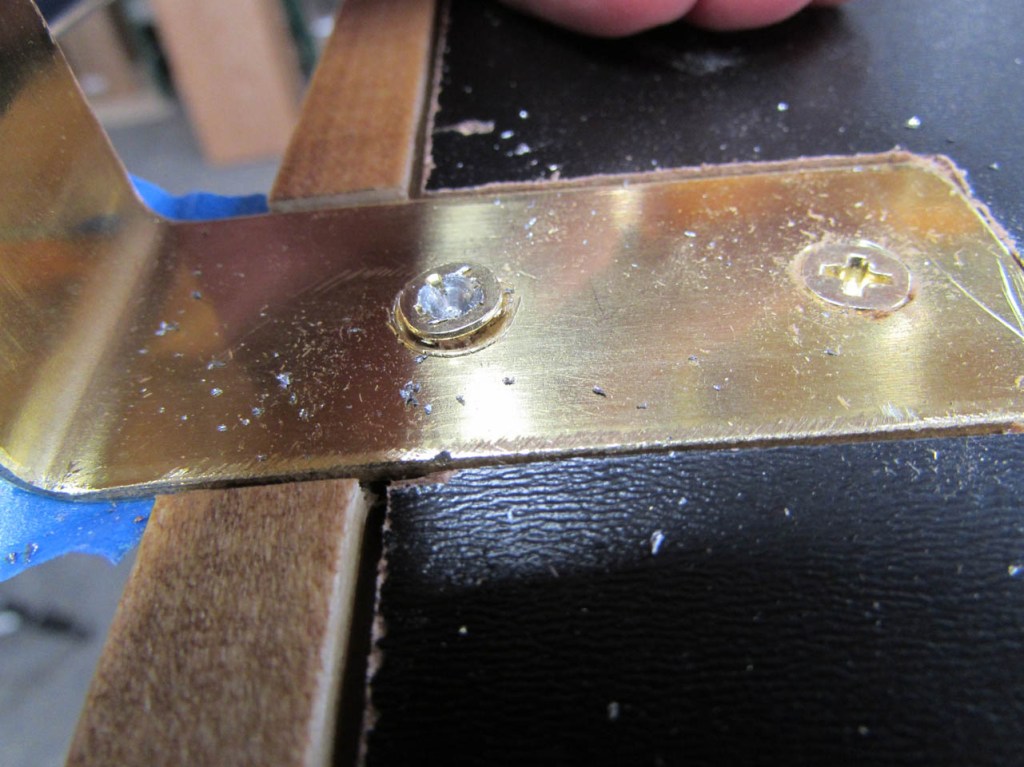
Luckily I was able to grab the head with a pair of vice grips and slowly back it out to replace it with a new one.


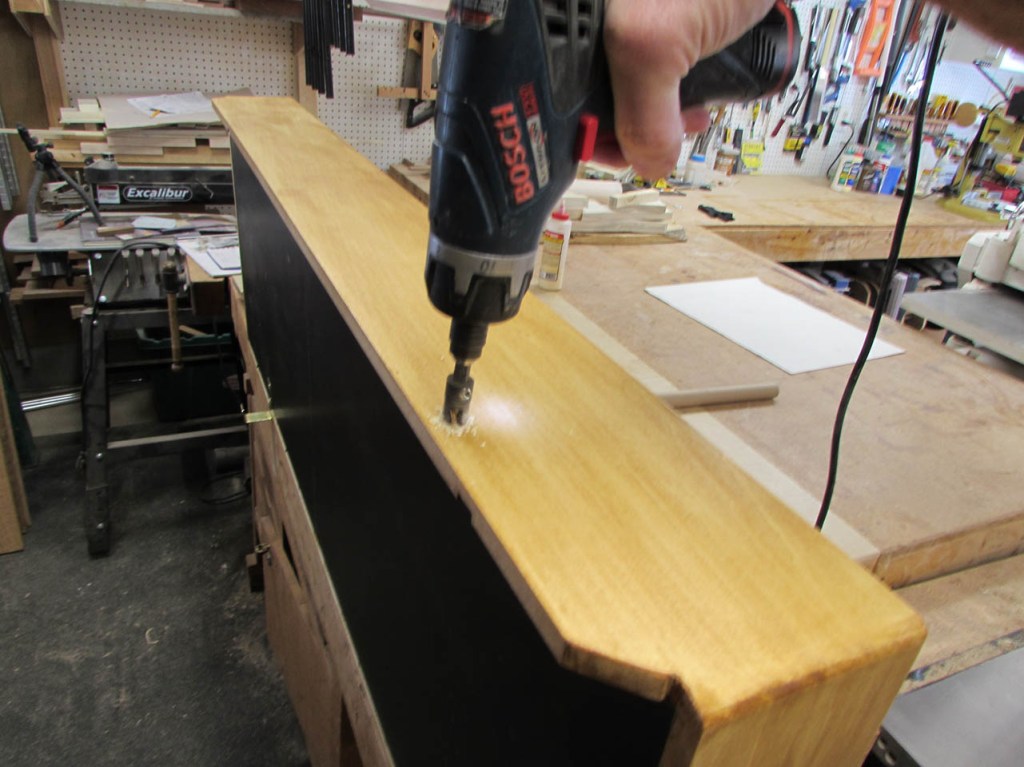
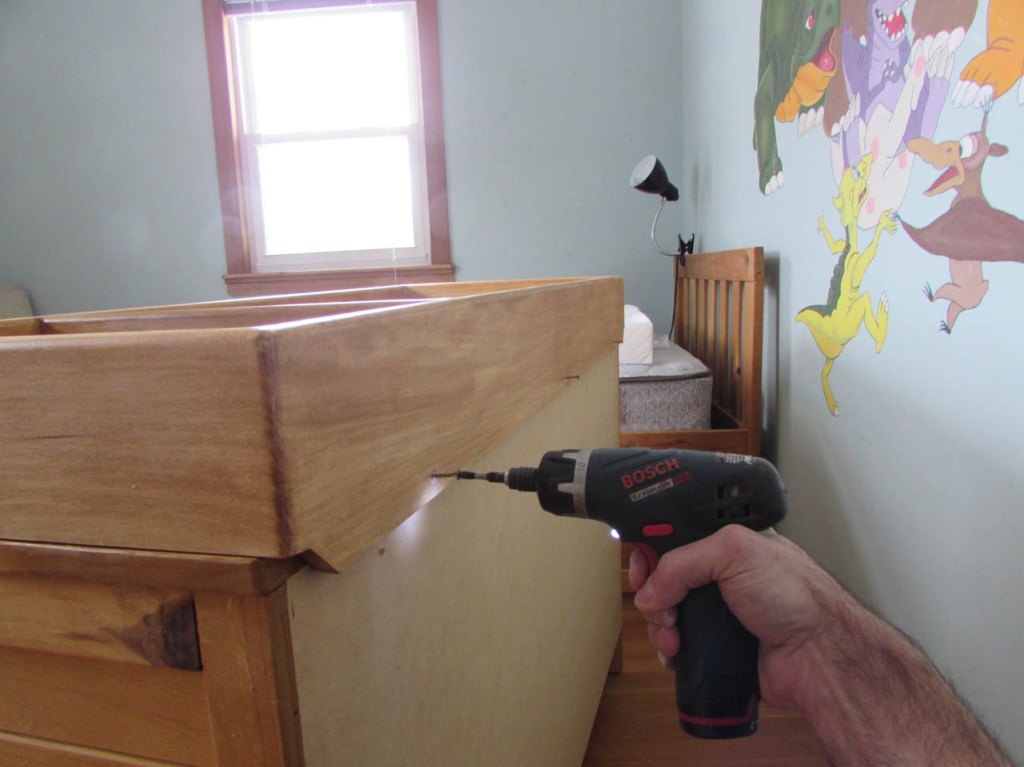
The hooks are in place so I flipped the frame over and drilled some counter-sunk holes along the back mounting flange.
I also happen to have a large roll of felt pads so I stuck a bunch of them along the entire bottom to prevent any rubbing on the dresser below.

Taking it back up to the bedroom, I attached the front hooks, then set the frame gently down and the back flange set right in place.
I attached the three wood screws and it was secure.
Changing pad in place.
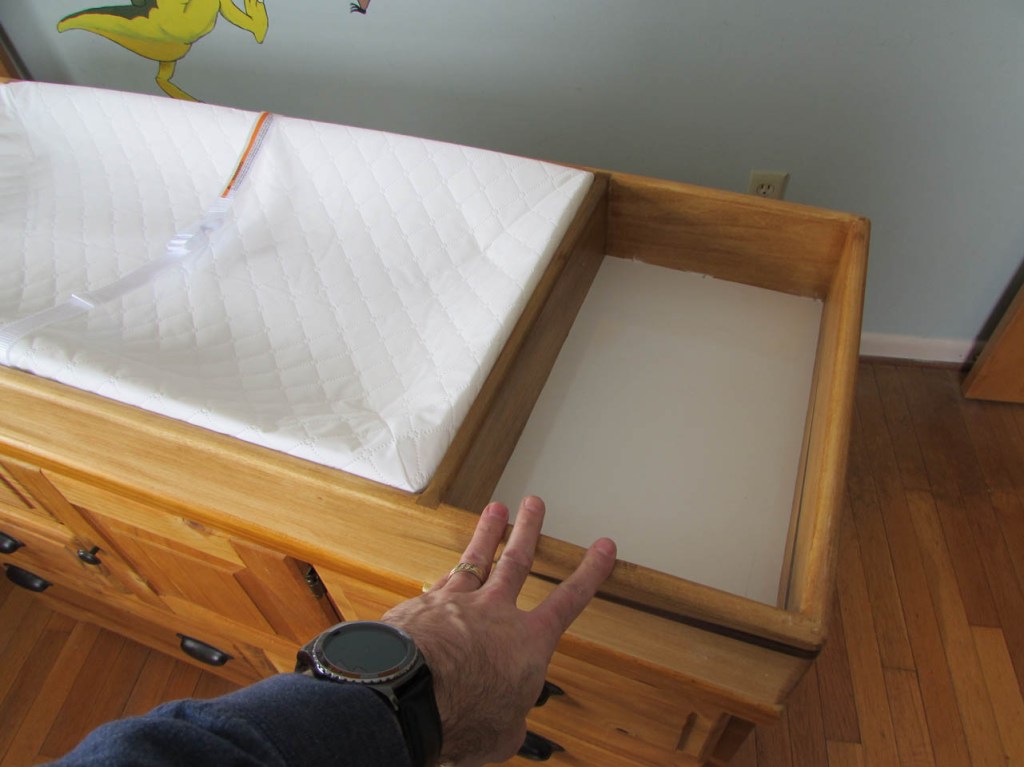
I have a 4″ wide tray on the left for small things and a 9-1/2″ wide one on the right for diapers and wipes.

This will be useful and easily removed when not needed anymore.
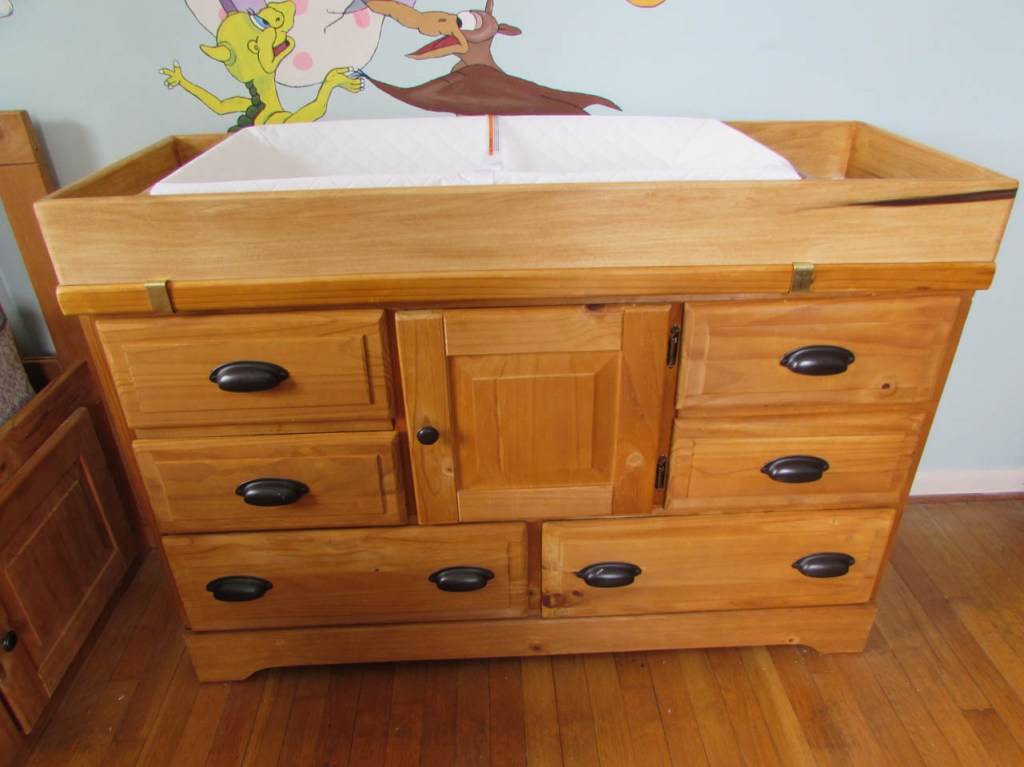
I thought I would zoom out a bit in case you were wondering what the picture was on the wall. I painted it for my kids, twenty something years ago. I am starting to feel old…

Come to think of it, I could even reattach the mirror if necessary.

