
My new Woodpeckers DP-PRO drill press table
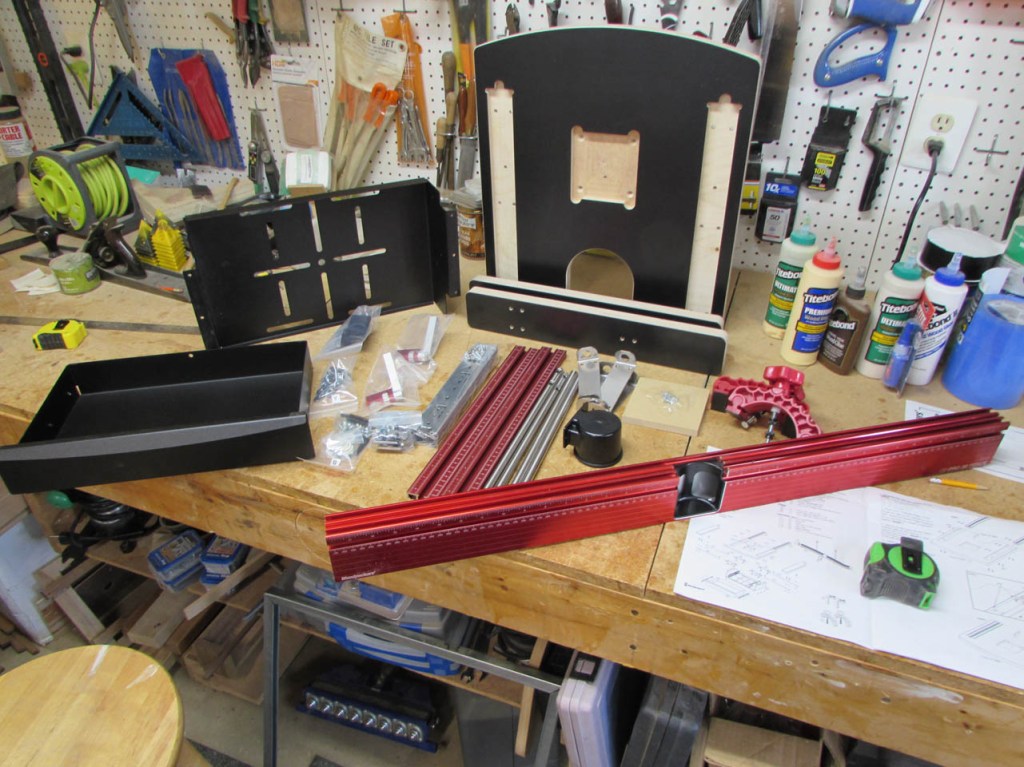
I finally received my new drill press table. I have been waiting for over 7 months since I ordered it from Woodpeckers. On my last drill press, I made a perfectly useable table with a fence and clamps. I tried installing it on my Nova drill press, but it would not work with it. The crank handle, that raises and lowers the table, smacked right into it. I did not want to make a small table that only fit on the existing cast iron one, but when scrolling through possible options, on the web, I discovered that Woodpeckers had just come out with a new table that raised the table up onto a drawer to create clearance for the handle. I thought that was a good solution. I could build a drawer under my table. Then I saw that they incorporated dust collection and some really cool stops into their fence. I gave up on redesigning mine and just ordered the new one. It was way more expensive than I planned to invest into the table but Woodpeckers makes some very good tools. They make all the components here in the USA, in Strongsville, Ohio. Everything is precisely machined and the highest quality. Unfortunately they ran into the same supply shortage problems that the rest of the world is dealing with since COVID hit. My original 2-month wait turned into 4-month, then 7-month… But it finally arrived yesterday. It came in a massive box that was very heavy. It was extremely carefully packed. All the cardboard was double-thickness and every part was wrapped in paper as well as surrounded by cardboard.
At first glance, it seemed like a very complicated mess, but the directions were clearly written and broken down into easy to follow steps.
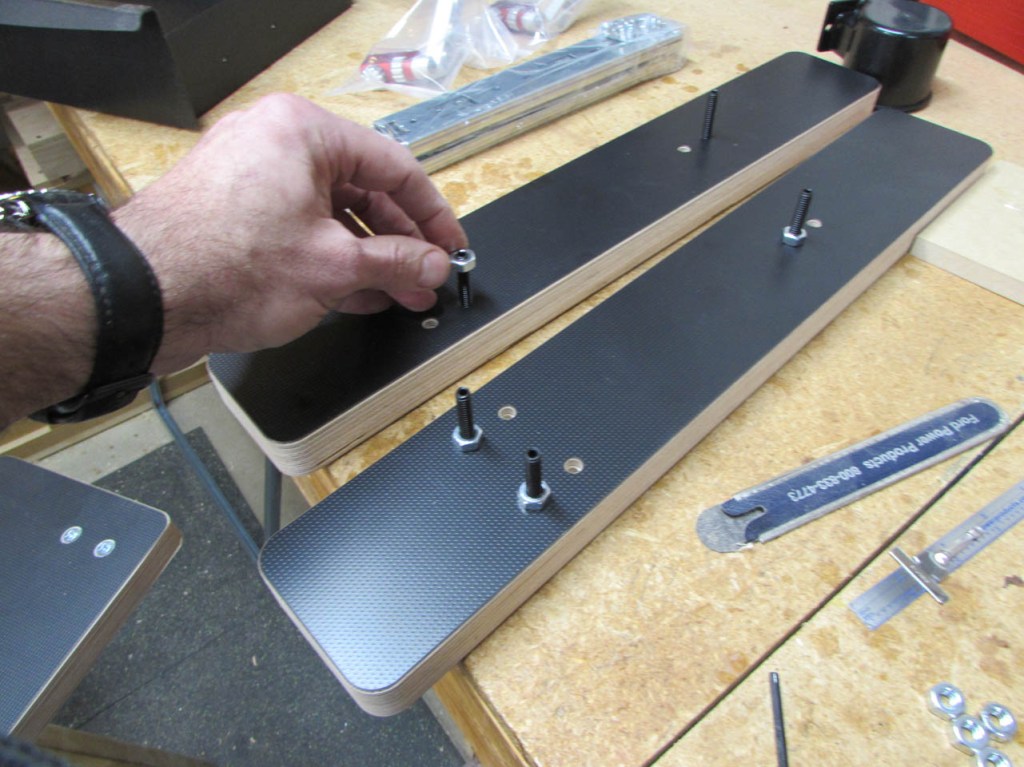
I started by installing the screws and nuts that hold on the T-track.
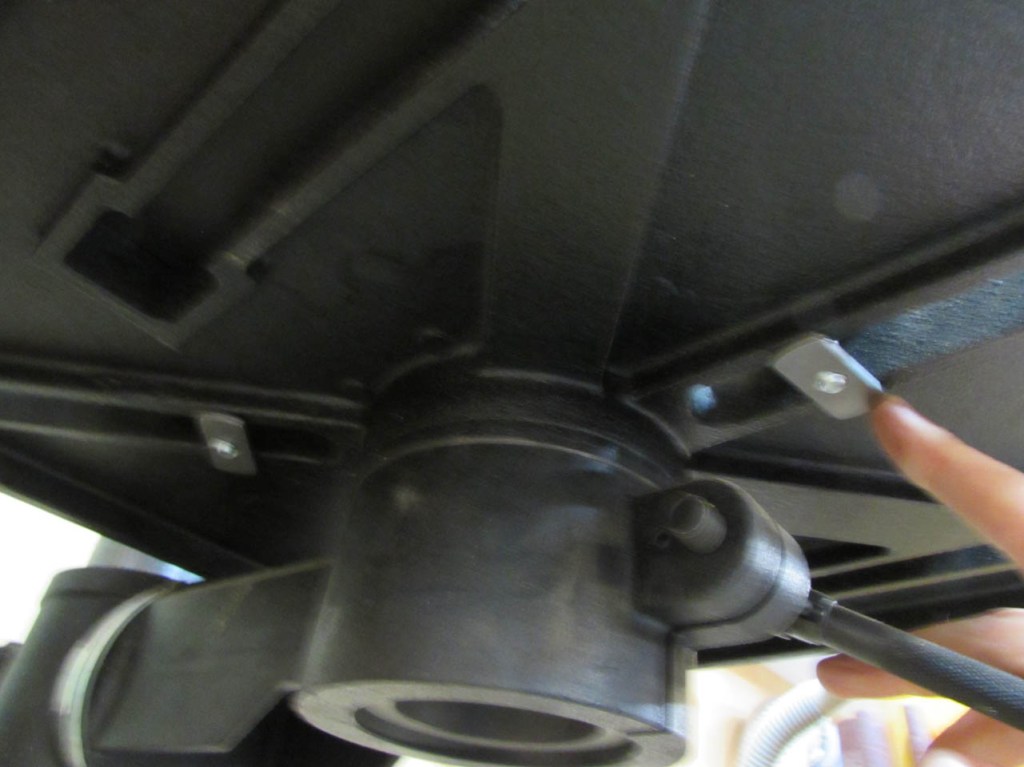
Next step was to install the bushings into these metal brackets. They clipped in easily.
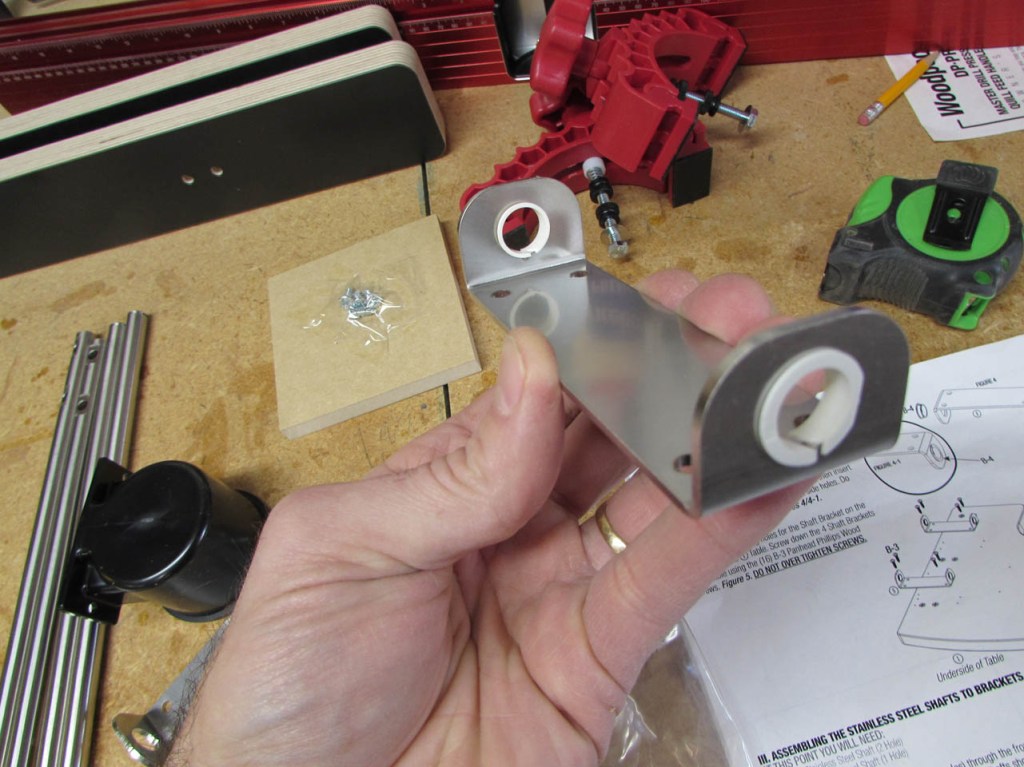
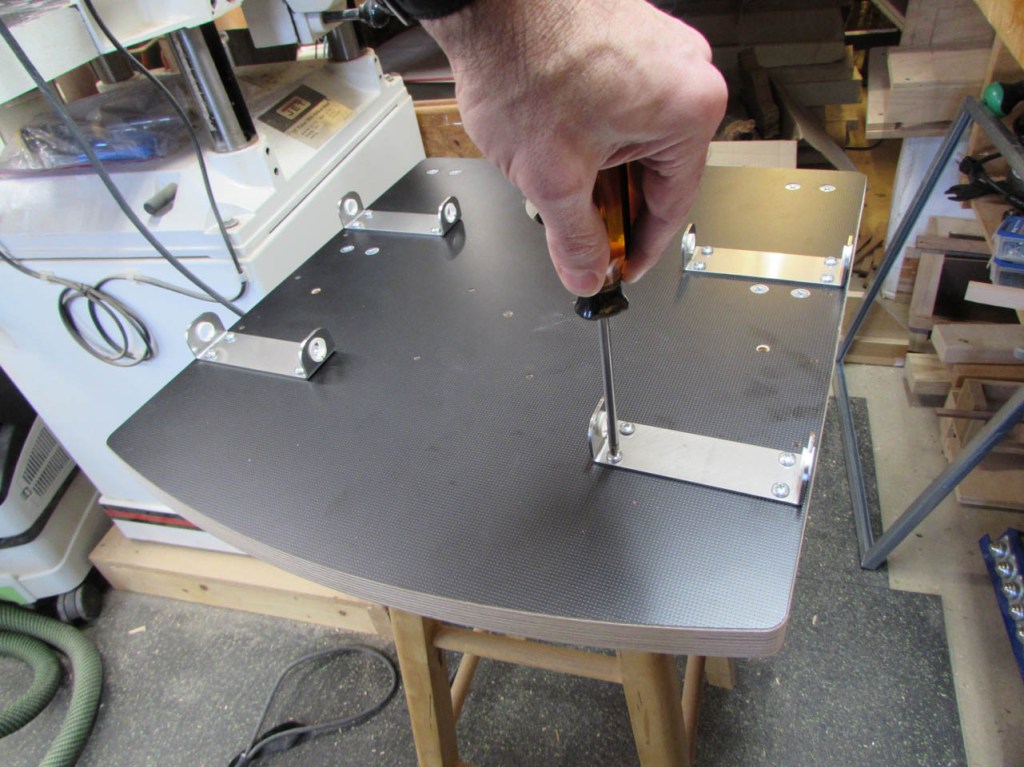
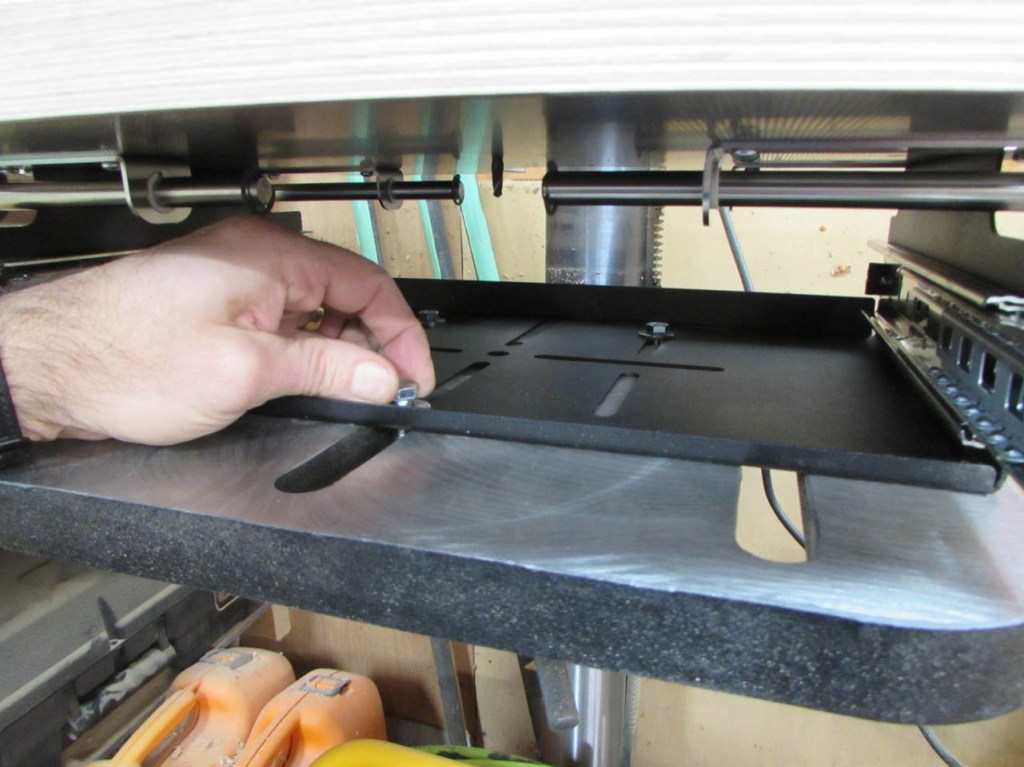
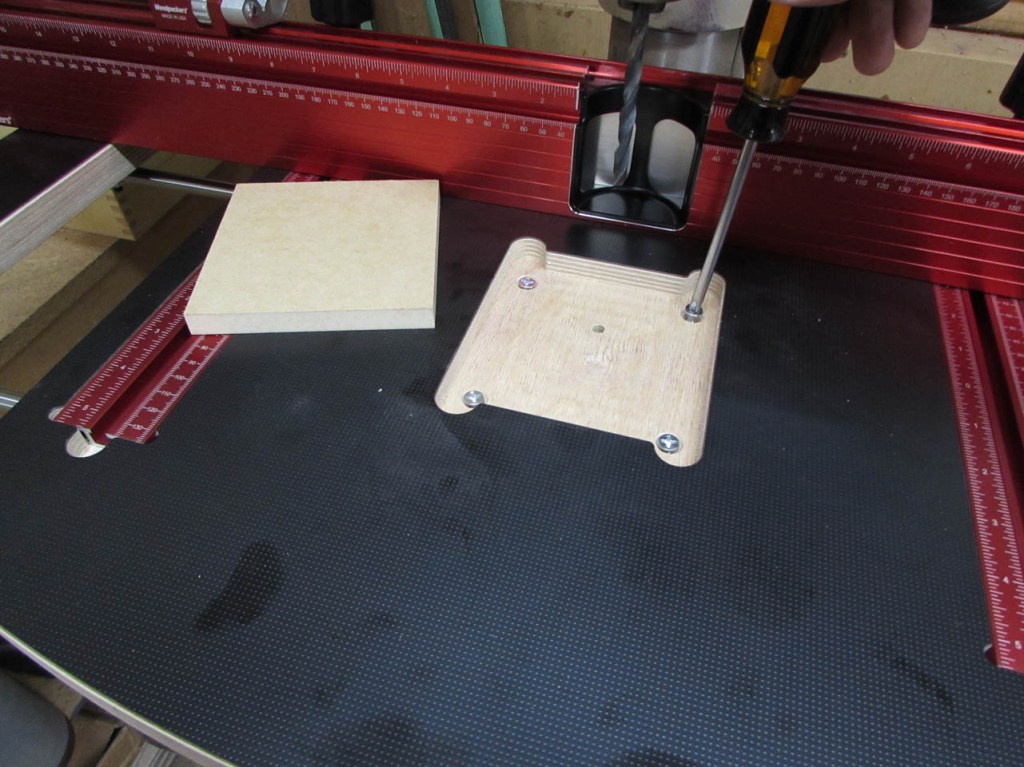
All four brackets were then loosely screwed down to the bottom of the table.
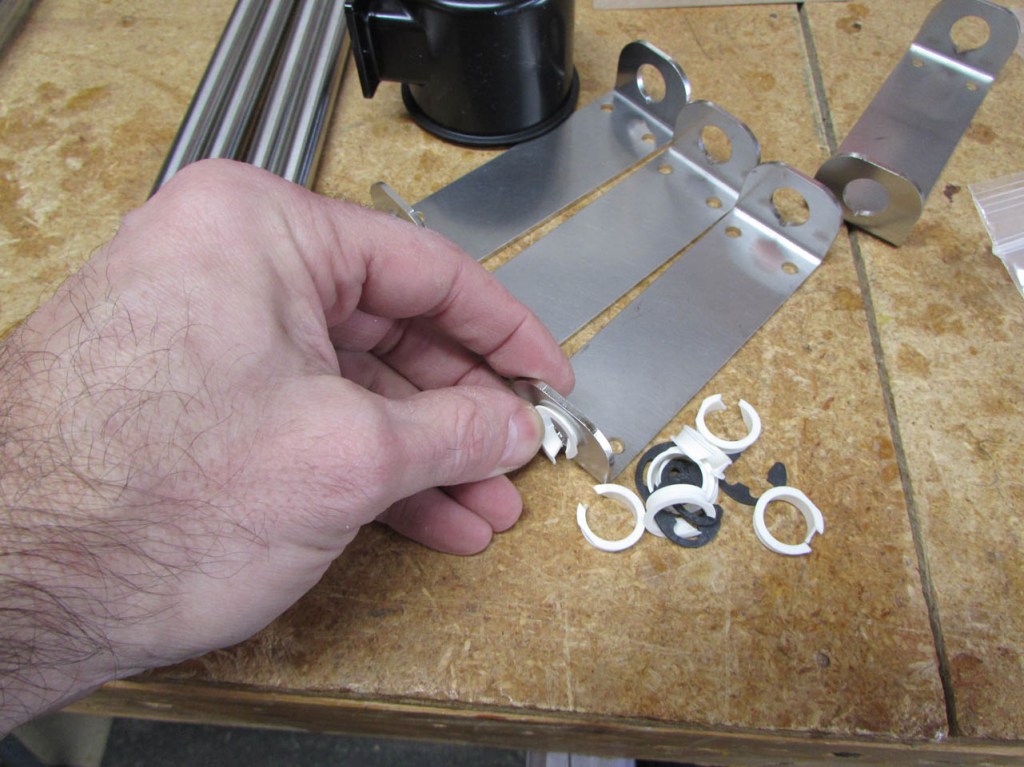
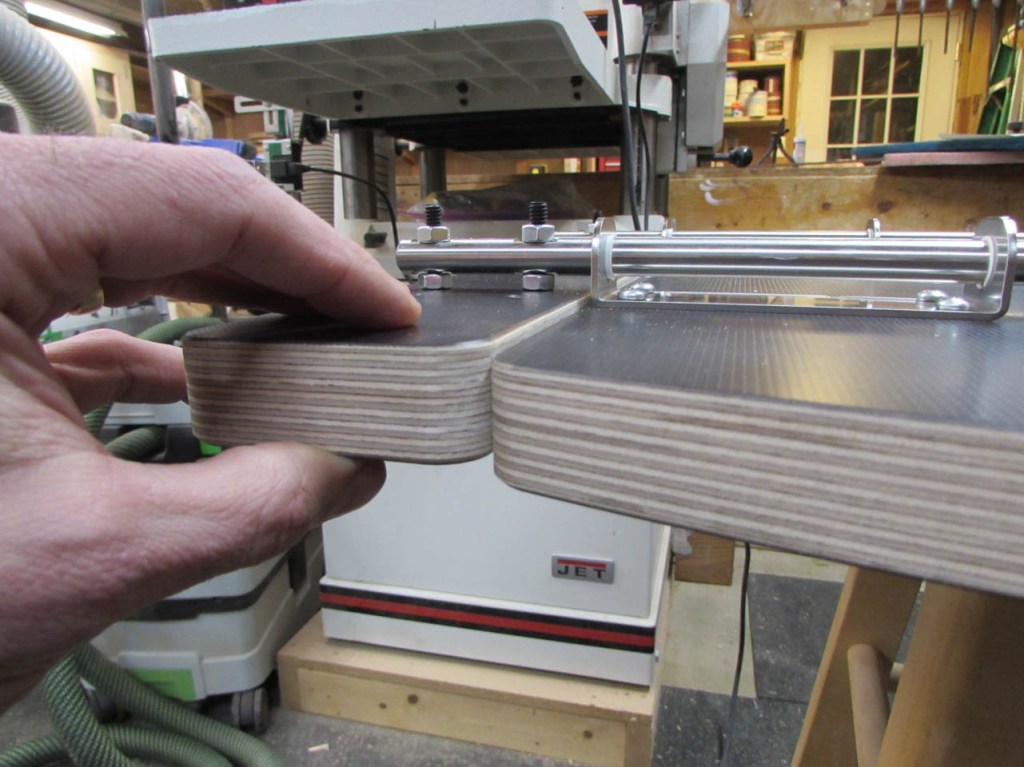
I started installing the shafts and their snap rings but I realized that some of them had two notches at the end and some only had one. After reading the directions, (instead of only looking at the pictures) I saw that I needed to move that shaft and install a different one there…
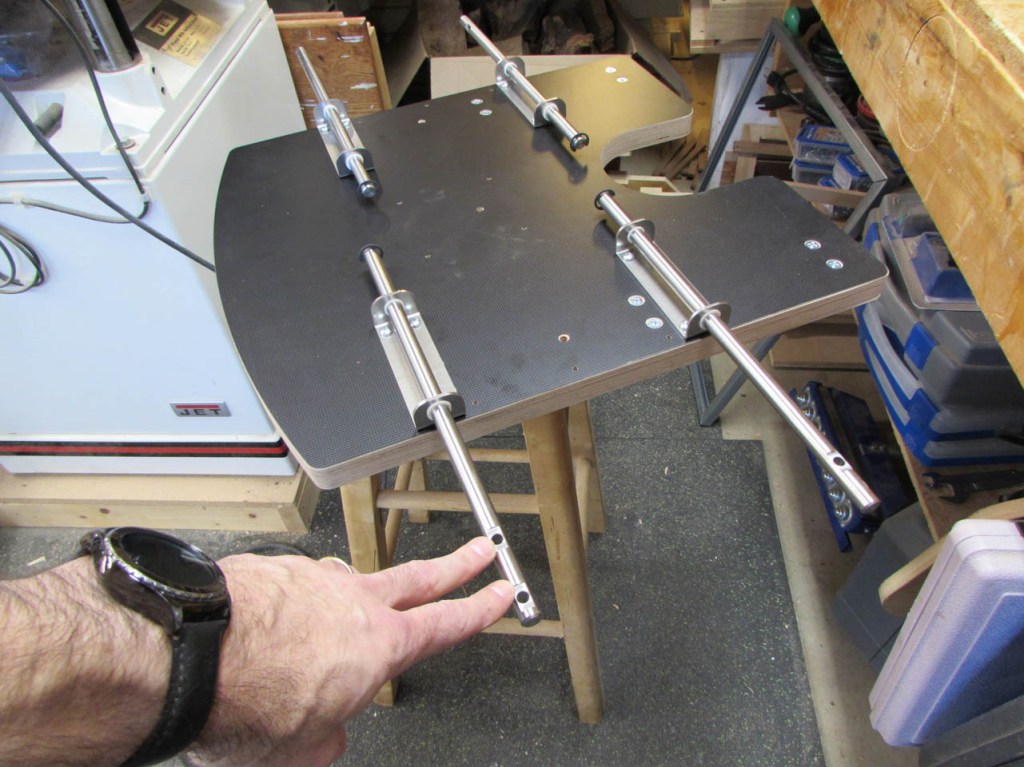
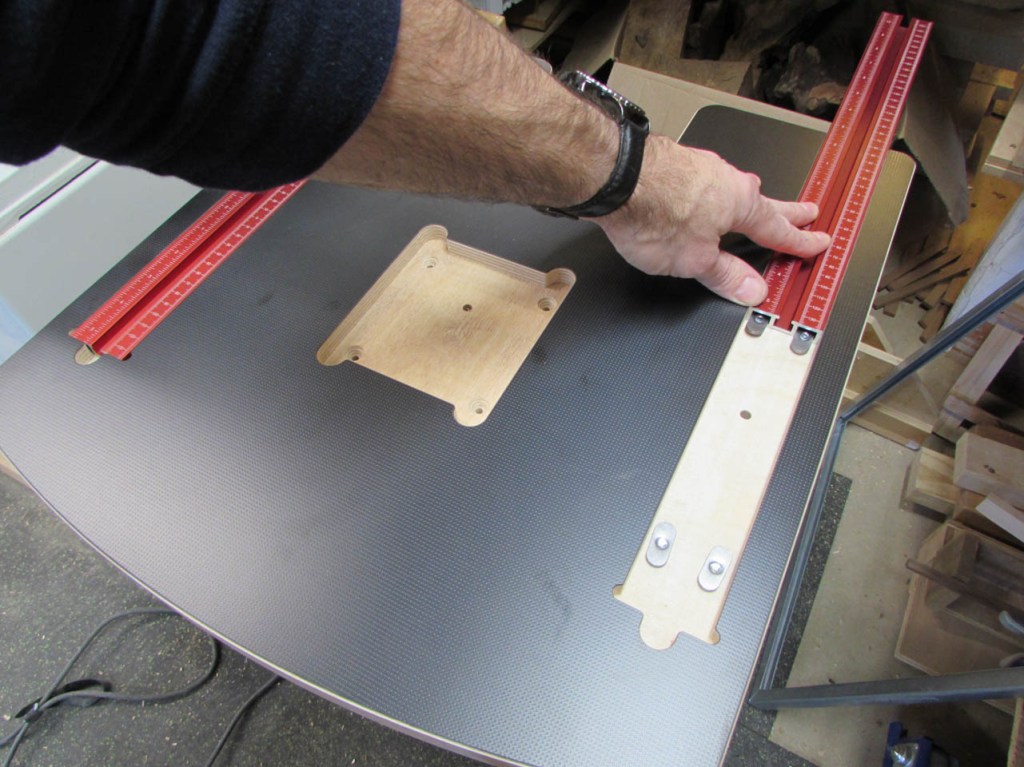
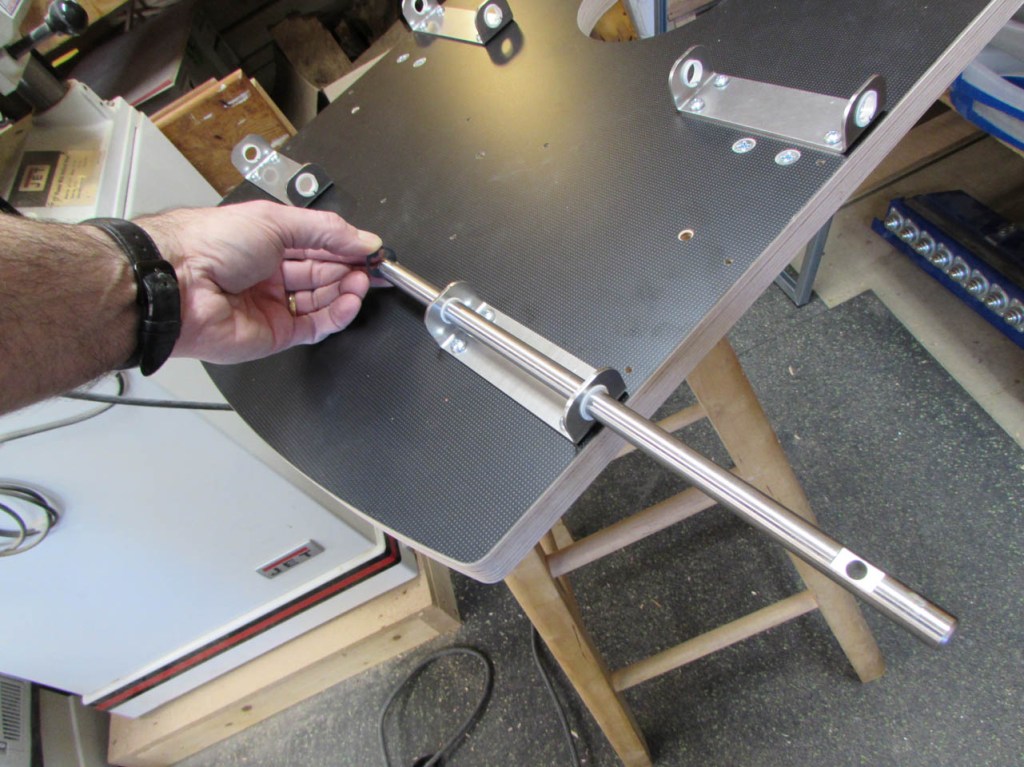
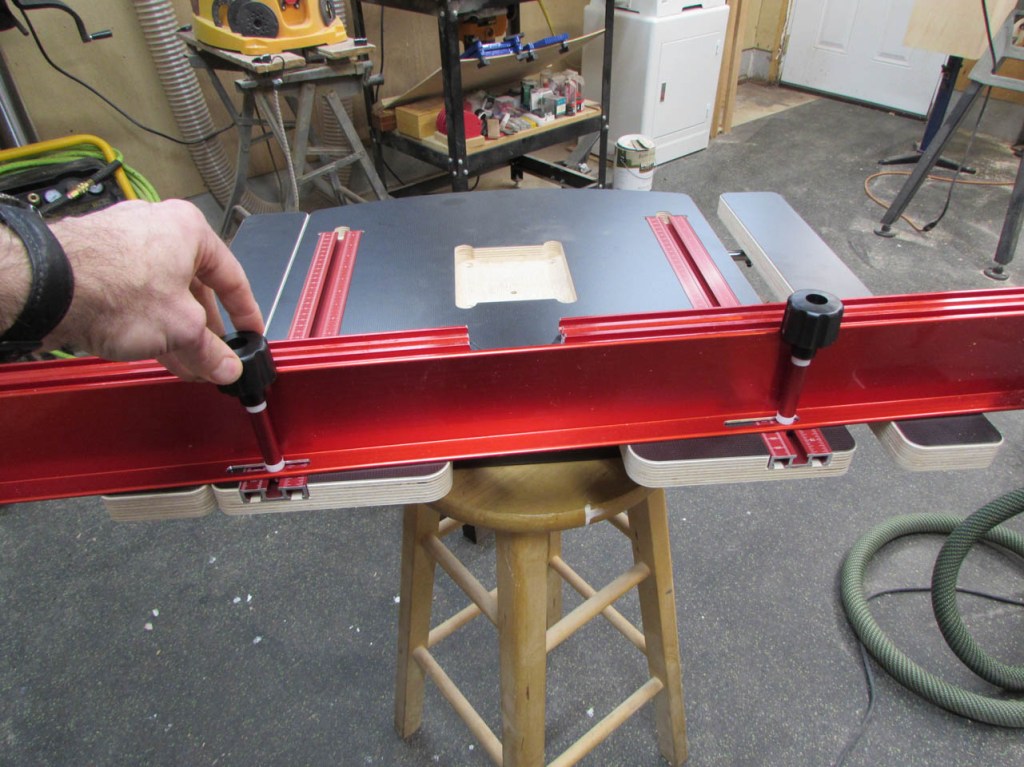
This table has two sides that can extend out or be pulled in tight. That is what installs to the shafts. Every piece was precisely machined, and each step went together perfectly. After installing studs and nuts to the bottom of the sides, I fed the studs through the holes in the shafts and loosely attached them with more nuts.

After making sure the sides could slide easily open and closed, I tightened their brackets.
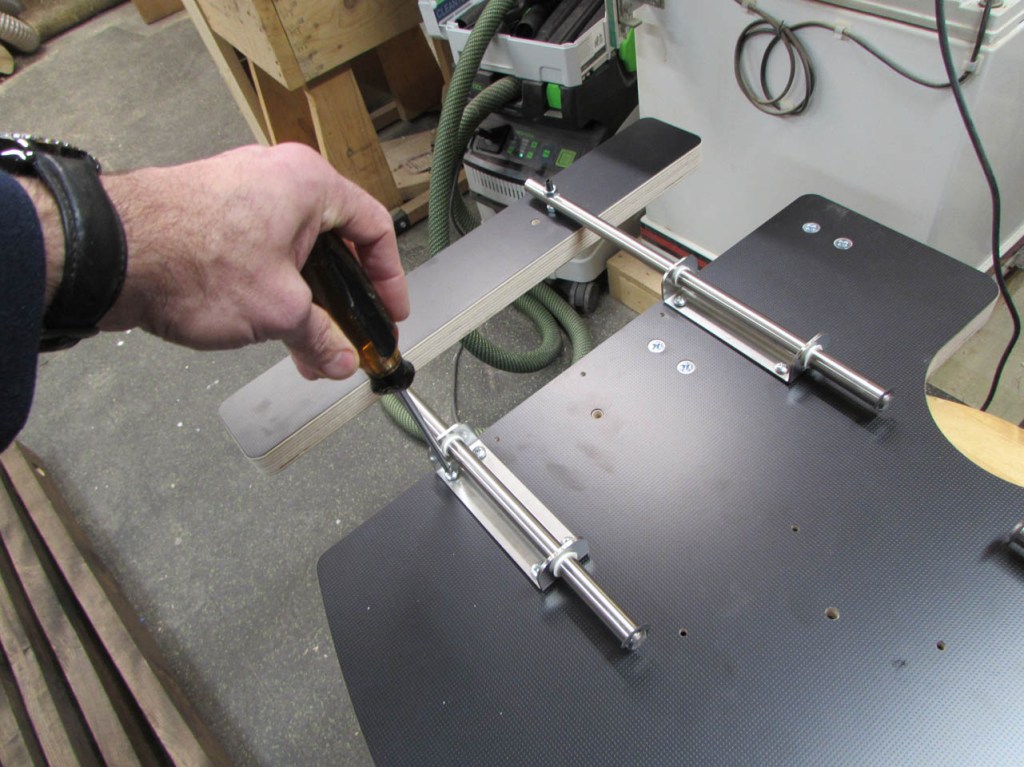
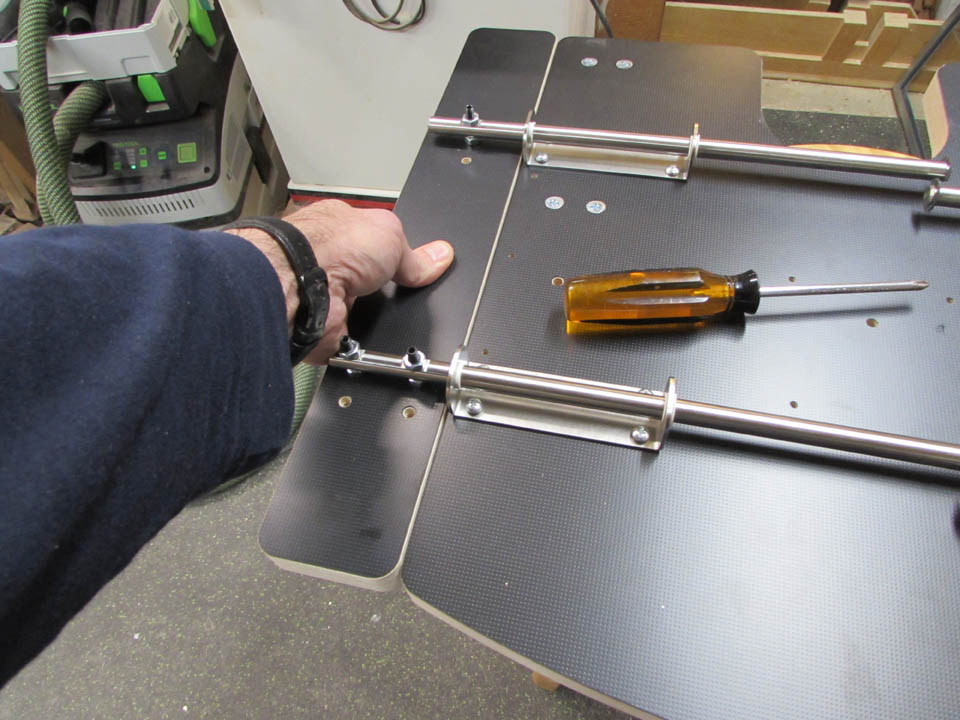
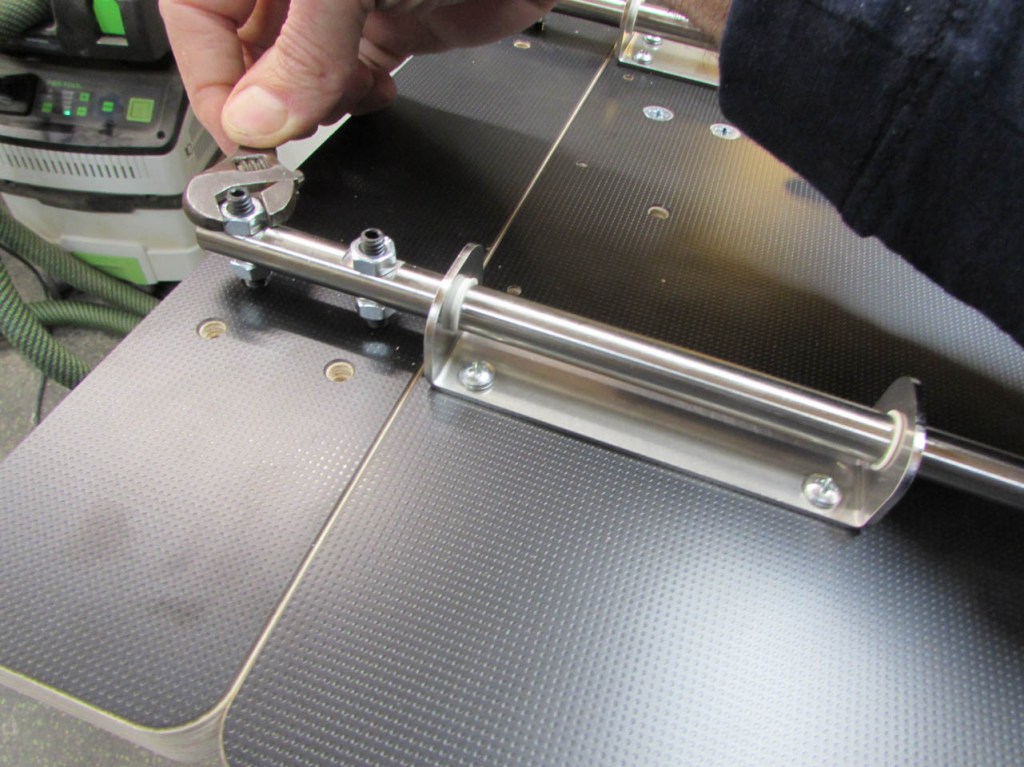
The table and the sides did not initially line up, but the nuts on the studs could easily be adjusted until both sides were flush with the top.

After I found the perfect location, I could tighten the nuts to hold everything at the right level.
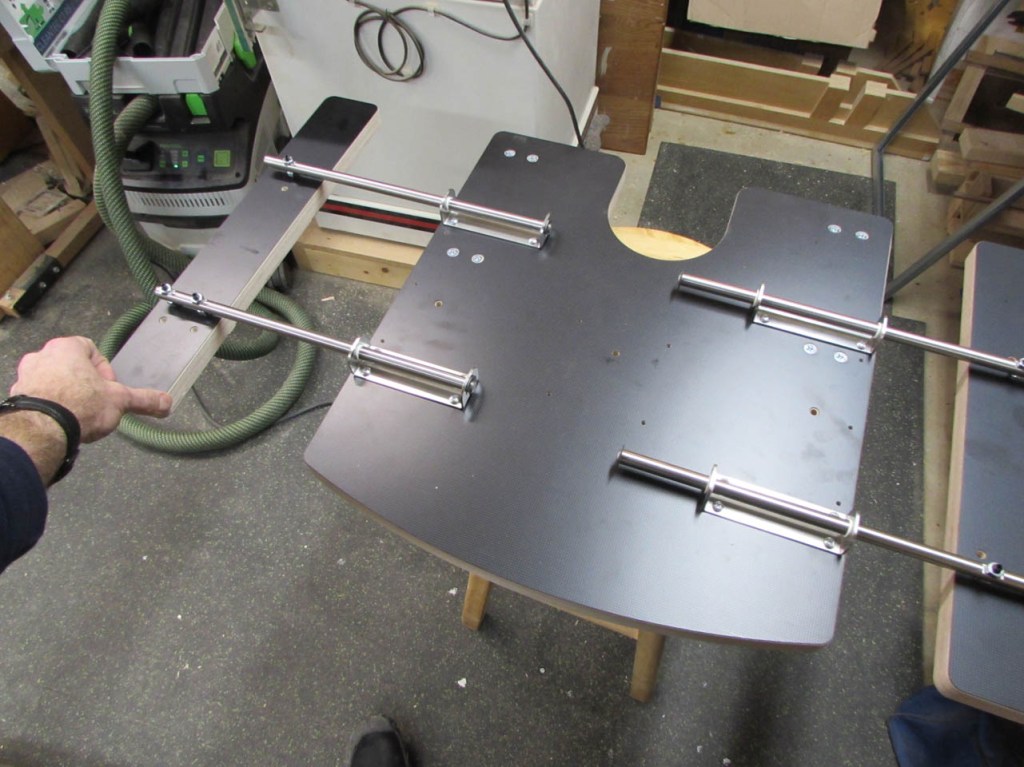
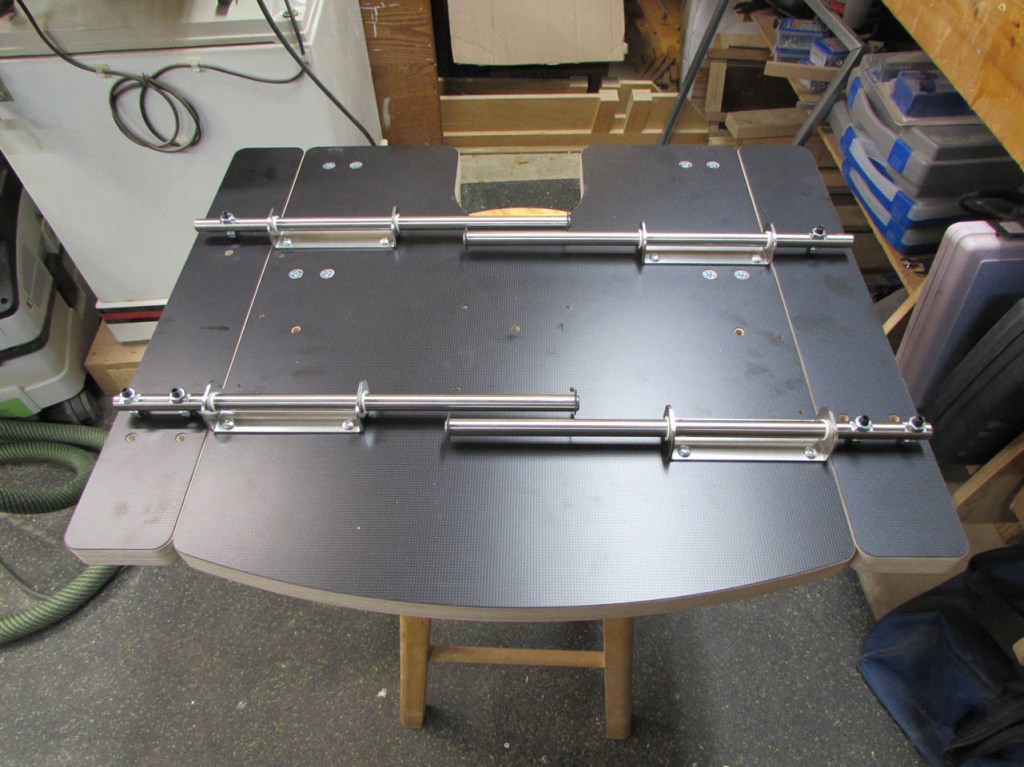
The wings open and close smoothly and independently of eachother.
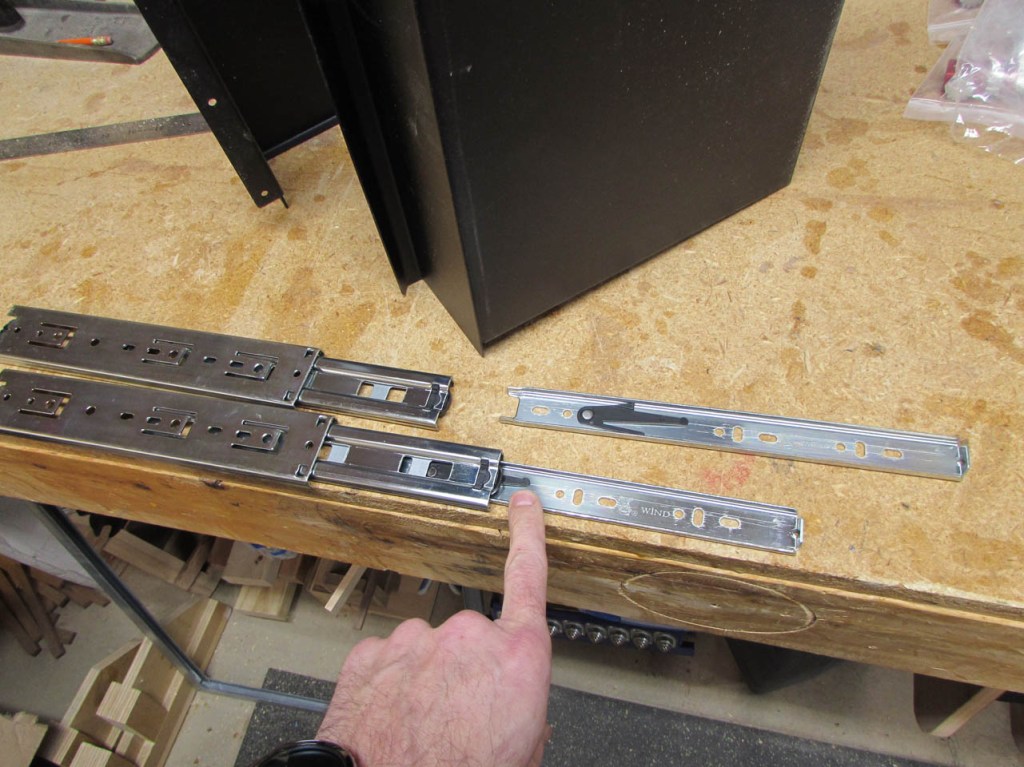
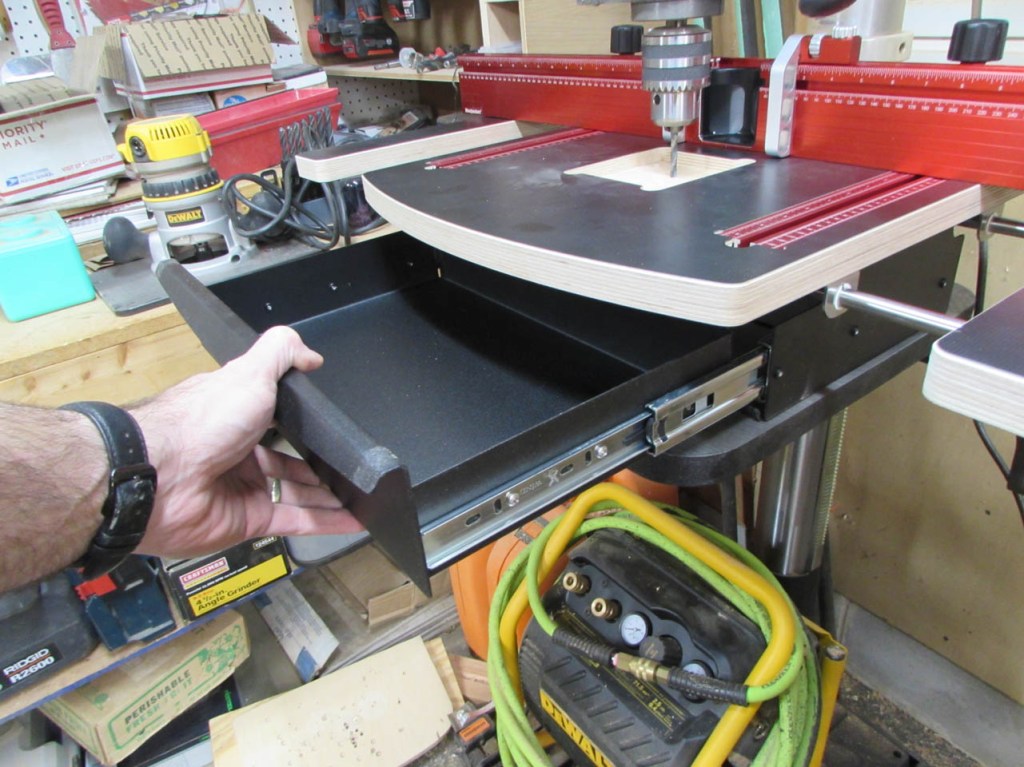
Next step was to separate the parts of the drawer slides by pushing down the black lever and pulling the bracket out of the slide.
One piece attaches to three holes on the drawer, and the other side attached to the drawer frame.
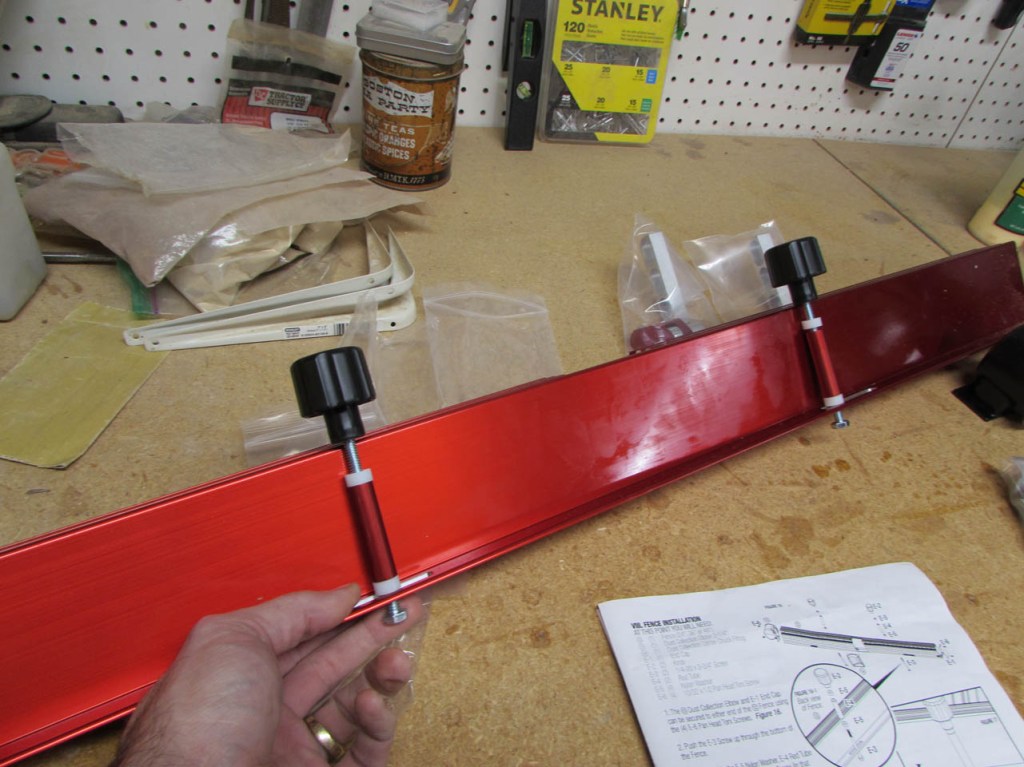
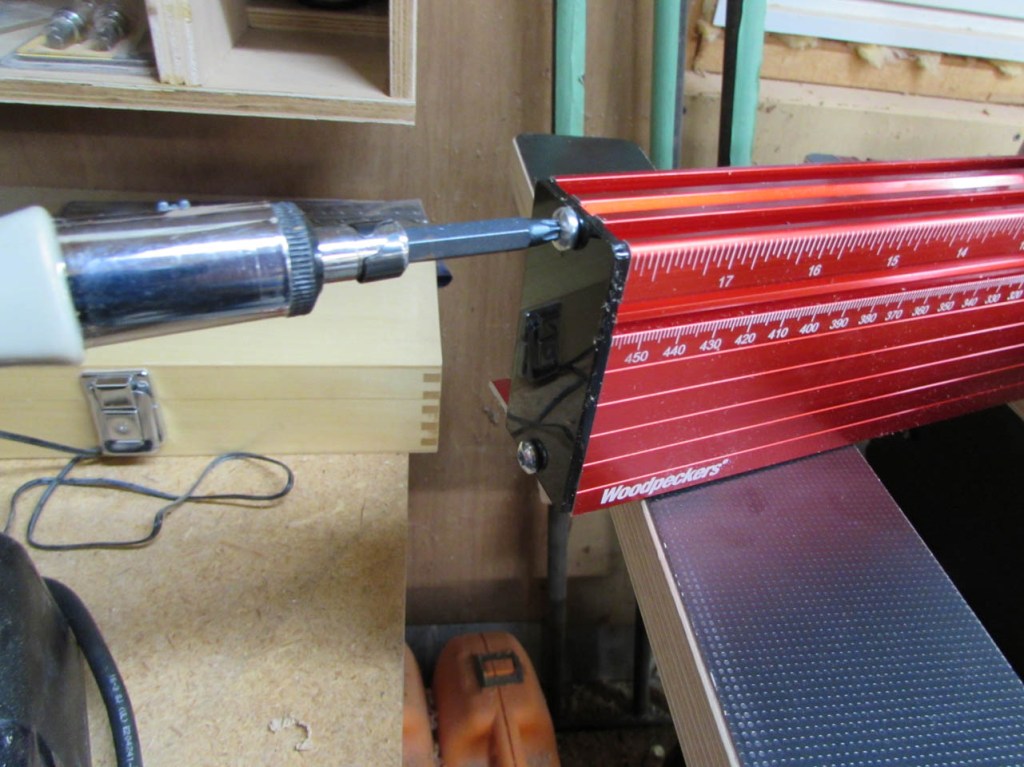
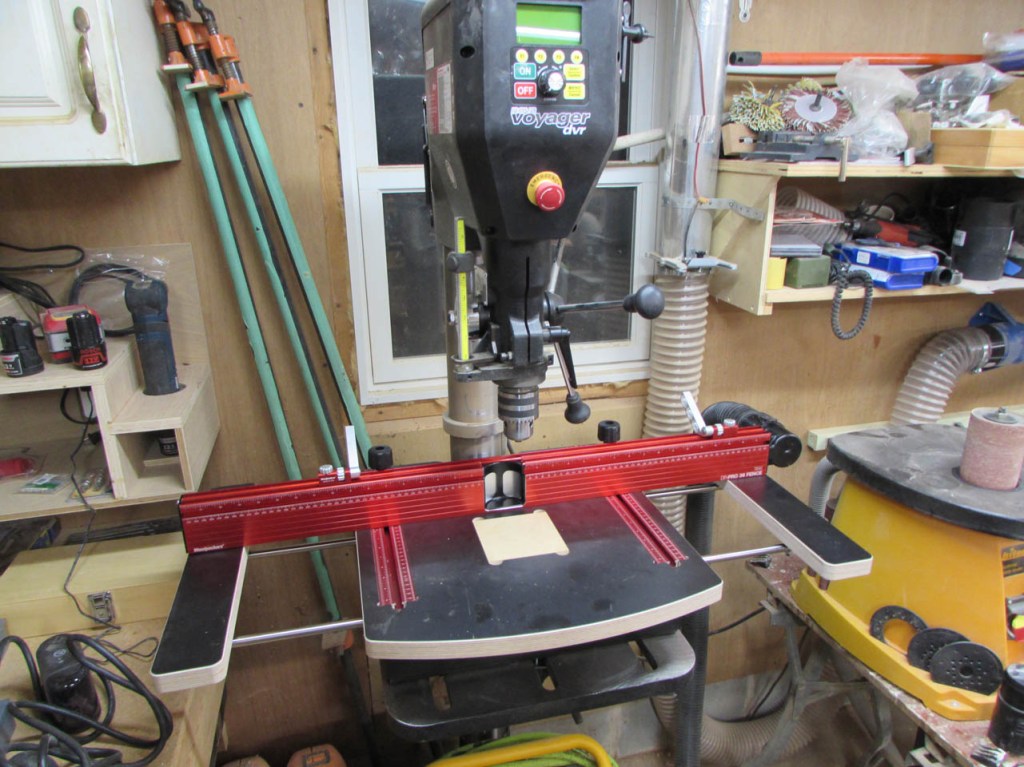
Running a bolt up through the slots on the back of the fence allowed me to assemble the parts of the fence’s clamping knobs. Then the fence was slid into the tracks on the table and tightened into place.
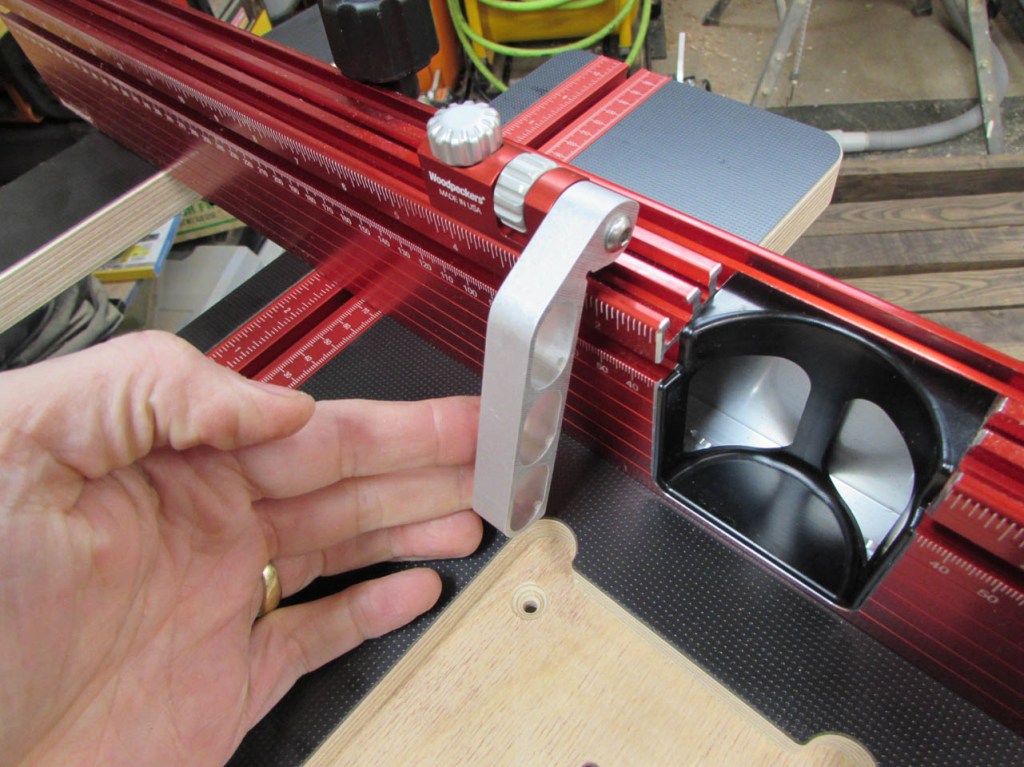
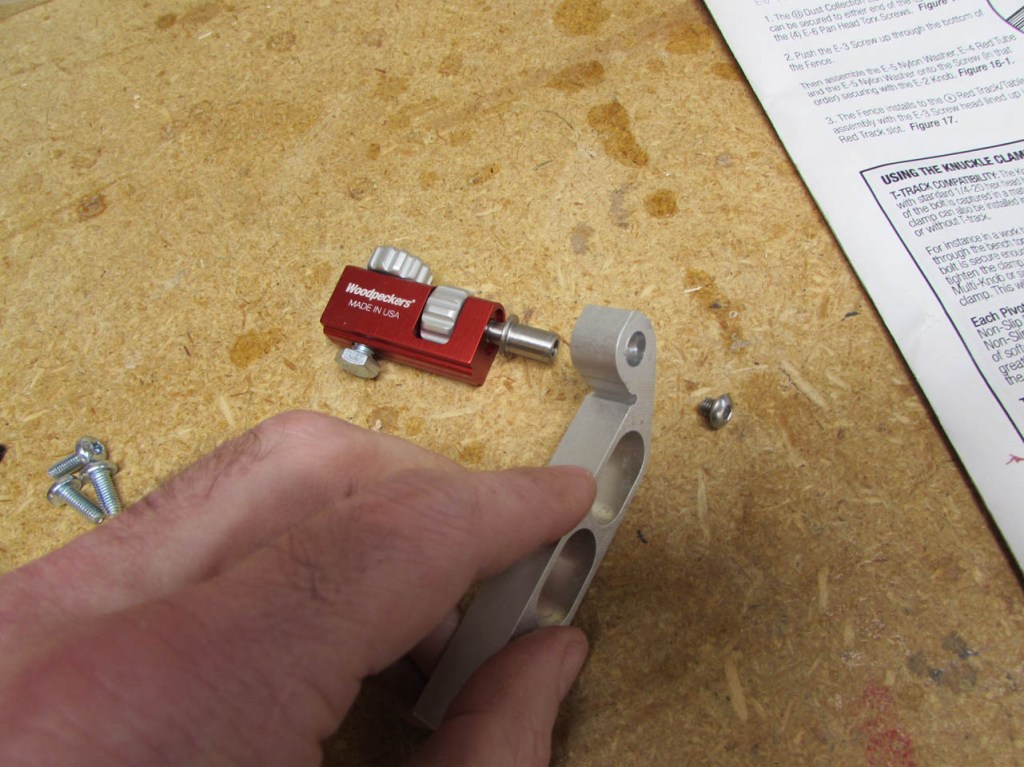
I installed one of the flip stop s on the left and took apart the other one to swap the direction of the arm so that it could be installed on the opposite side.
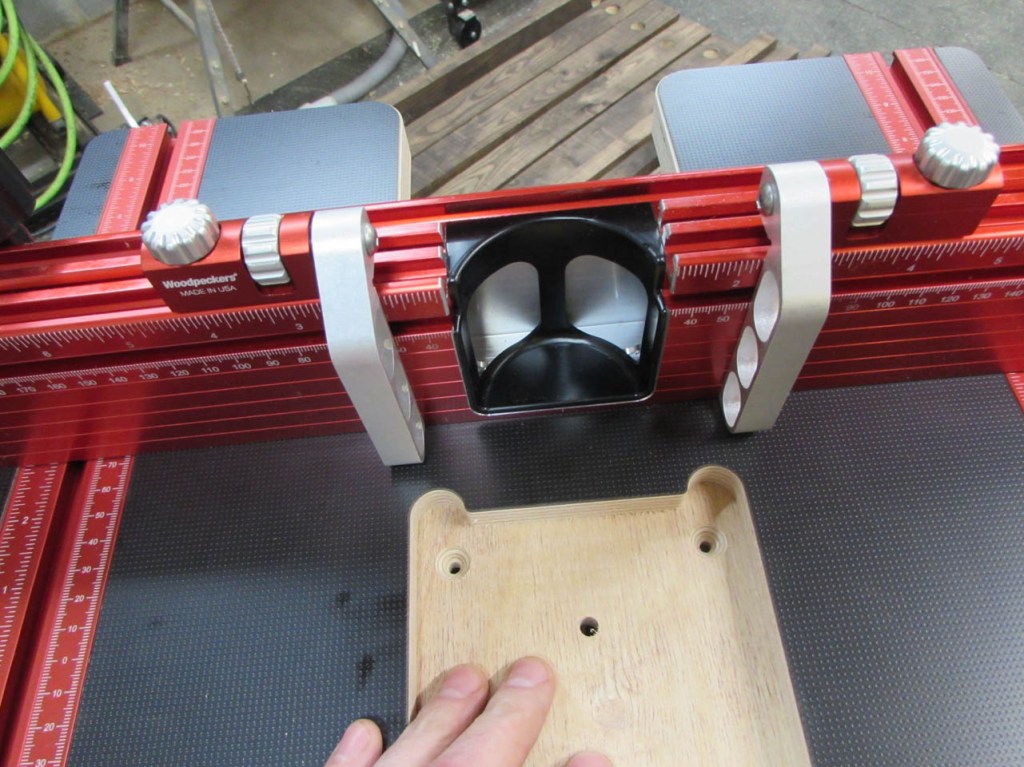
I do not know if I will need more than one to a side, but this works for now.

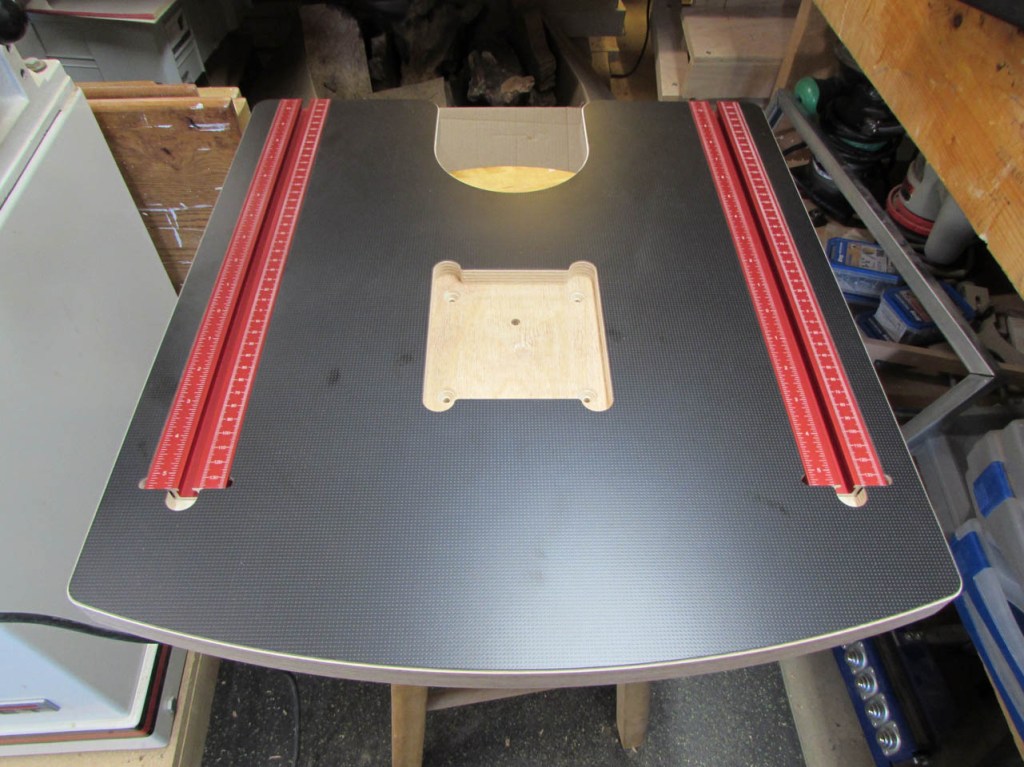
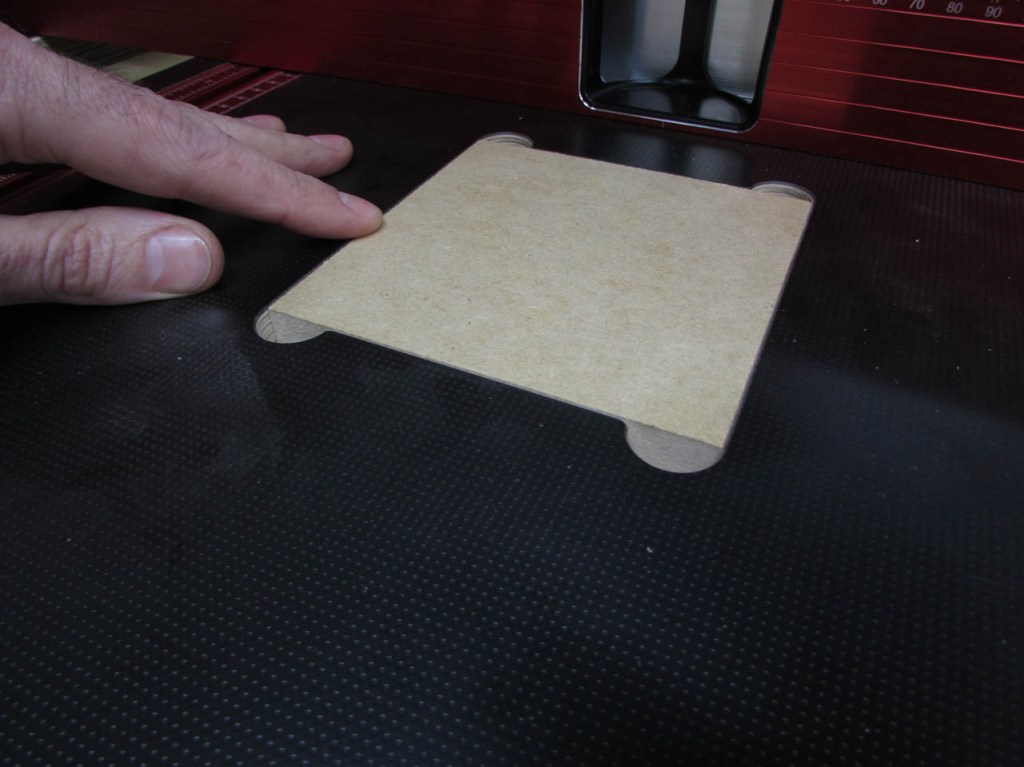
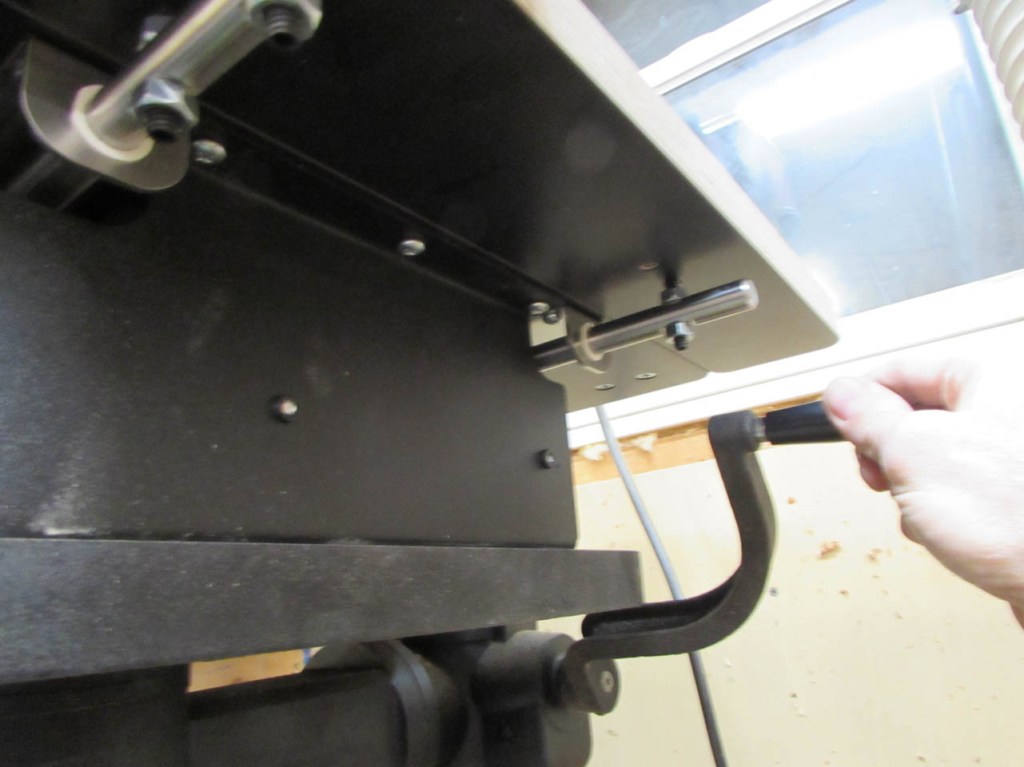
To align the table with the drill, You insert a 1/4″ bit into the drill chuck and lower the head until the bit lines up with a hole in the center of the table.
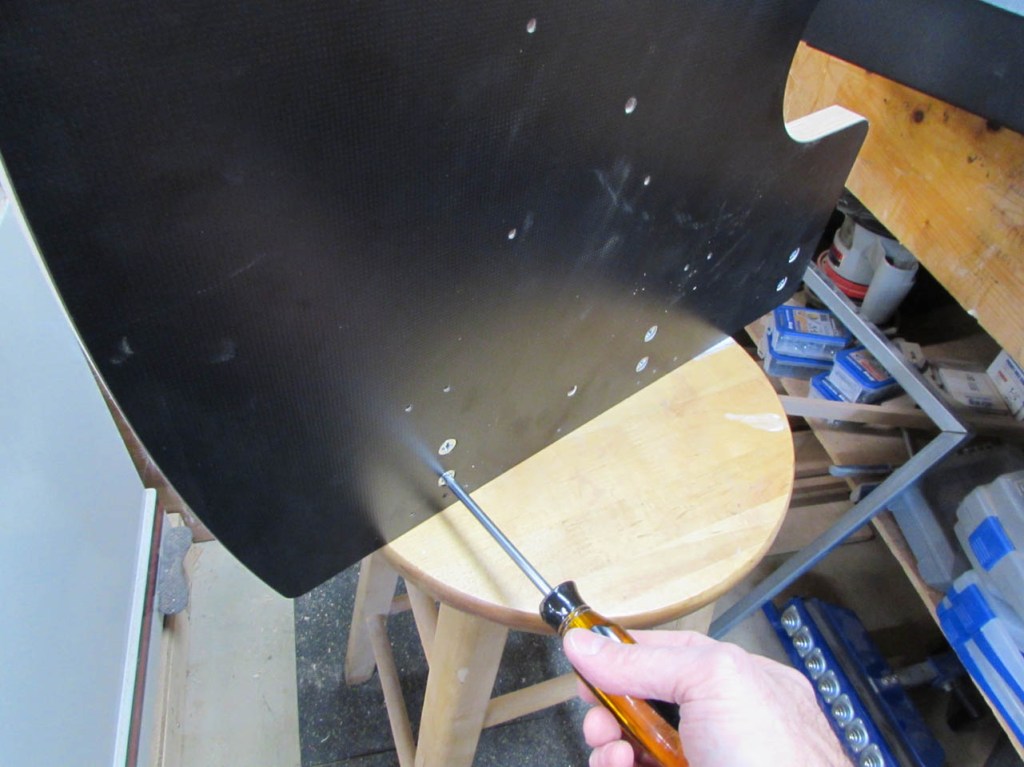
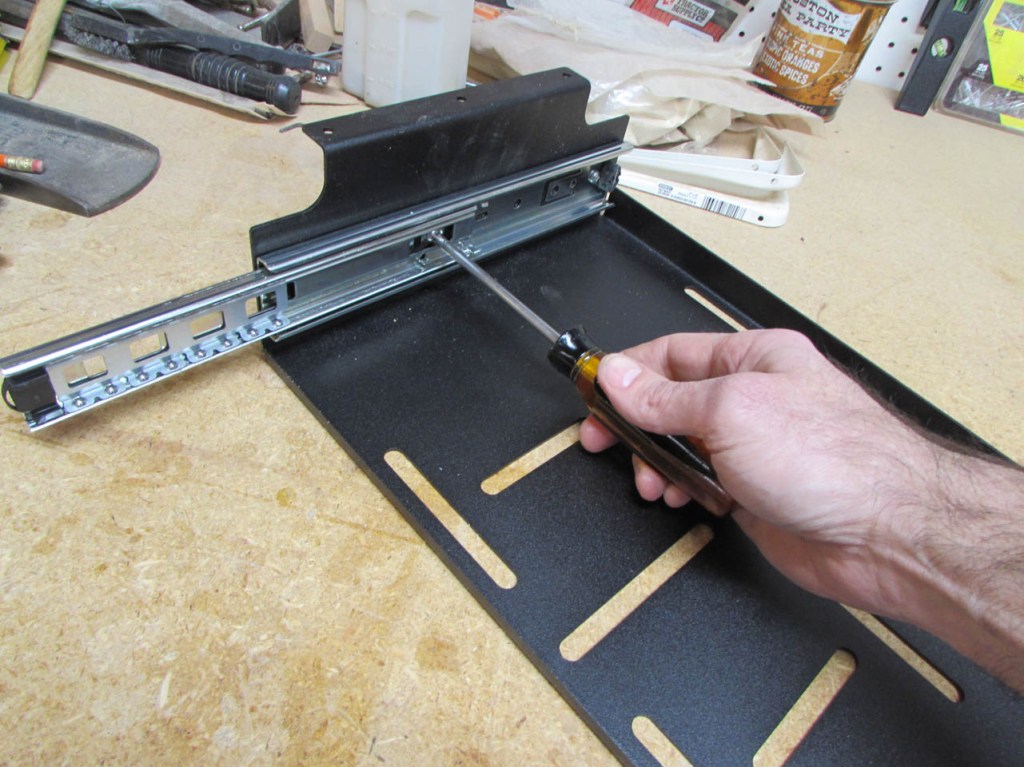
Then you can drop bolts through the table and place t-nuts on the bottom and tighten. The pattern on the drawer frame should fit just about any drill press table. They include a bunch of extra bolts and nuts to fit various size slots.
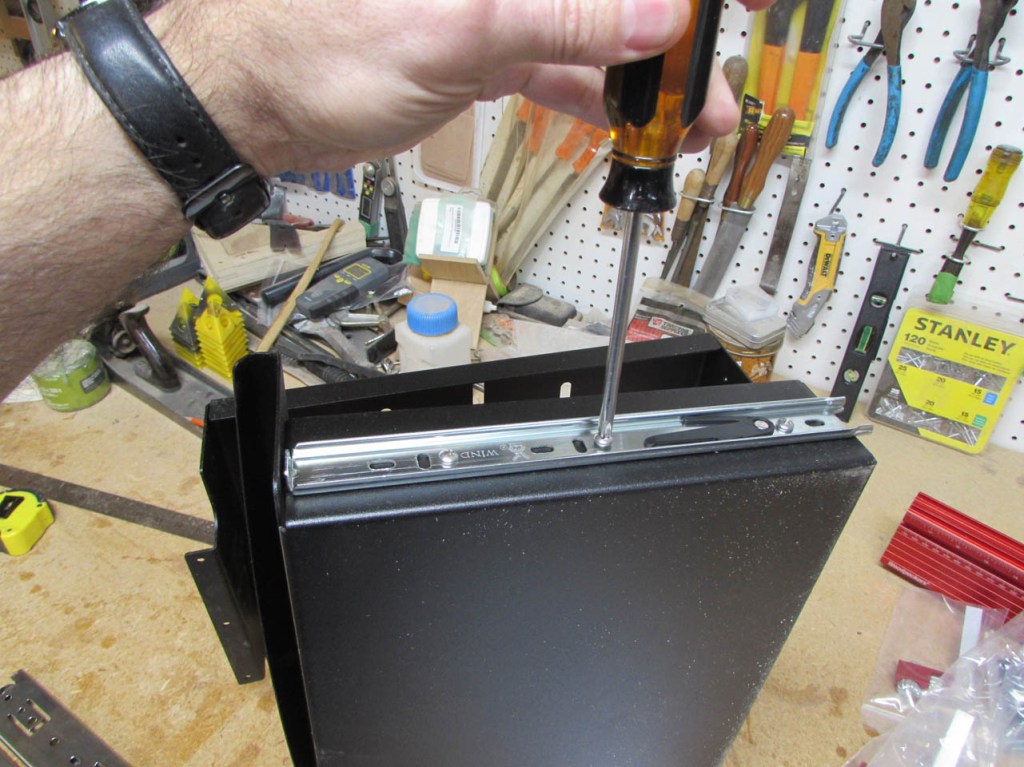
The holes in the drawer and frame were so precisely placed that the drawer slides back into the brackets, on the frame, perfectly.
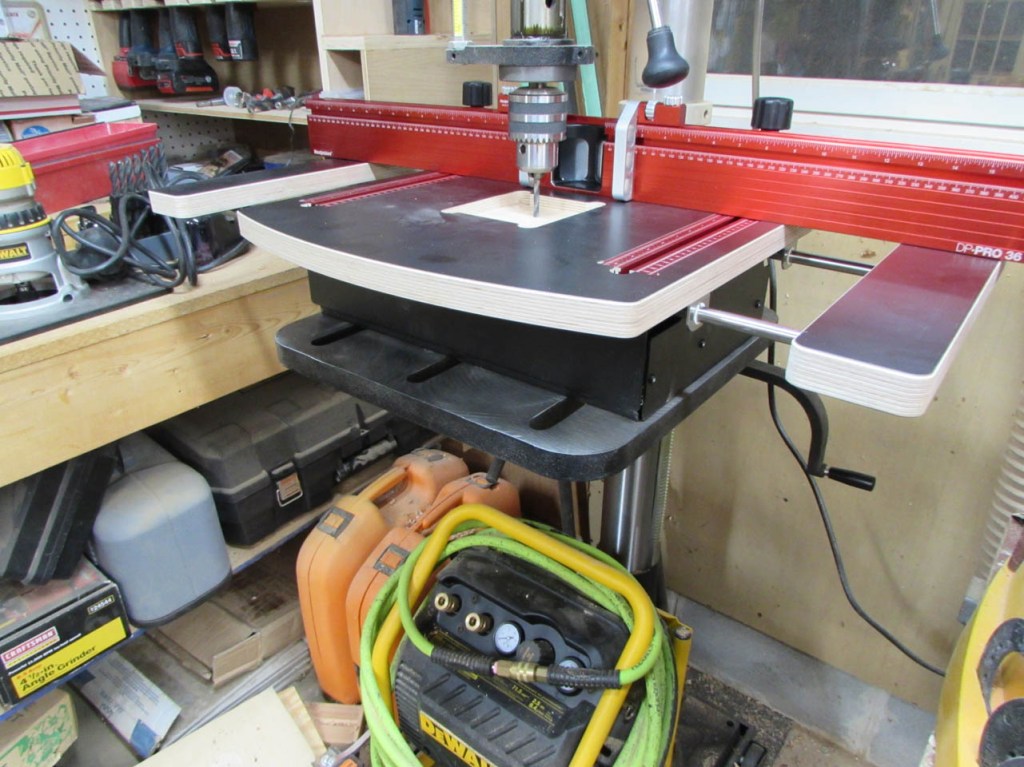
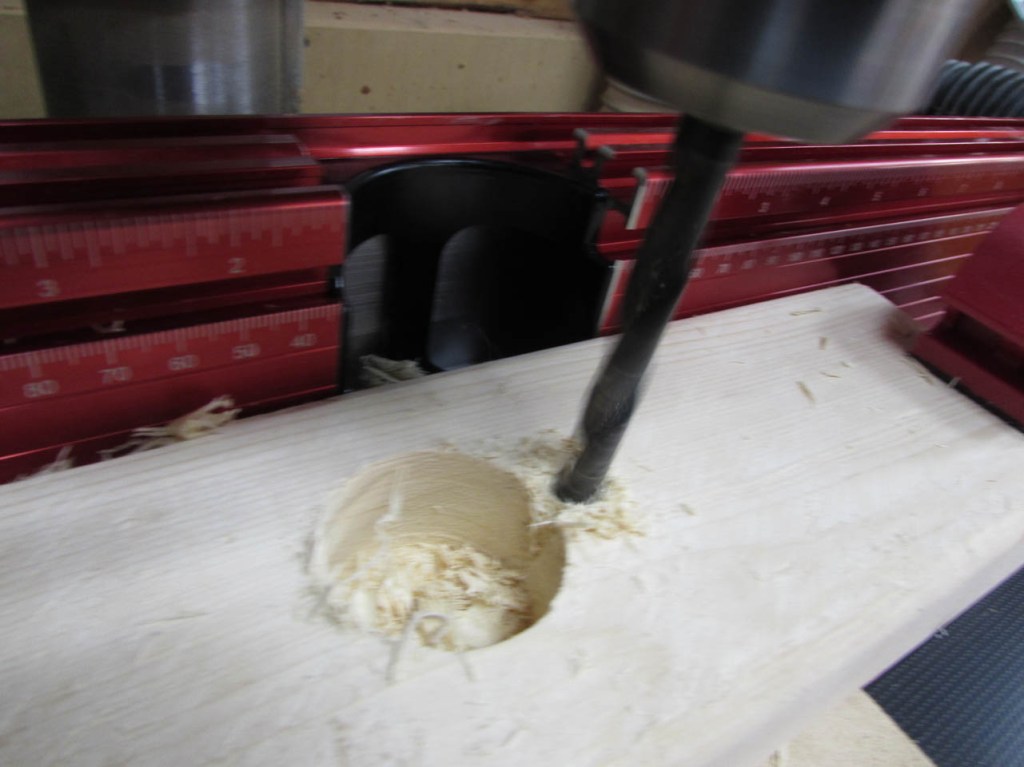
They include a sacrificial insert for the center area that will be under the bit. There are screws to level out whatever size plate you want to replace it with, in the future.
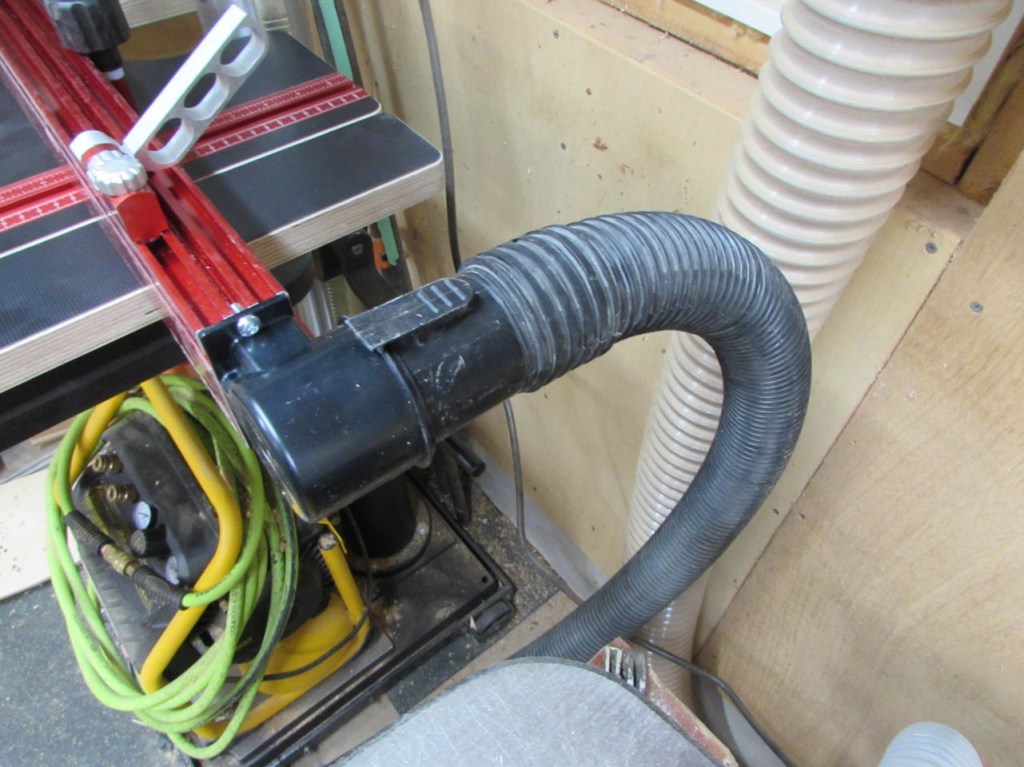
The last thing to do is install the dust port on one end of the fence and a plate to block off the opposite end.
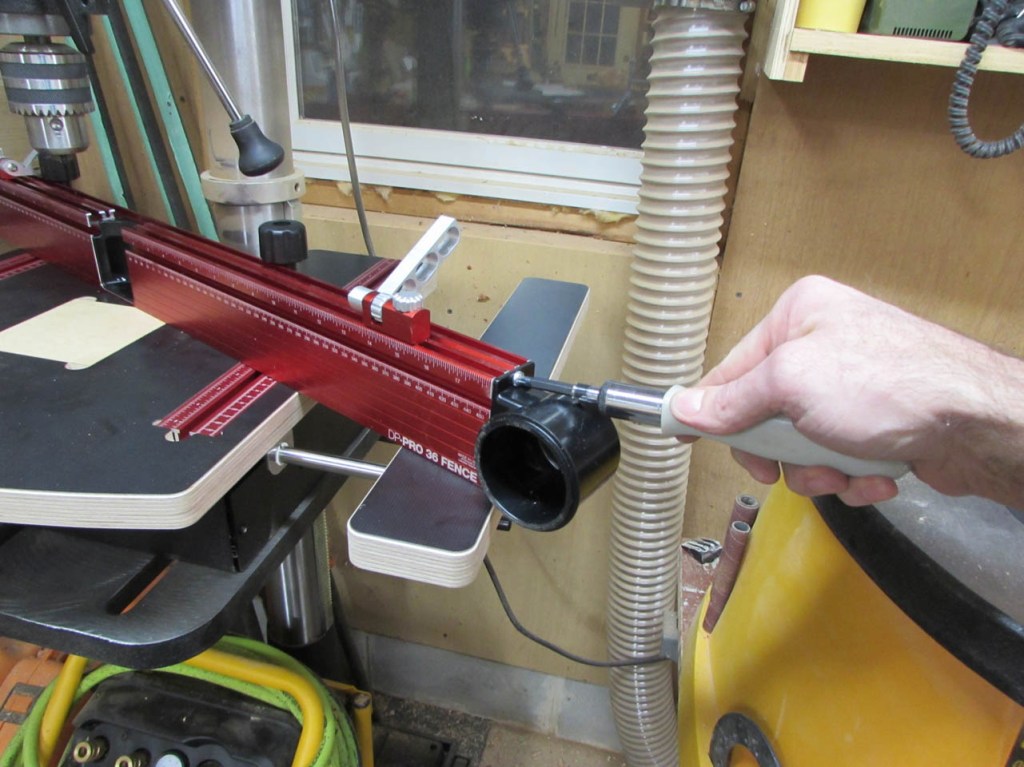
It actually needs to face backwards so that your hose is not in the way, but I left mine facing foward to test it.
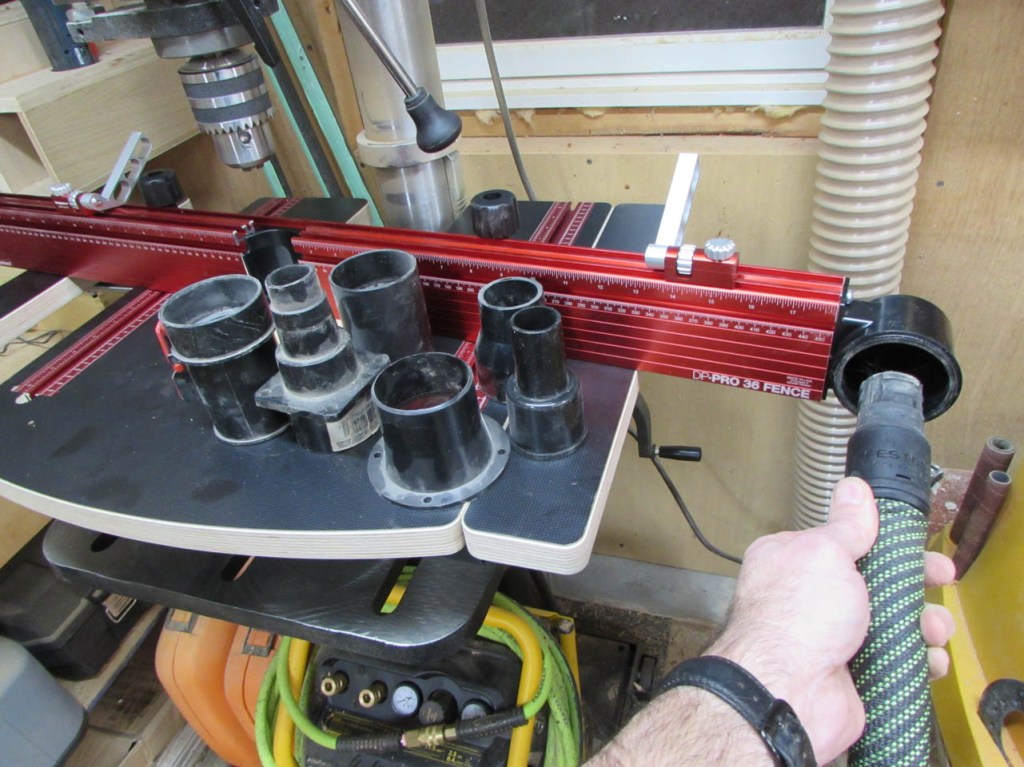
This was my only disappointment with the table, all of the ads on Woodpecker’s website show a green vacuum hose, leading me to believe that it was a Festool hose. I was wrong, it is 2-1/4″ for a standard shop-vac hose. Unfortunately my only hose that will fit is not very flexible and keeps the fence from going all the way back. Also, I don’t like necking the big hose down to the smaller one, doubling the length of the hose run. I believe that really decreases my suction. Not a deal-breaker, just unexpected. Hopefully Woodpeckers will make a few different adaptors in the future.
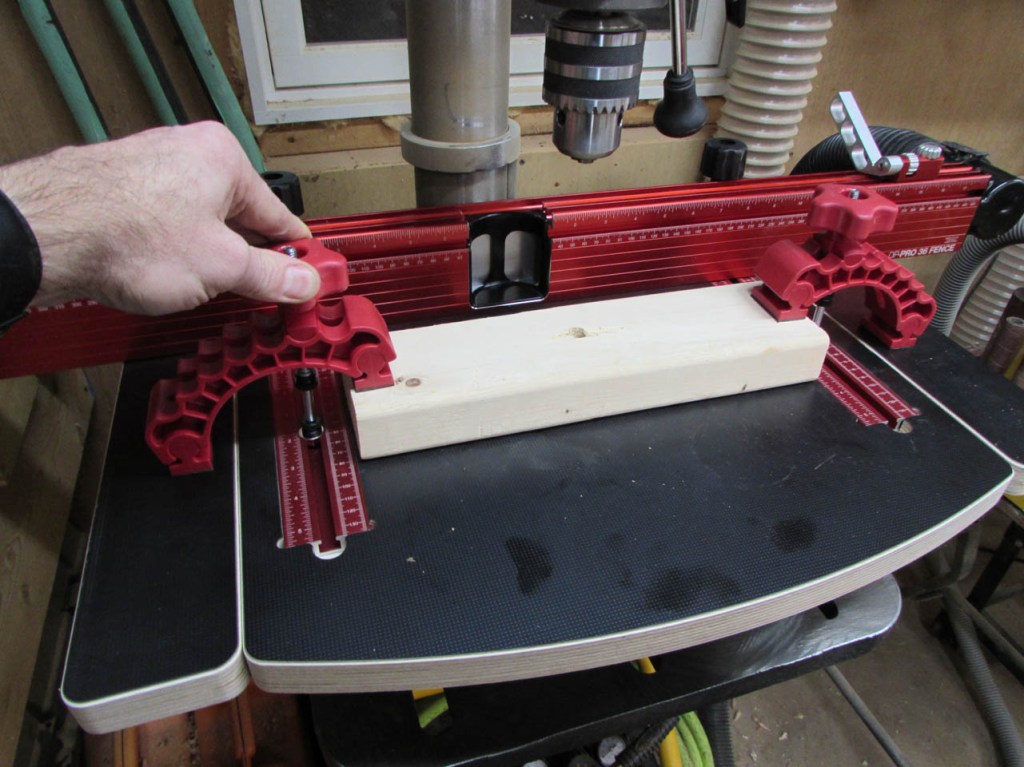
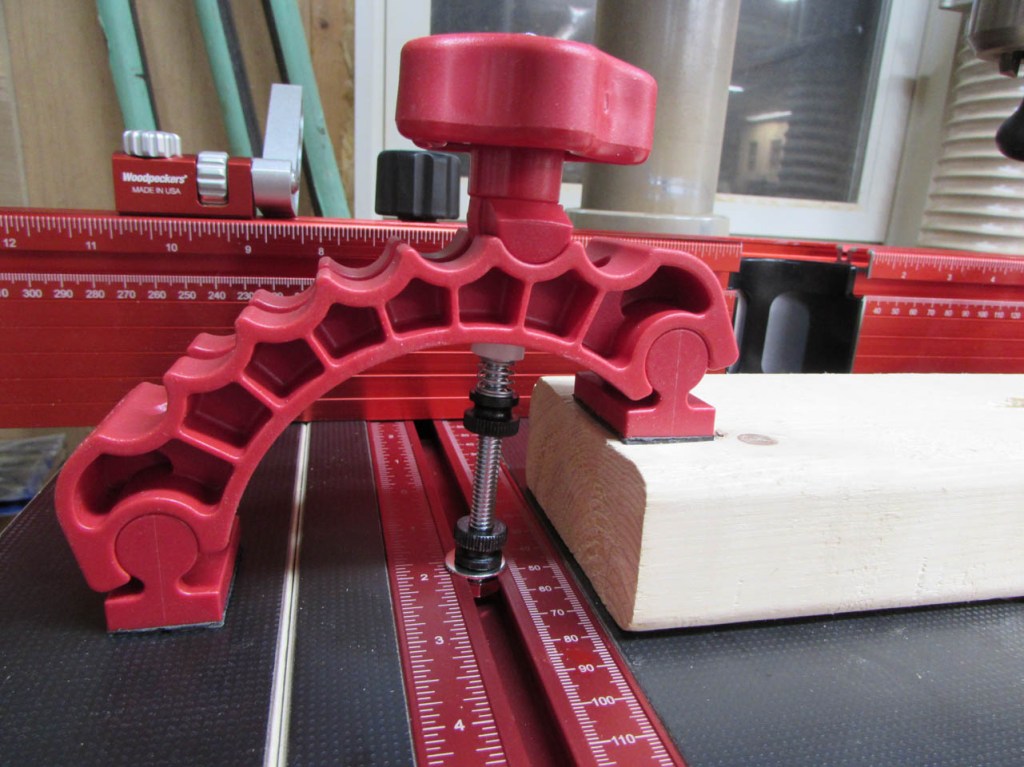
I also purchased the model that came with these cool knuckle clamps. They have a spring load to hold things in place until you can tighten everything down. A really nice design.
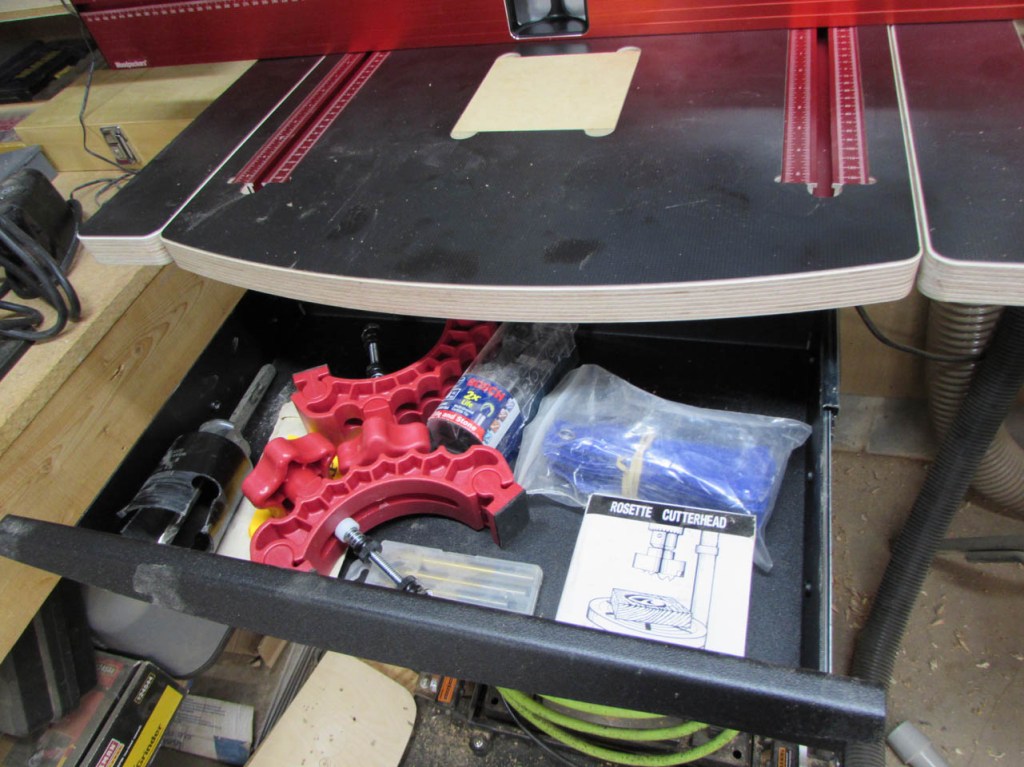
The drawer is not too big, but large enough to hold the clamps and a few bits.
Everything went together easily and the crank handle works very well.

The dust collection is not 100% but it is very good at sucking up the finer dust which is more important to the air quality in my shop. Plus, after removing the material, I can sweep the mess towards the fence and it gets sucked away.

All in all, I am very happy with the quality of this table. I predict that I will modify the connection to my vacuum shortly. I have a few ideas to modify it to attach my Festool vacuum hose and maybe even direct it down so that the hose doesn’t hit the wall or the sander next to it.

Thanks for your review of the DP pro drill press system by woodpecker. I have the same problem of attaching my Festool 40 mm external diameter standard hose to a 50 mm internal diameter opening. I don’t have a standard shop back but I have the rigid dust collector which doesn’t fit the opening. I would appreciate anything that you’ve come up with which allows you to use the Festool standard 40 mm diameter hose.
John Jucas
Hi John, I have been meaning to put up a post showing version 1 of what I came up with. I will email you the pdf and post something shortly.
I just posted my prototype version of a Festool adapter.
Been looking at that drill press table but can’t decide on size. I have the same drill press, any recommendations?? What size is yours
I bought the biggest one that I could fit in the space I had available. I got the 36″ table with the 36″ fence. I haven’t found a need for anything larger yet.
I have a WEN Benchtop press, any reason the 36″ table would not work on that? The existing table is kind of small (not in front of me right now, so I cannot measure)
I think it is pretty universal. I don’t see why it wouldn’t work. You could always touch base with woodpeckers and ask them as well.
Thanks for the info, very helpful. But my problem is even more significant. Buyer beware!!! I have an old shopsmith tool, which I have upgraded over the years and I wanted to upgrade my drill press table. The woodpeckers seemed like a good one. Before I purchased, I emailed Woodpeckers support to ask about compatibility with shopsmith and they responded quickly with…Yes, it works great with shopsmith. After purchasing and receiving the table, I realized it would not fit without severe modifications to the main table. I would have to cut out sections of the table to fit (expand the center section cut out for normal drill presses) around the 2 shop smith way tubs which hold the motor headstock. Which is the advice I got from Woodpeckers after a second email to them asking about compatibility or return it. I am also going to have to relocate the drawer as well, under the lower way tubes on the shopsmith. As I will need to remove the entire drill press table to use the shopsmith in other configurations. I think this can all work, I have some ideas on how to modify it, but just a big pain in the a….! Suggestions welcome.
Hey there great post. I was curious if you could tell me the dimension between the two knobs that hold the fence to the table. Looks like they ride in an adjustable slot so it is adjustable but I’m trying to figure out if I can mount it directly to the slots in my pm2800b drill press table
The distance between the two posts on my fence is adjustable from 14″ to 16″. I hope that helps.