
Matching Oak bookshelves – part 2

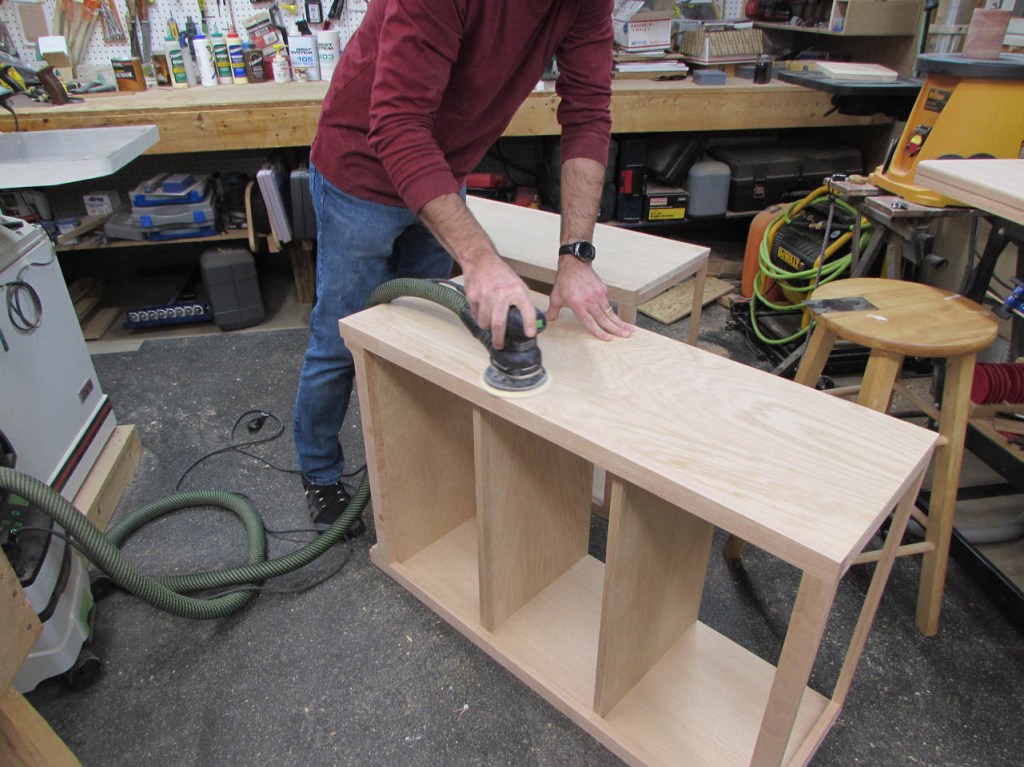
Over night, the epoxy and glue have dried so I pulled all of the tape off and started sanding.

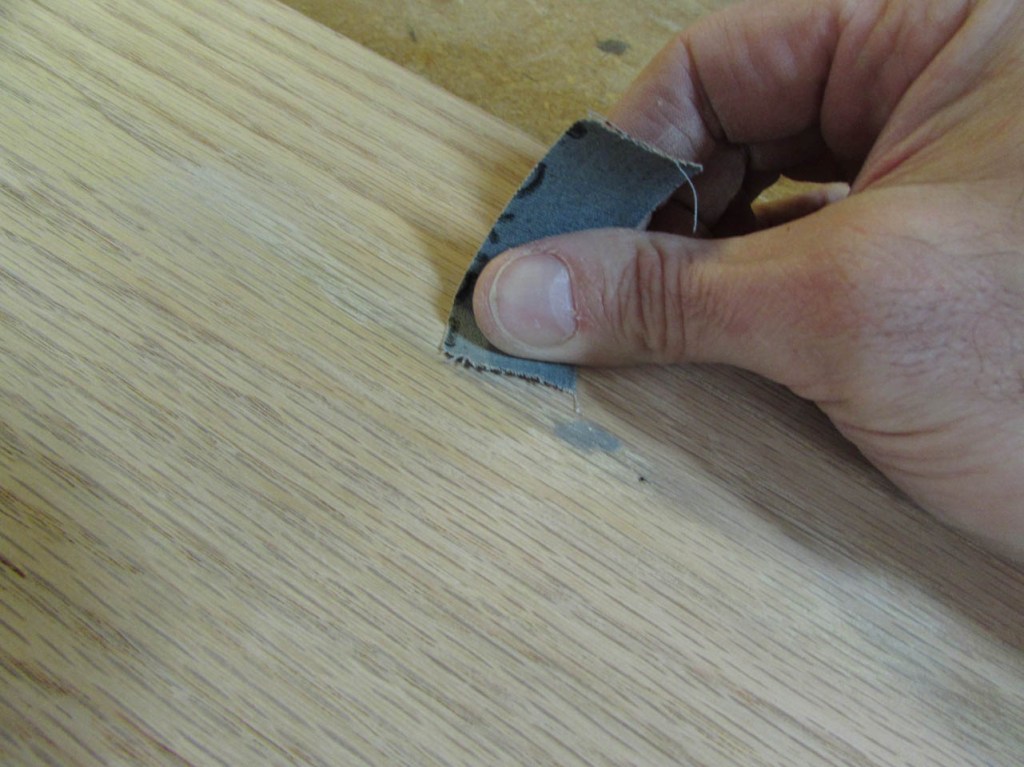
I worked my way up from 120 grit to 400. The epoxy will show scratches, so the finer the grit, the better. Once finish is applied, the fine scratches will disappear.

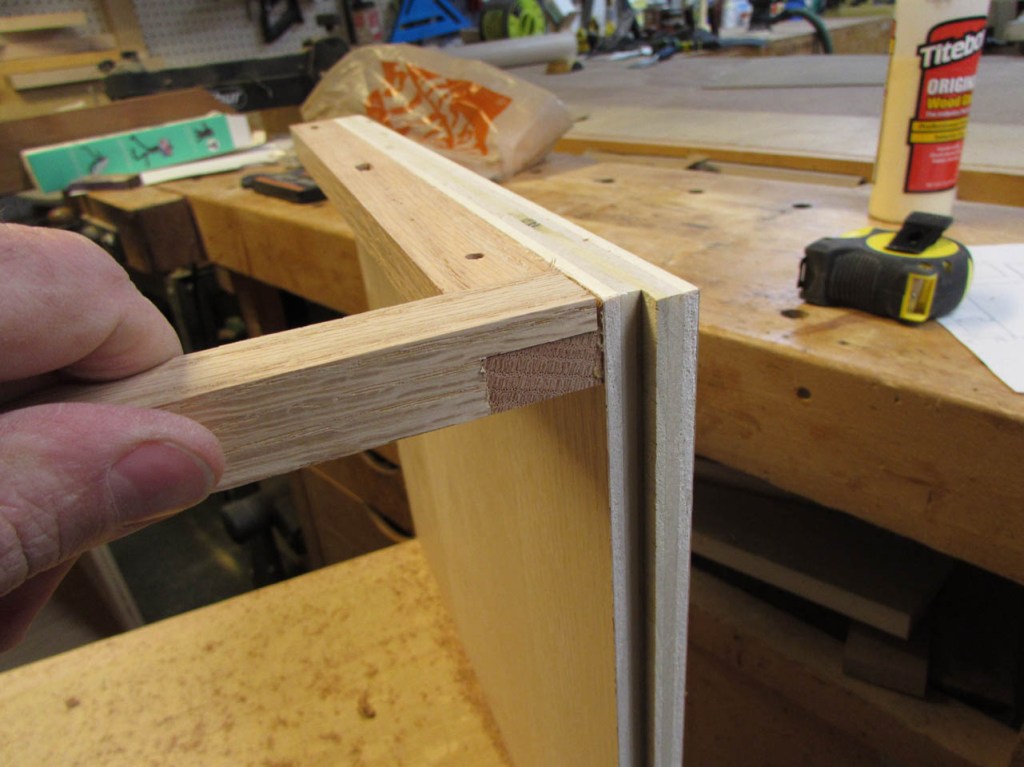
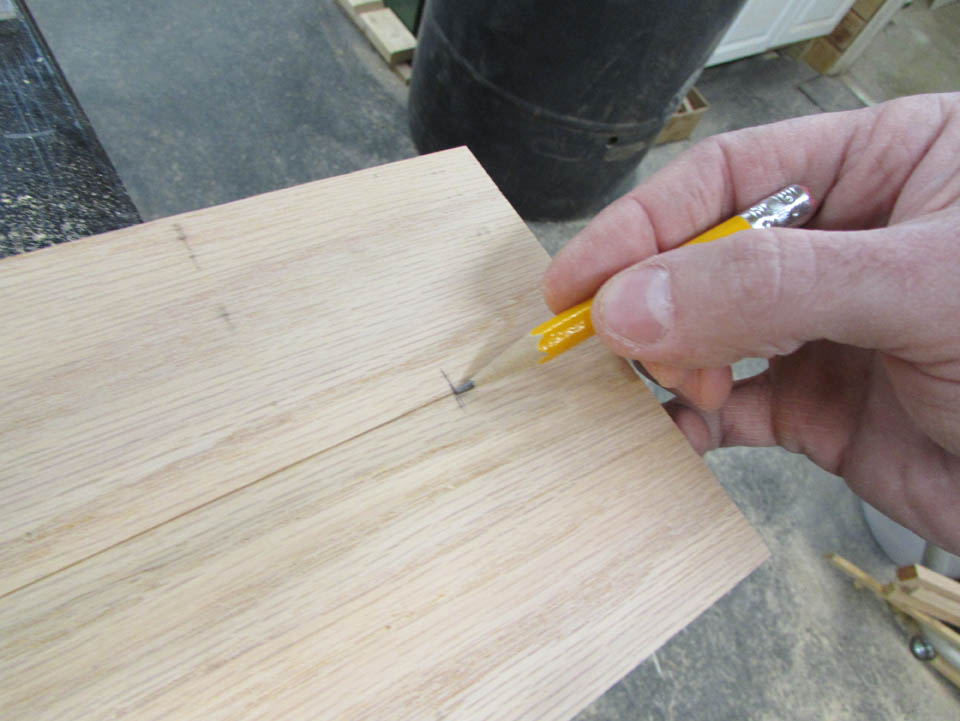
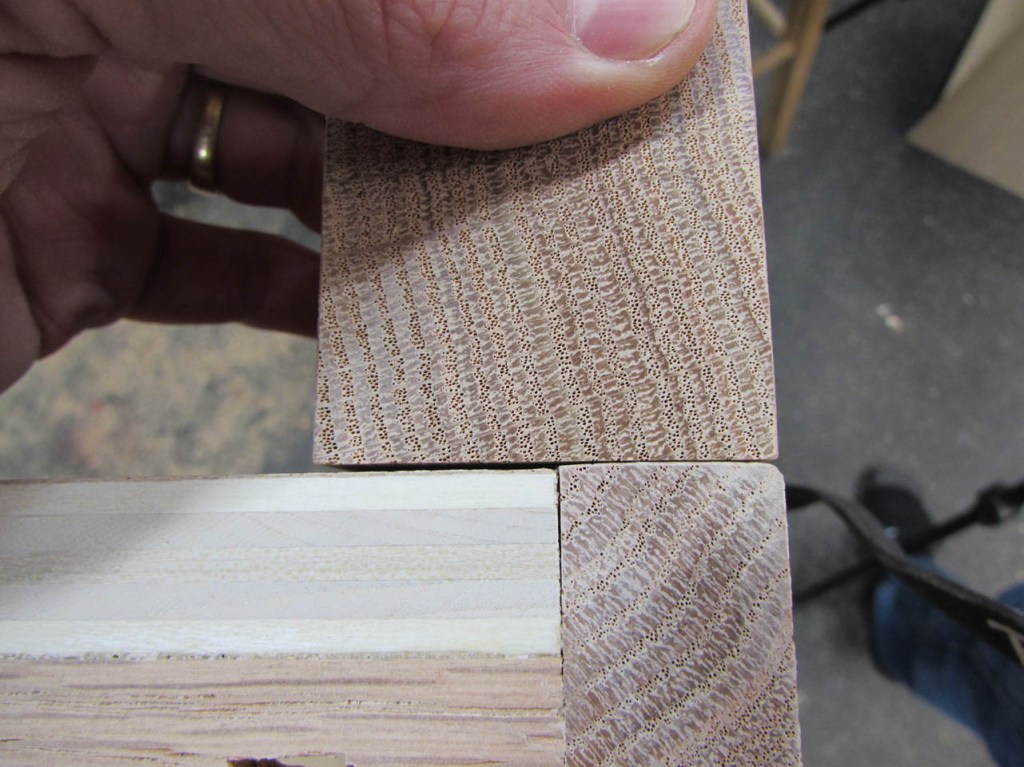
The CA glue has completely filled the crack and solidified. This will prevent the crack from expanding any further.


While thinking about how to attach the back panel, I noticed a possible problem. I will be using 1/4″ thick plywood on the back, and it will be glued and brad nailed to the rabbet in the sides and along the back of the shelves. No provision has been made yet, to support the top of the plywood. I could cut a groove into the solid top to receive it but I want the top to be able to move if necessary. I need to add a support that will be attached to the carcass.


I cut down a couple of 3/4″ square pieces to span the back of both shelves.

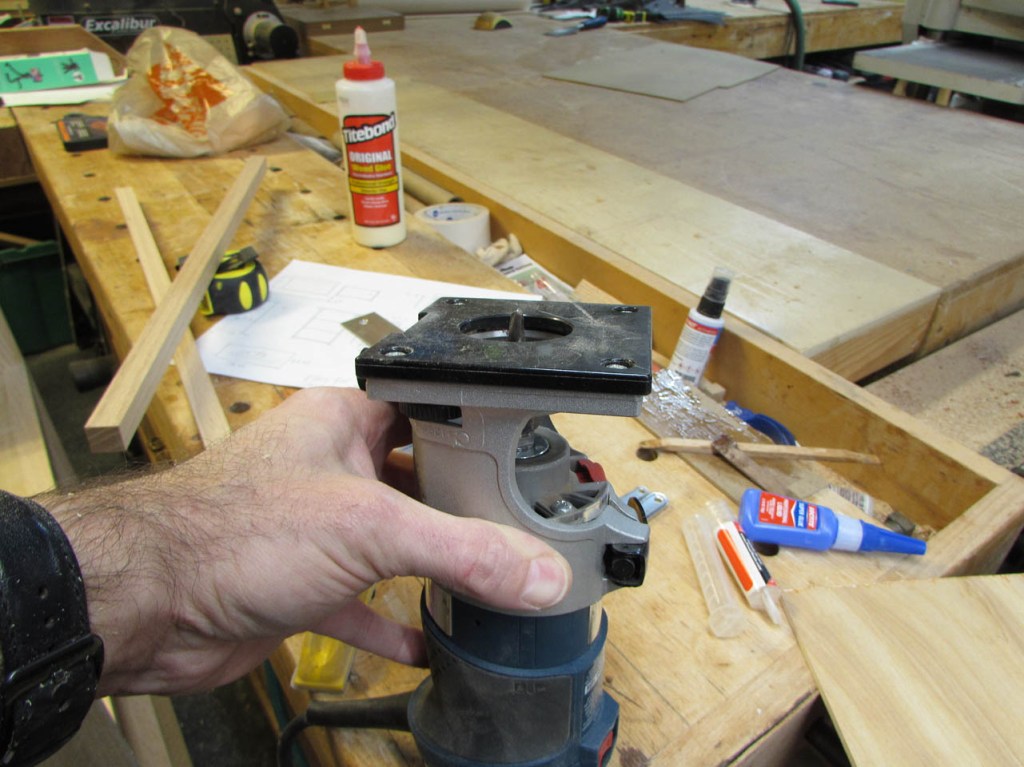
I marked the location and set a 1/4″ spiral bit in my trim router.

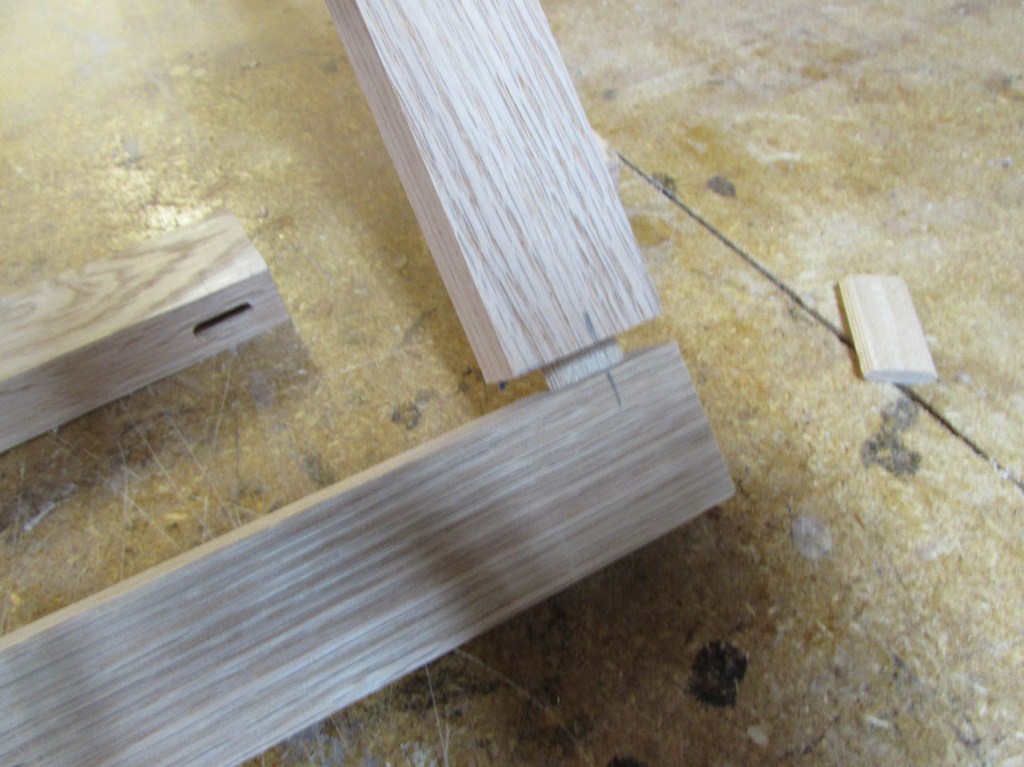
I carefully cut a notch, for a half-lap joint, on both sides.

Then, using a large block of wood, for support, I cut a mating notch into the ends of the 3/4″ strips.

Laying the strips flat, I completed the notch with my miter gauge, on the table saw.

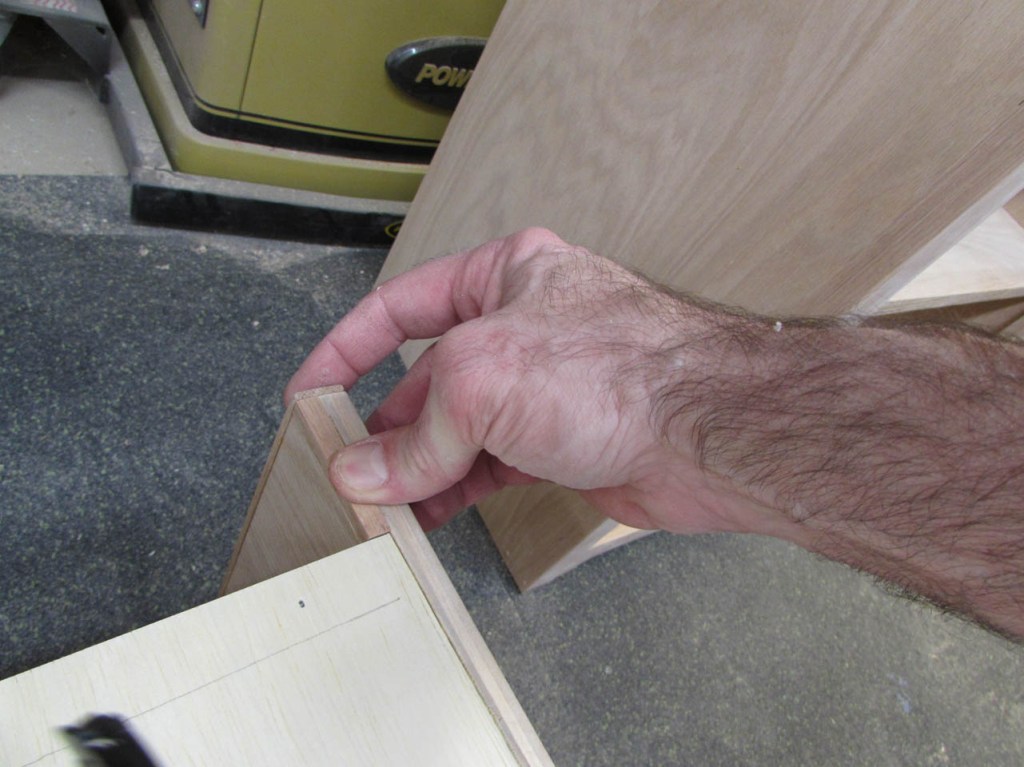
The dry-fit looks good.

After testing the fit of the plywood, I clean up the routing and square the corners with a chisel.

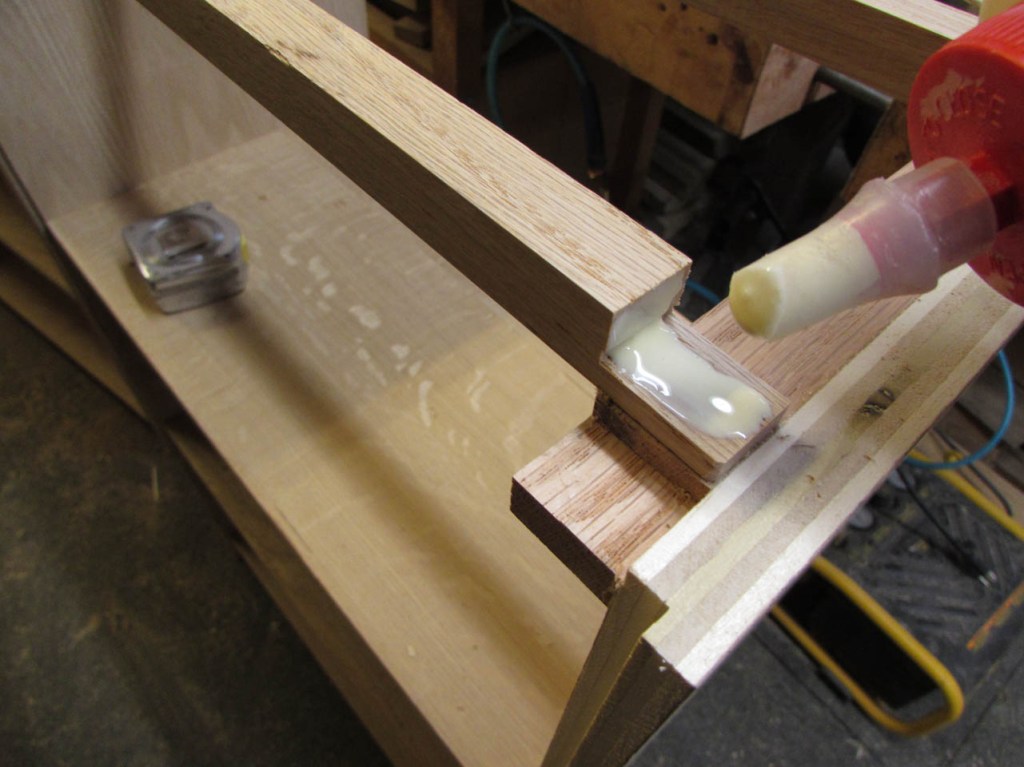
A little wood glue and some time in the clamps, and I will have a backer strip to catch the top of the plywood.


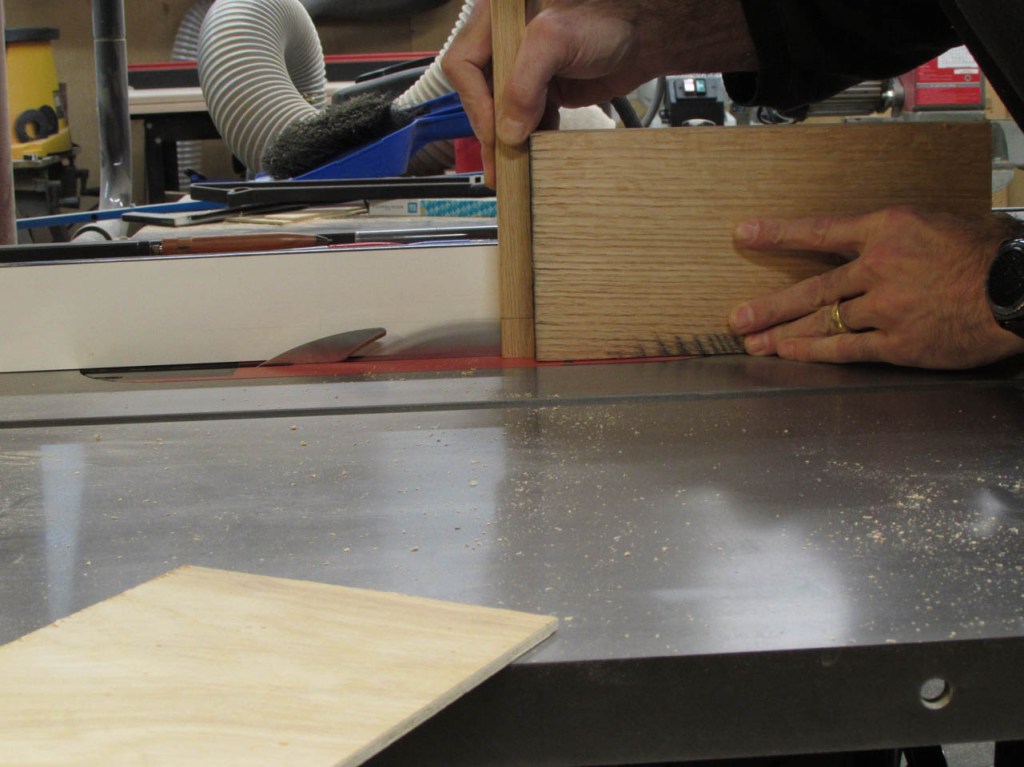
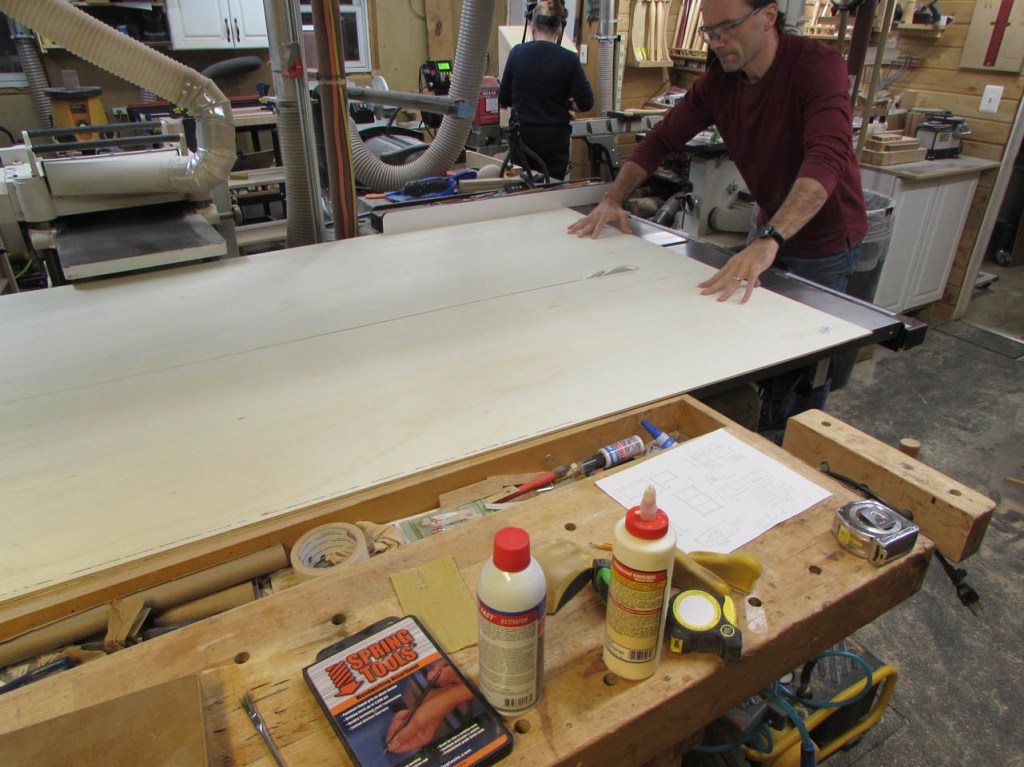
With that complete, I pulled some rough-sawn oak to start milling down the face frame pieces.

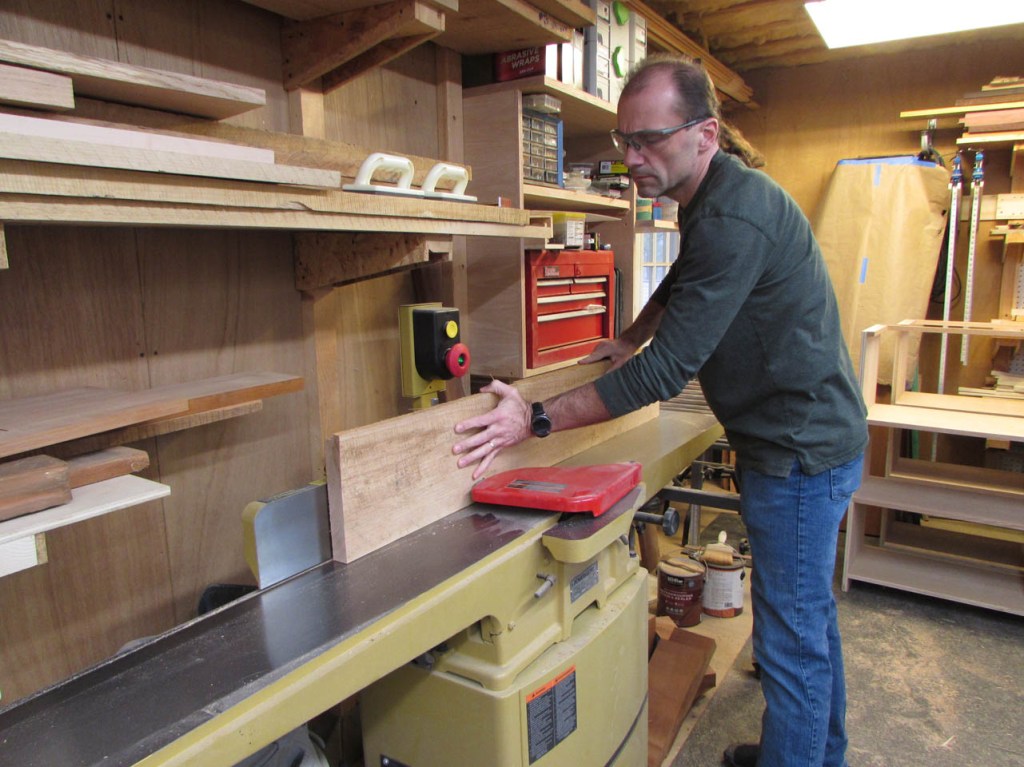
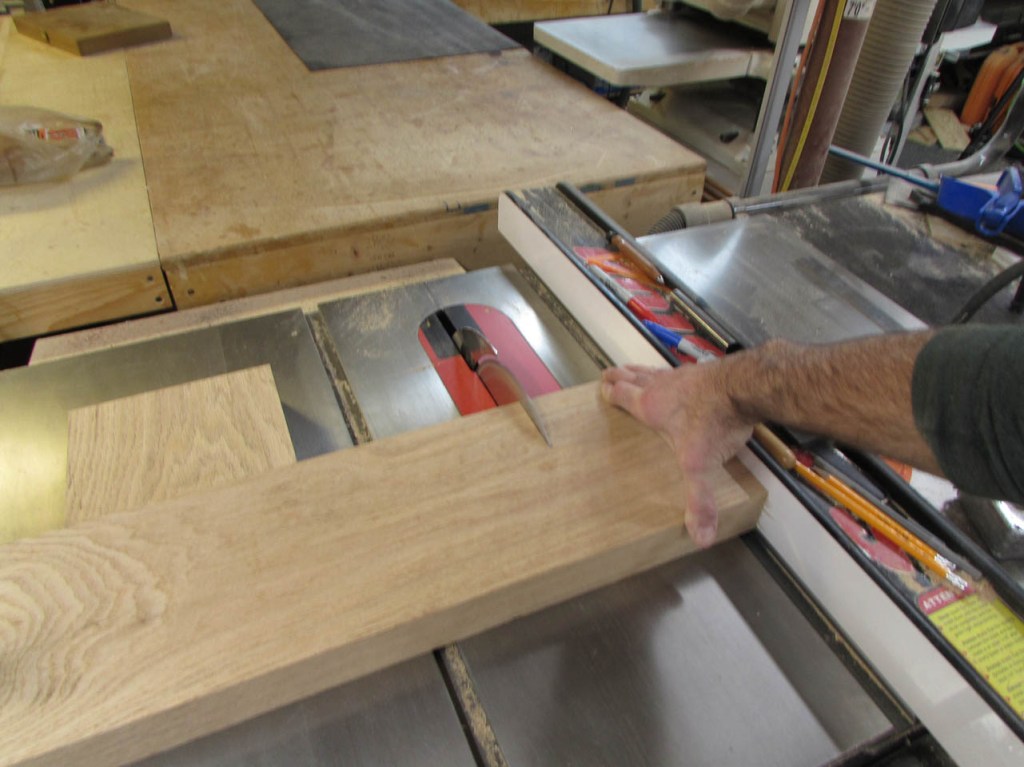
This board was a bit too wide for the jointer, but the edges were a little chewed up so I jointed the best side, then cut the board down to 8″ wide on the table saw.
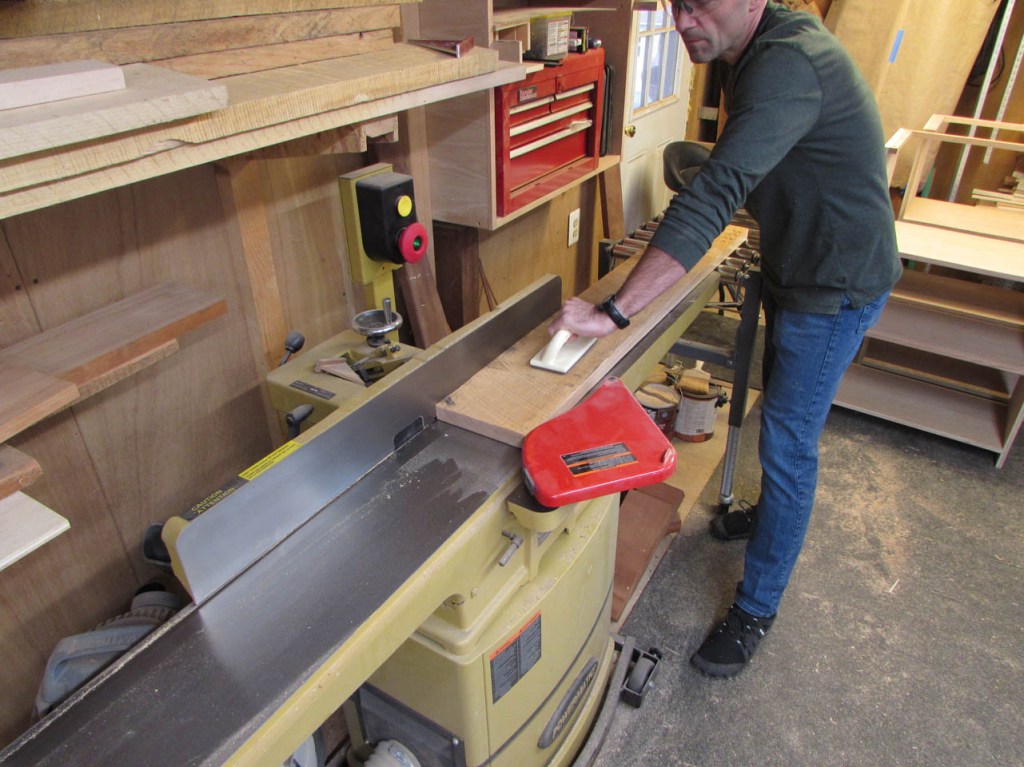
Now I have two clean edges and the board can be run through the jointer to flatten one face.
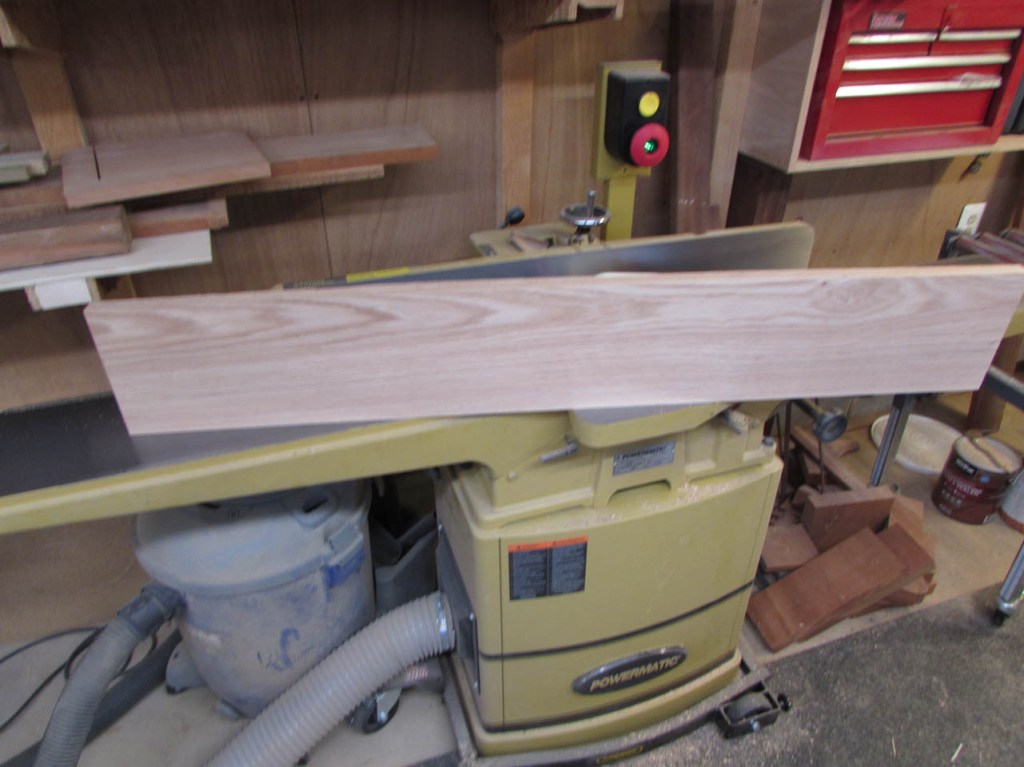
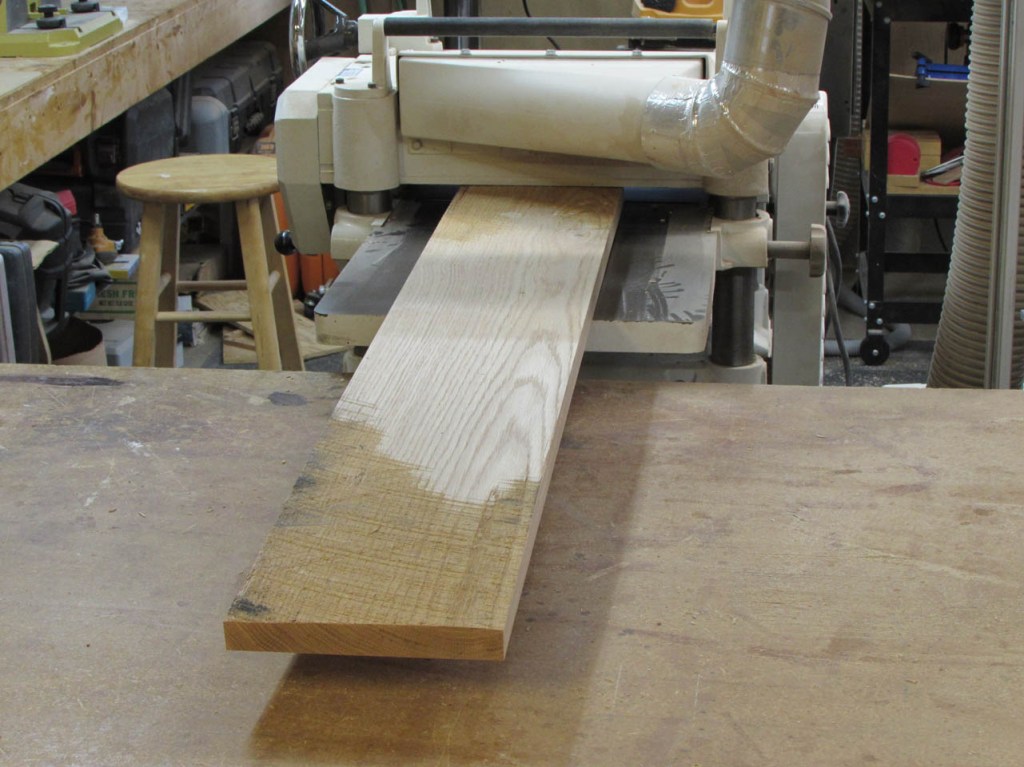
The board originally had a bit of a curve, but by planing away about 3/8″ of material, I now have a flat, 7/8″ thick board to work with.

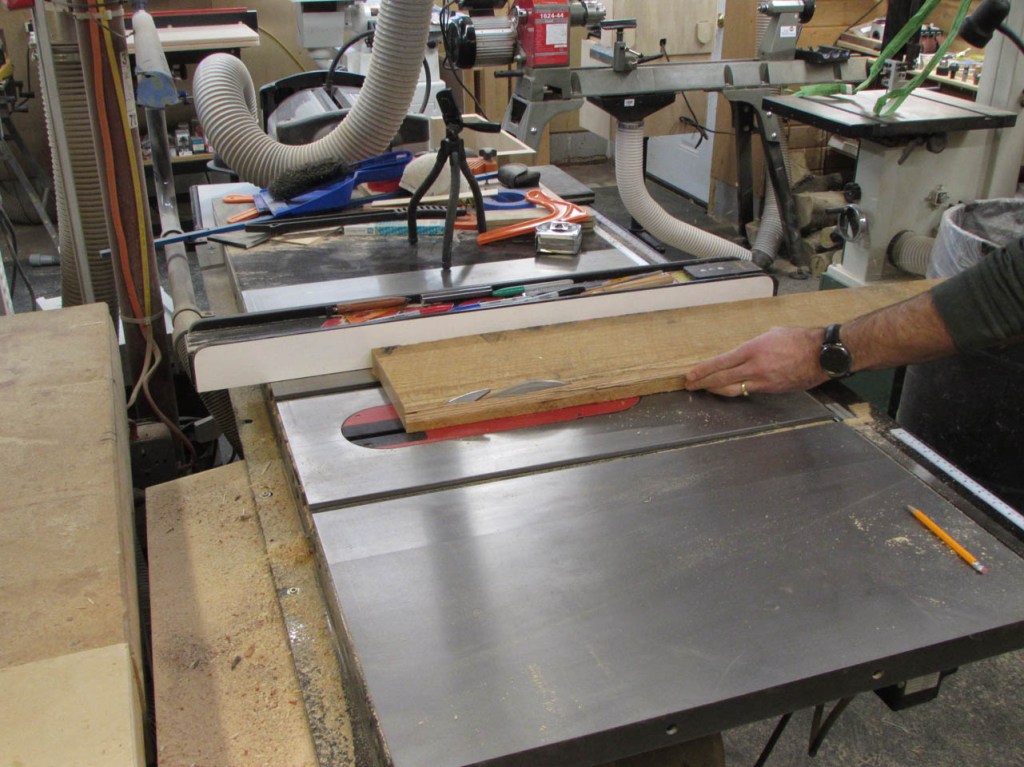
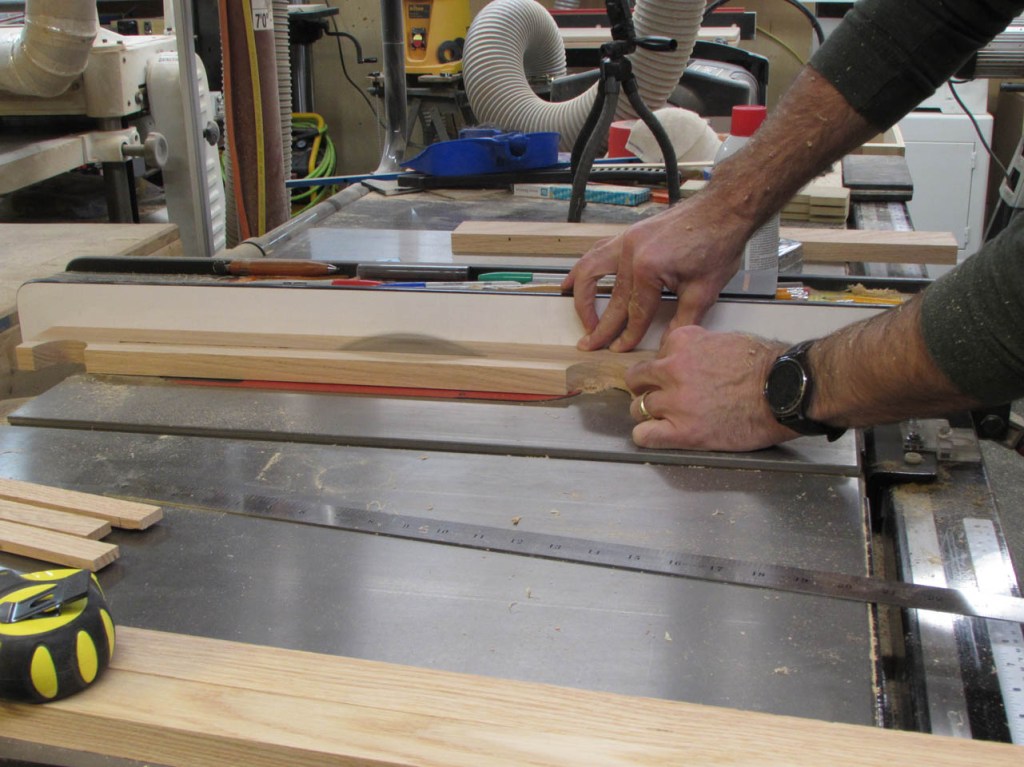
I used the table saw to rip the vertical strips, then clamped them together to make all four the exact same size on the miter saw.

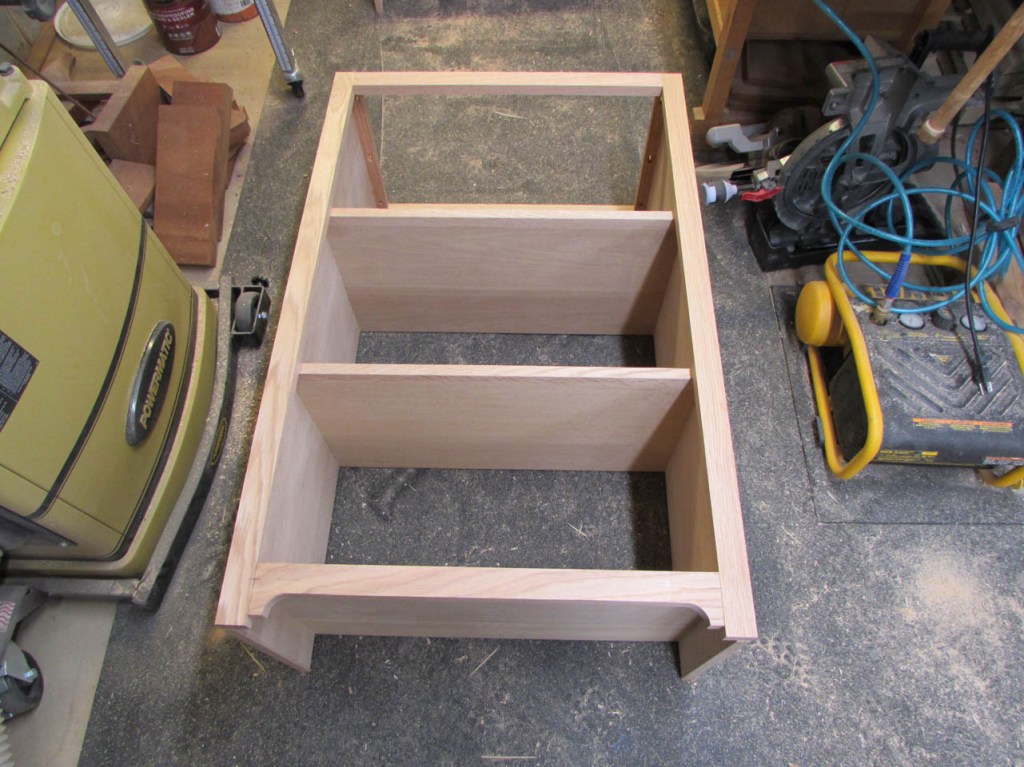
Once the top and sides were cut to size, I rough-cut a piece for the bottom as well, then did a dry-fit.


The customer wants some curves on this project so I need to figure out the best way to add them. I decided to try making the radius’ with a forstner bit instead of the bandsaw this time.

By clamping the two bottom pieces together and drilling two 2″ diameter holes, I can make both curves smoothly.


Now, All I have to do is cut away the straight piece.


It is a little sketchy, but I decided to set the fence and drop the board down onto the table saw blade, leaving about 2″ on each end to avoid cutting into the curve.
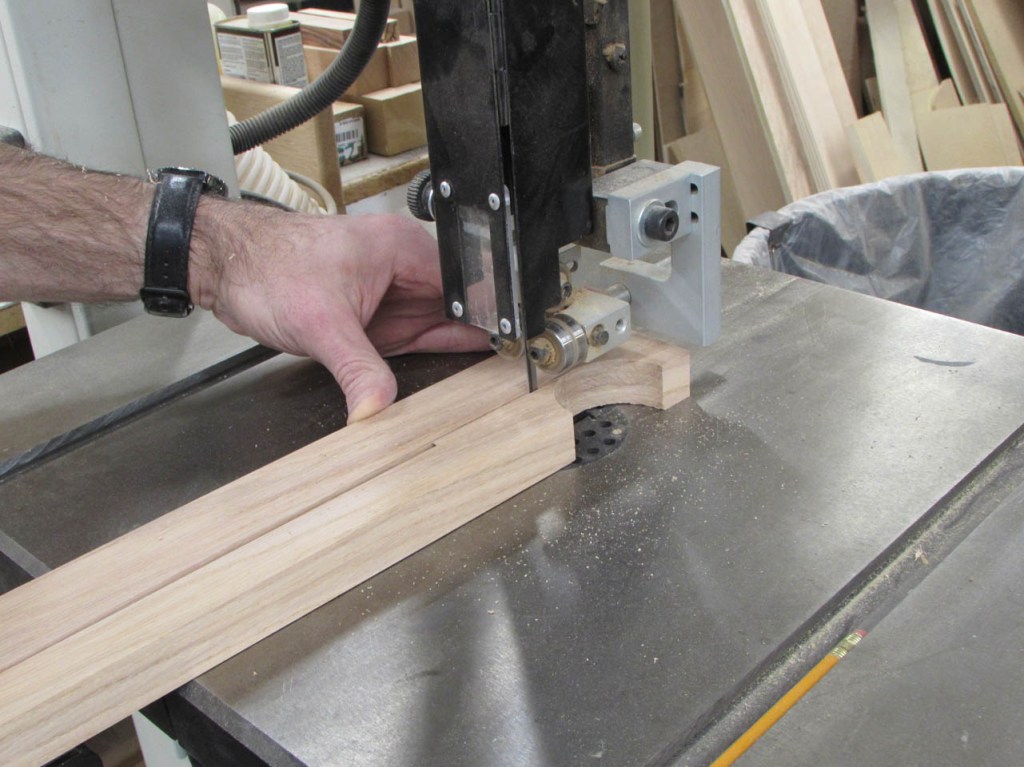
I used the bandsaw to finish off the cut.


A little sanding on the spindle sander to clean up the bandsaw cut and smooth everything out, and I have my bottom trim piece.


Since trying to glue end grain to face grain never makes a strong joint, I am going to use my Festool Domino to cut mortises for tenons.
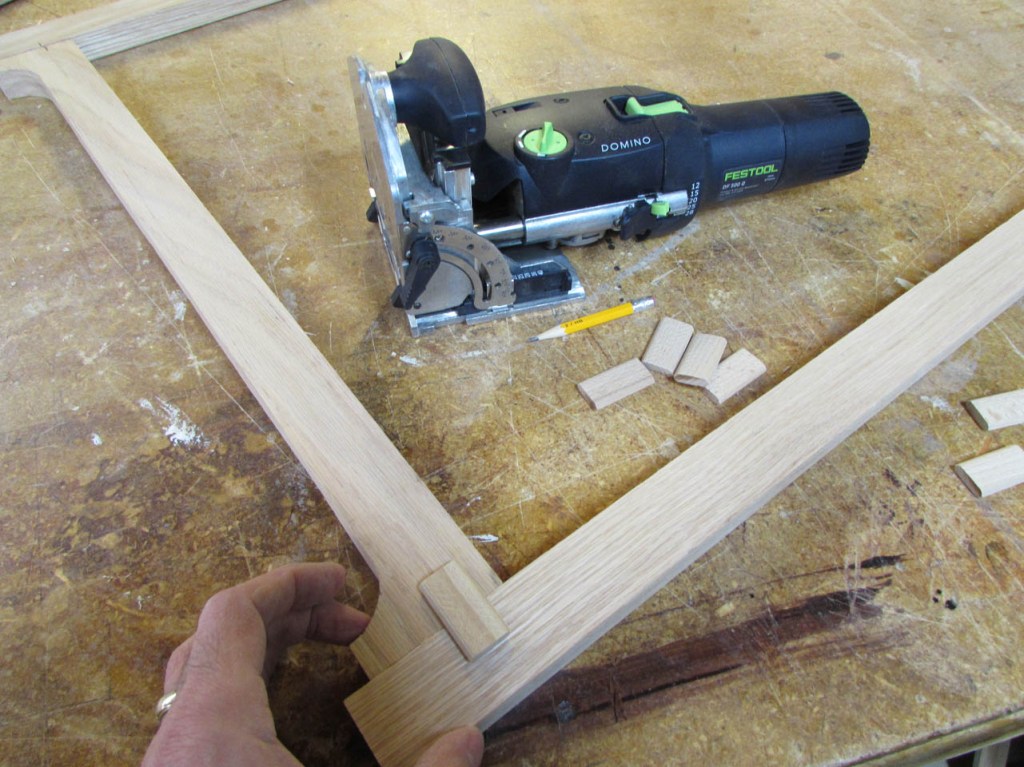
I marked the location of all the tenons and did a plunge cut at each location.

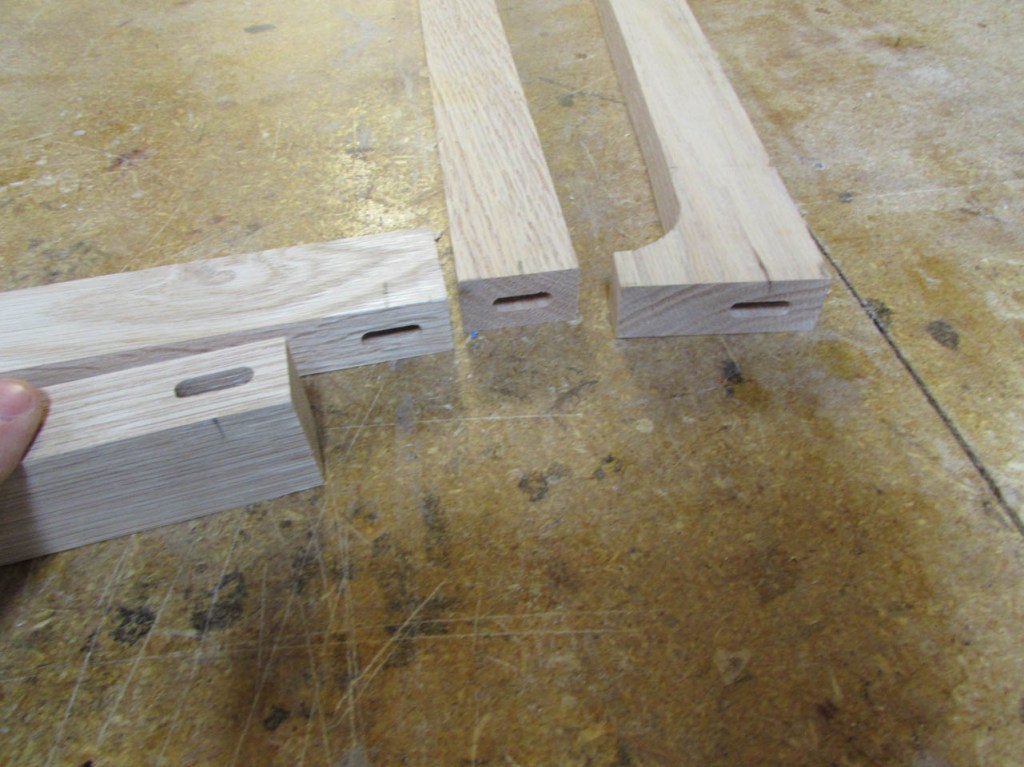
The tenon will fit tightly into the mortises and, being a little less than 1/3 of the thickness and almost 2″ long, should make a very strong joint when glued.

I always do a dry-fit first to make sure nothing needs to be adjusted.

Once I am happy with the fit, I sand everything to remove any saw marks, then it is time to start applying glue and assemble the face frames.


While the glue, on the face frame, is still wet, I quickly apply the glue to the back of the shelves as well.


I uses a few 23 gauge pin nails to keep the frame located and prevent slipping when clamped.

Rather than gluing up the face frame, then attaching it, I wanted to clamp it all together at the same time to avoid anything drying out of square. The shelf carcass is already square, so as long as I have enough clamps, it is the best place to hold the face frame while it dries.

While that is drying, I need to make some small but chunky corbels to go at the top of the shelves.

I had a piece of oak that was about 1-3/4″ thick and it was already planed so I cut two 6″x6″ blocks from it.

After marking the centers, I went over to the drill press and installed my hole cutter, set for a 4″ diameter circle.
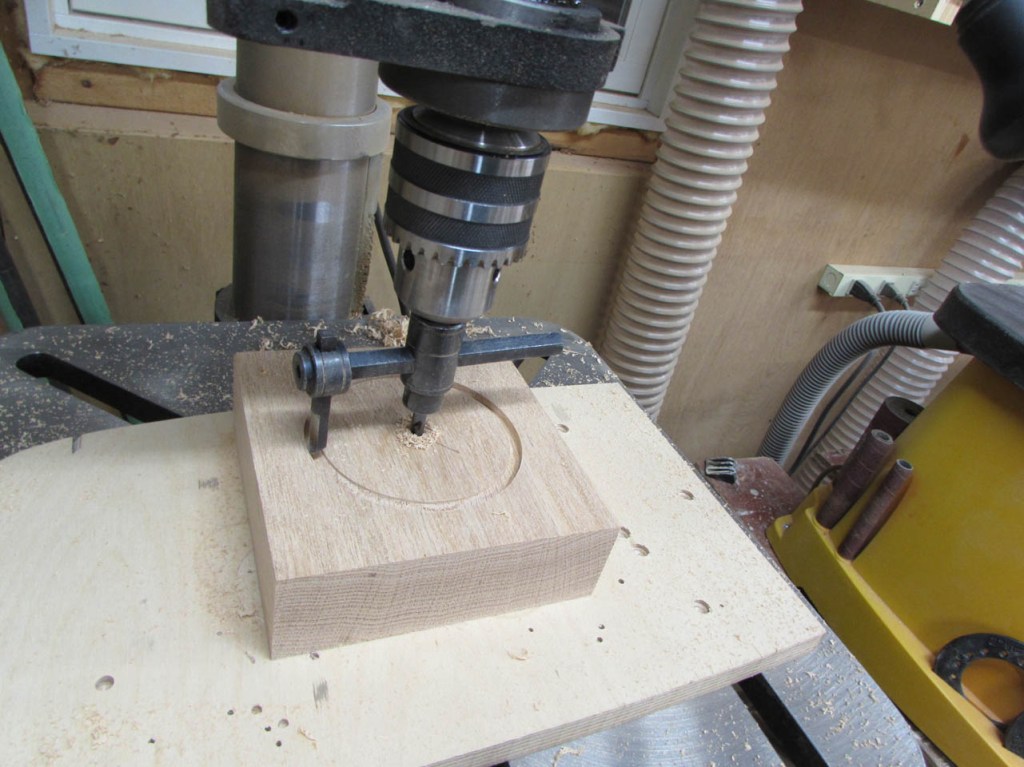
This is a scary tool, but it does work. It works better if you clamp your block to the table, but I did not have an easy way to do that because it would interfere with the spinning bar. Instead I put a clamp on the side of the block to hang on to… The cutter can only cut about 7/8″ deep total, but the center section bottoms out before that. I had to pause and drill a 3/4″ diameter recess so that I could cut to the maximum depth.
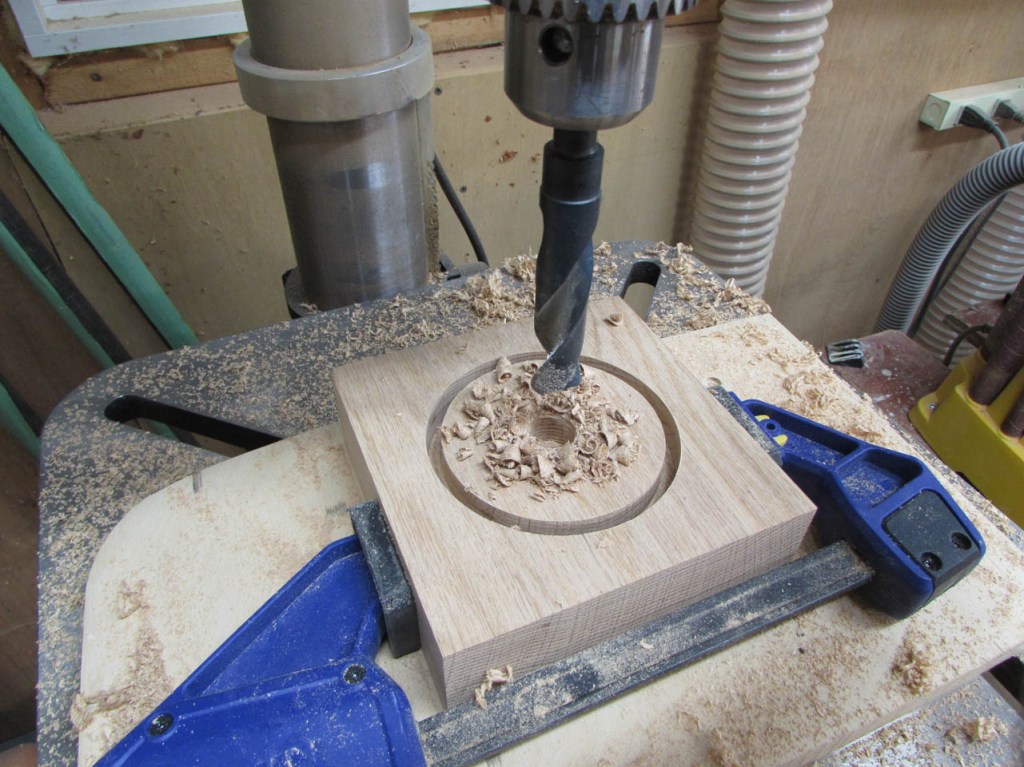
I also had to replace the center drill with a longer one.

Eventually I managed to cut all the way through to the middle of the block.

After flipping the block over and lining up with the center pilot hole, I was able to barely break through.

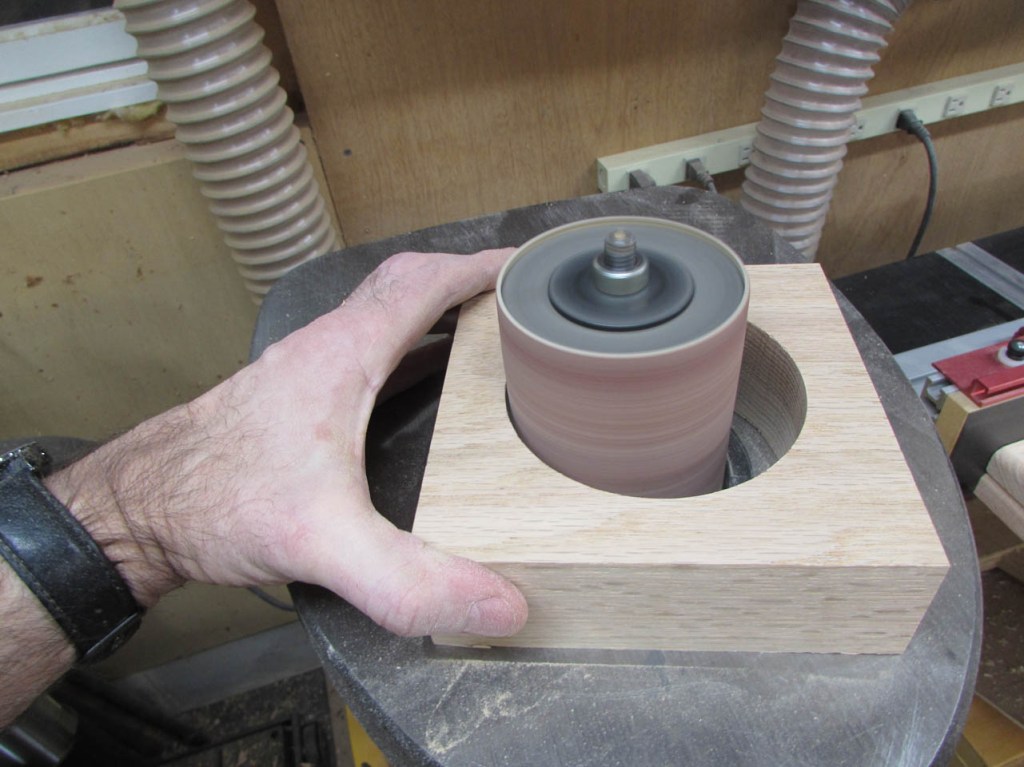
I easily cleaned up the center of the hole on the spindle sander, then I was able to do the second one a lot faster by drilling out the 1/4″ center hole first, then the 3/4″ recess on both sides before cutting the hole.

The bit was starting to get really hot and started smoking. I used a little bee’s wax to lubricate the cutter and reduce the friction a bit, in order to finish the cut.

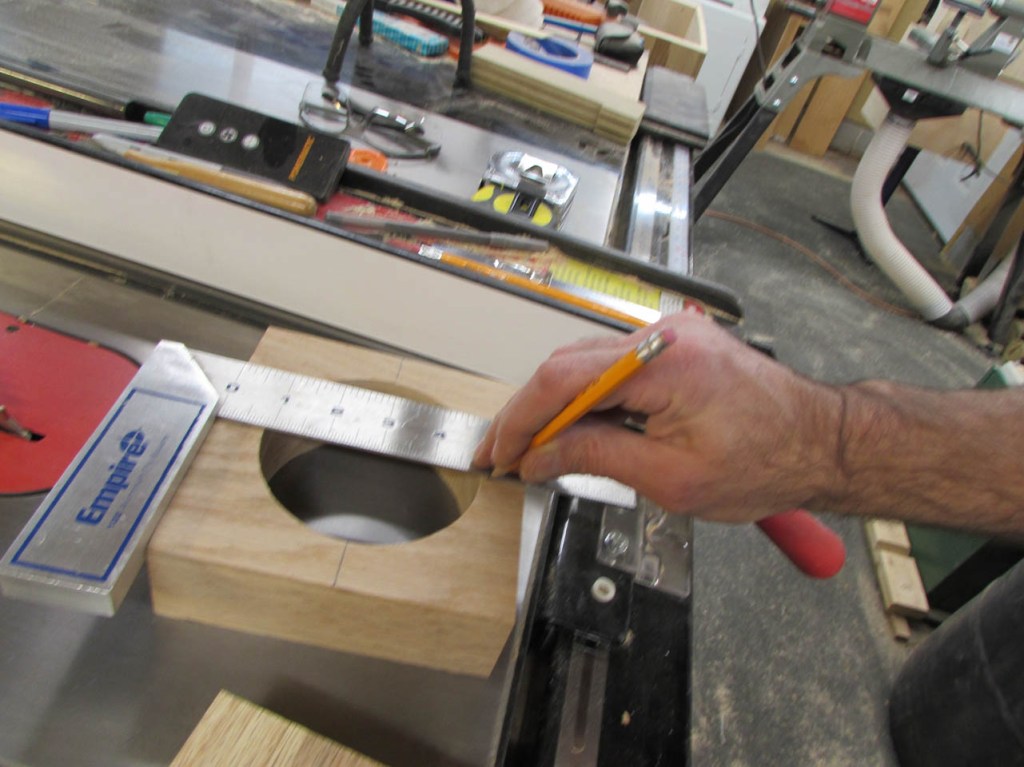
To make my corbels, I just marked the two center lines, then cut apart the quarters on the band saw.
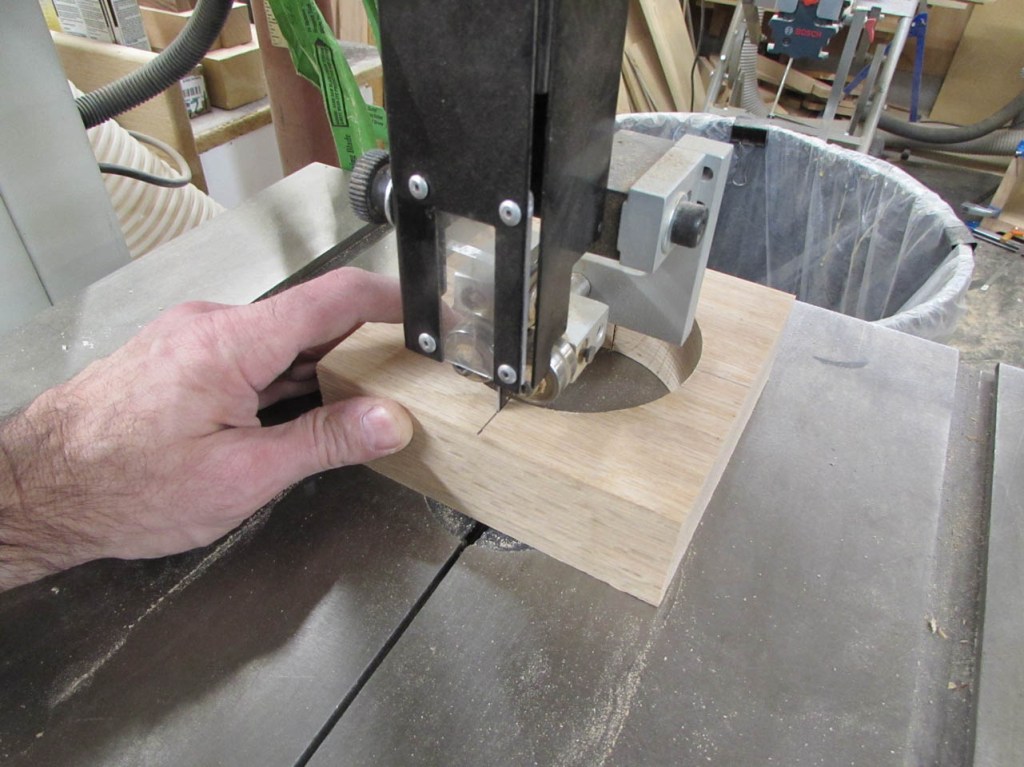

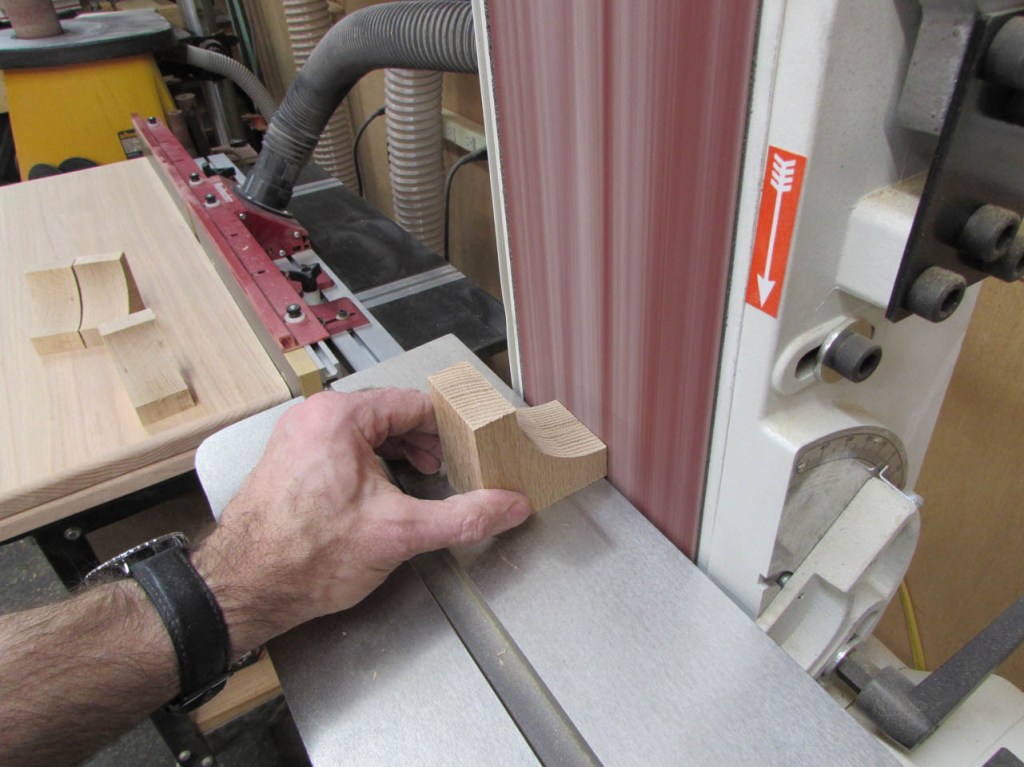
After a quick pass on the sander, I had eight identical corbels. They will be located at the top of the shelves, front and back, to support the extended top.

After the glue had dried, overnight, I pulled the clamps and sanded everything to make sure all the joints were smooth and there was no glue squeeze-out.
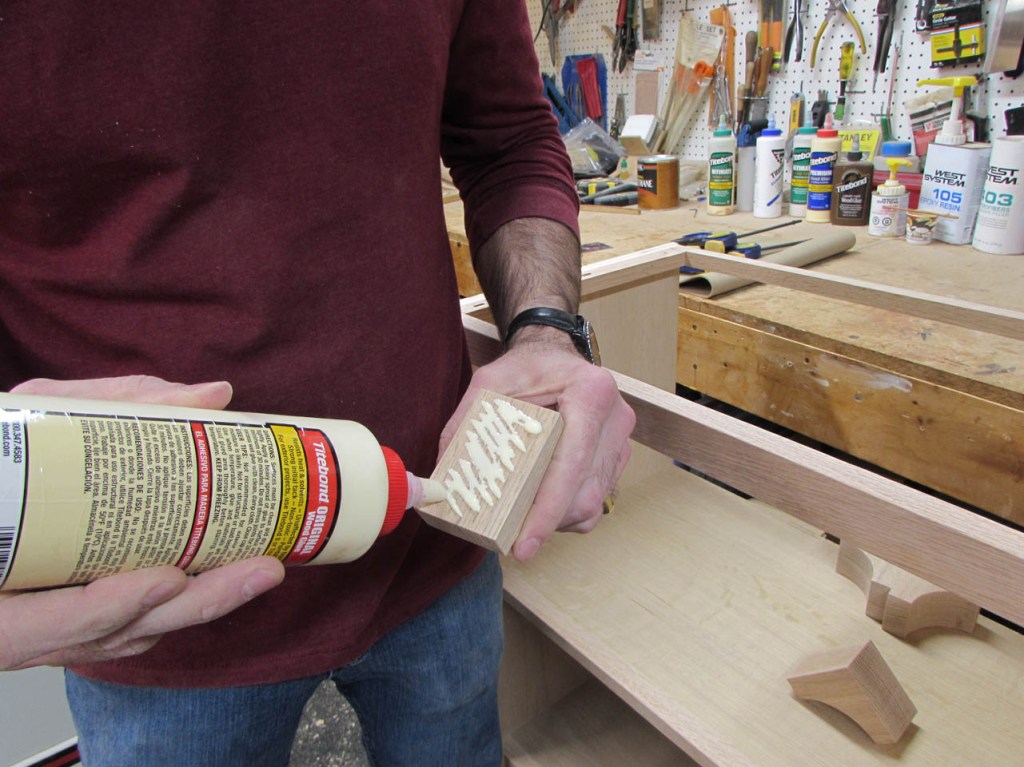
A little fine adjustment was needed for the corbels to fit well. I used my low-angle smoothing plane to make the face frame exactly flush to the plywood so there would be a flat surface for the glue joints.


Now that there ar no longer gaps, I can apply glue and clamp on the corbels.

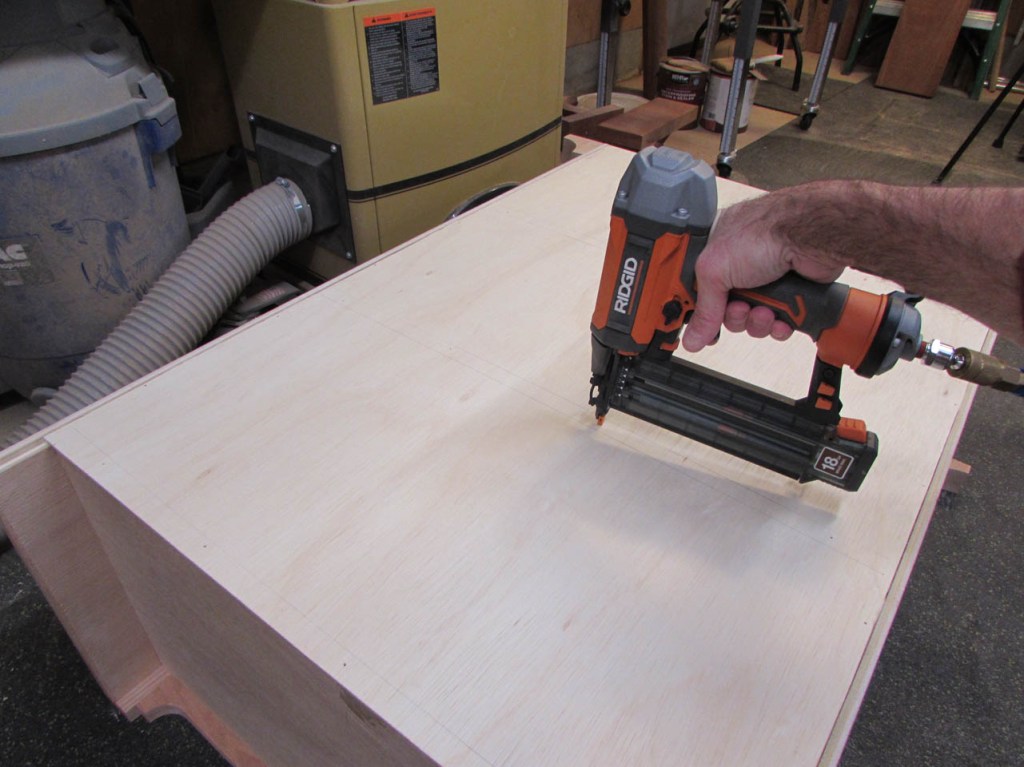
While they are drying, I cut down the sheet of 1/4″ plywood on the table saw.

After I had it cut to width, I placed the sheet onto a 2″ thick piece of rigid foam, then used a straight edge and a circular saw to cut the sheet to length. Since the top and bottom will only be visible from the back, I was not too worried about tear-out on the cross-cut, but my little saw cut well and I only needed a bit of sanding to clean the edges.


I test fit the panels and used a block plane to knock down any edges that did not fit perfectly.

In order to know where the shelves are located from the back, I flipped the back panels around and clamped them in place. Then I traced the top and bottom of the shelves with a pencil. I will then turn them back around when I install and I will know the locations of the shelves for attachment.

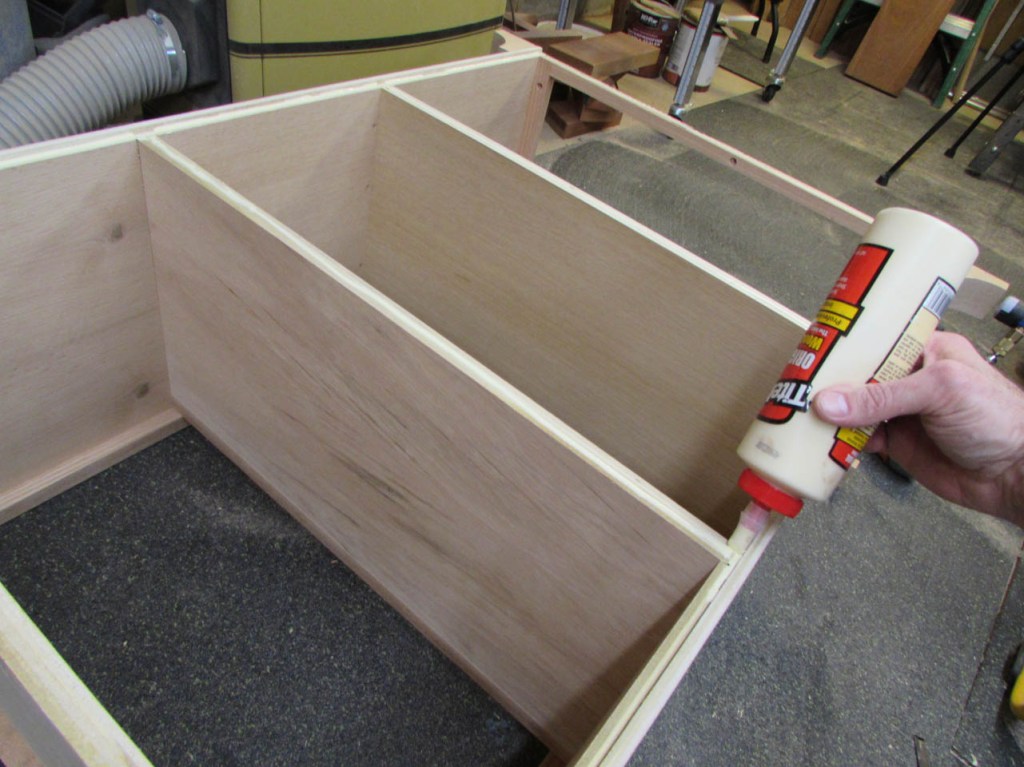
I laid the shelves, face down, on the floor and applied glue to the rabbets and along the back of the shelves and the top bar, then I used a 3/4″, 18 gauge brad about every 5″ to hold the back panel in place while the glue dries.

I used a chisel to scrape away any excessive glue squeeze-out.

I did notice that I did not account for the small gap at the bottom of the rabbet cuts. For this, I cut a small filler block and glued it in place with some quick-drying CA glue.

After I stood the shelves back up, I used my combination square as a depth gauge to center the tops onto the shelves.

Finally, I attached the top panel with flange headed, pocket hole type screws. I placed the front screws into the center of the slots so that the top can expand and contract as needed.


One note about the corbels, The top did not require them structurally, but I think it looks a lot nicer with them then without. I was unhappy with the look before they went on. I also modified the original design of the bottom trim piece to mimic the corbels, by adding the little step to either side of the curves. This also added a bit of strength to the tips of the curves. I worried that the grain orientation would leave them vulnerable to breaking if they were kicked by accident.

Now, I am actually done with these shelves. My friend wants to stain them black and apply the finish himself so that they match his other furniture. This was a fairly quick project but there were a few good design challenges. Hopefully these shelves will preform as desired, for years to come.
