
Matching Oak bookshelves – part 1
A friend of mine requested a pair of bookshelves for his basement. He gave me a 3d model with the general look and dimensions that he wanted. After a little discussion about humidity levels in the basement, he agreed to let me build the main cabinet out of dimensionally stable oak plywood. The face of the cabinet and the edges of the shelves will be solid wood. They are fairly narrow pieces and will not expand and contract enough to be a problem. He did want the top to be solid wood as well, which I understand. The top may get a lot more abuse. The problem with a solid top is that it is 17″ deep and it will want to expand and contract far more than the frame that it will be attached to. I have a few thoughts on attachment but I won’t make a final decision on that until I get to that point.
This is the design that I came up with to get started. It will probably evolve slightly as I go…

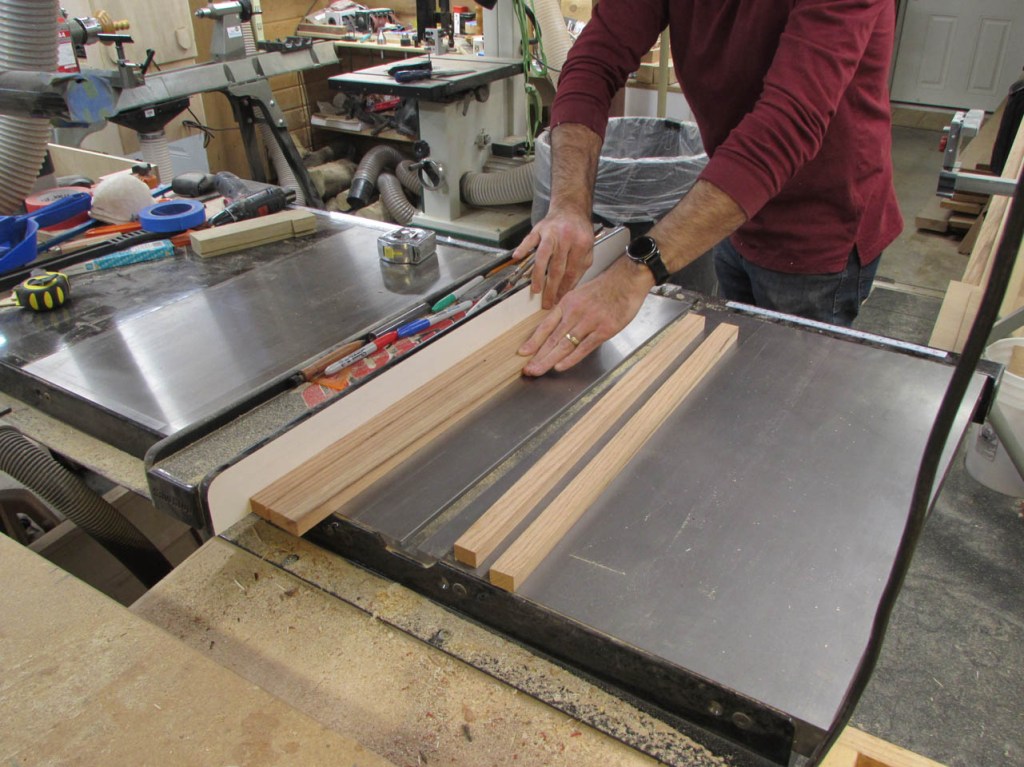
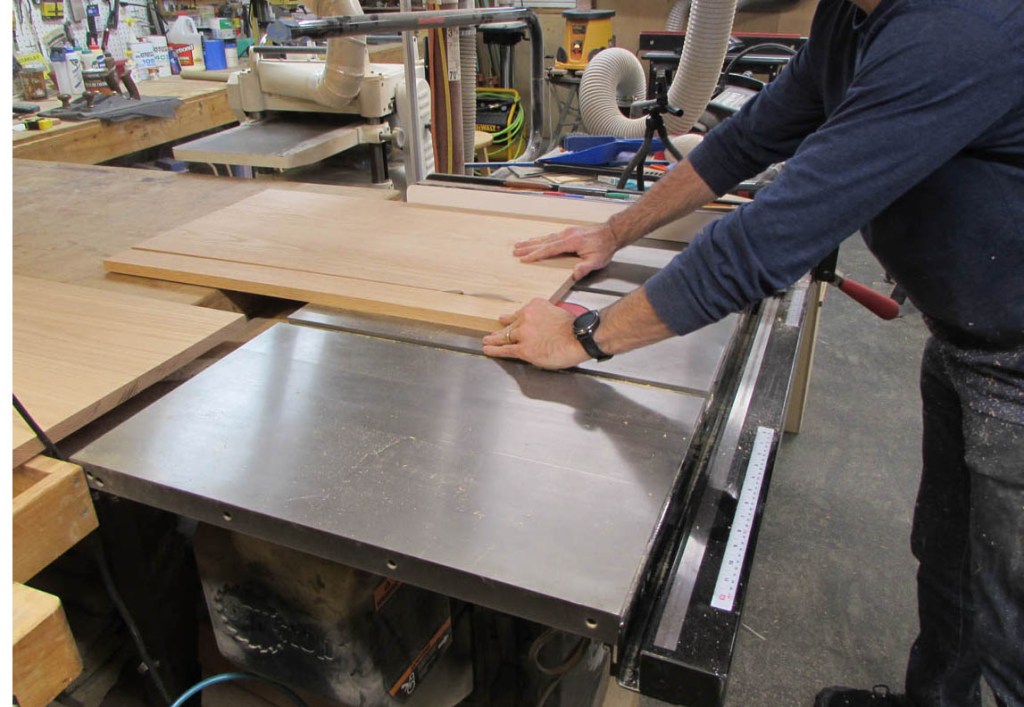
To get rolling on this project, I pulled out all of the 3/4″ plywood that I have in storage. I can buy new stuff at the local big box store, but some of my scraps are a much better quality. I especially like the quarter-sawn stuff that I am using on the sides. The sides and shelves are going to be made from 3/4″ plywood, So I set the fence on the table saw and started ripping everything down to the correct width.

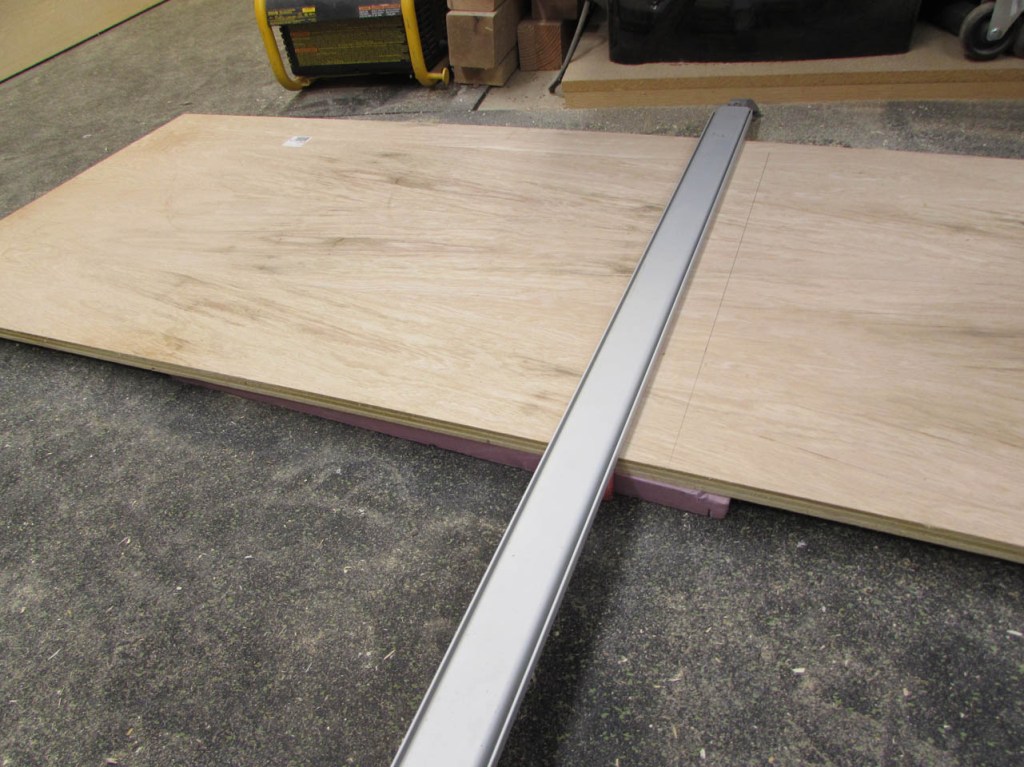
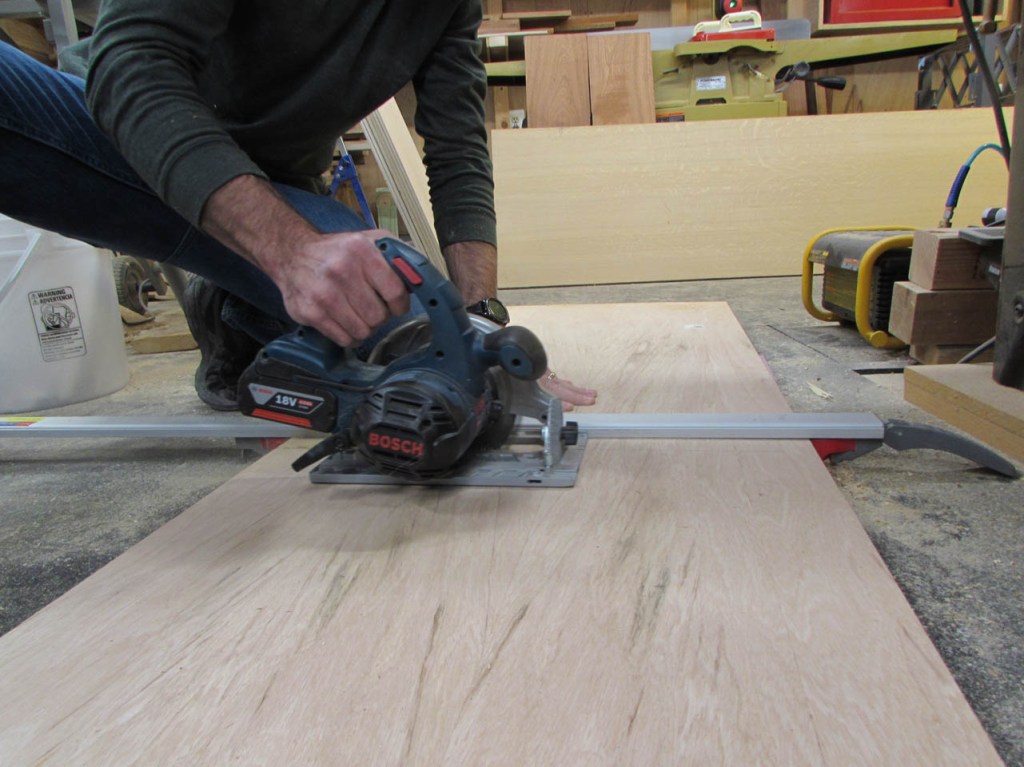
To break down the plywood, I lay a piece of rigid foam on the floor and use a straight edge and a circular saw to get the length close.

Then I use my cross-cut sled to square up the ends and get the correct lengths.

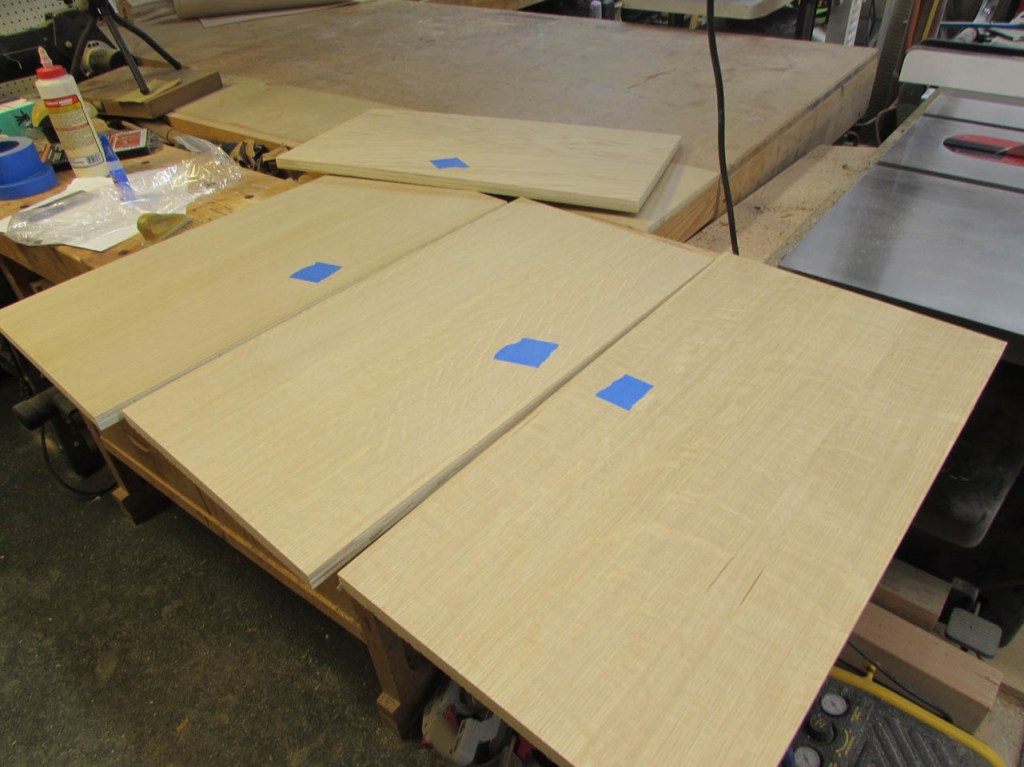
The sides are quarter-sawn on one side and flat-sawn on the other. I want the quarter-sawn on the outside so I mark the good face with a piece of tape so I don’t get confused when I start cutting dados for the shelves. I also have an ink stain on one board that I want to be mounted in a location that will be covered up later. Placing the tape at the top end will help me to remember that as well.

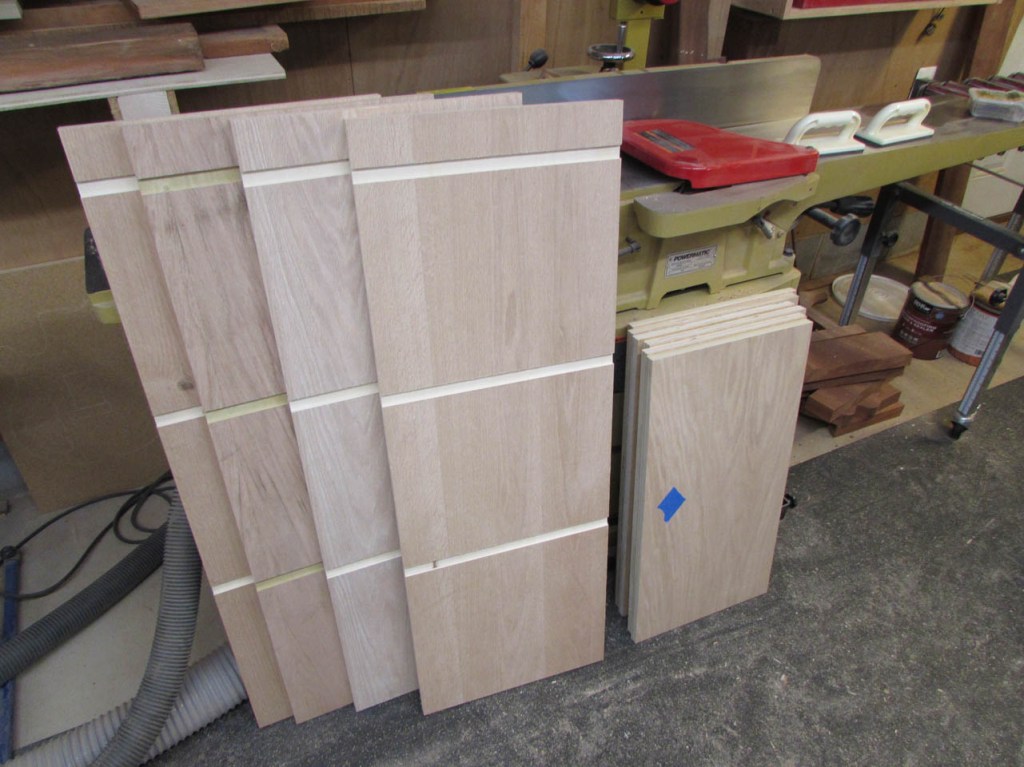
After the sides are all cut to size, I cut down all of the shelves. The two bottom shelves will be 1″ deeper because they will butt up to the face frame. The middle shelves are not as deep because I will attach 1″ of solid wood to their front edges to protect and hide the edge of the plywood.

I had enough plywood for all but one shelf to be made from one piece. I had to do a glue-up of two thinner pieces for the remaining shelf.

My wife got me some new Dubuque Aluminum Bar Clamps for Christmas this year, so I get to break them in on this project. They are lightweight but extremely rigid.
They did a nice job holding the panel flat and I only had minor cleanup at the glue joint.
I used the cross-cut sled again to square up the ends and cut all the shelves to the exact same length.


My two bottom shelves are going to be the glued-up panel and the piece with a small defect in the veneer. I marked them on the bottom face so that I remembered them as well…


I originally made all the shelves the same size, but after picking the best four for the middle shelves, I cut off the extra 1″ for the side that will get a solid piece of oak.

I was originally going to use my dado blade to cut the 3/4″ wide dados for the shelves, but my SawStop table saw started giving me an error when the dado blade was installed. Since I was working over a holiday weekend, I couldn’t wait for tech support so I put the regular blade back in and filled the gap in my cross-cut sled so that I won’t get any tear-out on the face veneer of my sides. (The problem was resolved a few days later when I got my call from tech support)

After making the first cut on the sled, I now have a zero-clearance slot again.

I use the fence as a depth stop to start cutting the 1/4″ deep dados. I make several passes to get the exact width.

After I get the correct start and stop point for one, I cut the other three at the exact same settings.

For the dado, that was close to the bottom, I used a stop block clamped to the sled itself.
It took a lot longer without the dado blade, but I was able to really dial in a tight fit for the shelves.
I did a dry-fit to make sure it all worked well.

Before I glued up the shelves, I remembered to cut a rabbet along the back edge of the sides to receive the back panel of 1/4″ plywood.

So far all of my pieces fit perfectly.

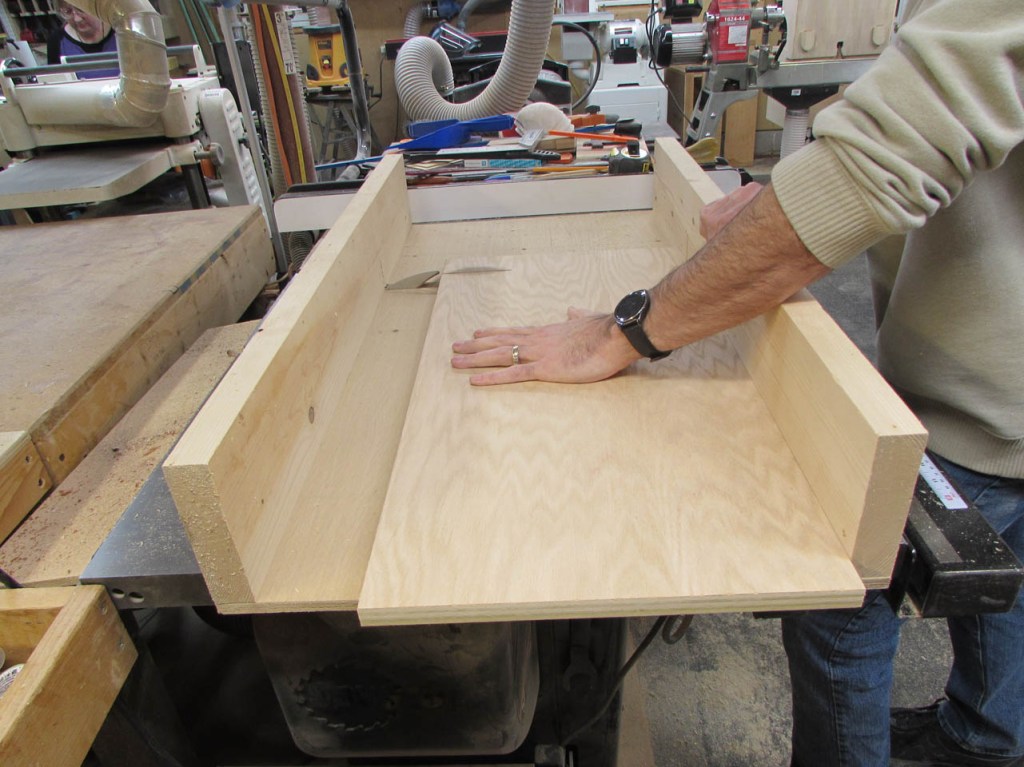
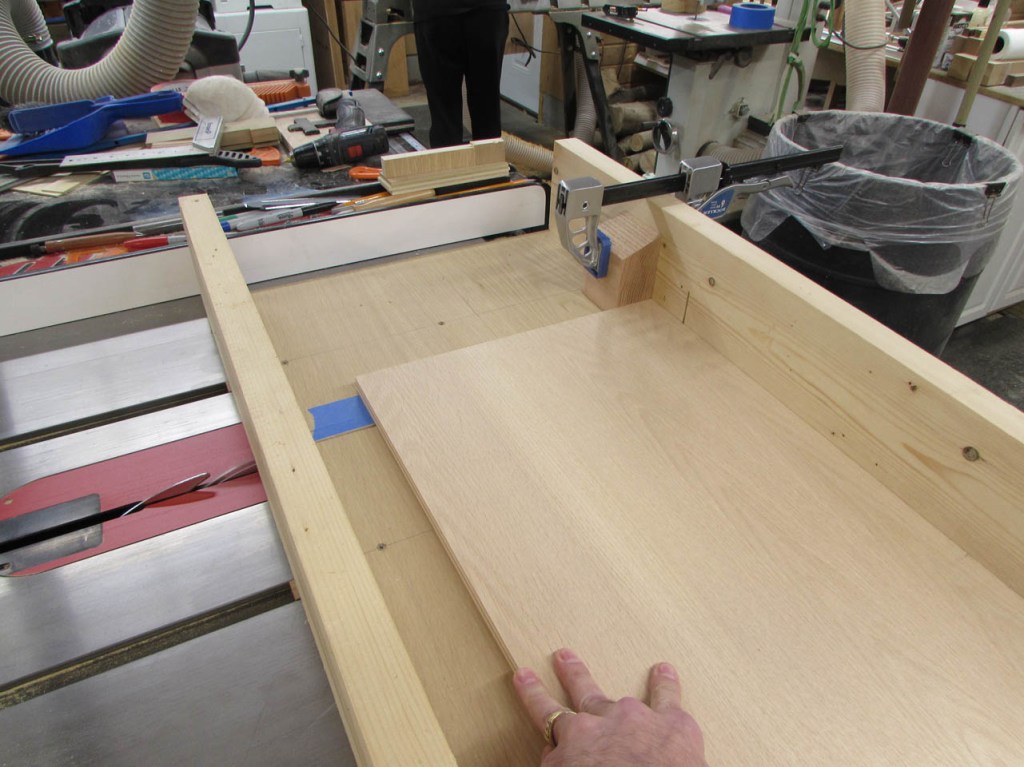
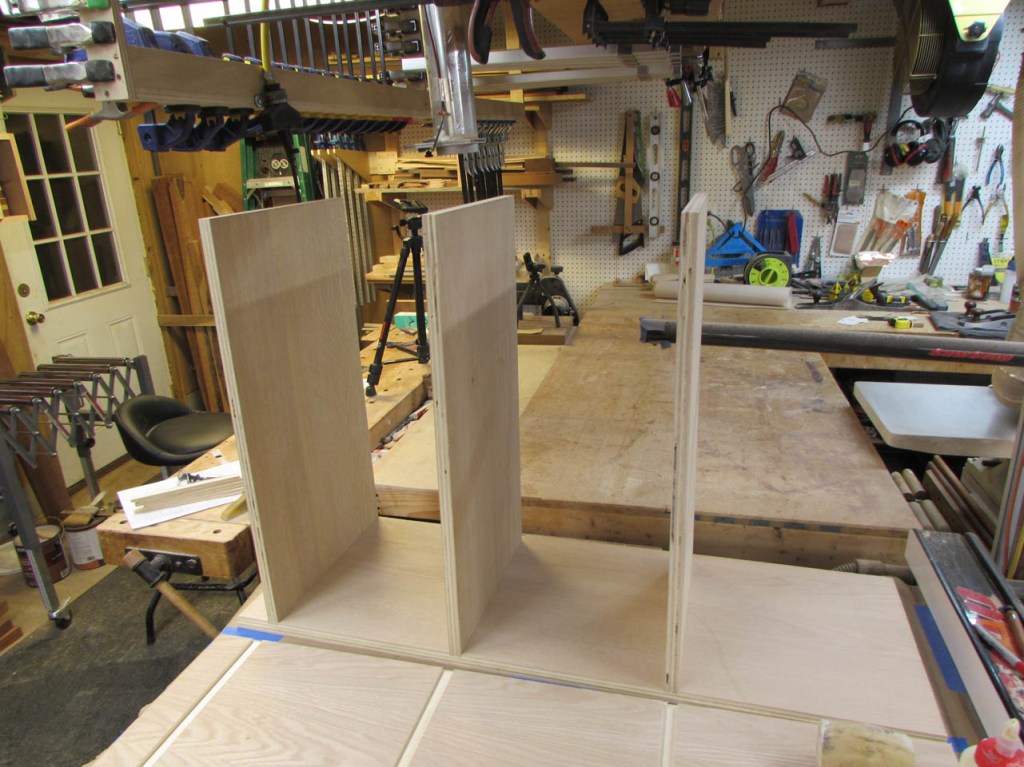
To assemble these as flat and square as possible, I am going to use my table saw top. It is the flattest surface in my shop. I covered the top with paper to prevent any glue from getting onto the bare metal.

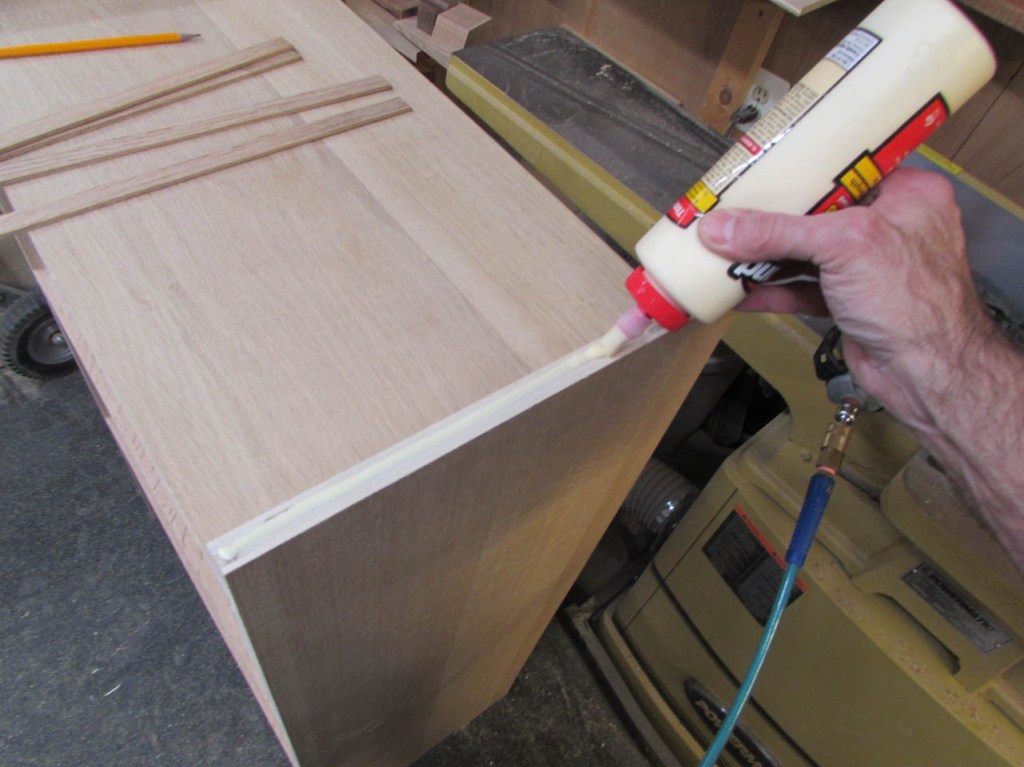
I added glue to each of the dados and started assembling.


I took my time to make sure that all of the edges line up perfectly flush so that I will have a good glue surface later to attach a panel to the back or the face to the front.

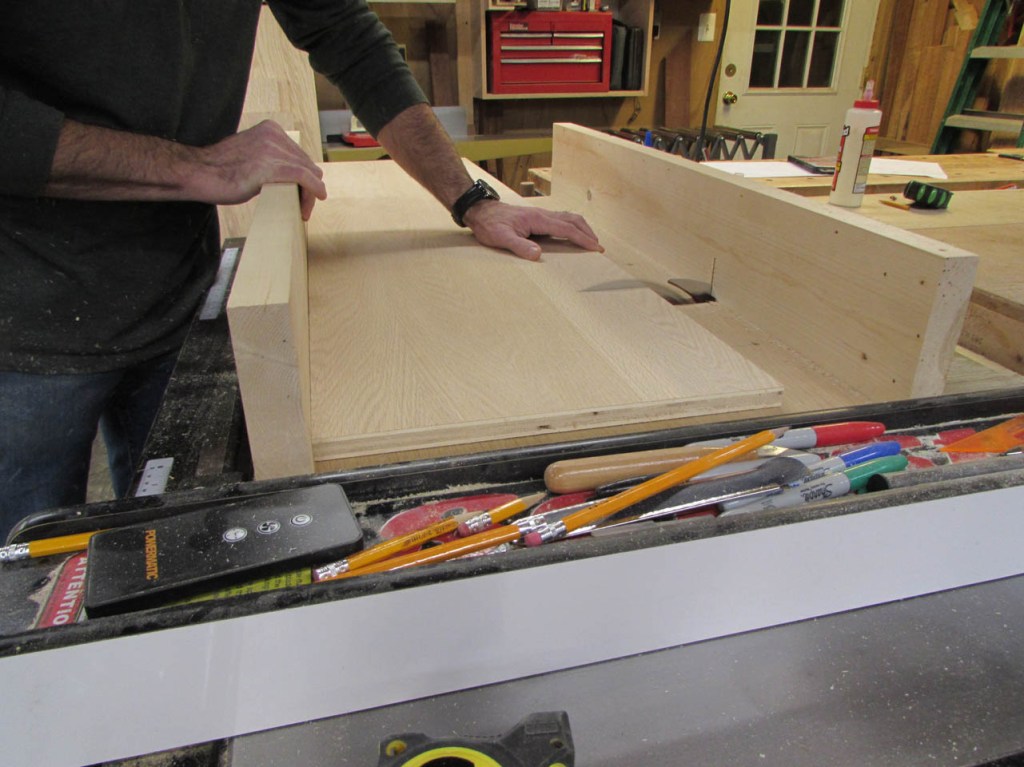
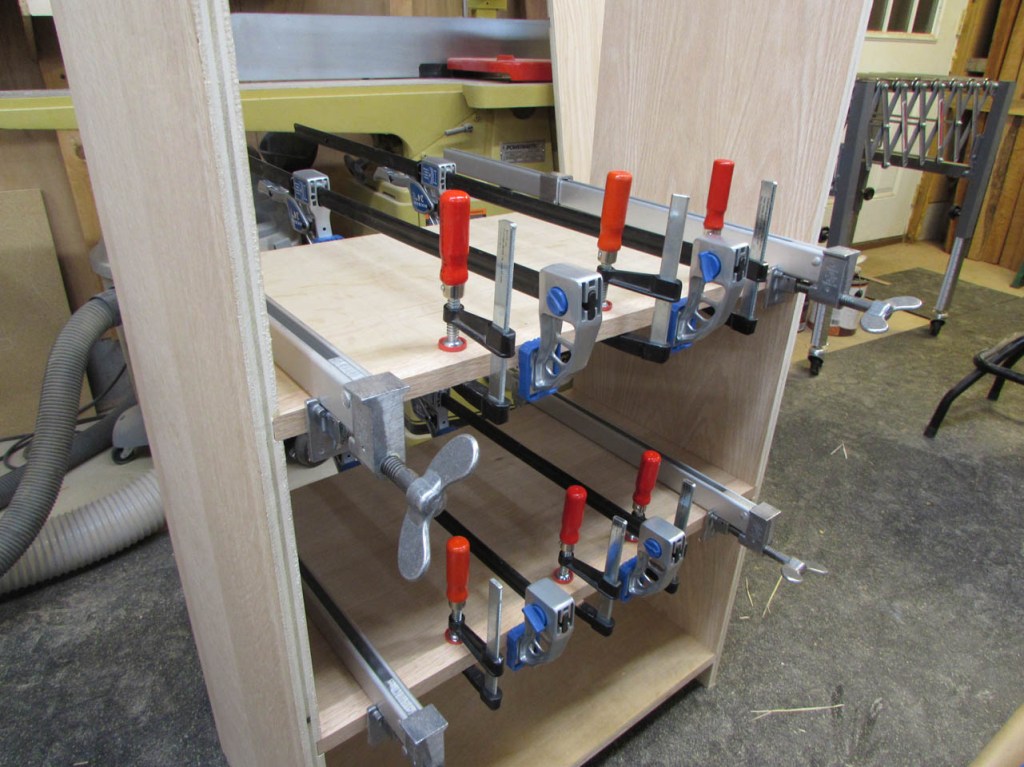
After attaching the opposite side, I clamped in some blocks to hold it all square then placed clamps along the outside to hold it all while it dried.
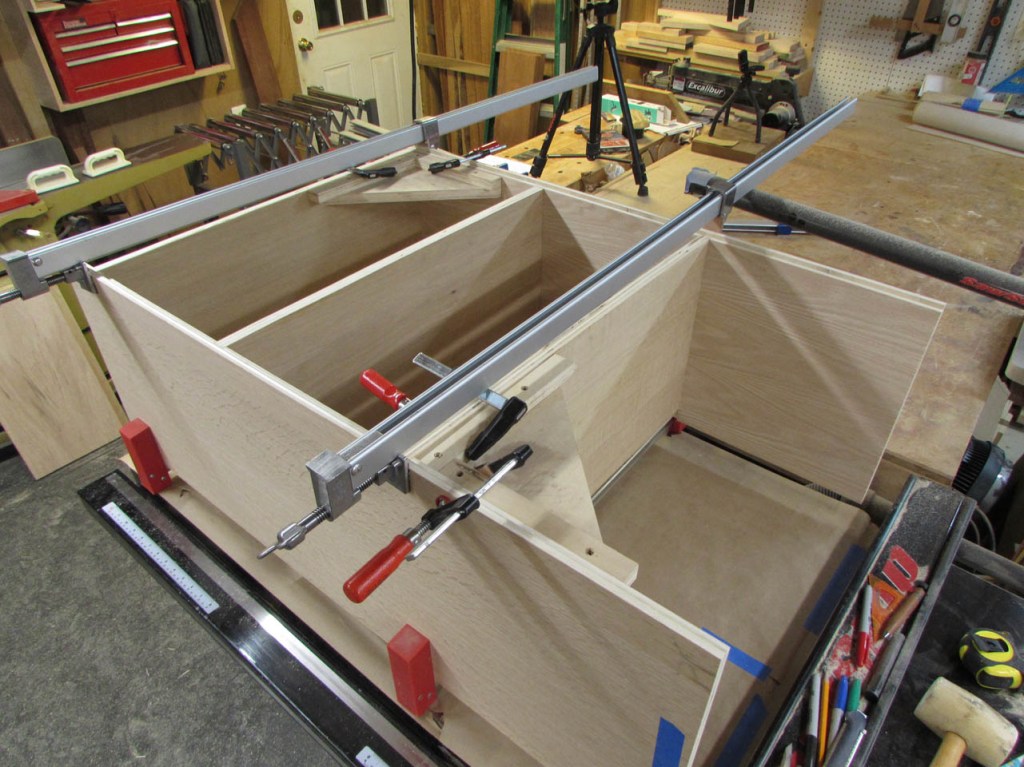
I double checked with a square and measured across the corners just to make sure it was square.


Of course, after the glue was set, I realized that I had not added the solid wood to the front of the shelves yet…


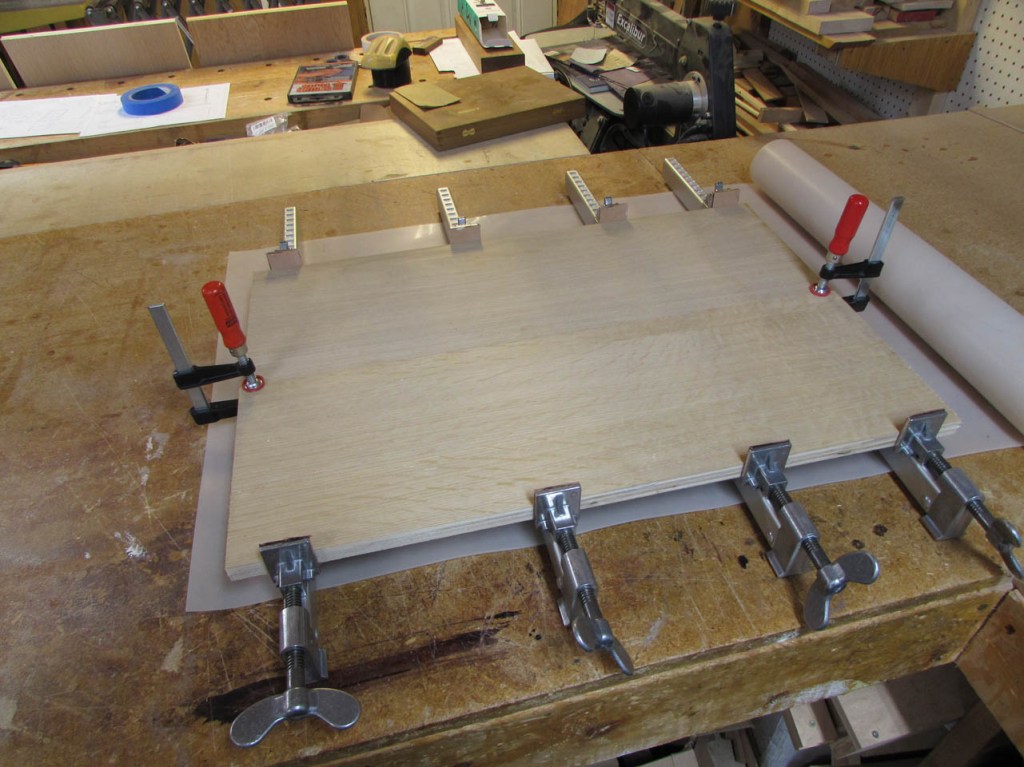
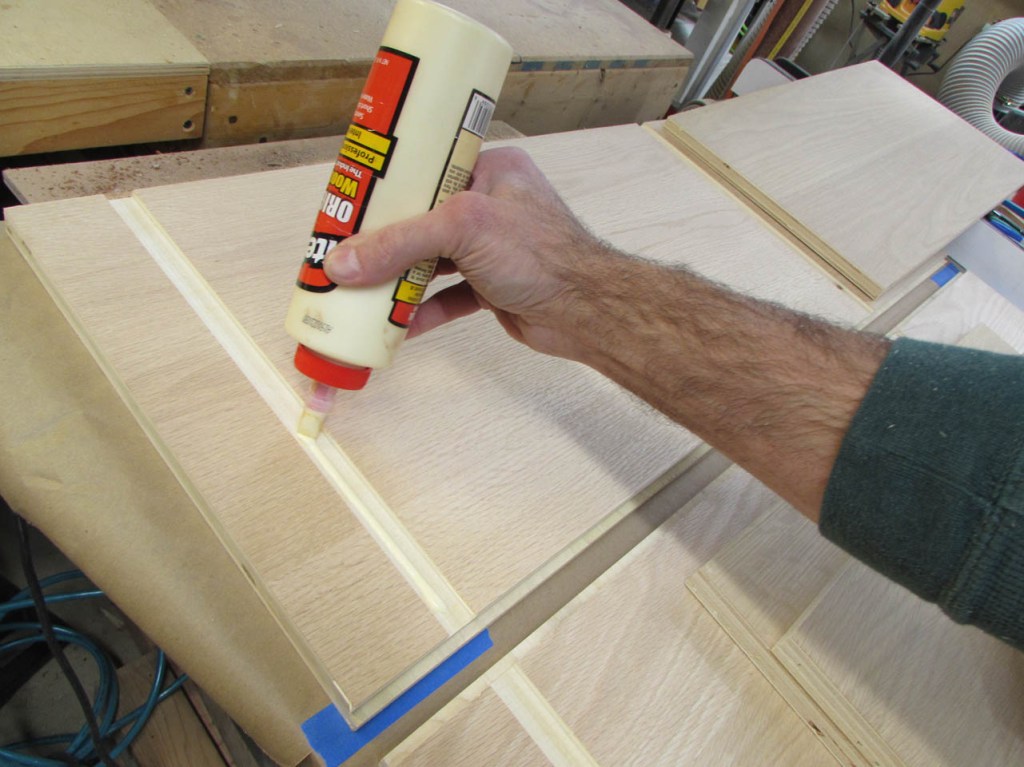
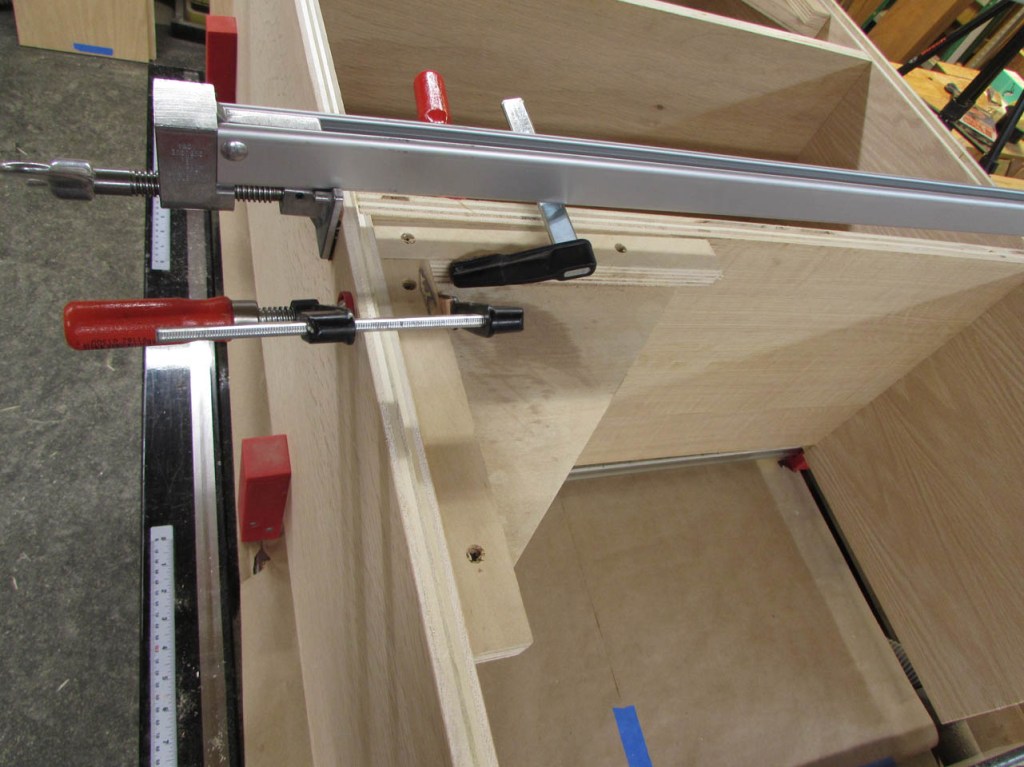
No worries, both sides of the shelf are still accessible. I cut four 3/4″ thick x 1″ wide pieces to attach to the shelf edges.

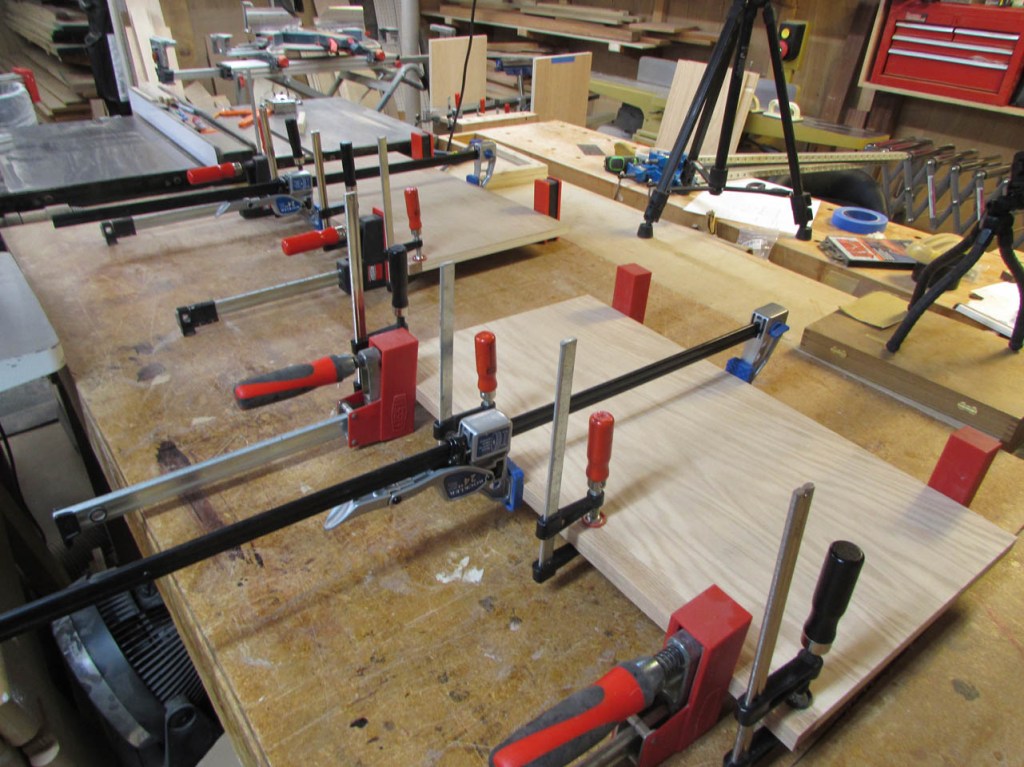
With a little bit of glue and a whole lot of clamps, the edging is attached. The small, red-handled clamps keep the faces aligned while it all dries.
I attached the edges to the other two shelves that had not been assembled yet.
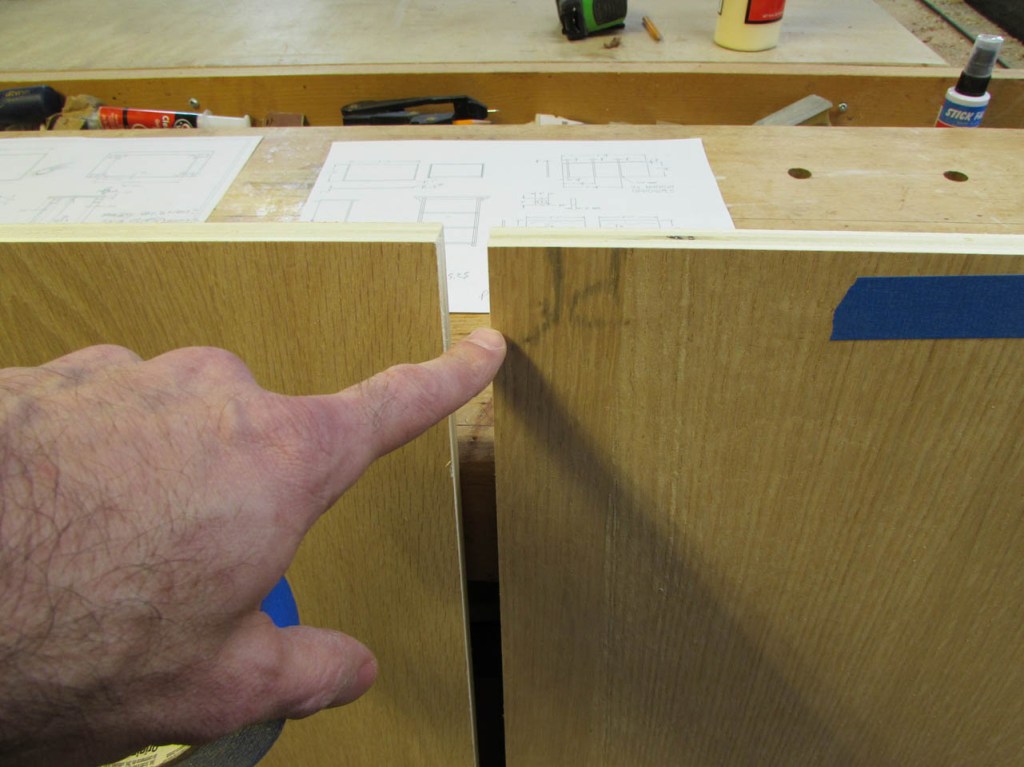
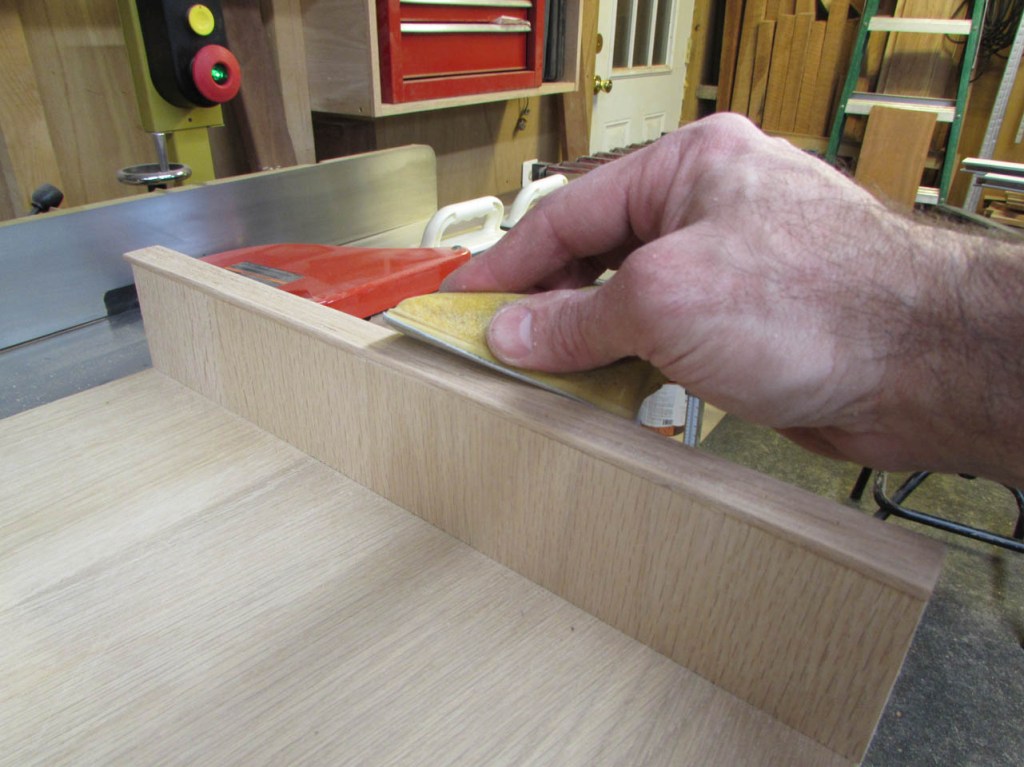
The alignment was good so the shelves only needed a little sanding to blend in the seam.
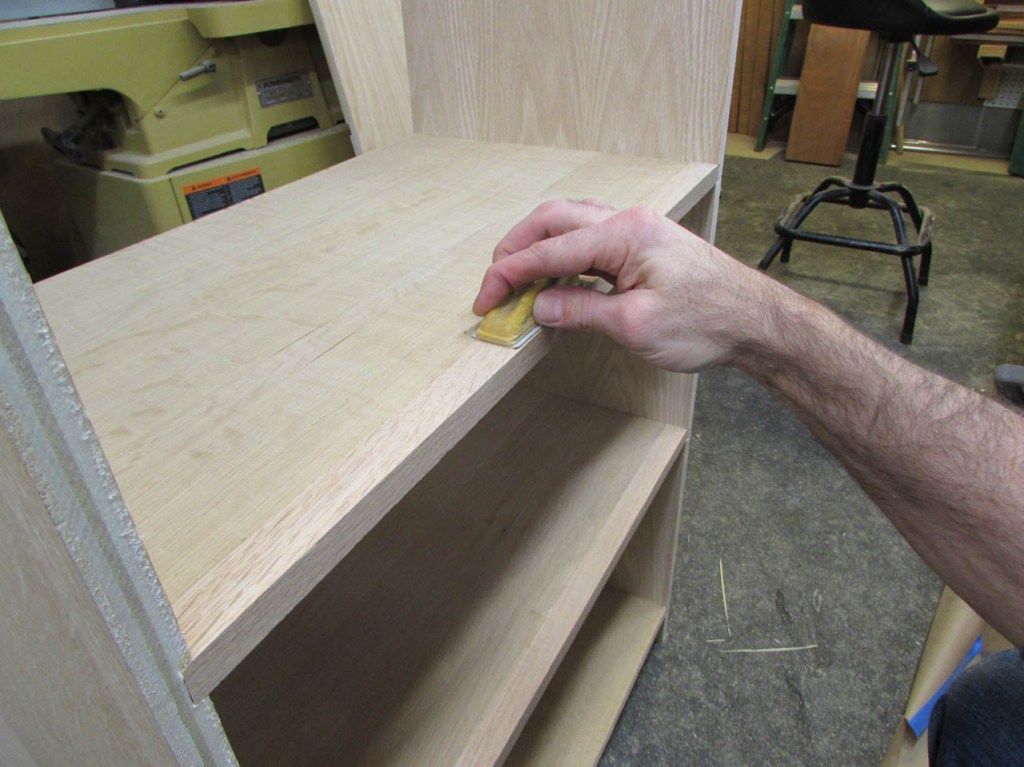
I also eased over the sharp edges with the sanding block.


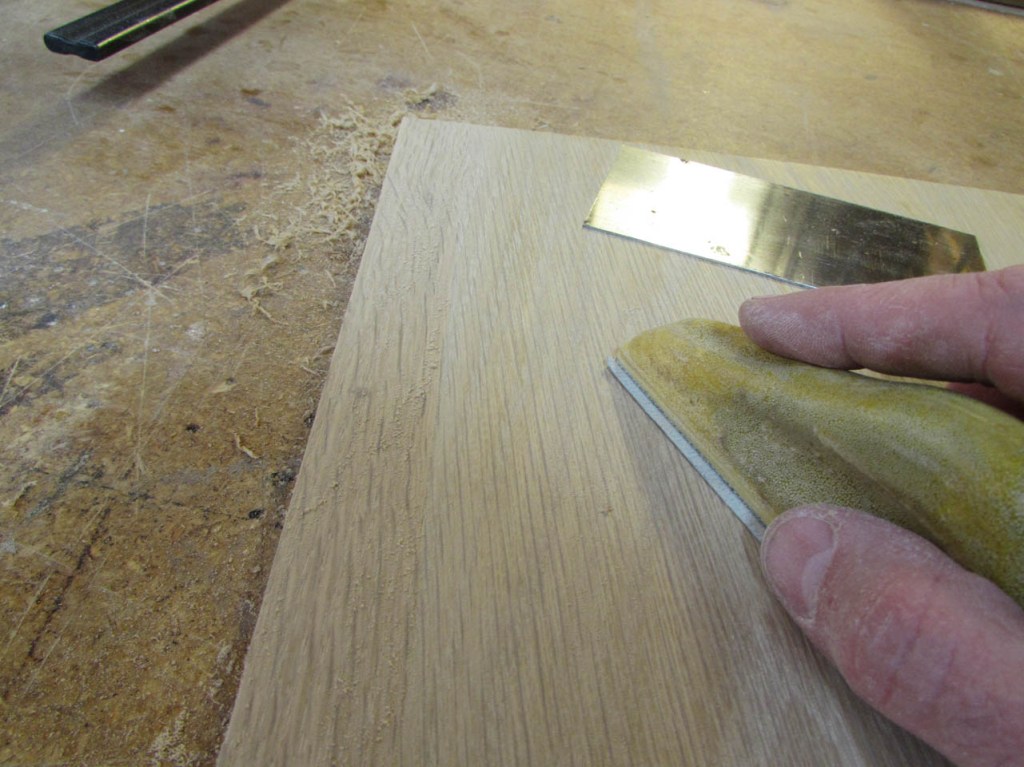
The one shelf was a bit thinner than the rest so I had to blend the seam with a card scraper, but it looked good when sanded.
After that, I glued up the second book shelf.


I was not happy with exposed plywood on the bottom of the shelf. I know finish will be applied to seal it, but if someone drags the heavy shelf around, they could tear at the veneer. To help prevent this and avoid any ground contact with the plywood, I cut some 1/8″ thick strips and glued them to the bottom. I will have to remember to add 1/8″ to the length of my face frame later.

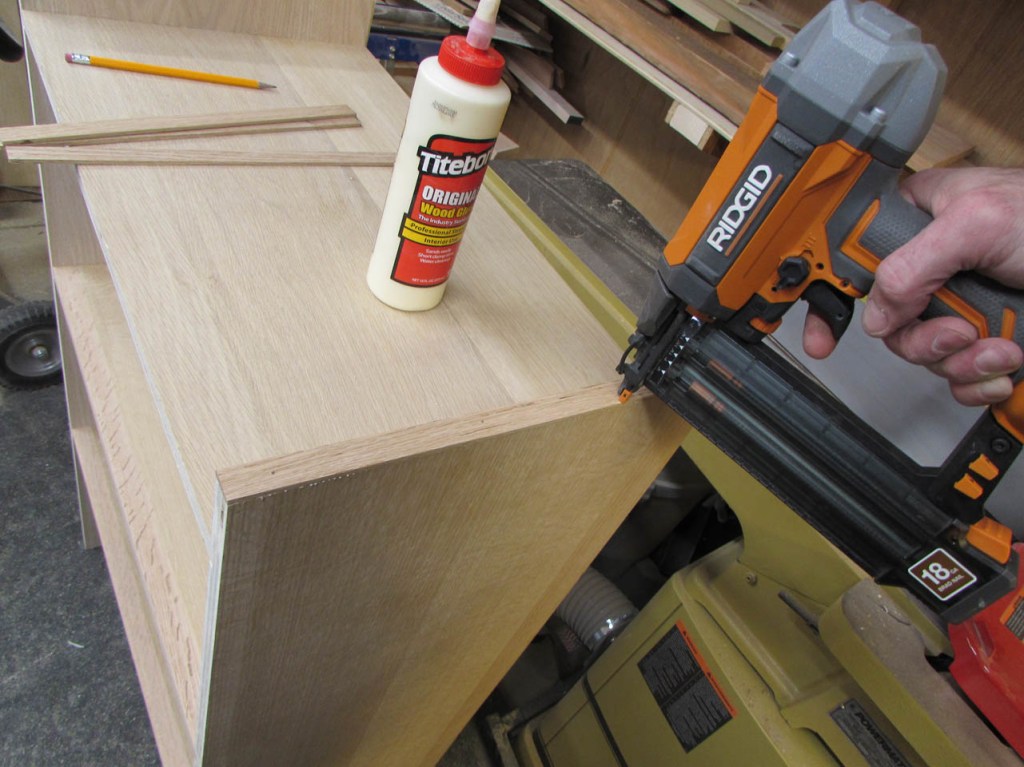
I used glue and a couple of brad nails to hold them on. I made sure the nails were recessed so that they would not be exposed to contact the floor.
While sanding the strips, I had an idea for attaching the solid tops.
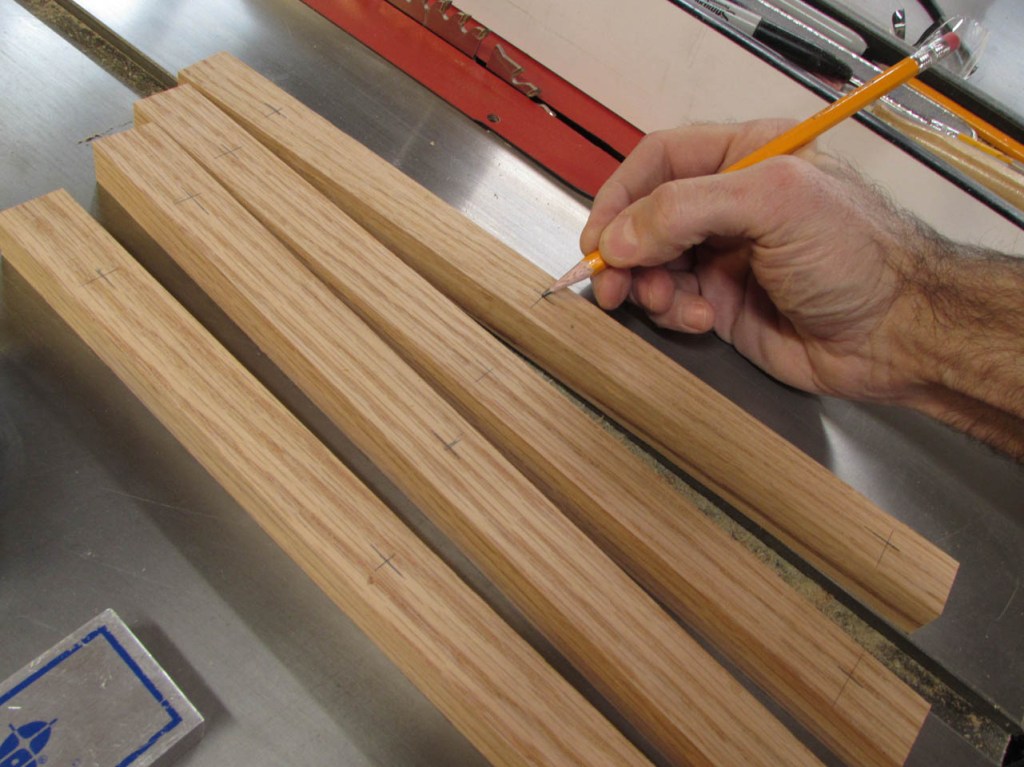
I cut a few more 3/4″ x 1″ strips and marked points in three locations along the center of each.
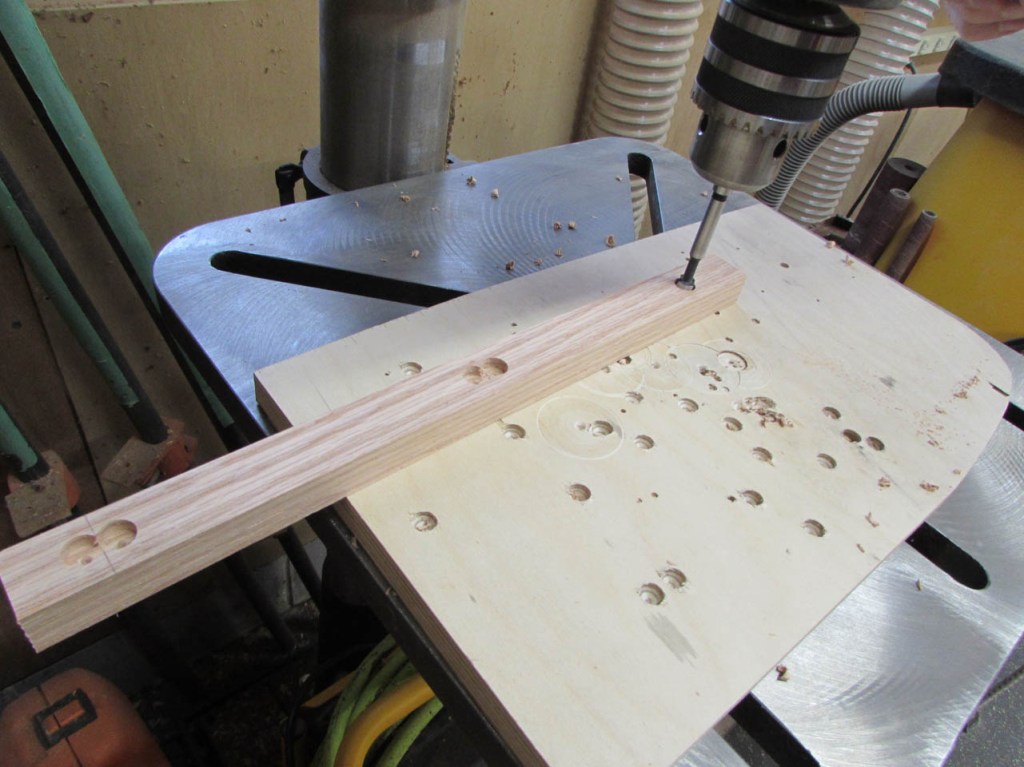
I used a 3/8″ forstner bit to create a counter-bore at one end, then I created an elongated counter-bore at the other two locations.
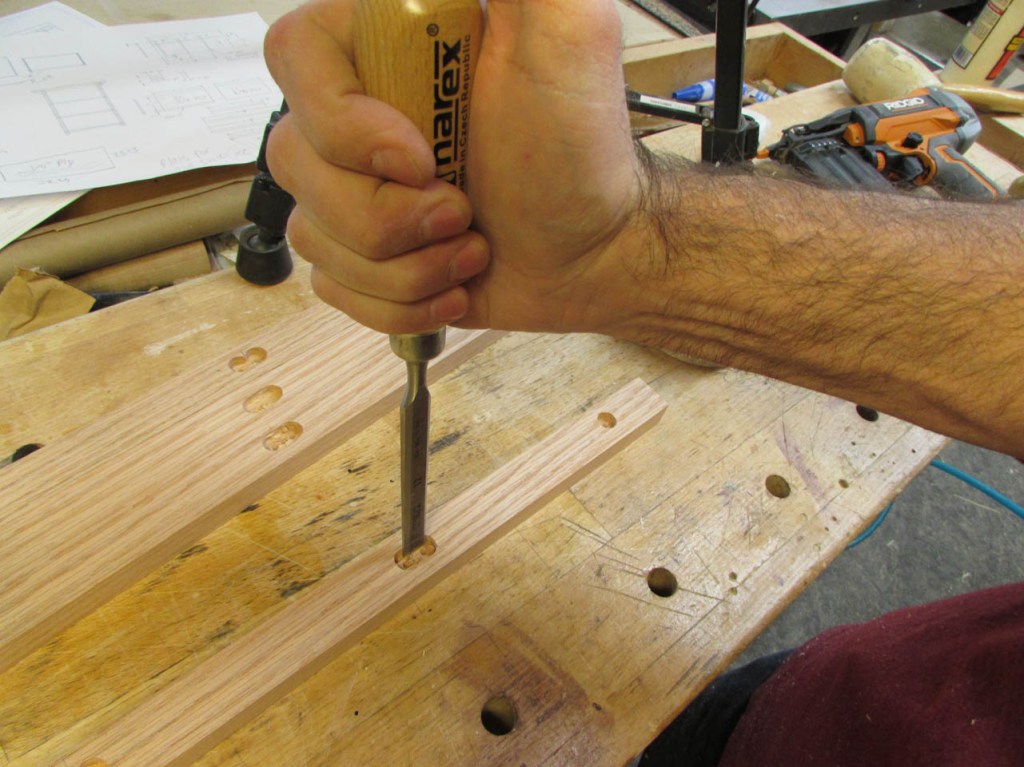
I used a chisel to clean away the rest of the counter-bore area.

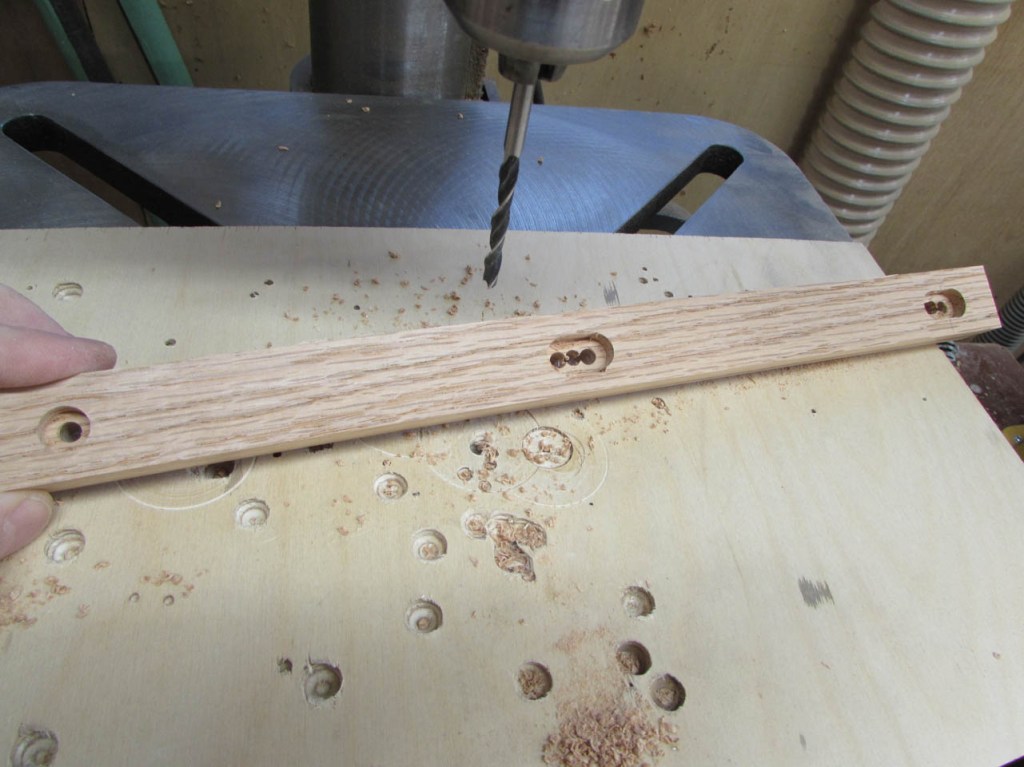
Next, I used a 3/16″ bit to create a through-hole at the one and a slot at the others.

After clearing the slots with a chisel, I have a slotted, counter-bored through hole.
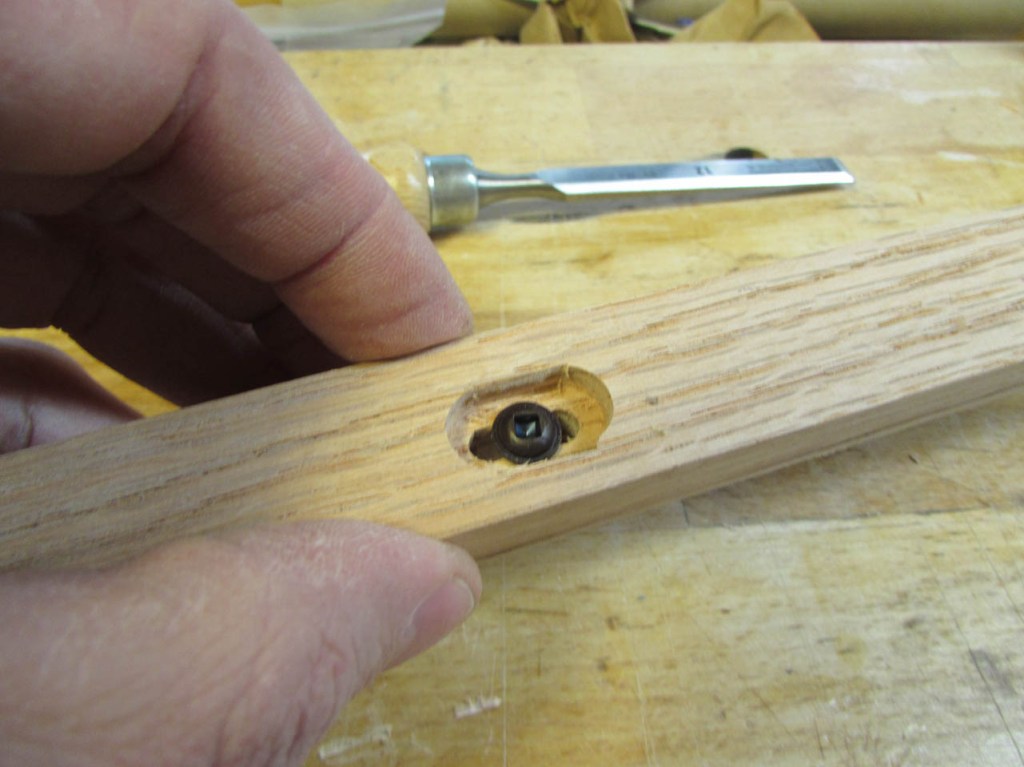

This will allow me to attach the top with a fixed location at one end and as the top expands and contracts, it will slide along the slots, only allowing the top to expand towards the front, not the back.

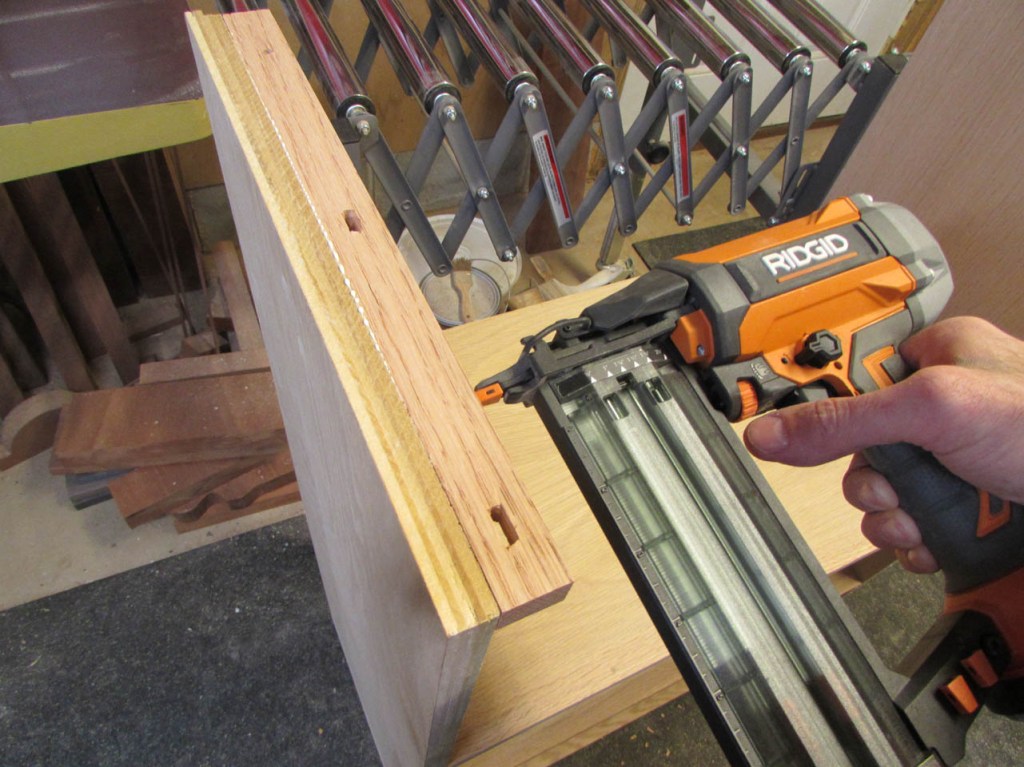
I applied glue to the strips, then pinned them in place so they could be clamped to dry.


Once the clamps were removed, I can scrape away the squeeze-out with a chisel.


Now it is time to get started on the solid tops.

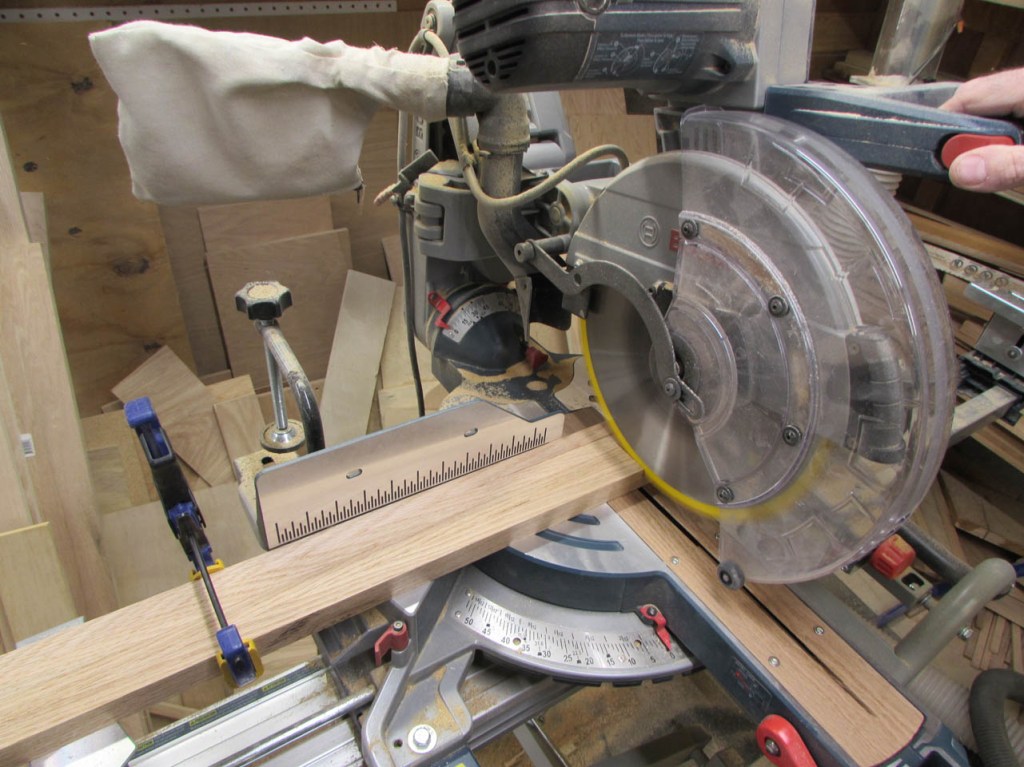
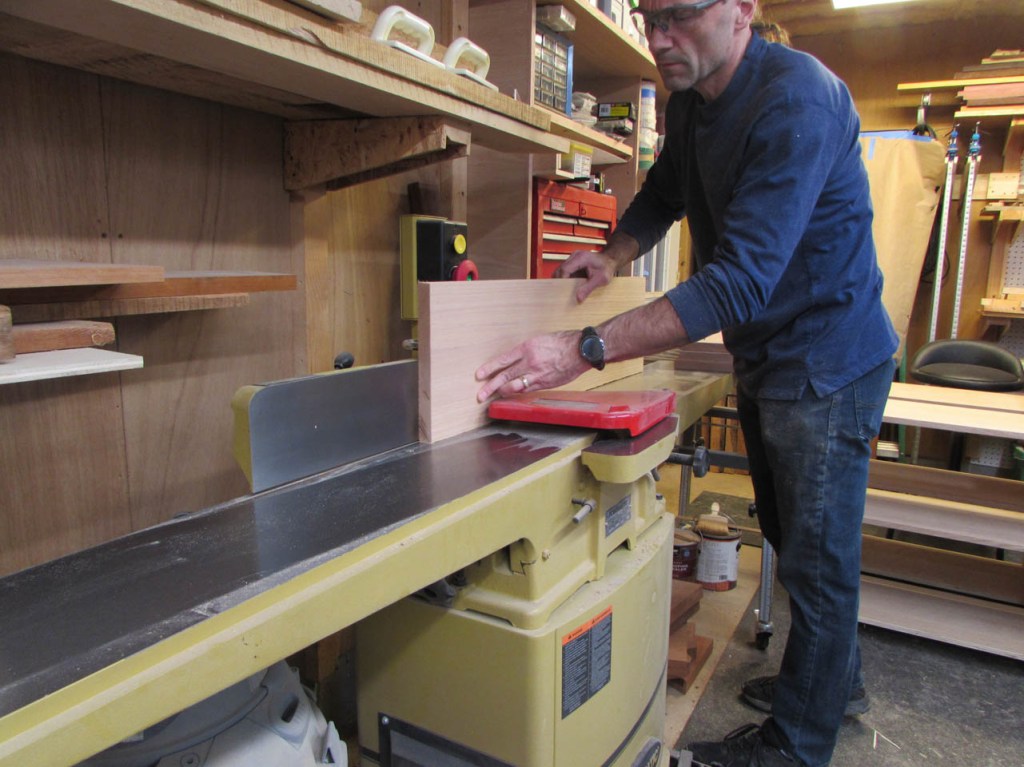
I grabbed two straight boards and cut them down to about 6′ long, then ran them through the planer.

I took them down to 7/8″ thick.

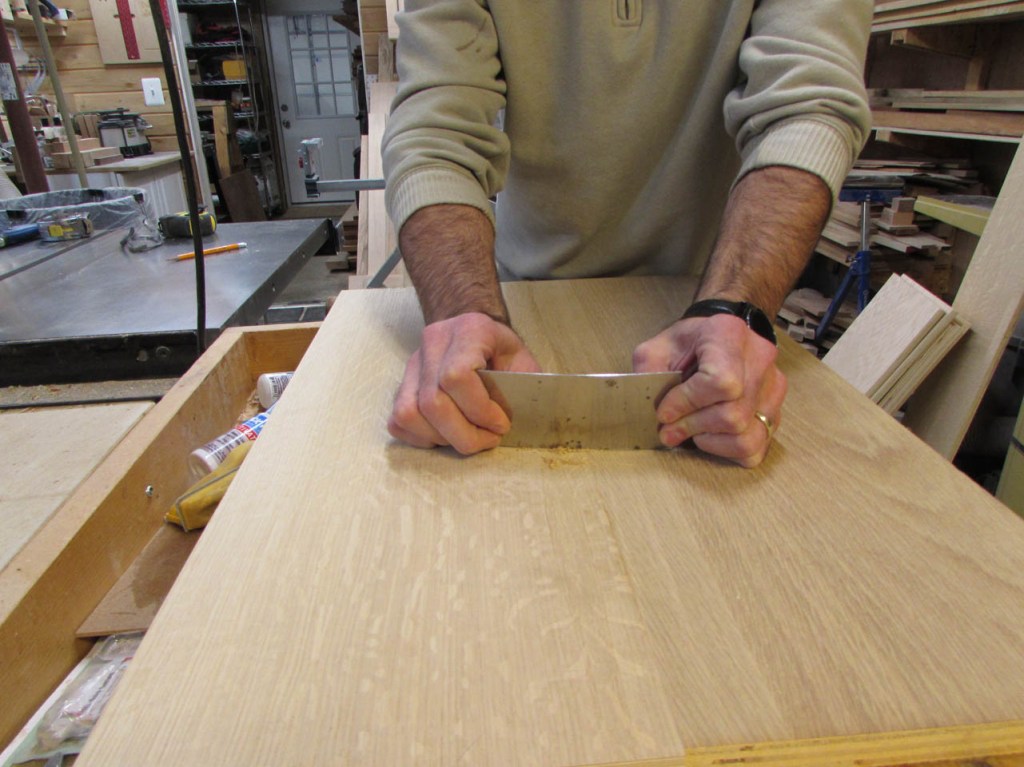
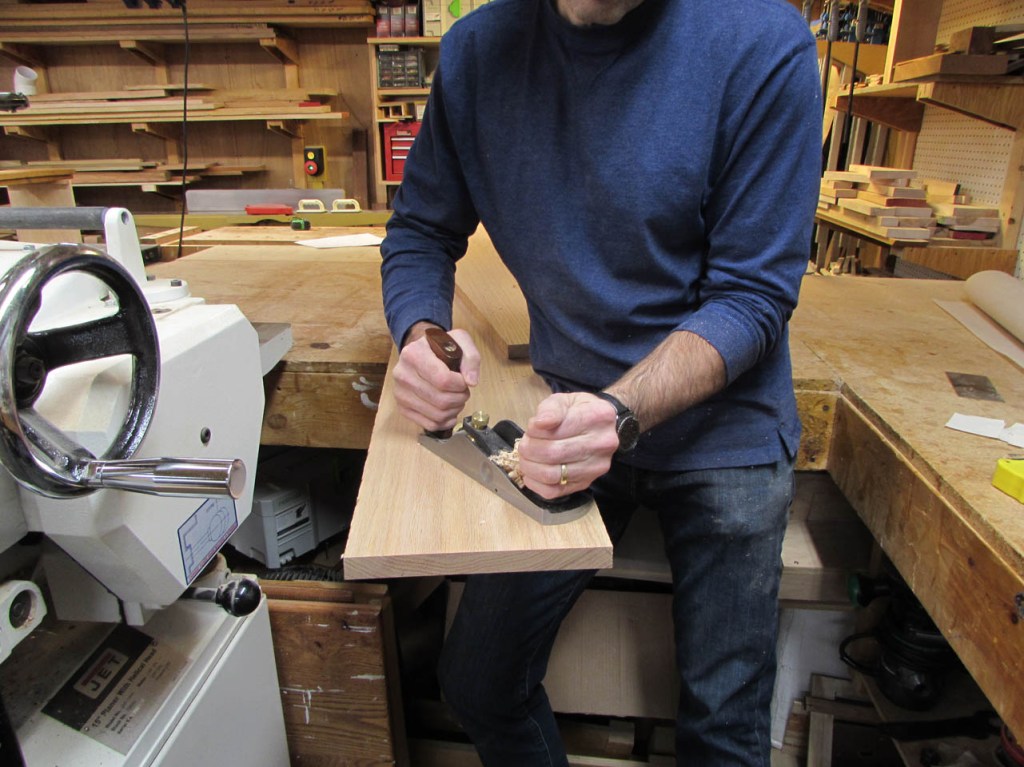
There was a little bit of snipe on a couple of the ends, but I found that my smoothing plane cleaned it right up.

After cutting the boards in half, I jointed the edges so that I had a good, straight edge for gluing.
I aligned the grain then applied glue to one side and spread it evenly.
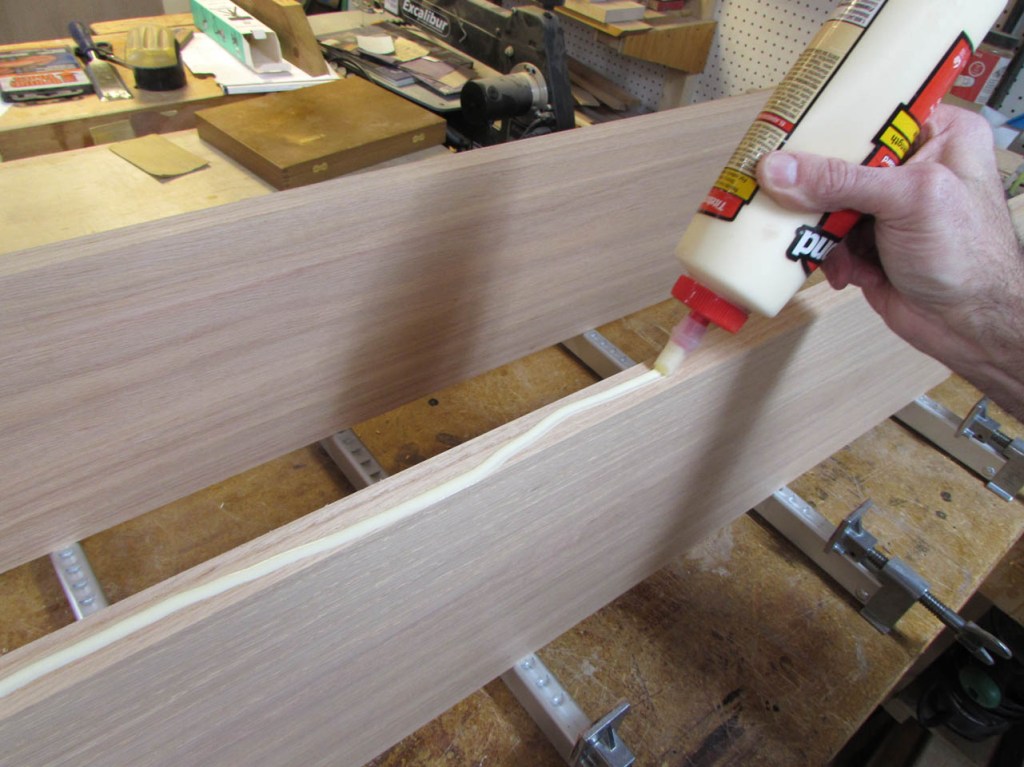
I lined the panels up as closely as I could and clamped them tightly.


There was minimal clean-up required since it was a tight, straight joint.
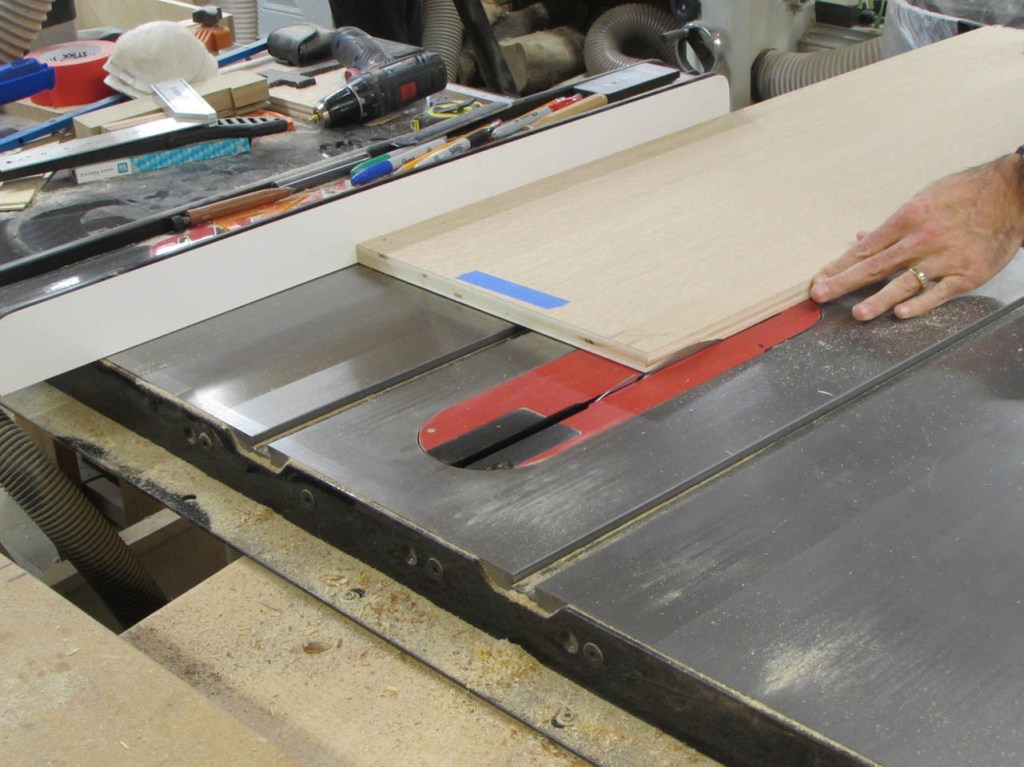
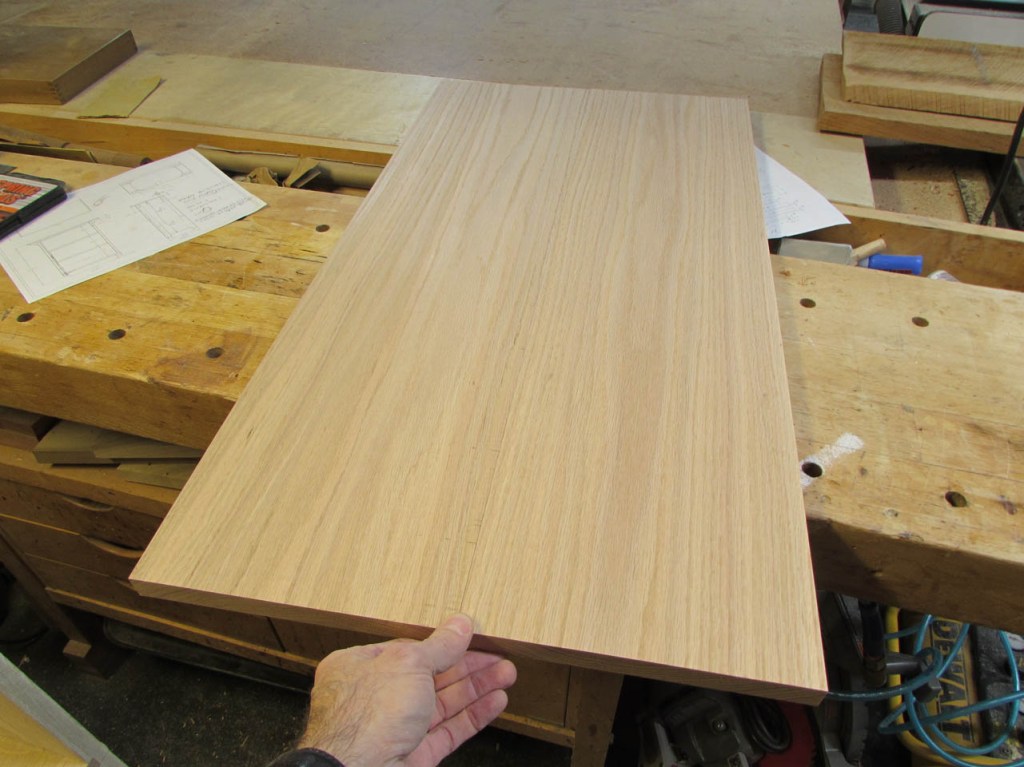
Now I have two over-sized panels that need to be cut down.
After ripping the 17″ width, I used the cross-cut sled to square up the ends and cut the 34″ length.


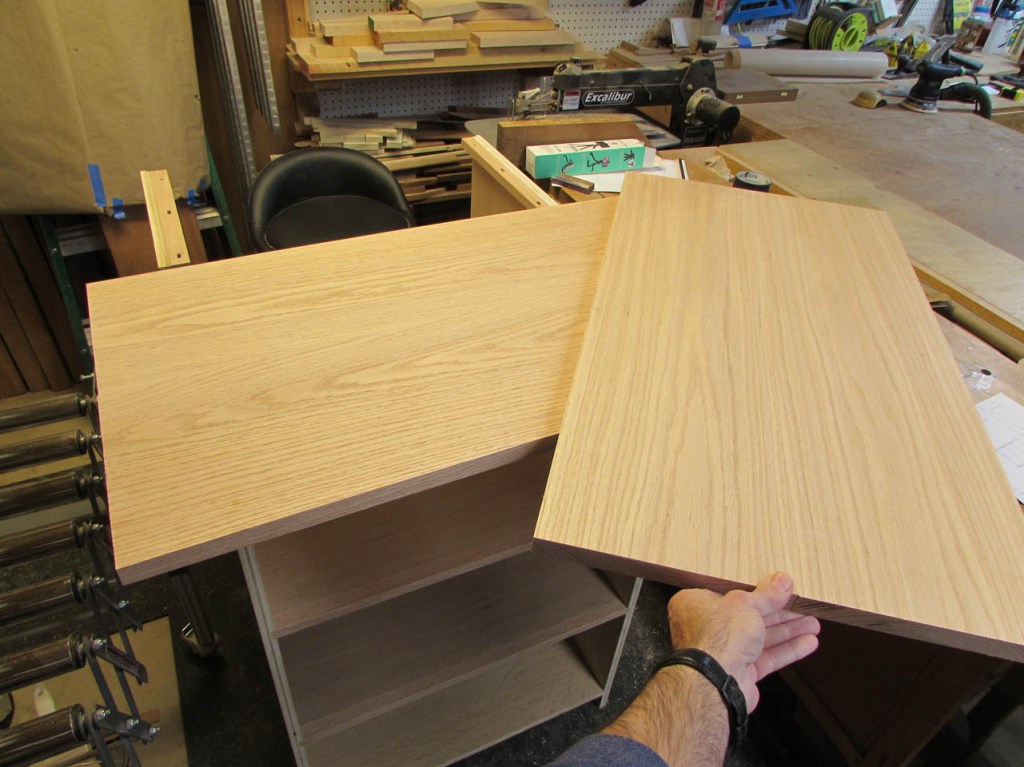
The tops seem huge for the shelves, but they will look better once all the rest of the solid wood is in place.
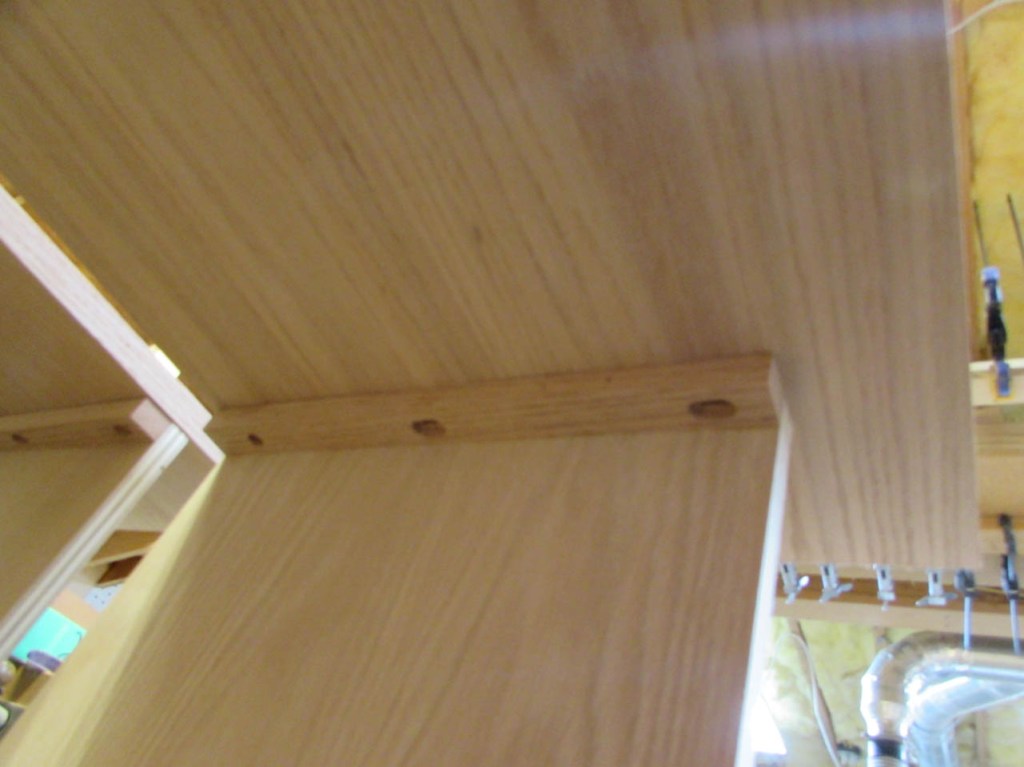
The picture above shows the attachment strip I made for the top. It will be fixed in the back and sliding towards the front. The strips themselves will be hidden behind the face frame on the front.

To finish up the tops, I need to add a 1″ radius at the two front corners. That is approximately the size of a glue bottle, so that is my pattern to trace.
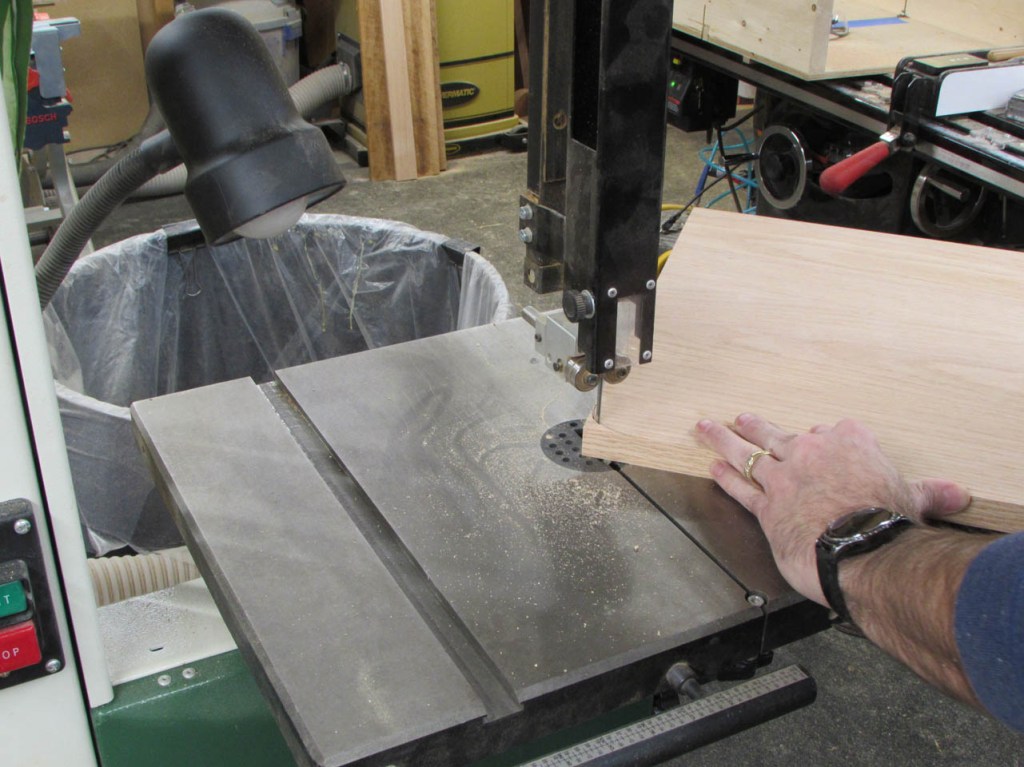
I used the band saw to rough out the curve and the 6″ wide belt sander to clean it up.

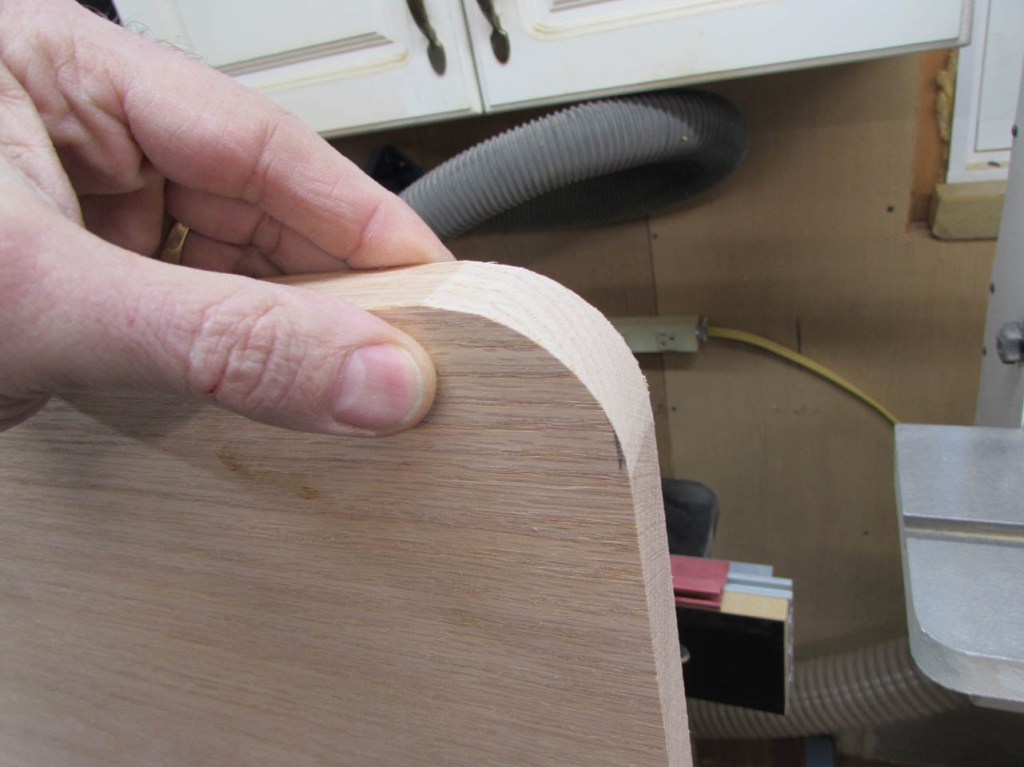
I set up a 3/8″ round-over bit in the router table to ease the front and sides of the top.


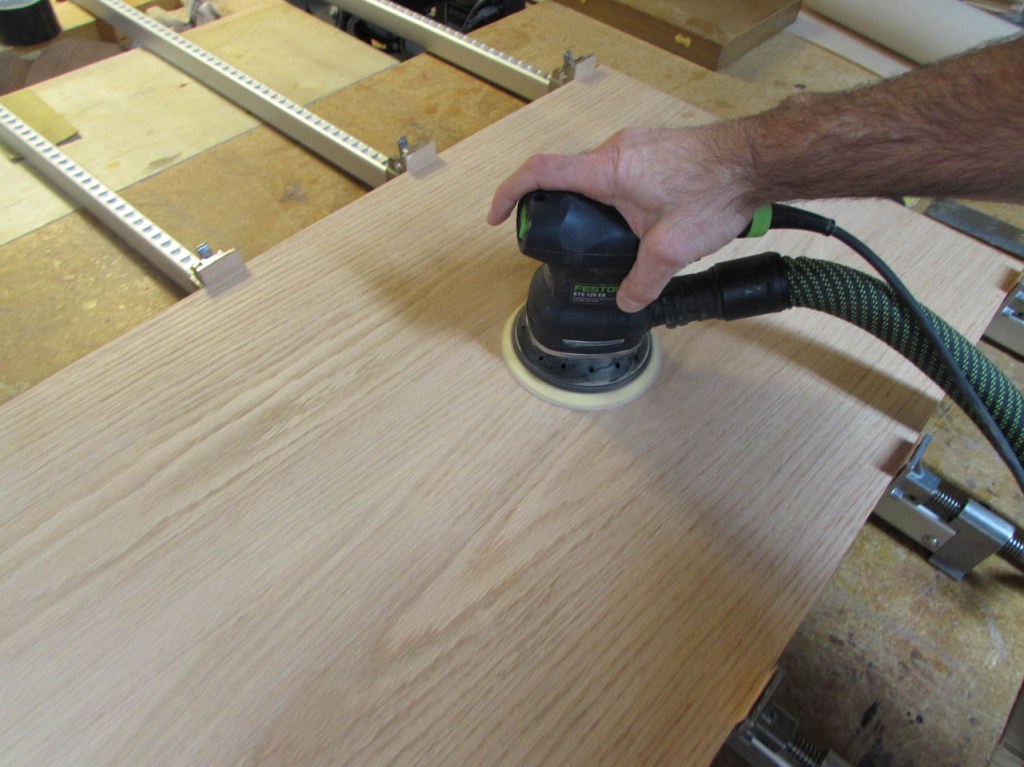
After rounding three sides, it looks really good.

I did a little clean-up with the orbital sander to blend it all together.
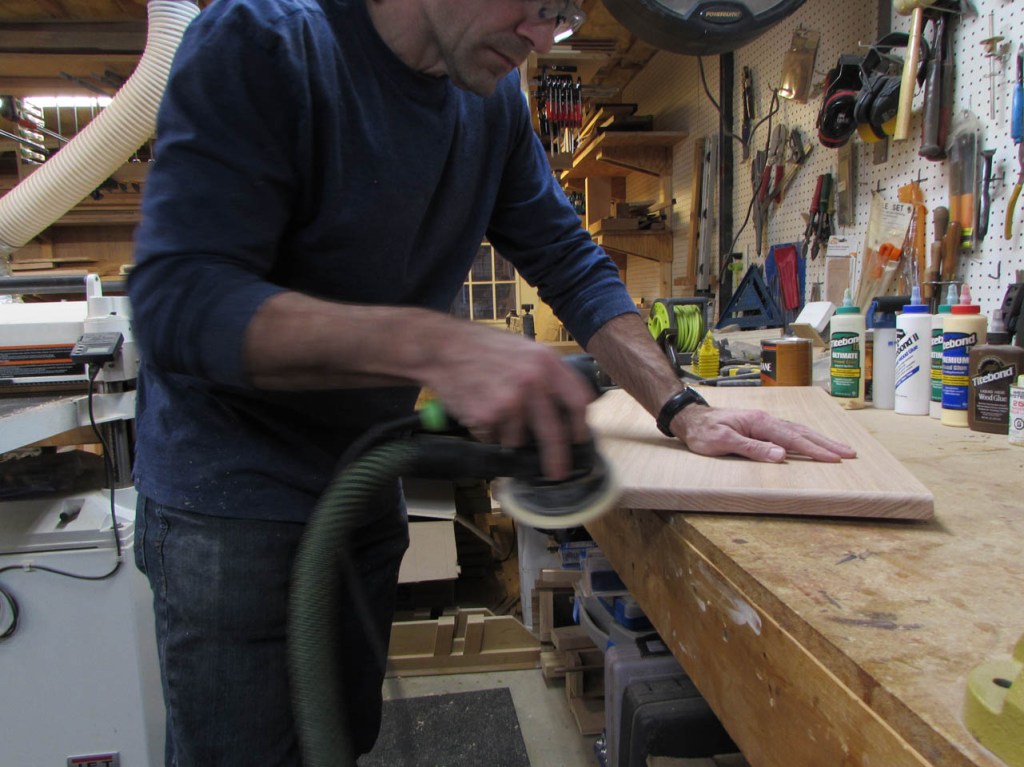

The one top has a couple of spots that I want to address. There is a crack that I masked off and filled with CA glue. That will stop the crack and stabilize it.
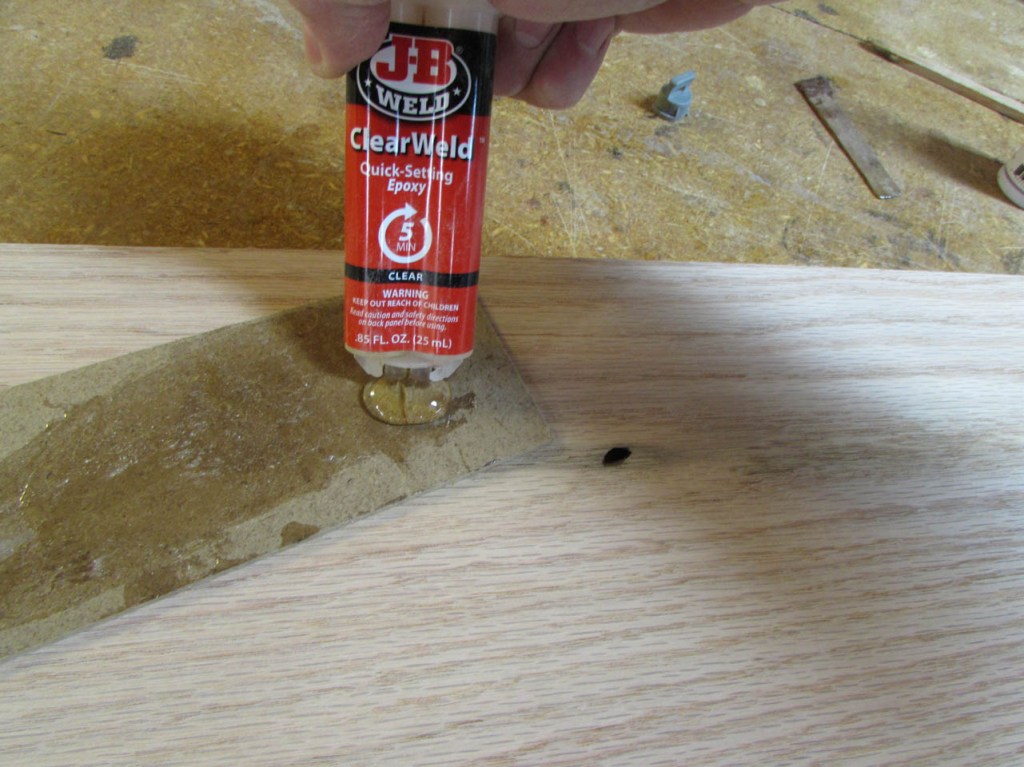
I also have a knot hole that I want to fill. I masked that off as well and filled it with some quick-setting epoxy.

I think this post is long enough for now. Next post, I will get started on the solid wood face frame.
