
Bailey’s Art box
My friend Chris had another request for a Christmas gift for his daughter. Apparently, with all of the Elves having to social distance and disinfect their work areas, the North Pole is having trouble filling all the custom orders for Christmas this year. As one of Santa’s designated subcontractors this year, I was assigned to build an art box for Bailey. Luckily for her, I happen to have some more of the walnut that her grandfather cut and dried several decades ago.

I won’t need much for this box, but this board has some knots and twists to it so I will cut out a few sections that can be made straight.
I need two pieces that are at least 24″ long by 3″ wide to get what I need for the sides of the box. I cut an extra piece just in case I had any problems.

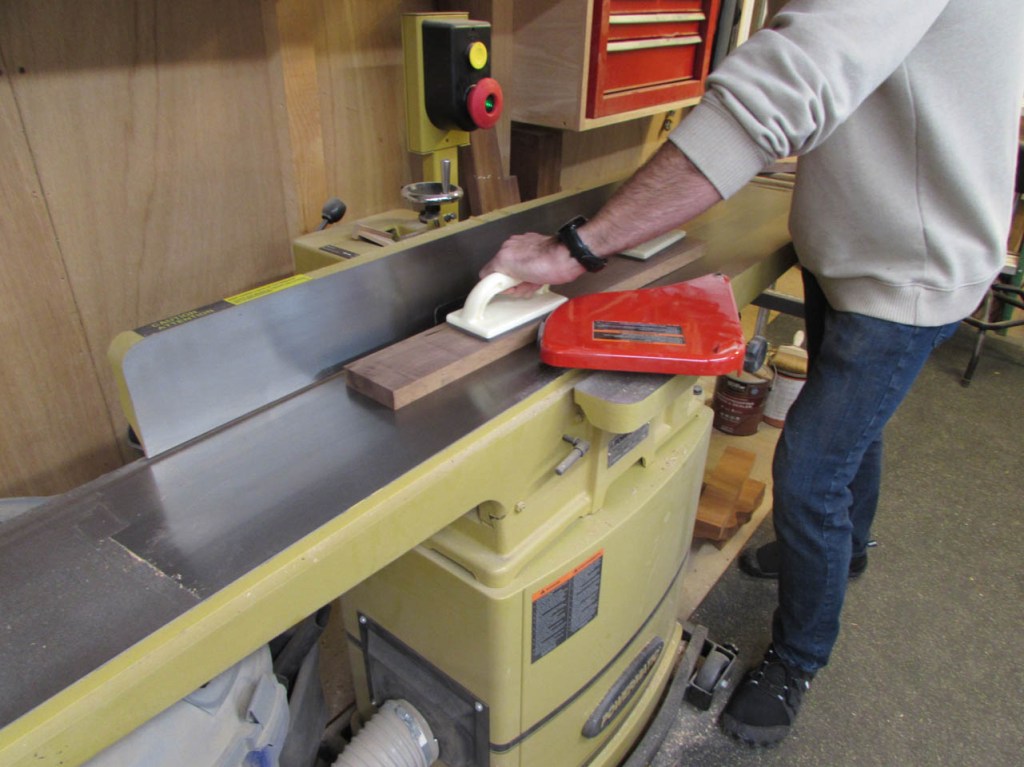
I took all three boards over to the jointer and planed one face perfectly flat as well as one side.


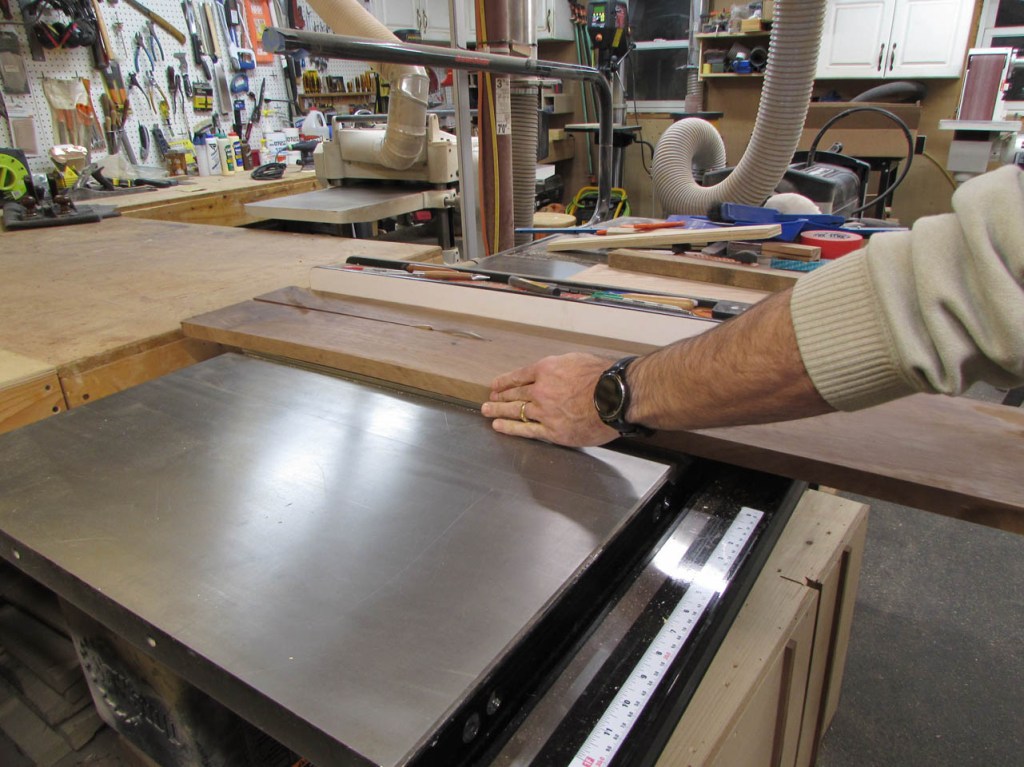
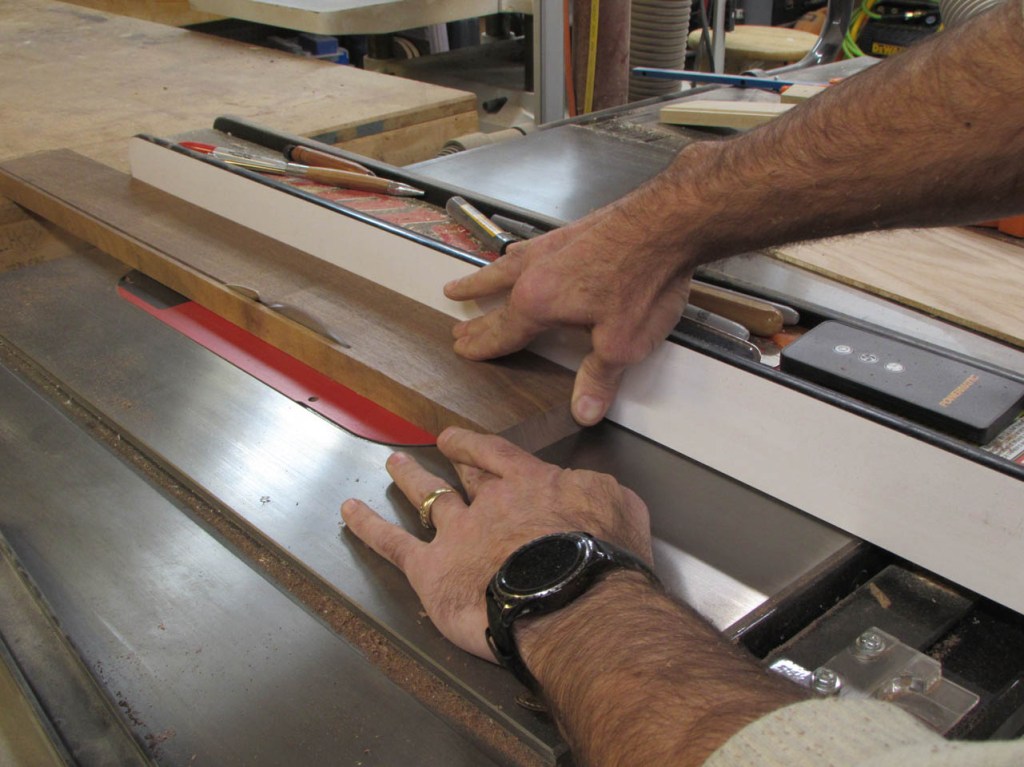
After planing the boards to 3/4″ thick, I ripped them all down to 3″ wide.

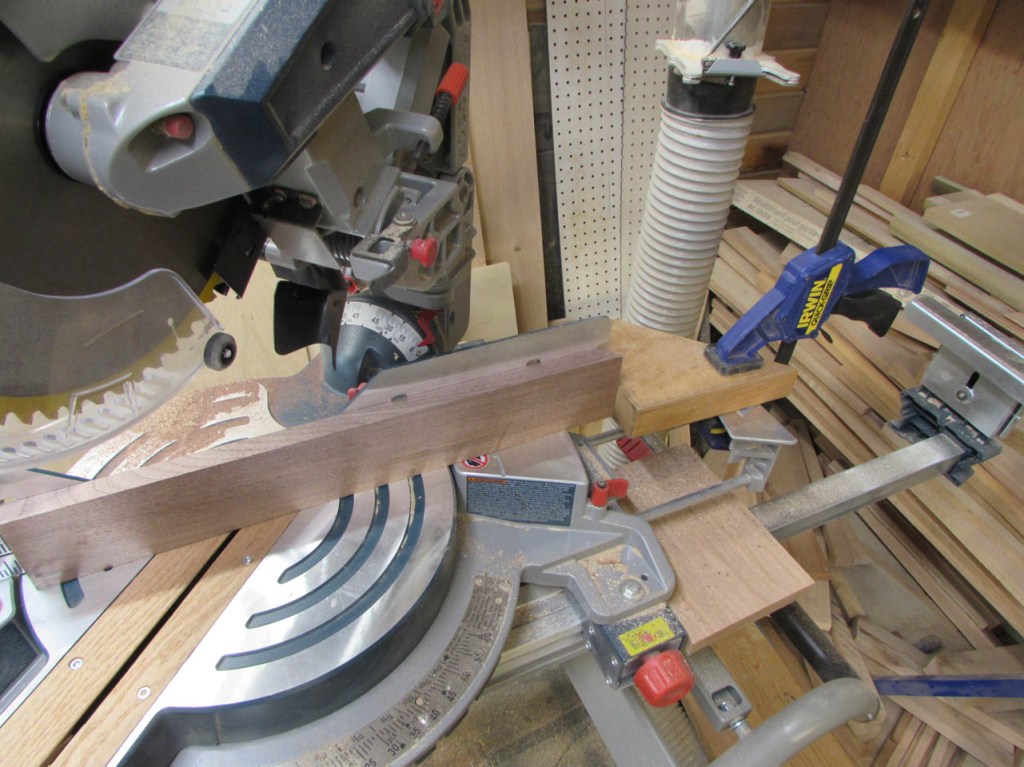
Normally I would put 45° lock miter joints at the corners so I had good glue joints, but the request was for round corners so I will have to use a different approach. I will start by mitering all the corners at 45°.
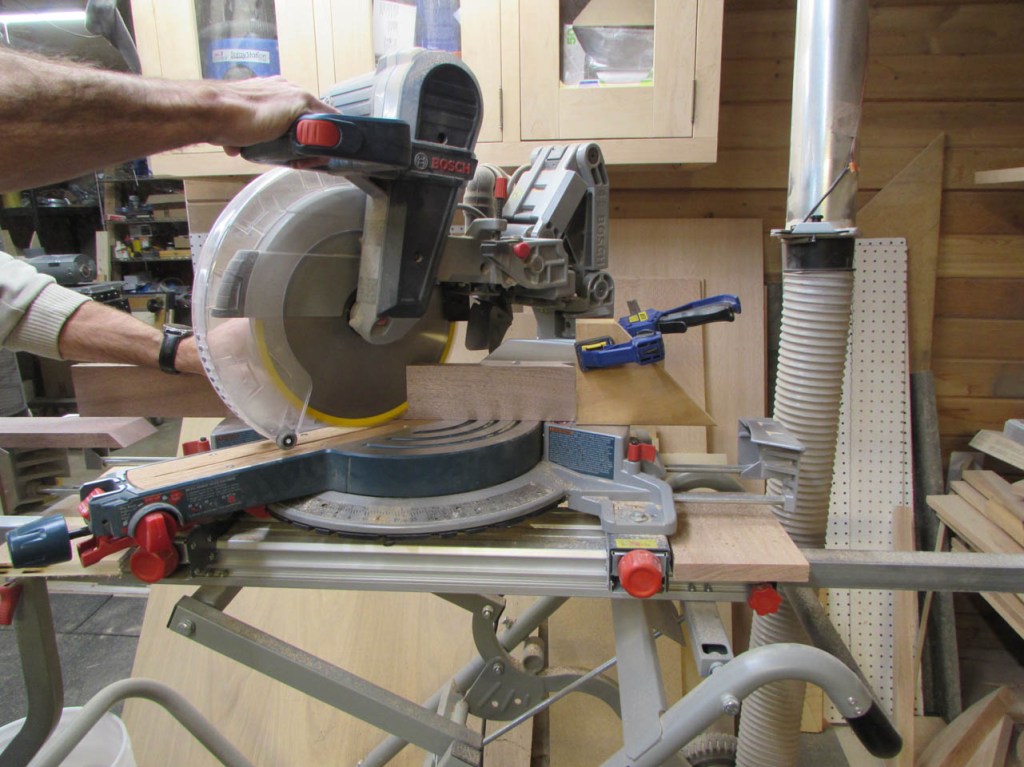
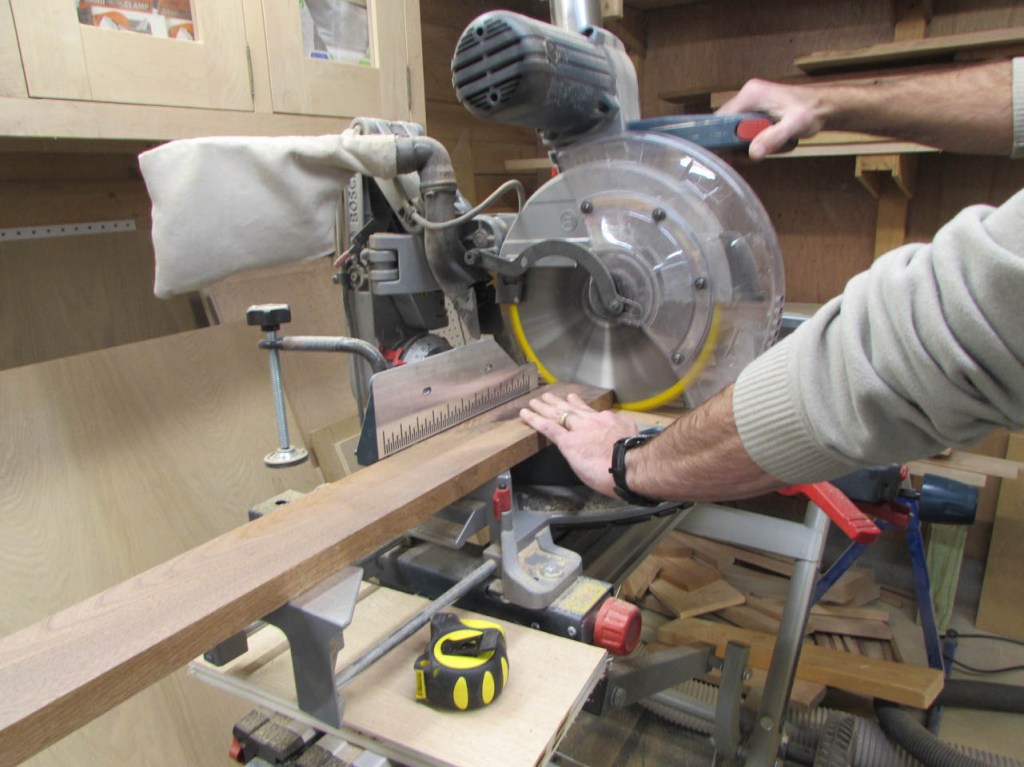
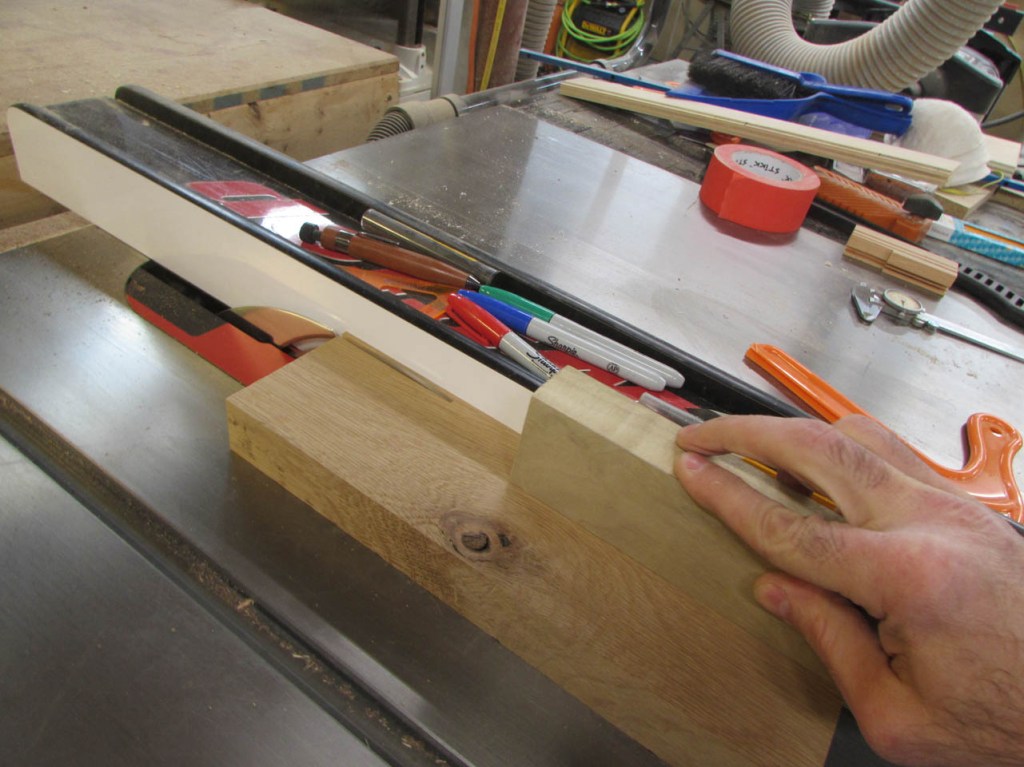
I used two different stop blocks to cut two boards for the short sides at about 9″ and two boards for the long sides at around 14″. It is critical to get the lengths exactly the same or the mitered corners will not meet correctly.
Once the four sides are cut, I do a dry-fit to make sure everything is square.

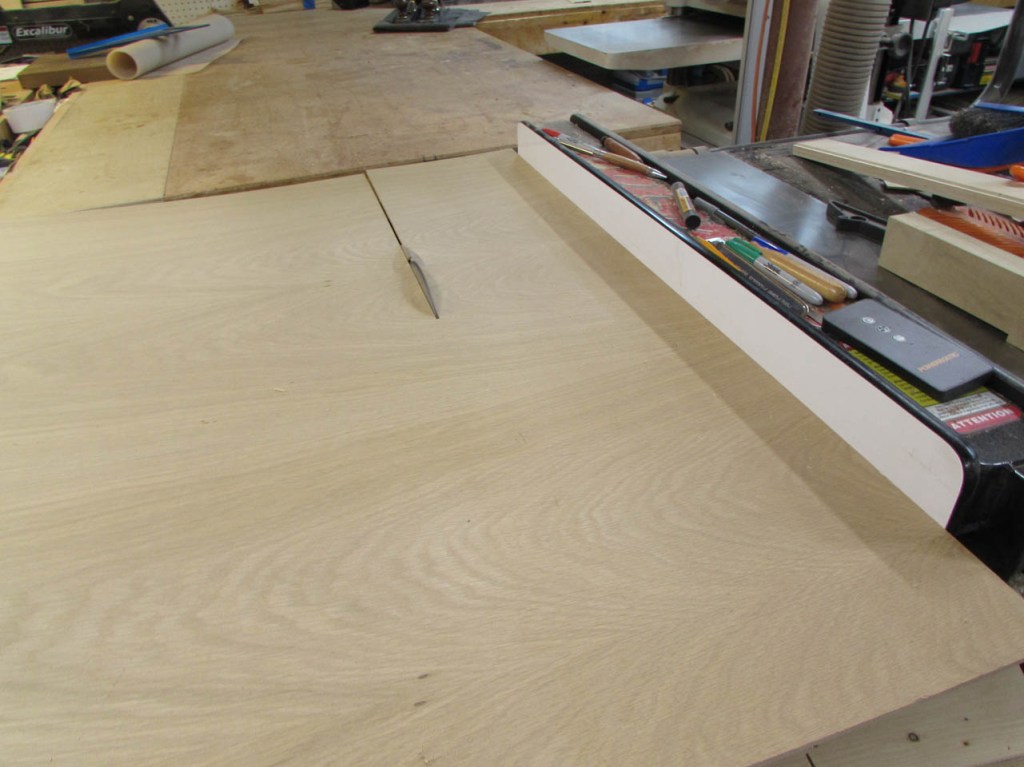
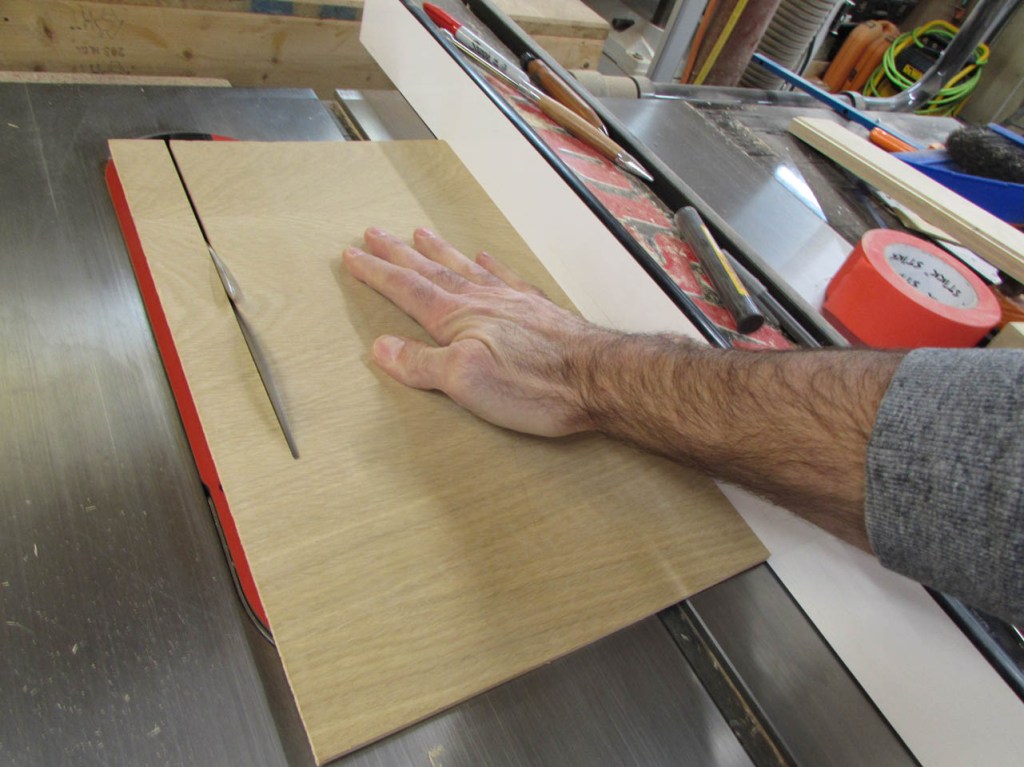
Since I am going to have two captive panels for the top and bottom, I will use some white oak plywood so that it does not shrink or expand while captured within the walnut frame. I cut the plywood roughly to size on the table saw.


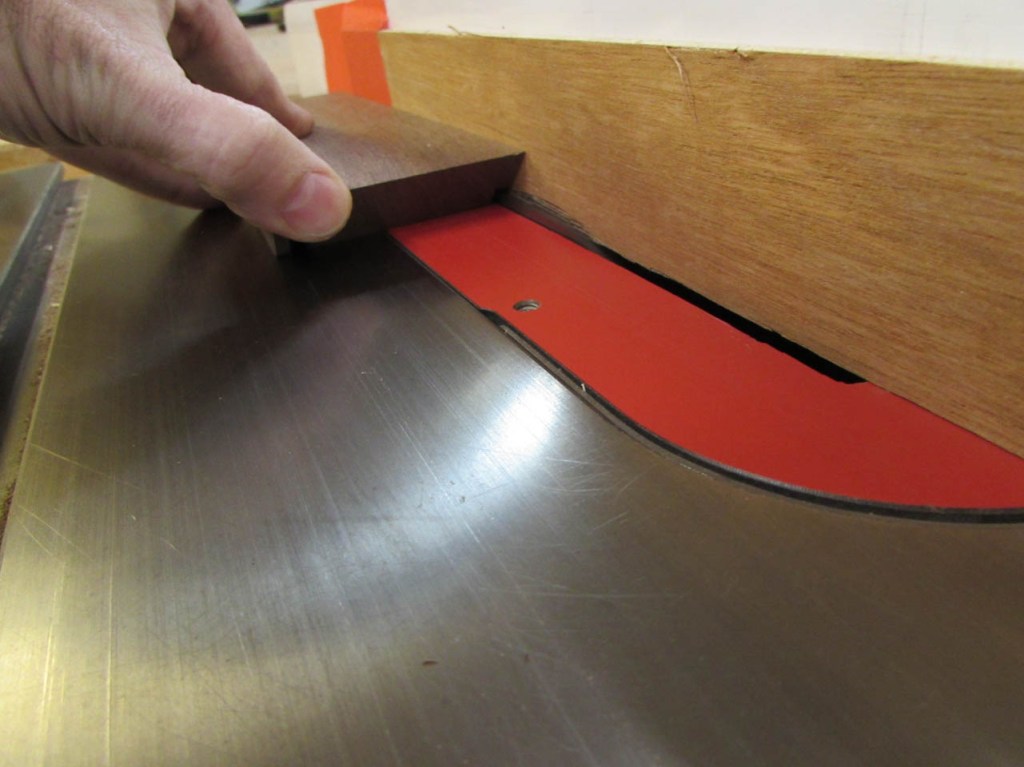
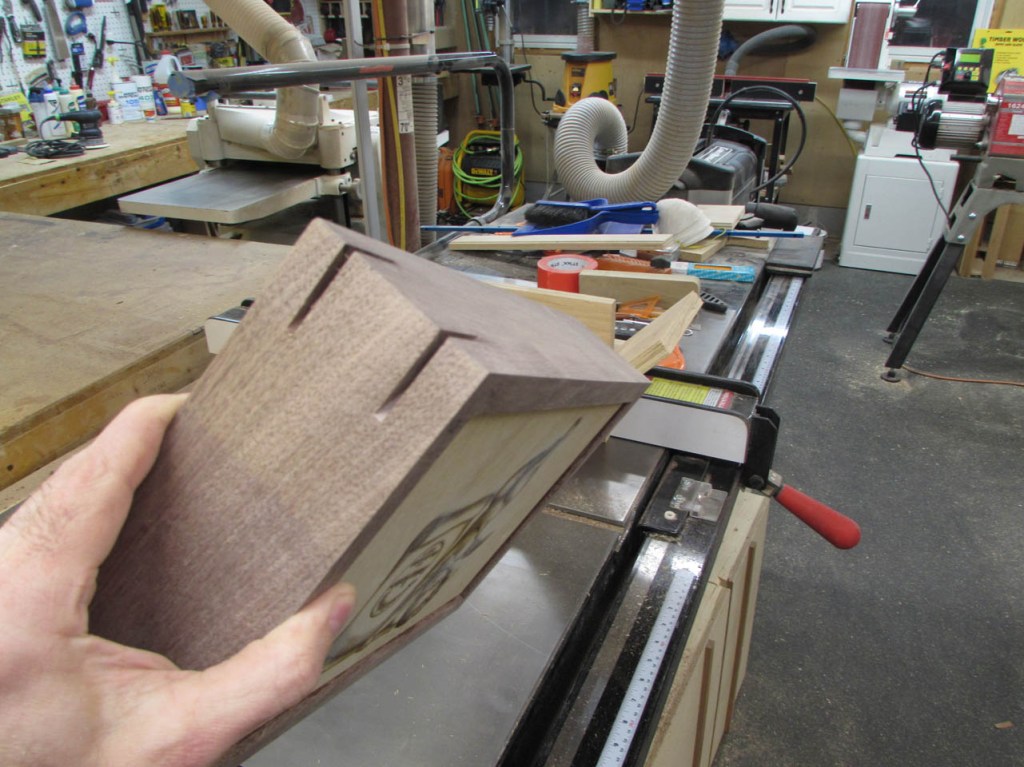
Next, I cut a dado all the way around the top end of the walnut sides.


Then I taped a sacrificial fence to my saw fence and cut the dado along the bottom of the walnut pieces to capture the bottom panel.
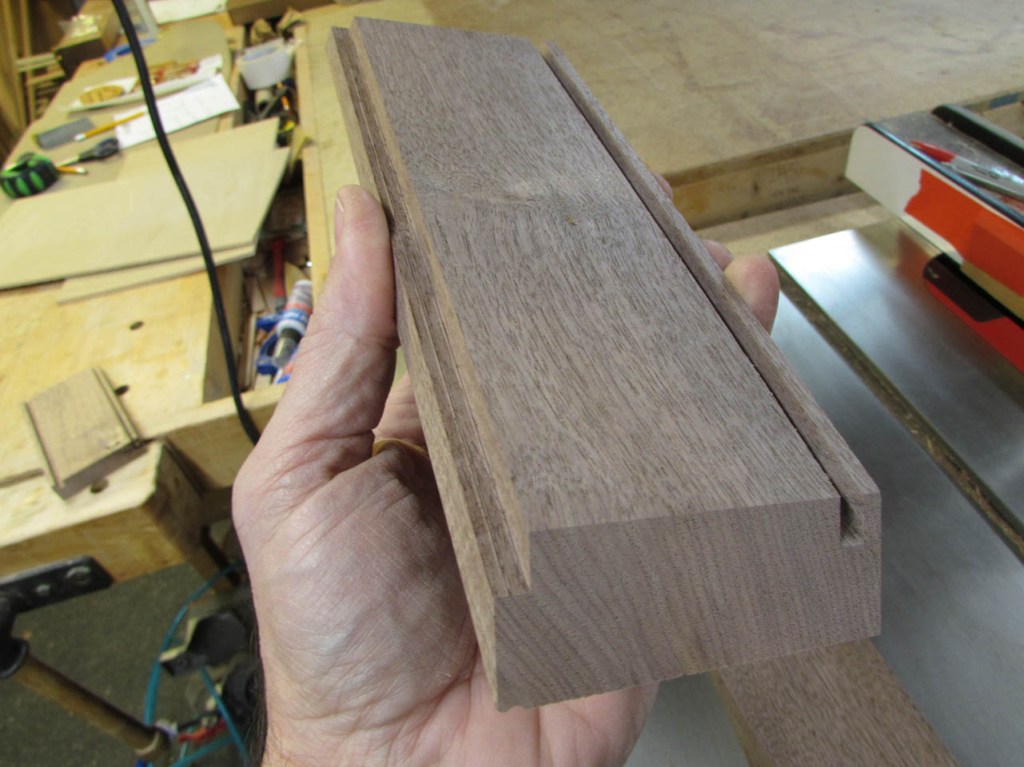
Now I can take an accurate measurement of the bottom of the dados to get the maximum length and width of my panels.

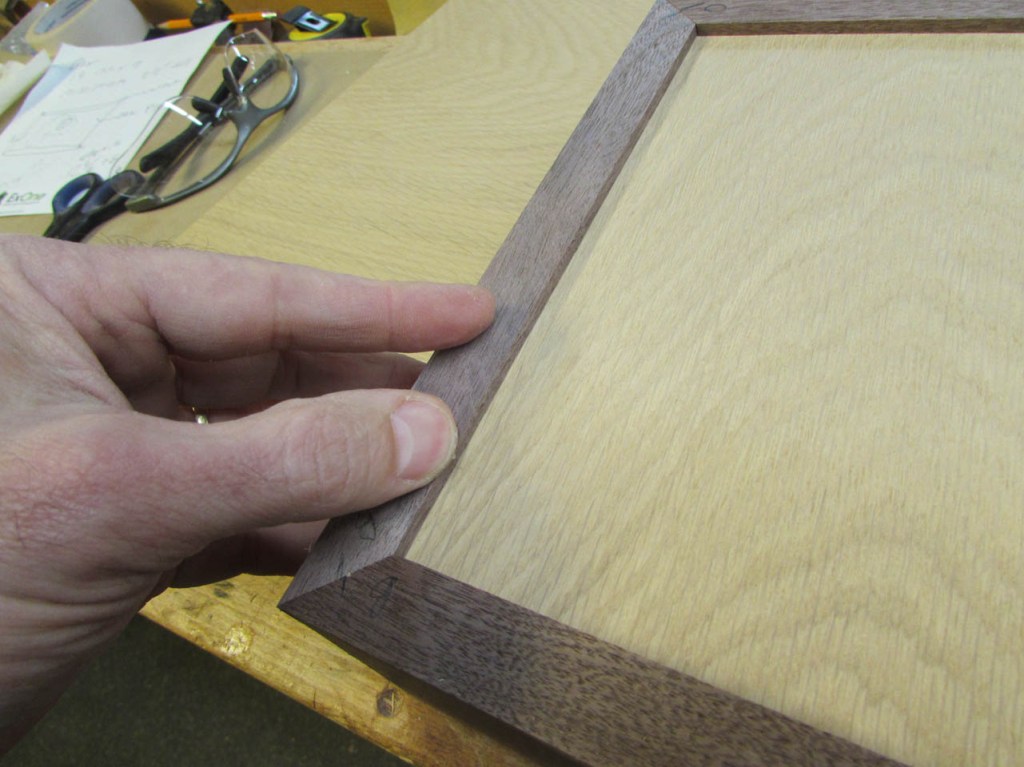
Once the panels are trimmed to the correct size, I do a full dry-fit.


The bottom panel will just drop in from the outside, but the top panel is captured.
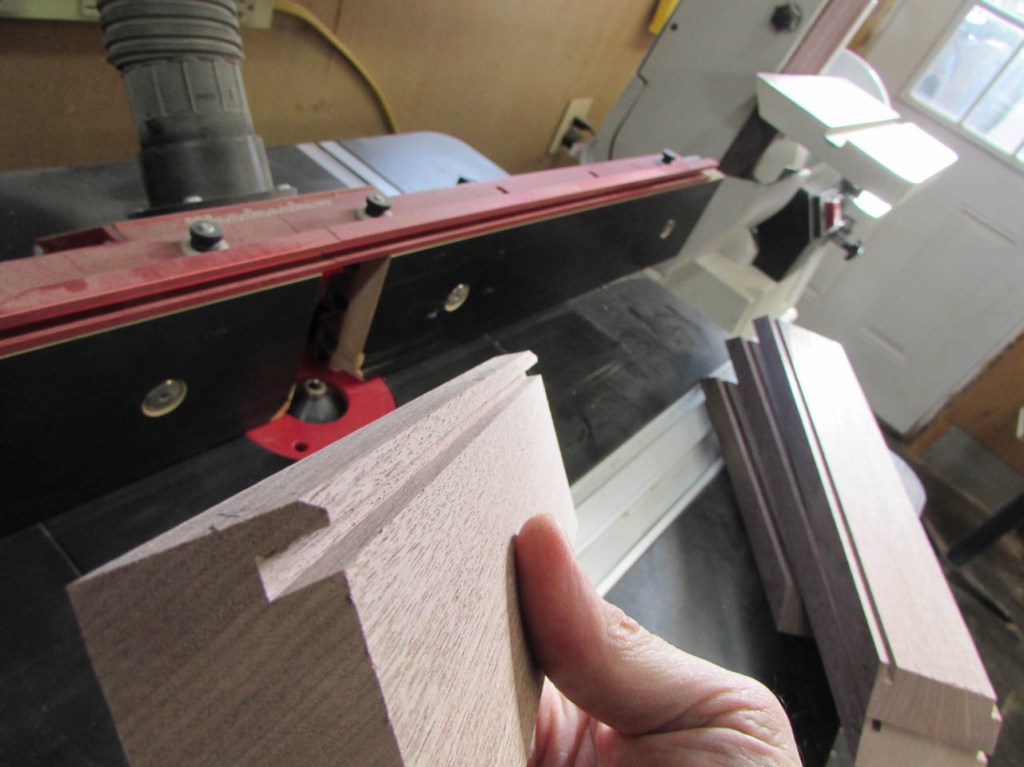
Capturing the panel this way leaves a very sharp edge on the top. To reduce this edge to something safer for a kid’s art box, I set up a 45° chamfer bit in the router table and run all of the inner edges along it.

That will look nice and clean when assembled.
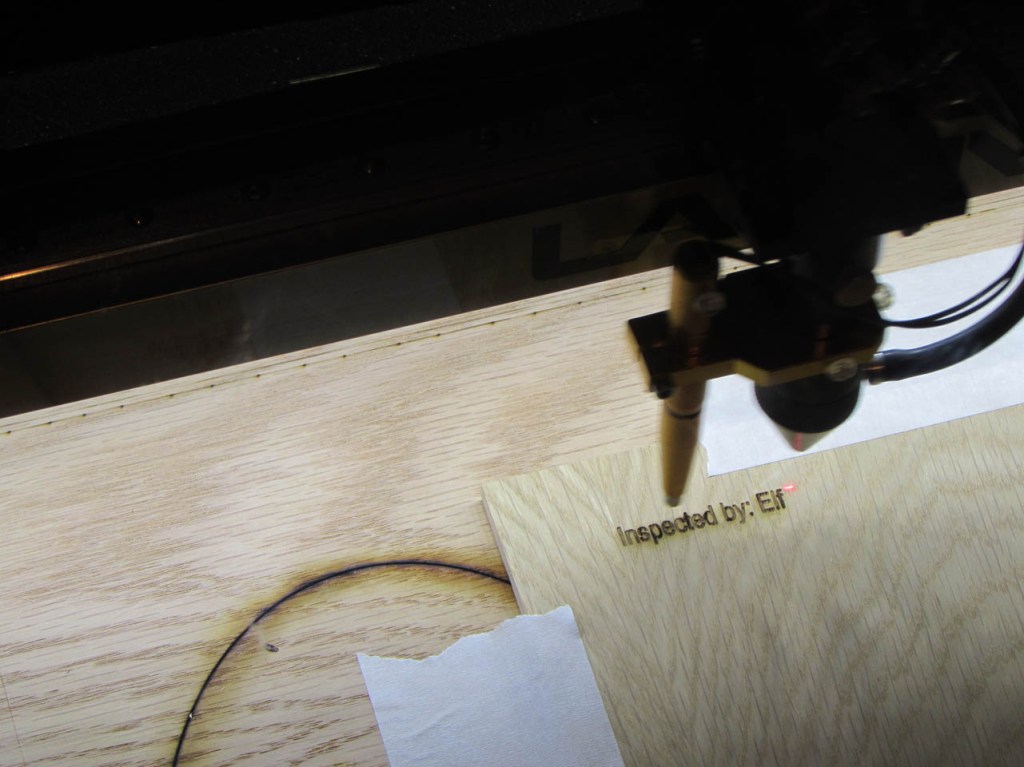
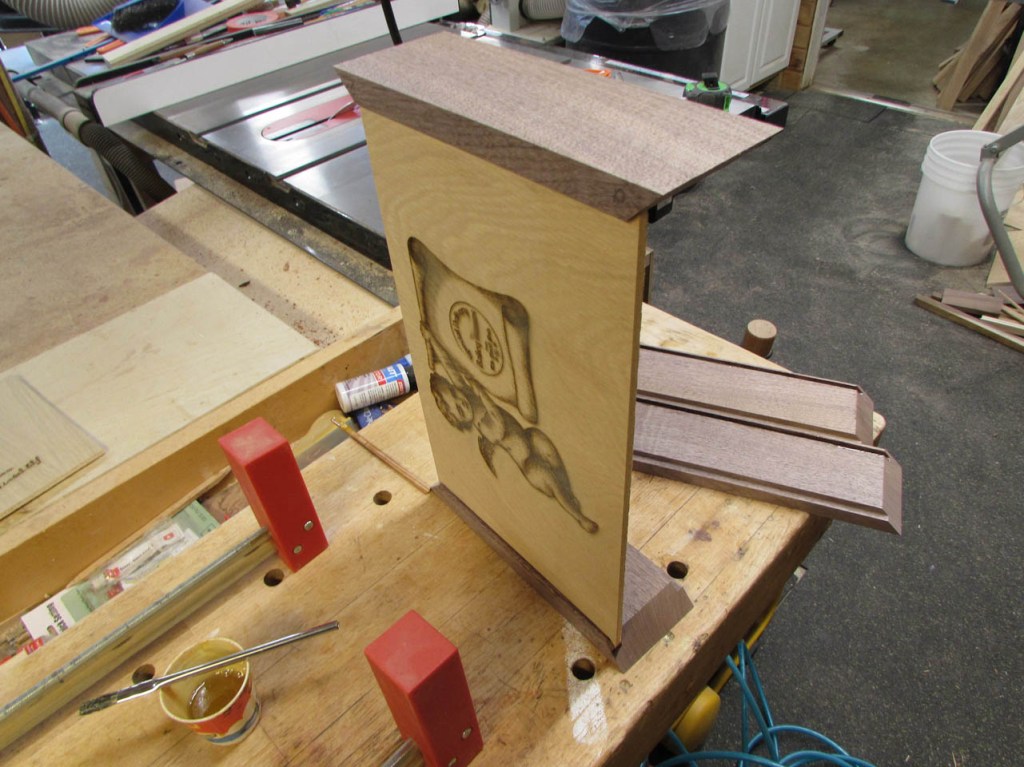
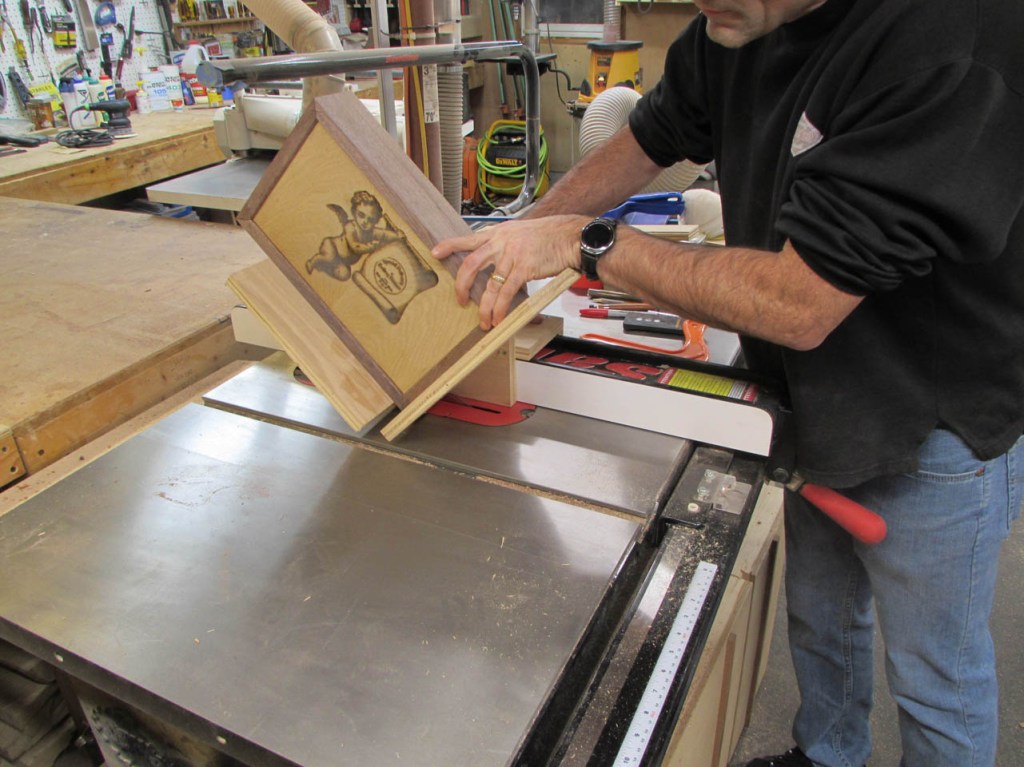
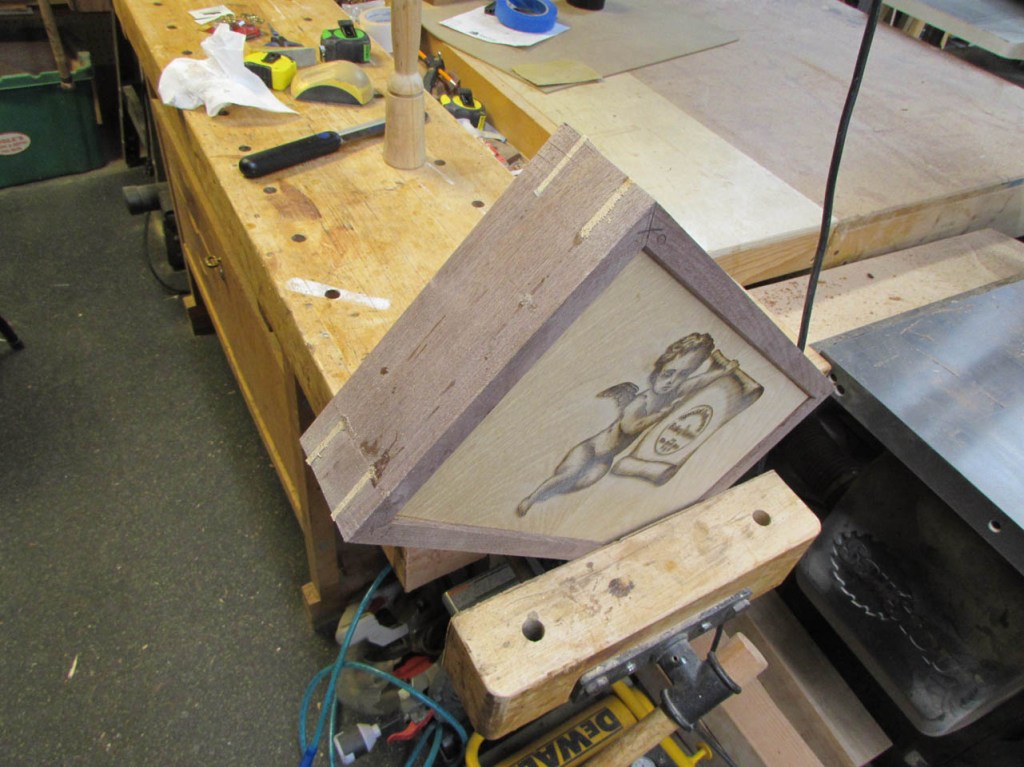
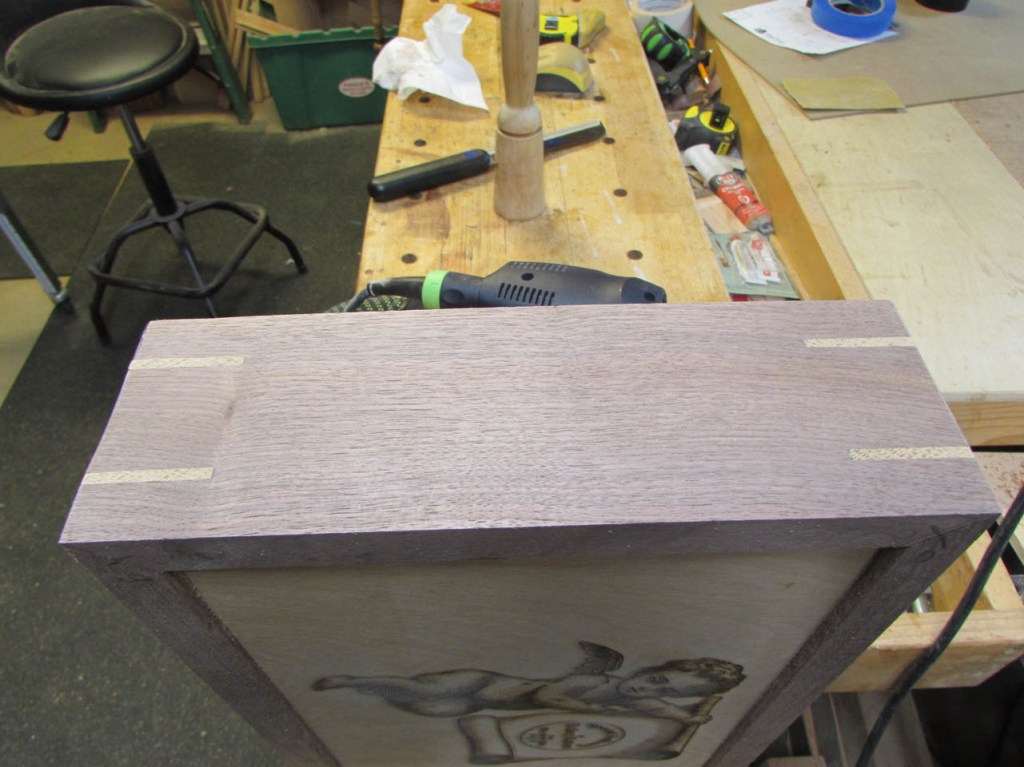
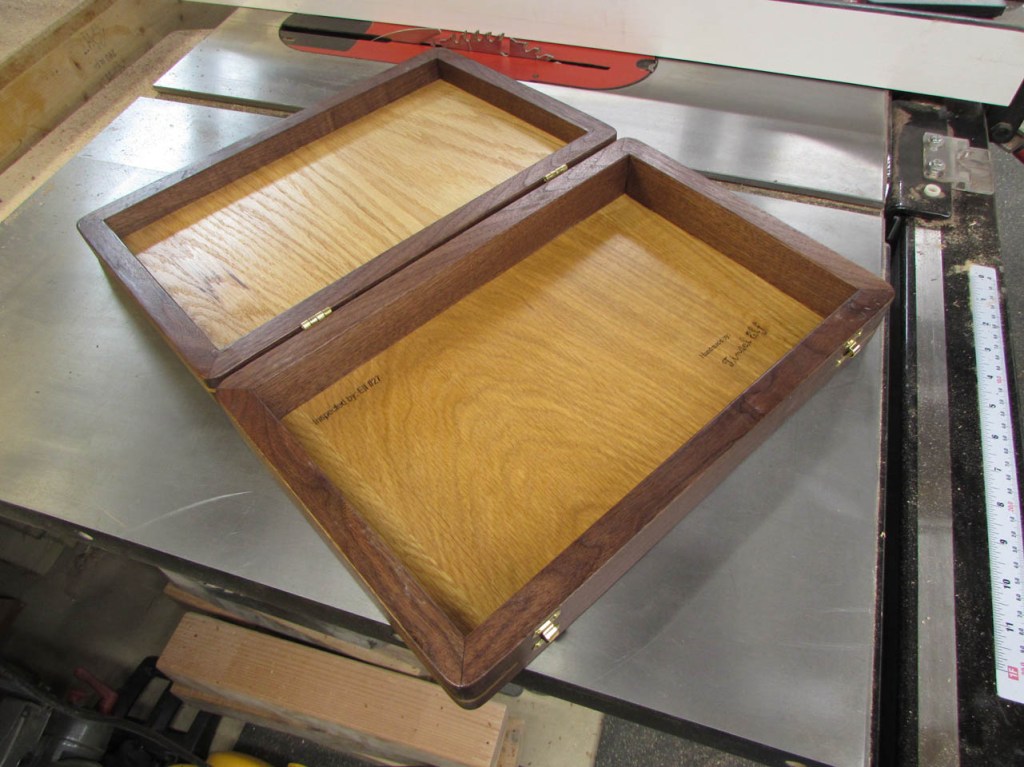
Just so Bailey knows that her box was made by one of Santa’s subcontractors I marked the elf inspector number and signature of the maker with my laser.
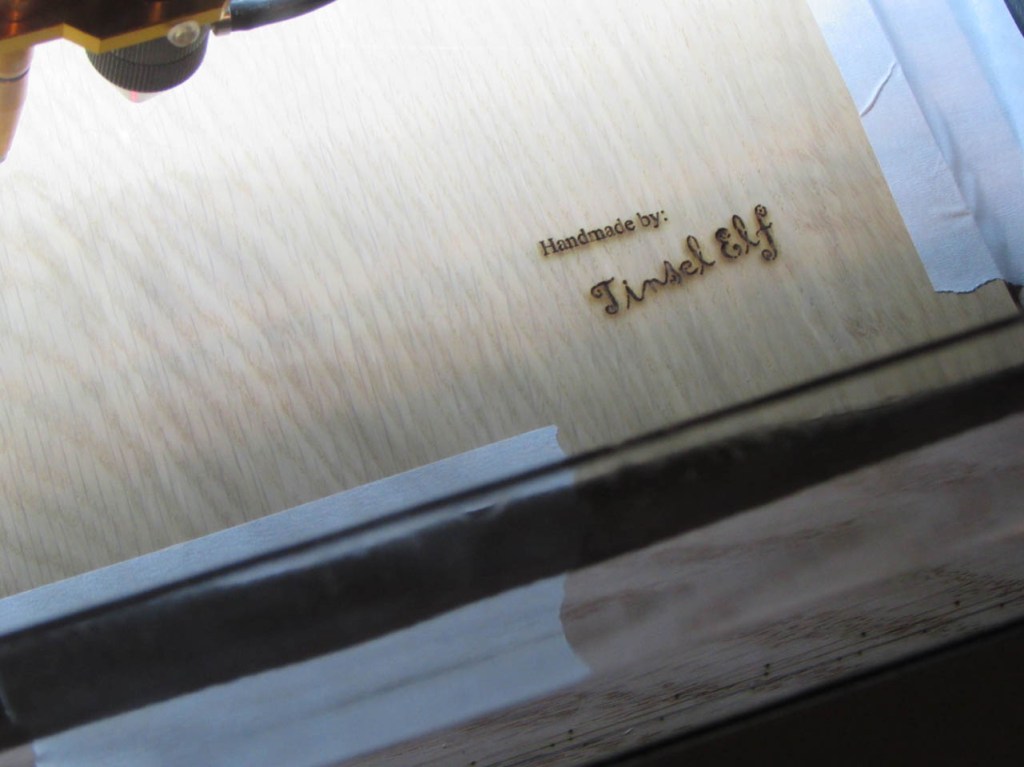
I also added some artwork to the top panel just so she knows that this box was made especially for her.

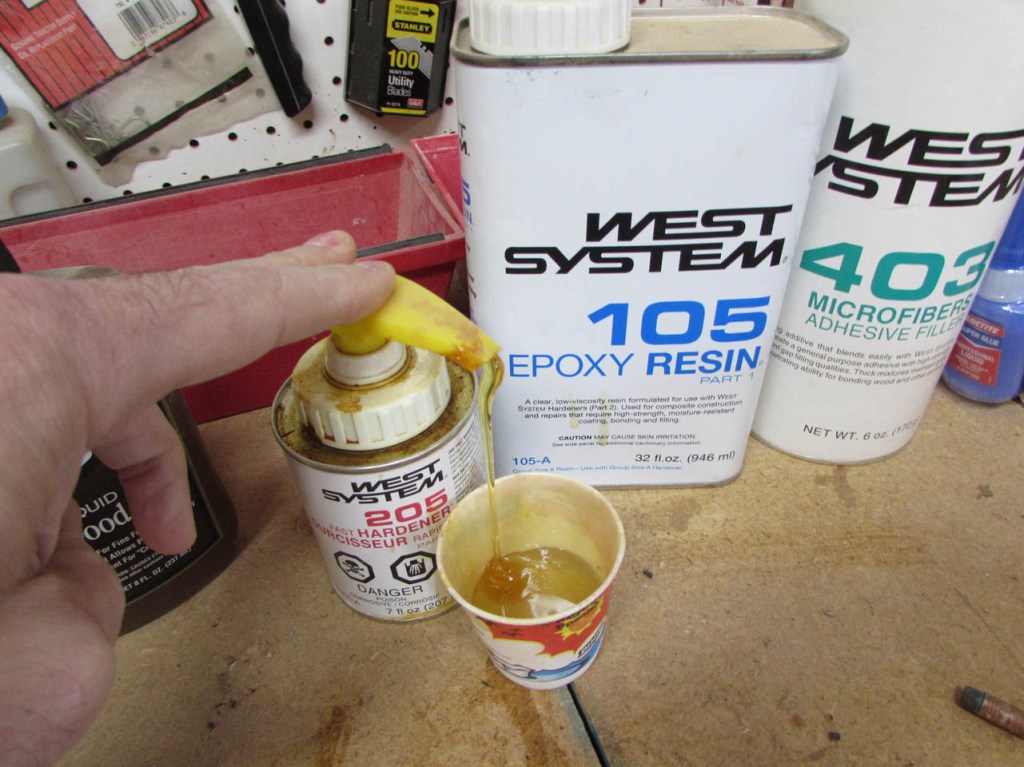
I don’t want to use yellow wood glue for this glue-up. It will squeeze out, inside the box where I cannot see, and that will affect the final finish. To avoid this problem, I am going to use epoxy instead. The epoxy is clear and when dry, it will look just like the polyurethane I intend to finish it with so it will match.
The epoxy is also gap filling just in case any of the miters do not meet up perfectly.
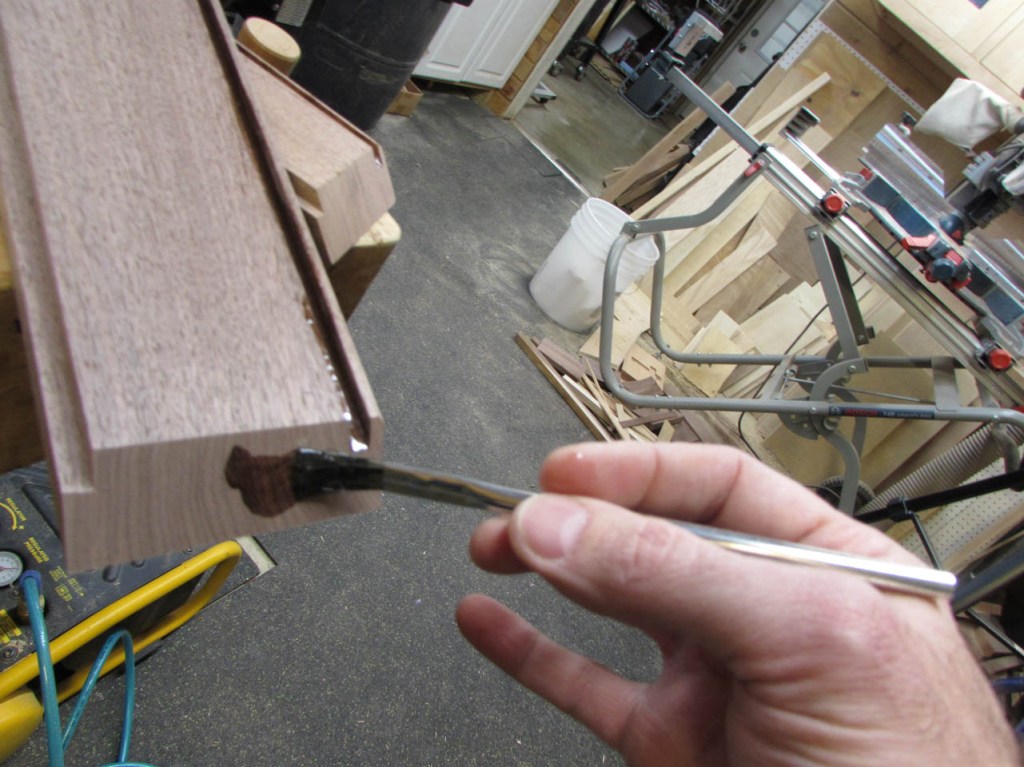
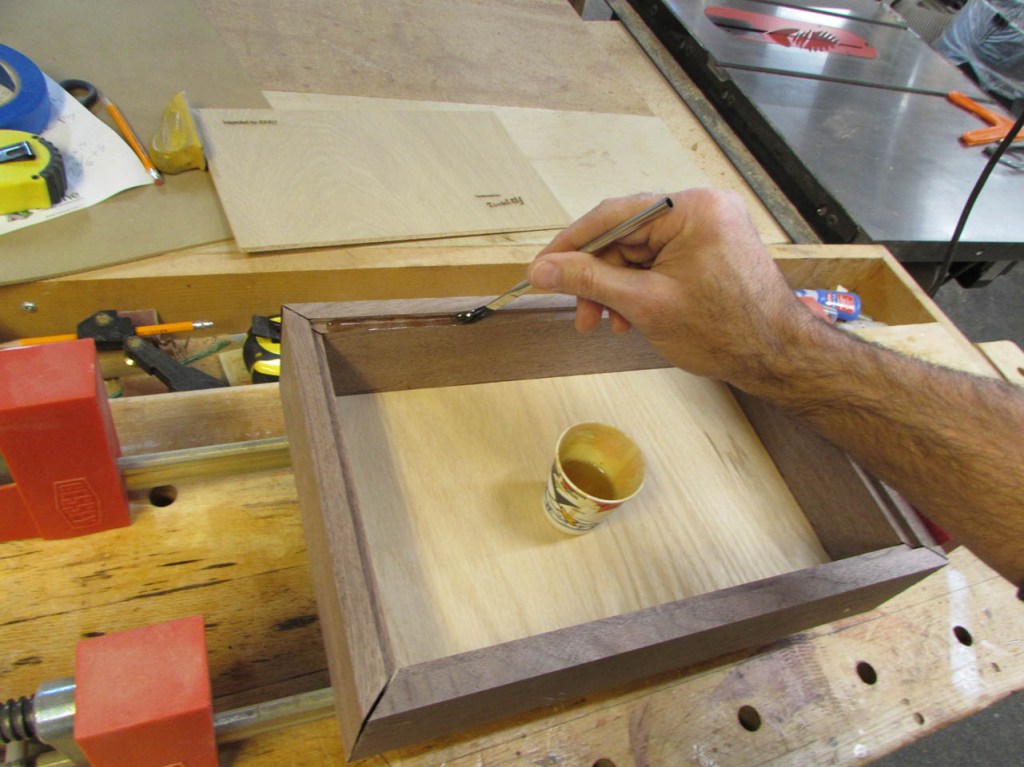
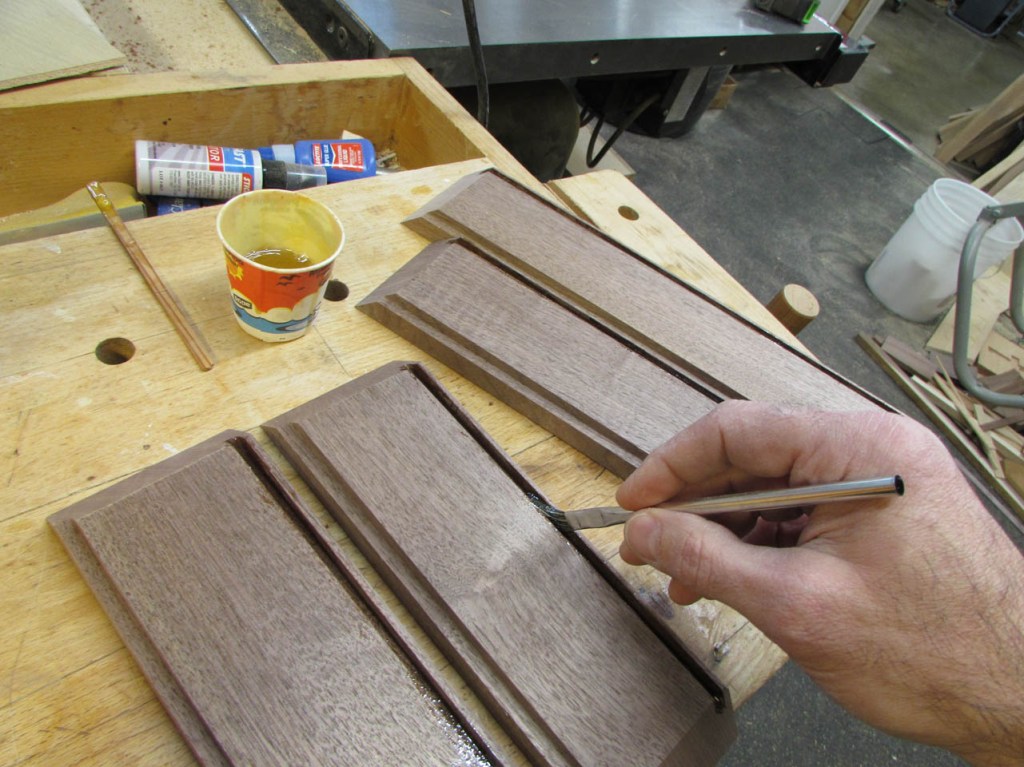
I glued and attached the captive panel first, then applied the epoxy to the bottom section.
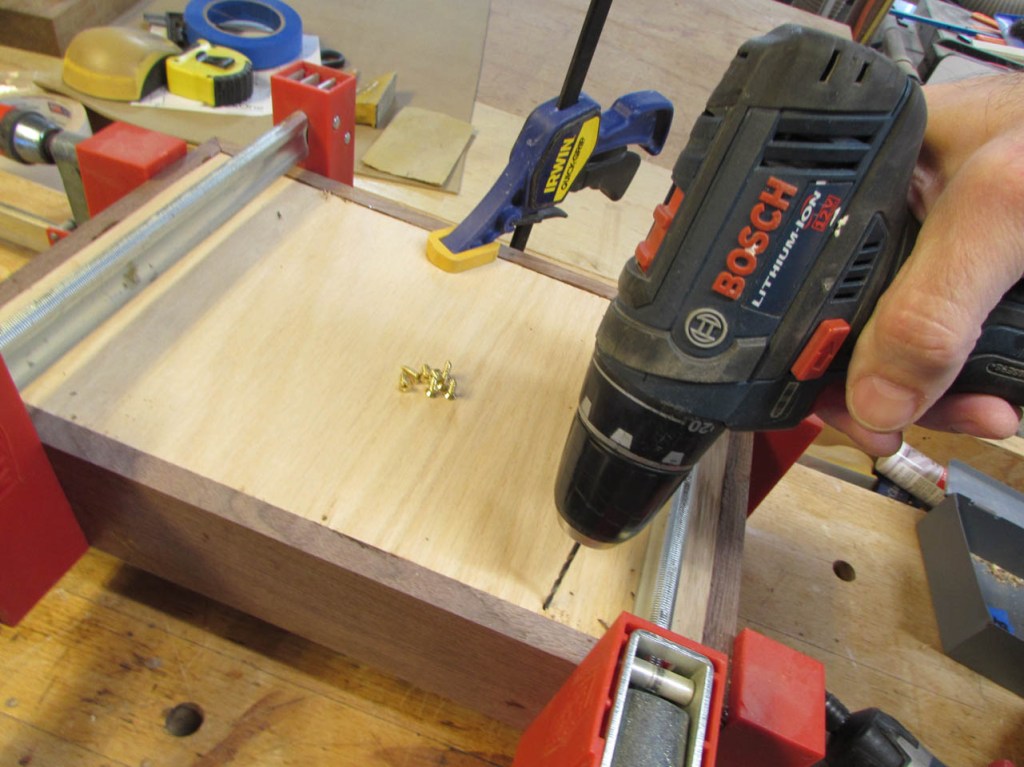
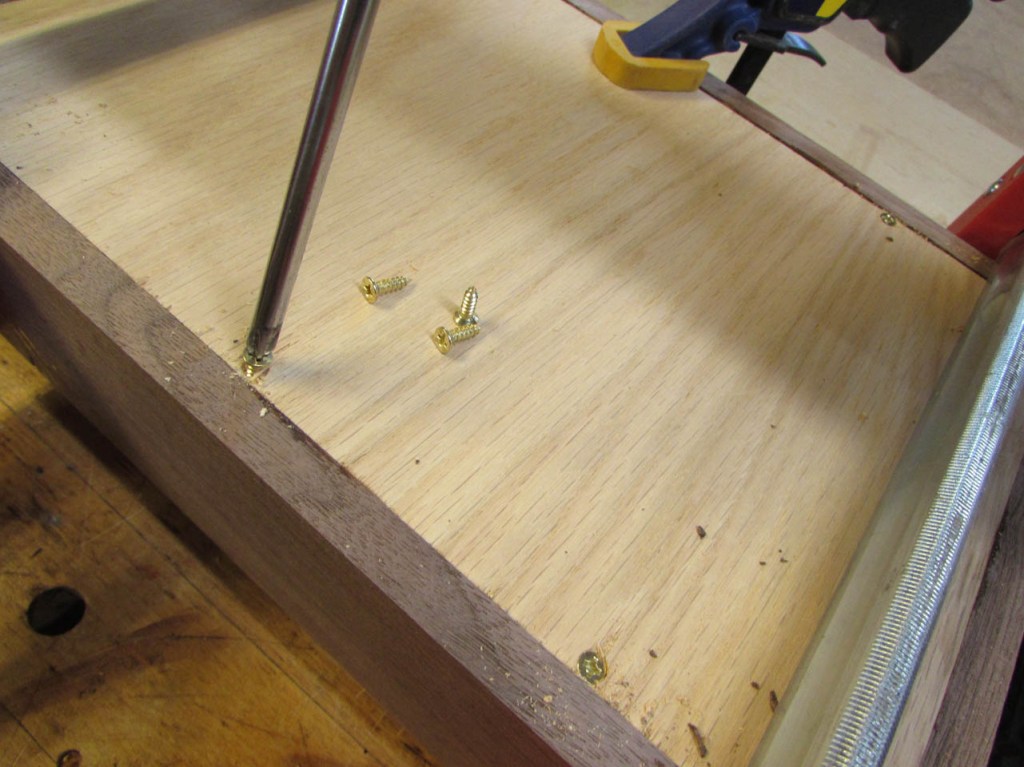
After clamping, I pre-drilled and added some small wood screws to give the bottom some extra support.
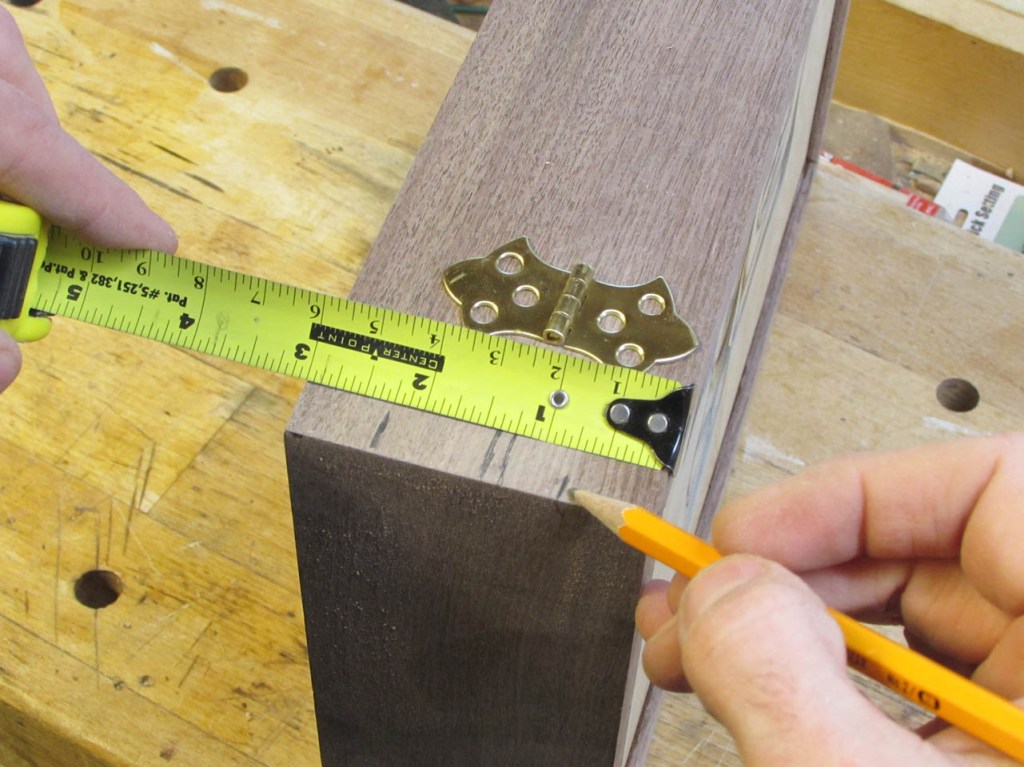
After the epoxy had dried, I laid out the hinges to not only locate the cut I would have to make to separate the top from the bottom, but to get an idea where I wanted to add some splines.
The 45° miter is not the best glue joint since it is basically and end grain glue-up, it is not very strong. To make it stronger, I will add a couple of white oak splines at each corner.
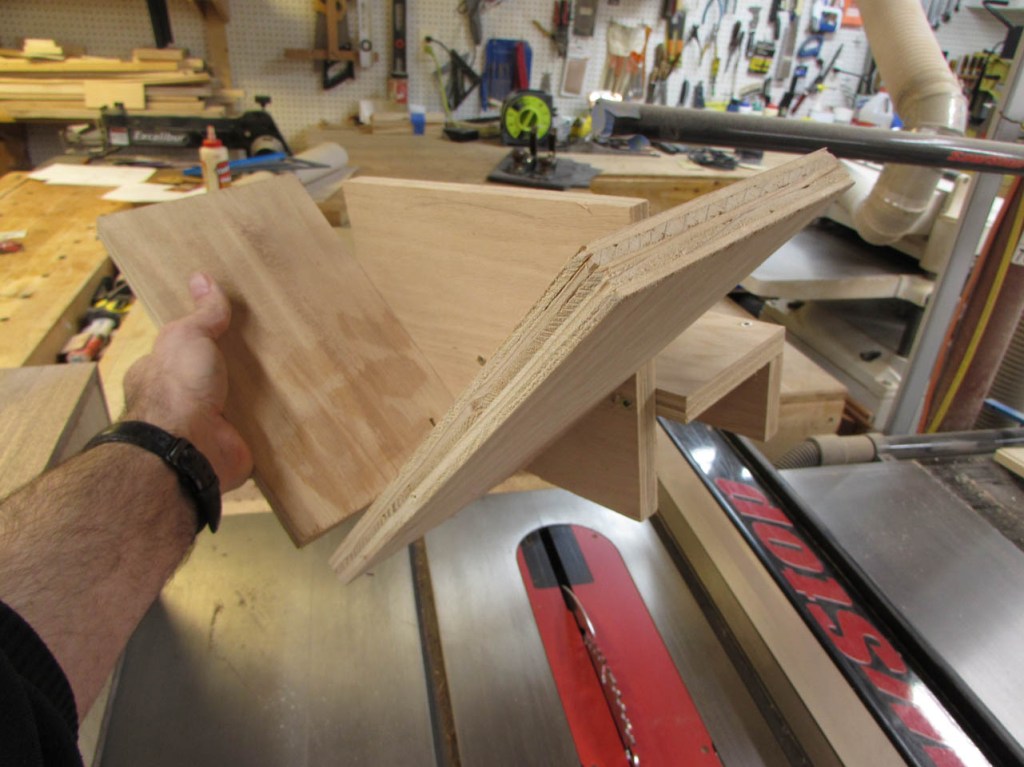
I have a jig that I made up a few years ago. It slips over the fence on my table saw and gives me a 45° trough to sit my box in. I can raise and lower the table saw blade to get the depth of the spline that I require, then I move my fence over so the spline will be cut about 1″ from the edge that is up against the fence.

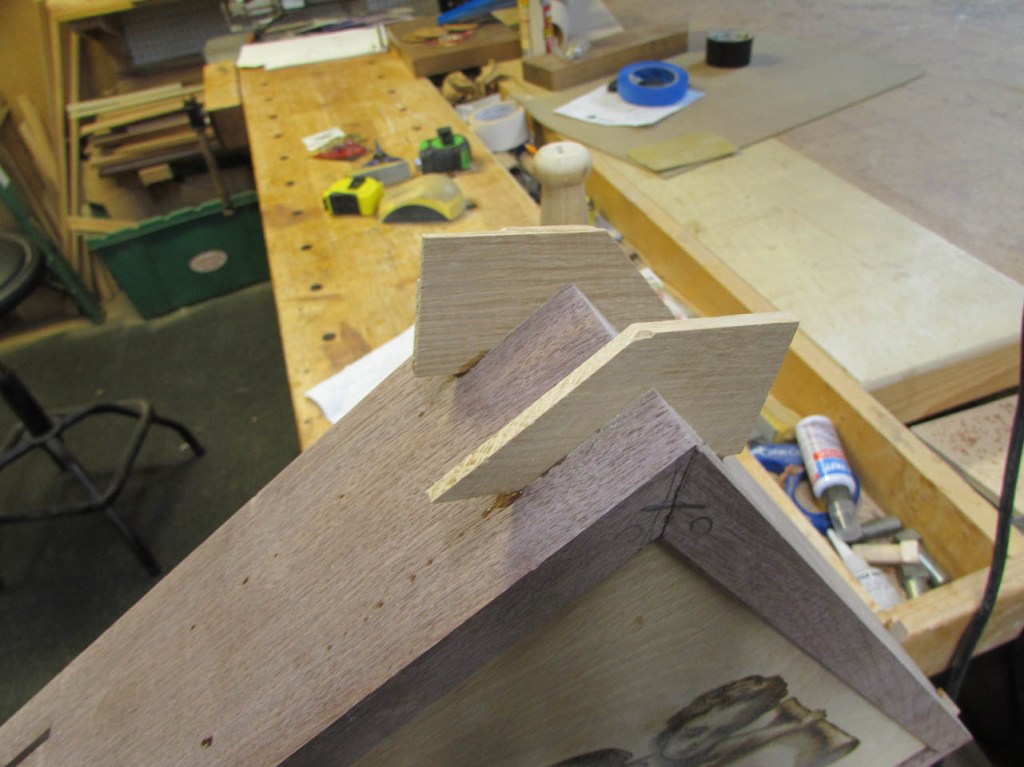
I run all four corners through, then turn the box around and do it again on the opposite side.
This gives me two 1/8″ wide slices across each corner.

I have a scrap chunk of 6/4 white oak that I can cut some 1/8″ strips from.

I set the strip into the slice and mark past the edge of the box to get an idea how long of a piece that I need.
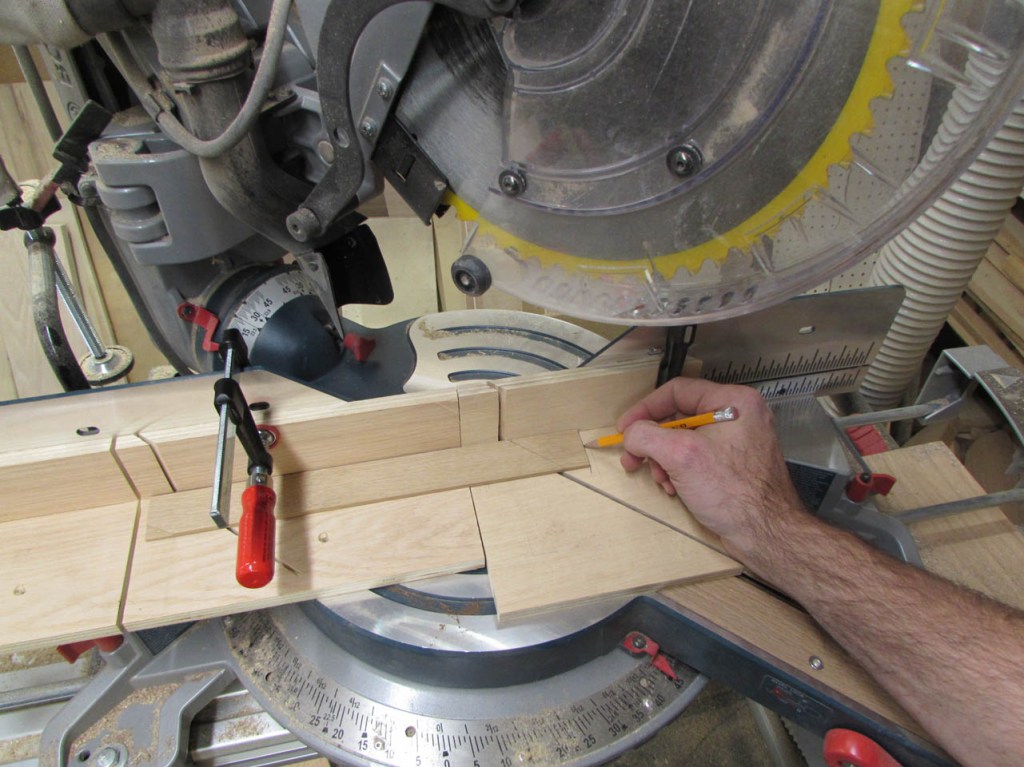
I set up a zero clearance jig on my miter saw, then marked how long I needed each piece to be. I cut more than enough pieces just in case I had a problem.

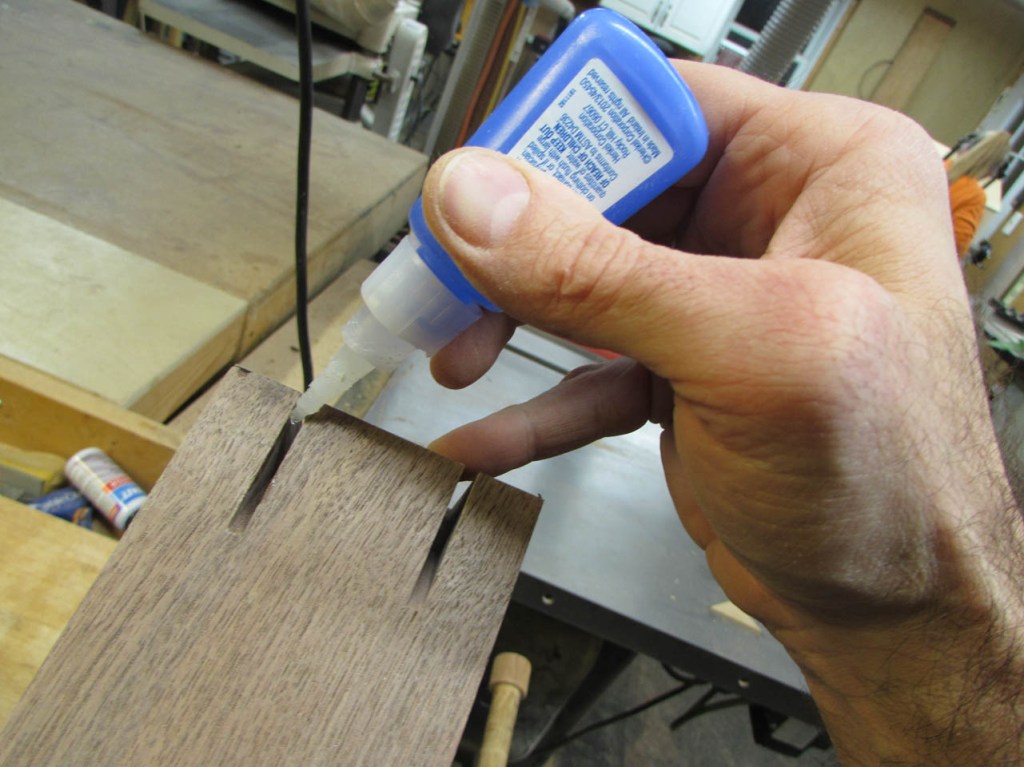
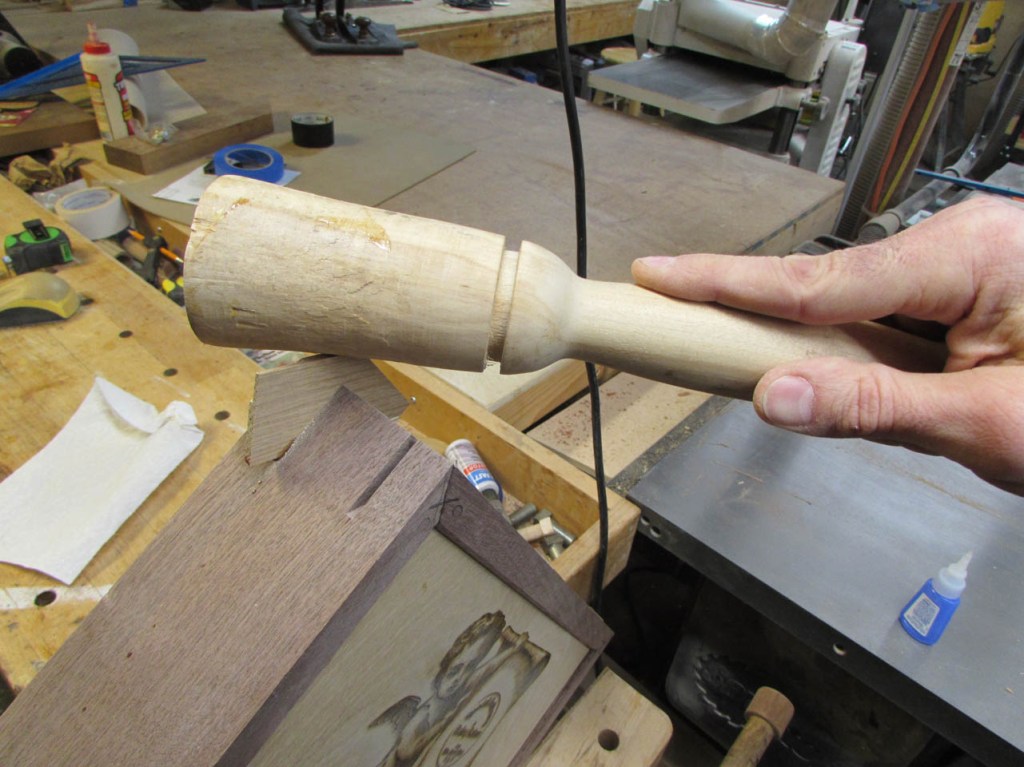
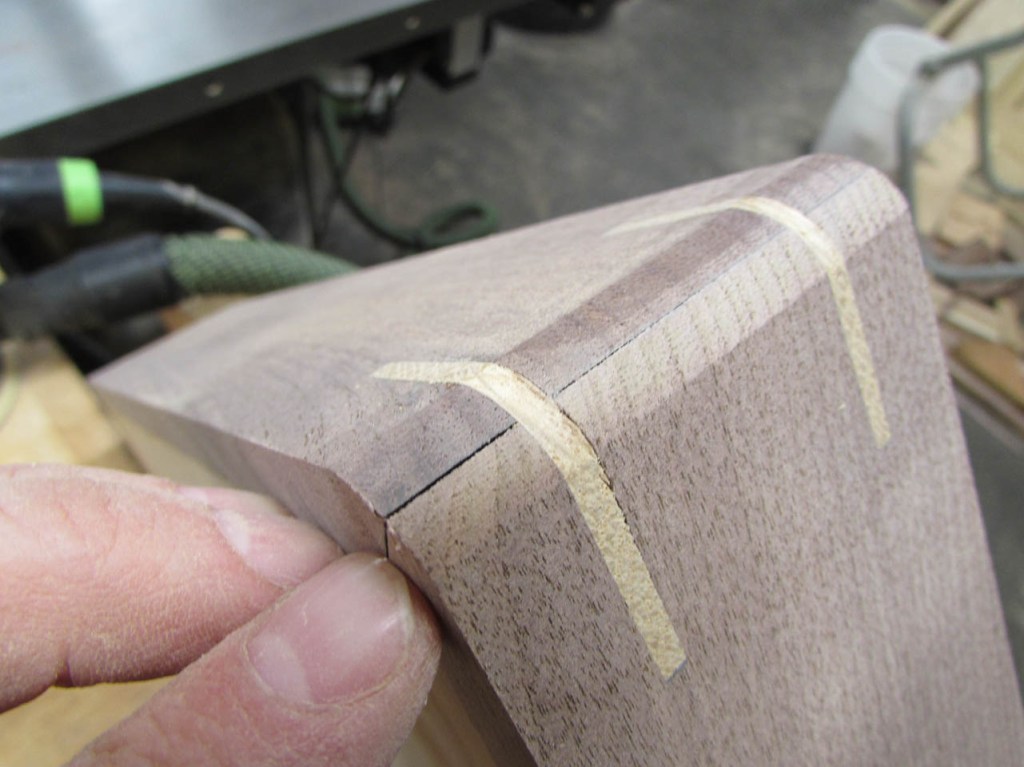
A little CA glue and a tap of the mallet and the spline was set.
One down, and eight to go… If the walnut was under any tension, in the grain, the gaps tended to close up a bit. I just ran the small triangle of oak across a piece of sandpaper a few times until it would fit snugly.

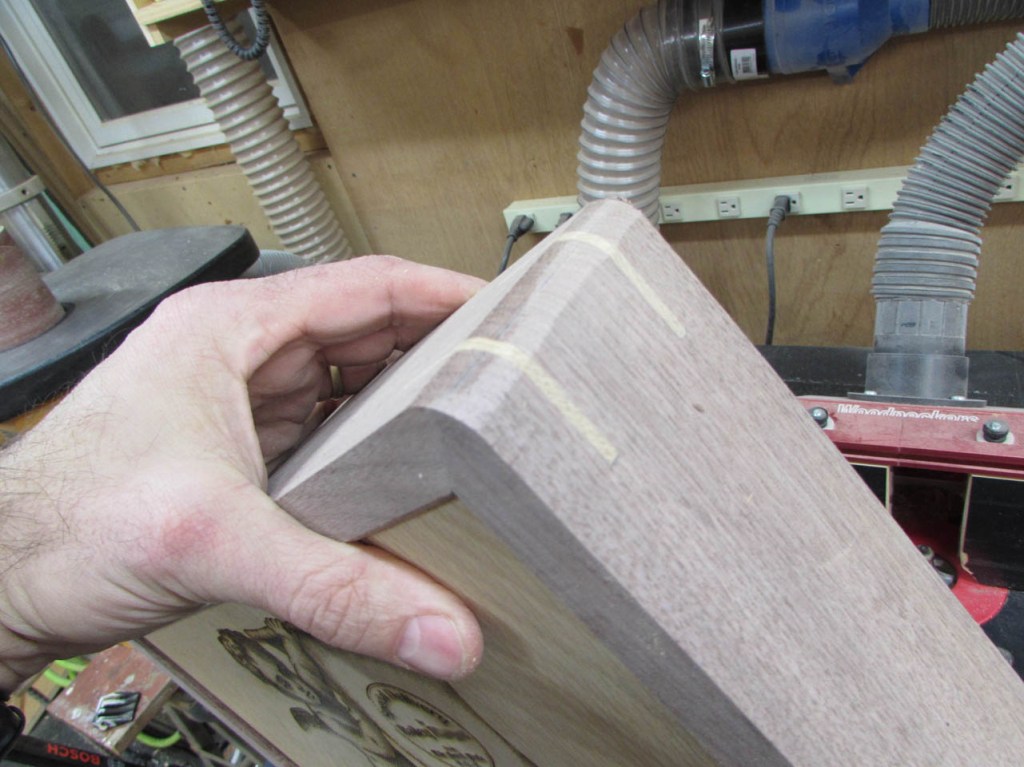
After the glue had dried, I used a flush-trim saw to cut away the excess.

It looked a bit messy, but the sander cleaned the surface right up.

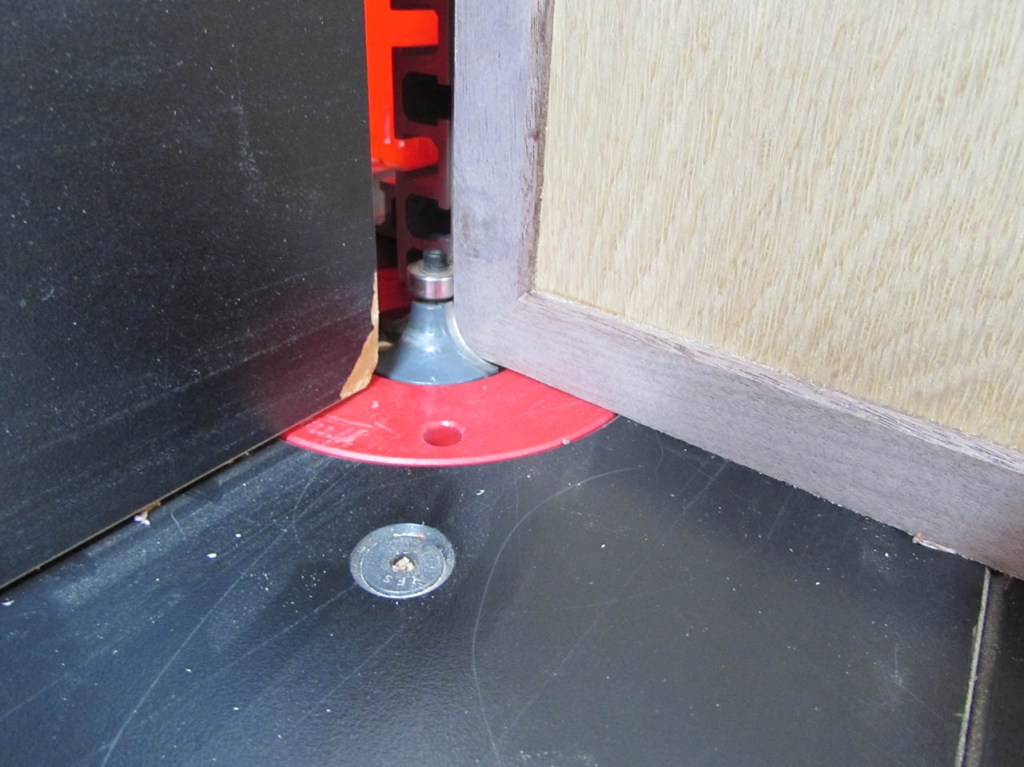
Once the splines were placed and sanded, I set up a 1/2″ round-over bit into my router table and rounded over all of the splined corners.

One or two of the miters did not clamp perfectly together.

To fix this, I flooded the gap with Ca glue and packed in some very fine walnut saw dust, and a bit more glue.

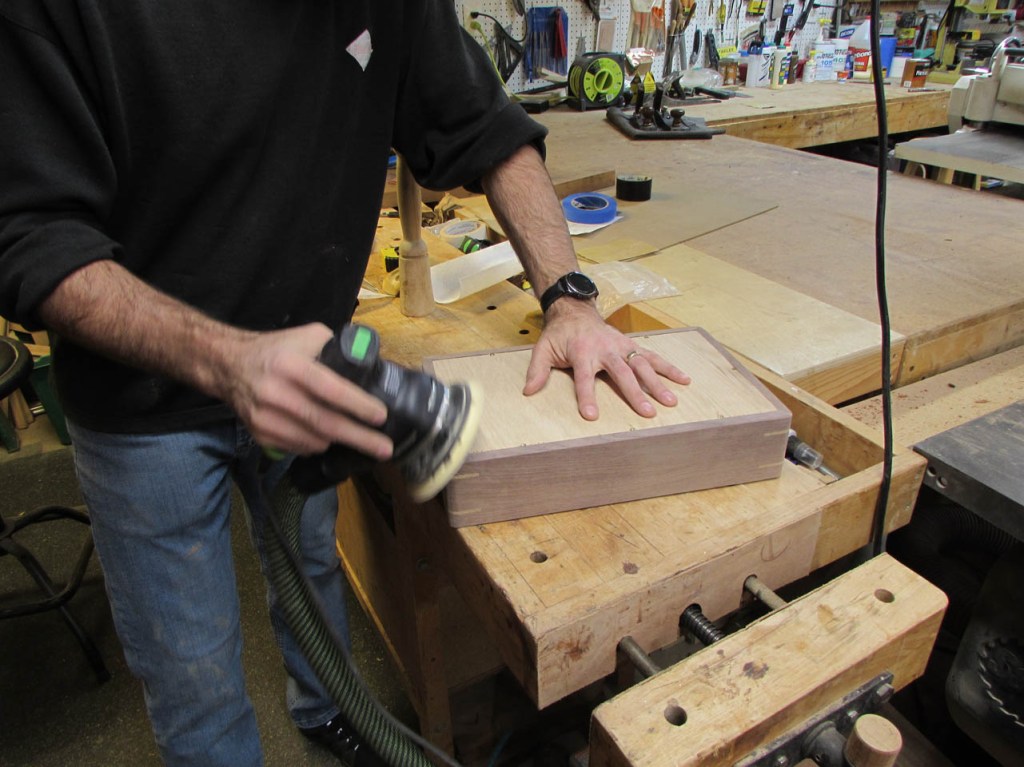
After rubbing it tightly onto the gap, I sanded all of the corners smooth.

Then I proceeded to sand down all of the edges on the box and clean up the rest of the surfaces.
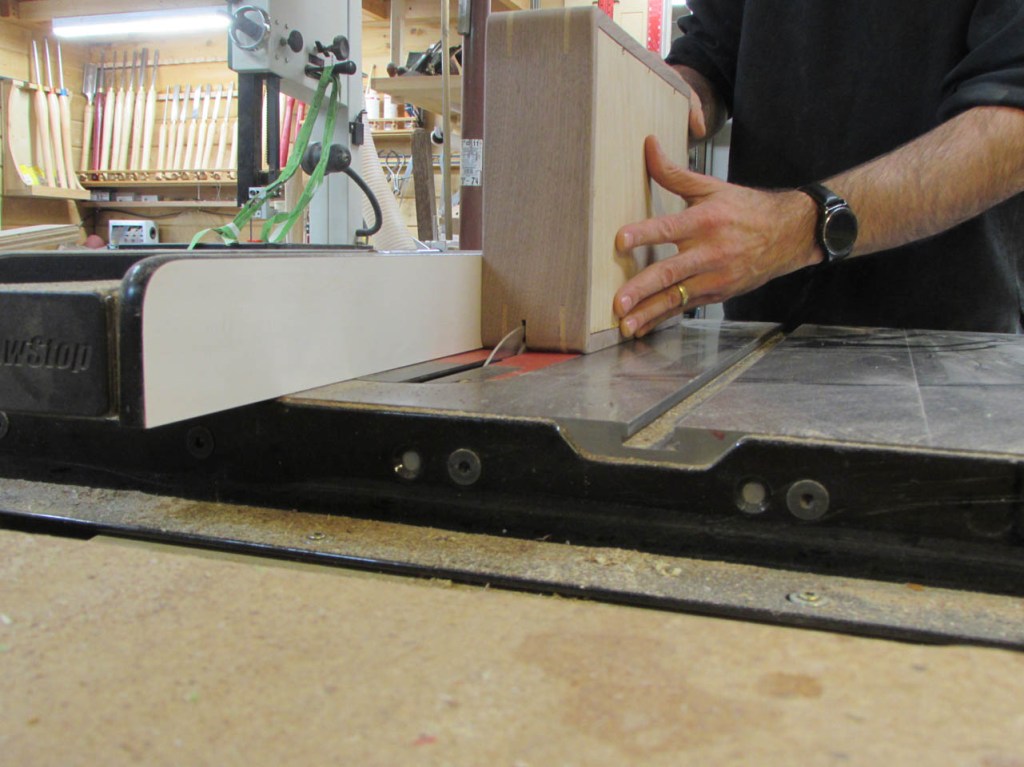
Finally, I cut the box open on the table saw, separating the top from the bottom.


Looks pretty good on the inside. I used a small sanding block to ease all of the sharp edges and smooth out the saw cut.


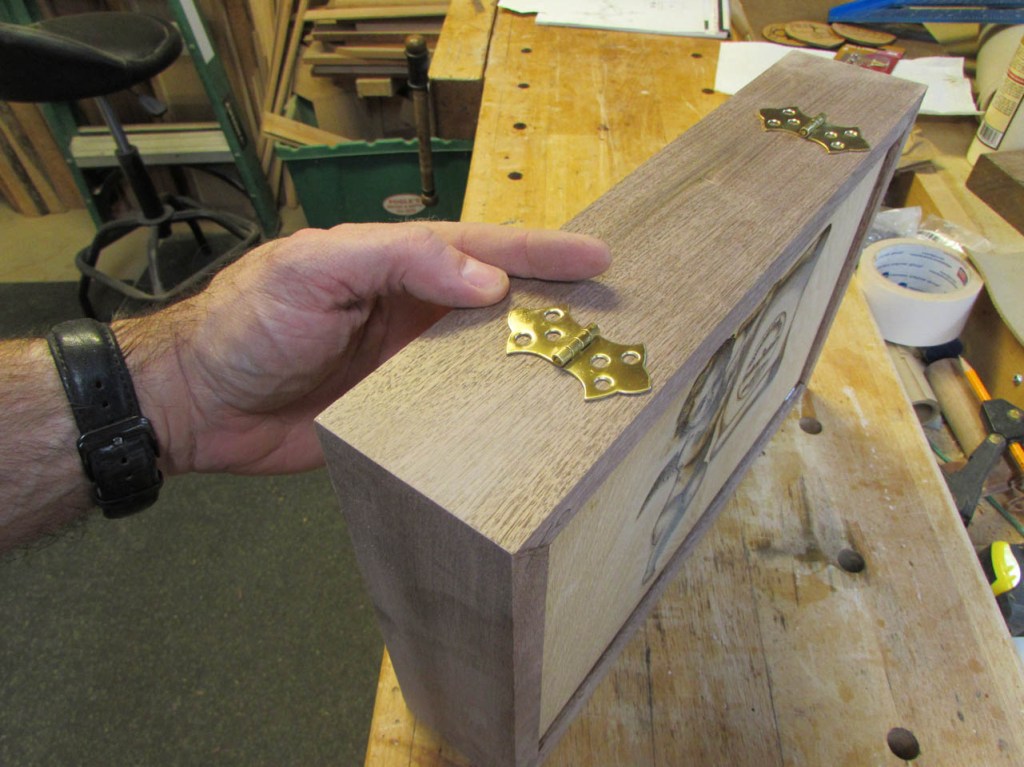
Then I taped it all back together and located the hinges.

I used an awl to mark all of the pilot hole locations.
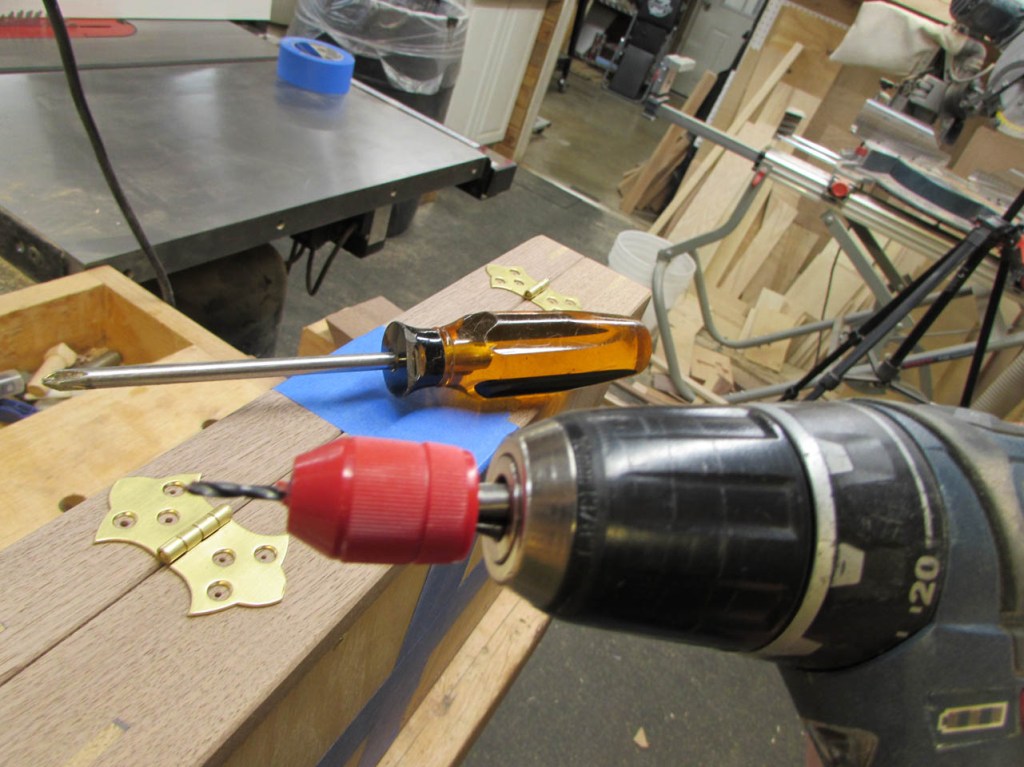
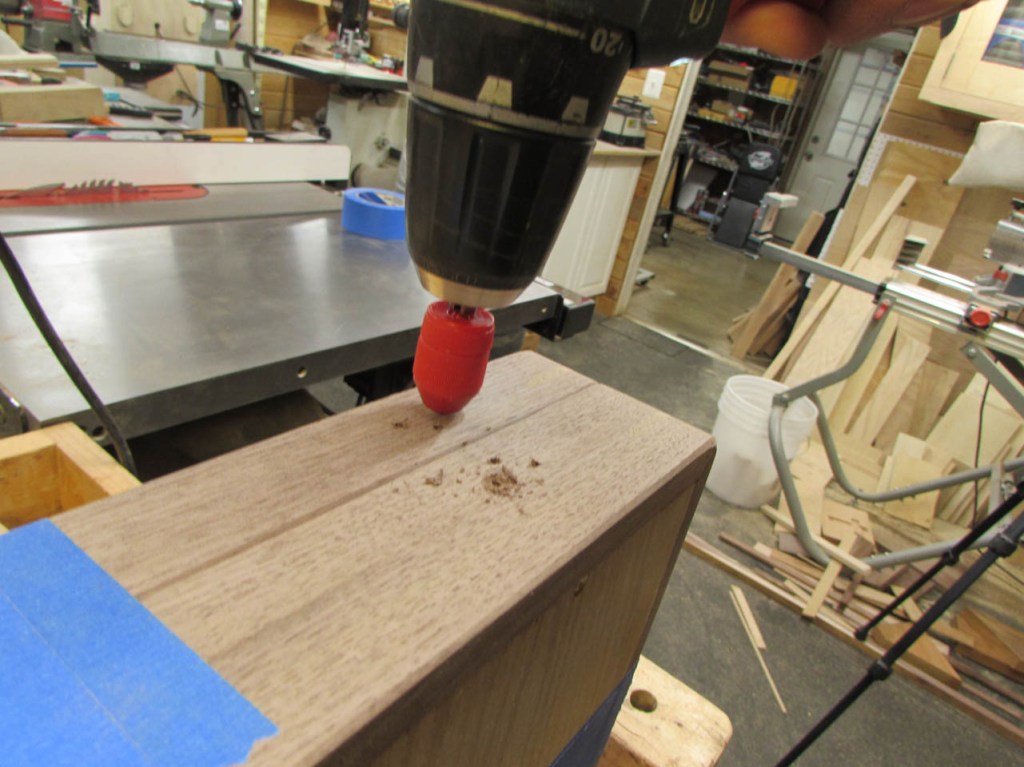
I attached a depth stop to my pilot drill bit and drilled all the holes, stopping them before they could break through the other side.
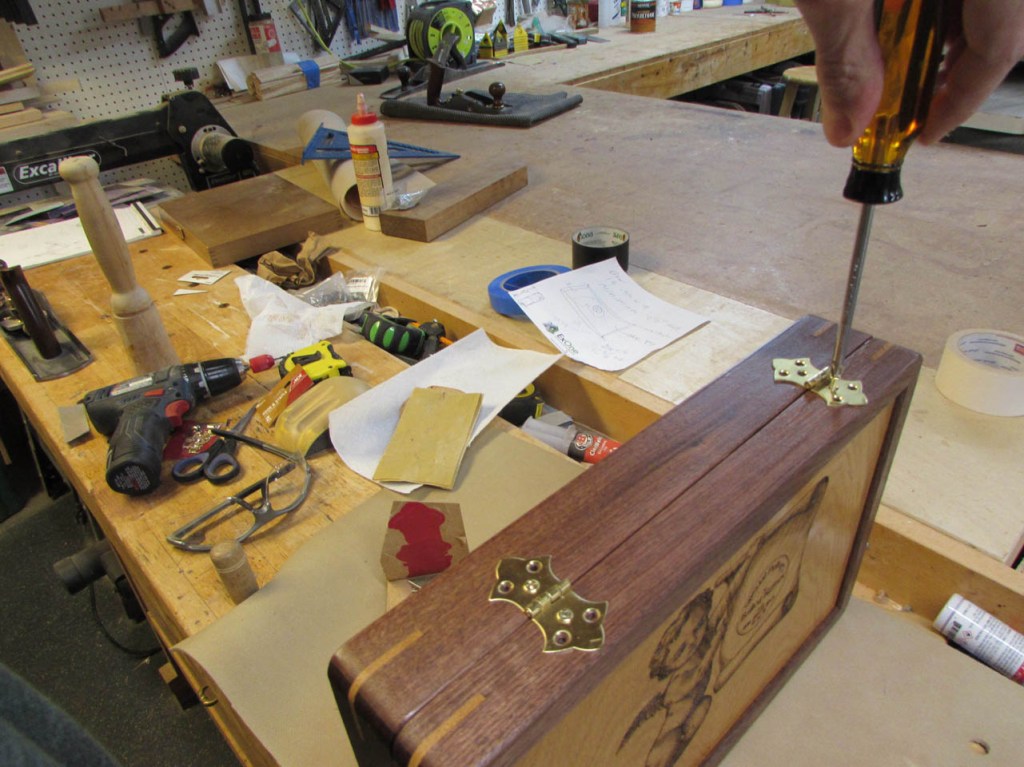
I installed all of the screws on the hinges, by hand, to prevent any stripping or cracking.

I was going to install the latches, but they require nails and I wouldn’t be able to remove them for finishing.

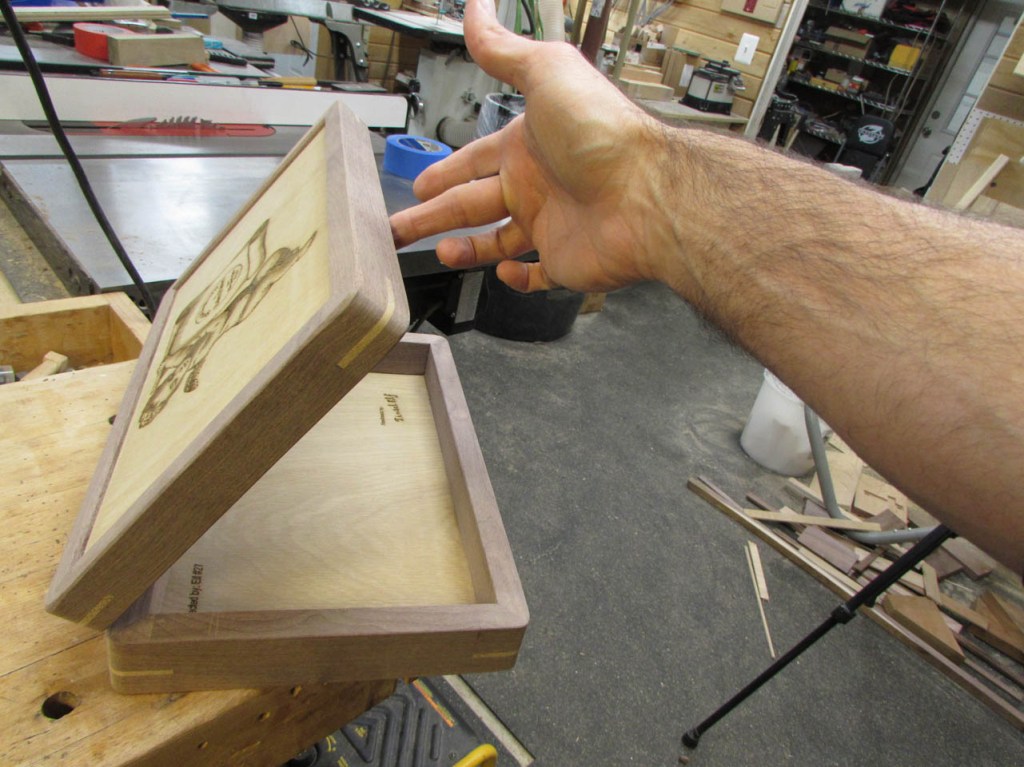

A quick test of the hinges show the box staying in perfect alignment so I am now ready for finish.
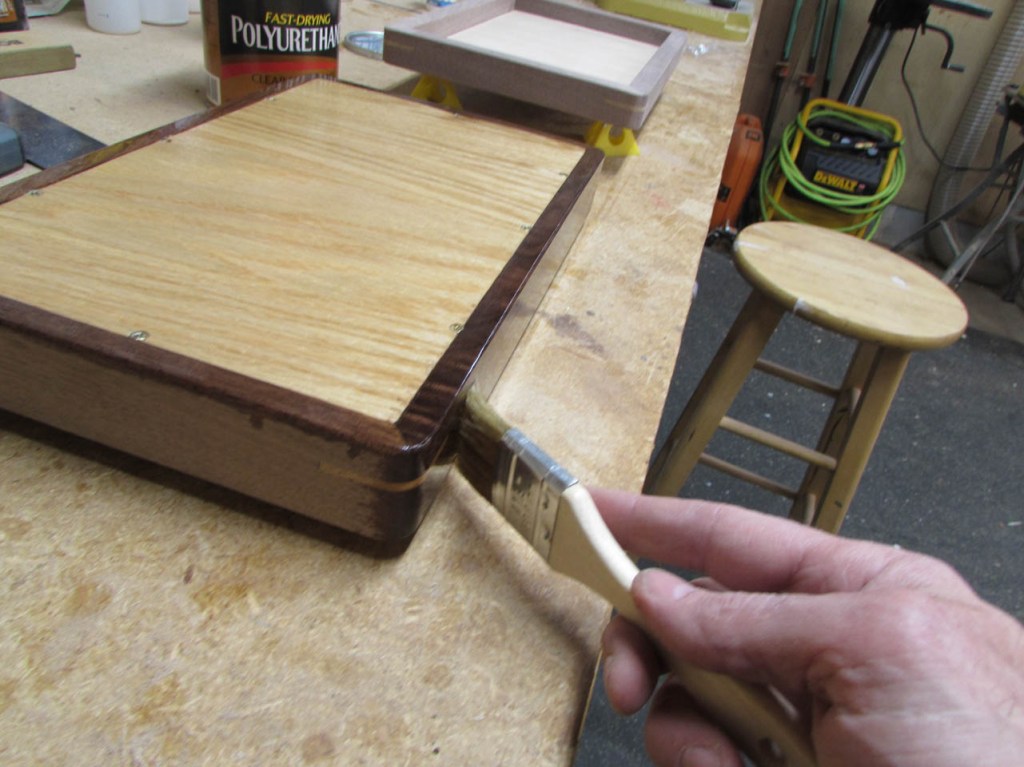
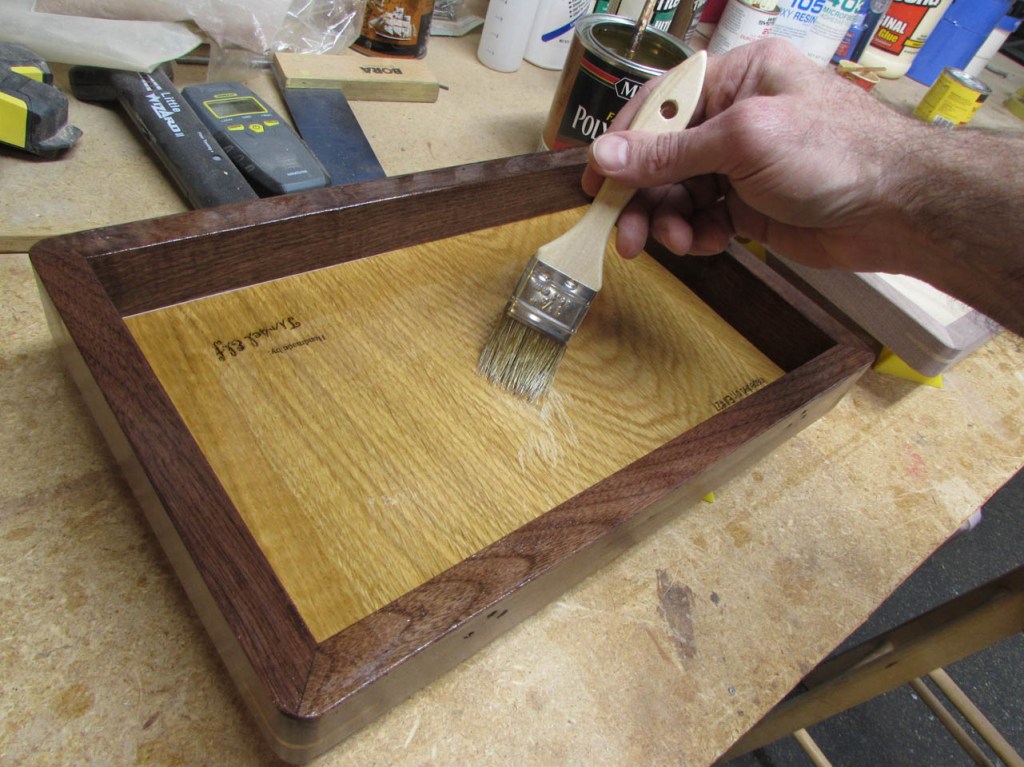
Finish is a semi-gloss polyurethane. I brushed on the first coat and left it to dry overnight.


The next morning, I sanded the surface down gently with 400 grit paper, then wiped off any dust.

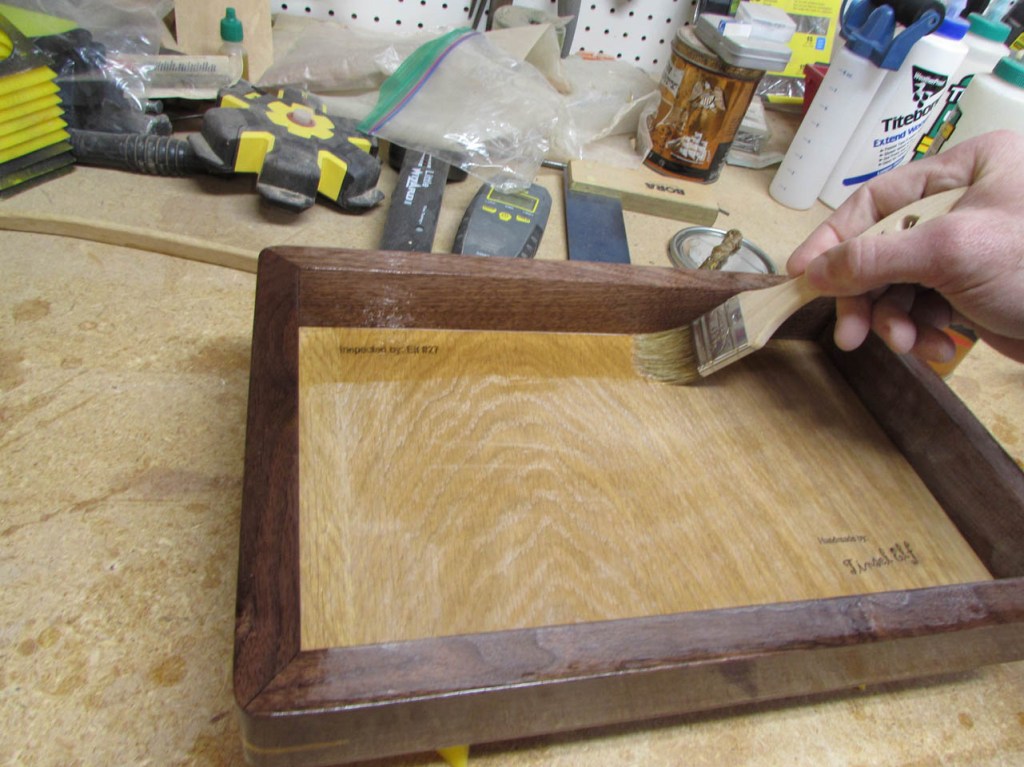
I applied a second brush on coat and left it to dry for the rest of the day.

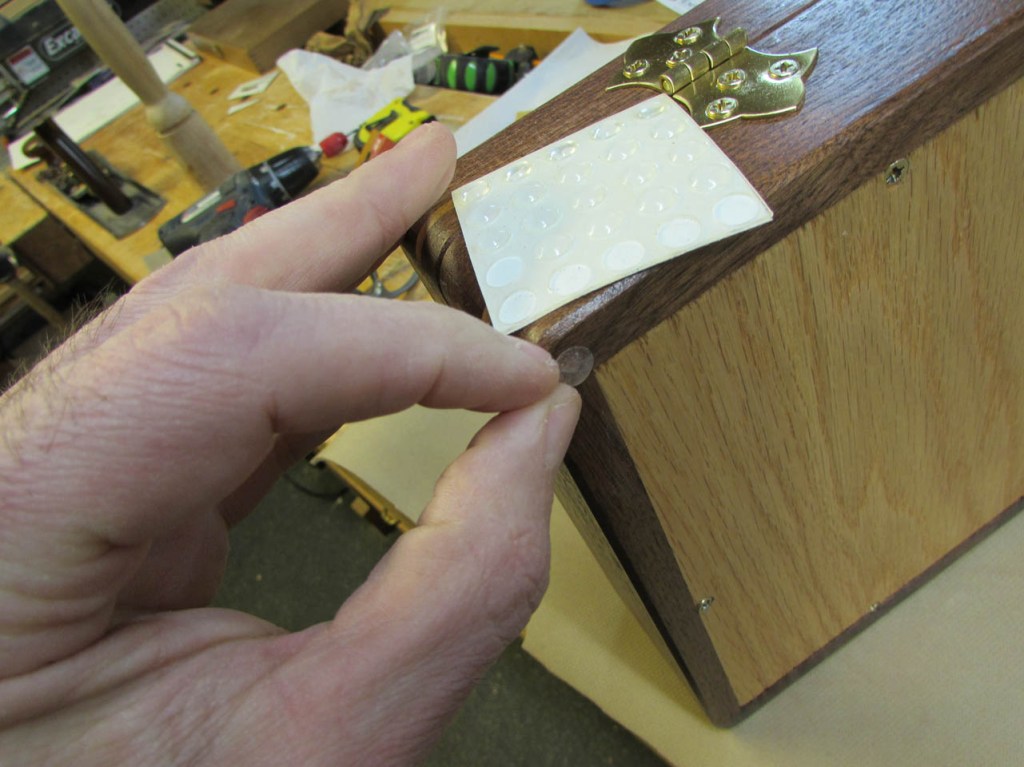
When it was dry, I reinstalled the hinges and added some stick-on silicone feet to the bottom.
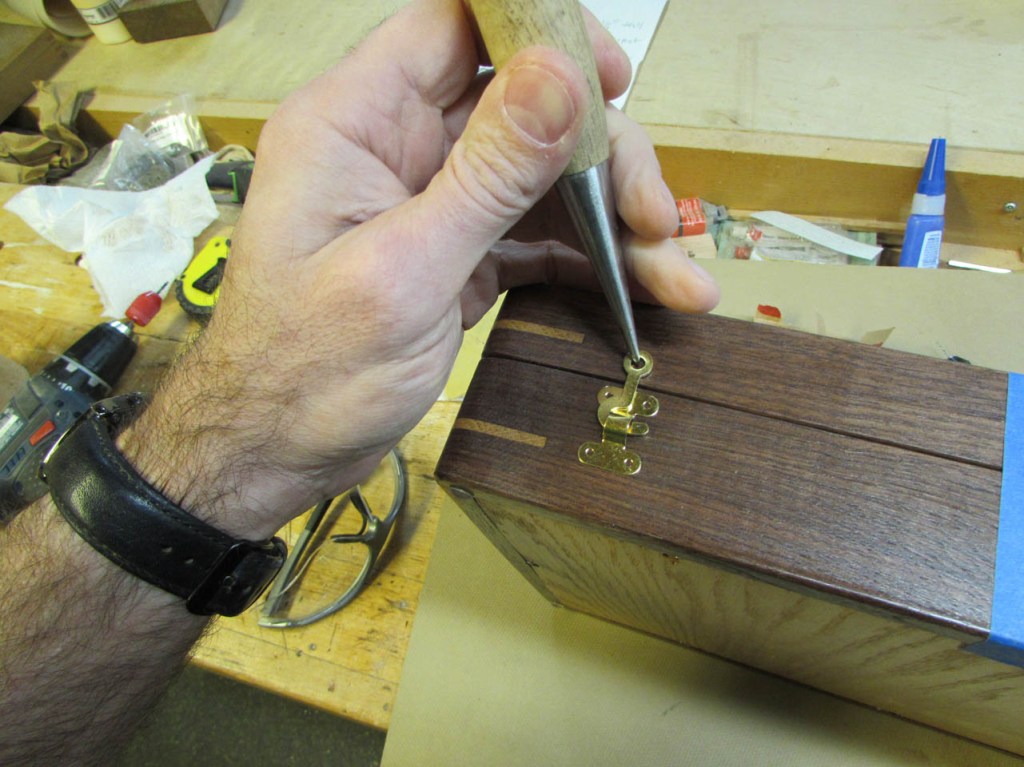
The latches were less fun to install. I started by installing the hook the same way I pre-drilled the hinges.

The catch part of the latch required four tiny nails. I pre-drilled for them as well with a very tiny bit in a hand-held pin-vise.

To hold the nails in place, I cut a bit of card stock and punched the nail through it.

This keeps my thumb away from the hammer as the nail is set in place.
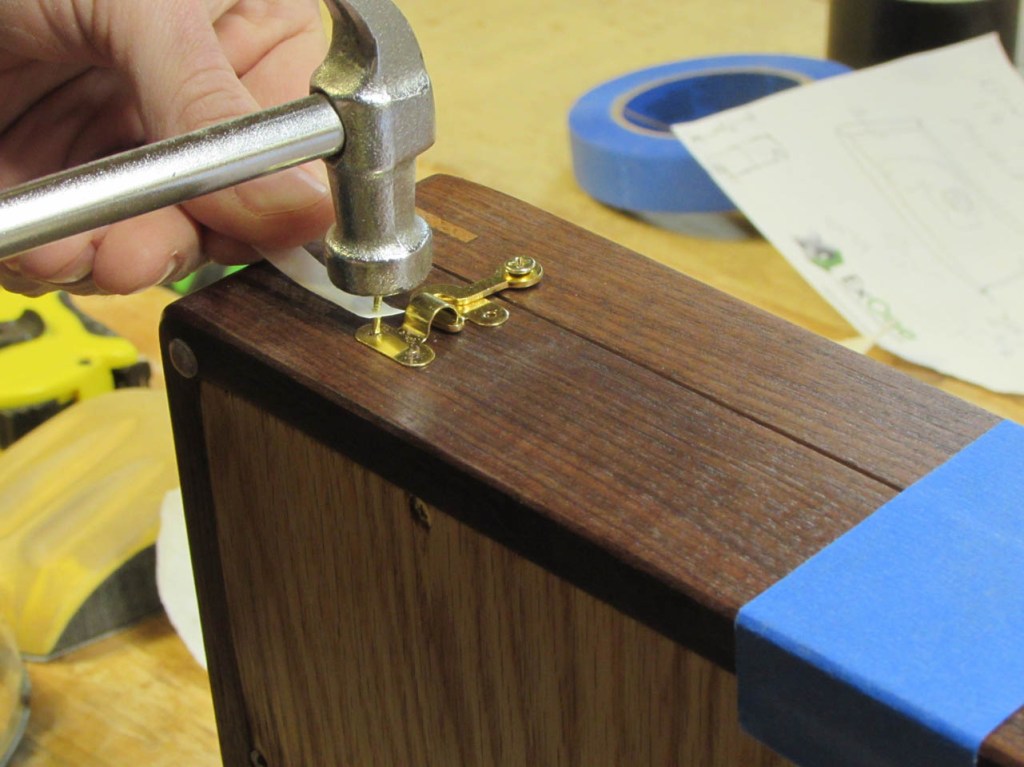
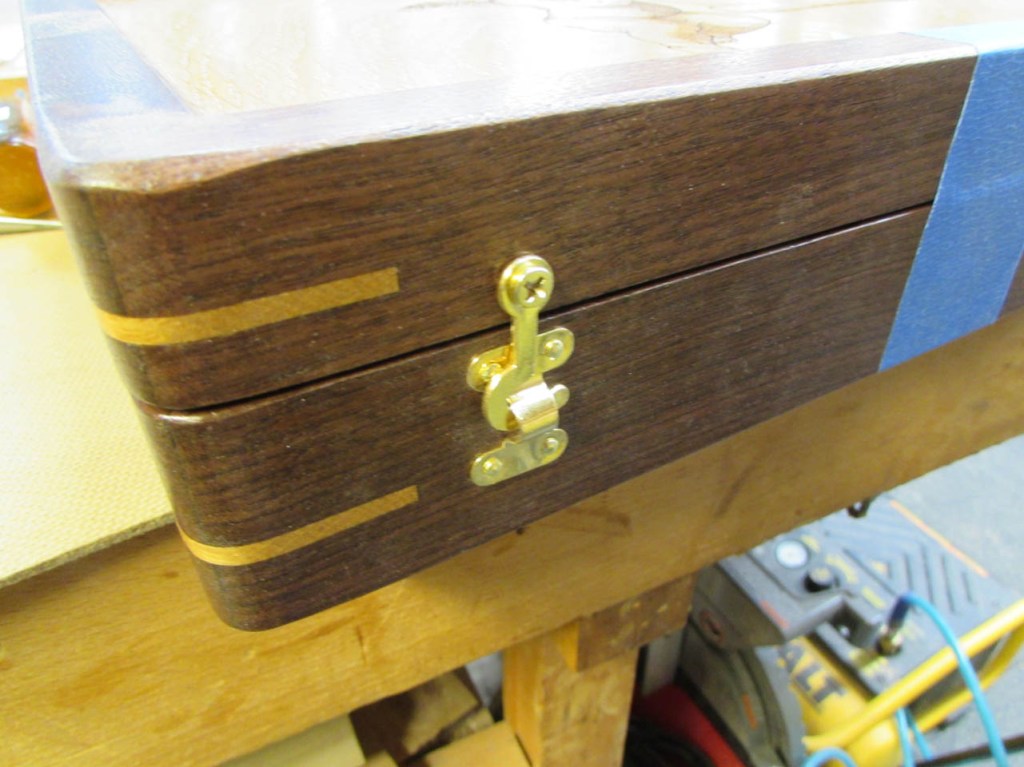
After the first one was successfully installed, I installed a second one on the opposite side of the front of the box.
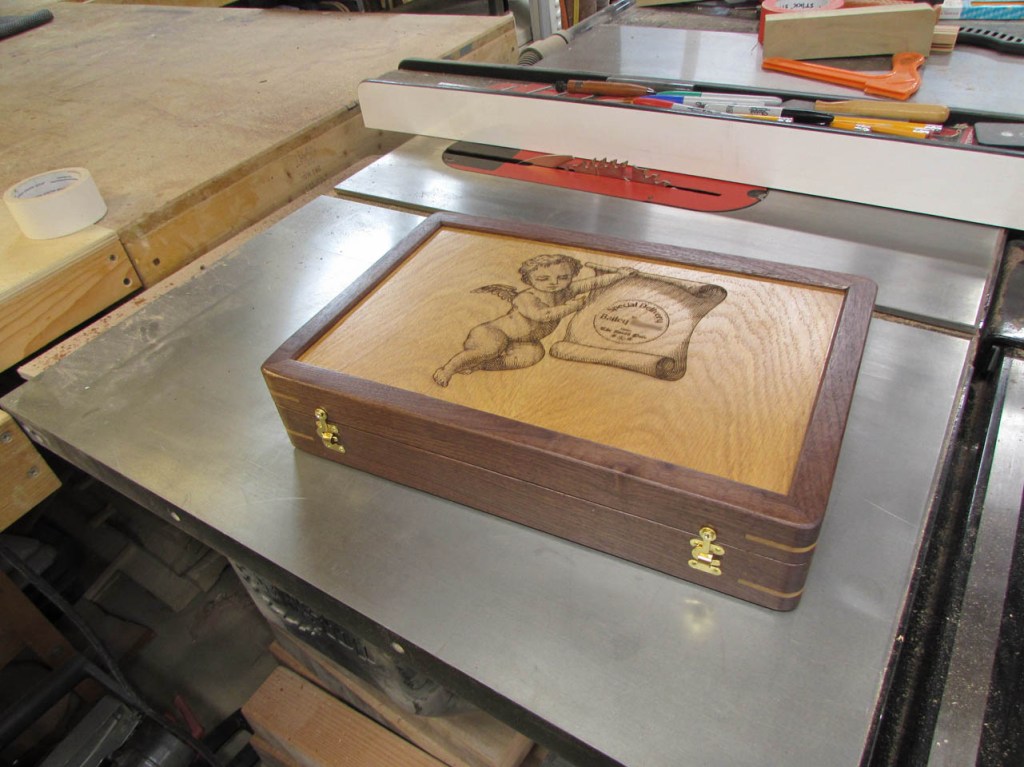
The box is complete. I like the warm blend of tones from the oak and walnut together.
Hopefully Bailey will enjoy filling it with crayons and paint…

