
Mini-split filter box
I had to replace my mini-split heat pump last week. So much ultra-fine sawdust has clogged the coils over the last couple of years, and I think that has caused some erosion of the coil which led ultimately to leaks. The unit has been replaced so I am now going to do what I had planned to do six years ago when the last one went in, build an external filter box to help protect the intake.

I have to research the best option for filter media. I would prefer something washable and reusable, probably electro-static. I have a piece of washable filter that I am initially going to use to build the frame. I will replace it if it does not seem to be effective.

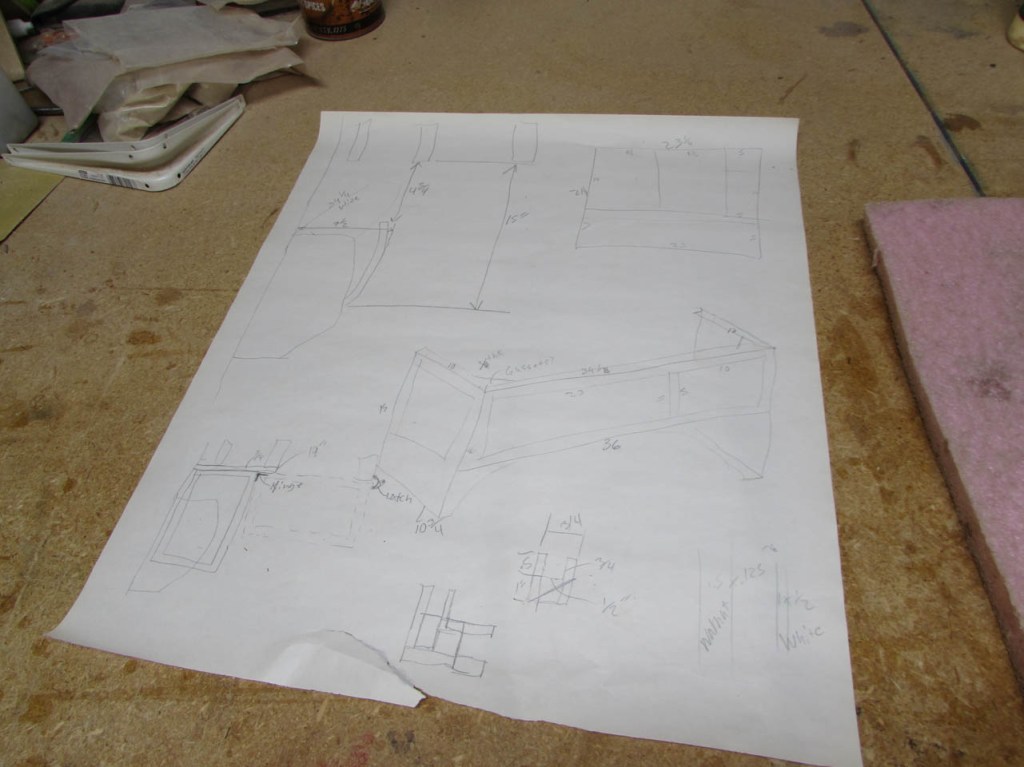
I am not going to post full plans because the design of every heat pump is different. I started by measuring the air intake areas and the distance from the unit to the wall and ceiling.

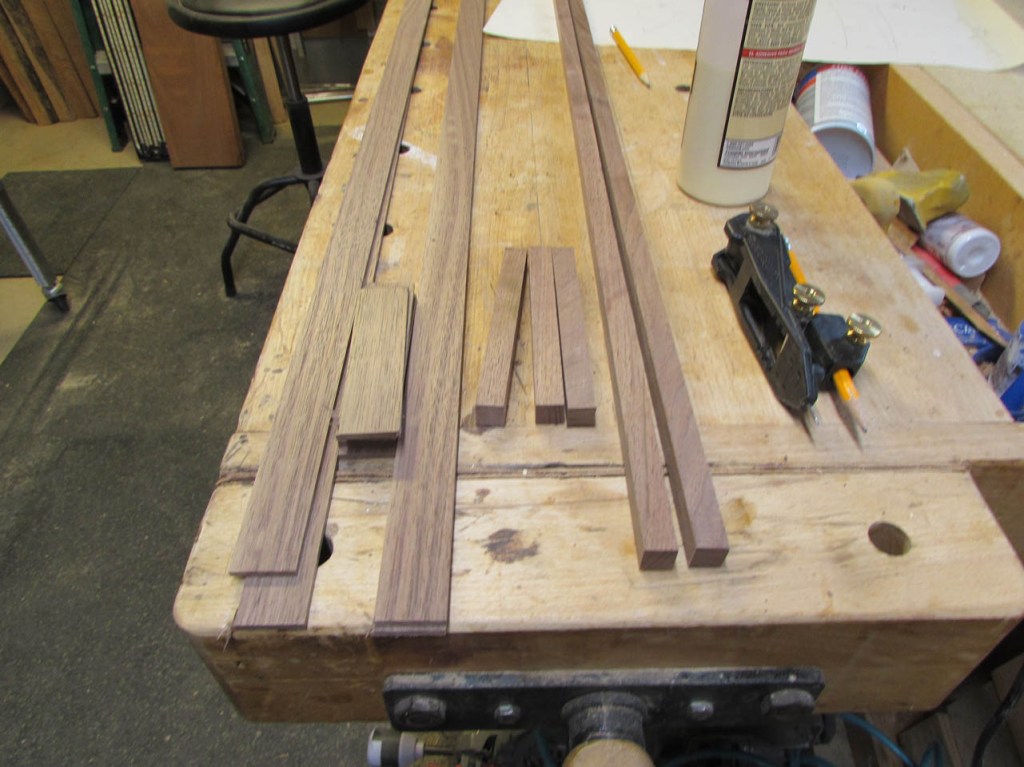
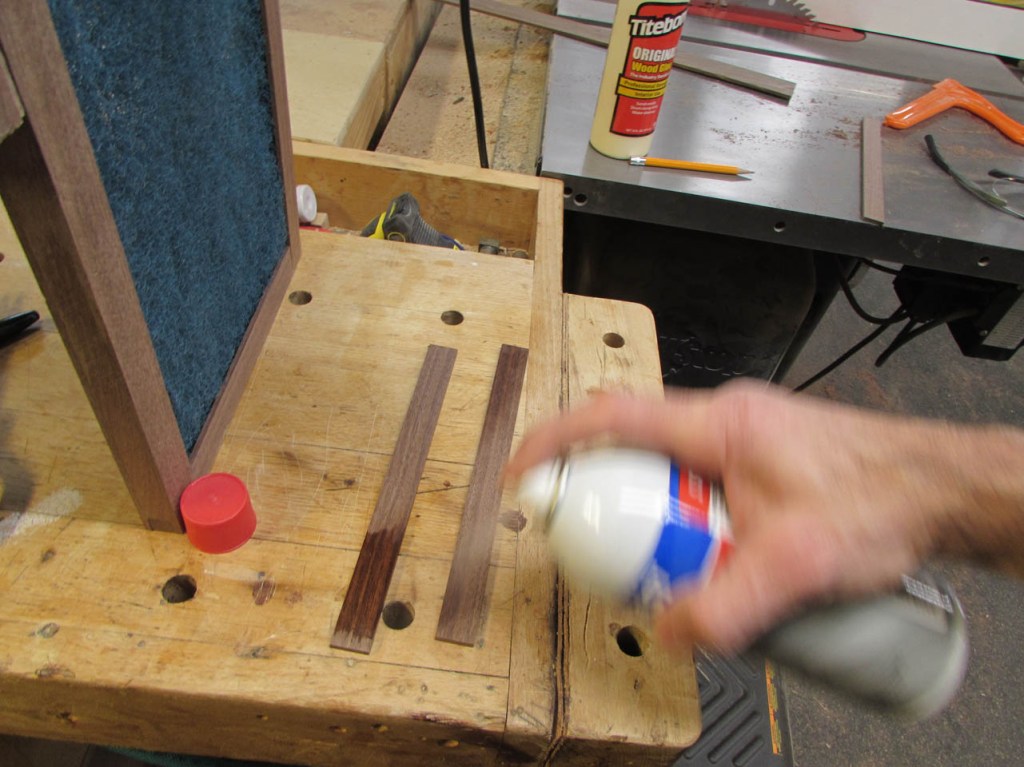
I have some long strips of off-cut walnut that will work for what I plan to do.
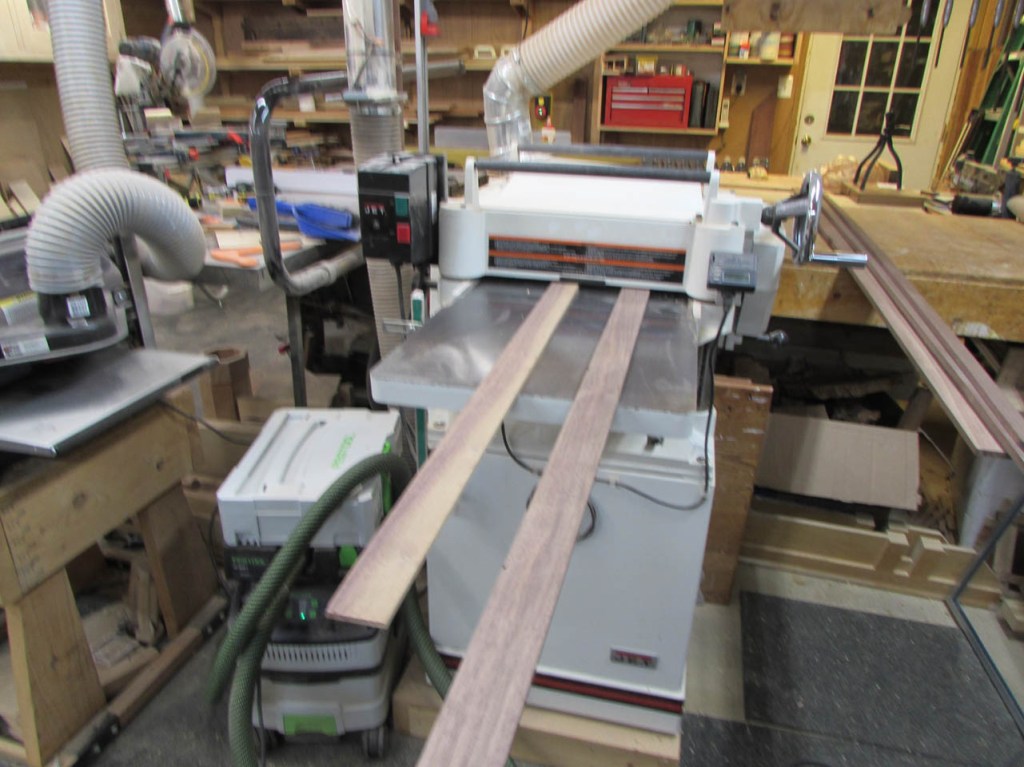
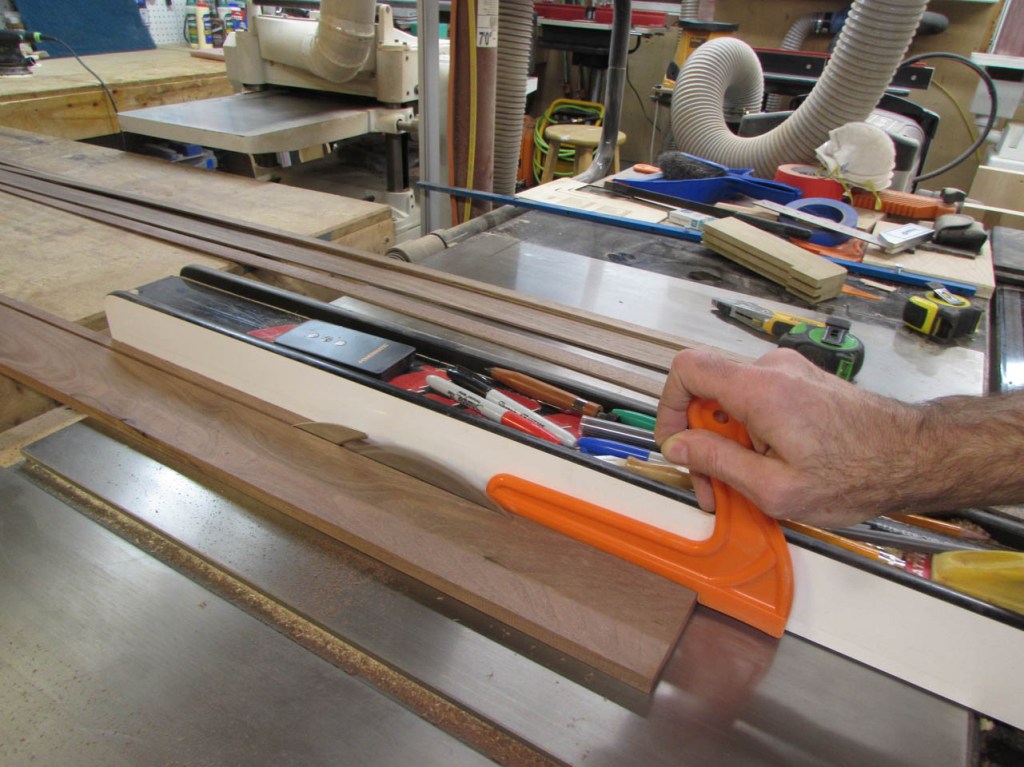
I started by planing several strips down to 1/8″ thick, then I ripped them to 1″ wide.
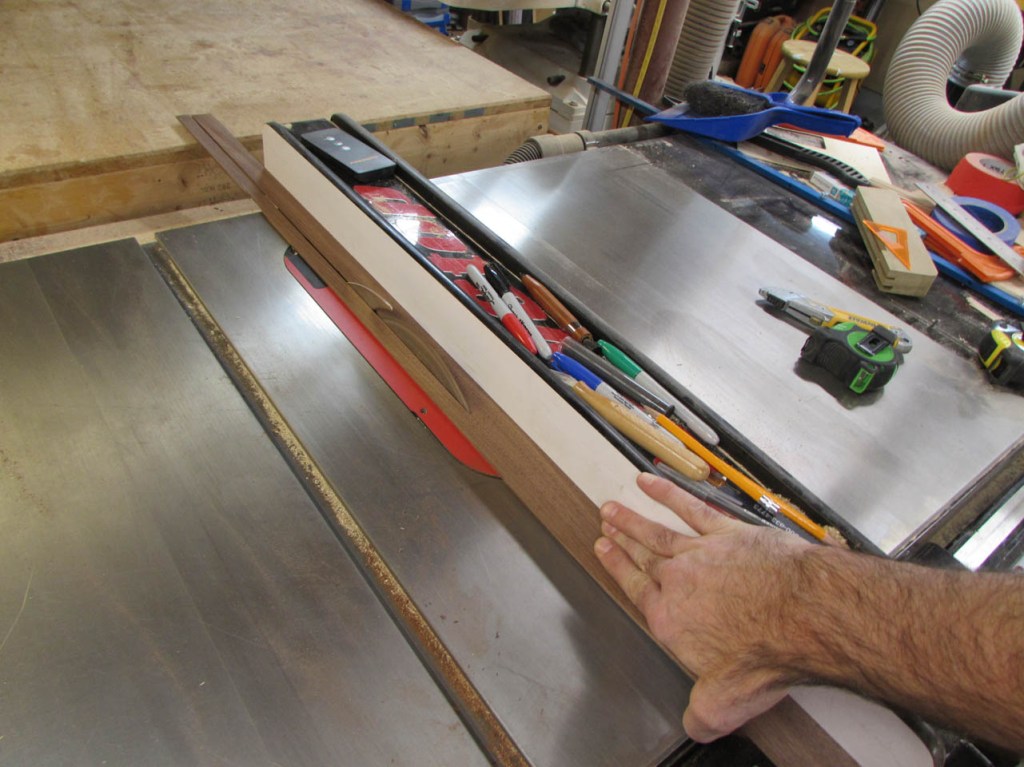
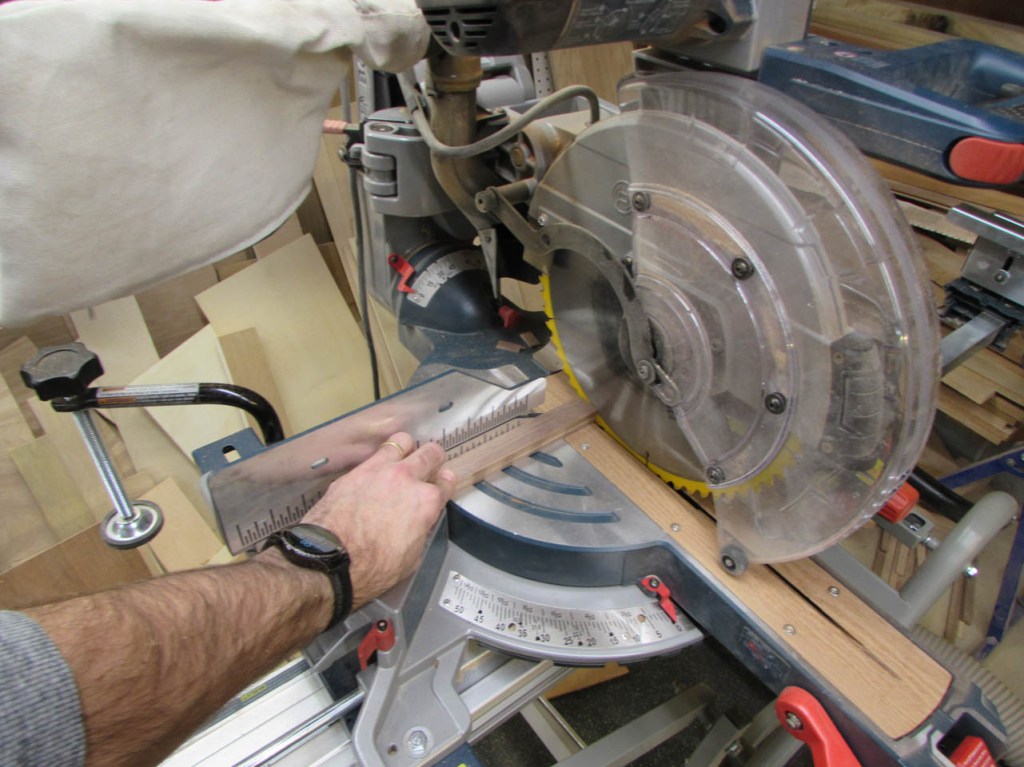
I stacked the longer strips and cut them all off at 36″ long, then set up a stop block to cut the shorter sections.
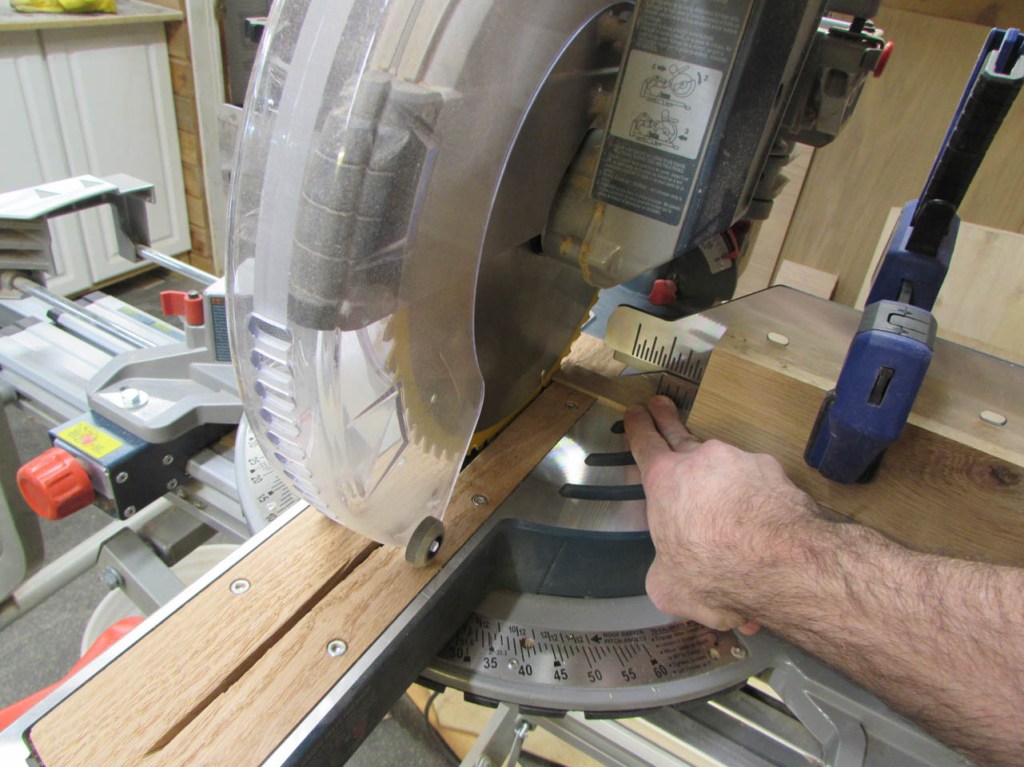

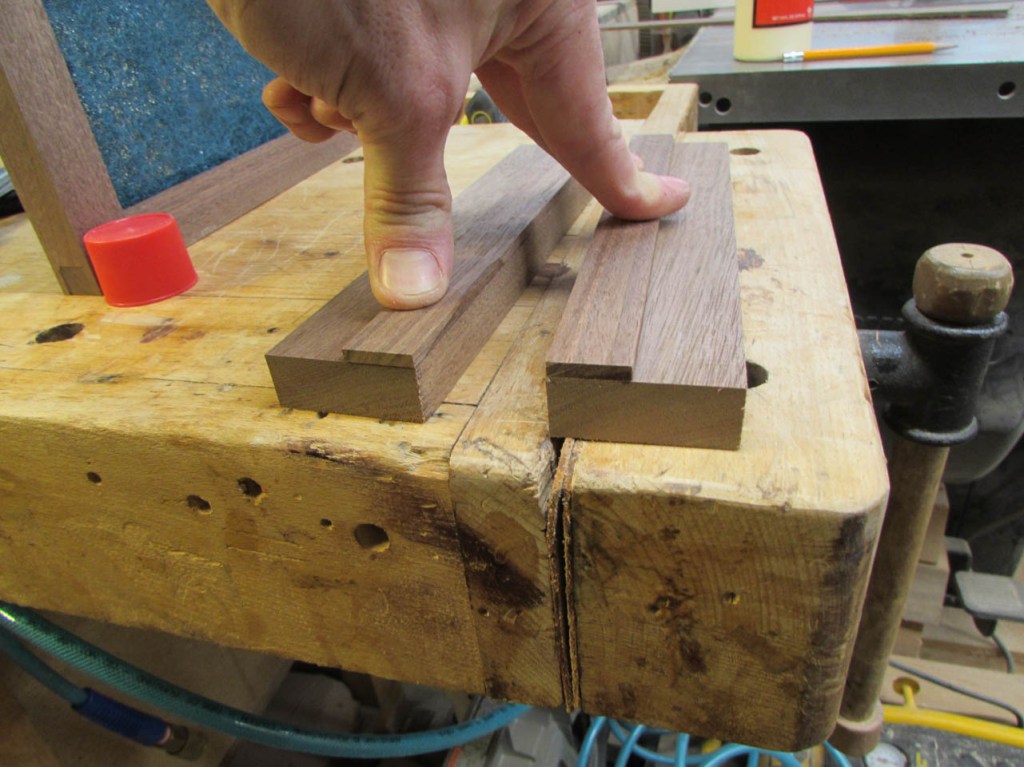
To create a track to hold the filter media captive, I ripped several 1/2″ square strips. These will be sandwiched between the 1″ wide strips creating a “U”-shaped track.
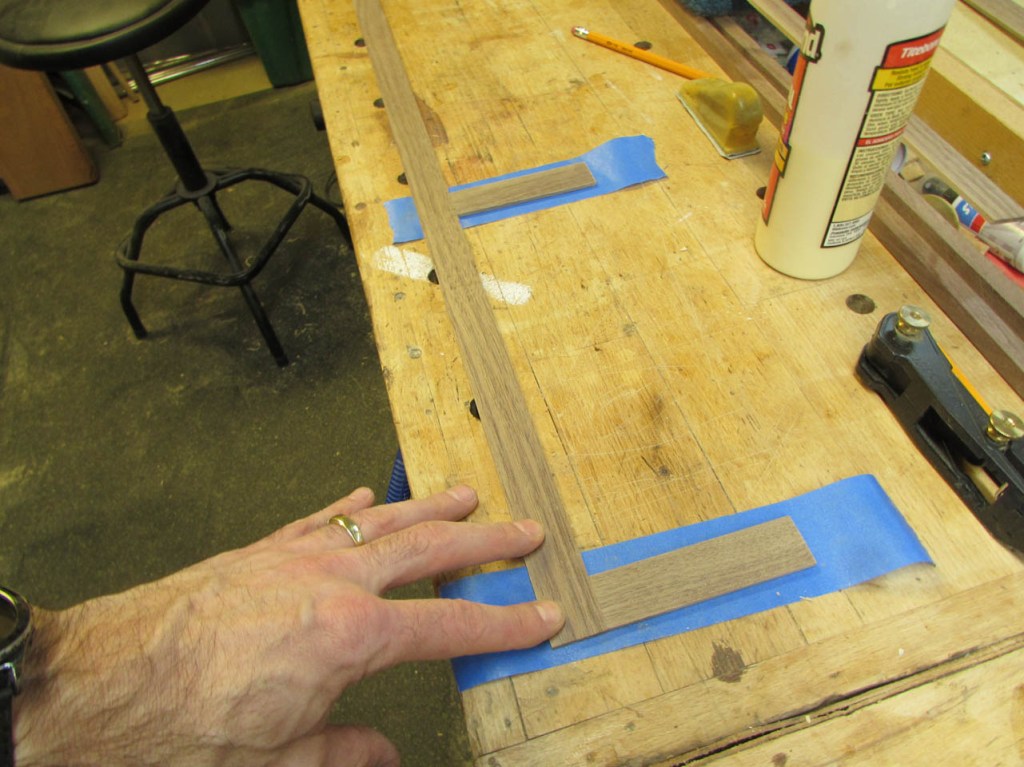
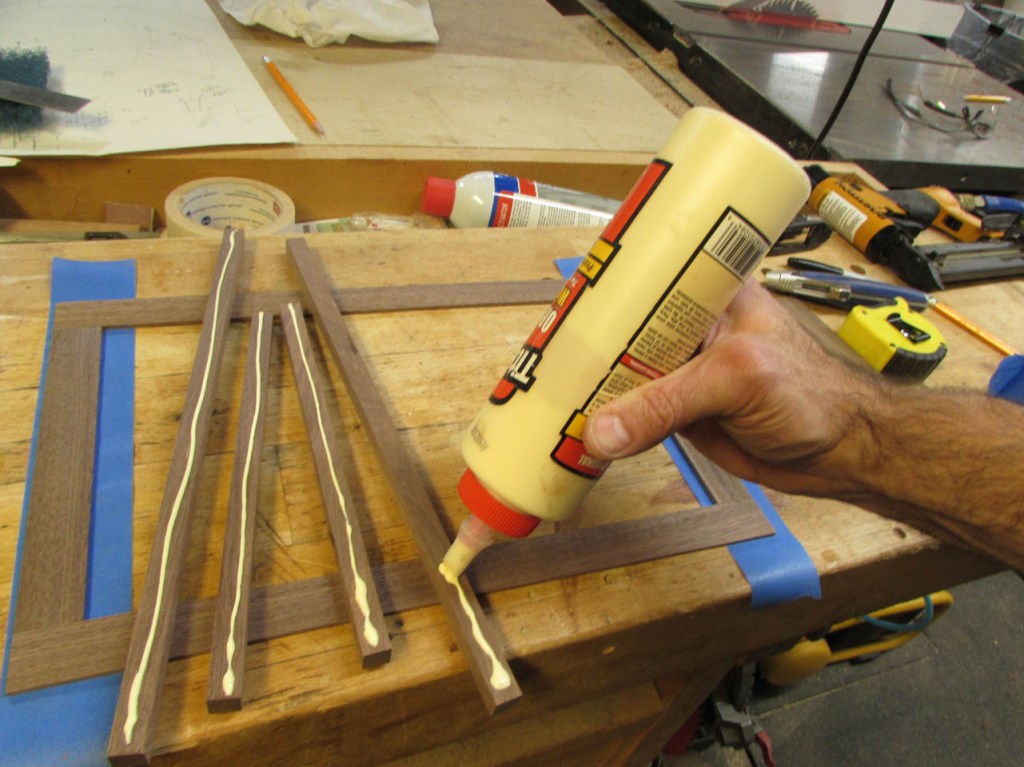
I used painter’s tape to layout the first face of the track, just butting all the strips squarely together.
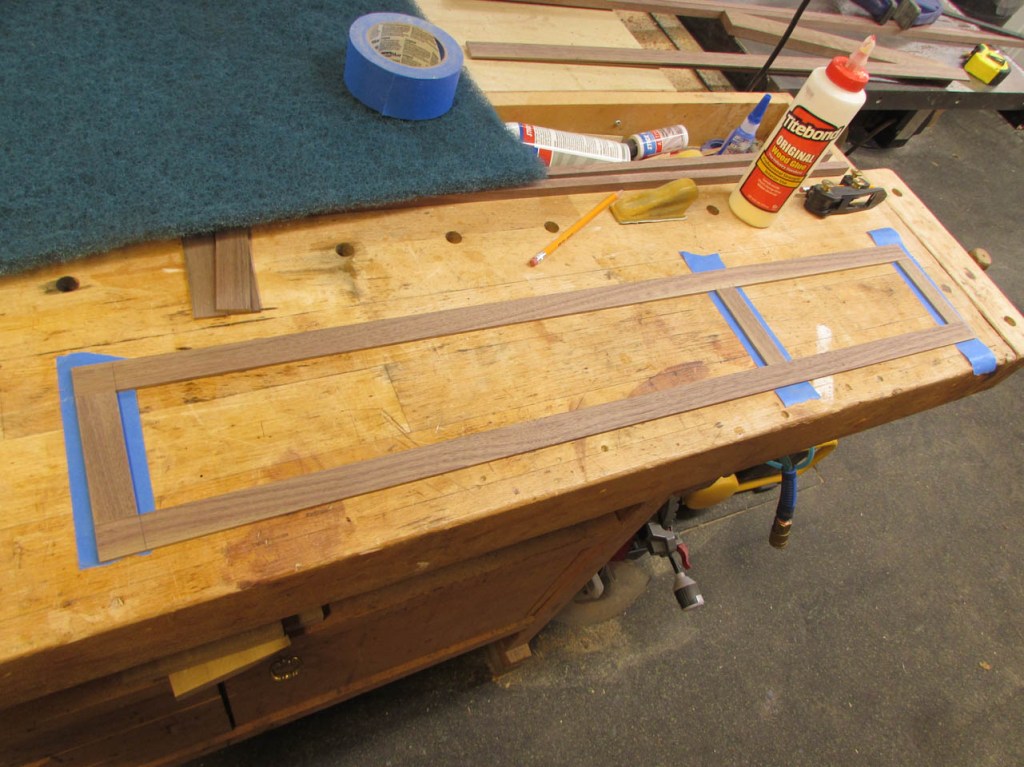
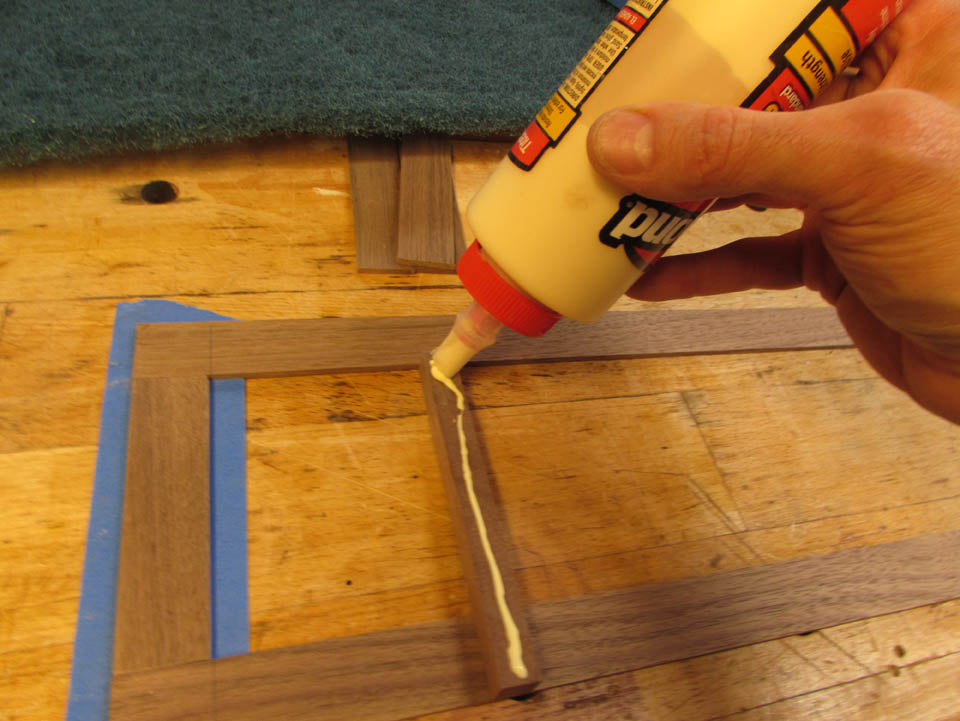
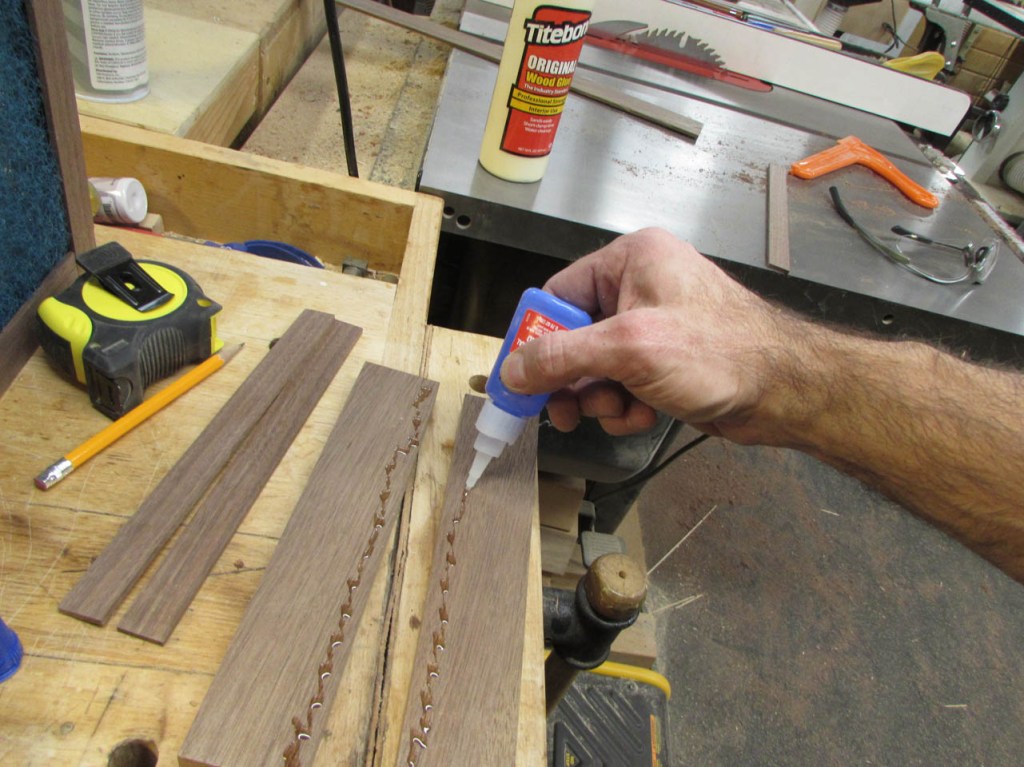
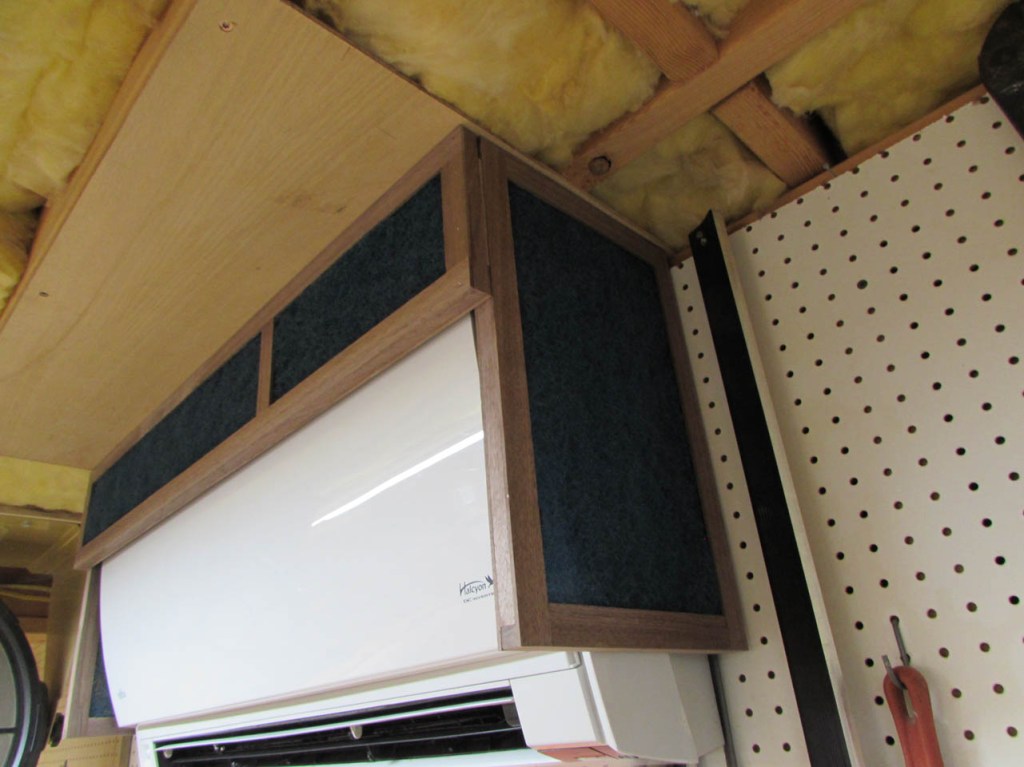
I applied glue to one side of the 1/2″ strips and aligned them to the outer edge all the way around the perimeter. There is also a piece in the middle since the filter media I have is not long enough to reach all the way across the frame.
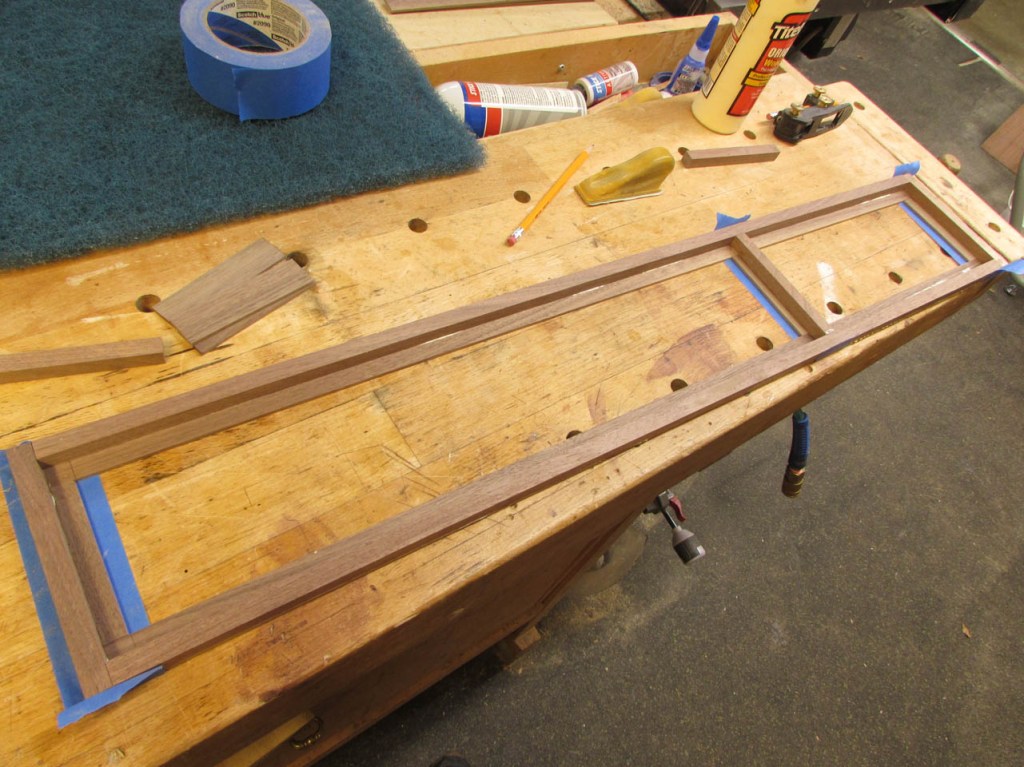
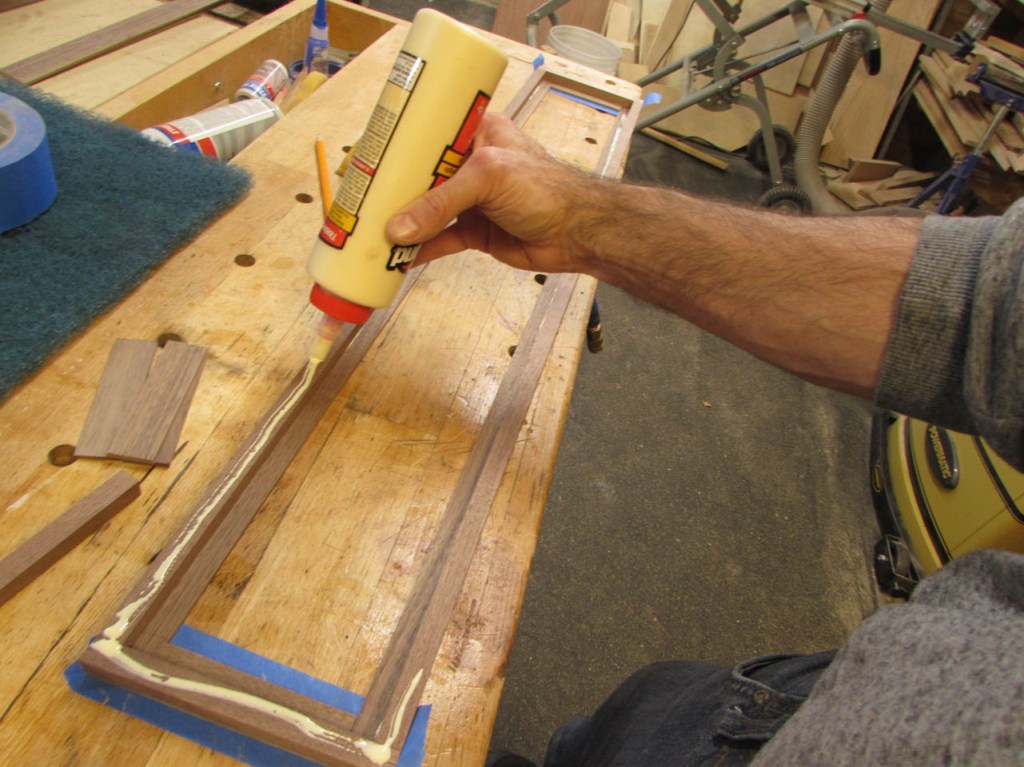
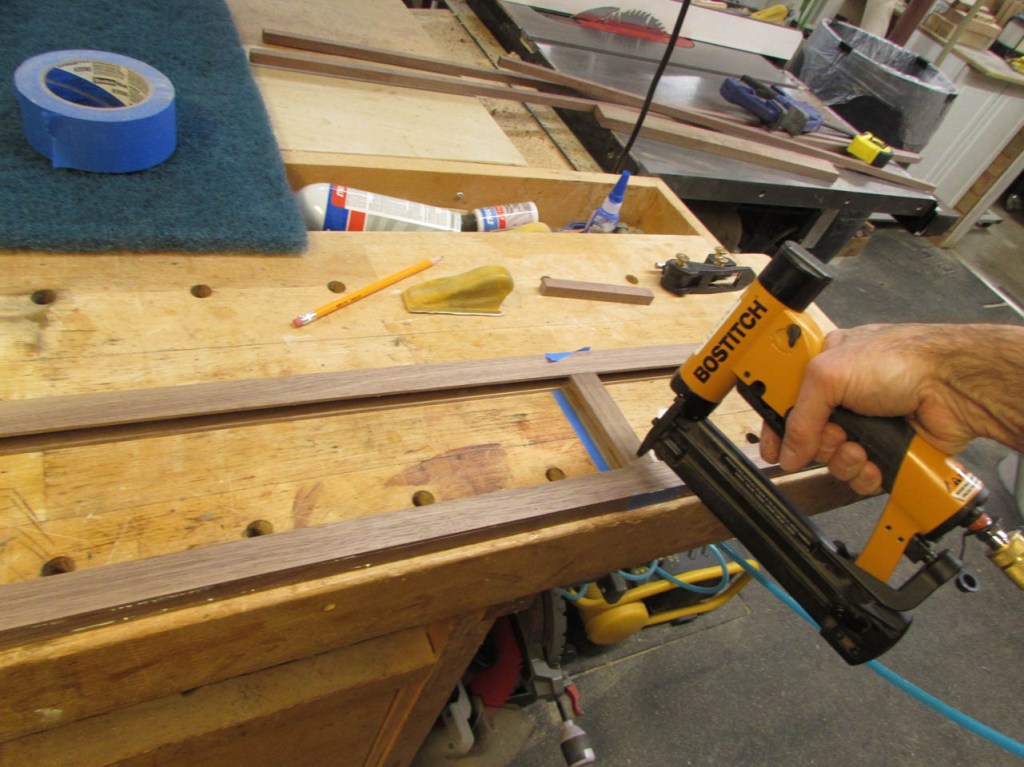
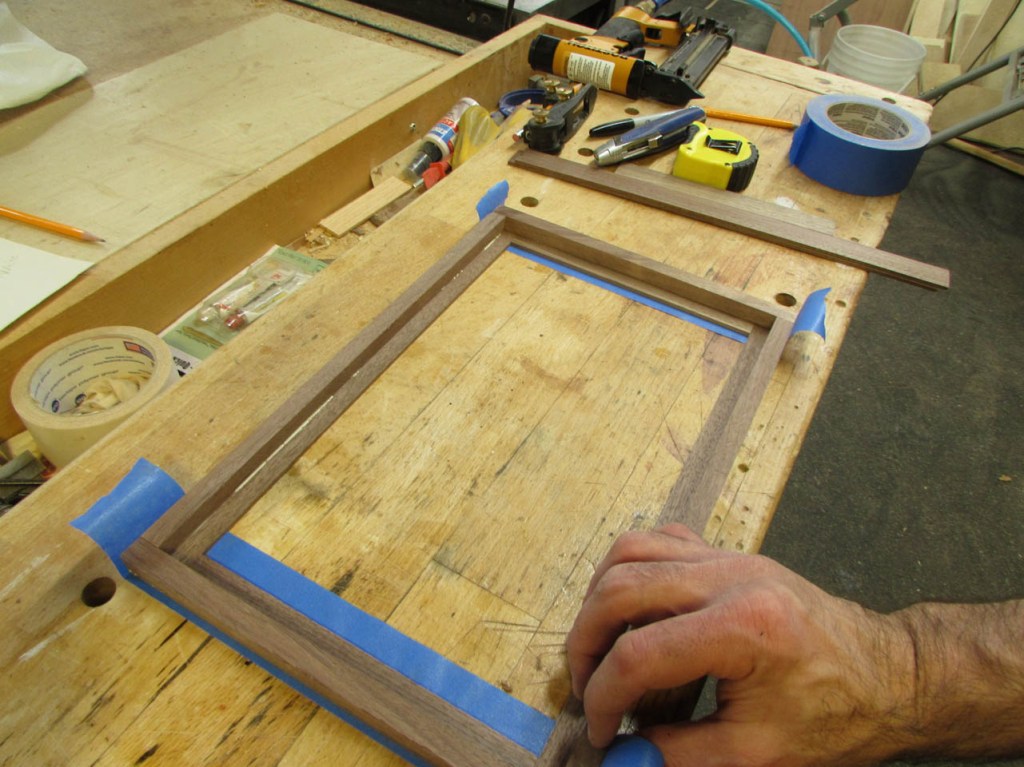
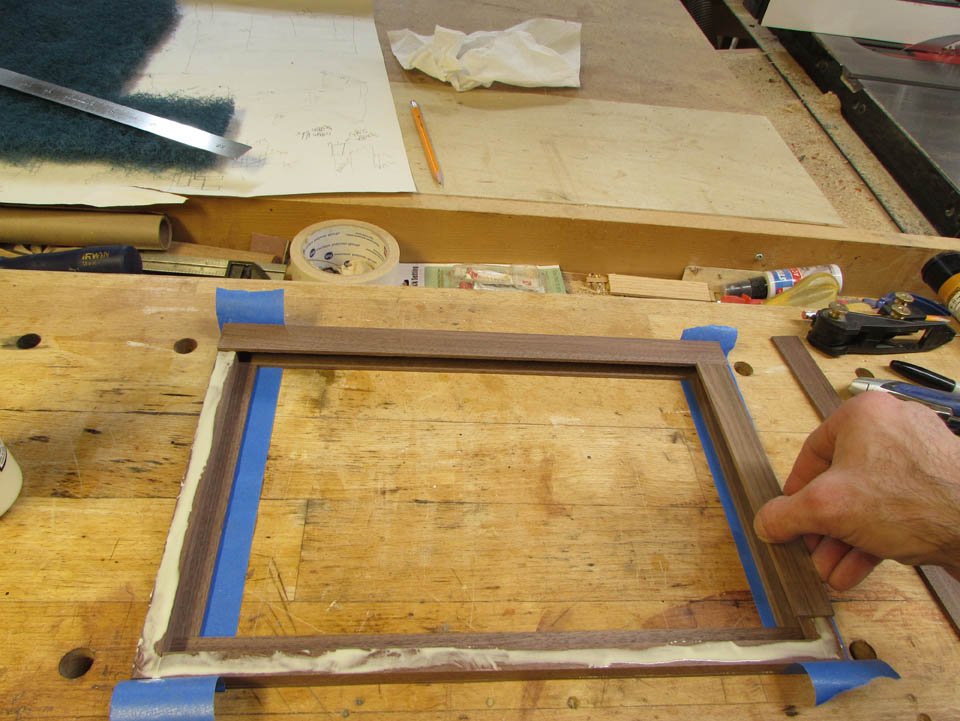
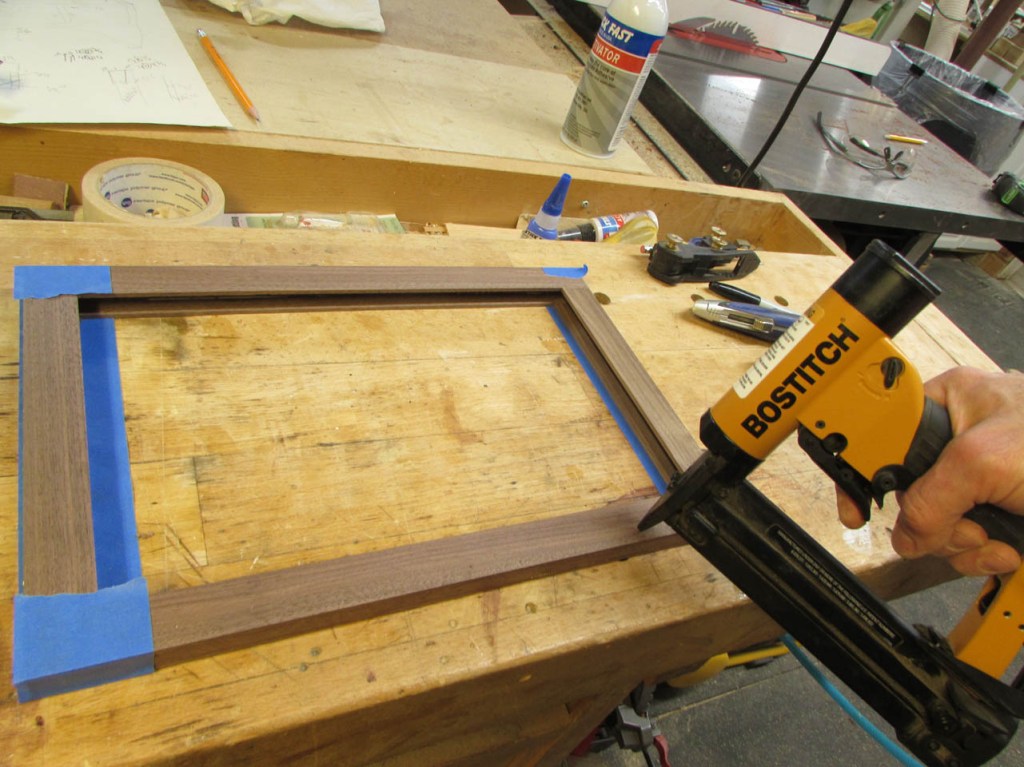
After applying glue to the opposite side, I placed the 1″ wide strips for that side as well. I used my 23 gauge pin nailer to hold them in place while the glue dried. I also flipped the frame and pinned the back side as well, making sure everything stayed square.
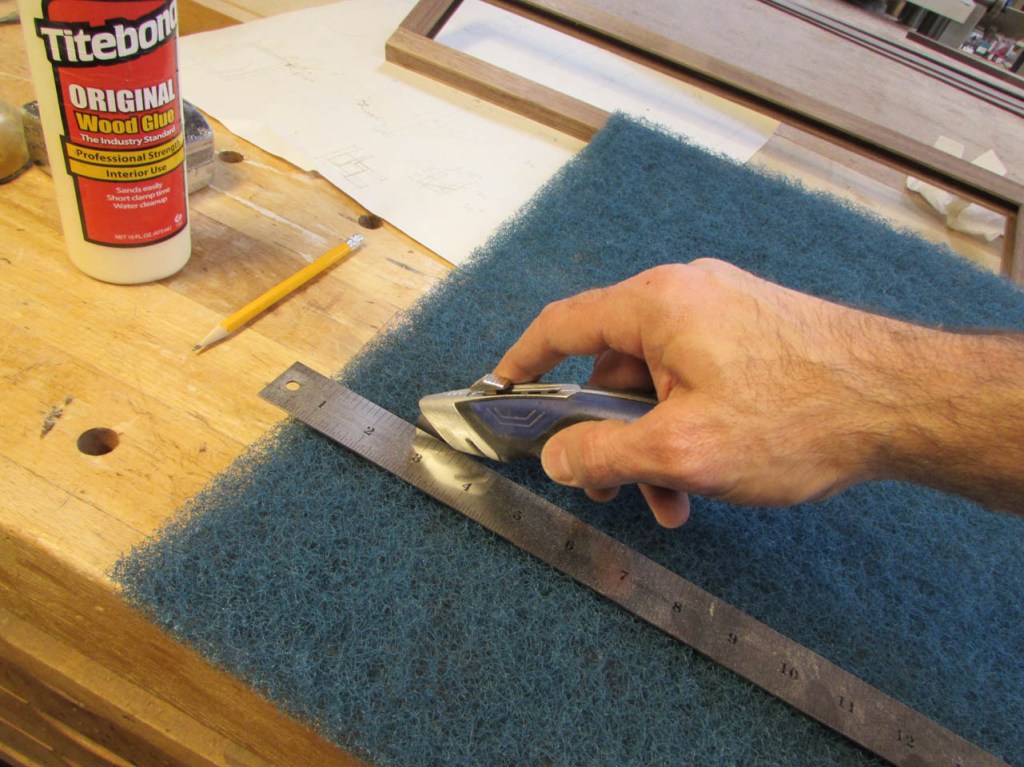
Using a straight edge and a knife, I cut the first piece of filter media to squeeze into the filter frame.
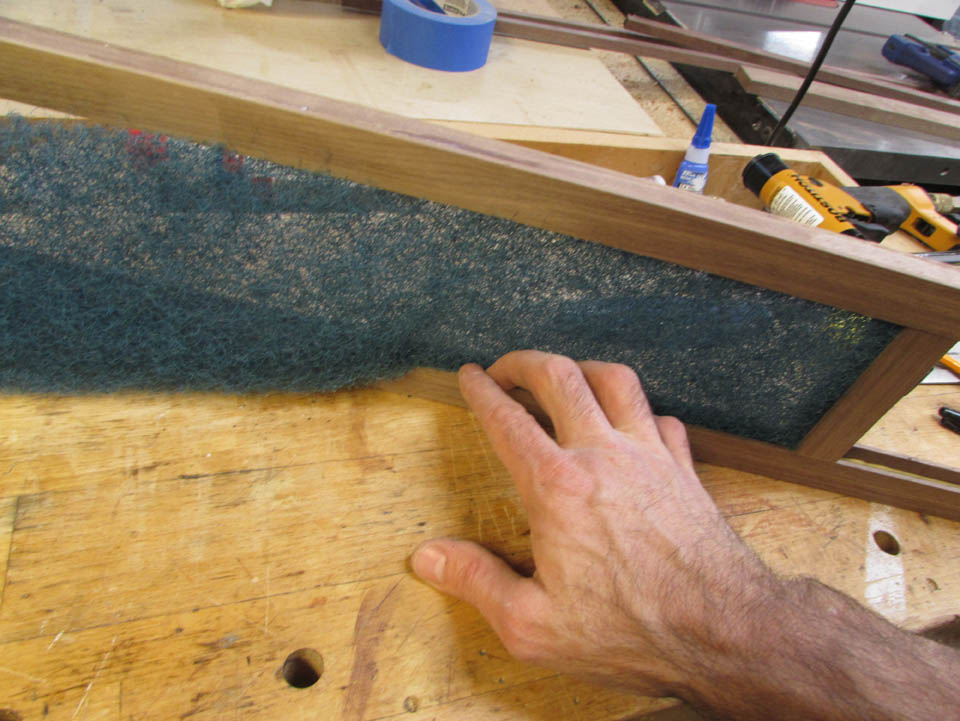
With a little pinching and pressing, it fit really well and held in place nicely. I don’t expect a lot of force pulling on the media so this should work fine.
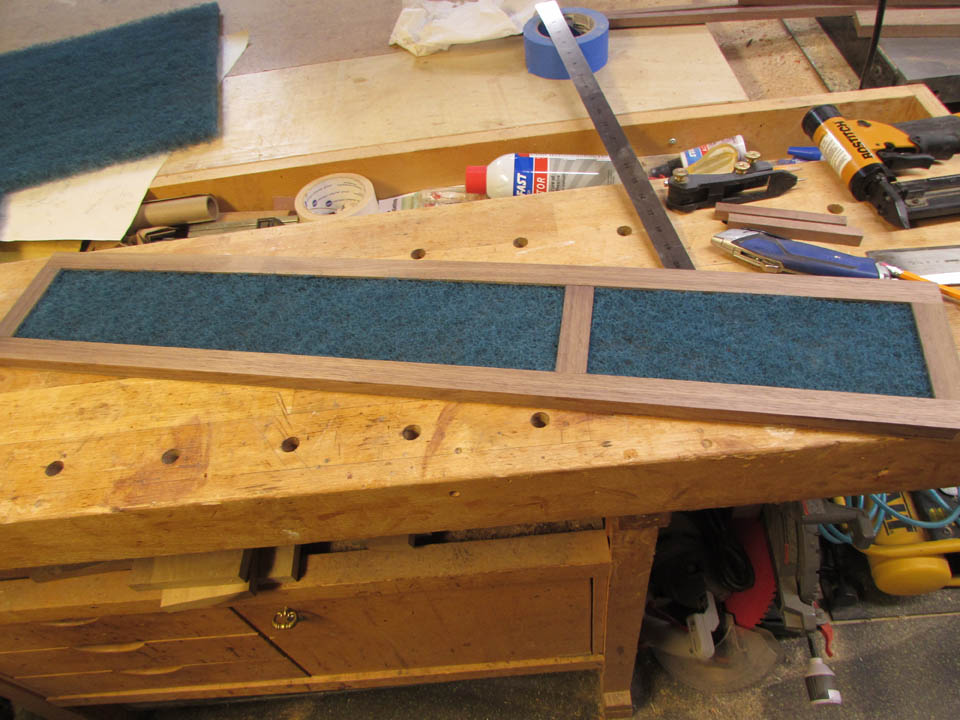
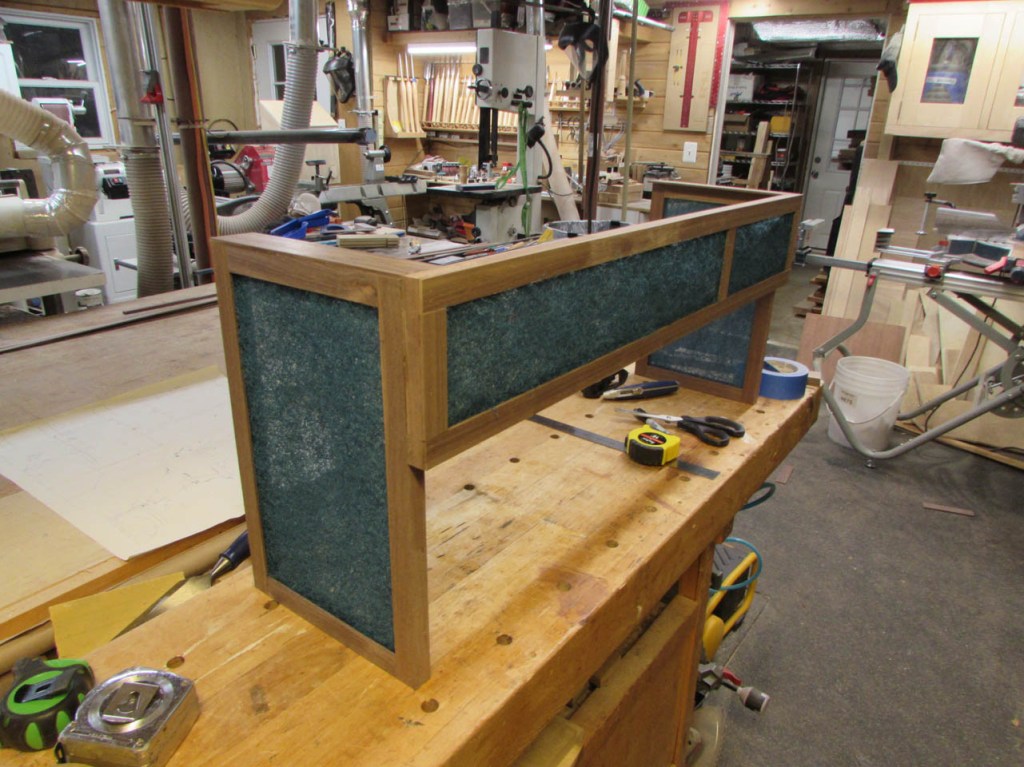
I repeated the process on the side frames as well.
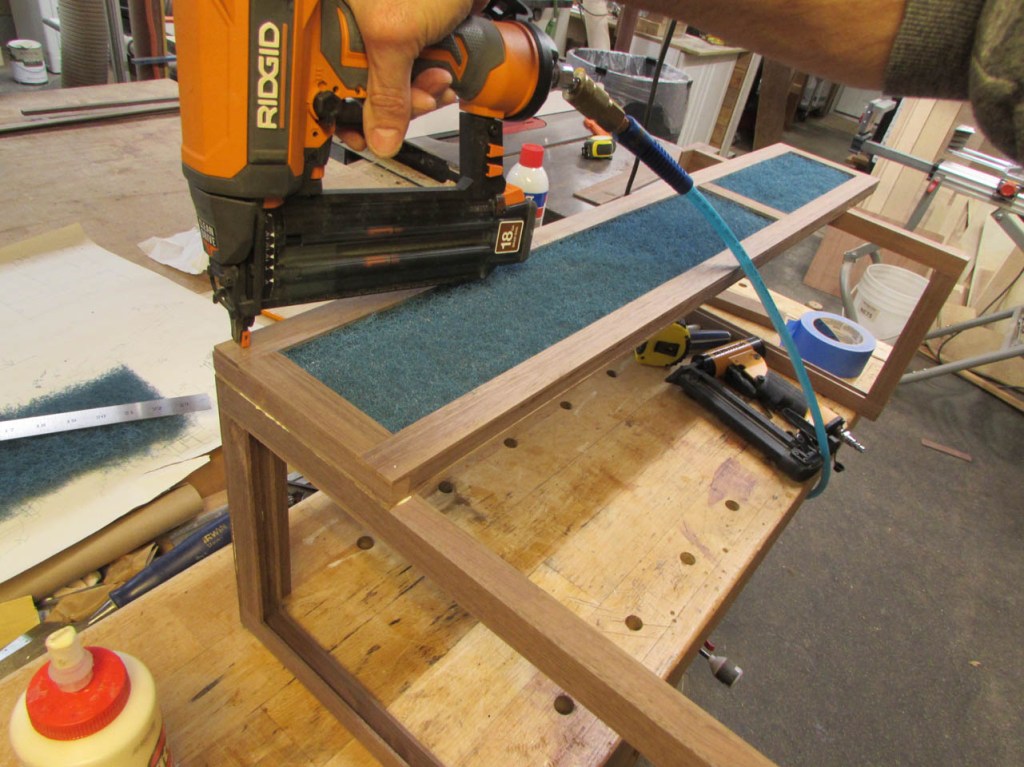
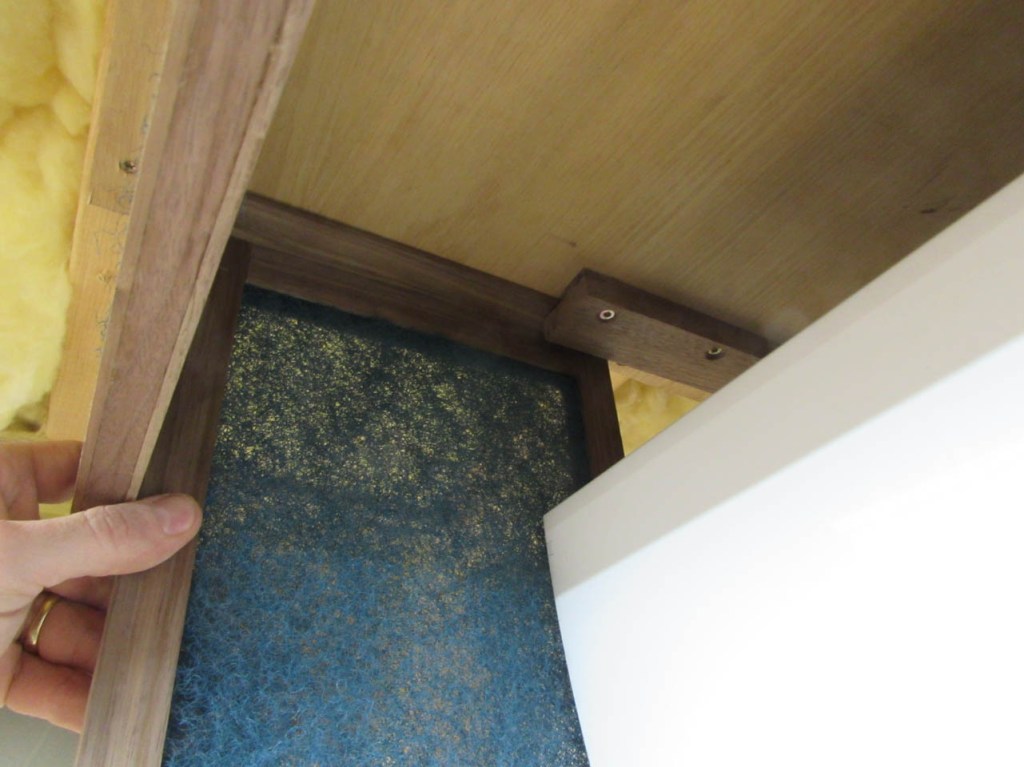
I also added a wider flange to the top. This will slide into a receiver mounted on the ceiling, and hold the frame in place.

I held the front frame flush to the top of the new flanges and nailed the frames together with some 18 gauge brad nails.
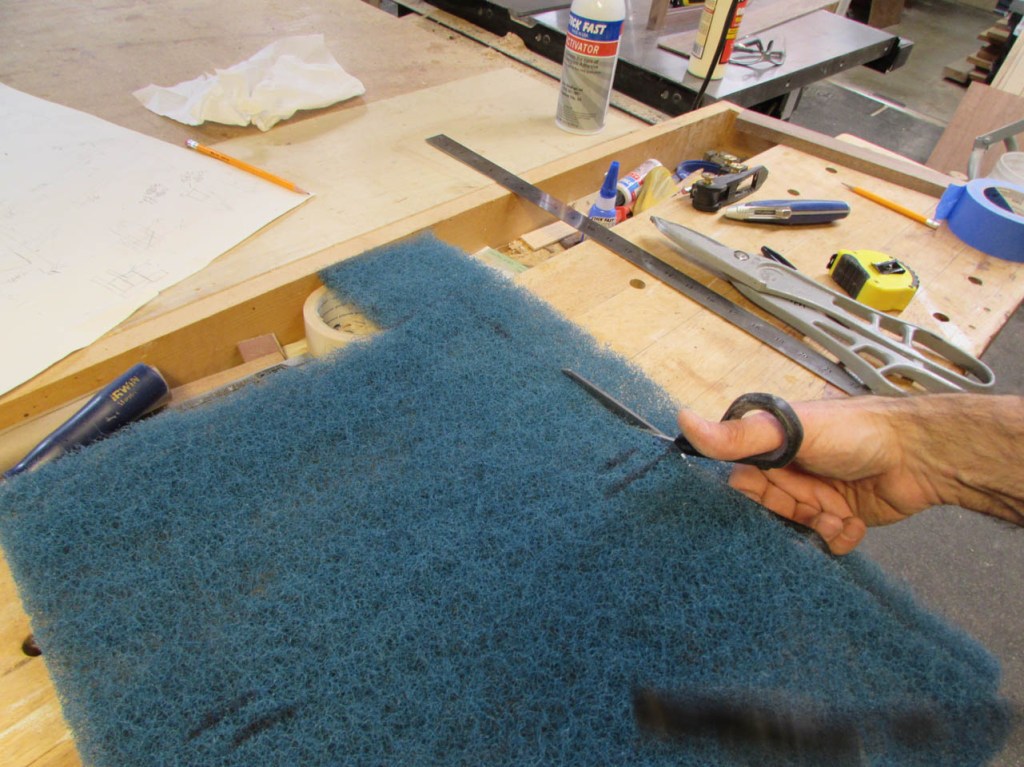
I also found that the filter media cut better with scissors. There was less mess.
I planed a couple more strips a little thicker than the mounting flanges on top of the filter box. They are attached to a couple of wider blocks with some CA glue.
I used some activator to get a quick bond.
The CA glue is just for a quick bond that will hold long enough for me to drill and mount the brackets. If I wasn’t using screws to hold it all together, I would have used wood glue.
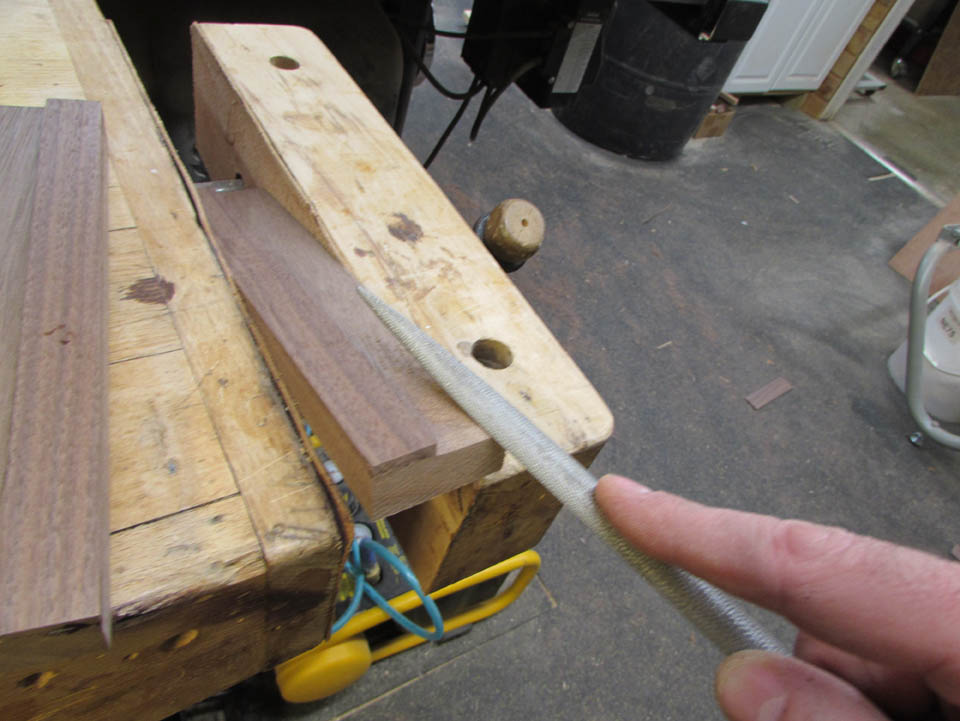
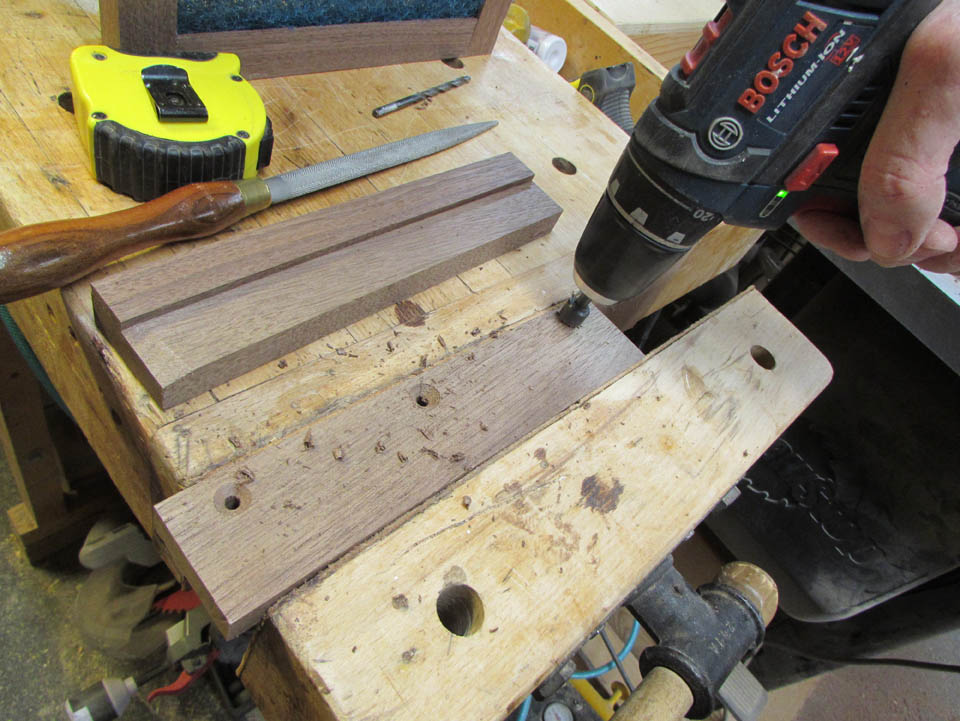
I used my rasp to ease the edge that the filter box will slide onto, then drilled and counter-sunk the mounting holes.
It was a tight fit, but I was able to attach the slide mounts to the ceiling with construction screws. Before I started, I had attached a piece of 1/4″ plywood over some blocking that gave me plenty of latitude for attachment locations. The plywood also prevents dust from falling down from the insulation above.

Hopefully you can see how the top flange now easily slides into place on the new mounting brackets.
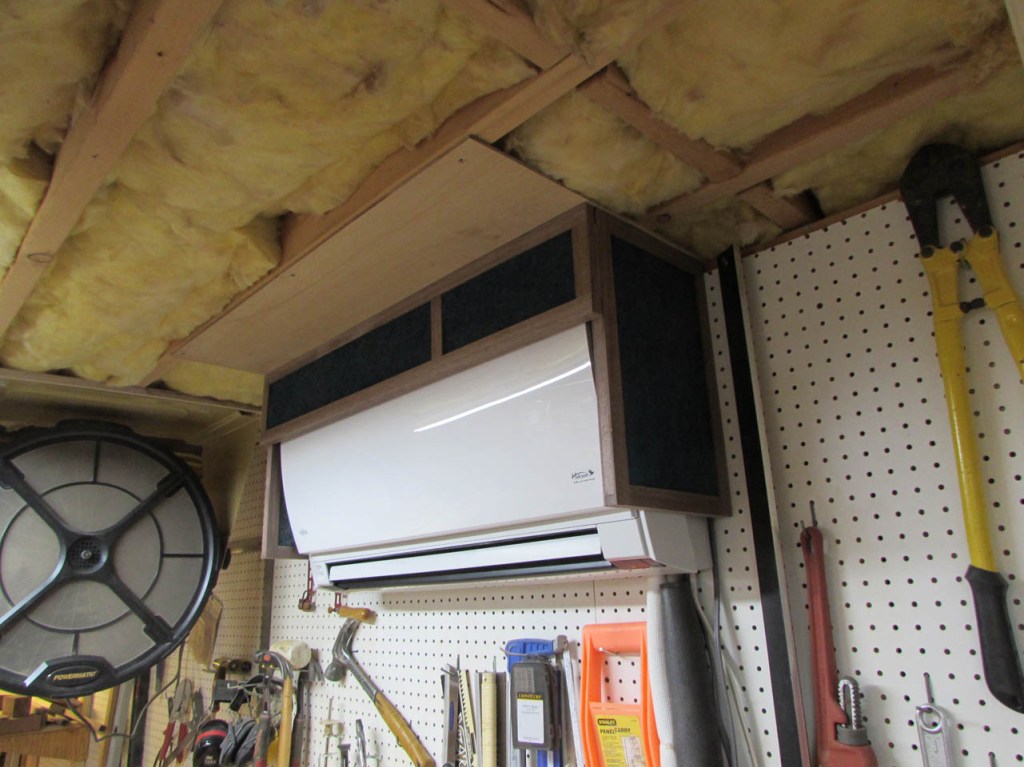
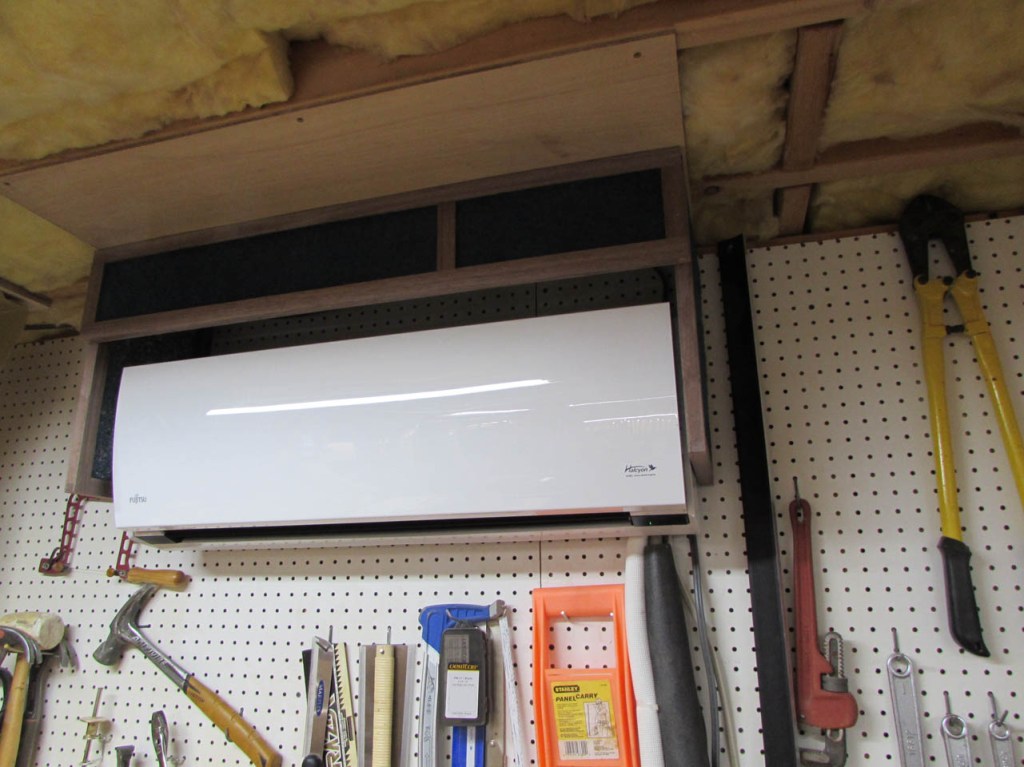
When I press the frame all the way to the wall, the front of the filter touches the door panel. This effectively blocks 99% of the air intake areas with filter media. As you can see, in the picture below, I also have the Powermatic PM1250 Micro Dust Air Filtration fan mounted perpendicular to the wall unit. Hopefully most of the dust will be drawn away from the heat pump before it gets to my filter. It also helps to spread the warm air around the shop when the heater is on.
When the unit is off, the door panel closes, leaving a large gap, but there is no air movement at this time and the dust should not be able to get into the intake area.
Hopefully this dust helmet will give me better protection in the future. I will also be looking for better filter media, in the future, that also fits into the tracks I built.
