
St. Kilian chapel – Credence table – part 4 & Gift table part 2
So the credence table and gift table are stained and ready for finish. Normally, I throw up my temporary spray booth and spray, covering two days worth of work in about three pictures. I decided that a lot of you are probably just sitting around with nothing to do this week, so I am going to go a bit deeper into how I set up my temporary spray booth. I know it sounds exciting, but I have a captive audience…
The first thing I do before applying finish to a project is clean. I put away all the left-over wood and tools, then vacuum the floor. I place a clean drop cloth down under my spray area to prevent over-spray from settling on my rubber flooring. It would make the floor rather slippery after it dried.

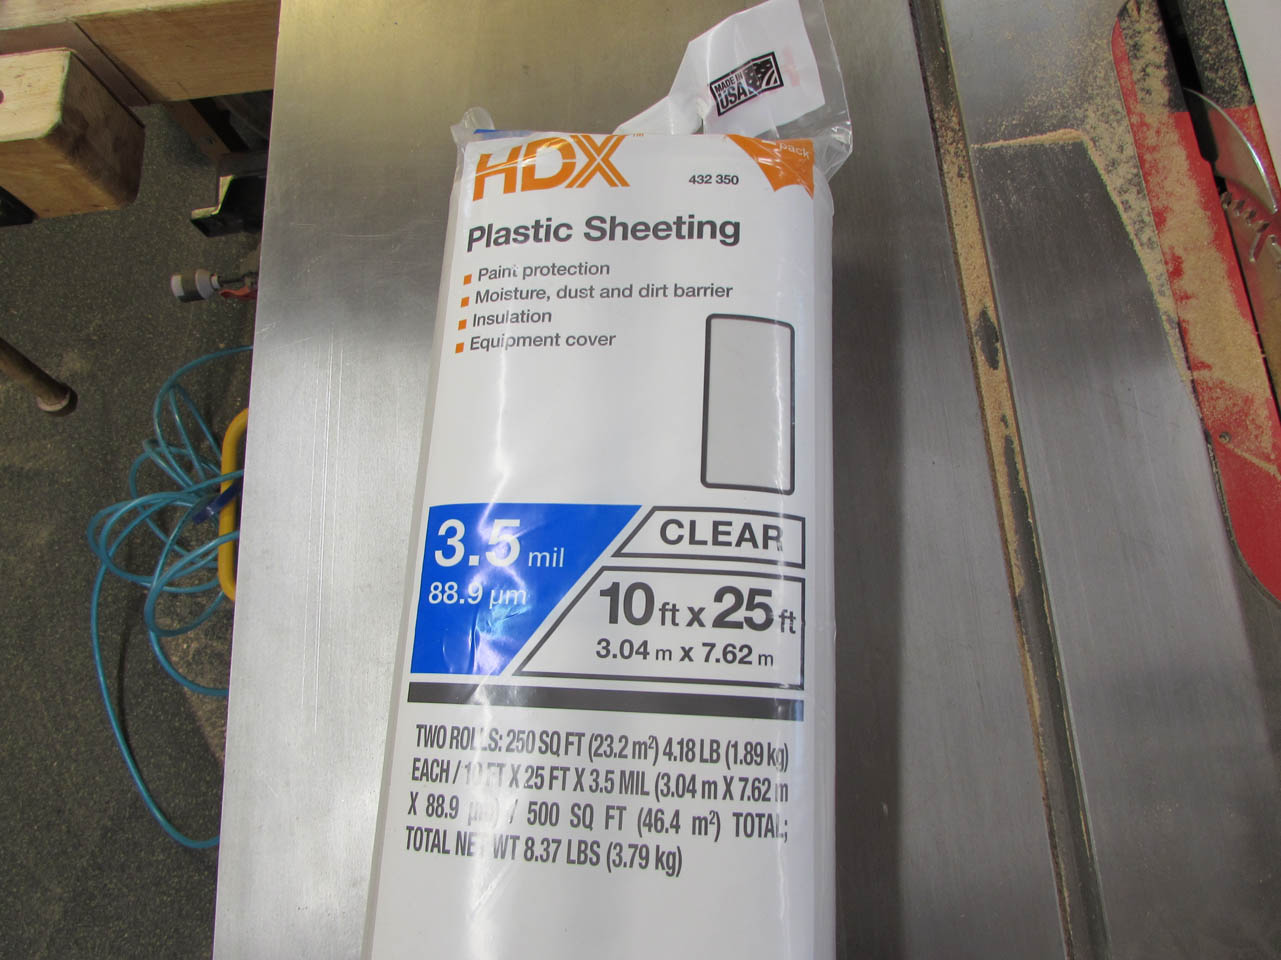
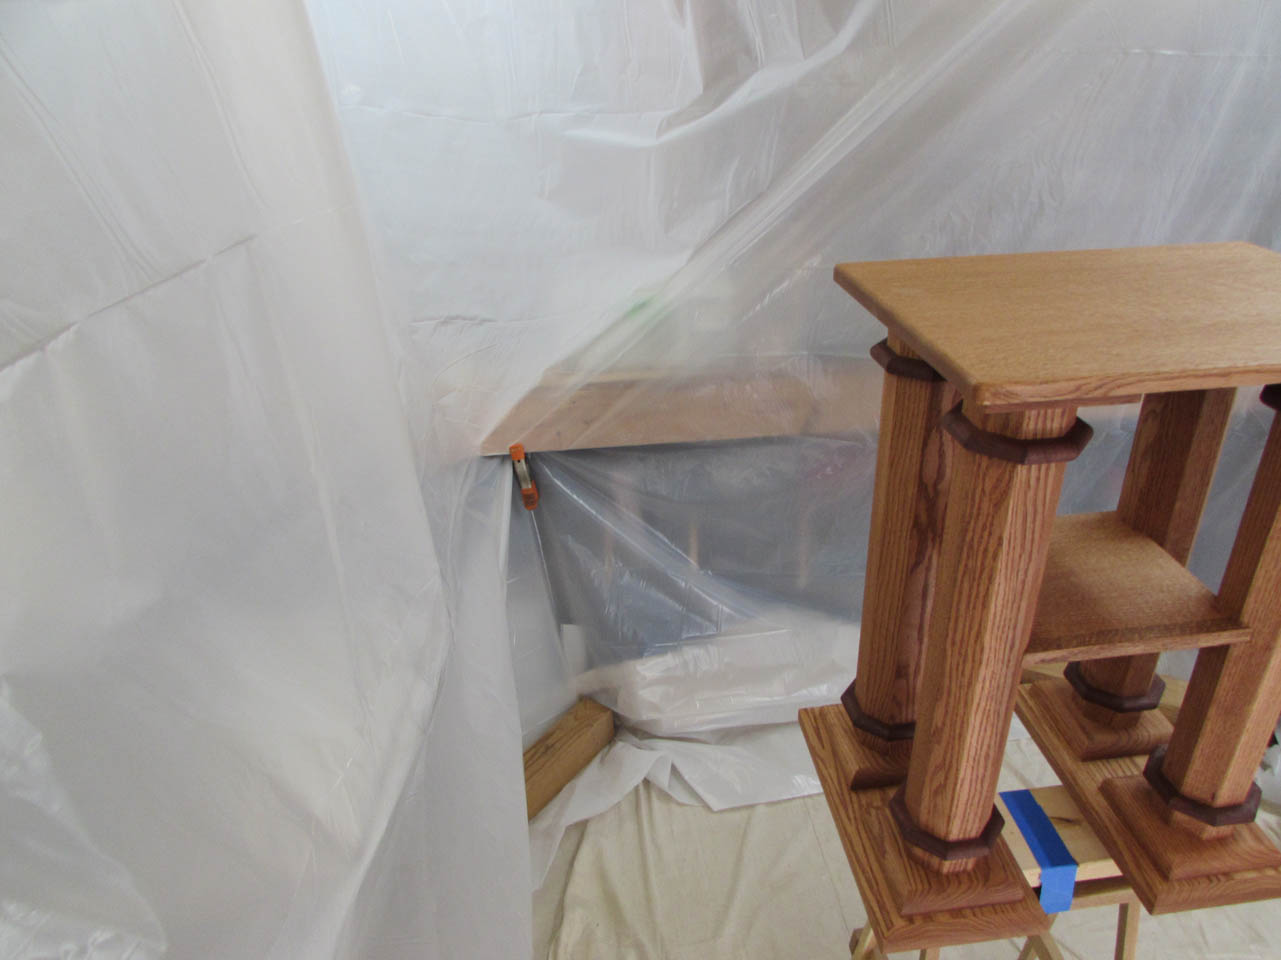
Next step is to find some plastic sheeting. I usually pick up a couple of 10’x25′ rolls of at least 3 mil. thickness. Heavier is better, the thinner stuff can billow too easily and stick to your project…
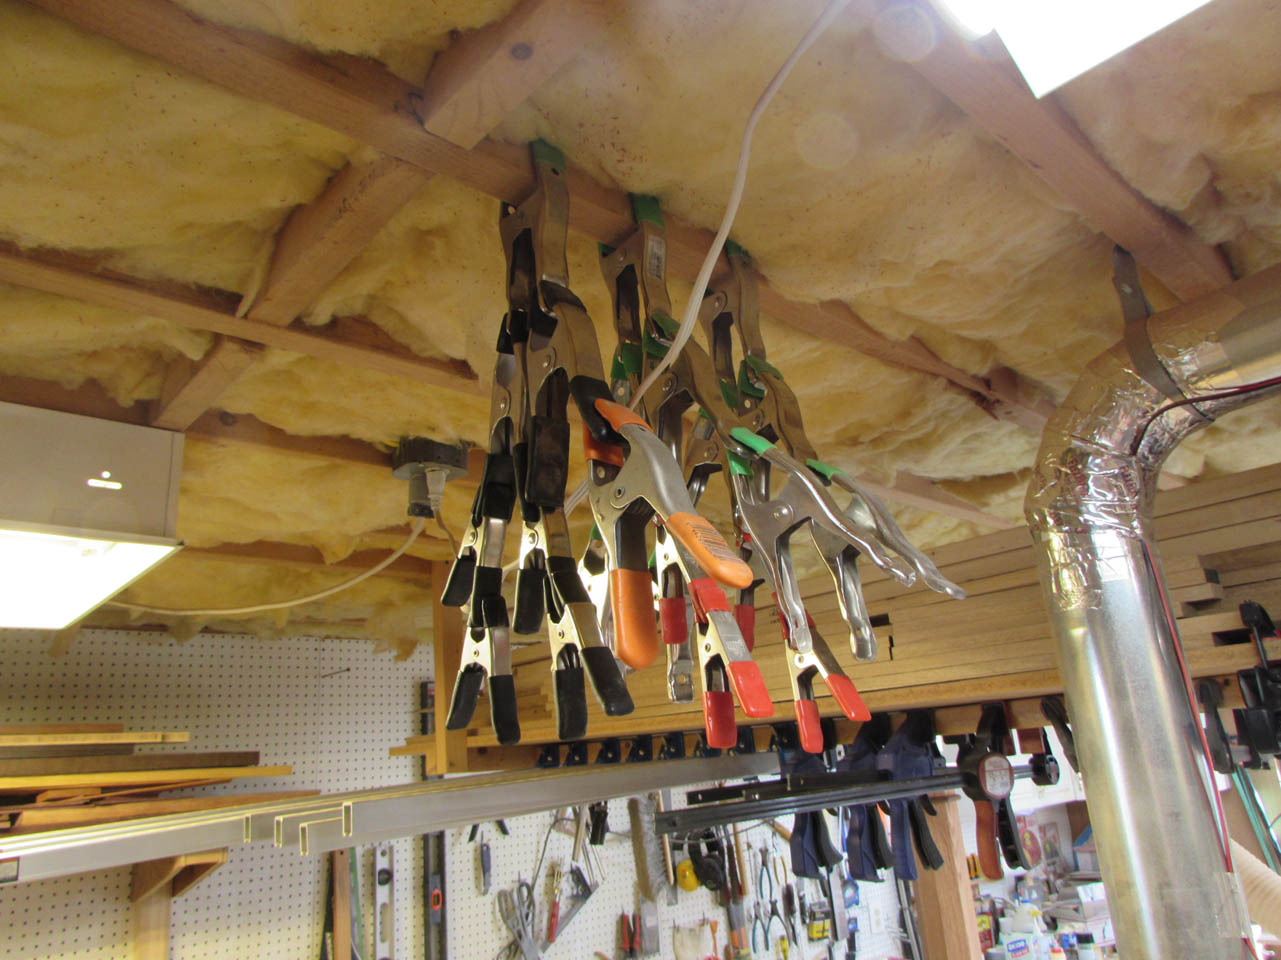
I have a moderate stash of spring clamps just hanging around. I usually grab a bunch of the 2″ ones to attach the plastic to the exposed joists above.
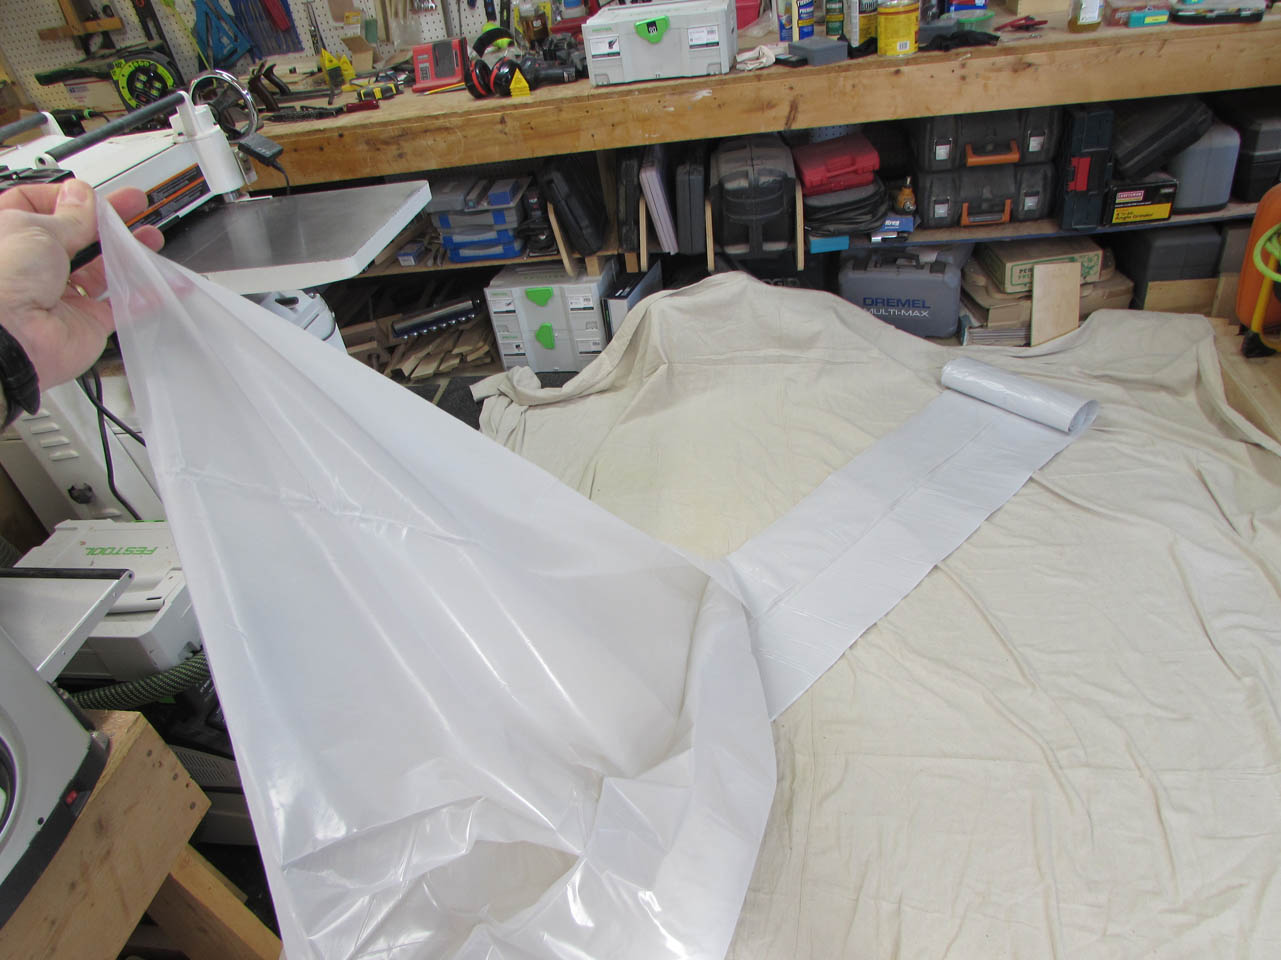
I unroll the plastic on my drop cloth and grab an end to start with. I also clip a bunch of the 2″ clamps to my jeans and find a good location to start.

Wherever you pick to start will probably wind up being your doorway so locate it in a good spot.

These clamps are just the right width to easily clamp the plastic to a ceiling joist.
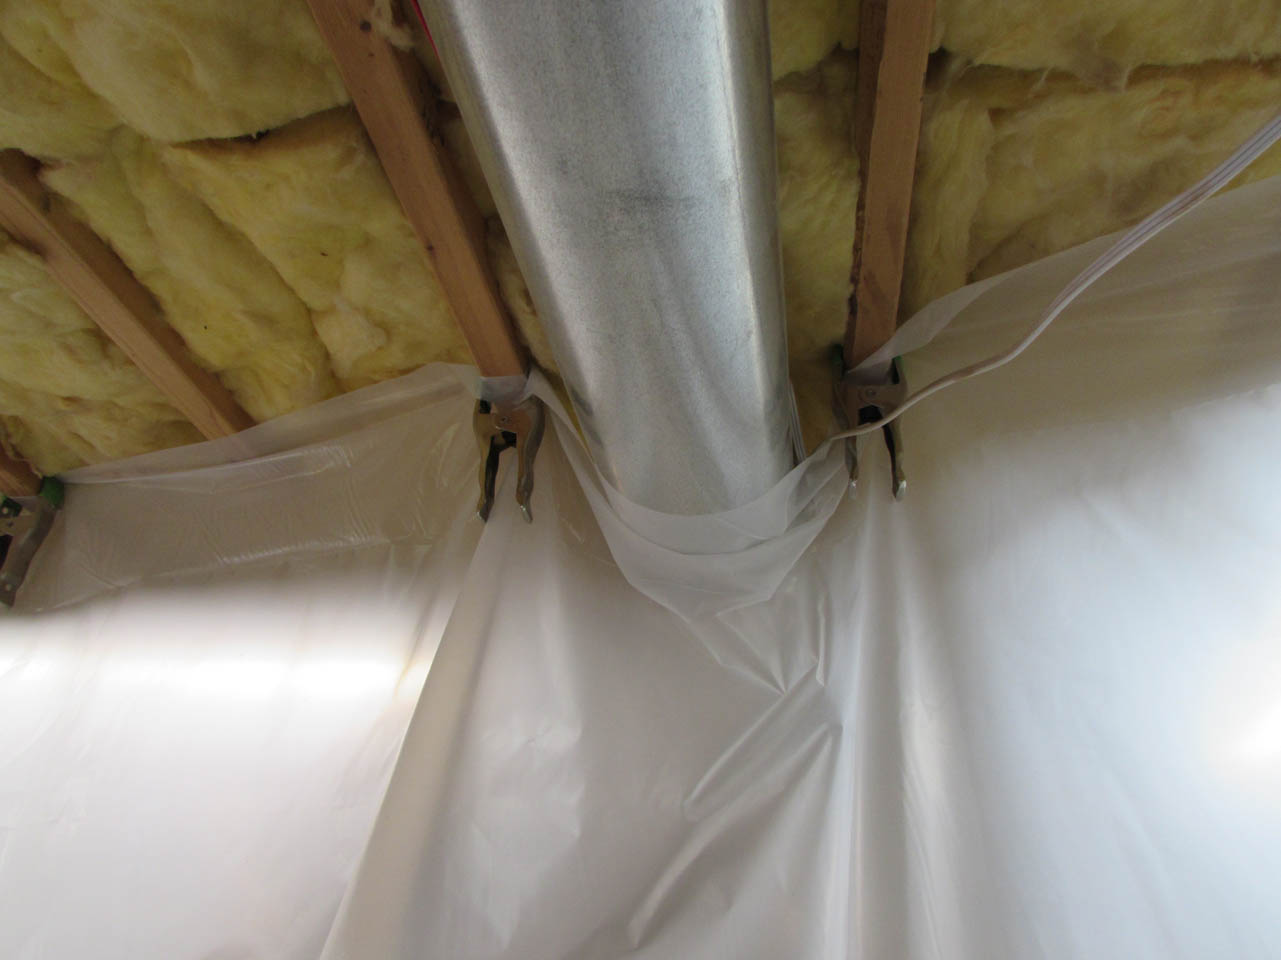
I am careful to clamp tightly around any obstructions to prevent fumes and over-spray from escaping the tent. I also try to include as much lighting as possible into my perimeter. This sometimes means that I have to drape over some tools, but that is alright since the sheet is 10′ long and my shop is only 7.5′ tall.
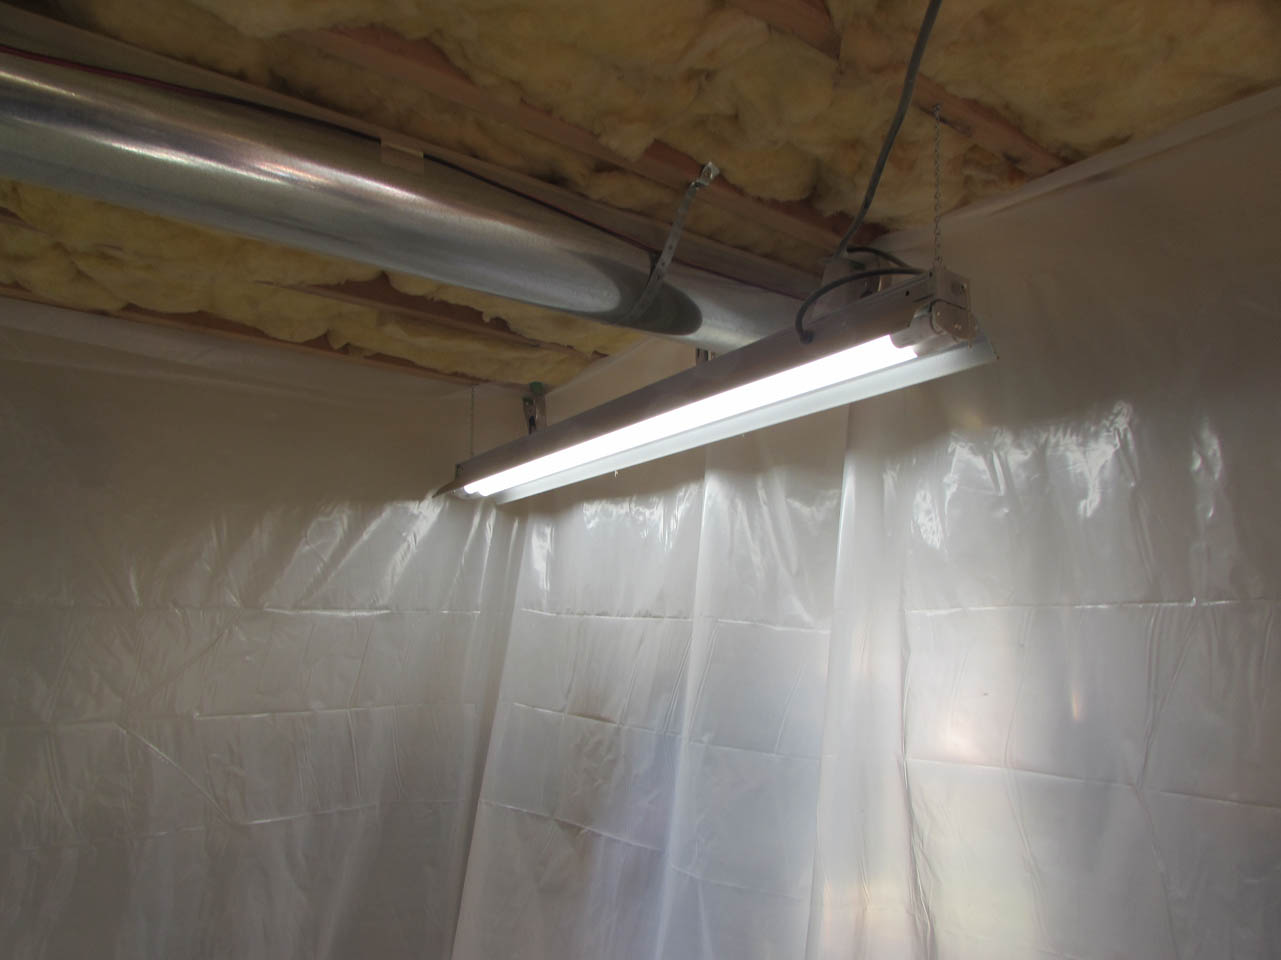
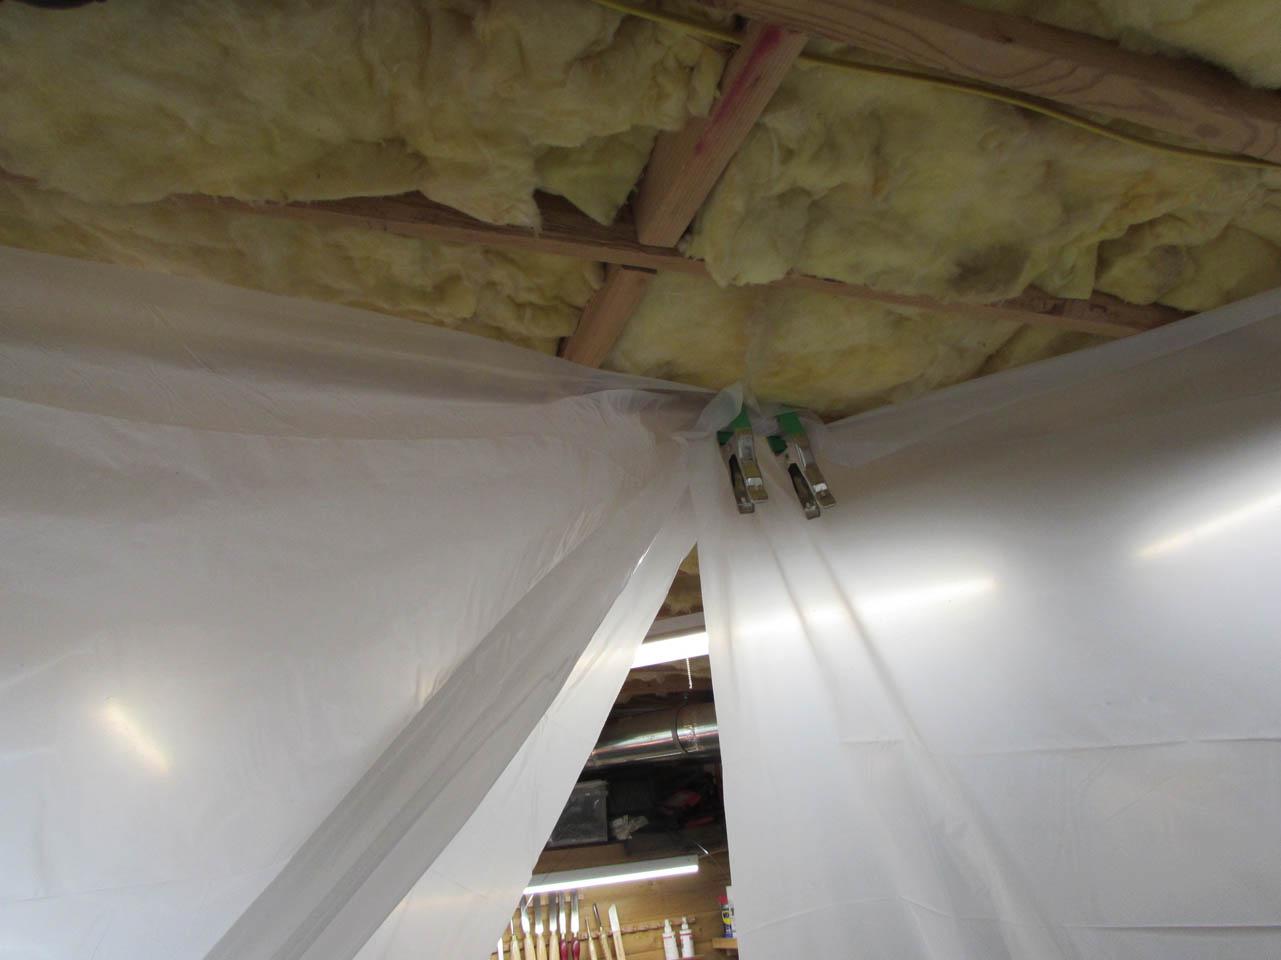
Since the door will get pulled on a couple of times, I usually overlap the beginning and end of the sheet and use two clamps to ensure it will not pull out.

To help prevent billowing, I have several heavier chunks of scrap wood that I set along the base of the plastic along the perimeter.

To hold the door open as well as to hold it closed, I use the smaller, 1″ spring clamps. To close the door, I hold the two ends together and roll it over a couple times, then clamp.

I put a clamp about every 2′ along the door opening.
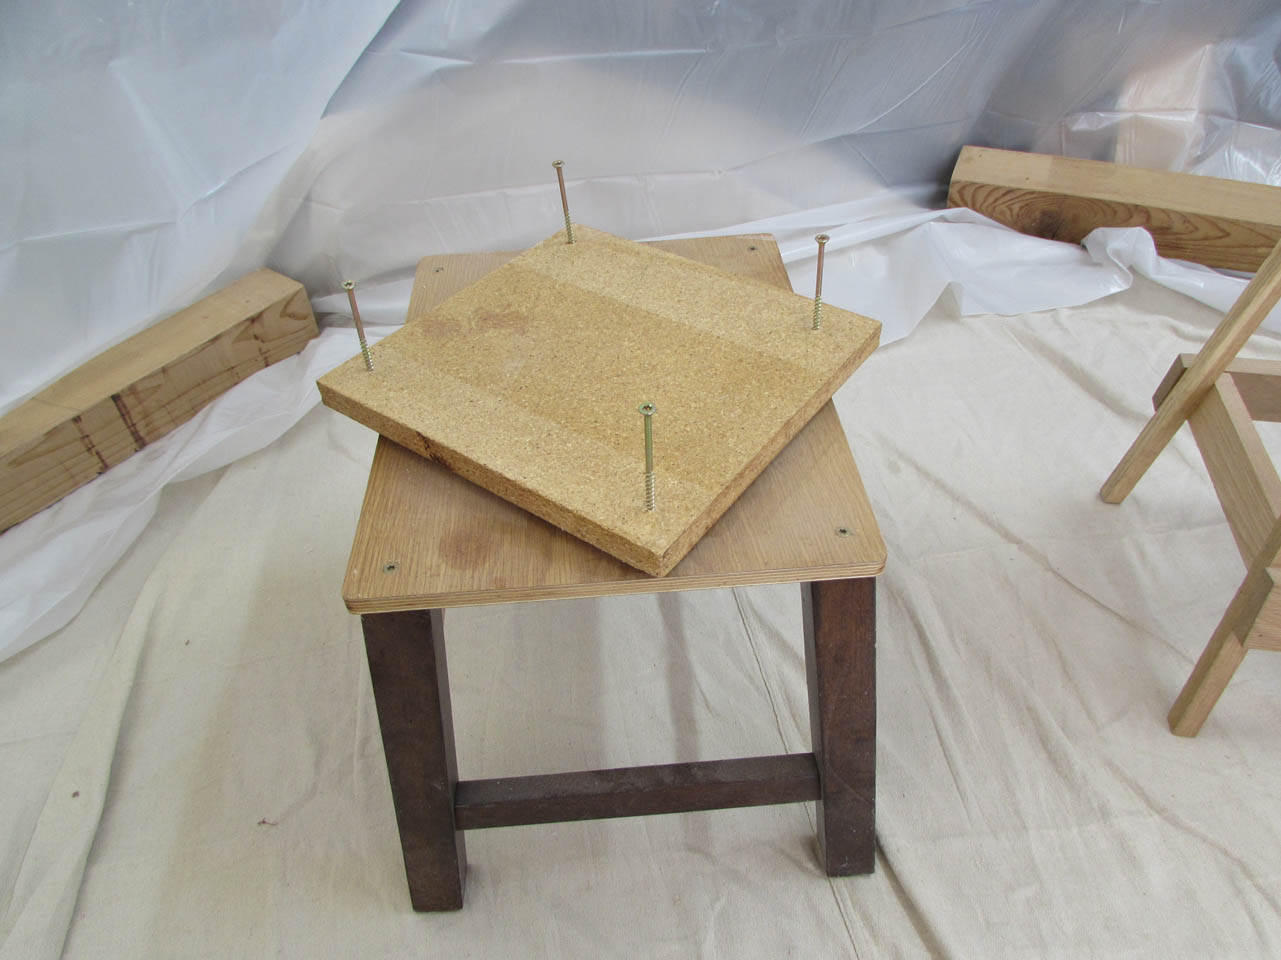
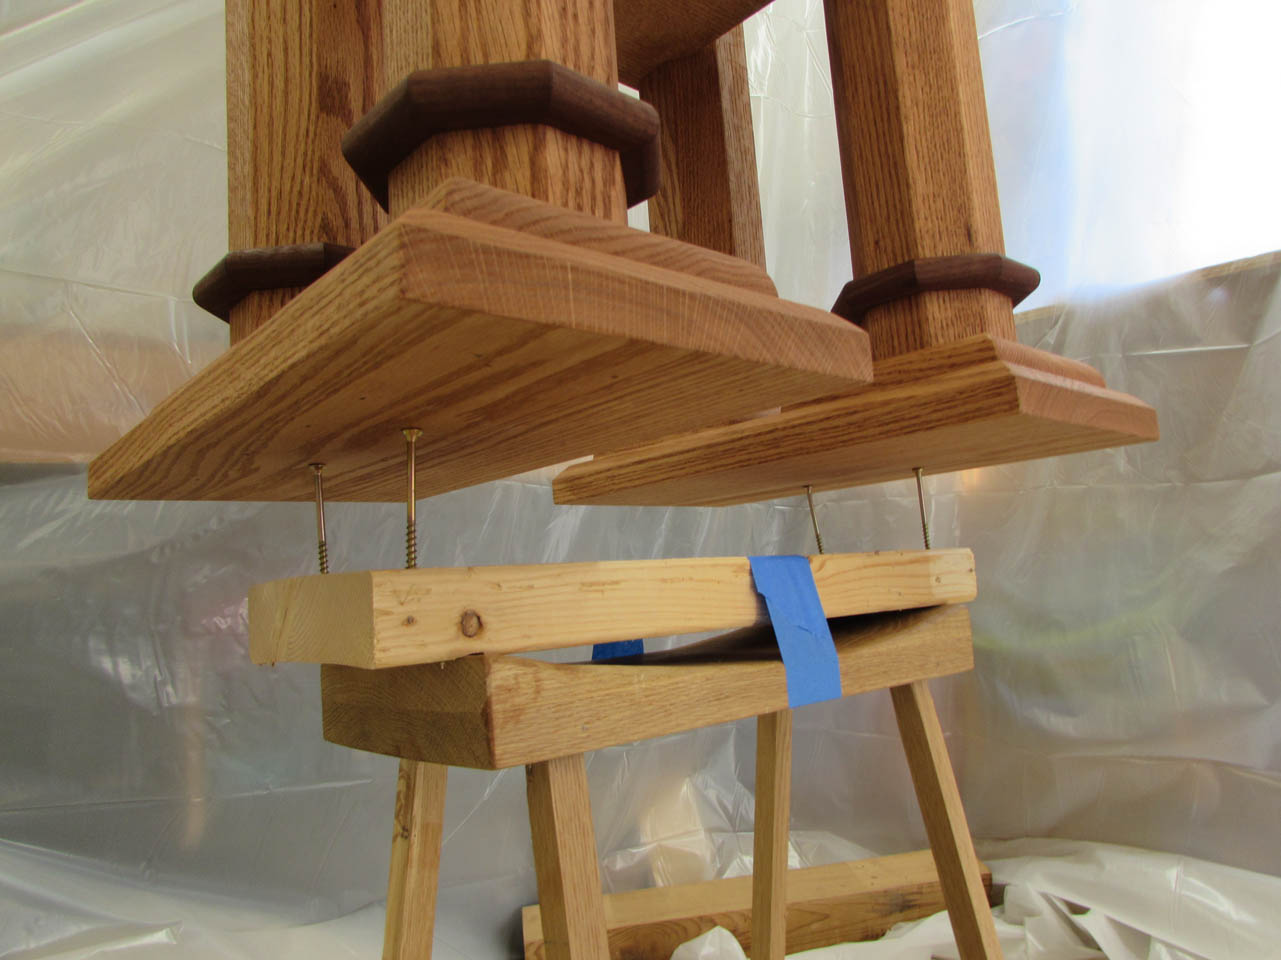
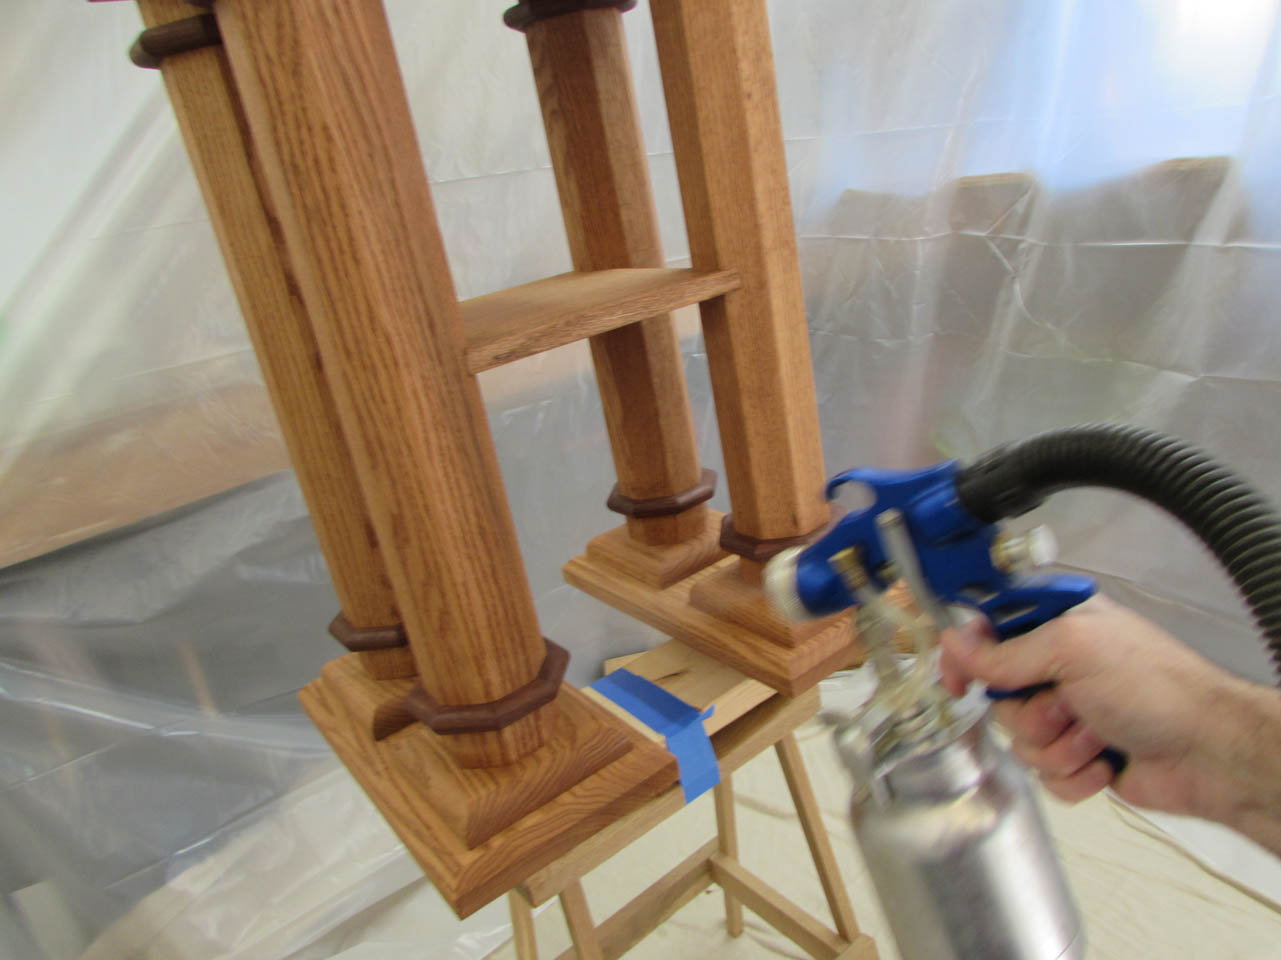
If you have the time and patience to spray your piece of furniture then flip it over and spray the opposite side, I commend you. I usually don’t have the time. If I can, I use painter’s pyramids for finishing both sides at once, but if the piece has to move or has a weird shape, I will use a board with finish nails or screws to simulate the pyramids. In this case, I am using 3″ screws to hold the furniture up high enough that I can spray below.
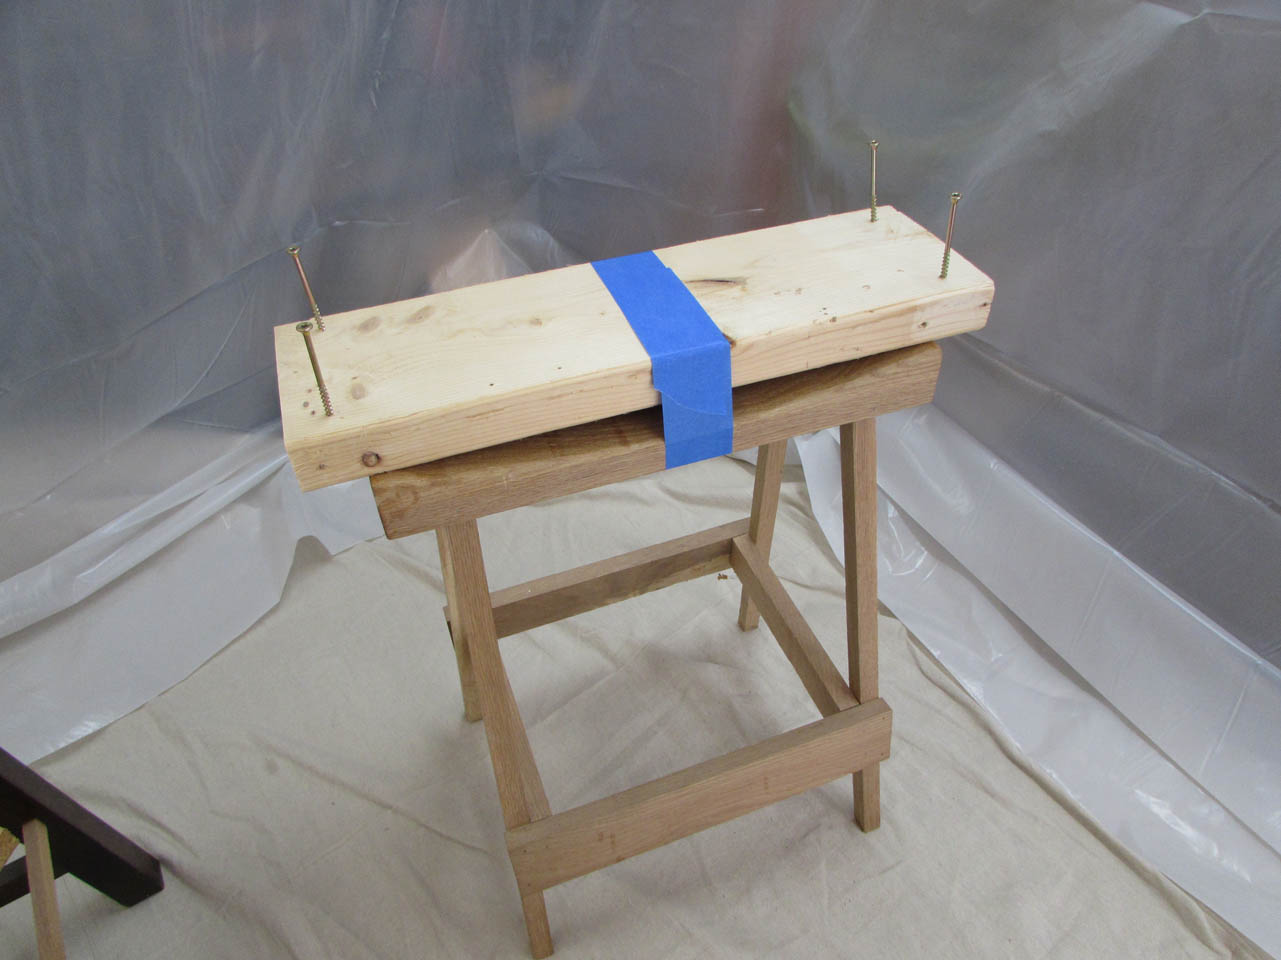
For the credence table, I taped a 2″x6″ to a stool and put the screws in it. It is now wide enough to support the table and I didn’t have to put screws into my son’s stool… I placed the table and stool about 3′ away from any wall so that I can walk around it and spray from all angles.
For the gift table, I don’t have much room left so I am tucking it in a corner. I am using a stool that has a spinning top (a board mounted on a lazy Susan). I don’t have to walk around this piece, I can stand still and spray, turning the table to give me access to all of the sides.
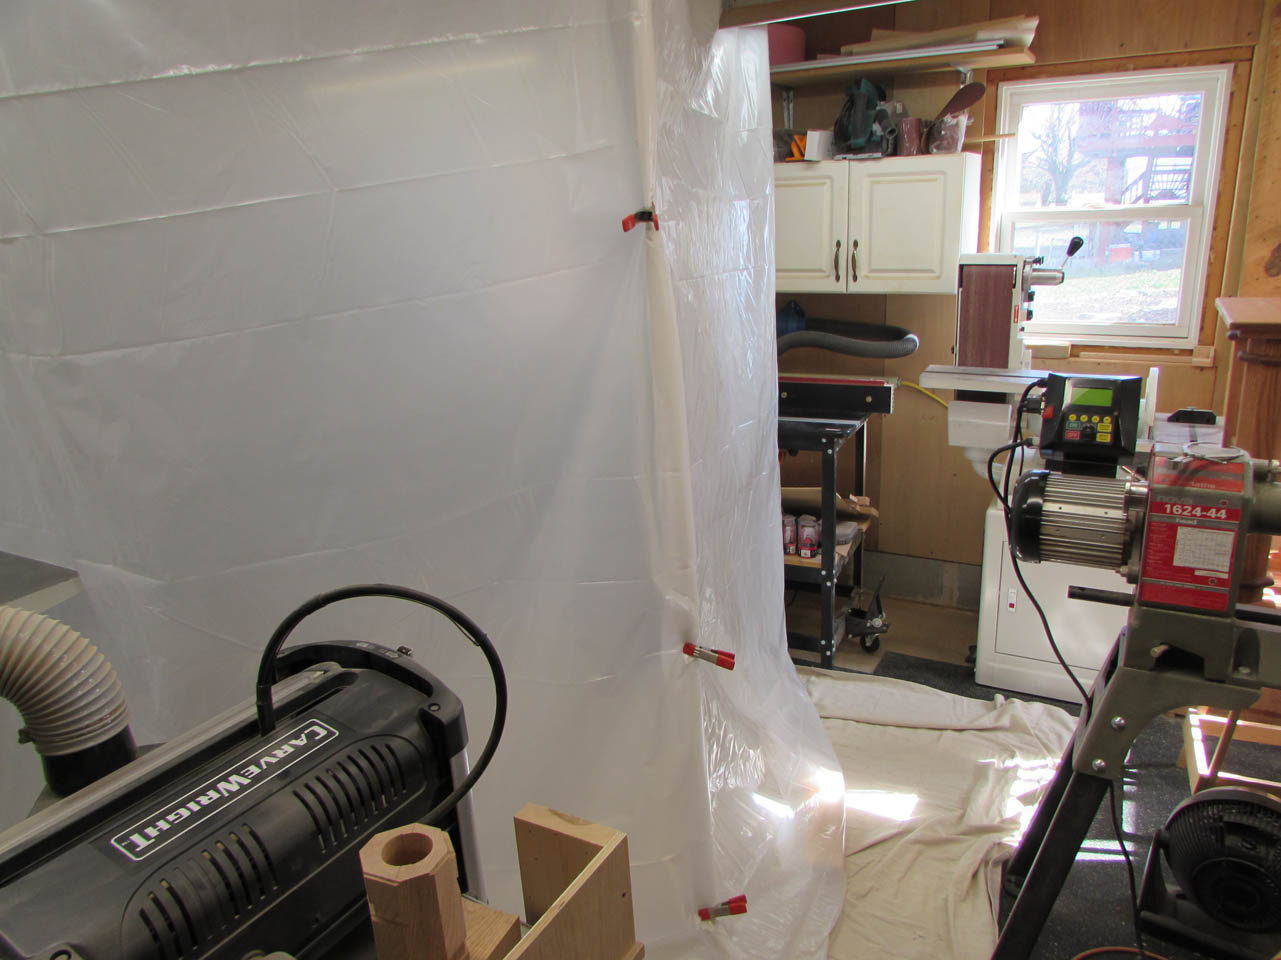
To hold the plastic further out of the way, You can use whatever spring clamps you have left and attach to work benches and tools on the other side of the plastic.
Look at all of that room I have below the furniture to spray. I will move the piece slightly between coats insuring that every spot gets at least some coverage. If it is not enough, I can flip the piece over when done and hit any spots with a rag or brush.
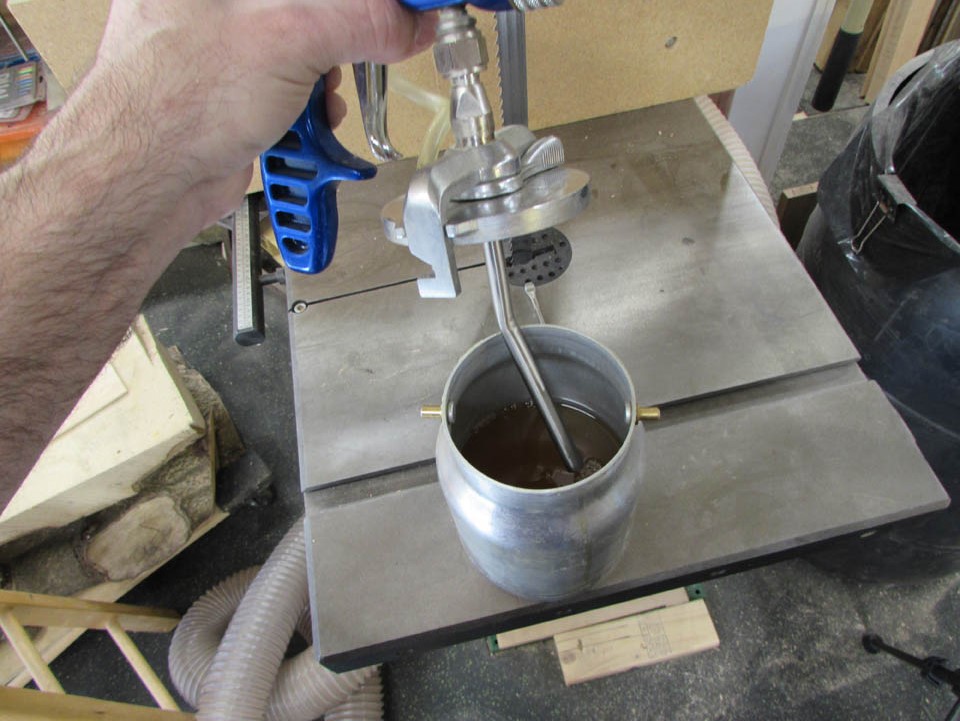
I am using an HVLP sprayer to apply the finish to these two pieces. I typically set up my spray station inside the plastic and run the plug outside to an extension cord. I could set the spray station outside the plastic, but it is harder to find the “on” switch through the plastic.

My sprayer has about 10′ of hose so it is enough to reach any location within the tent.

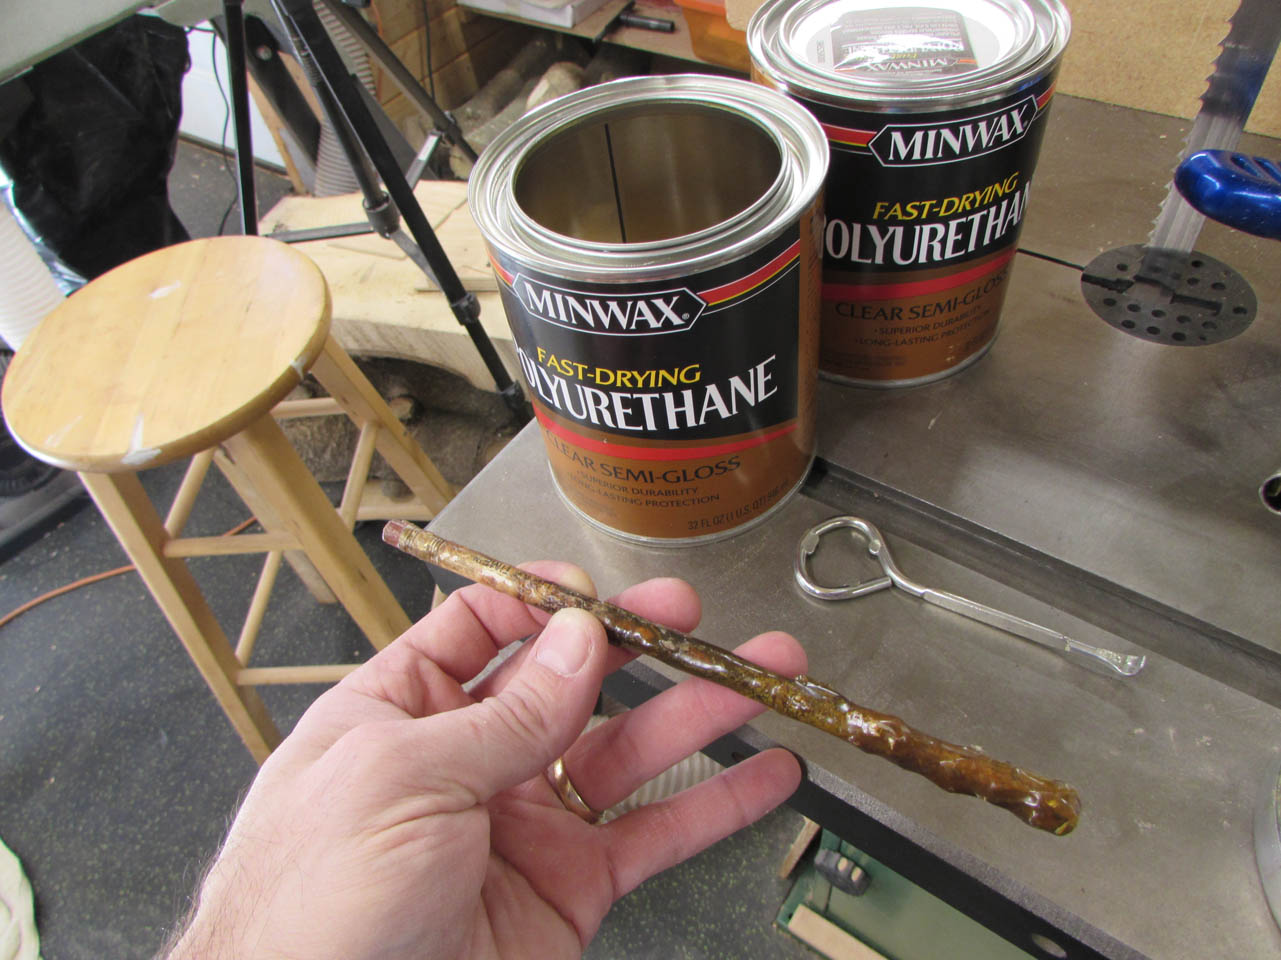
The finish I typically use is Minwax oil-based semi-gloss polyurethane. It makes a flexible, durable finish, and it tends to give the color of the project a deeper warmer coloring. I typically use the smaller quart cans since I don’t use a lot at a time. The gallon cans are cheaper, but there is too much air left in the can and it dries out the finish inside if you don’t get back to it fast enough. My stir stick of choice is an old pencil that I have been using for about 25 years now. Mainly because it is cool to watch it get fatter over the years… Always stir your semi-gloss finish, it contains flatteners. These dull down the high-gloss look. If you do not stir it enough and thoroughly mix in the flatteners, you get a very glossy finish at the beginning, and by the end of the can, the finish is too thick to even see the grain. If you look closely at the picture below, you can see the flatteners swirling in the middle of the can.
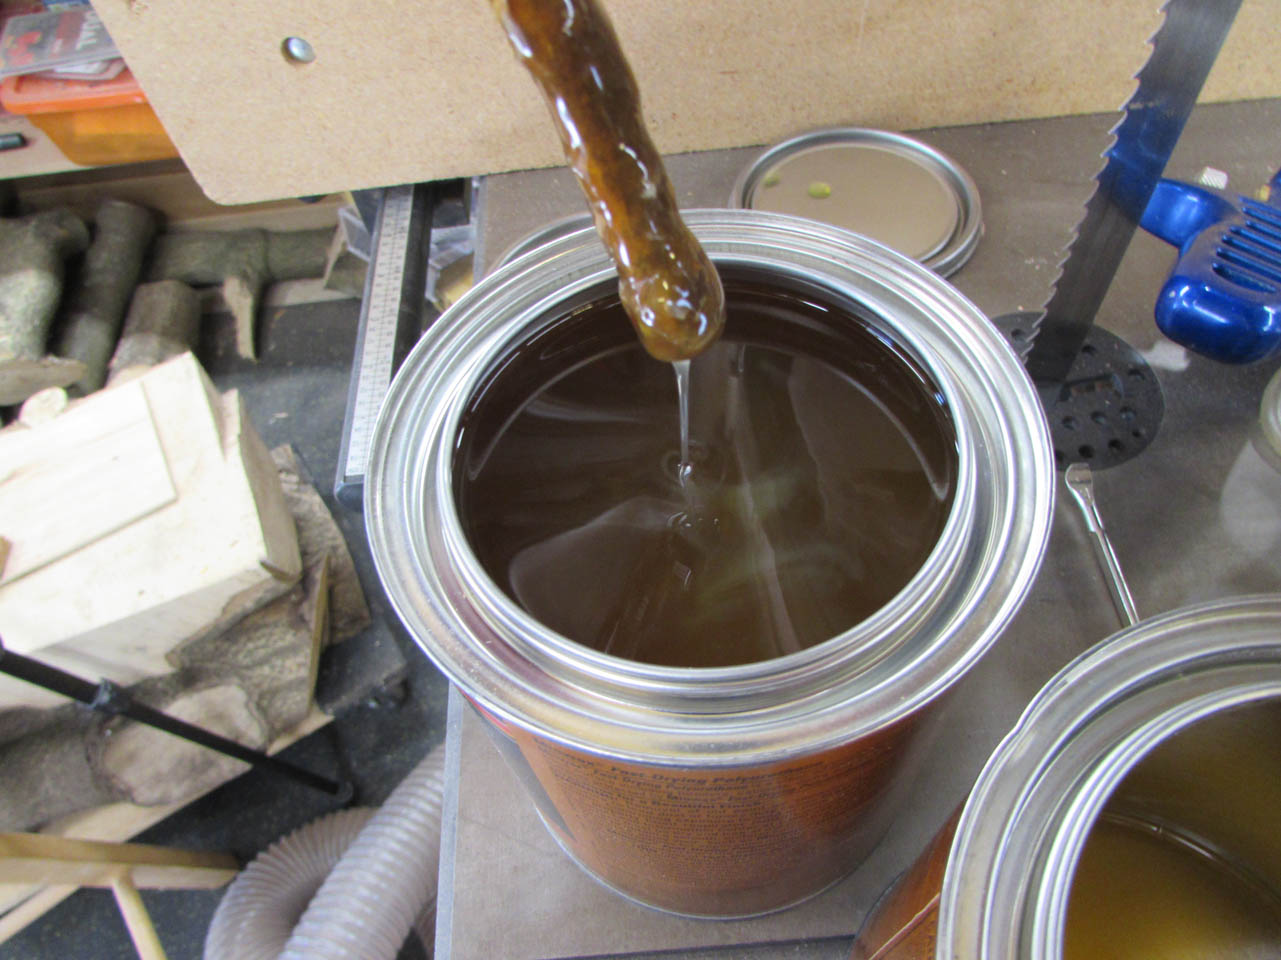
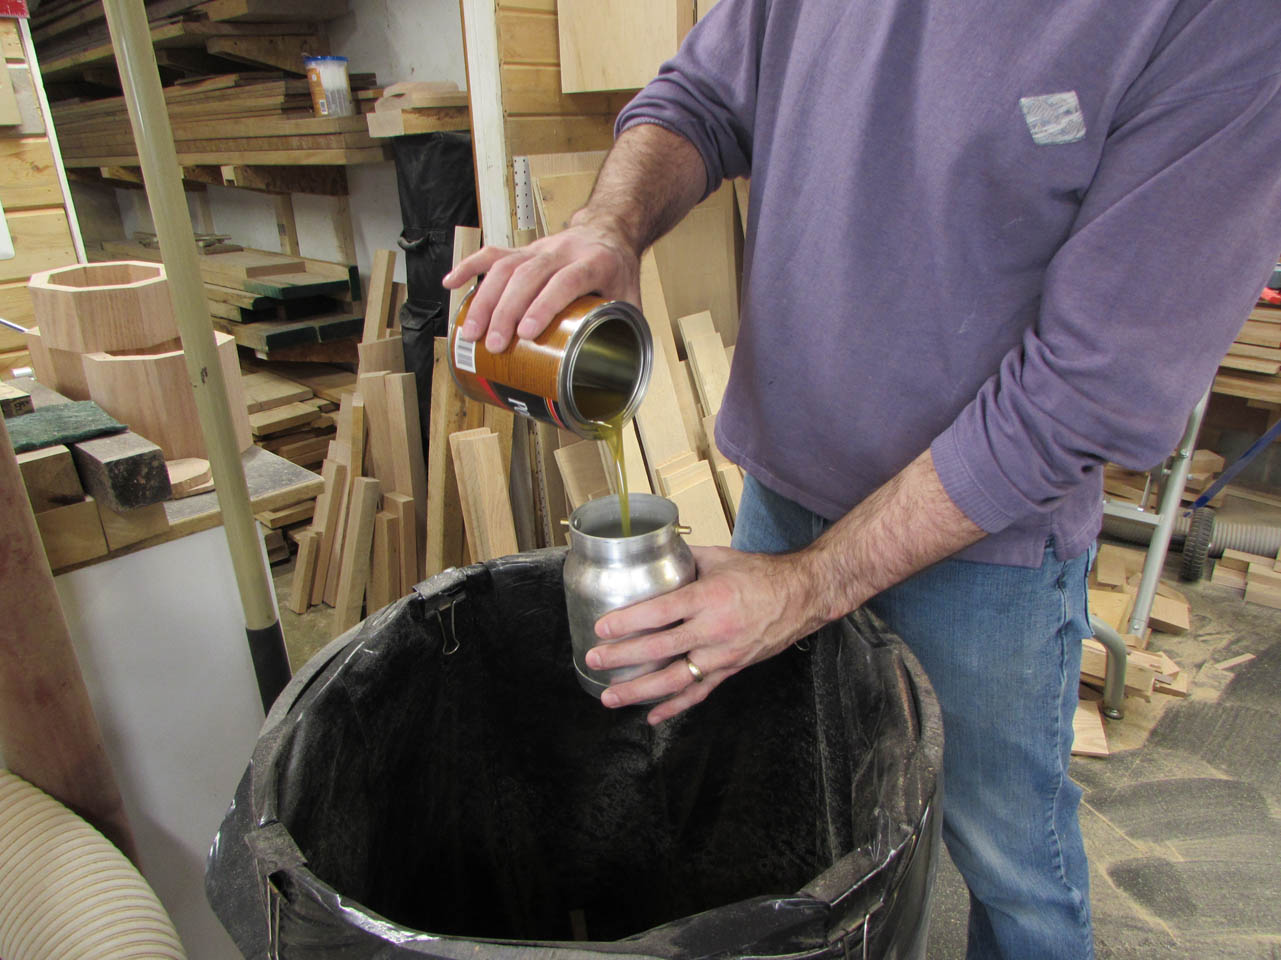
I estimate that I will only need about 1/4 of a can of poly for this project so I add about 1/3 of the can to the spray pot. It is always better to have too much, you can always pour it back into the can when you are done.
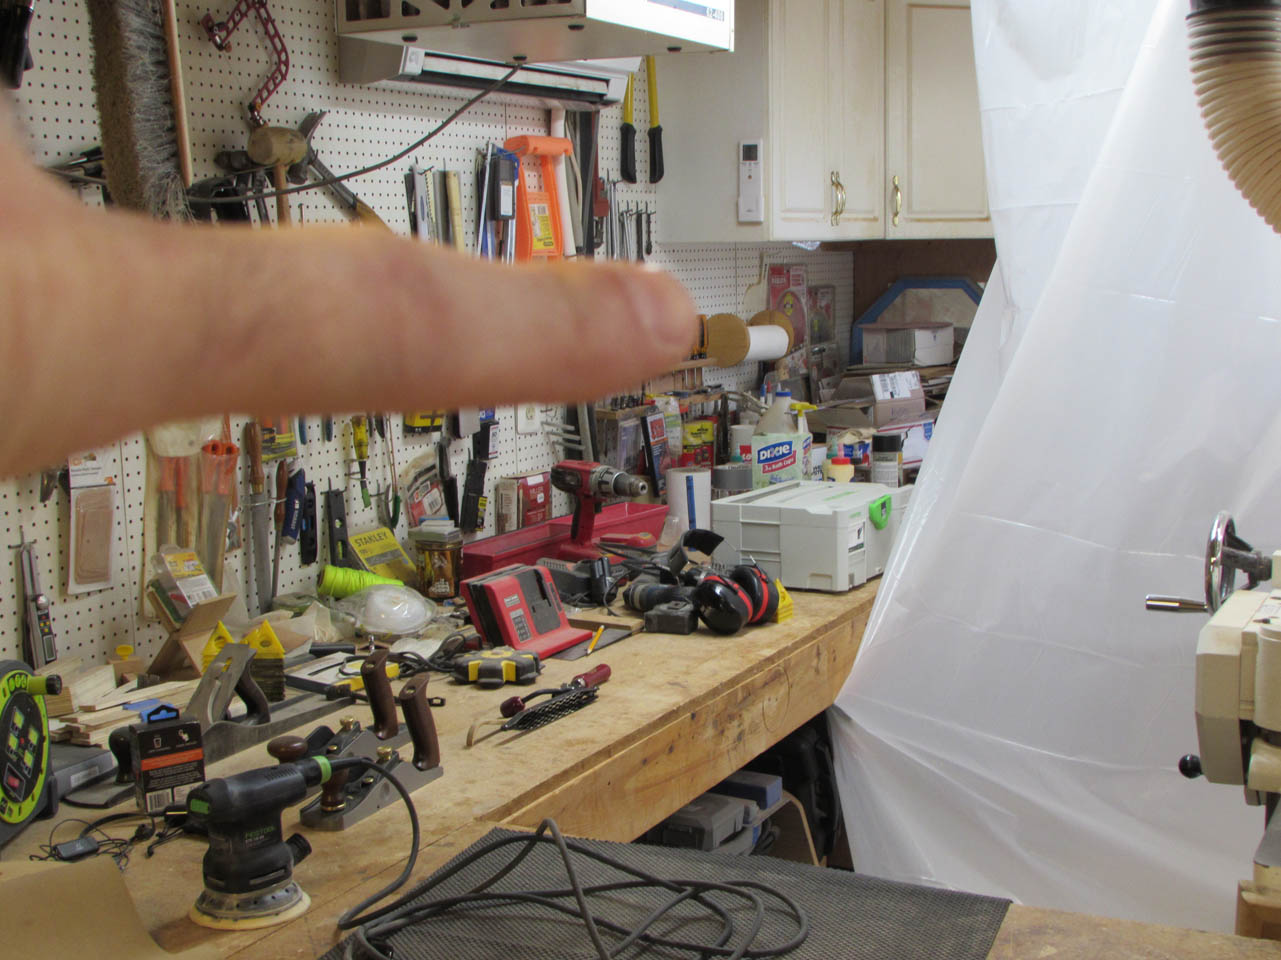
One final note: Always get everything you need from your bench or cabinets before you set up the spray booth. I always forget and wind up crawling along my bench to get a paper towel, the cans of finish, or the 400 grit sand paper. All of these are stored in the corner that is rendered inaccessible by the tent. Please note the location of the paper towels that I need to clean up any spills…

Before you start spraying, you need to remember to remove any items from your body that you do not want polyurethane on. Watch and cell phone are a good start.
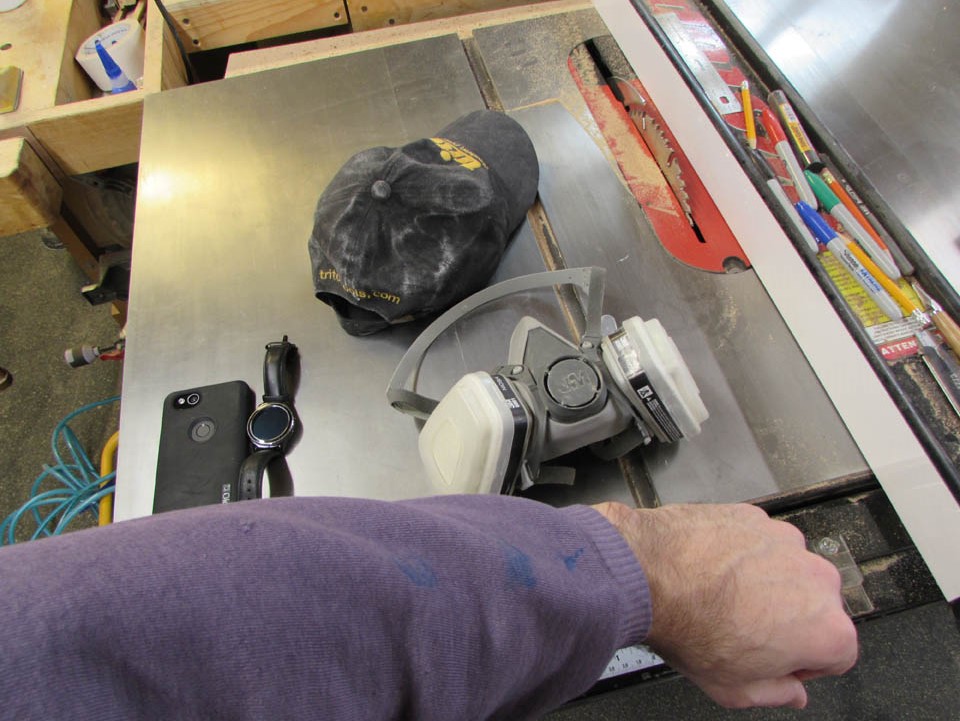
Also, the tent will become filled with over-spray. This is like standing in a tent full of hair spray. Cover your hairy arms and head. Wear a respirator, not a simple mask. This is a temporary booth, there is no air-flow. The respirator is the most important part.

I even tuck my pony-tail under my hat. It is not fun removing poly from your hair.


With everything ready to go, I seal myself within the tent by clamping the door shut.

I usually start low and hit all of the hard-to-reach places. Mainly because it hurts my knees and I want to get the kneeling out of the way first.
I focus on hitting all the detail first then spray the main areas. If I did the main areas first, over-spray could land in the tight, more detailed areas and make me think they were already coated. I usually methodically move up the part making sure to over-spray rather than under-spray any areas. It won’t build-up and cause runs if you don’t linger in one spot. Always keep the gun moving.

An hour of setup usually equals less than 10 minutes of spraying. This may not seem worth it until you think of how impossible it would have been to finish the credence table with a brush. I would have had to use a wiping poly and that would have required four coats at least. Spraying does have some prep, but it is always faster and leaves a more even and better looking finish in the end.

I allowed the polyurethane about eight hours to dry, then removed the pieces from the tent.

I am sanding all of the finished surfaces with 400 grit paper to remove the dust nibs and prep the surface for the second coat. I remove them from the tent so that none of the dust is left in there to float around and land back on the project with the next round of spraying.
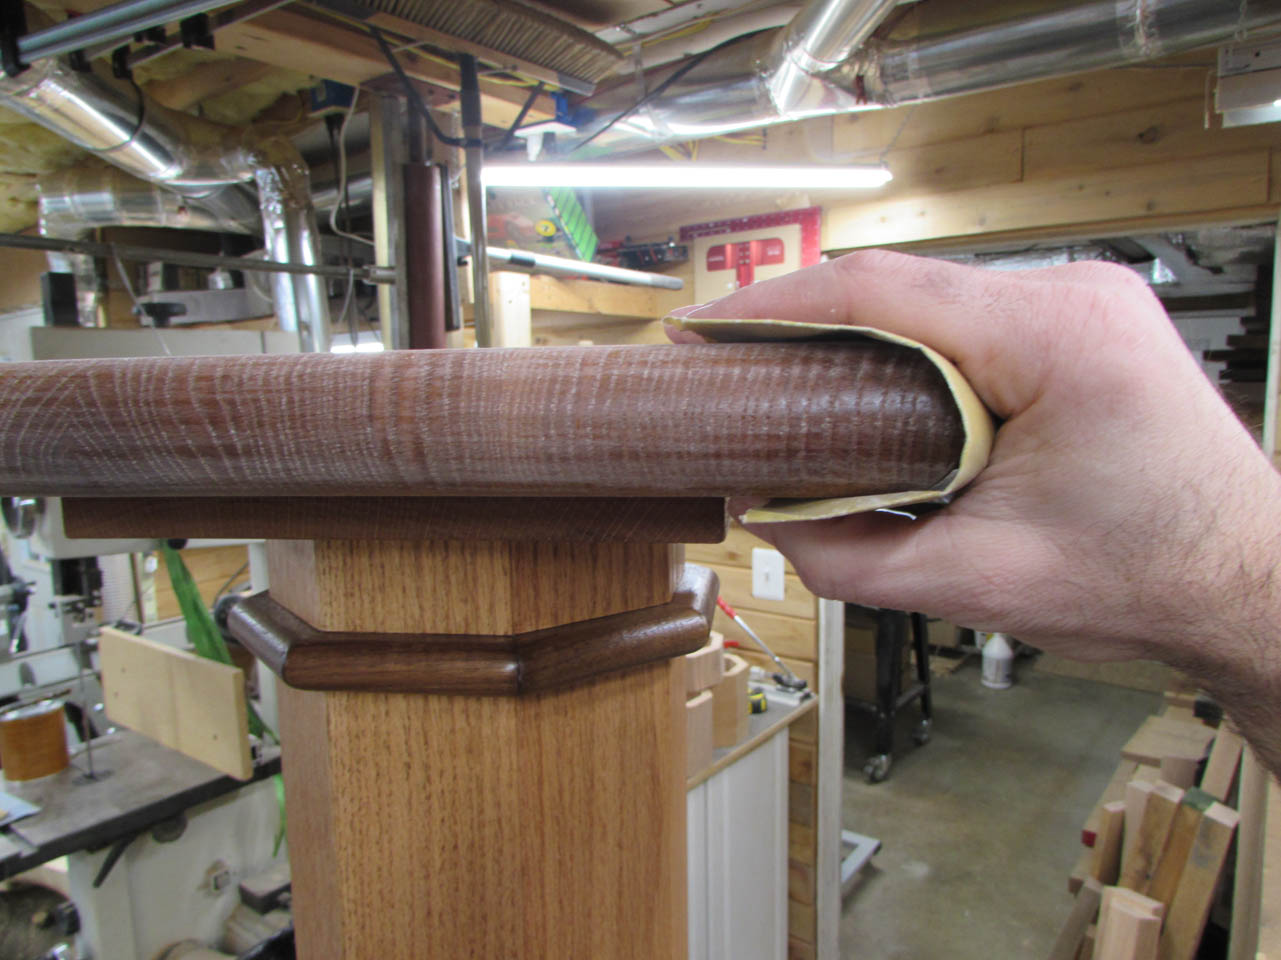
Everything is sanded, then wiped down to remove as much of the dust as possible.
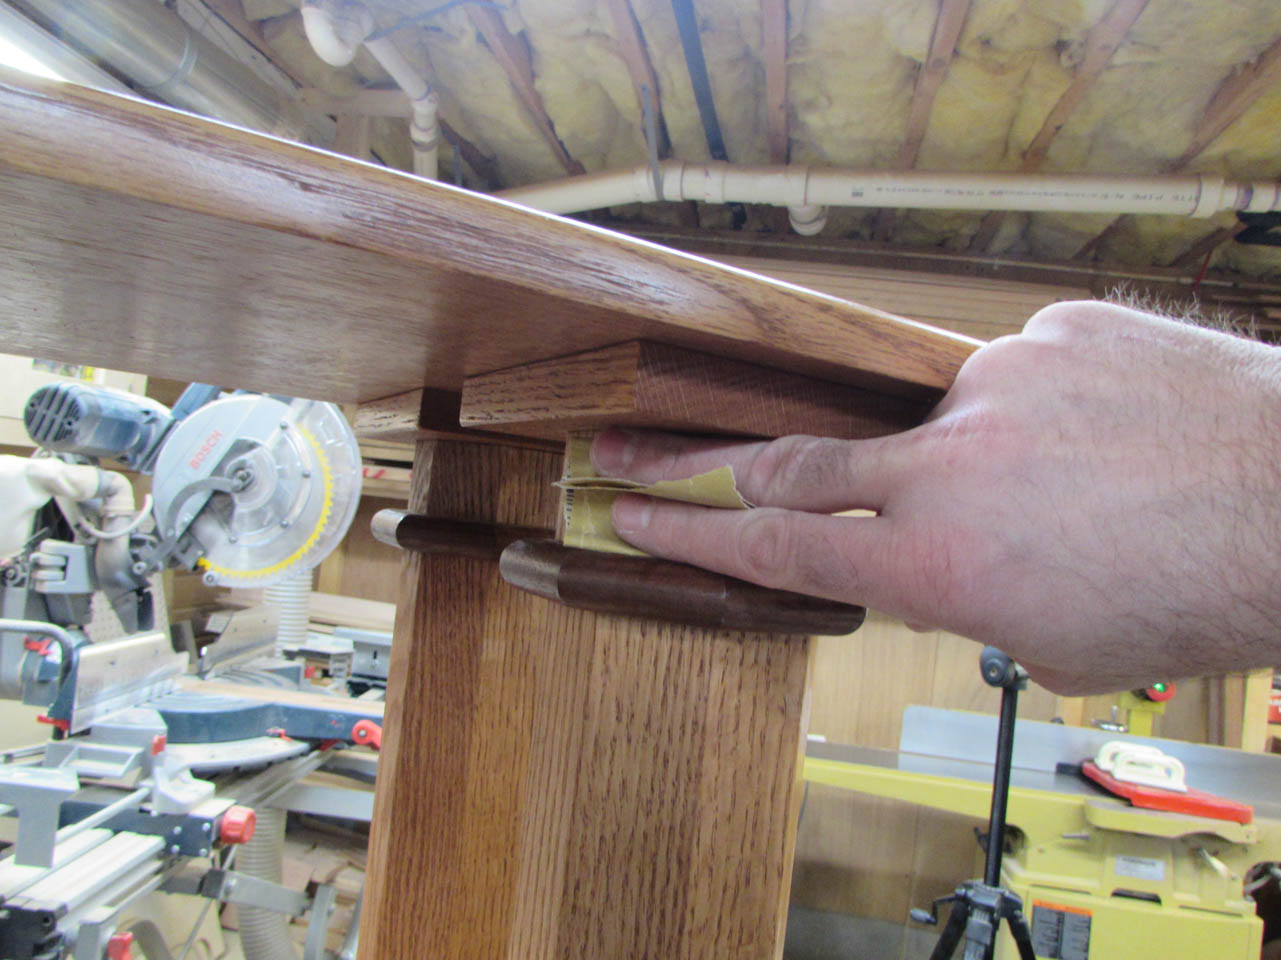
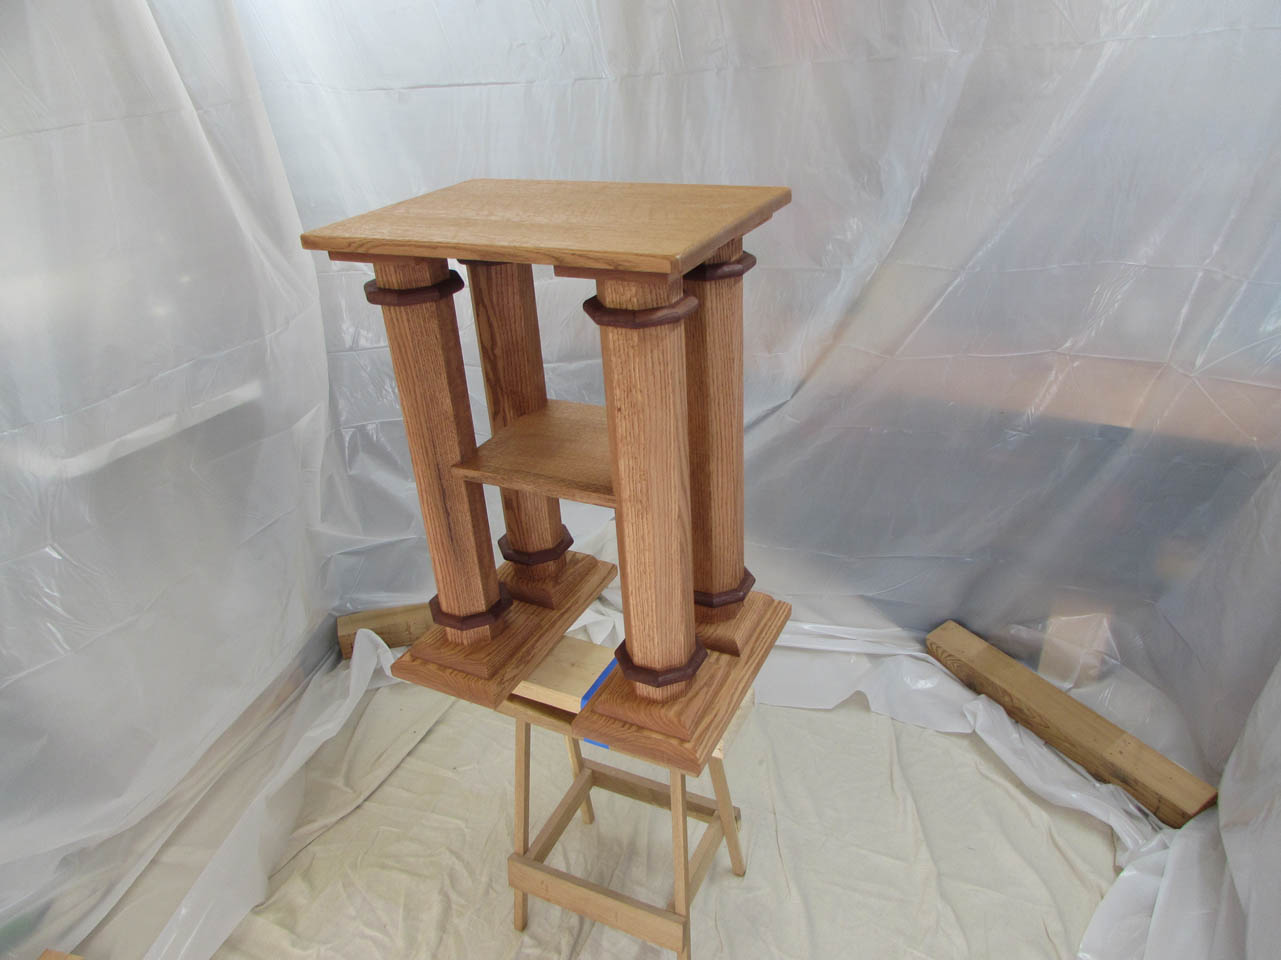
The credence table requires a lot of detailed sanding, but it is worth it when you see how nicely the trim turns out when installed and finished properly.

Although, some of the areas need a smaller hand than mine to do a good job…


Then the pieces get loaded back into the tent and get a second coat.


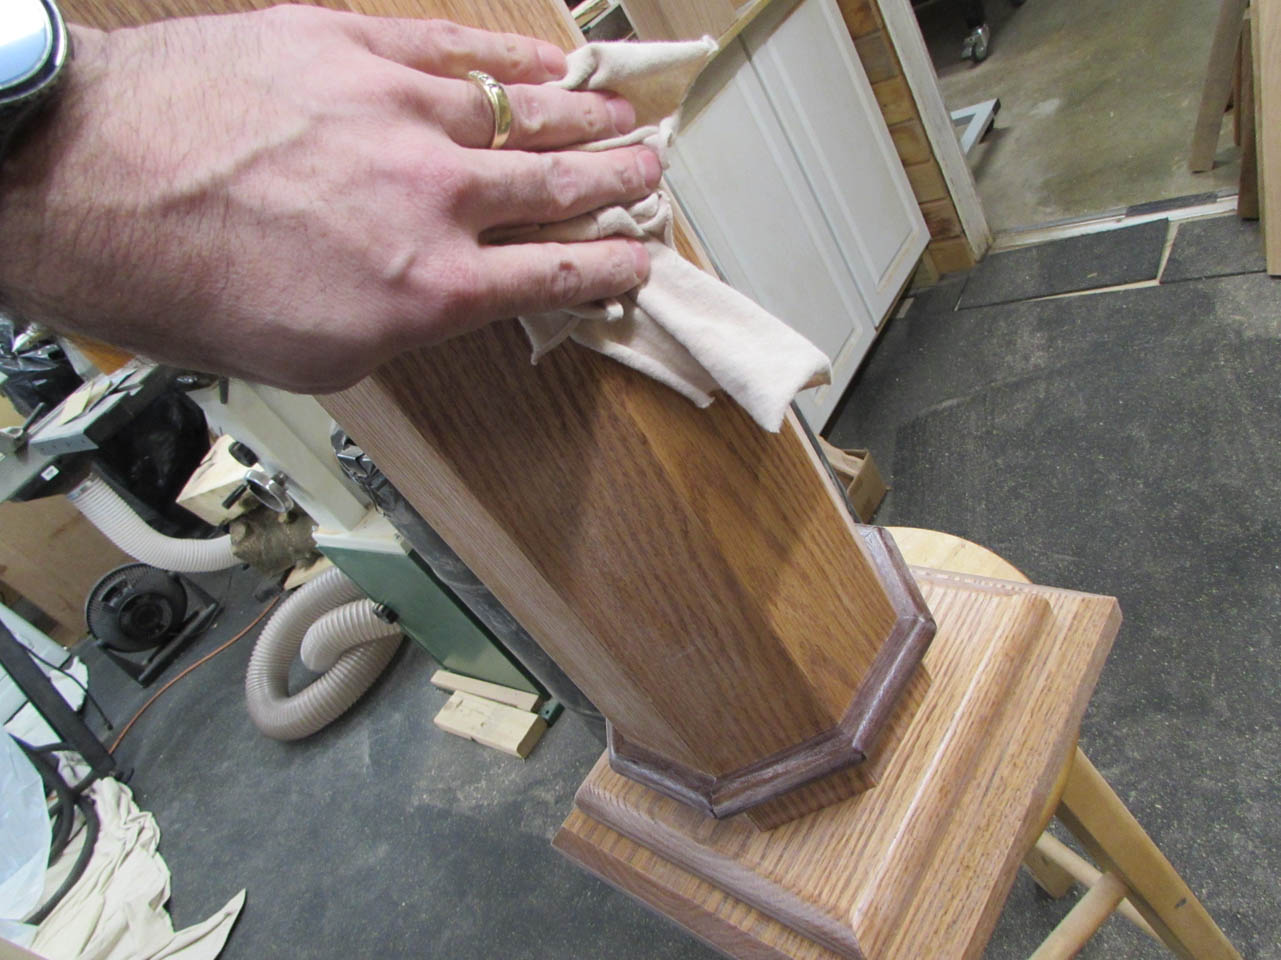
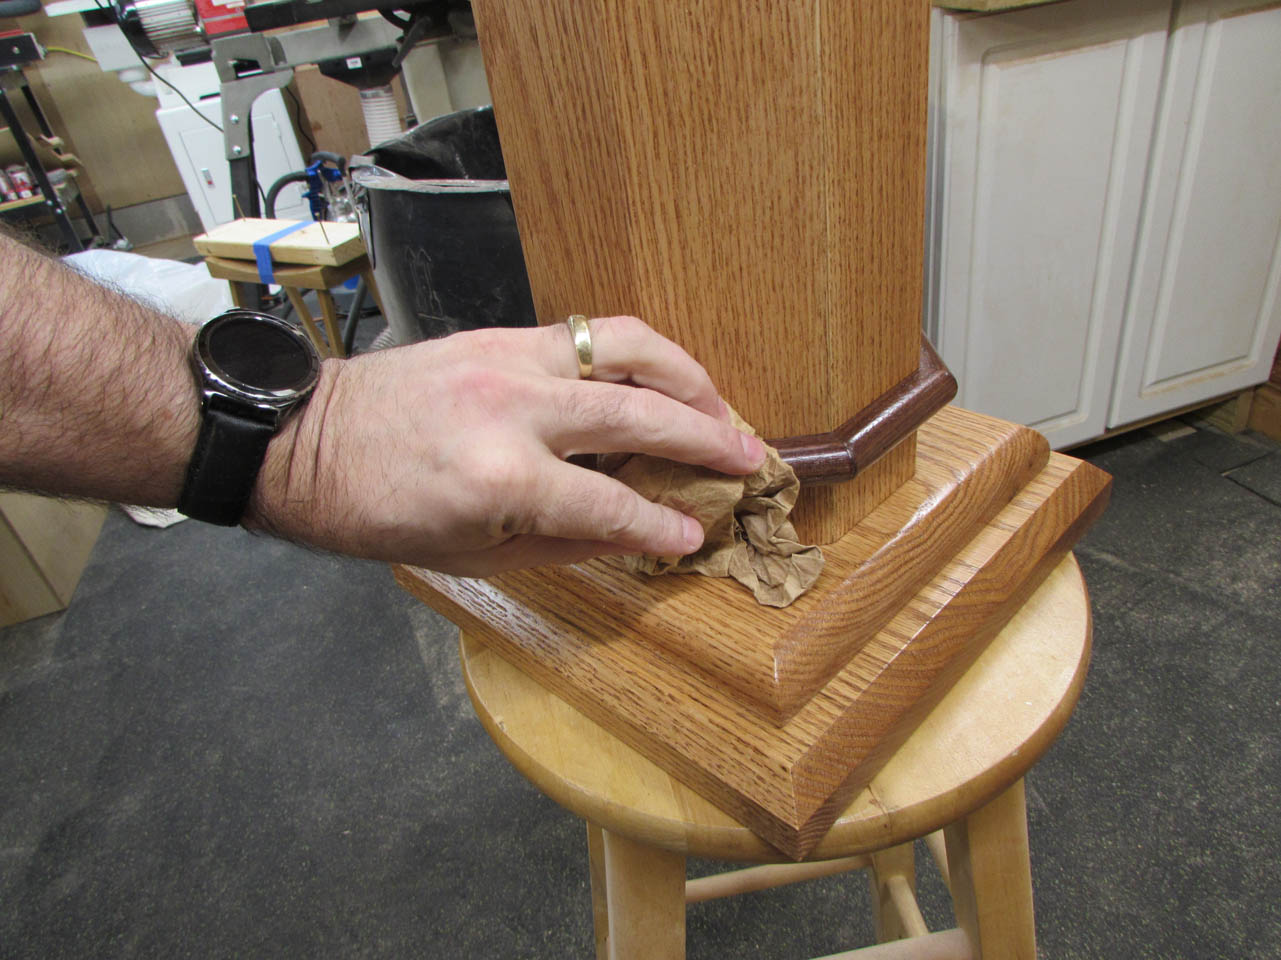
The next day, after all of the finish is dry, I rub all of the surfaces down with some thoroughly crumpled brown paper to buff out any remaining dust nibs.

It doesn’t seem like much but the texture of the surface is much smoother after the gentle buffing.

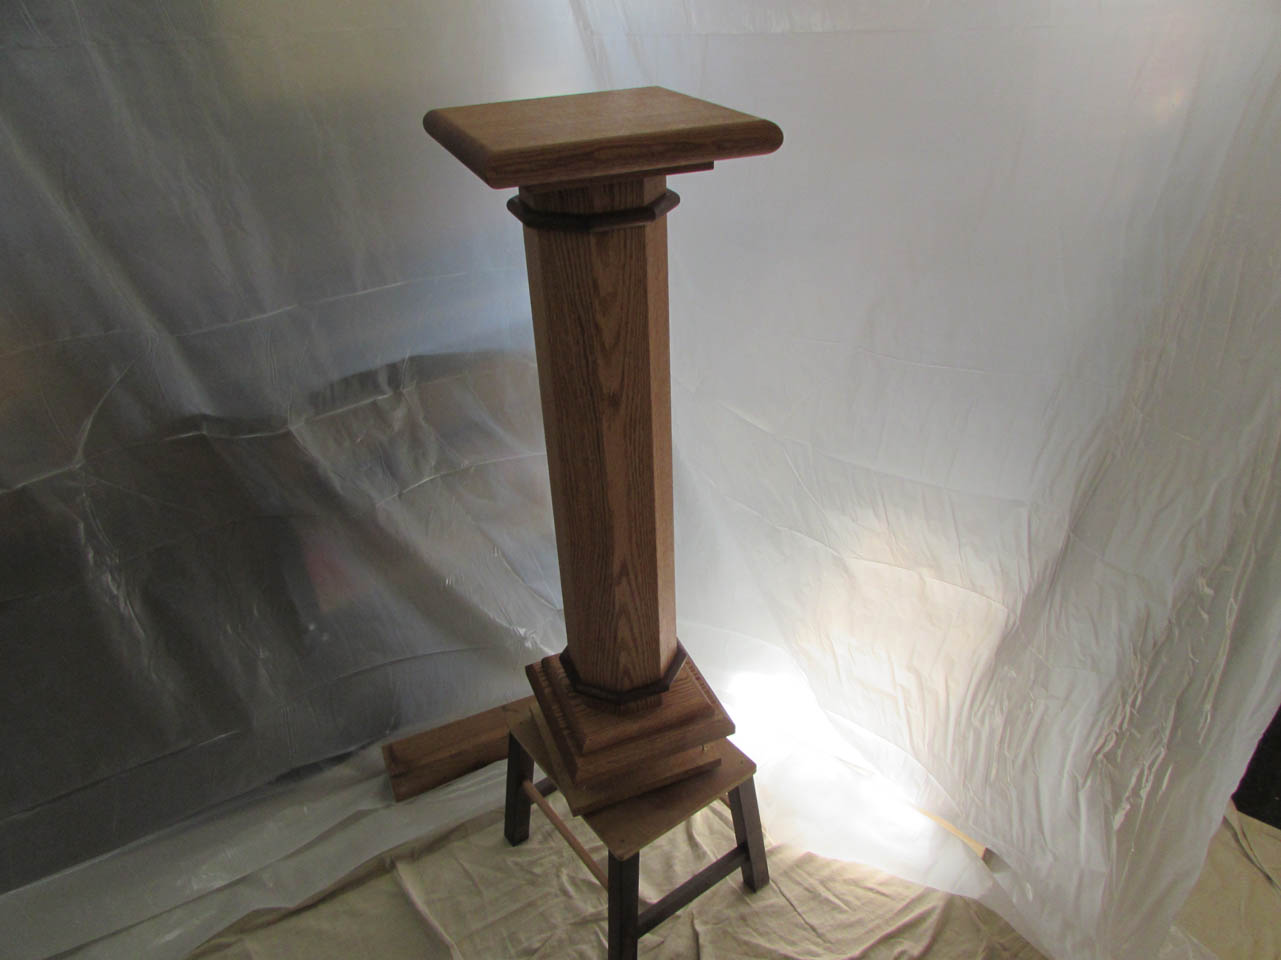
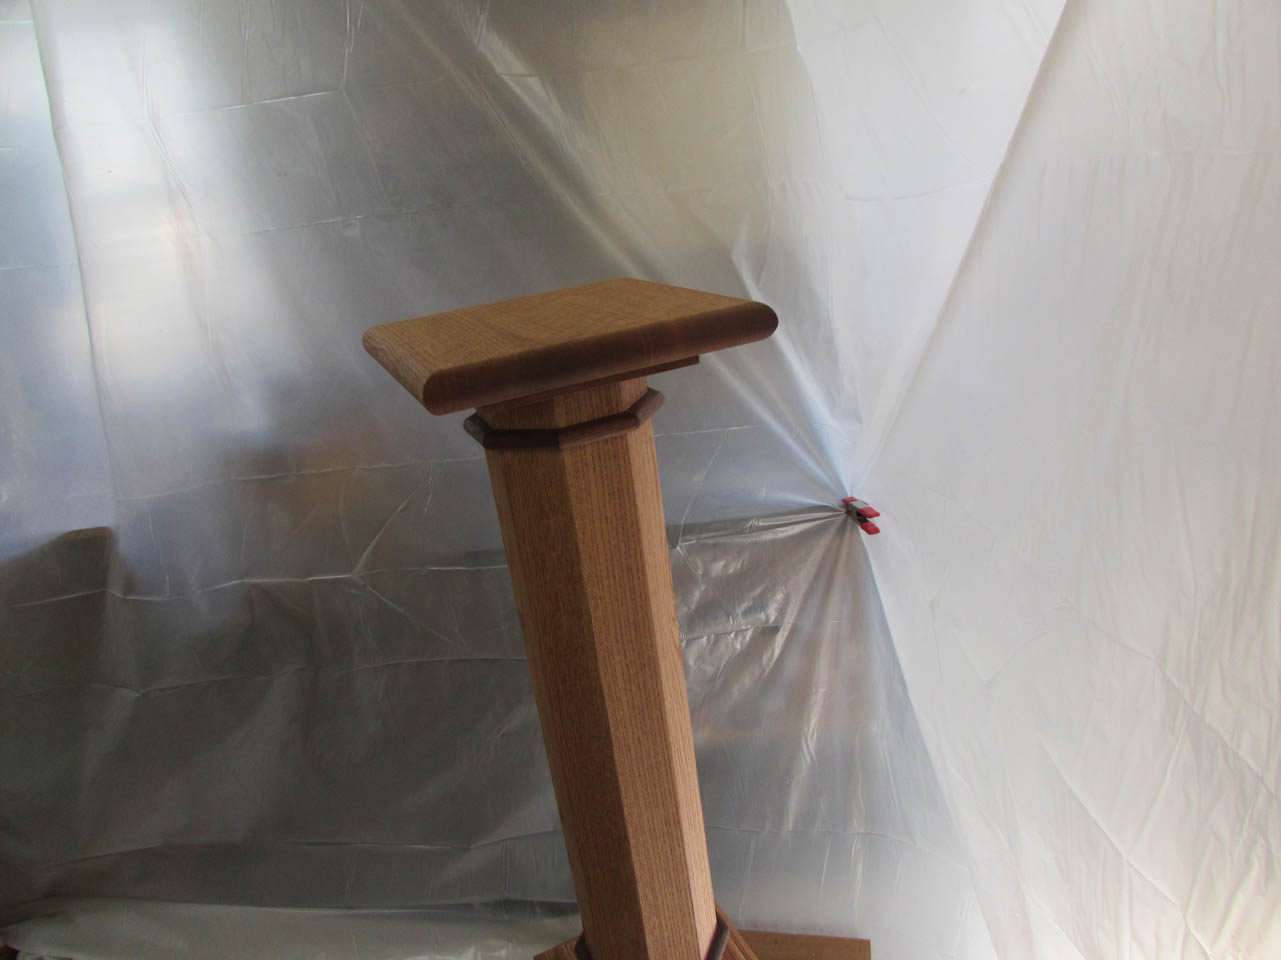
And they are done.

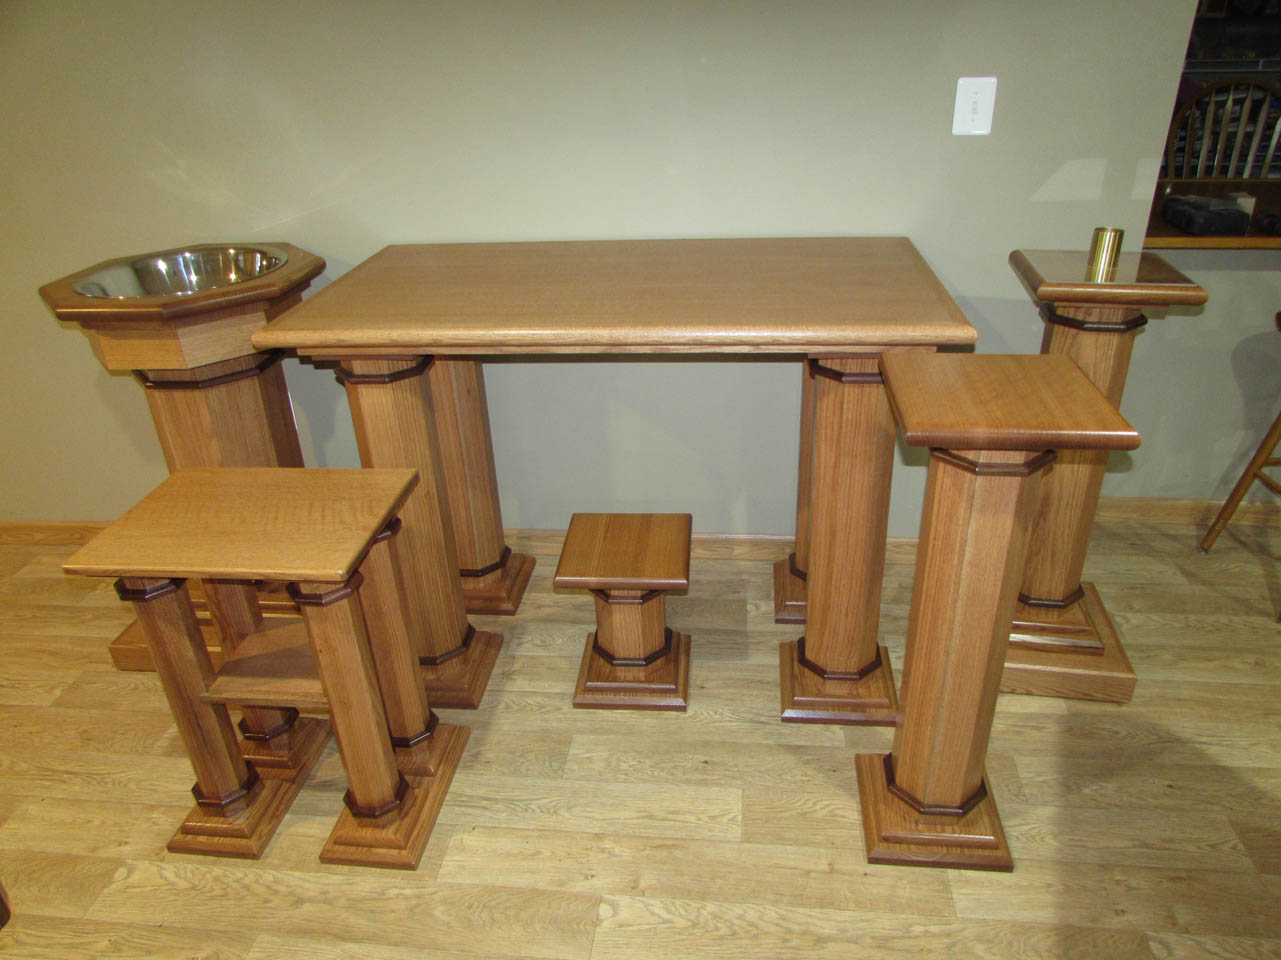
I am getting quite a zoo of chapel furniture collecting in my basement.

Just one more piece to go until I will have to take a trip to New York to make a delivery and measure for the last piece.
