
St. Kilian chapel – Baptismal Font – part 3
I was getting ready to mill some more wood for the column cap piece when I noticed the off-cuts from the mid-plate.

It wouldn’t take much to make an octagon from these round pieces, and it would use up some of the scrap wood I have been generating.

After I cut flat spots on the sides I only needed a 1″ wide piece to make the plate. I cut another piece of scrap down and made sure the grain matched pretty good.

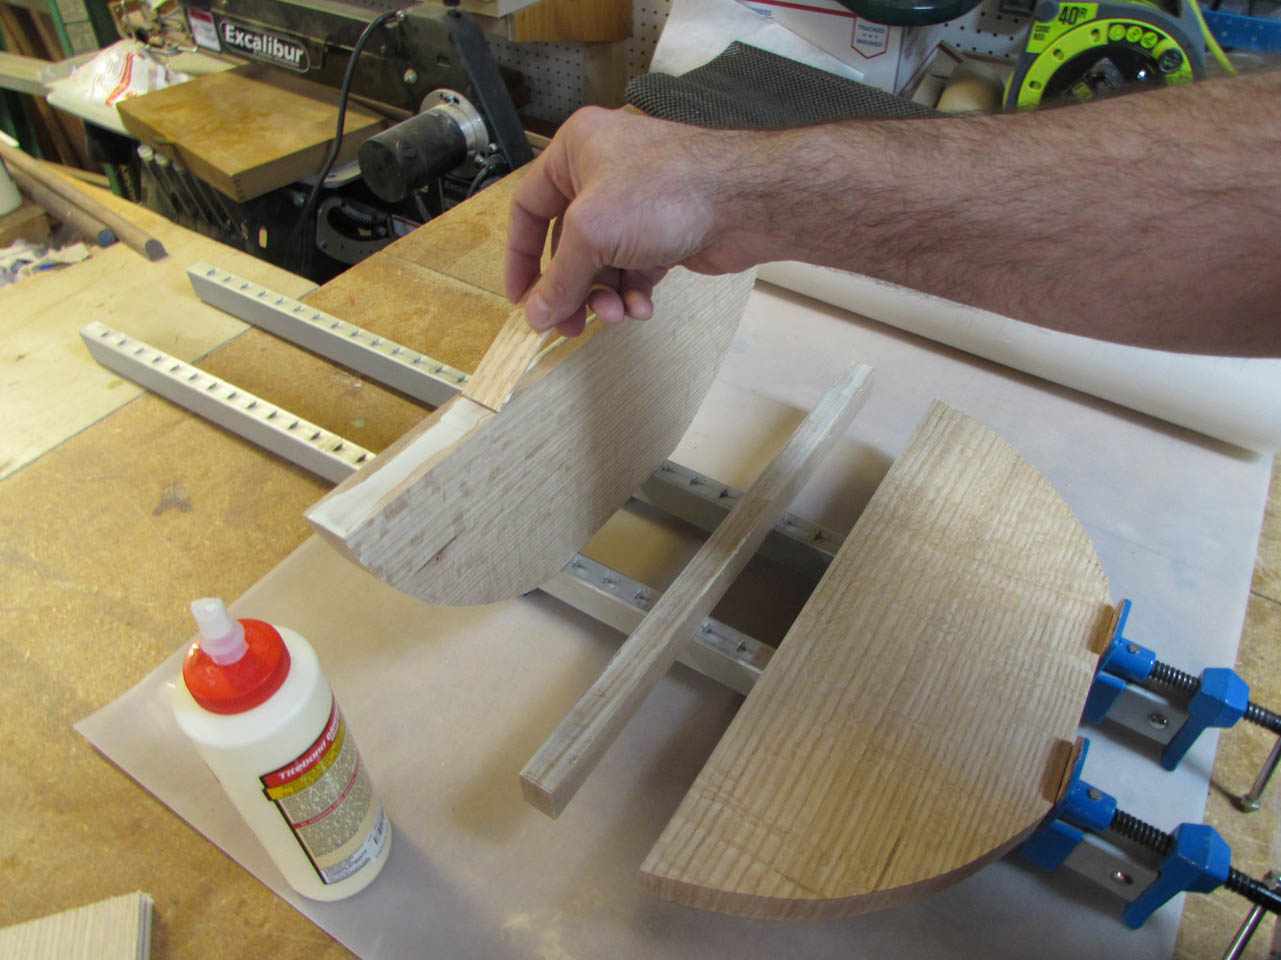
Then I glued it up.
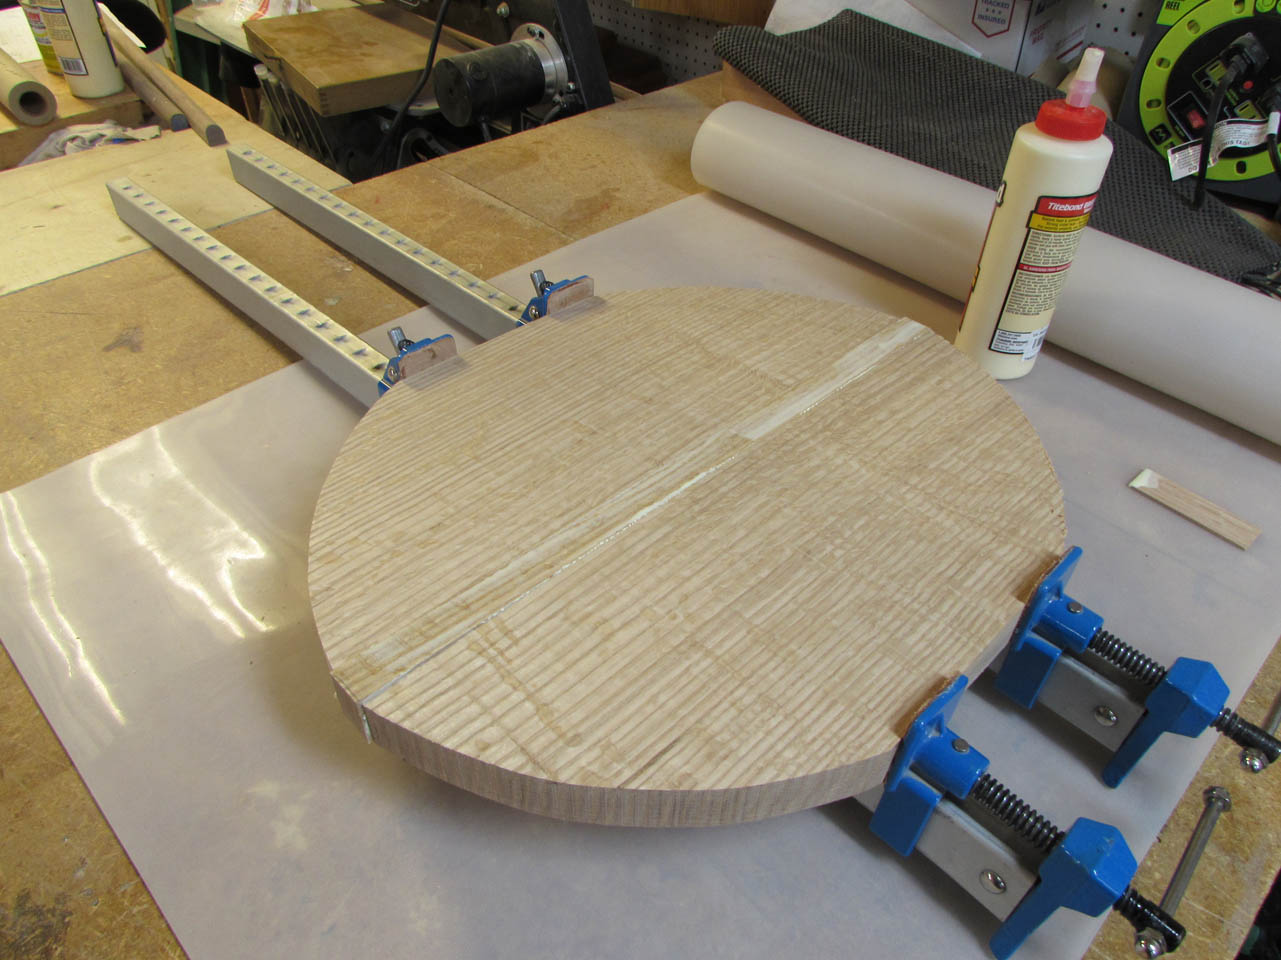
After it had dried, I ran the plate through the planer to clean up both sides.


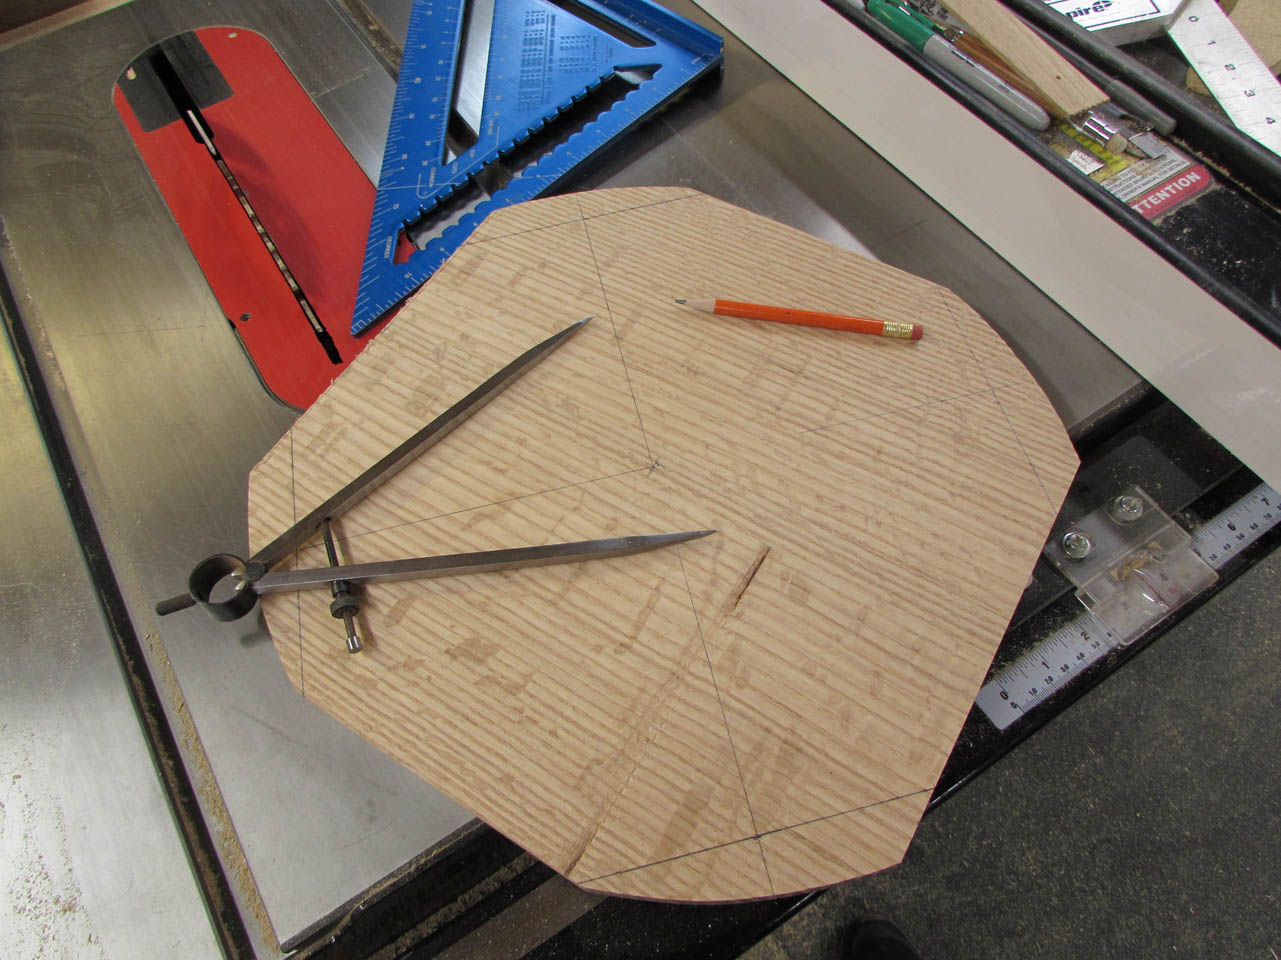
I used the miter gauge on my table saw to cut the adjacent two sides, then I used my dividers and some geometry to lay out the remaining four sides.
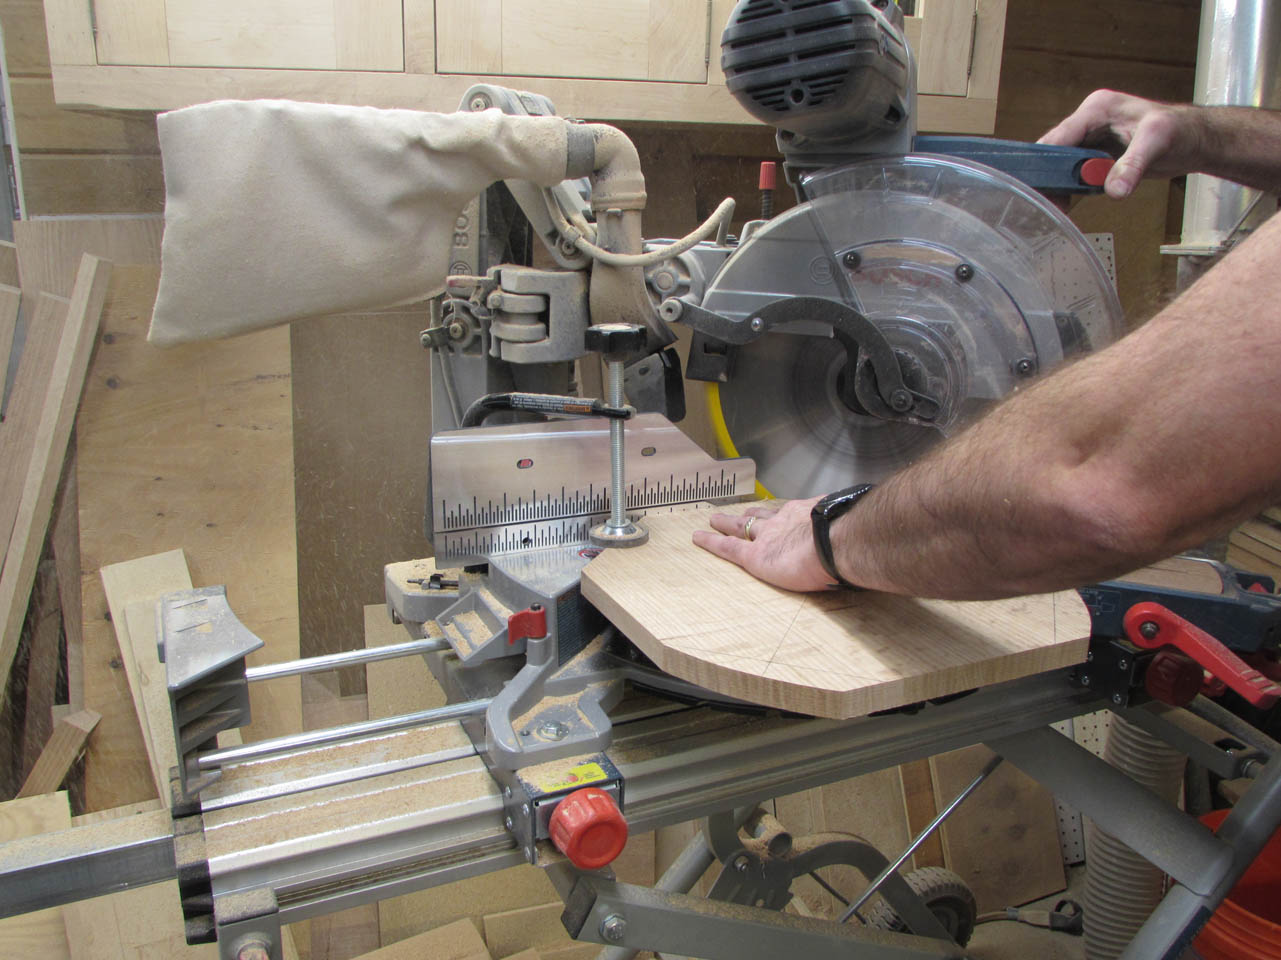
These I cut on the miter saw. And, yes, I finally remembered that I had a clamp to help hold the plate, although, it barely reached…
The column cap just needs a bit of sanding and it can be attached.

But, before that gets attached, I remembered that I have to figure out a way to cut the grooves for the trim on the column.

To accomplish this, I decided to make a much larger version of my small cross-cut sled. This one has taller sides and is much bigger to accommodate the 12″ column.

I clamped some blocks to my fence to limit the movement of my sled, then added a block 1-1/2″ from the blade to create a stop for the column.

Sixteen short cuts later, I had the grooves for my trim.
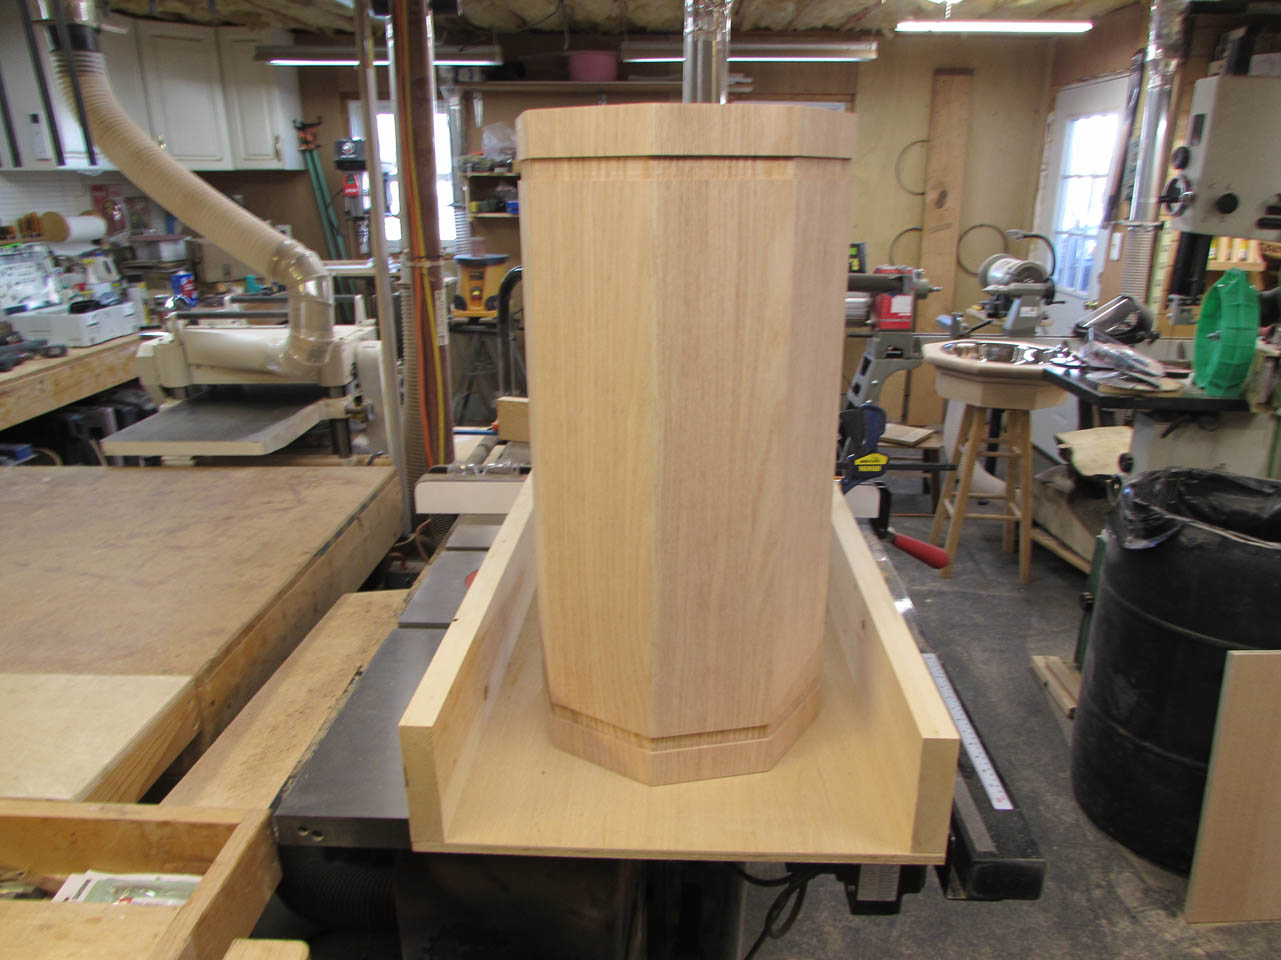
I did a test fit of the walnut bull-nose that I had left, and it looks pretty good.

I don’t know if I will be able to attach the trim to this larger column in the same fashion as I attached it to the smaller ones. I decided to do a test with some scrap plywood.

I attached a 1/4″ thick piece of plywood to the cross-cut sled and added a 22.5° wedge and a stop block to safely cut the trim pieces.

I glued up four pieces and did a test fit.

It seemed to fit well, but my sides were a touch over-long, leaving too much of a gap.

I re-cut them about 1/32″ shorter and tried again. This worked much better.

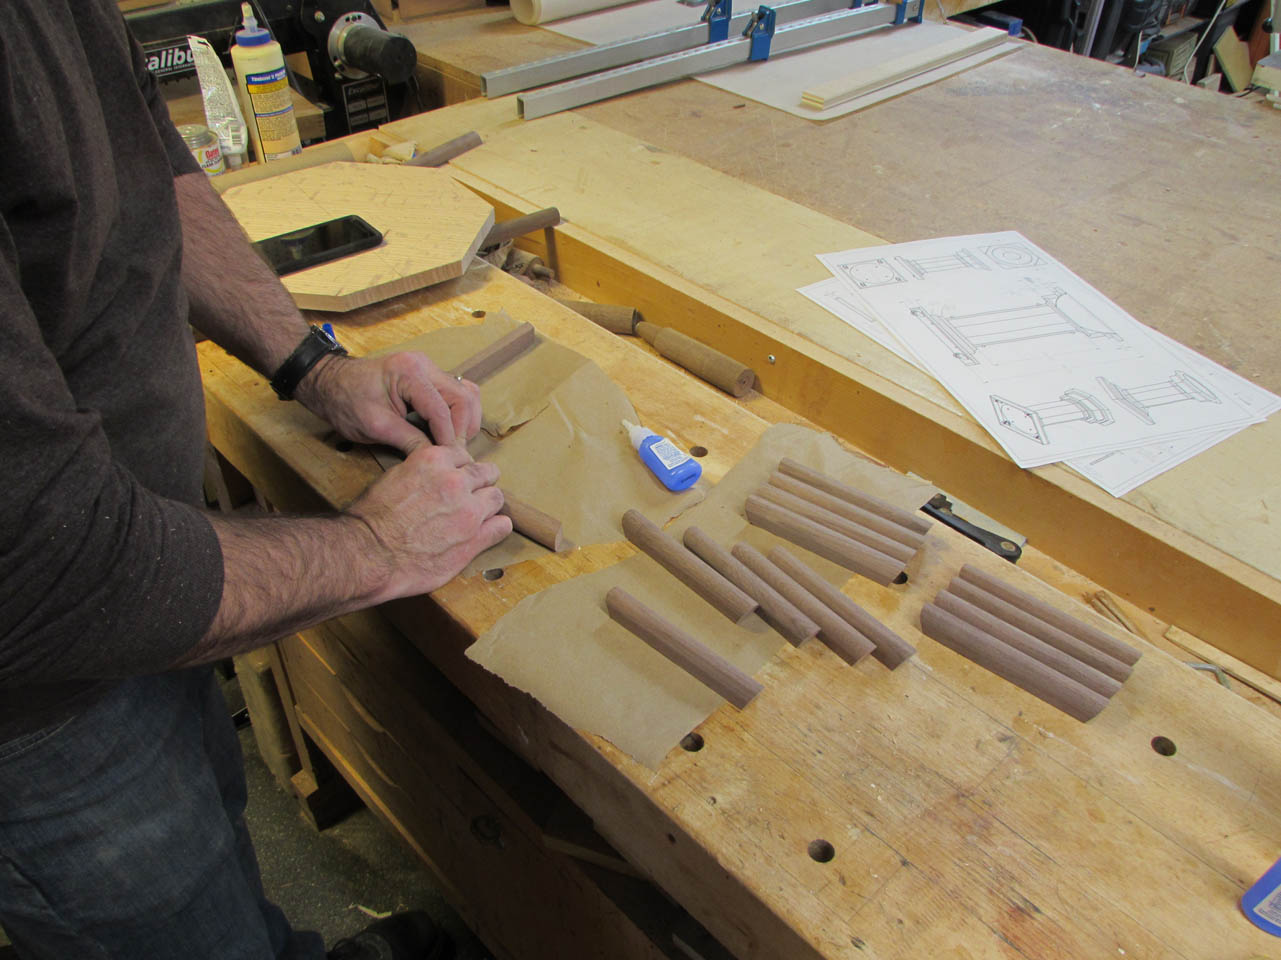
So I cut a whole bunch of walnut pieces and started gluing them up.
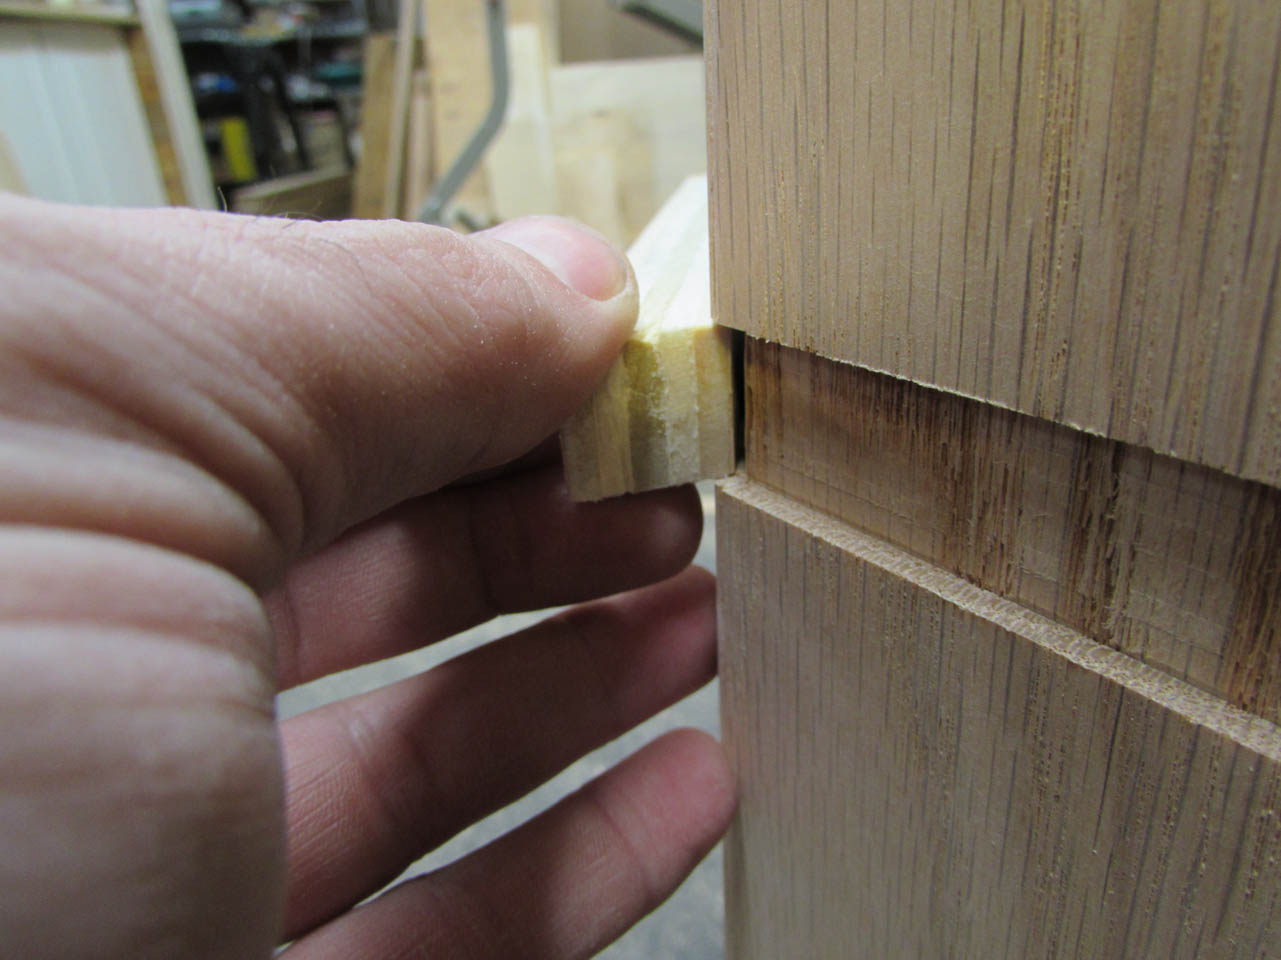
I was a little surprised that they didn’t work.

The trim did not sit perfectly into the groove like it does on the small columns. That was when I remembered that the column was not a perfect octagon. It got a bit squashed during the glue-up. Only half a degree off, here and there, but that adds up.
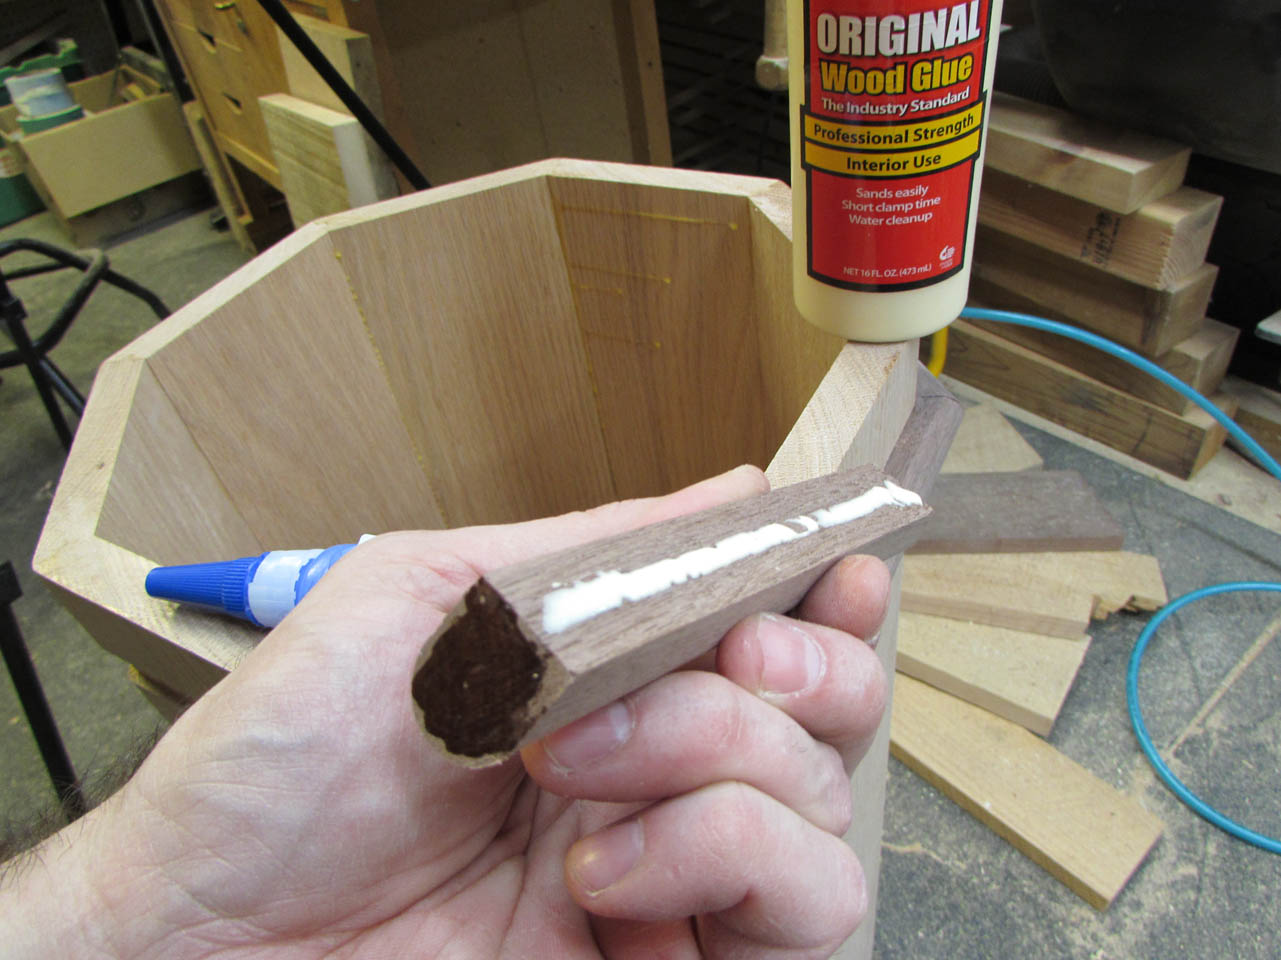
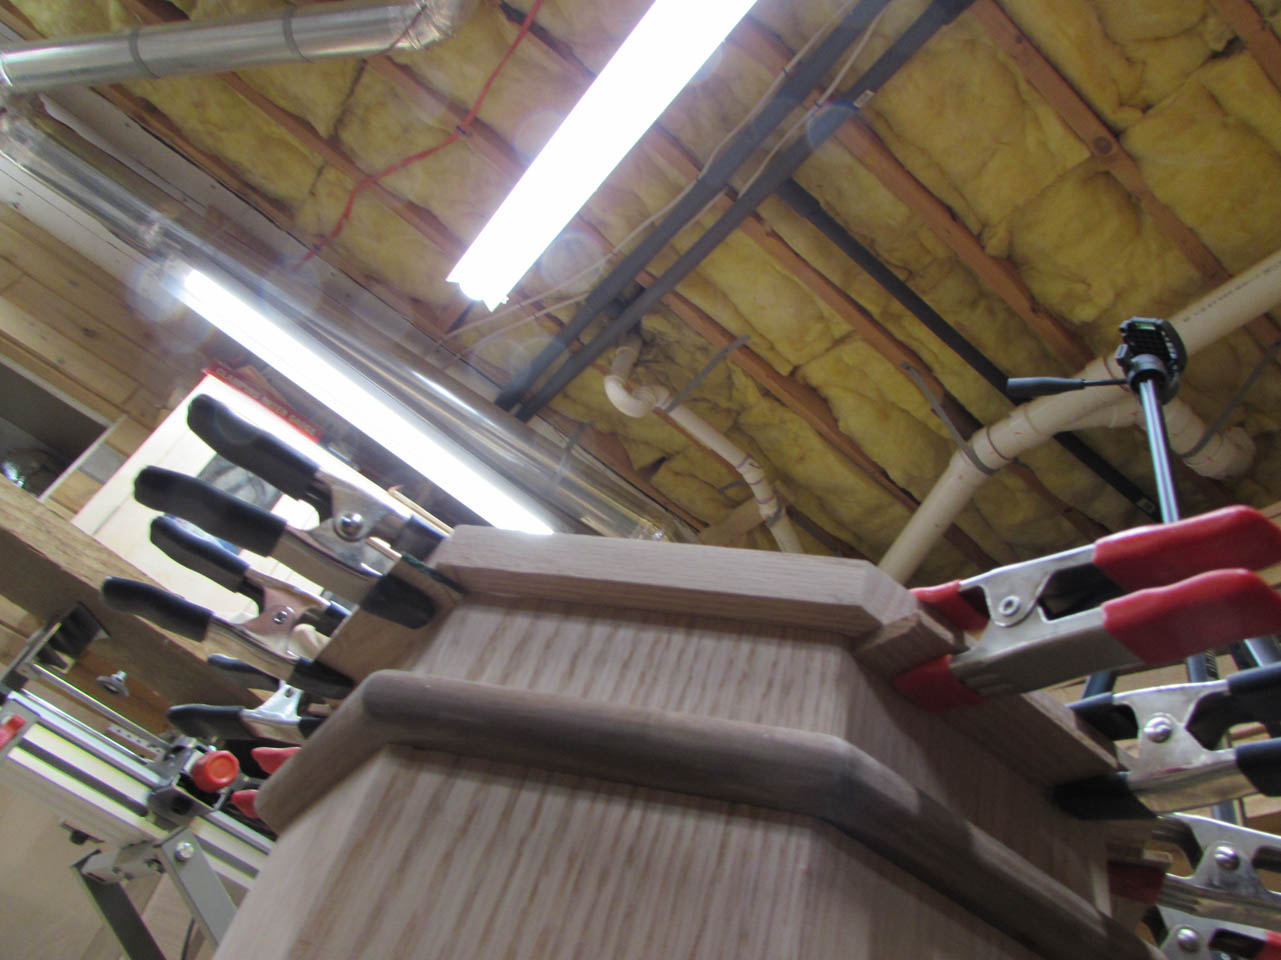
I decided to take a different approach. I applied wood glue to the back of the trim and CA glue to the miter, then used two pin nails to hold it in place on the column.
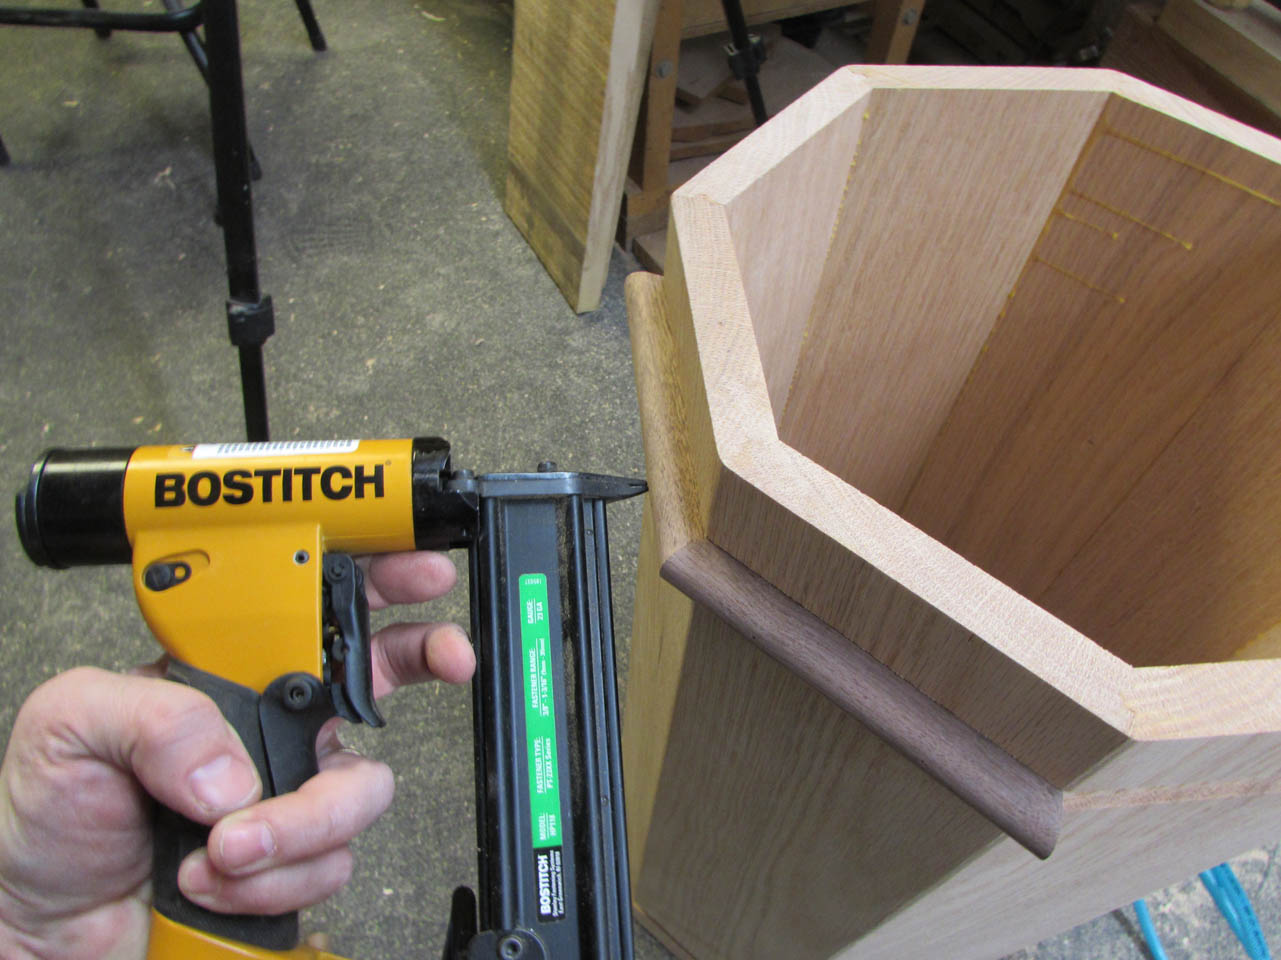
I worked my way around the column slowly, test-fitting each piece as I went. I had to re-cut a couple of the pieces to be a bit longer and have a slightly different angle to accommodate the variations in the column.

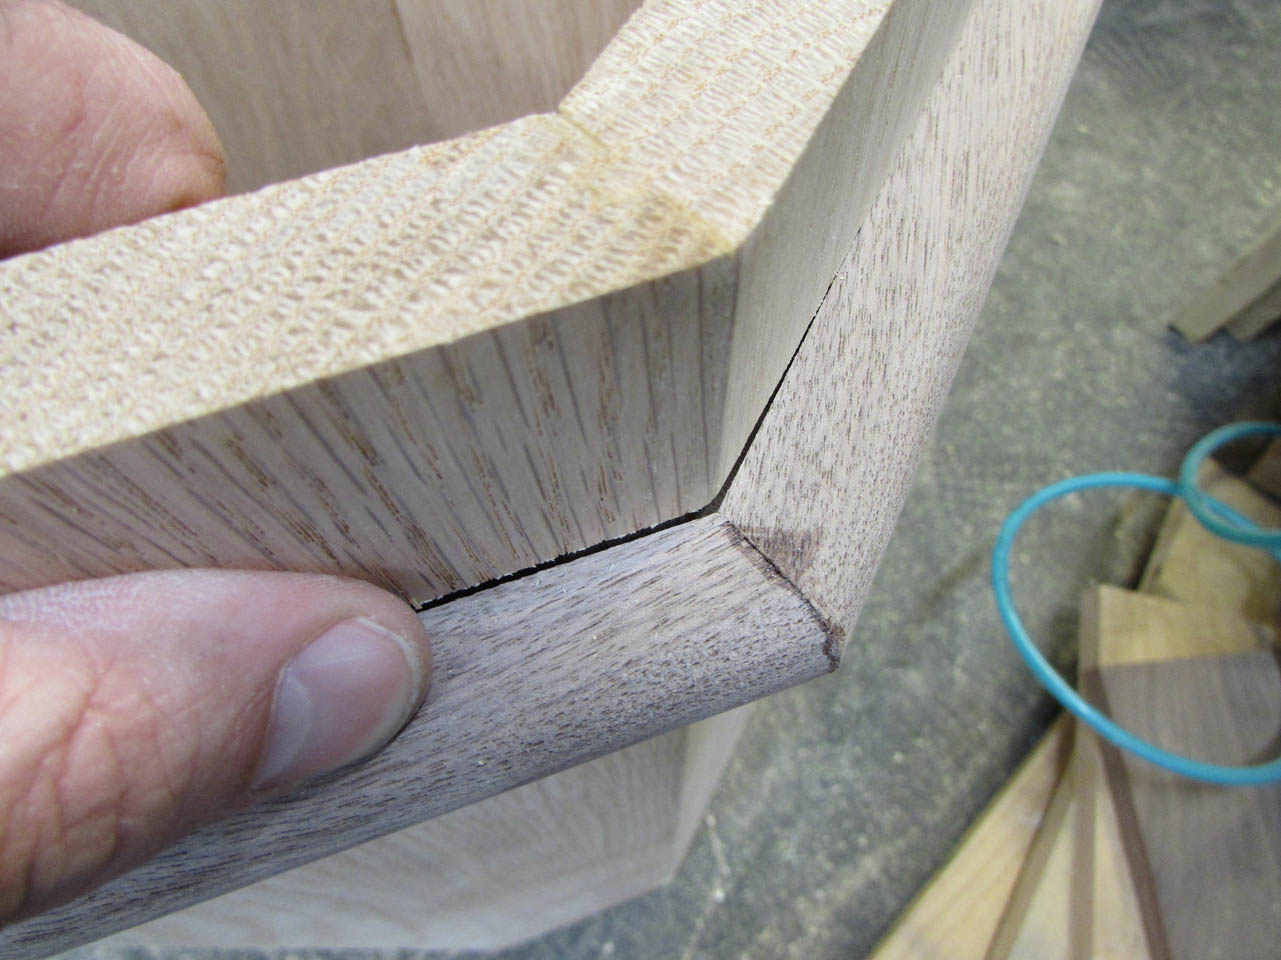
I also sanded each joint as I went to insure everything looked and fit good.
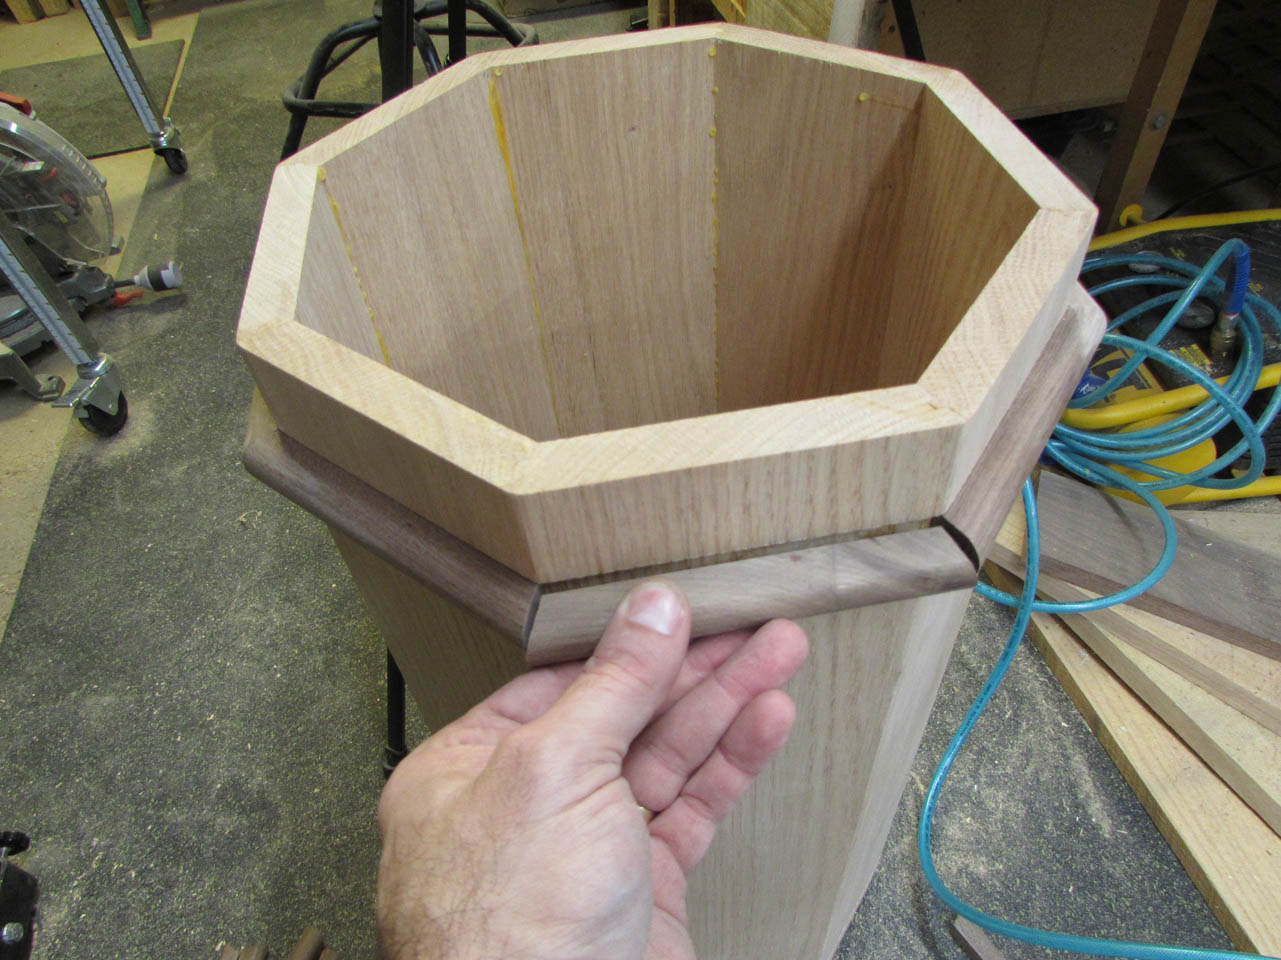

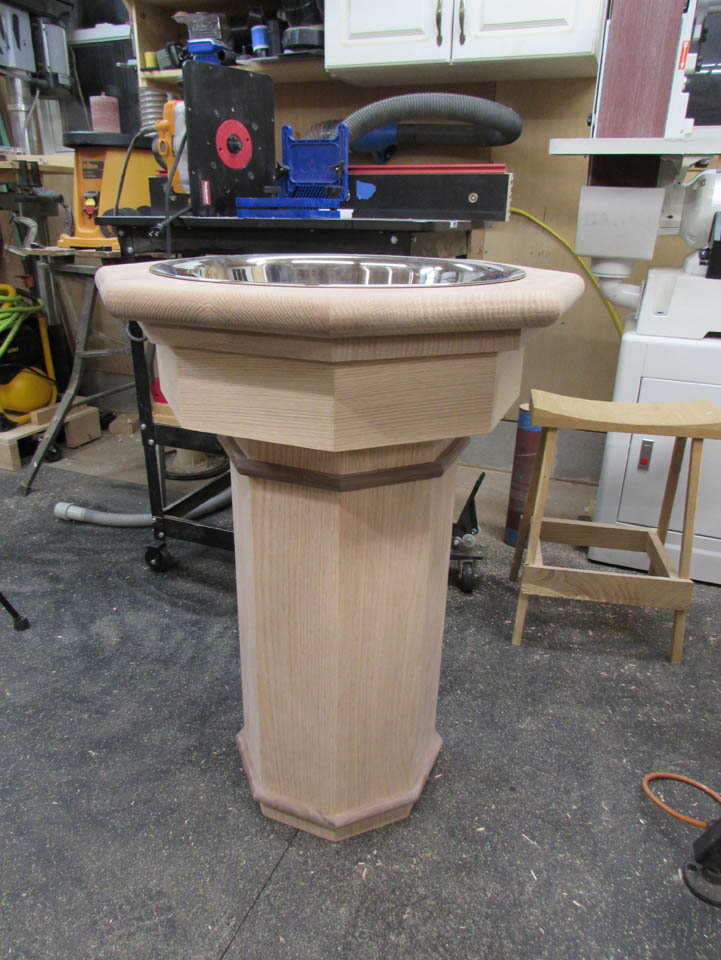
It didn’t go as planned, but it still looks good.
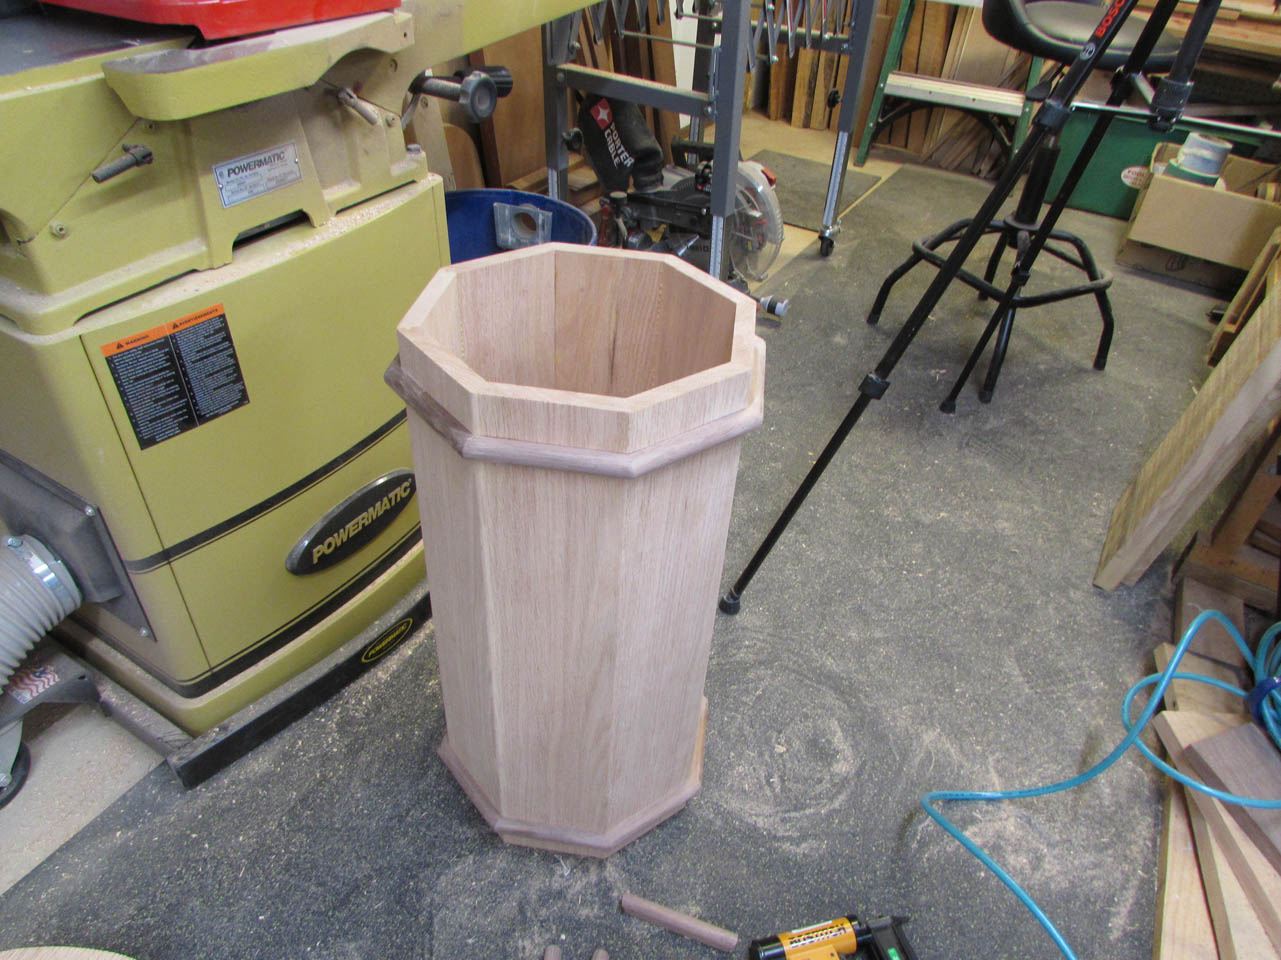

Now it is time to attach the cap I made earlier. I lined the column up on the cap and clamped some strips of scrap along four of the sides to locate the cap once the glue was applied.
I flipped the column over and added a bead of glue around the end, then carefully set the plate in place.

The trim aligned the plate perfectly so I didn’t smear glue around trying to get it right.
I used a few brad nails to hold the cap tightly in place while the glue dried.

I set the top section onto the column to see how everything looked so far. Starting to take shape.
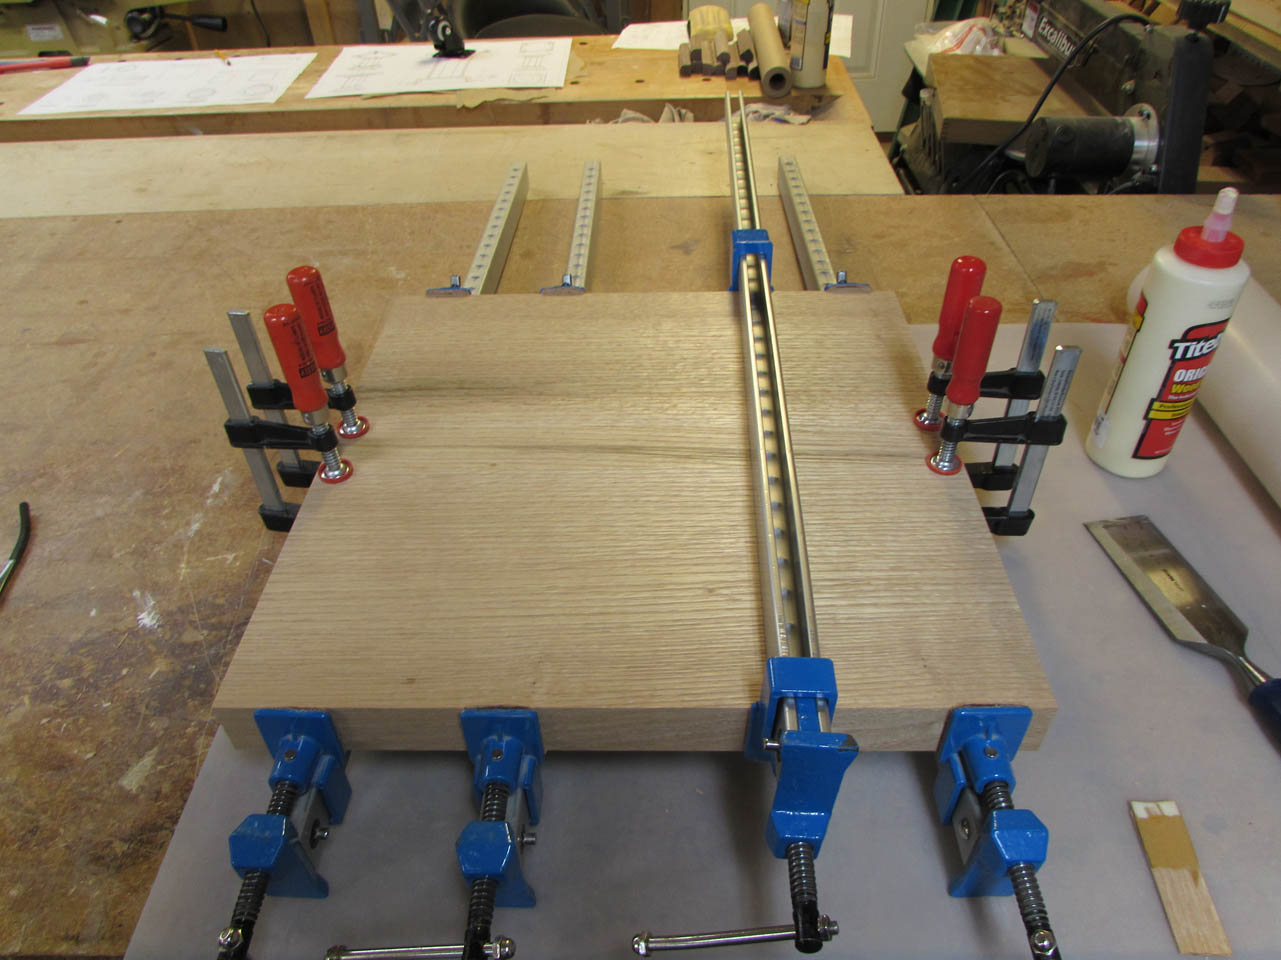
I had a little bit of time left, last night, to glue up a couple of panels to make up the base so I got started on that.

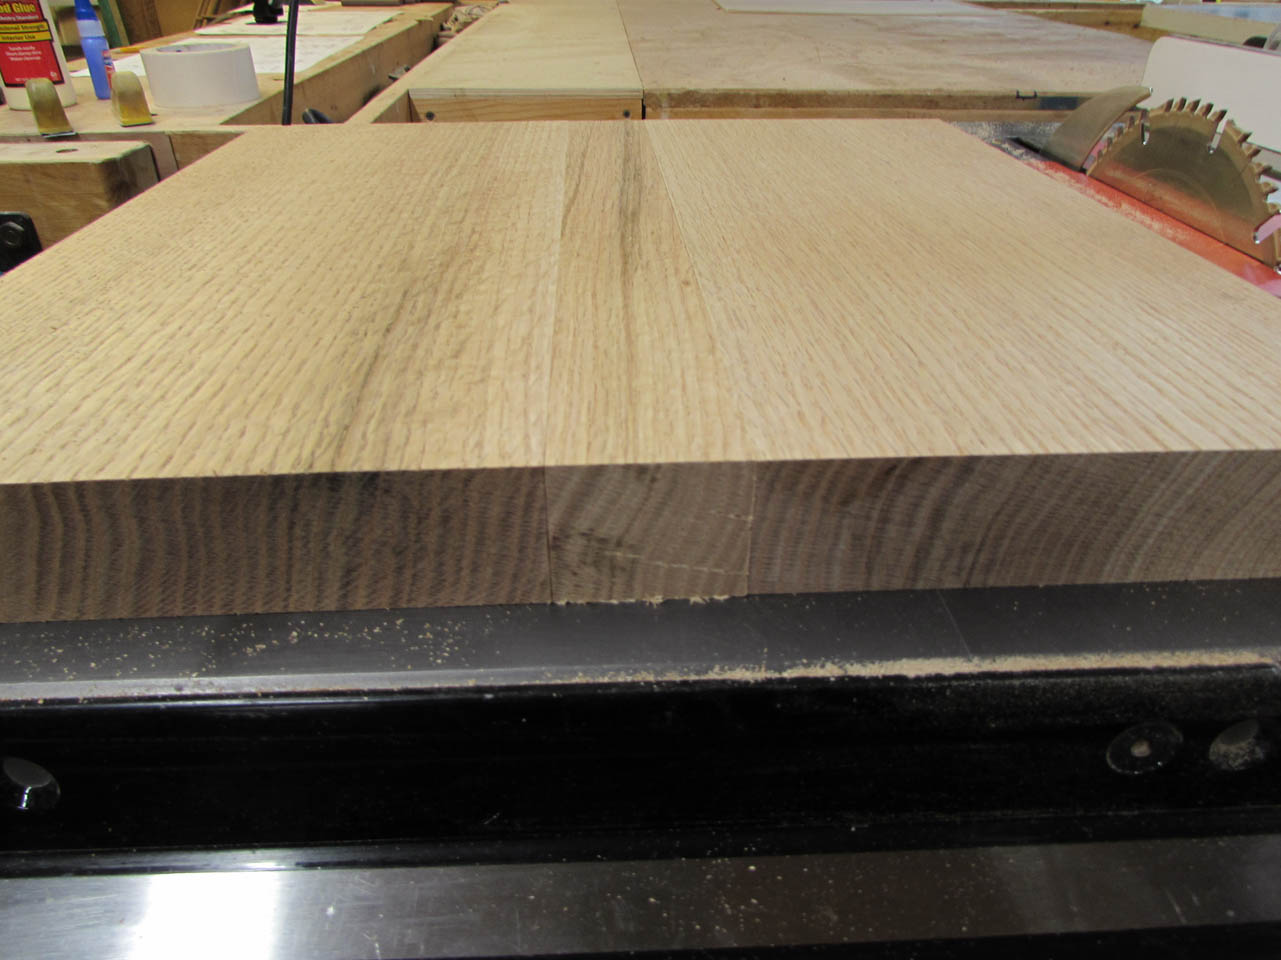
Since this base is much wider than the smaller columns, I am using quarter-sawn wood for the larger panels. It will greatly reduce the expansion and contraction of the wood.

I cut and planed down some 8/4 wood to make the base plate, being careful to match the grain as well as I could.
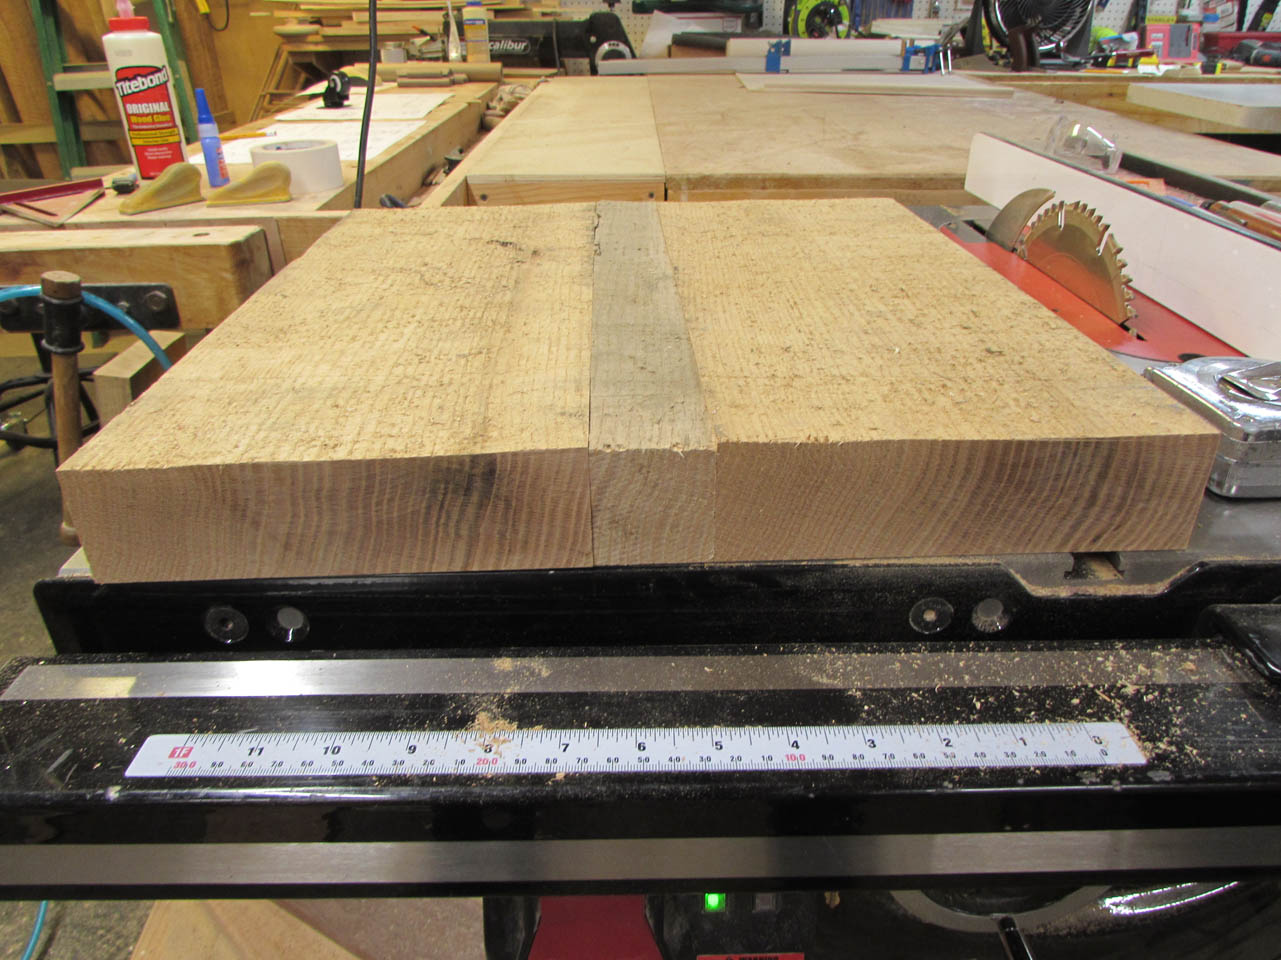
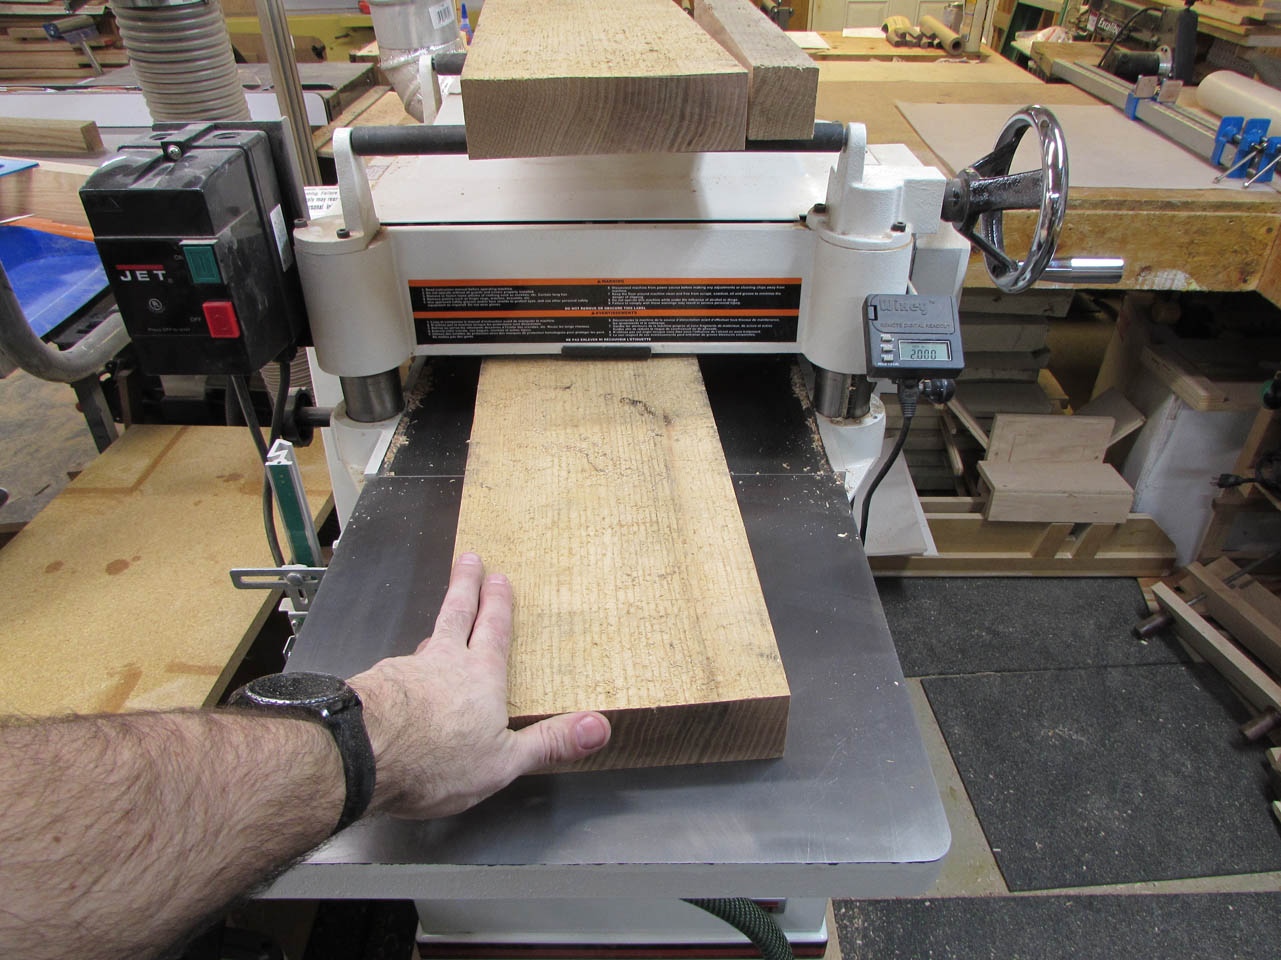
Then I planed all the pieces down to 1-1/2″ thick.

A little glue and some clamps and on to the next piece.

For the base cap, I made some 1″ thick pieces and glued them up as well.

After I get these two finished and trimmed, I will only have the mobile base left to make.

“I had to re-cut a couple of the pieces to be a bit longer”, I need to see that material adder tool! My tools only subtract material. I just couldn’t pass up a bit of levity.
Thanks for the great reads.