St. Kilian chapel – Baptismal Font – part 2
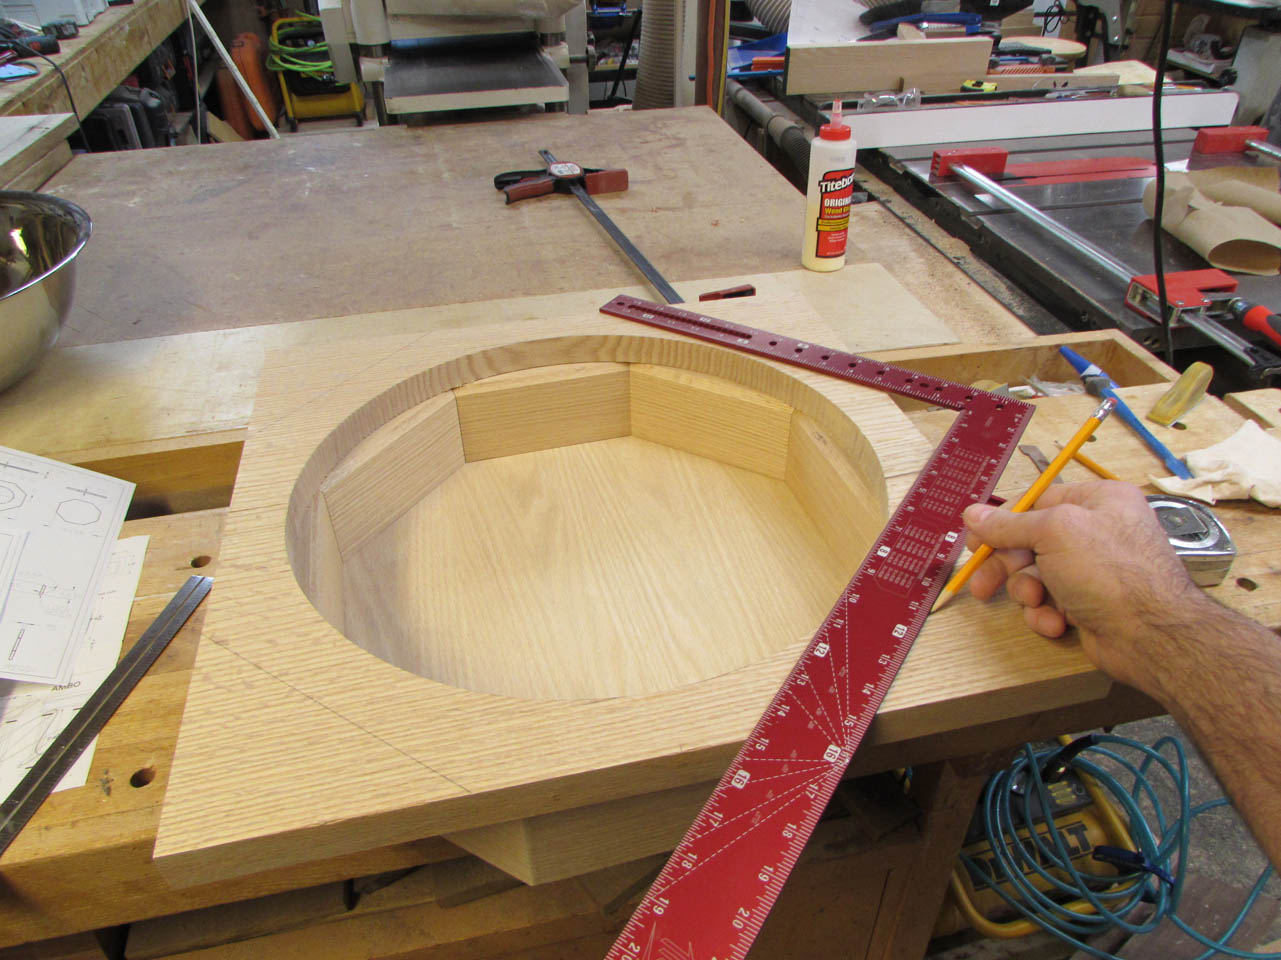
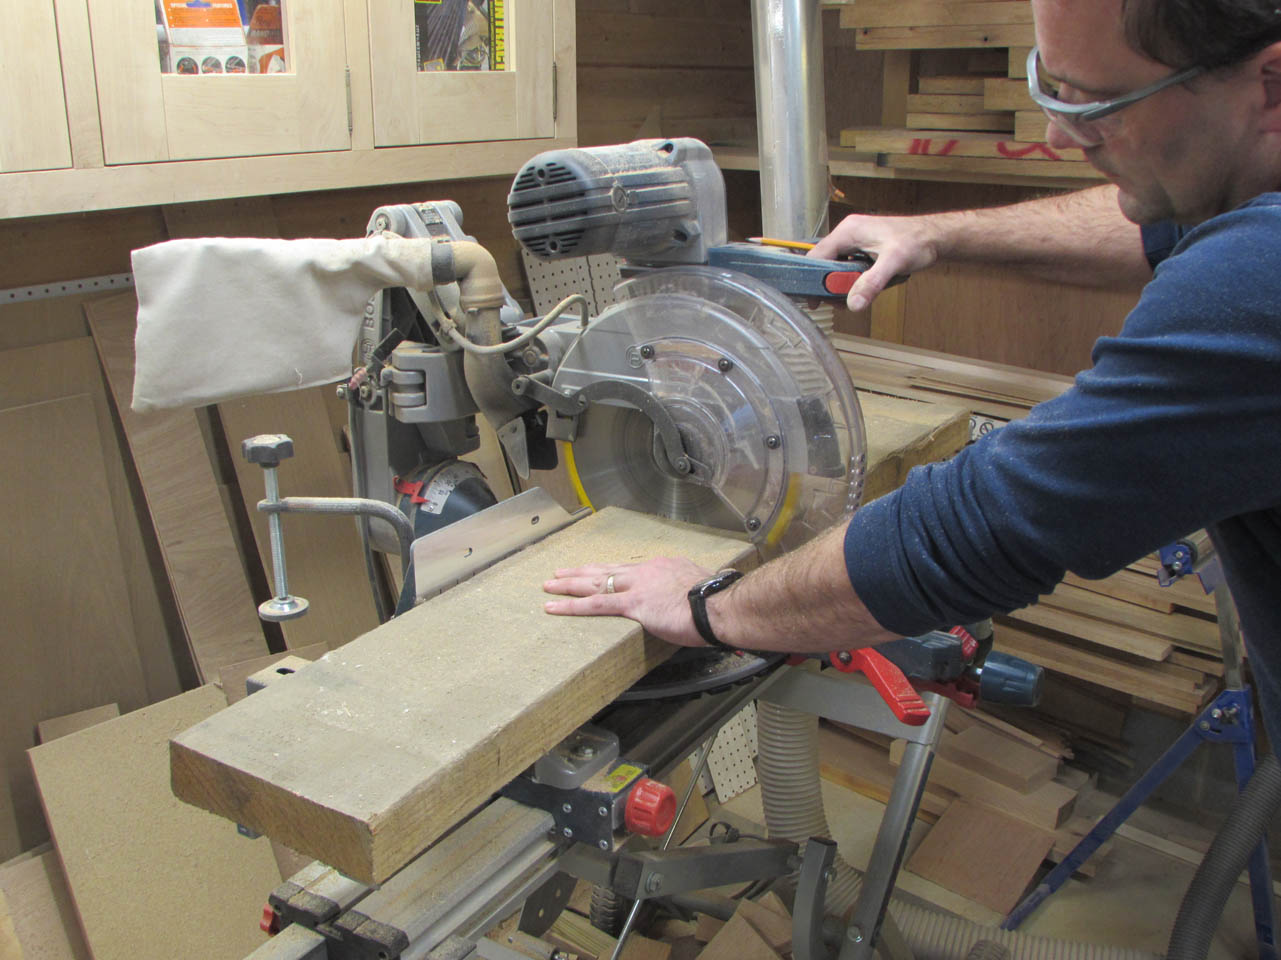
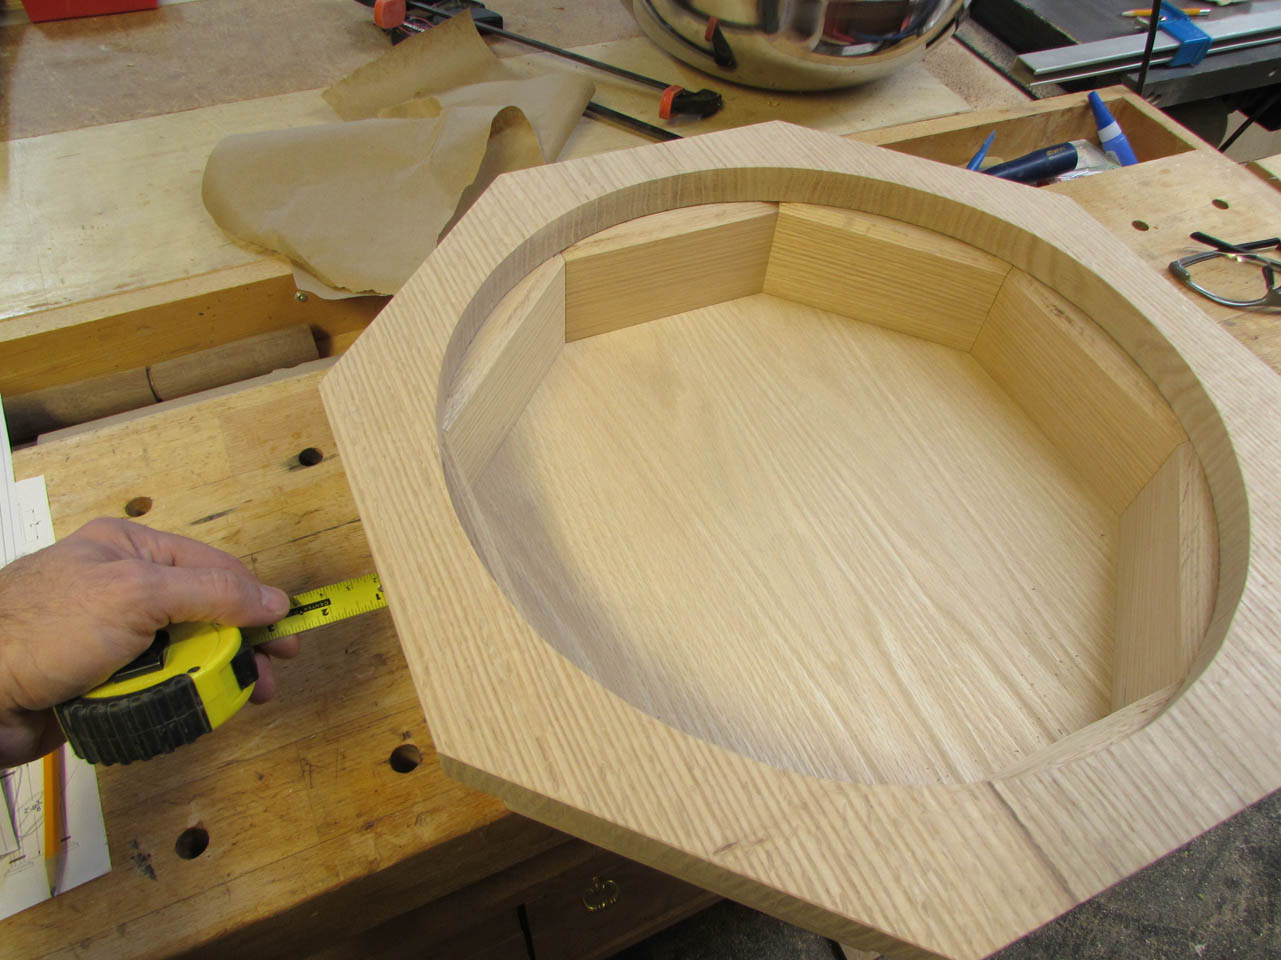
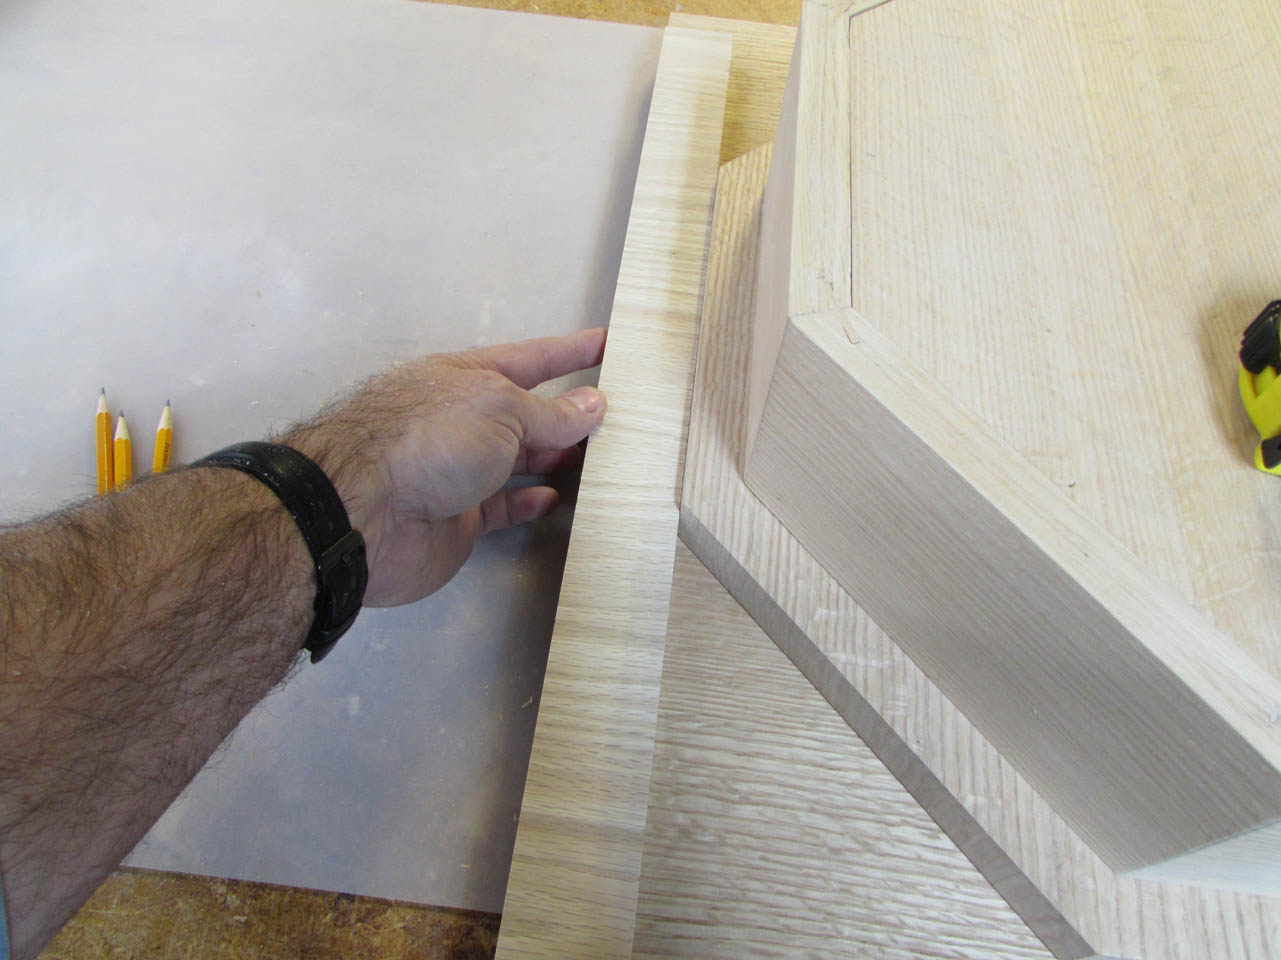
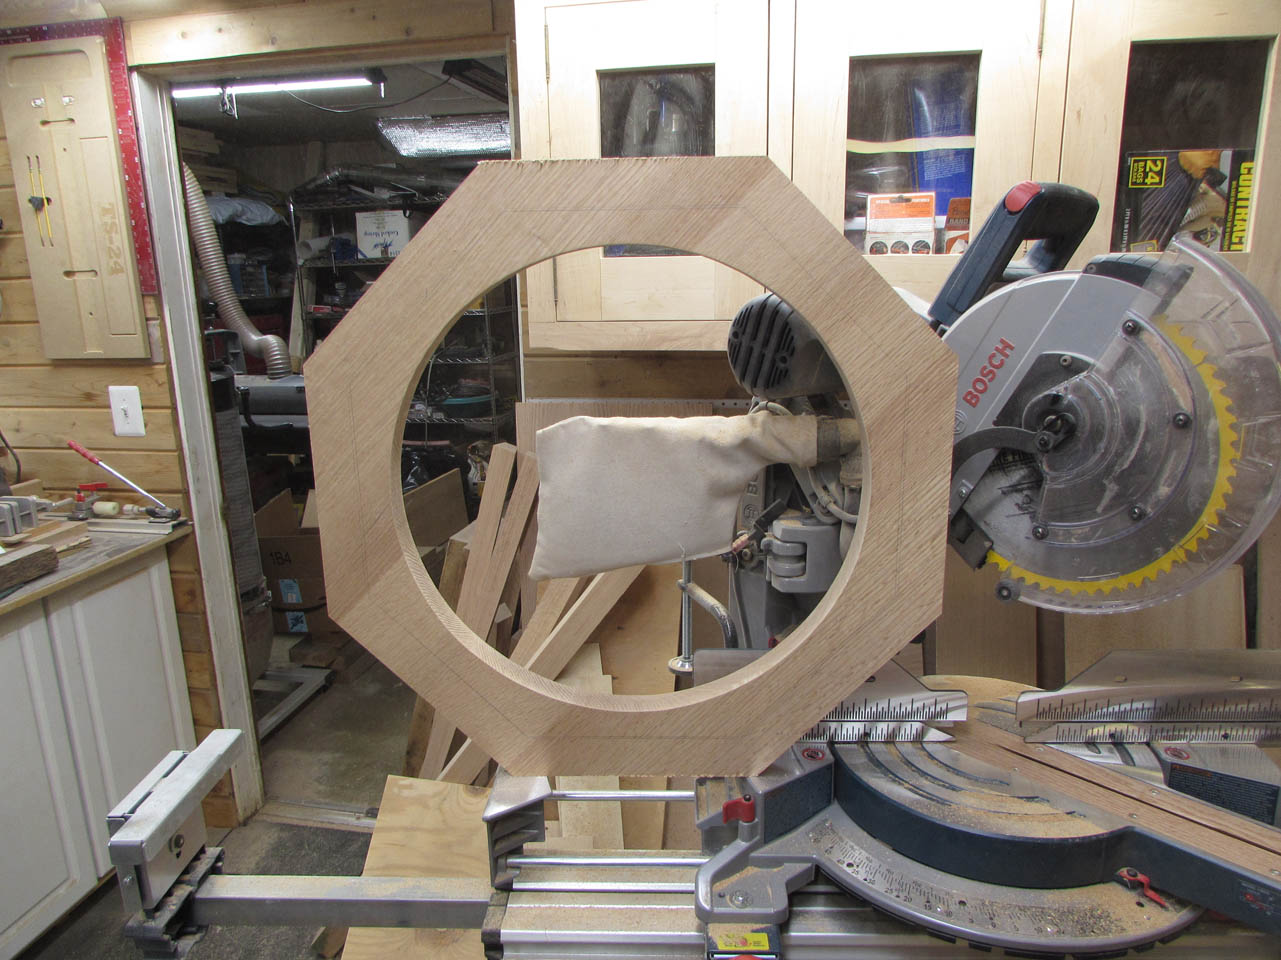
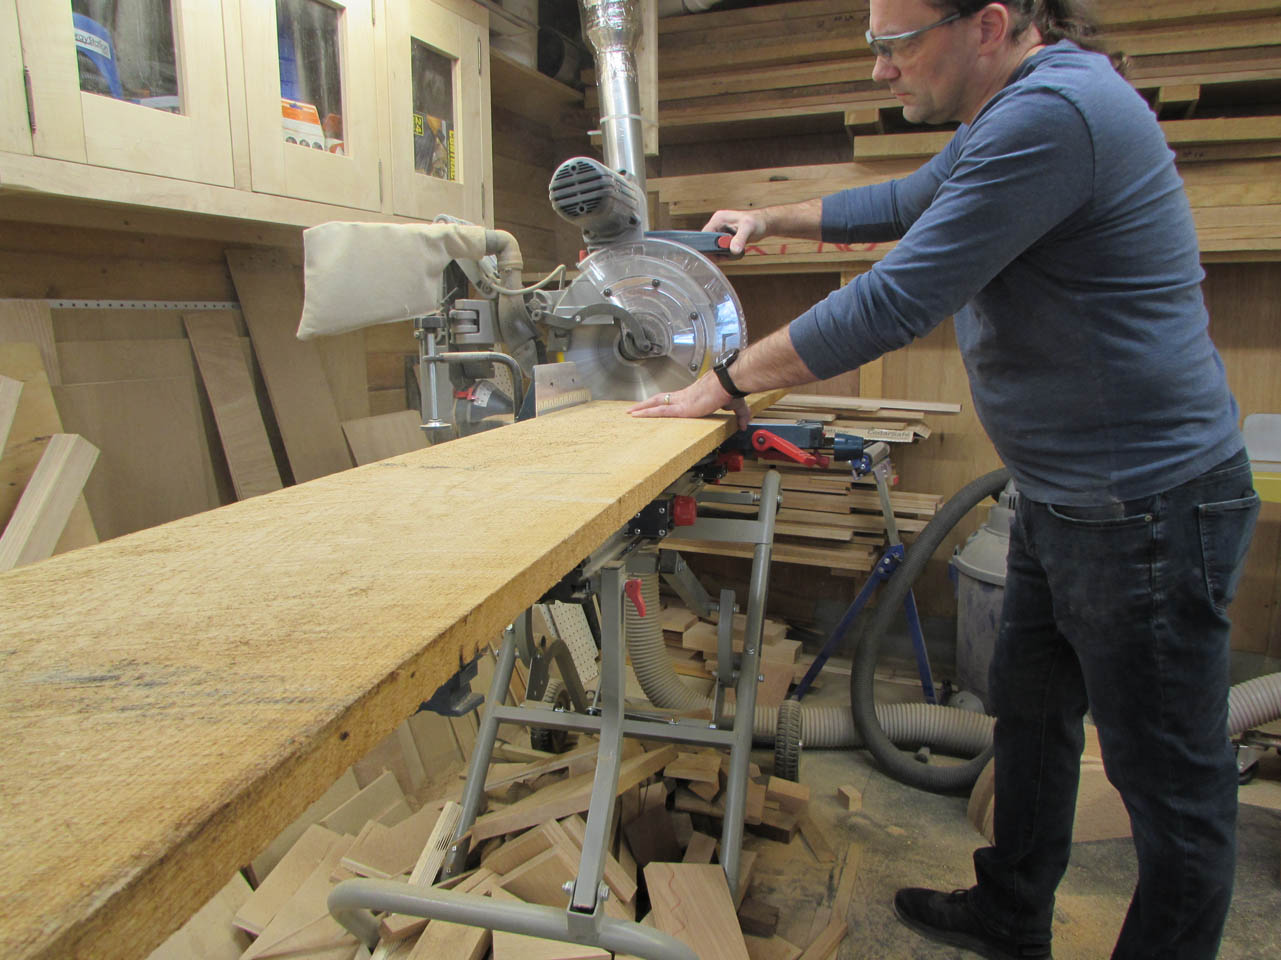
I pulled the clamps on the big plate with a hole in it (I gave up trying to find a name for each of these pieces…), then I centered it up on the bottom part. I used my large framing square to mark the 45° corners that need to still be cut off. They would have been easier to cut off before the glue-up, but then I wouldn’t have had any place to clamp the sides together.
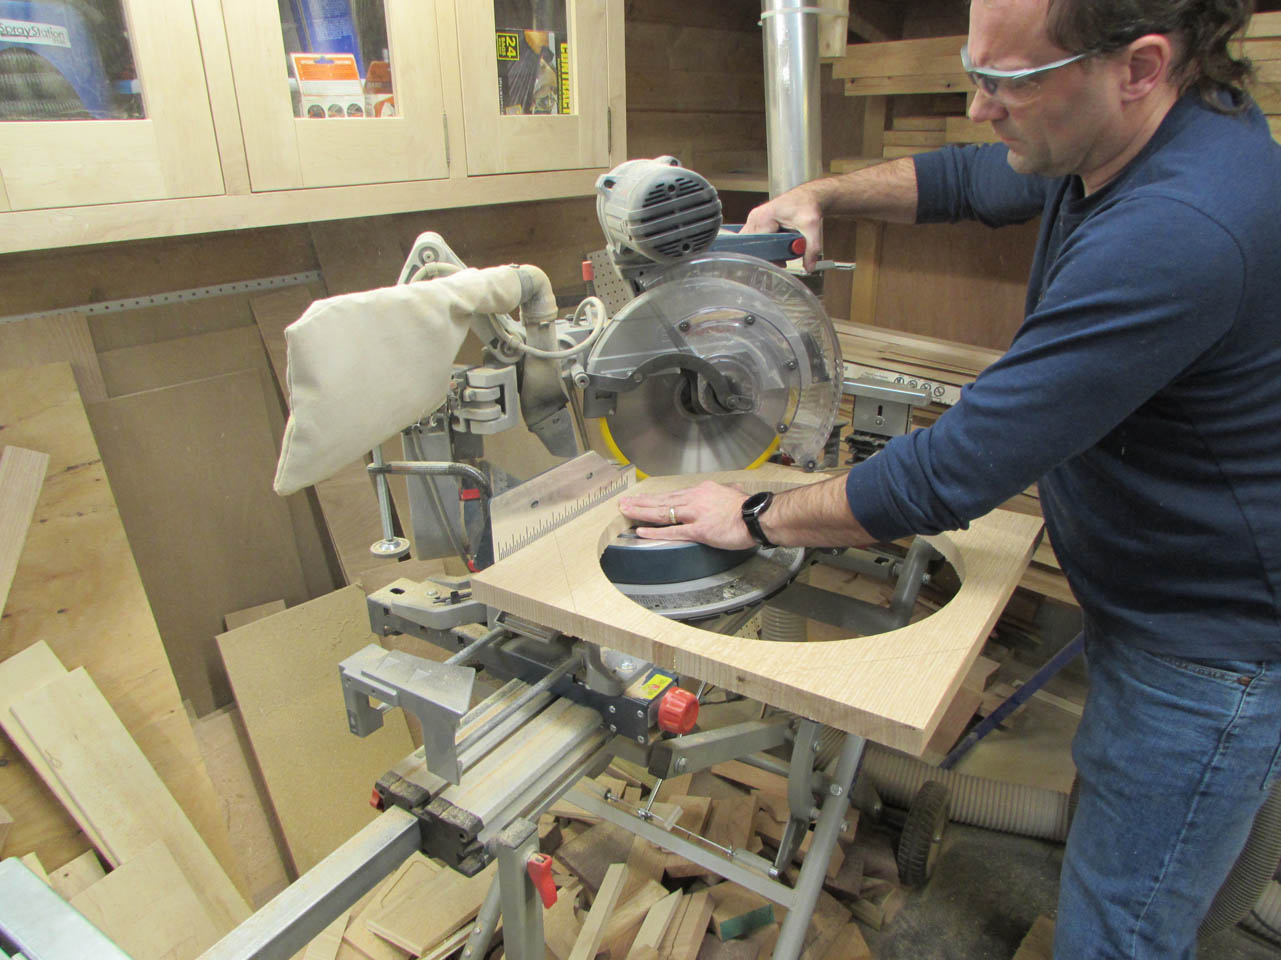
I set the miter saw to a 45° angle and held the plate firmly in place. And yes, it does occur to me, now that I am looking at the next picture, that I could have swung around the clamp to help hold the piece in place. Oh well, my way worked too.
Anyway, that piece is done. I set it in place to see how it looked.
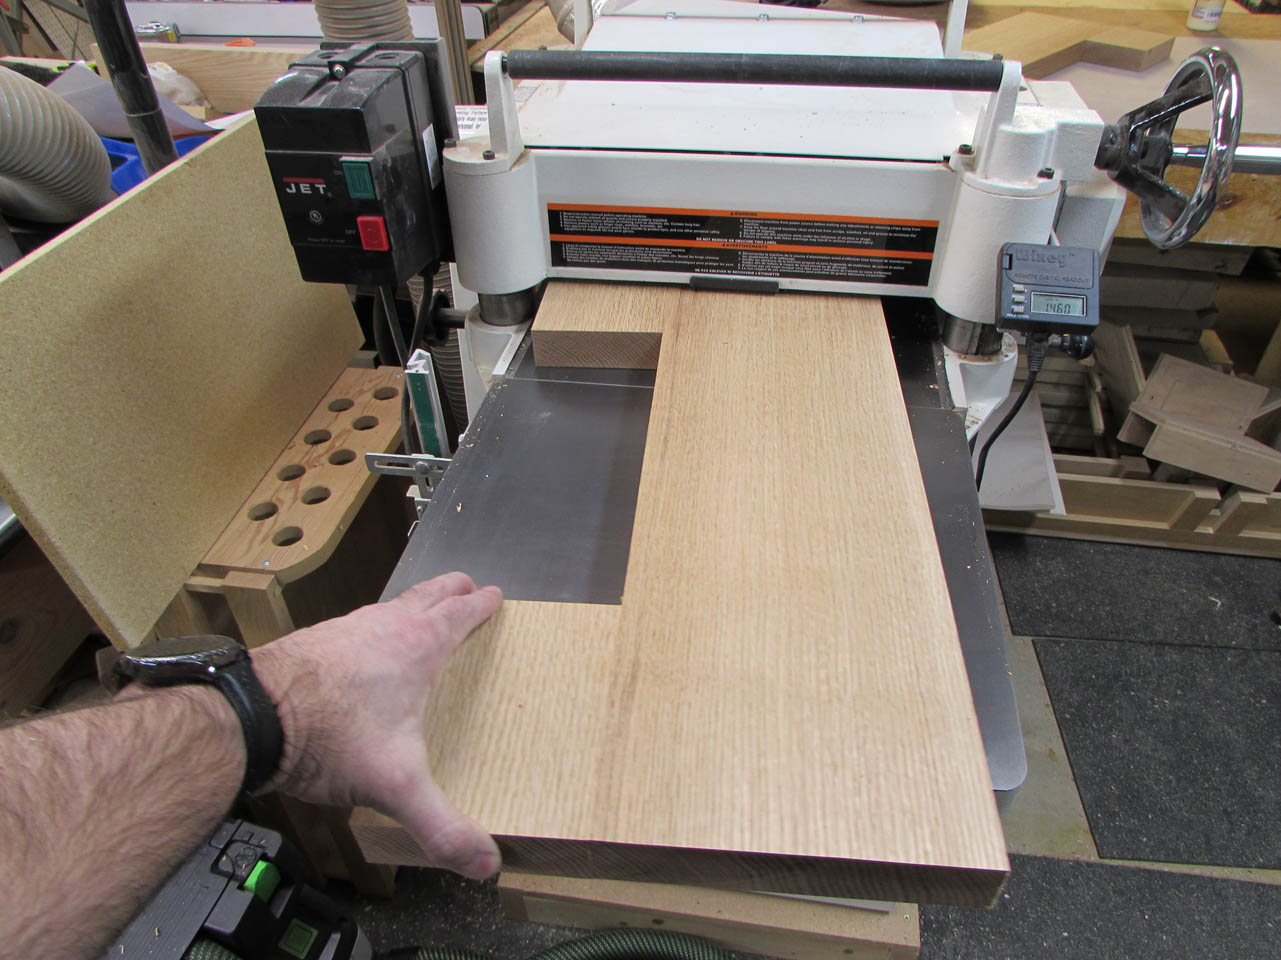
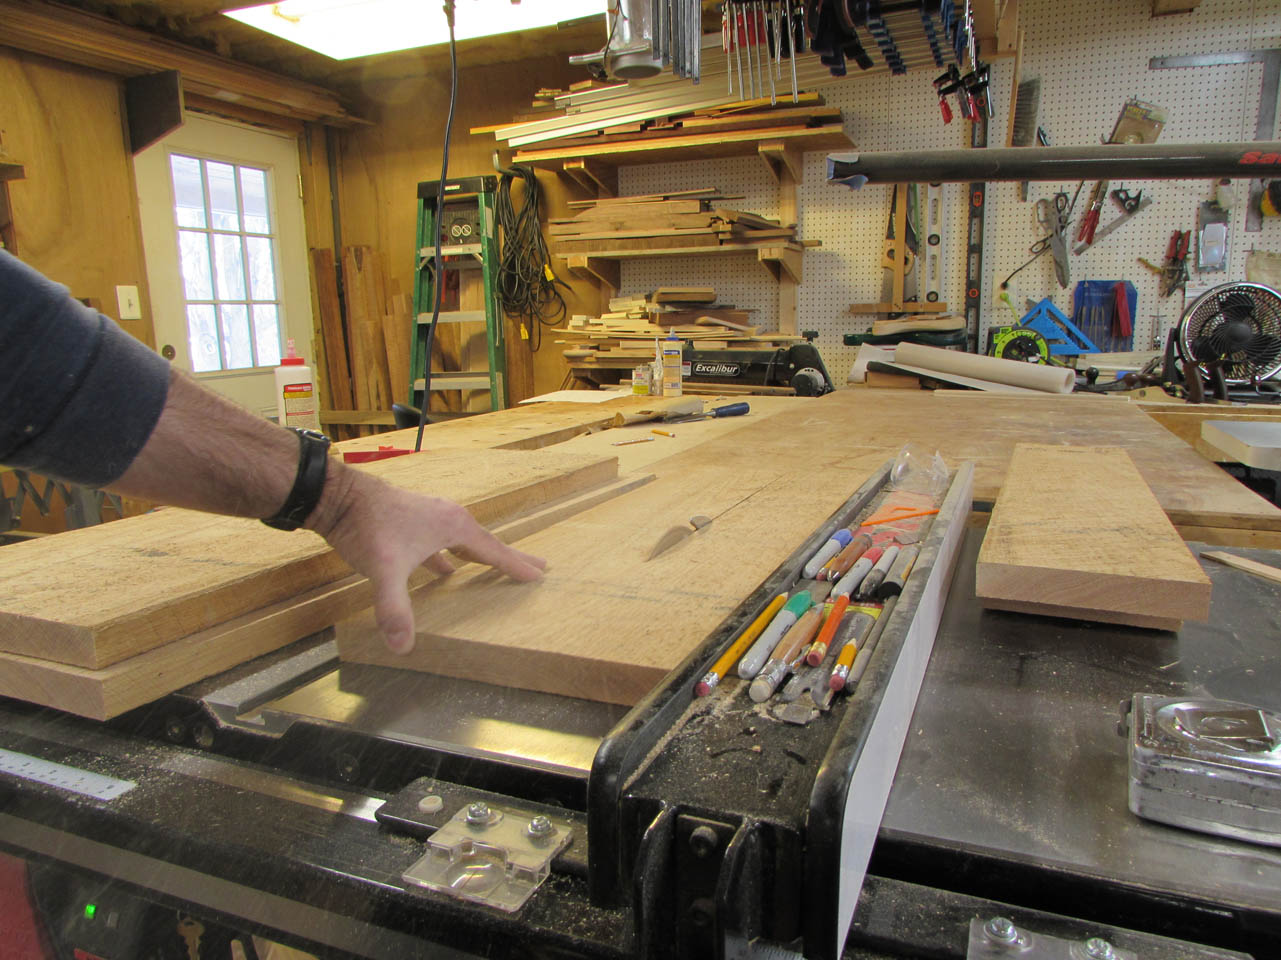
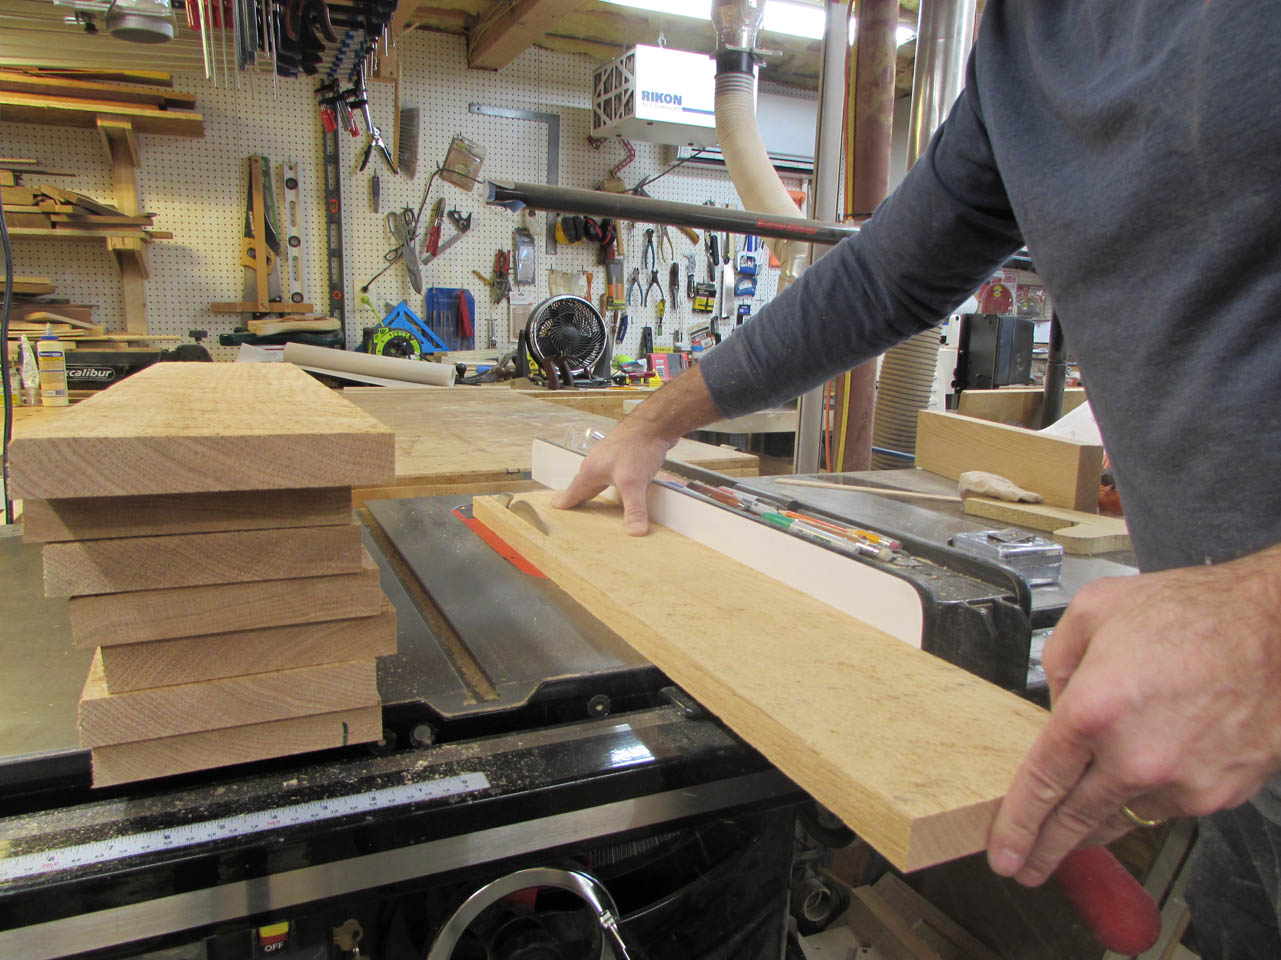
Then I started cutting pieces of thicker stock to create the top plate.
I cut these pieces about 4″ longer than I need to allow for any snipe at the ends of the boards. Then I ran them through the jointer to flatten one side and one edge.
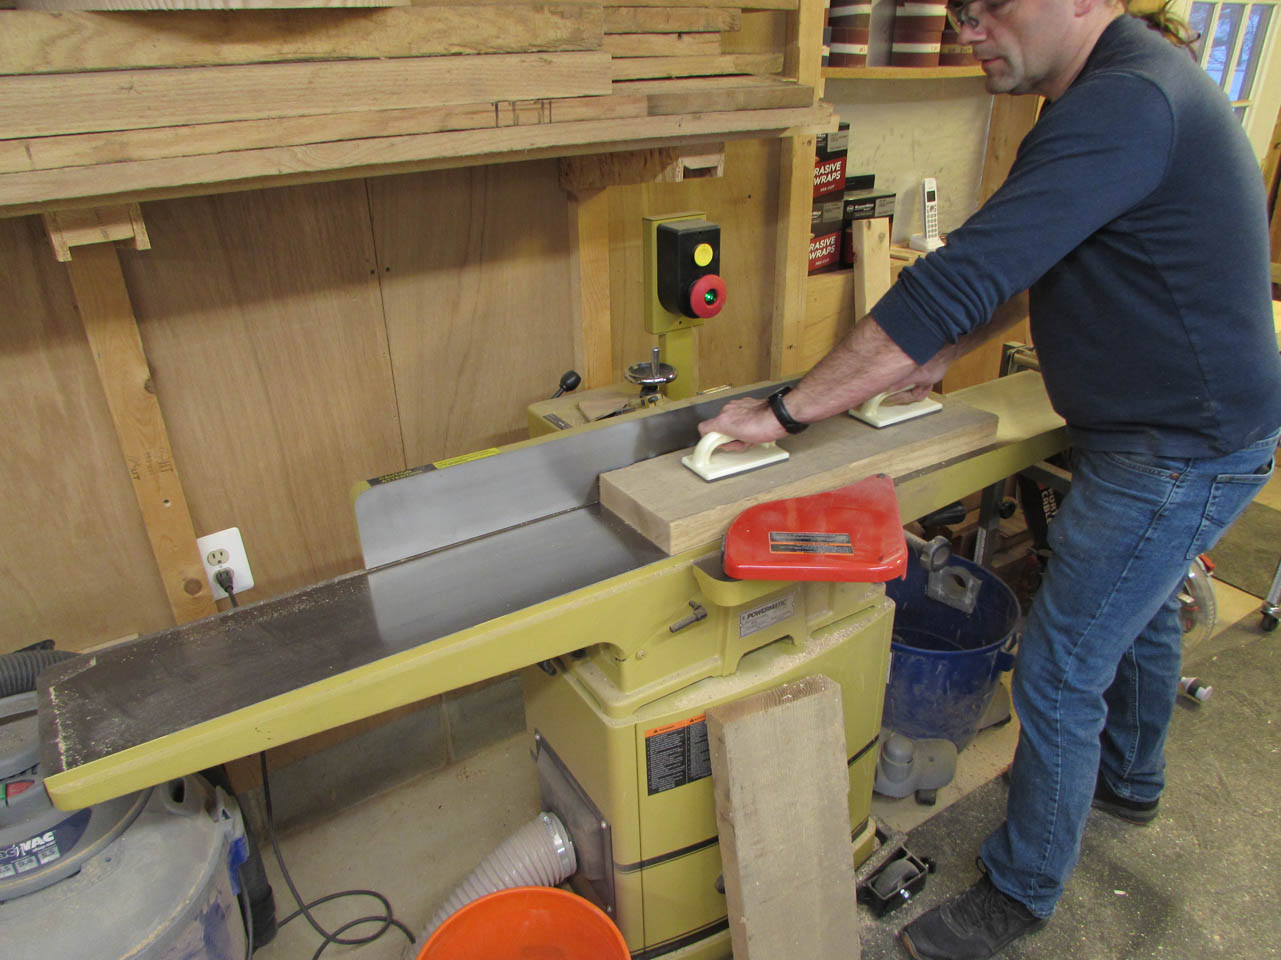
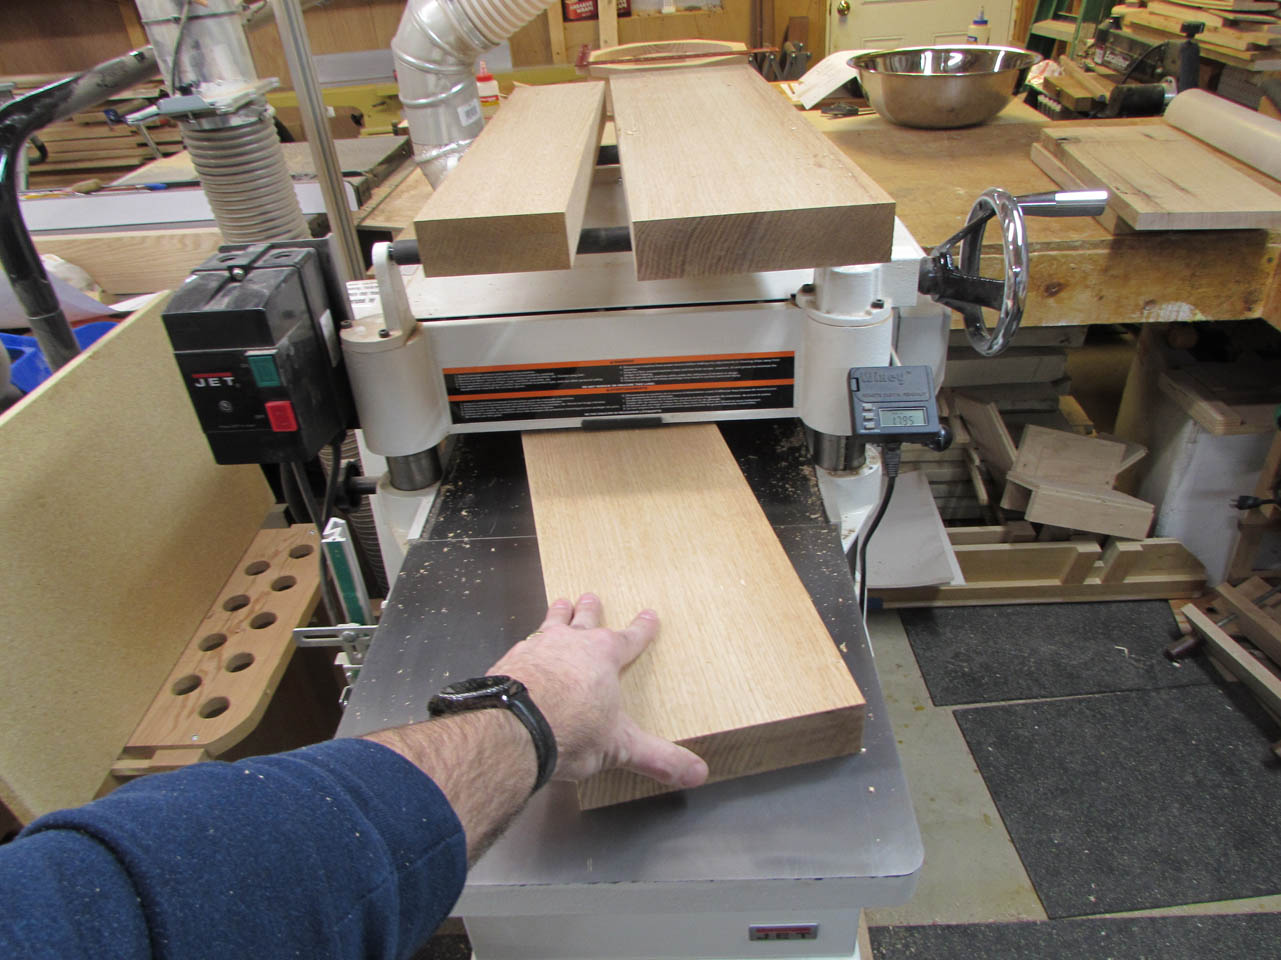
I took the pieces over to the planer and flattened the opposite sides then took them down to their final thickness of 1-1/2″.
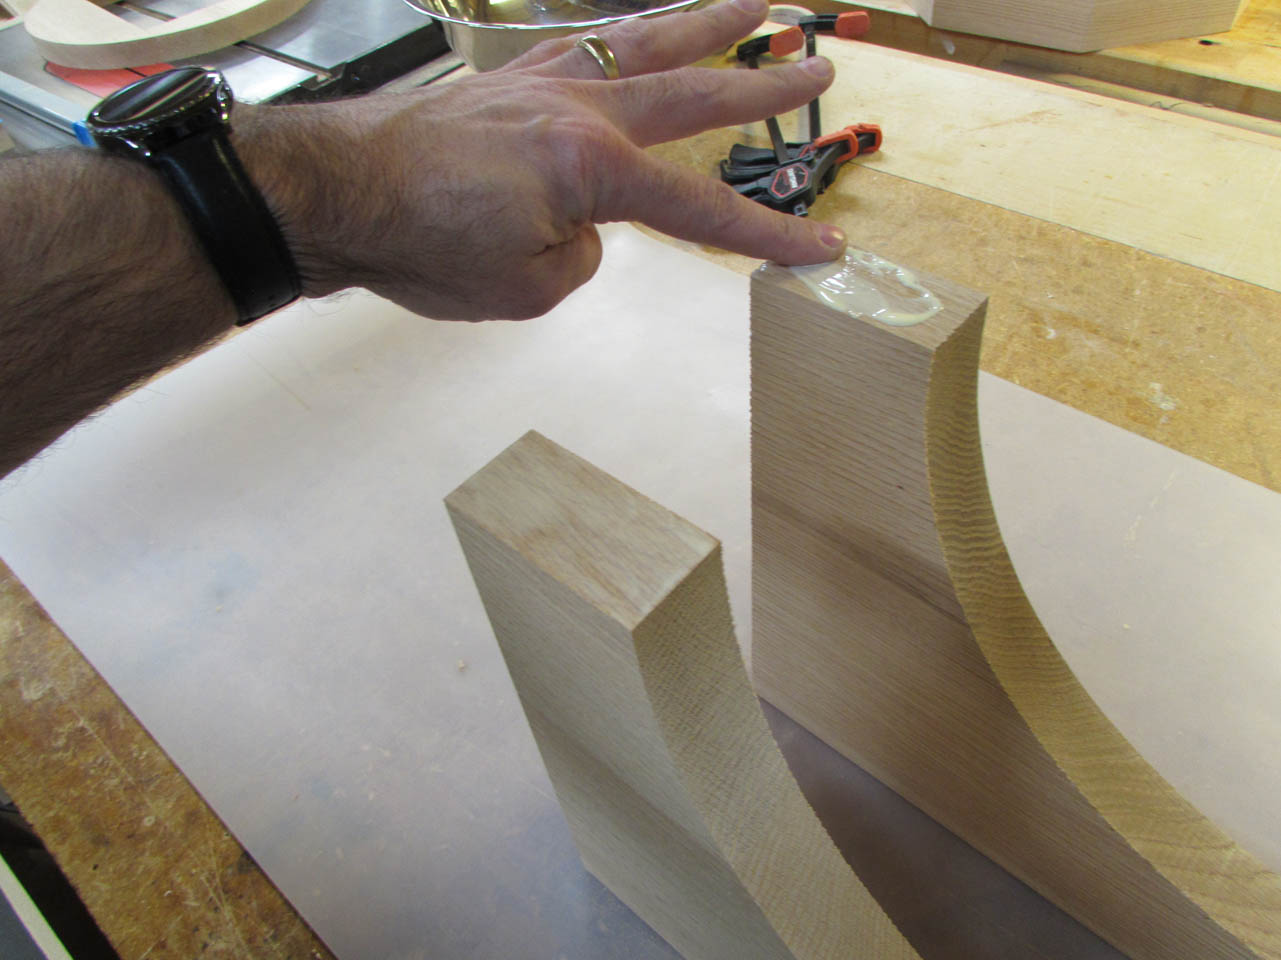
I very carefully selected pieces of wood that would book-match the grain when assembled so there was a nice grain flow across the joints.
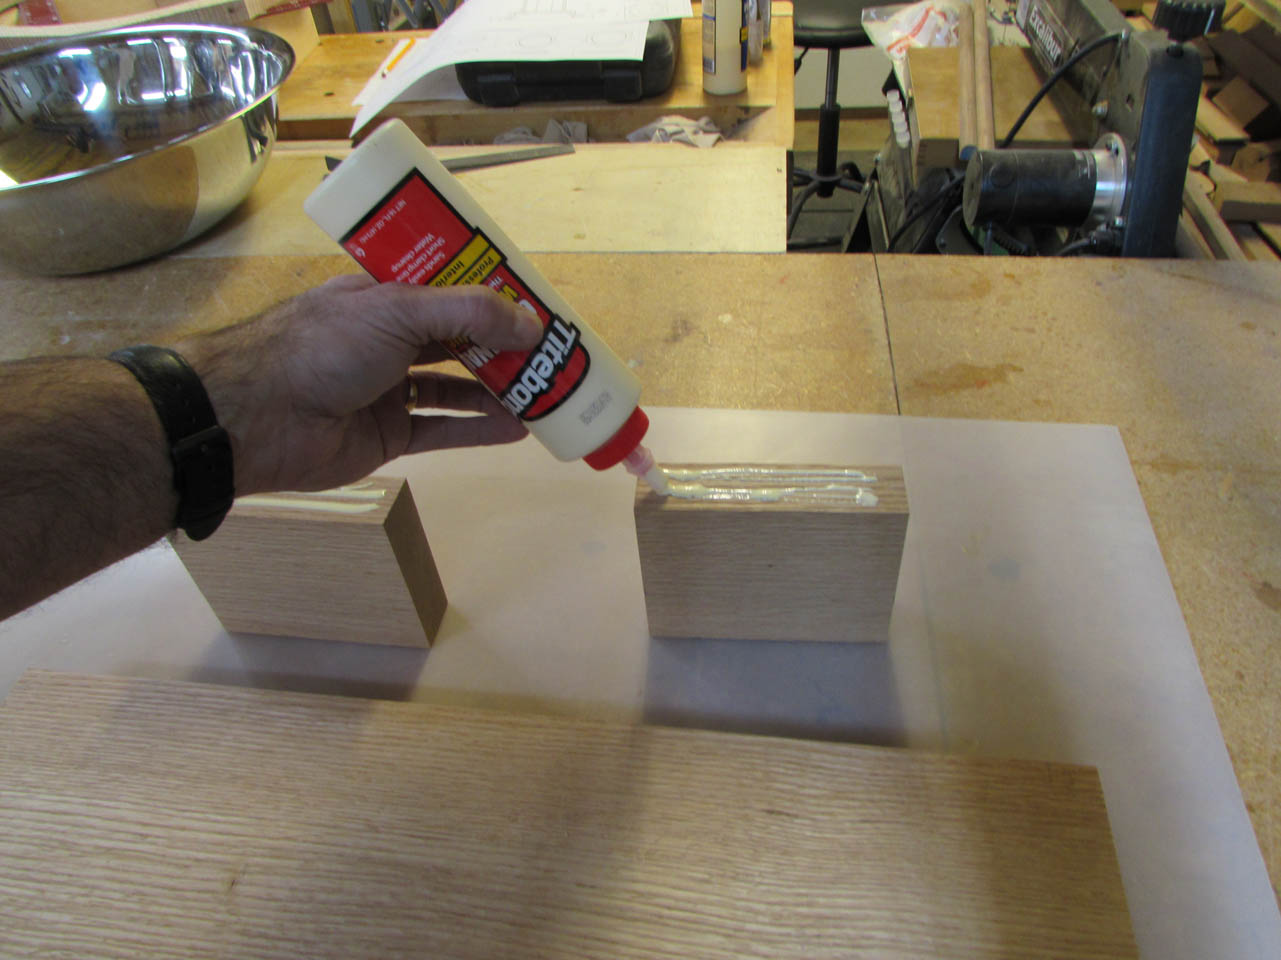
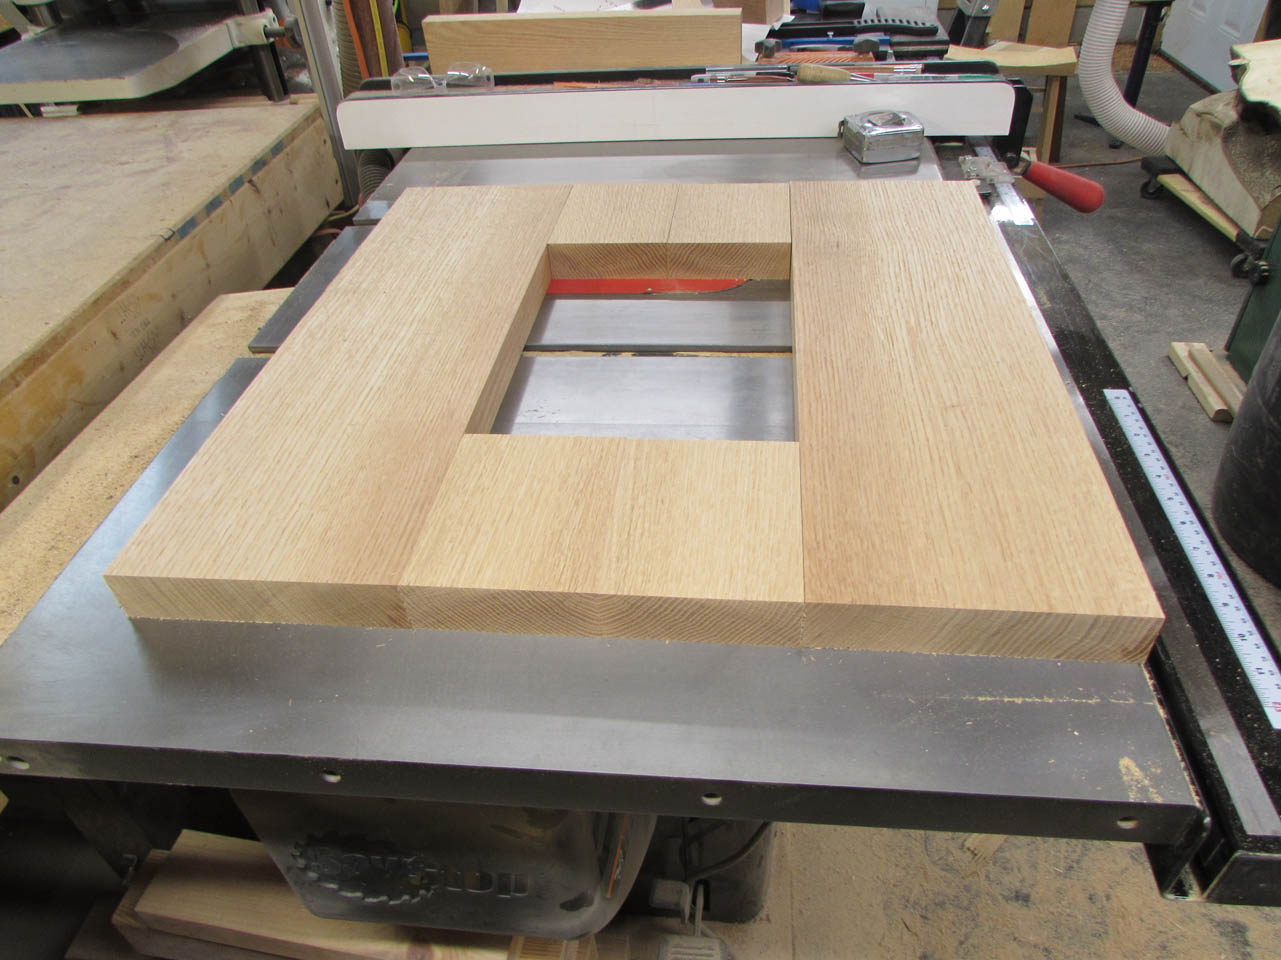
I marked the locations of all the pieces and started gluing things up.

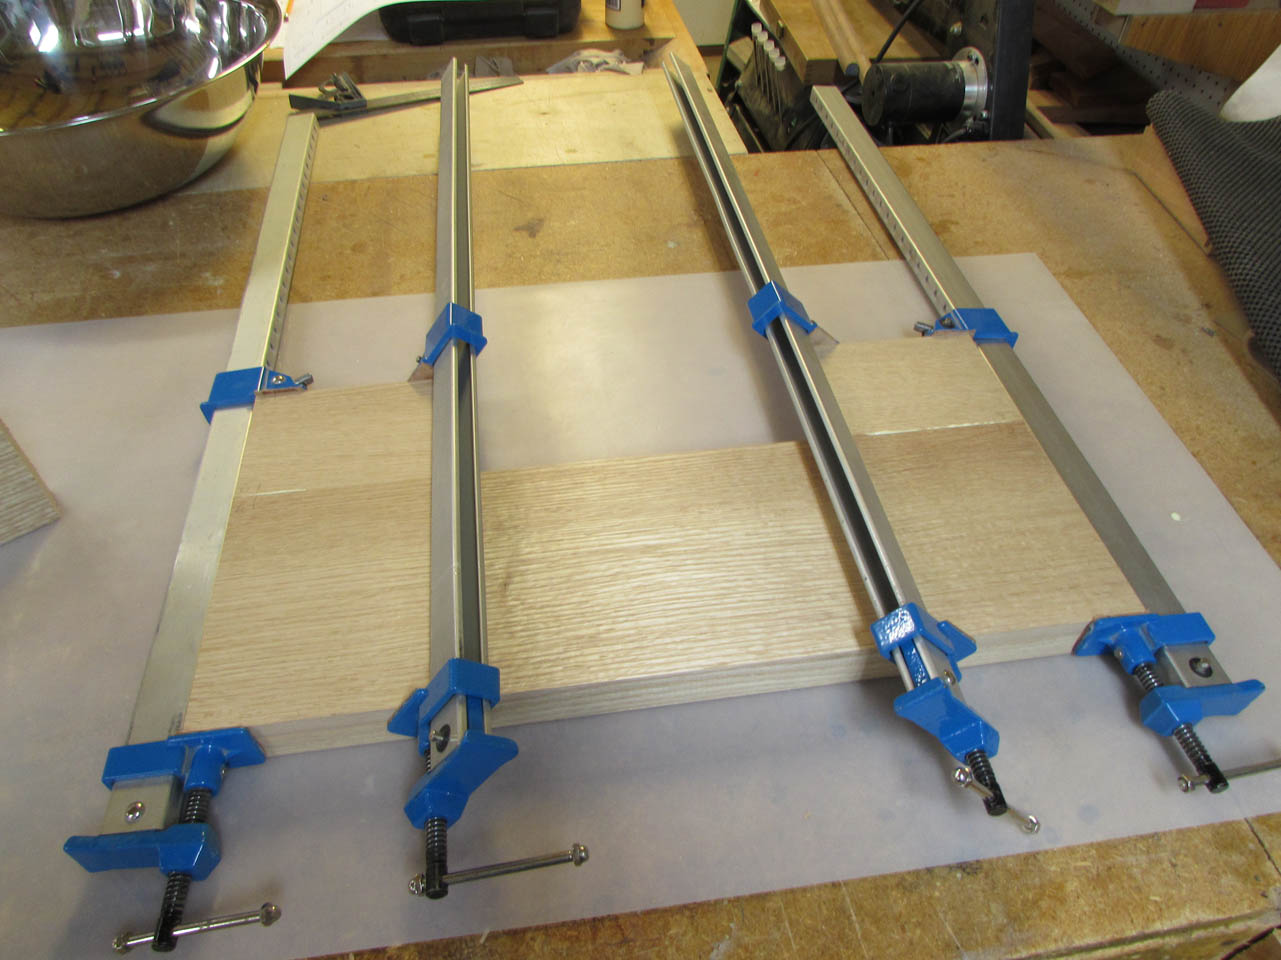
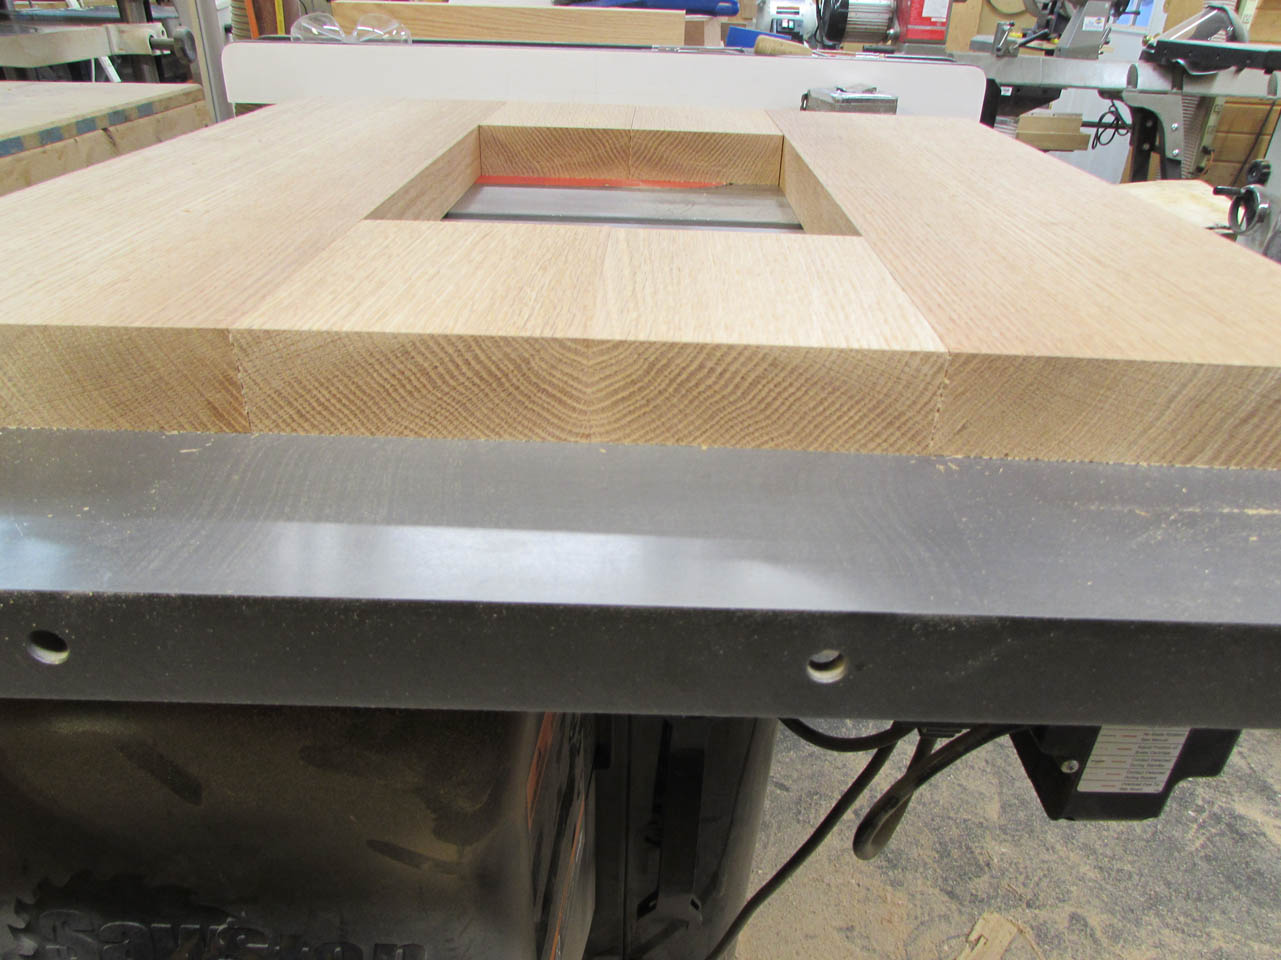
I still need to cut away the circle in the center so I clamped them up one half at a time.
After they dried, I skimmed the surface off the boards with the planer to make sure the glue joint was flat and smooth.

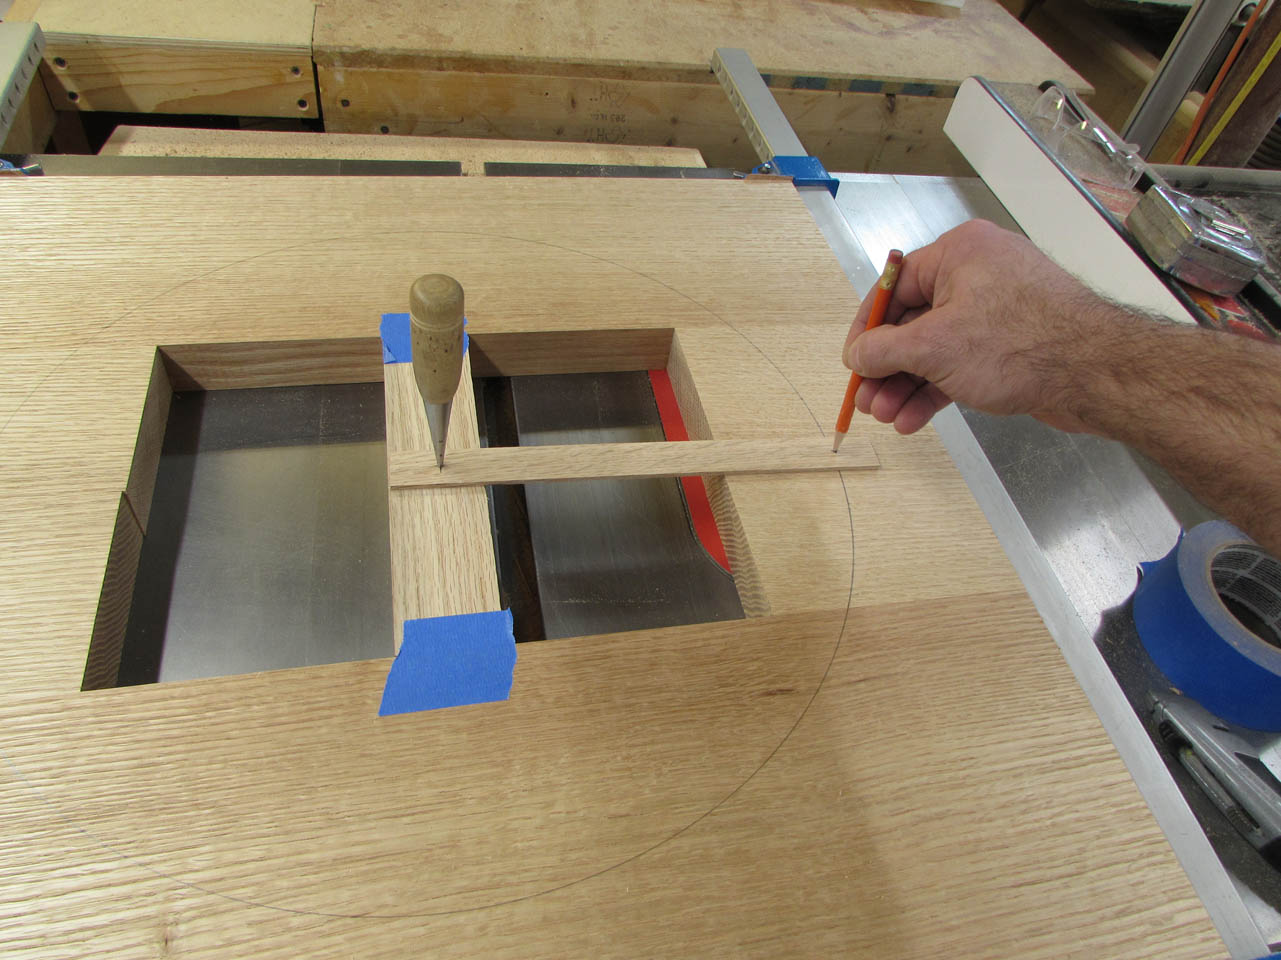
Next I created a temporary center point and taped it in place to draw the circle with a homemade beam compass.

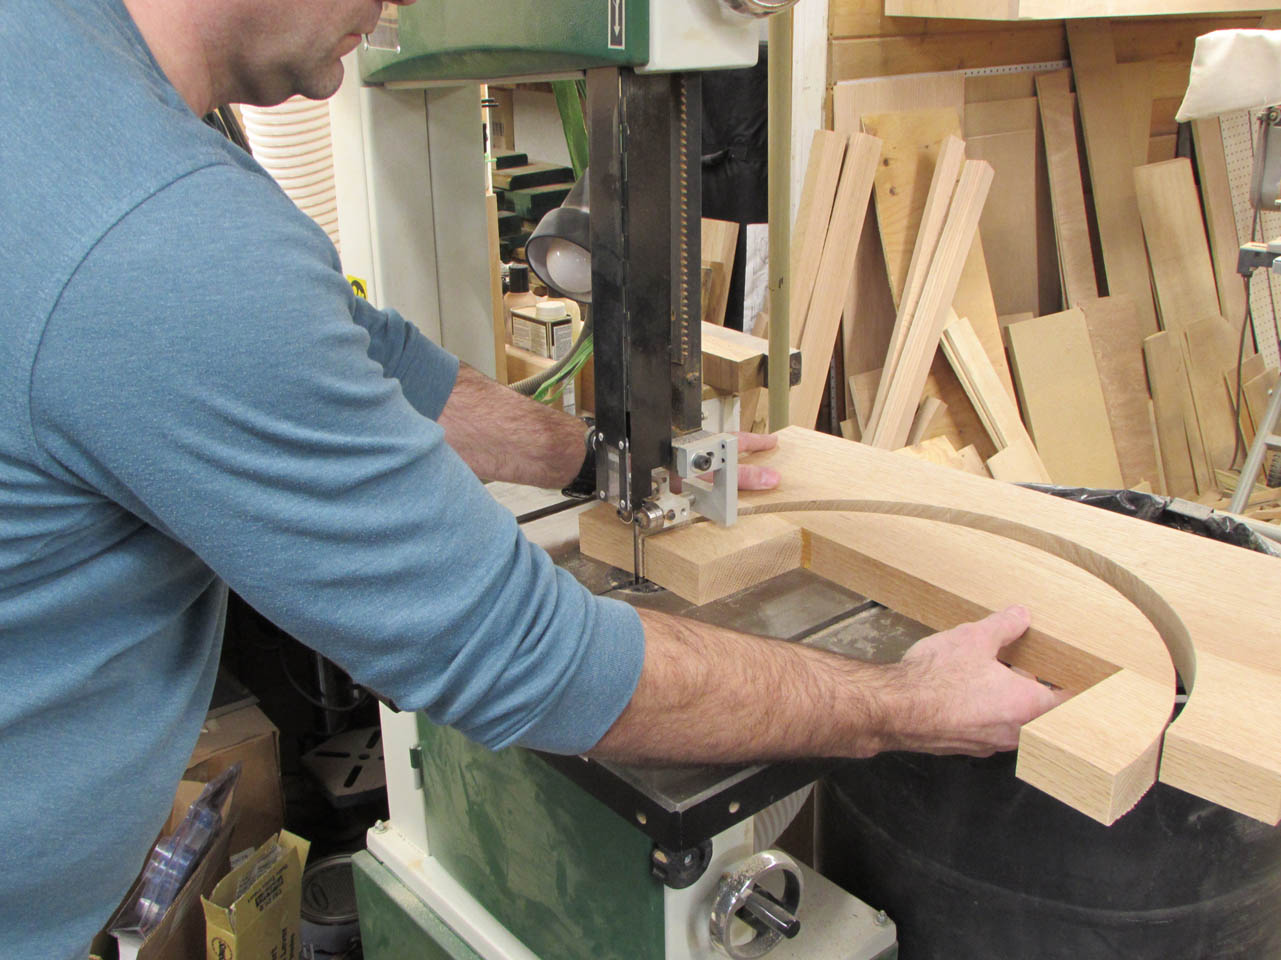
Then I cut away the center circle on the band saw.
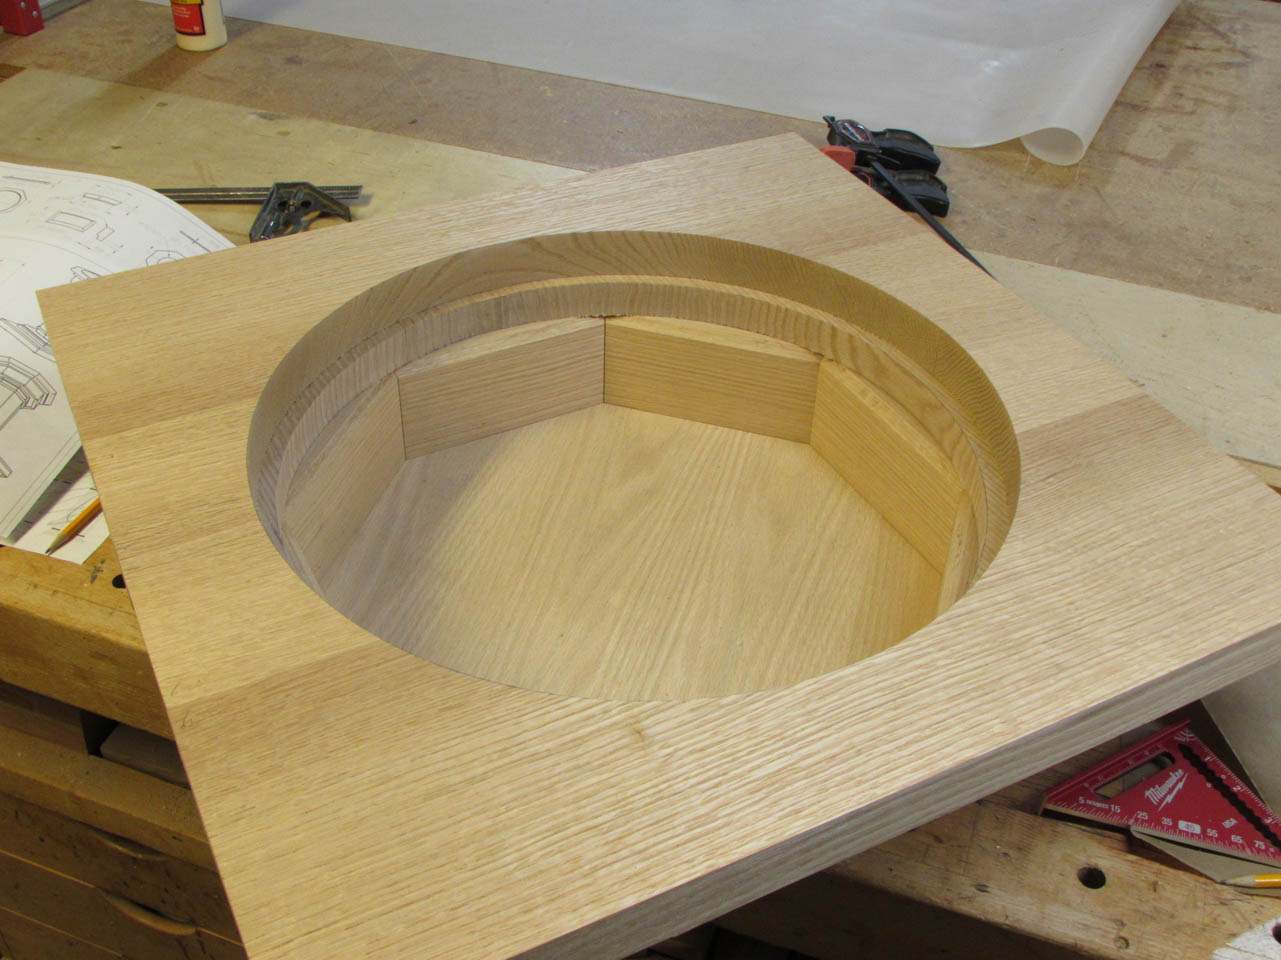
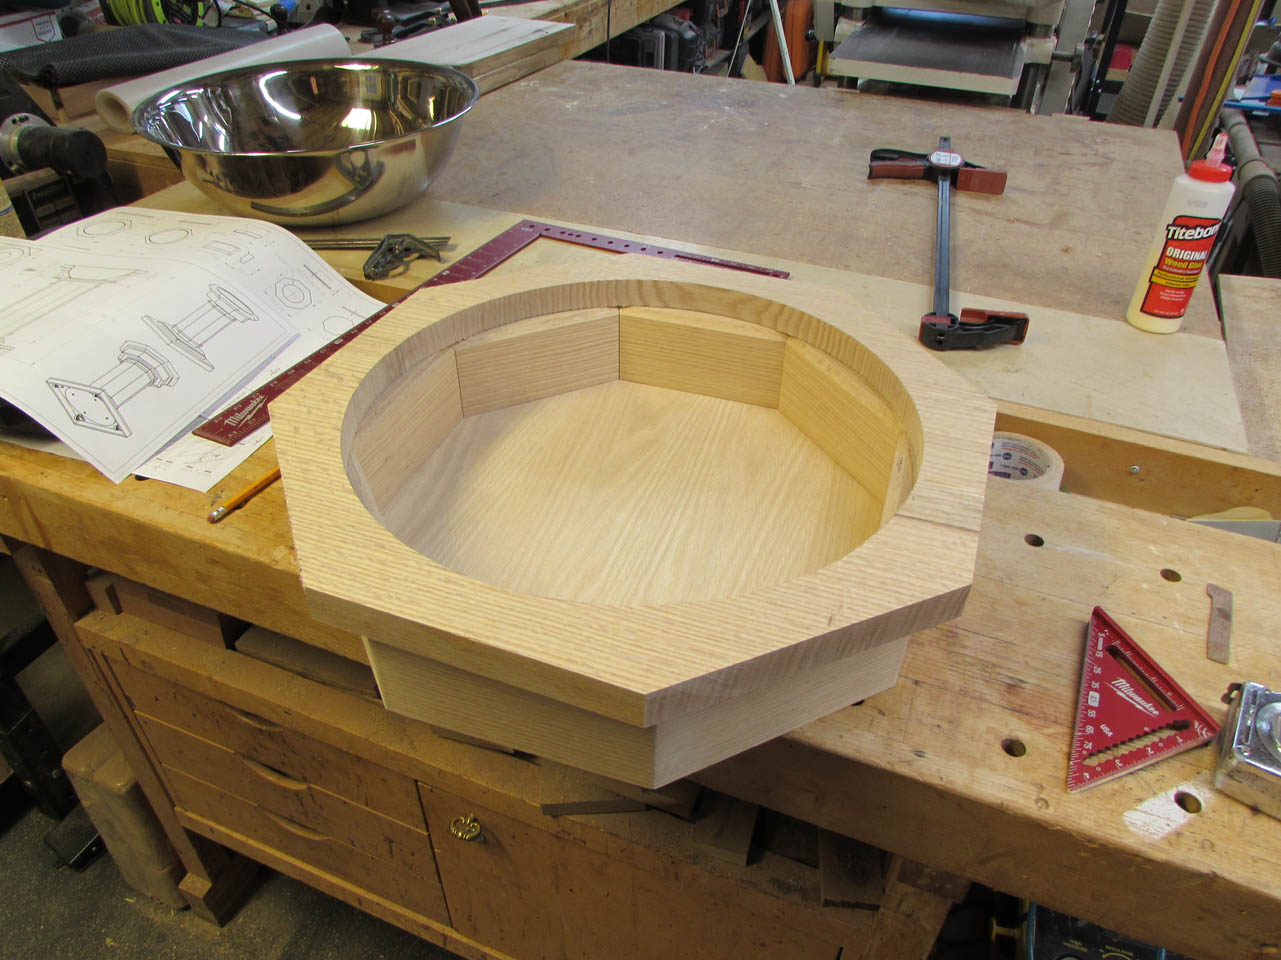
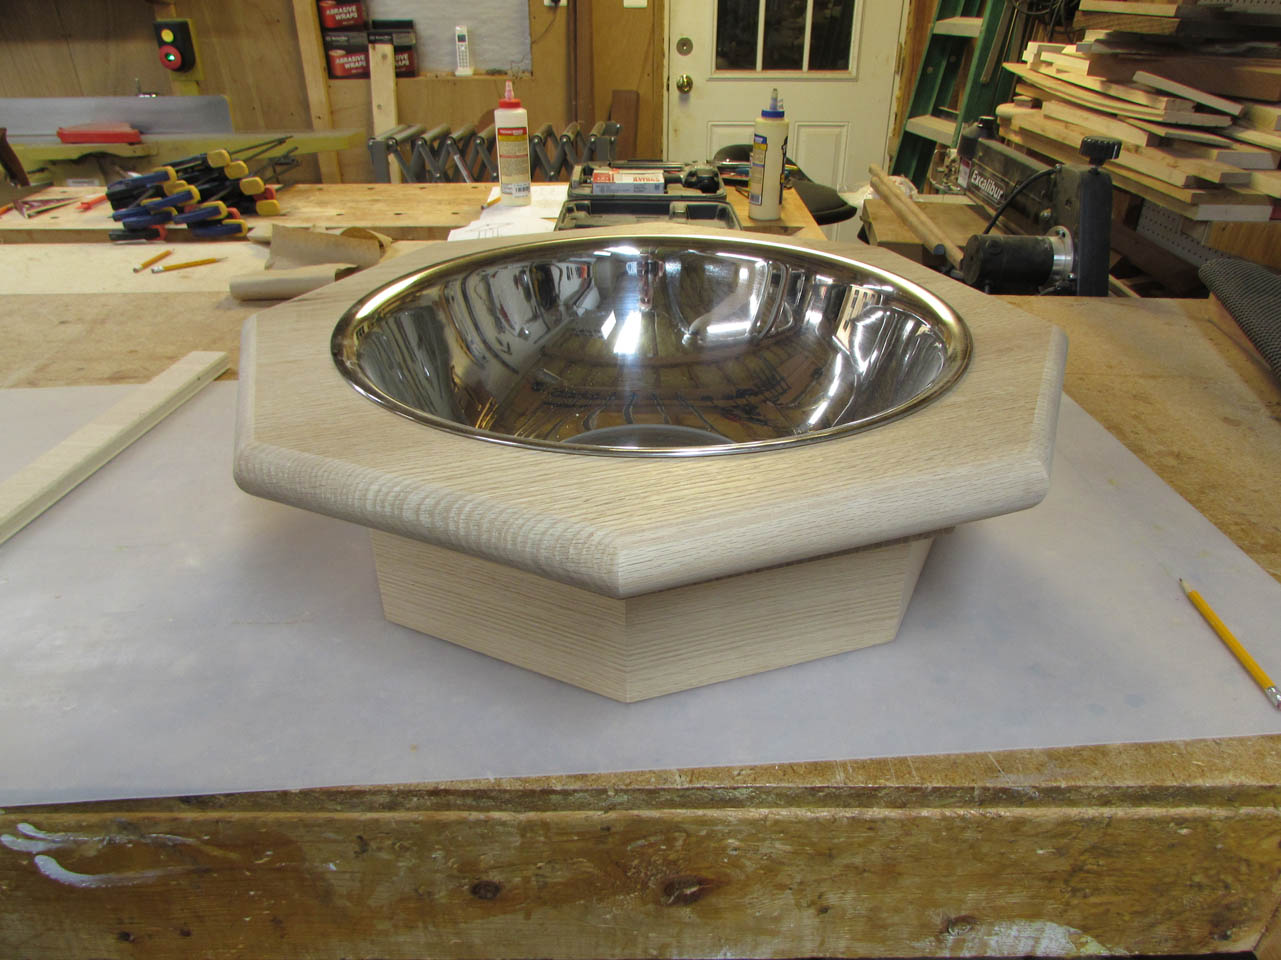
I did a dry-fit with the bowl in place to insure the circle was the correct dimension. I was a bit surprised that it was a perfect fit.

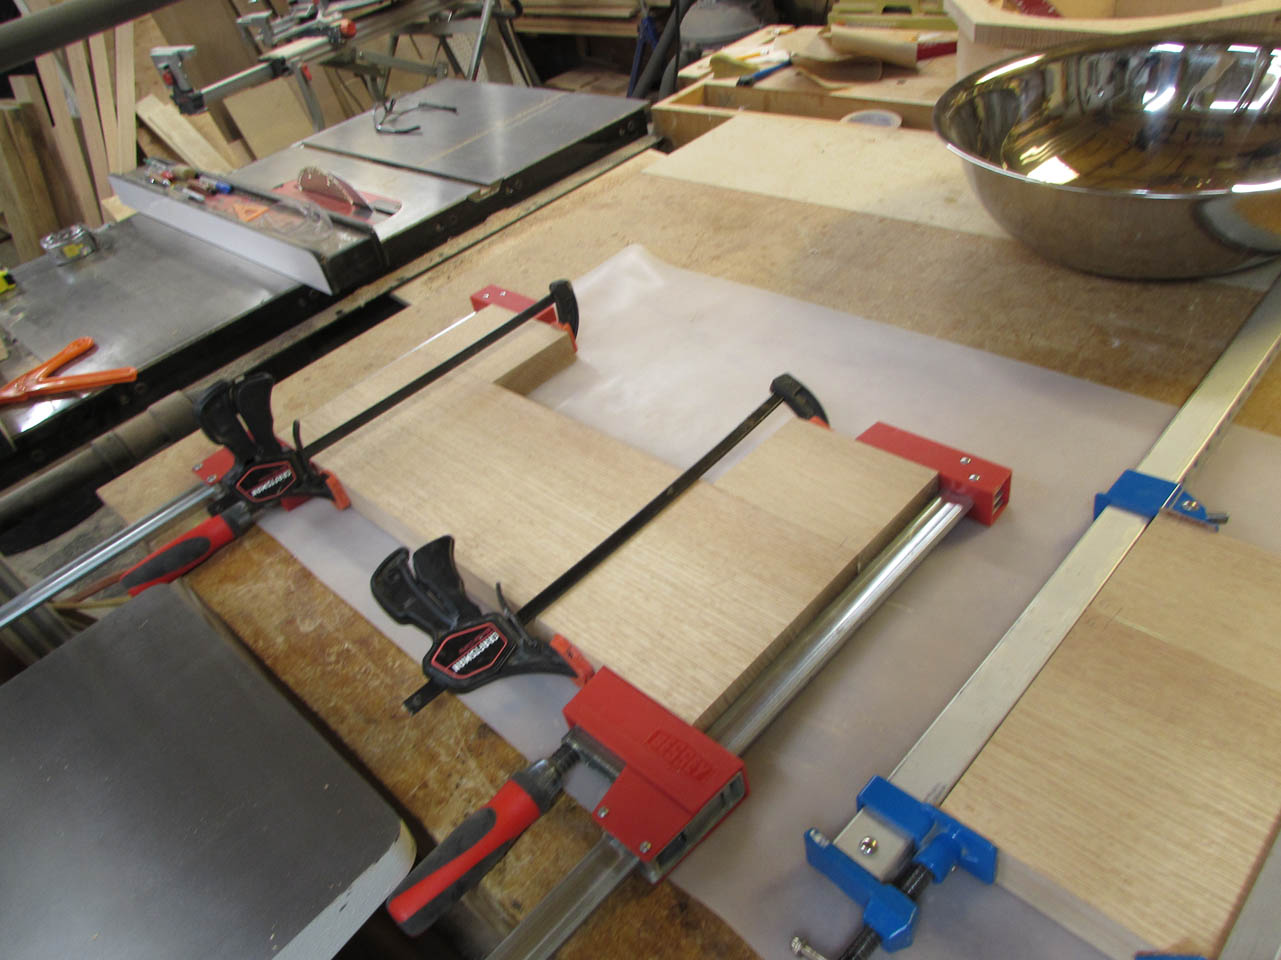
Then I pulled it apart and glued the two halves together.
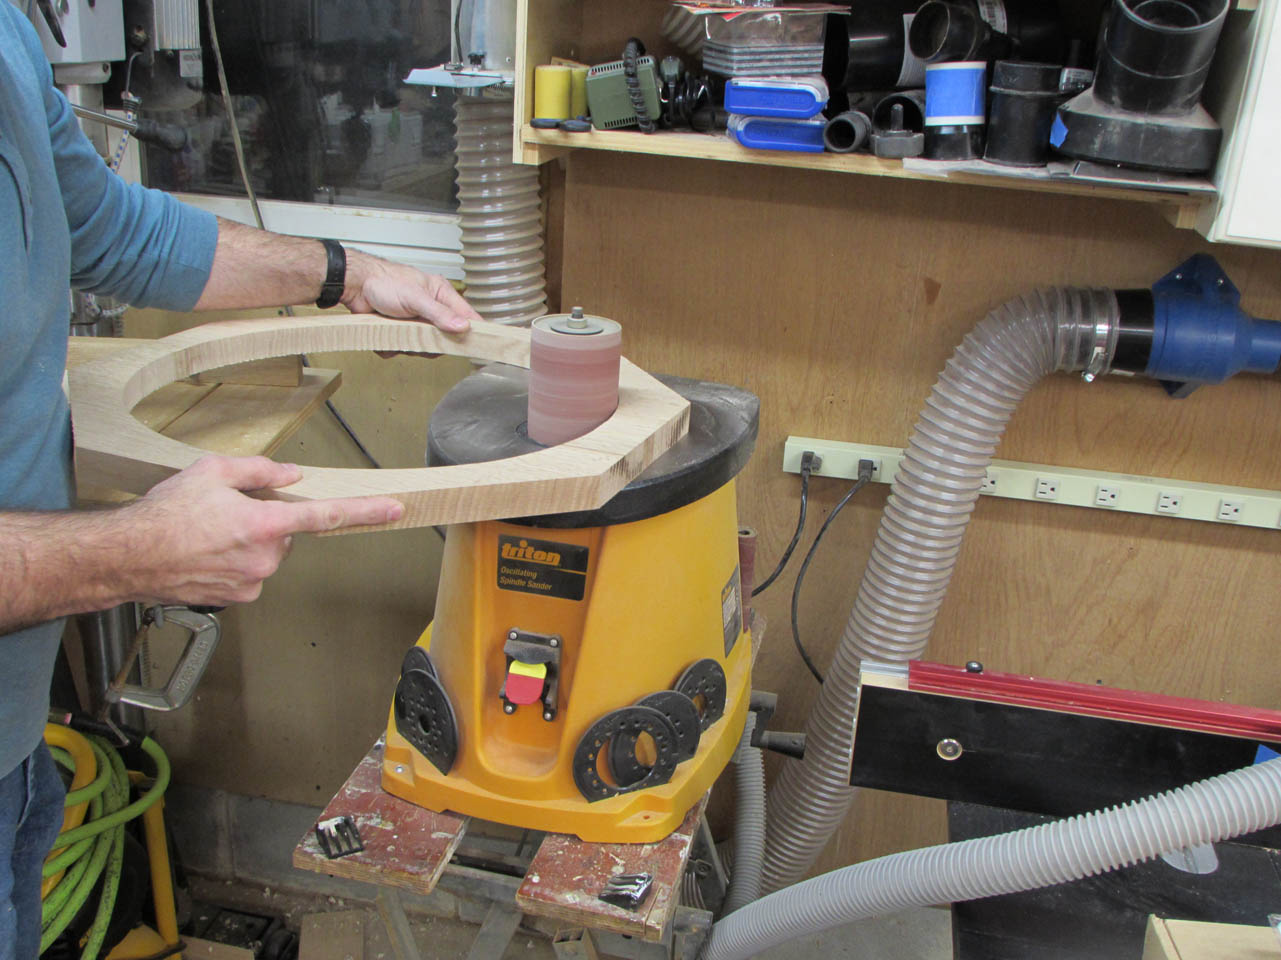
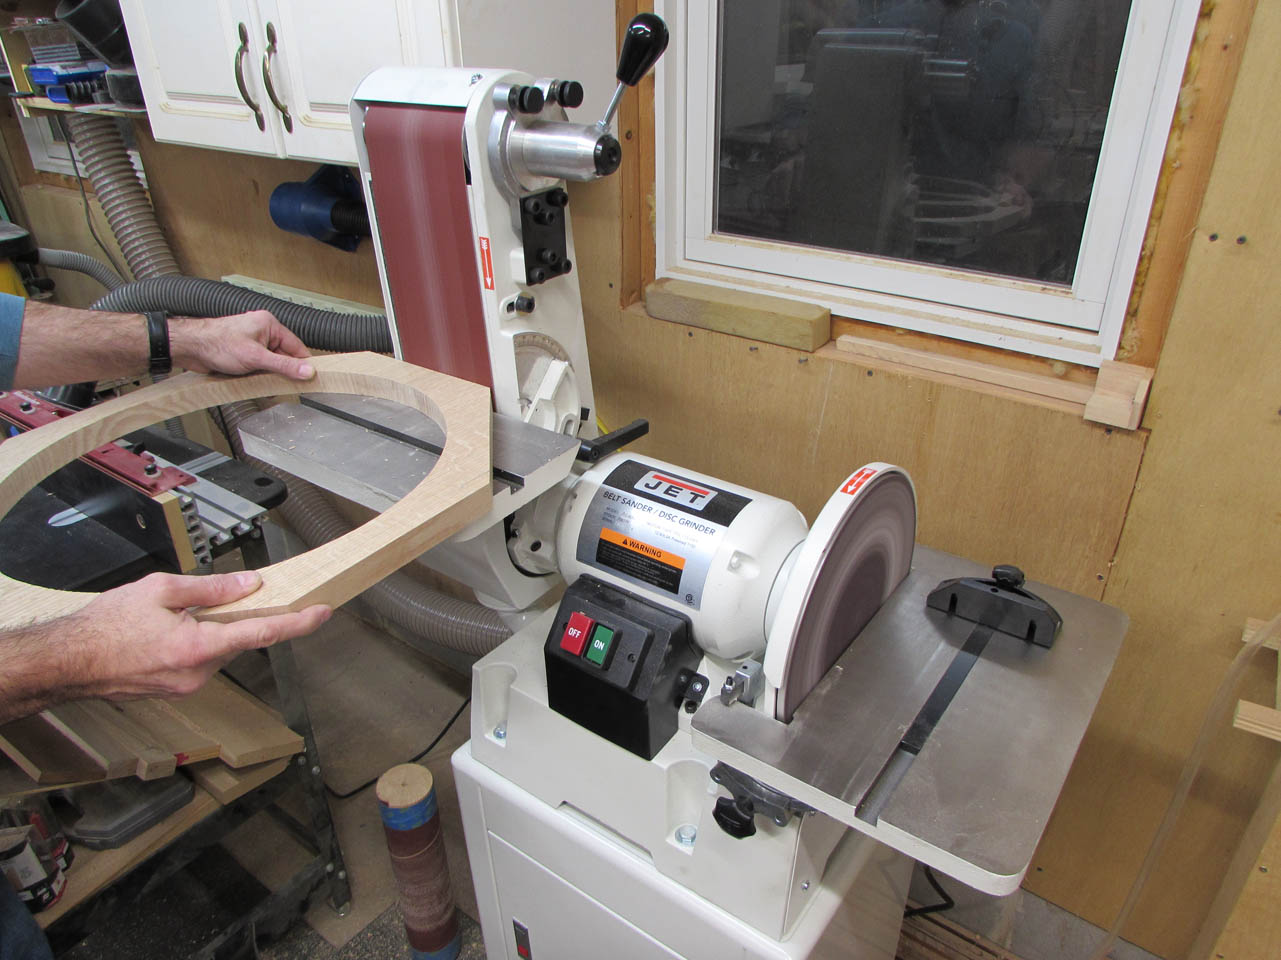
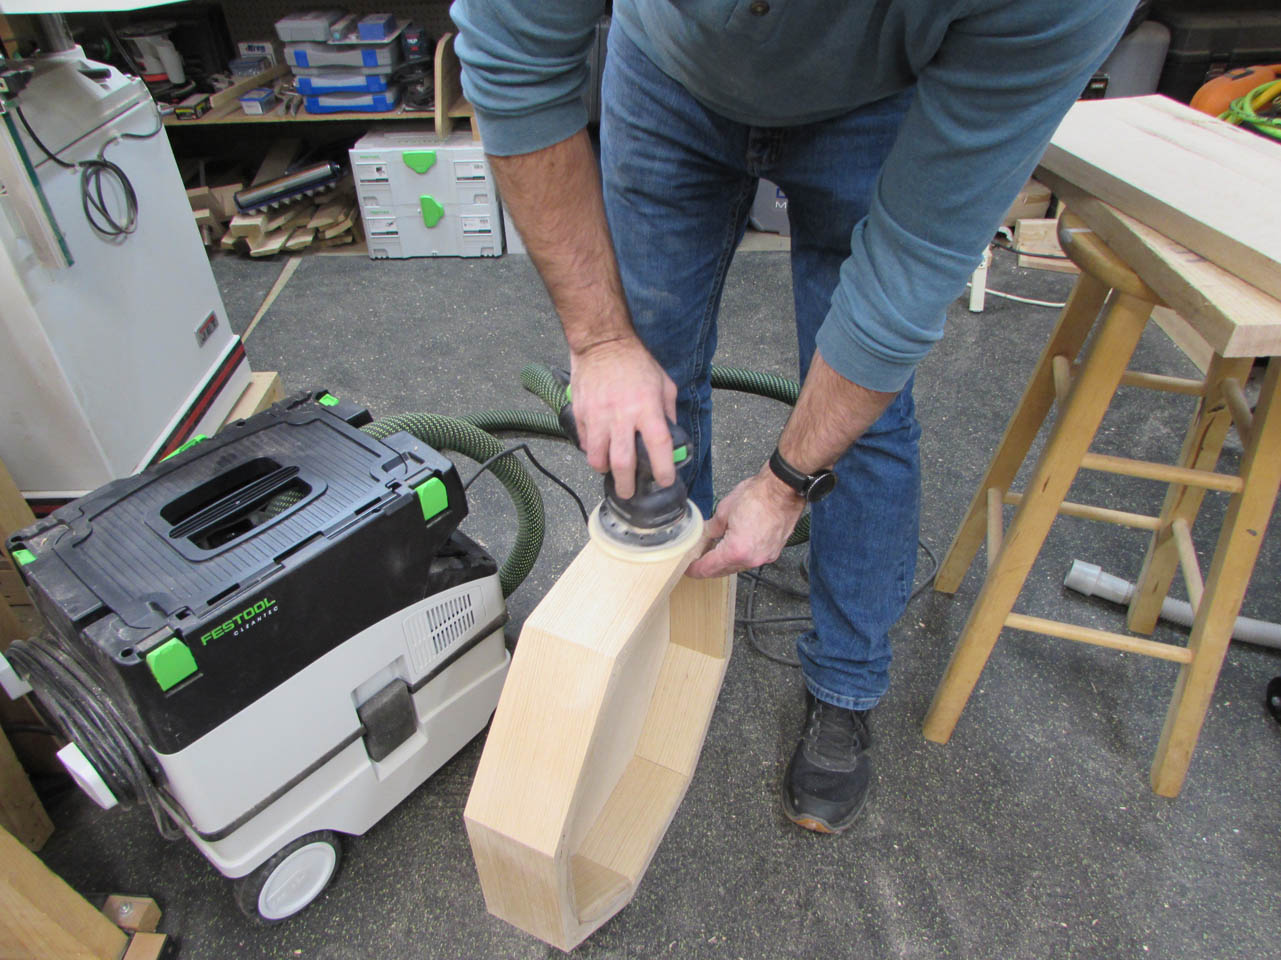
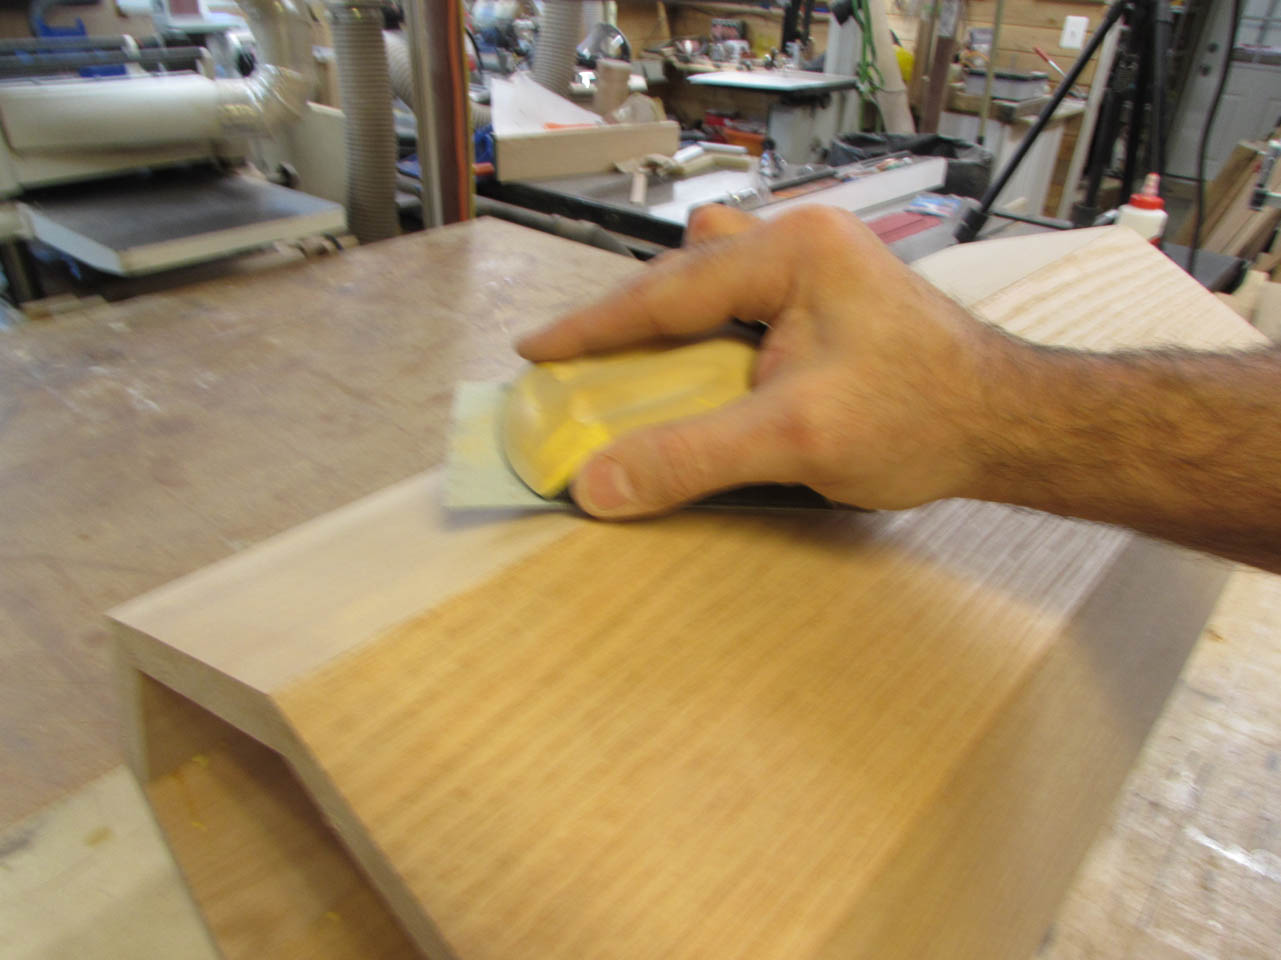
While that piece was drying, I grabbed the previous piece and started sanding. The inner circle was smoothed out with my spindle sander and I cleaned up the edges with my new disc\belt sander.
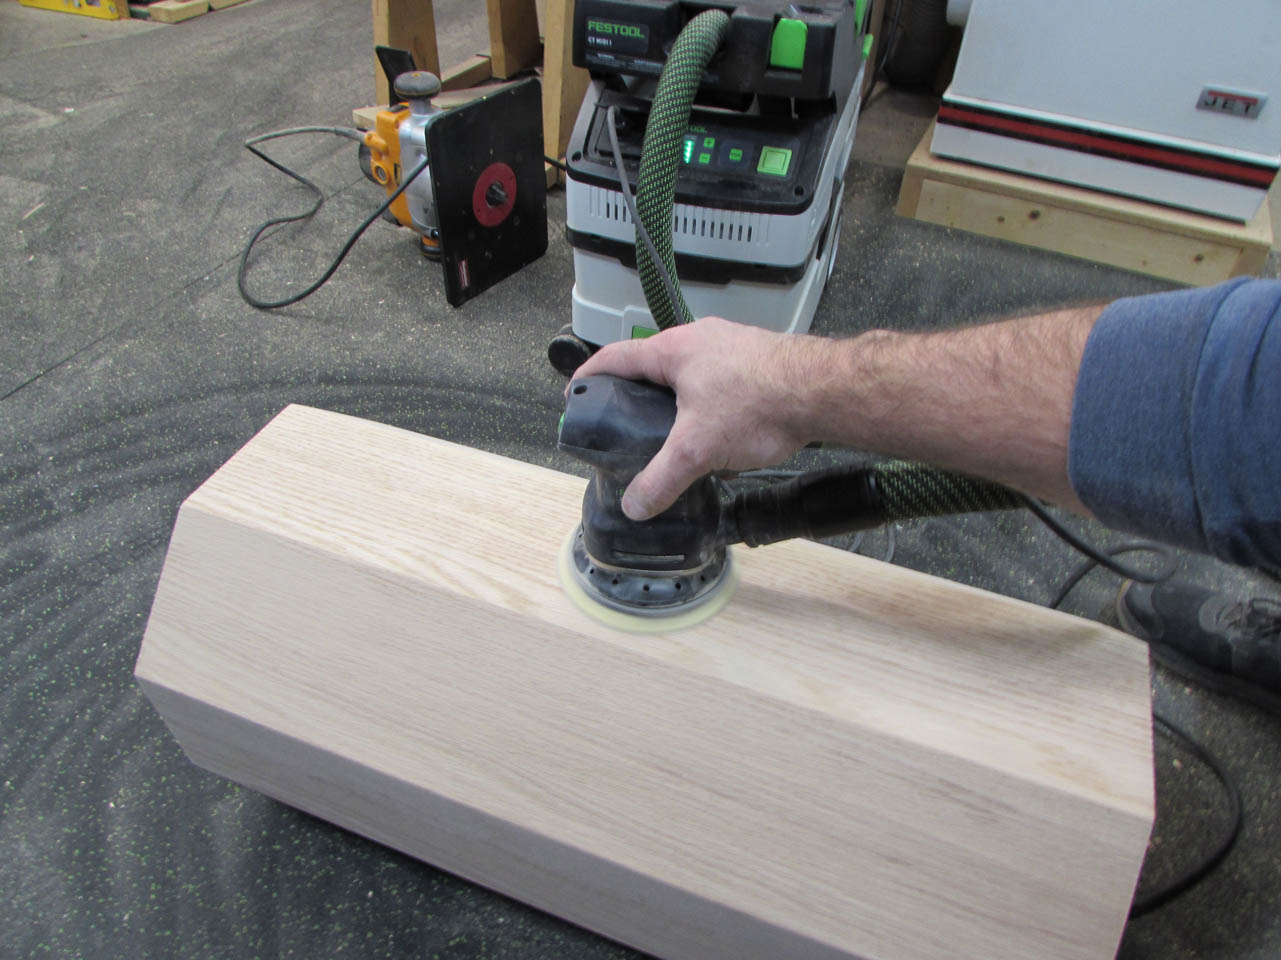
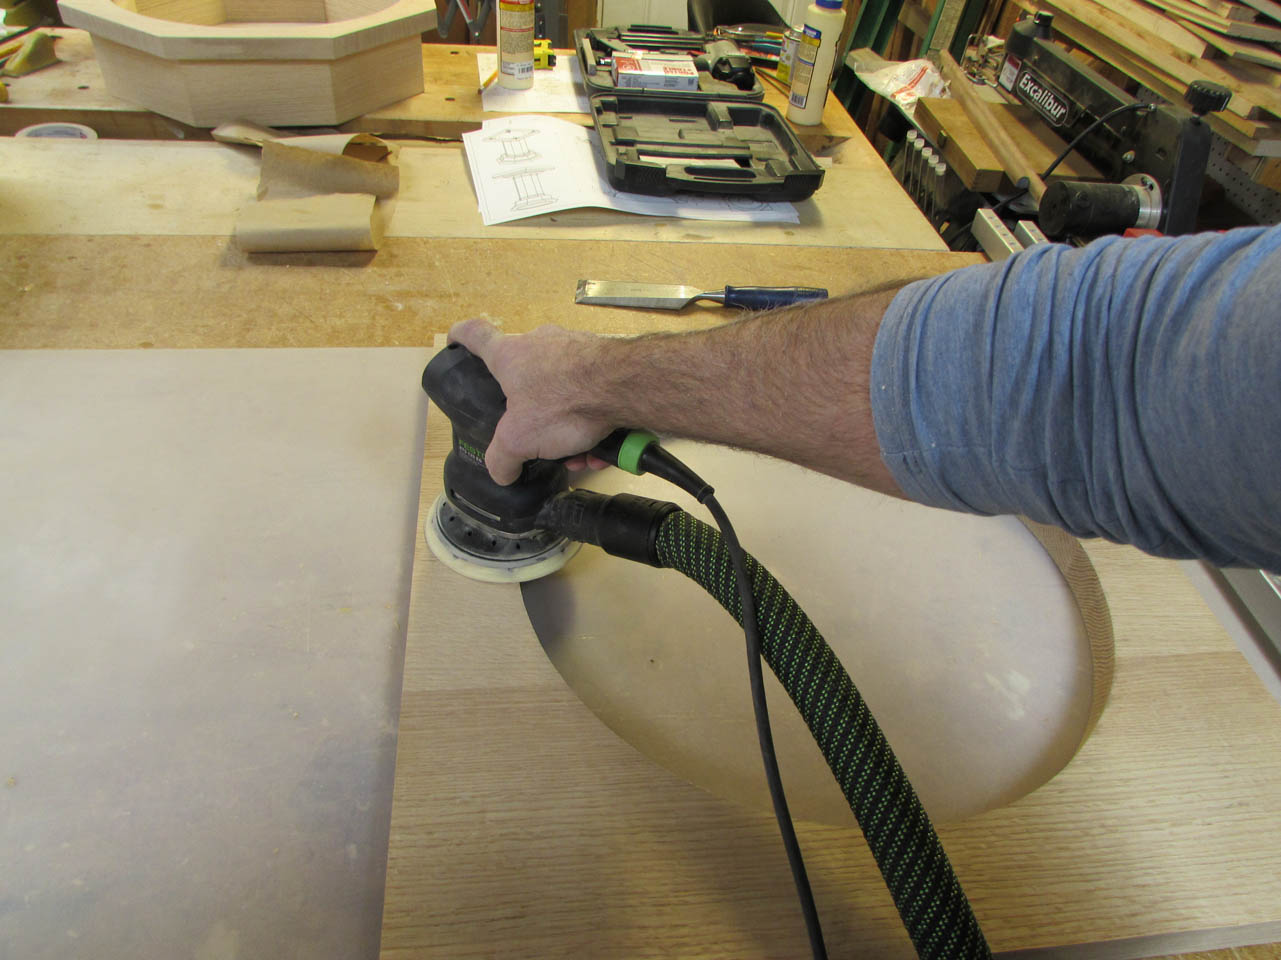
That didn’t take too long so I sanded down the base of the top section with my orbital sander.
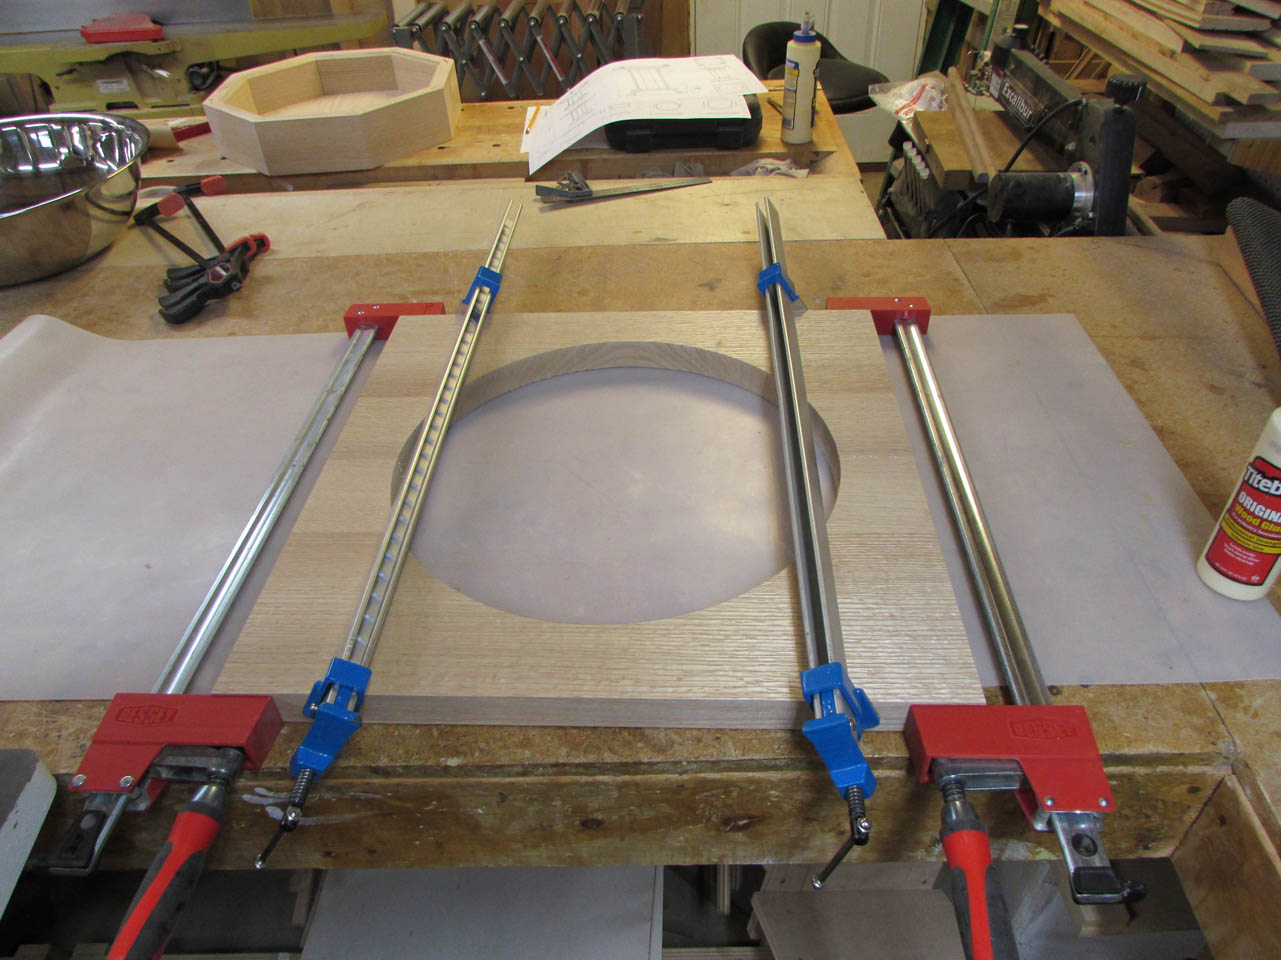
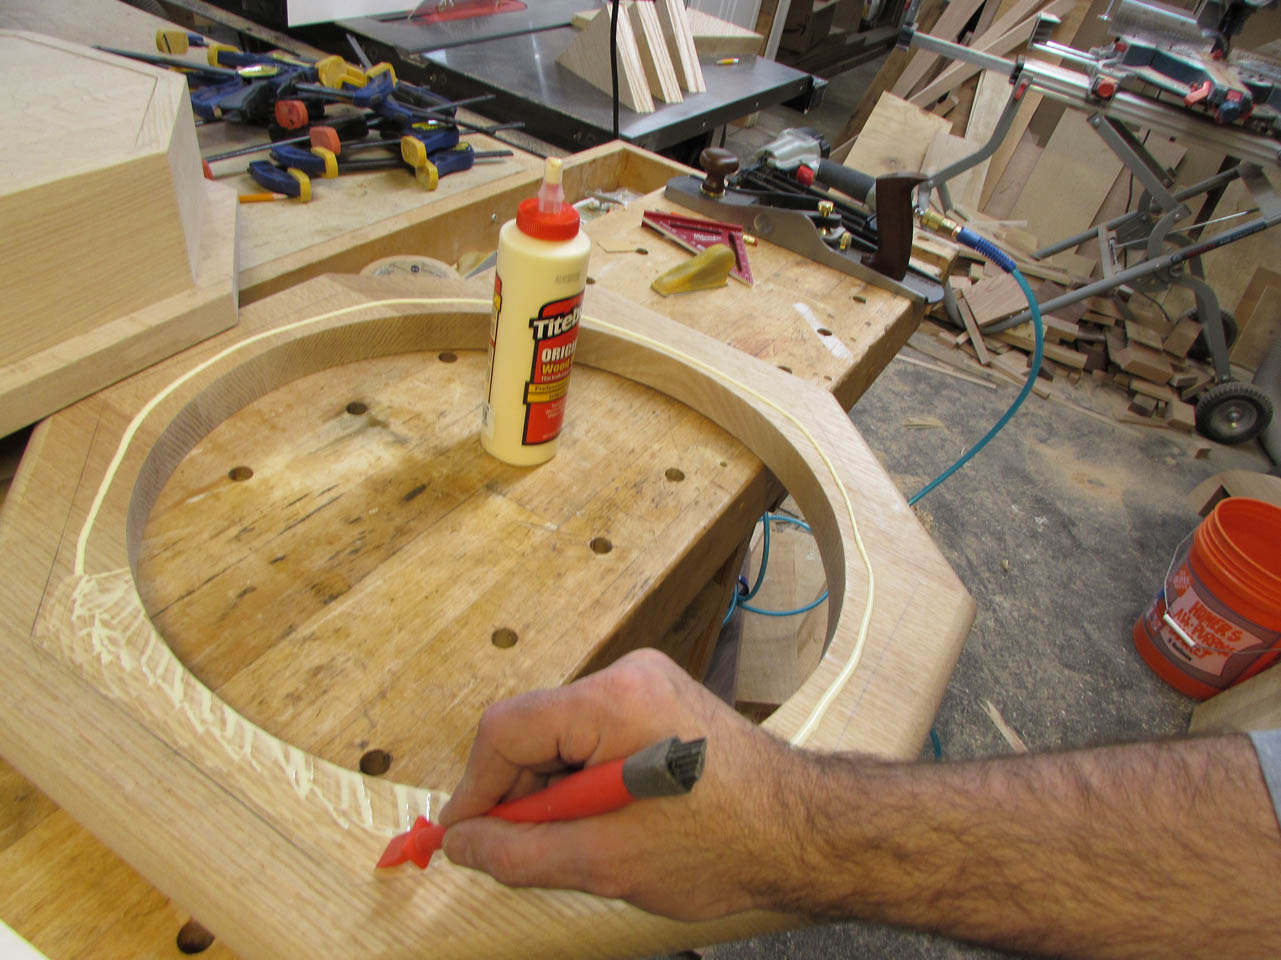
I assembled those two pieces and marked the location of the circle.
This gave me a boundary for the glue to stay behind while I was spreading it around.
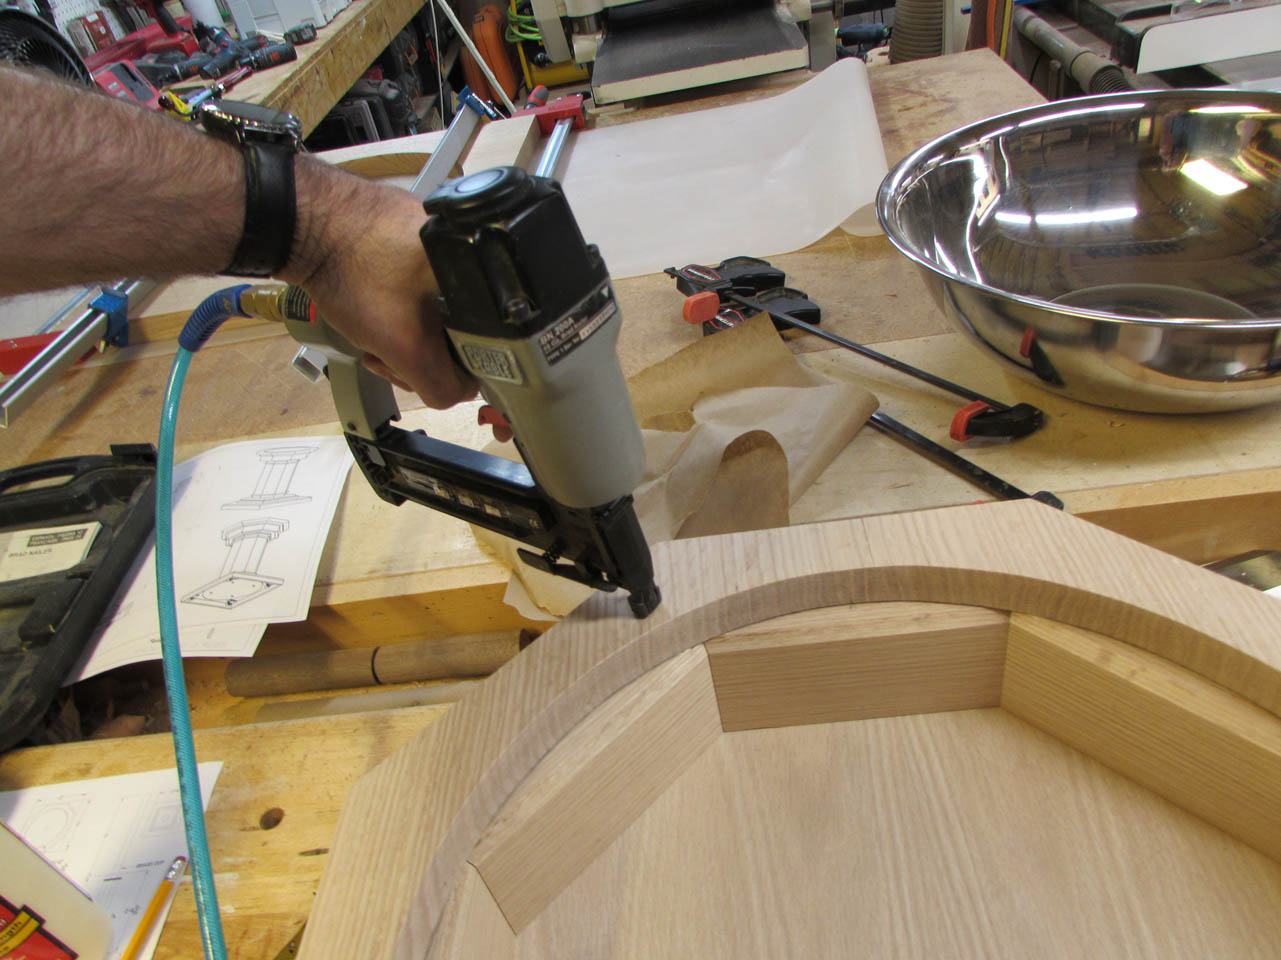
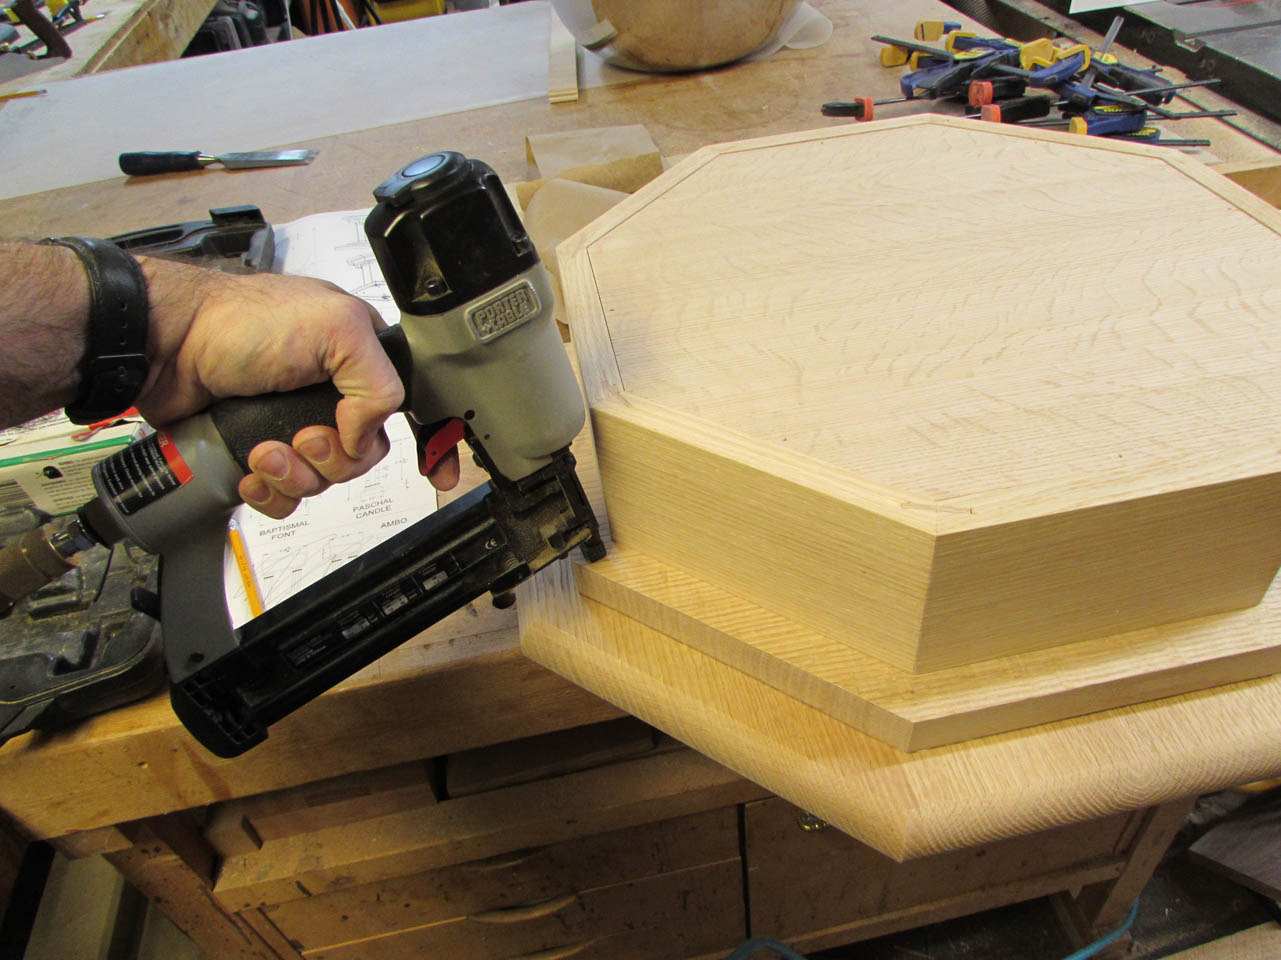
Next I attached the mid-plate (there, I gave it a name) with some brad nails and clamps.

By this time the top plate was dry and I could sand it down as well.
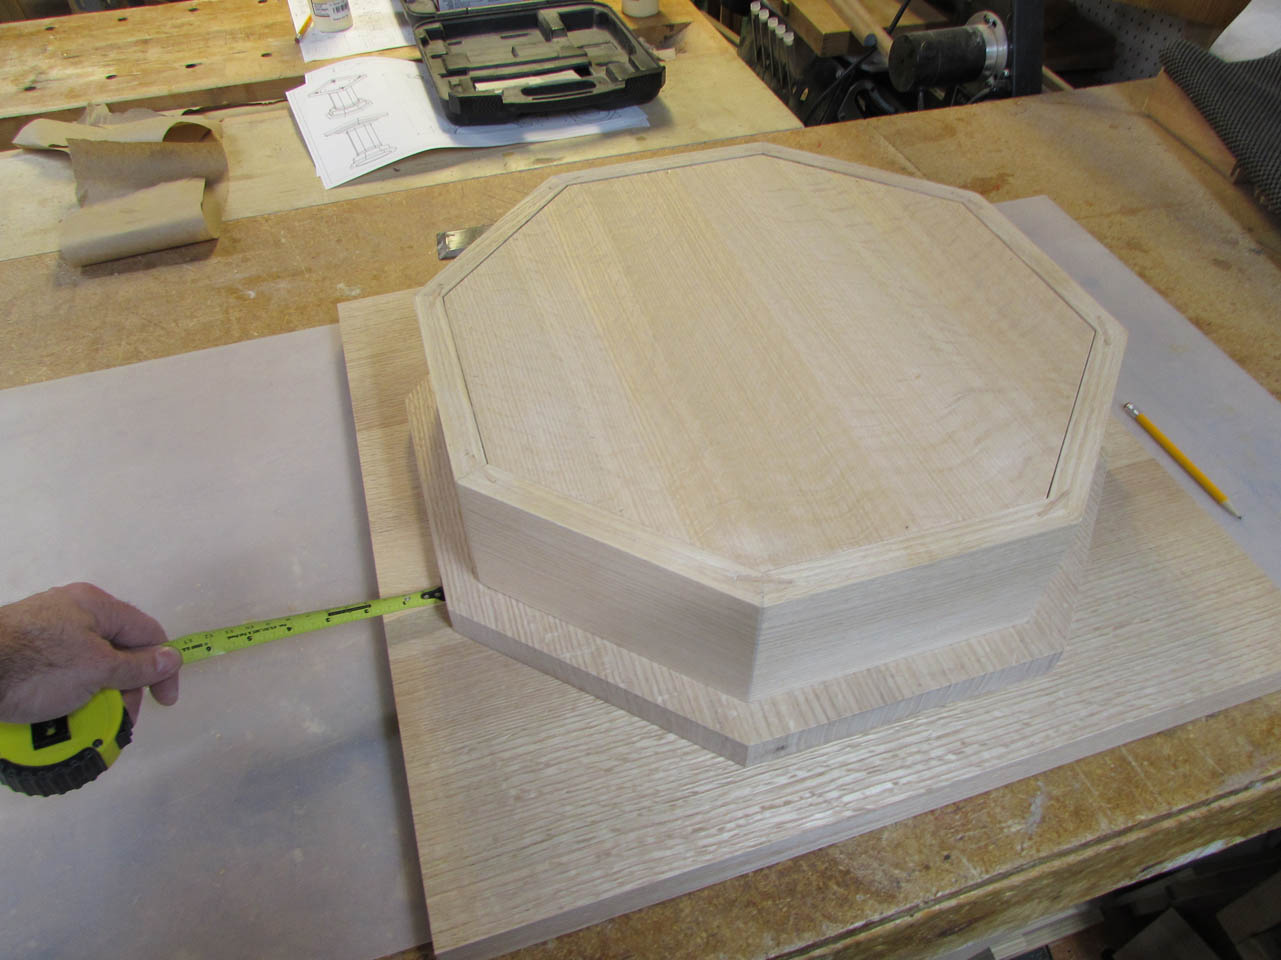
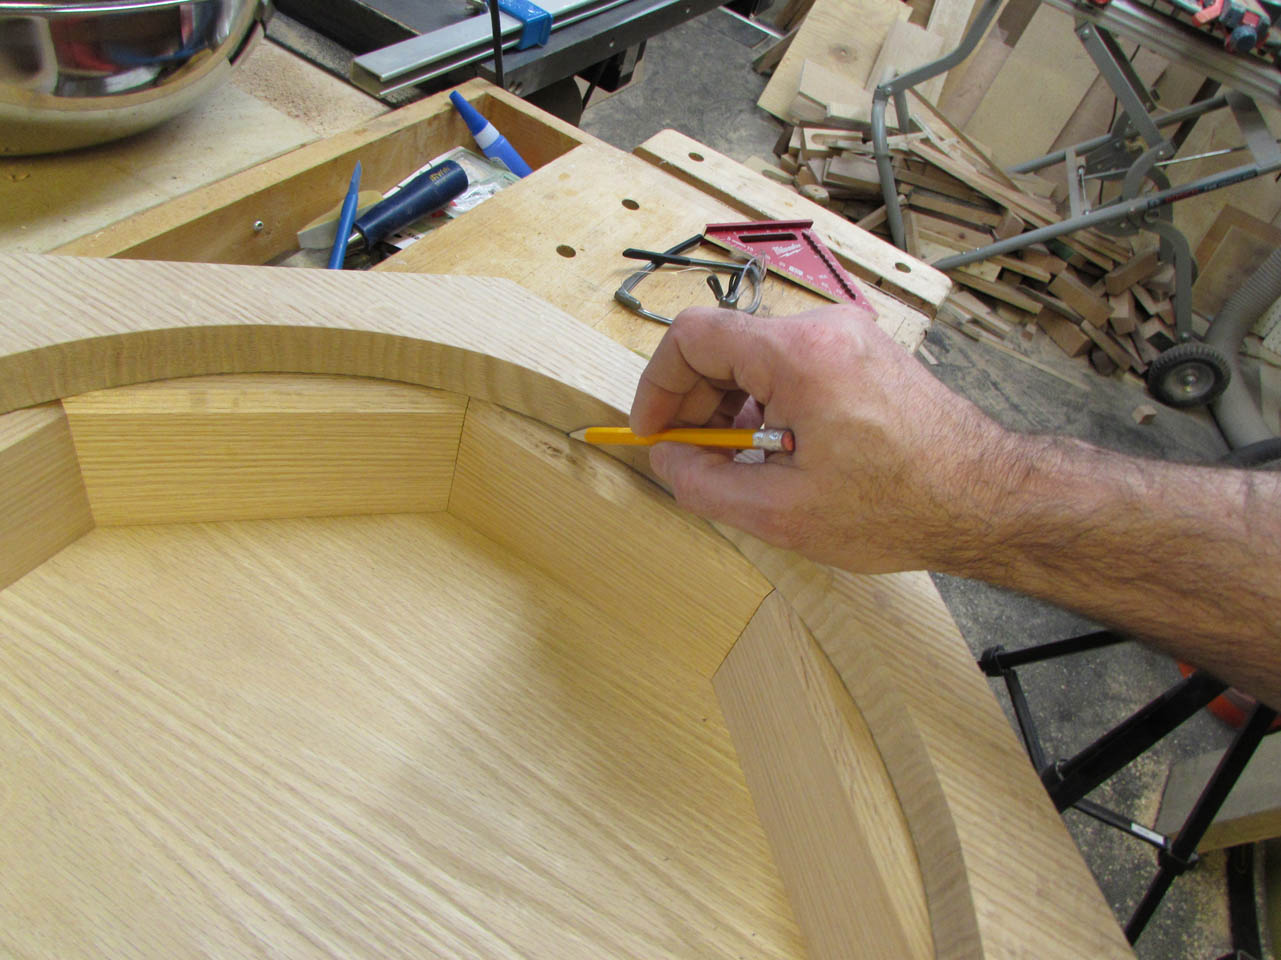
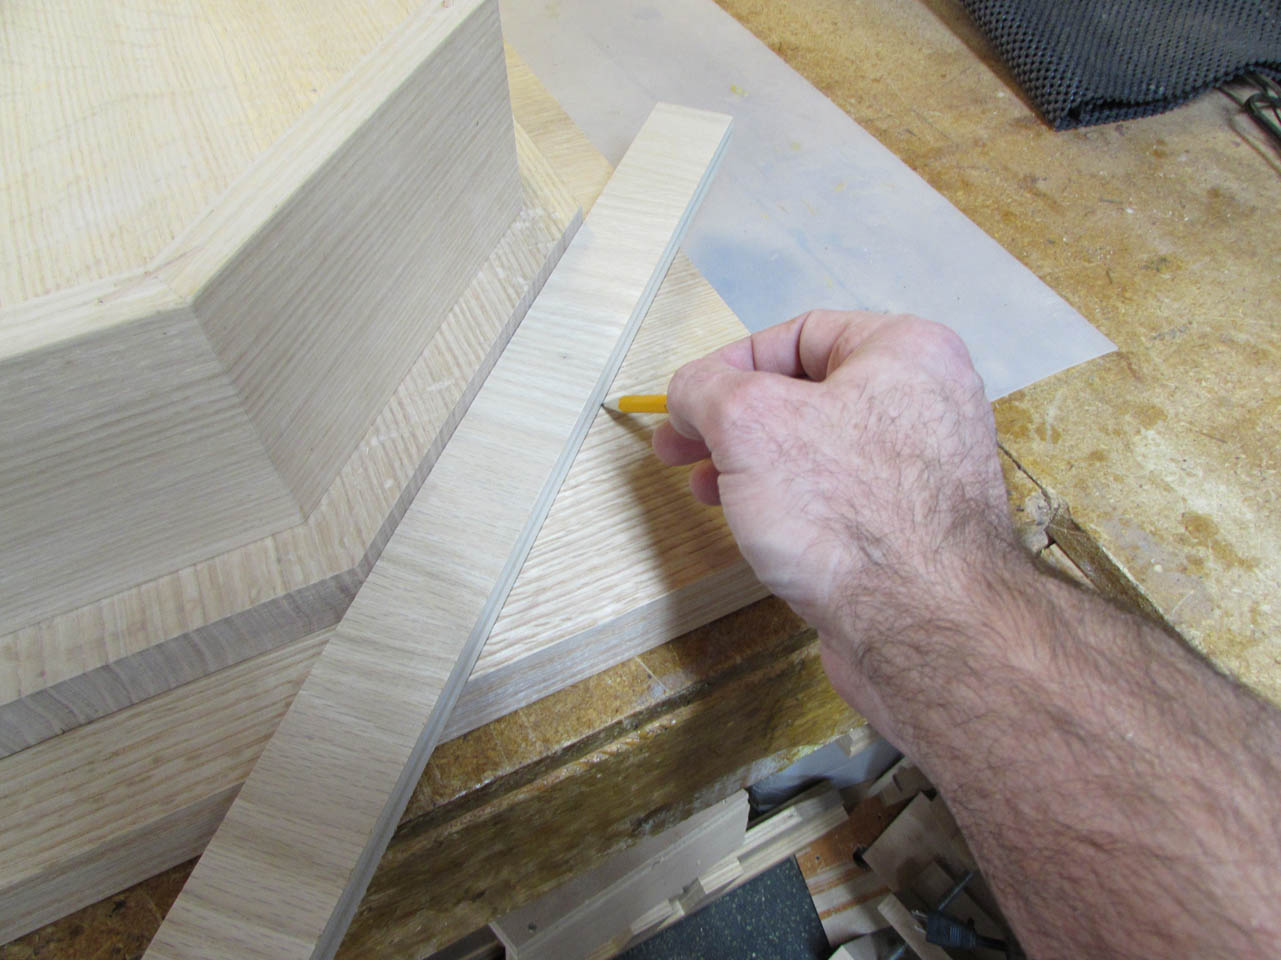
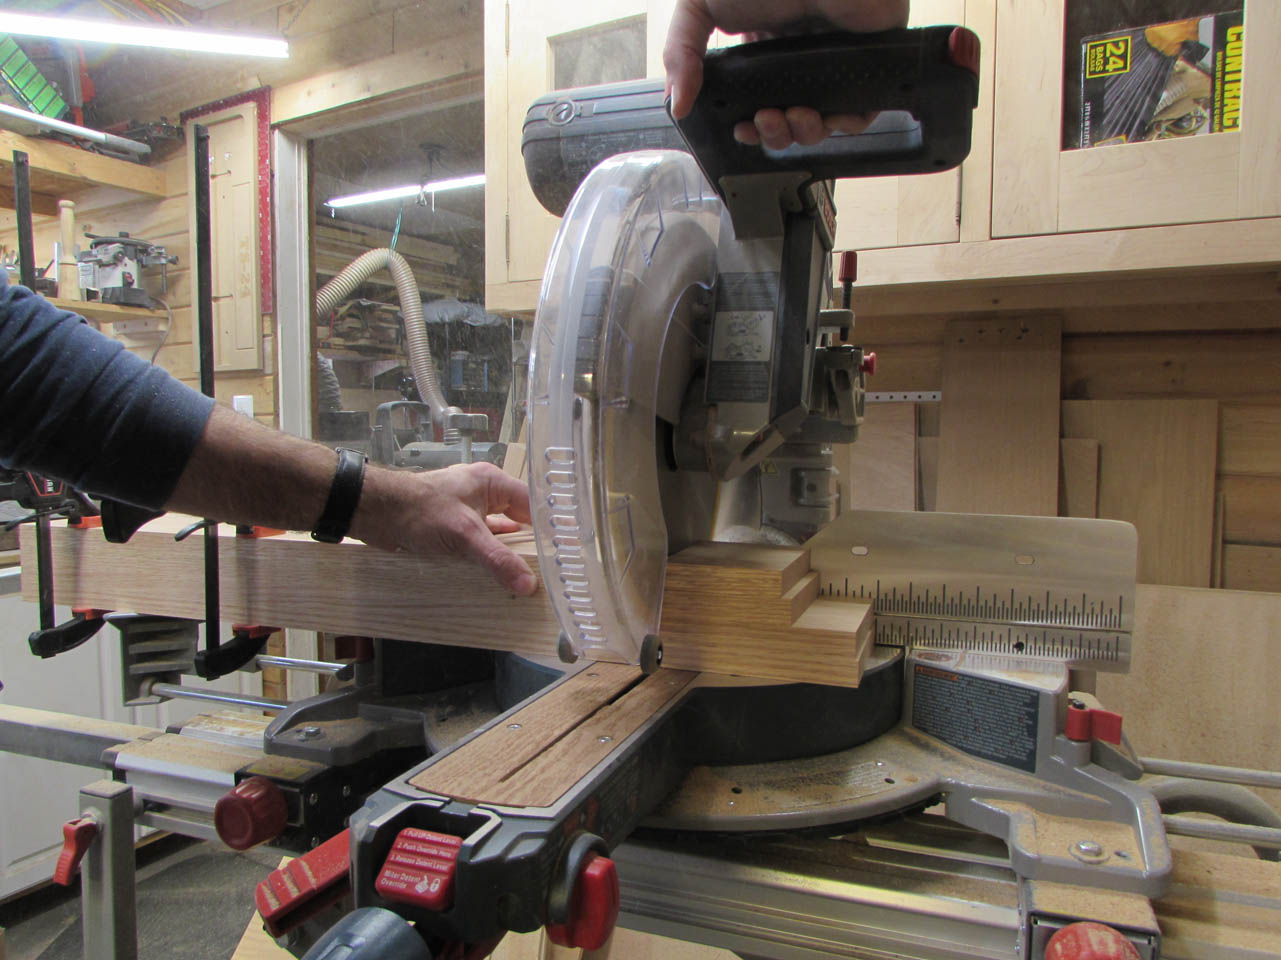
To mark the corners, I centered the bottom section on the top plate and cut a scrap strip to the width from the edge of one piece to the edge of the other (about 1-3/4″).
I then used this strip to mark the 45° corners.
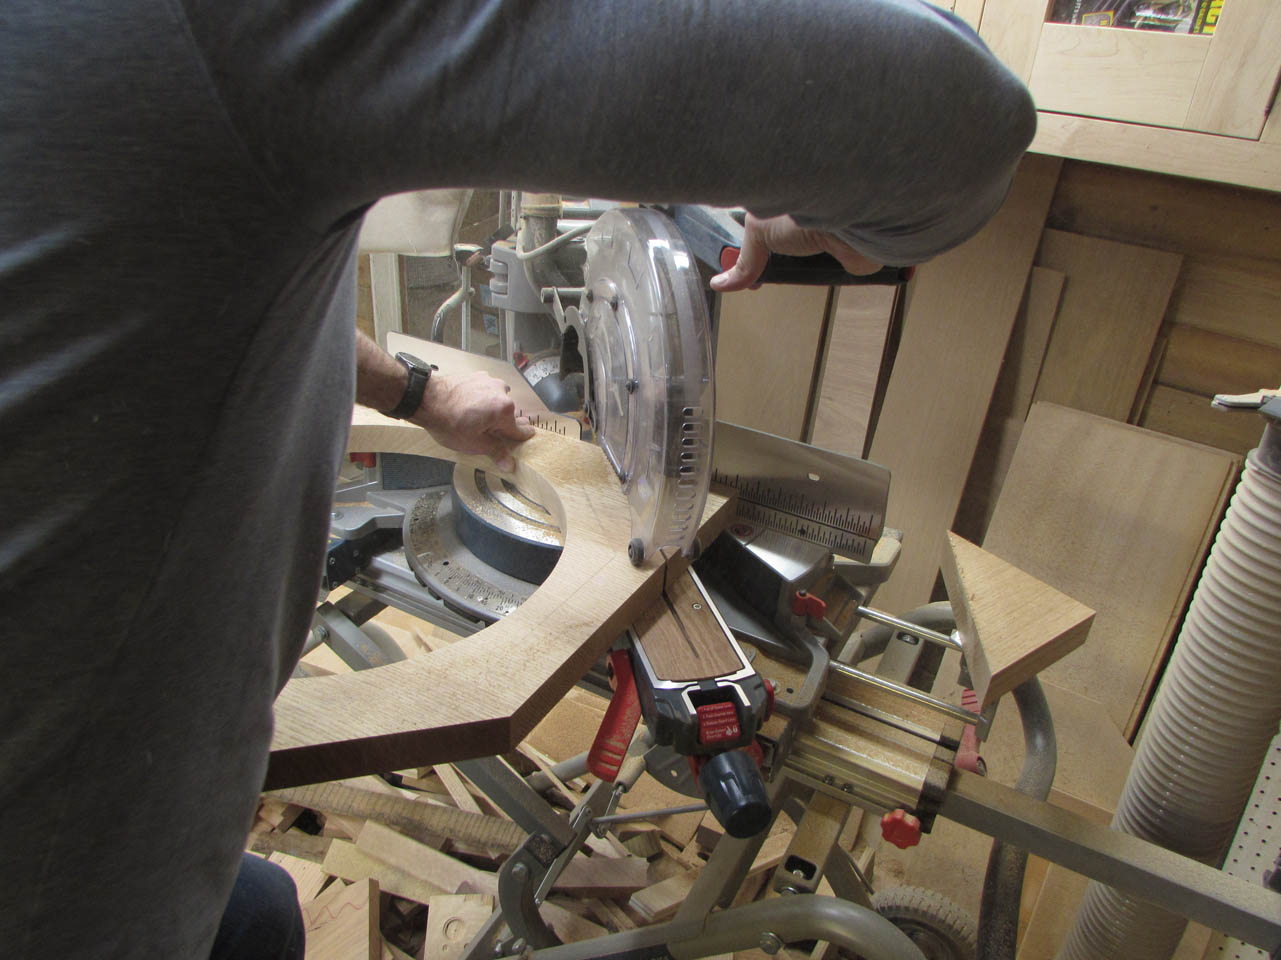
Then I repeated the corner chopping process, still not seeing the clamp just sitting there. I elected to use my gut and thigh to assist with stabilizing the plate instead.
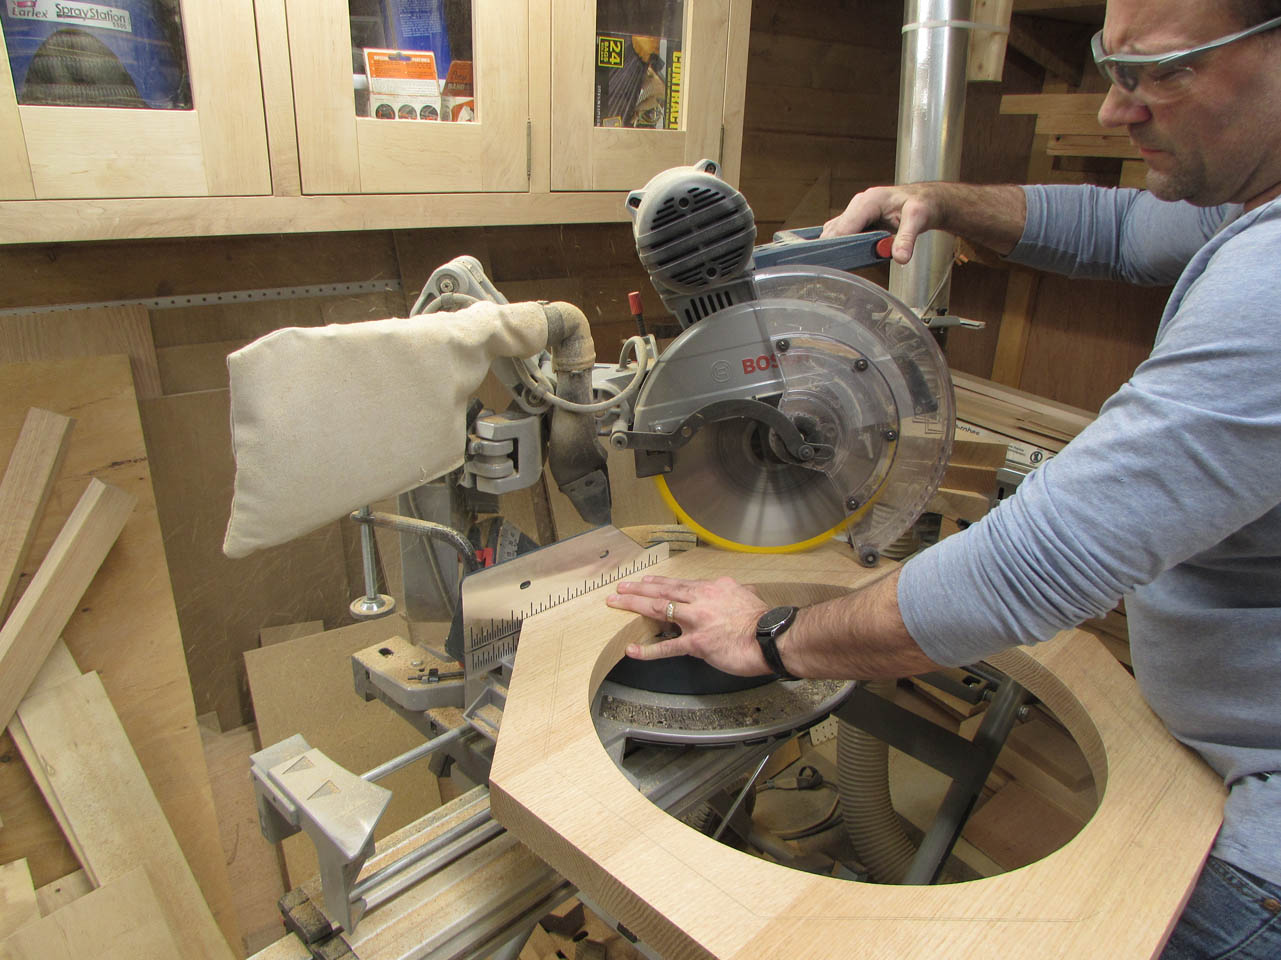
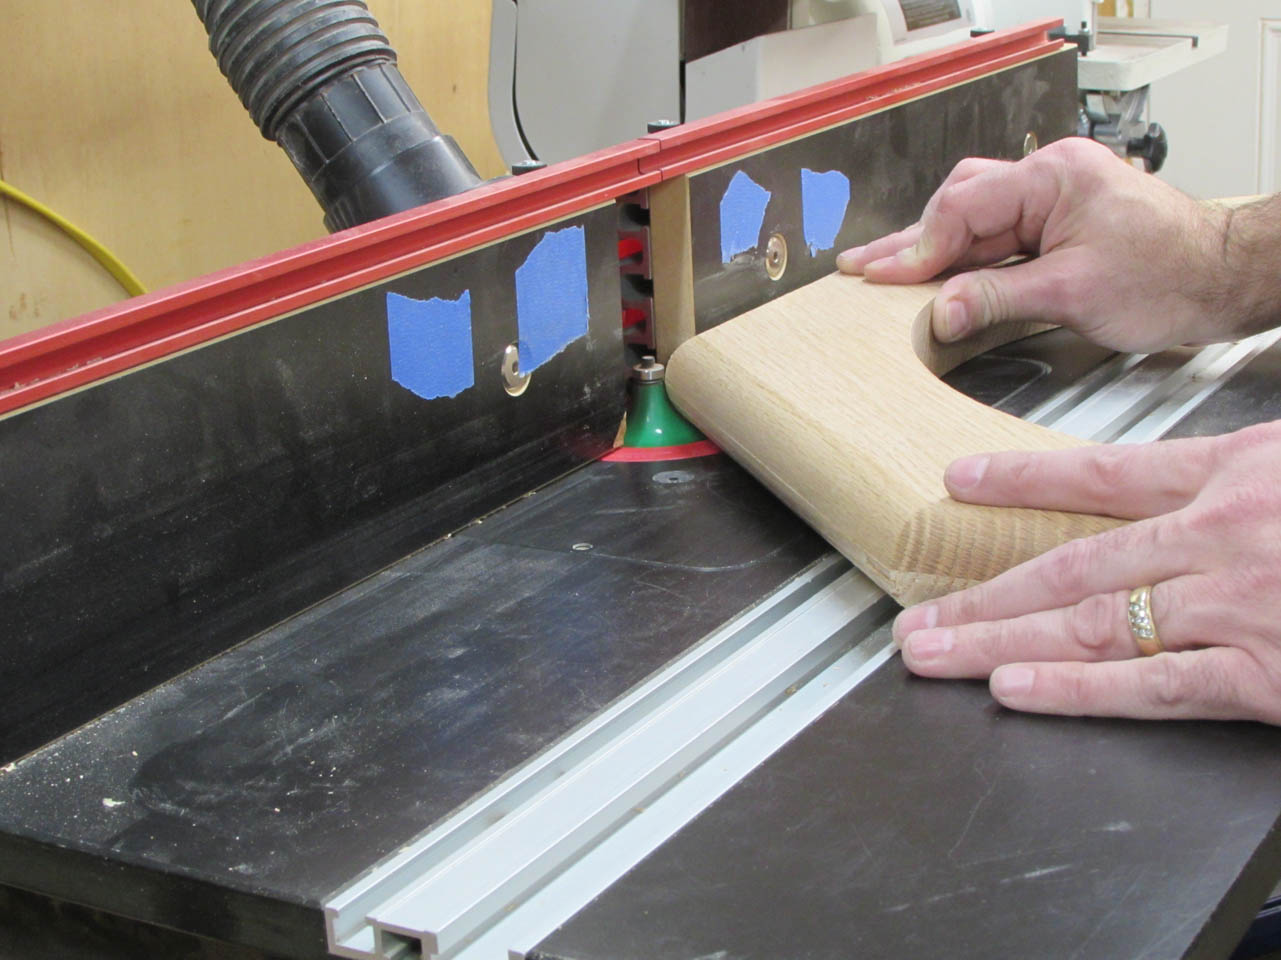
Turned out pretty good. The next step was to set up the 3/4″ round-over bit in my router table and raise it about half way up to make the first pass to the top and bottom.
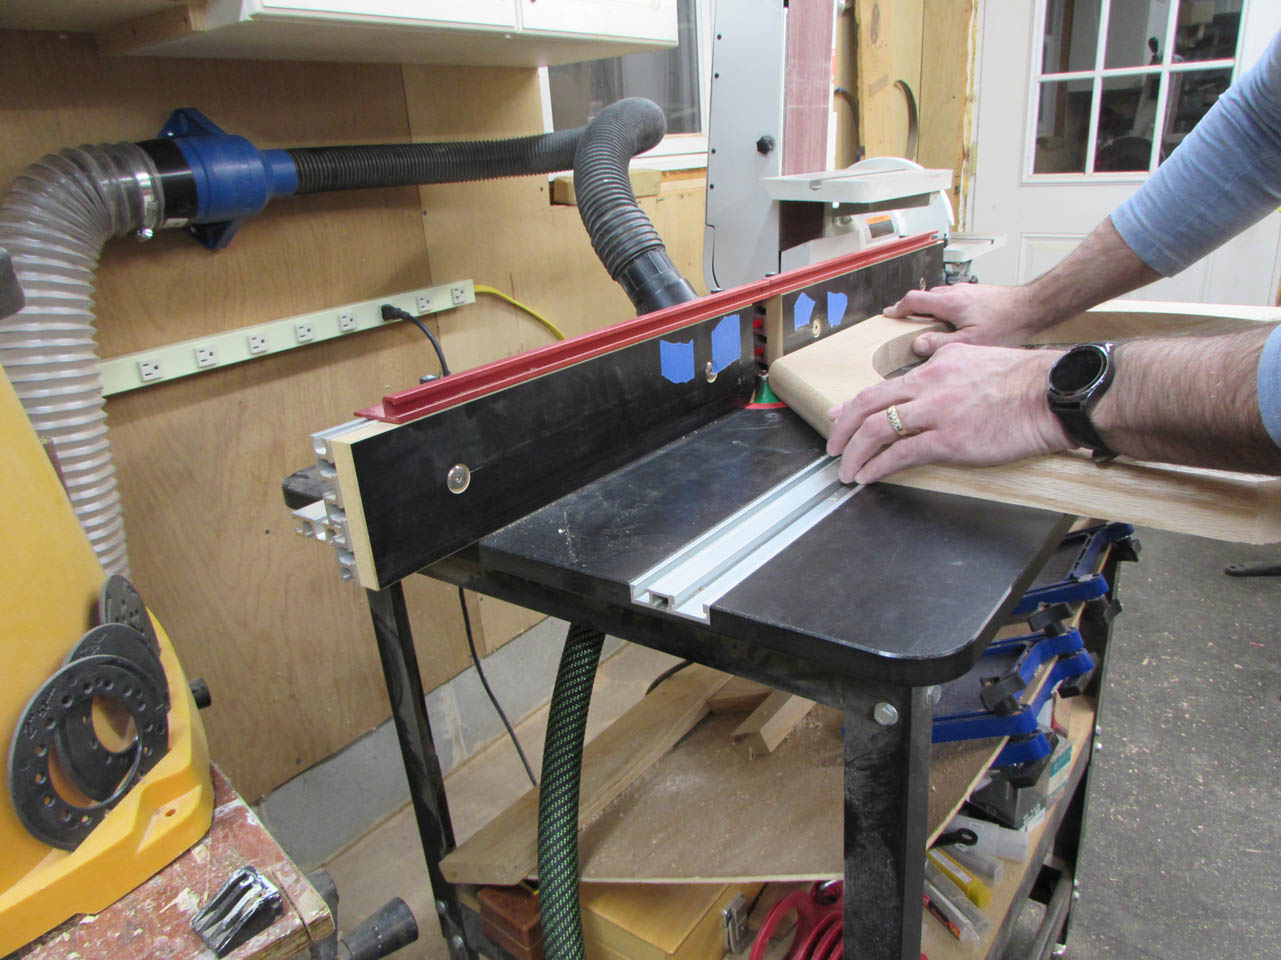
Then I raised it to make the full cut and ran it through again.
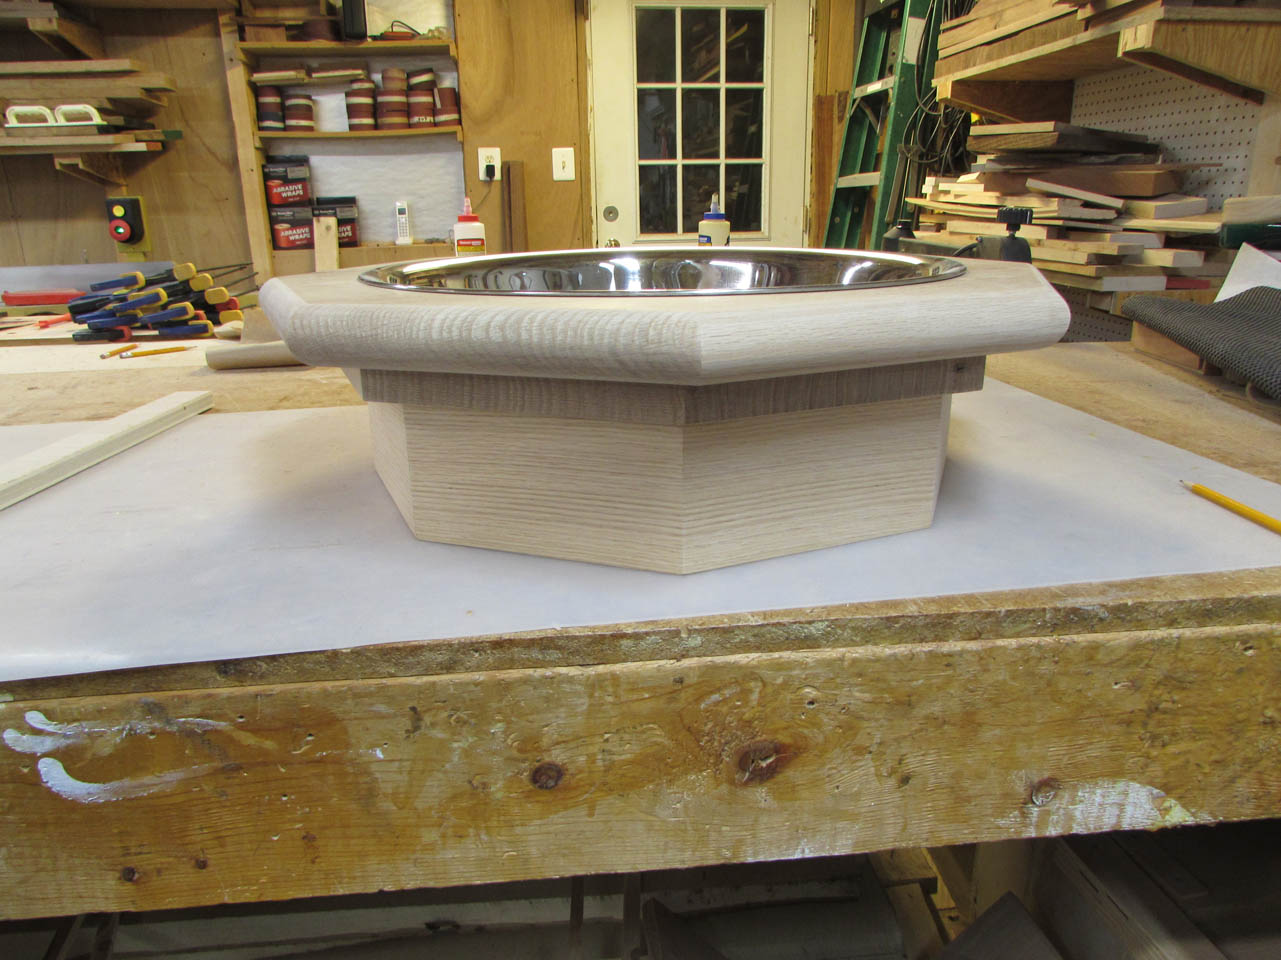
After a little sanding the top plate was done.
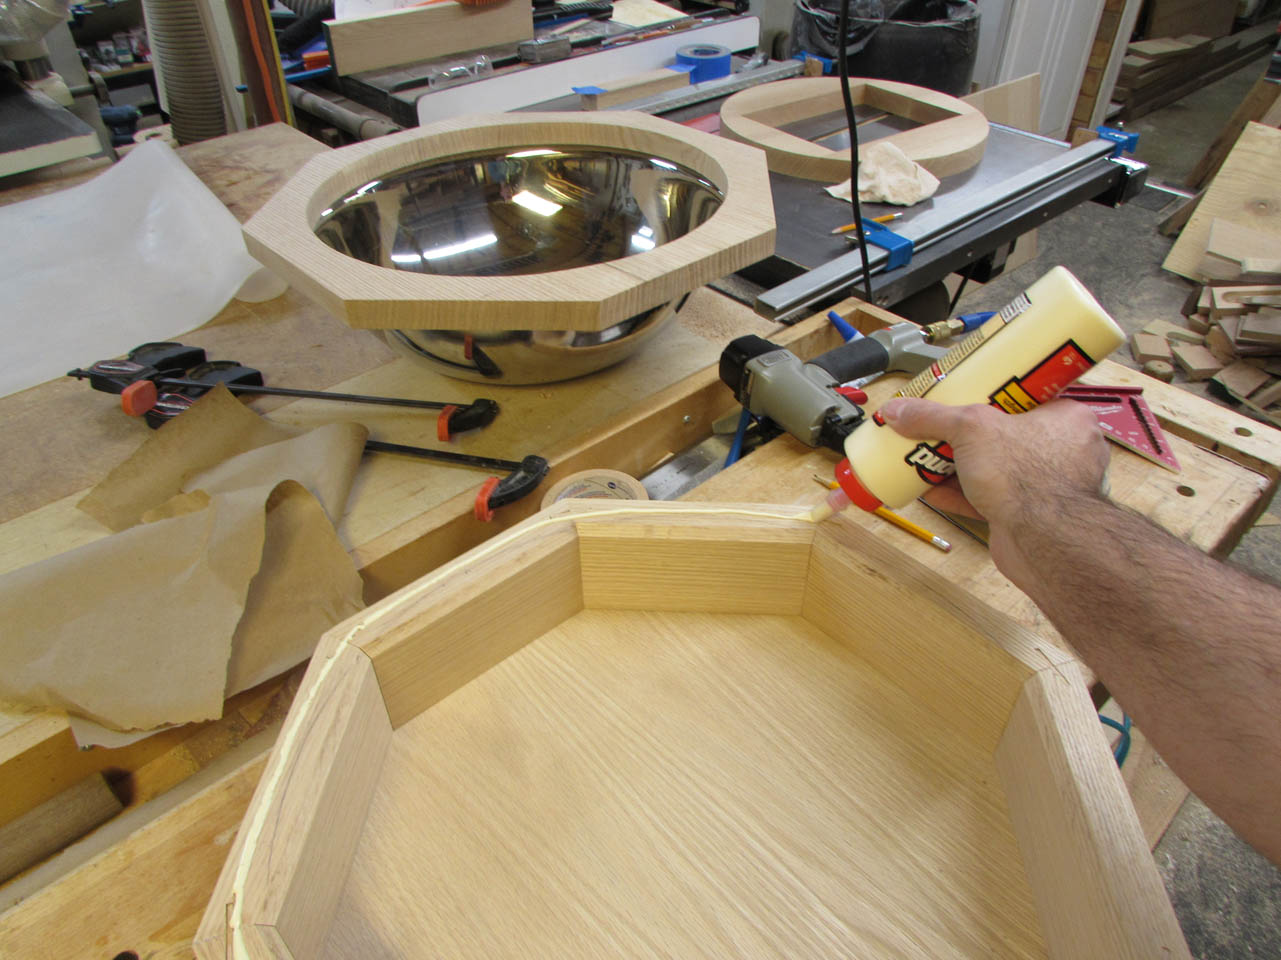
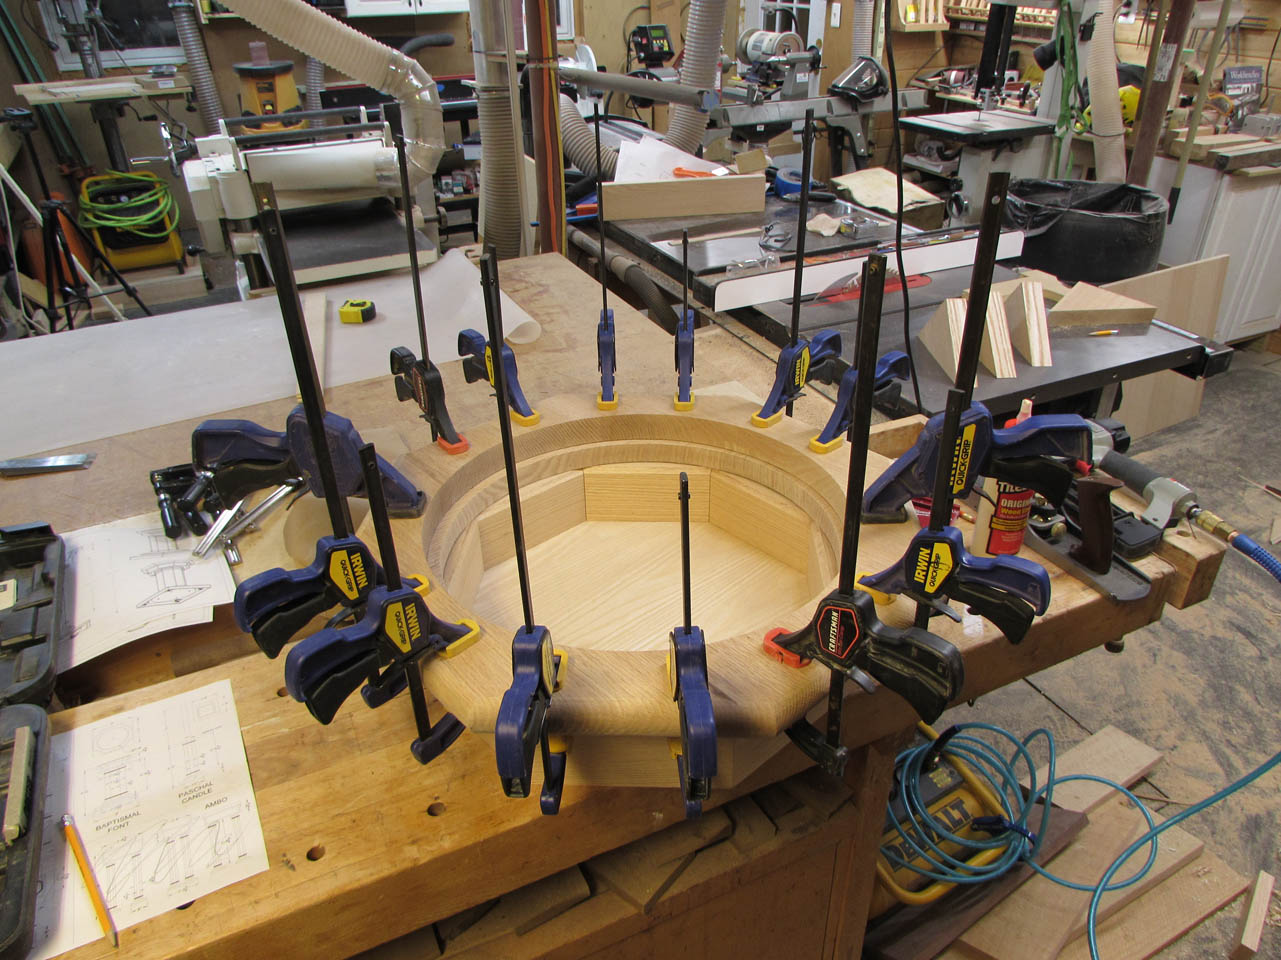
I centered the top and marked the location so I could spread the glue.
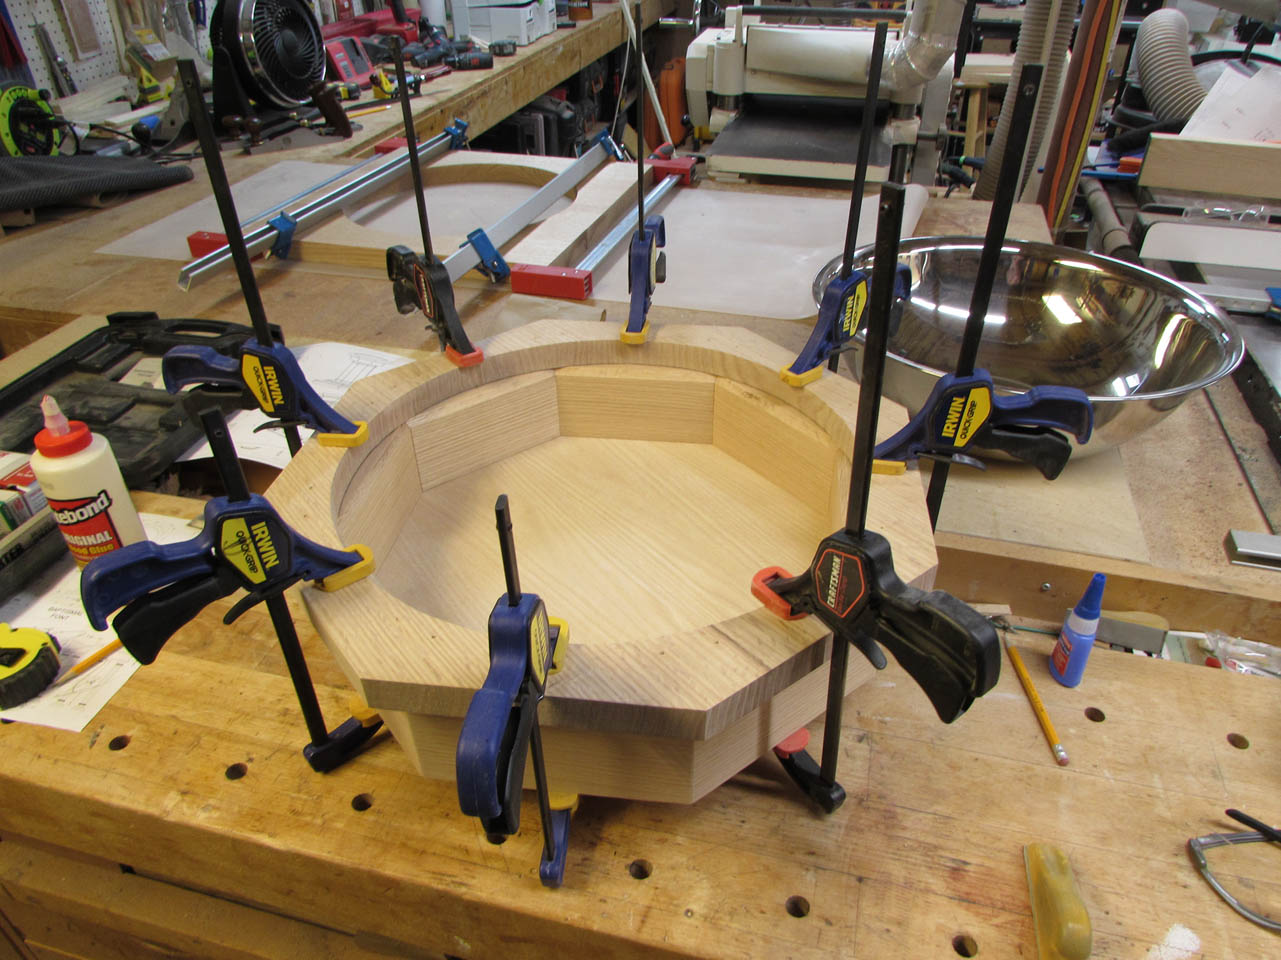
Then I set the base and tacked the corners in place so the top wouldn’t shift as I added the clamps.
While that was drying, I got started on the octagonal column.
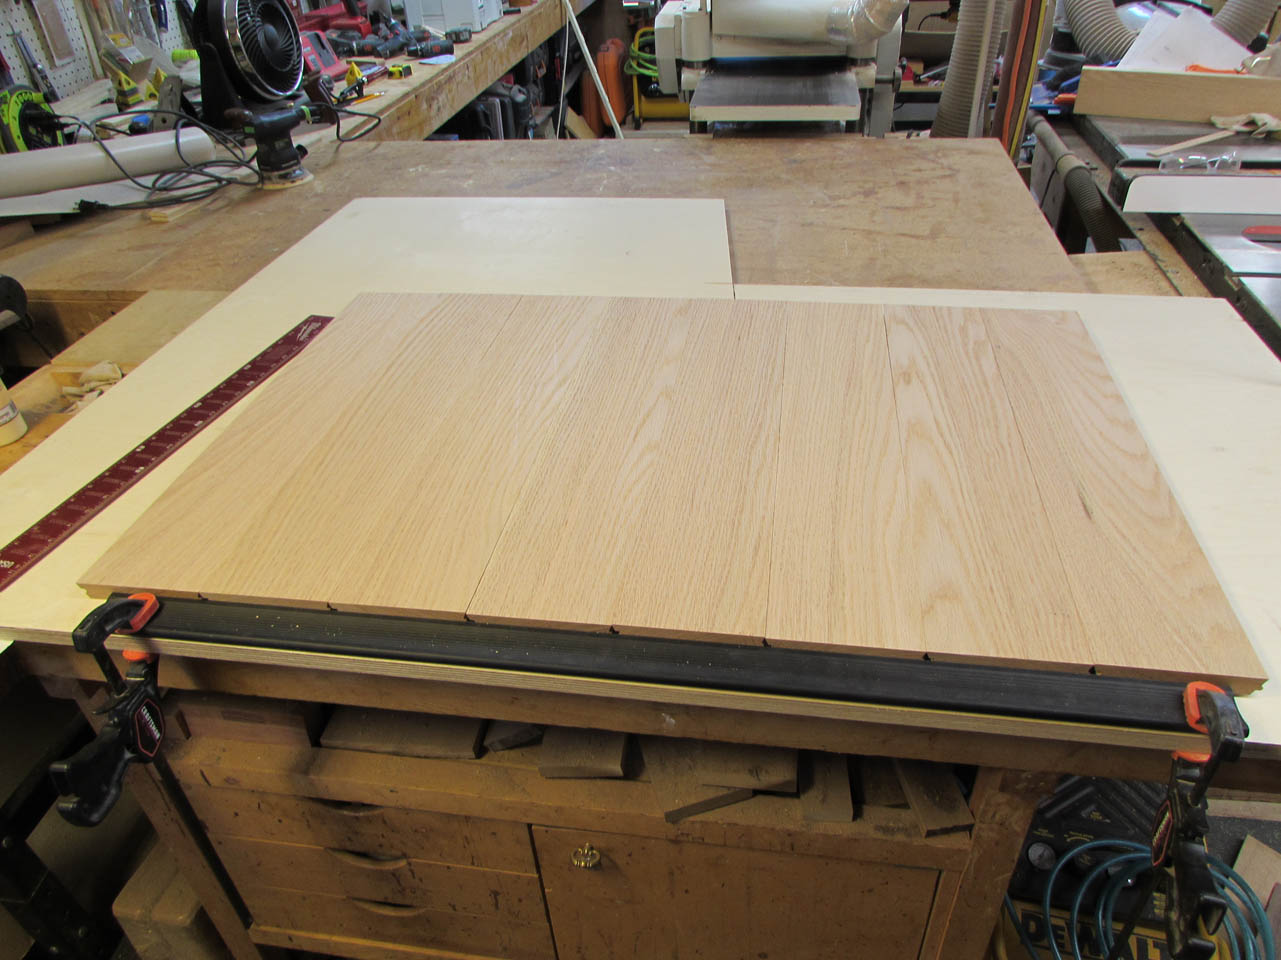
I cut down eight boards to create the sides of the large 12″ column of the font.
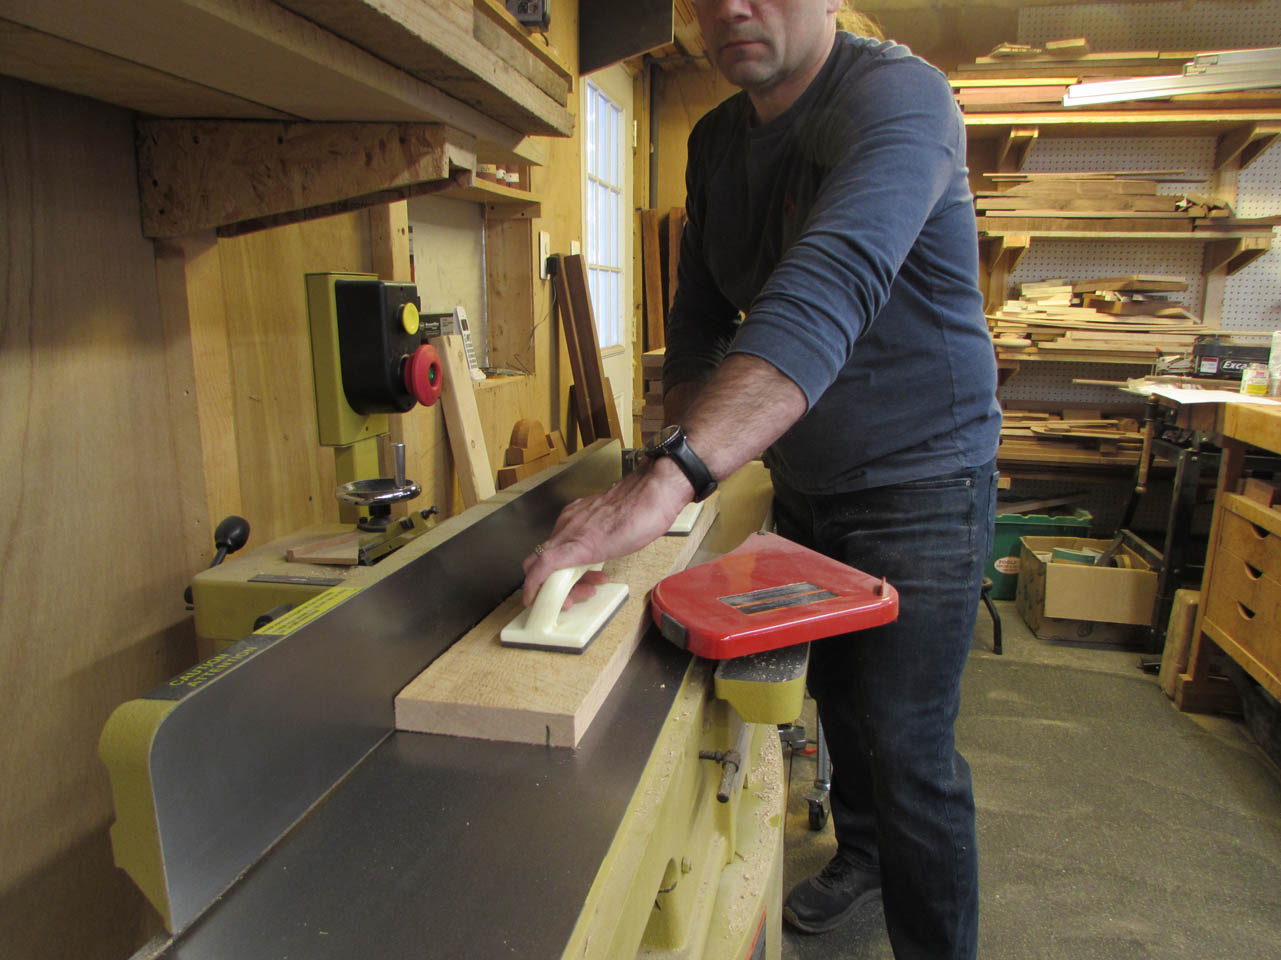
I planed and jointed each one.
Then ripped them down to their final width of 5-1/16″ and then planed them down to 3/4″ thick.

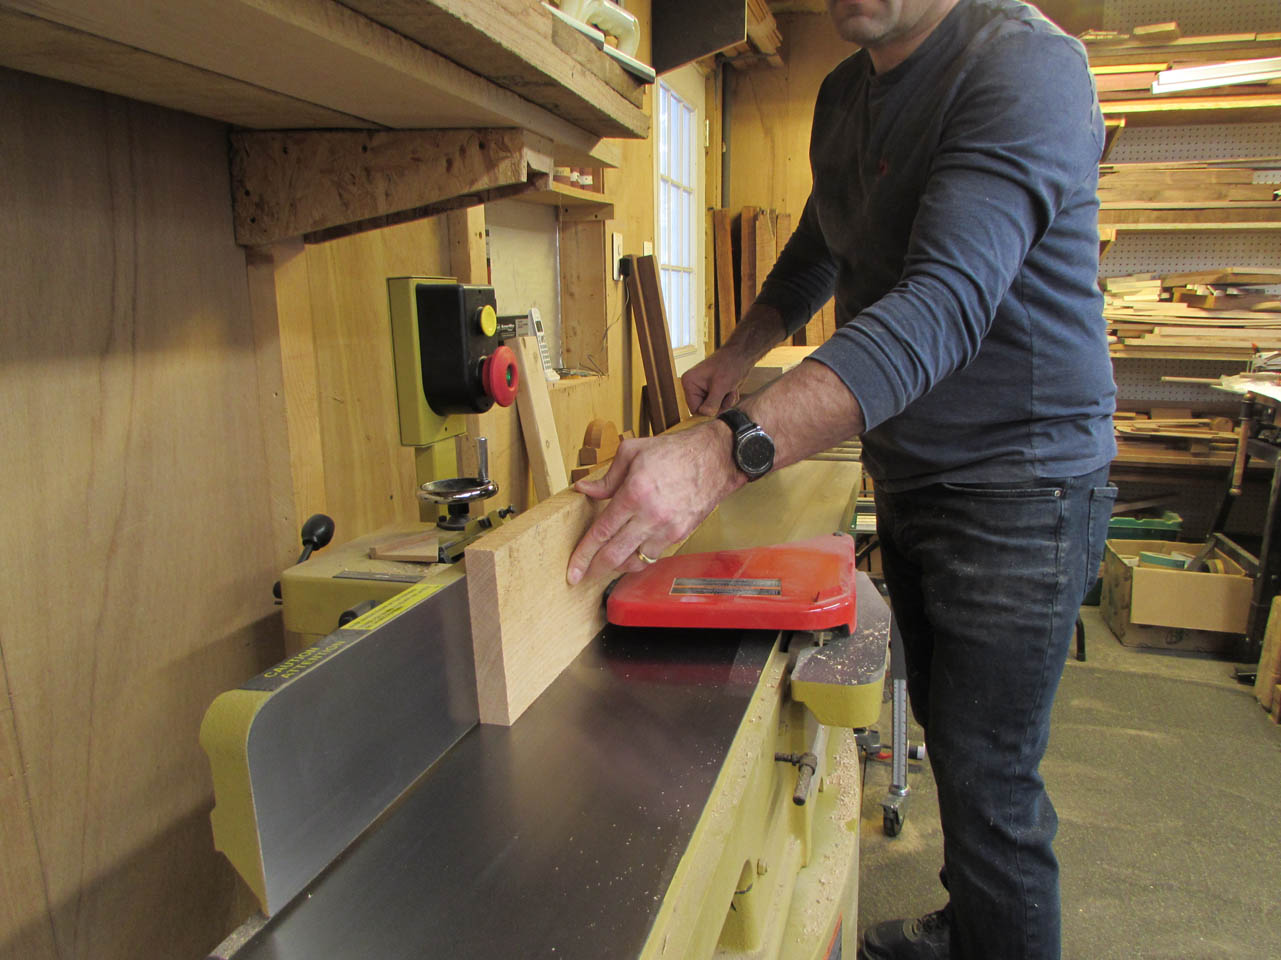
I made these pieces over-long so I had room to cut off any cracks or snipe. These all need to be exactly 26″ long so I cut one end of each perfectly square, then stacked up four boards and clamped them together to be cut to the exact same length.

Then I took one of those and clamped it to the top of the next four boards and cut them all to the same length.
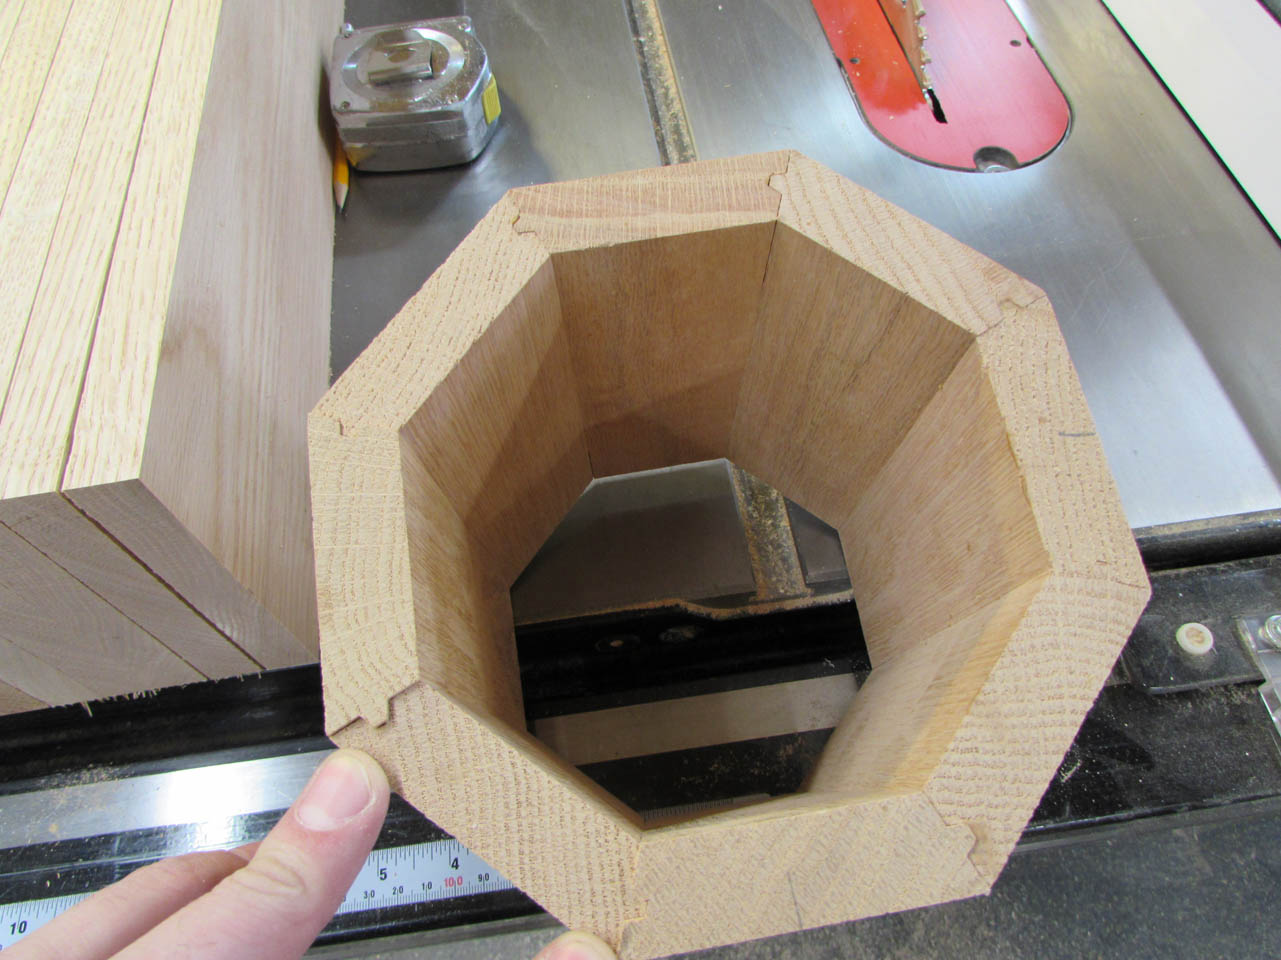
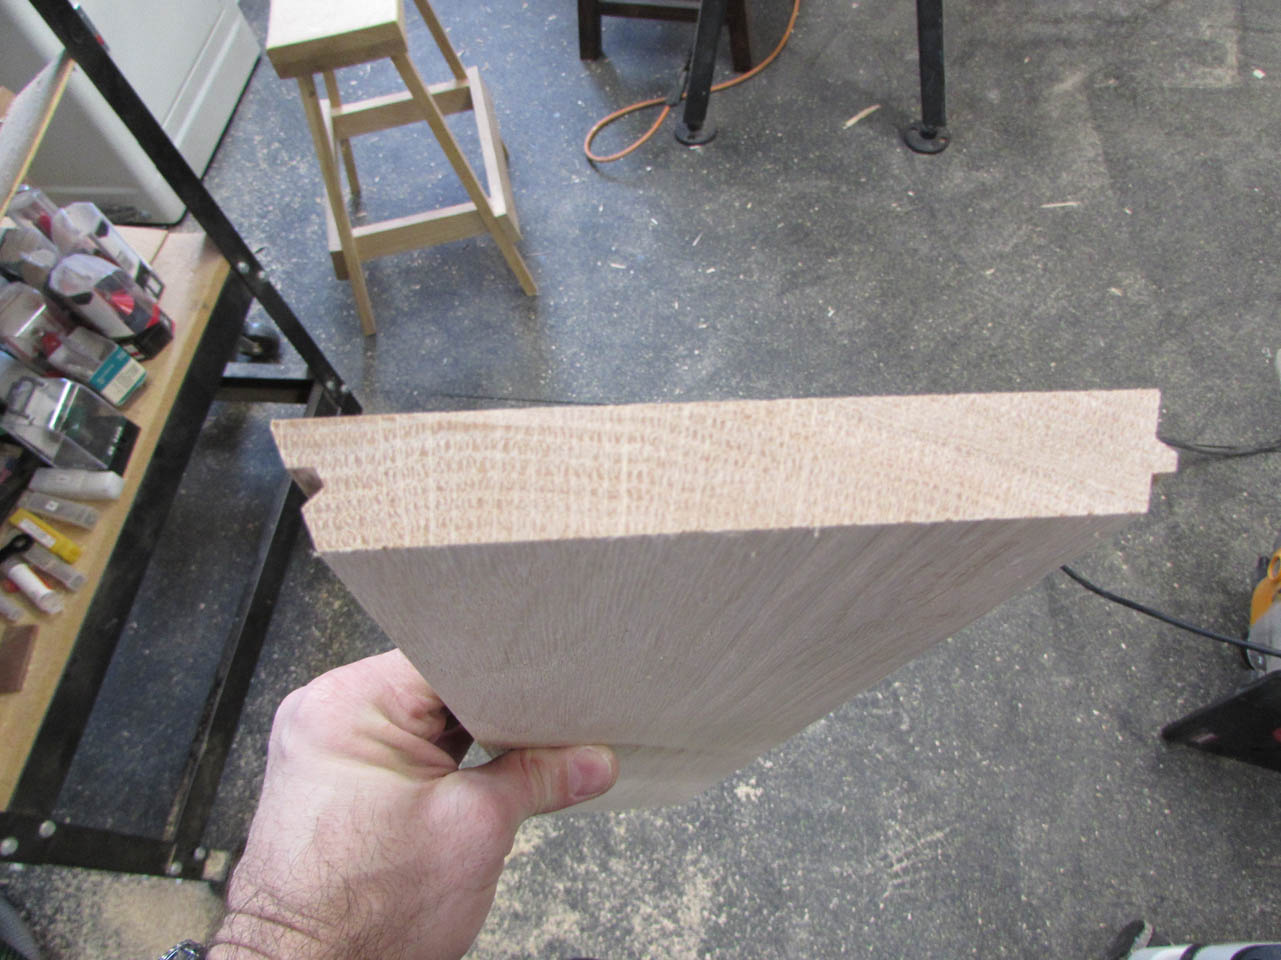
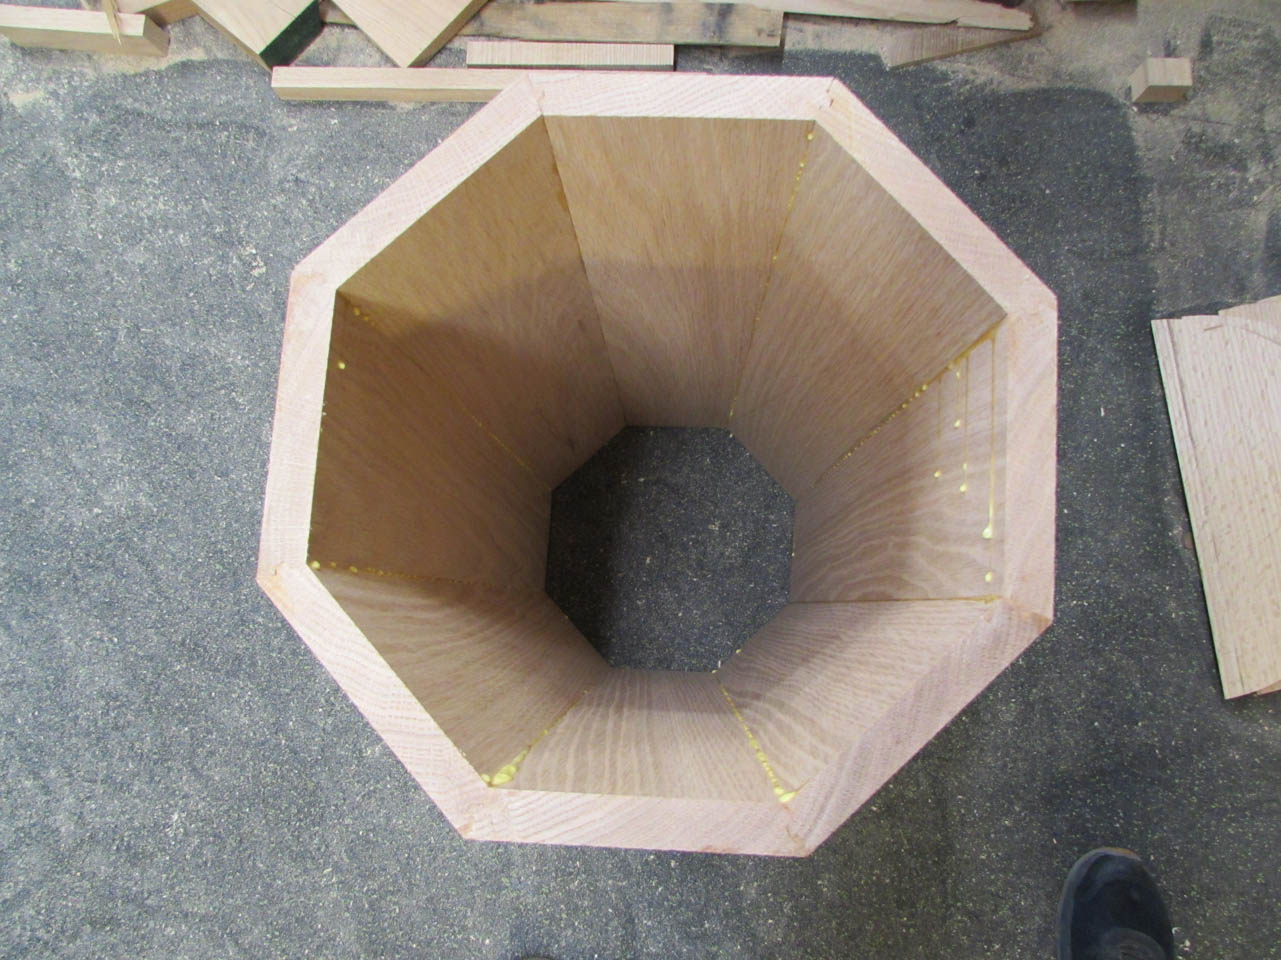
This is a sample column, that I made a few years back. It is utilizing the 22.5° lock-miter joint that I will be using on this column. The bits I have create a 22.5° tongue and groove joint that will create a perfect octagon if all the sides are the correct width.
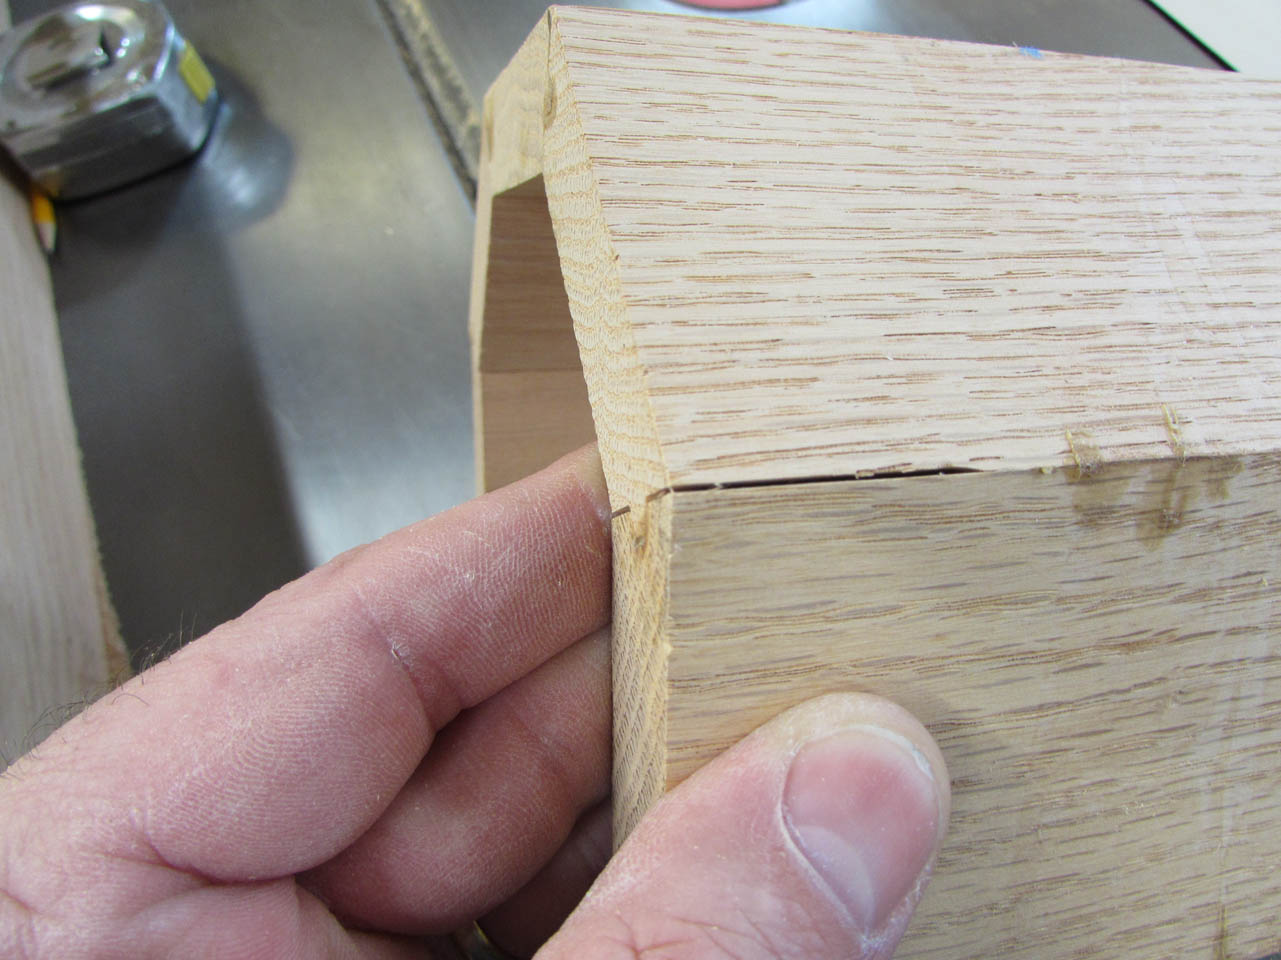
This joint is really strong and even when there is a gap, part of the joint still bonds within the groove. Hopefully we won’t have any gaps, but it is nice to know it will be a strong joint either way.

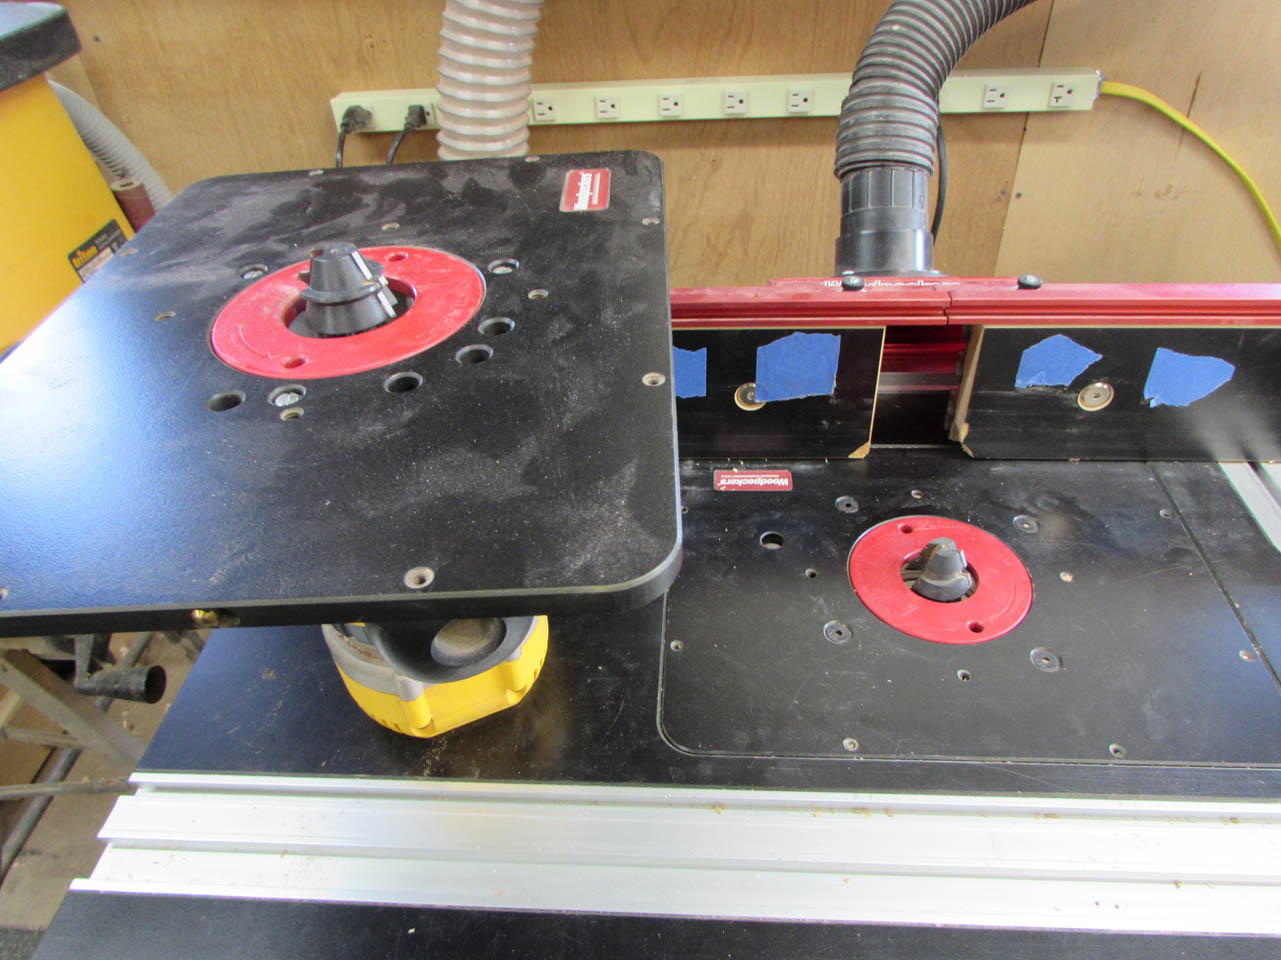
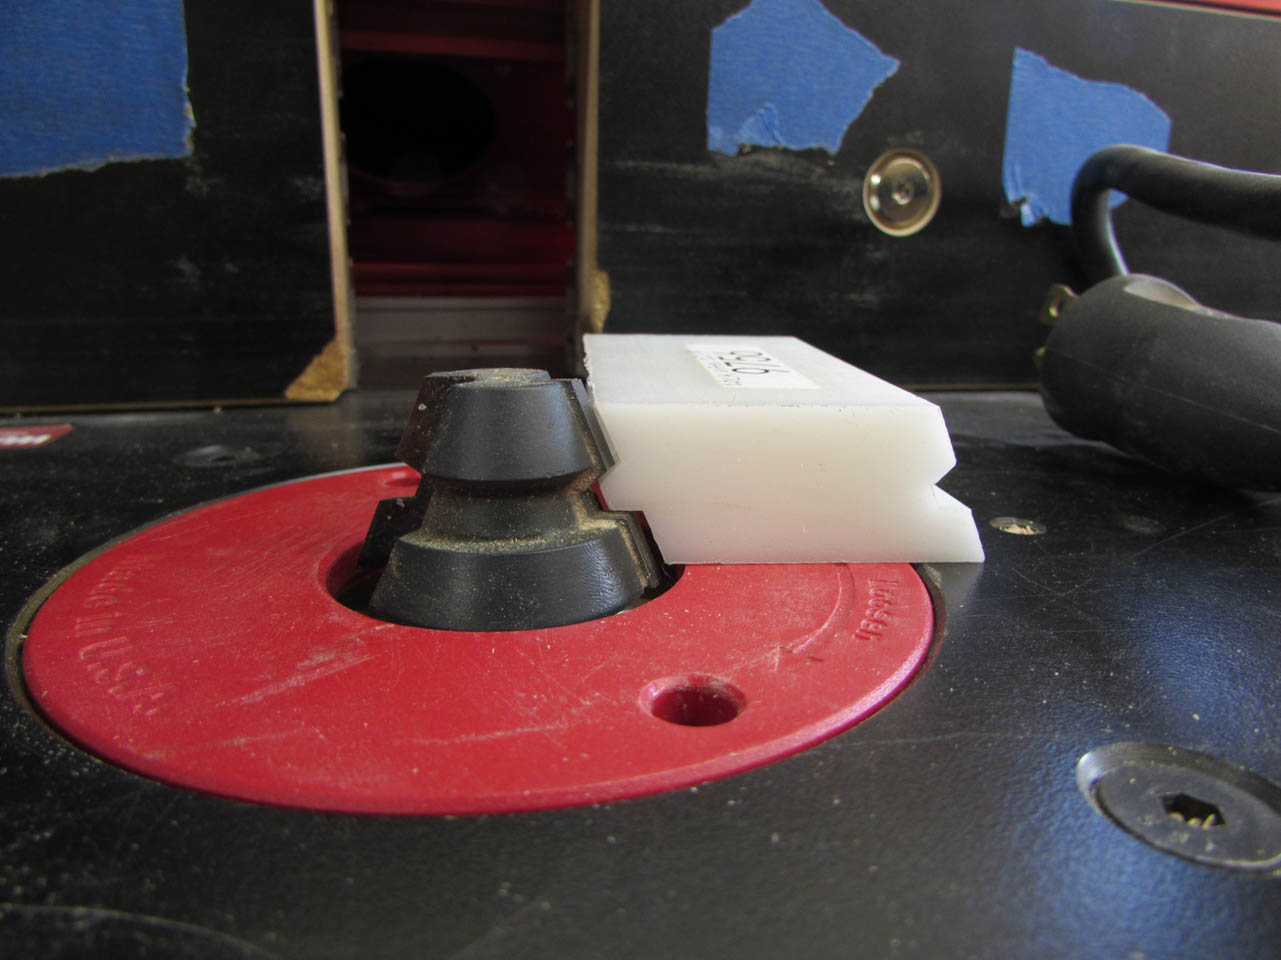
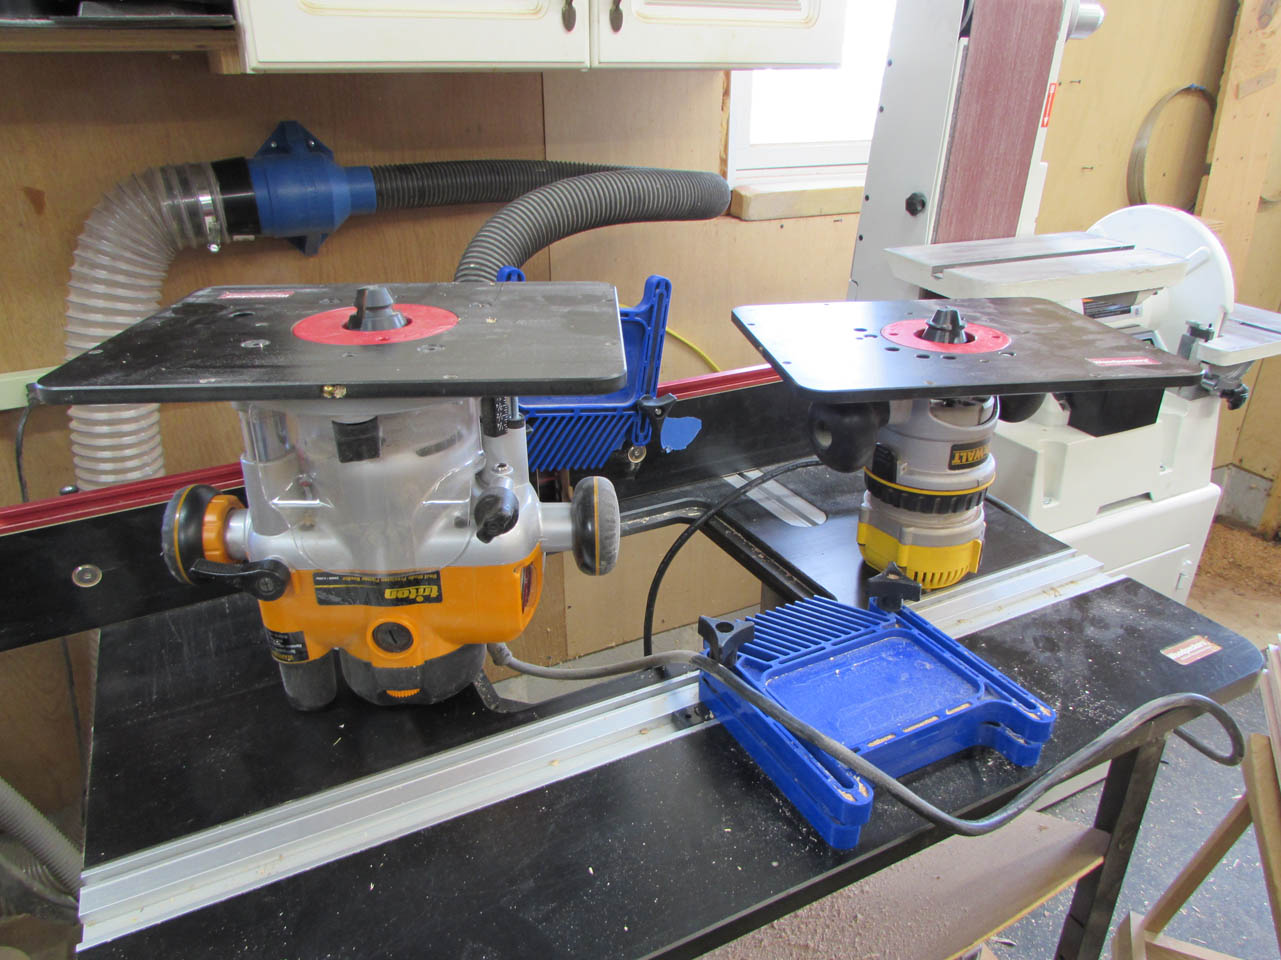
To create this joint I will need two separate bits. To speed up the process and insure repeatability of the cuts, I am using two separate routers so that they can remain set up just in case I need to make another.
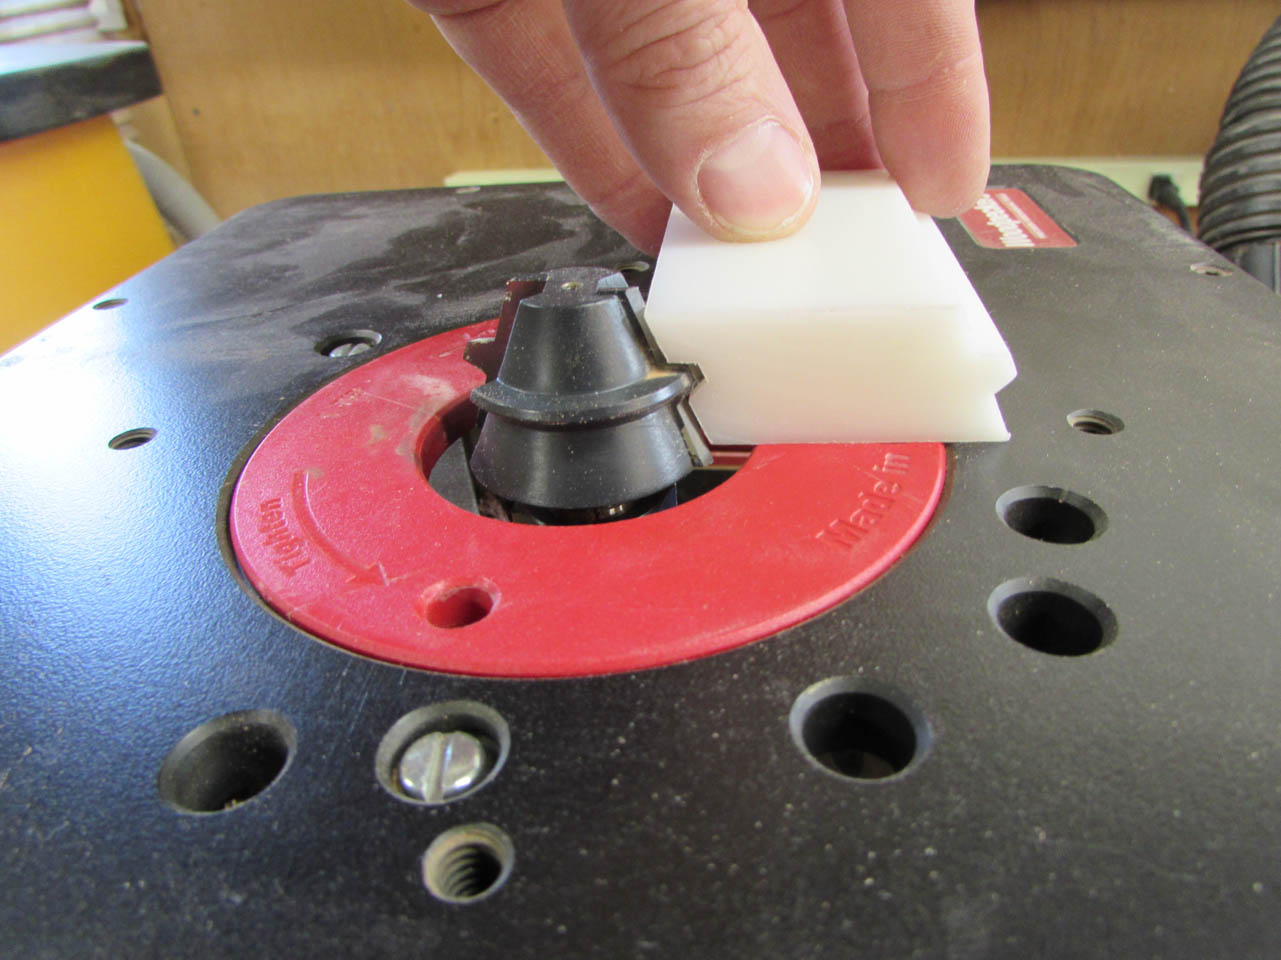
I have a set-up block that helps me to set the bits to the correct height.
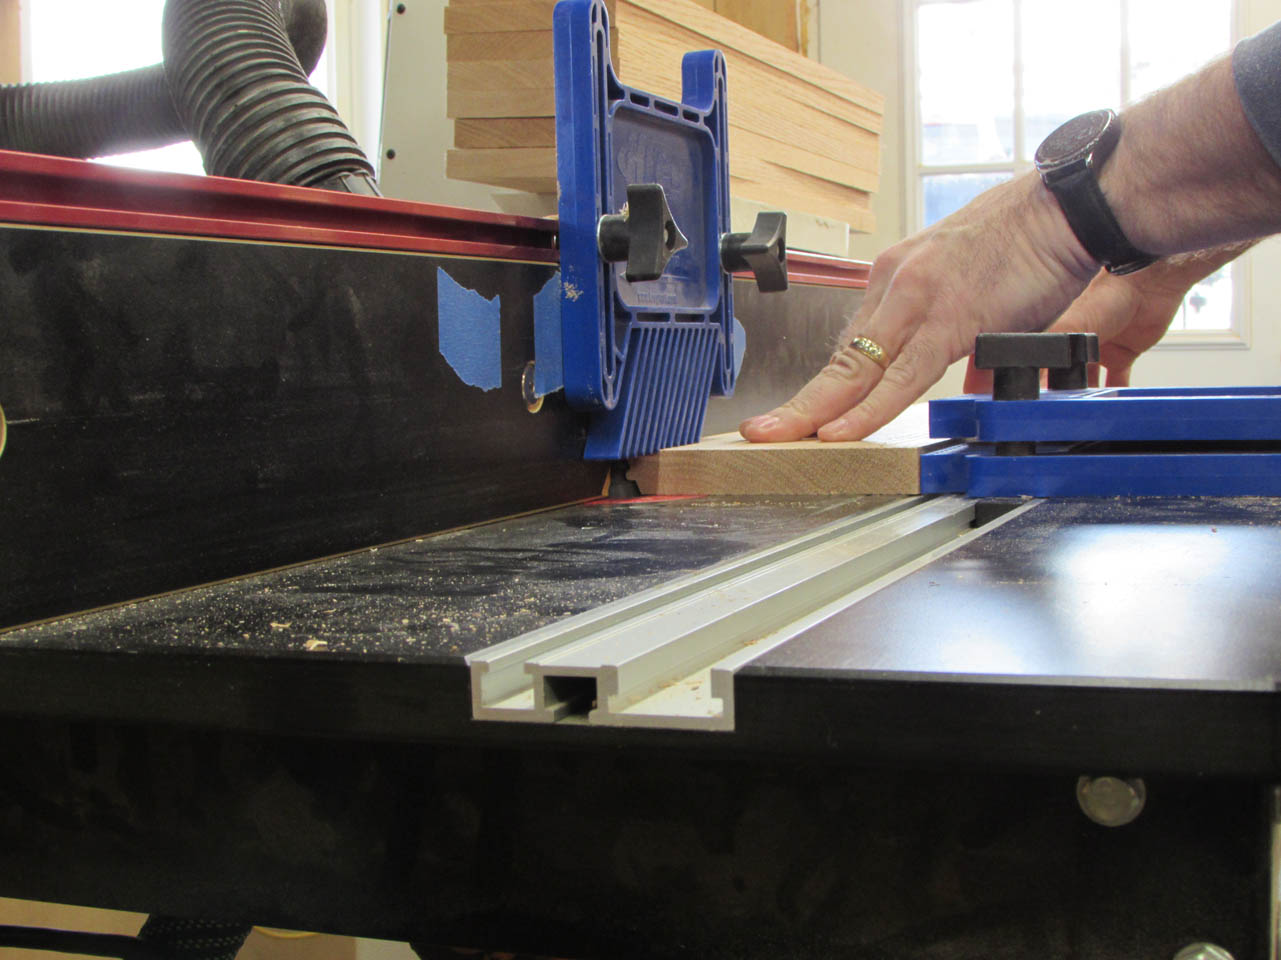
Then I use feather-boards to help hold the board firmly in place.

I ran all eight boards and got a really nice cut, then I swapped the routers.
I flipped the boards 180° and ran them through the next bit.
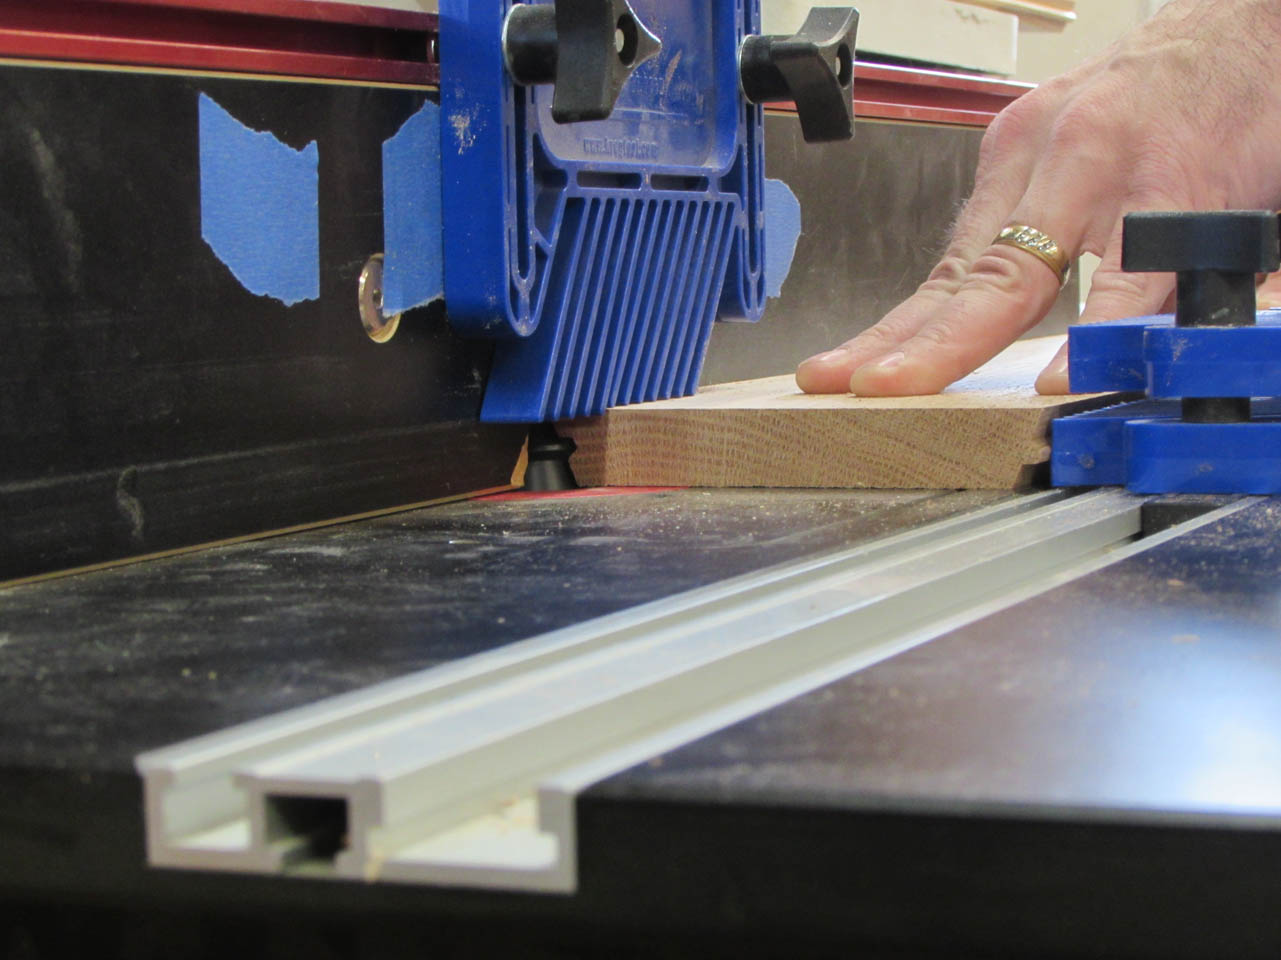
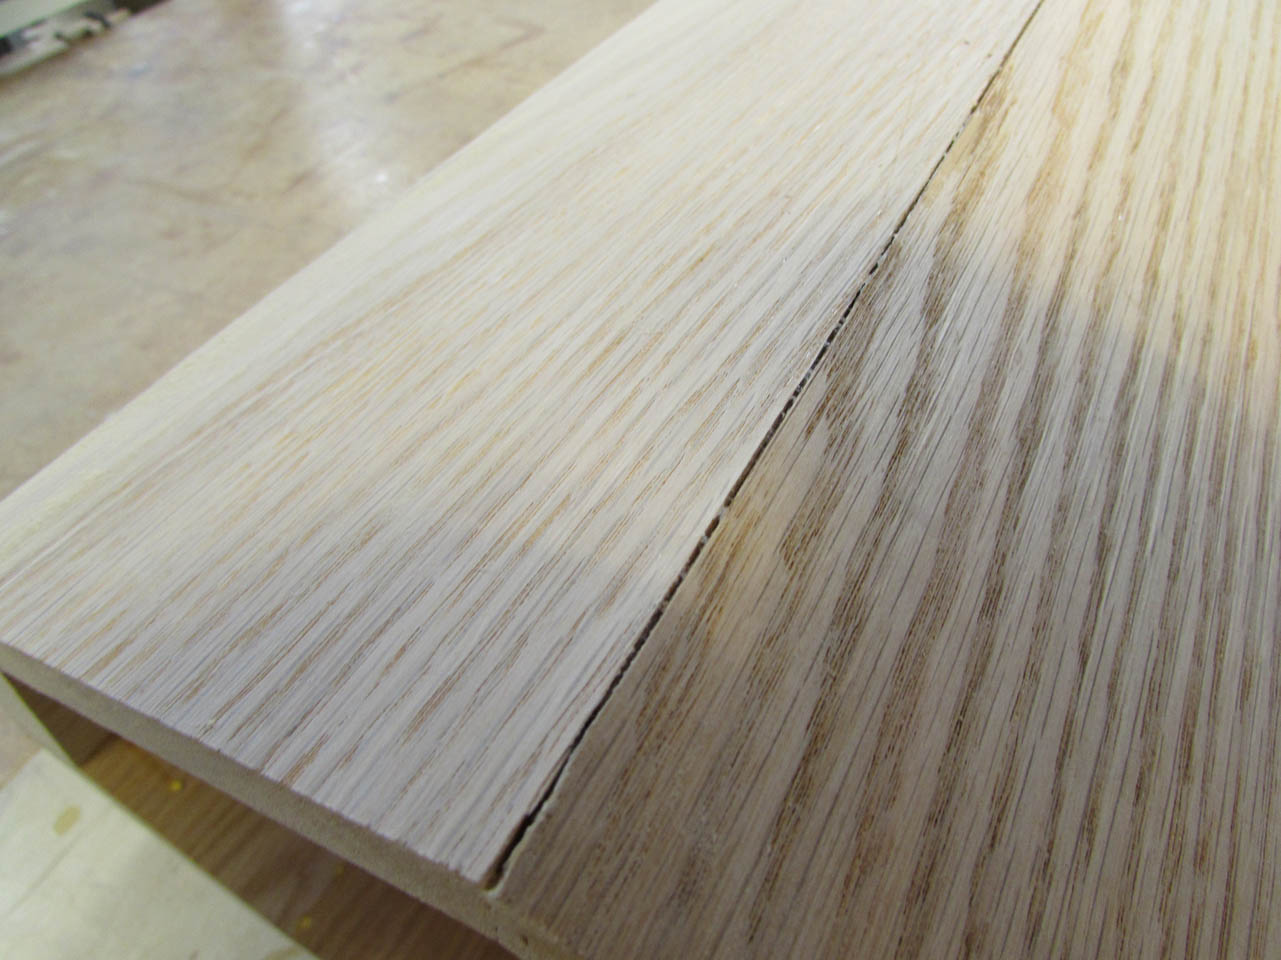
This creates the tongue on one side and the groove on the other.
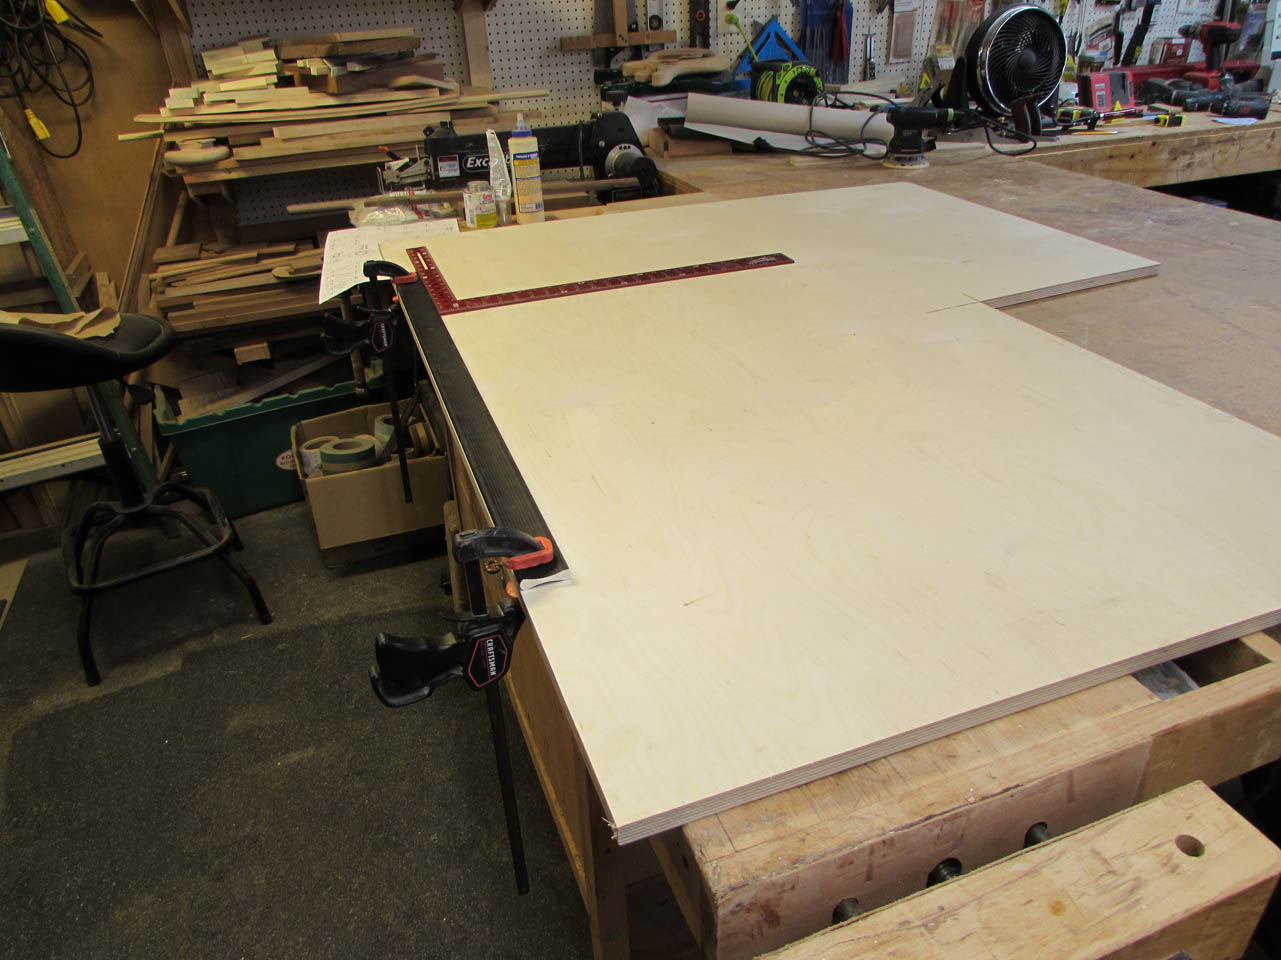
In an effort top get perfect alignment, I clamped my 4′ aluminum straight-edge to a flat sheet of plywood and laid all of the column sides against it.
After carefully matching the grains as best I could, I taped each joint with 2″ wide painter’s tape.
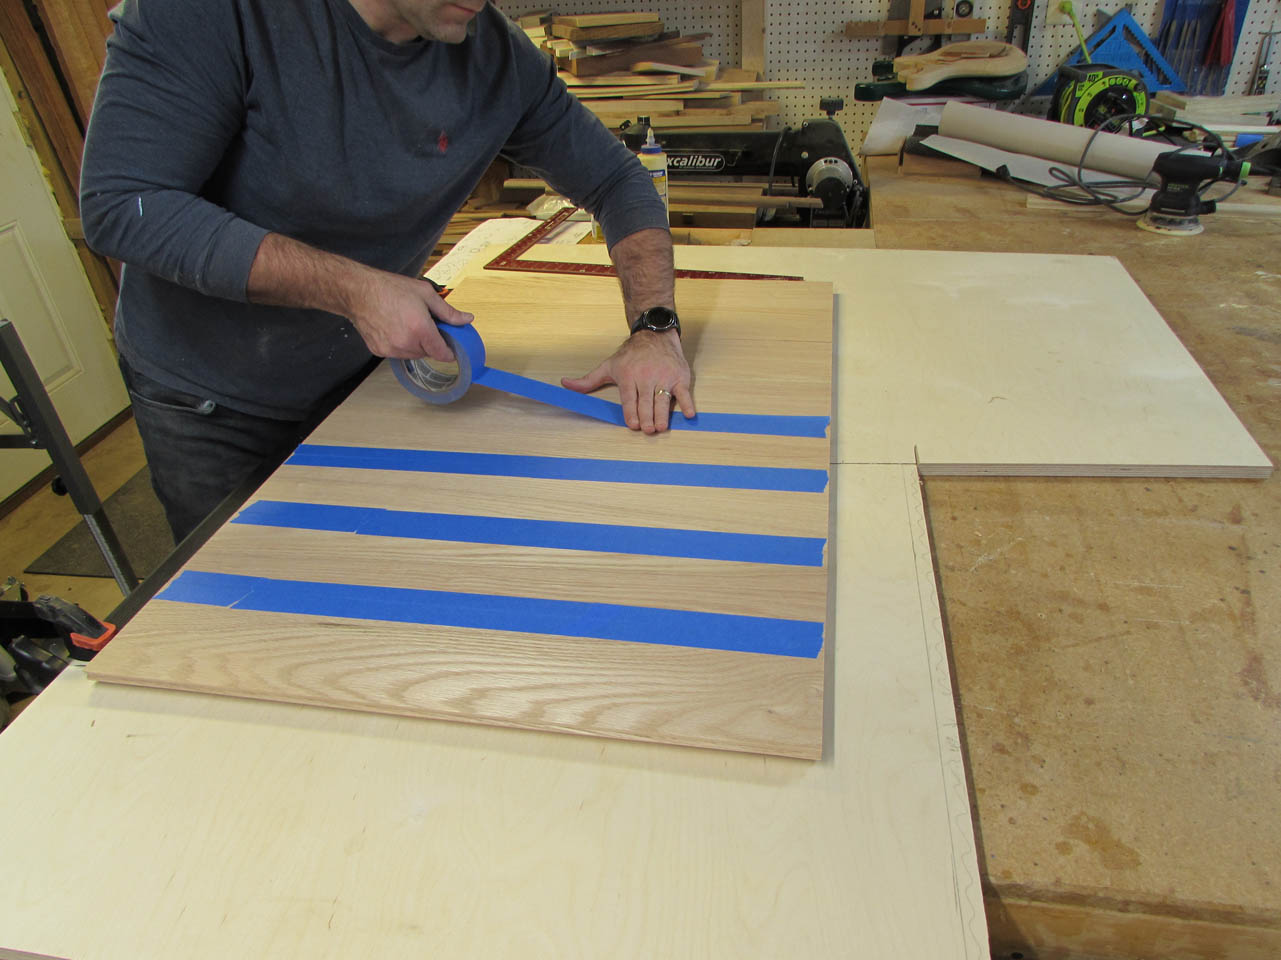
Then I applied 3 strips perpendicular to those strips.
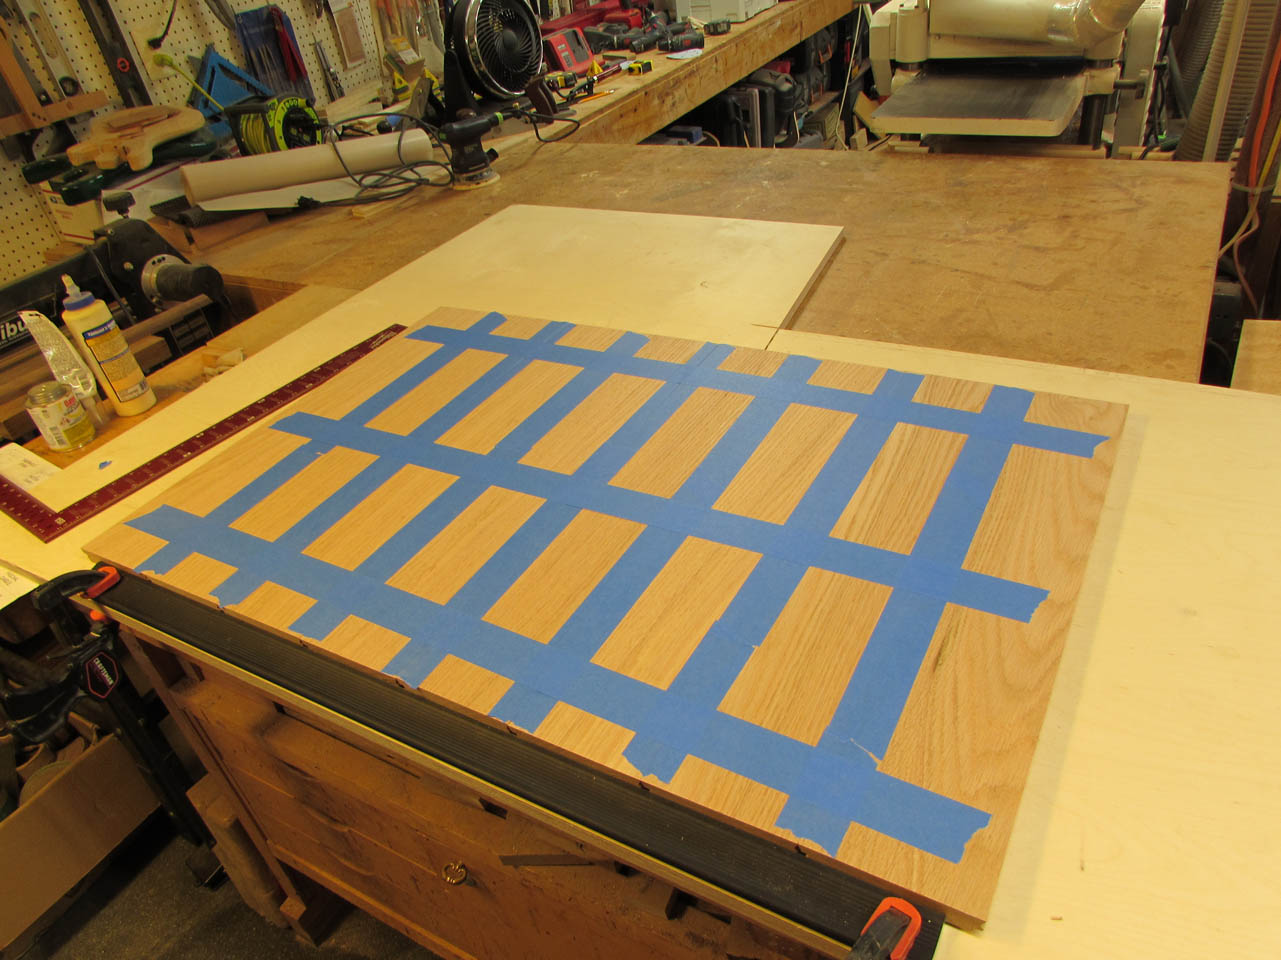
This holds them together well enough for me to flip them over. The tape acts as a hinge that allows me to roll up the column.

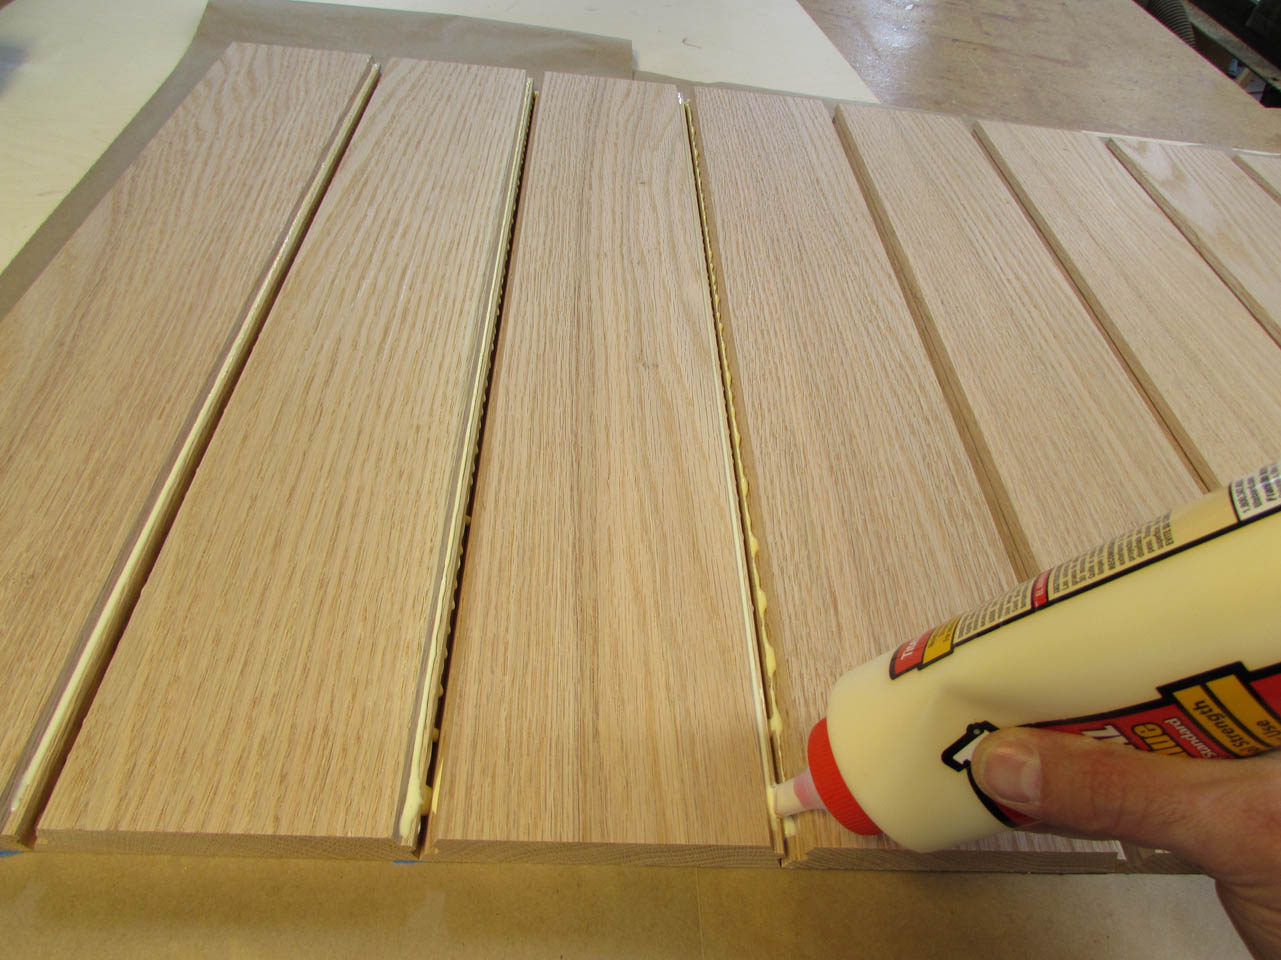
I quickly apply glue to each joint and roll up the column.

I pull it together as tightly as I can and tape it across the seam.
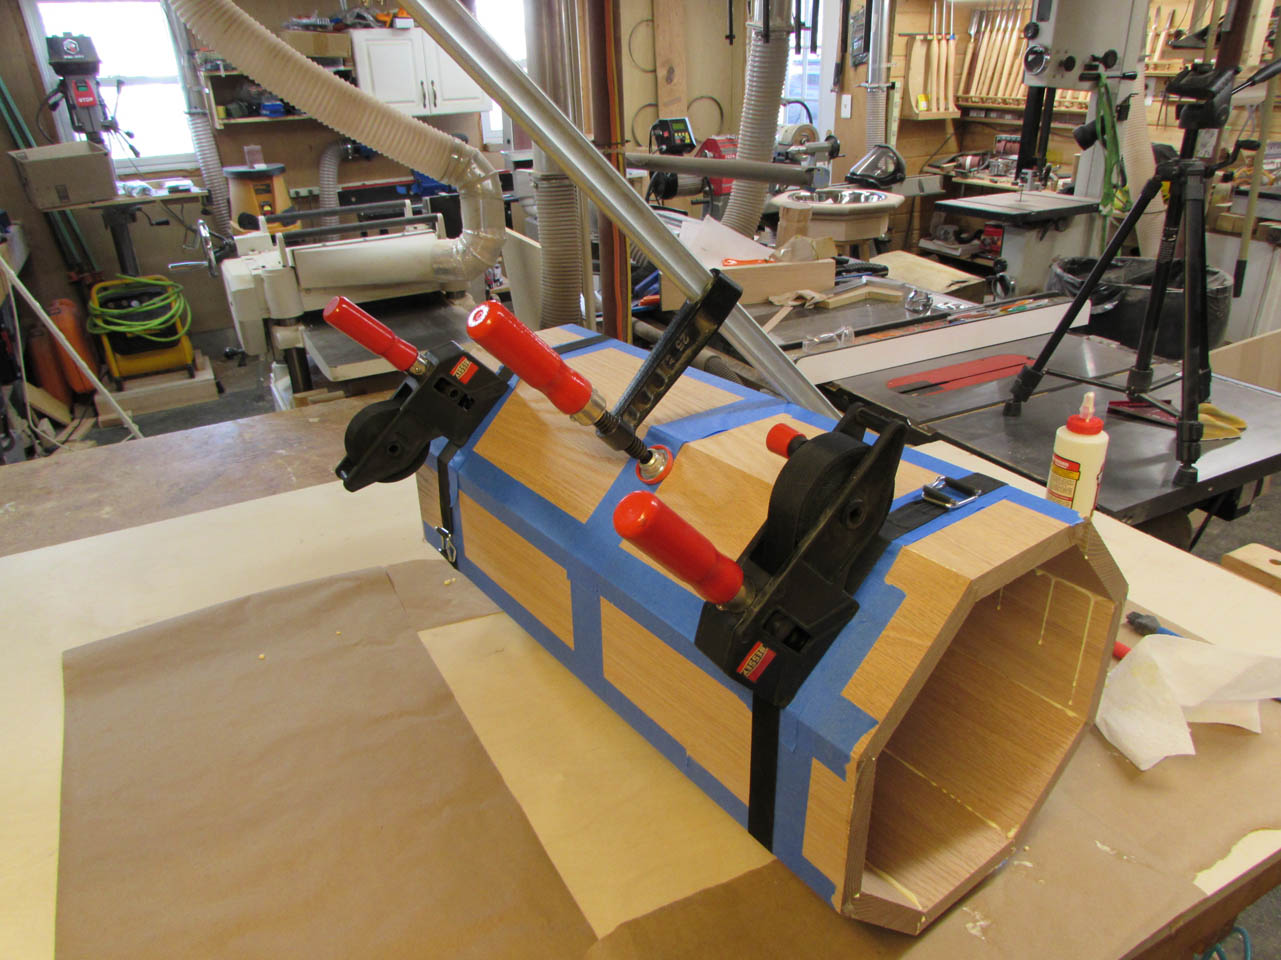
Then I apply some band clamps and a large clamp in the center to draw everything together and let it sit for a couple of hours then I unclamped it and removed the tape.
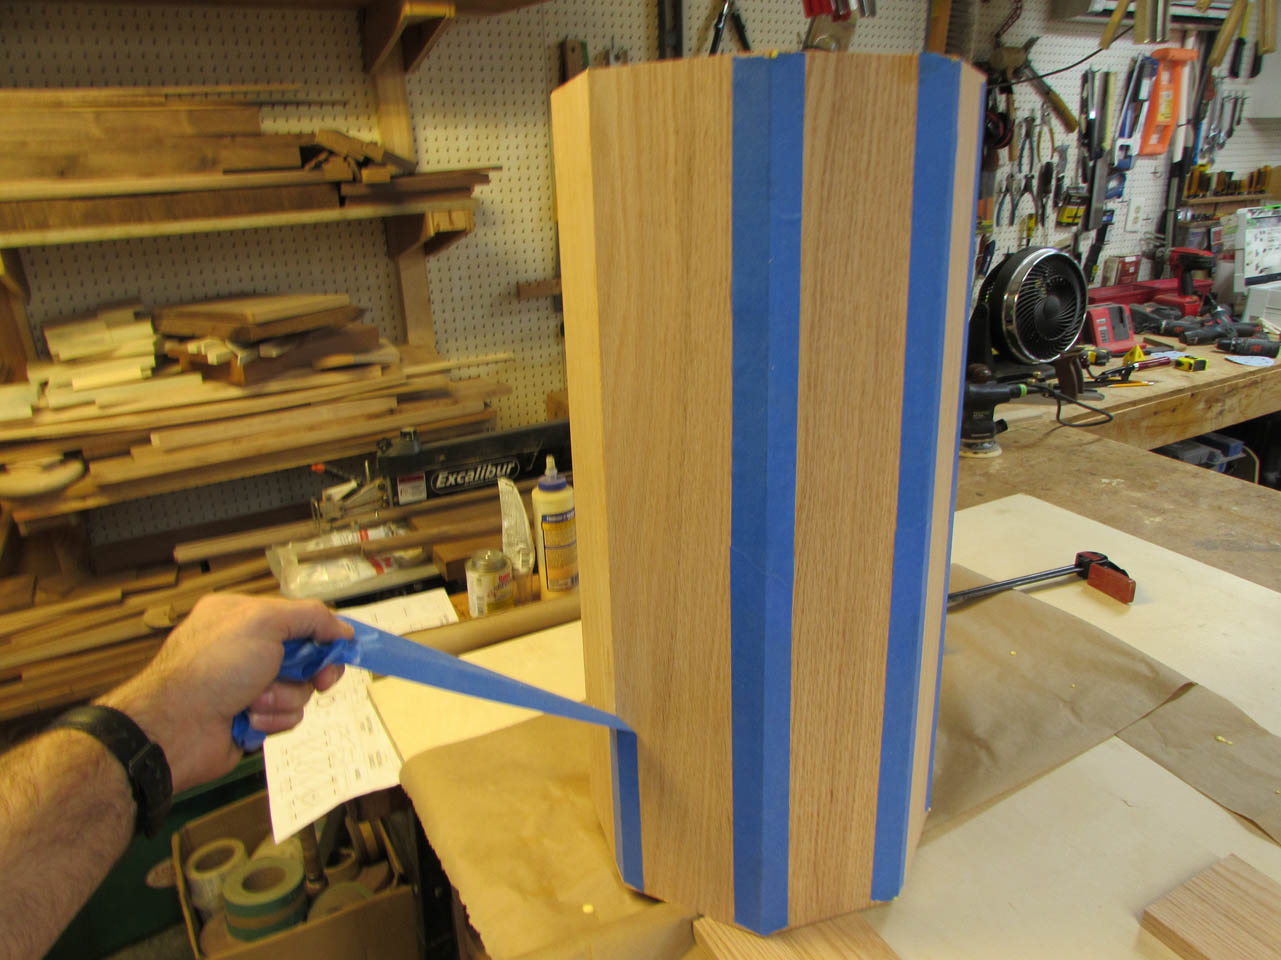
That Is a pretty sweet looking column.
I had two of the seams open up a bit.
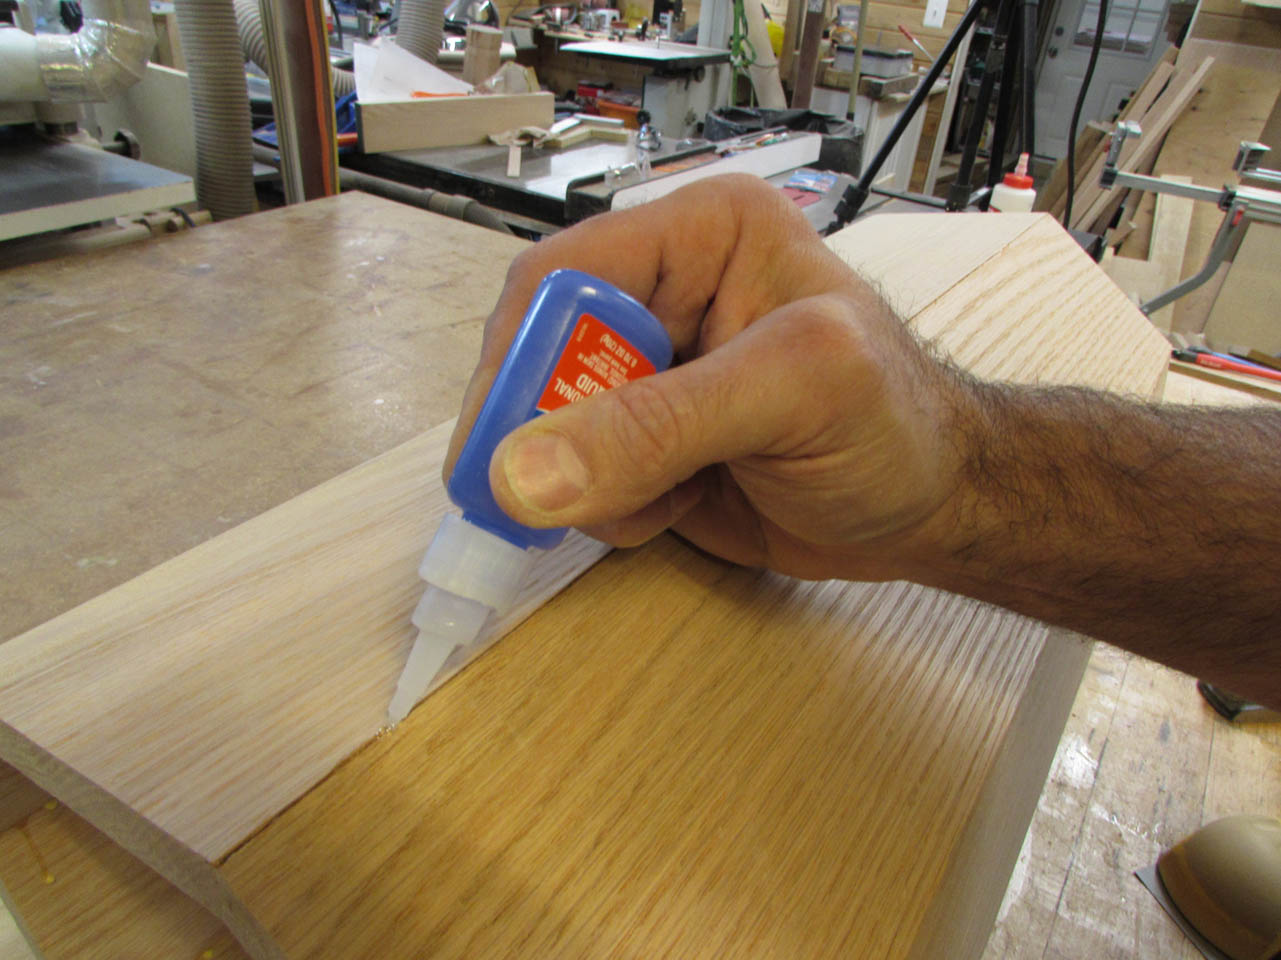
to fill these, I add a thin stream of CA glue and then sand saw dust into the crack. This fills the joint and the sawdust will take stain so that the crack is fairly well hidden.
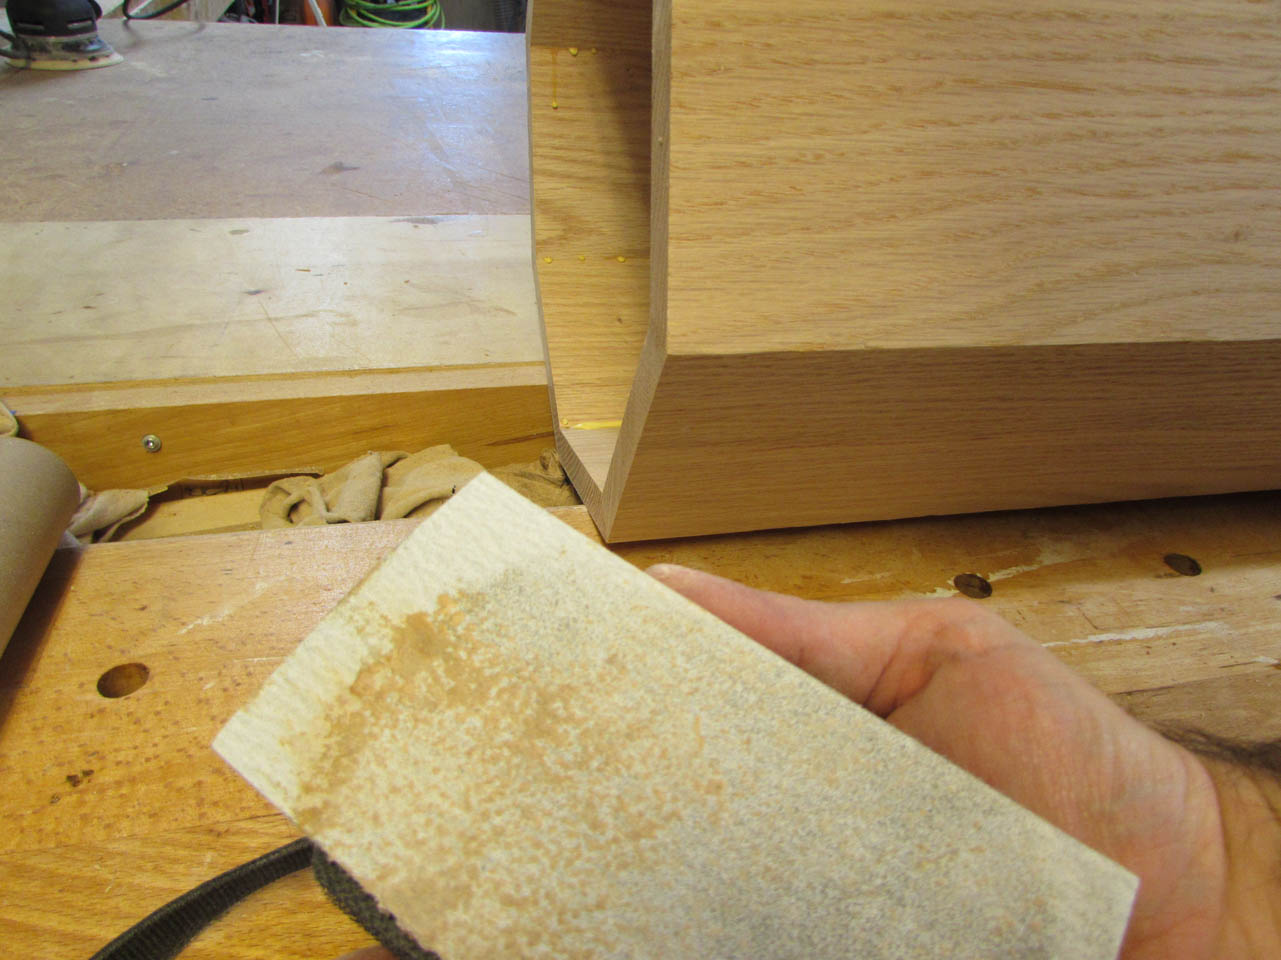
The process does tend to load up the sandpaper with glue, but the end result is worth it.

Then a final sanding of the column with 180 grit paper and the column is complete.