
St. Kilian chapel – Baptismal Font – part 4
I pulled the clamps on the two base plates that I glued up the other night.

Since they are too wide to run through my planer, I sent them through my drum sander to clean up the glue joint and make sure the panels were flat.

Then I cut them down to their final dimensions on the table saw.

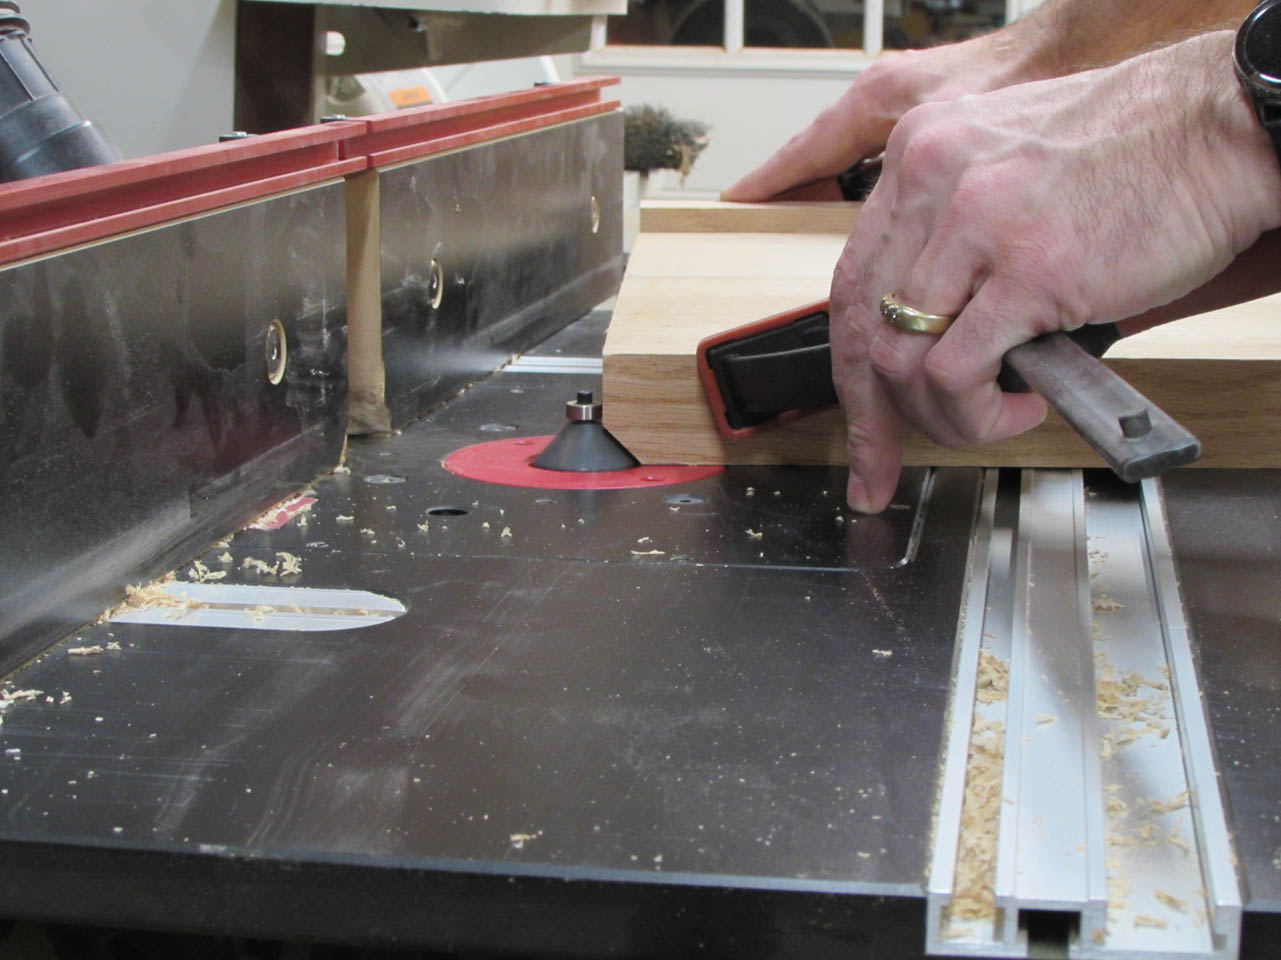
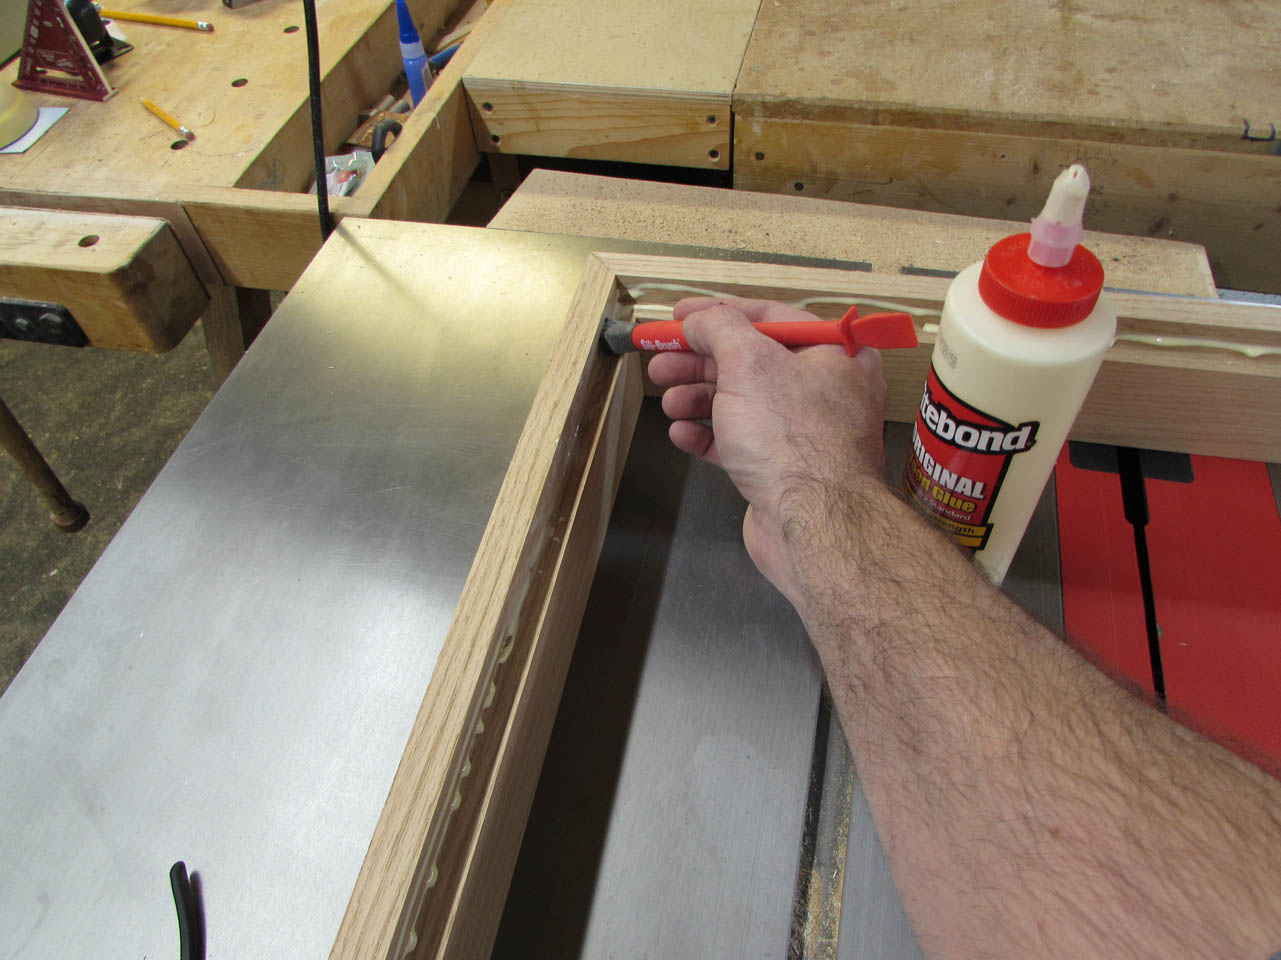
I want to trim the edge on the router, but the grain on the quarter-sawn wood has a tendency to tear out when it reaches the end so I clamped a scrap piece of wood to the side when cutting the end grain.


This seemed to work very well and leave no tear-out when I cut the 3/4″ radius on the base plate.

So I repeated the precaution on the thinner, base cap piece when I cut the 1/2″ chamfer all the way around.
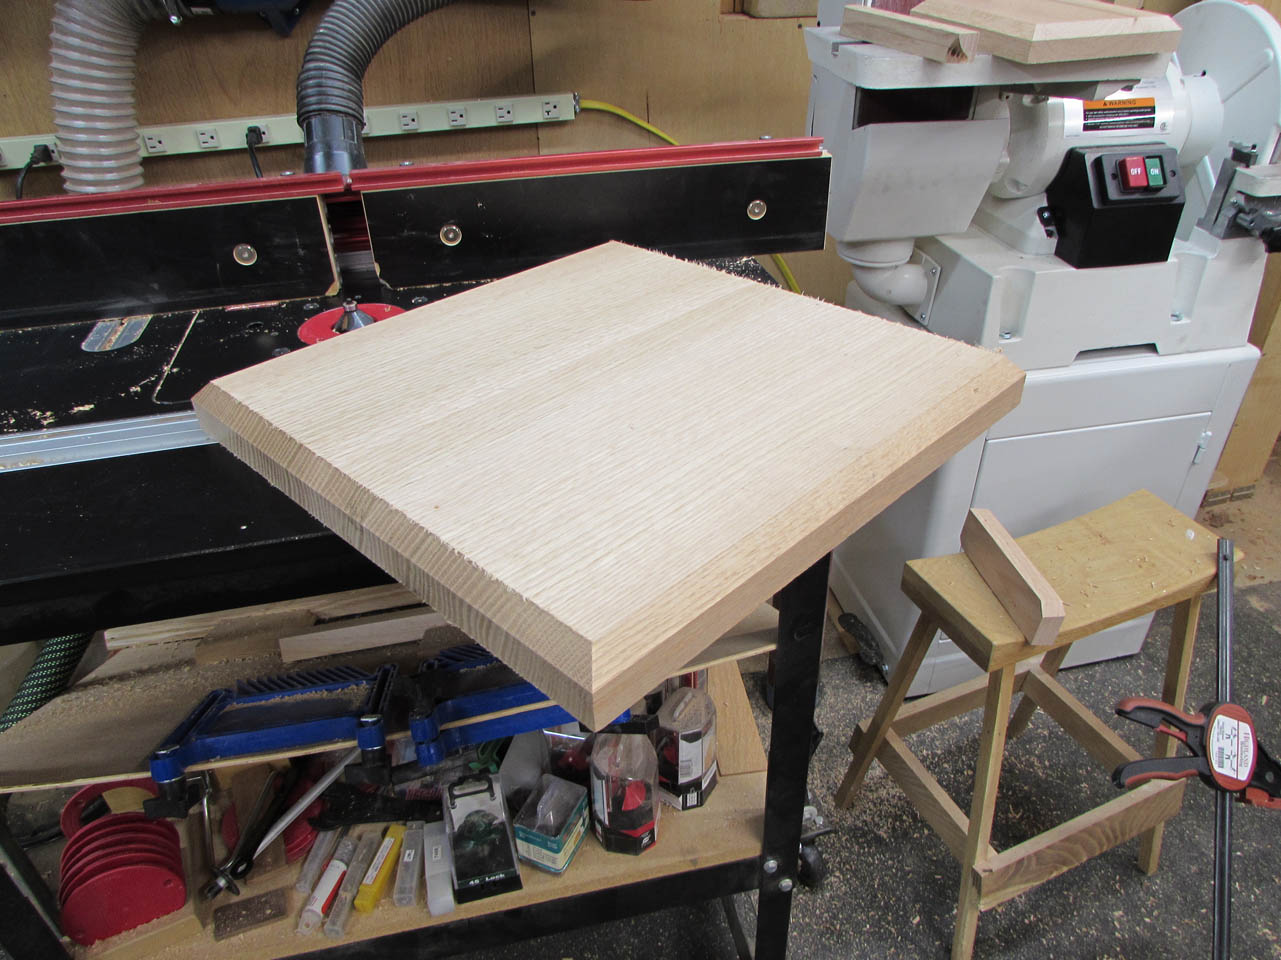
Both pieces turned out pretty good so I finish sanded them.


A dry-fit showed everything sitting flat and straight.

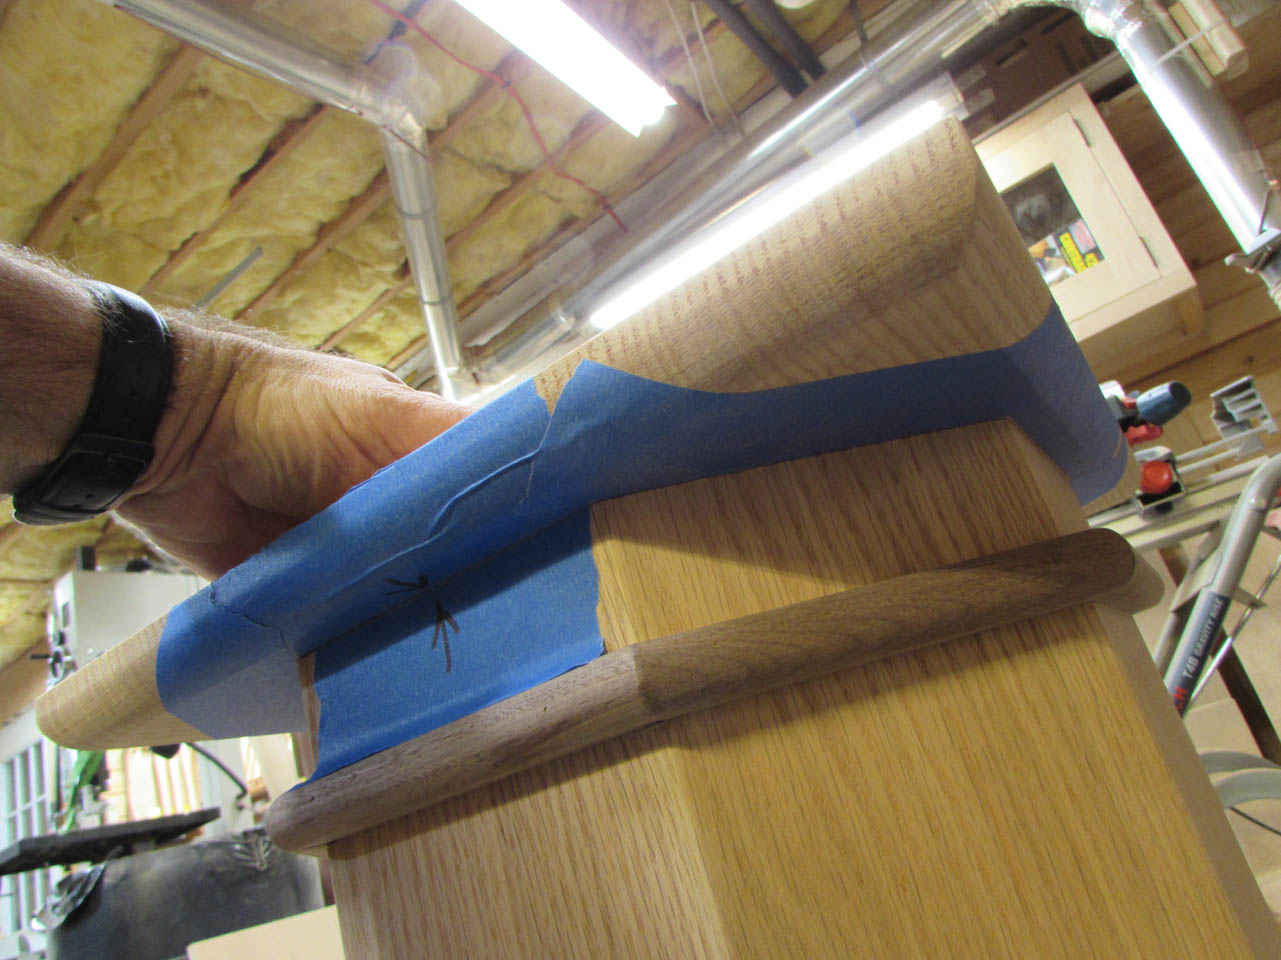
I took some time, carefully locating the column in the exact center of the base cap.

Then I taped around the column and marked one side so that I could place it back in this exact location at assembly.

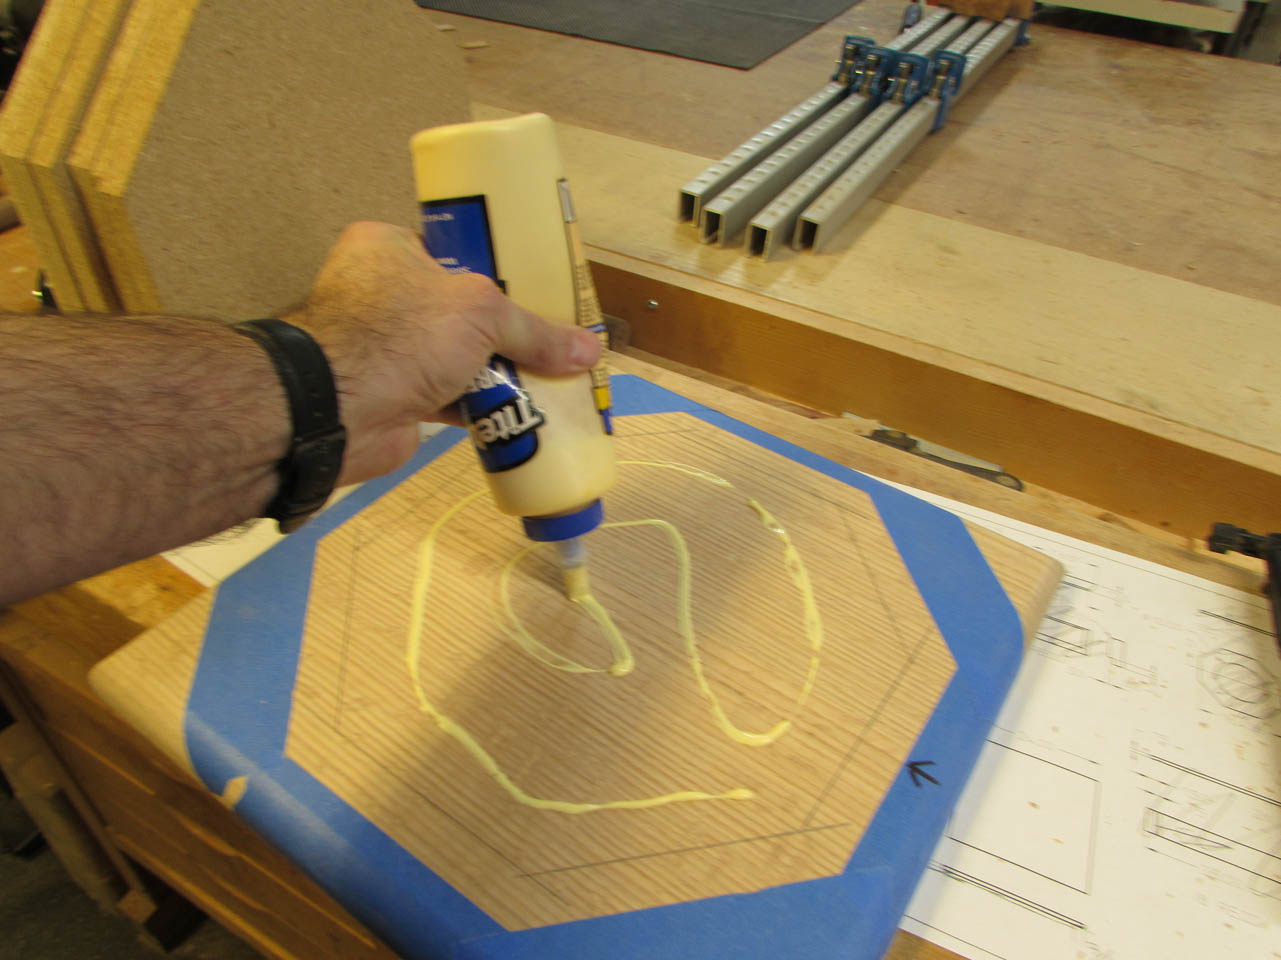
I measured in 3/4″ all the way around so that I knew the maximum dimension of the open area inside the column.

I measured 10-1/2″ at the narrowest point. I want to add some weight to the base so I cut down a piece of scrap particle board down to 10-1/4″ squares.


Then I measured and marked the corners and cut them into octagons that would fit within my column.


I double-checked that they would fit with ease.
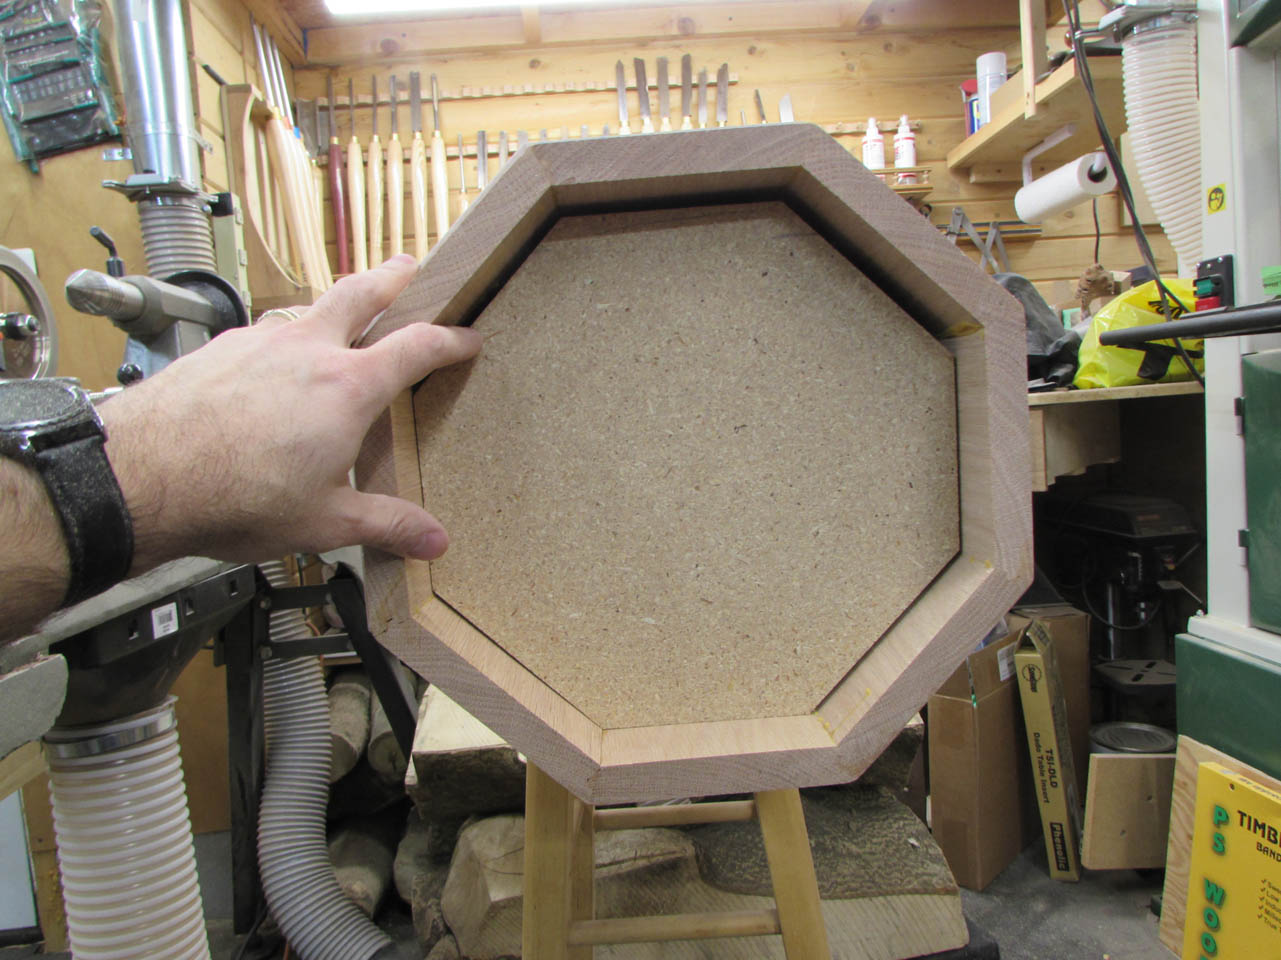
Then I started gluing and nailing.


Until I had the entire stack of octagons lined up.
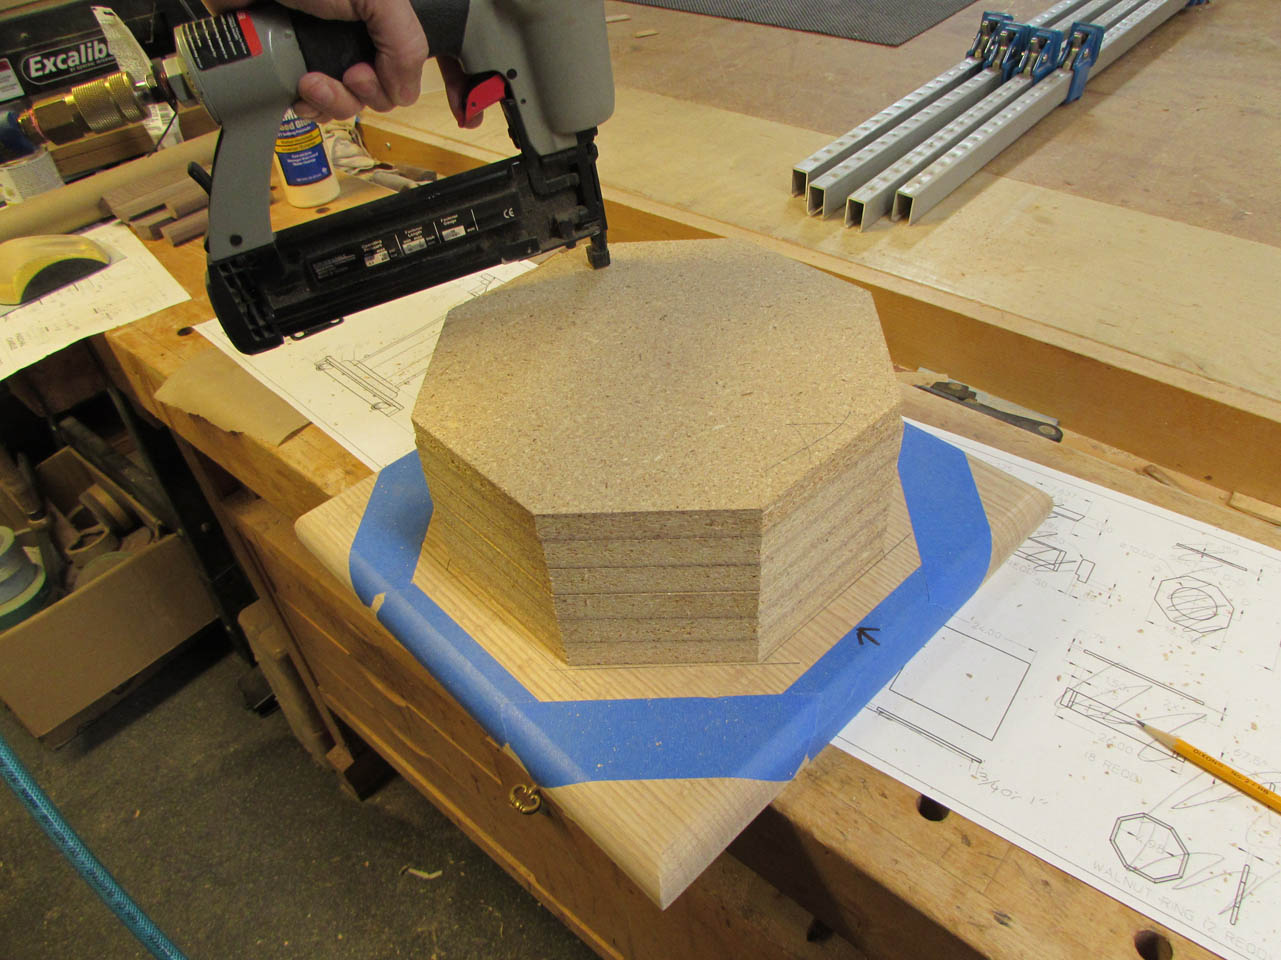
This will add a bit of weight to the base, lowering the center of gravity.

I did a test fit to make sure the alignment was still good.

Then I flipped the base cap over and did my best to transfer the location of the edge of the column to the back side of the board.

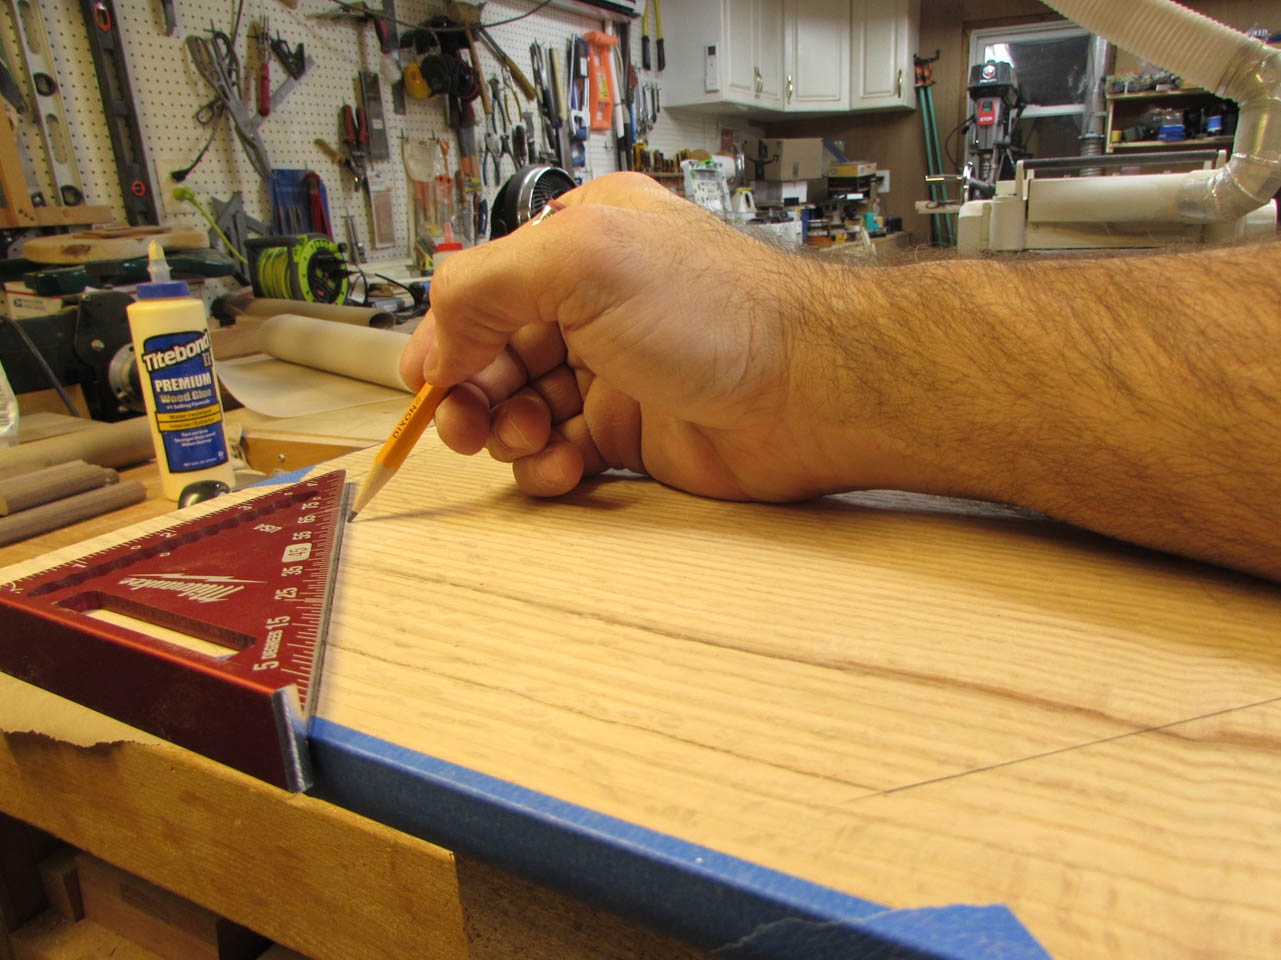
This line will tell me where the edge of the column is so that my nails do not come through the face of the column when I attach it.

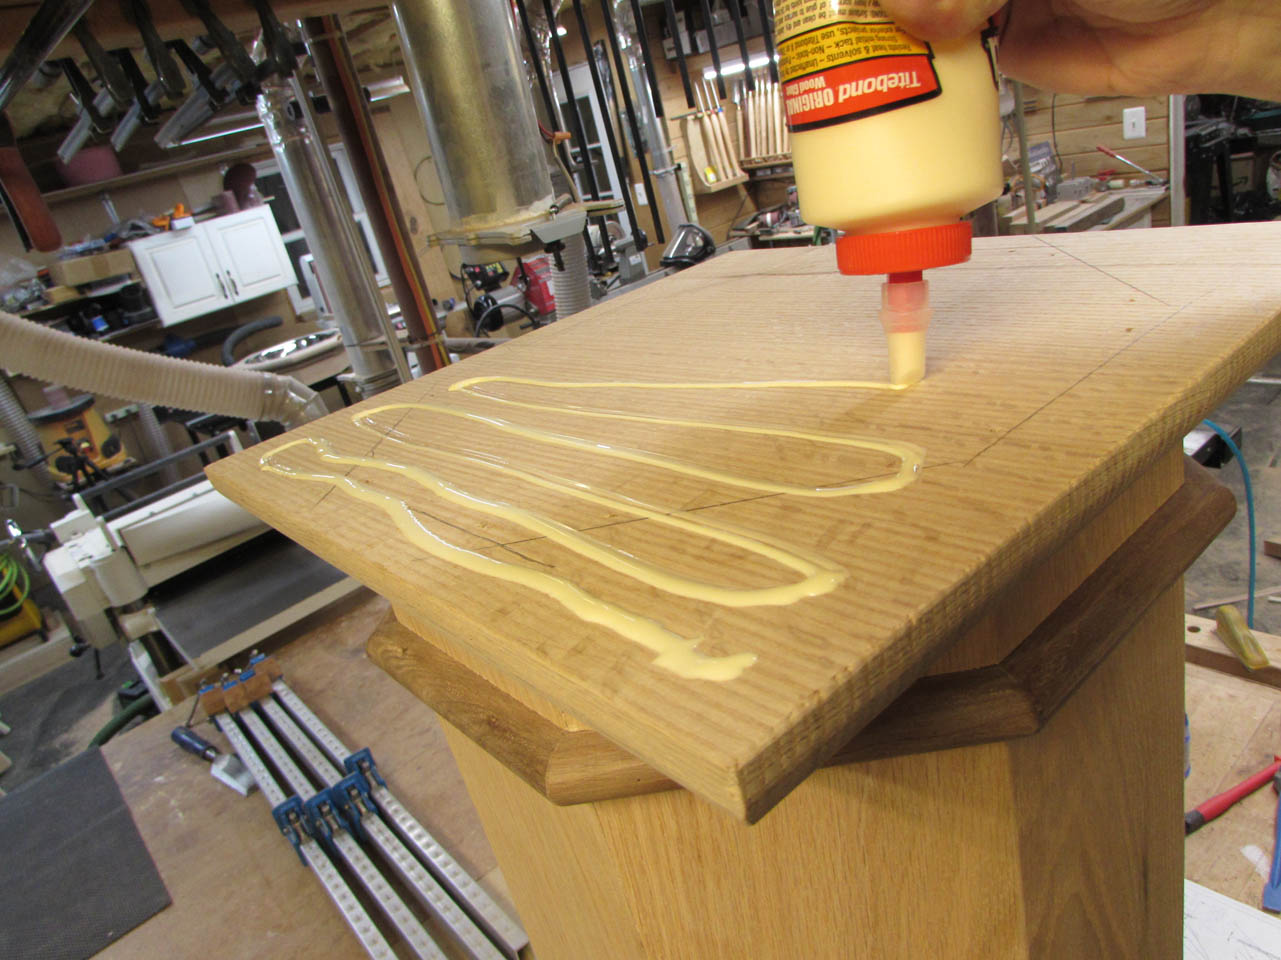
I applied glue to the base of the column, then set the plate in place.

I attached the plate with 18 gauge brad nails to hold it in place while the glue dried and to reinforce the joint. I made sure to angle the nailer towards the center of the column just a bit so the nails would point inwards.

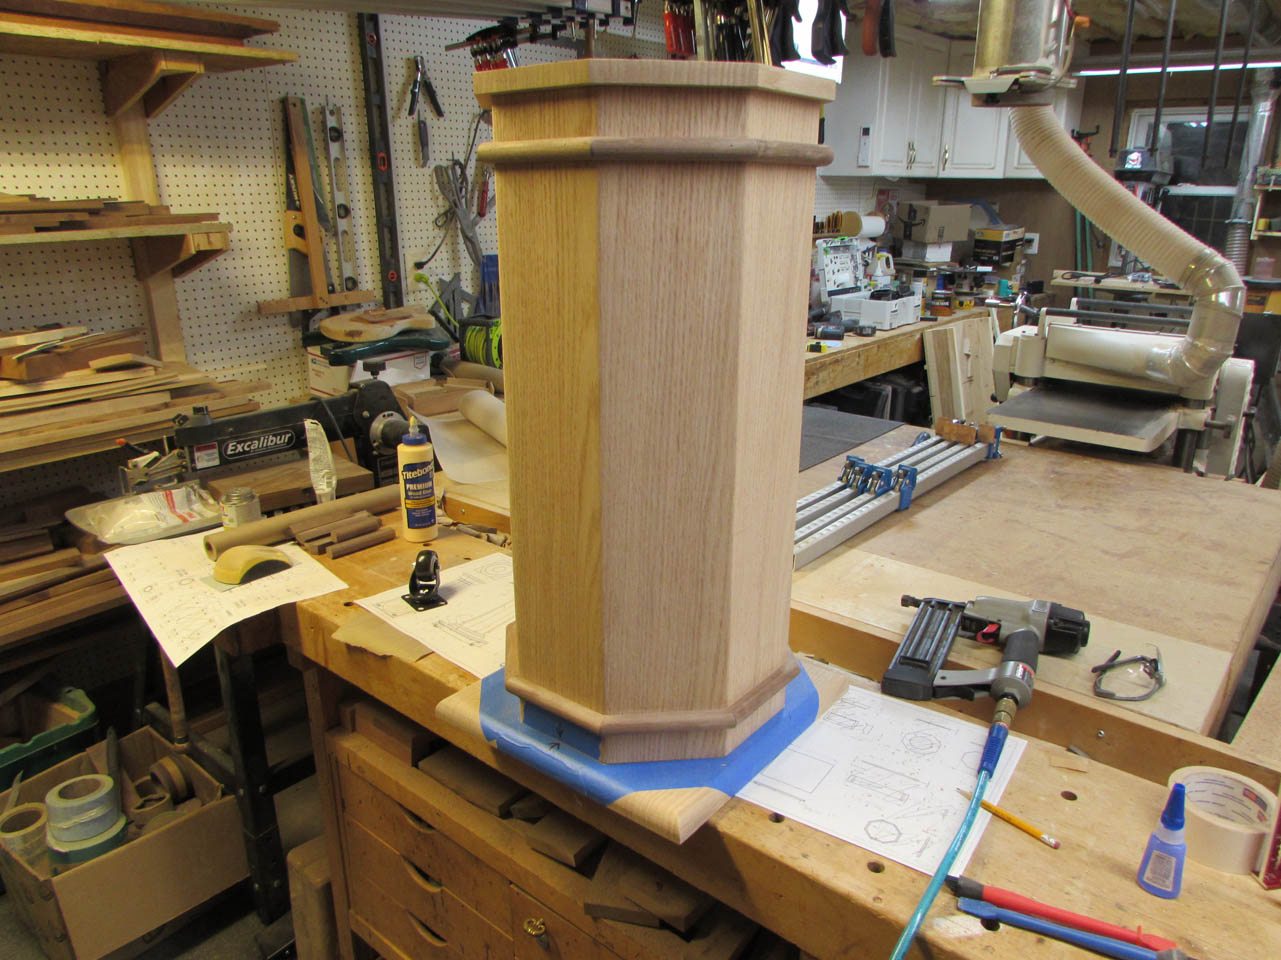
The column seems to be sitting perfectly so I removed the tape.

Flipping the column back over, I prepared to add the base plate. I cut a piece of 1/2″ scrap to use as an alignment tool to center the base, then I applied glue o the bottom of the base cap.
I re-aligned the base plate using the spacer and clamped it in place.
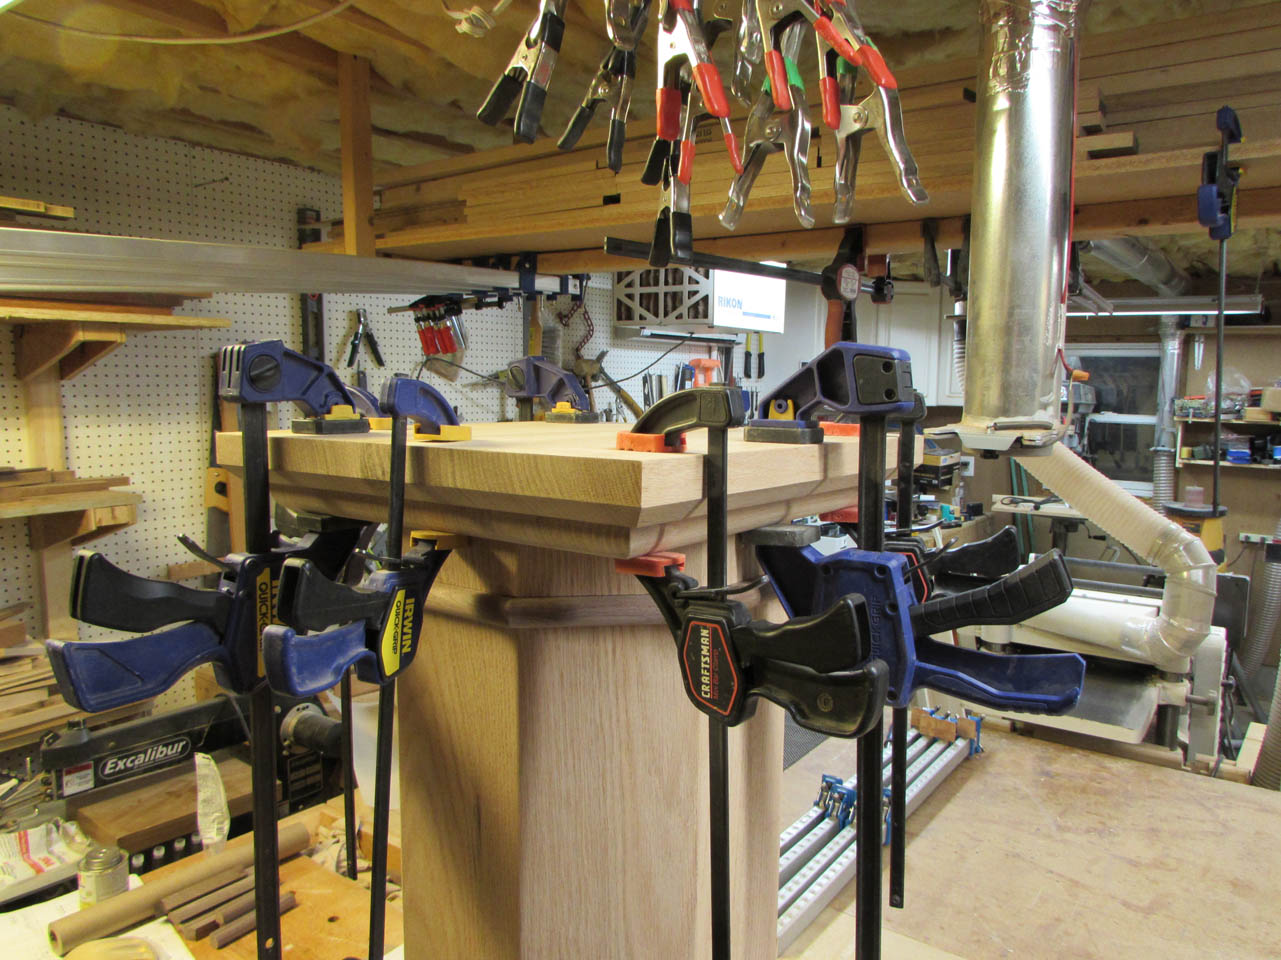
I also added a few brad nails just because the gun was out…

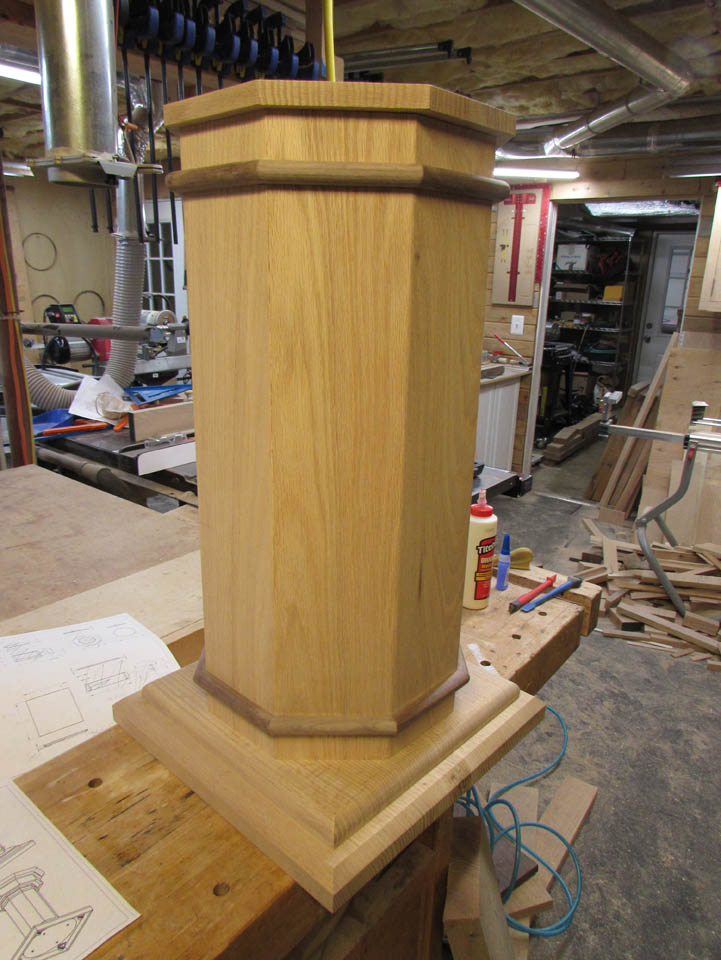
The column looks good, time to make the mobile base.

My original plan was to have a 3/4″ skirt around the wheels and a 3/4″ solid wood top. I think that a 24″ wide panel has too much risk of expansion and contraction, opposing the grain of the skirt. I decided to make the panel a piece of oak plywood for stability and make the skirt much thicker with a rabbet to capture the plywood.
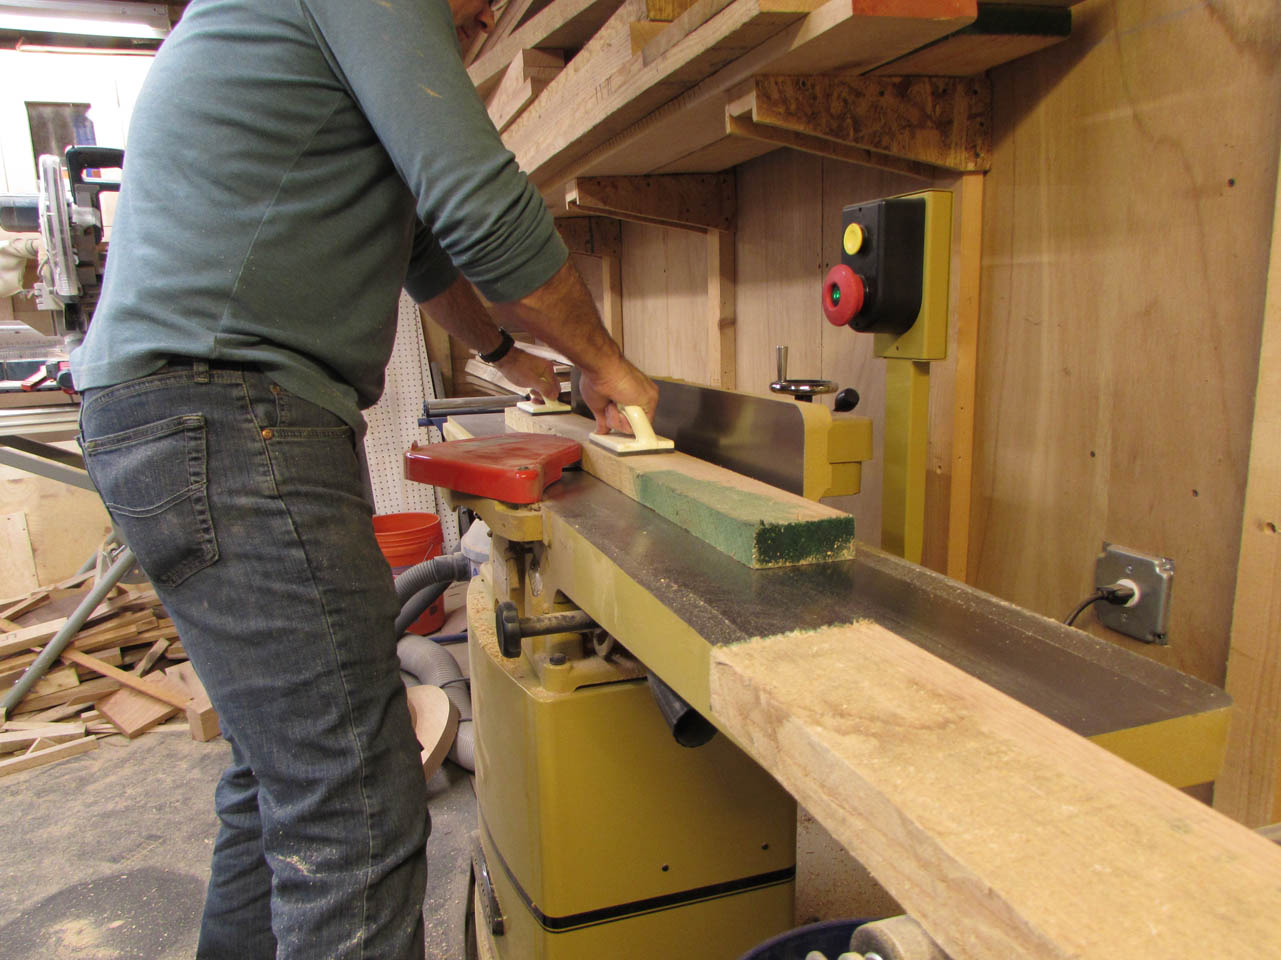
To do this, I cut an 8′ long piece of 6/4 red oak for the skirt.
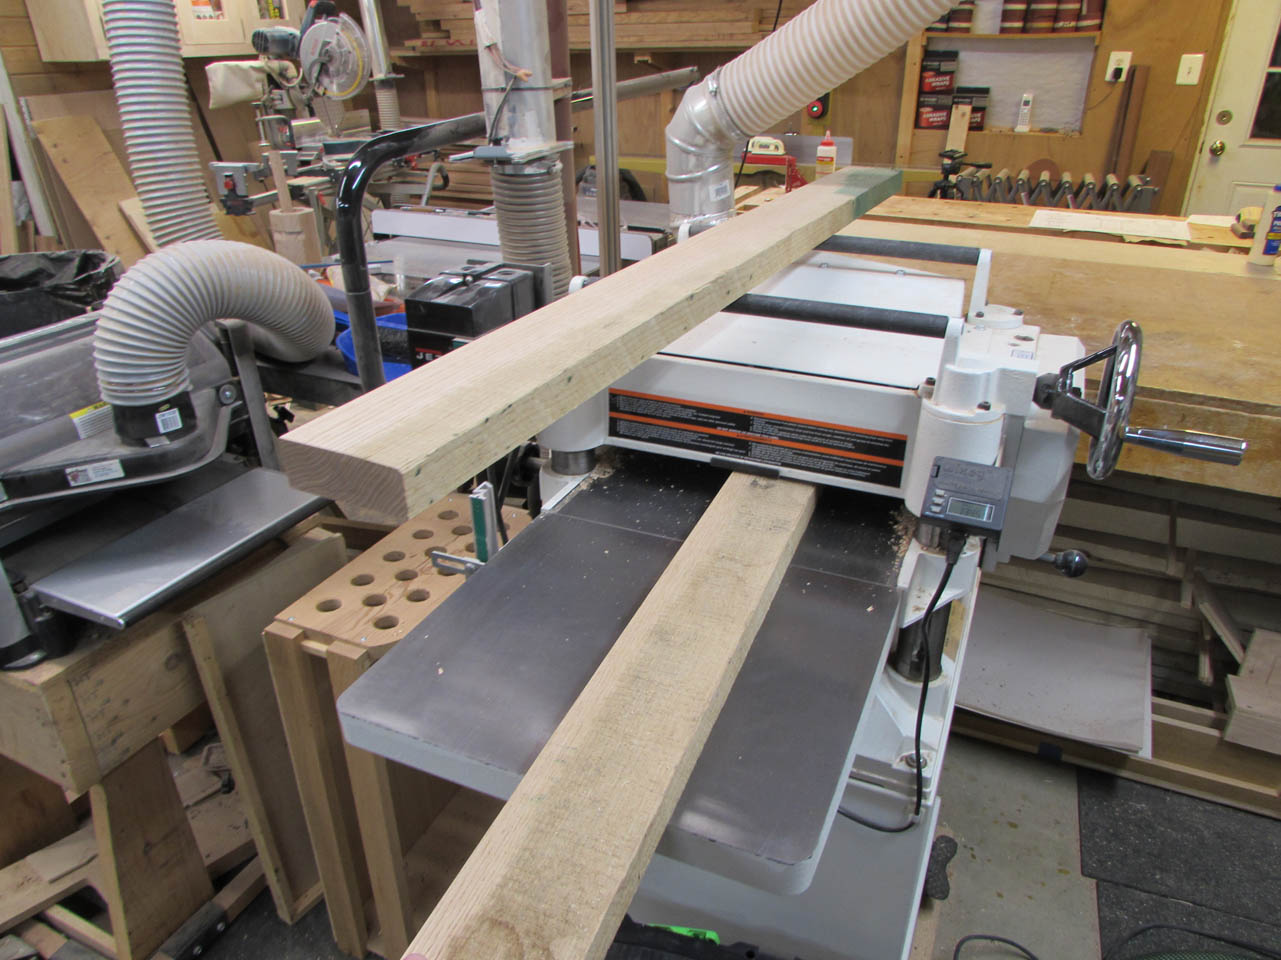
I jointed and planed it down to 1-1/4″ thick, then cut it to lengths of 24″.

I used my fence and miter gauge to cut the both ends to 45° and all four pieces exactly the same length.


Then I cut the rabbet to the perfect depth to receive the plywood.

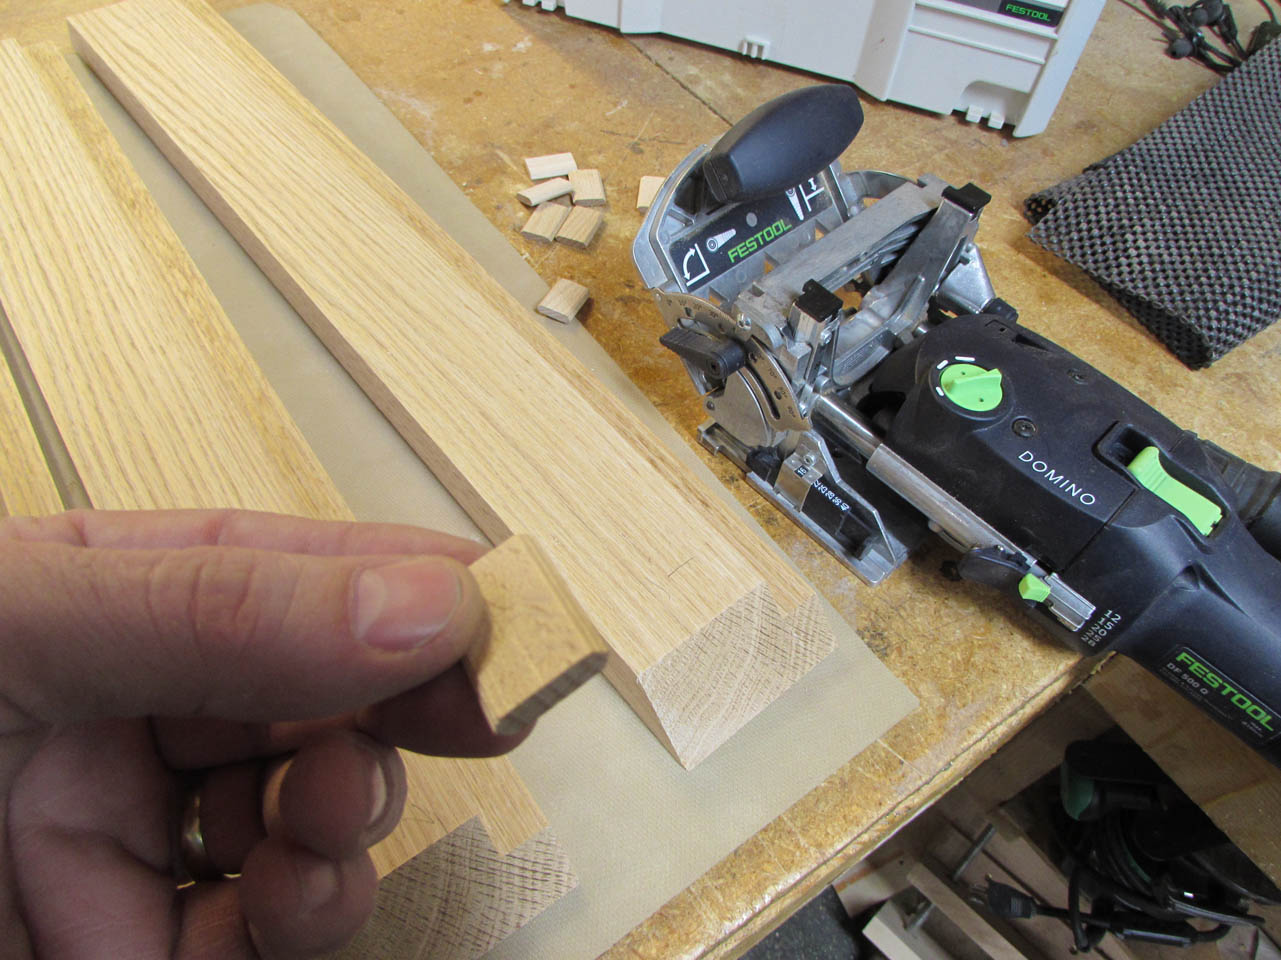
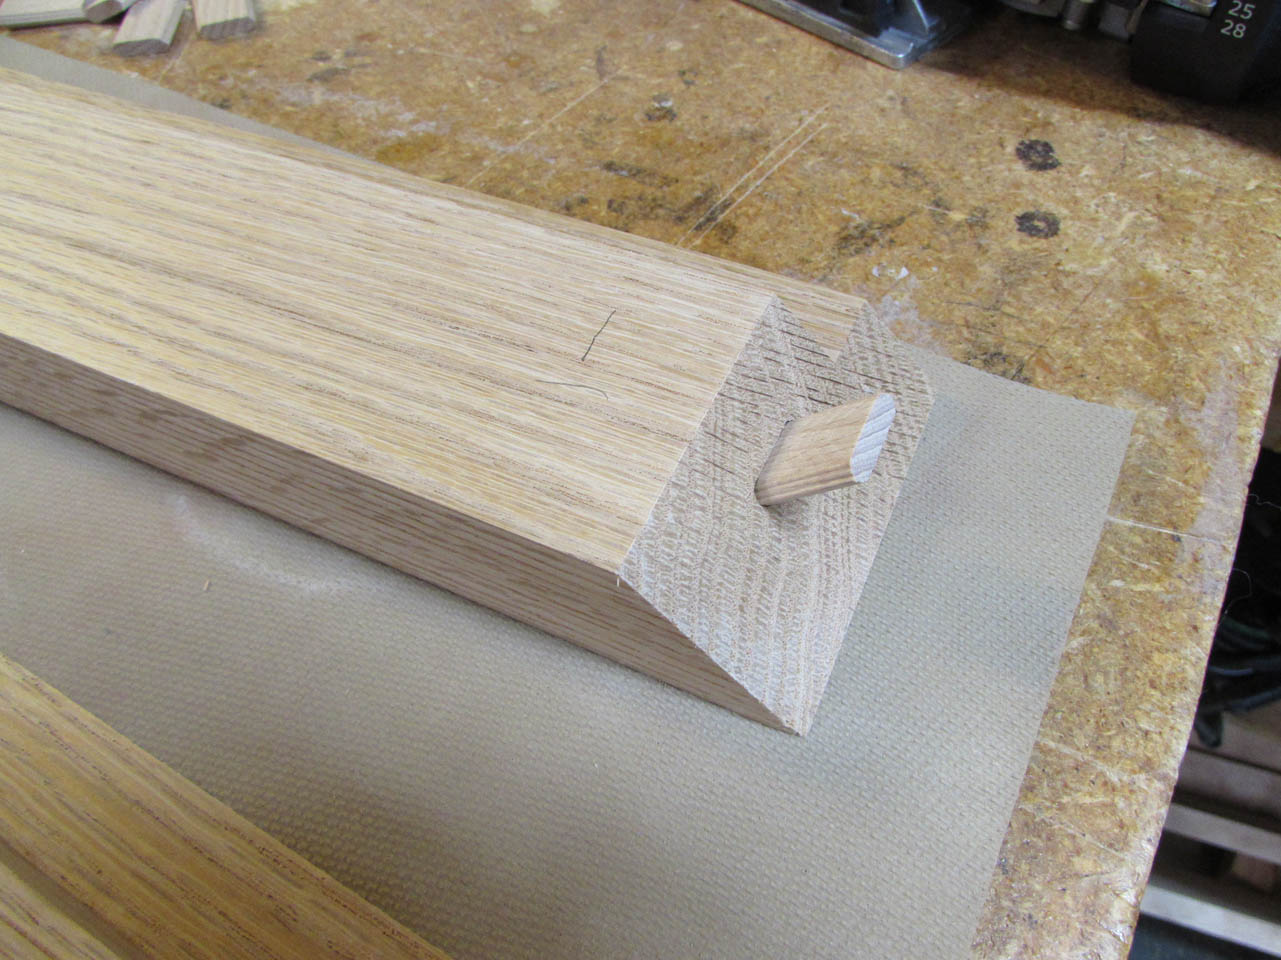
I thought about connecting the joint with a spline again, but I don’t want it to show on the top so I decided to use dominos on the joint.
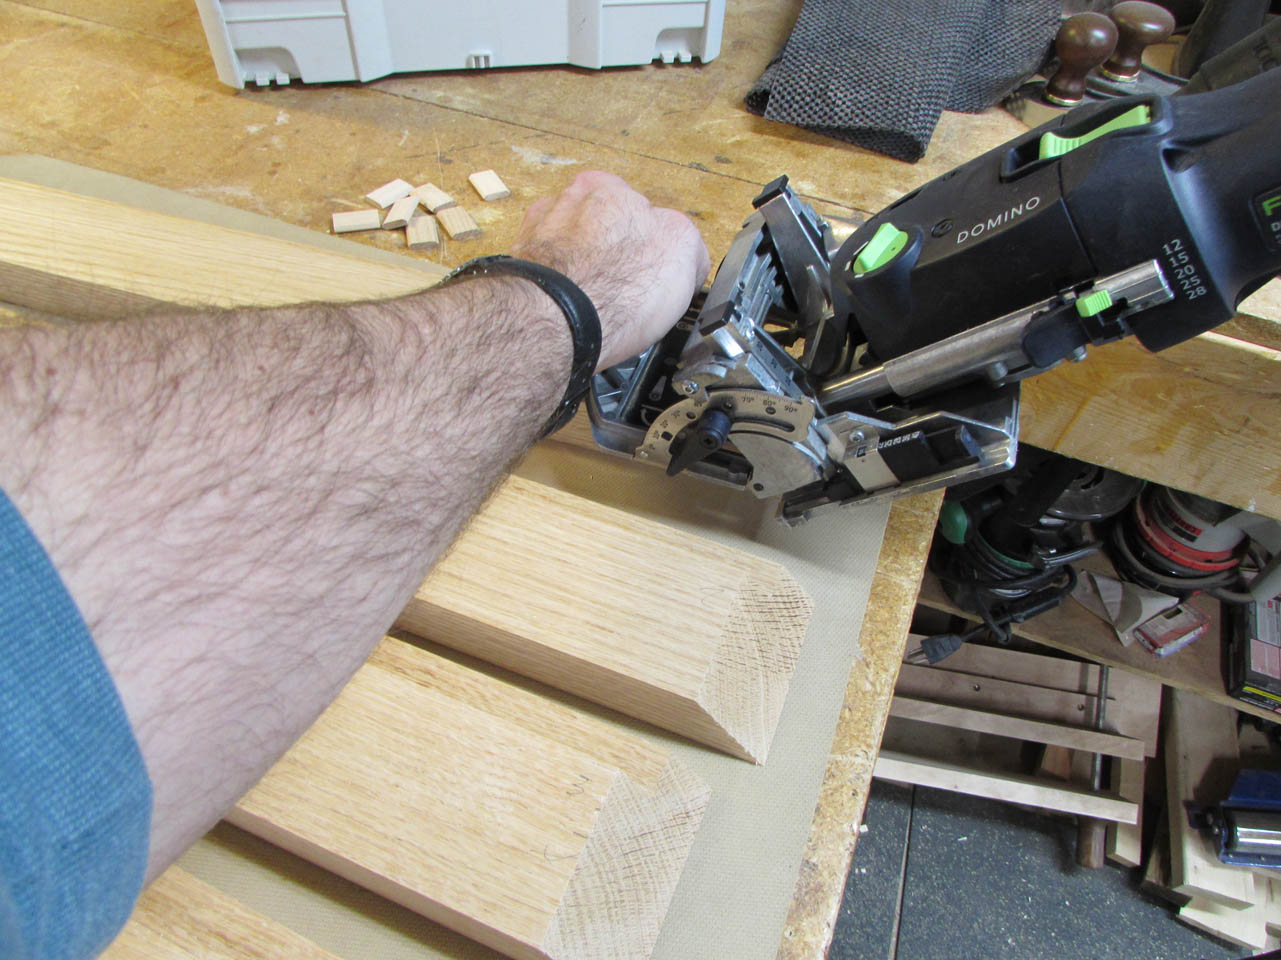
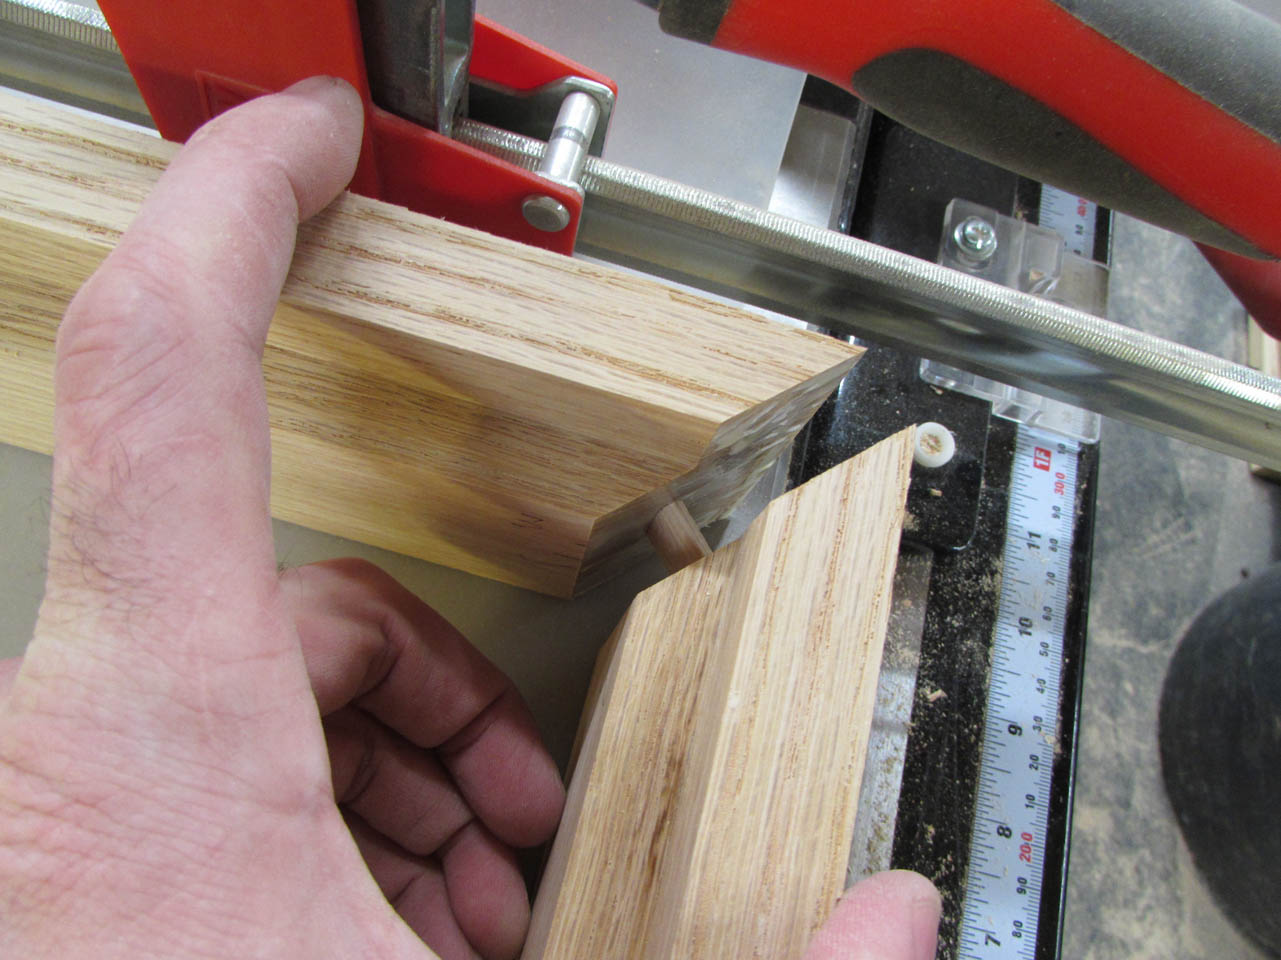
I set my Festool Domino to 45 ° and set the depth to about 3/4″ then made a plunge cut.

The test fit looks good and the cut was not so deep that it penetrated the face.
I repeated the cut seven more times and applied glue to the ends.
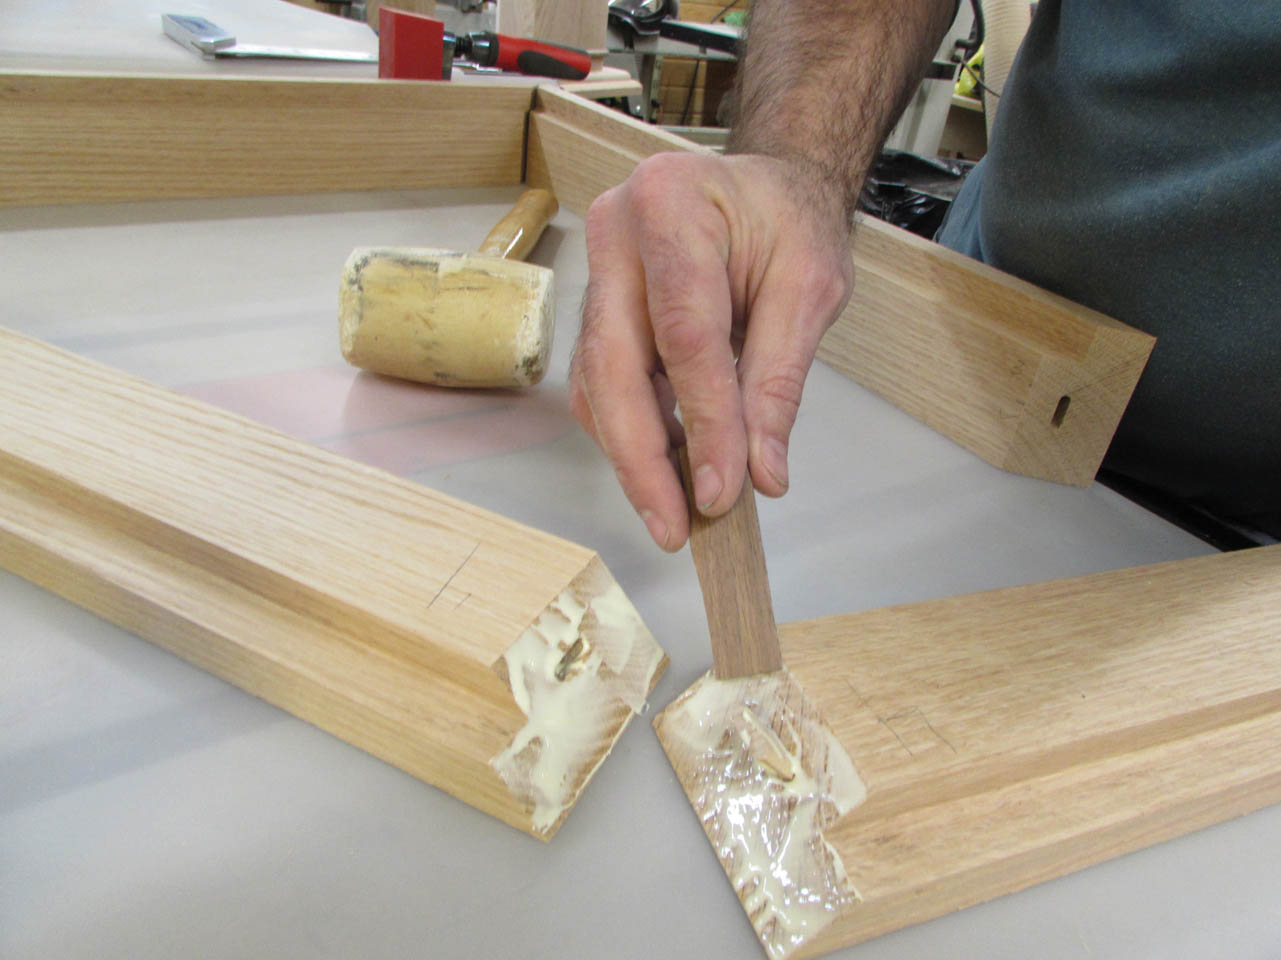
I am assembling this on a silicone mat over my table saw because the frame has to be perfectly flat and the table saw is the only surface in my shop that is perfectly flat.

I assembled the frame and clamped it up. I was careful to measure the corners to make sure the frame stayed square.


When I pulled the clamps an hour later, I double-checked for square.
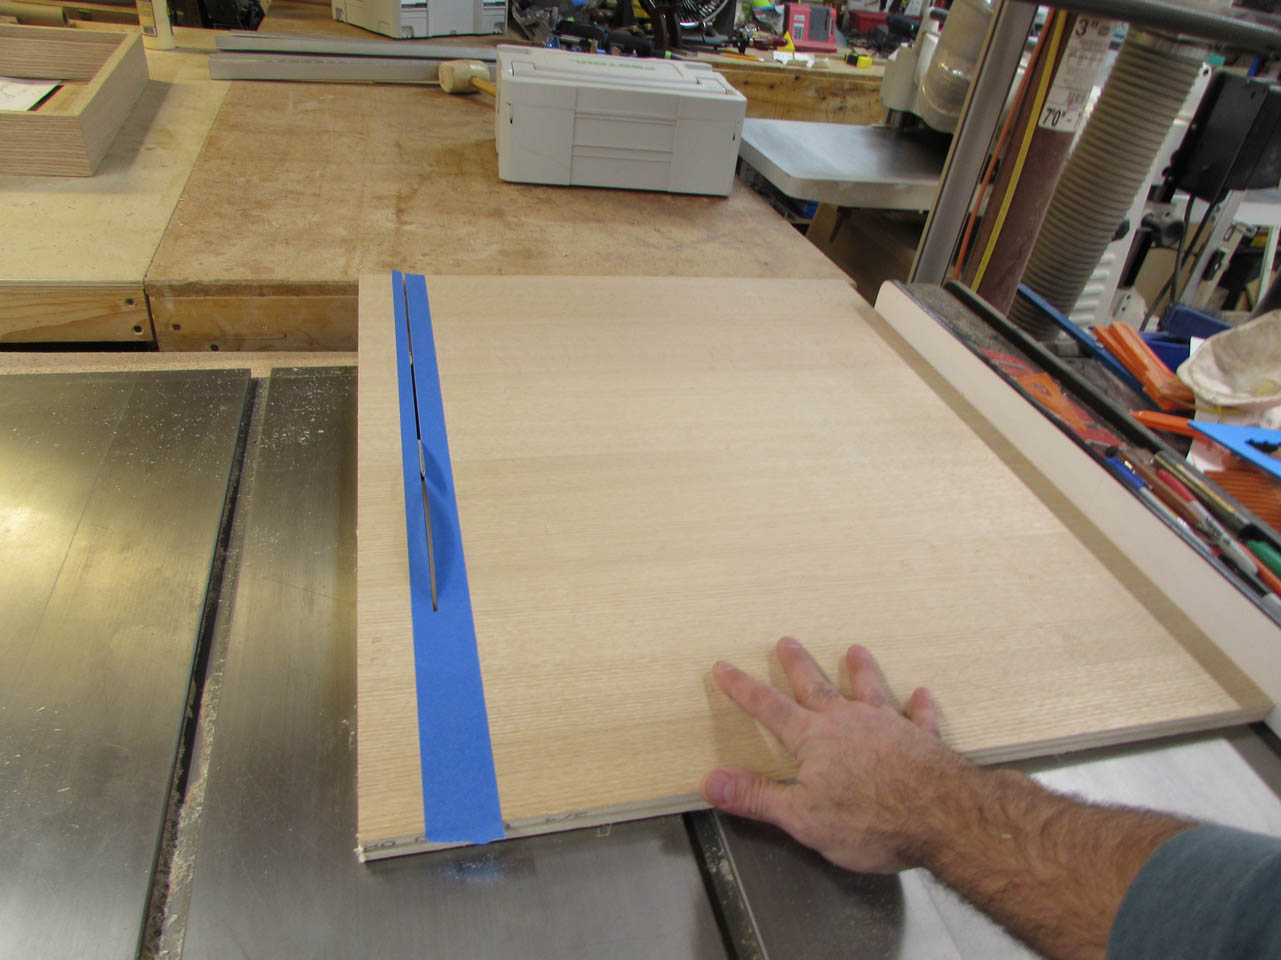
Next, I cut down the plywood panel to fit within the rabbet. I want as little tear-out as possible so I added a piece of tape wherever I was cutting to help stabilize the wood fibers on the veneer. This actually worked really well.

The board fit perfectly almost all the way around. Only one corner needed a bit of slimming down to fit so I used my block plane to take off a few thin shavings.

Perfect fit!

Next, I lined the rabbet with glue and clamped it firmly in place.

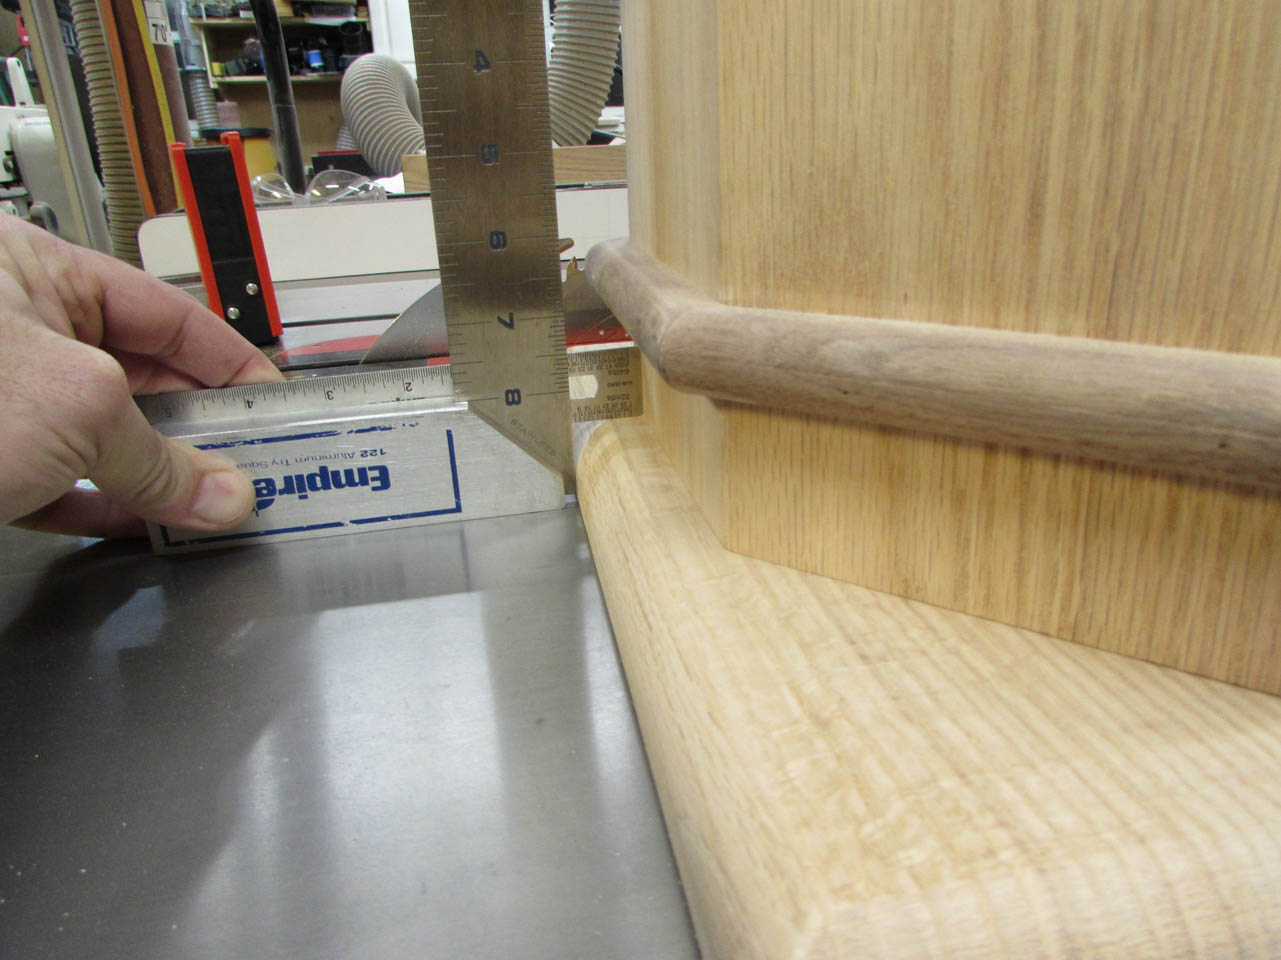
When this dries, I will need to add a chamfer to the top edge, then sand it all down.

Then all that will be left is assembly and finish.
